Drawing from a High Perspective View
As artists, we are always seeking dynamism in our creations and strive to explore all possibilities to make our drawings more realistic.
Among the essential concepts, we find proportion, texture, chiaroscuro, and of course, perspective, which we will discuss today.
What is perspective?
Perspective is a simple visual technique. It transforms a flat surface into a three-dimensional space with depth. Since its invention during the Renaissance, it has become an essential tool for any composition and has continued to evolve to this day.
So how do you get a perspective drawing?
The answer involves a crucial point that you may already know: the vanishing point. It's a key element to understanding perspective, and we are going to see what it's about.
The two-point perspective
The single vanishing point is ideal for creating depth with a frontal view. However, the perception of depth changes depending on our position. Thus, if we observe an object perpendicularly, the best option is to use two vanishing points.
Draw a line representing the horizon, that is, the level where objects disappear from our field of vision.
Place a dot at each end of this line.
Draw lines from these points across the drawing. These lines will help define the size and position of objects as they recede.
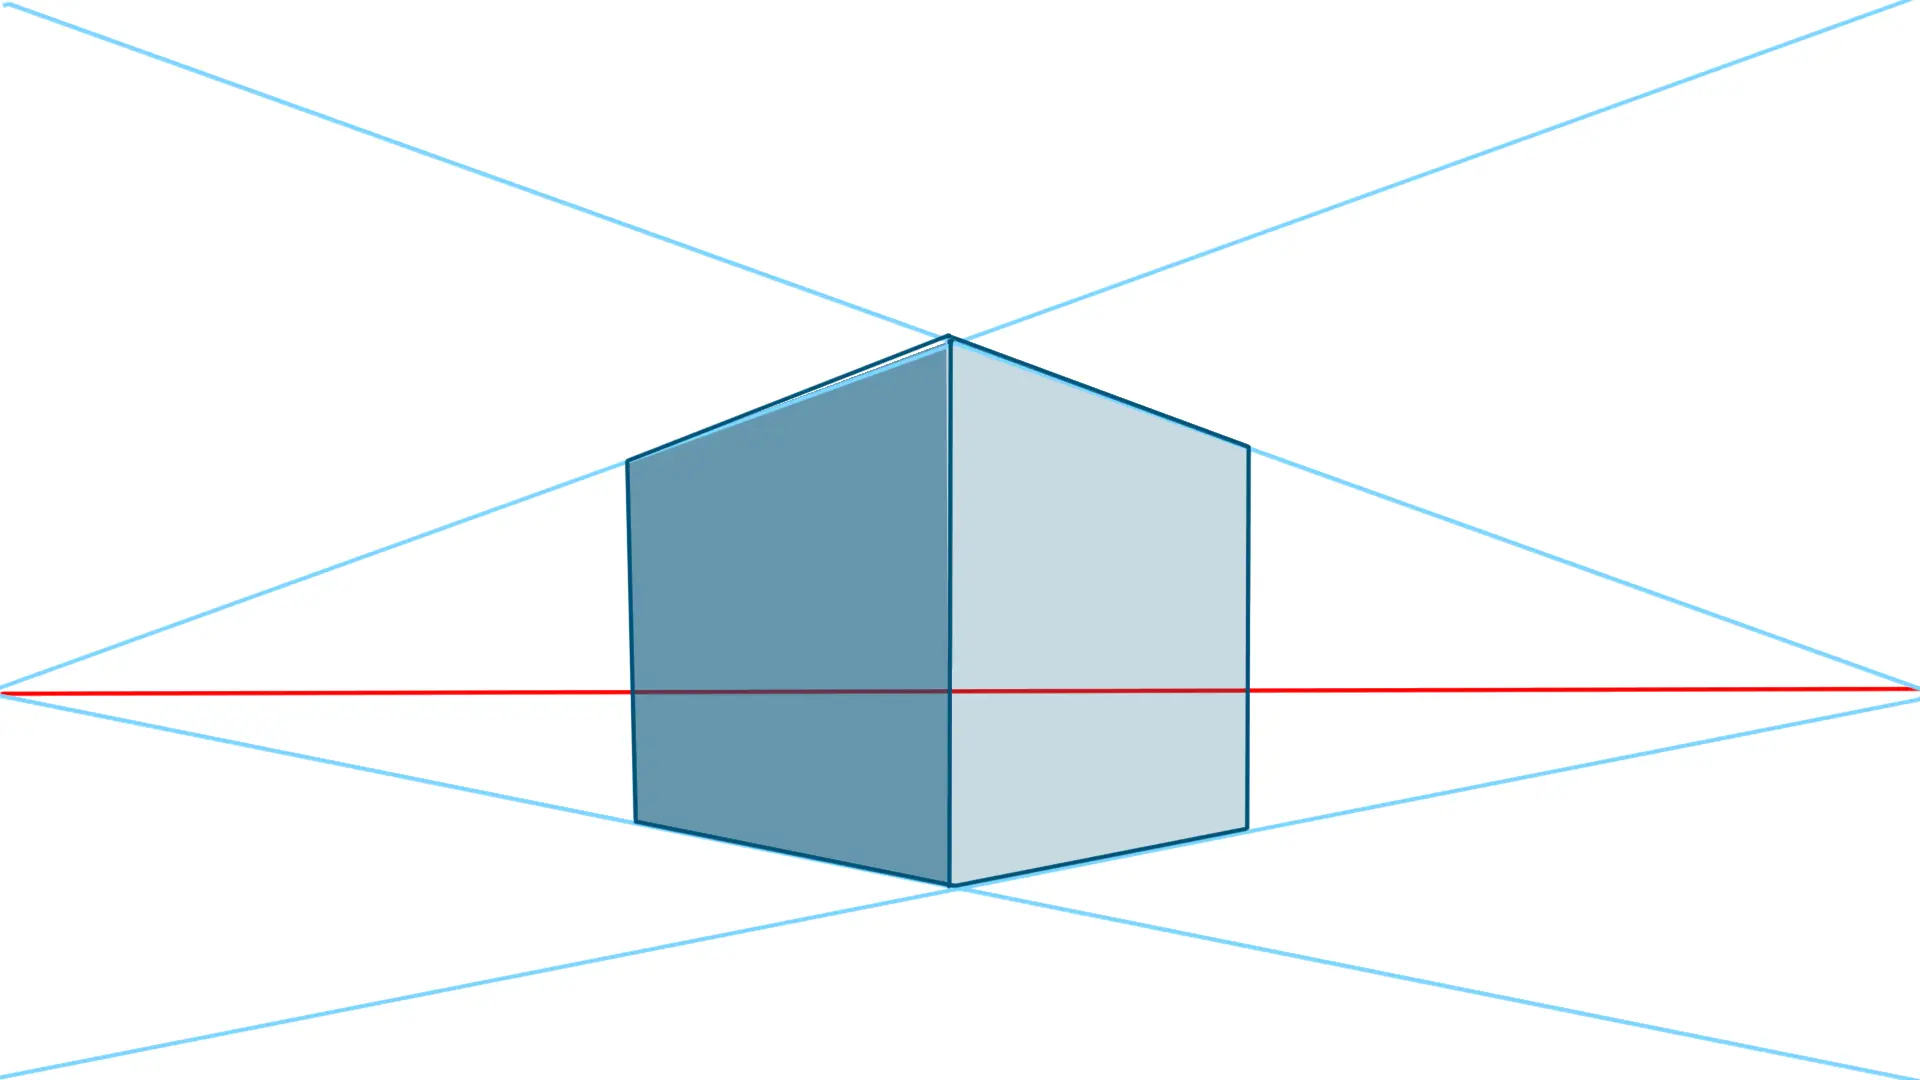
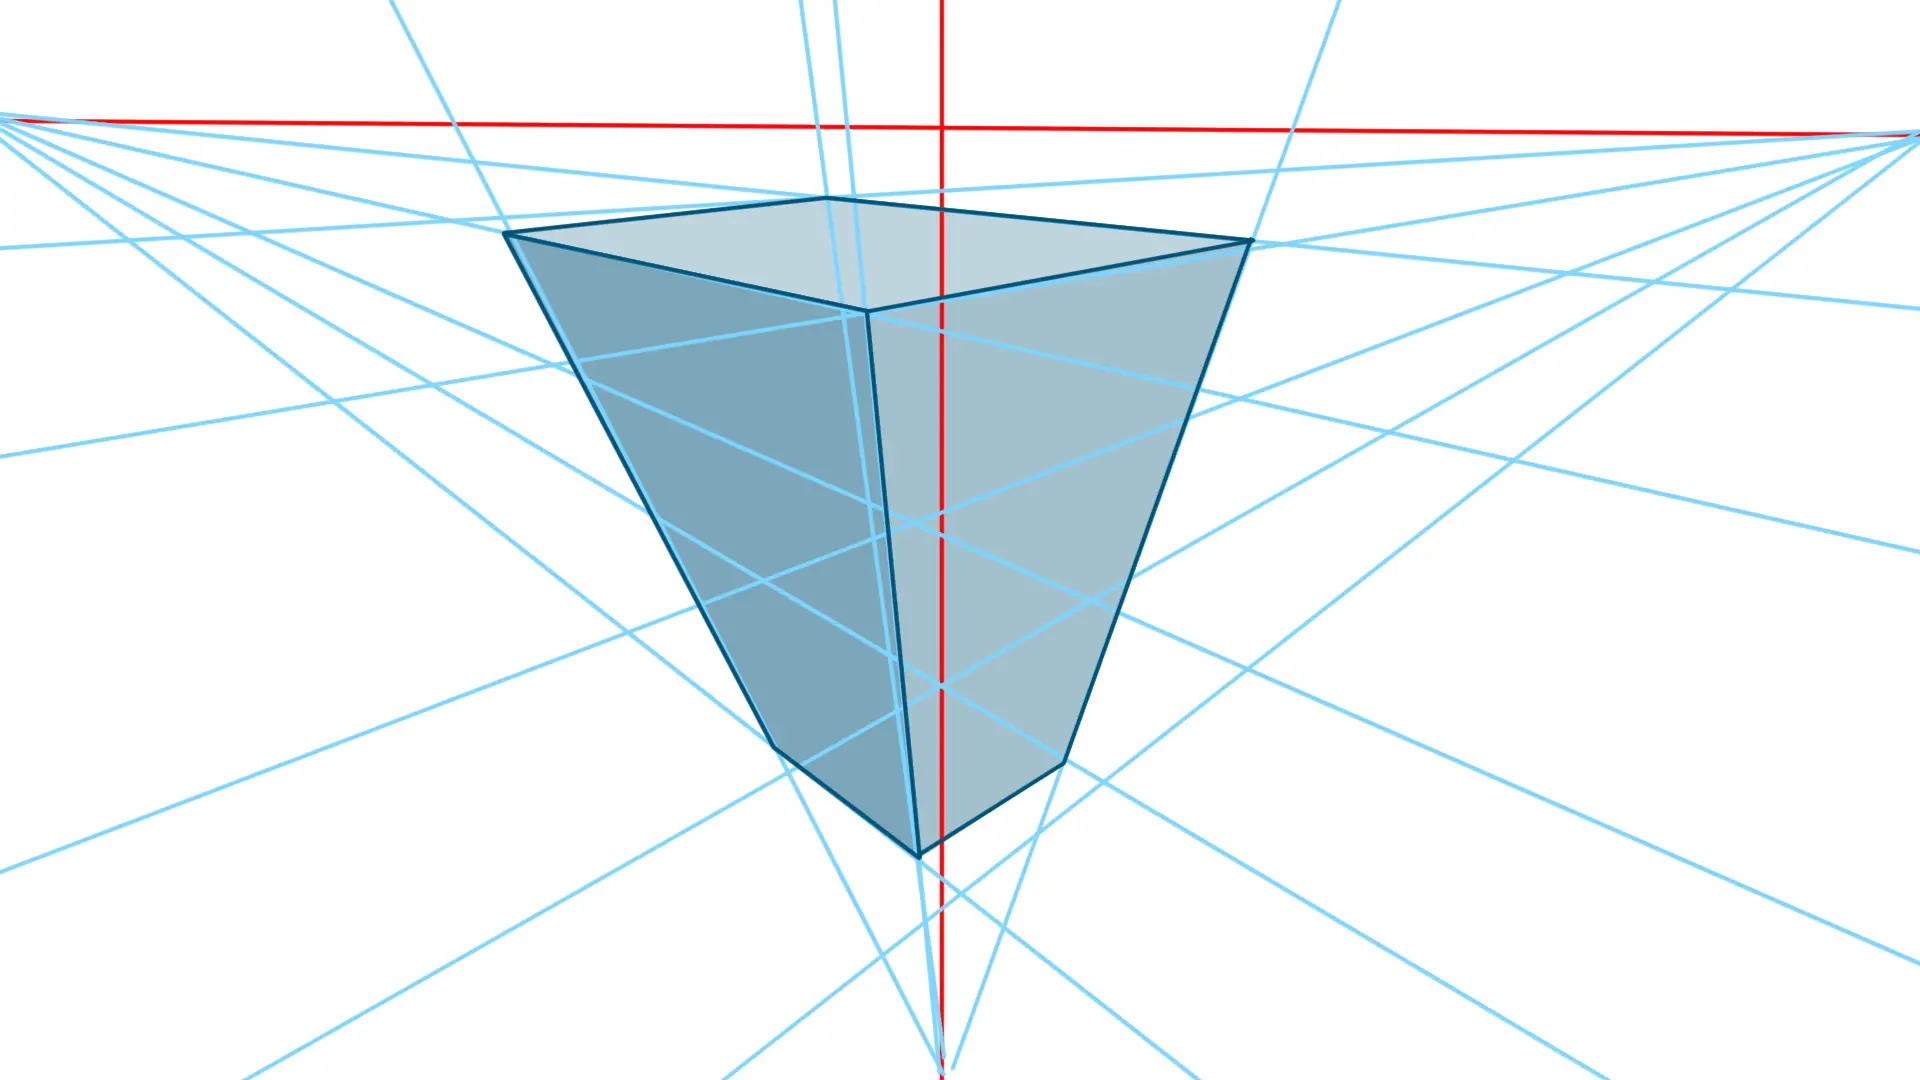
Two vanishing points with a high horizon line
To obtain a top view, simply raise the horizon line and project your vanishing lines below. This simple adjustment creates the desired effect: a bird's-eye view of the scene.
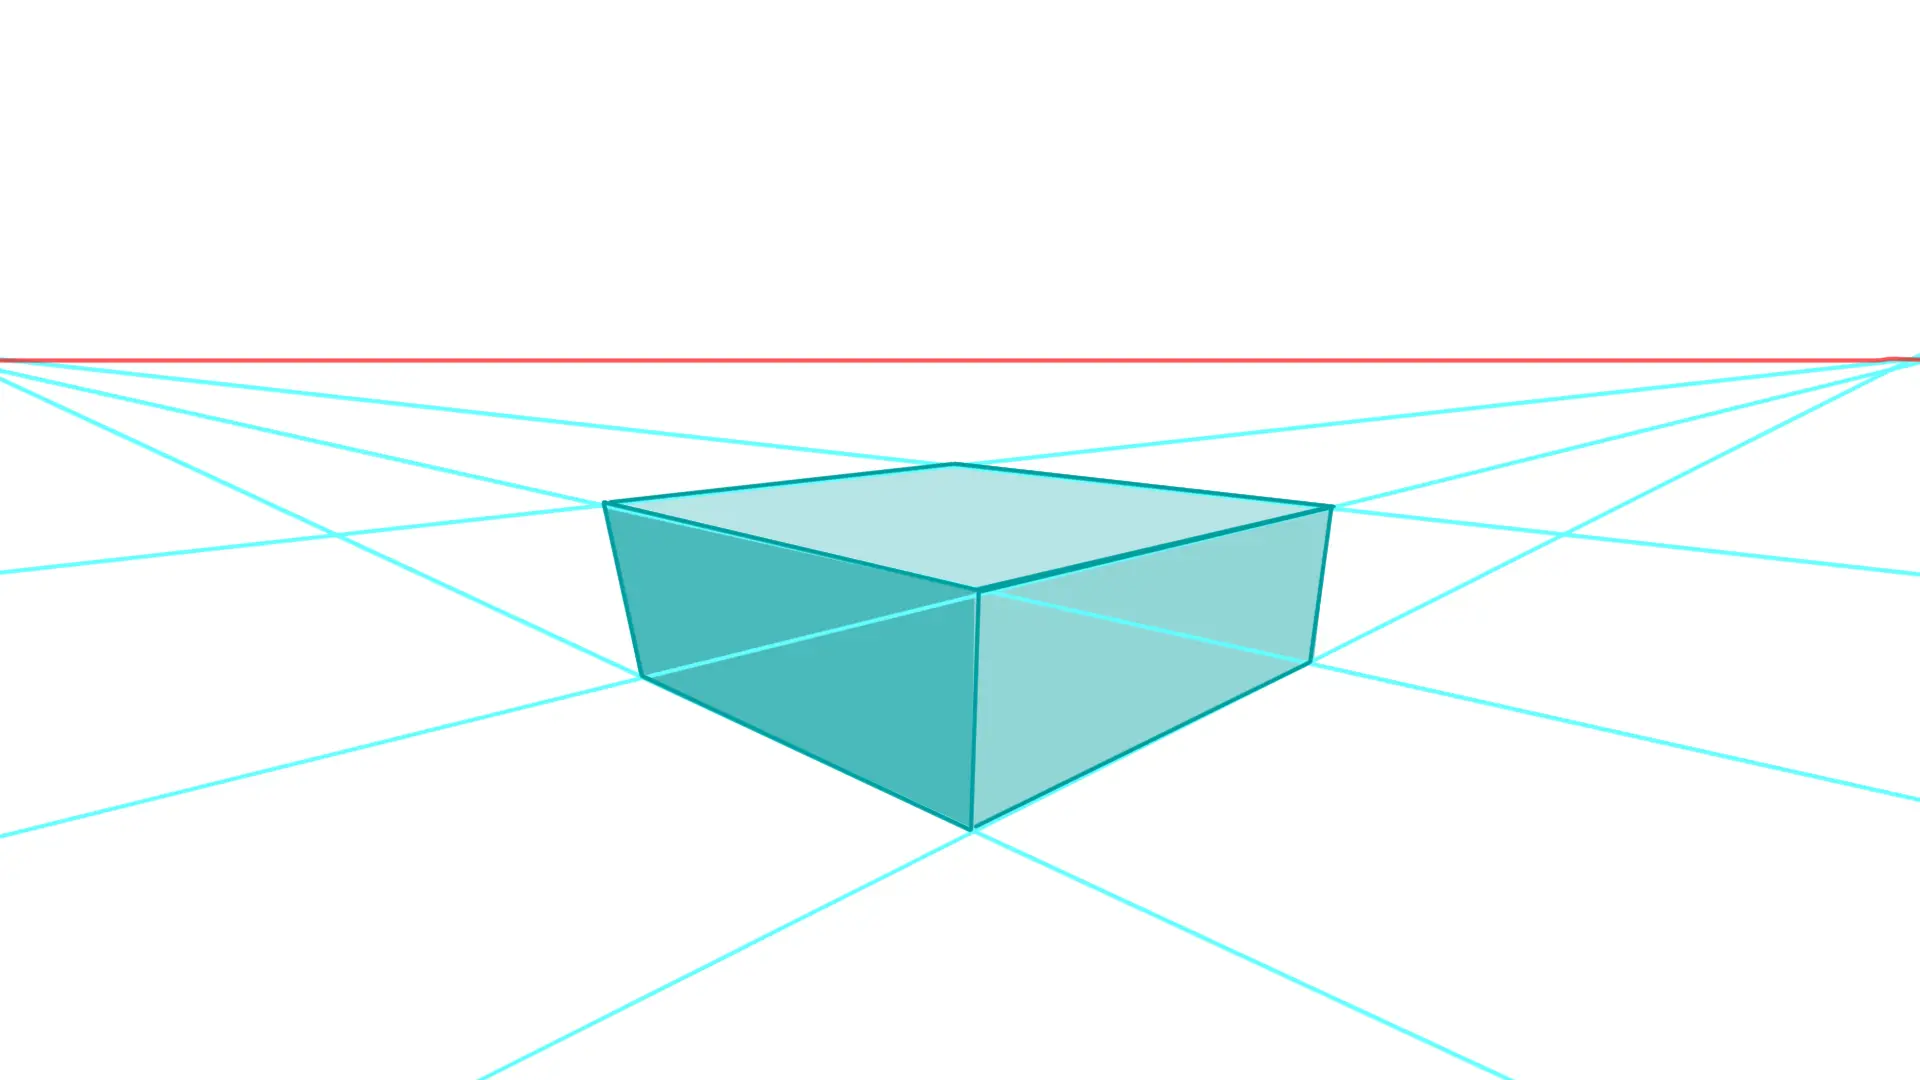
Three vanishing points for a high view
If you wish to further accentuate the depth, you can add a third vanishing point, placed at the center, at the bottom of your composition.
By combining the two lateral vanishing points with this third lower point, you will achieve a more immersive perspective.
In summary: the farther an object is, the smaller and shorter it will appear; the closer it is, the larger and more elongated it will appear.
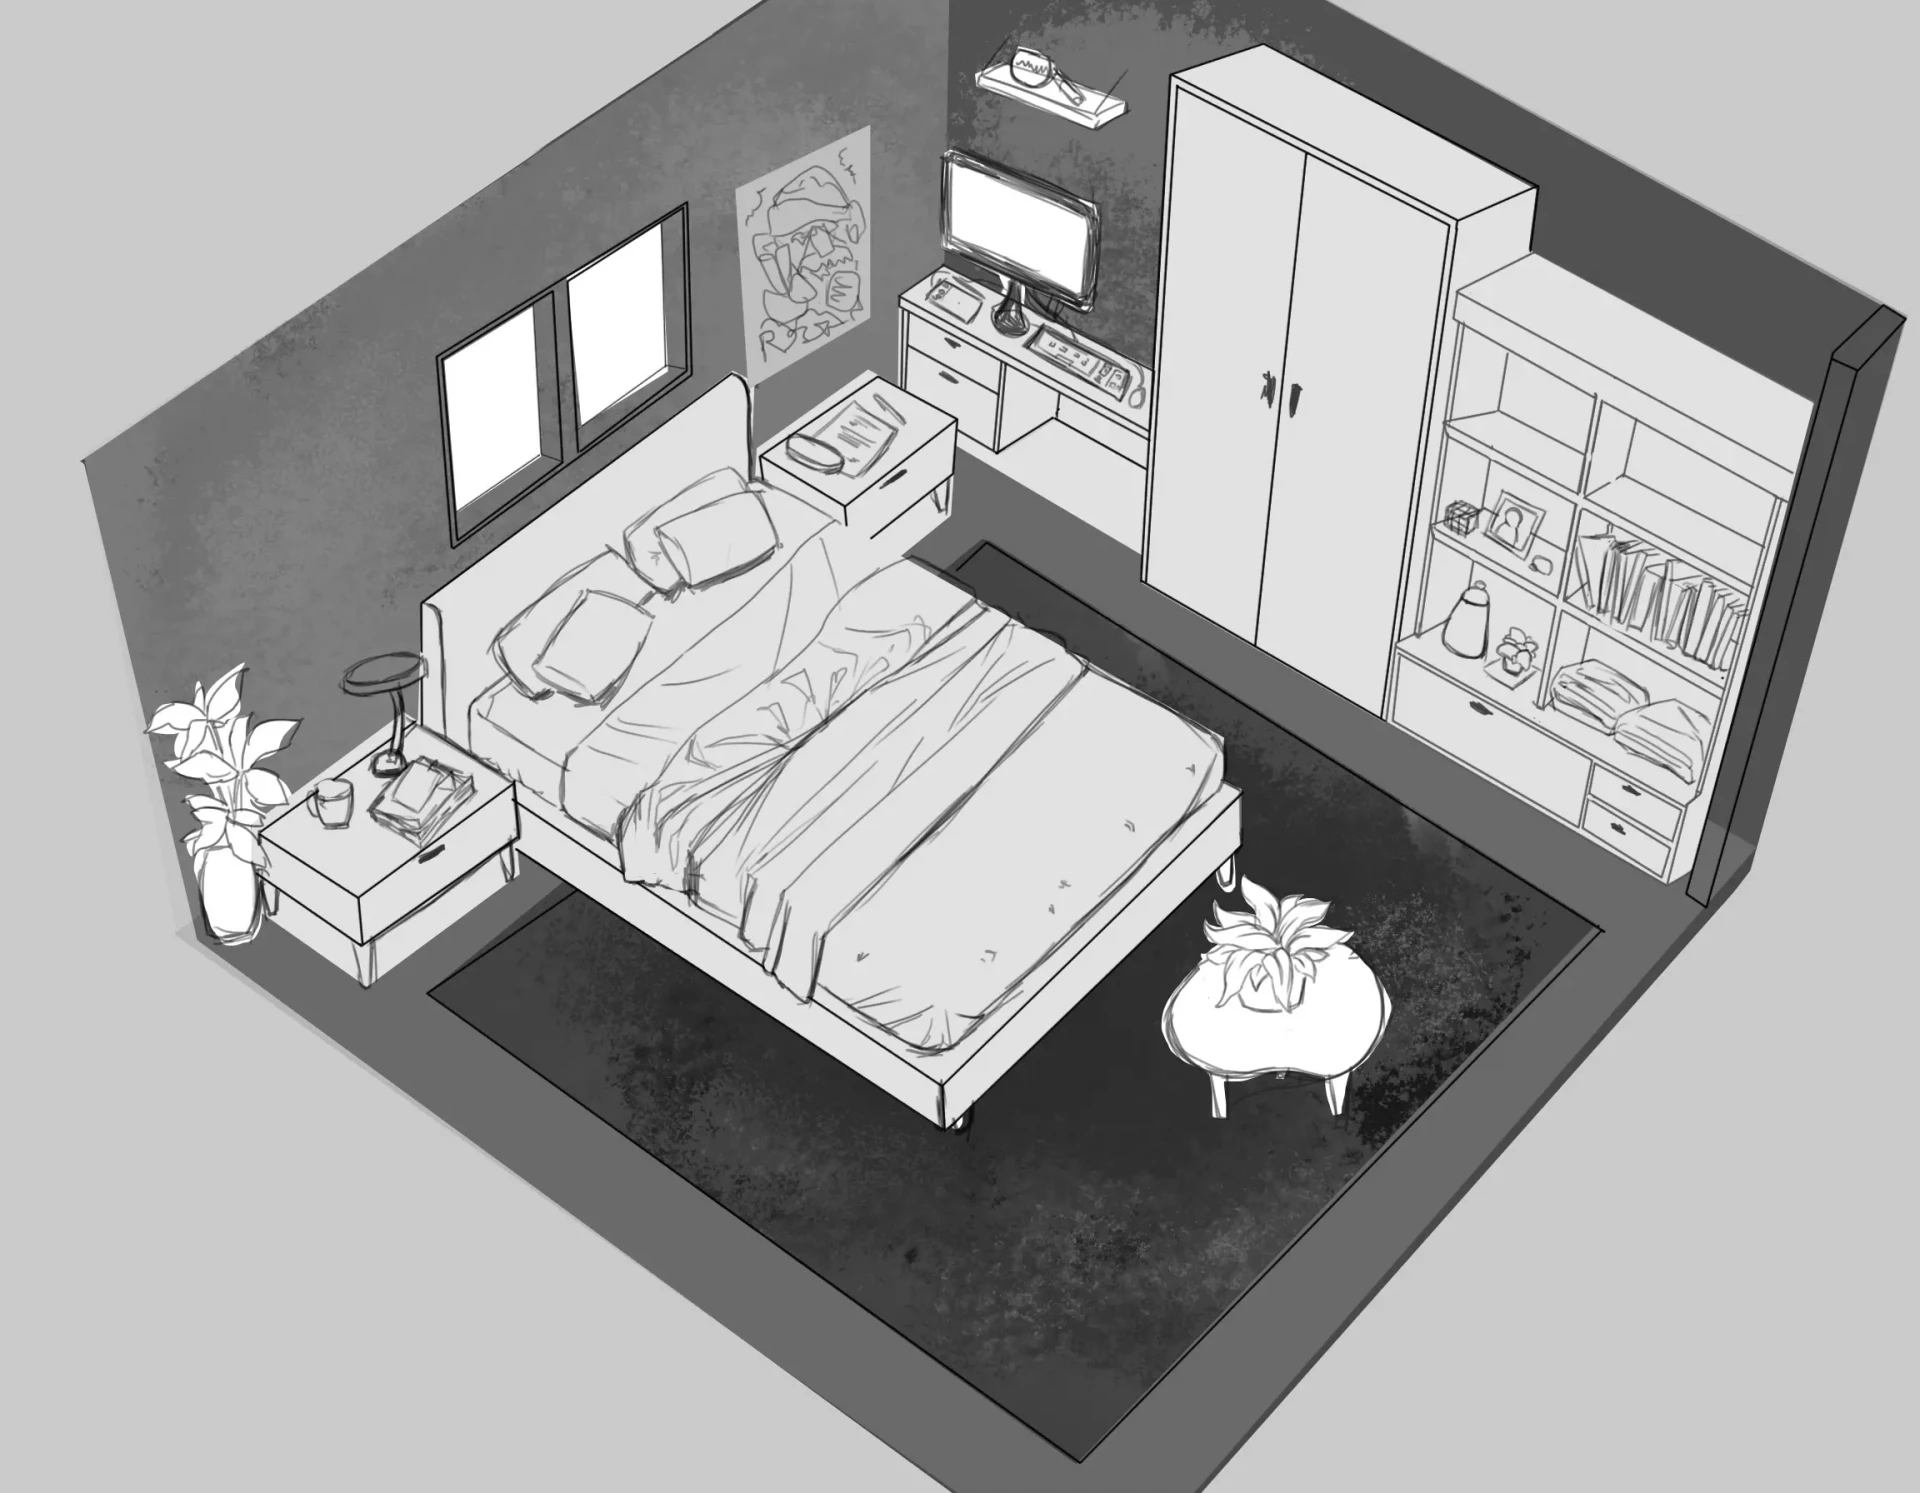
Draw a room in perspective from above
To draw a top view, simply apply these principles. There's no need to draw a complete diagram every time: with practice, you can create these effects intuitively. The important thing is to always keep this rule in mind: the greater the distance, the smaller the object appears.
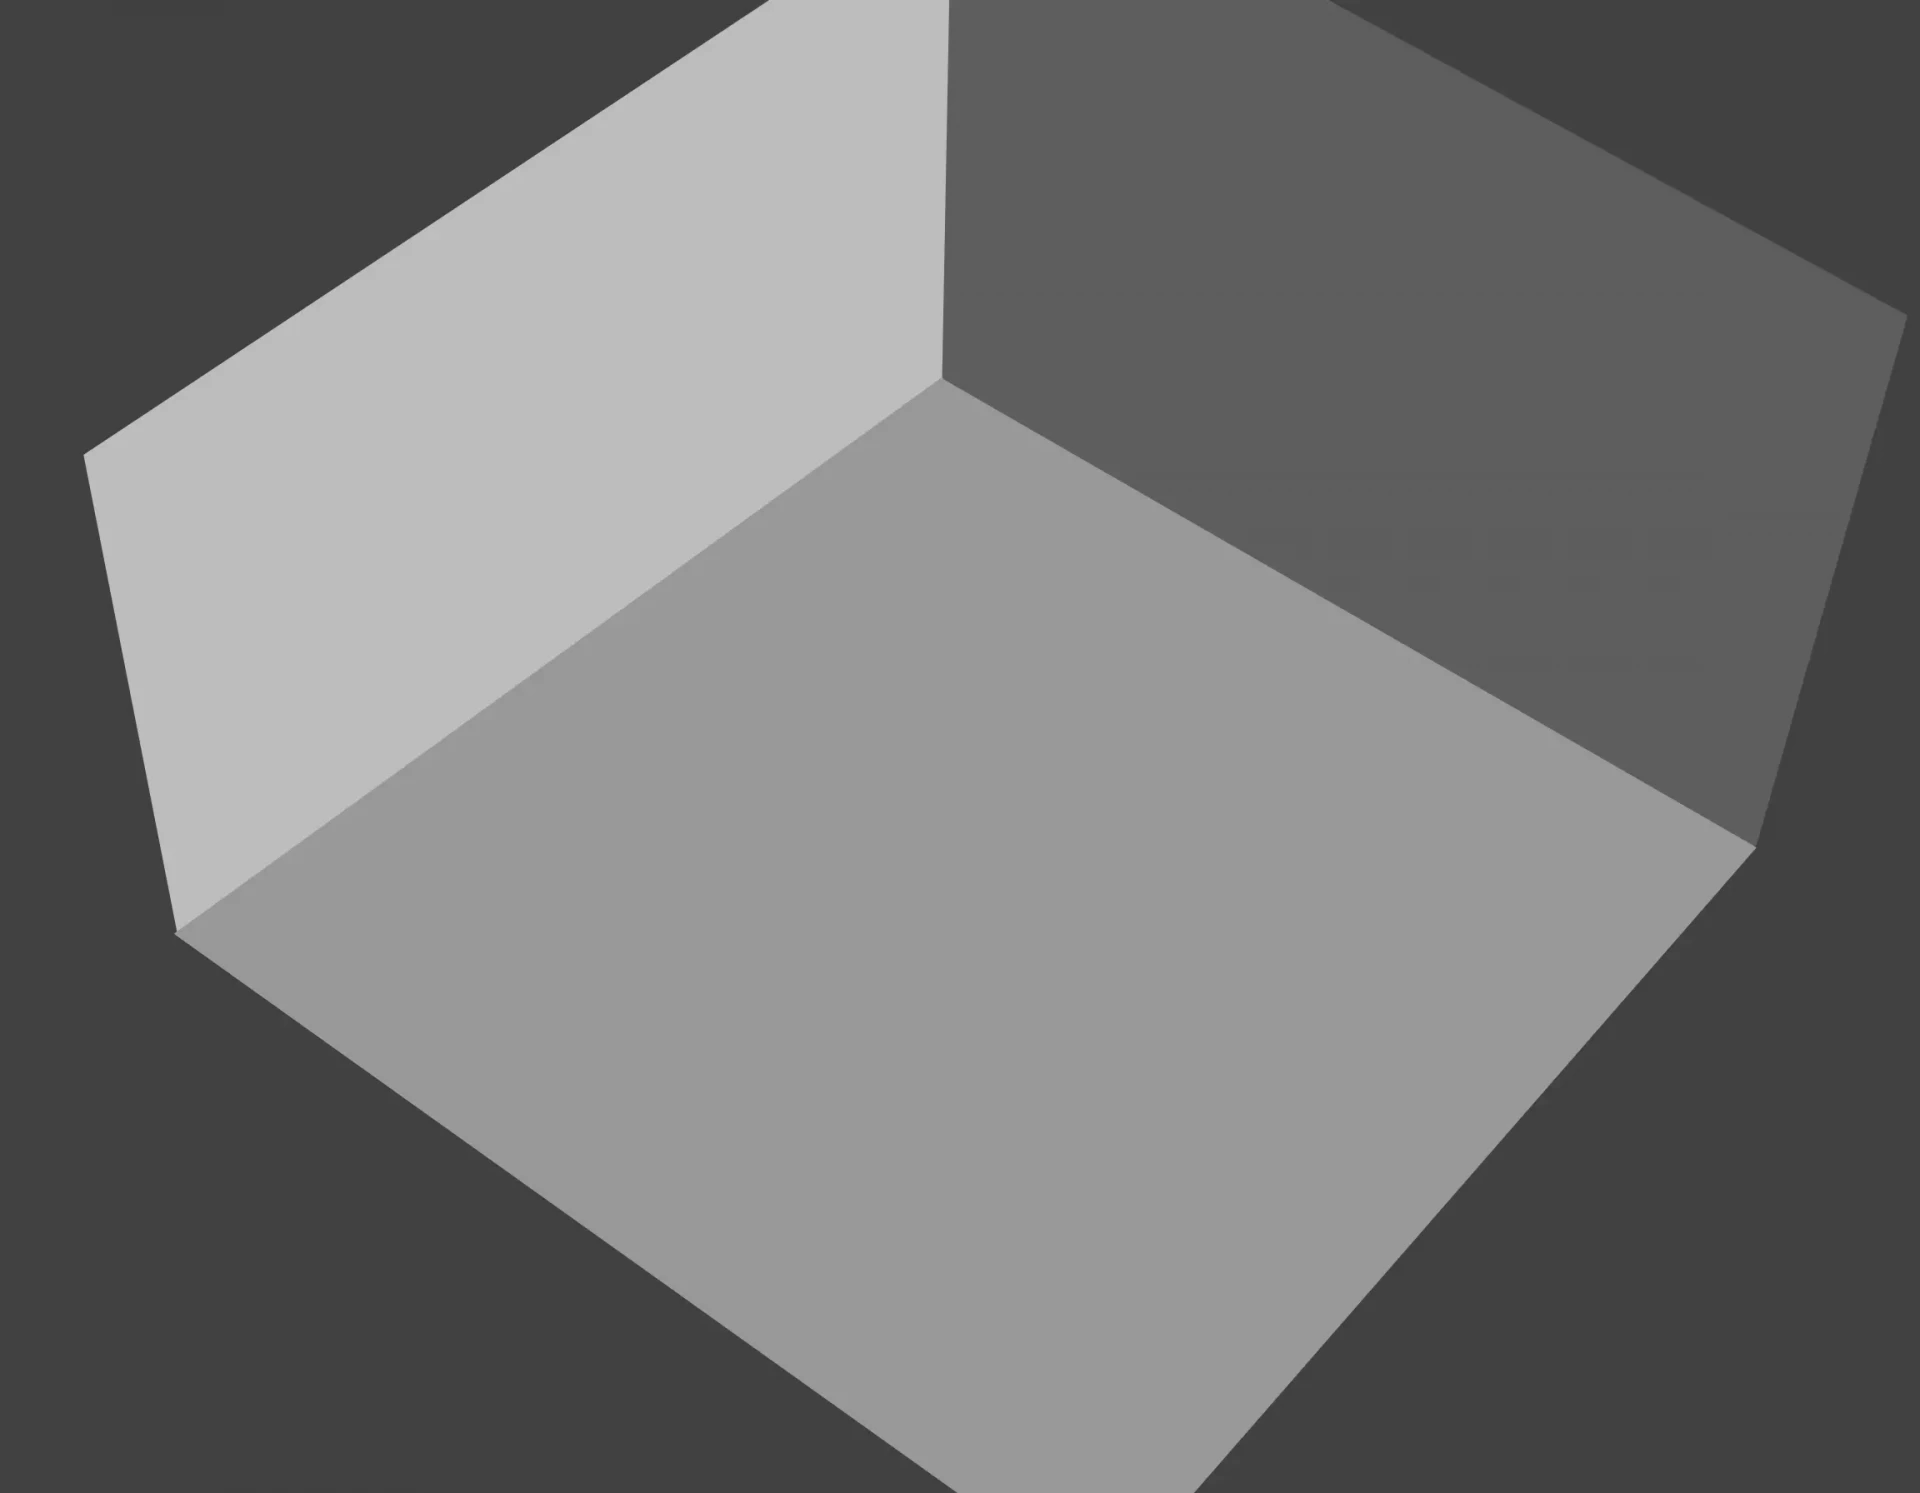
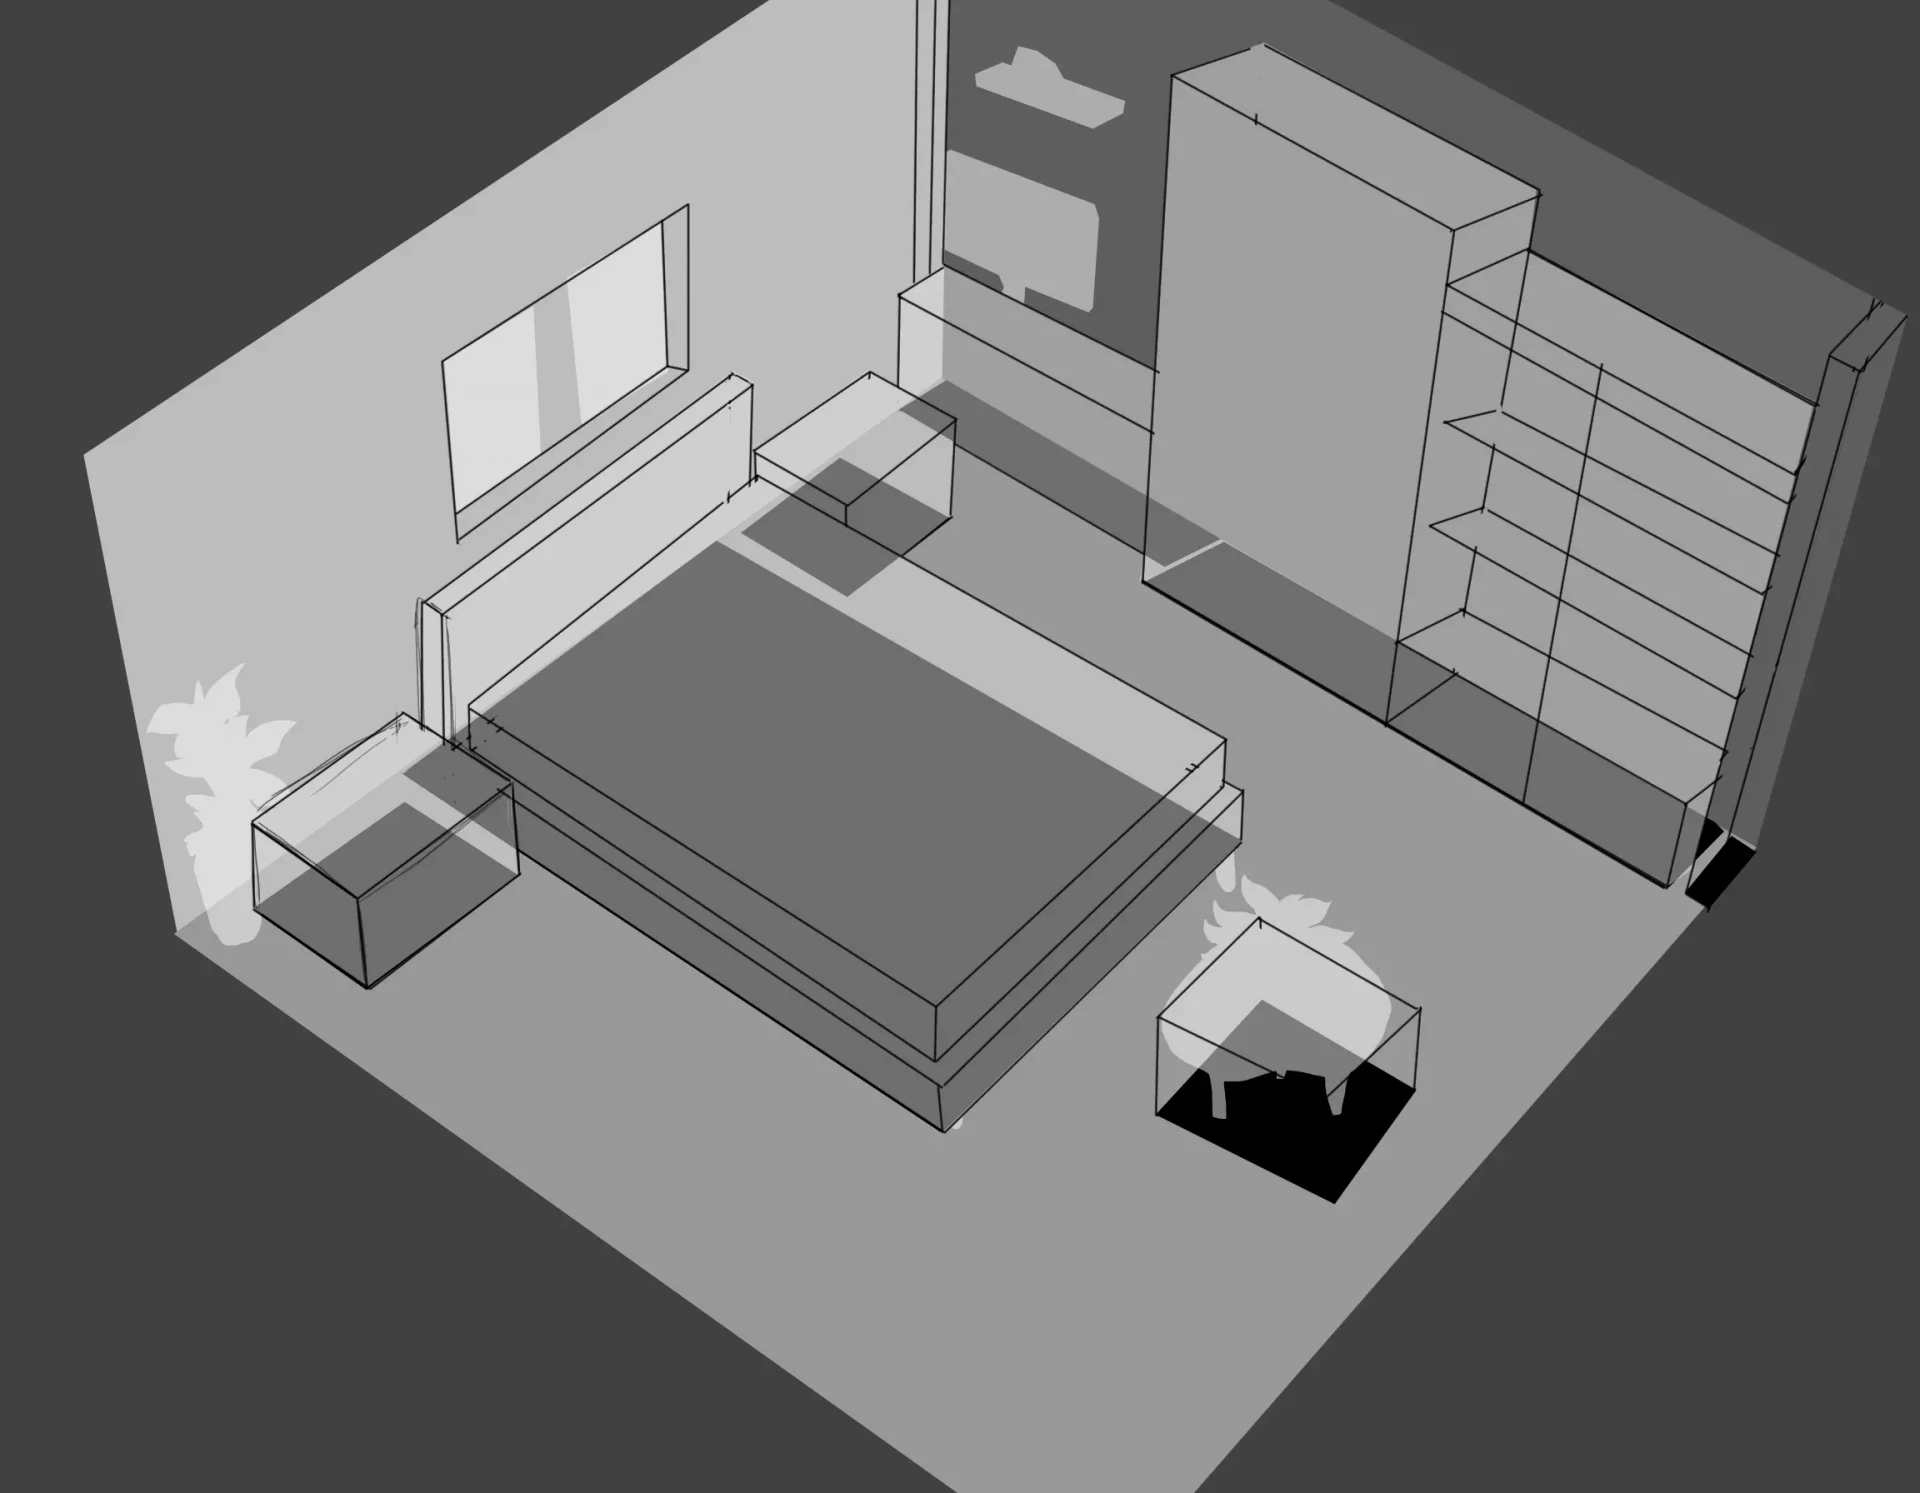
Let's take an example of a room viewed from above.
I start by drawing a large square representing the entire space, using vanishing points to create an impression of depth.
This square will serve as a base for positioning objects.
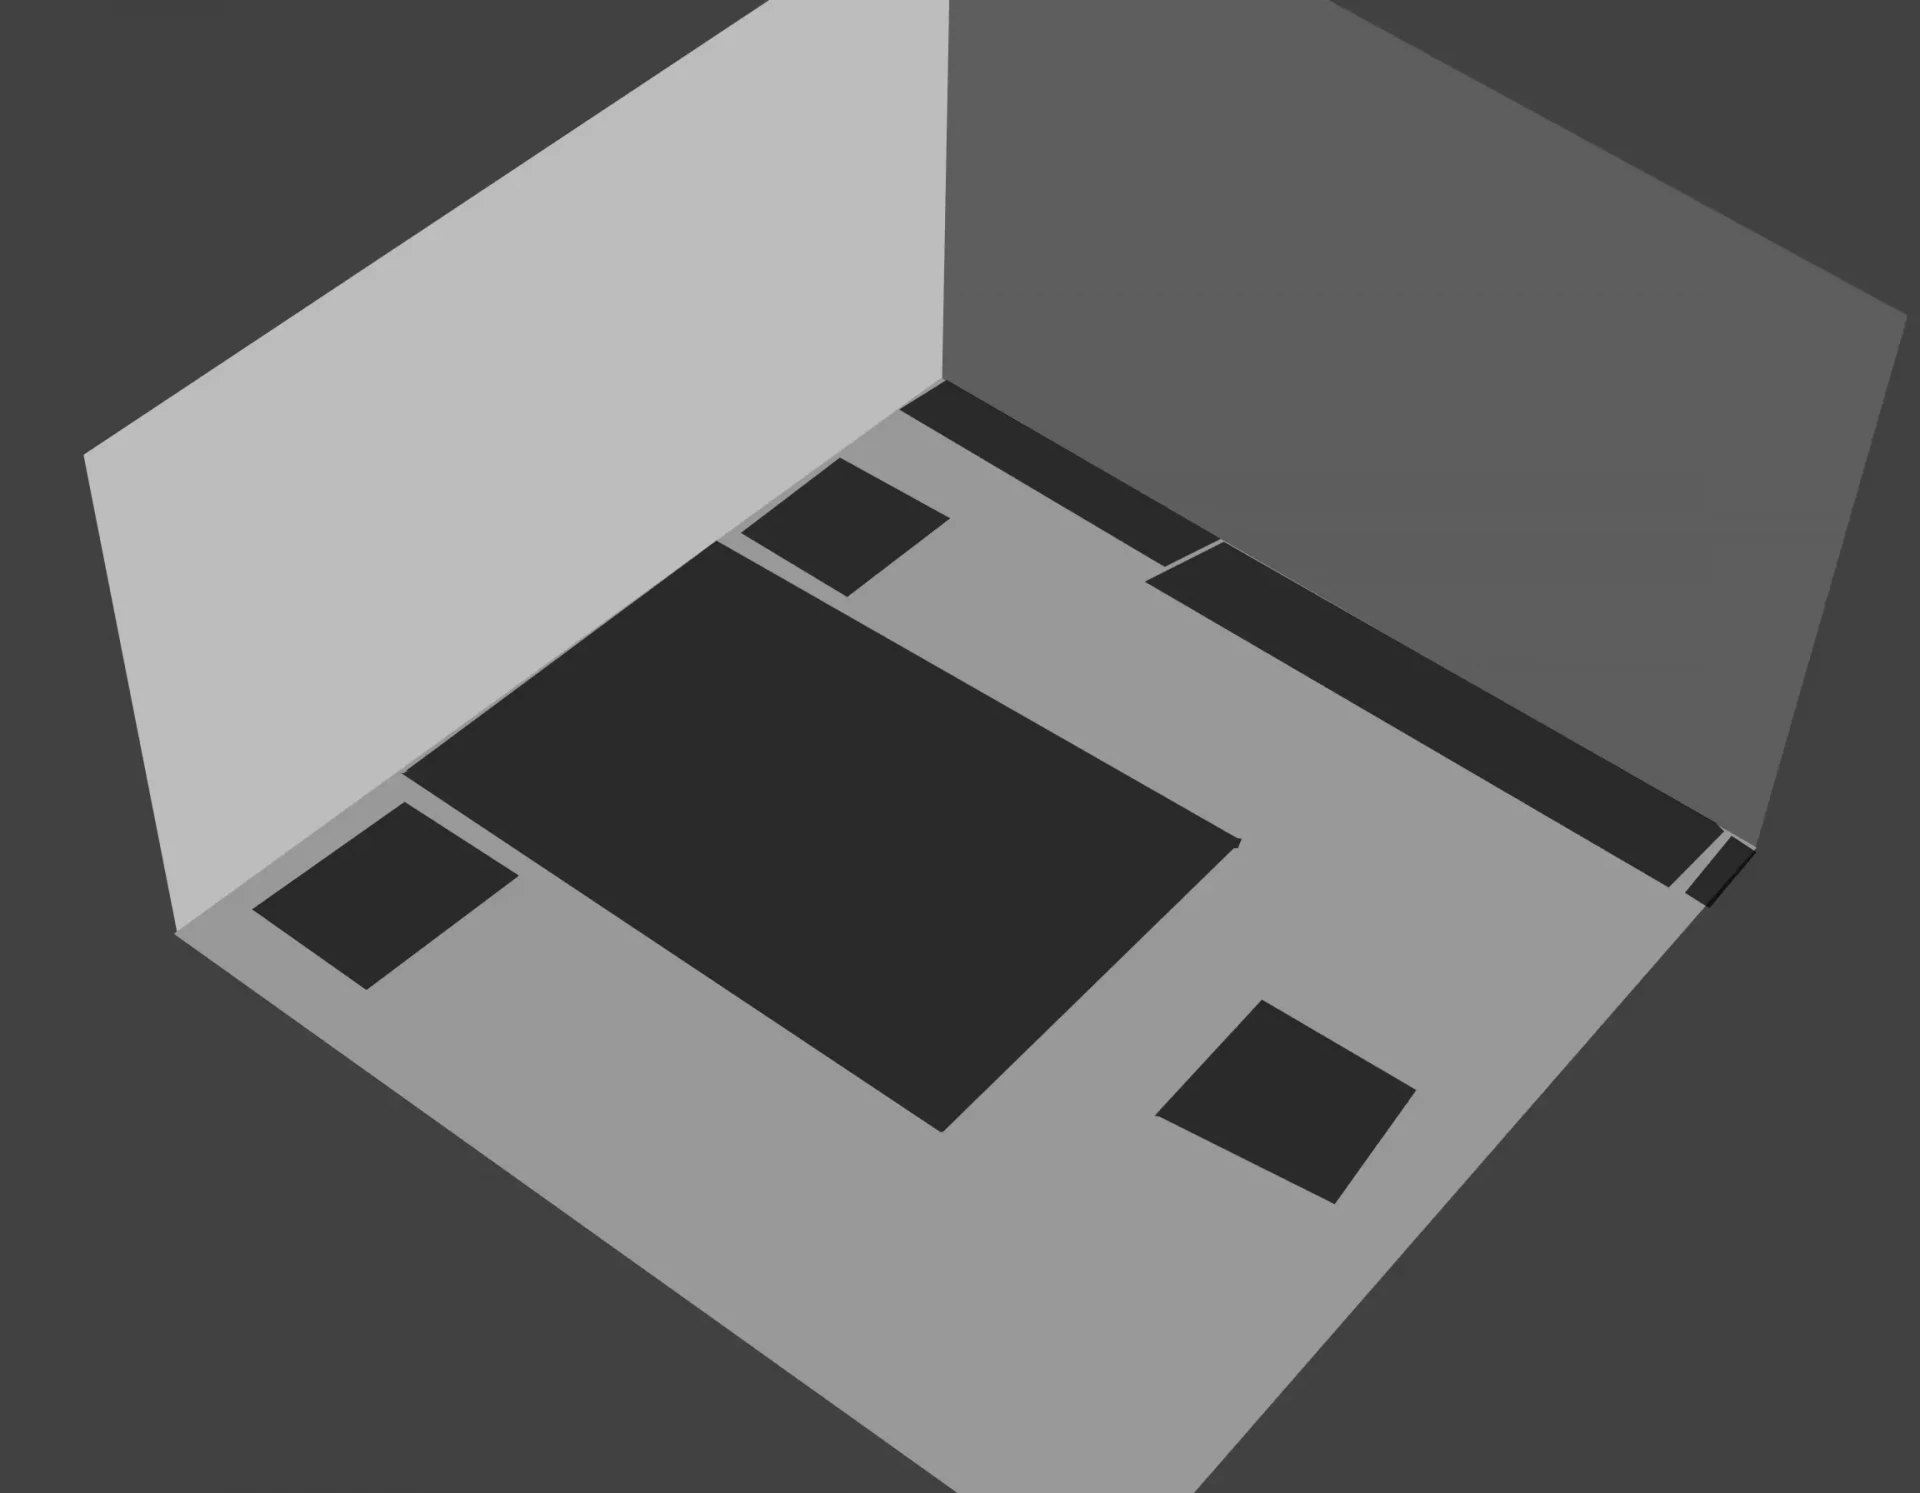
Draw the objects on the ground
I divide the floor into small squares to mark the placement of furniture like shadows on the ground: bed, bedside tables, wardrobe, rug, etc.
I repeat the same principle on the walls to locate the closet, a painting, and, if necessary, the windows or doors.
From the squares drawn on the ground, I extend the lines upwards to form three-dimensional cubes.
I draw a square slightly larger than the one of the bed, then I connect its corners with vertical lines. I do the same for the other pieces of furniture, adjusting height and width.
Draw the furniture
I then erase the construction lines to clarify the drawing, and then I "sculpt" the volumes:
I draw the base of the bed, the mattress, the blanket with its folds, and a few pillows in disarray to bring a natural feel;
I'm adding the headboard and extra details;
I proceed in the same way for the nightstands, the wardrobe, and the coffee table.
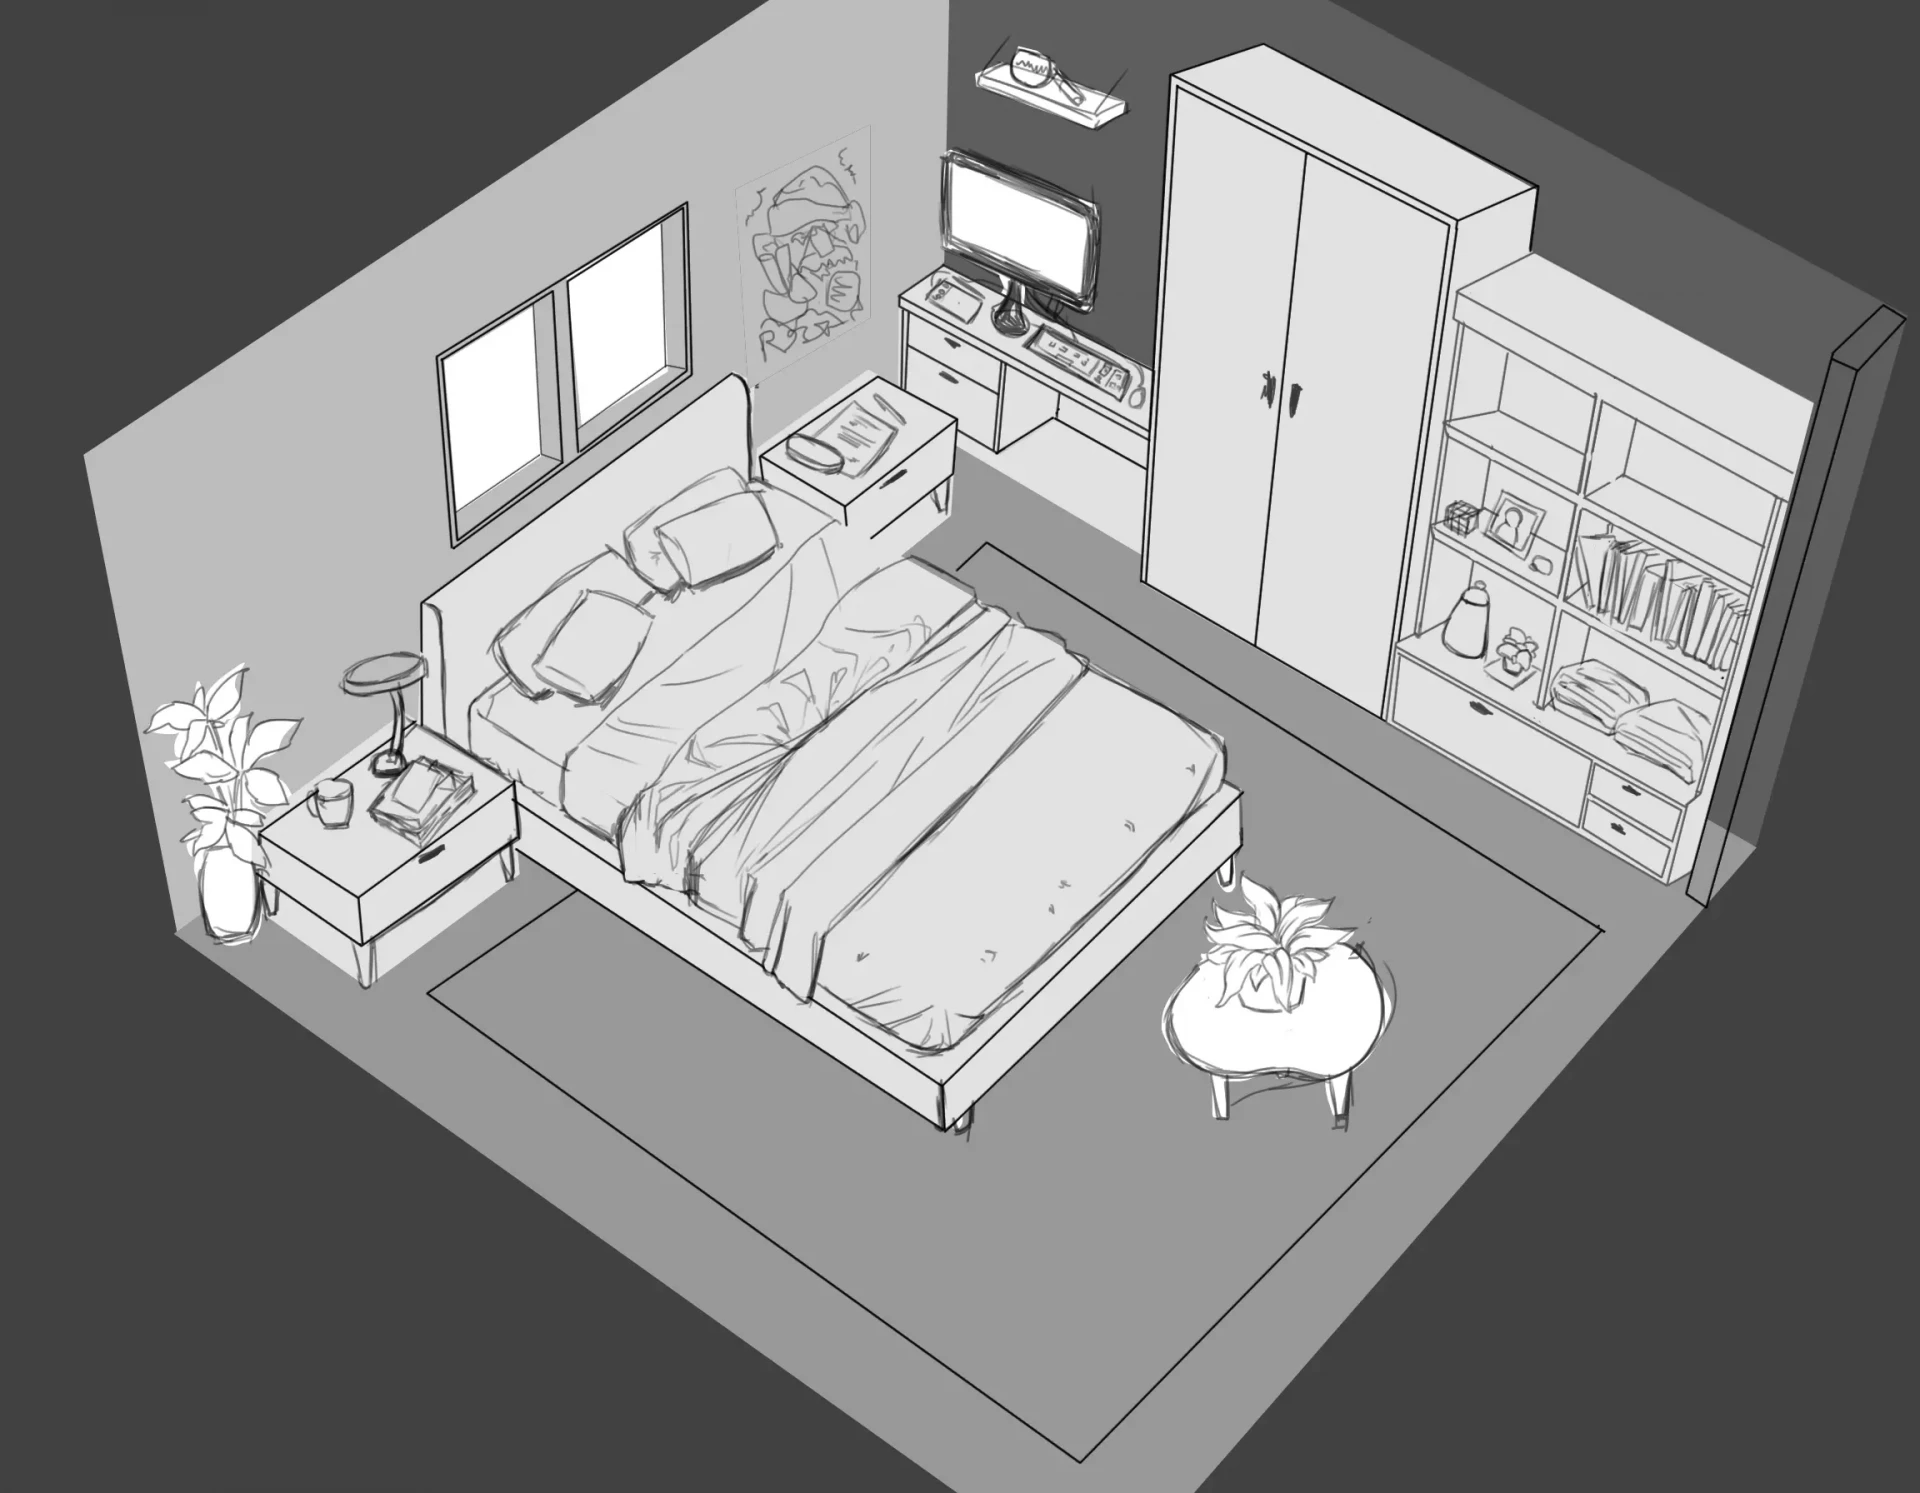
Add secondary elements to his drawing
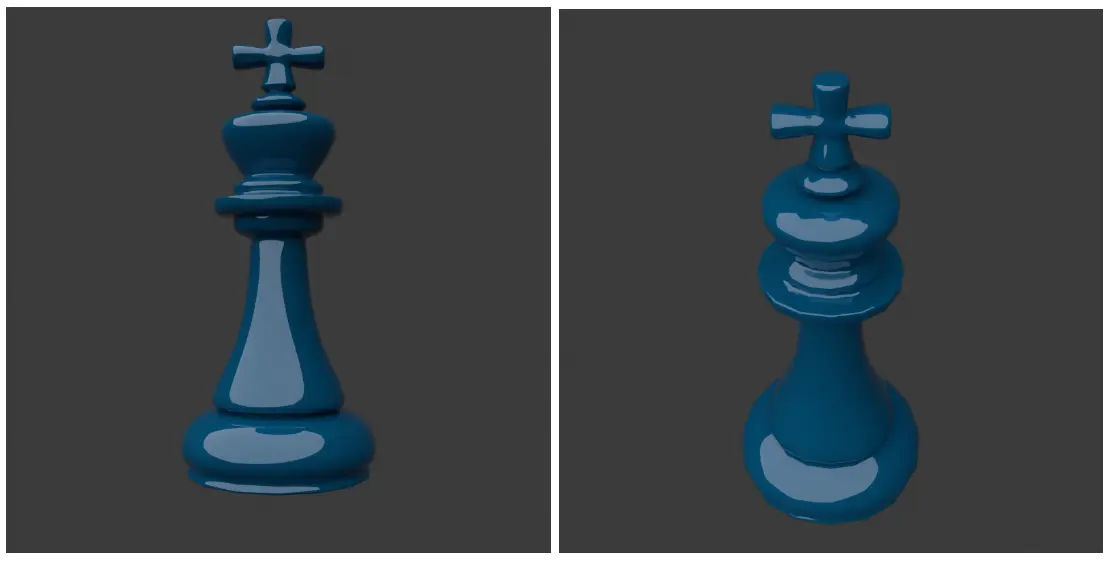
Once the scene is furnished, I can add secondary elements to the drawing: books on the shelves, lamps, plants, decorative objects, vases, and of course the computer.
I hope this article has helped you to better understand the basics of top-down perspective and how to apply them to your drawing.
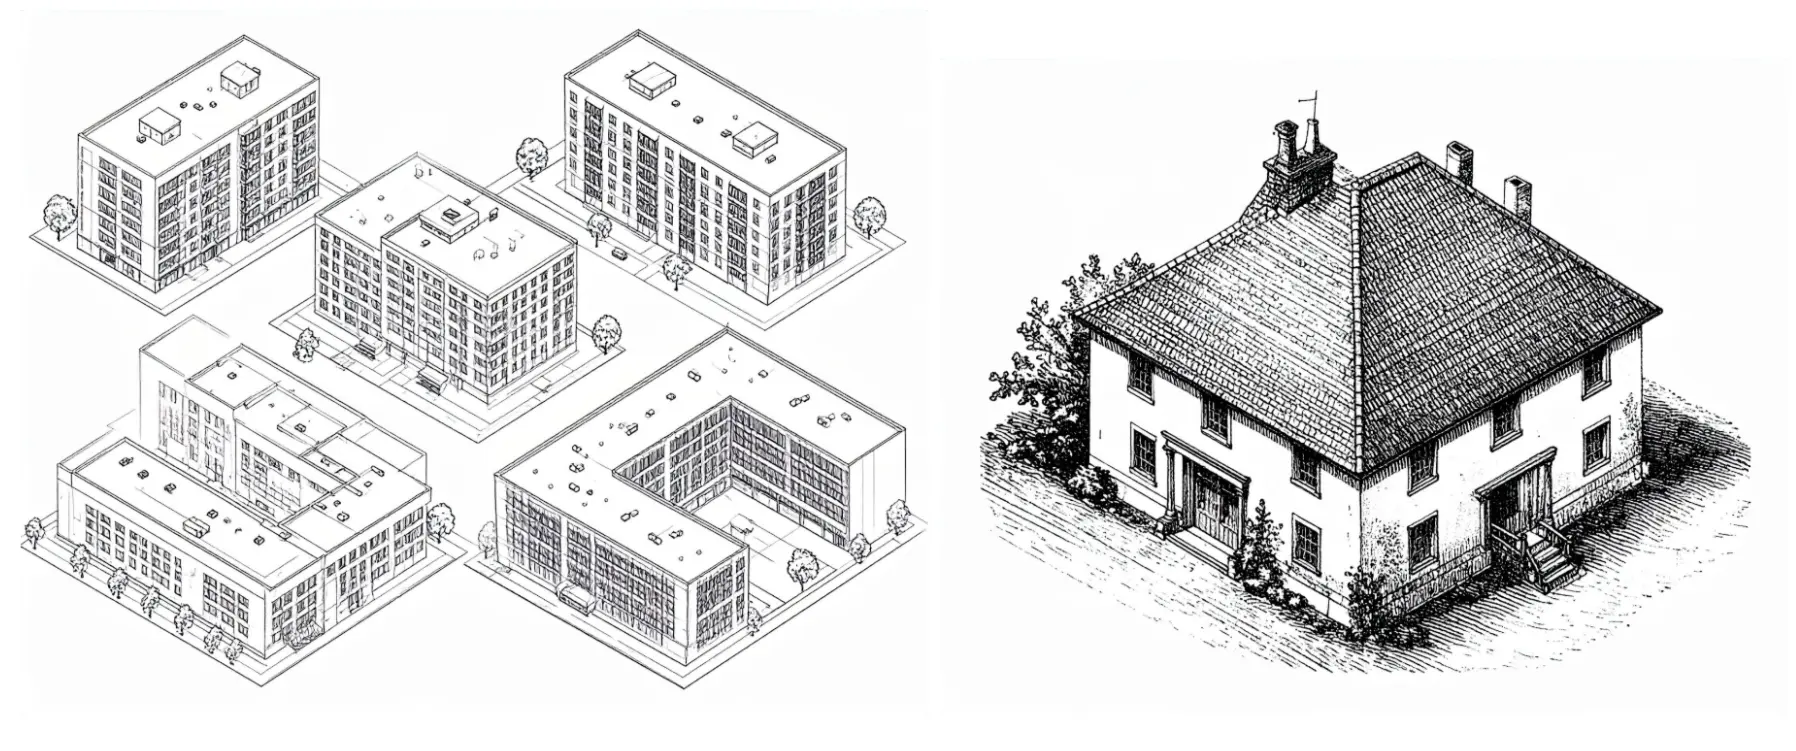
This principle works for everything: objects, places, and characters.
I encourage you to continue exploring and practicing these techniques to create impactful visual effects.
Writer and illustrator: Bryam
Bonjour se dessin était très bien 🤩