Draw a River
Today, I suggest we explore a classic aspect of natural landscape drawing together: how to draw a river. Whether it's to add movement, life, or simply a touch of freshness to your landscapes, the river is an essential element. We'll see how to represent it simply, while capturing its fluid and natural aspect.
Get your pencils, paper or tablet ready and most importantly, your creativity!
The different types of watercourses
And as always, we start by observing. So the main thing to define is: what is a river? We have three main types of watercourses:
- The stream, which is a small stream of water that is often narrow and shallow.
- The river, which is wider and deeper than a stream. It has a higher flow rate and follows a longer course, often with curves, rapids, or calm areas.
- The ocean-ending river, which is a very large stream that flows directly into the sea or the ocean. It is often much wider, with a powerful flow, and can cross several regions, or even several countries.
Good news! What we are going to learn in this lesson about rivers is generally applicable to all watercourses.
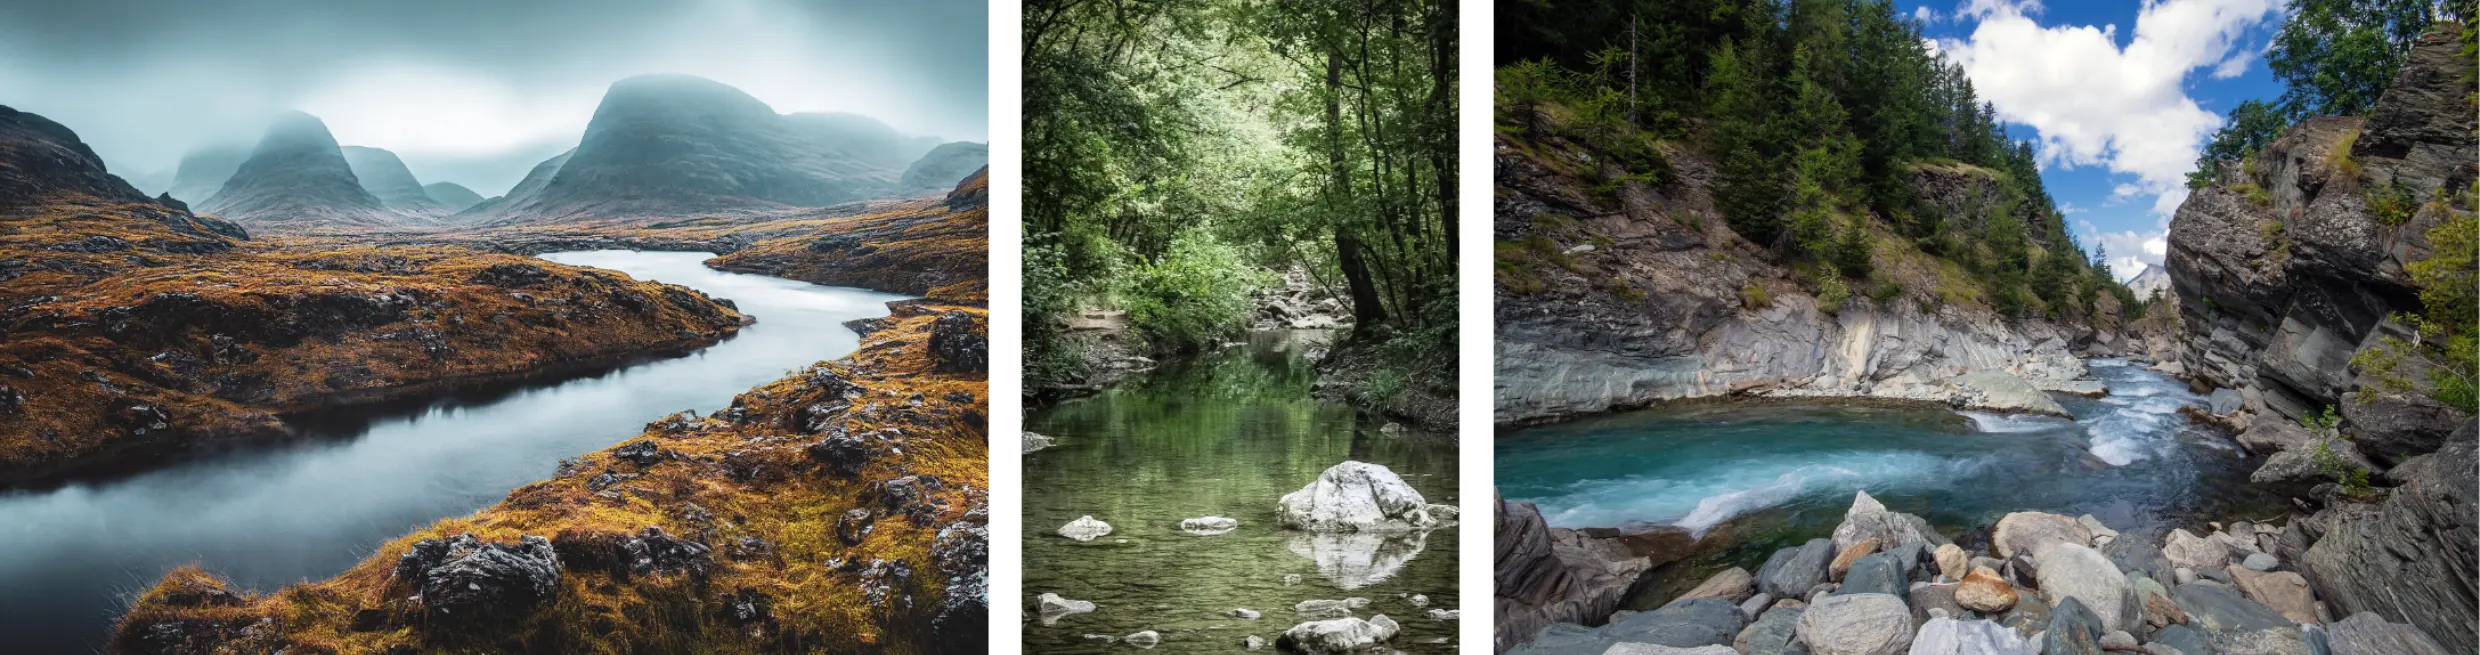
Let's now look at the main characteristics of a river. If we look at the pictures above, we can observe that, generally, a river follows a winding course, with curves called meanders. It is bordered by banks that can be more or less steep, sometimes covered with vegetation.
The water flows at varying speeds depending on the area, creating calm places as well as more turbulent areas with eddies or small rapids. There are also numerous rocks along it.
How to succeed in drawing a river?
I invite you to look at the two drawings below and think about which one best captures the river, and why.
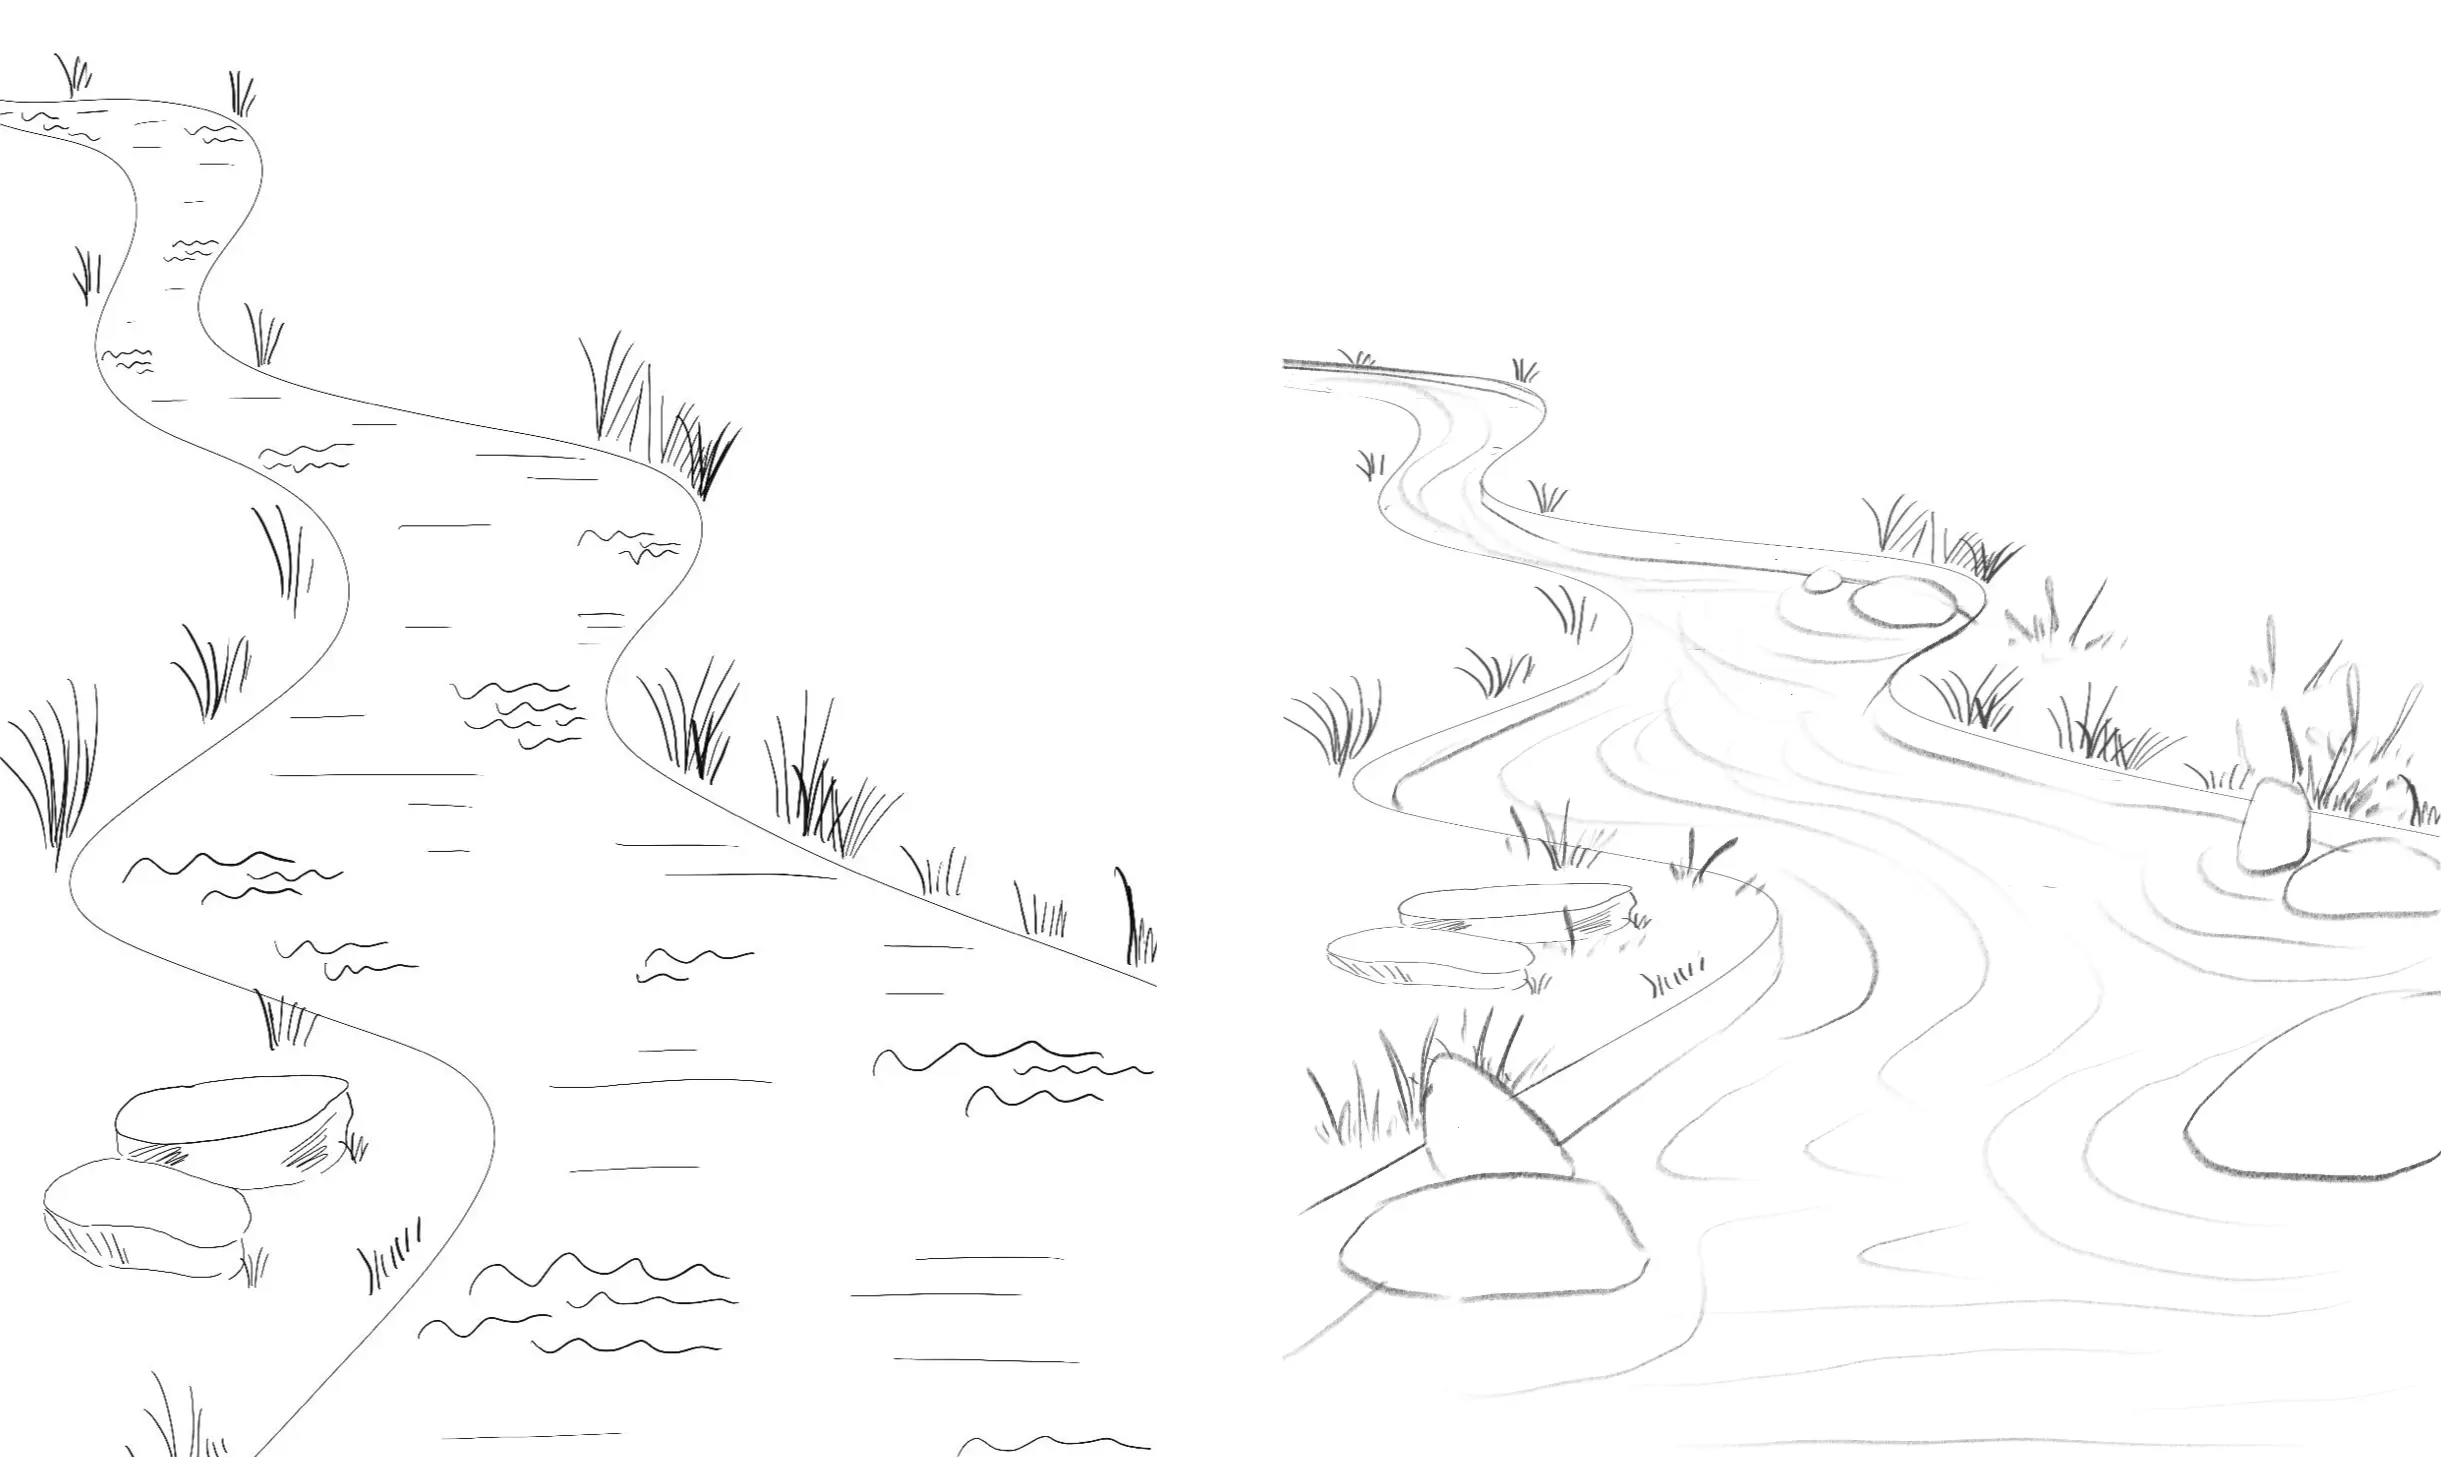
Normally, without too much surprise, it's the drawing on the right that should stand out the best. Yet, if we look closely, they are not that different: the river has the same shape, they are drawn in line and feature the same elements.
The main difference is that the one on the right has depth and volume. That's exactly what we're going to try to give to our river drawings.
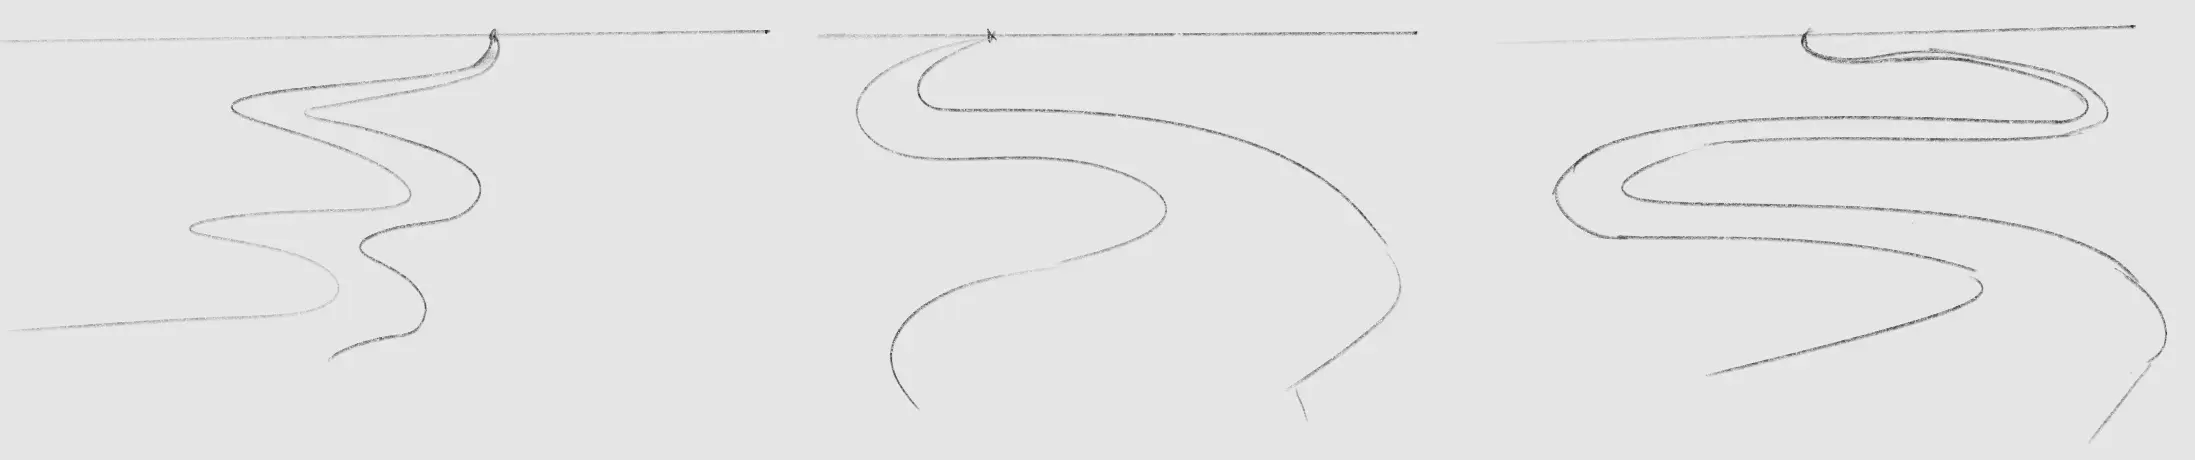
The first step to adding depth is to accurately draw the shapes of your river. For this, two things are important:
The two banks of the river must always meet at the same point on the horizon line.
The lower they go in the drawing, the more they should appear to spread out.
These two points are actually the foundation of perspective, but when applied well, they immediately add depth to your watercourse.
Next, I advise you to maintain some consistency in the curves used, so that they follow each other more or less naturally along the river.

I won't go into detail here about how to draw water or its reflections extensively, but if you are interested, I invite you to click on the above link to learn more.
However, if you want to represent water using only lines, here are three methods that work well.
Already, as you can see, we almost always draw the lines perpendicular to the direction of the river, except in the case of rapids.
- First method: draw denser lines in shadow areas (often near the banks) and lighter or spaced lines in the light areas.
- Second method: use the same principle, but with even more concise, cleaner lines.
- Third method: space the lines further apart, and this time they should follow the movement of the current. These are lighter lines, often placed near the banks or around rocks to suggest the flow of the water.

Final tips: when you want to draw rapids, I recommend changing the orientation of the lines to show the turbulence of the water. If the rapids are really pronounced, you can also suggest foam by drawing small white clouds or rounded shapes, as well as a few droplets.
You can also add curves in the lower part of the rapids to show the swirls and enhance the effect of movement.
Drawing a river step by step
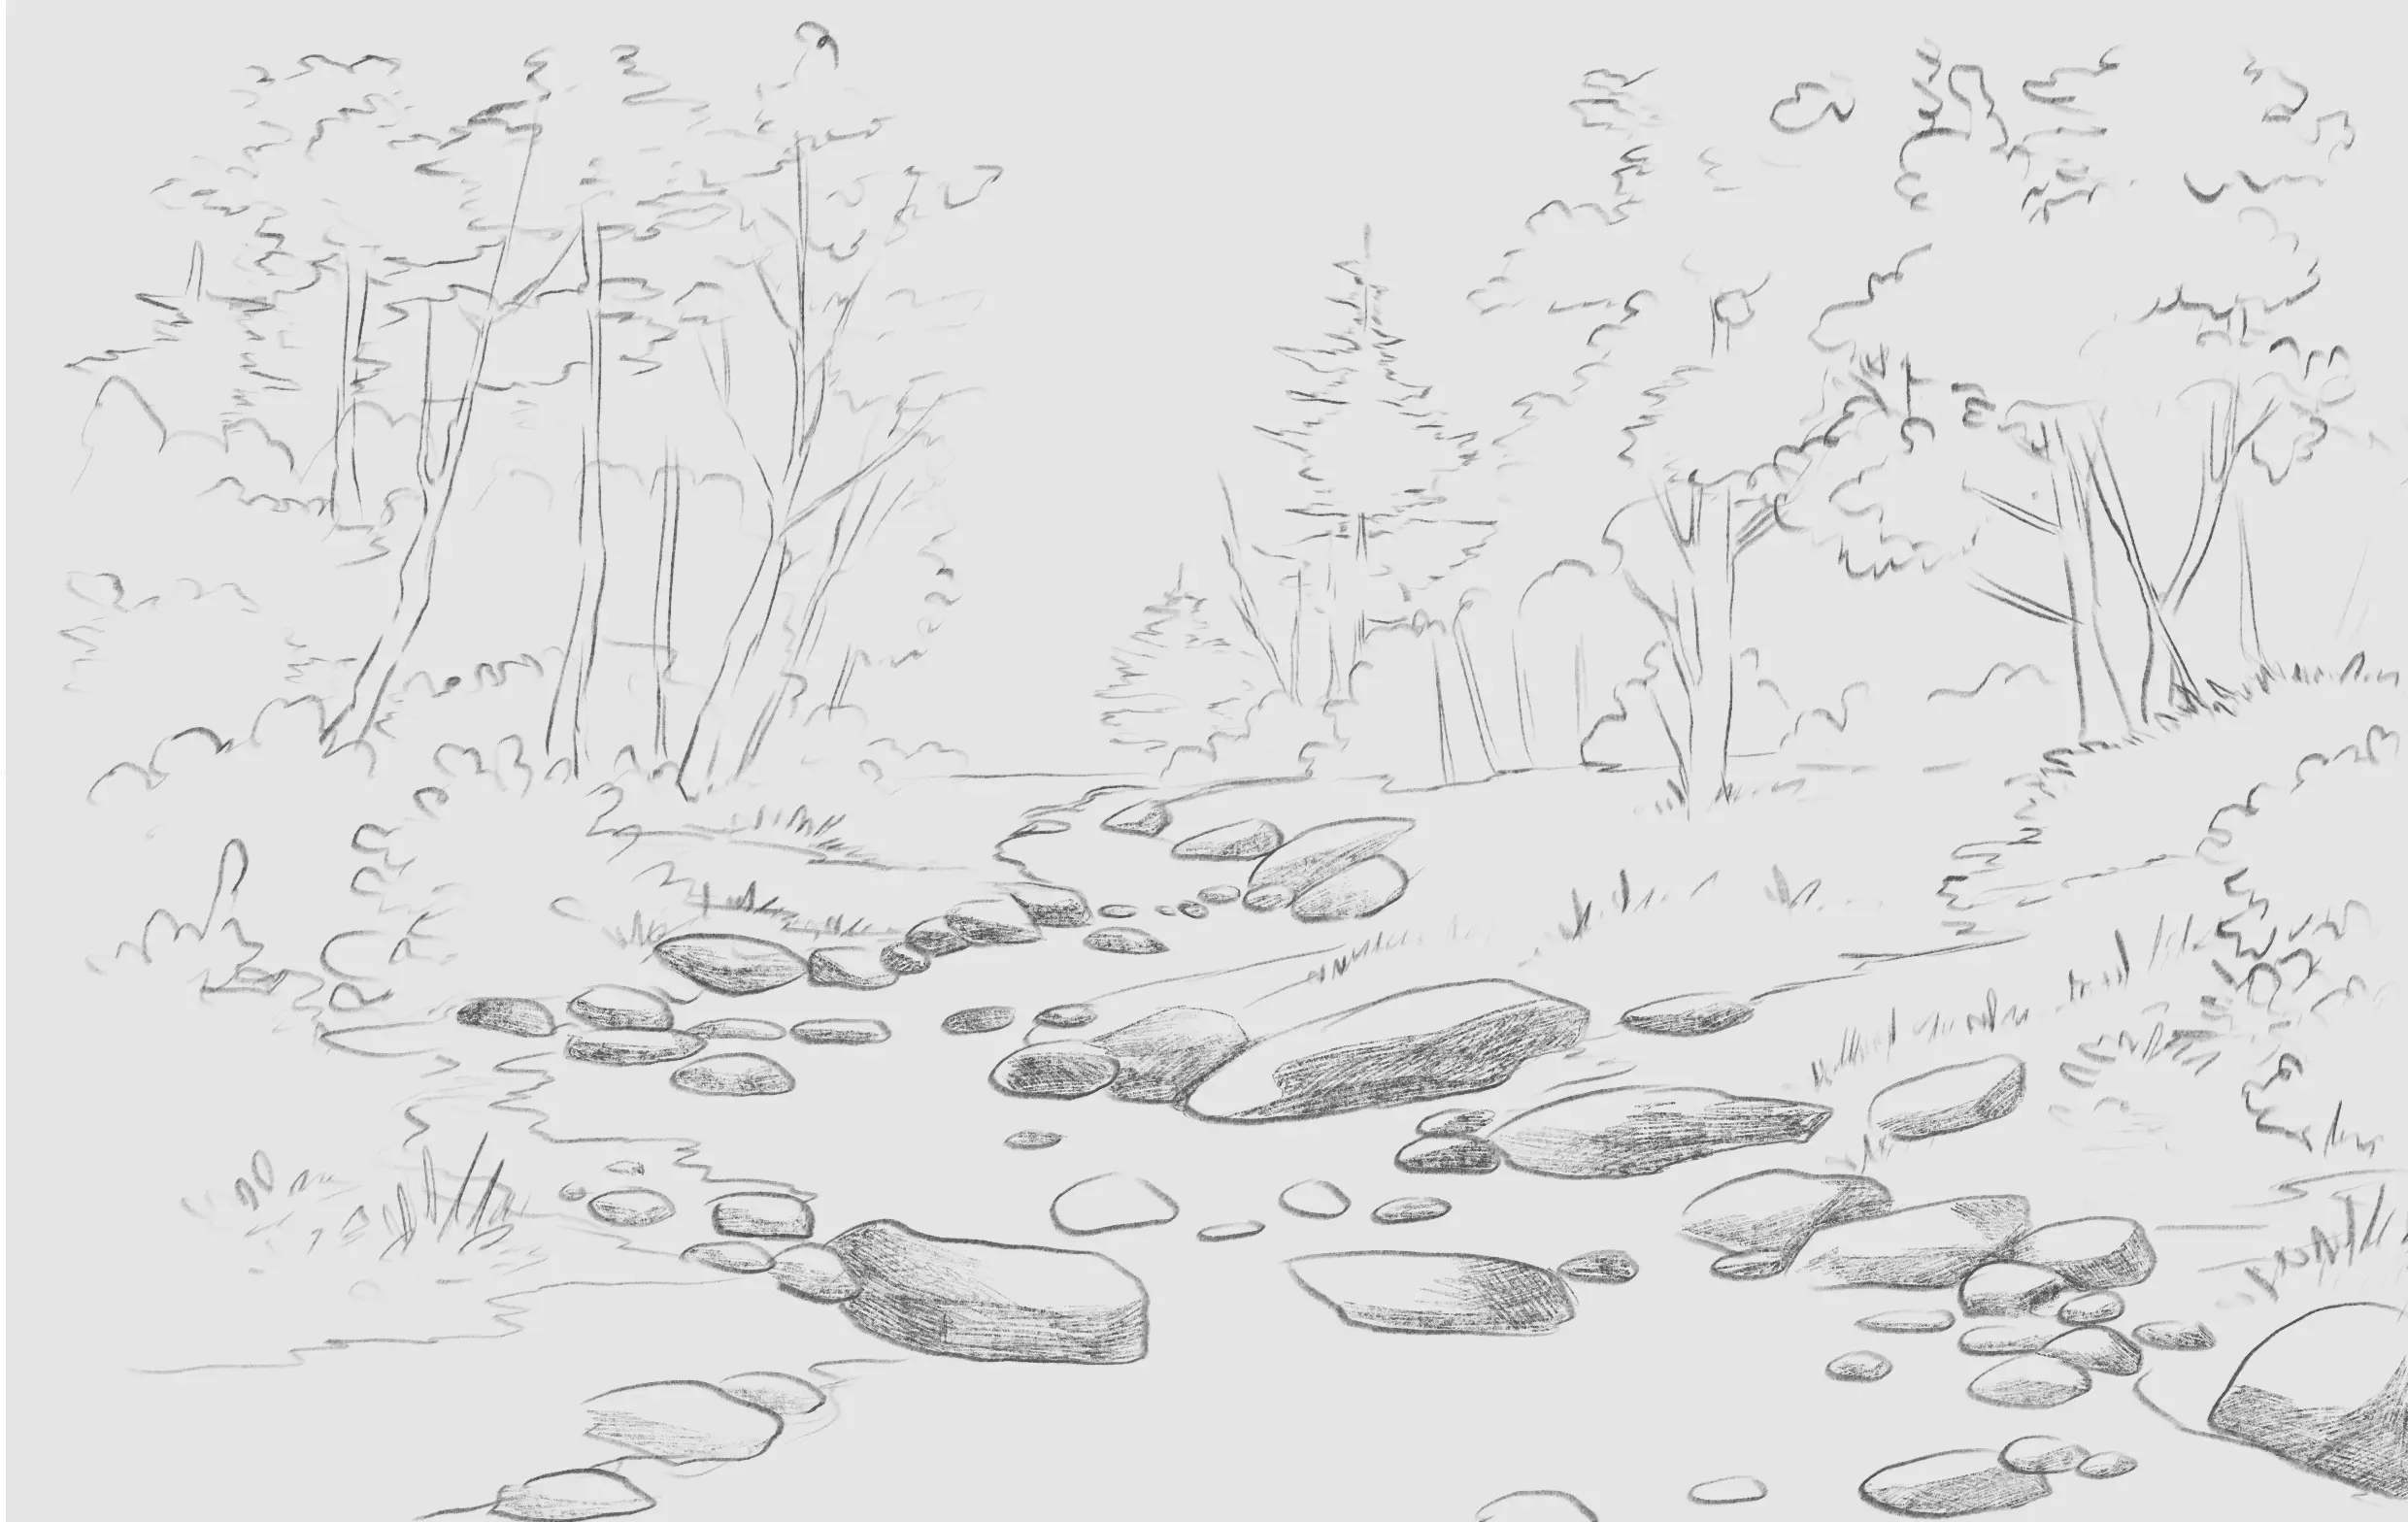
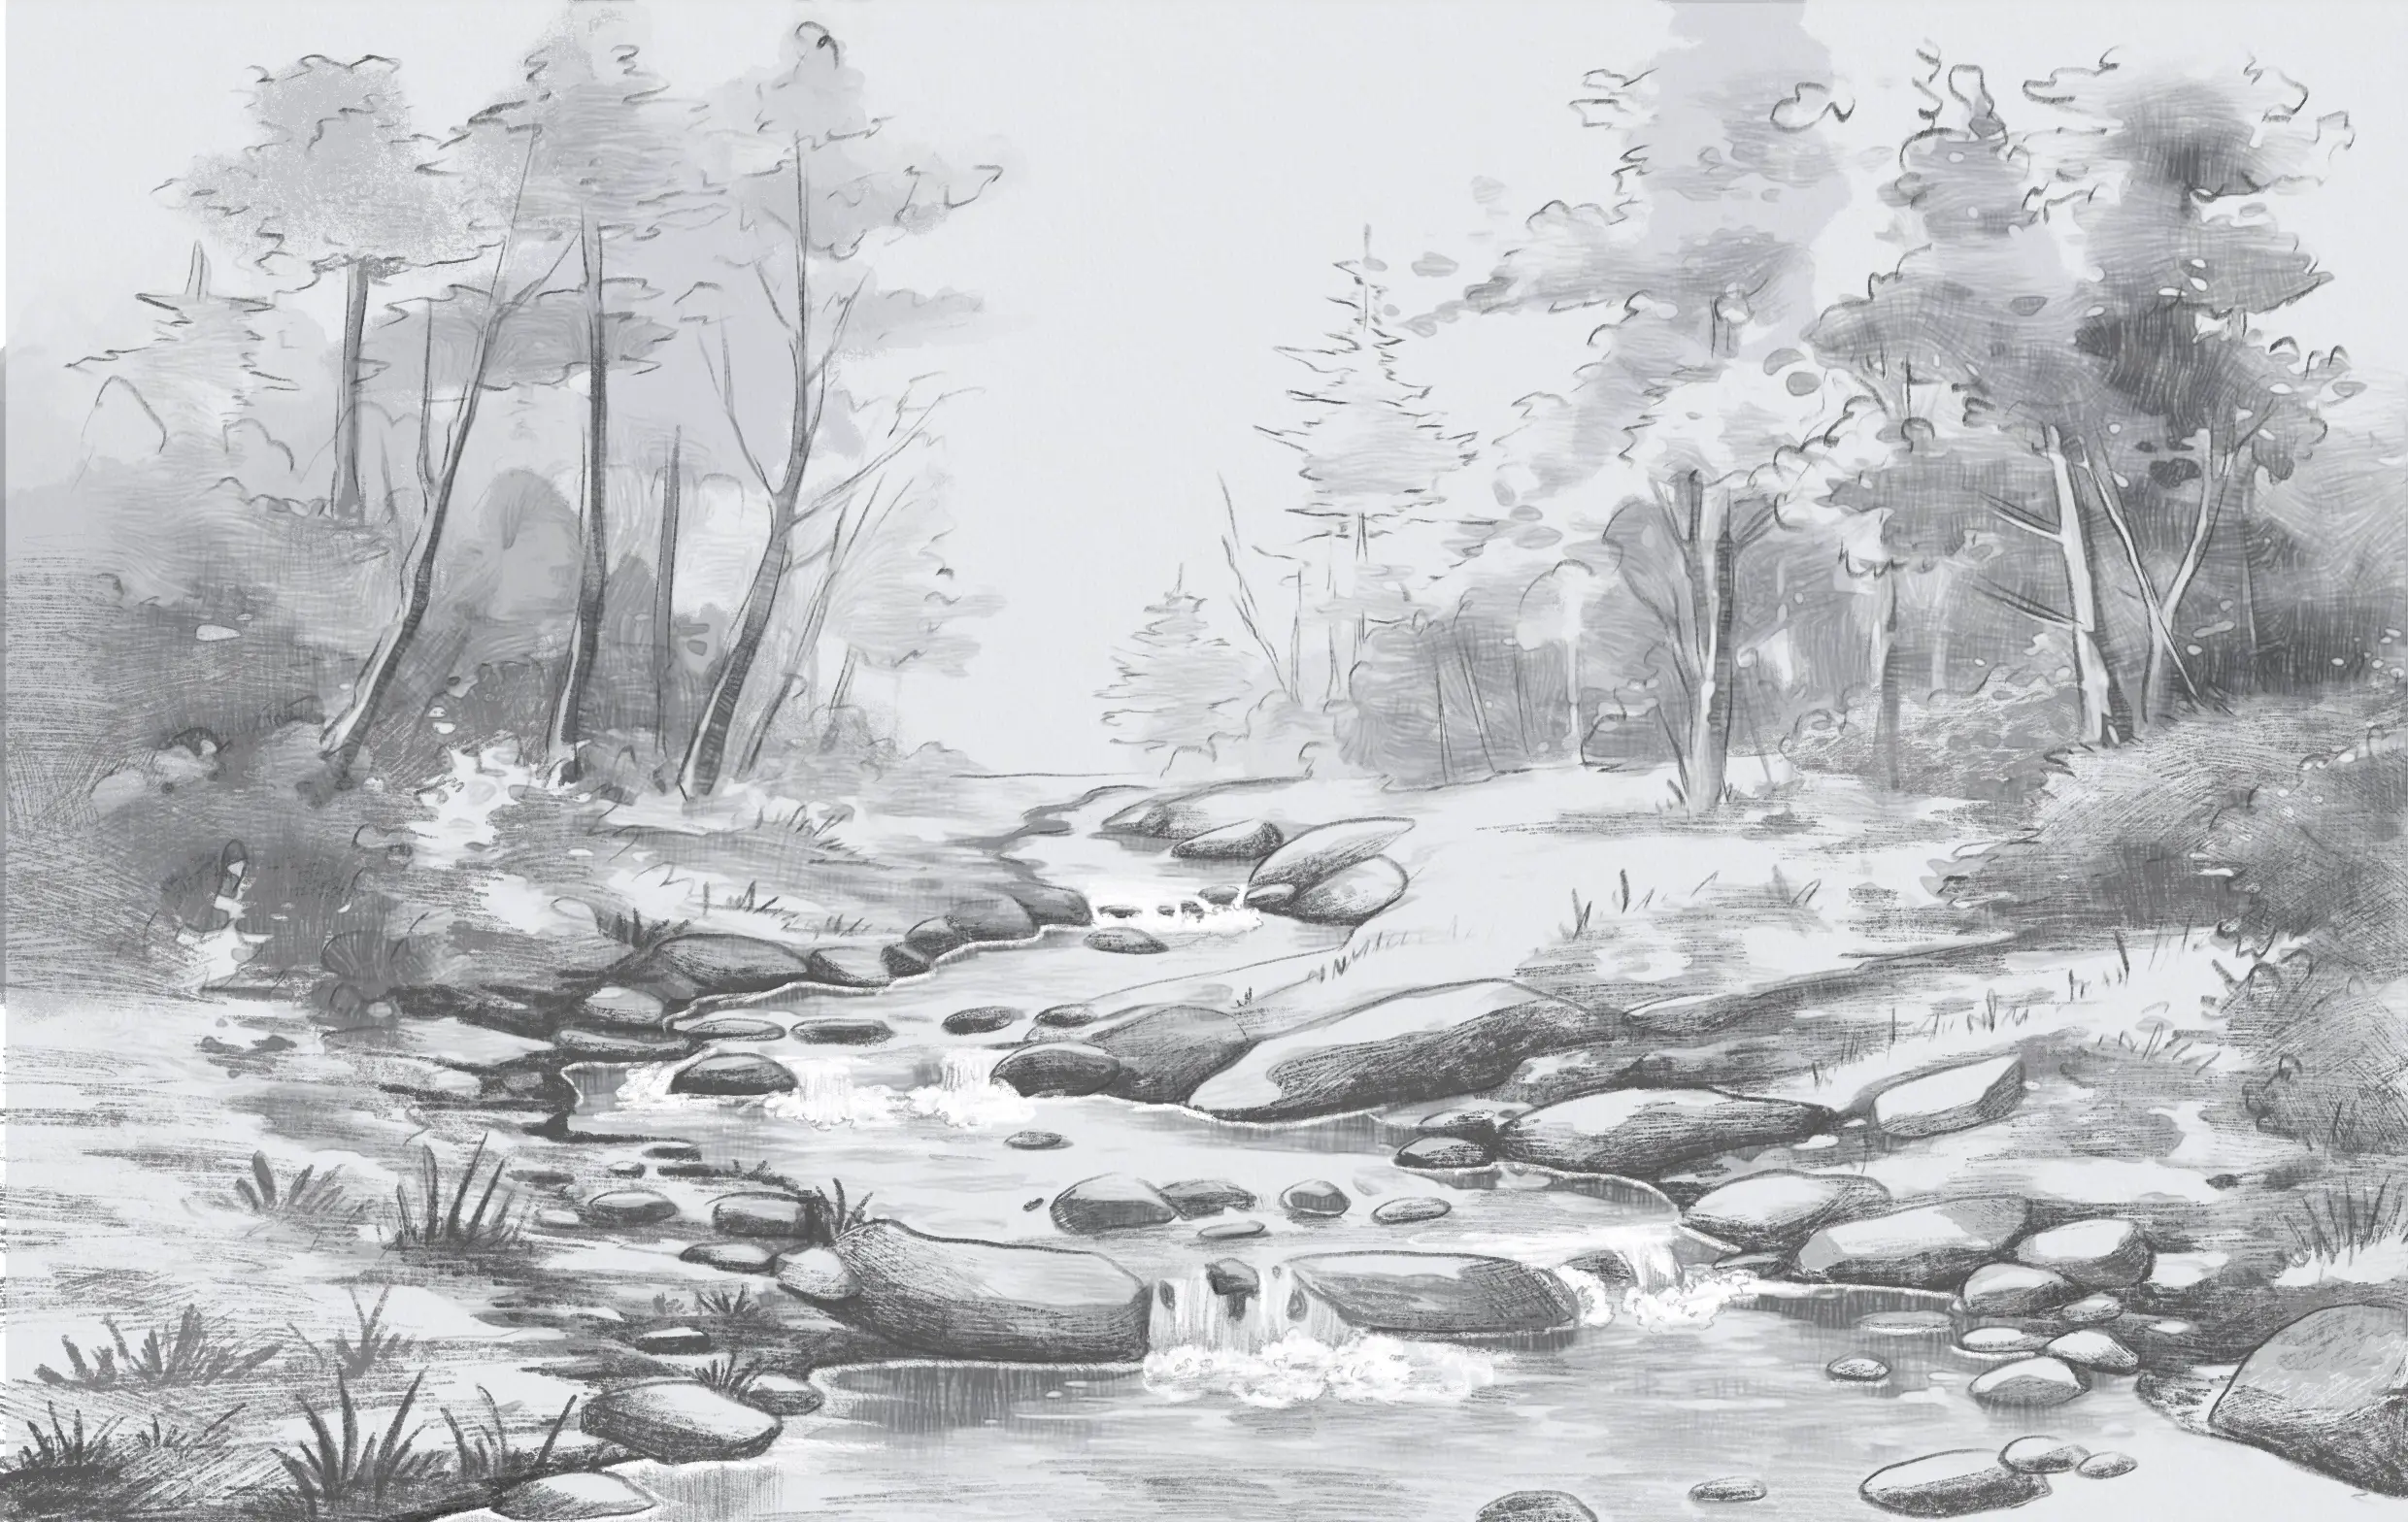
I suggest we look at how to draw a river step by step. In this drawing, I will draw a complete landscape. If you want to learn more about landscape drawing, you can check out the dedicated article.

We start by placing the horizon line.
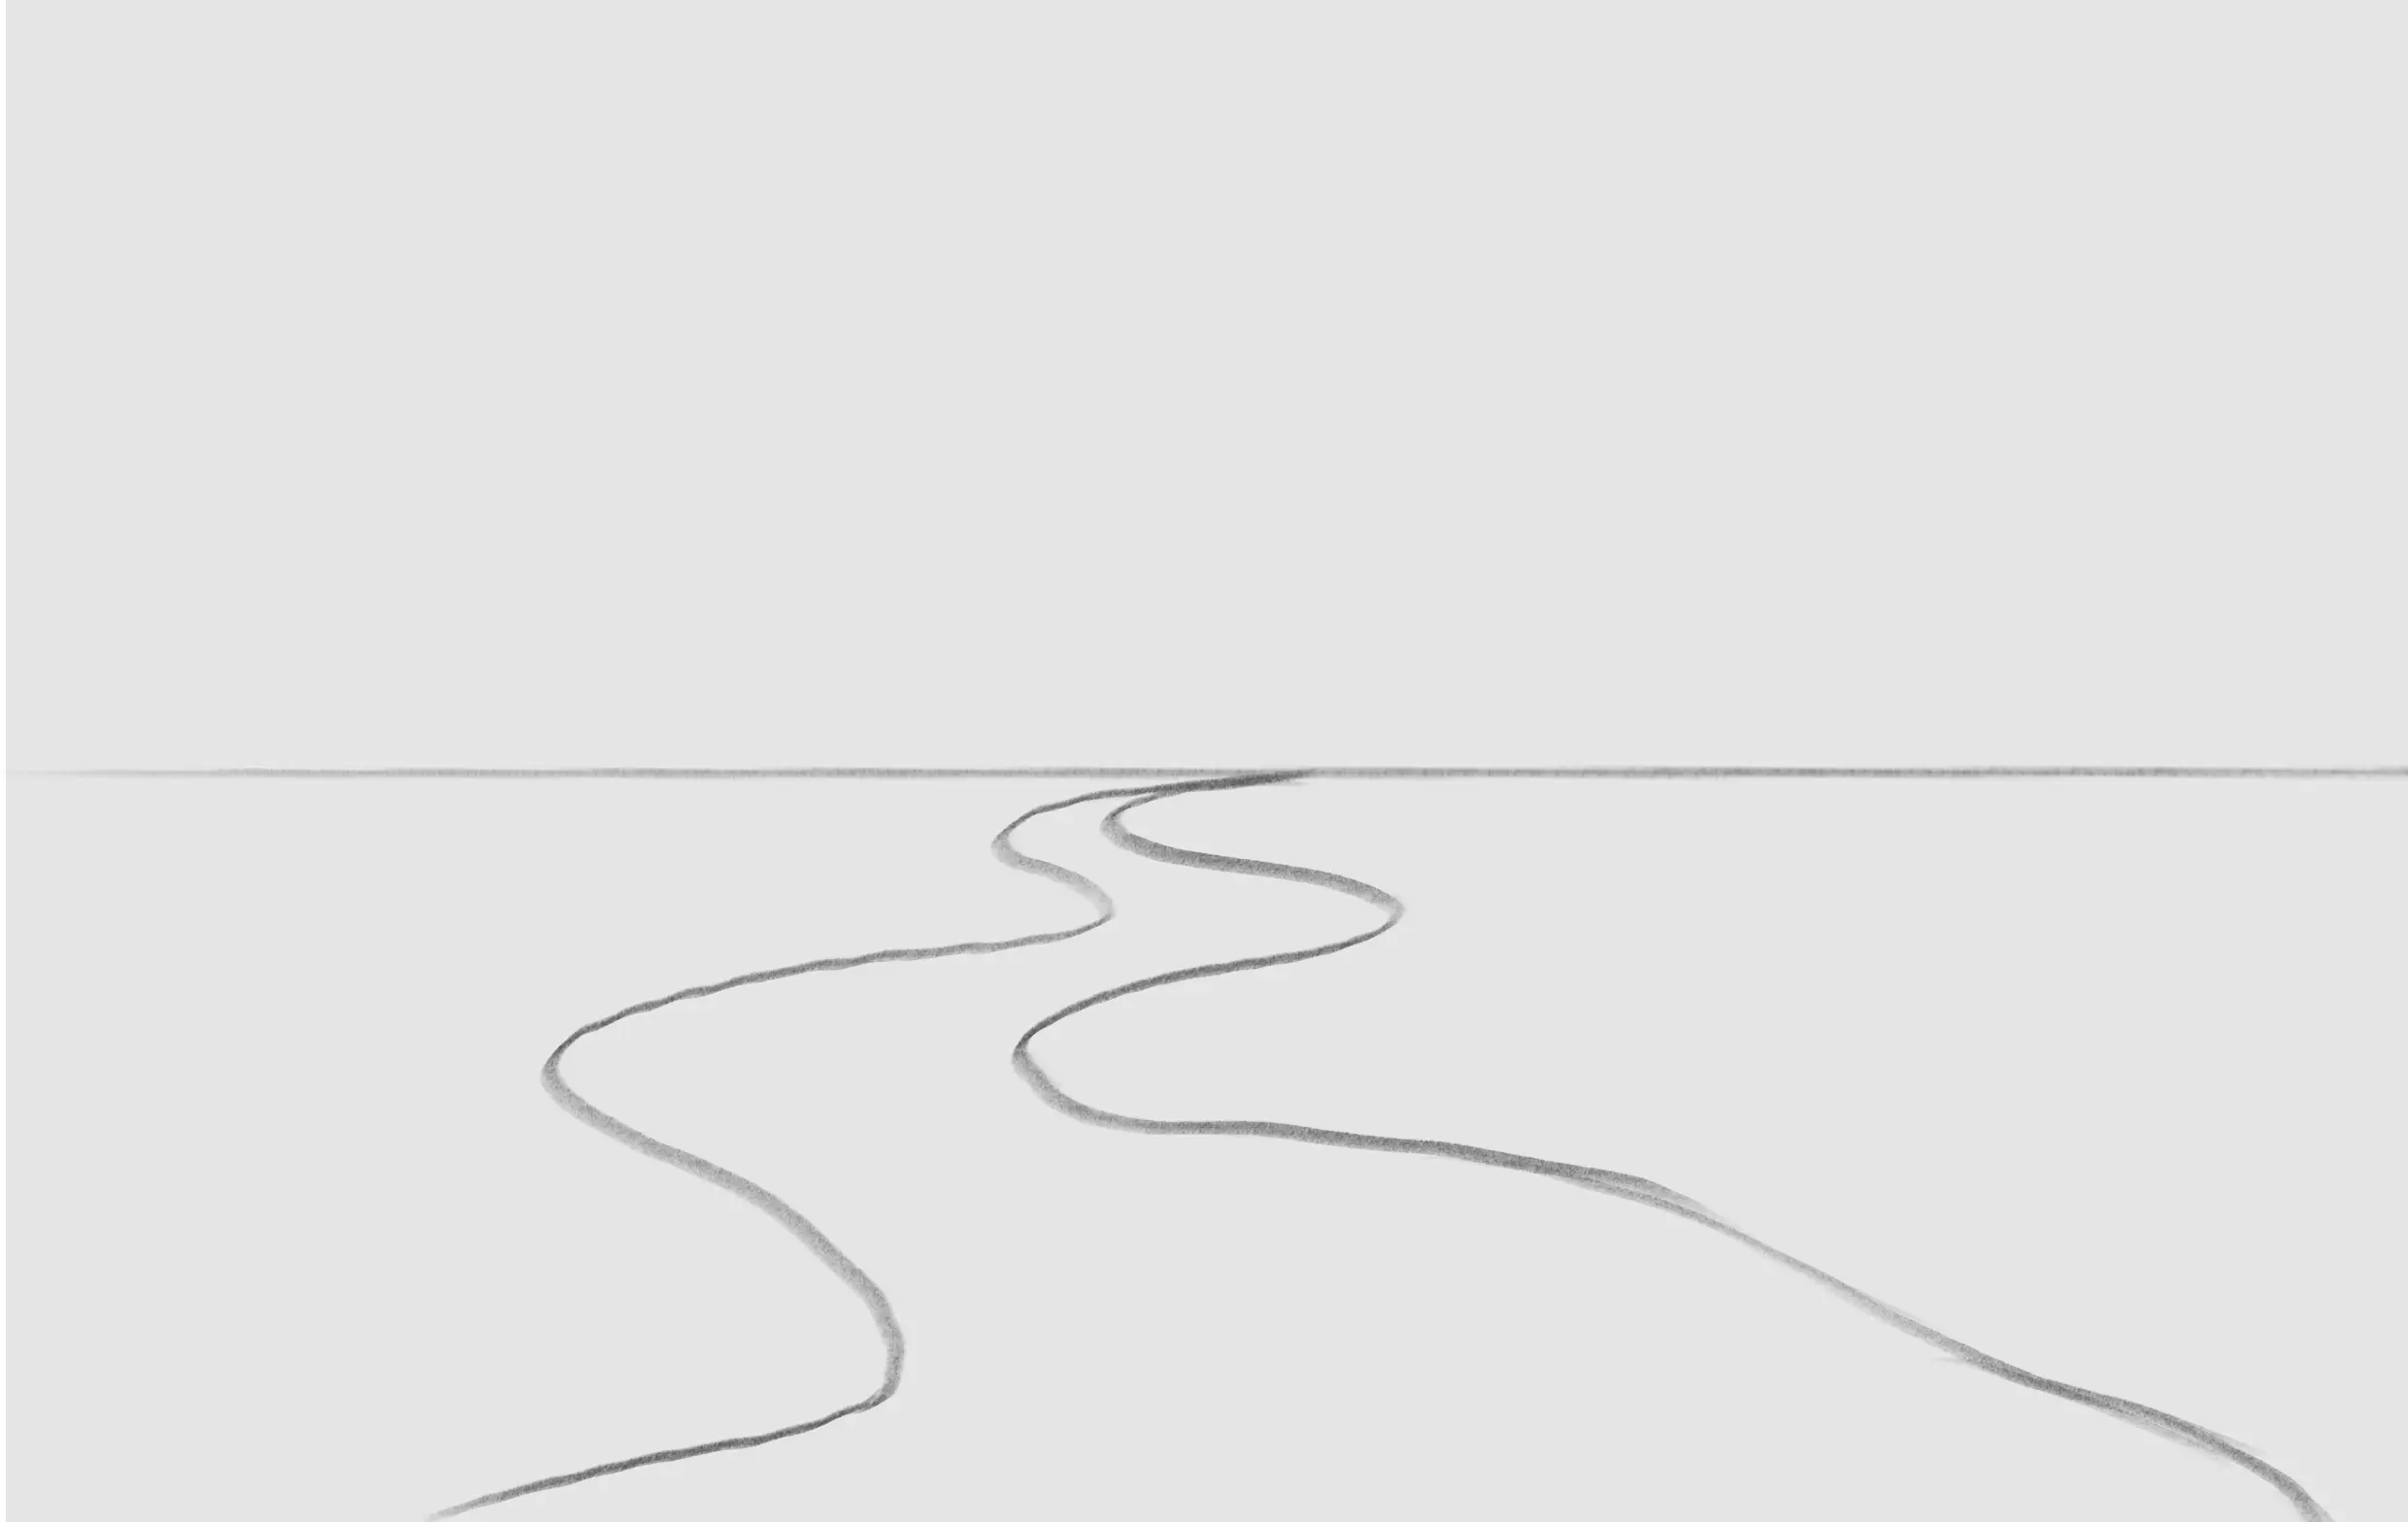
We then draw the basic shape of the river, which converges at a point on the horizon line and extends downwards.
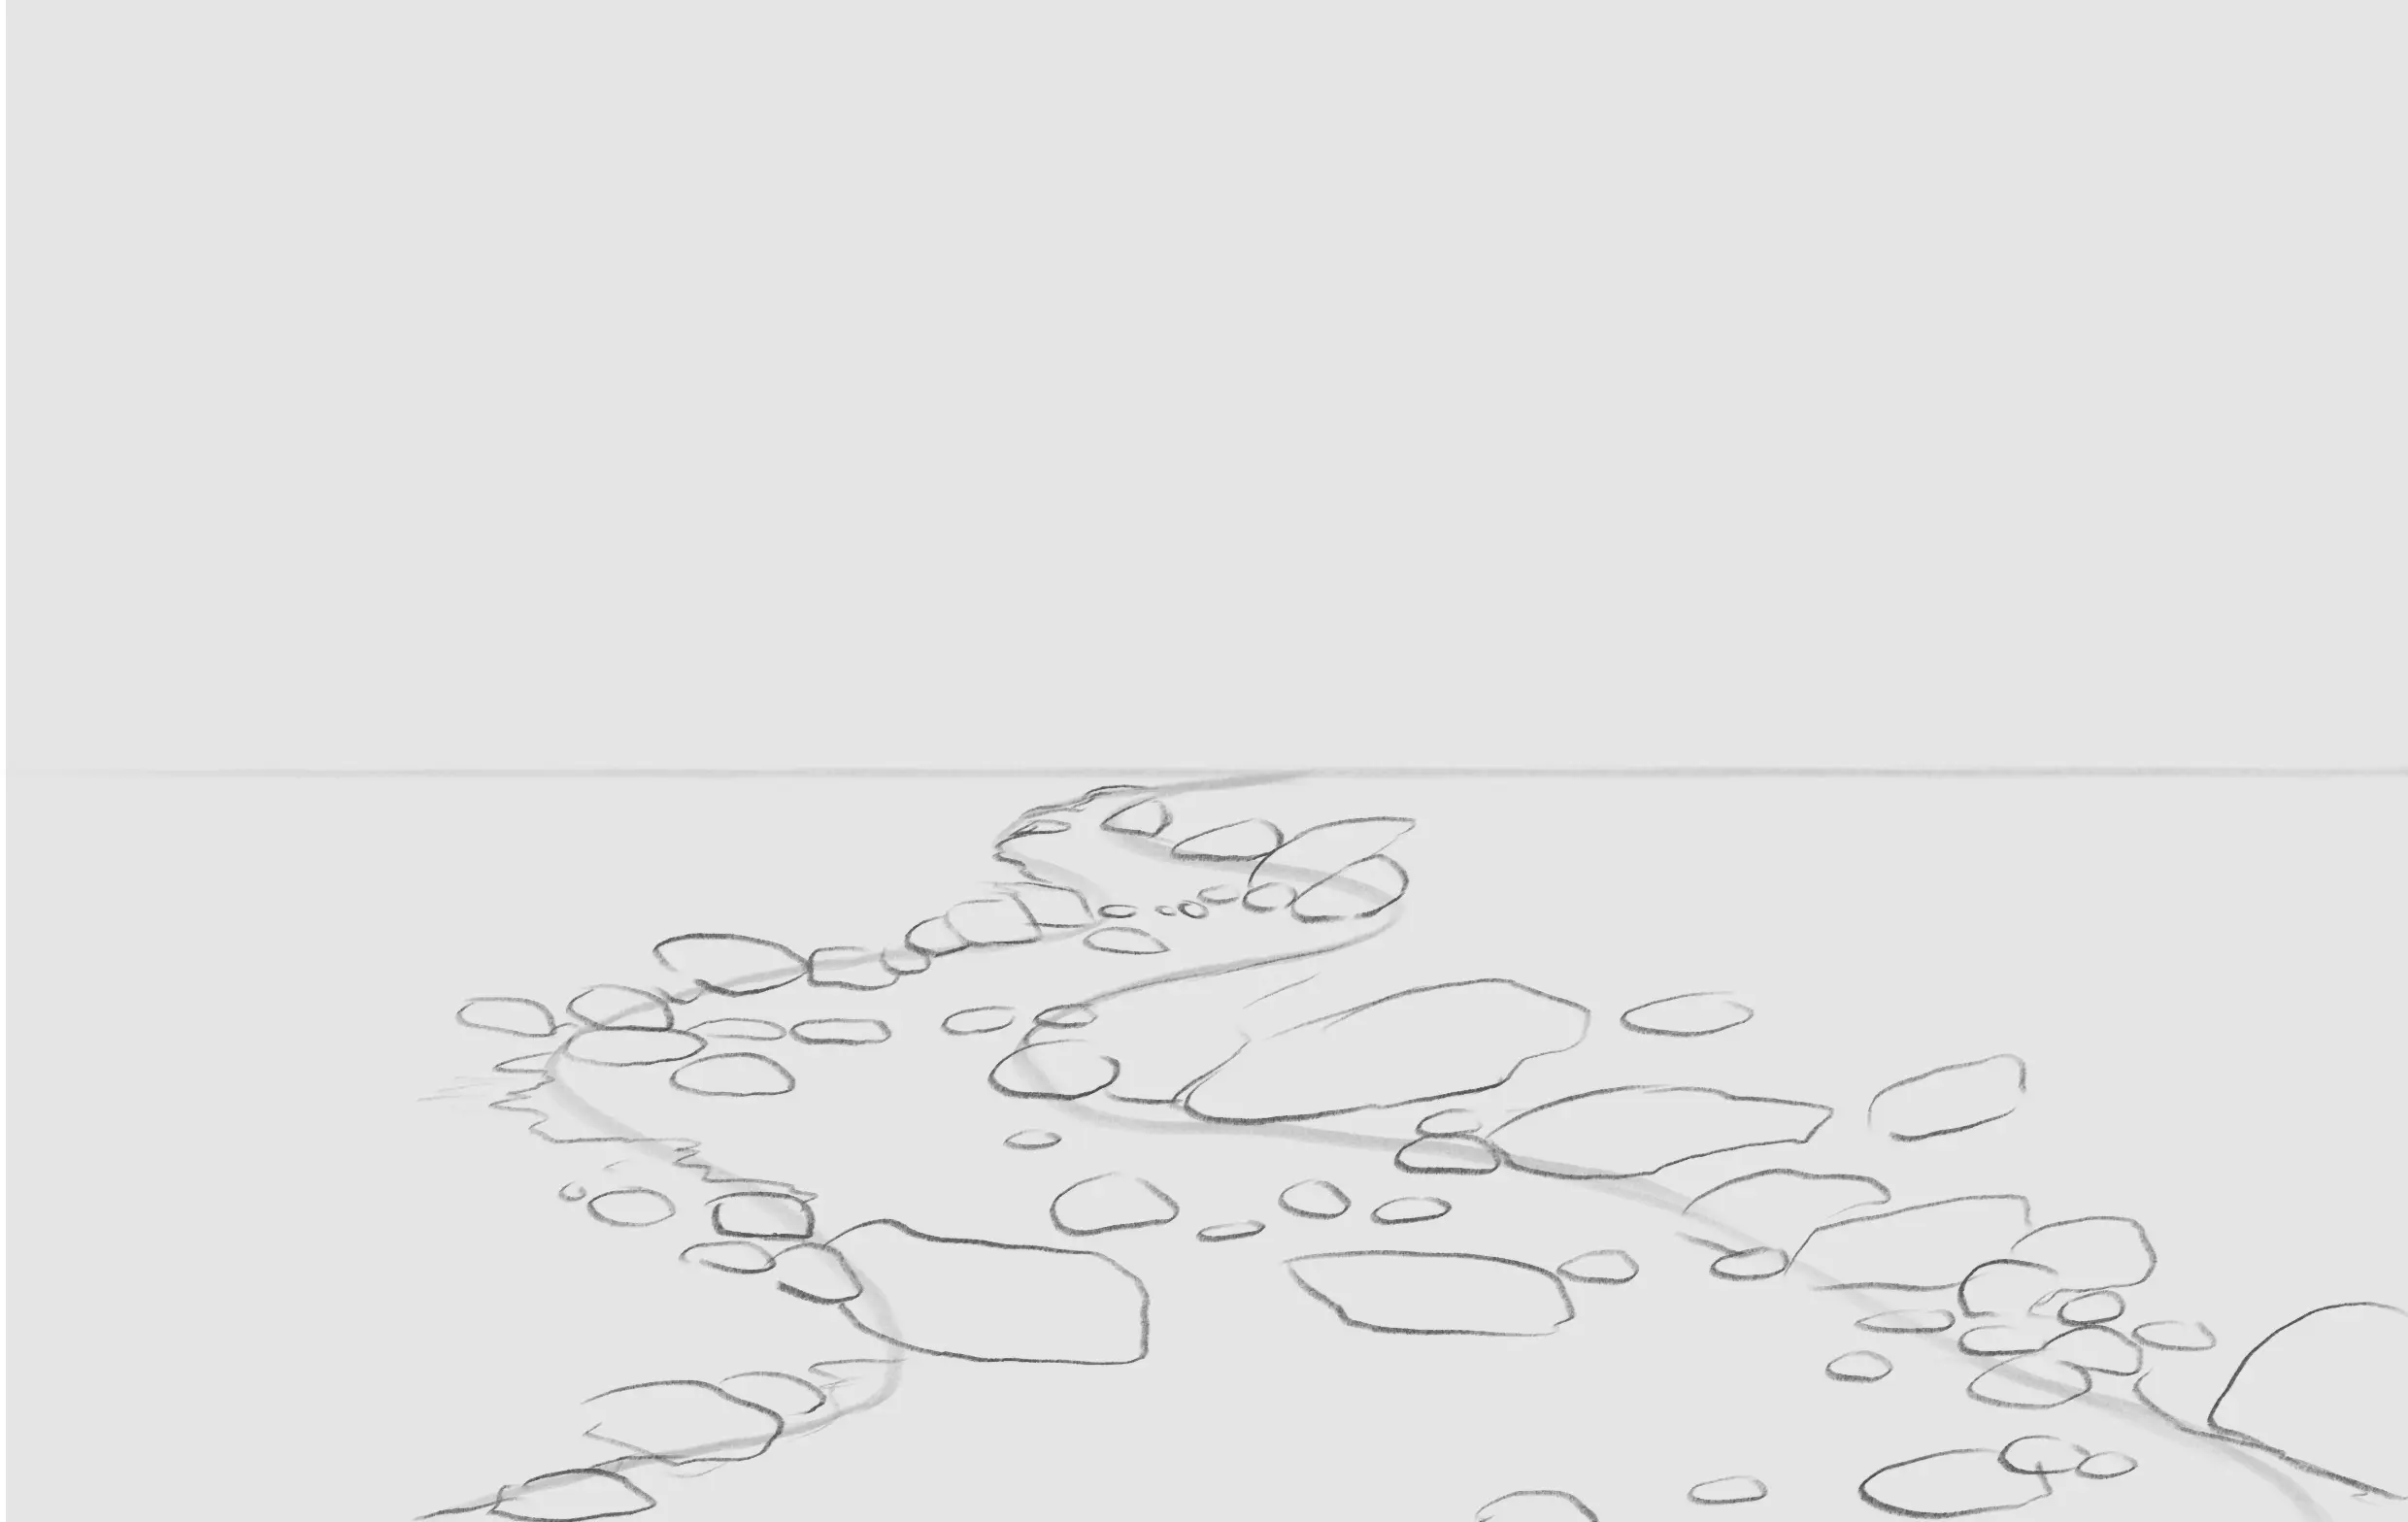
We blur the first lines and add details, here lots of rocks, which will add visual interest to the drawing and mark the banks of the river.
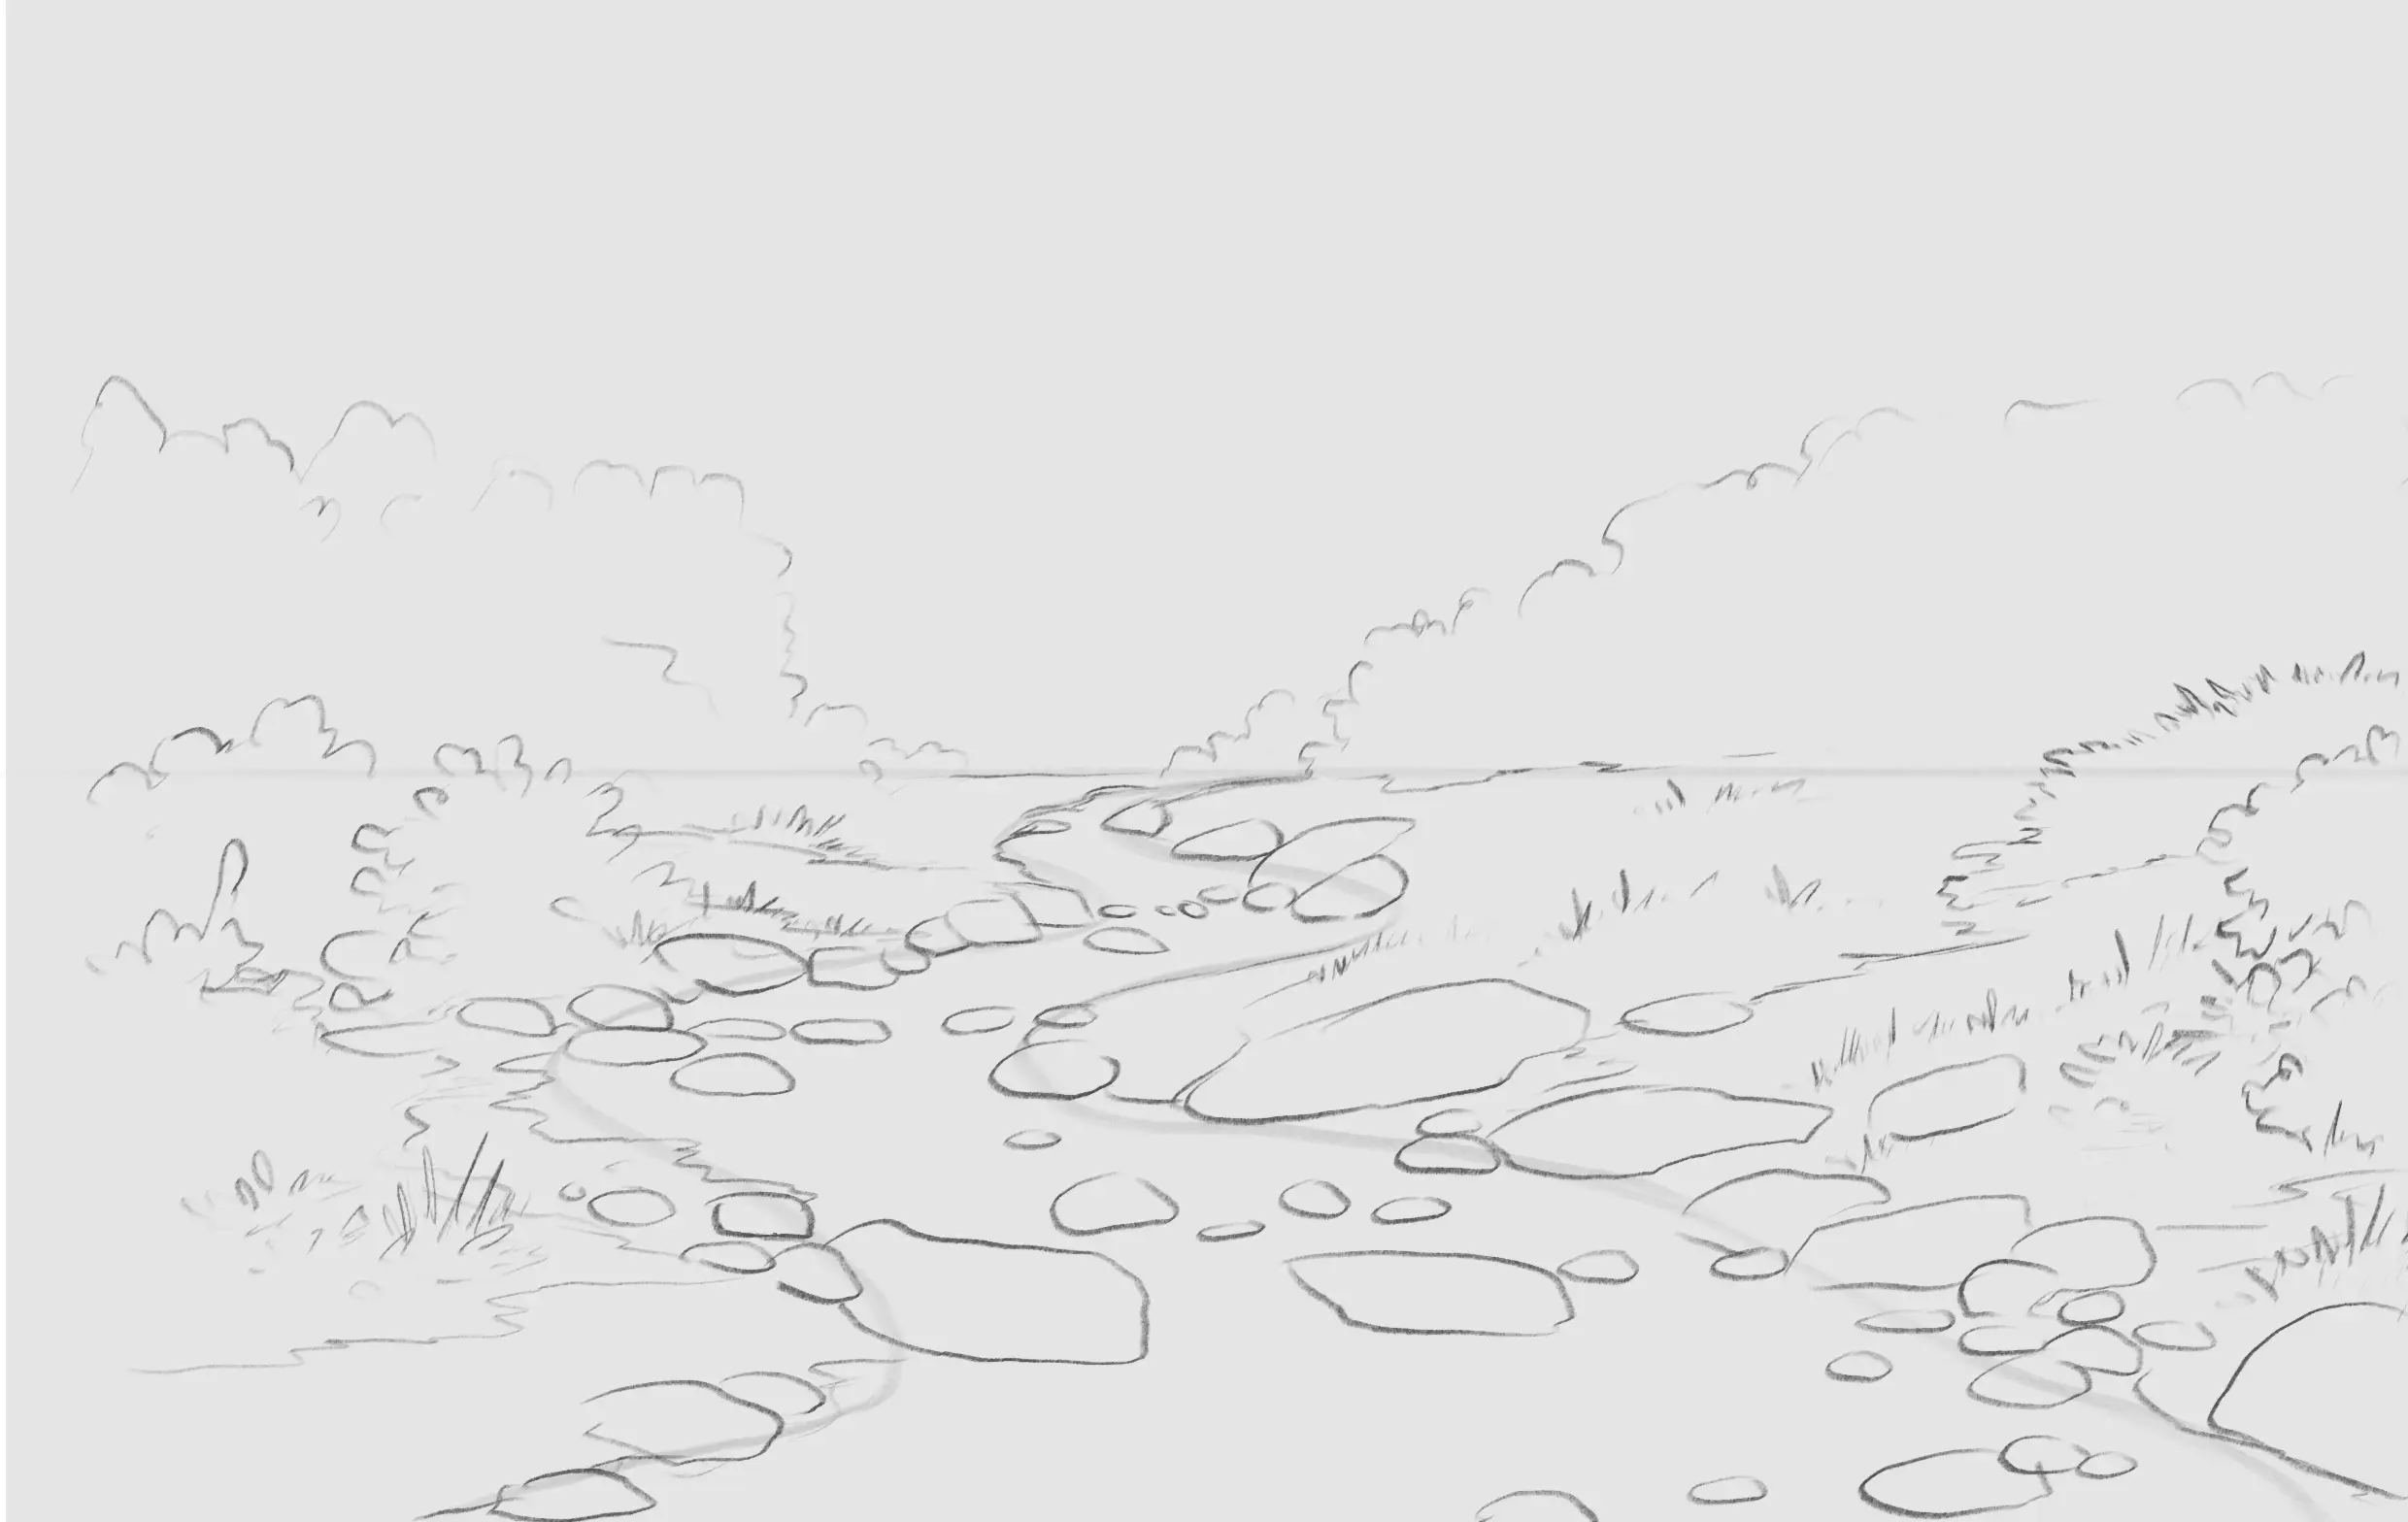
We add some more environmental elements, grass, bushes, etc. The idea is to create life.
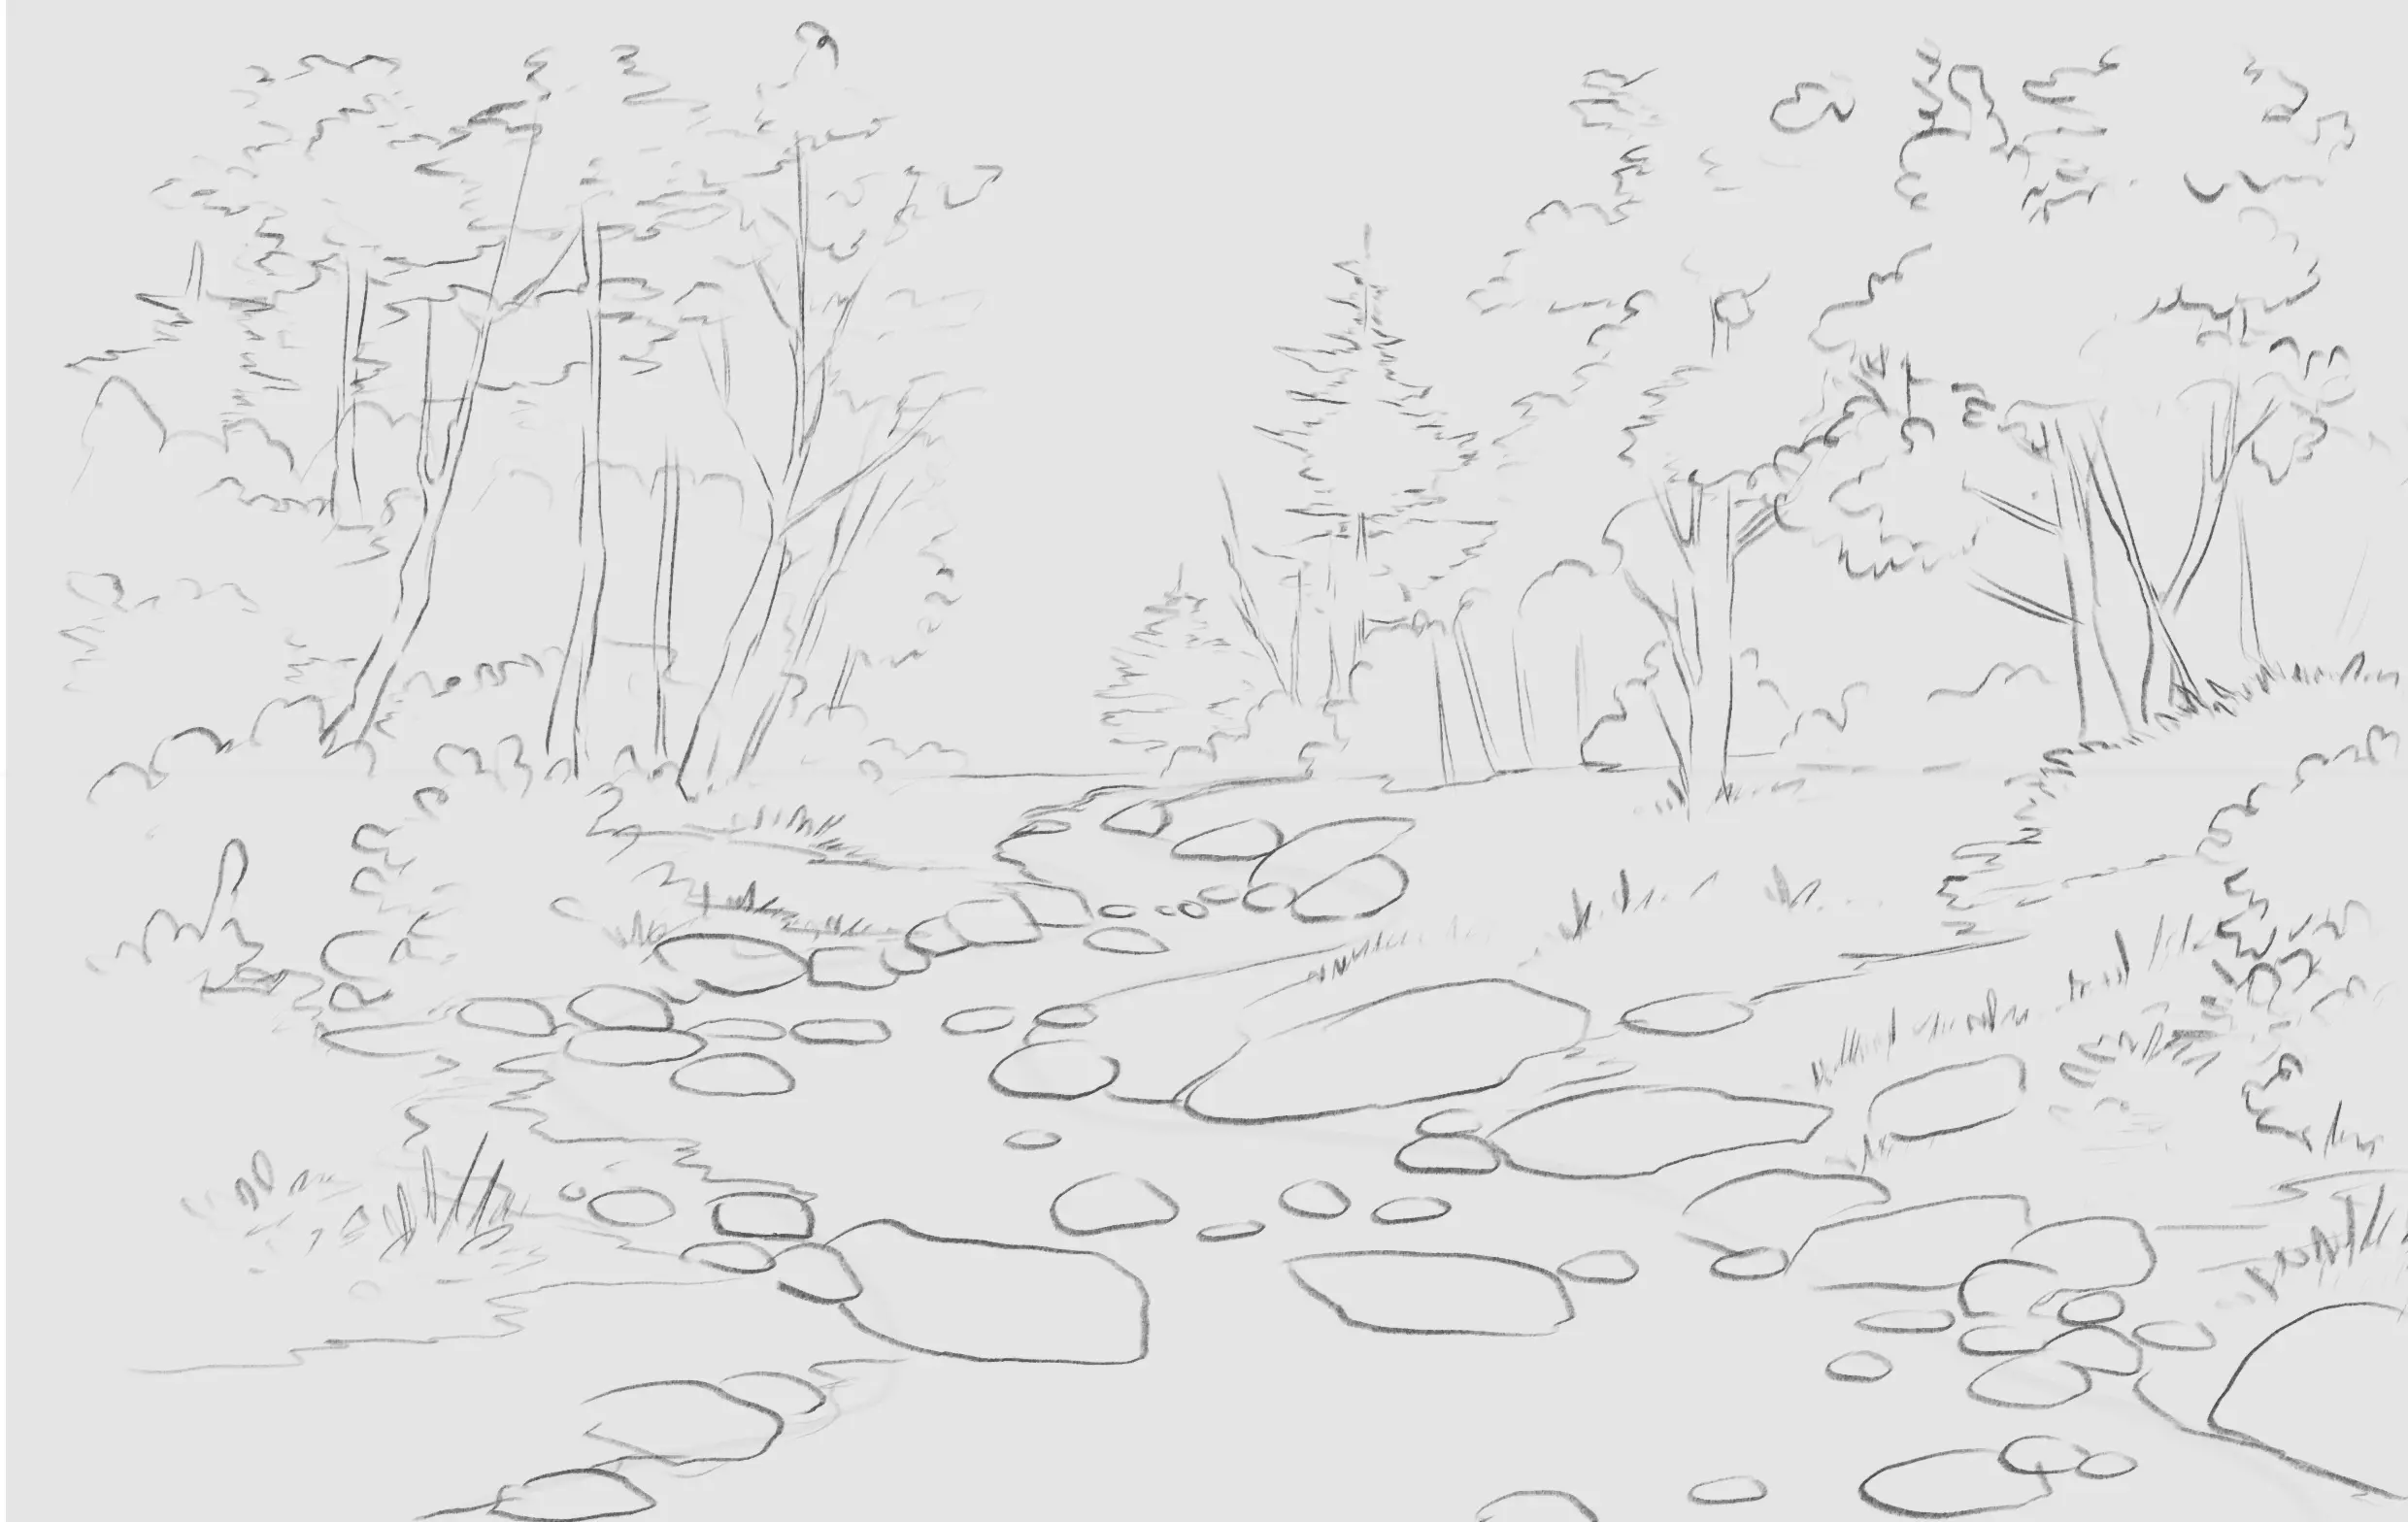
In order to further accentuate the presence of nature, we are adding trees
Add shades of gray to the drawing
Now that the sketch is finished, we can start adding shades of gray. I like to start with the rocks to define the basic contrasts.
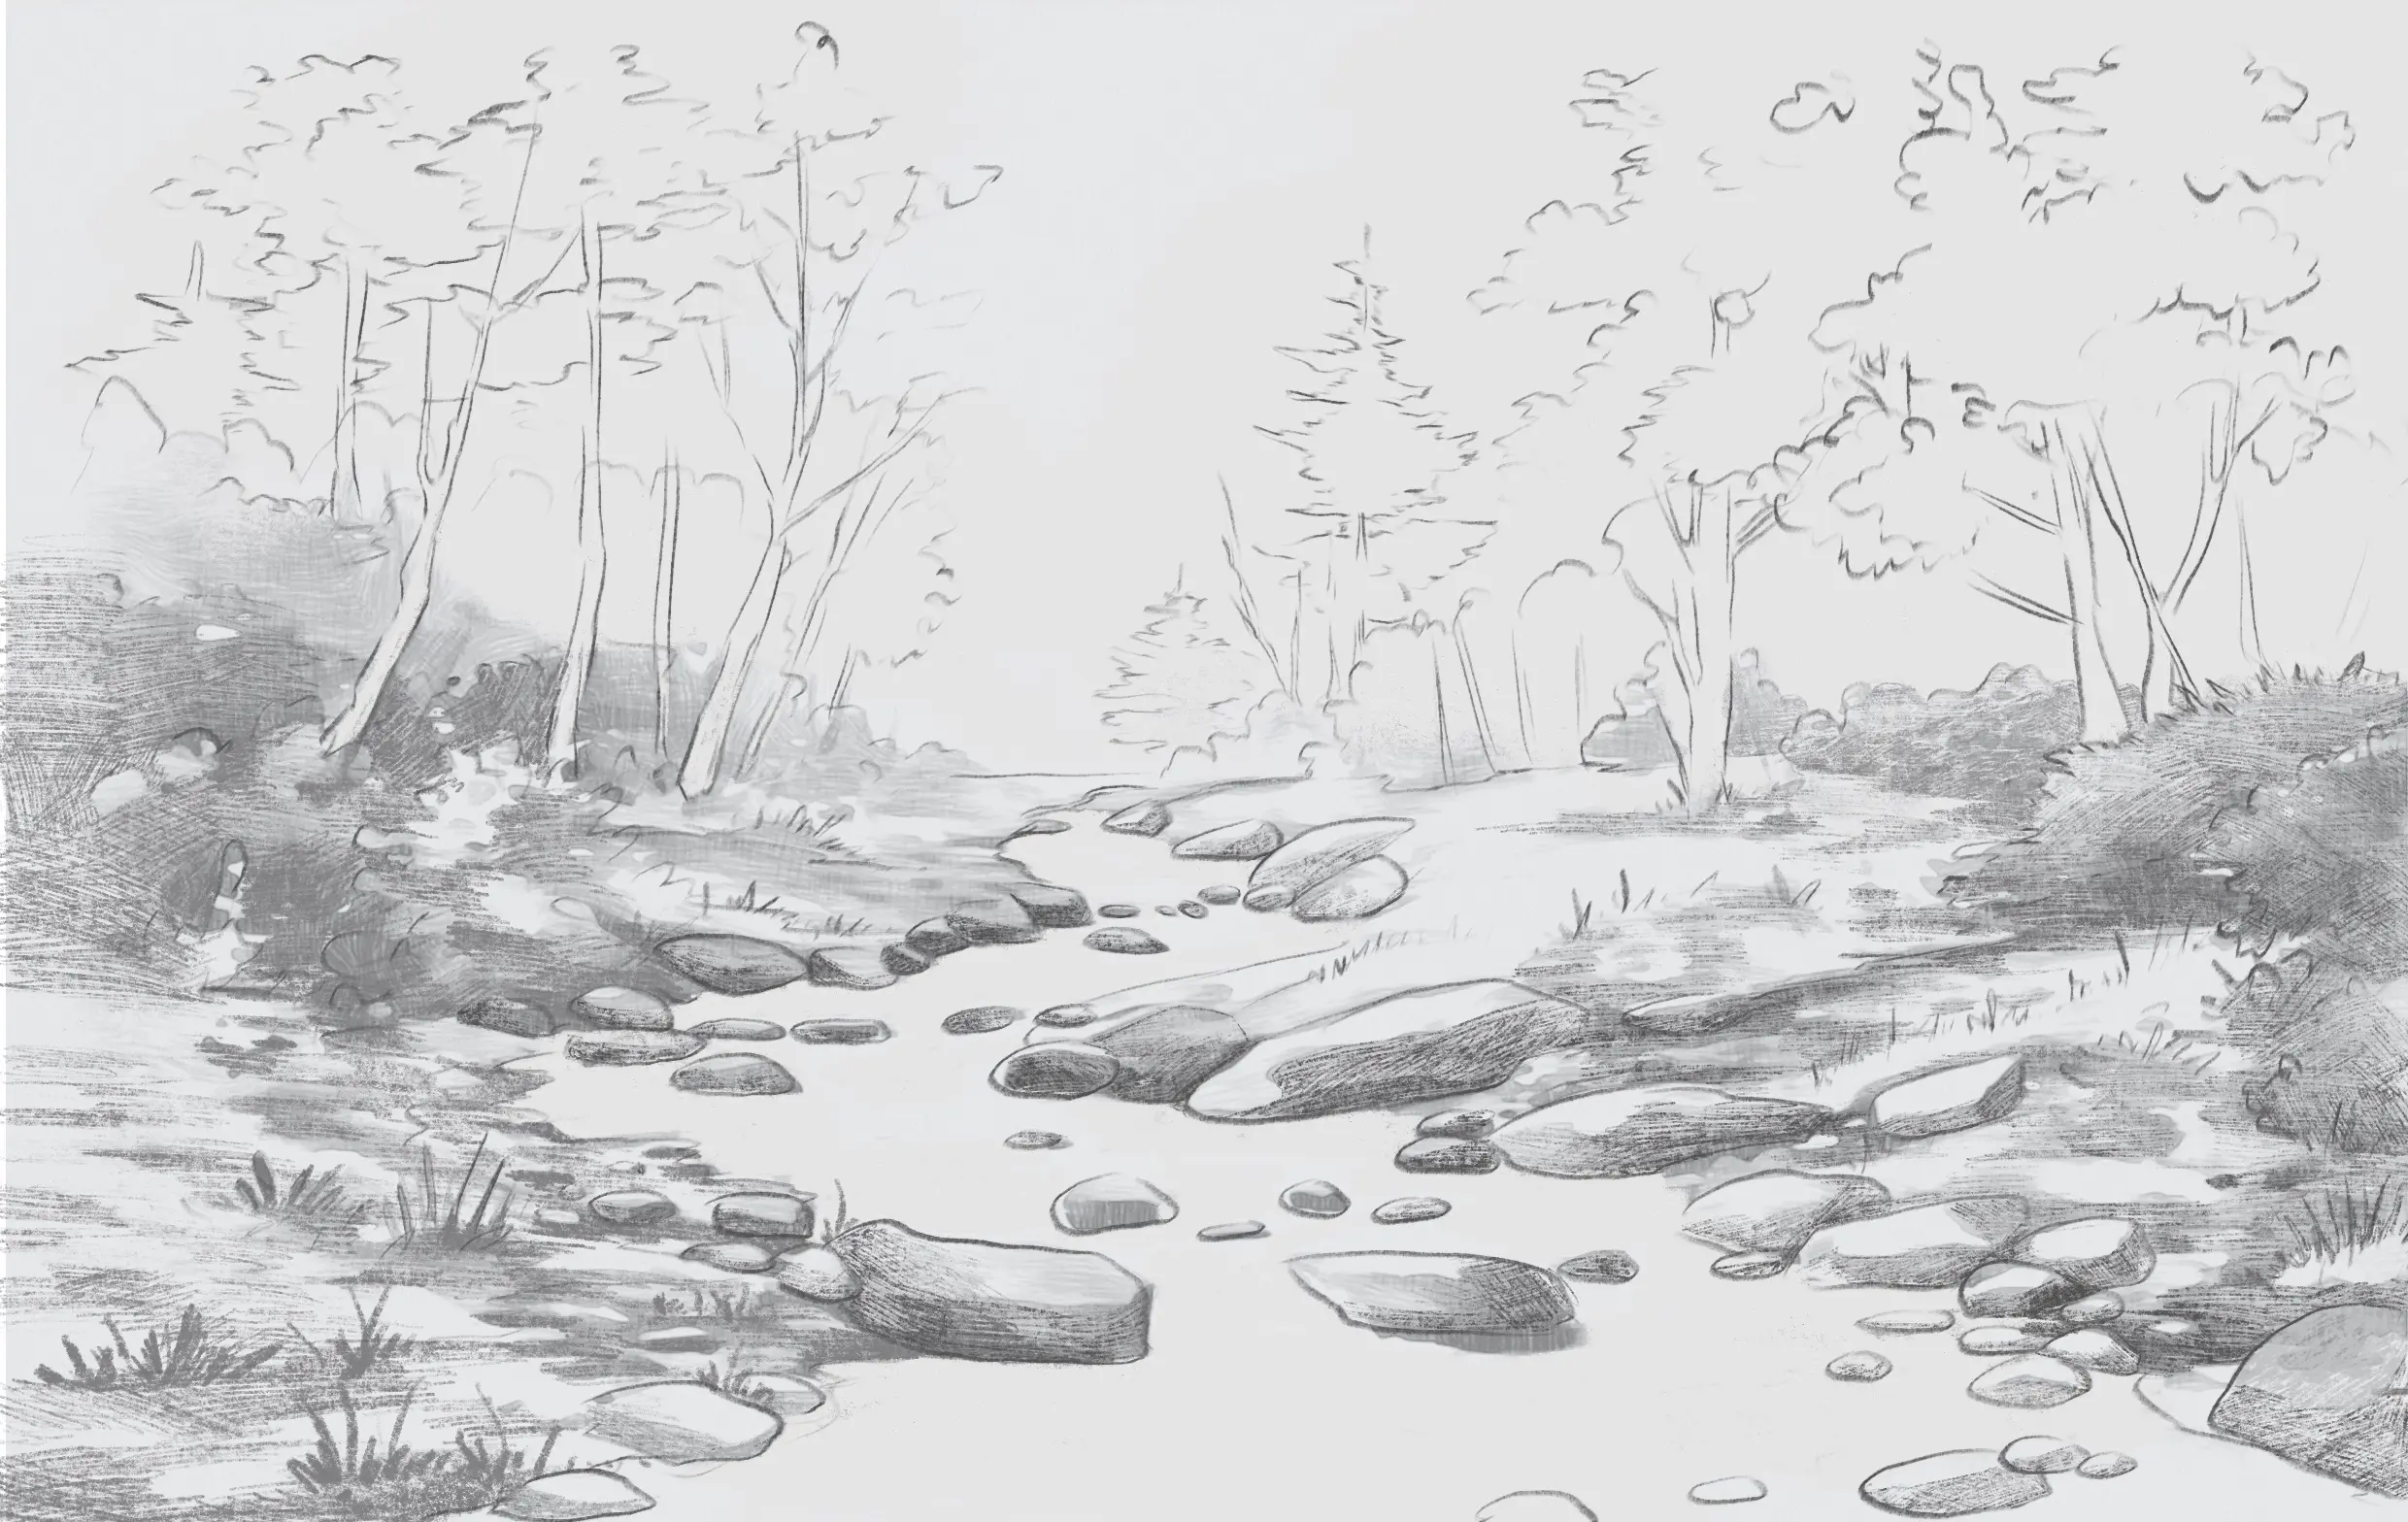
We continue to add nuance with vegetation.
We now move on to trees, and in order not to overload the image, I try to simply suggest them.
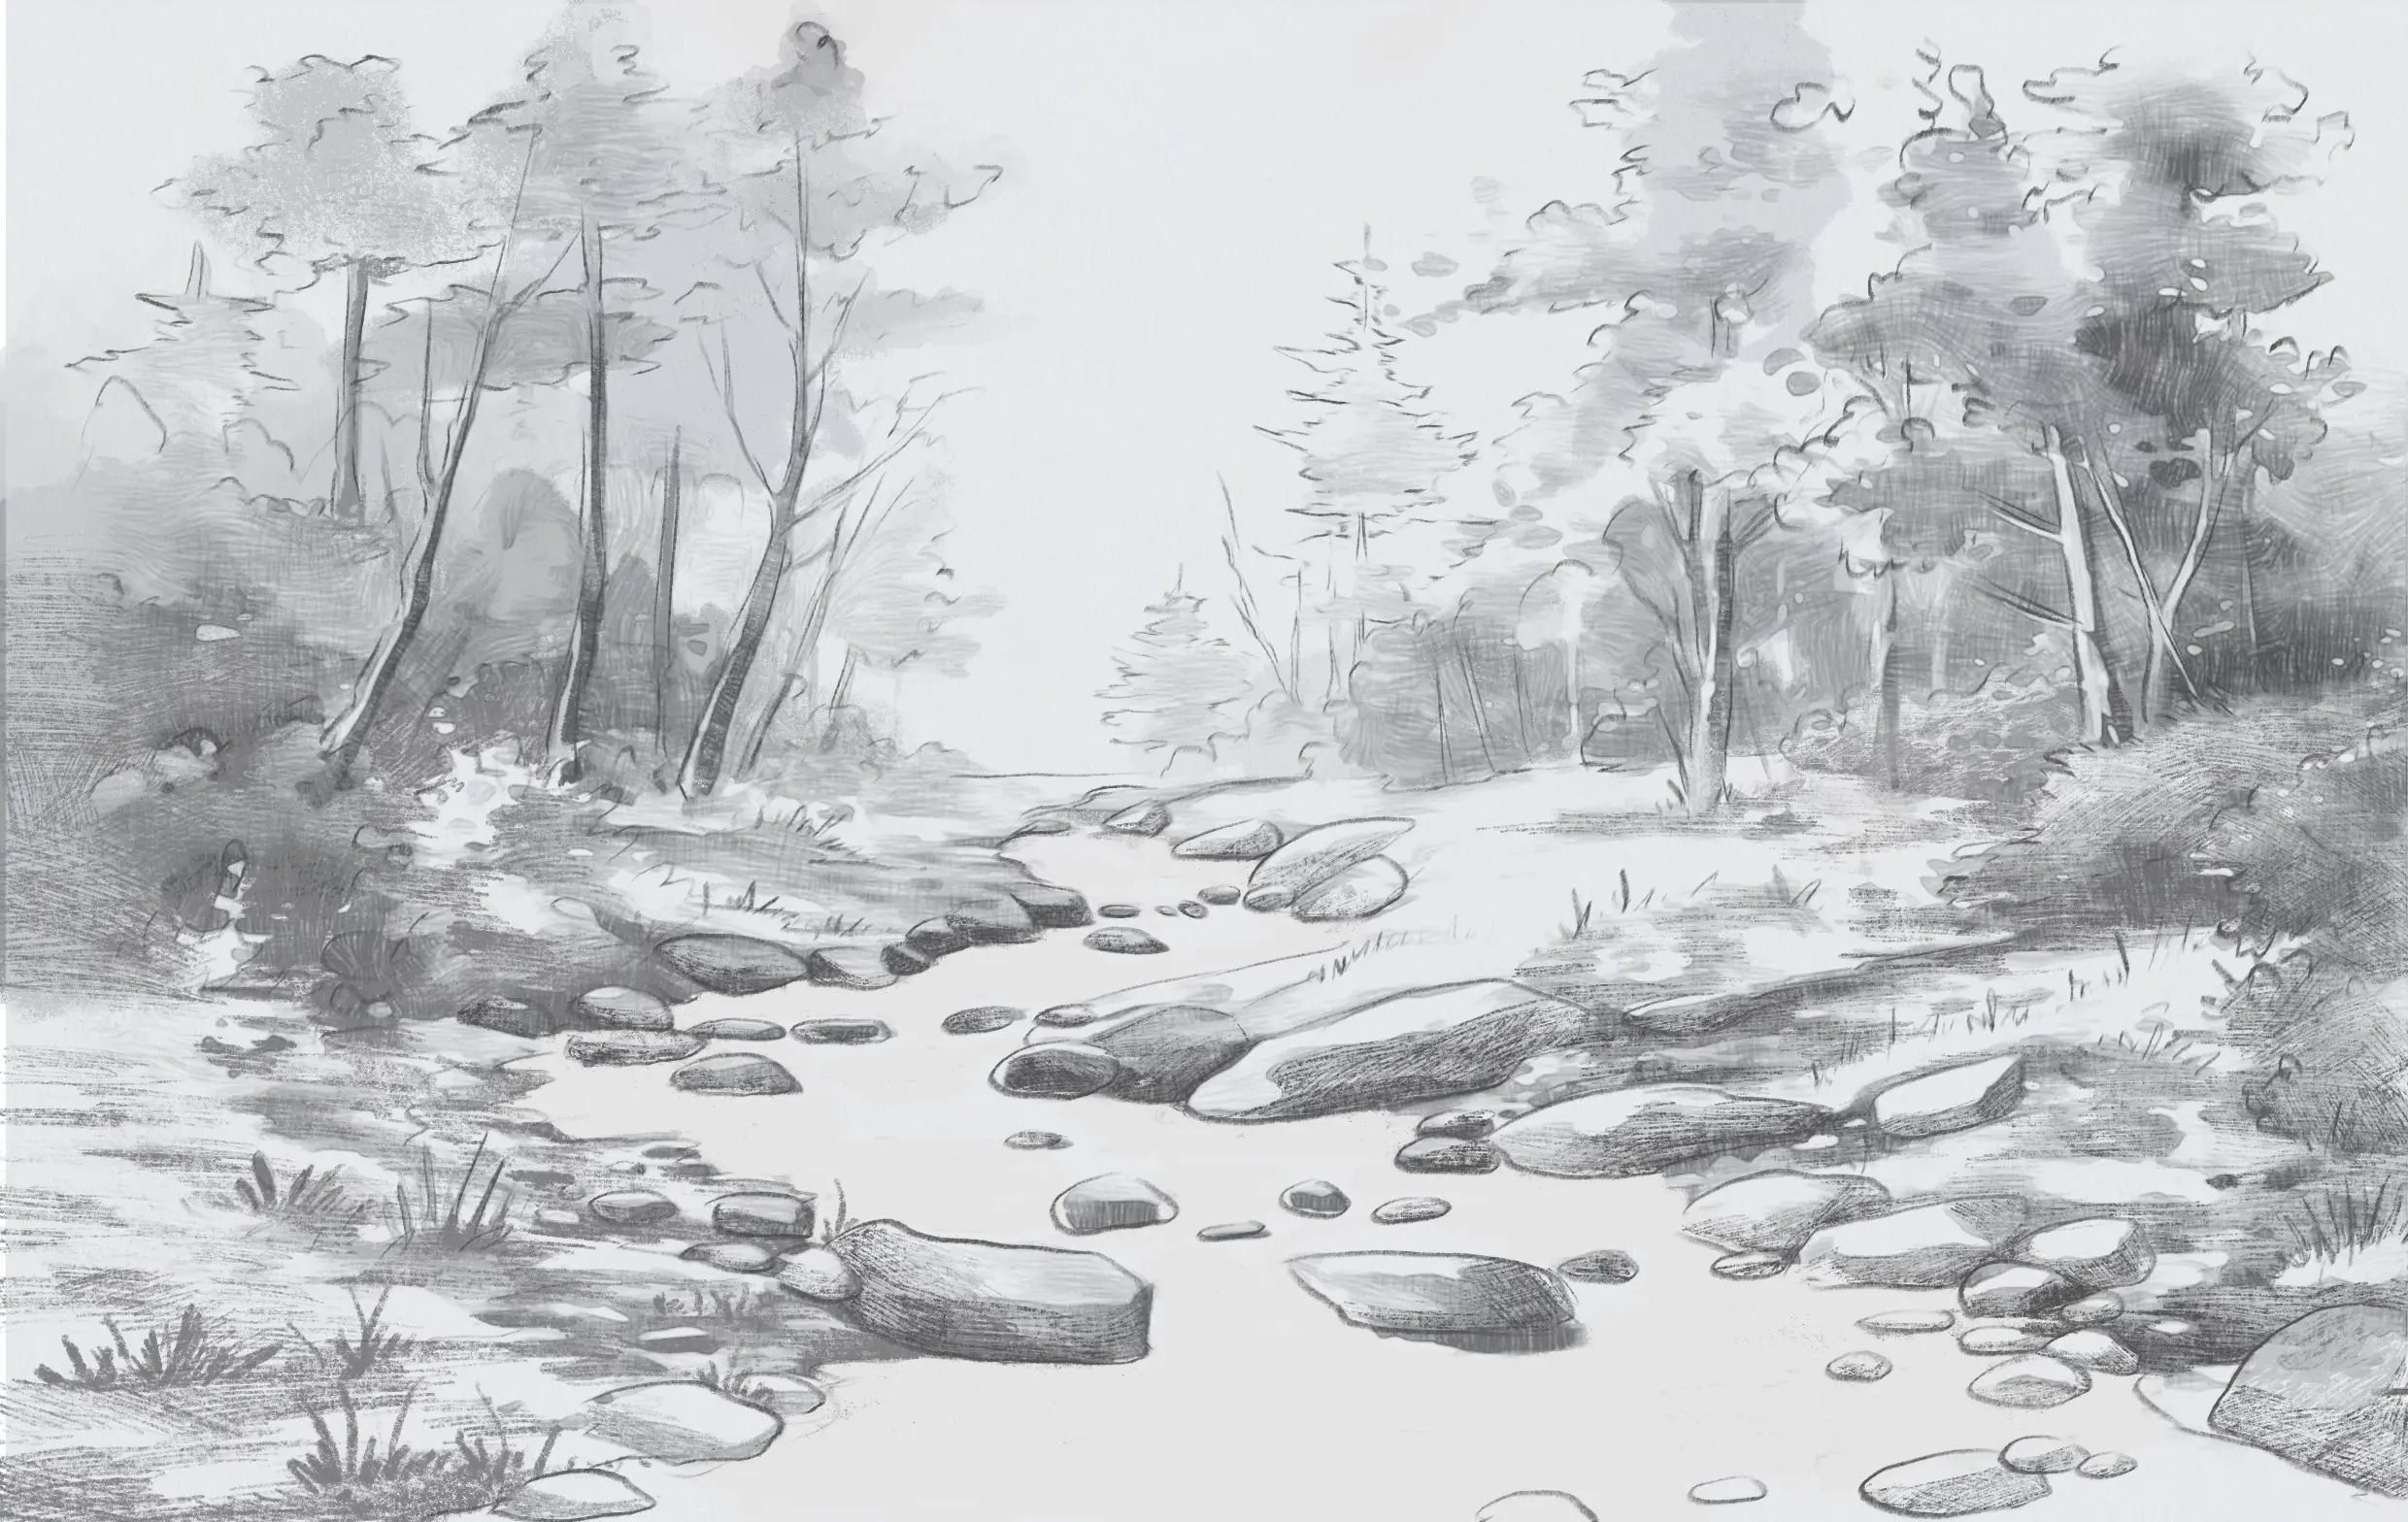
It is now time to draw the river. I advise you to do this last because this is where the other elements are reflected. So, it is therefore easier to get the right contrasts if the rest of the image is already in place.
I deliberately leave white areas where there will be turbulence related to rapids, and shade the parts near the banks and rocks, which are reflected in the water, more.
To finish and to effectively highlight the river, I advise you to shade the riverbank area more and to erase or add a little white line on the part that separates the river from the banks, as this will allow it to stand out well.
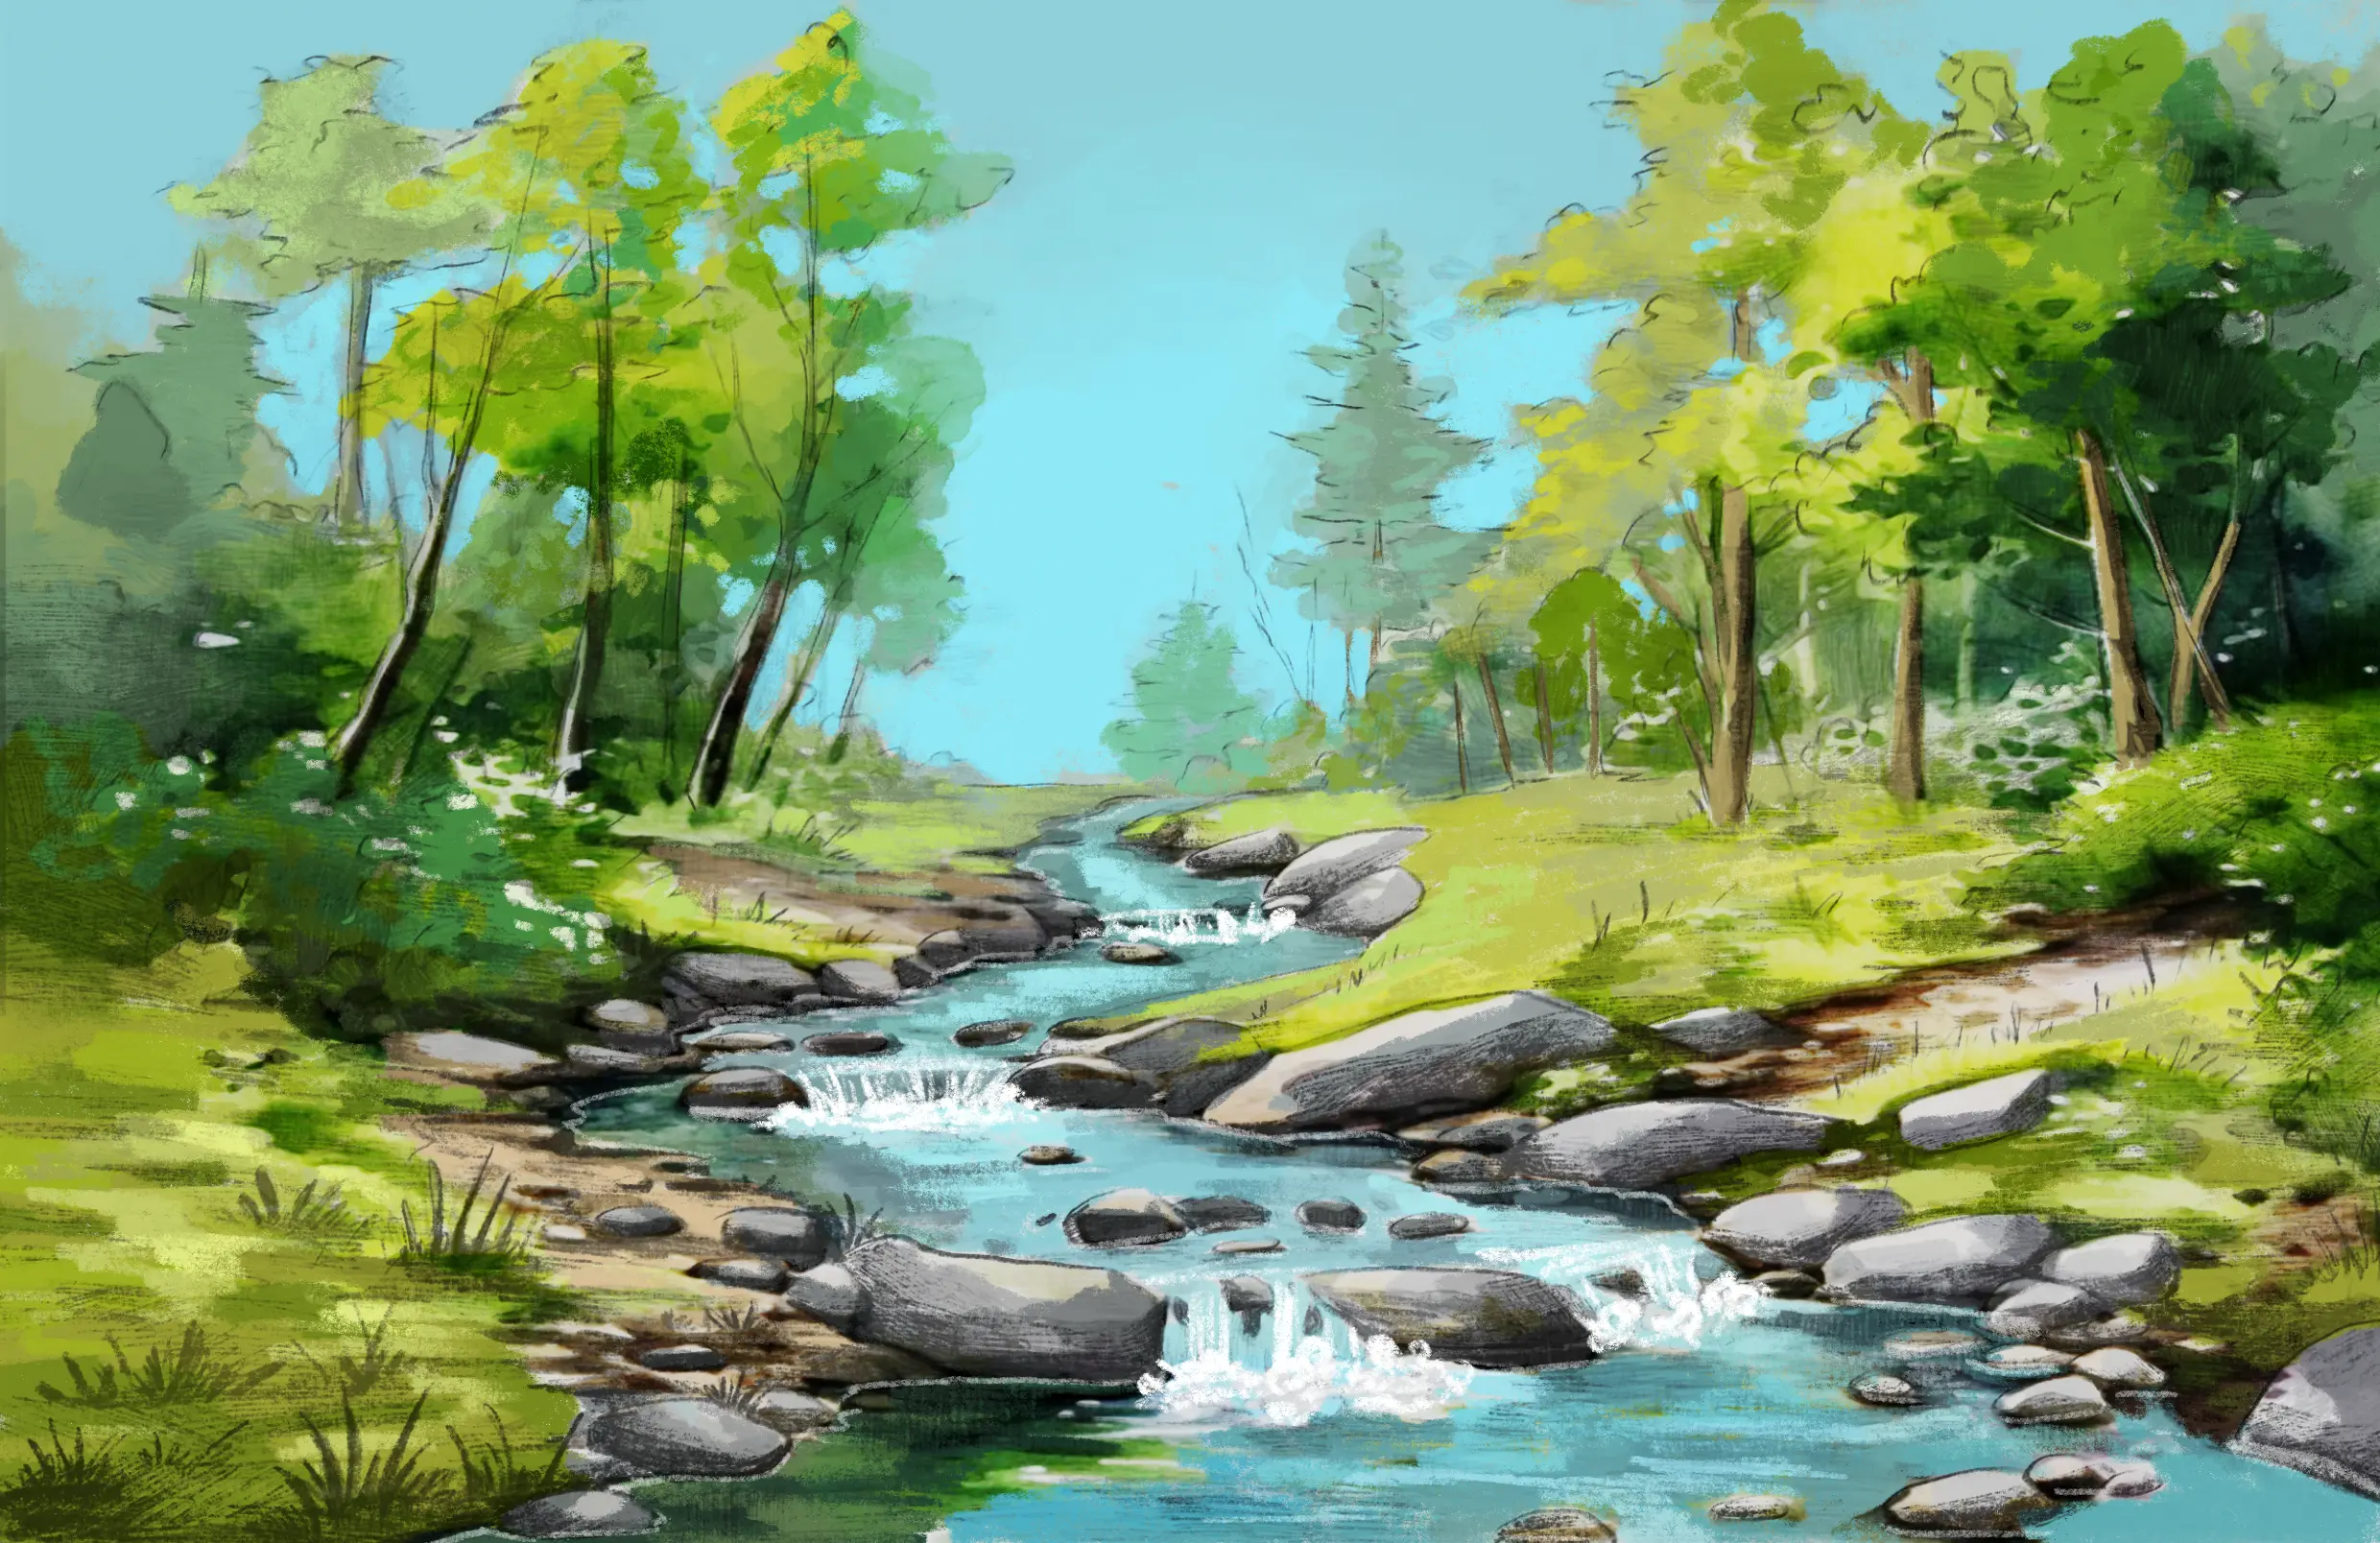
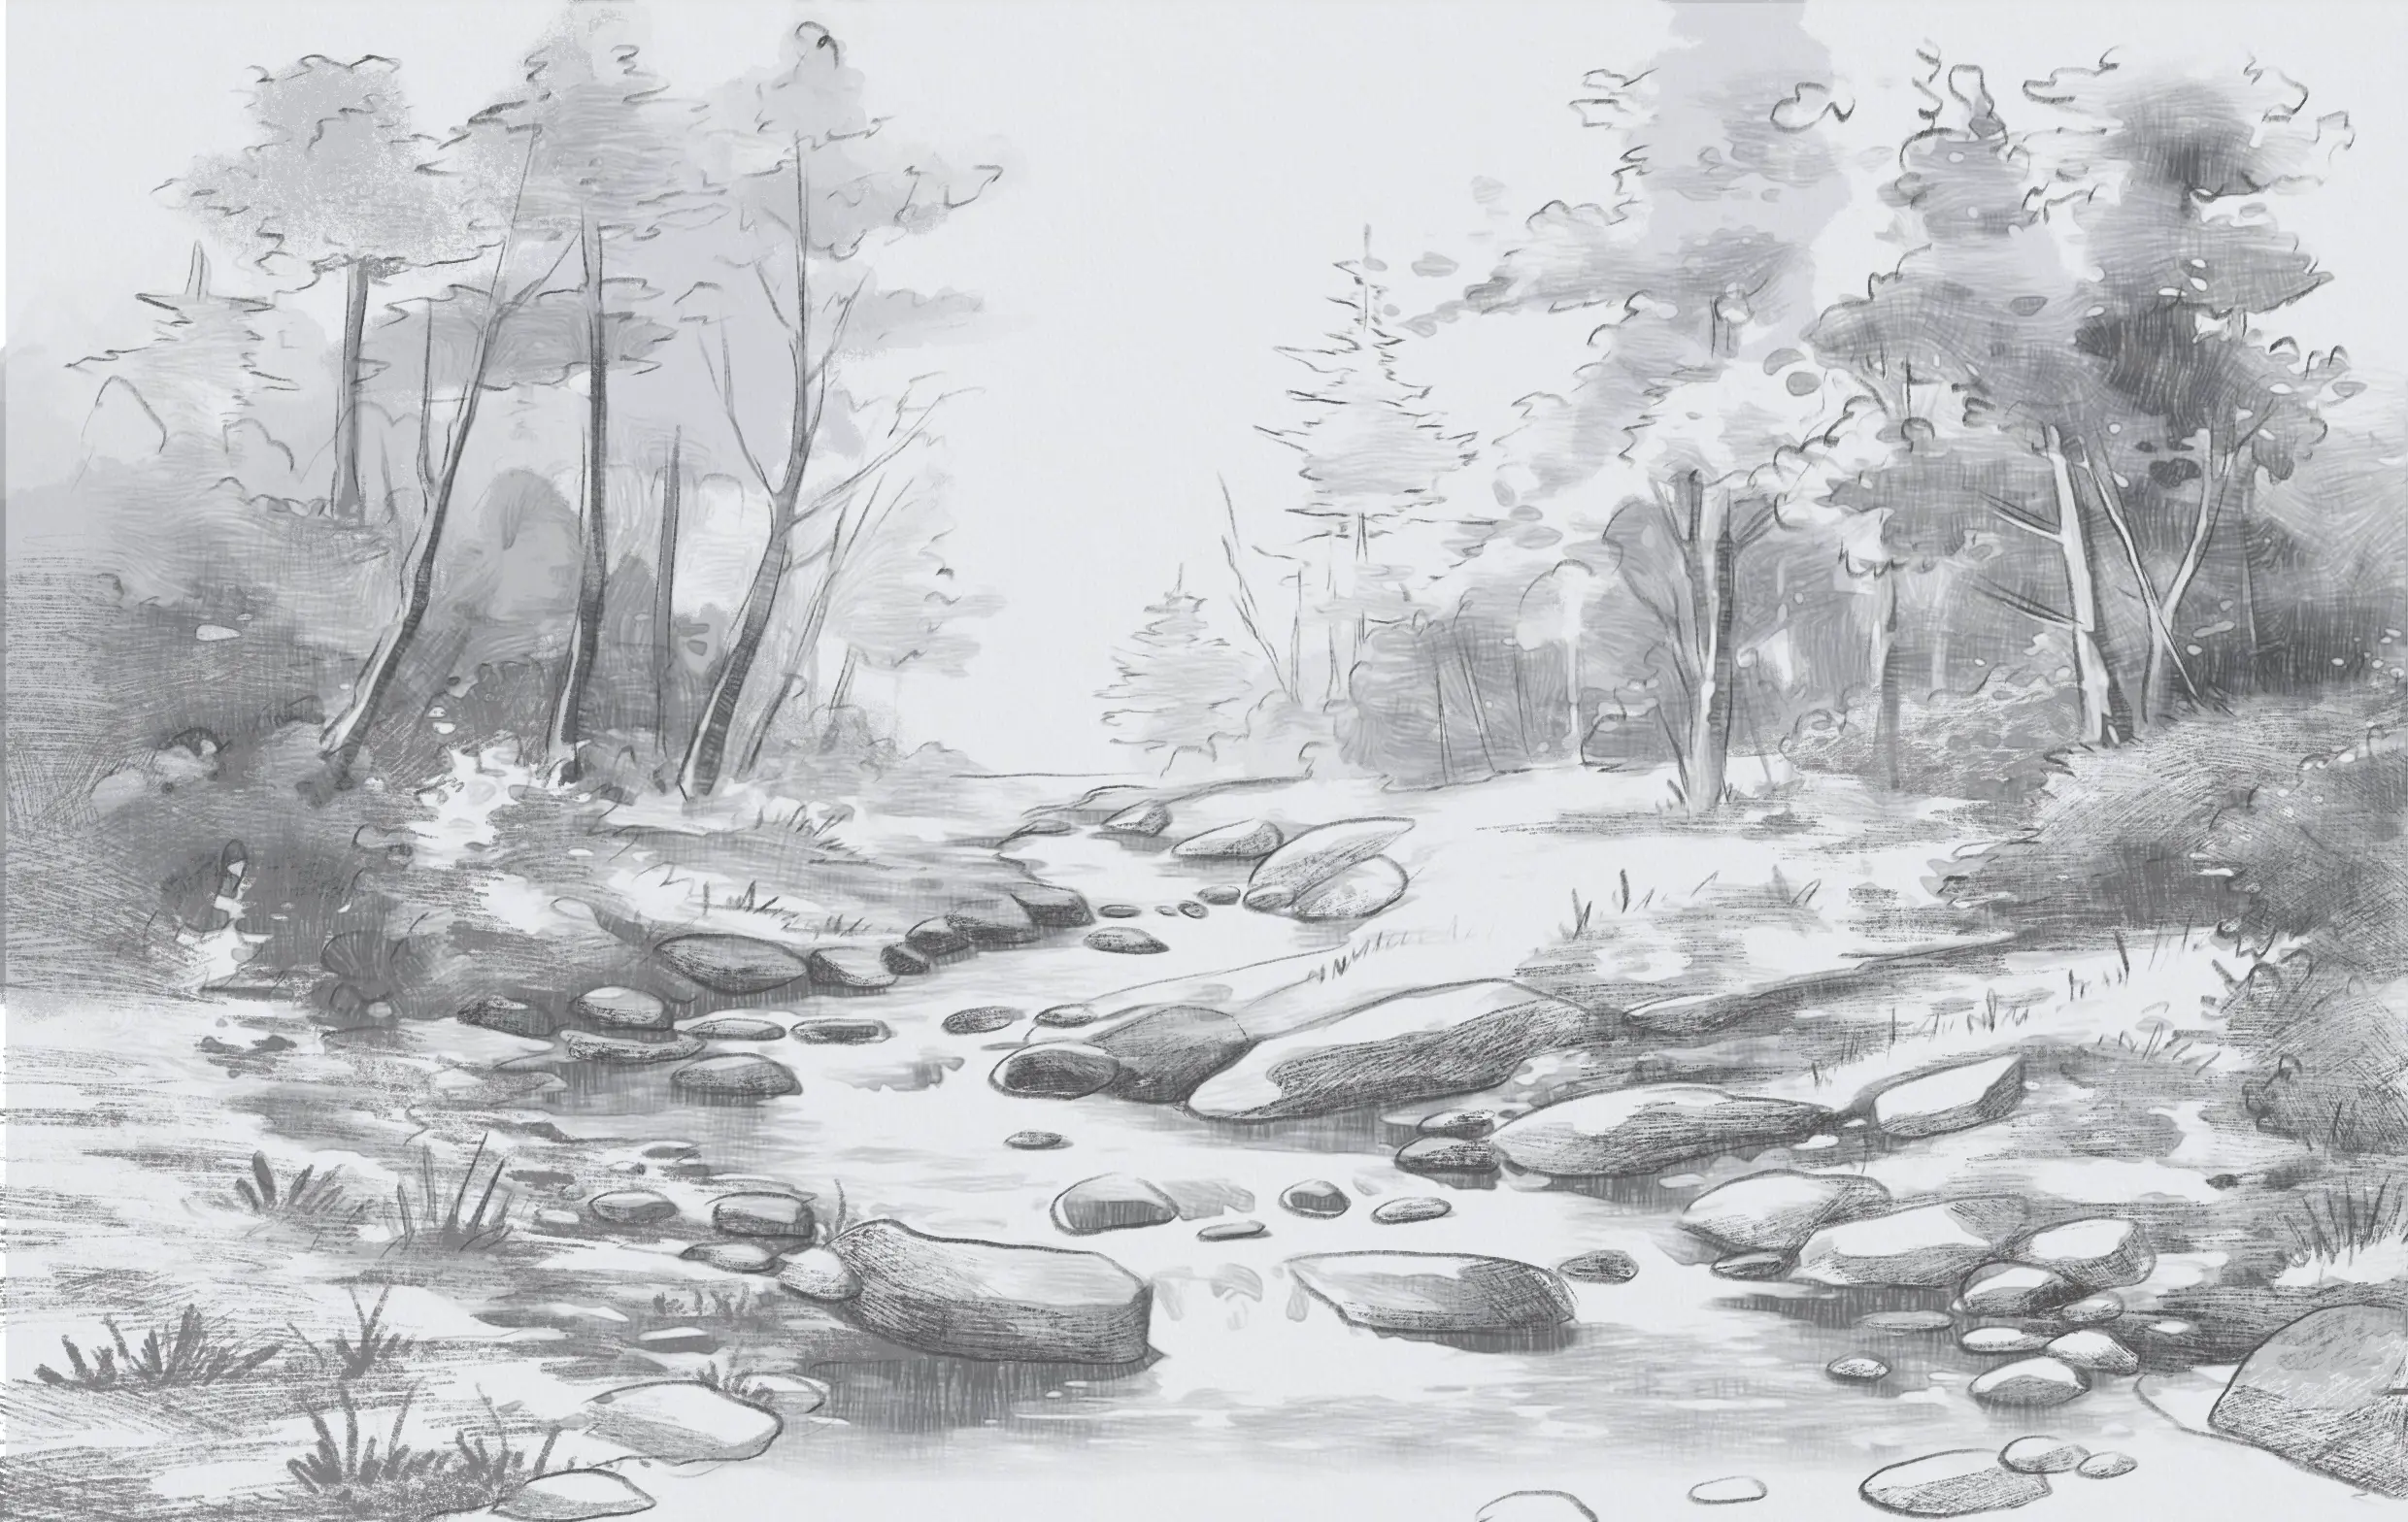
Finish the drawing by adding color
If you want to color in the river, I recommend choosing a shade close to the sky, as water gets its color mainly from the reflection of the sky.
In areas close to the banks, you can add touches of color similar to those of the ground or trees to suggest the reflections in the water there as well.
And there you have it! Now you have all the tools you need to draw rivers, as well as streams and other watercourses. I hope you enjoyed this article! 😊
Writer and illustrator: Chloé Pouteau