How to Draw with Charcoal?
Today, I'm going to show you how to draw with charcoal. First, I'll discuss the different types of charcoal you can use, then we'll look at various techniques for drawing with charcoal. And we'll finish with a very simple step-by-step charcoal drawing.
A Brief History of Charcoal Drawing
Charcoal is one of the oldest, most accessible, and economical drawing tools, which is perfect for beginners. It allows for quick study of works and the creation of rapid sketches. It can also help you to learn the basics of drawing more easily, such as shadows, proportions, perspective, etc.
It allows you to create works rich in contrasts with a very pronounced black.
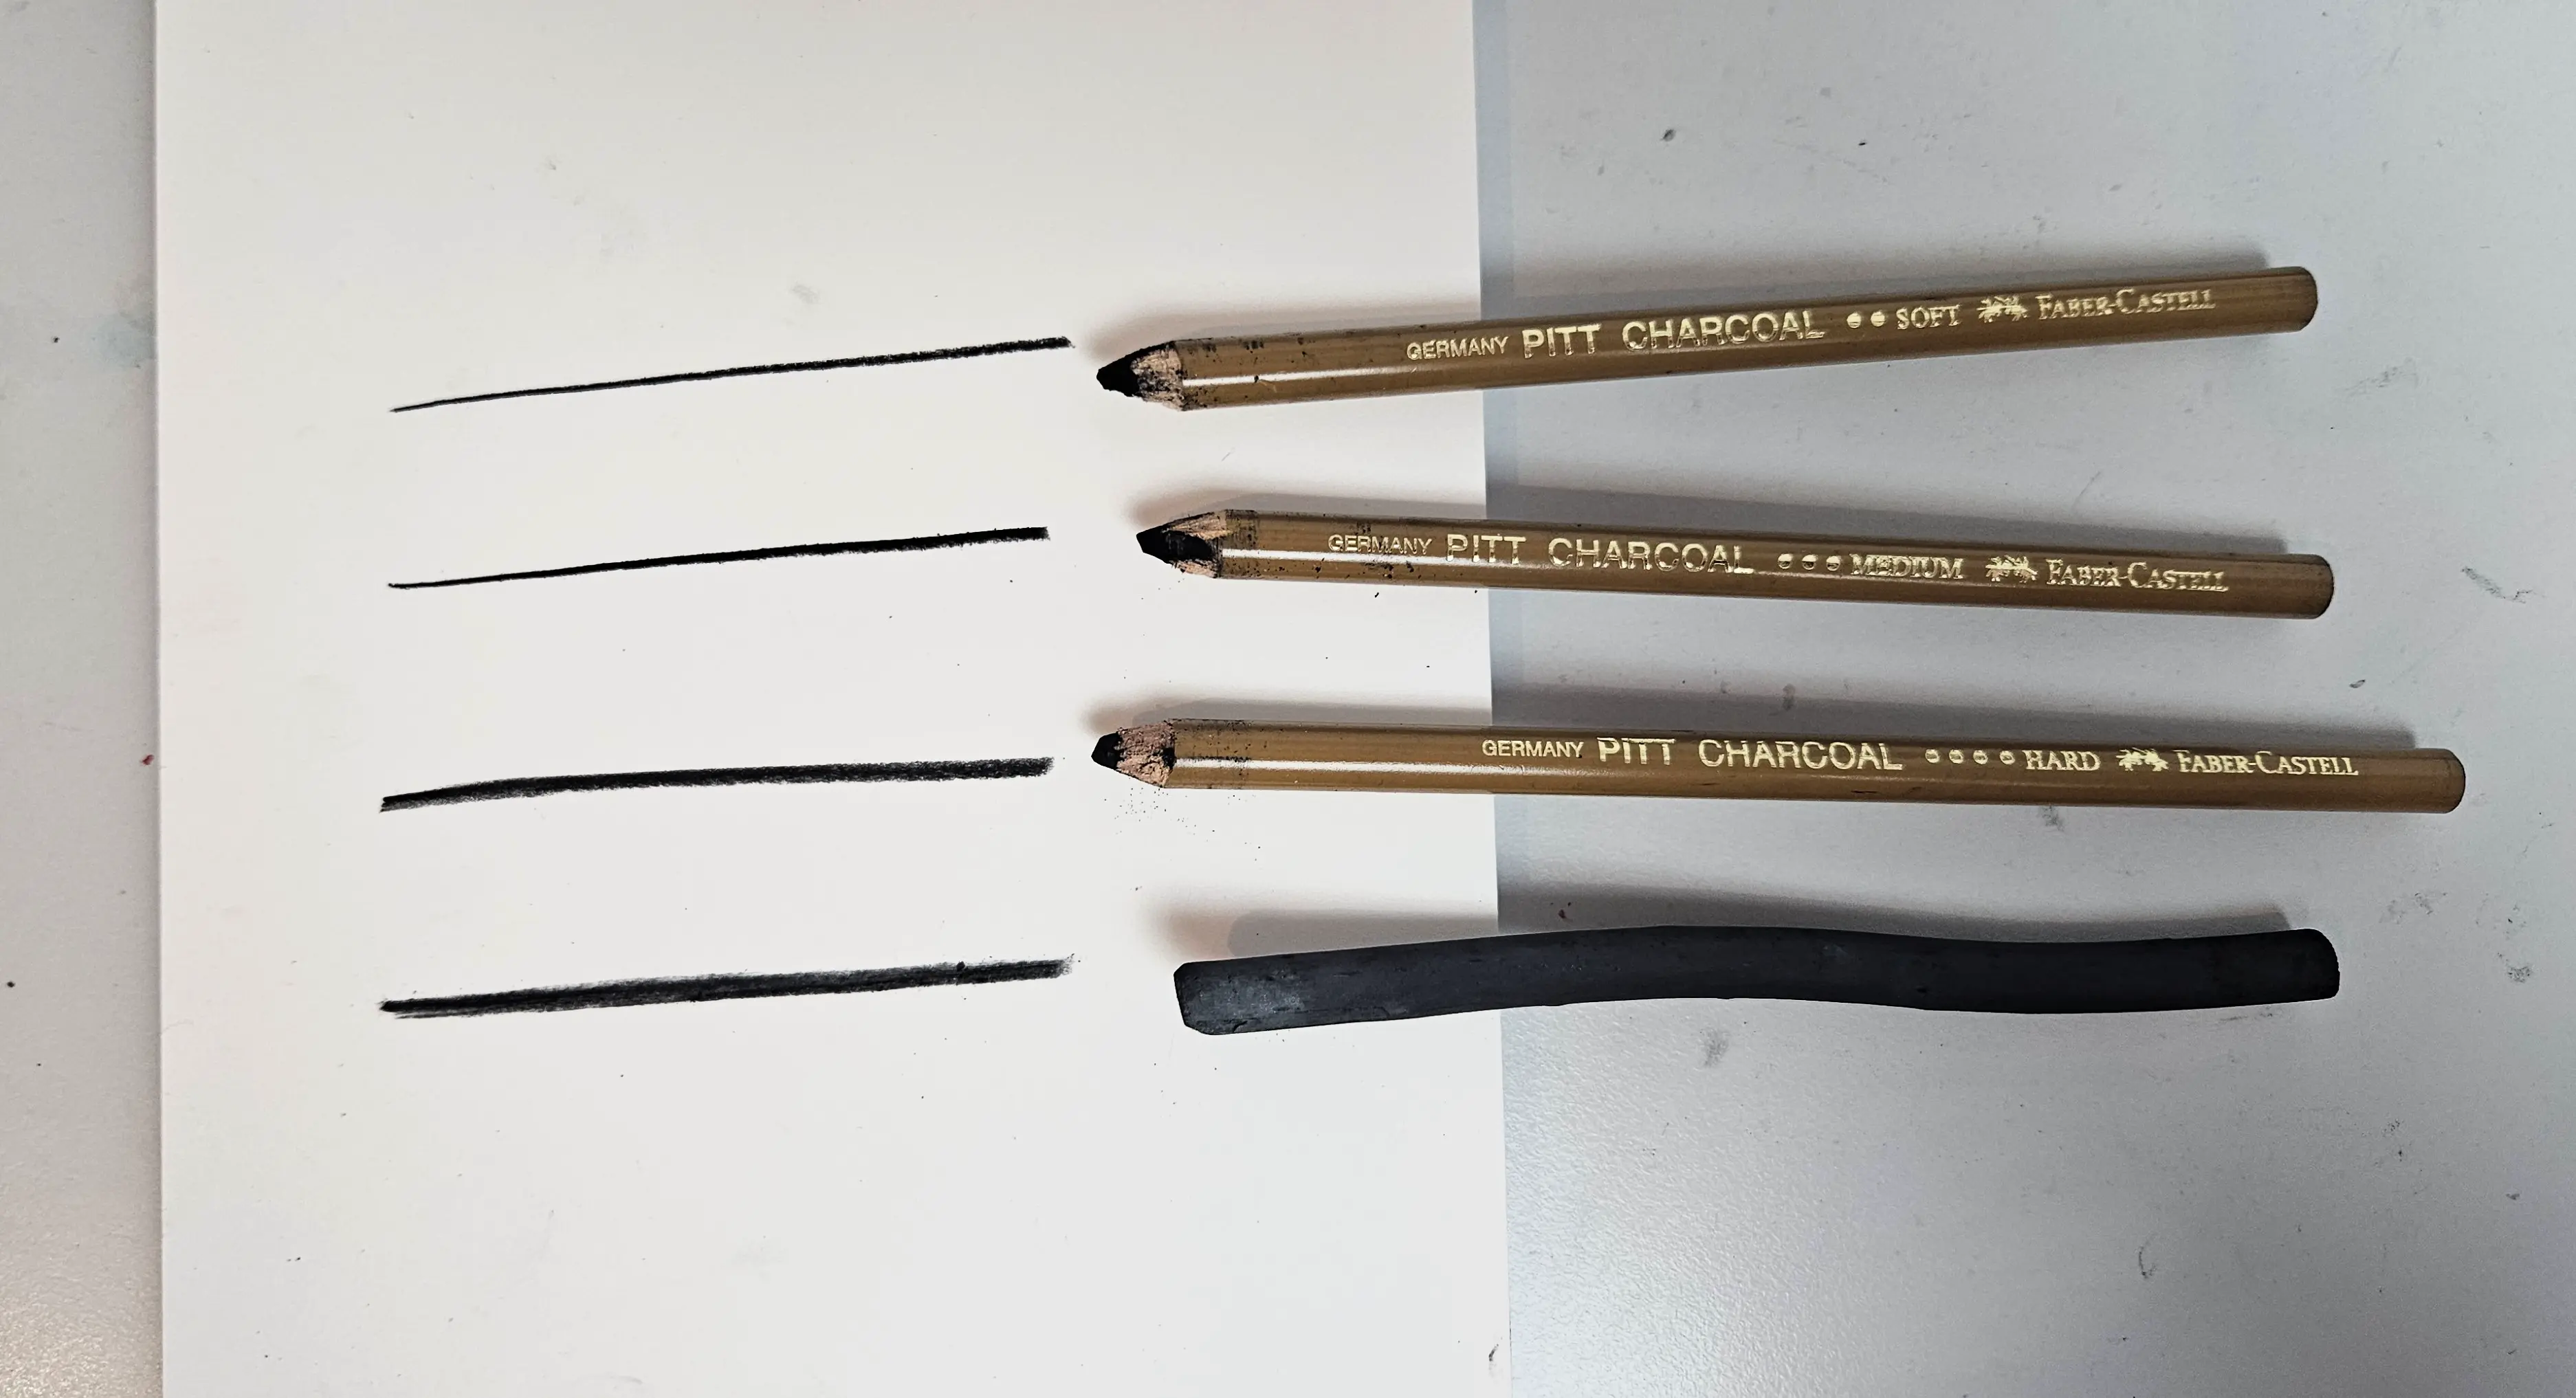
It can be found in the form of sticks, compressed charcoal, and pencils. This allows for both very precise lines and much broader strokes. There are also several sizes of charcoal available.
It is used with textured paper, with a minimum weight of 150 g/m² for optimal results. For this article, I will be using multi-technique paper ranging between 120 and 150 g/m².
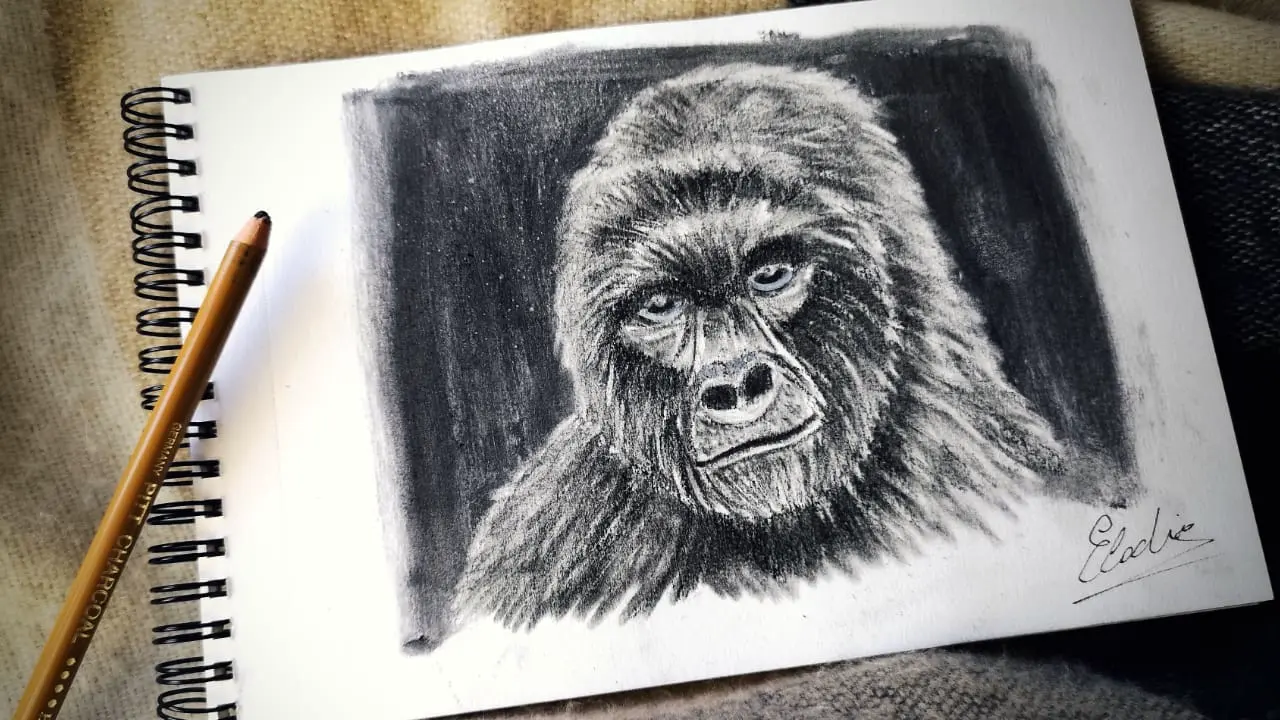
Here is an example of a charcoal drawing I did a few years ago, using soft stick charcoals for the background, and charcoal pencils for the gorilla.
Stick charcoal
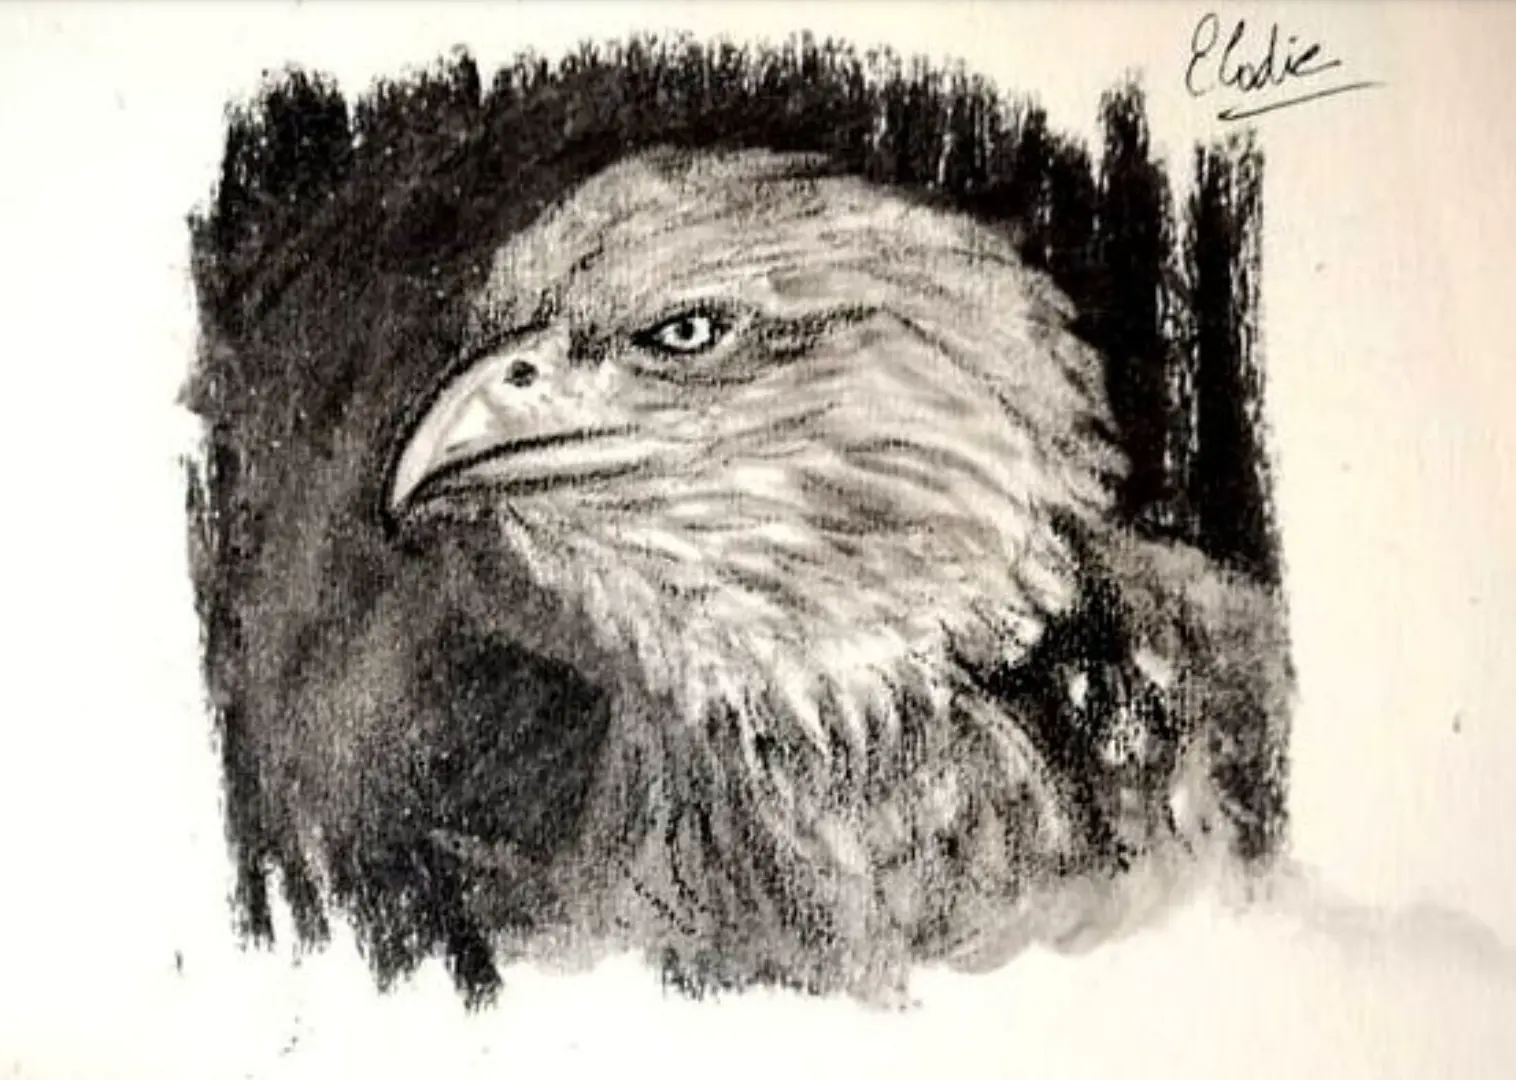
Personally, I use stick charcoal to contrast the drawings. The black is intense and helps to bring out the drawing. Below is another drawing that I made using stick charcoal for the background. You can see that the black comes out very well and helps to highlight the eagle at the center of the drawing.
Charcoal pencils
Just as pencils have degrees of hardness (2H, 2B, etc), charcoal pencils are available in soft, medium, and hard versions. This indicates the intensity of the pencil. You should use soft charcoal pencils for rough sketches and fine details, and medium or hard charcoals to emphasize certain parts of the drawing.
The different charcoal techniques
Sharpening your charcoal
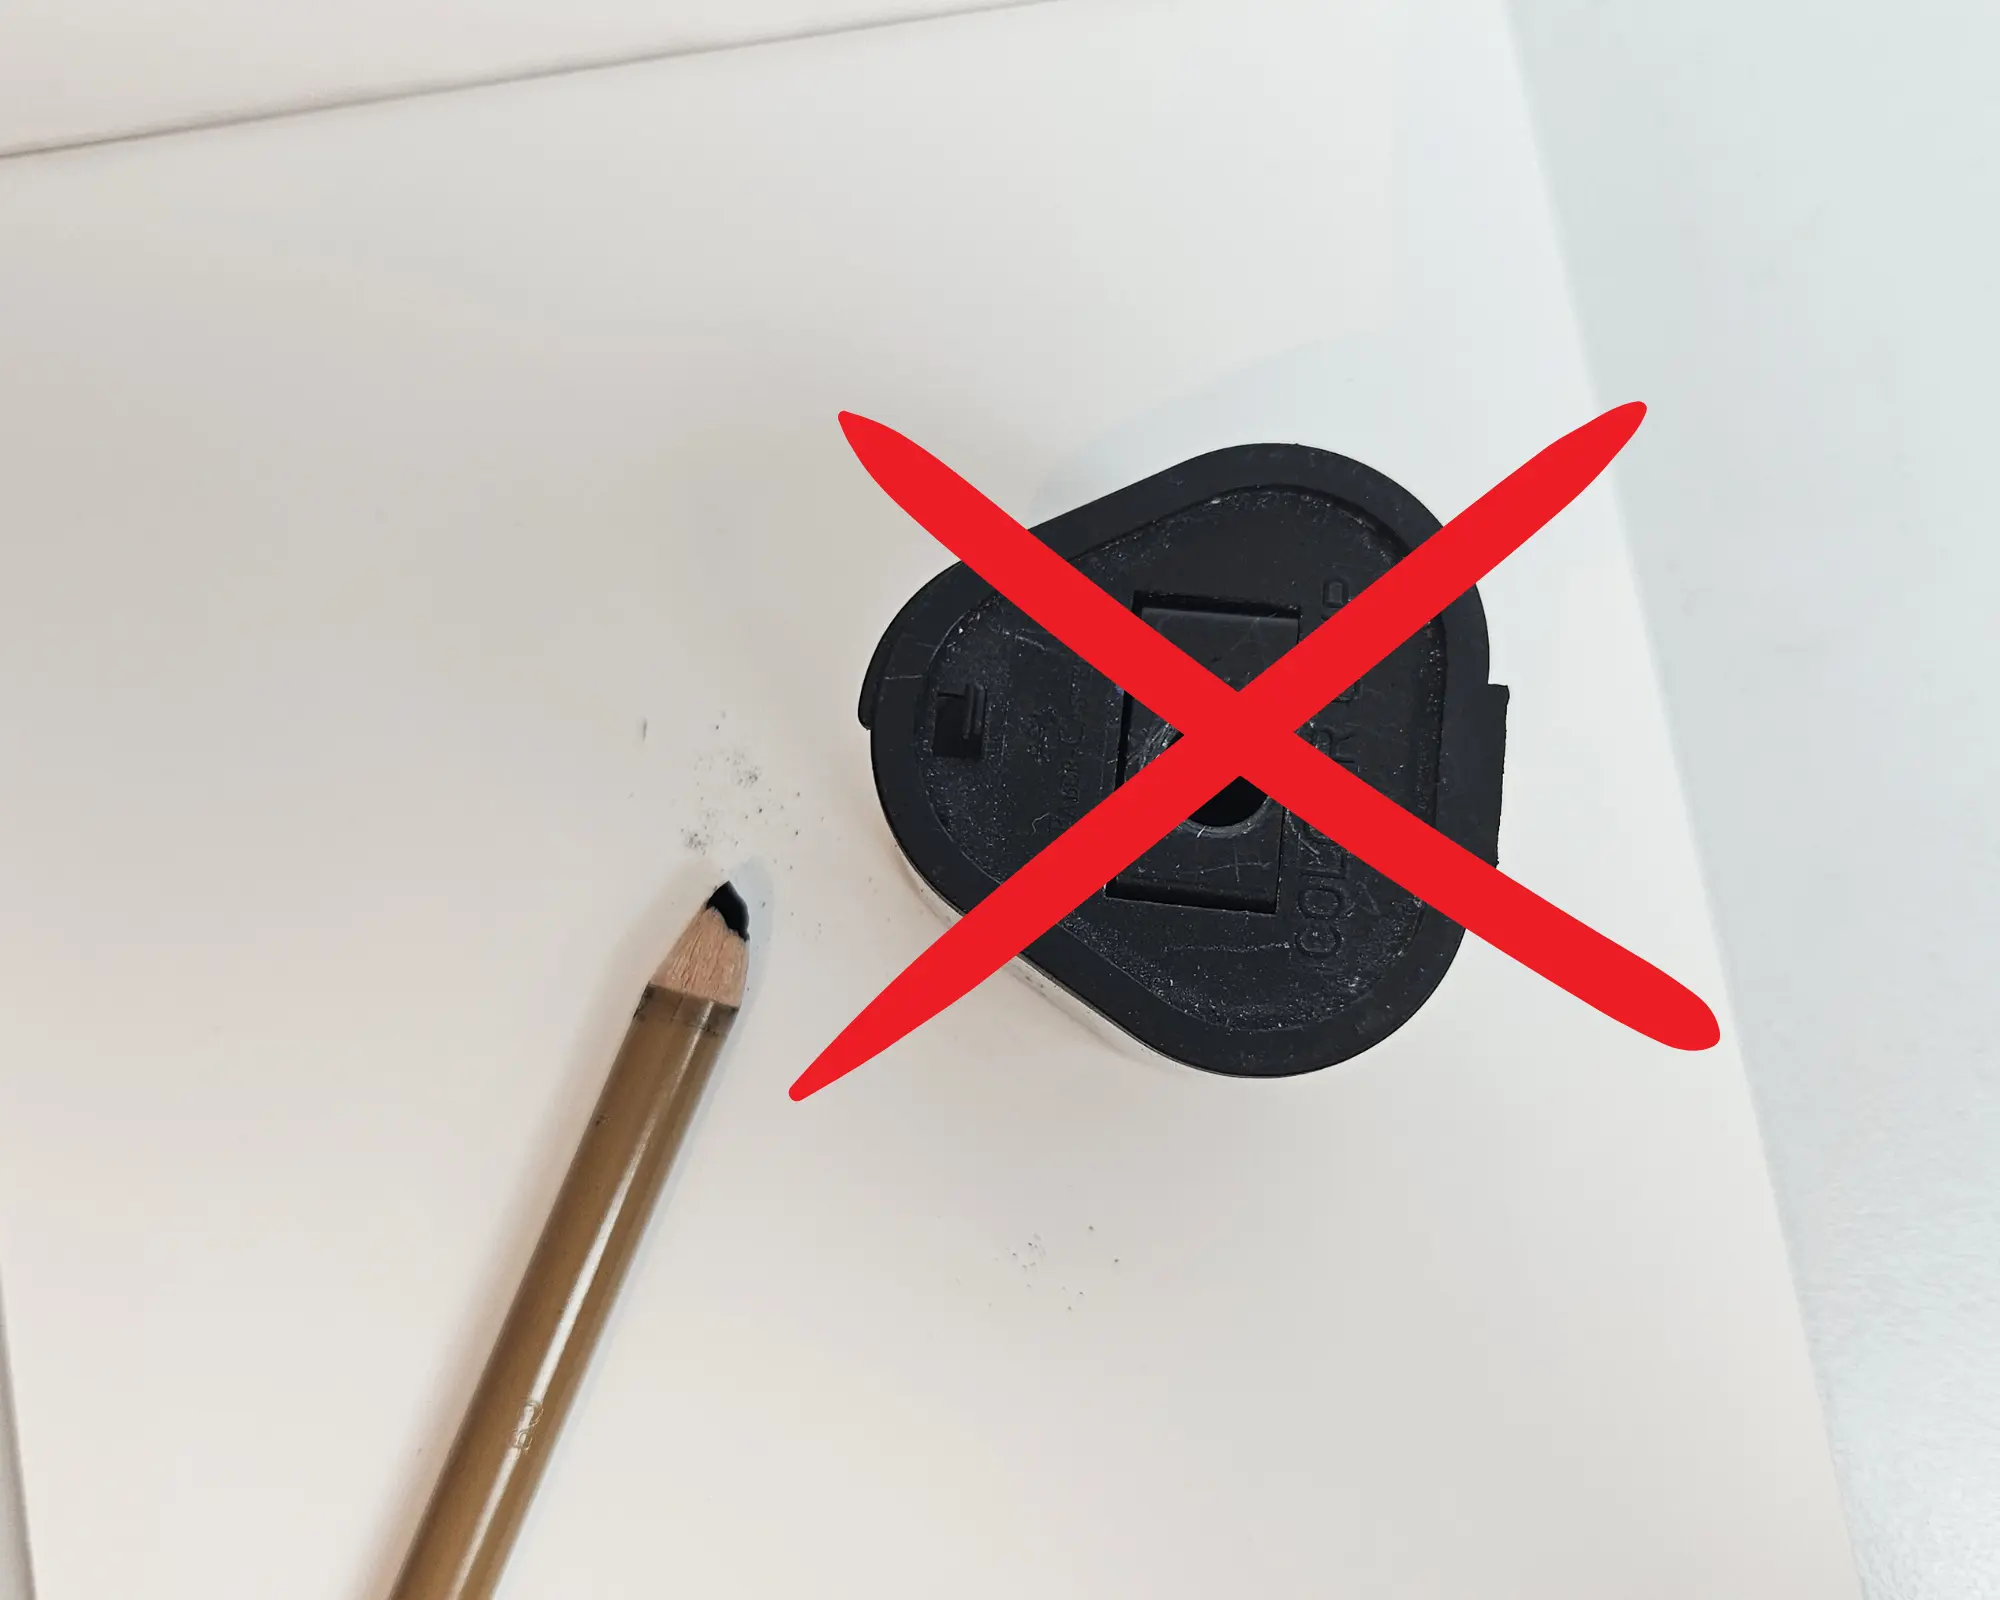
In order to properly sharpen your charcoal, whether it is stick charcoal or pencil charcoal, it is recommended not to use a traditional pencil sharpener. Indeed, charcoal is fragile and breaks very easily when using a pencil sharpener due to the rotation and force applied.
I recommend that you first sharpen your pencil or stick with a cutter. Be careful not to cut yourself. You can start from the bottom up and rub the tip of your cutter. This can be quite lengthy and messy, so protect your table.

Once the lead appears, you can sharpen the pencil or charcoal as you wish using sandpaper. You can rub the charcoal, giving it the shape you desire.
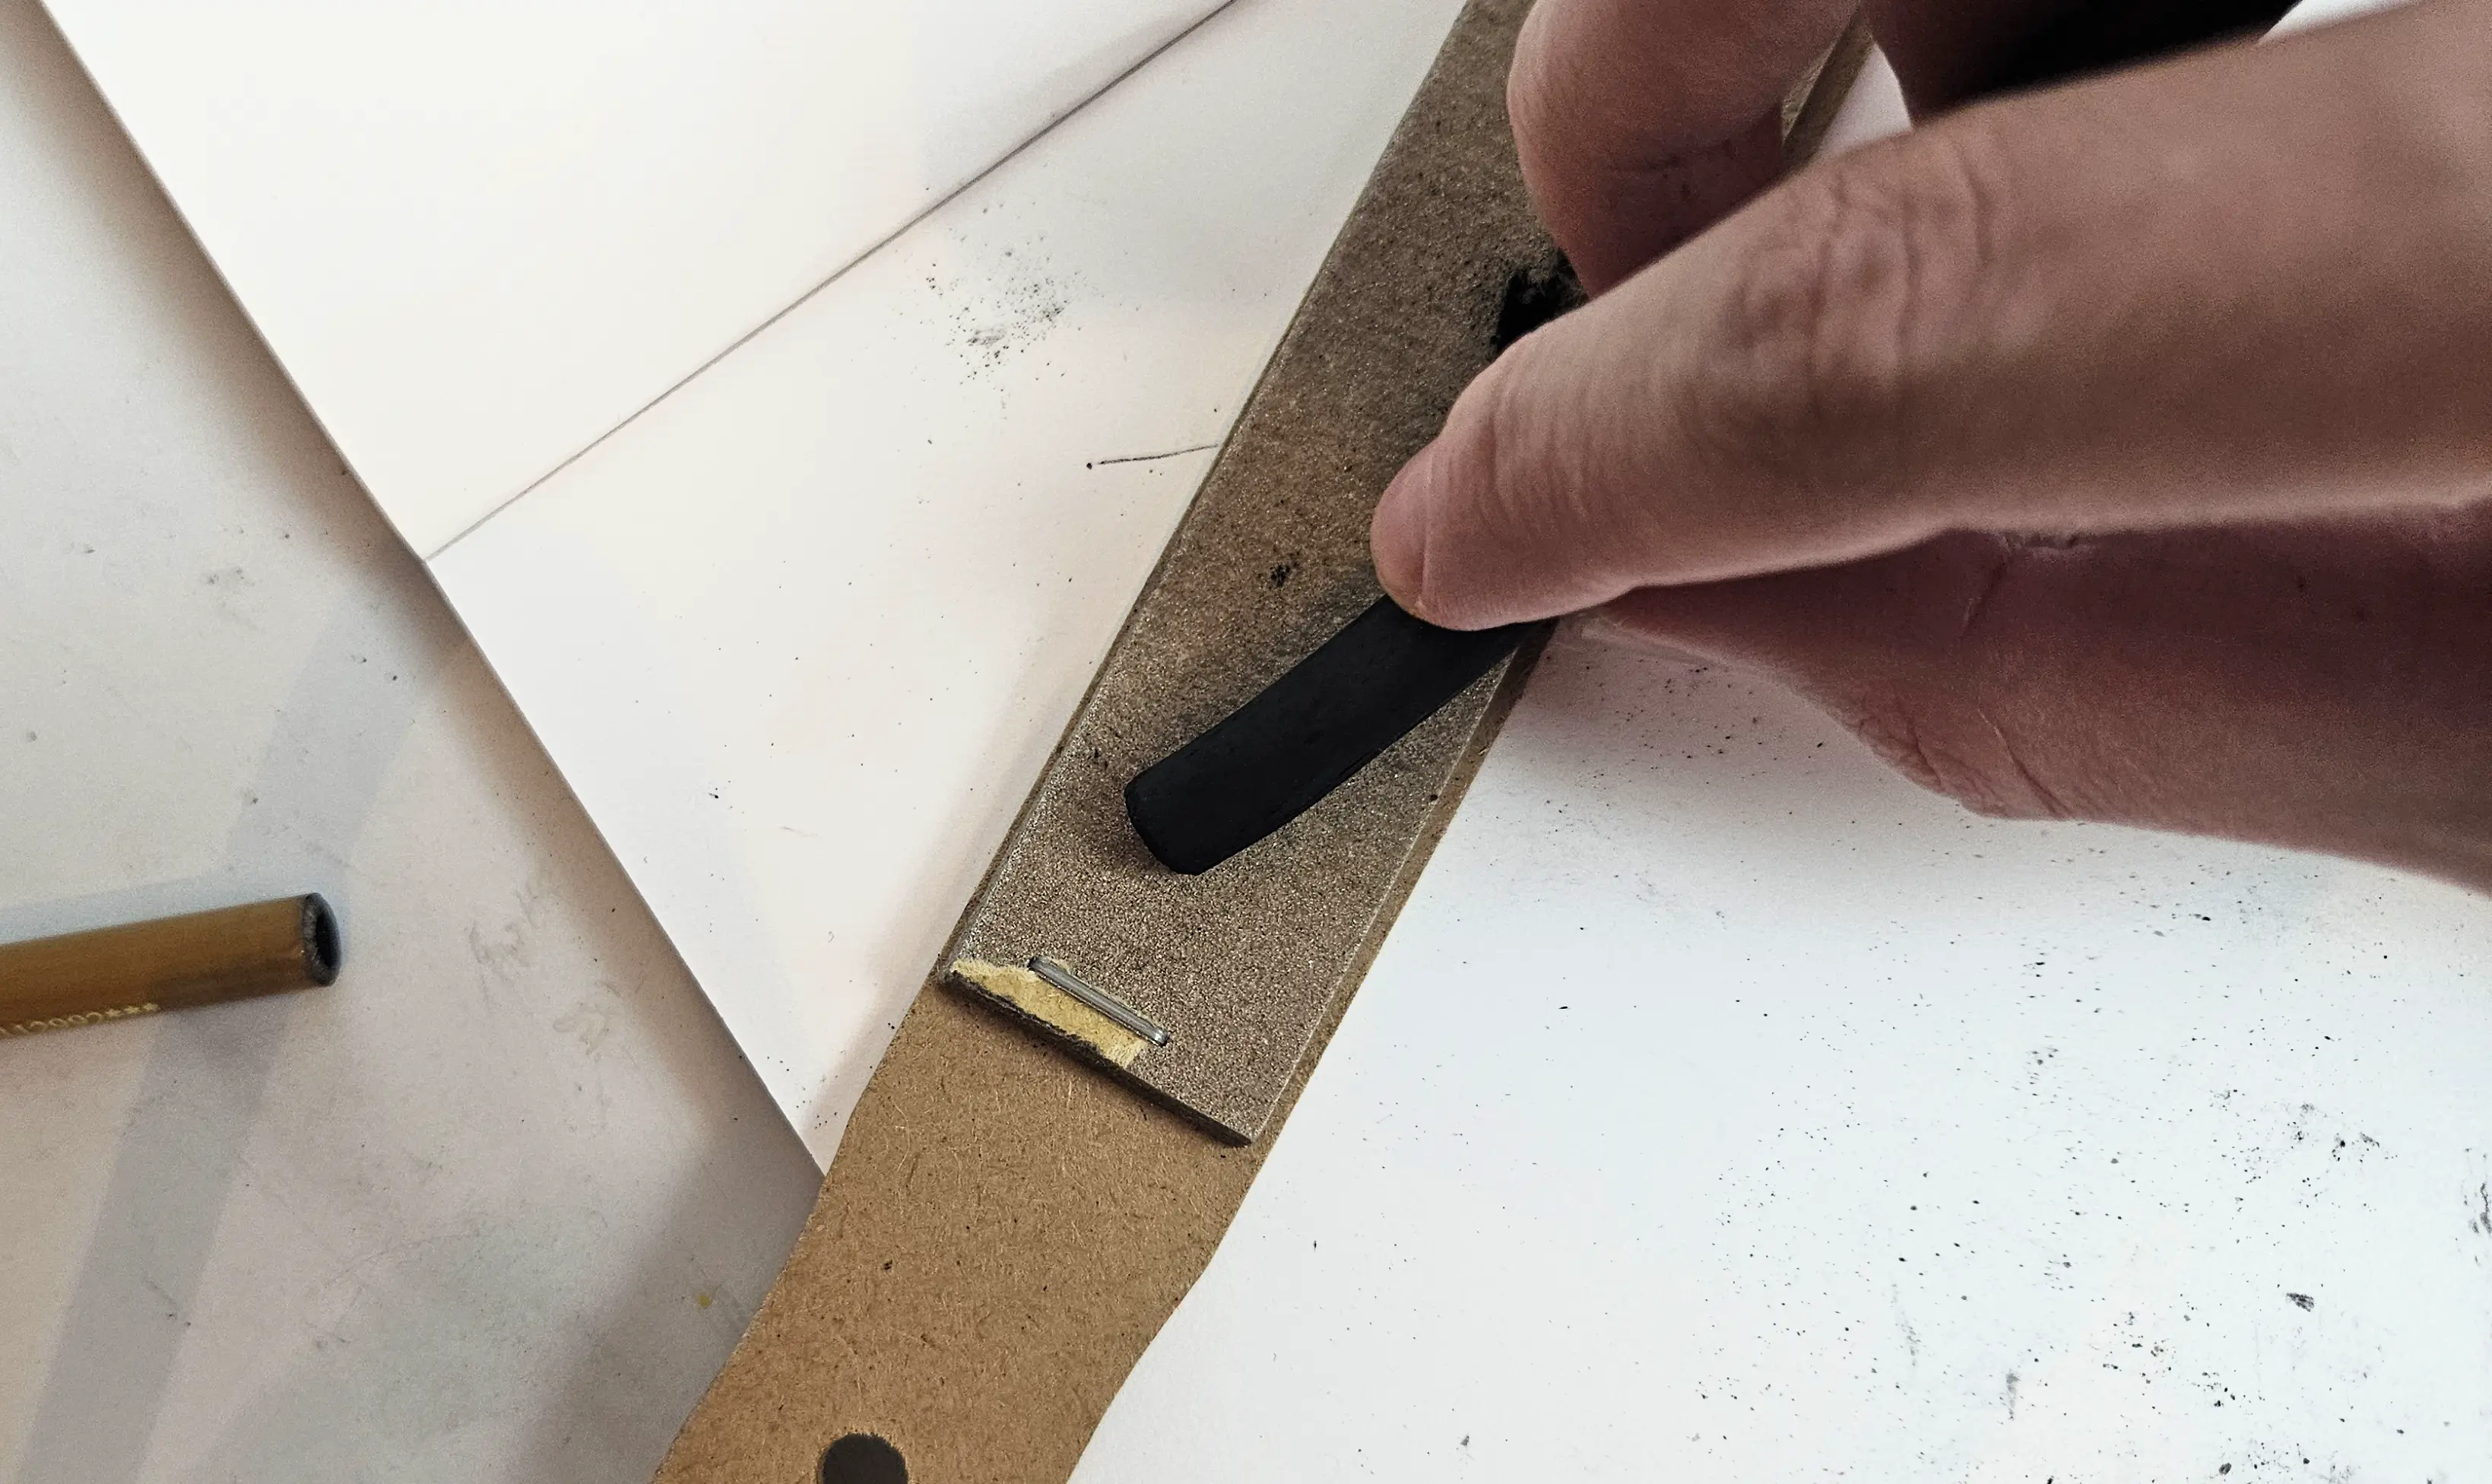
Once these 2 steps are completed, you can have more or less fine charcoal.

Quick sketch
We can make very quick sketches with charcoal. For example, we can sketch silhouettes, landscapes, still lifes, etc. Charcoal allows us to easily lay down the shadows and highlights as well as the different volumes of a sketch.
I will not go into more detail in this article, as it's not necessarily the method I use most. But give it a try and you'll see it's very satisfying!
Smudging the charcoal
Charcoal can be smudged with a finger, a cloth, or a blending stump for smoother transitions. You can gently rub your blending stump on the pigments to slightly shift and even out the deposits.
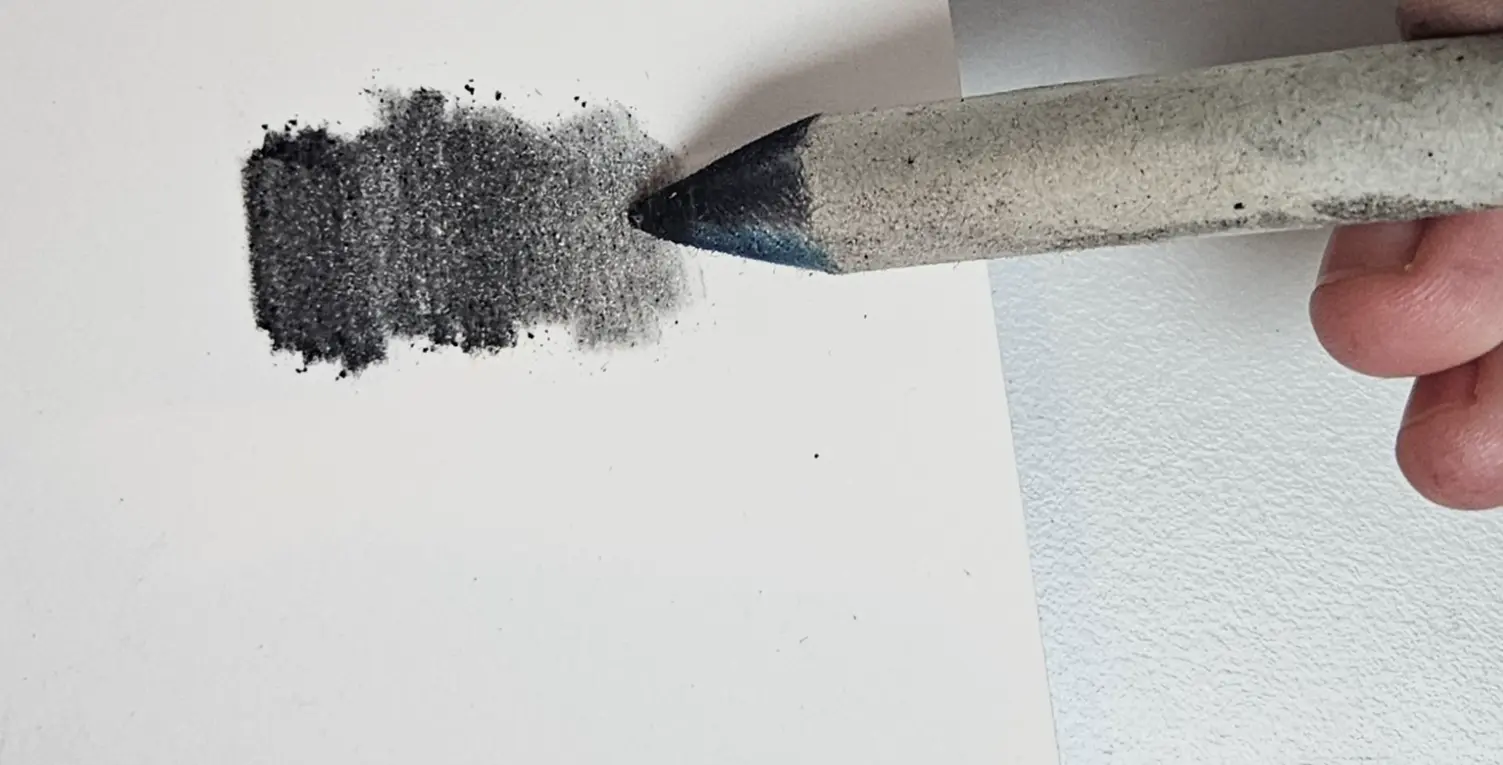
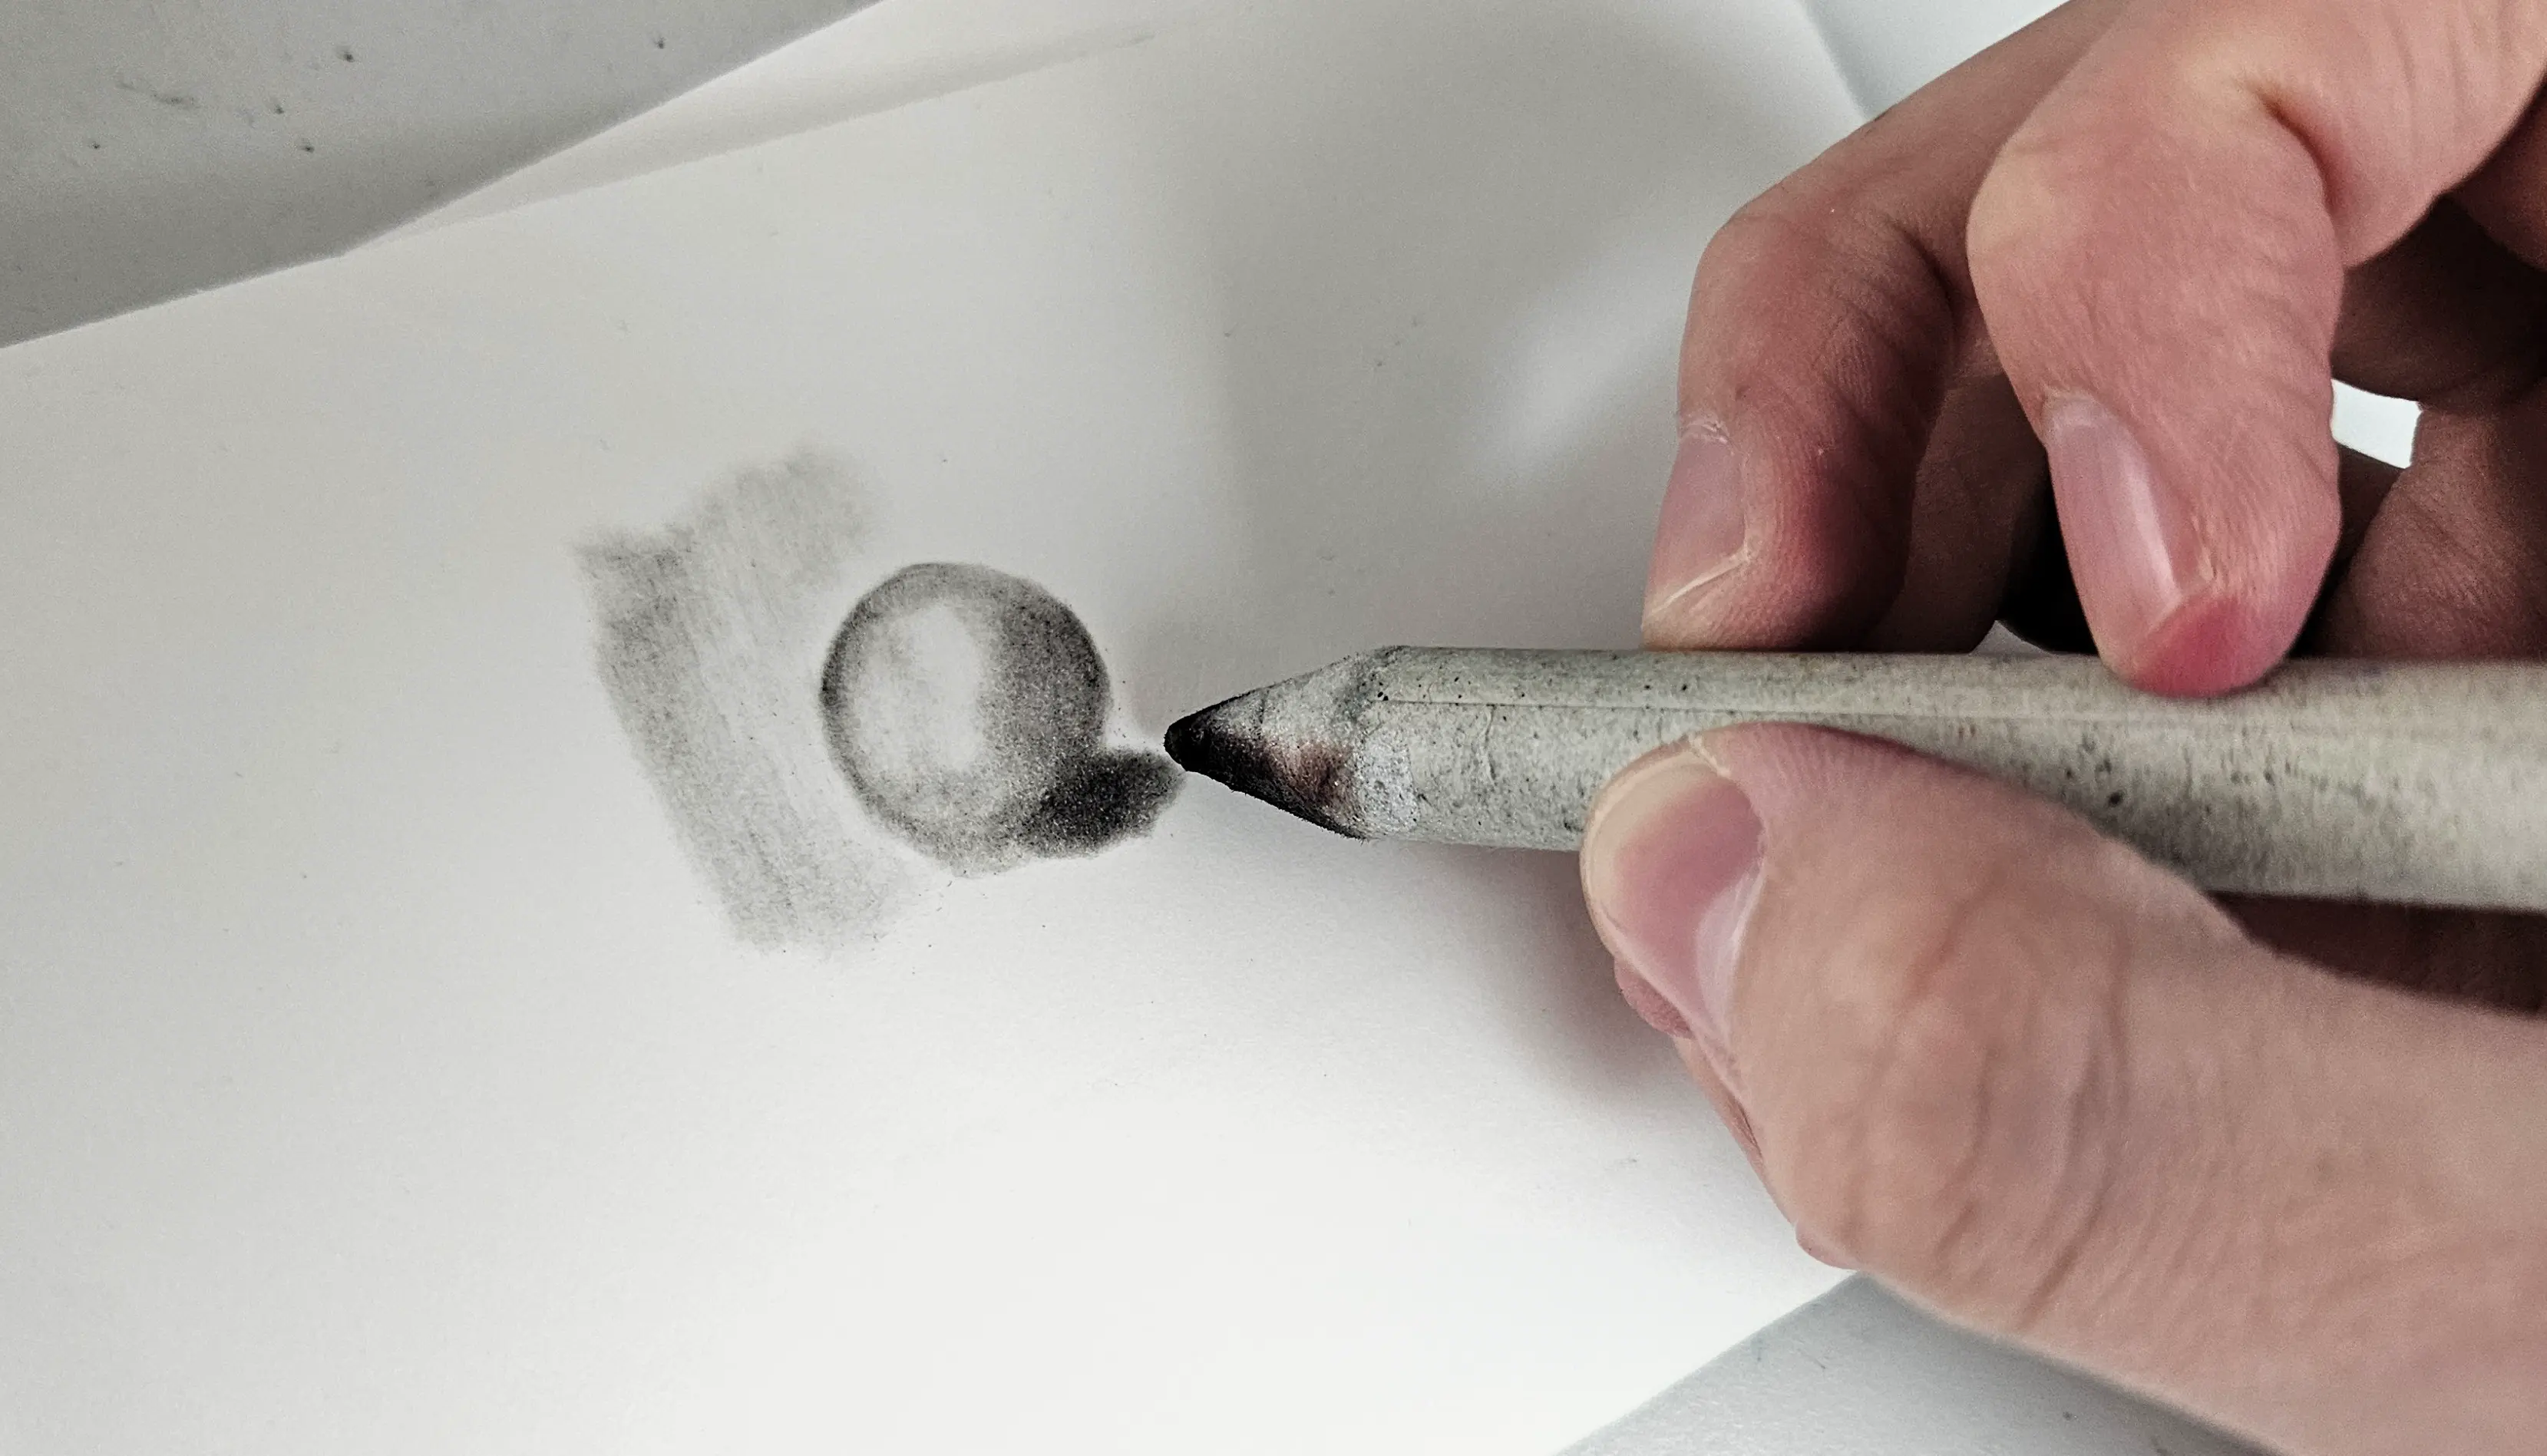
You can also use a very fine stump to be more precise. You pick up pigments on a sheet and use the stump as such, like a pencil. In this small example, I simply deposited pigments on a sheet next to it, and I used a stump like a pencil, gradually picking up the pigments.
Creating areas of shadow and light
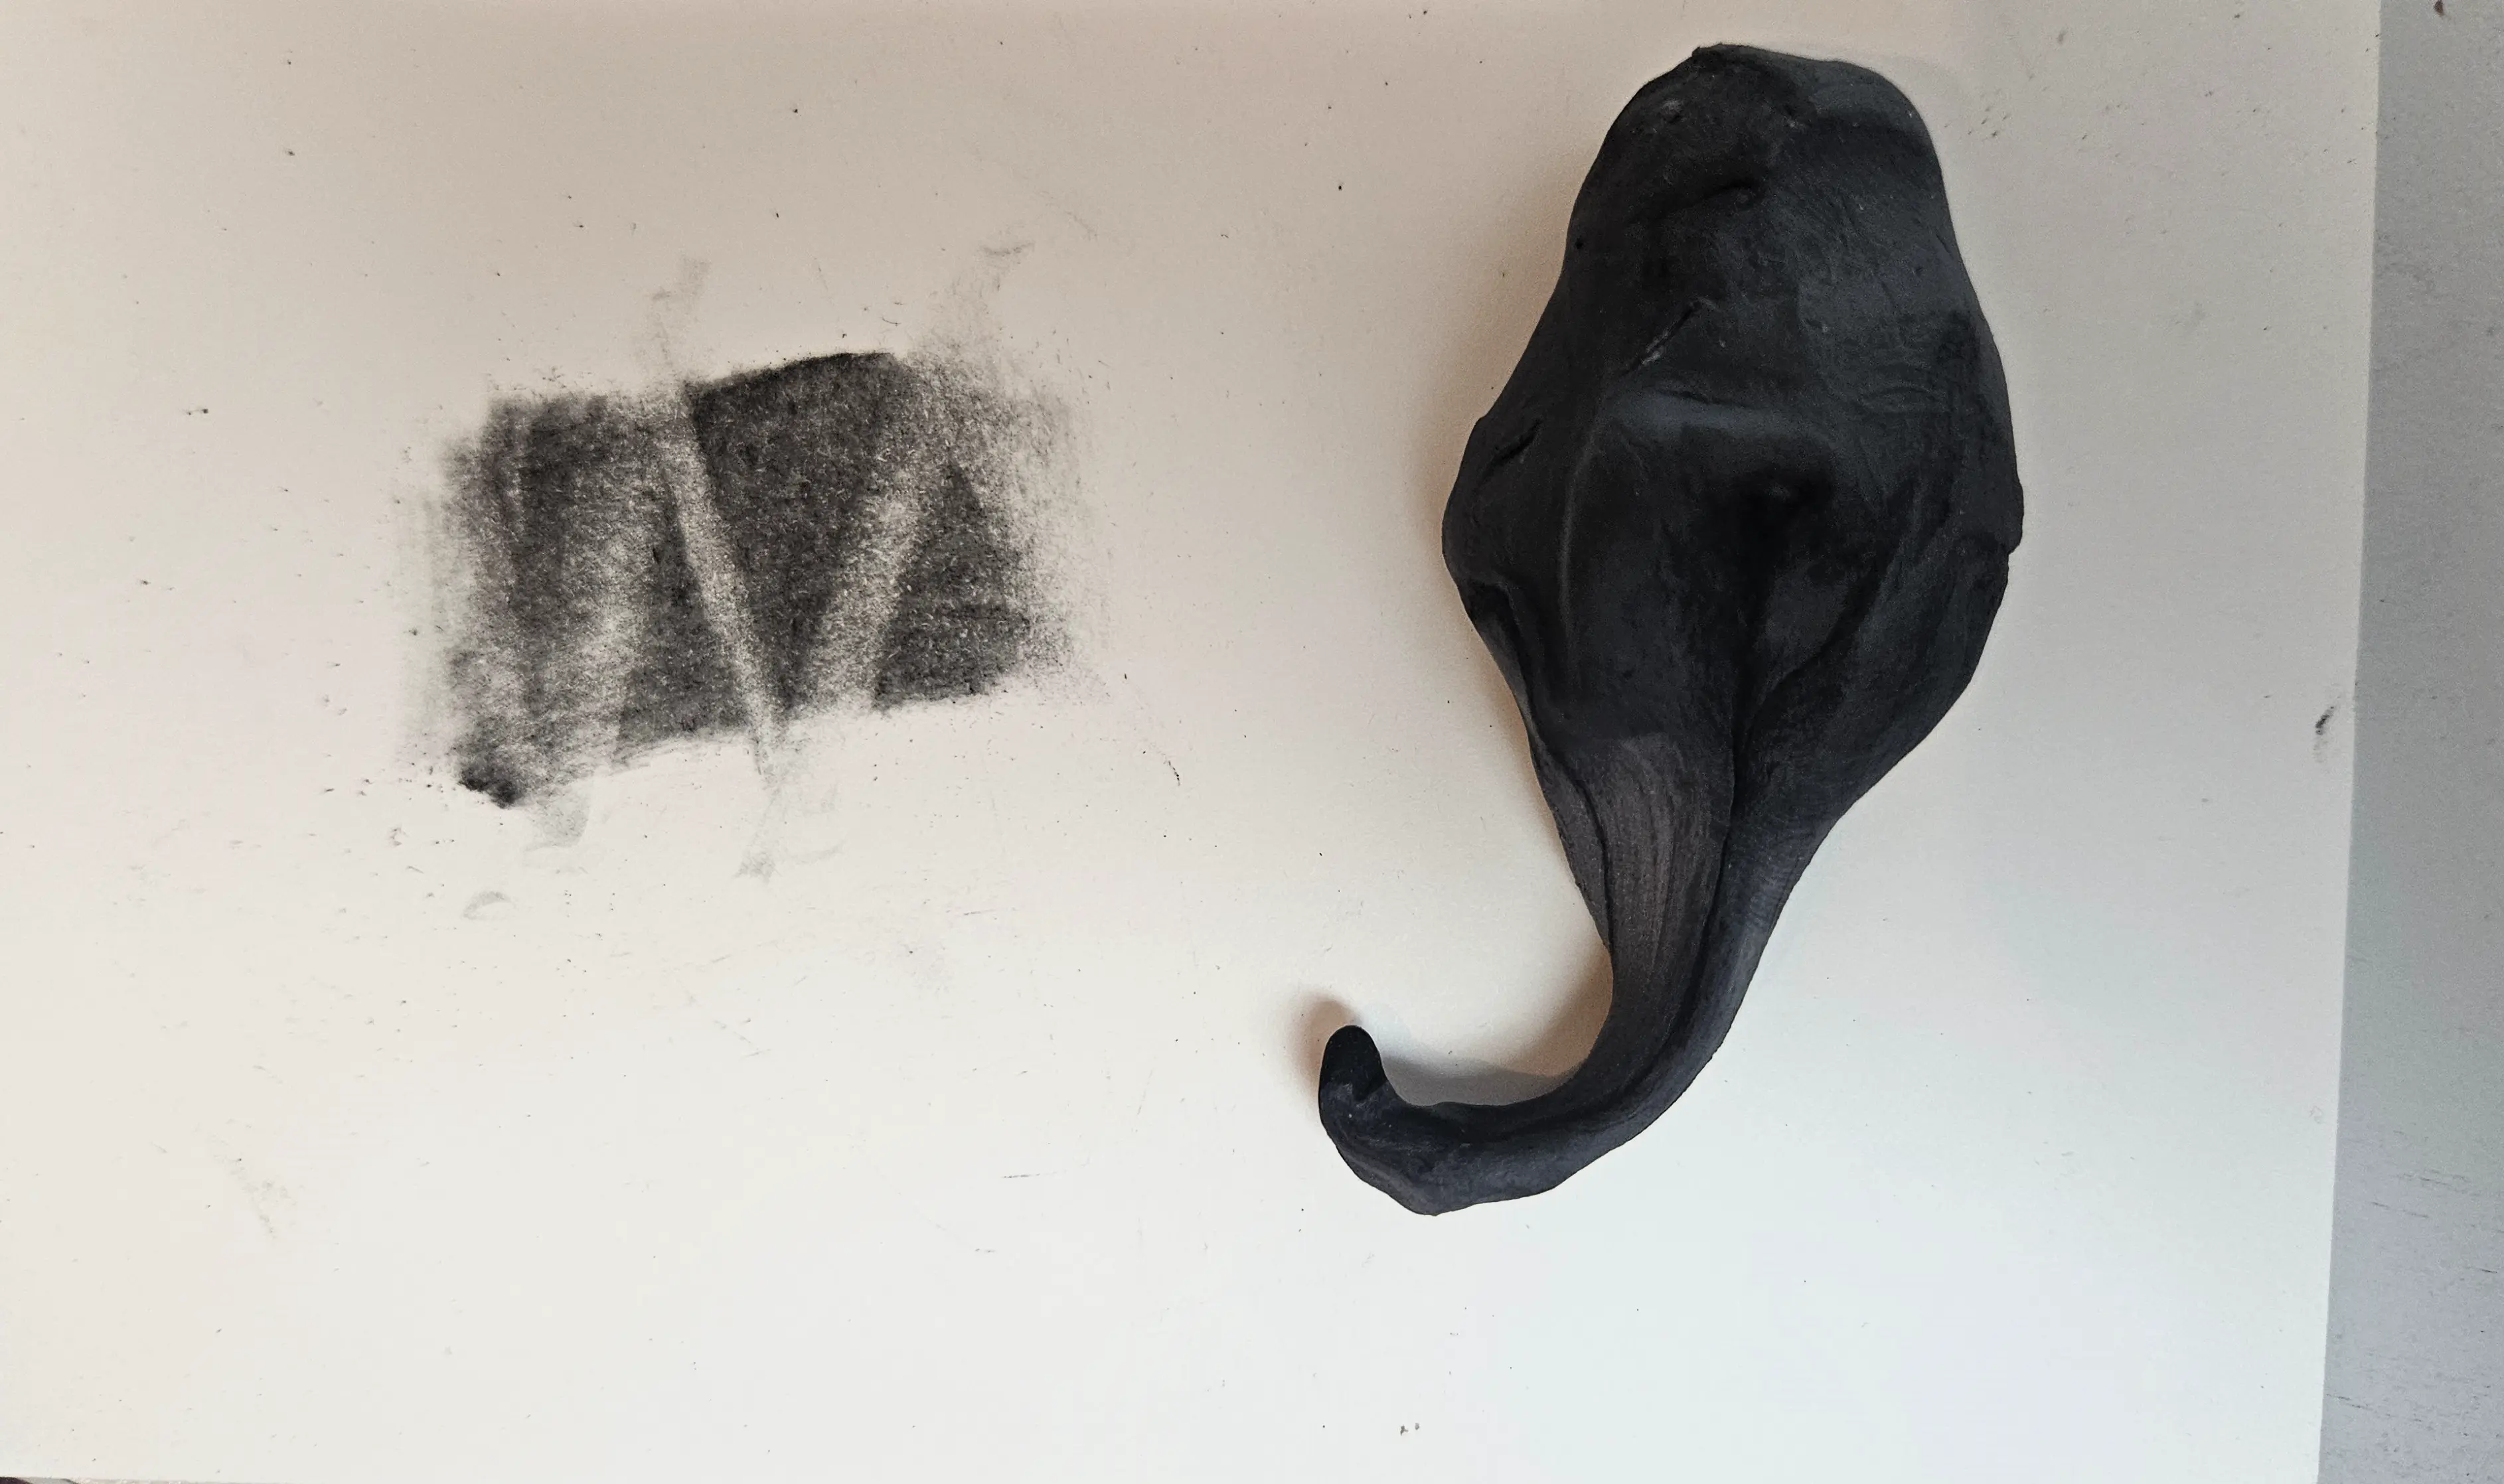
It is recommended to use a kneaded eraser to erase charcoal or to create light areas. The kneaded eraser does not damage the paper, and it picks up pigments more easily than a standard eraser. This allows you to maintain light areas in the drawing.
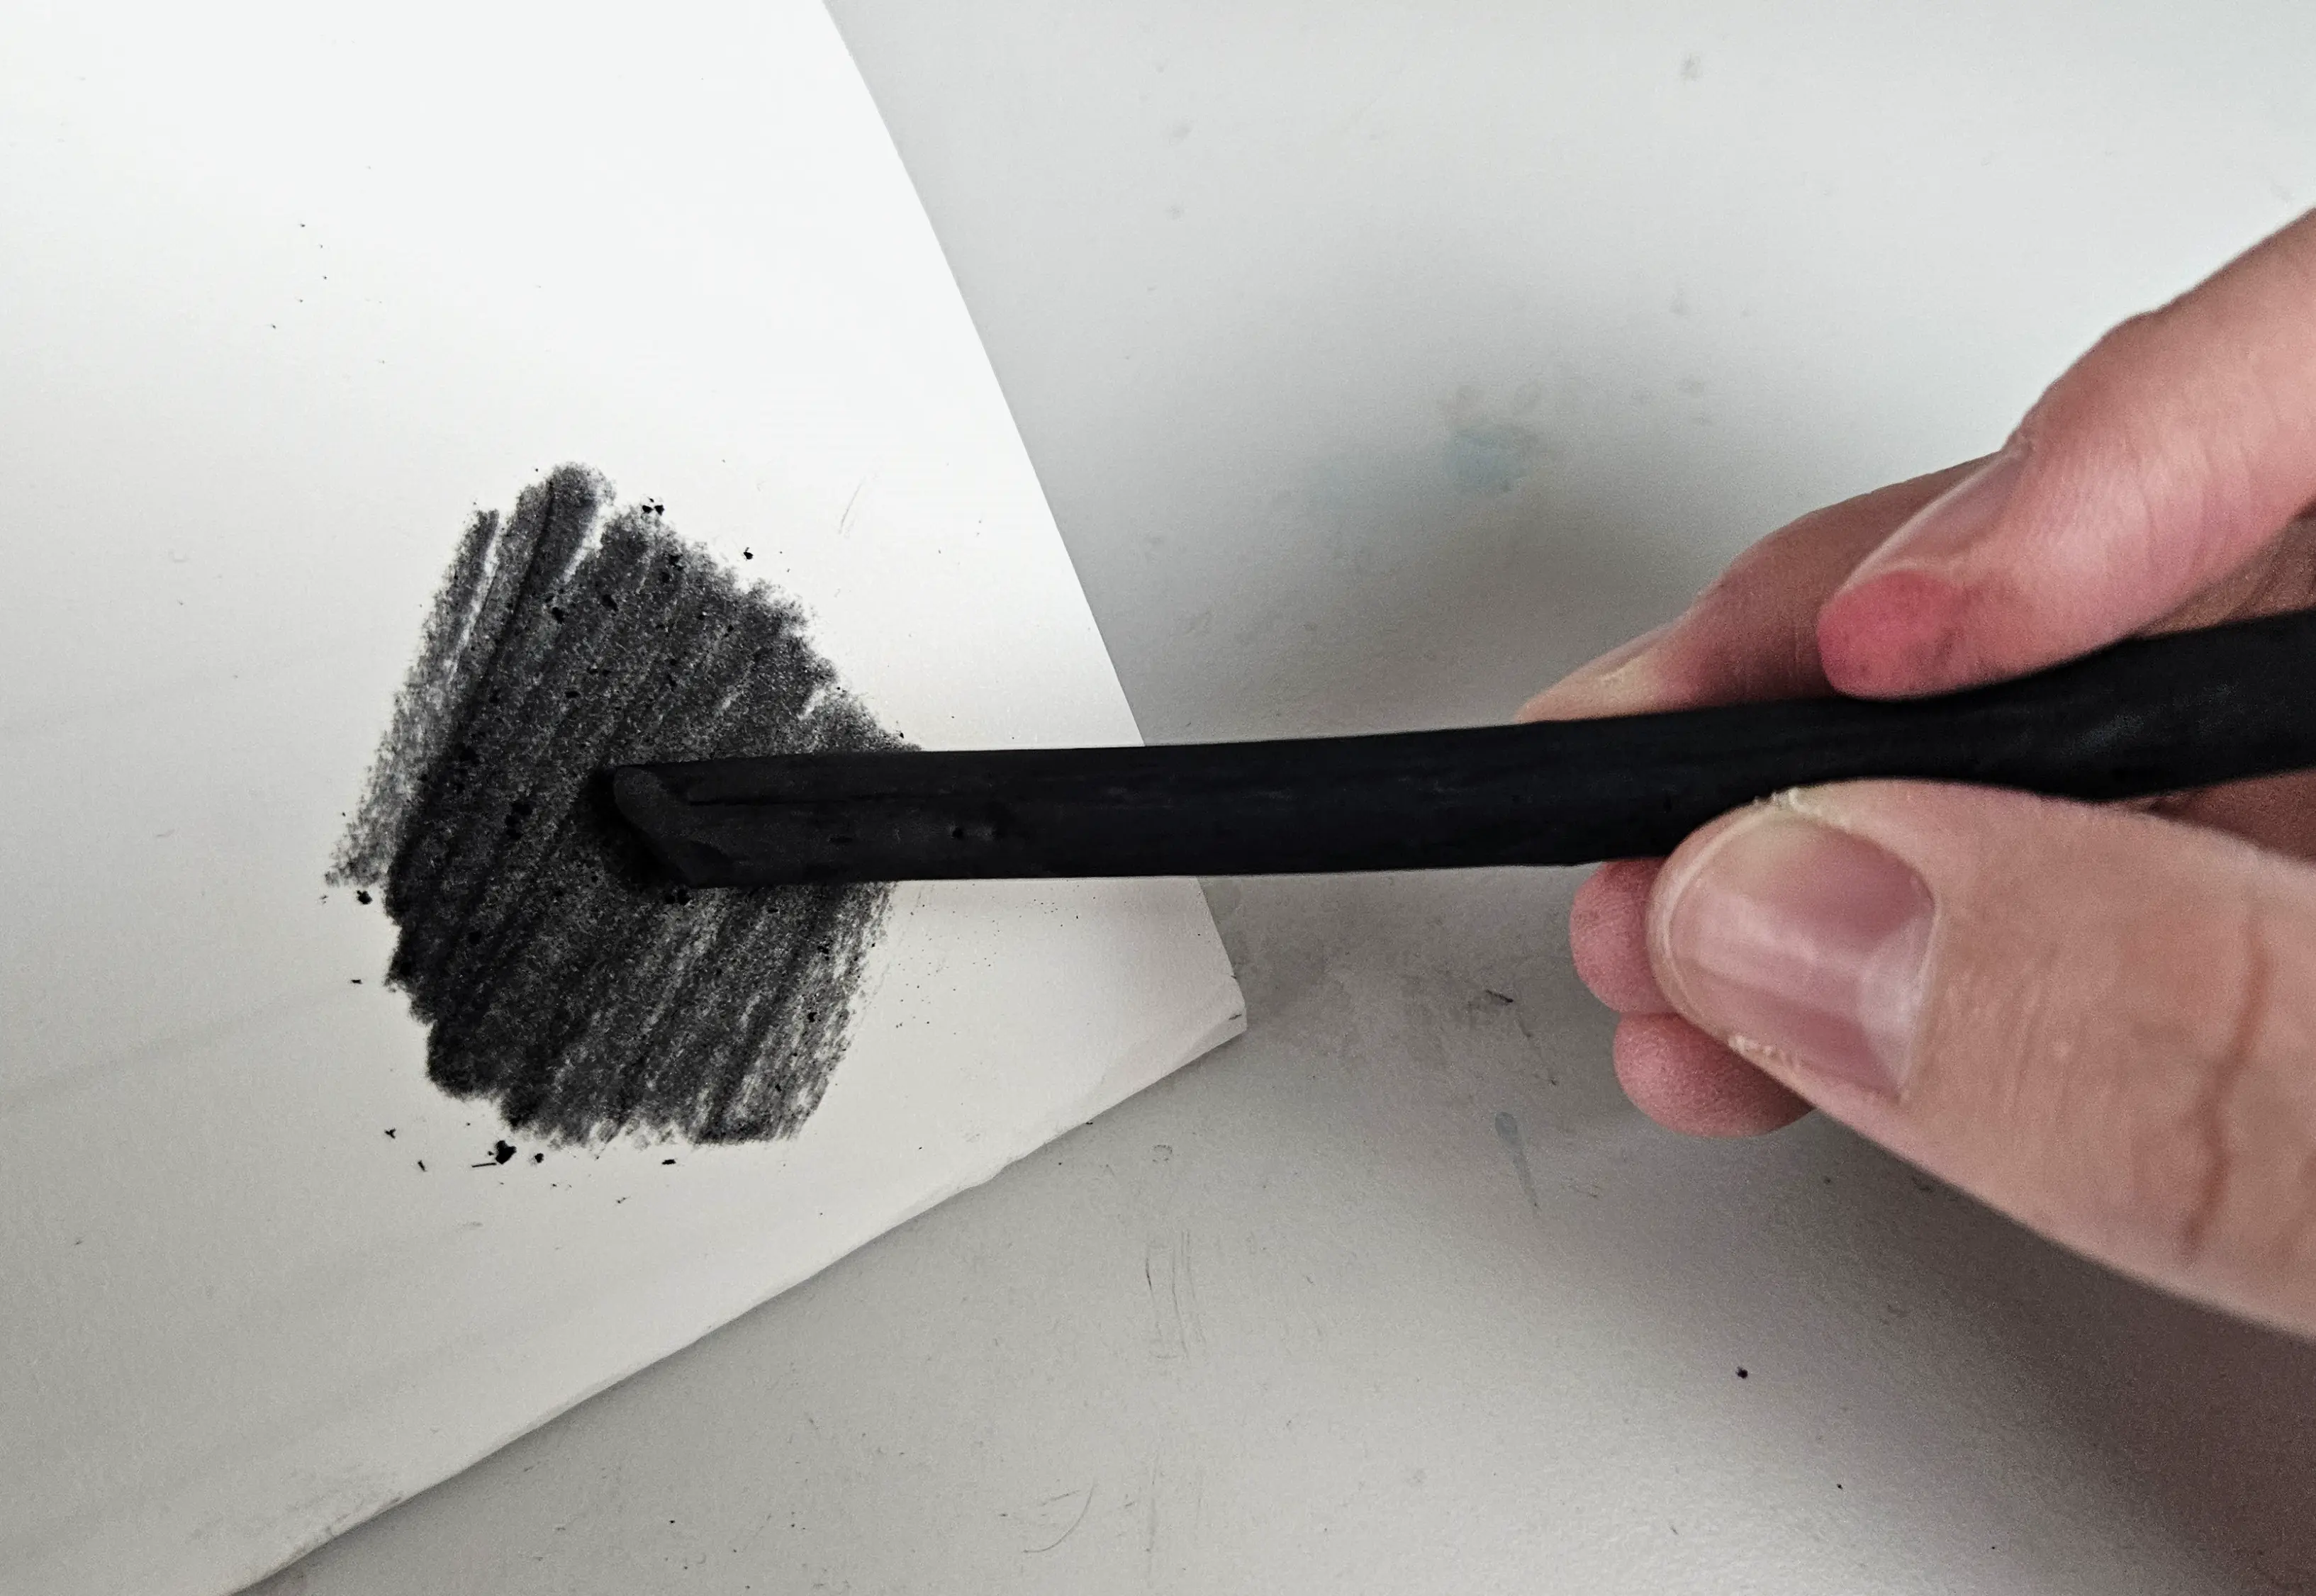
For shadow areas, it is recommended to use stick charcoal, which is much more concentrated.
Example of a charcoal drawing of an apple
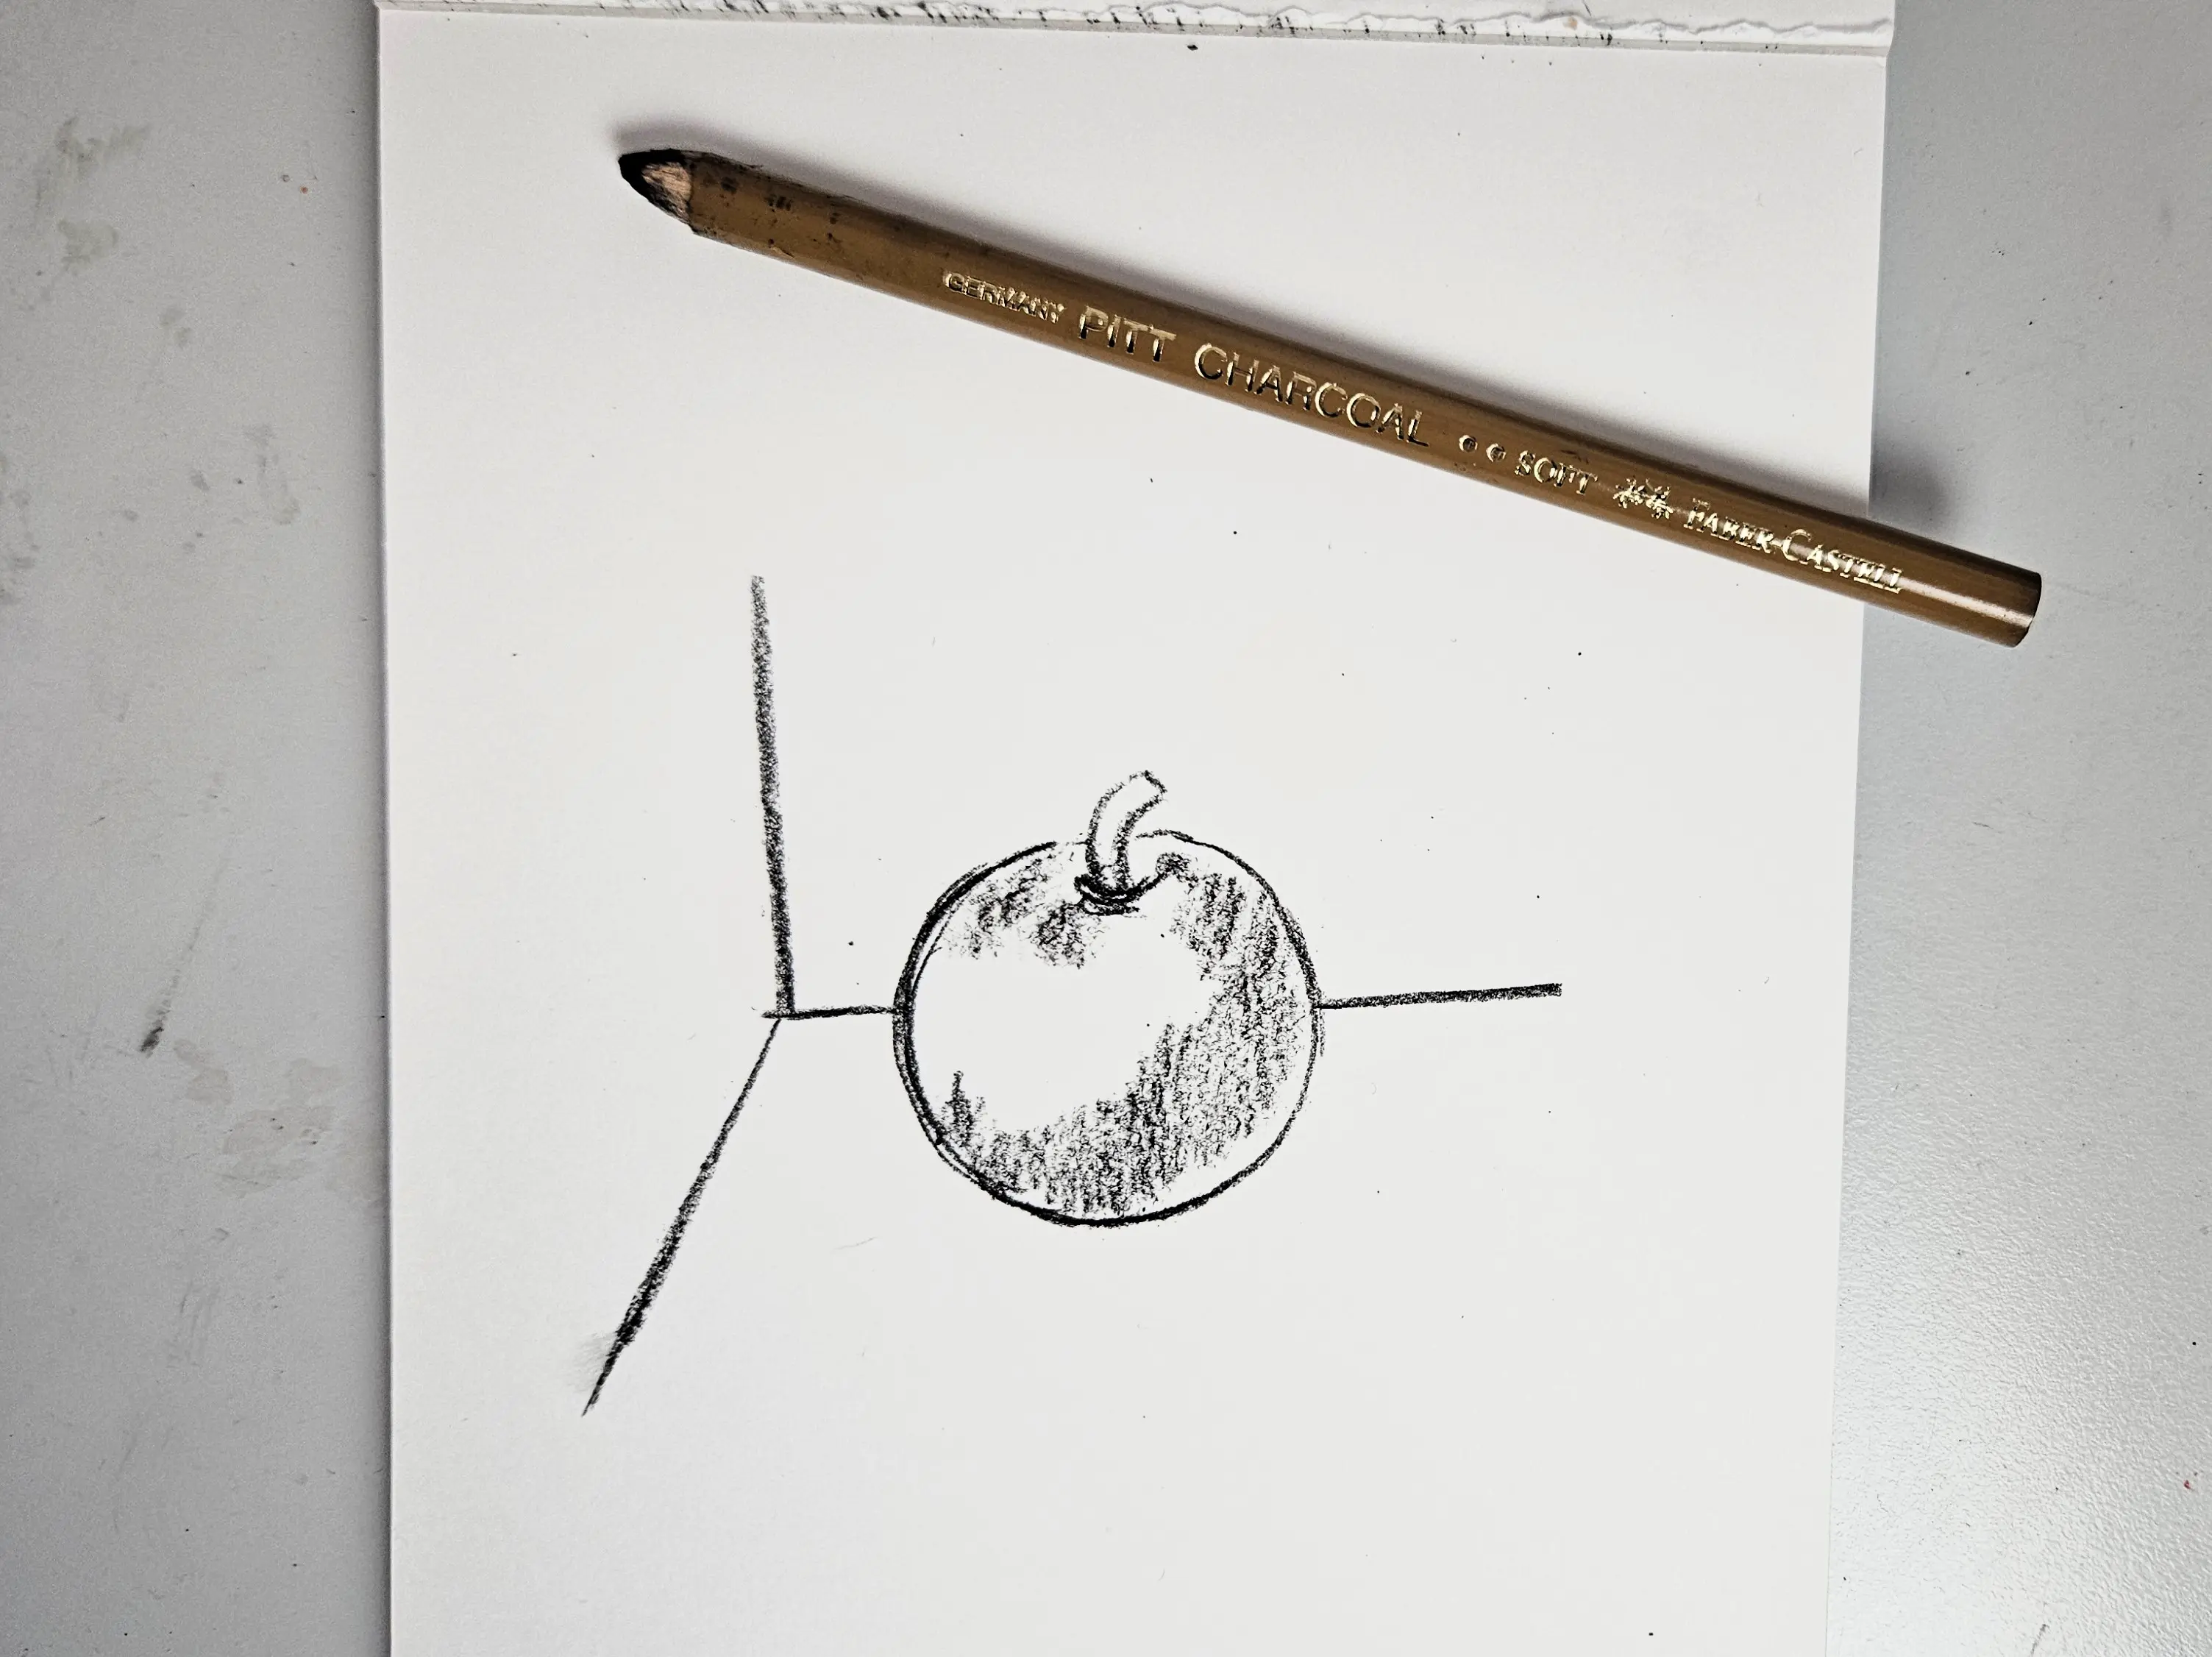
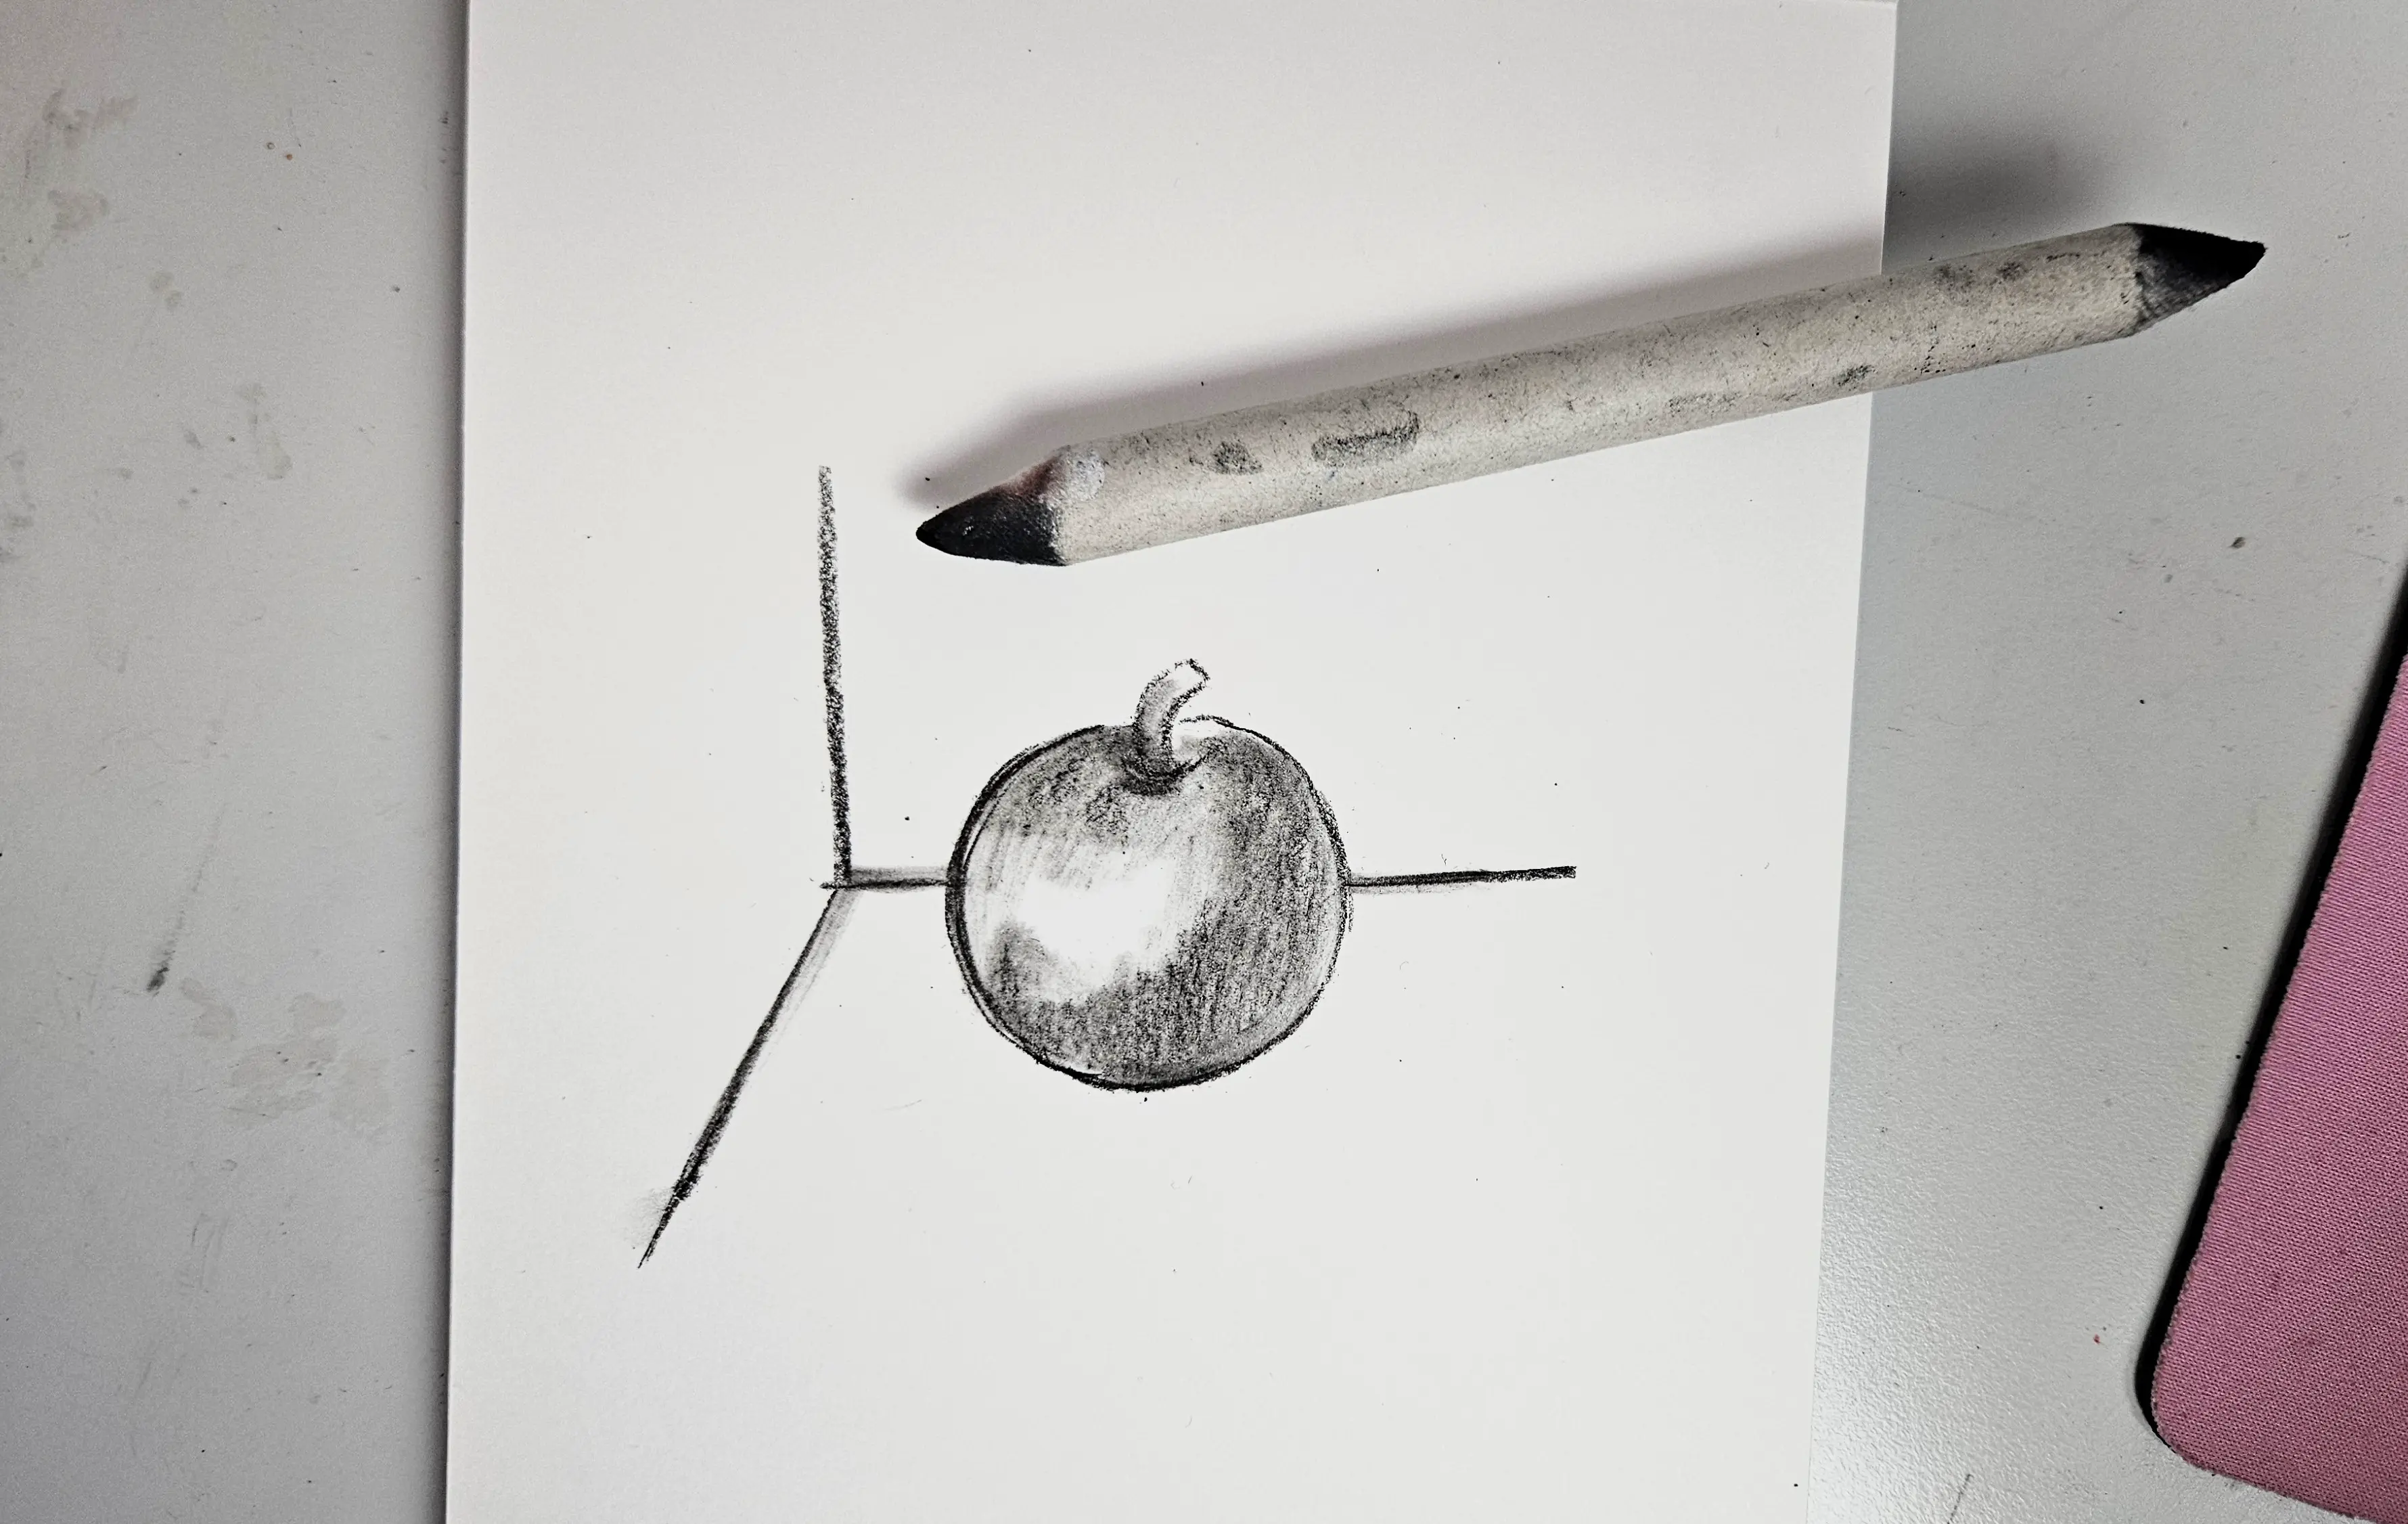
Let's use the example of an apple to better visualize the effects of shadow and light. I will quickly sketch out my apple, without pressing too hard, using my soft charcoal pencil.
I can also blur the shading if I feel the need.
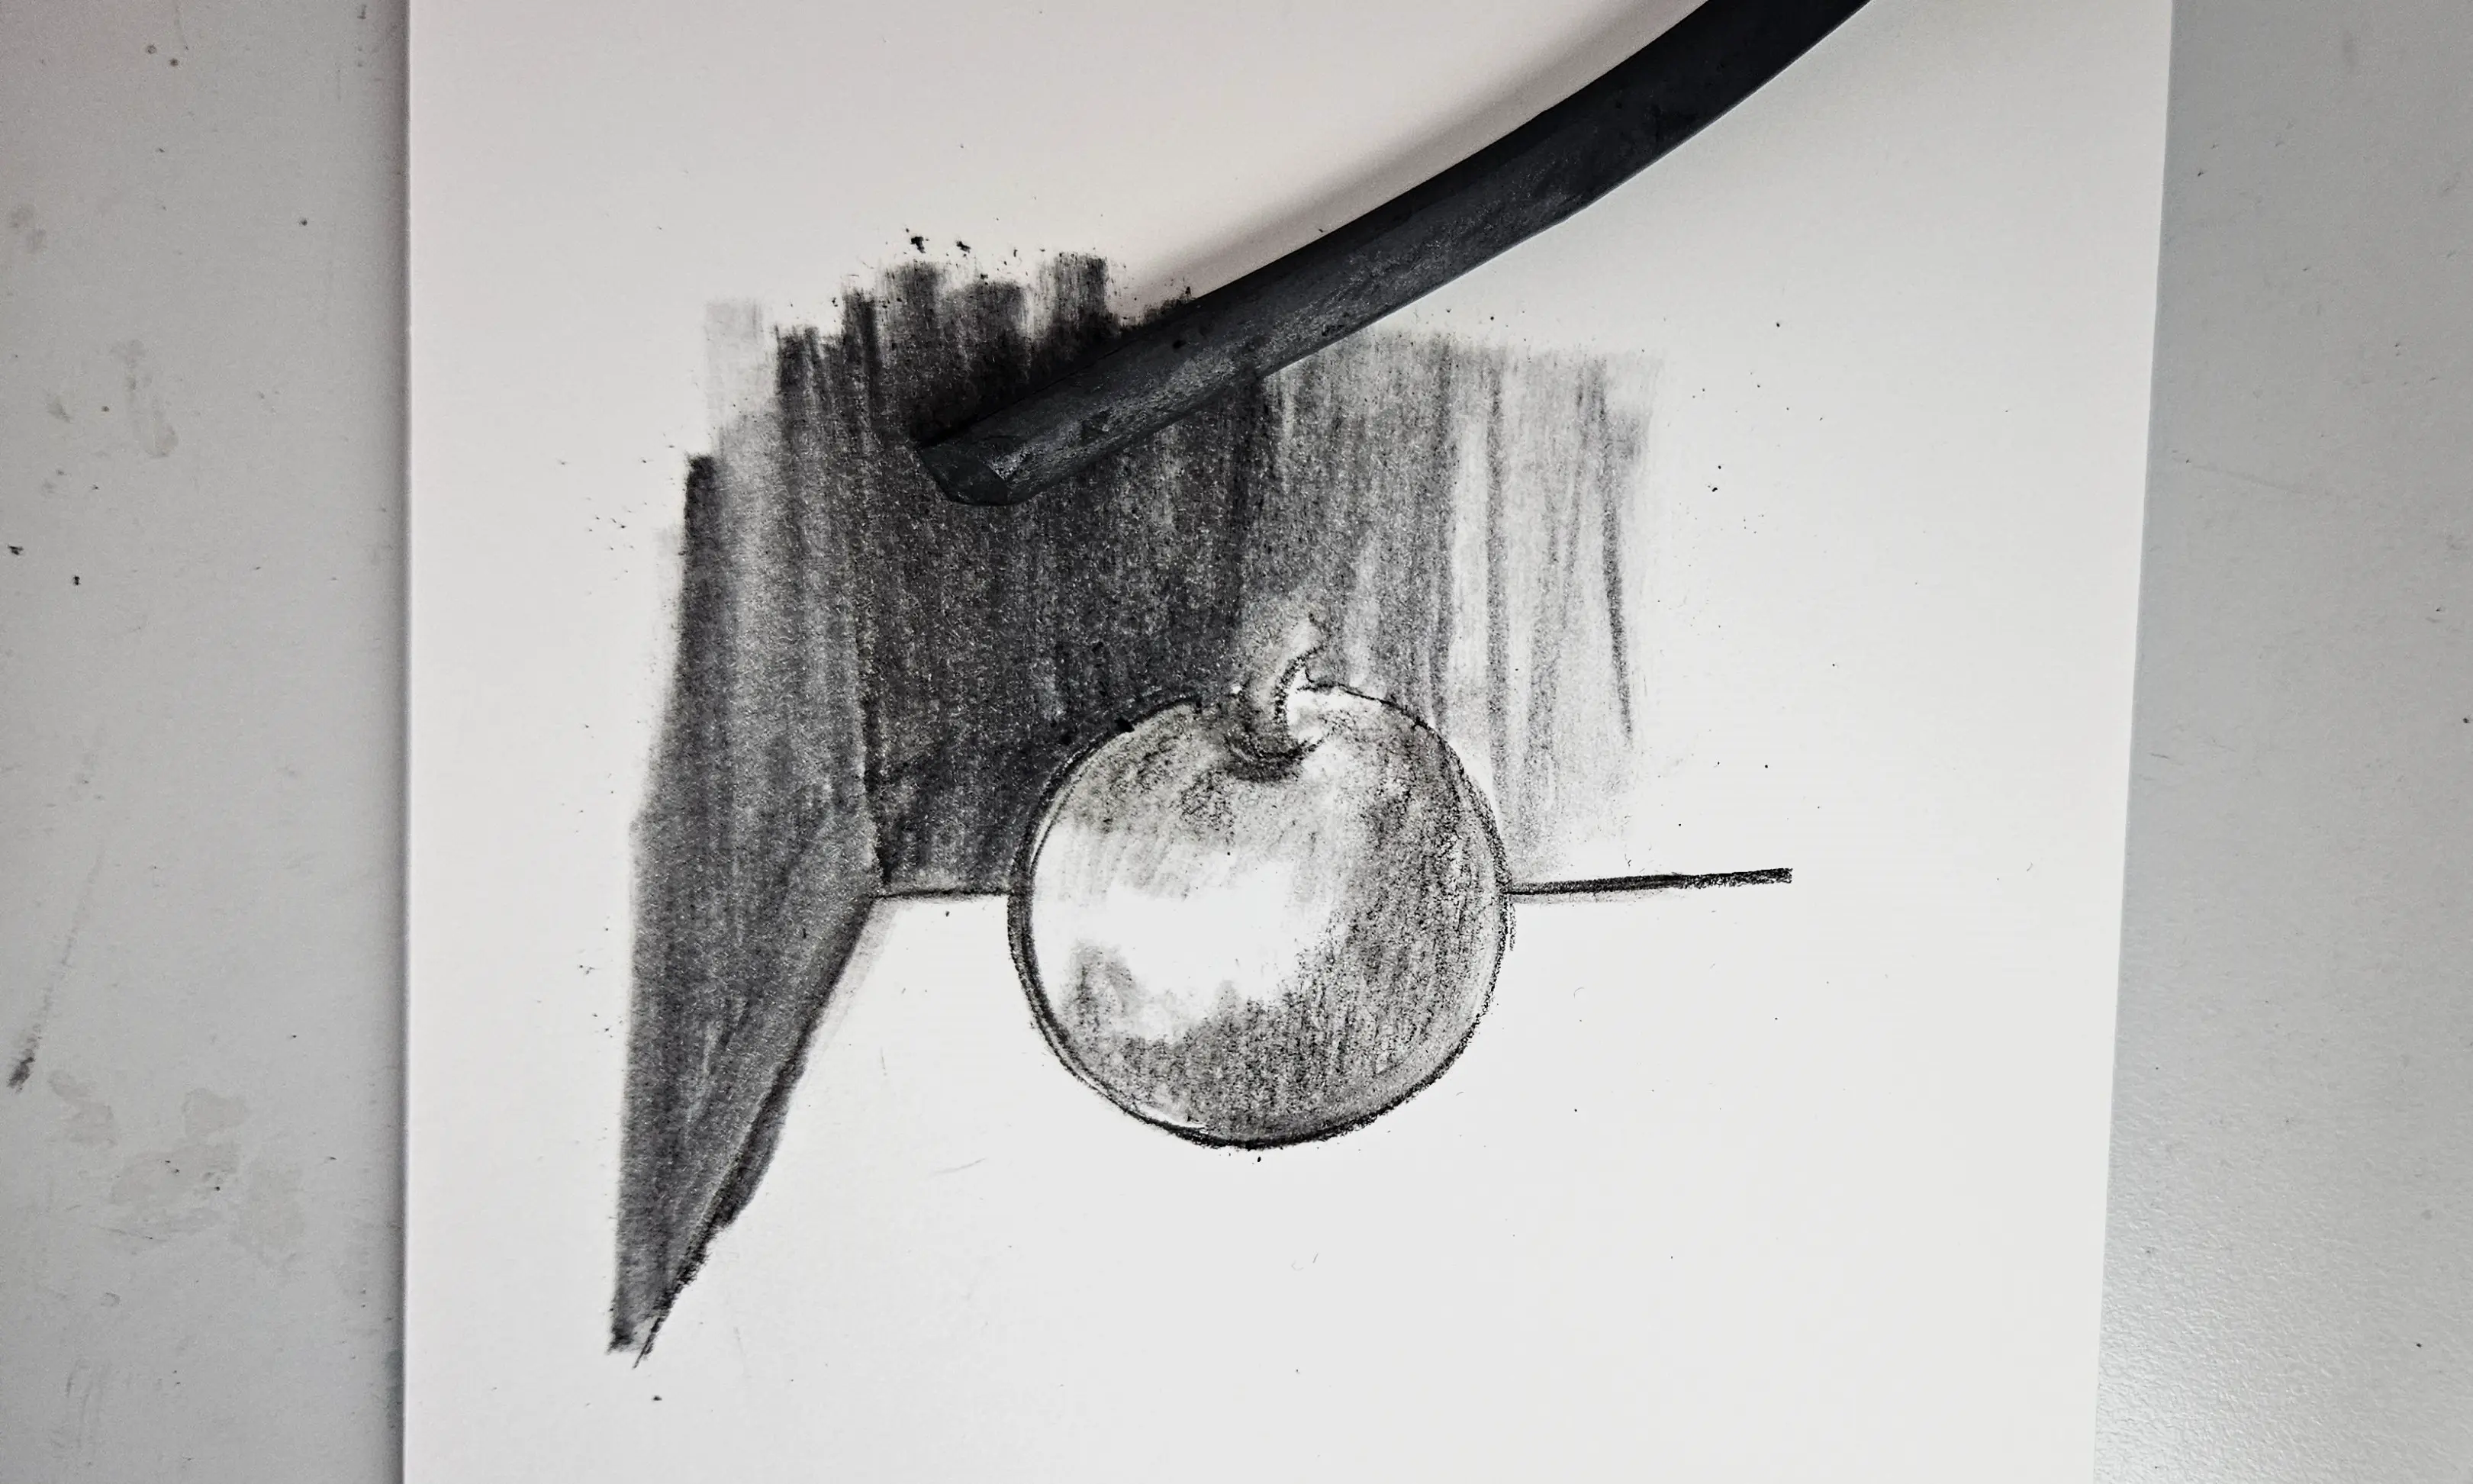
I'm going to take my kneaded eraser to create some light spots on the apple. I can also leave some white spaces from the start, which will remain more or less white.

Next, I will take my stick charcoal and color the entire left side of the background. With the light coming from the left, we will create a contrast effect between the apple, which is bright on the left, and the wall, which is very dark.
I will also create some hatches on the floor, which I can easily blur.
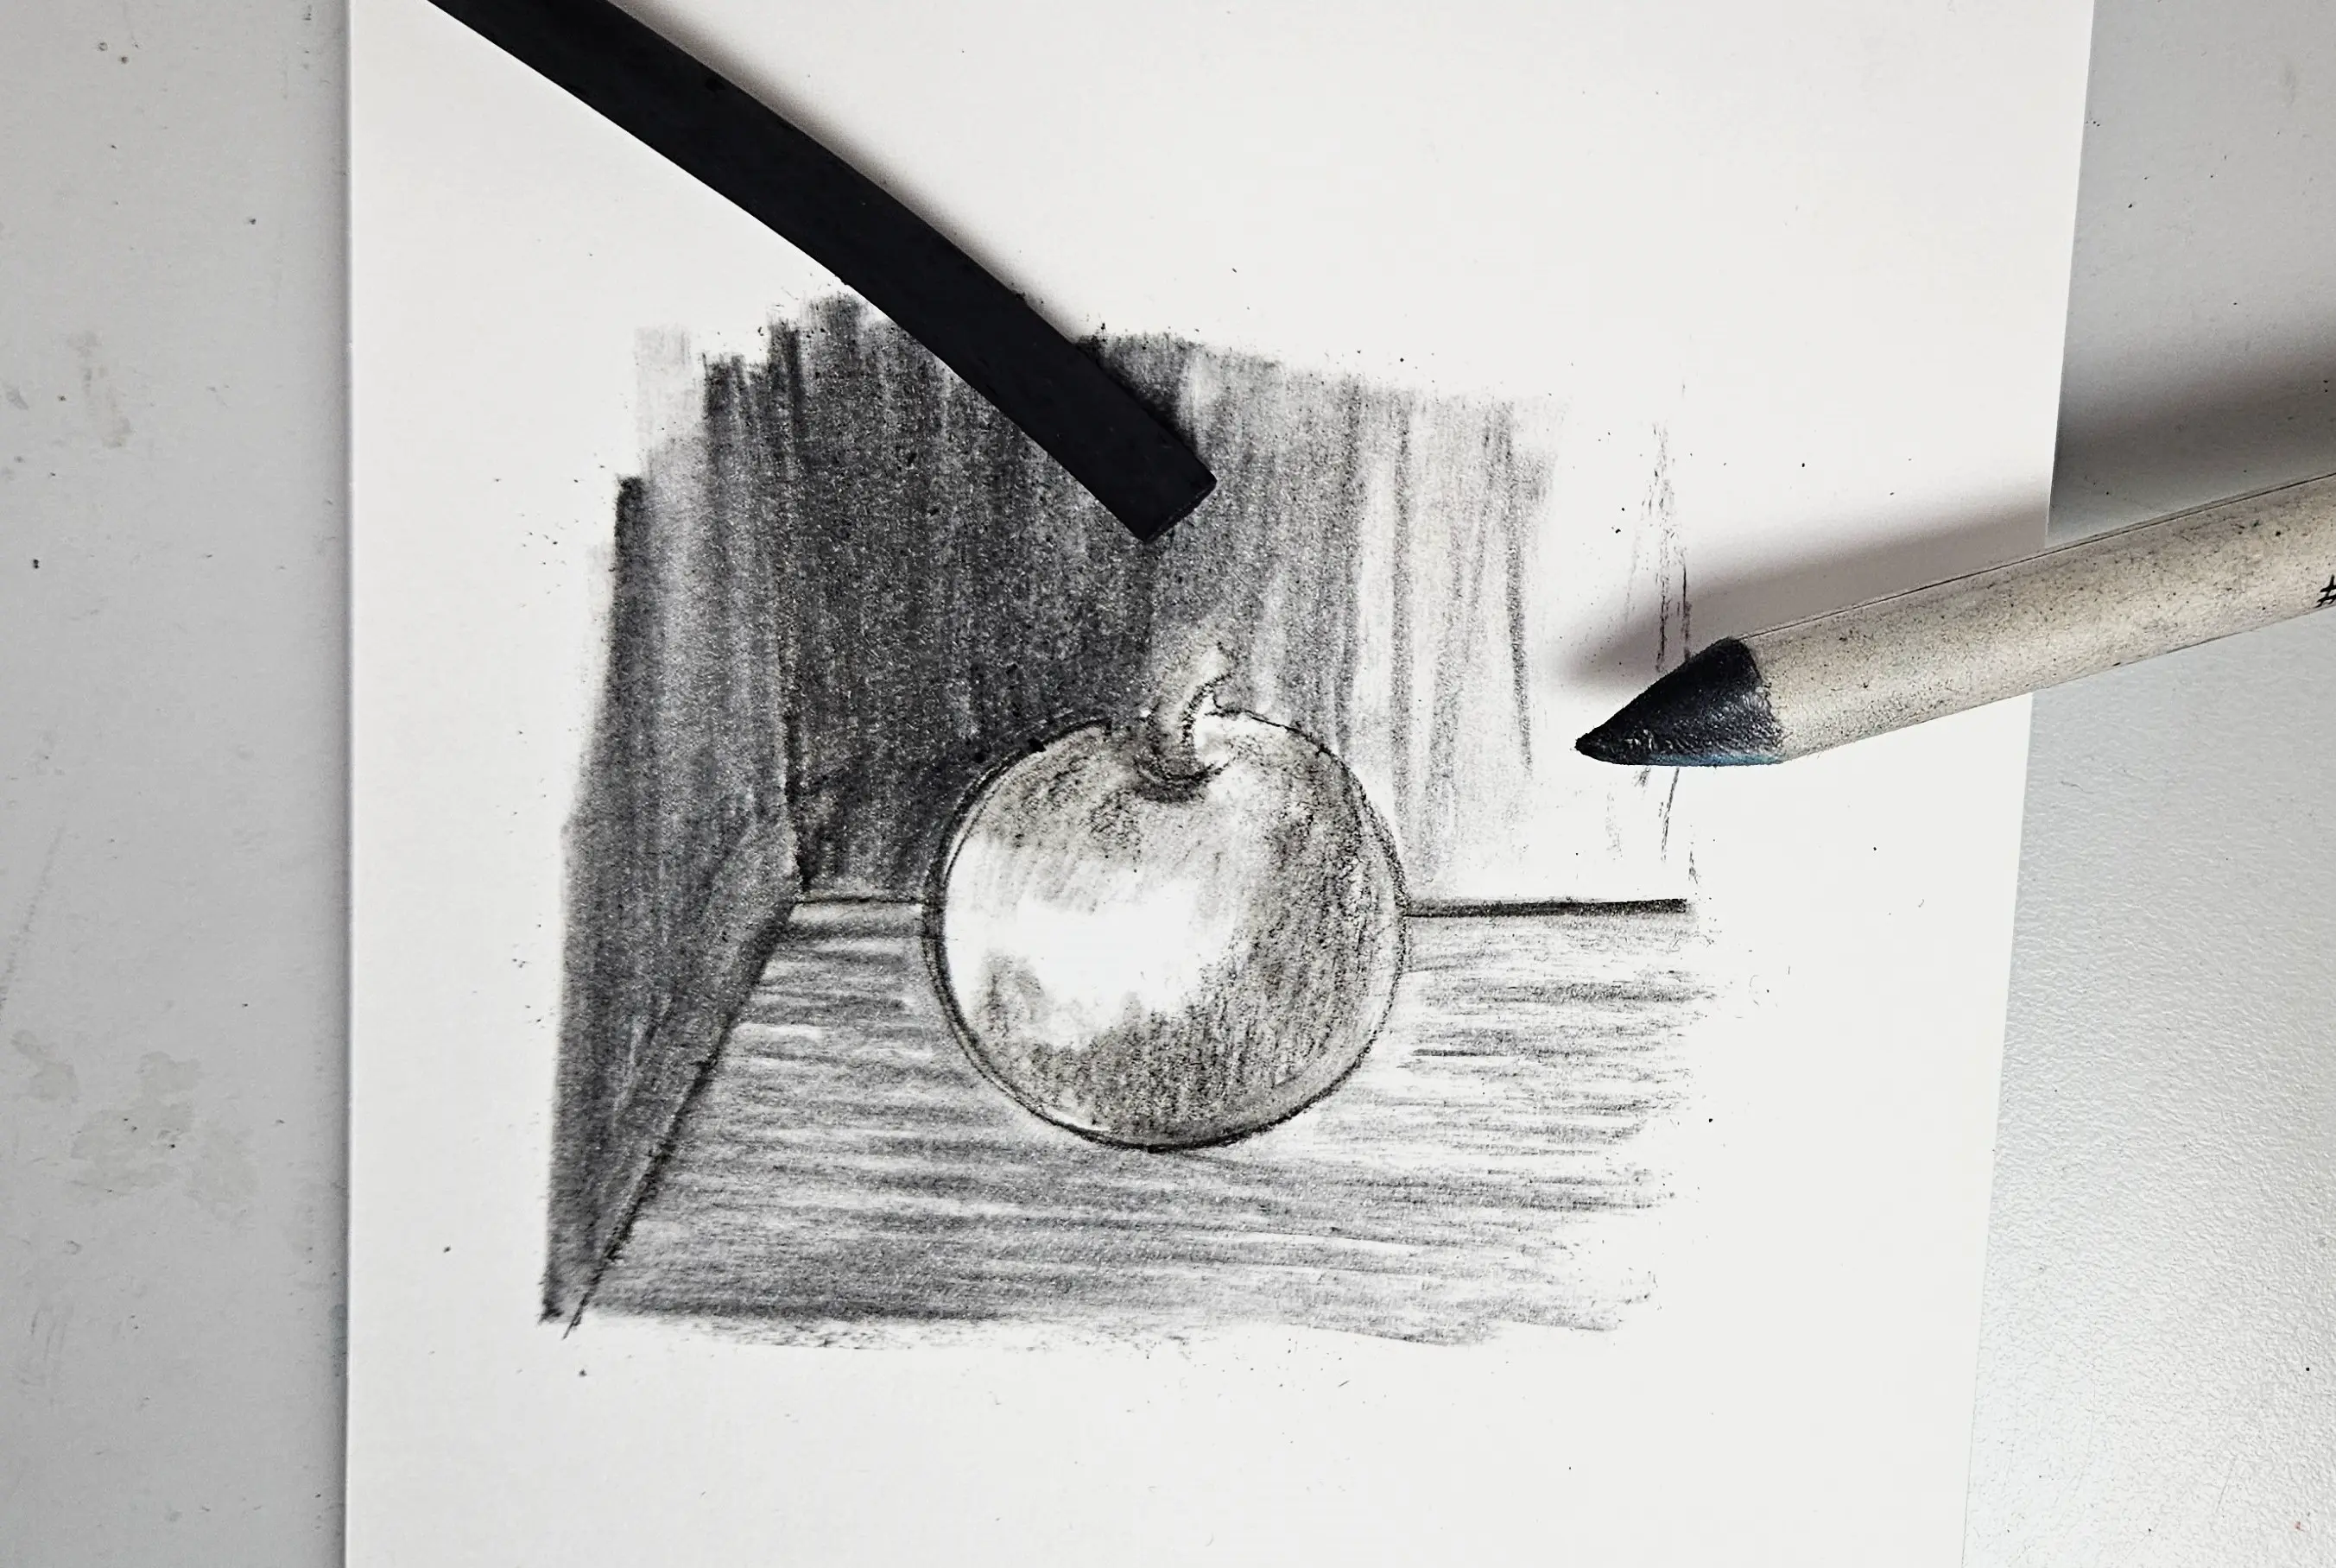
Then I proceed to create the shadow at the bottom that extends to the right, and I lighten the right side of the drawing significantly, which will contrast with the darkness of the shadow.
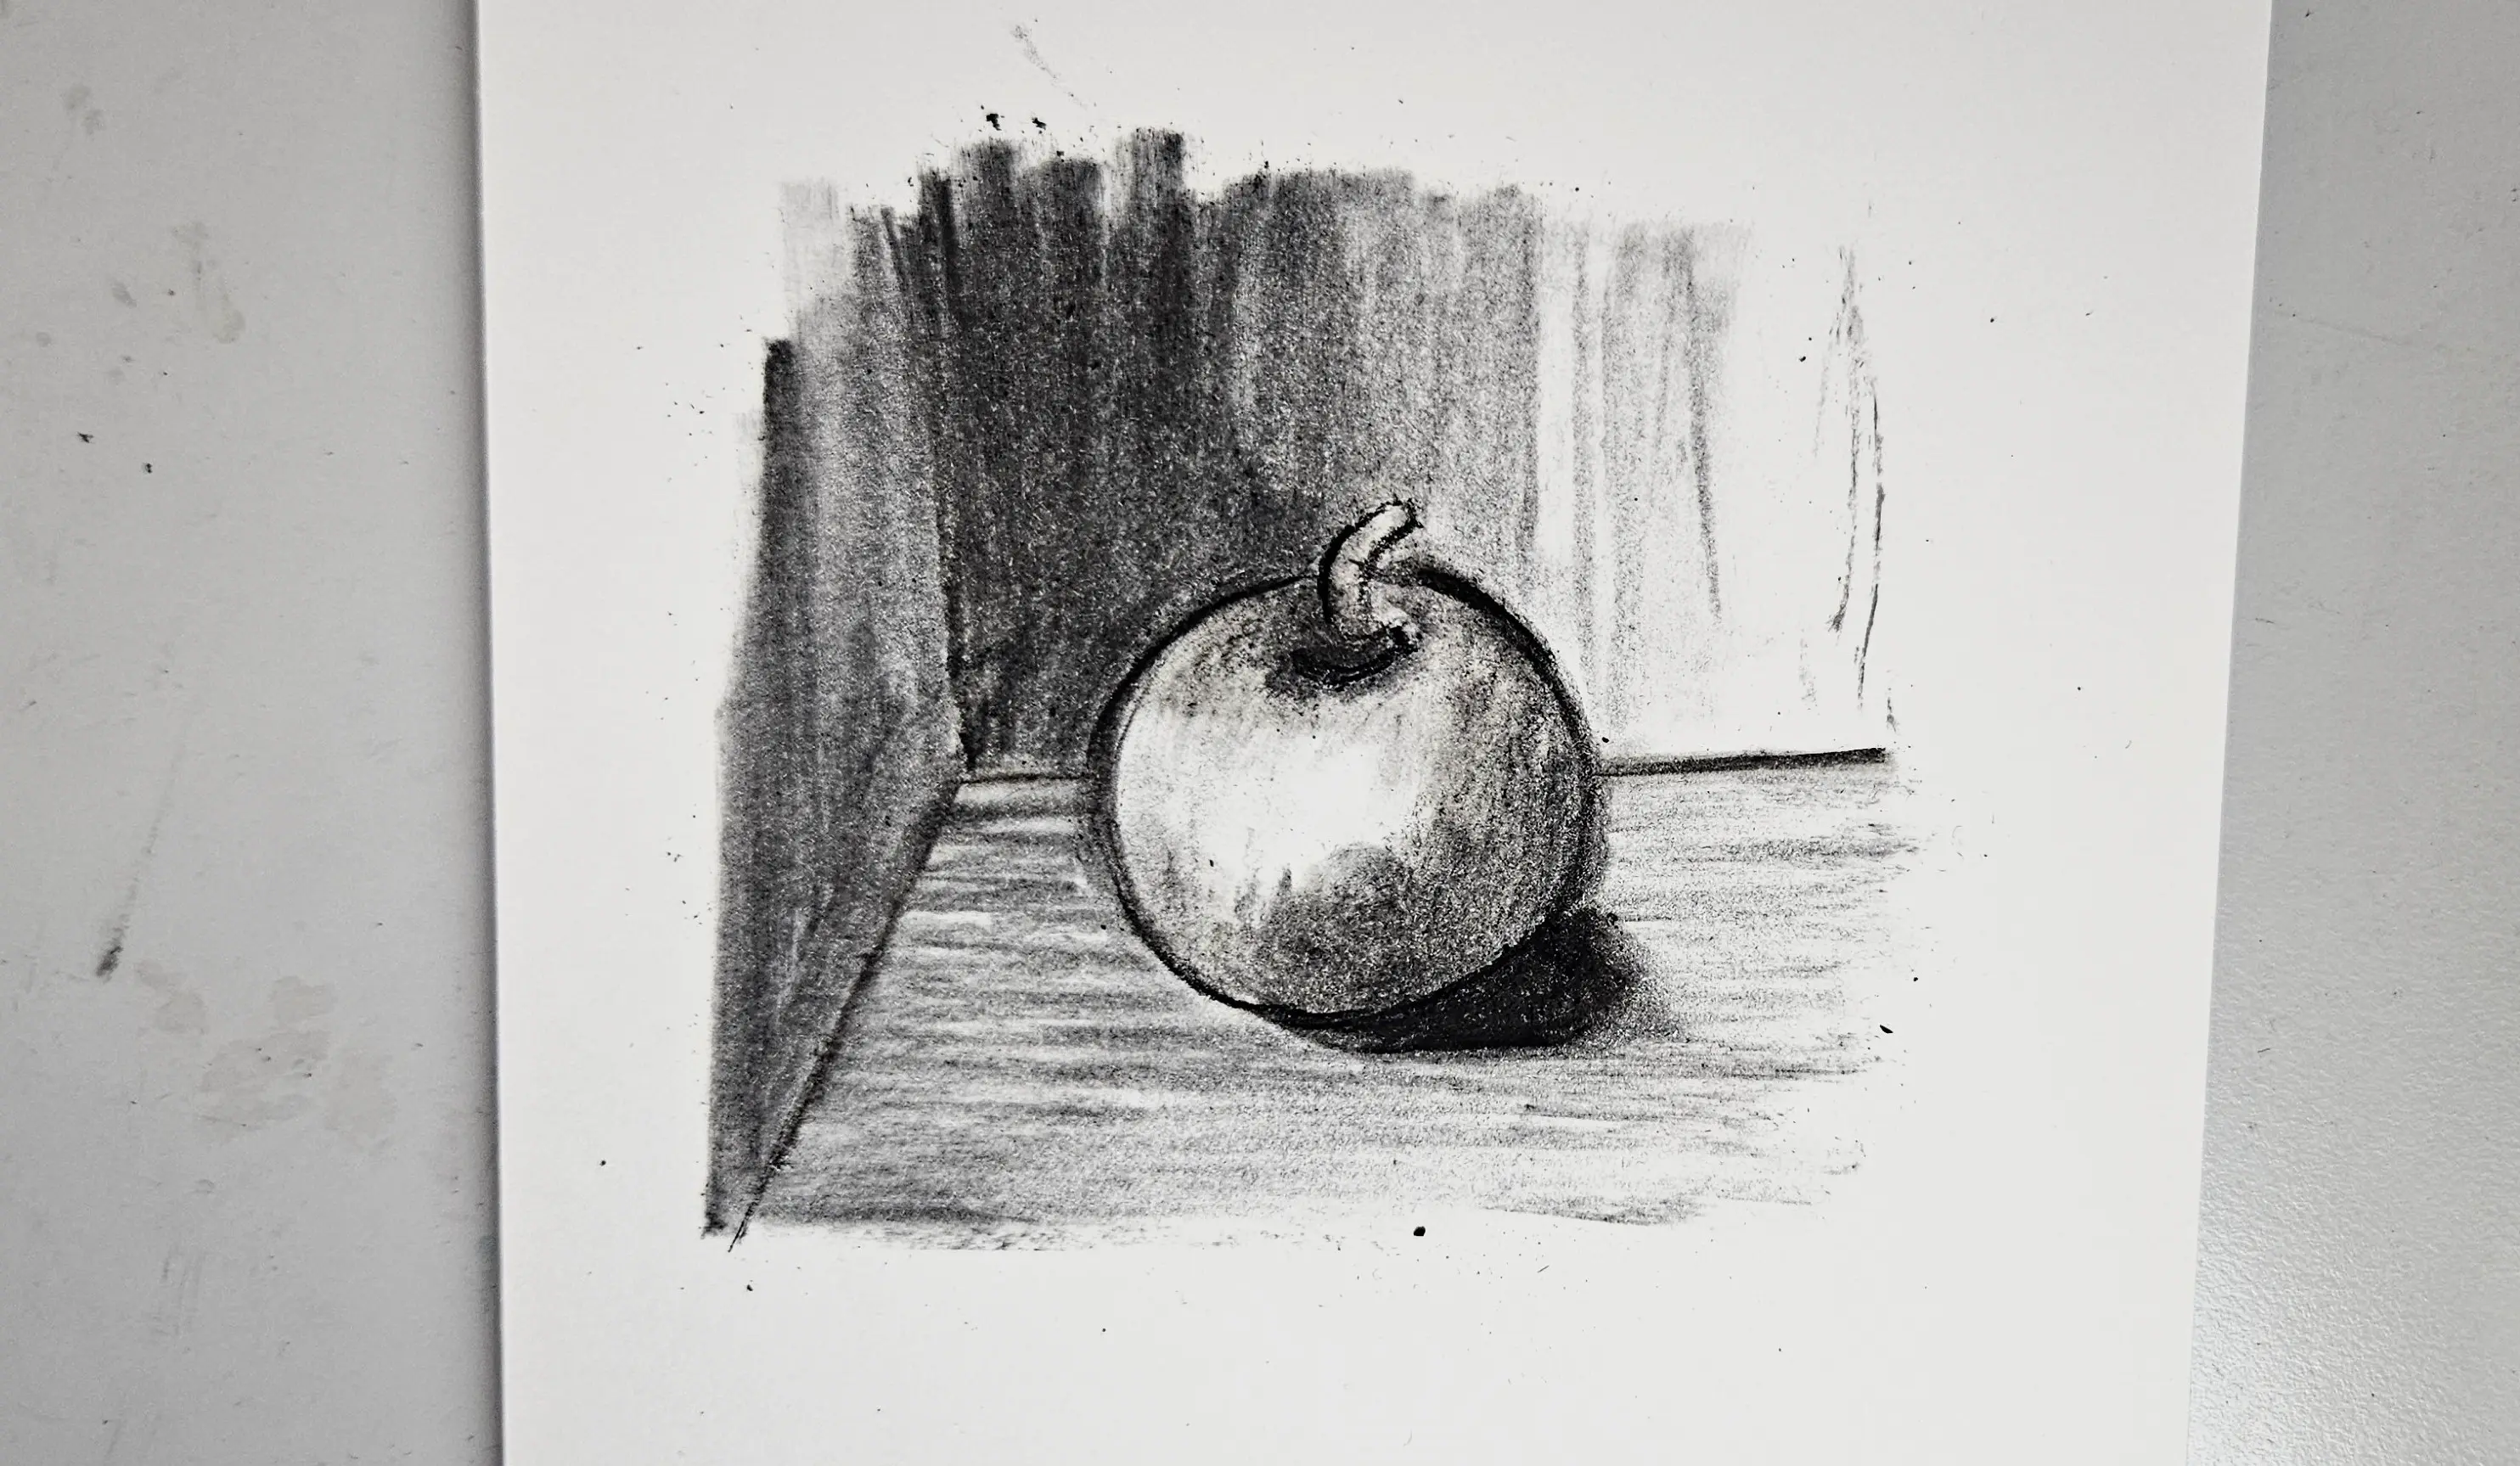
And there you have it, you've created an apple in just a few minutes, and it looks great with just a few charcoal strokes!
Layering
Each layer of charcoal can be fixed with a fixative. This allows you to add more layers and fix the one underneath. Be careful, once fixed, the layer cannot be changed anymore. I use this technique very sparingly, so I won't go into detail.
Setting your drawing
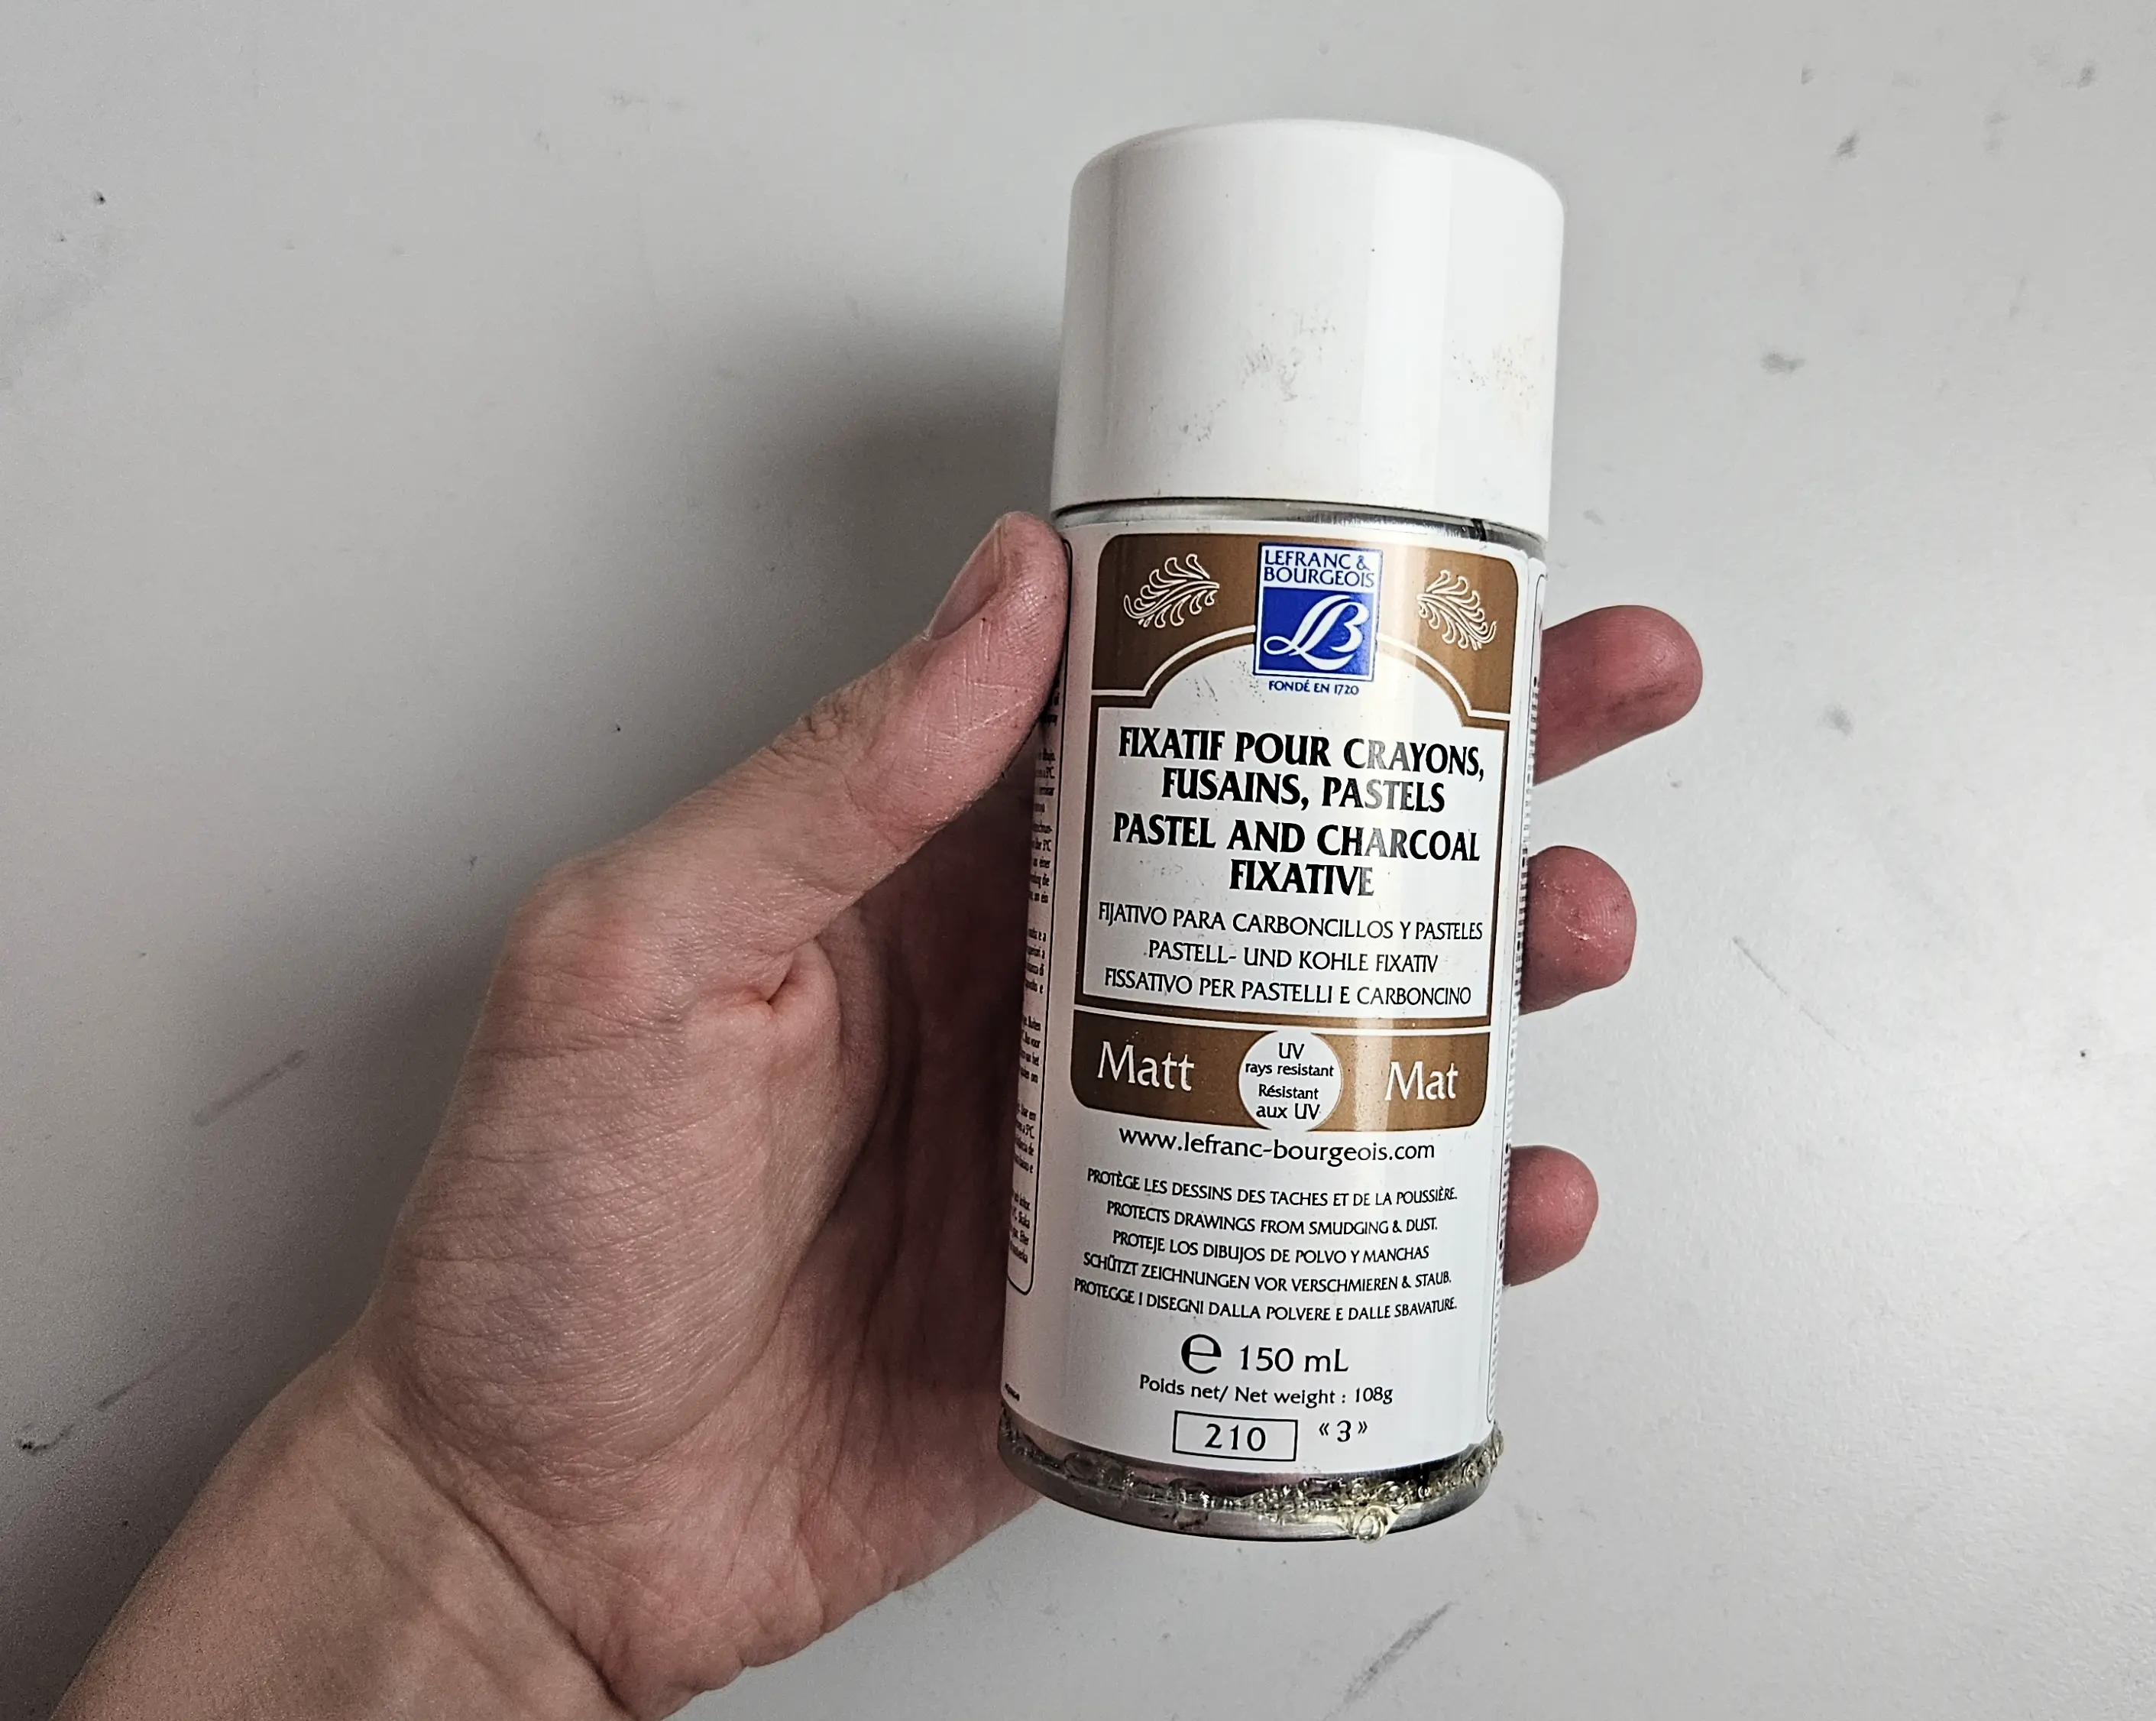
It is important, once the drawing is finished, to fix it with a suitable fixative to prevent the drawing from getting dirty and to keep it neat.
For my part, I use the Lefranc Bourgeois spray shown below.
Just position yourself about 10cm from the drawing, and spray it for a few seconds.
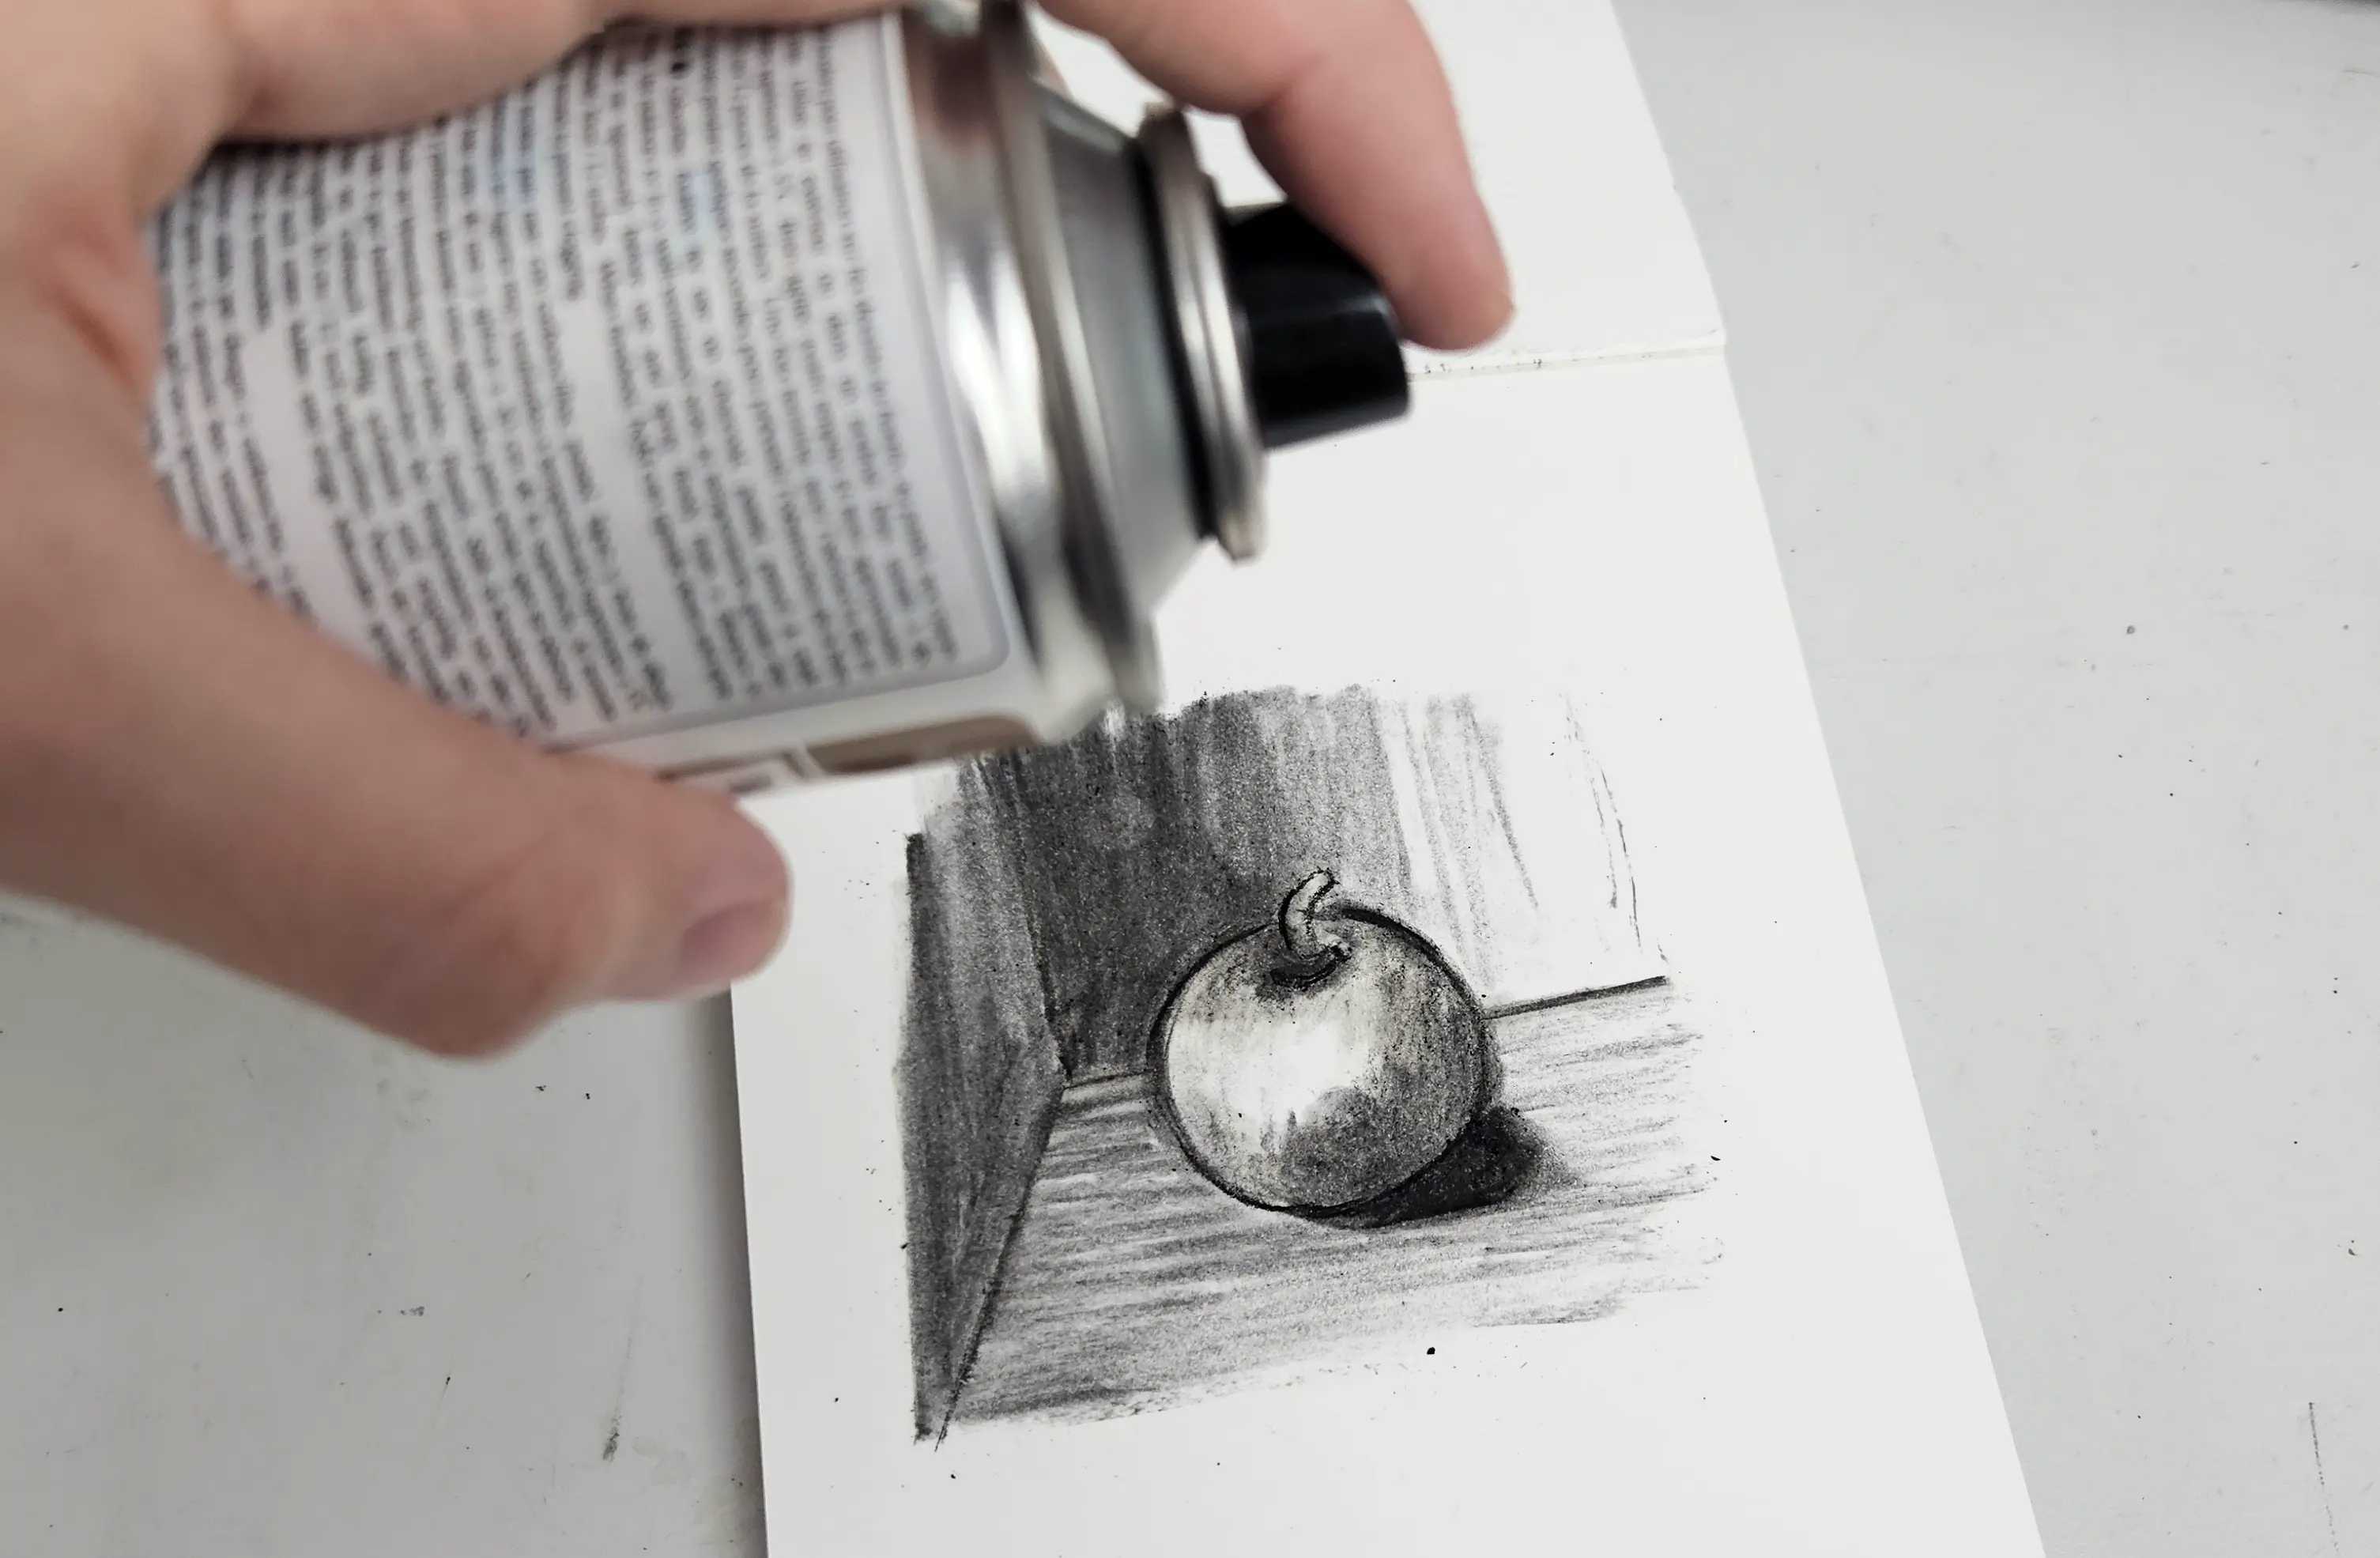
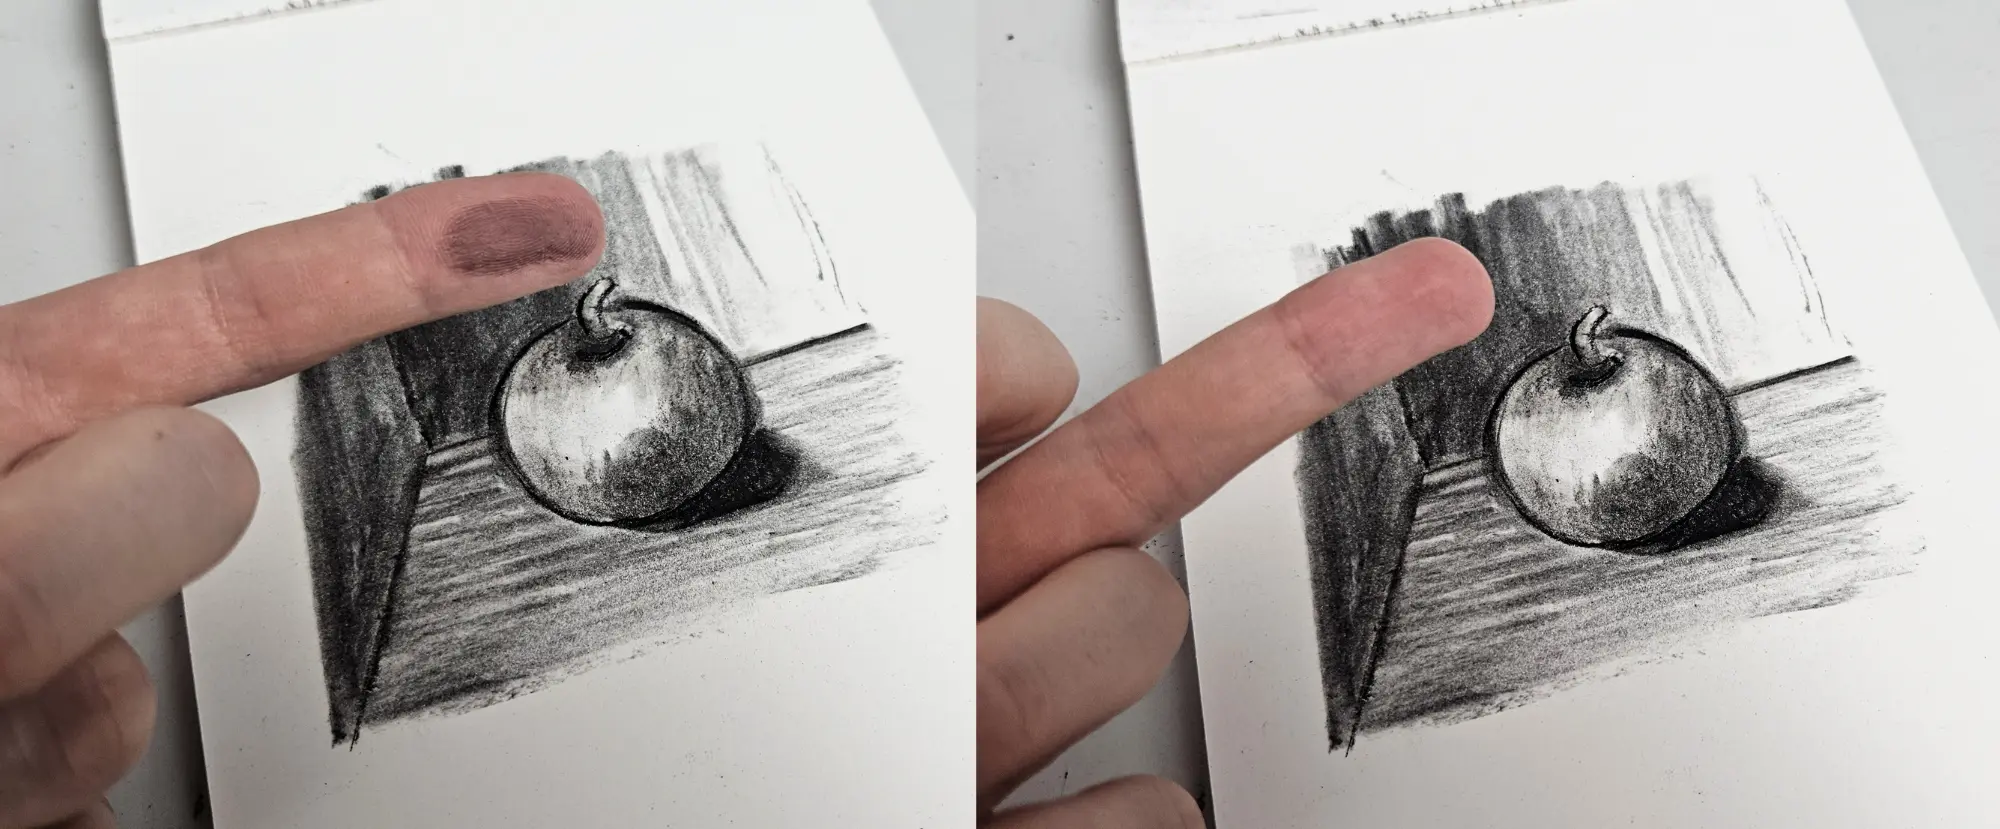
For optimal results, do this on a sunny day. Once everything is dry, the pigments will fade much less when you touch your drawing. Below is a preview.
Creating a Charcoal Drawing, Step by Step
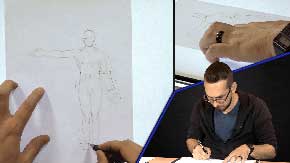
Now that we've looked at the different techniques used for charcoal, in this last part, I will show you how to create a charcoal drawing from A to Z. I will explain the different steps of constructing the drawing. You can also watch my video for a quick video preview of this drawing!
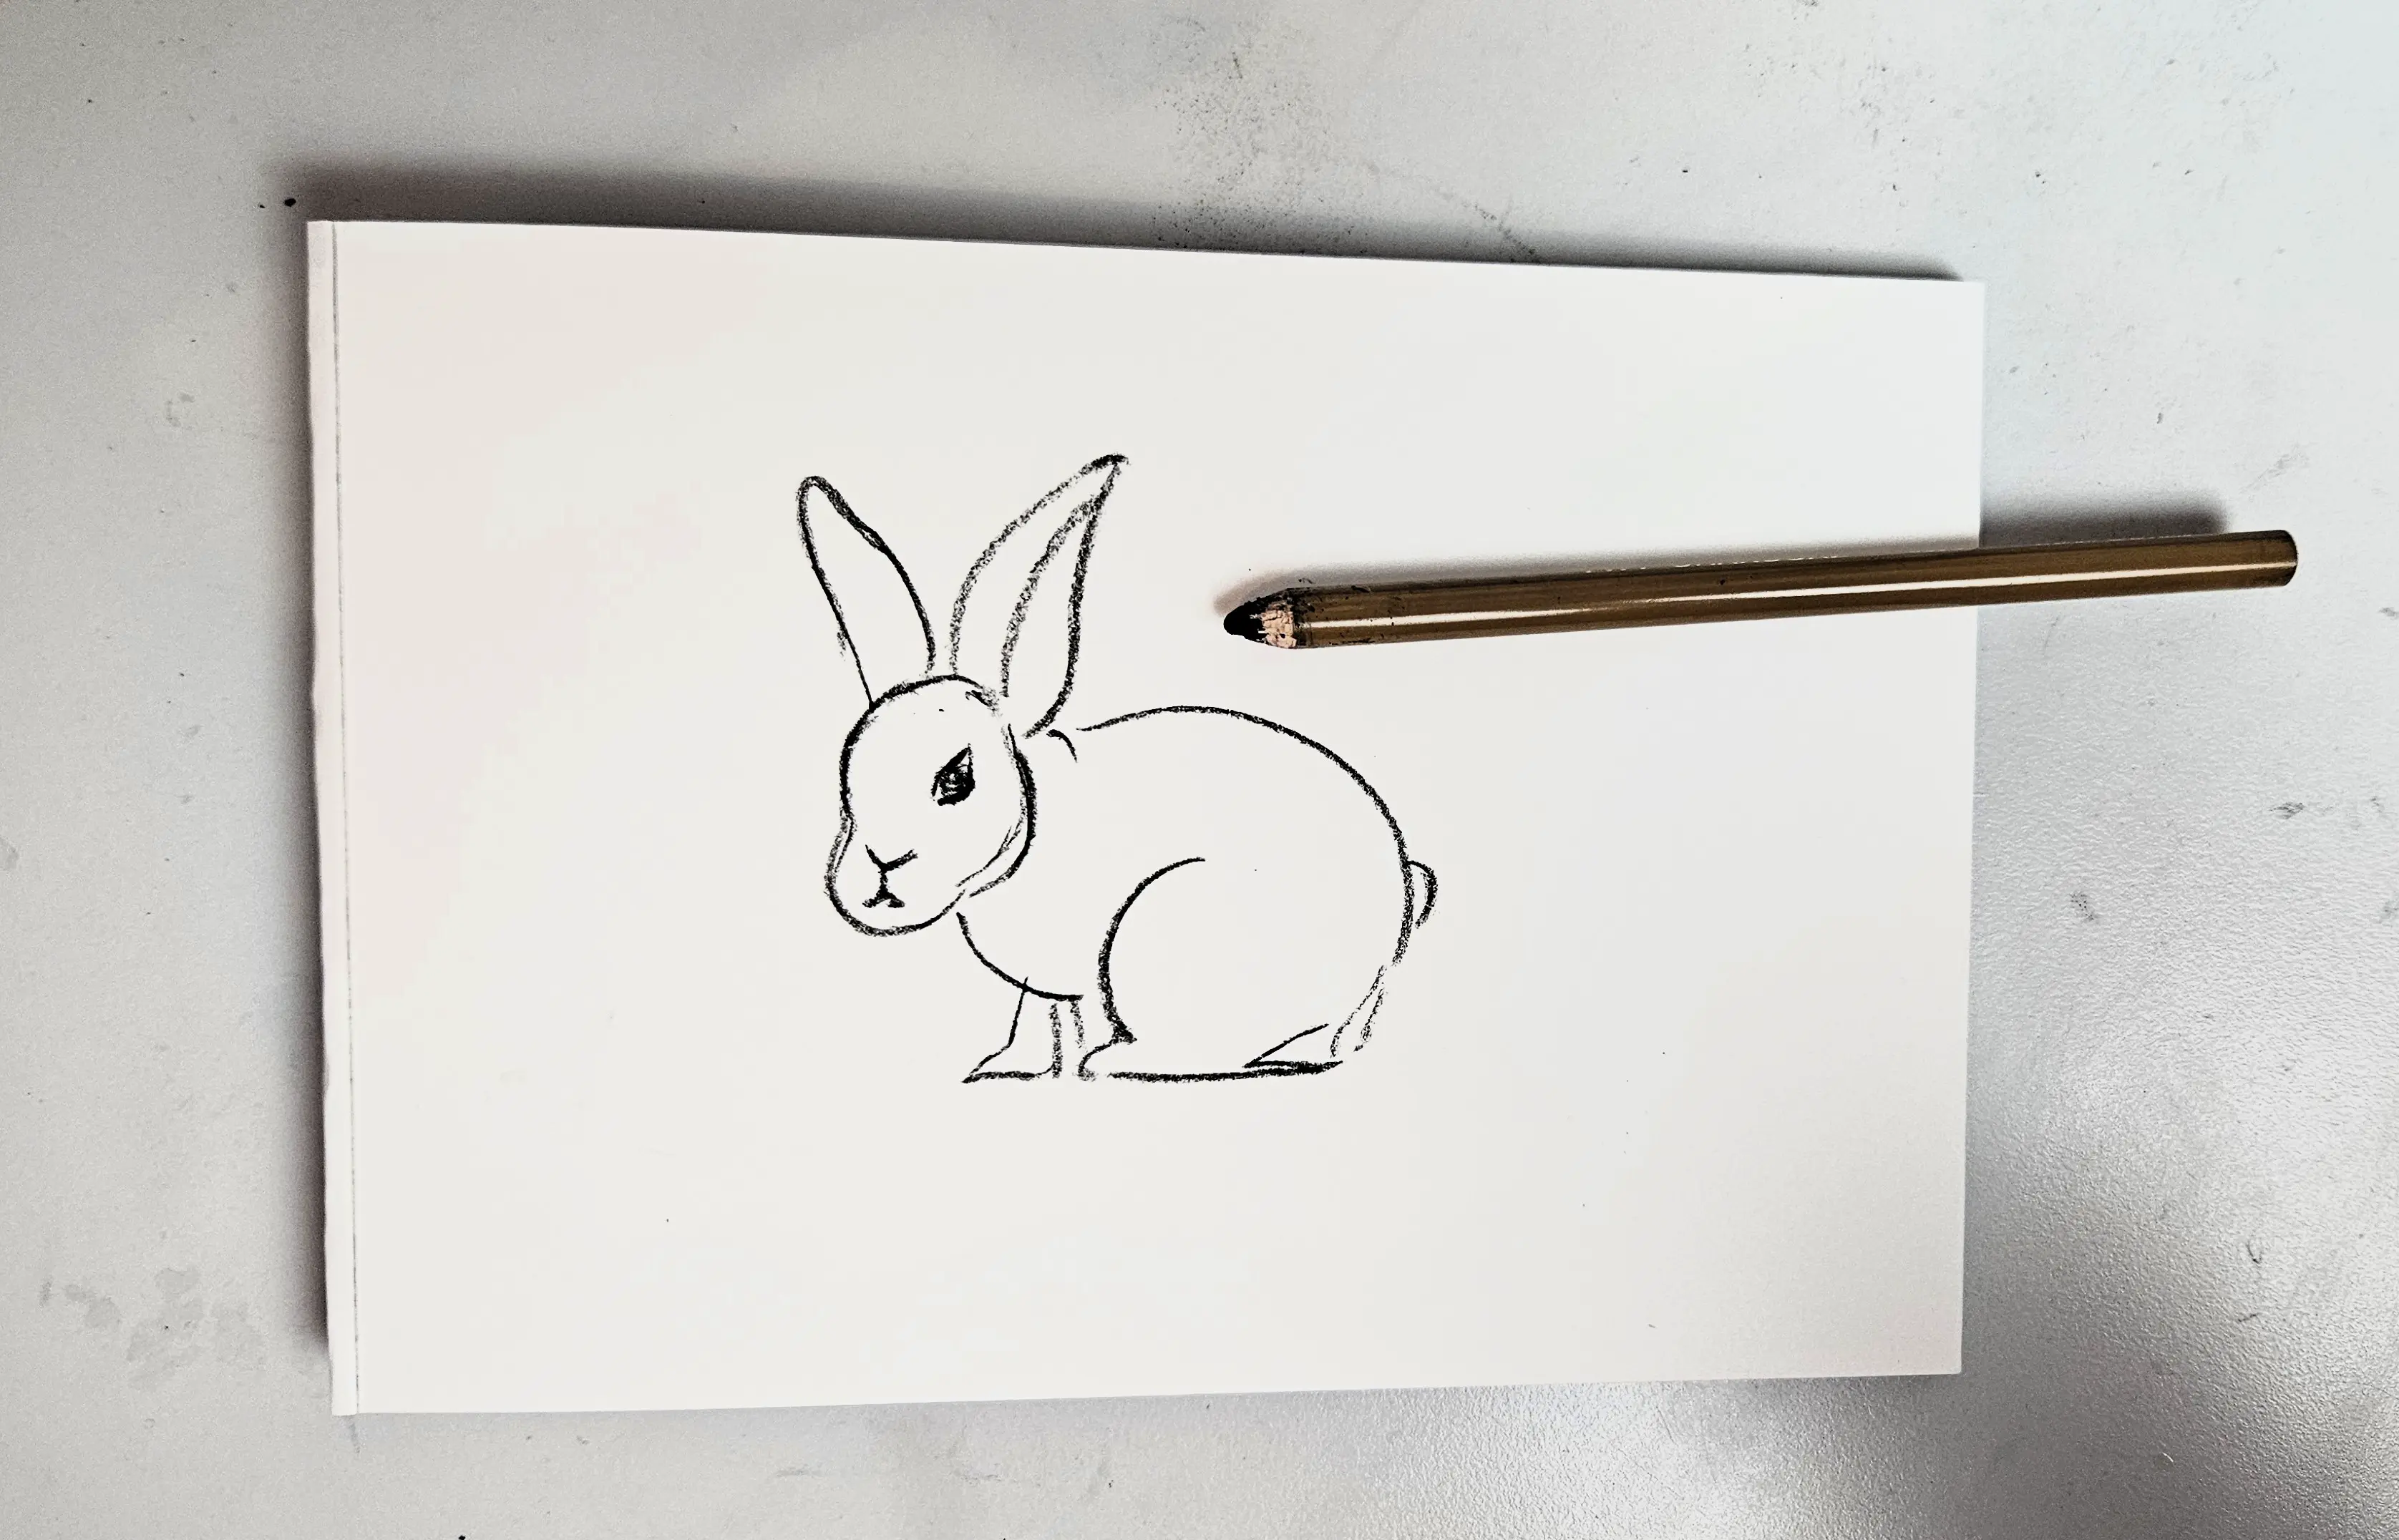
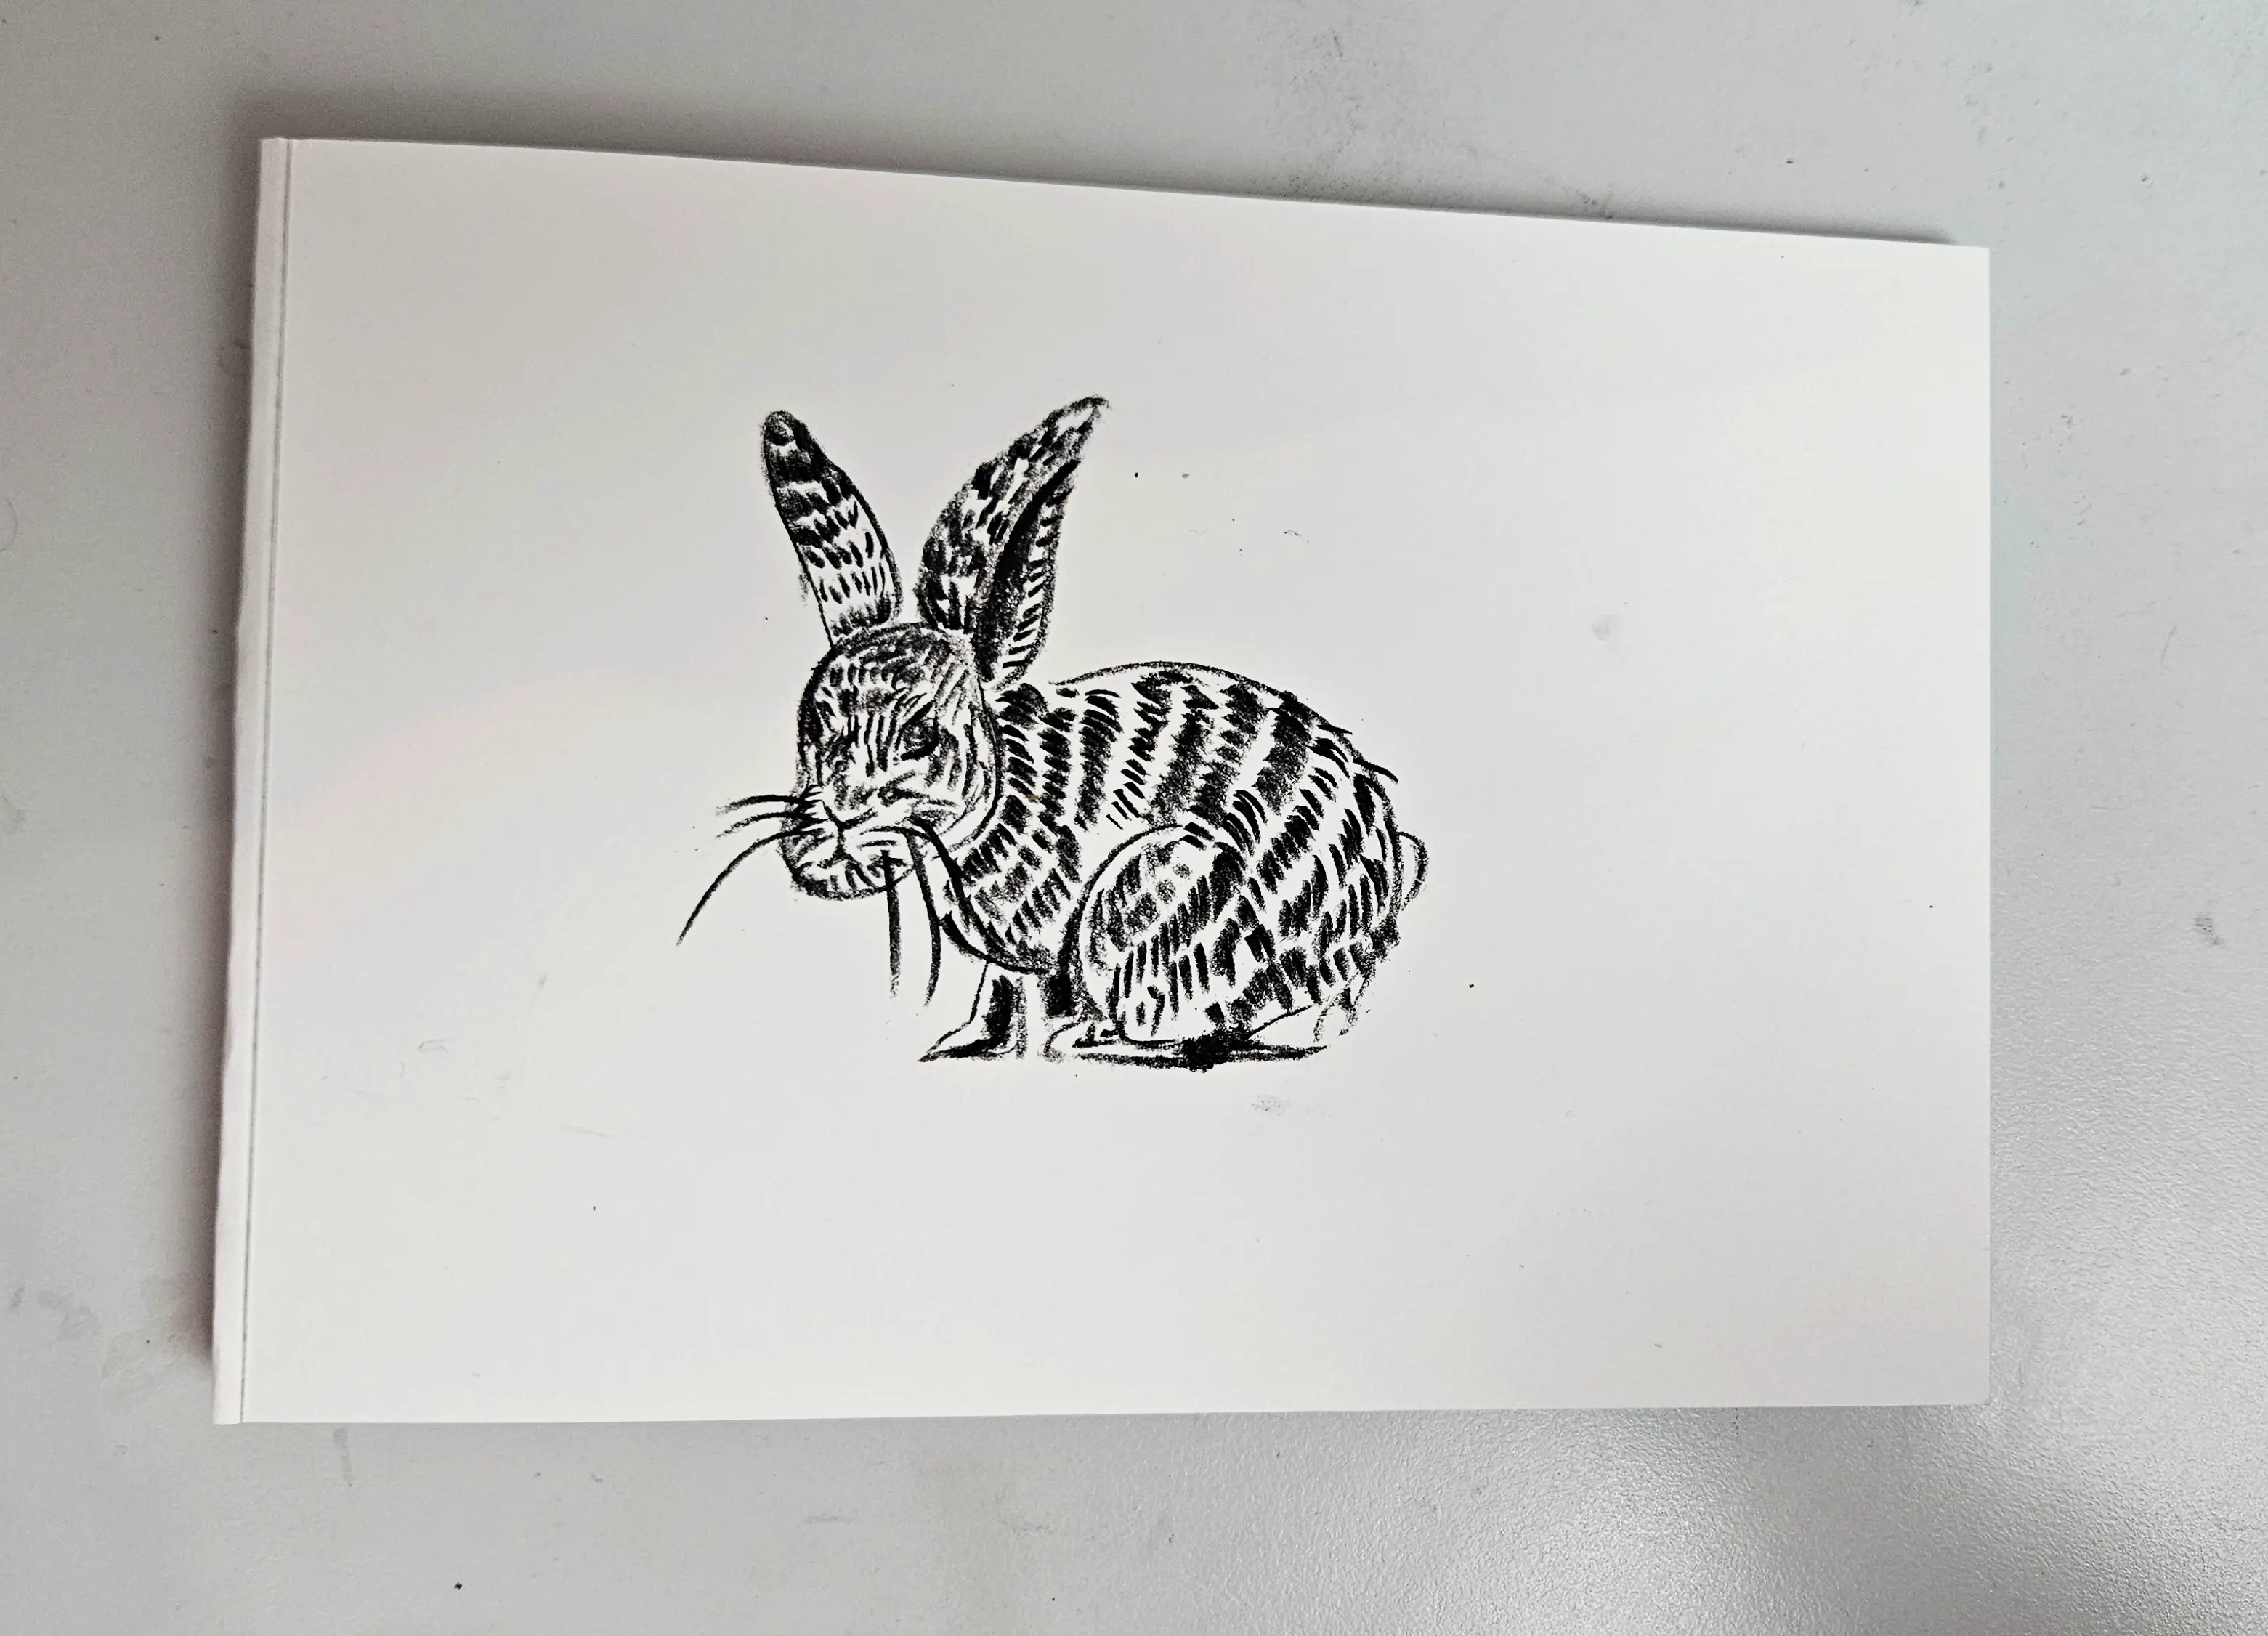
Initially, I briefly sketch my drawing using a soft charcoal pencil, the softest possible. I have chosen, once again, to draw an animal, a small rabbit. I find that animals really look great in charcoal!
Once the sketch is done, I add fur. I try to preserve the direction of the fur when I draw my lines.
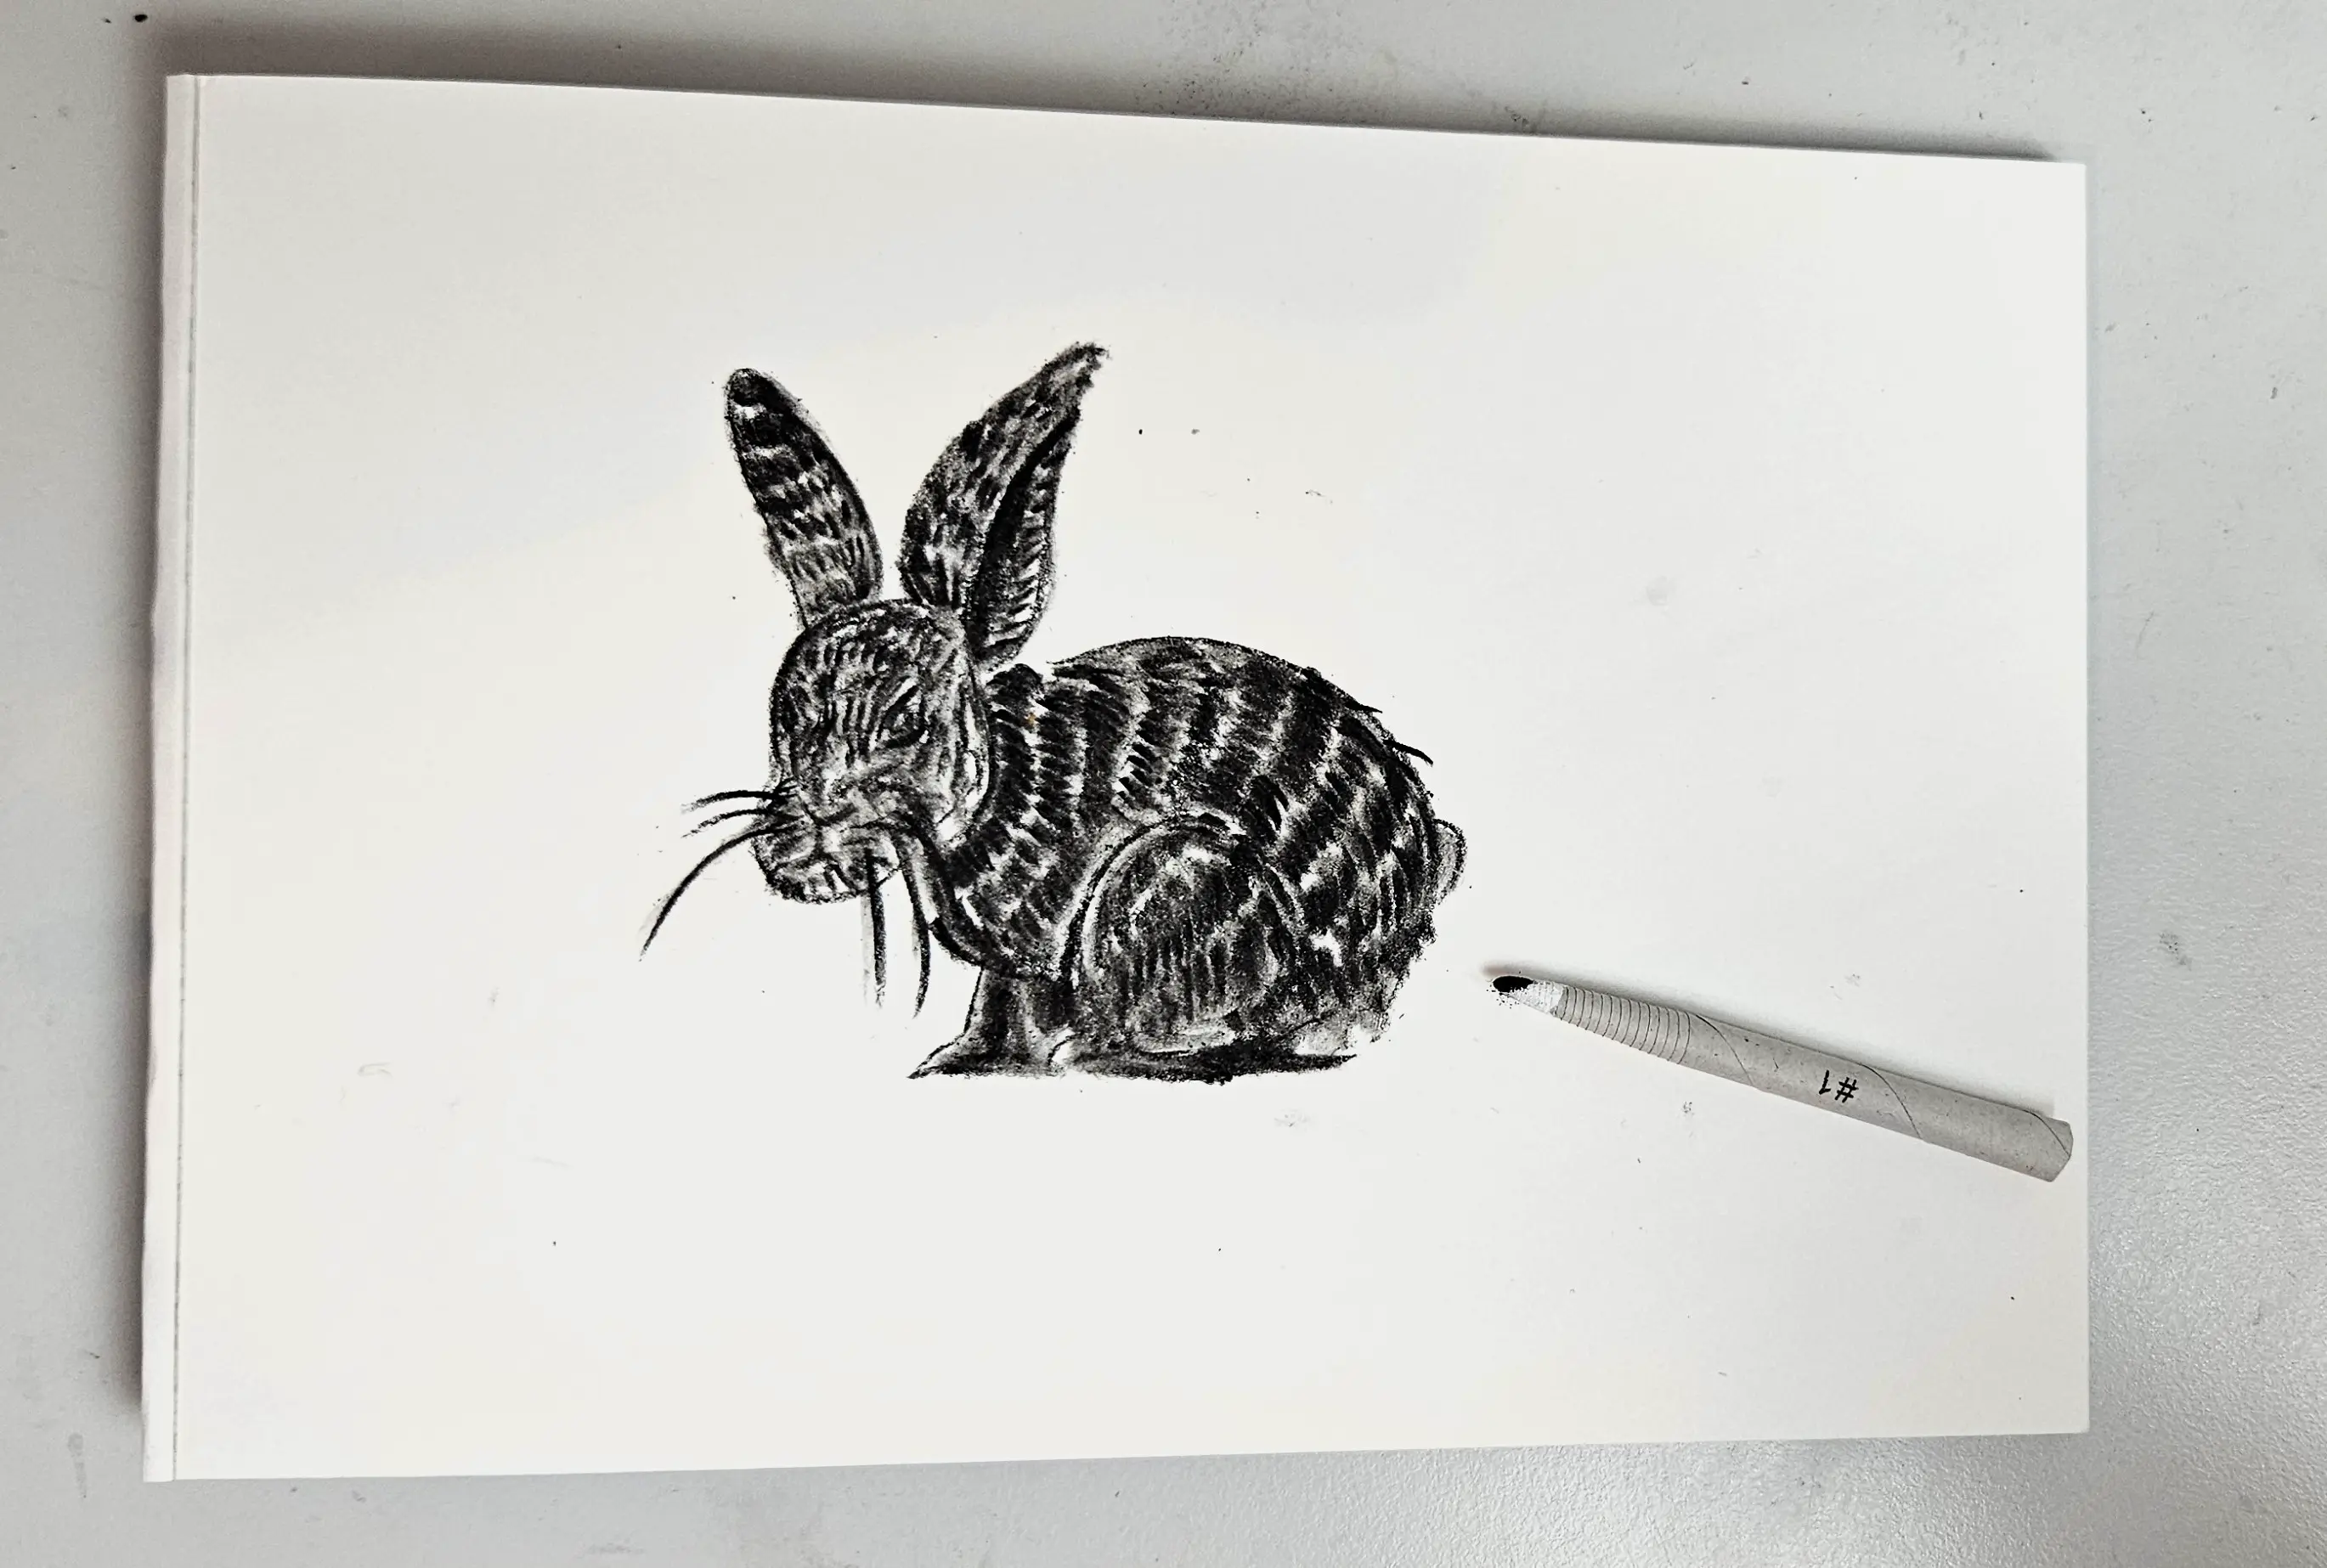
I can then use a paper stump to blend the hairs. Again, I work in the direction of the hair growth. I blend gradually, and I keep some areas a bit lighter.
I take my soft charcoal stick to create the background. No need to follow a specific direction as we will blur the entire background afterwards.
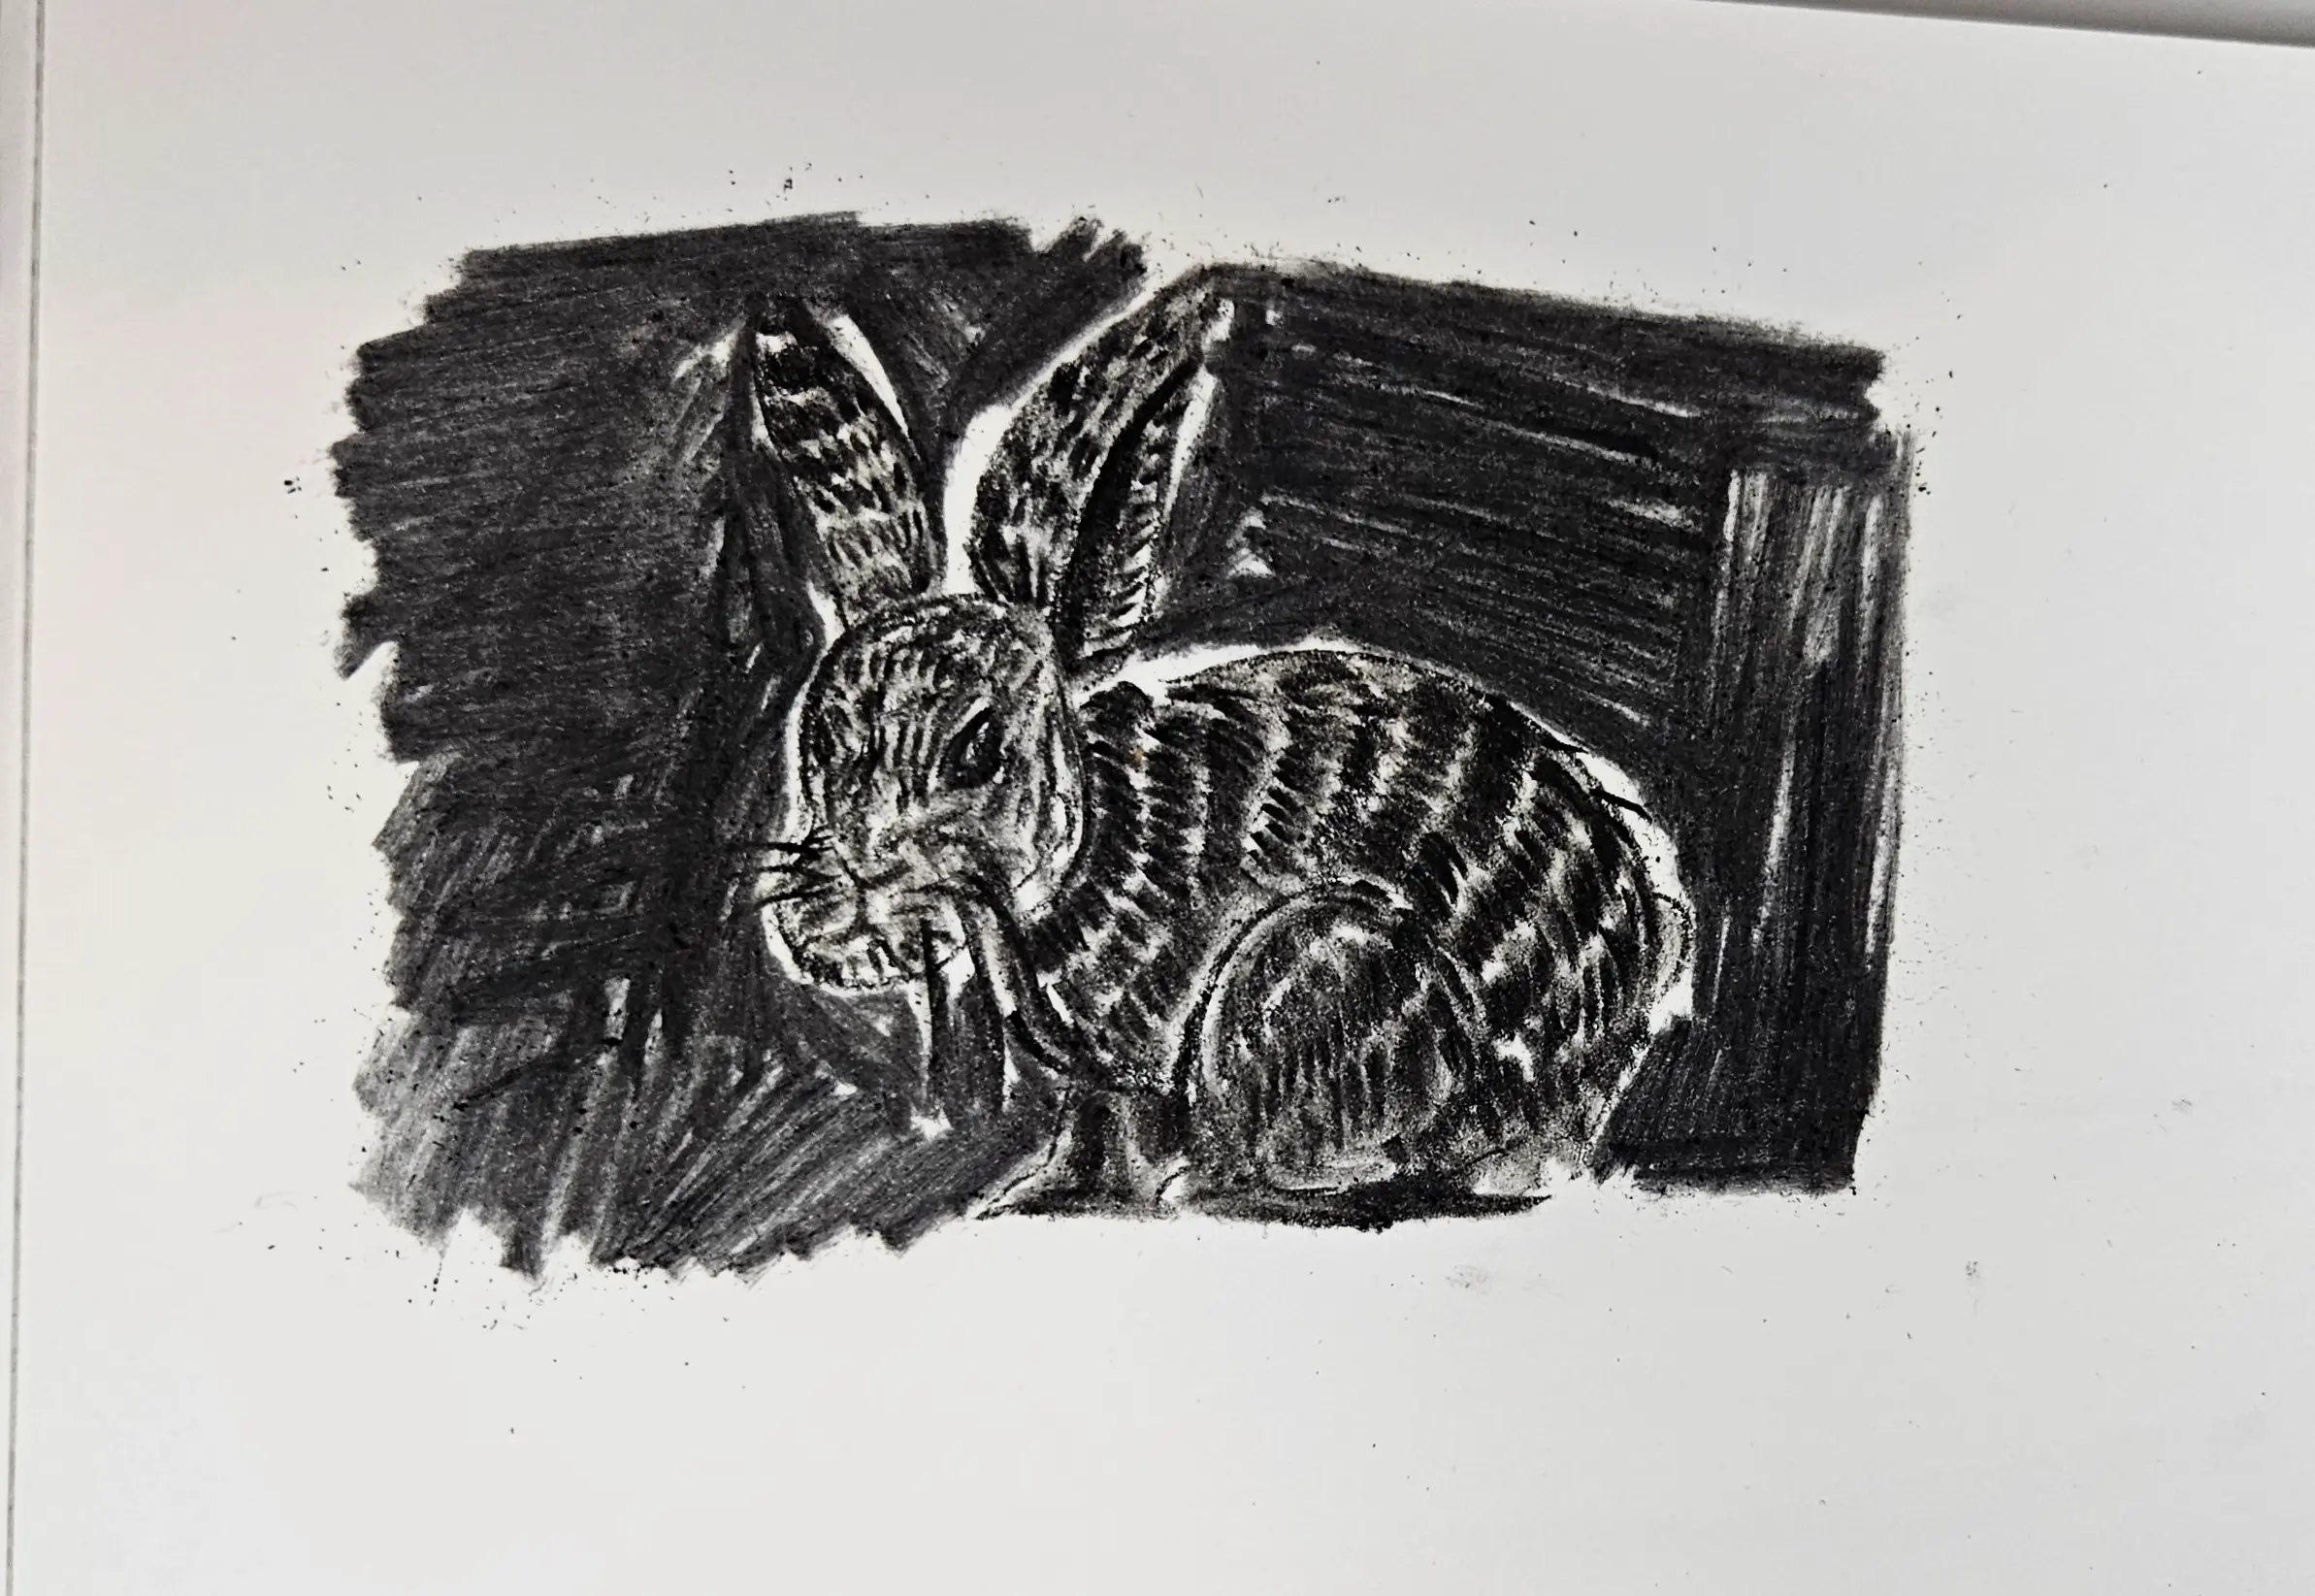
I take my stump again and blend the entire background, keeping a slightly light glow as I get closer to my rabbit.
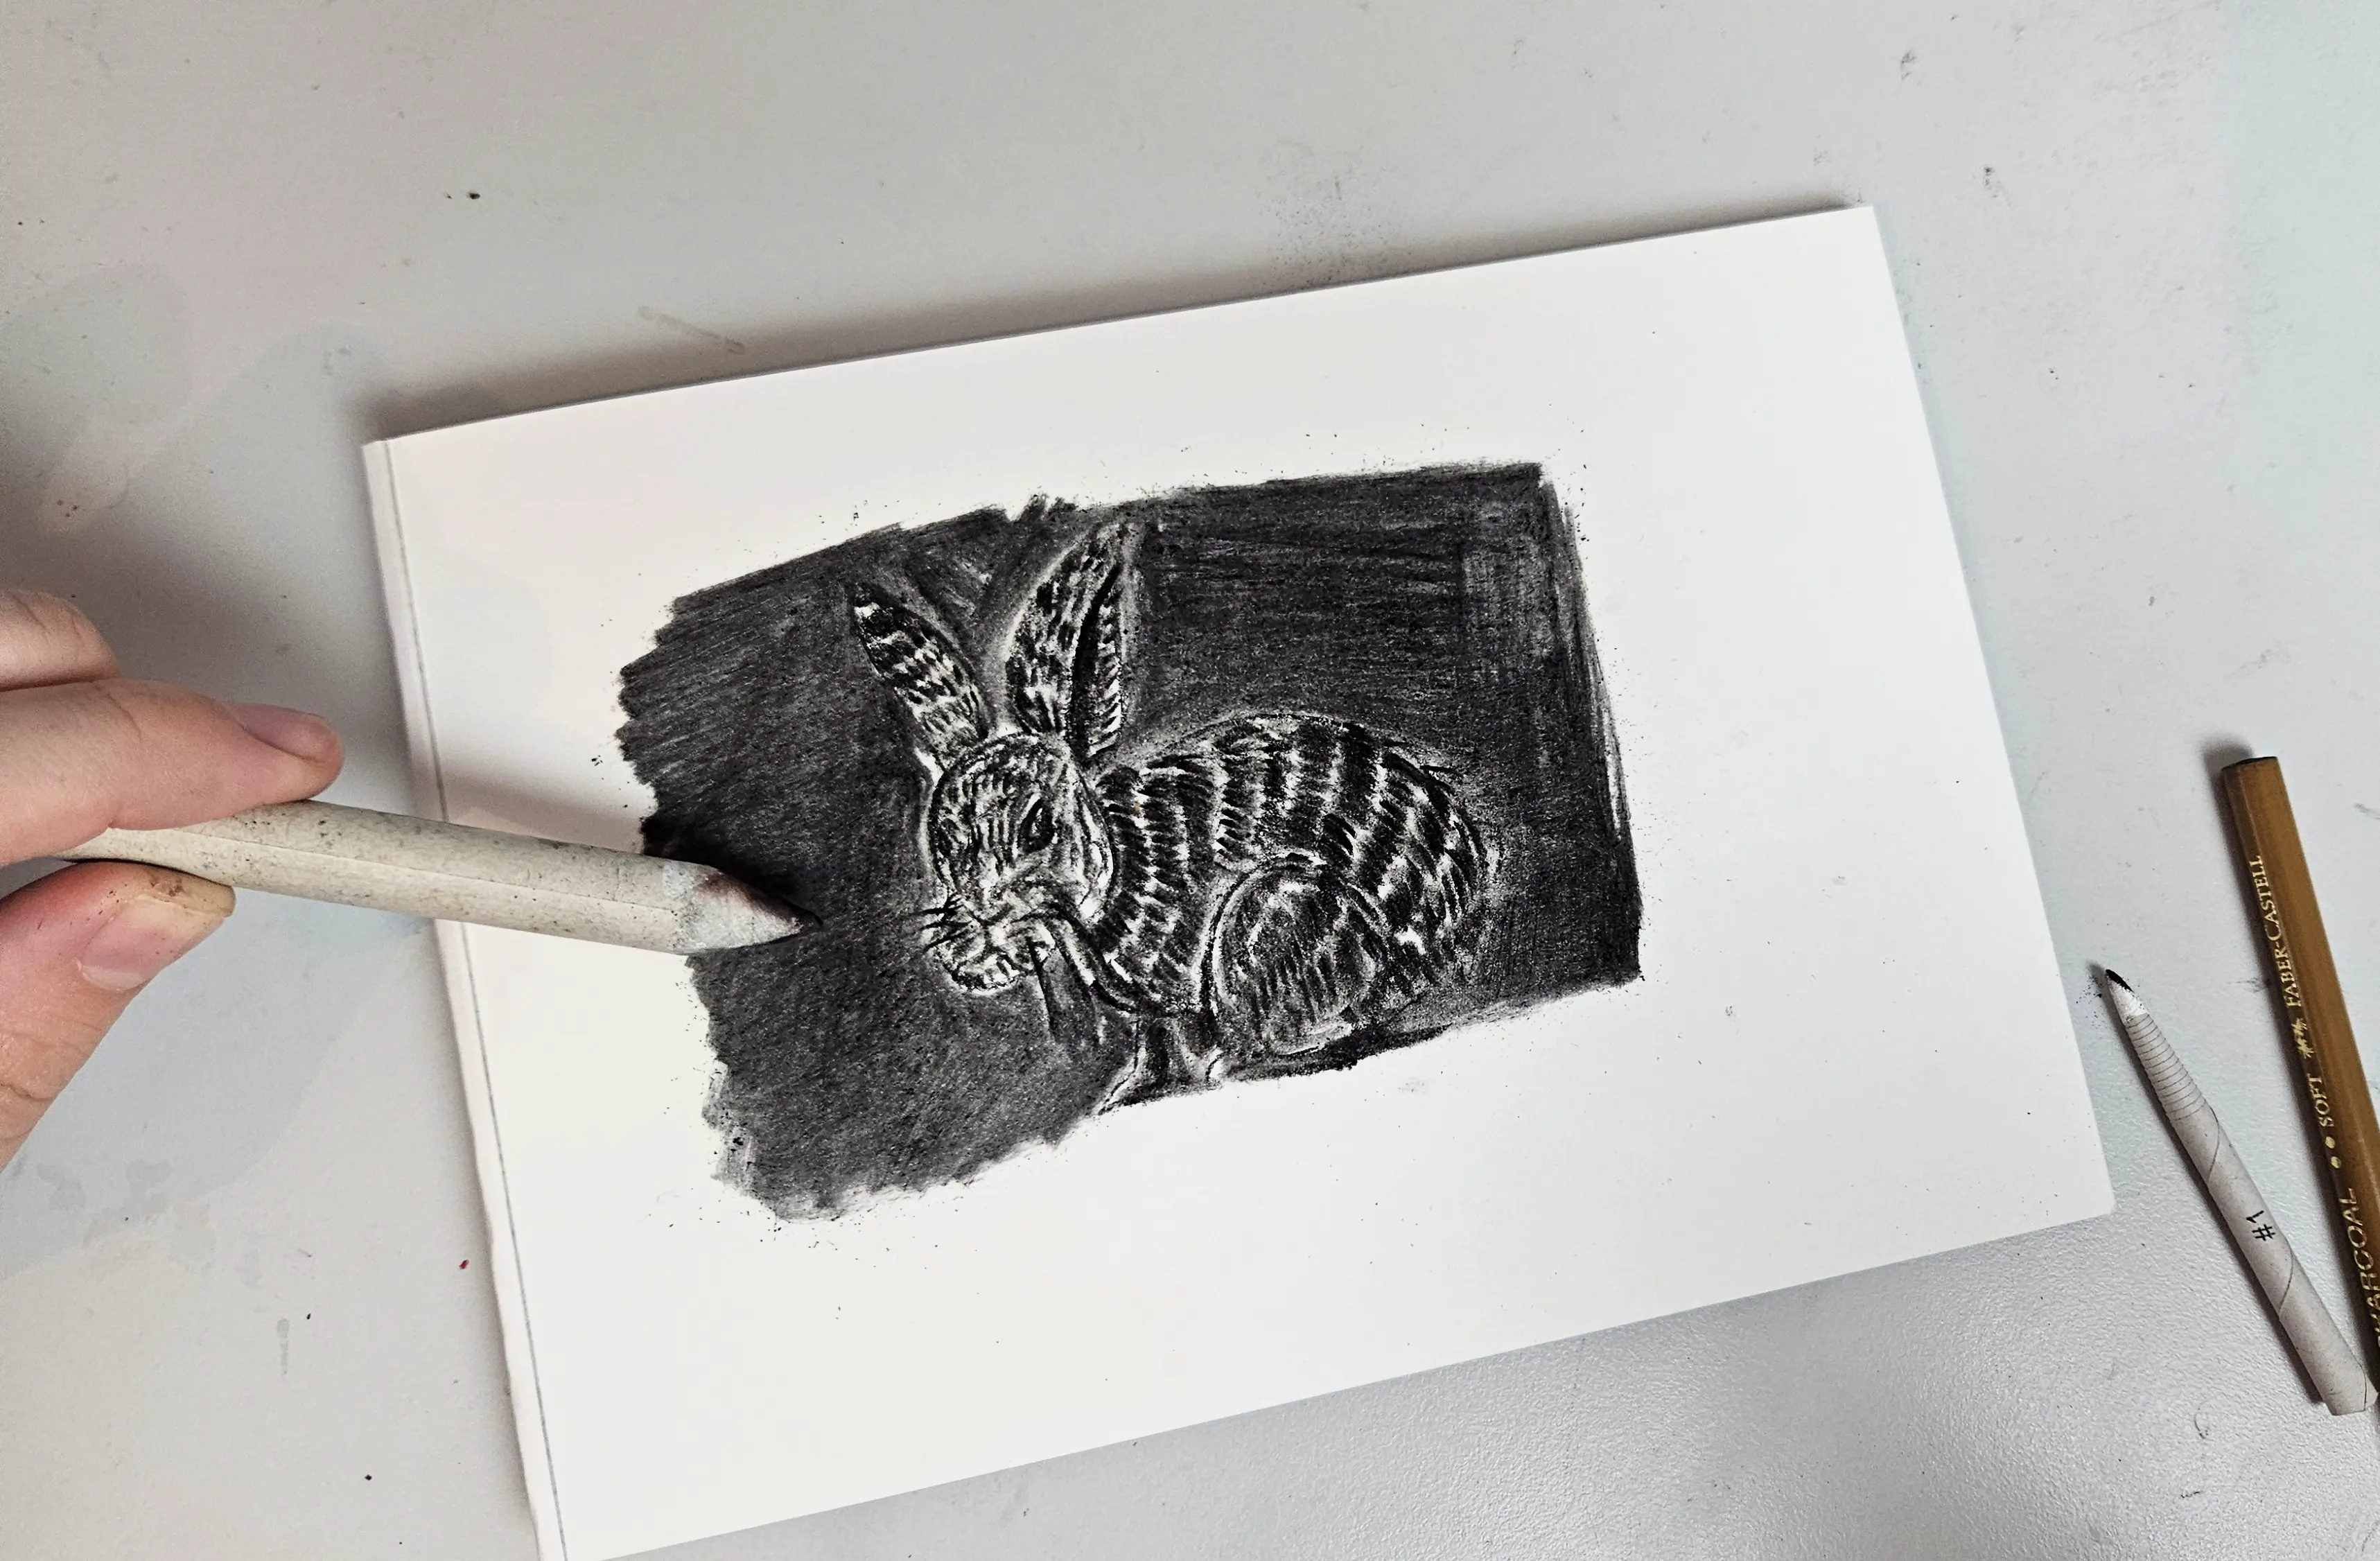
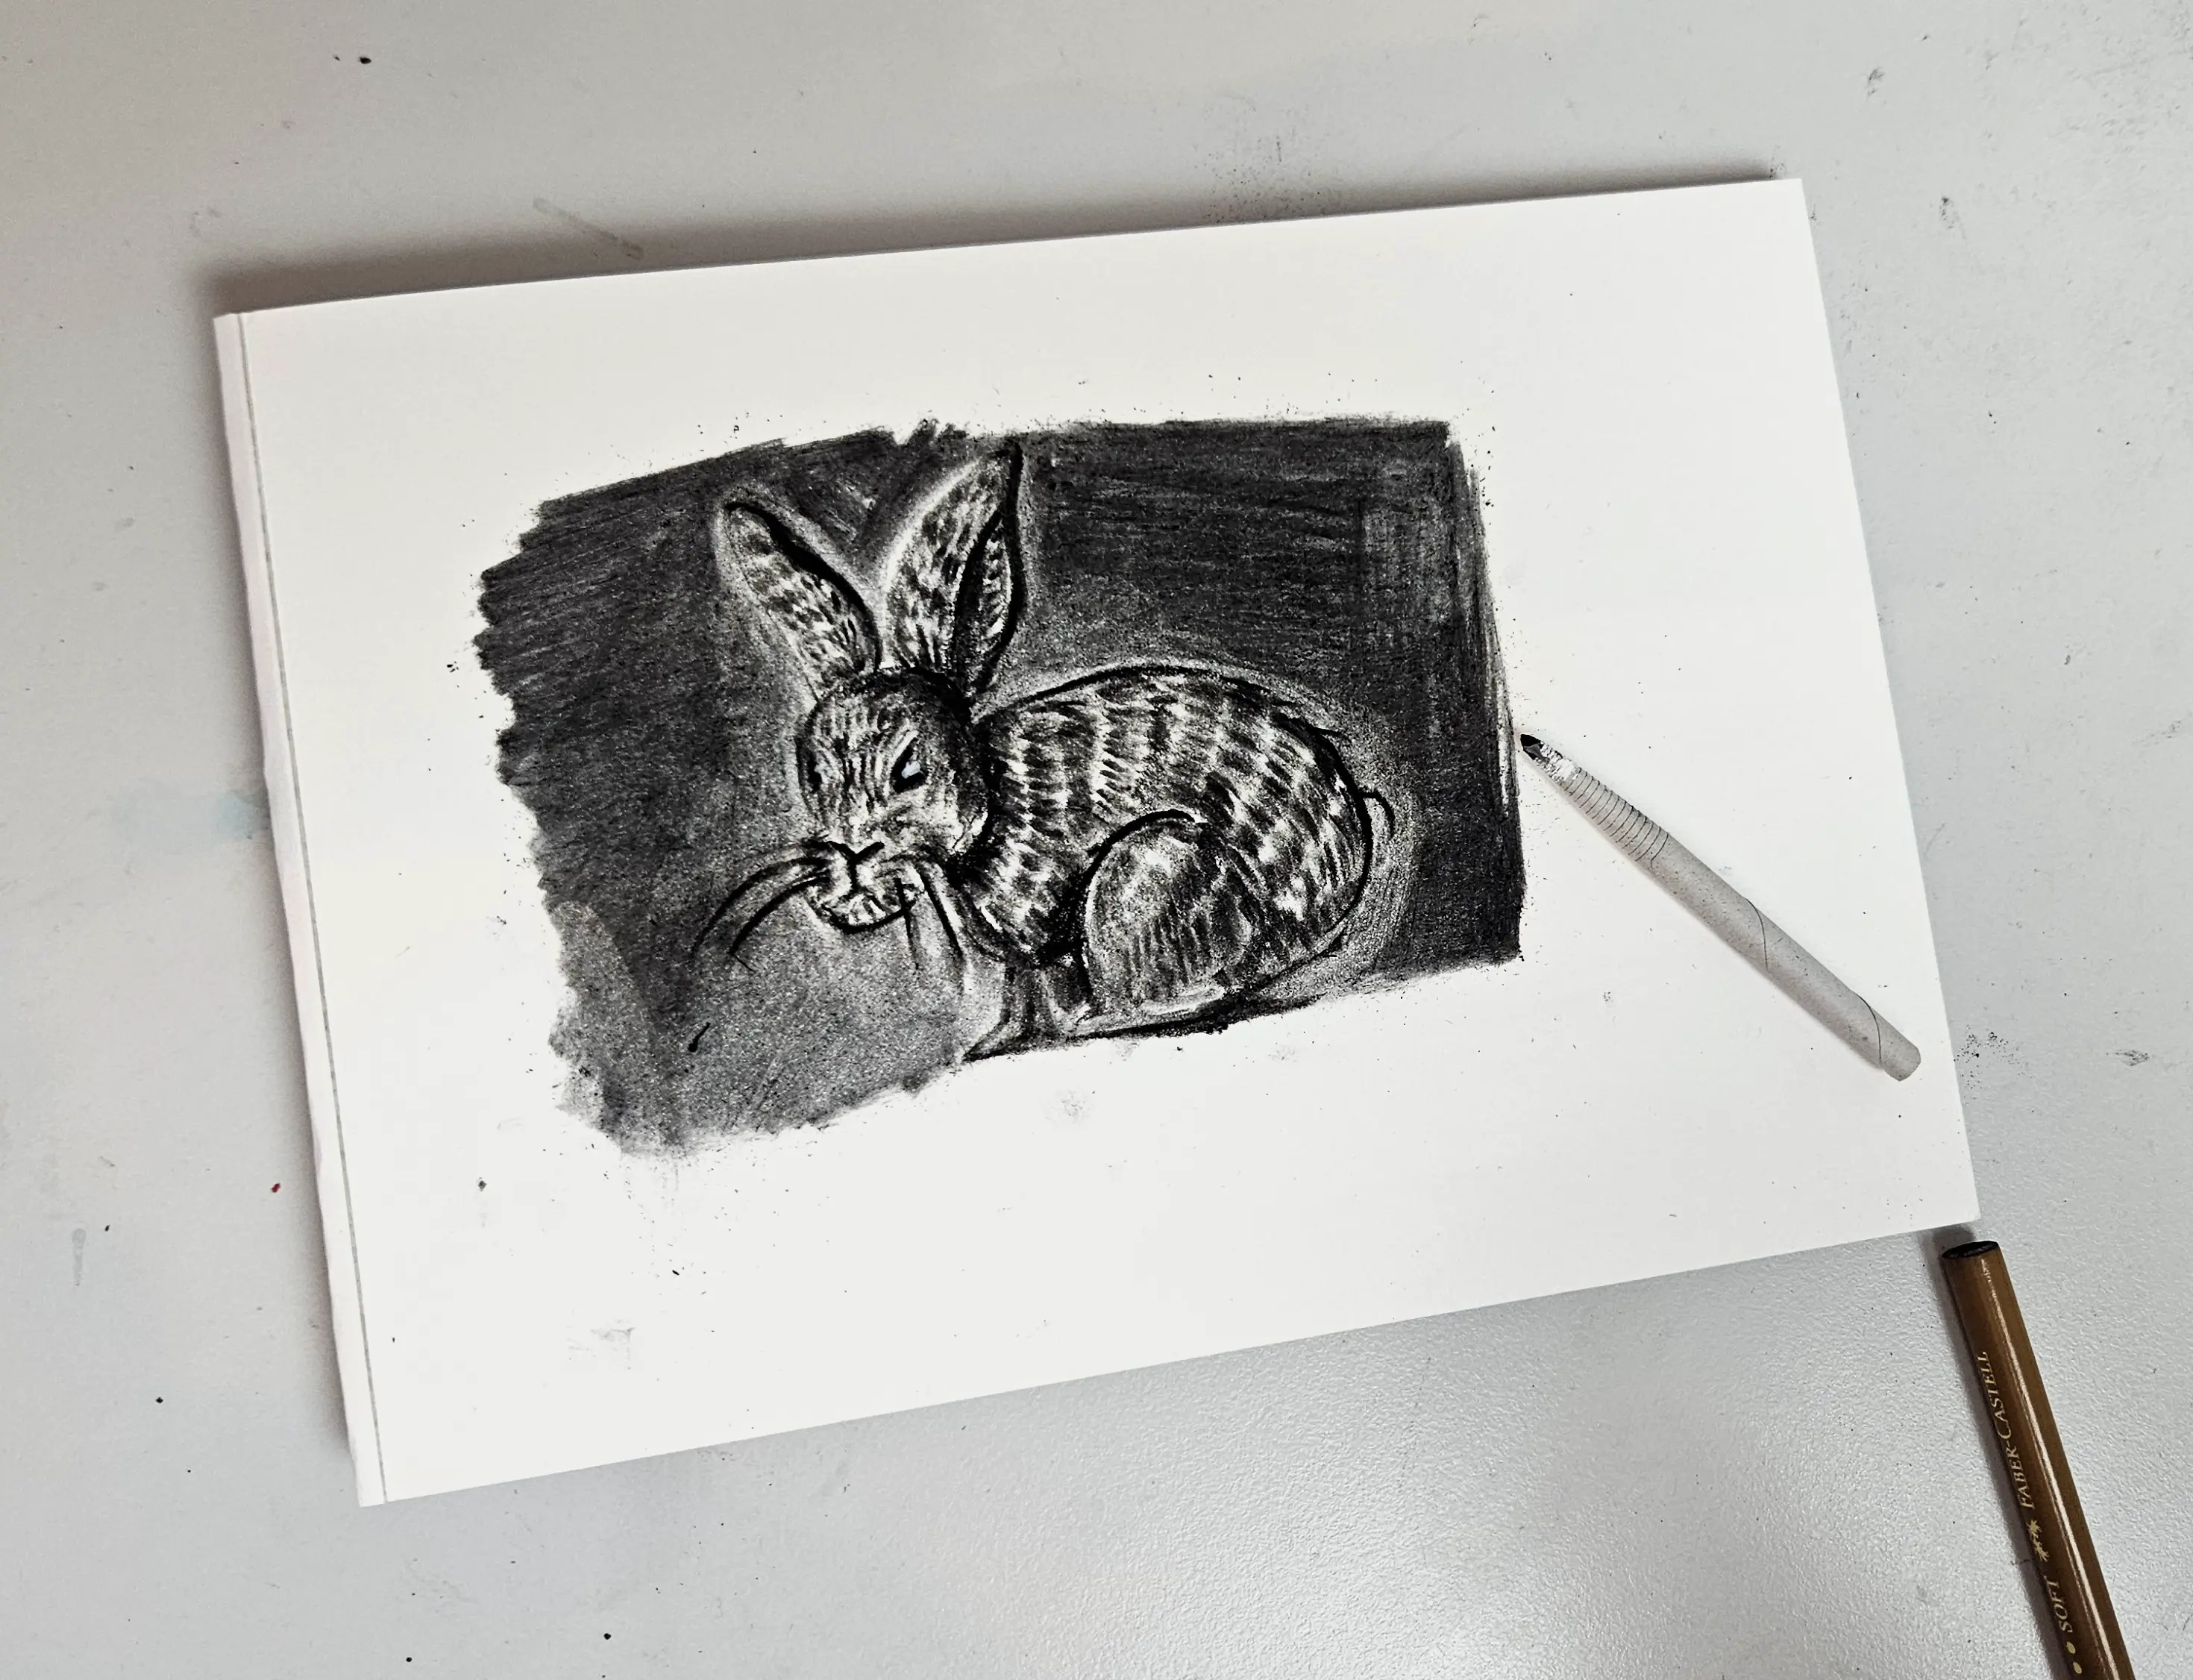
Important step: I take my kneaded eraser, which I can shape as I like, and even attach to a small stump, and erase certain areas. For example, I can erase some fur around the rabbit to brighten the background glow a bit more, add a small sparkle in the eyes, etc. The goal is to try to create a bit more contrast with the deep black of the stick charcoal.
Finally, I take my fixative, and position myself about ten centimeters from my drawing. I spray for a few seconds. The drawing is fixed and no longer moves. You can frame your drawing or store it in a small pouch.
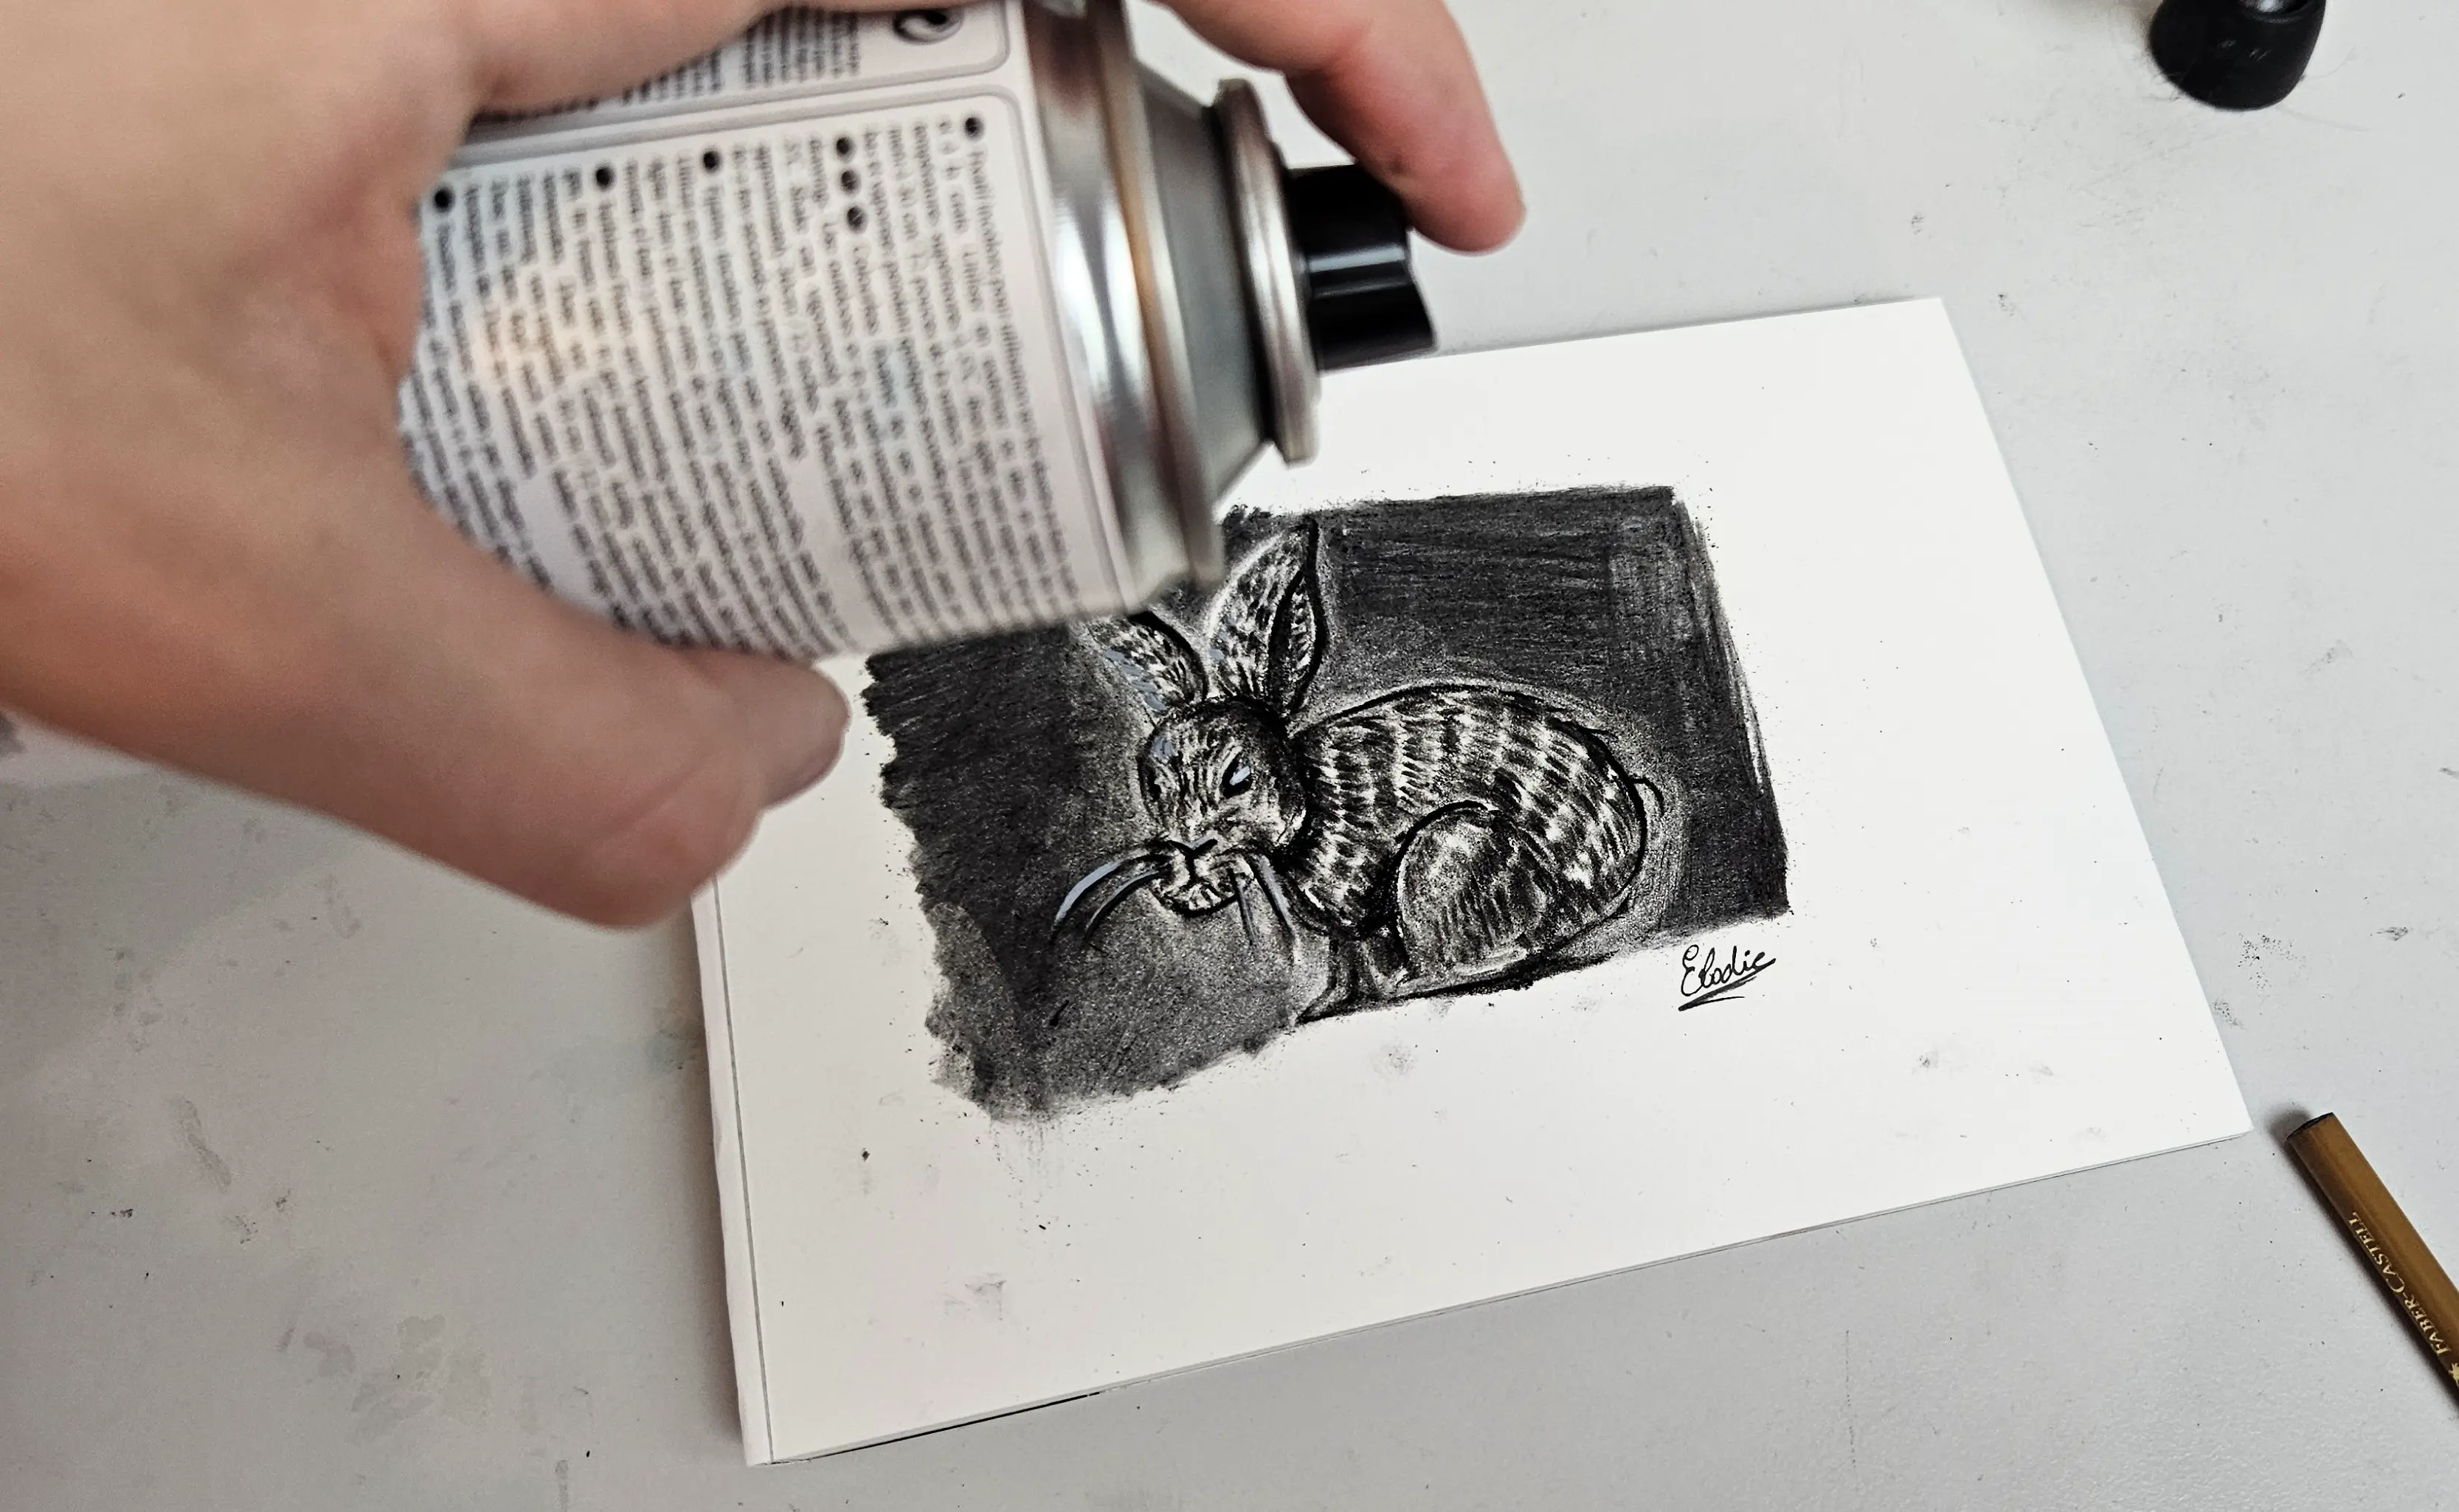
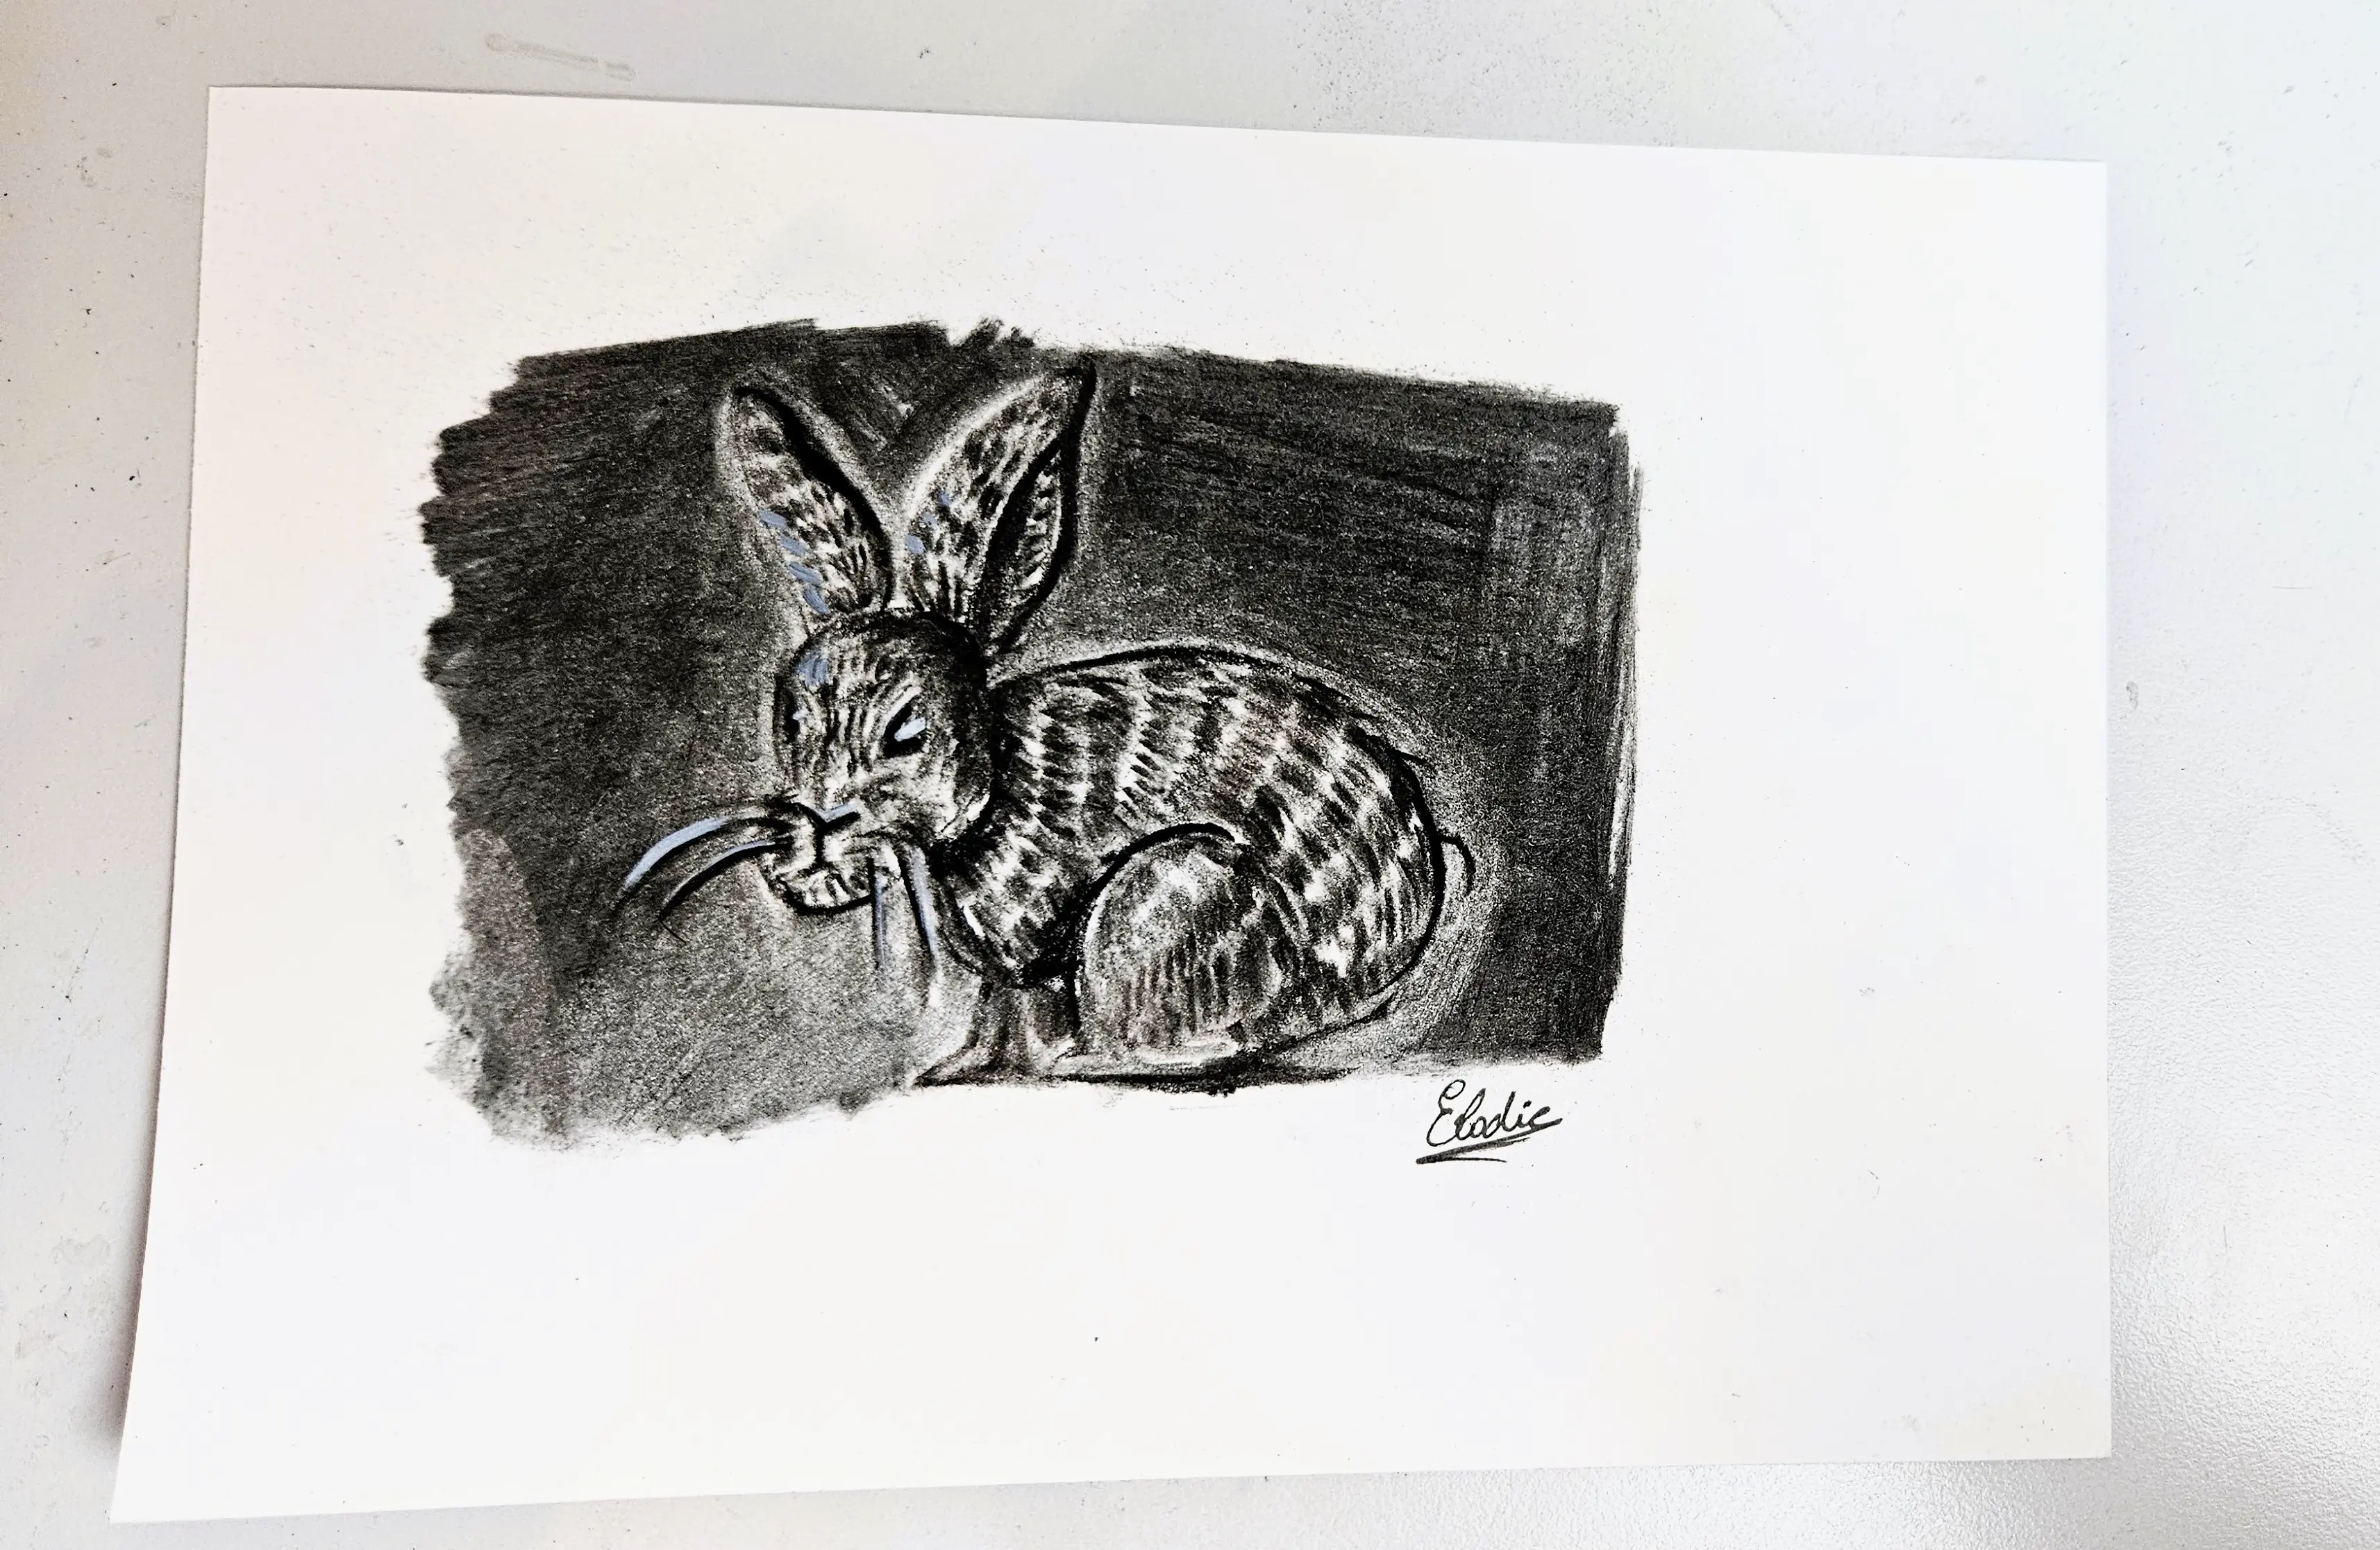
Here is the final result. I think it's a bit less successful than my eagle and gorilla, but I mainly wanted to show you the technique I usually use for charcoal drawing, and the different necessary steps.
This article is now complete! I hope it has helped you learn a little more about charcoal drawing. Try using the different drawing techniques described in this article to find the method that suits you best!
Writer and illustrator: Elodraw