How to Draw a Bed
As I know you love drawing objects and settings, I suggest today that you draw a bed. Believe it or not, we often need them in stories or illustrations. So it’s good to know how to draw one. What's more, it’s not complicated. What more could you ask for? 😊
THE STRUCTURE OF A BED
Well, I urge you to go take a look in your room. You have a real example at home, take advantage of it! You can walk all around it, remove the sheets, the mattress, look at the slats underneath. In short, you can observe and understand its structure well.
Again, the variations are quite wide for this type of furniture. With or without a headboard, bunk, single or double (even XXL). One or more mattresses. Sheets or duvets? Lots of cushions or very few? A bedspread or not? Not to mention the patterns of the sheets and the headboard! Again, choose what you like, take references if you need them, see what is being done and off we go!
DRAW A BED STEP BY STEP
Well, I haven't really given any instructions in the observation section this time. But I'm sure that since you've been following my articles and hearing me repeat all the time that you need to observe before jumping in, you've become super pros! 😉
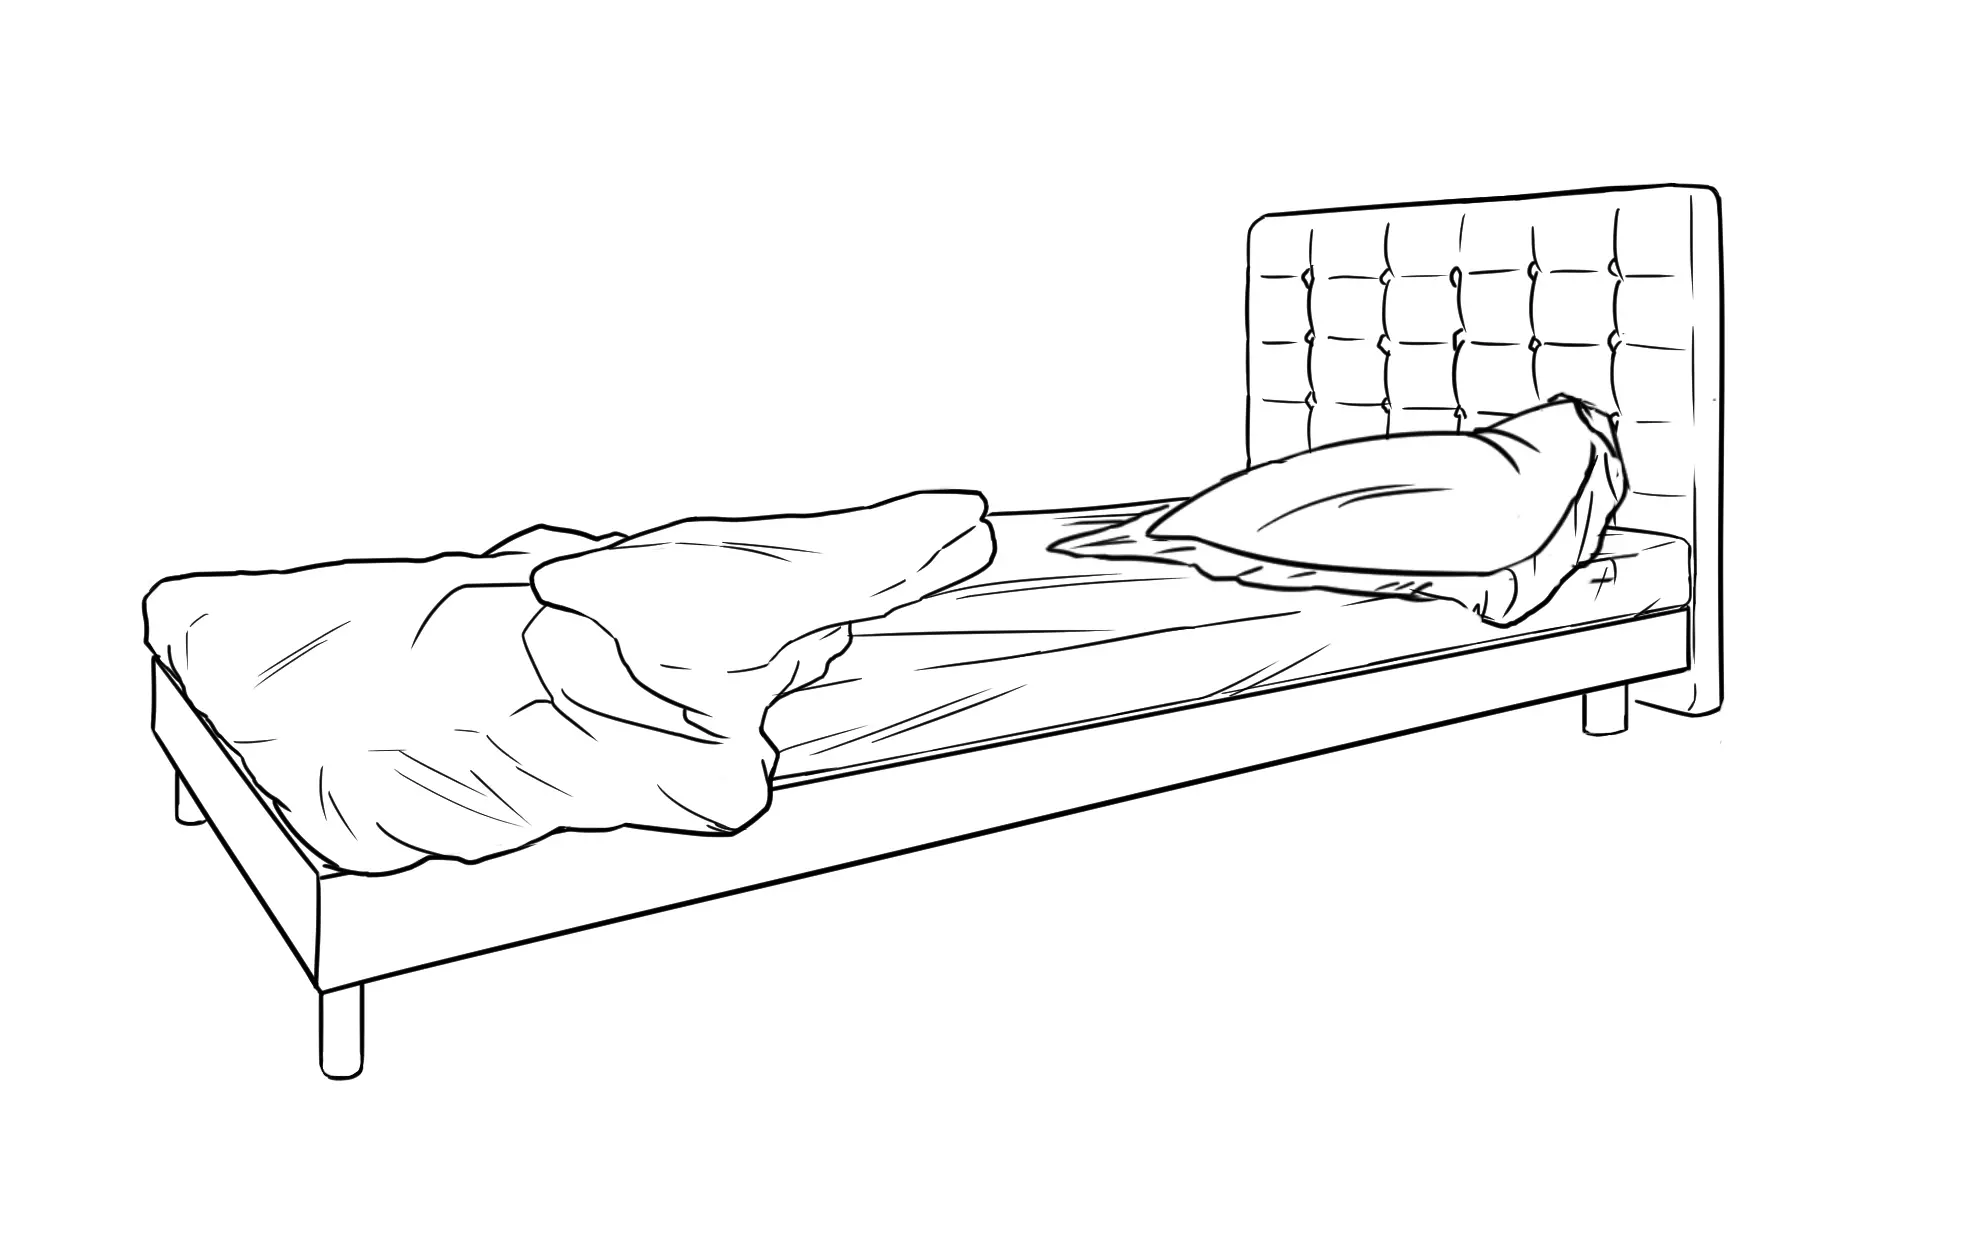
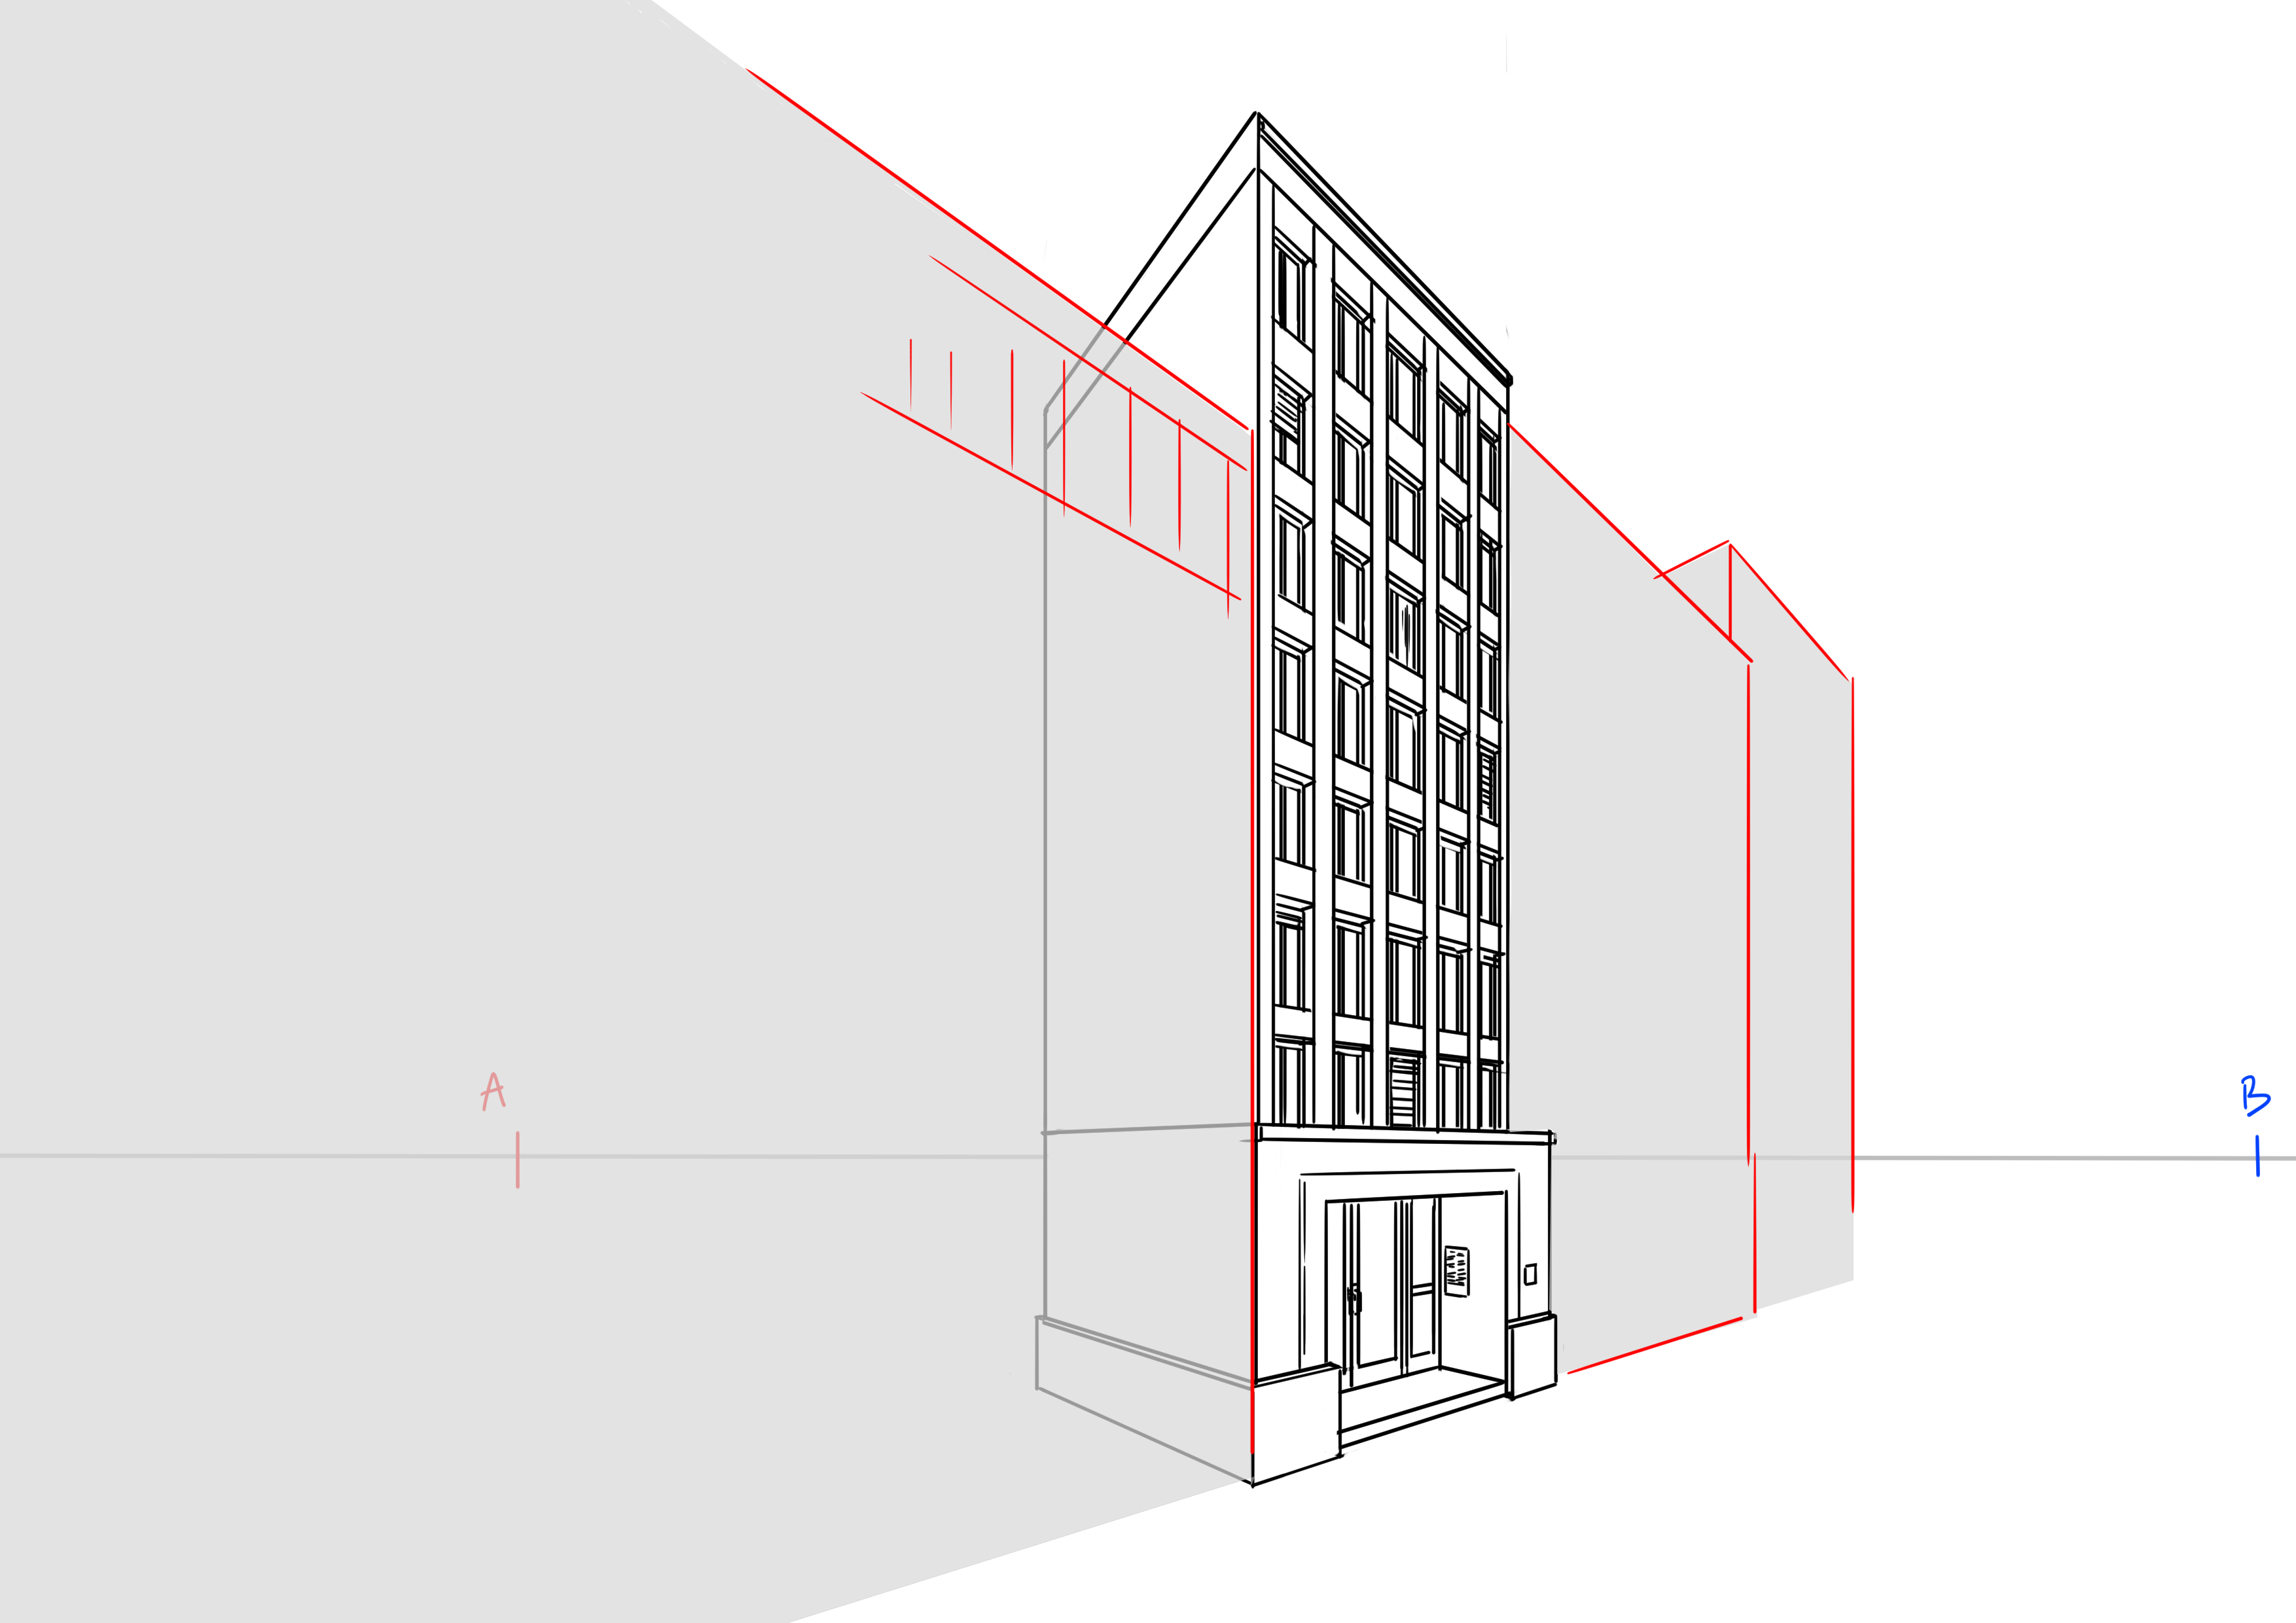
We proceed in the same manner as fordraw a building(you remember that one, right?). I want to draw a single bed with a headboard and sheets as well as a duvet. And all messy as if our character just got out of bed.
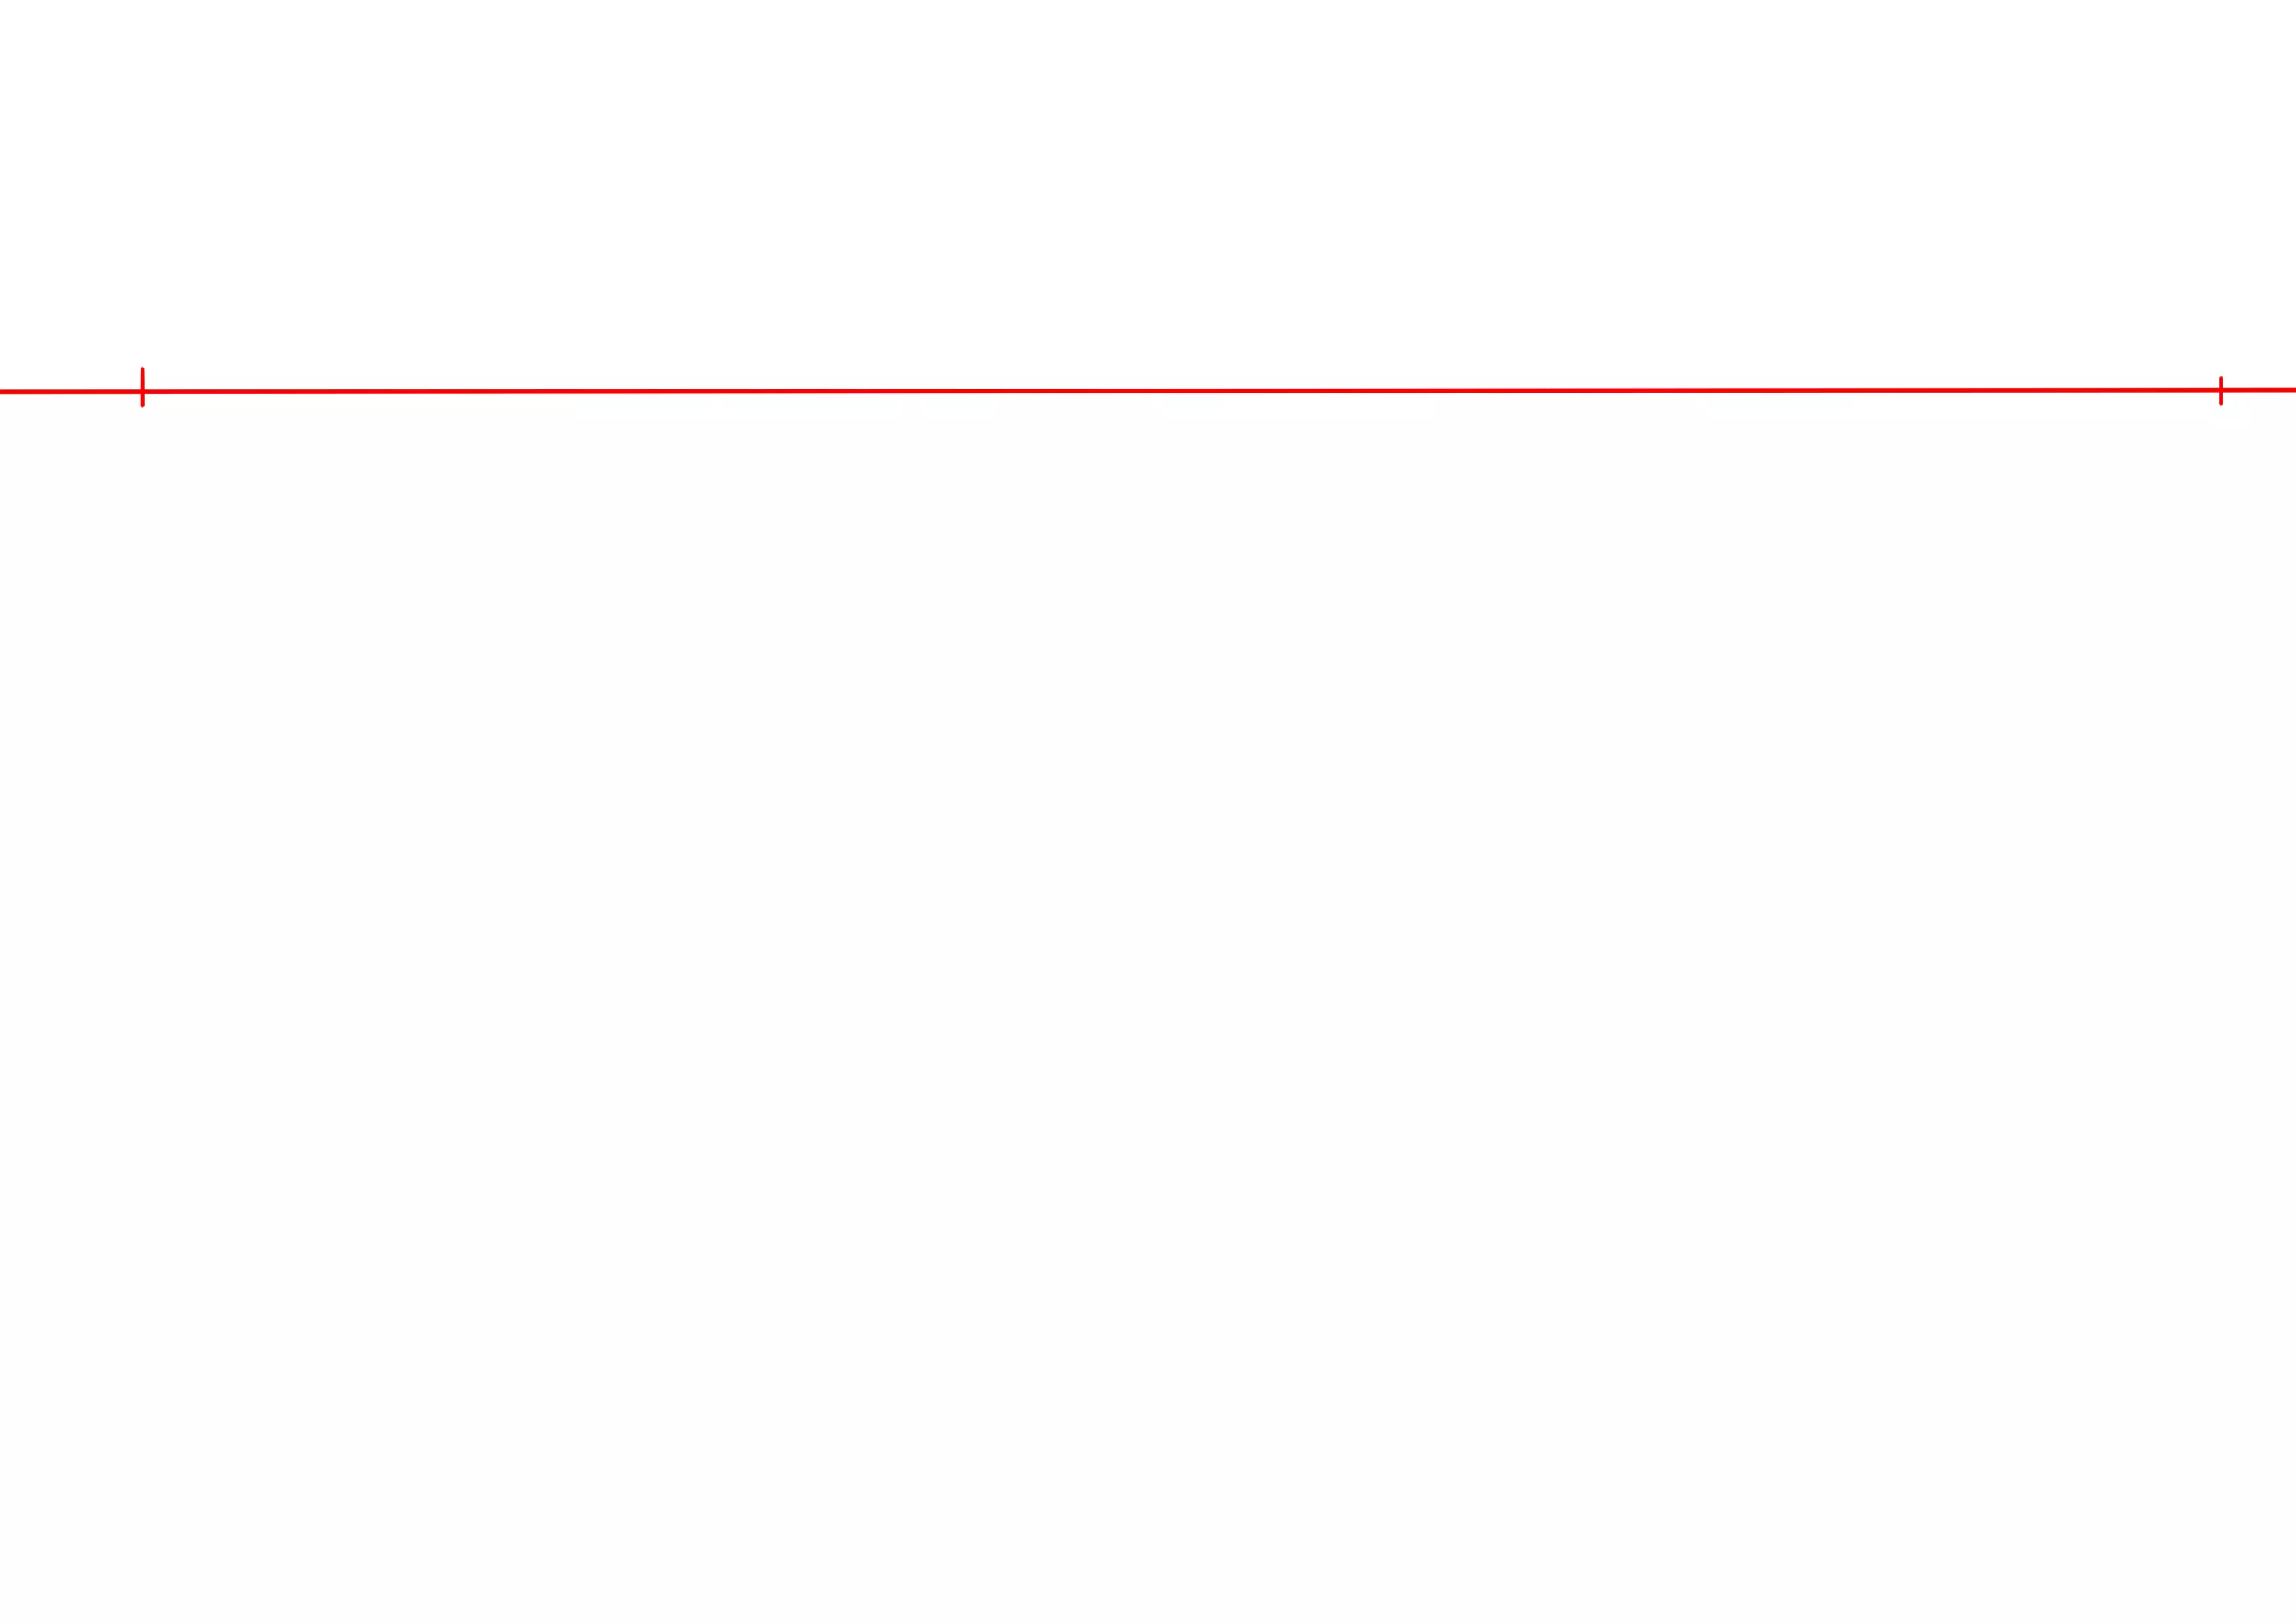
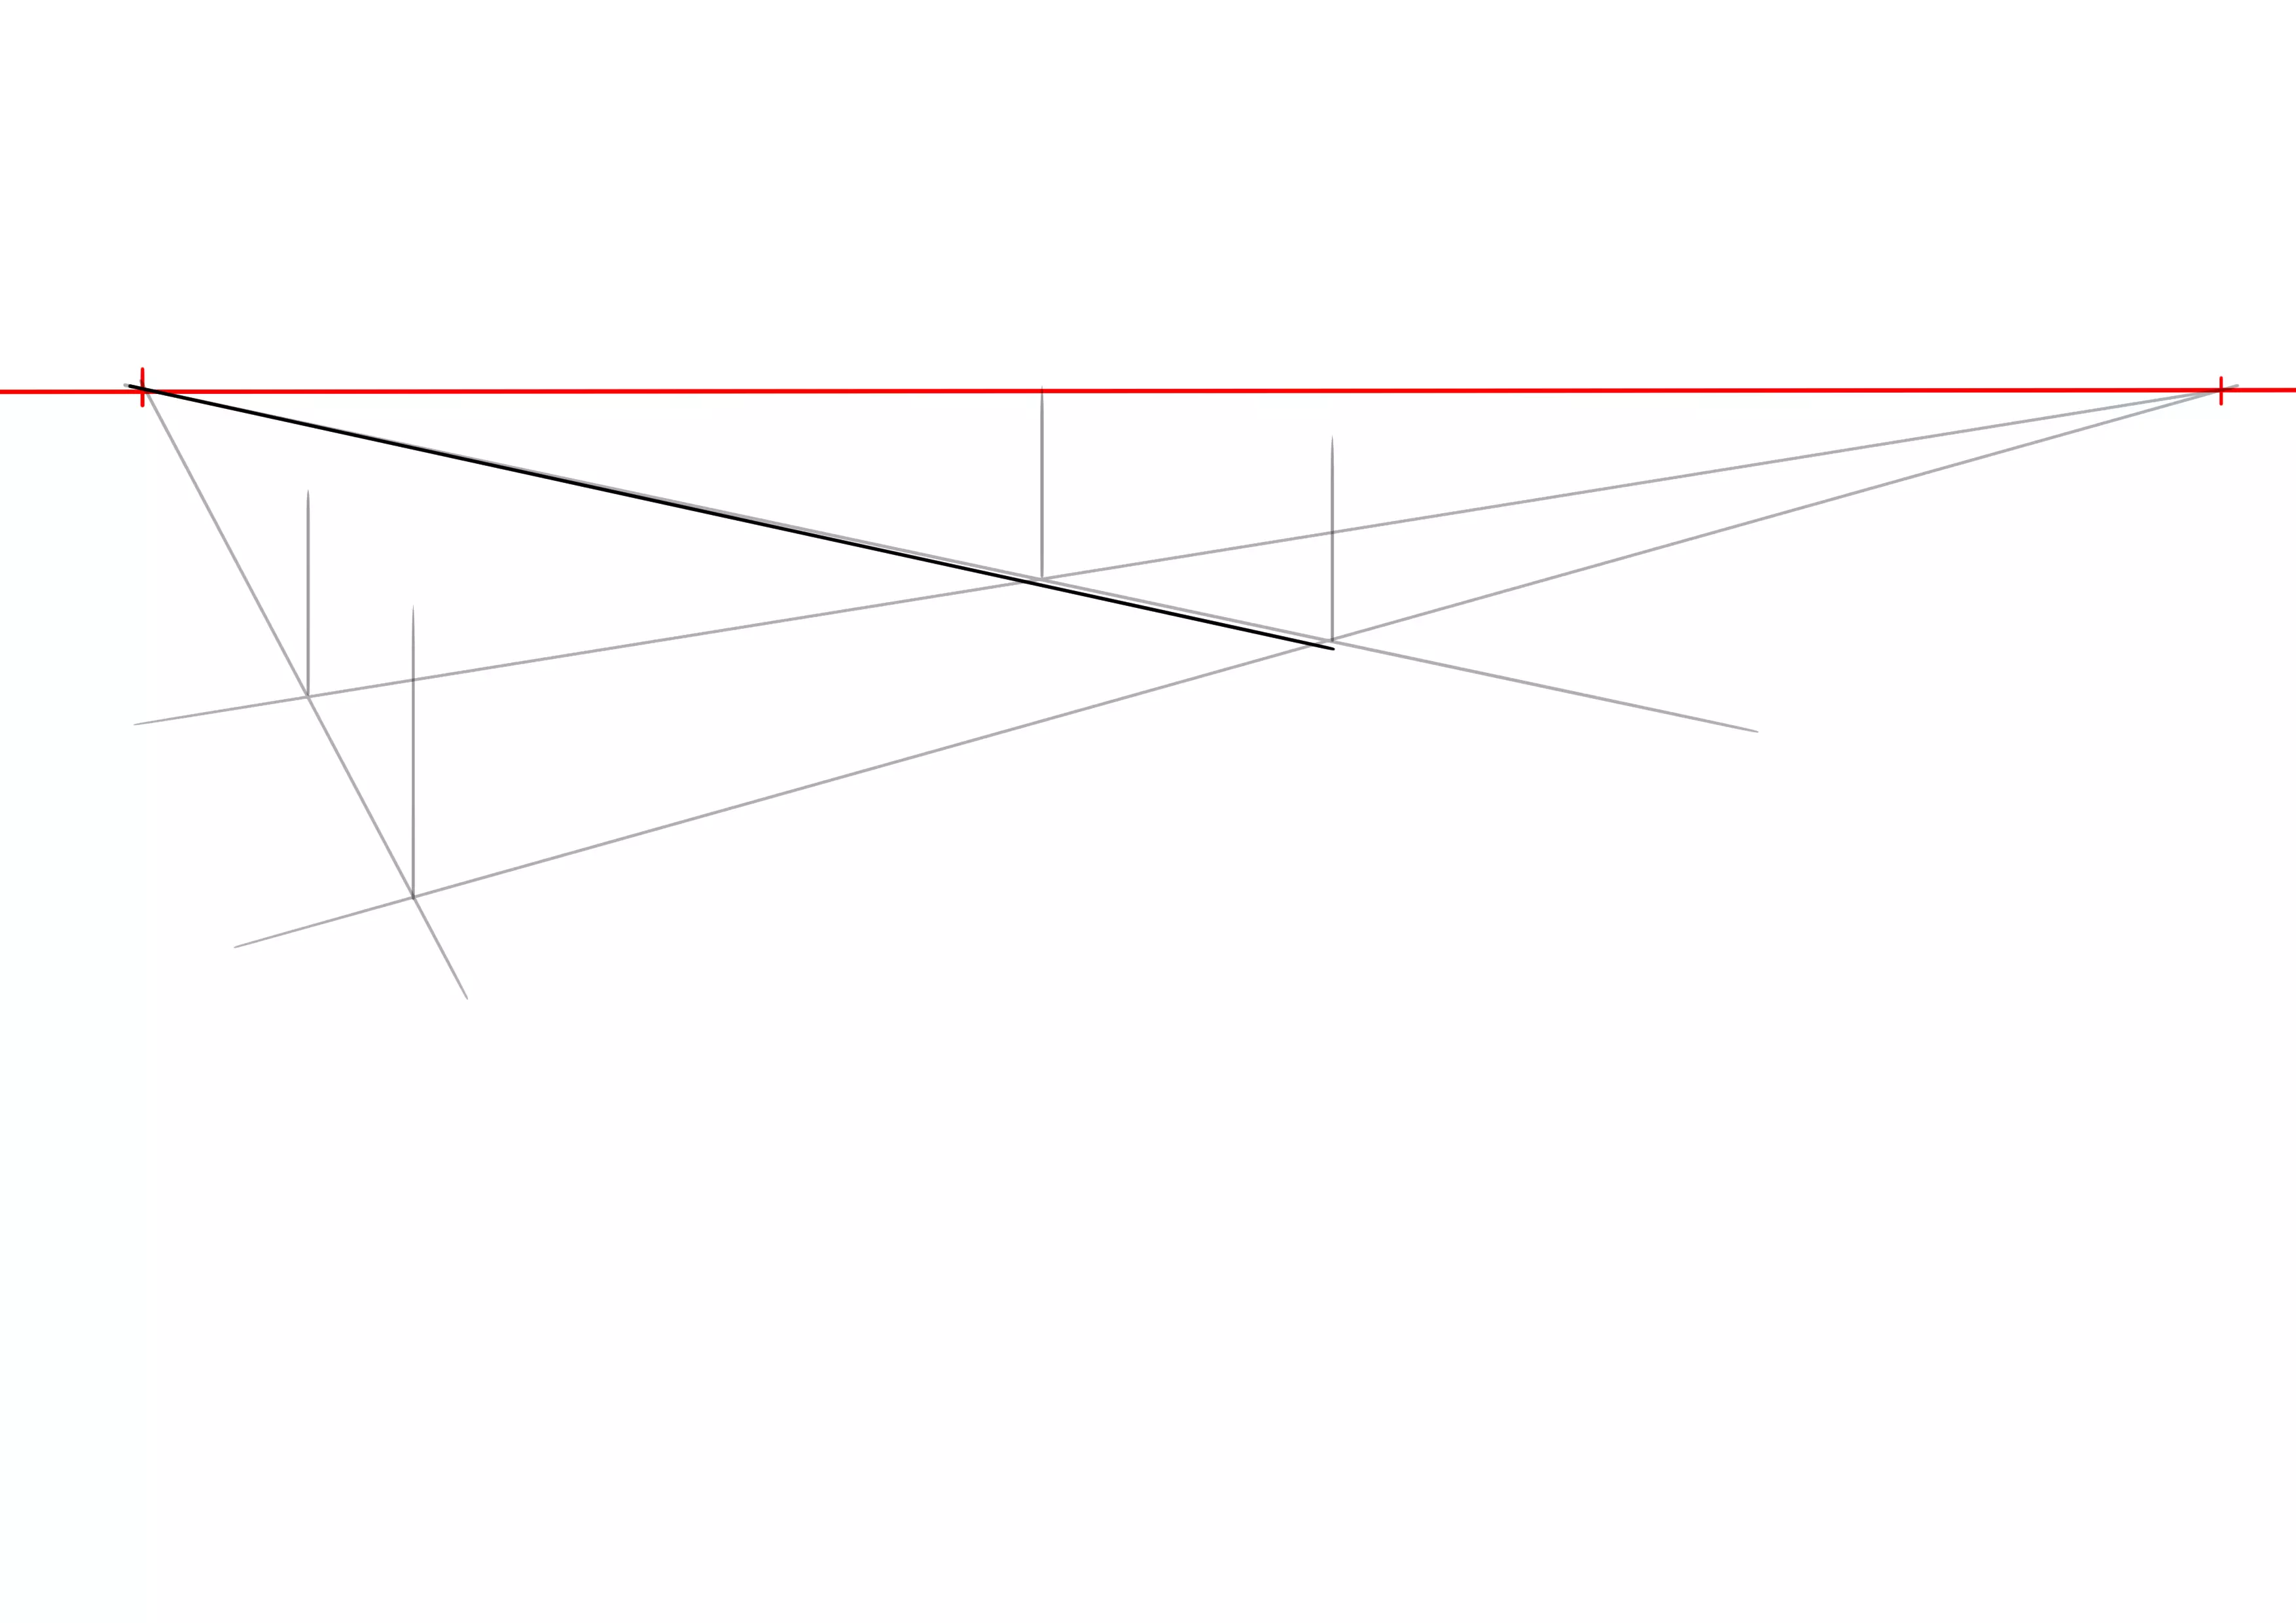
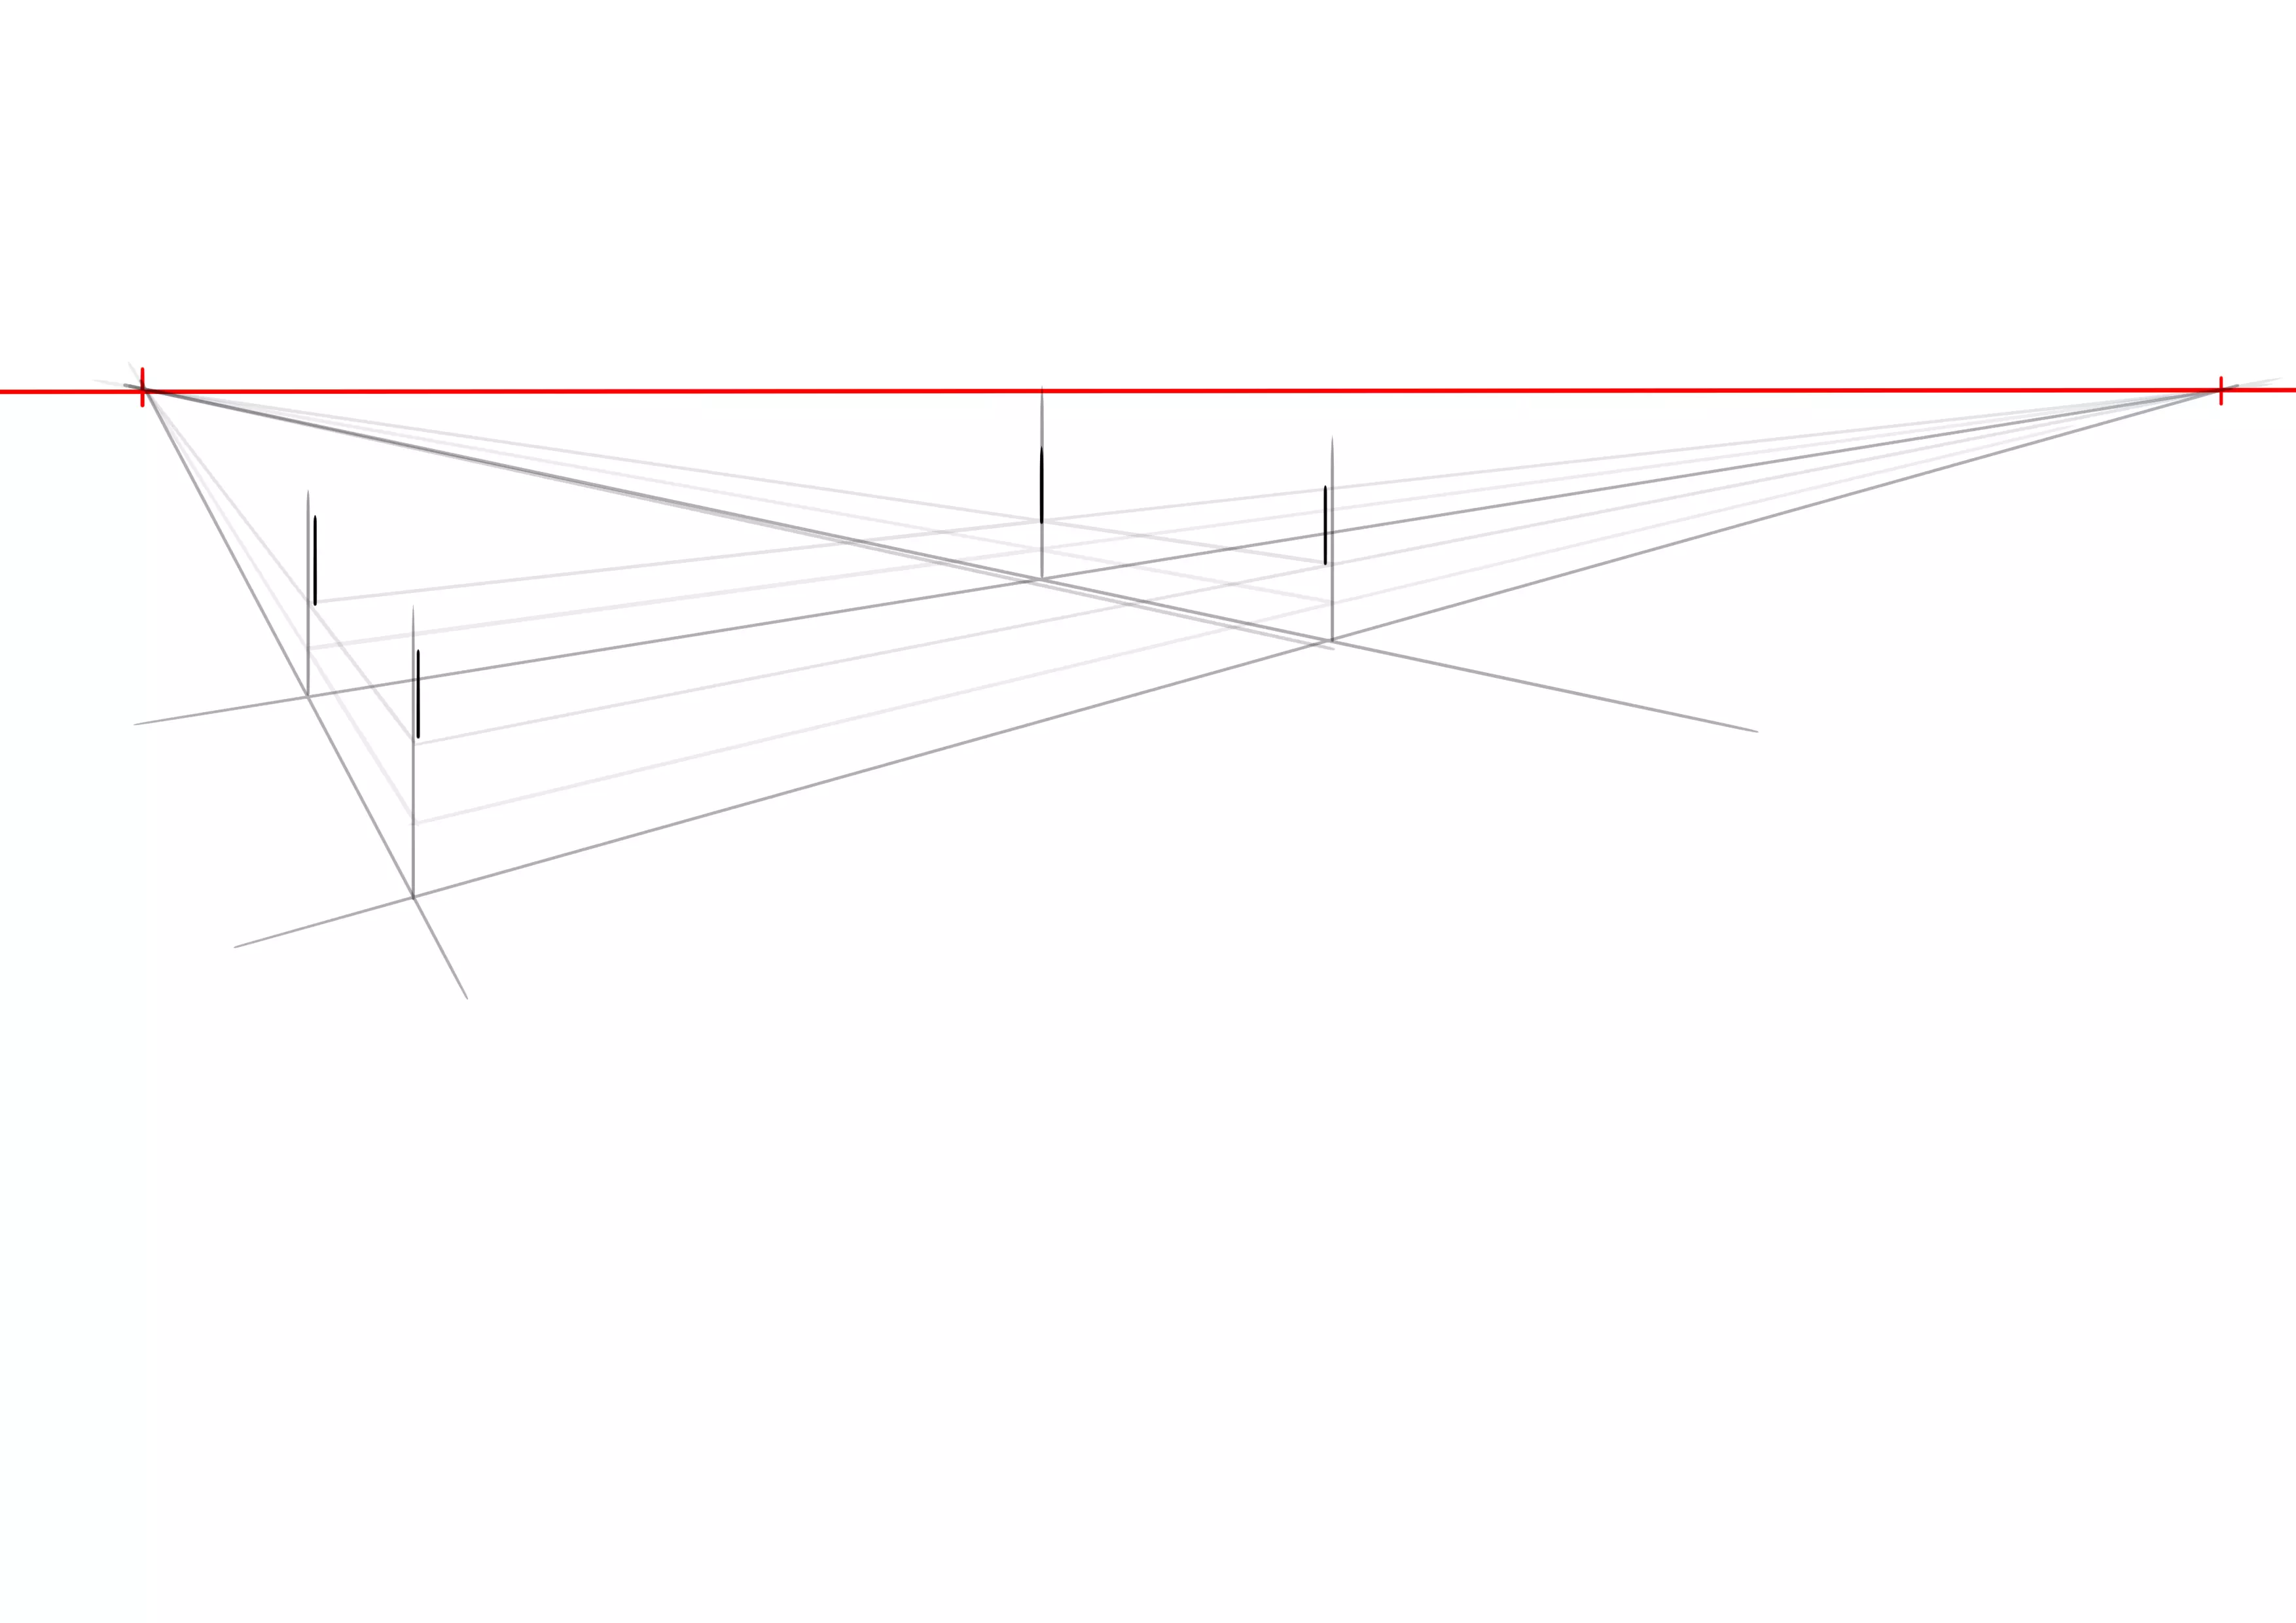
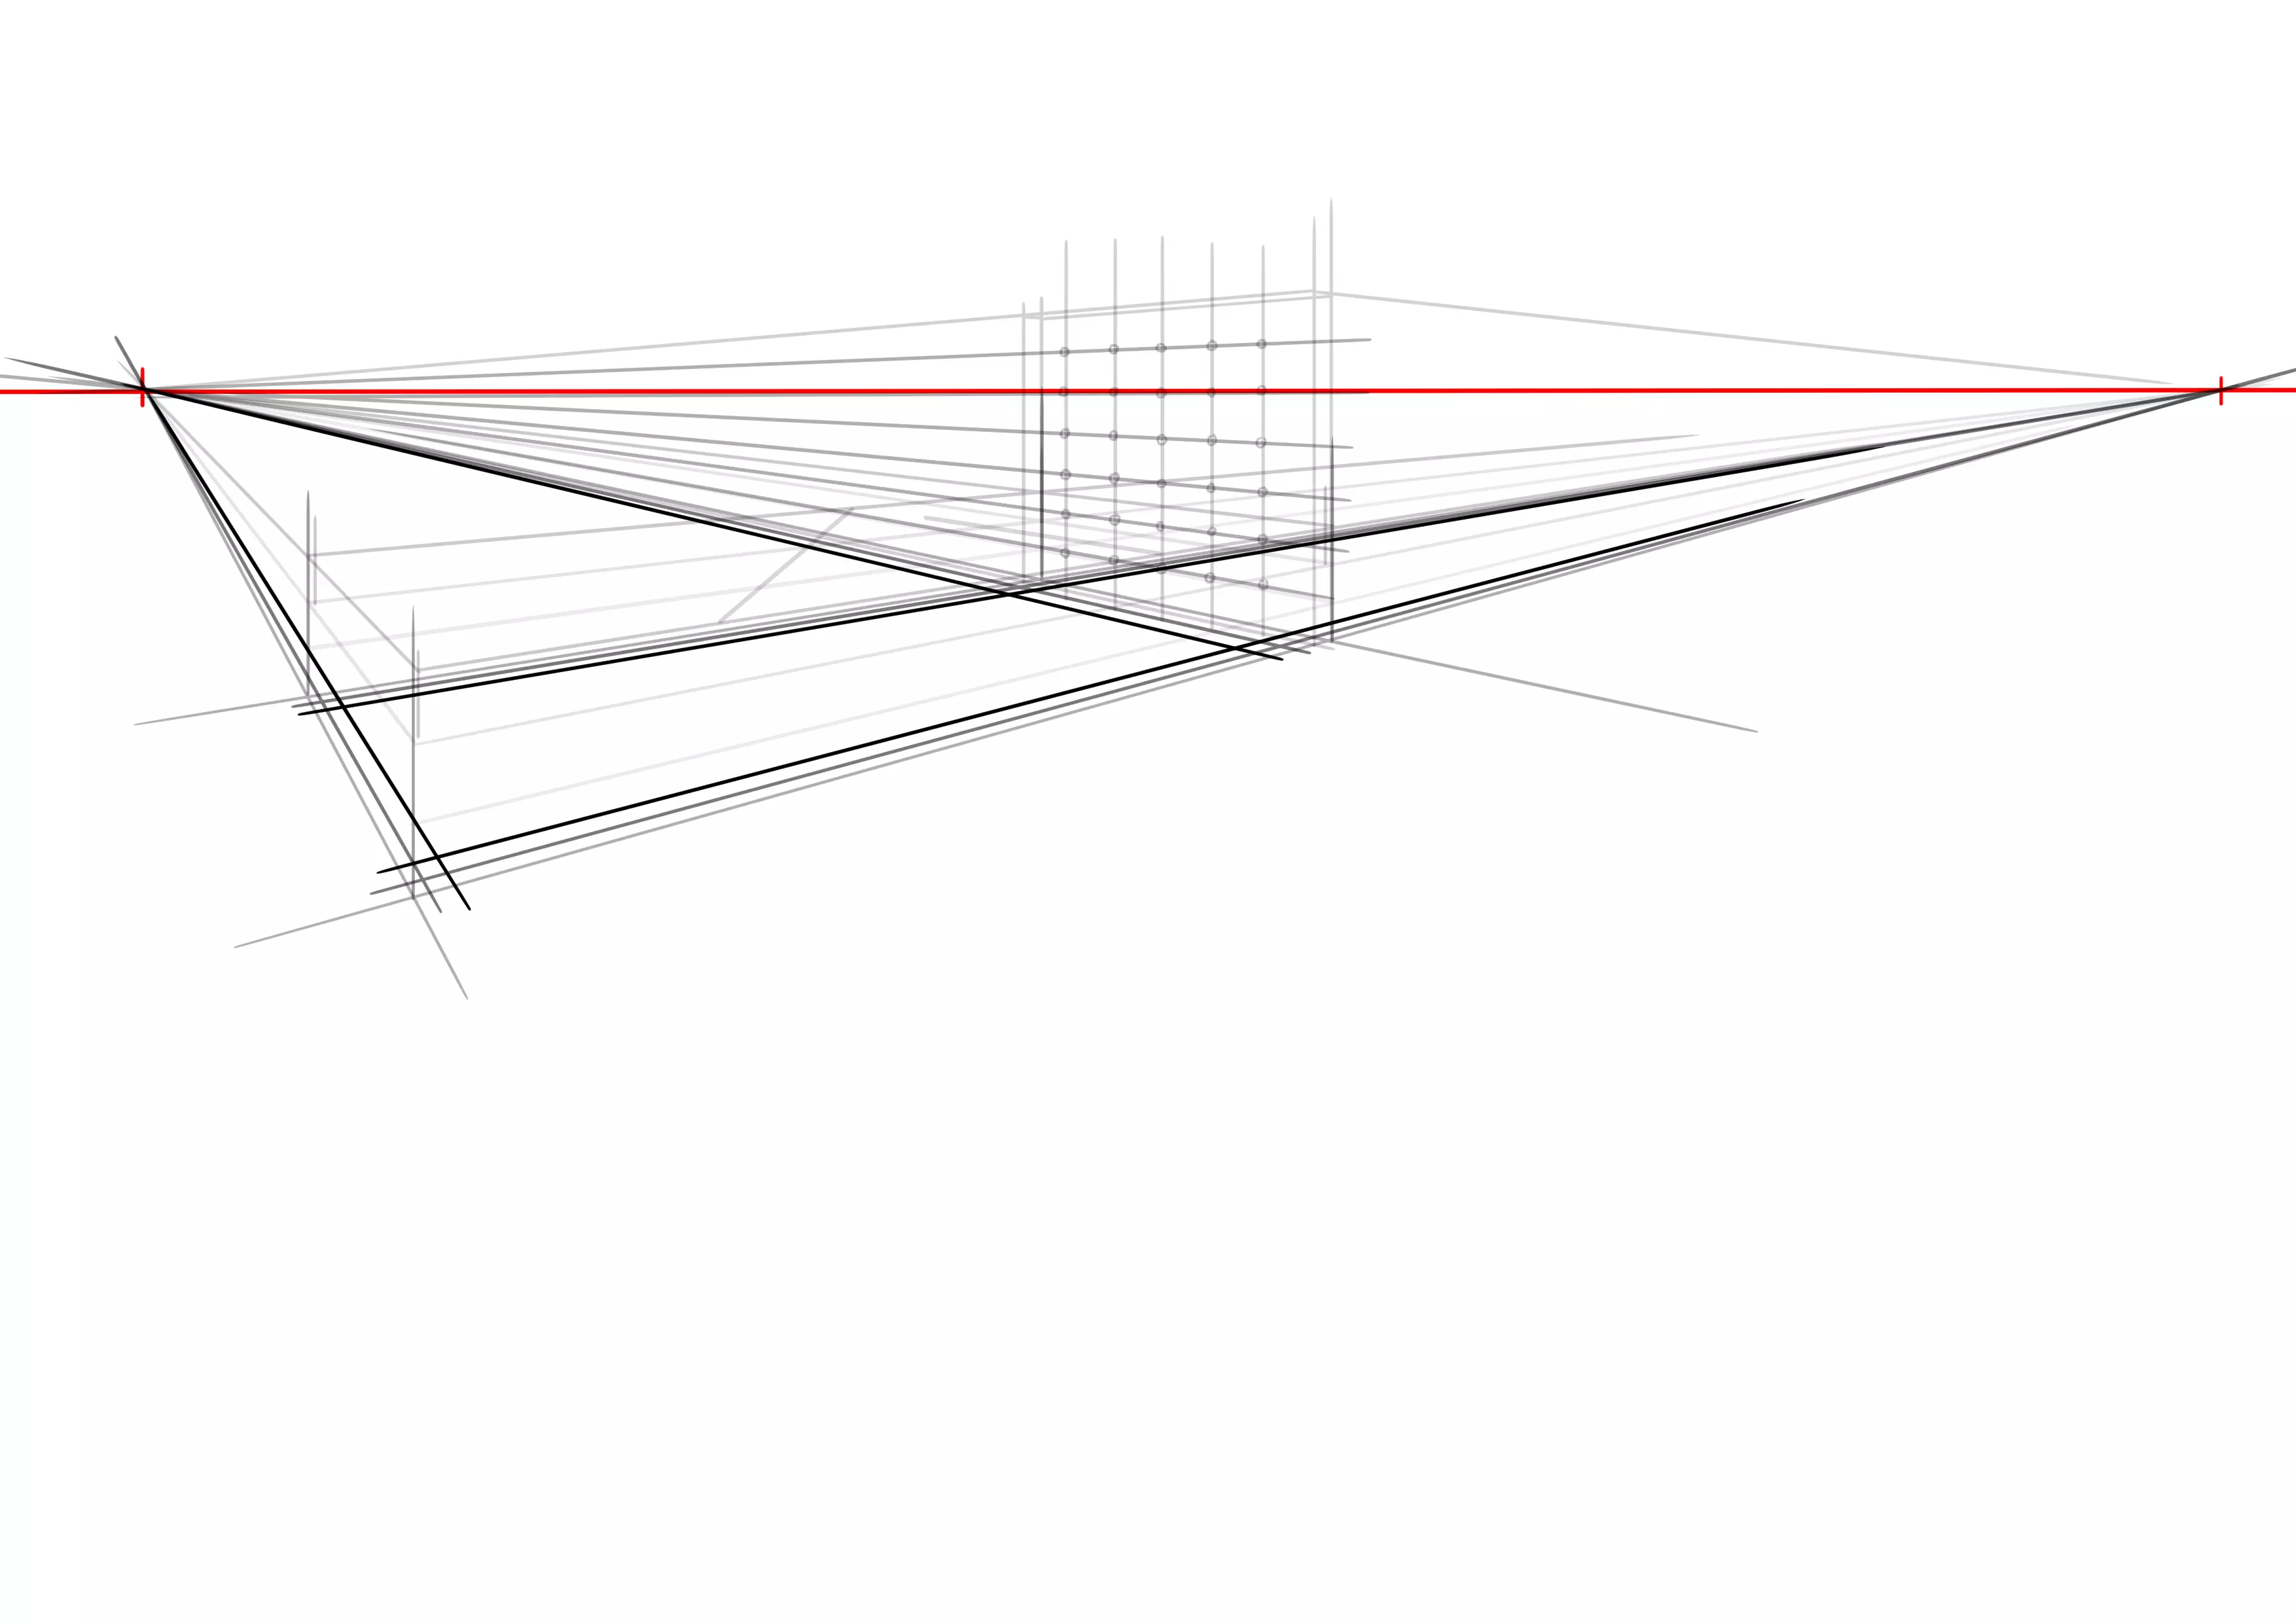
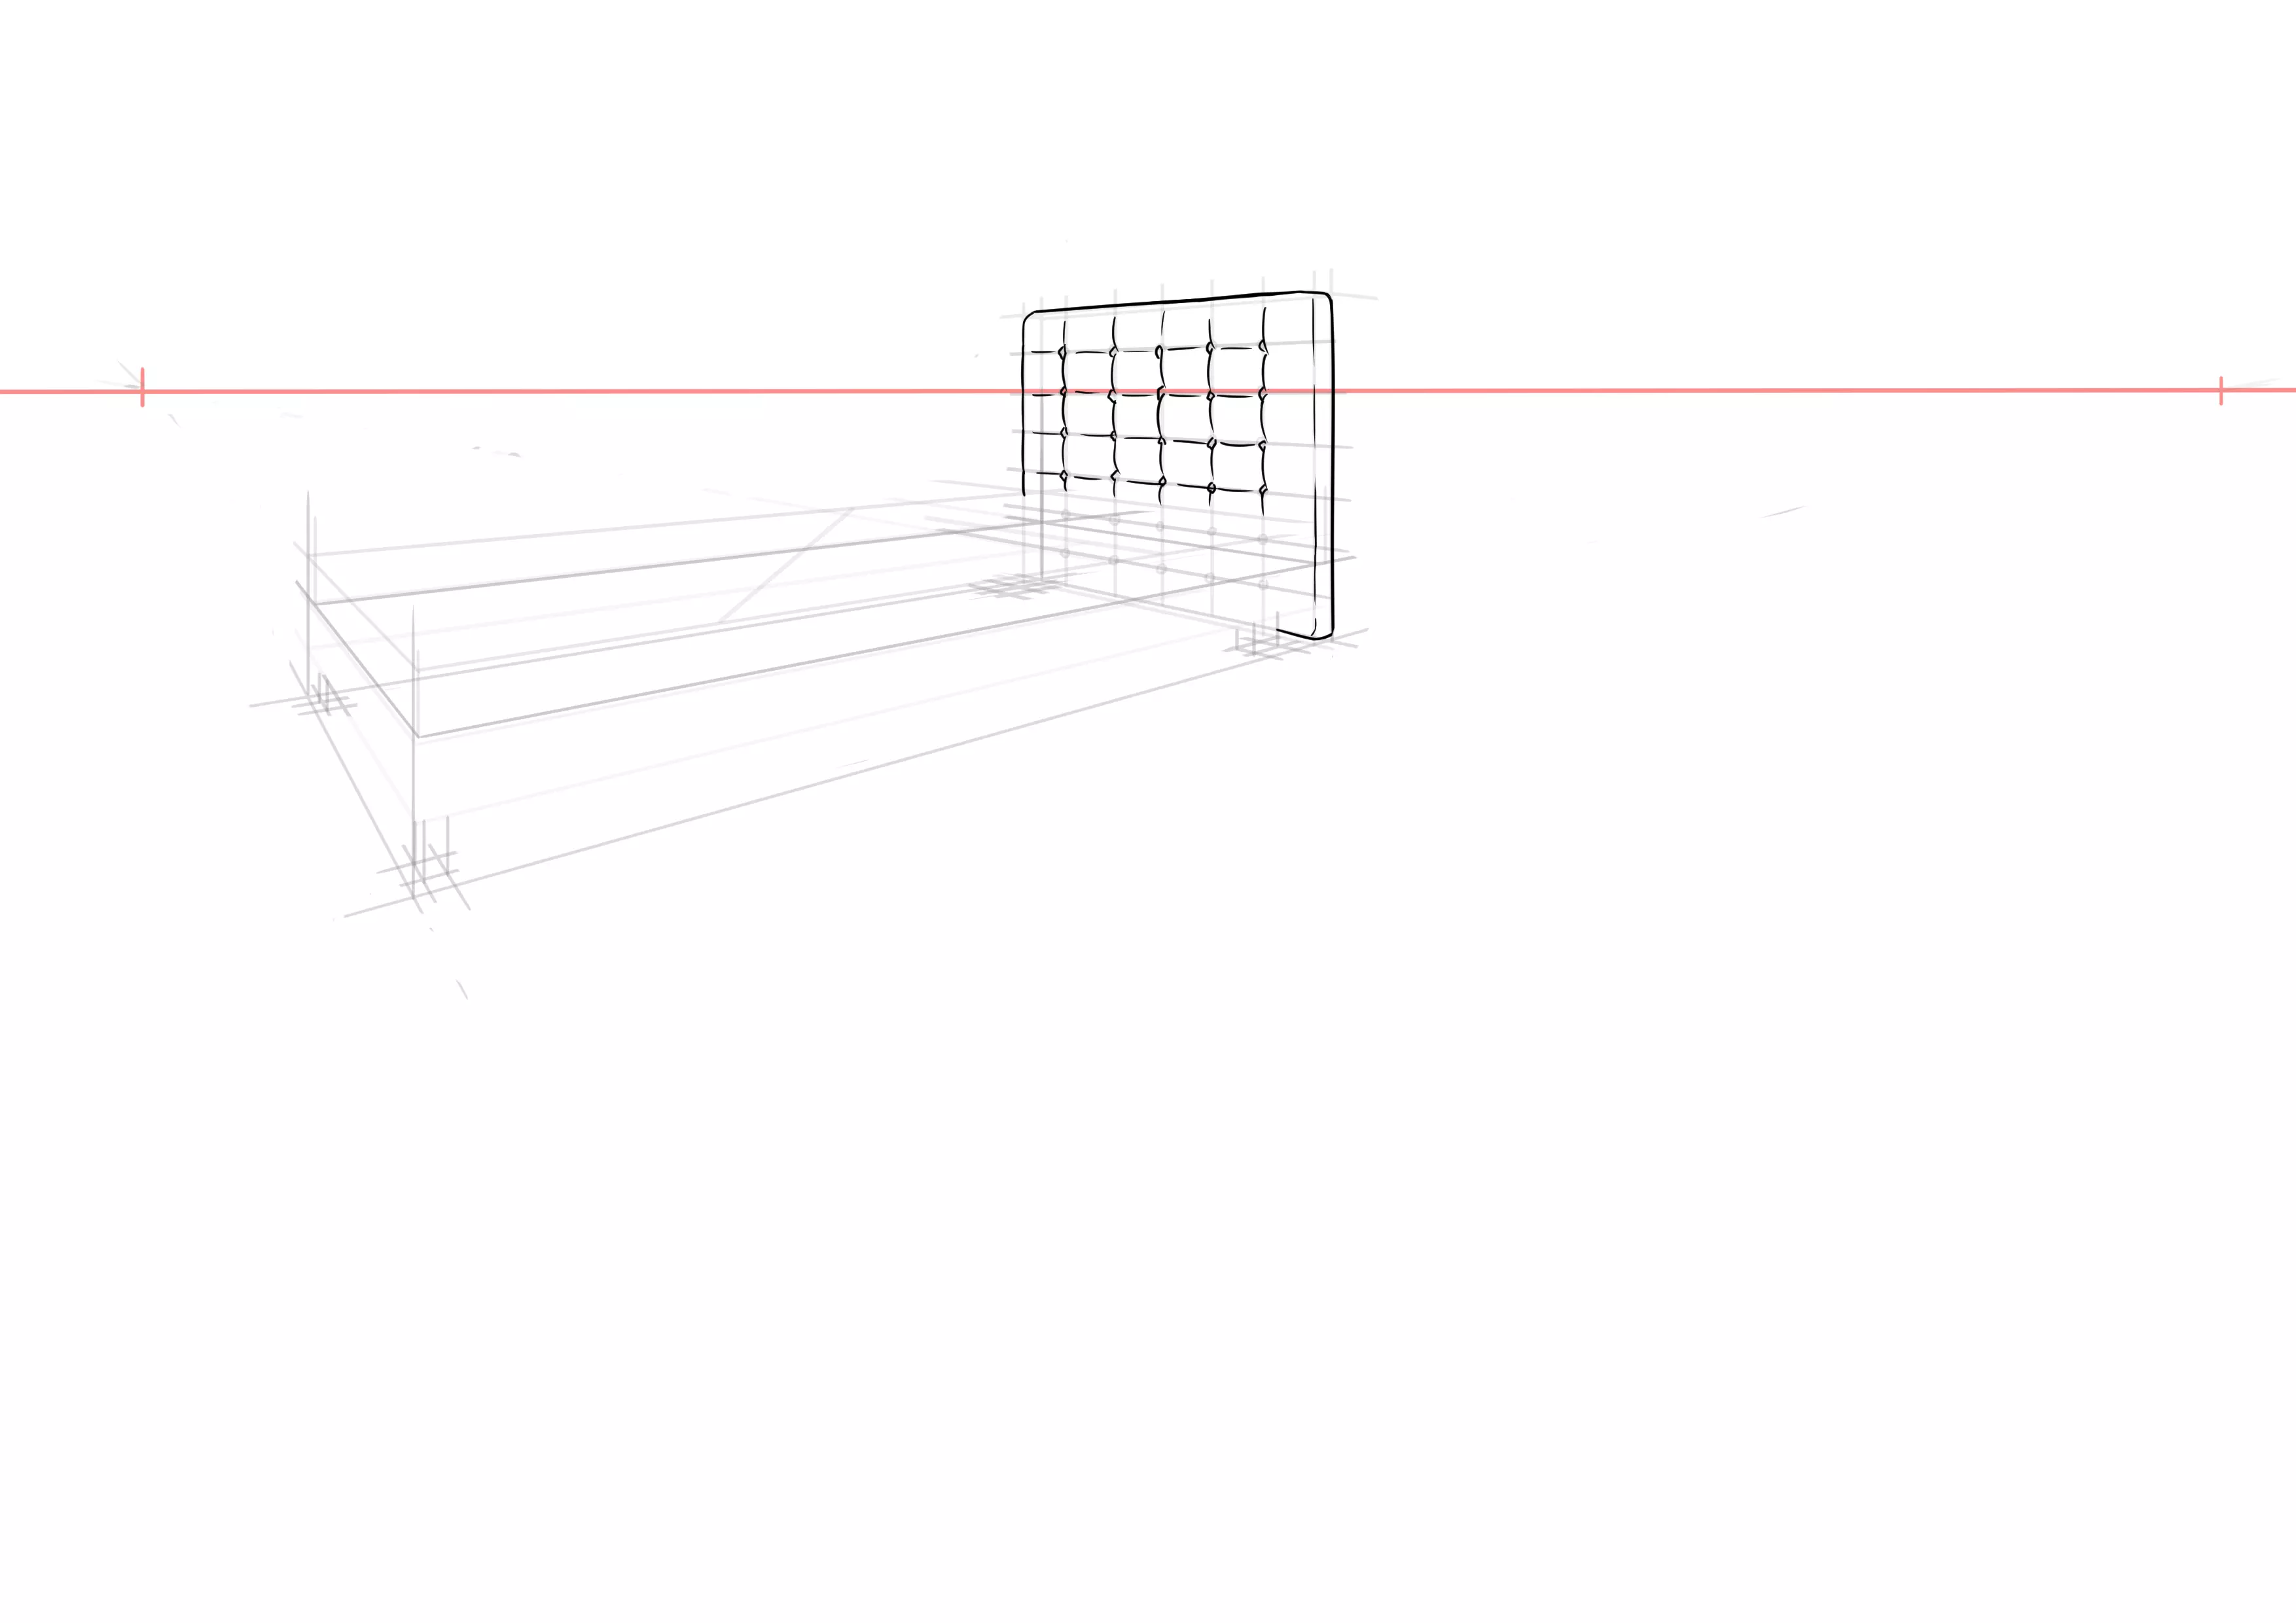
CREATE THE BASE OF THE BED DRAWING: HORIZON LINE AND VANISHING POINTS
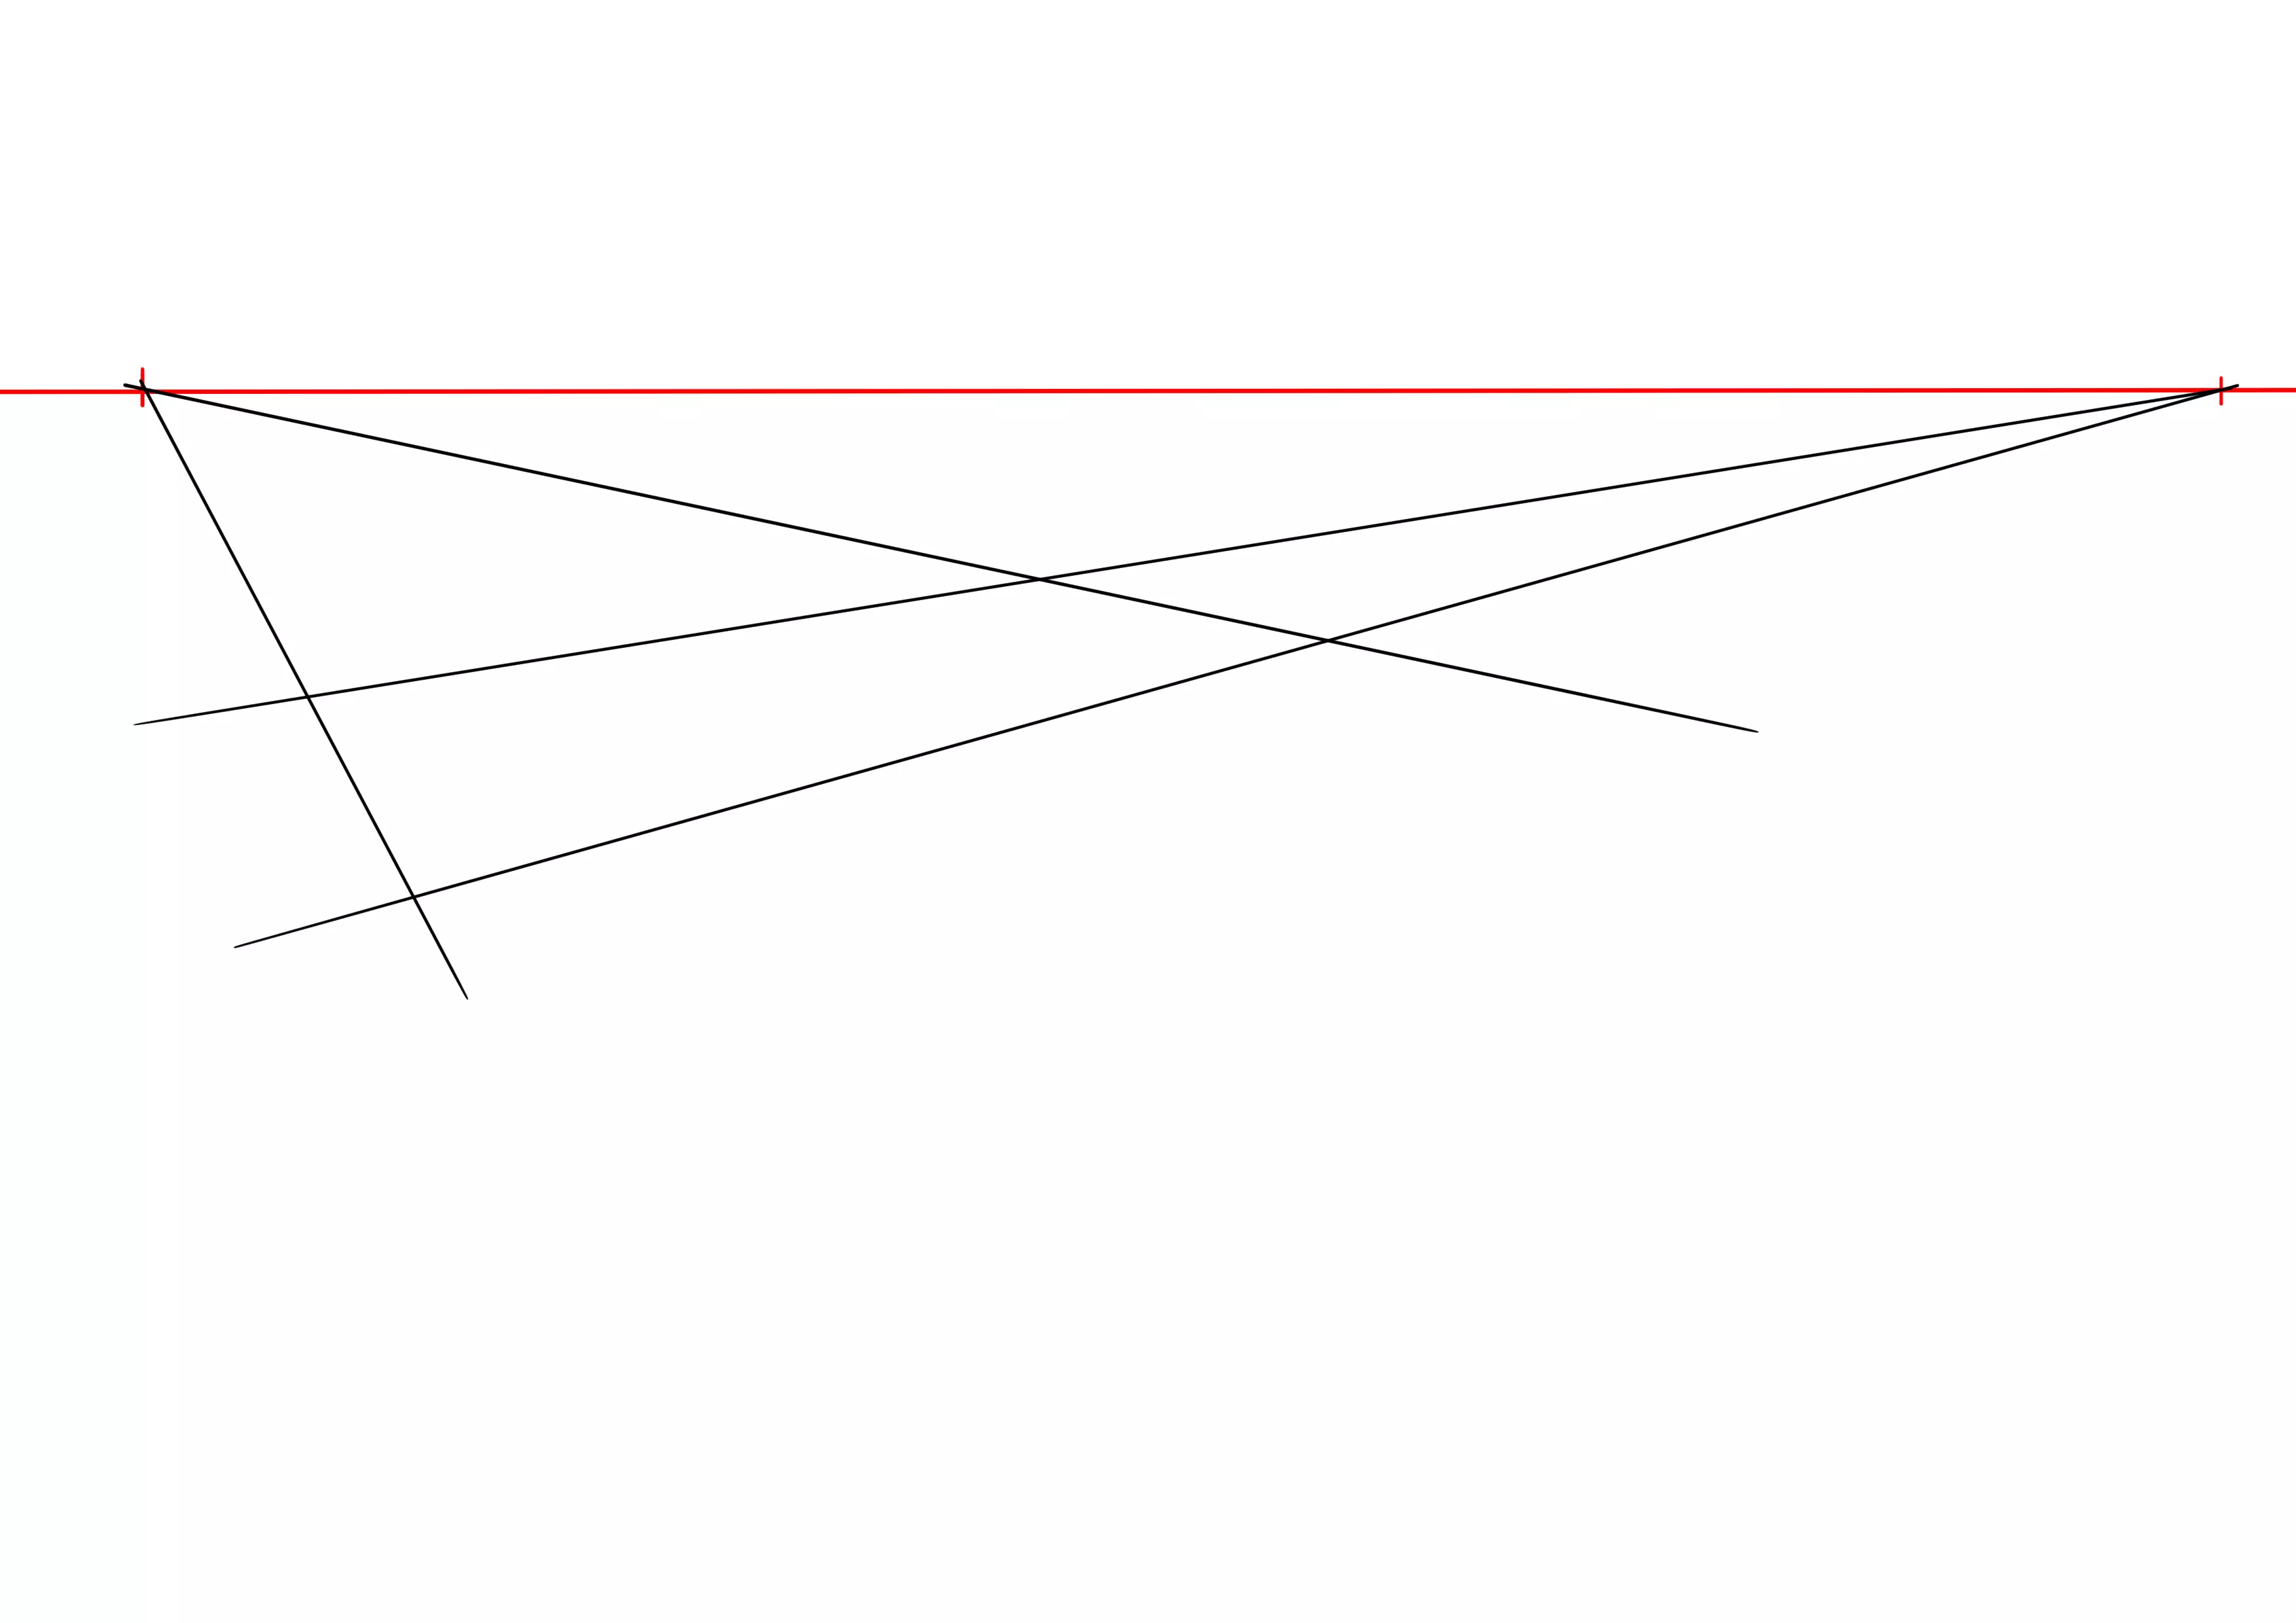
If you have followed Grégoire's courses in the training "the basics of drawing", you already know the first step: horizon line and vanishing points. As last time, I'm using a two-point perspective.
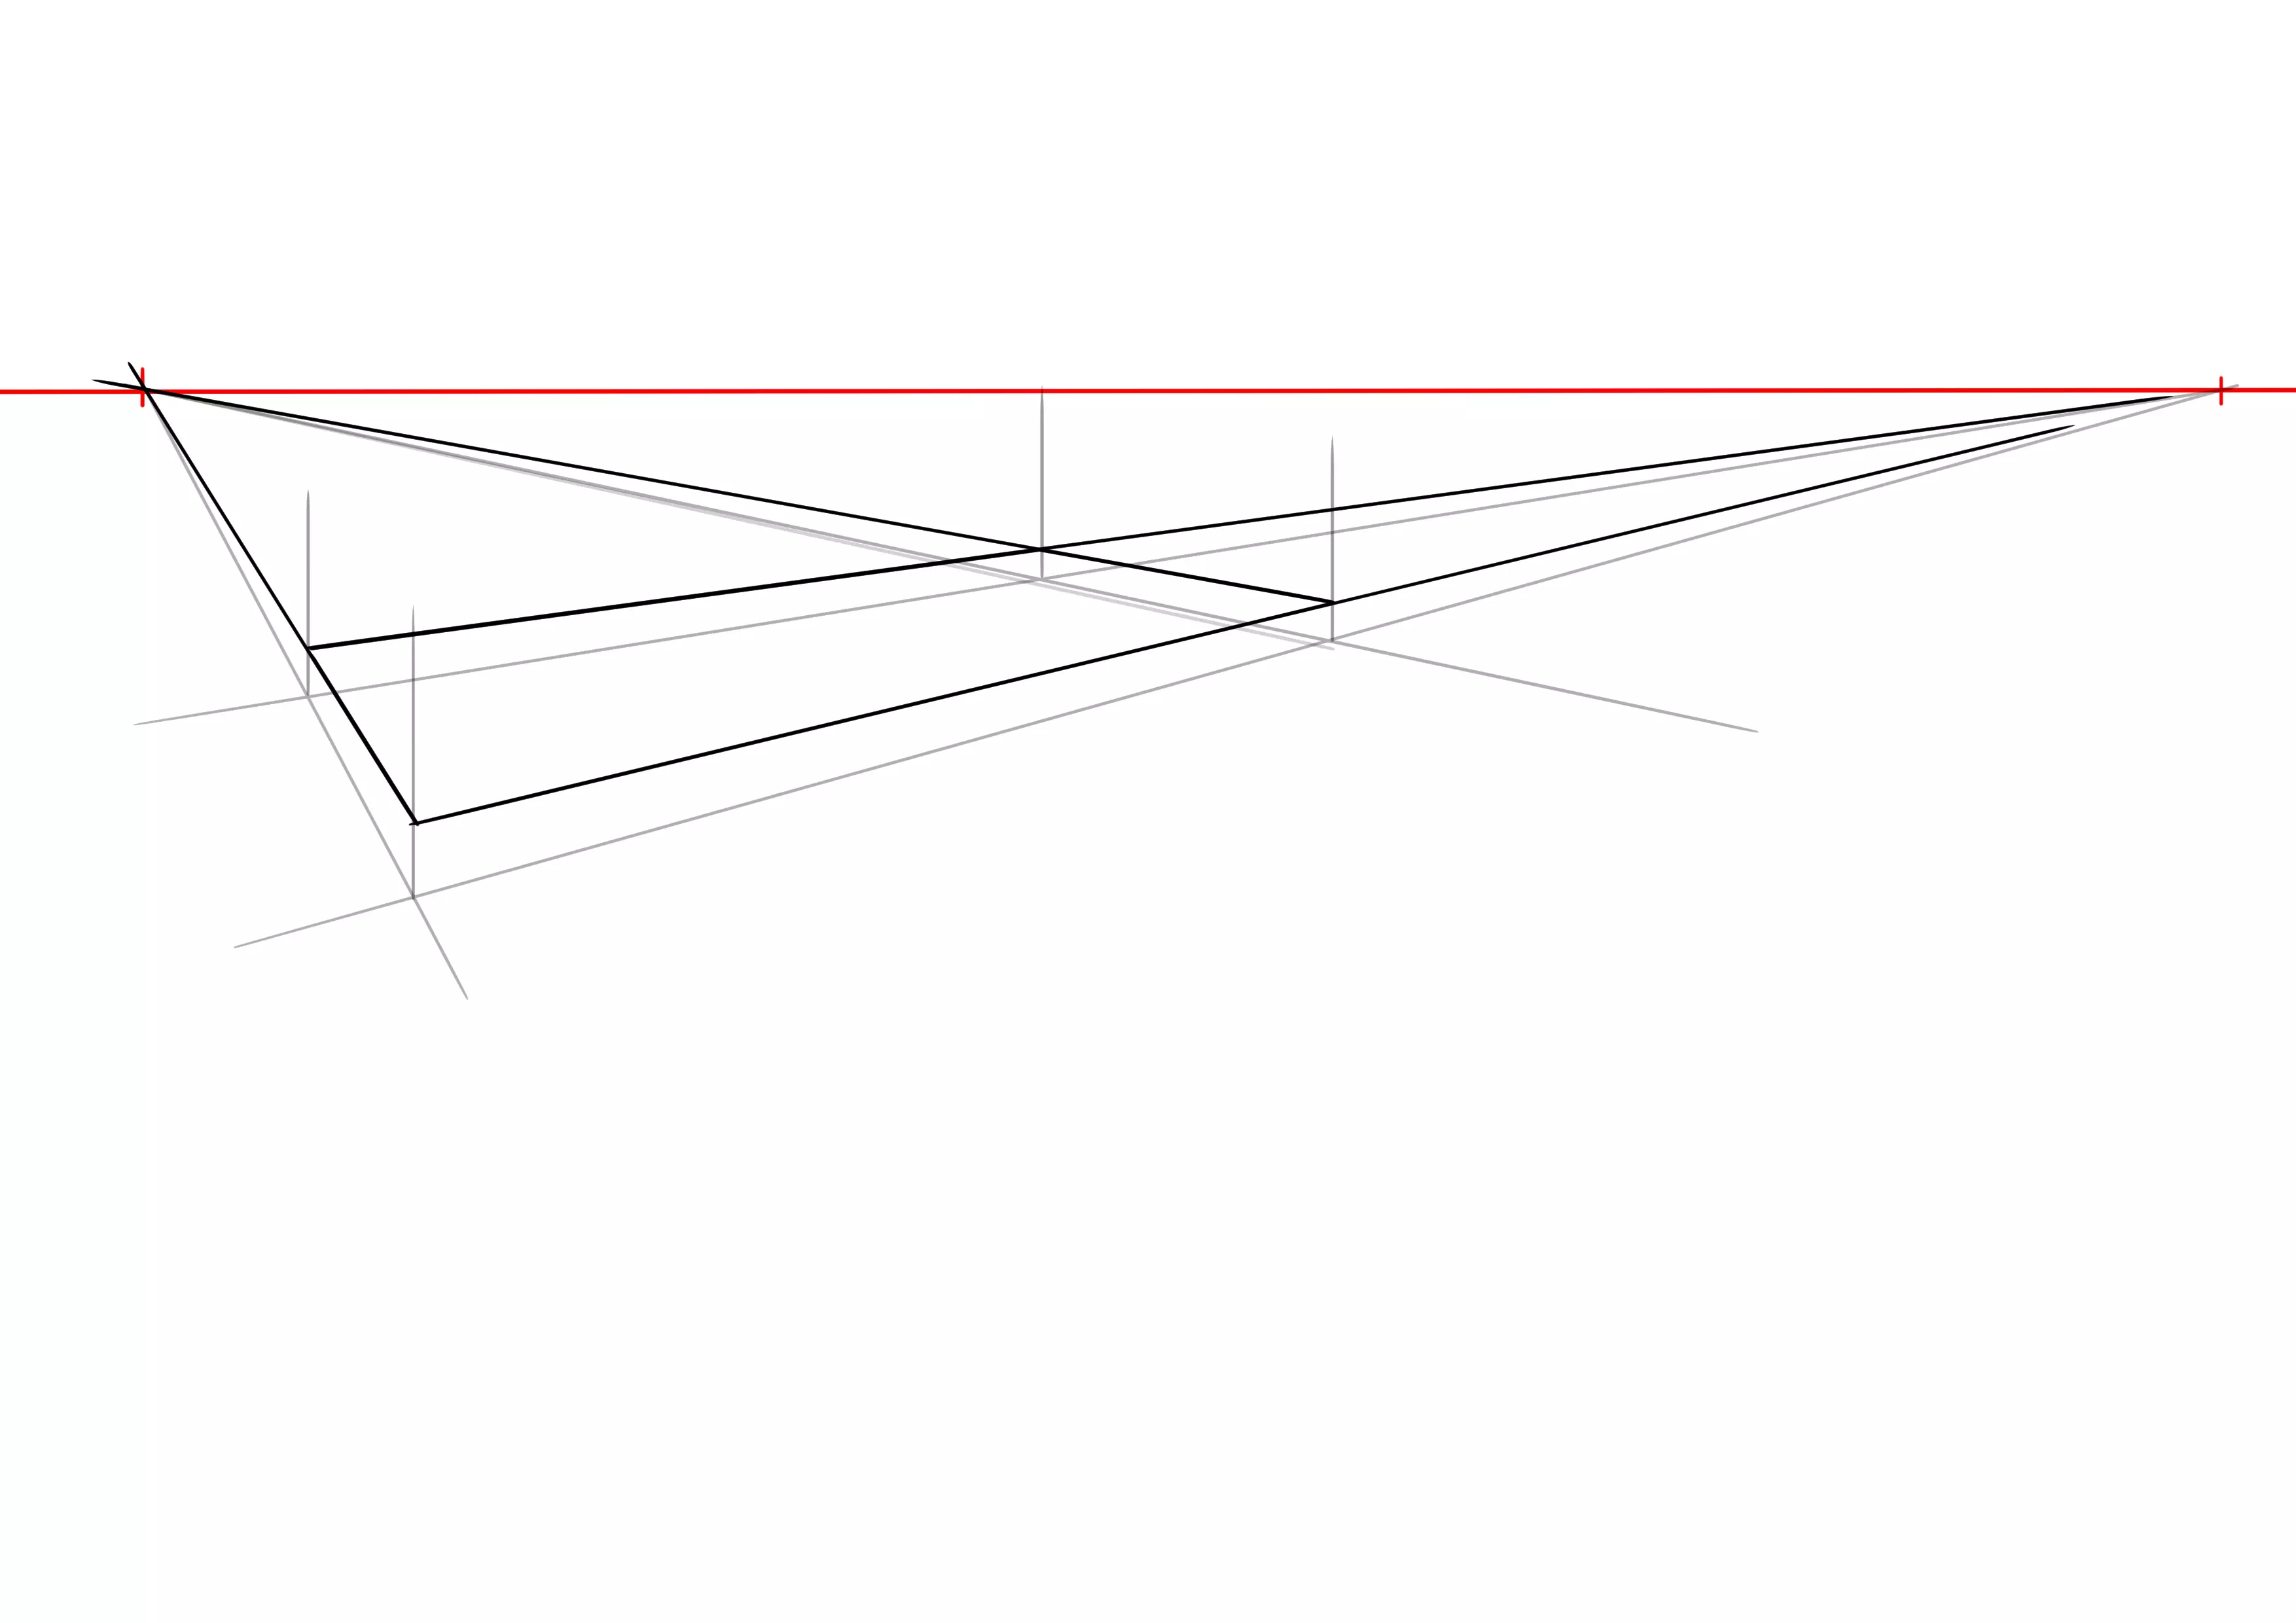
Then, as last time, we'll draw our base on the ground.
Do you remember the next steps? We're putting up the vertical parts! Well, it's still a bed, no need to go too high this time 😅
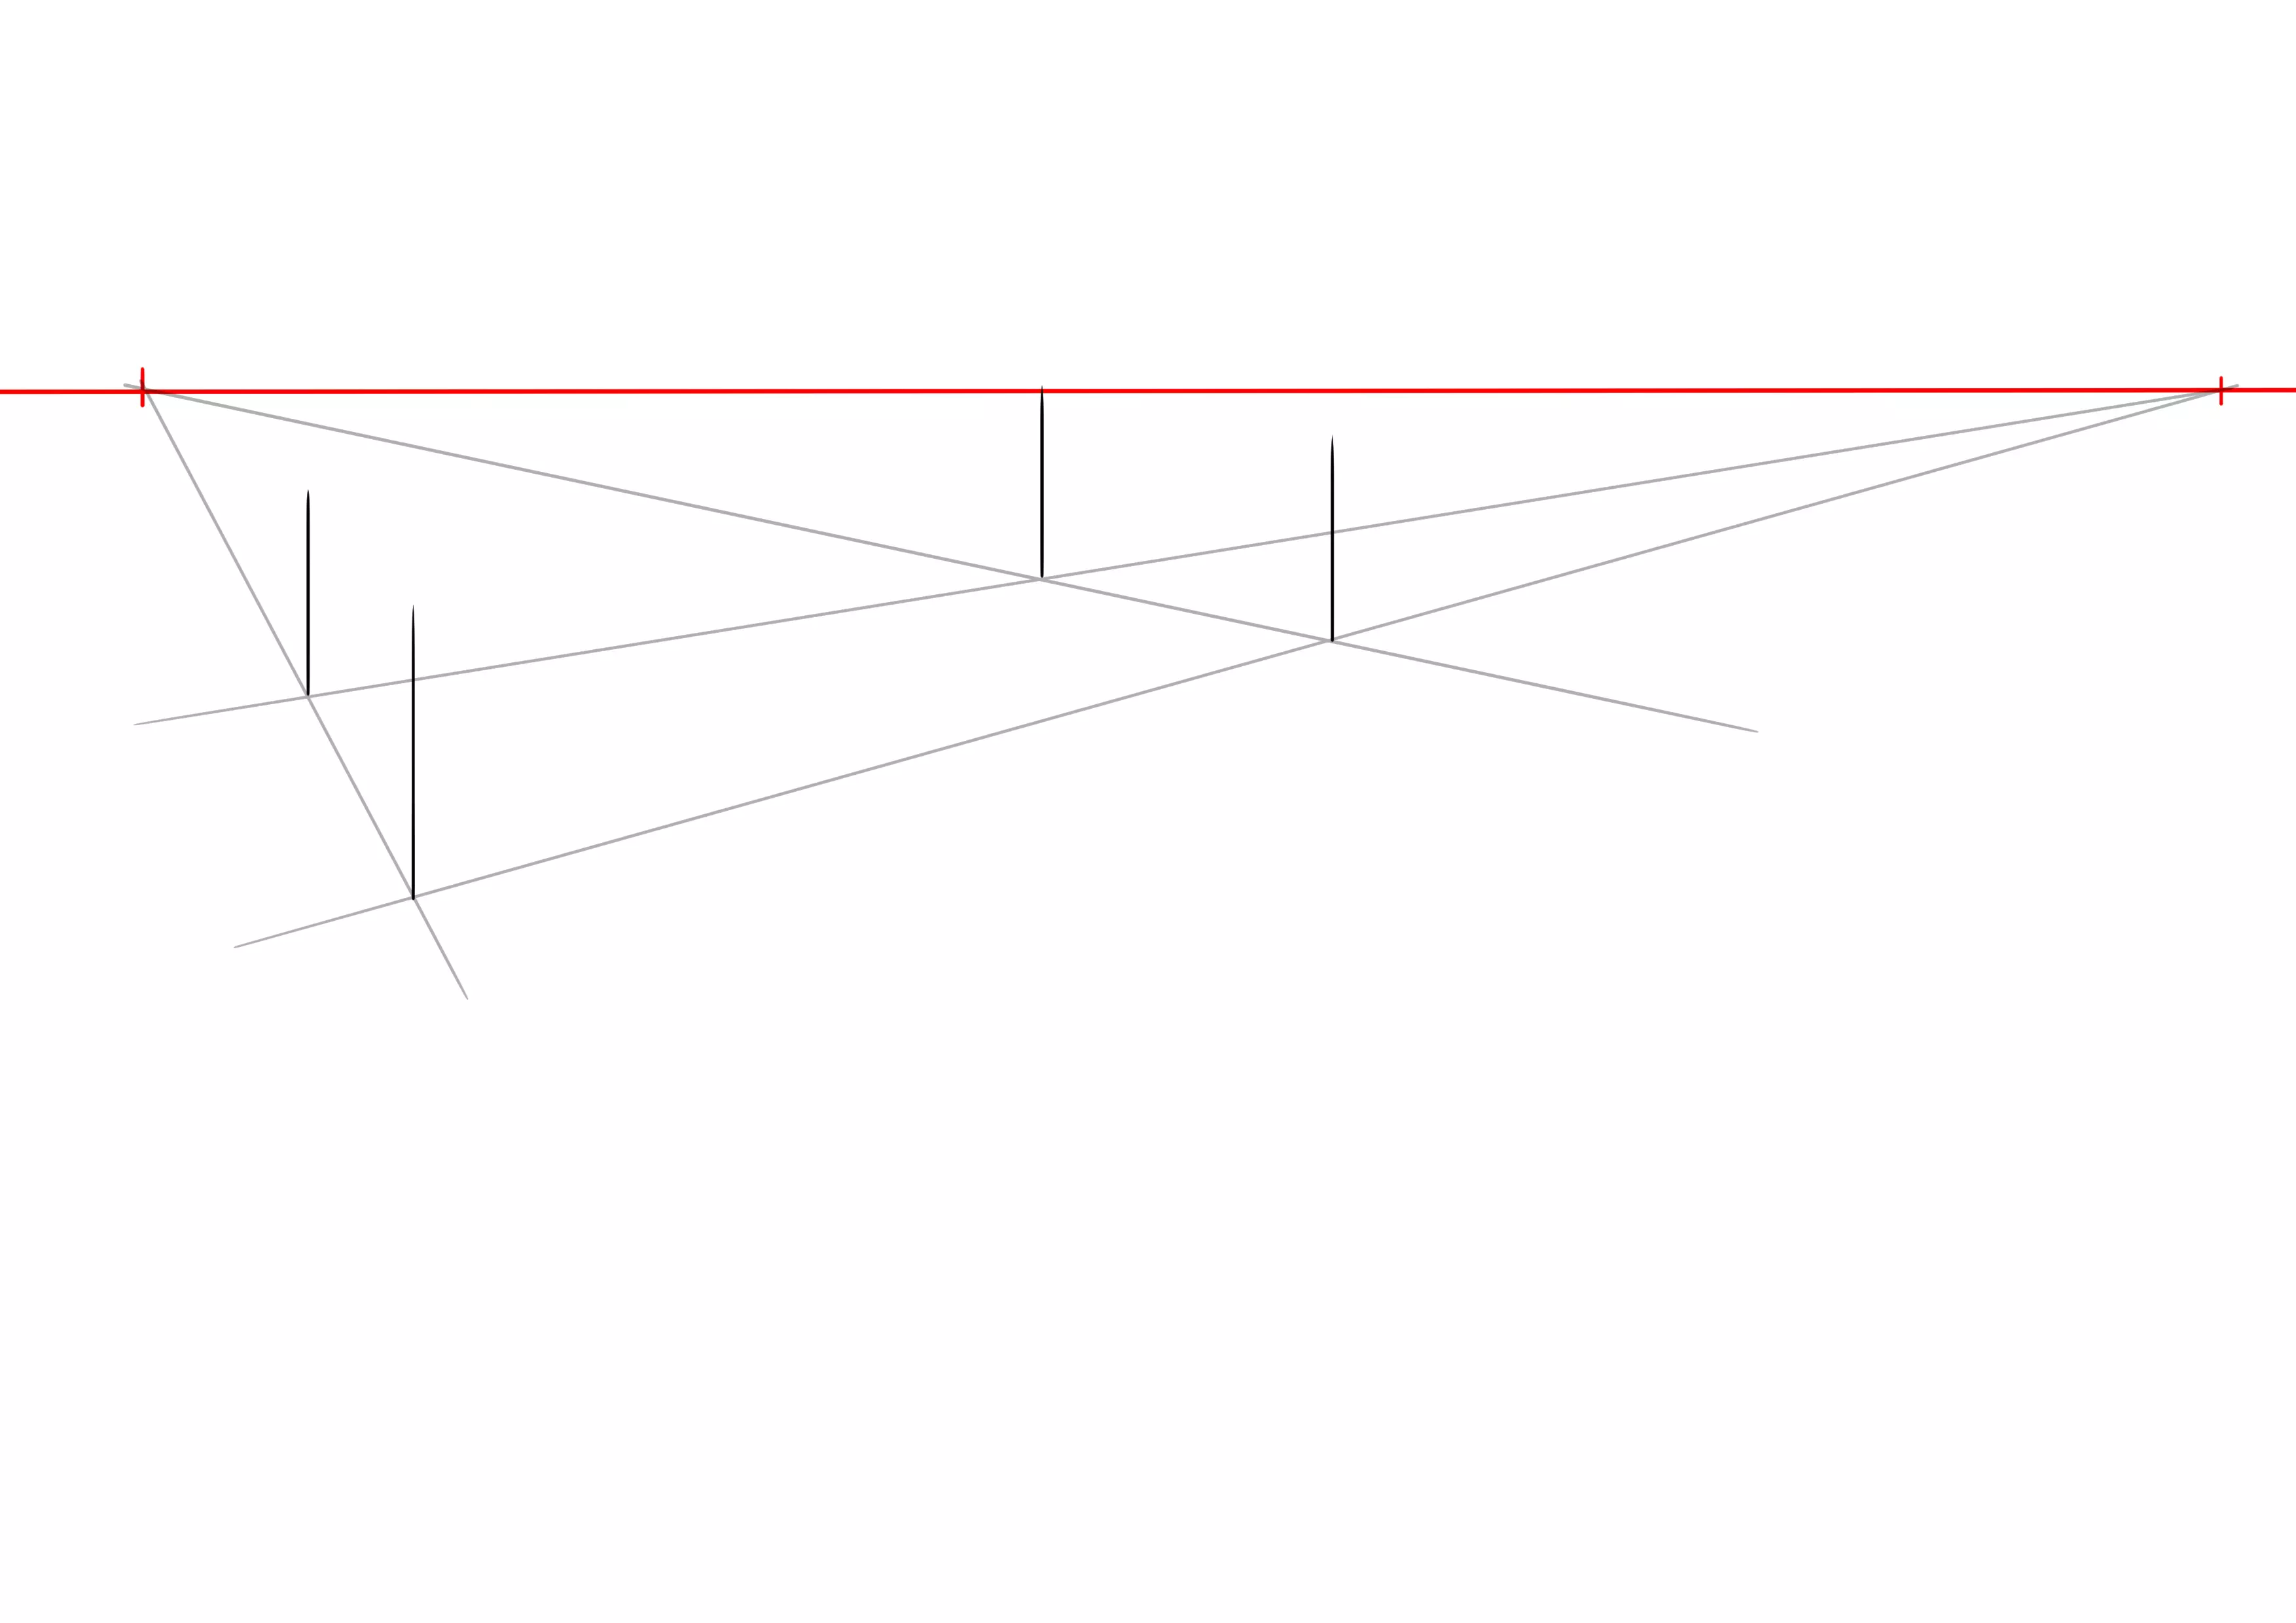
Let's draw a more or less fine line to define the area of the headboard that we will treat later.
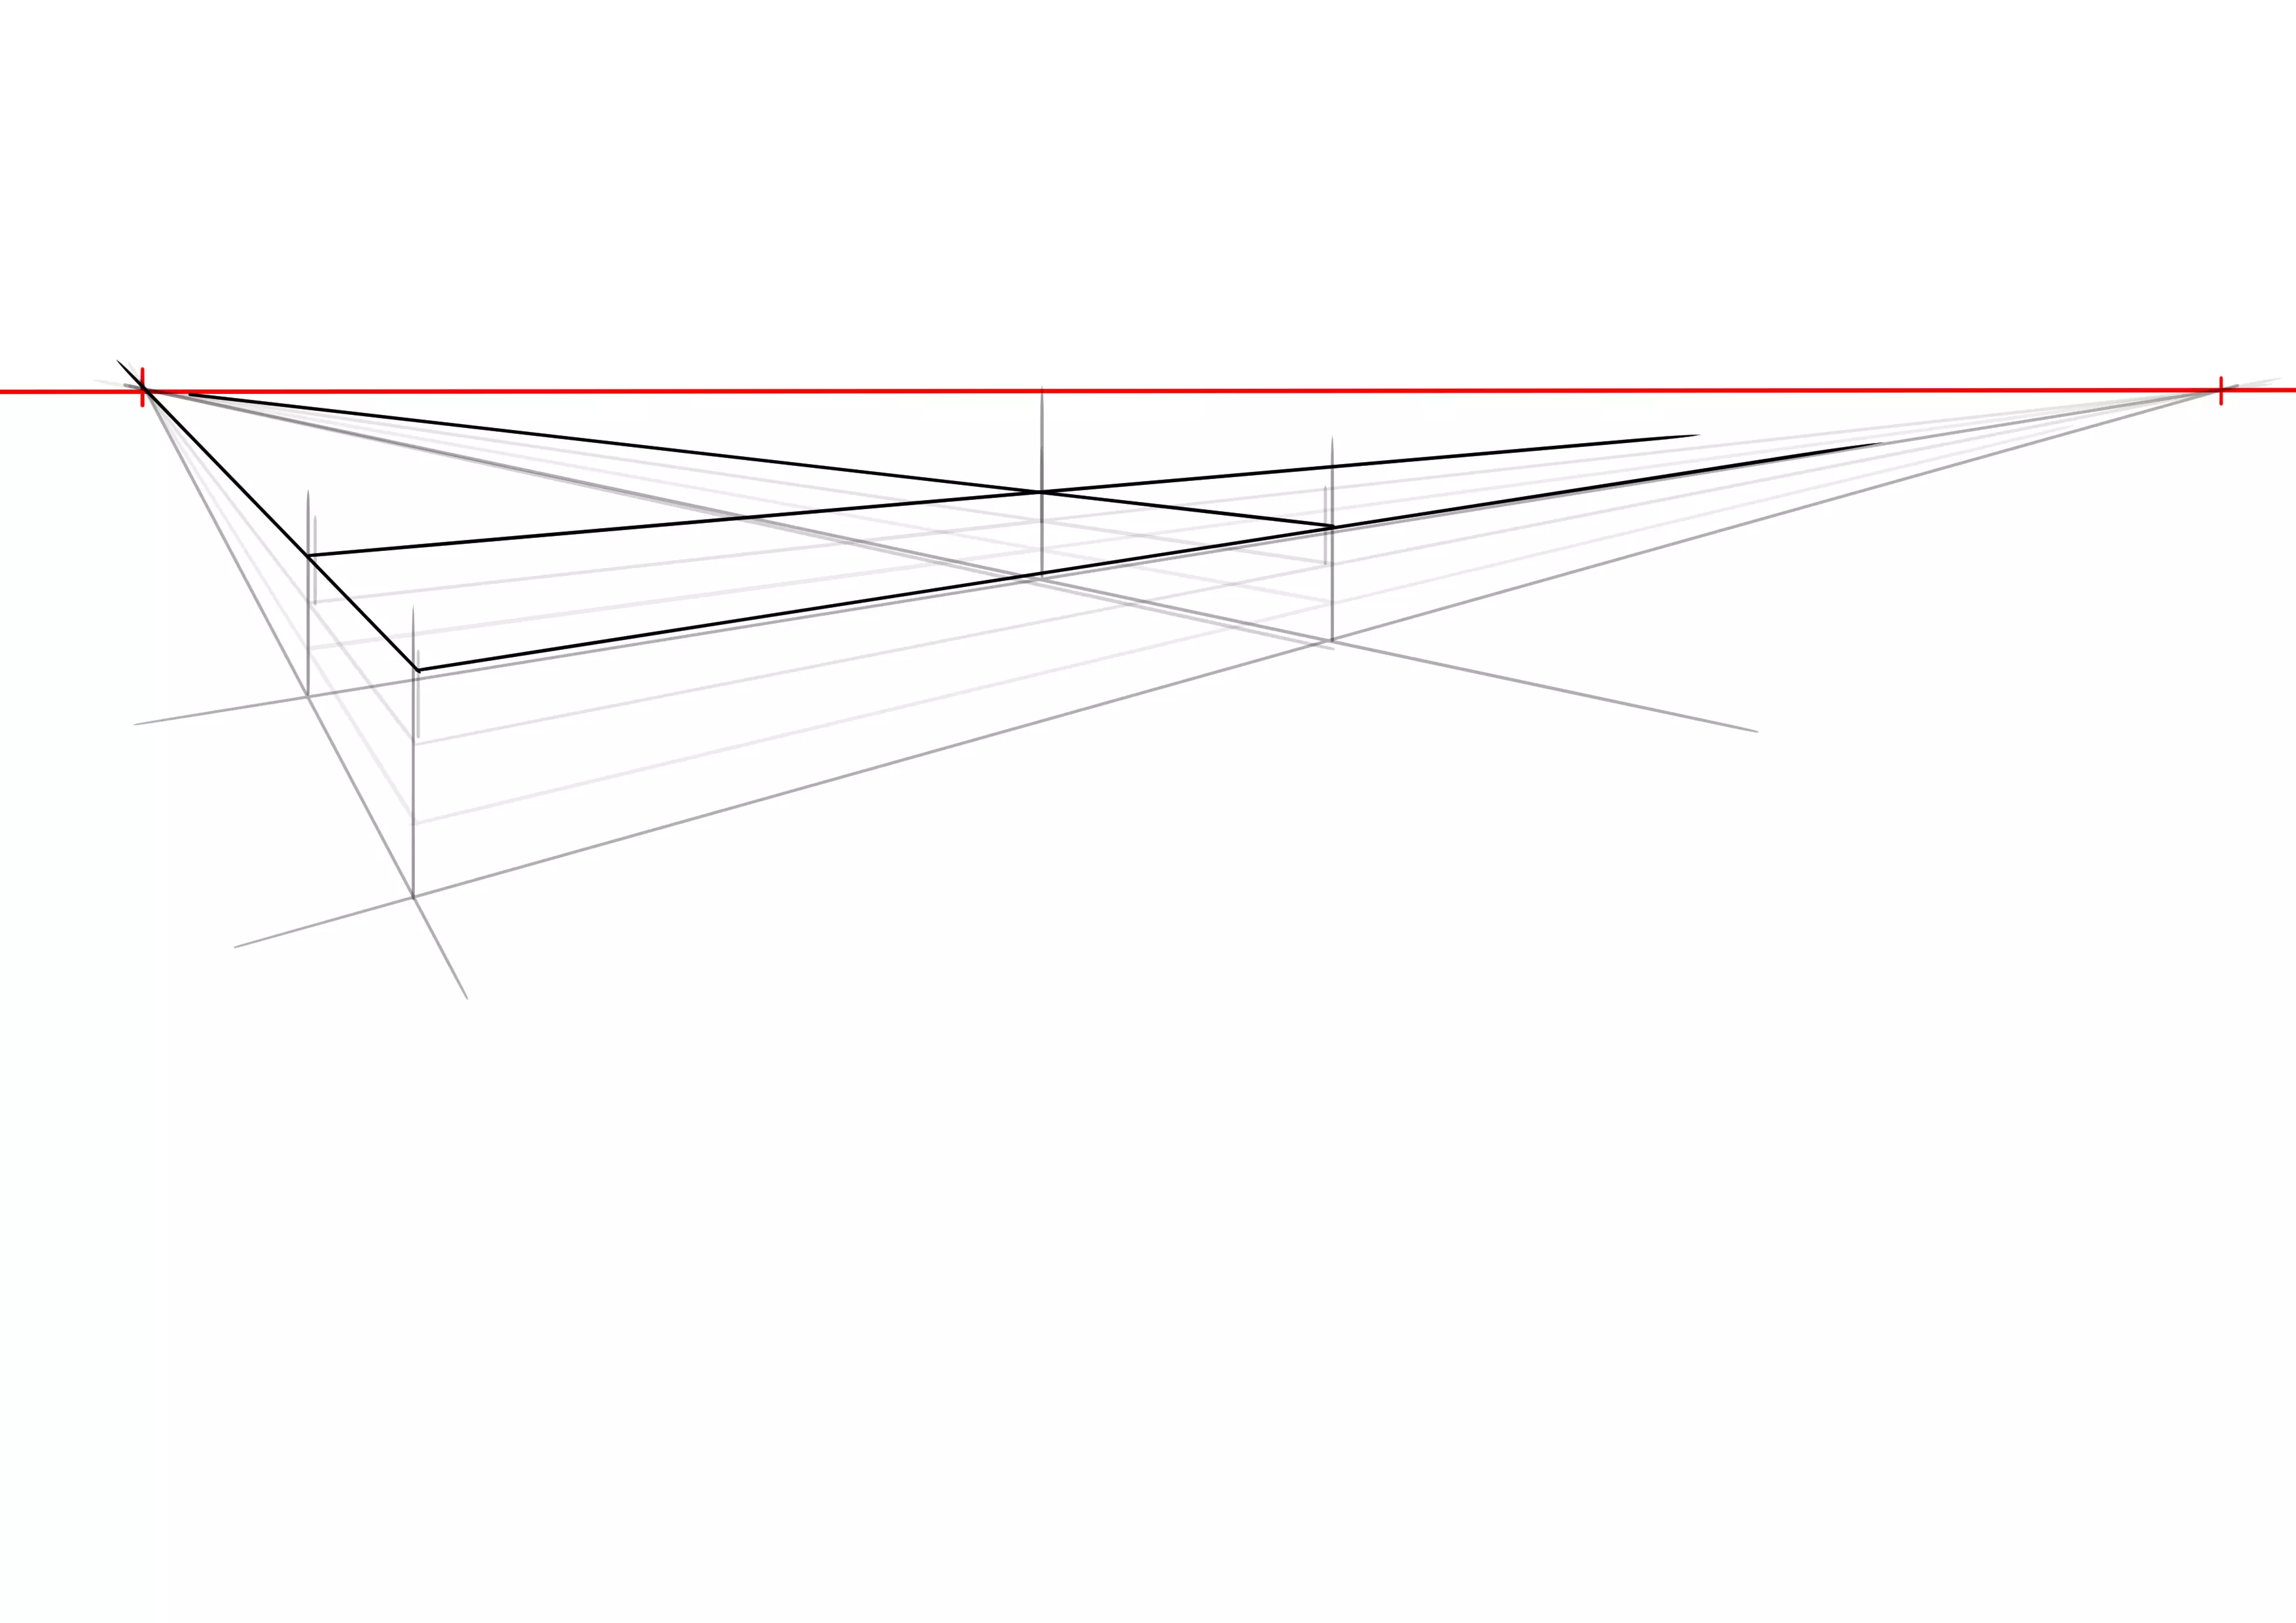
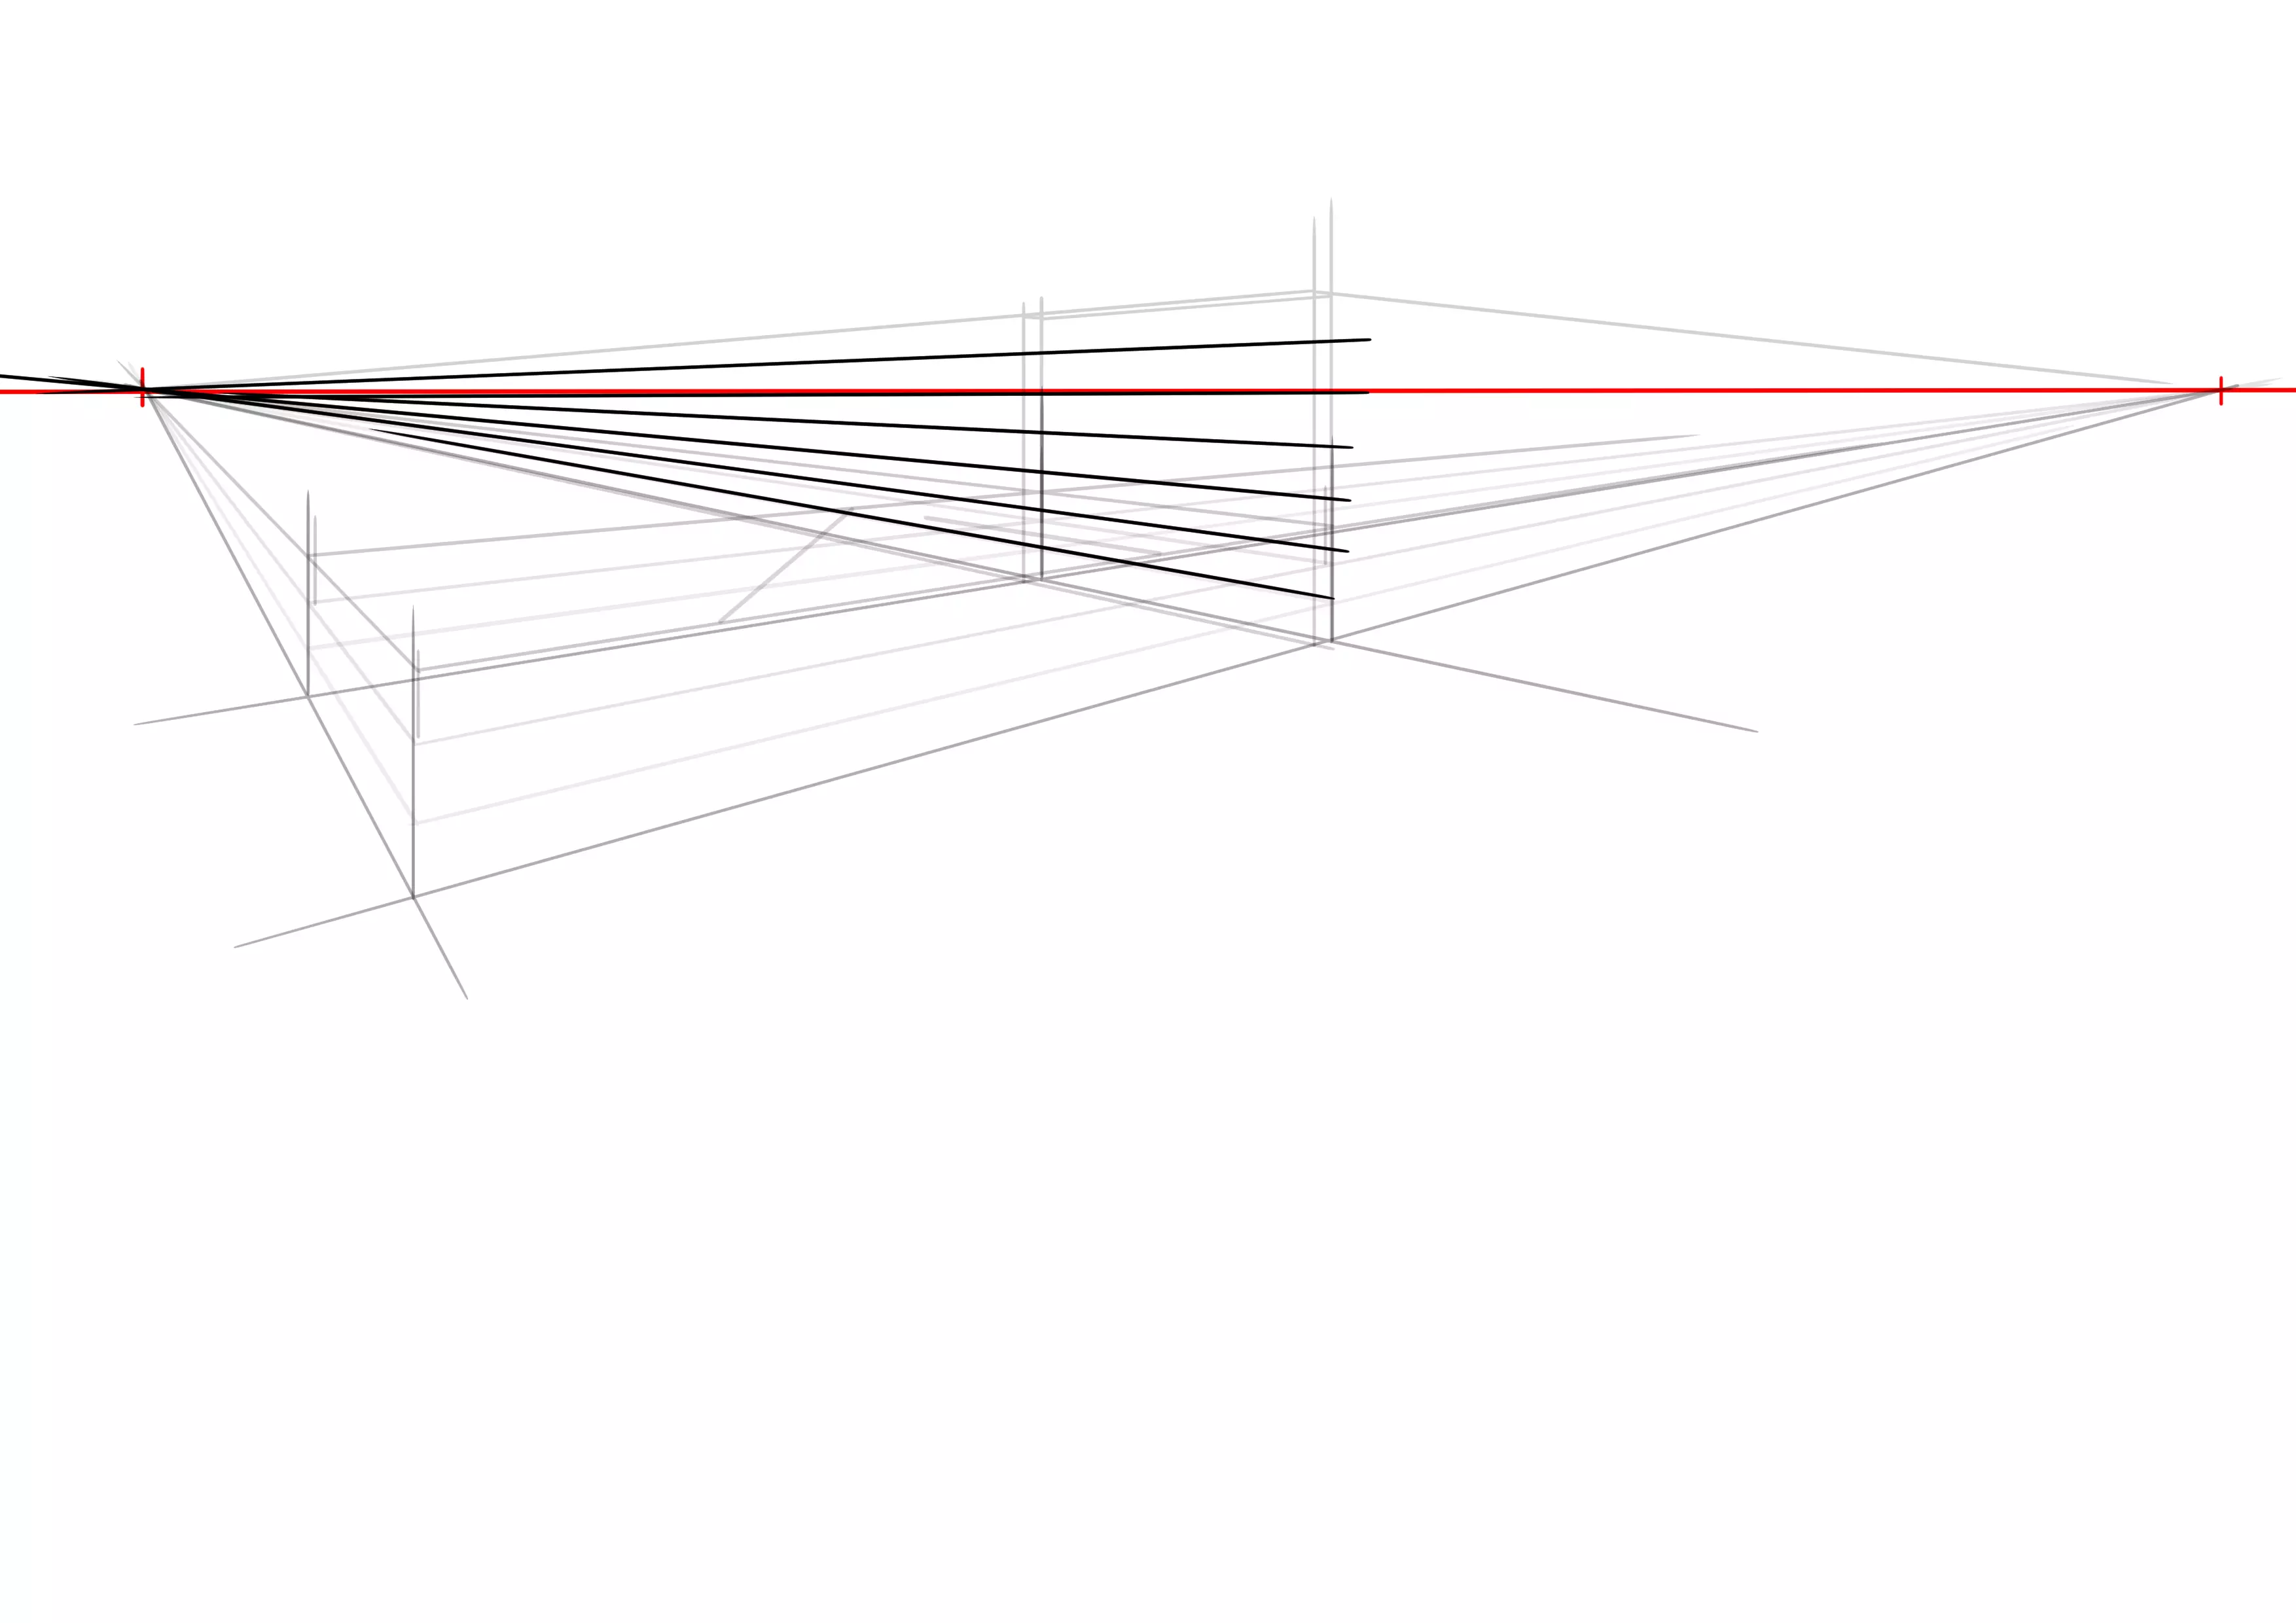
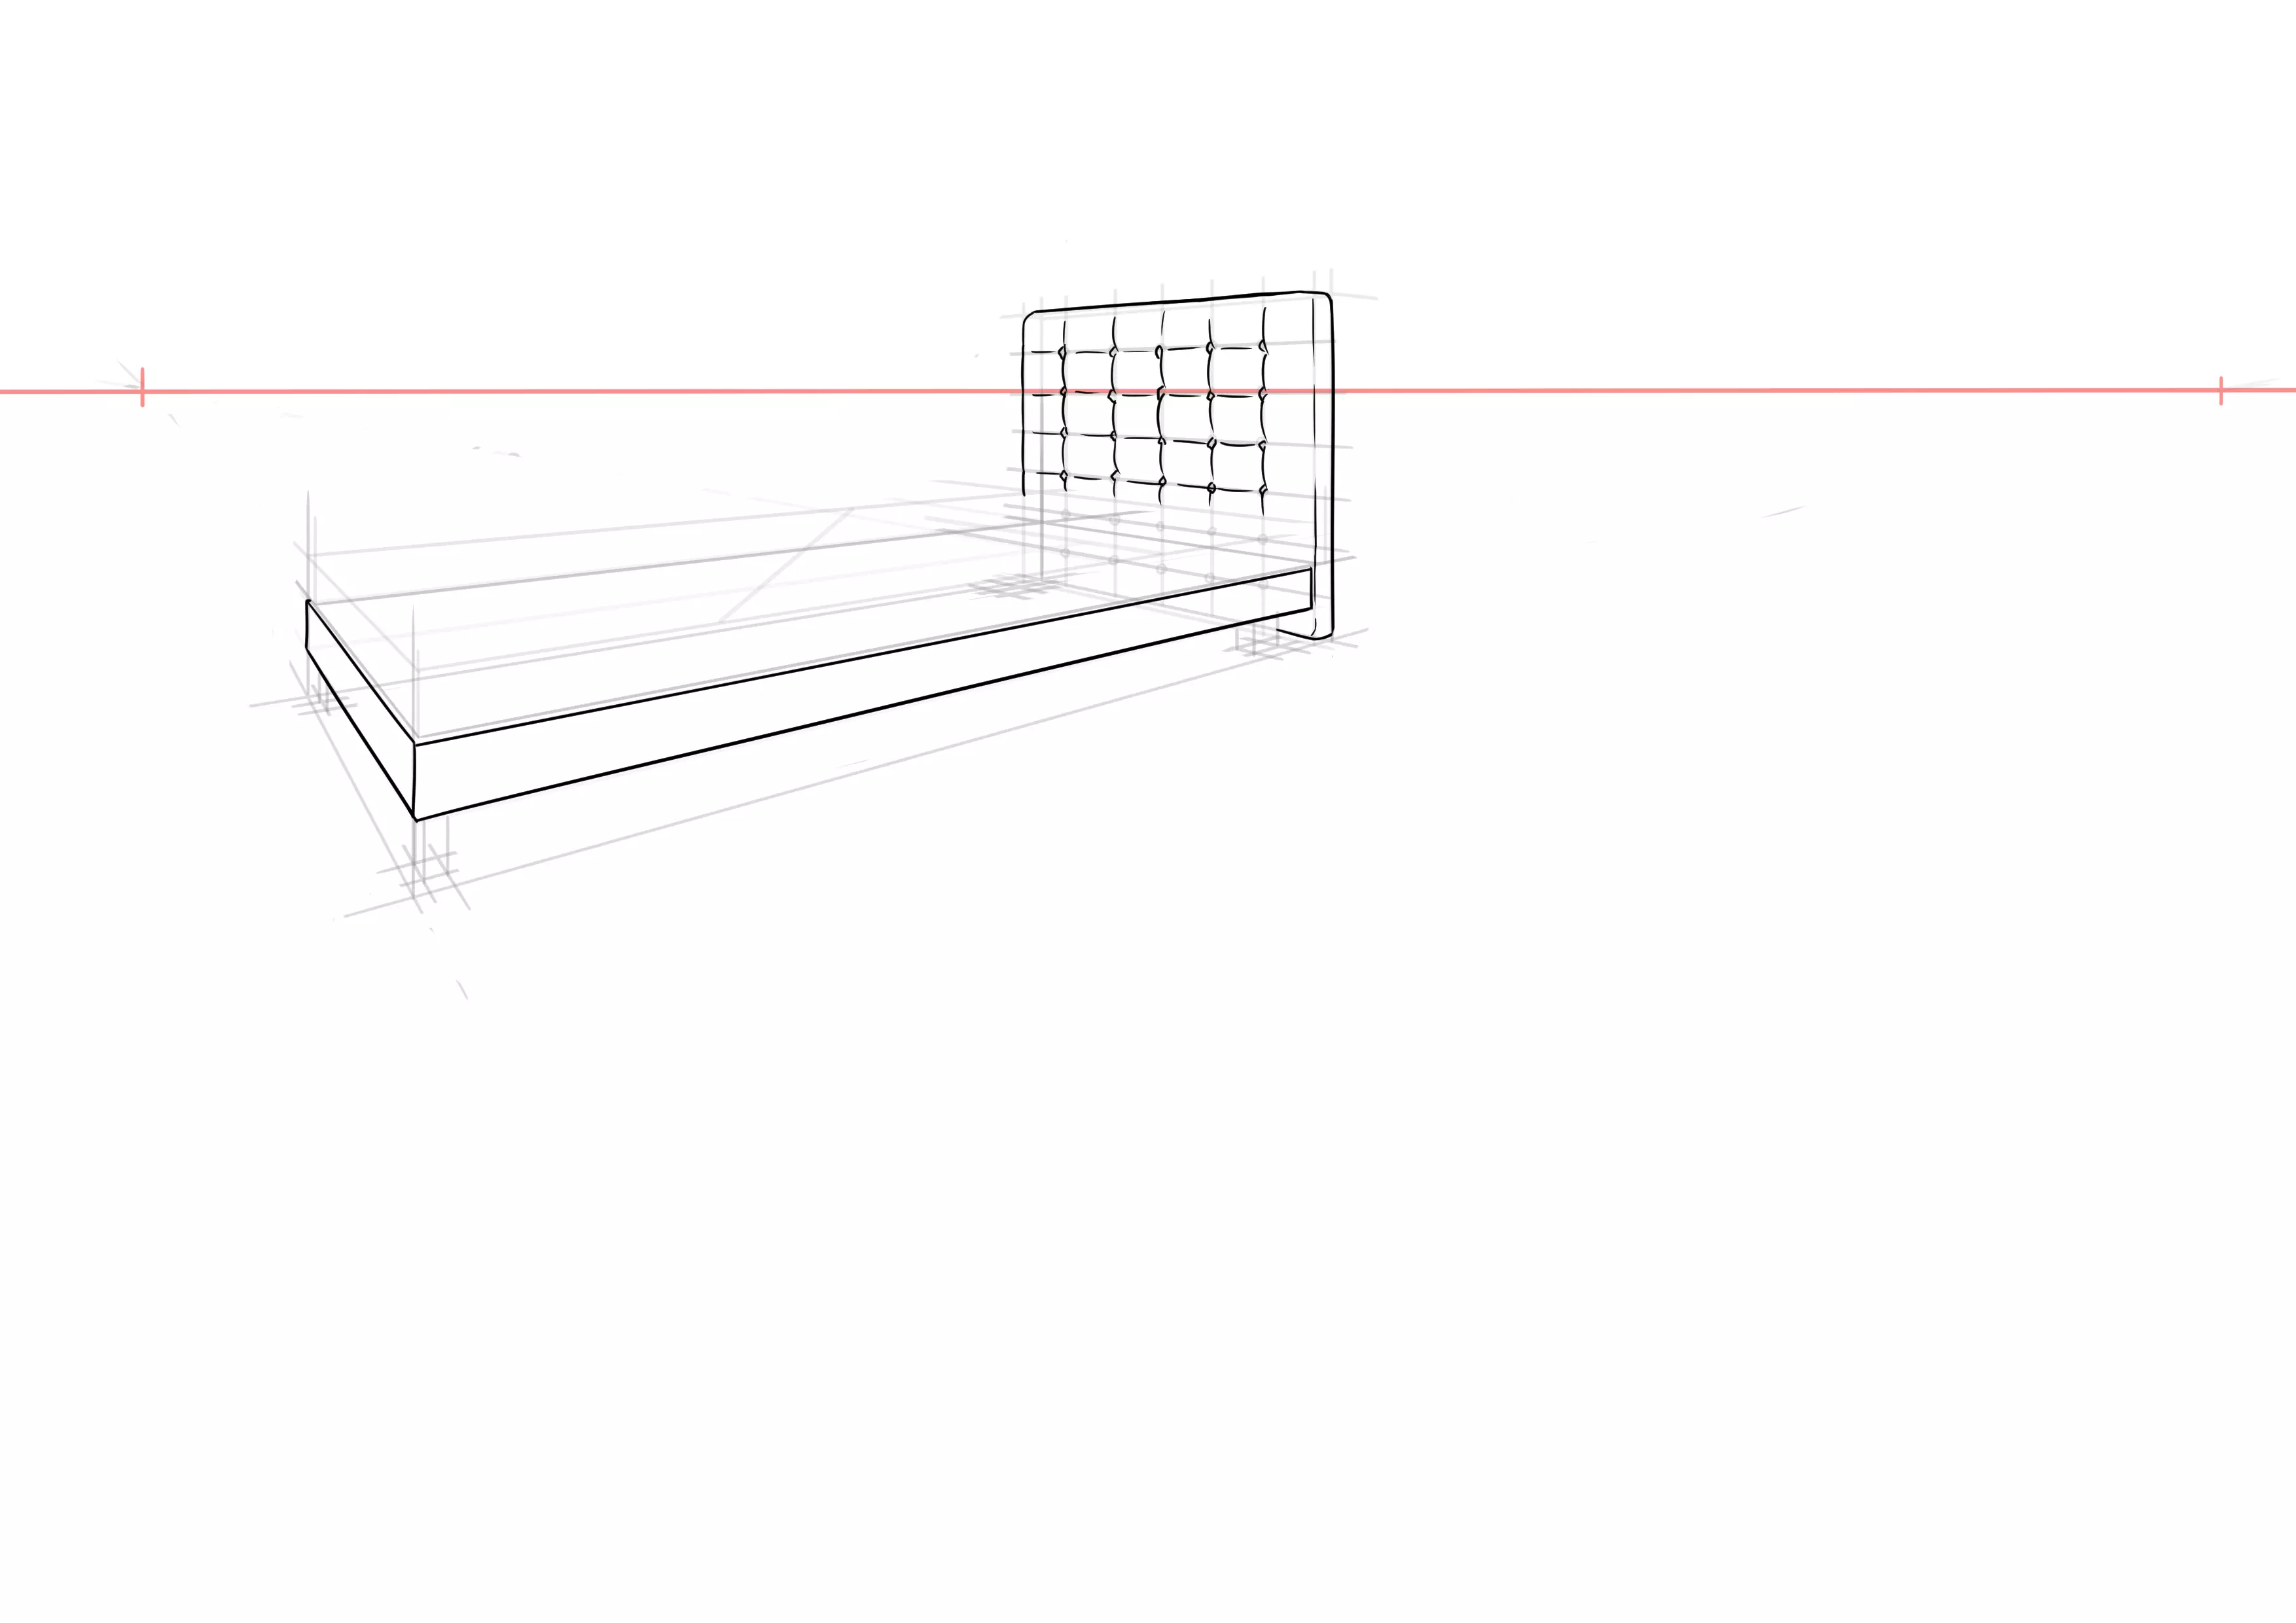
We will then draw the base of the bed (the wooden part hiding the slats and the mattress base). To do this, draw lines at the height you want. It all depends on the length of the bed legs you want to make afterwards. Some beds are very high, others quite low.
The same advice applies to the height of this base, it’s as you prefer.
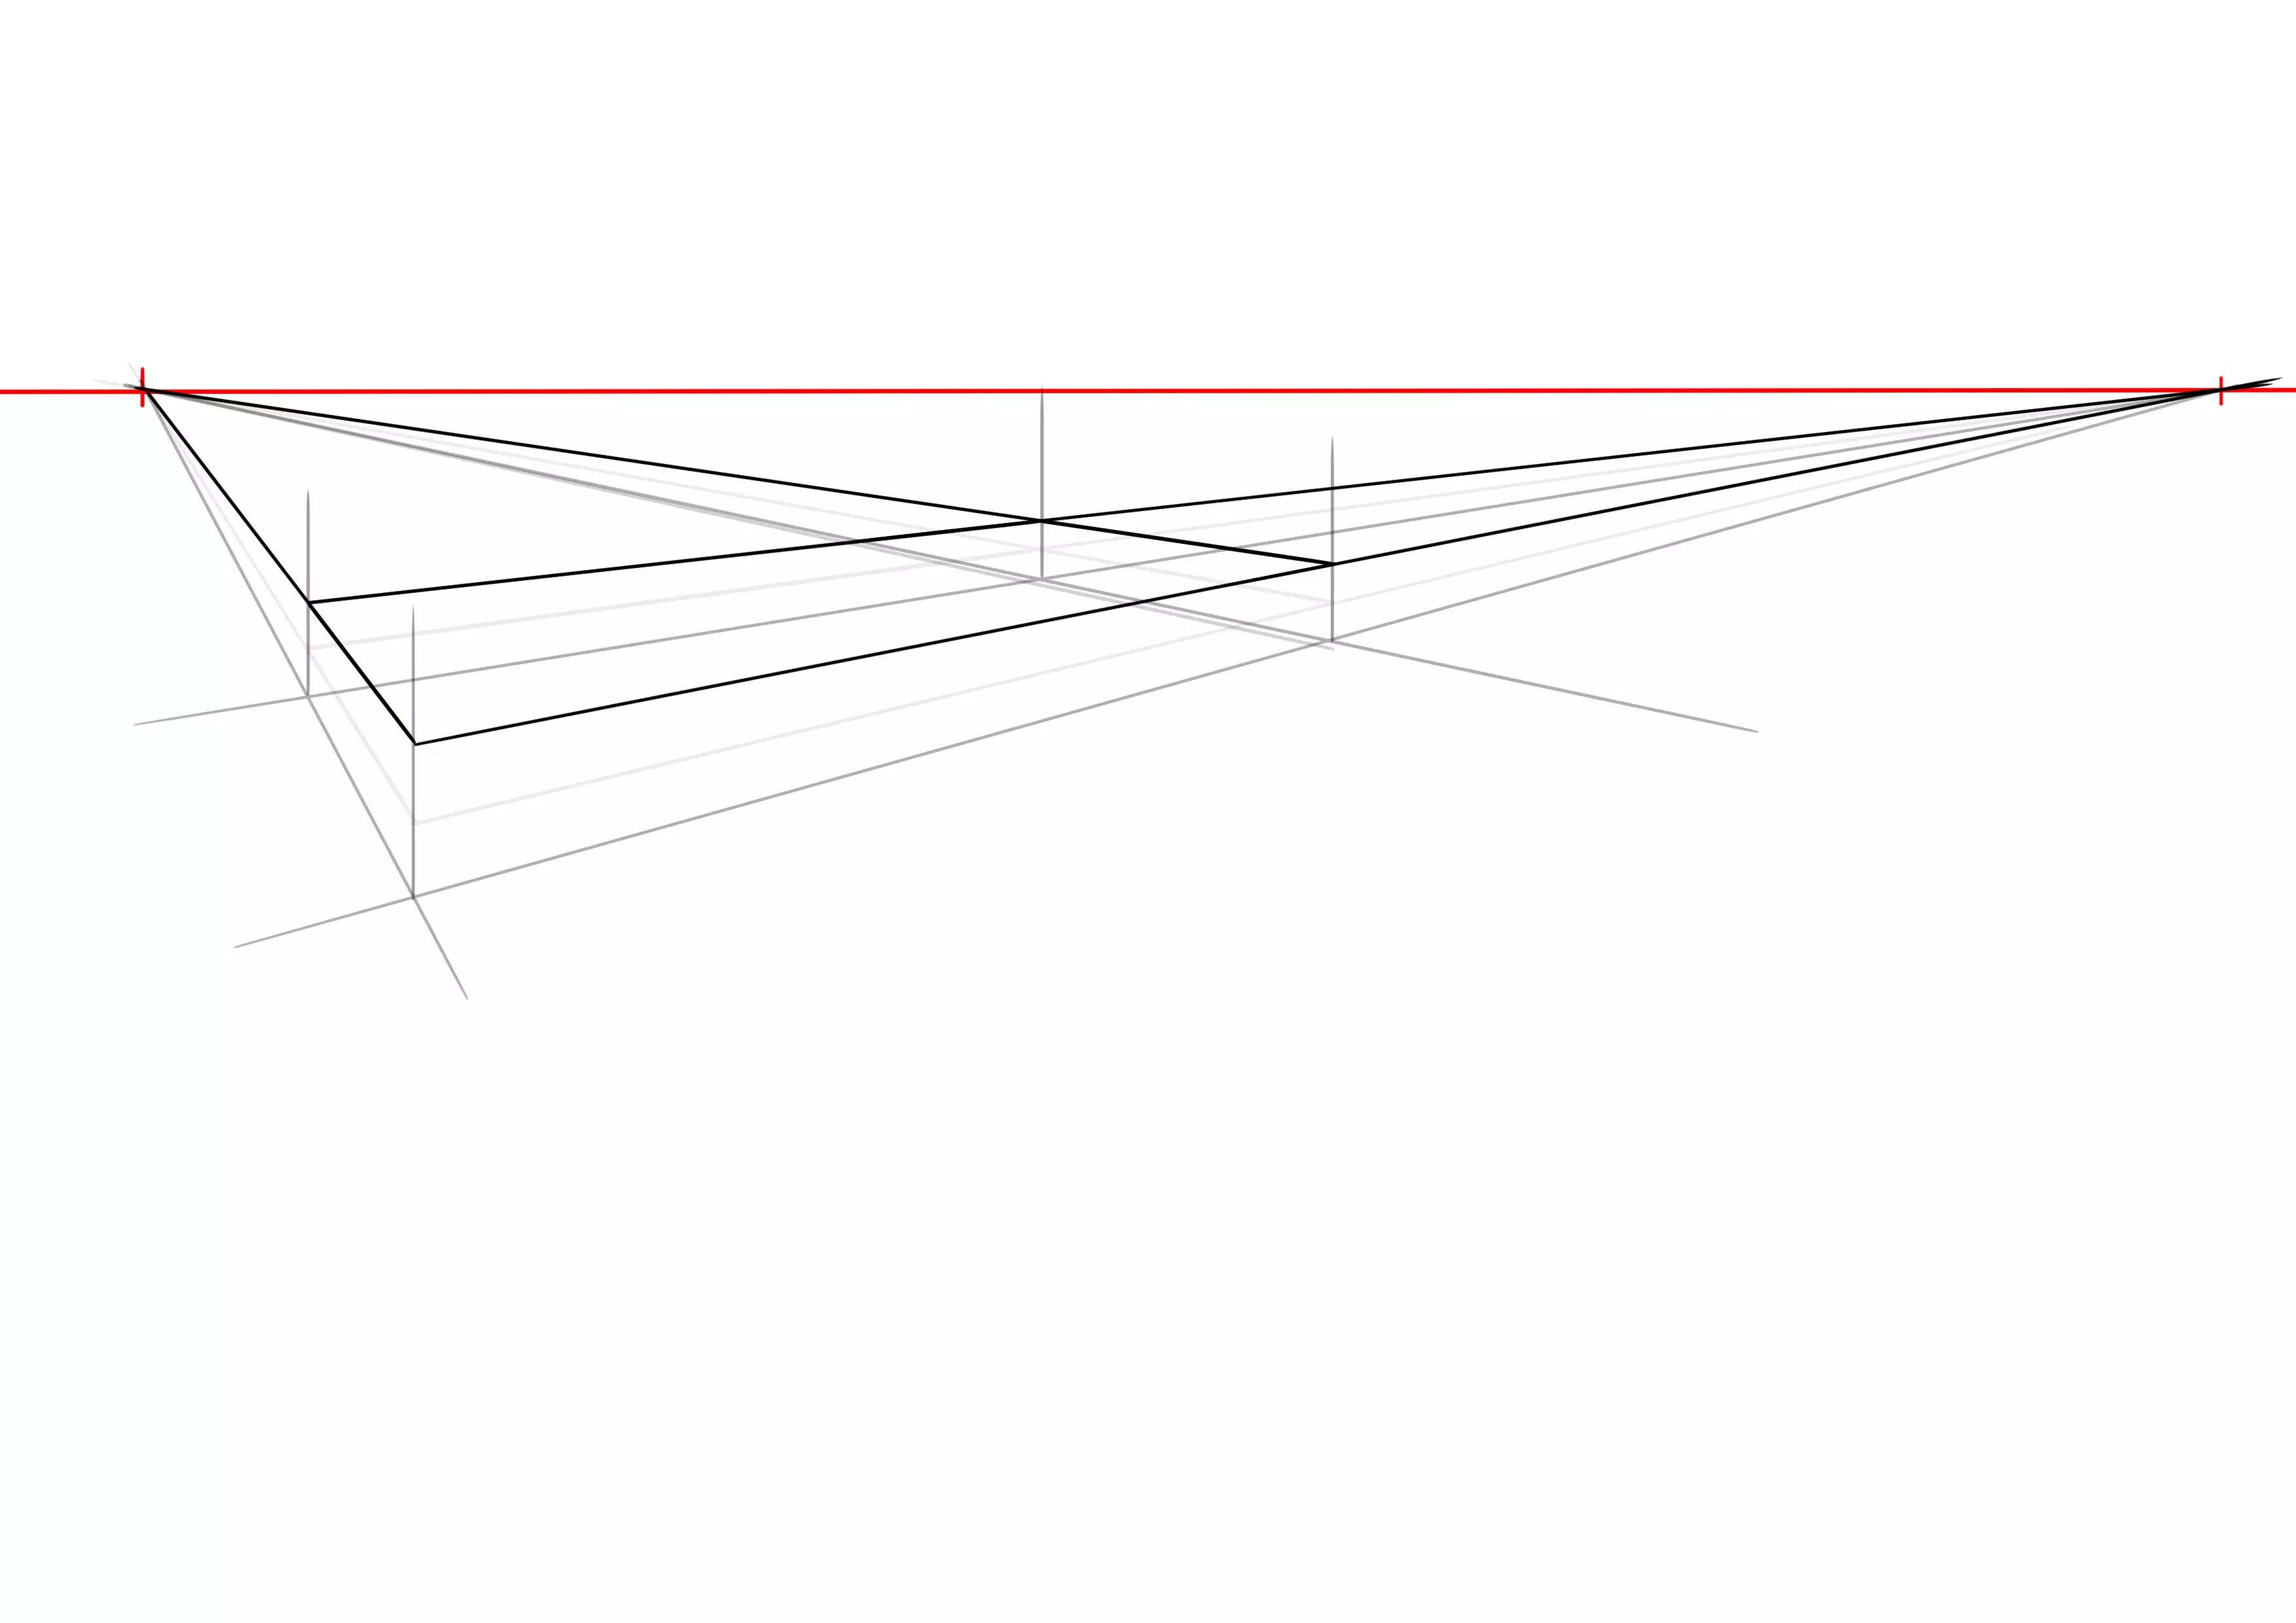
Be aware, our base has a certain thickness, and it will contain our mattress. So, we are inevitably going to see this thickness. Therefore, we will draw lines from our vanishing points to draw a smaller rectangle on our base.
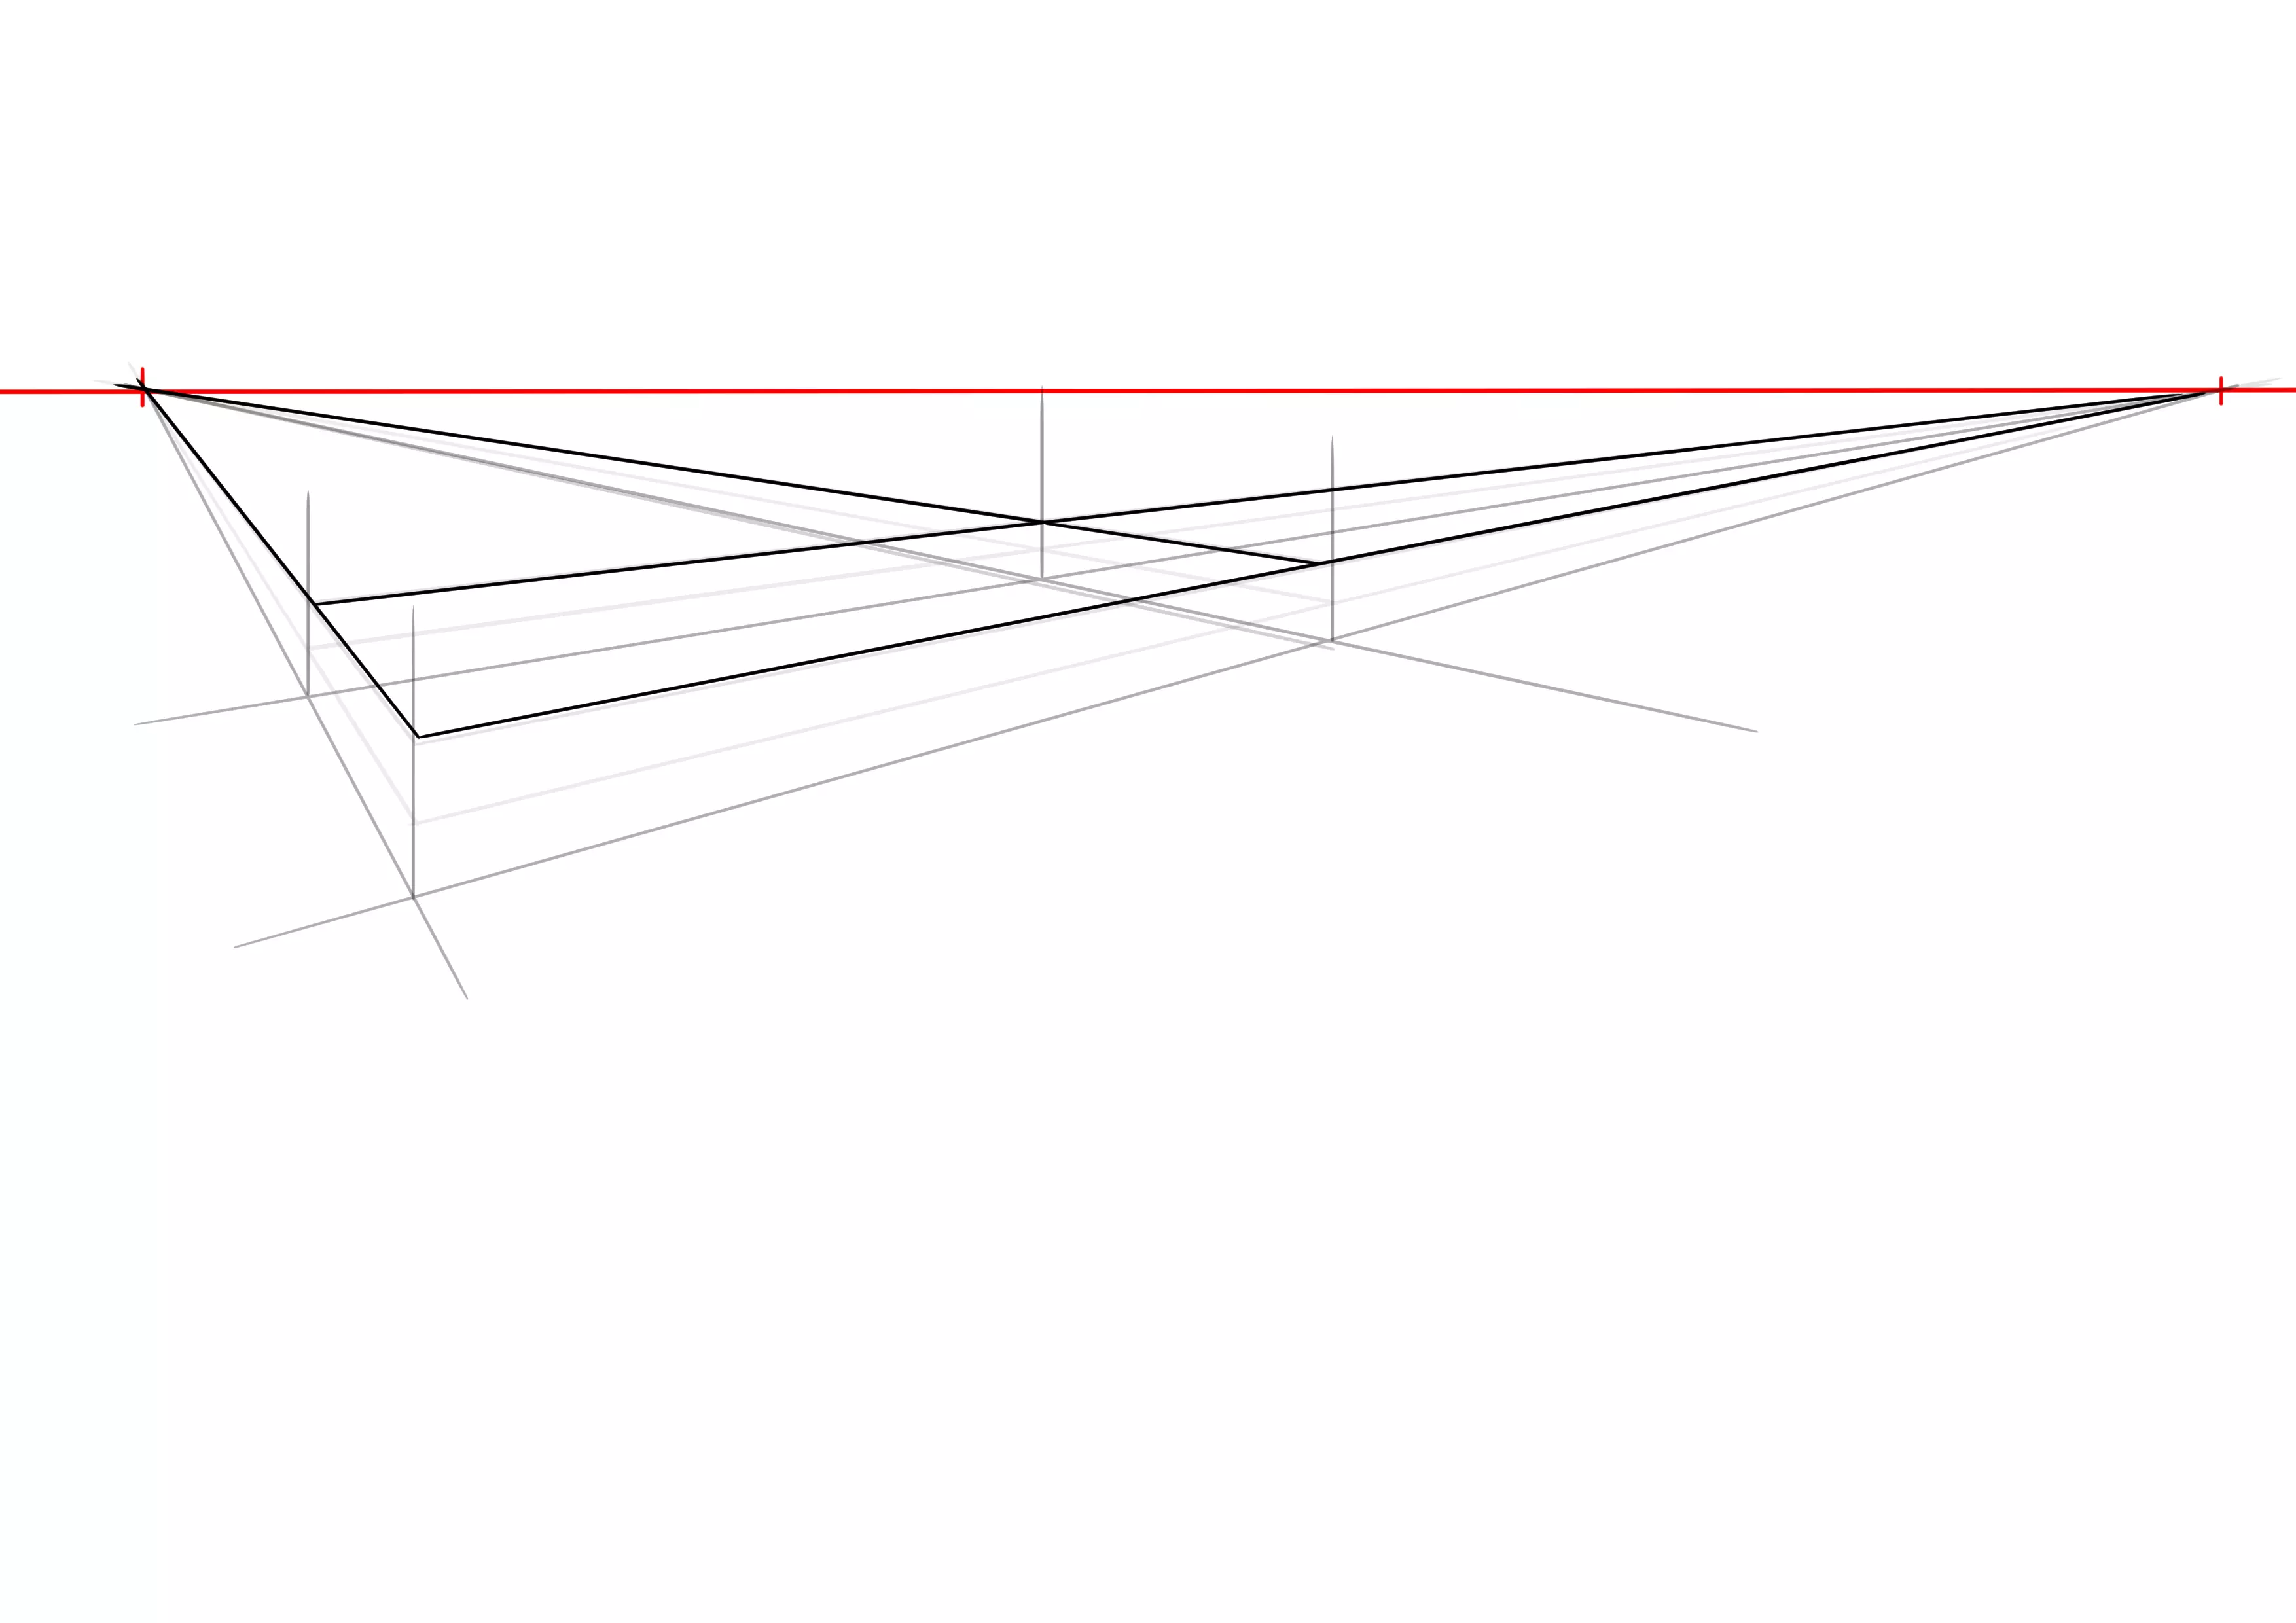
This rectangle is our mattress. So we're going to set up the vertical sides. Generally, the mattress is less high than the base (not always, but frequently), and especially, it rests on the slats hidden by the base (which you have all surely observed at home, of course :D). Therefore, depending on the size of your base and the position where you imagine the slats are underneath, the mattress will be more or less "sunken" into the base.
And we also close this rectangle / mattress on top.
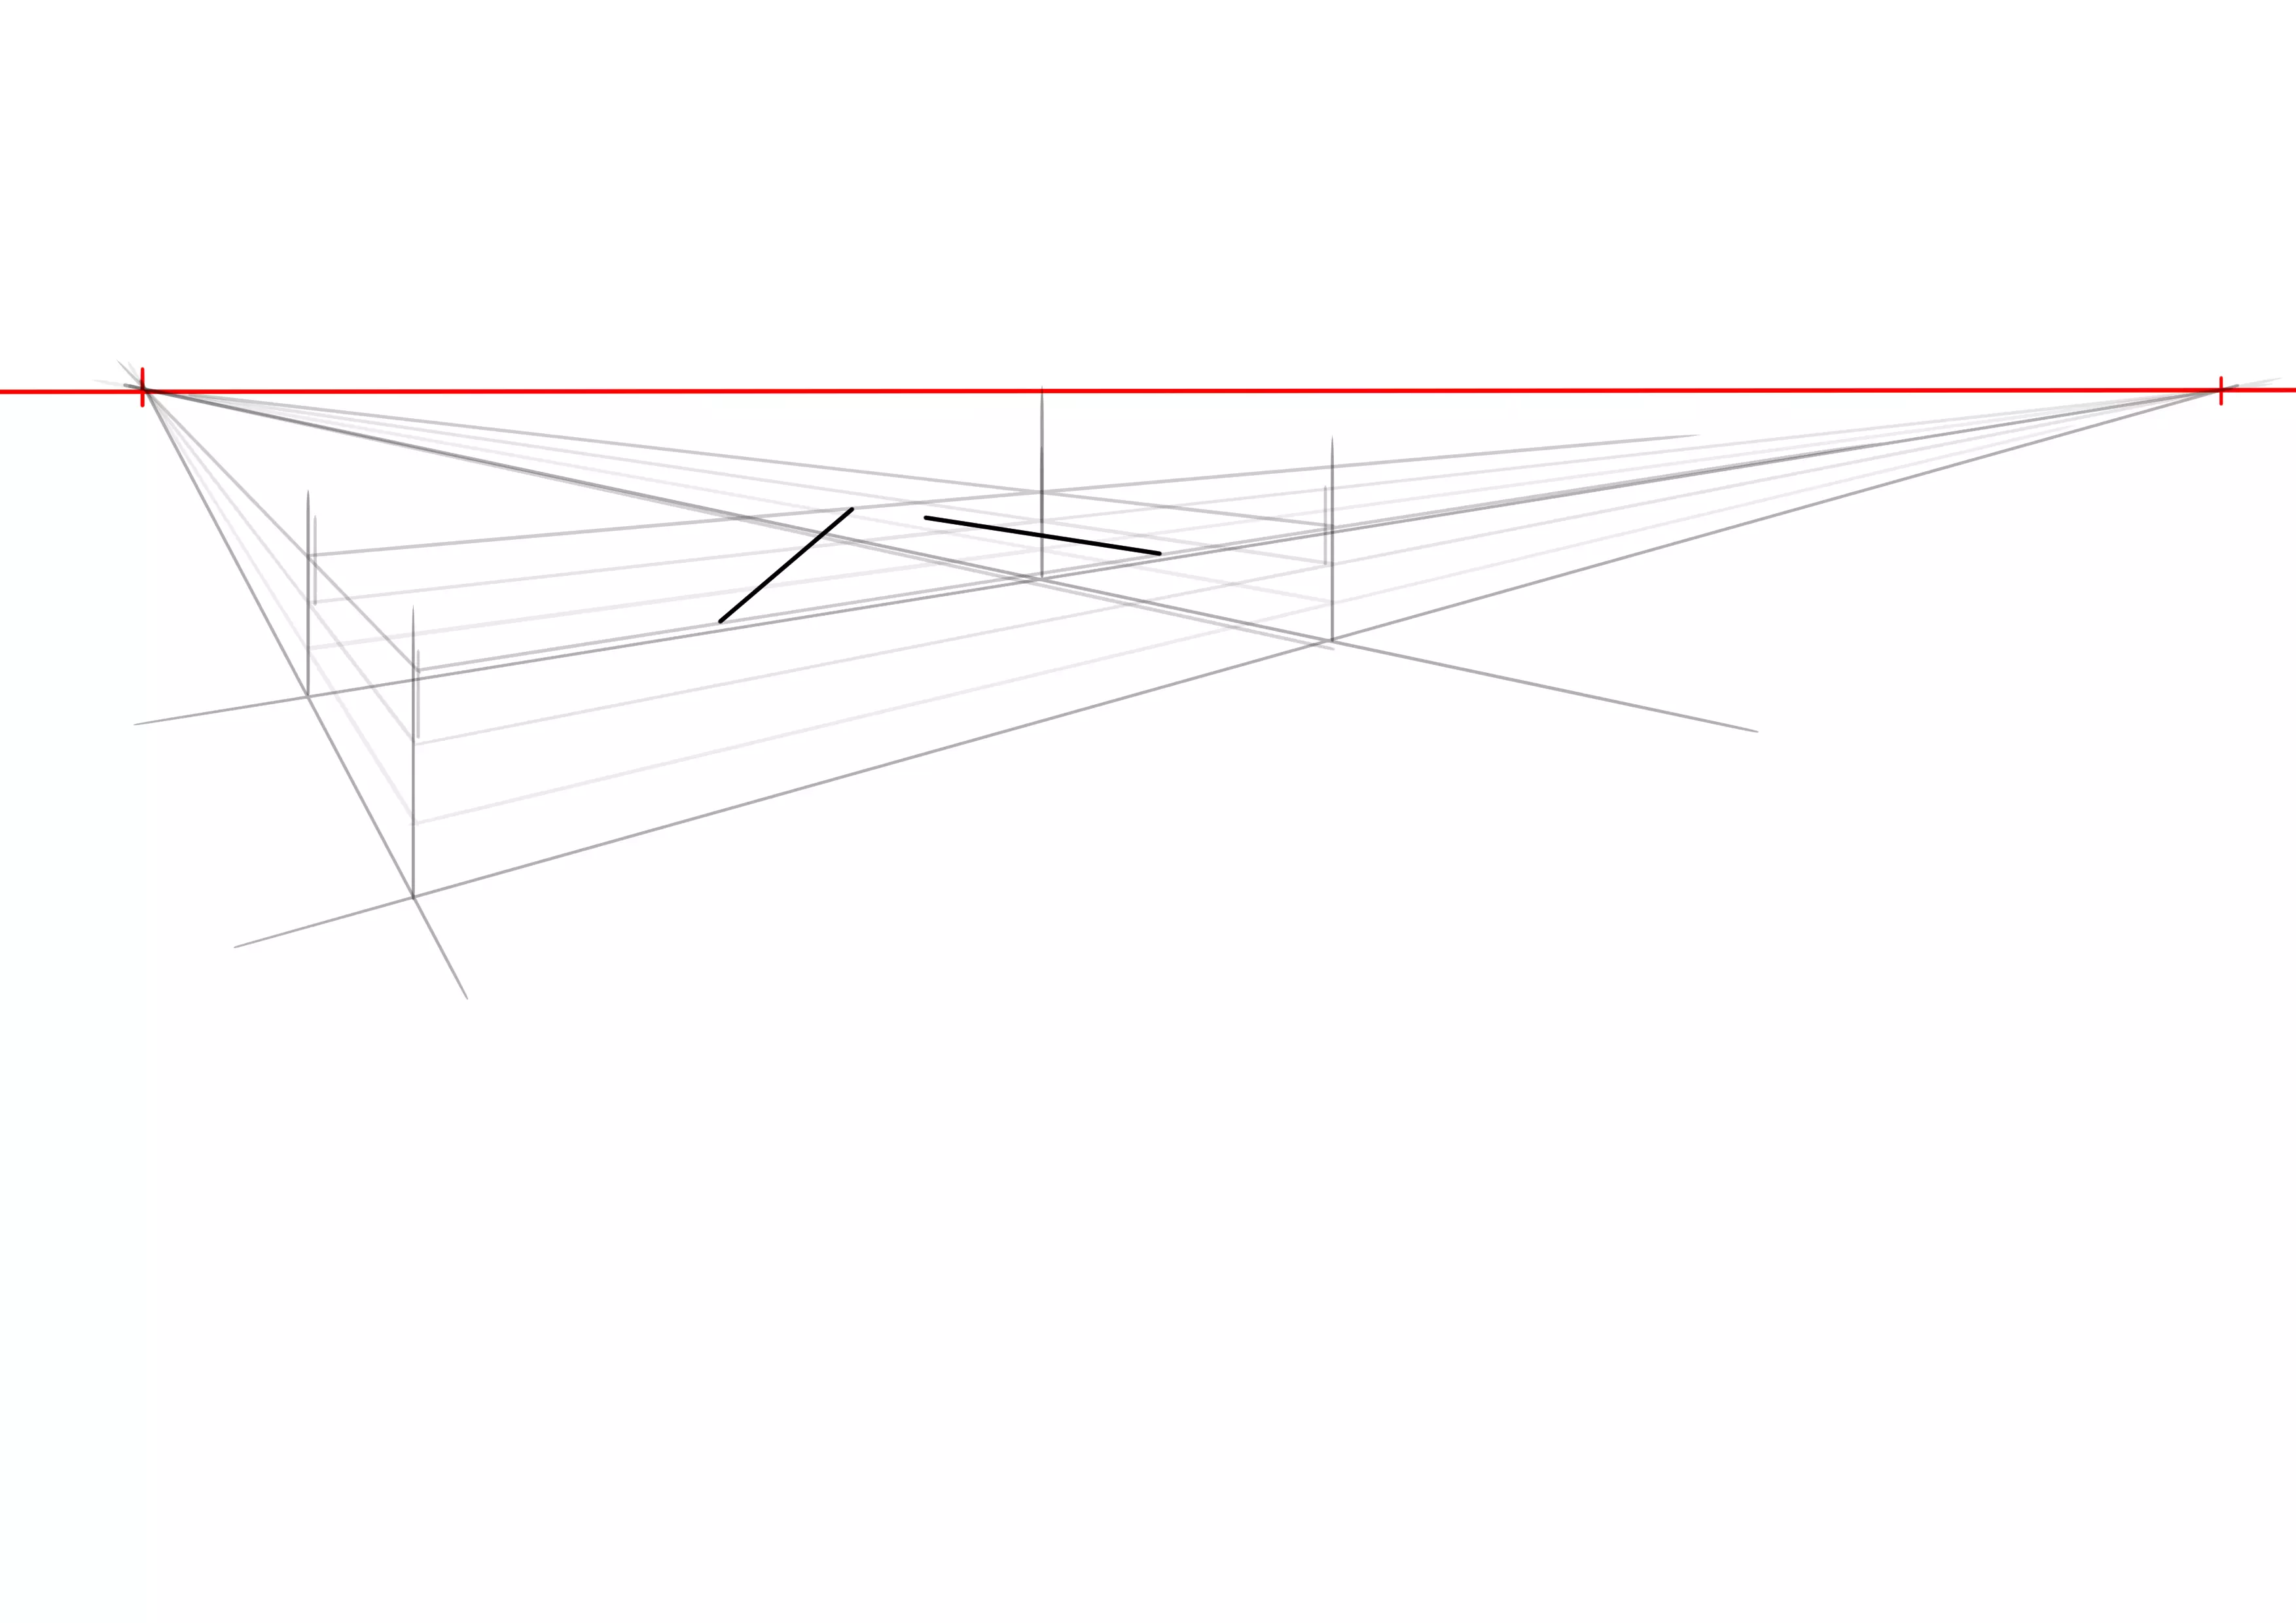
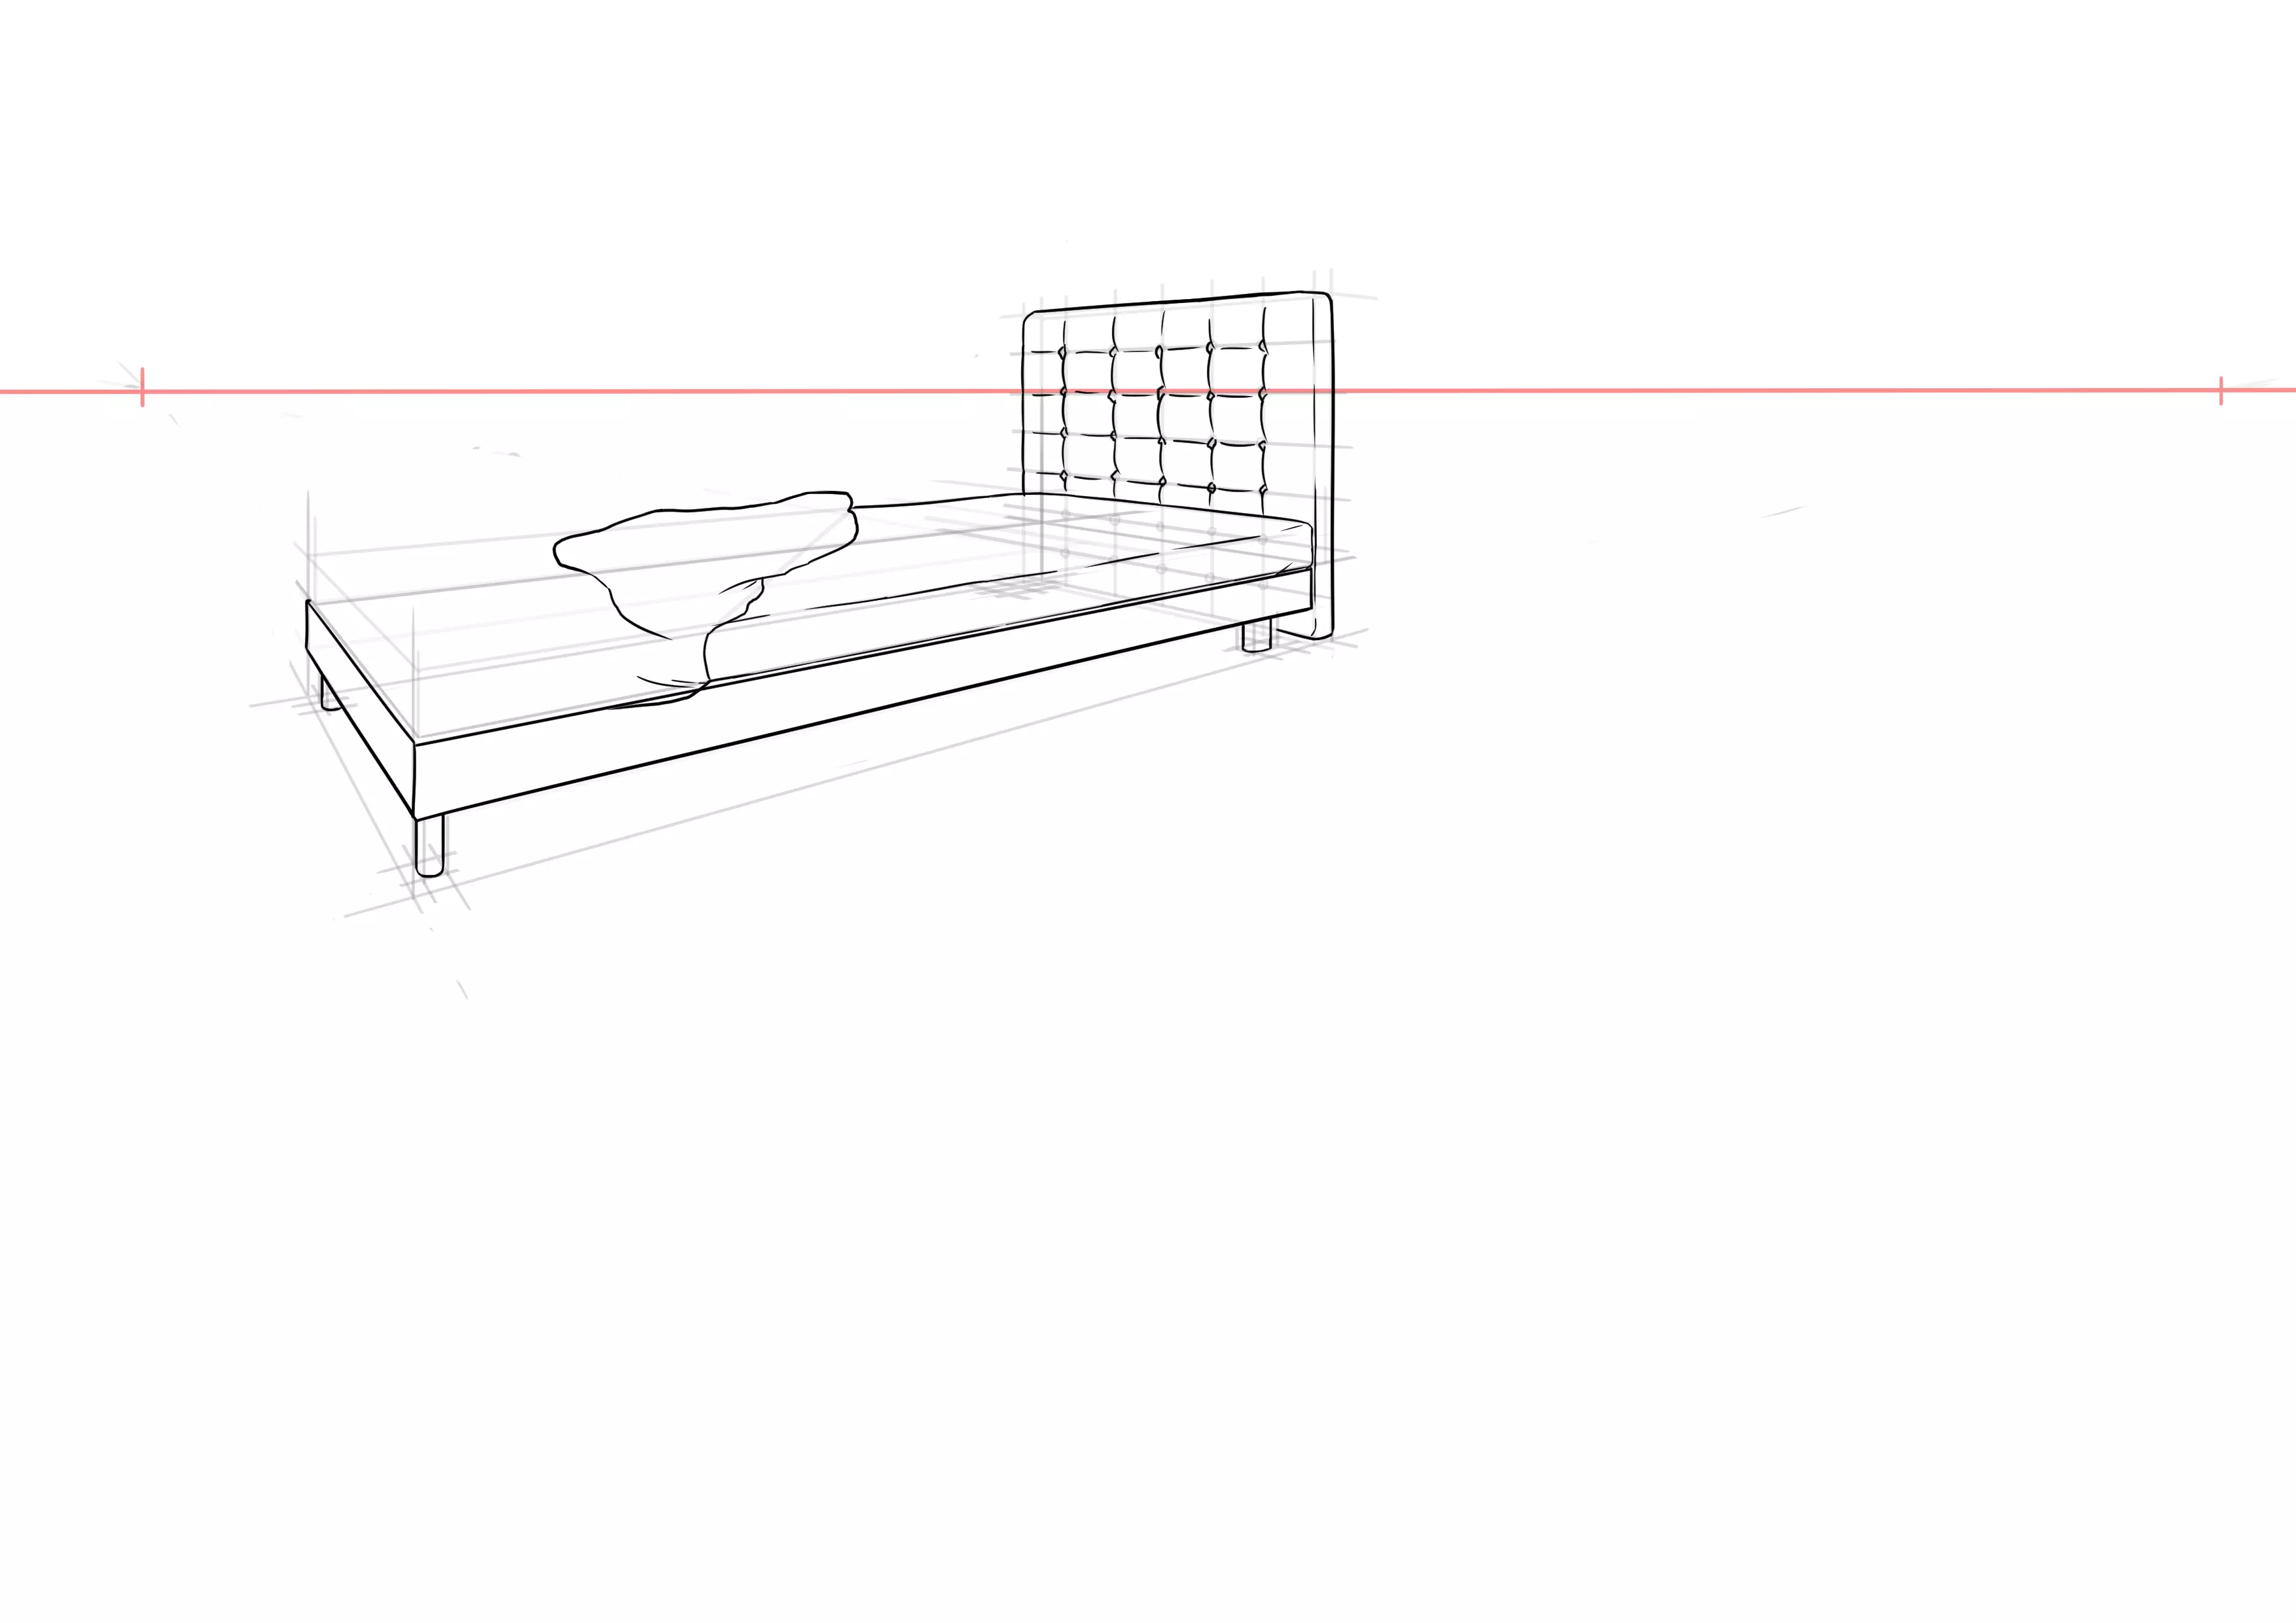
As long as we are at it, I quickly draw a line to delimit the area where the cushions are and another for the sheets. These are just markers, because as I said at the beginning, the sheets and cushions will not be well aligned and neatly squared, but left "as if just out of bed", anything but tidy, therefore.
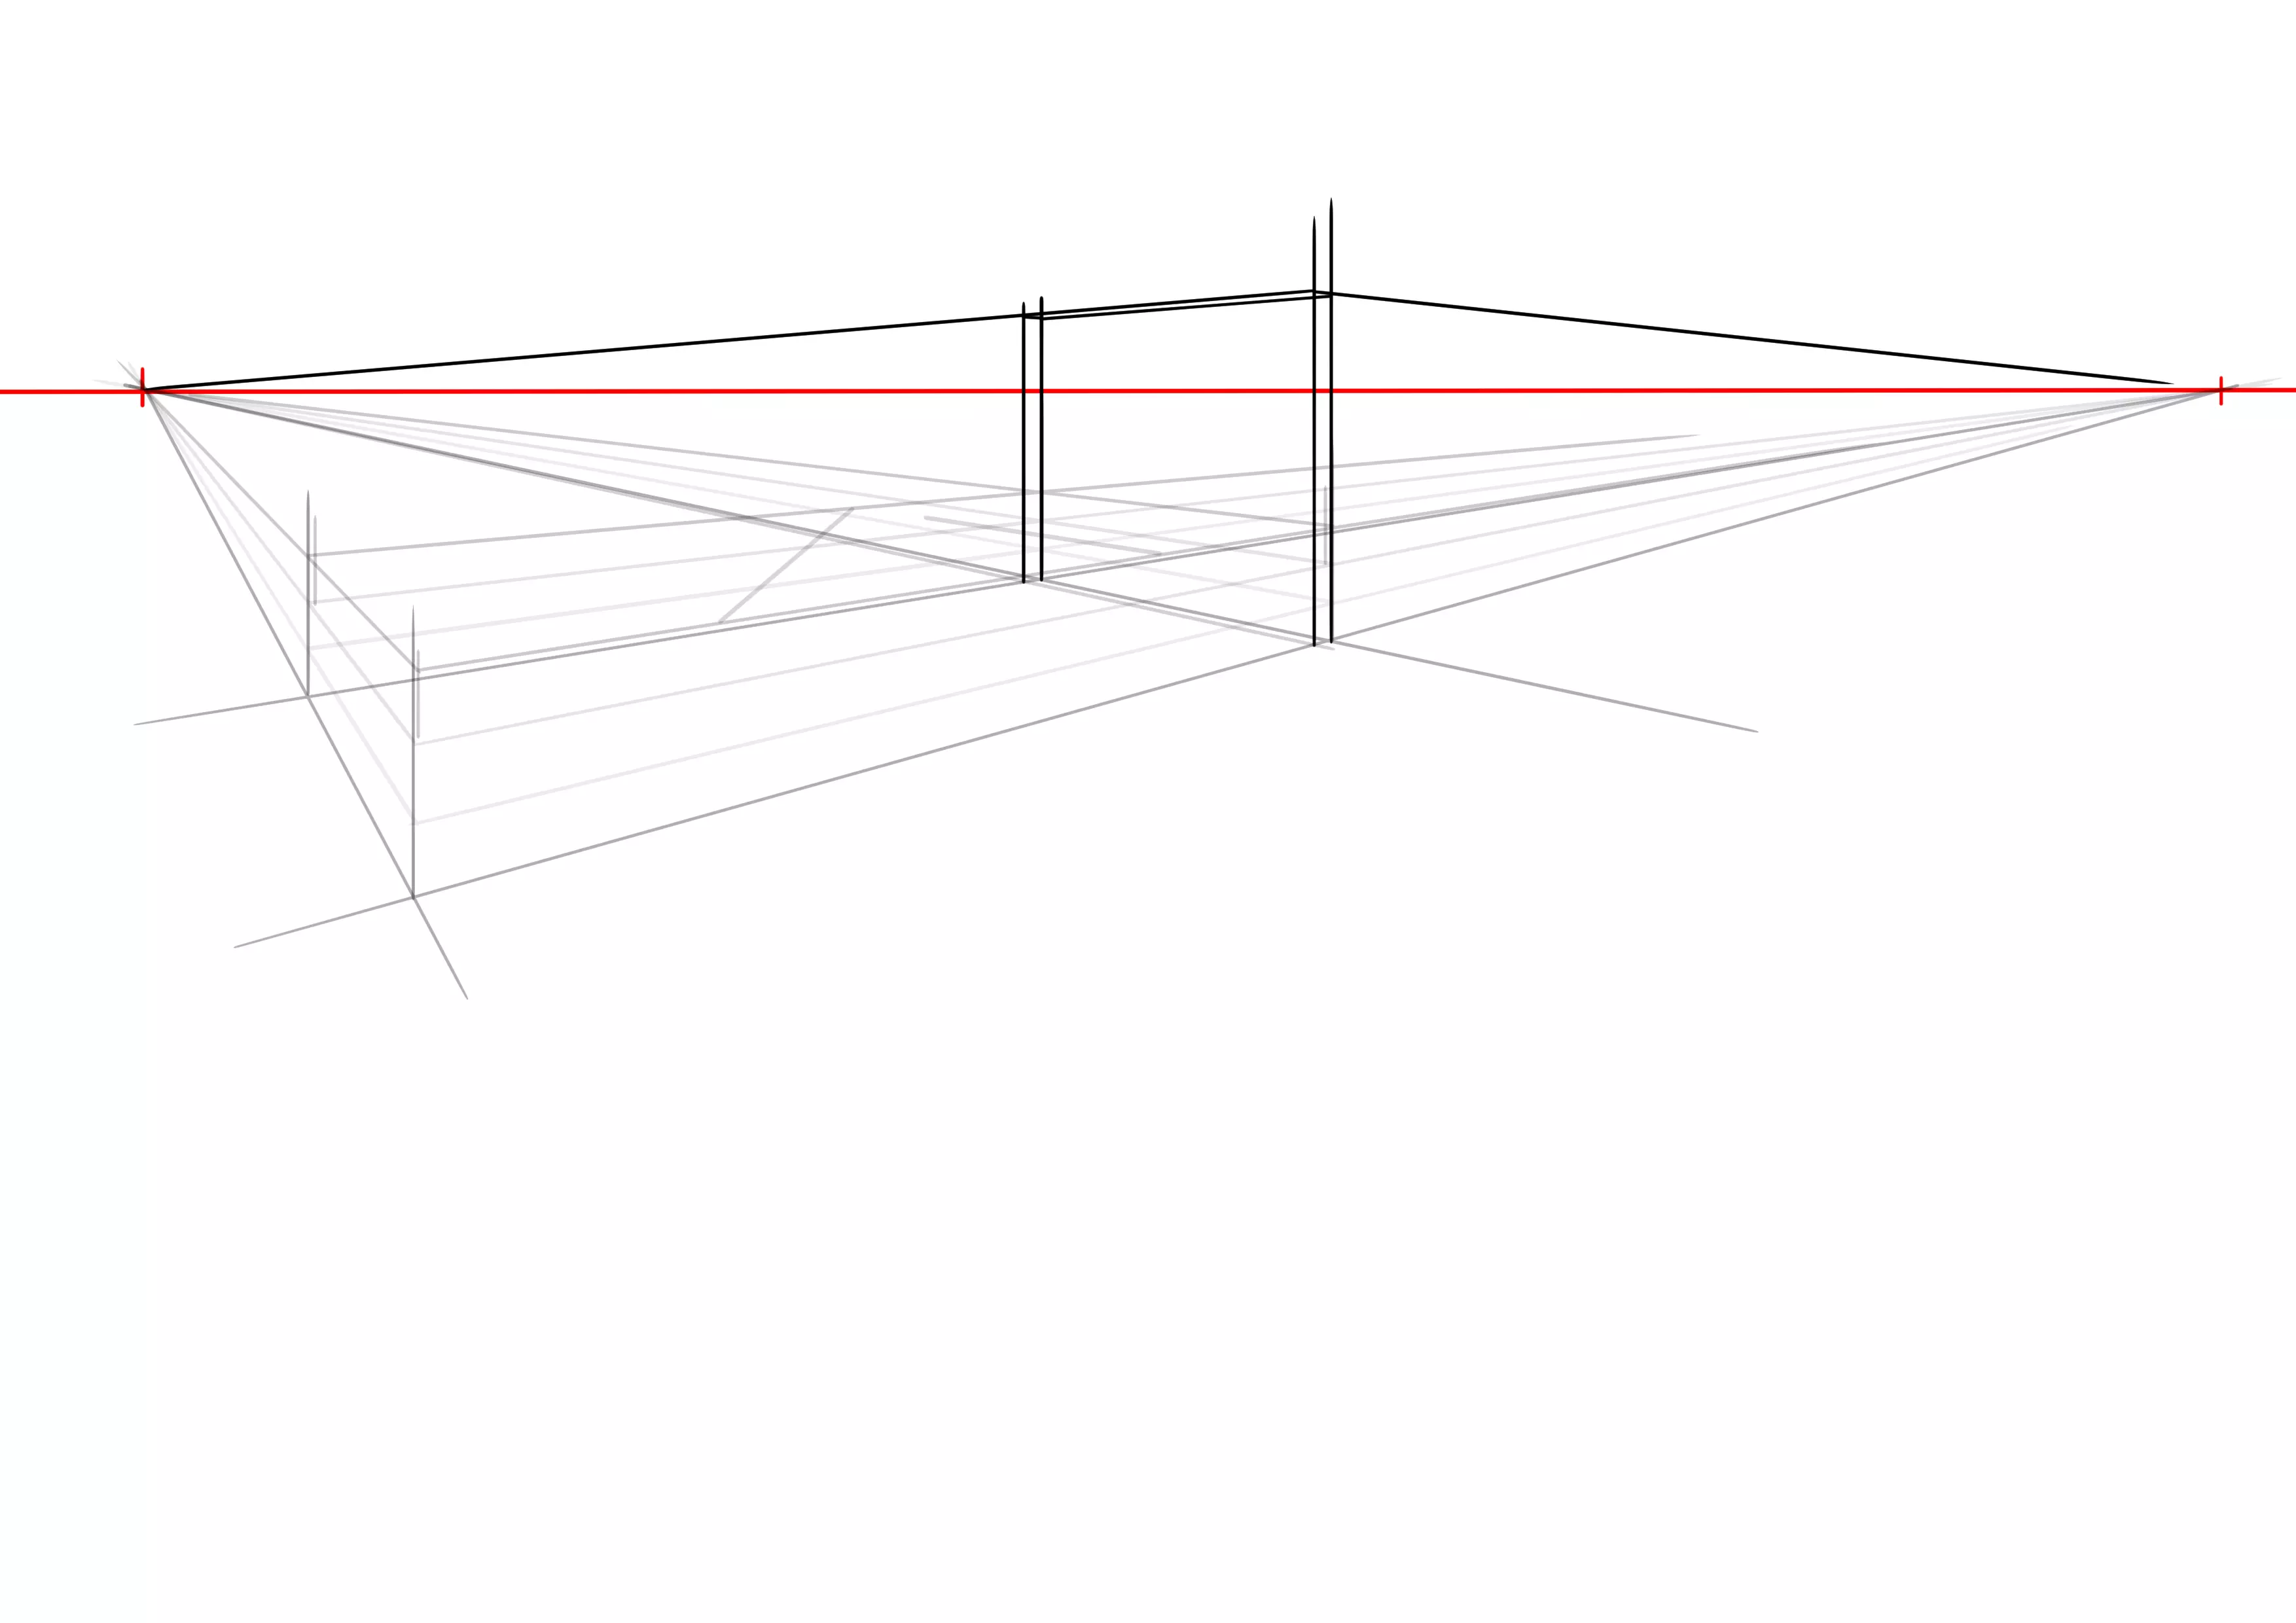
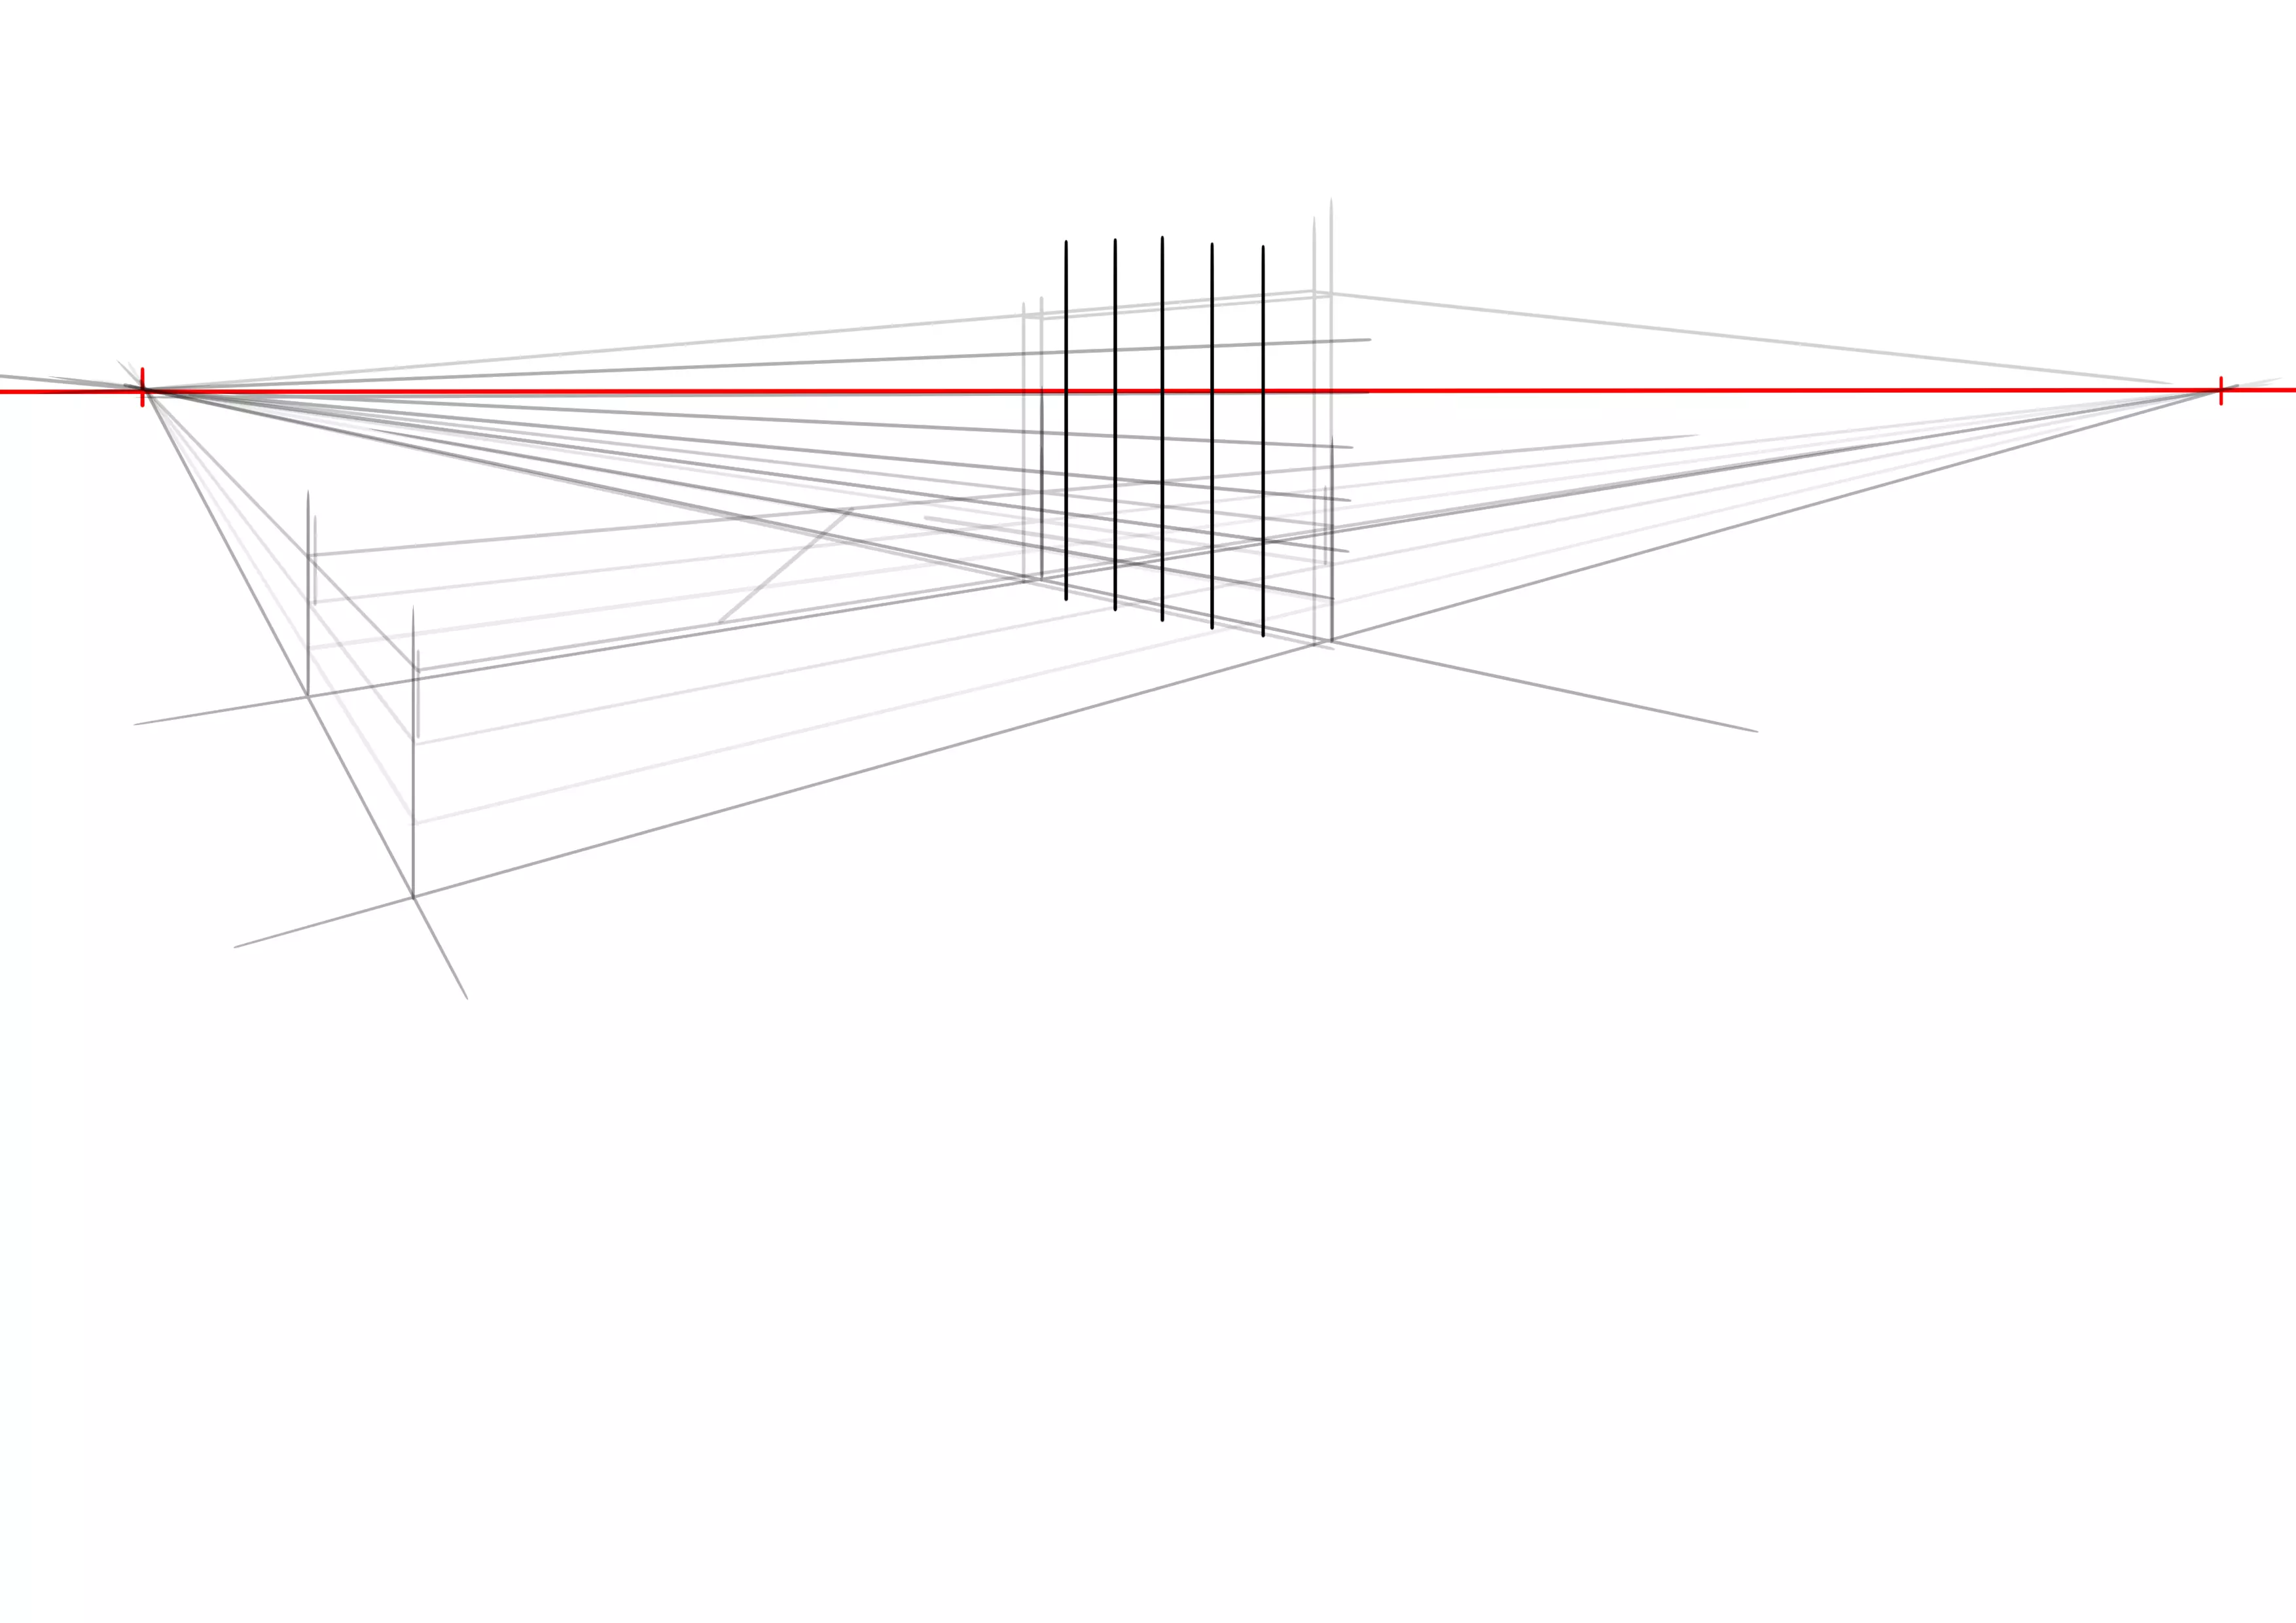
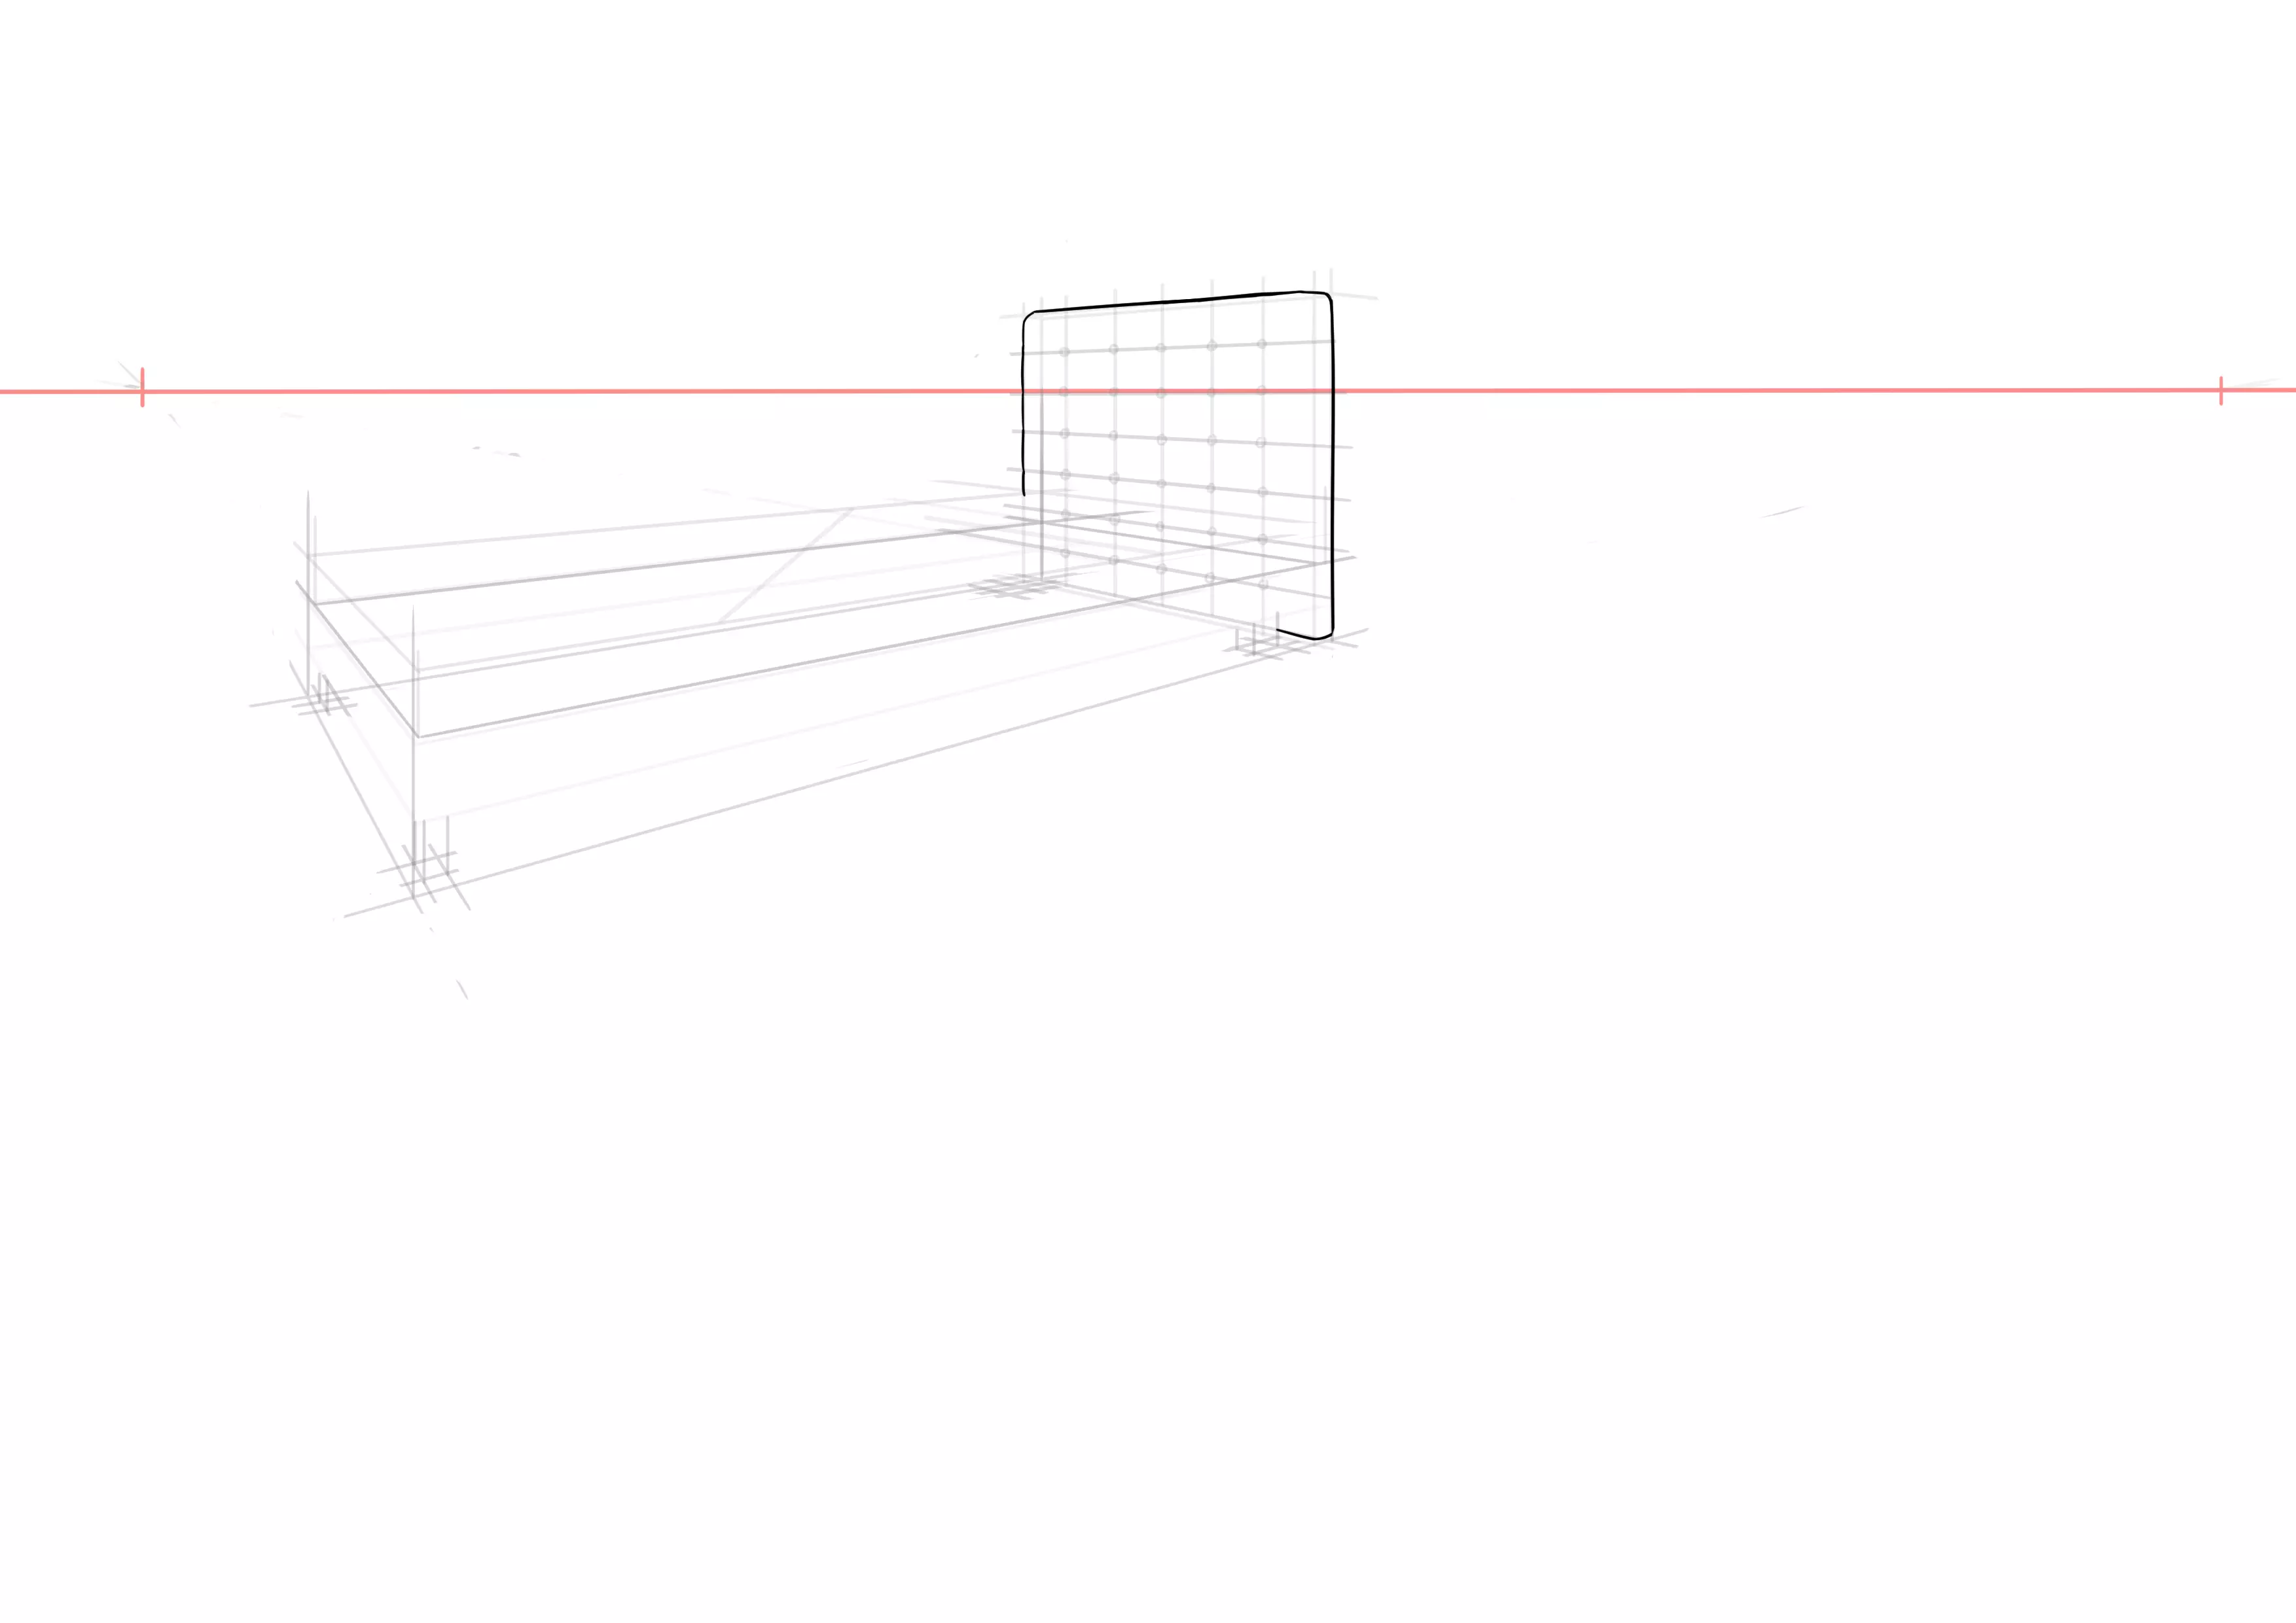
Let's move on to the headboard. We had drawn a line to make space for it. Since I don’t feel like complicating things today, we'll make a slightly padded headboard. We start by setting up our verticals well above the mattress.
And we close.
Then we draw lines that are approximately equidistant from each other horizontally.
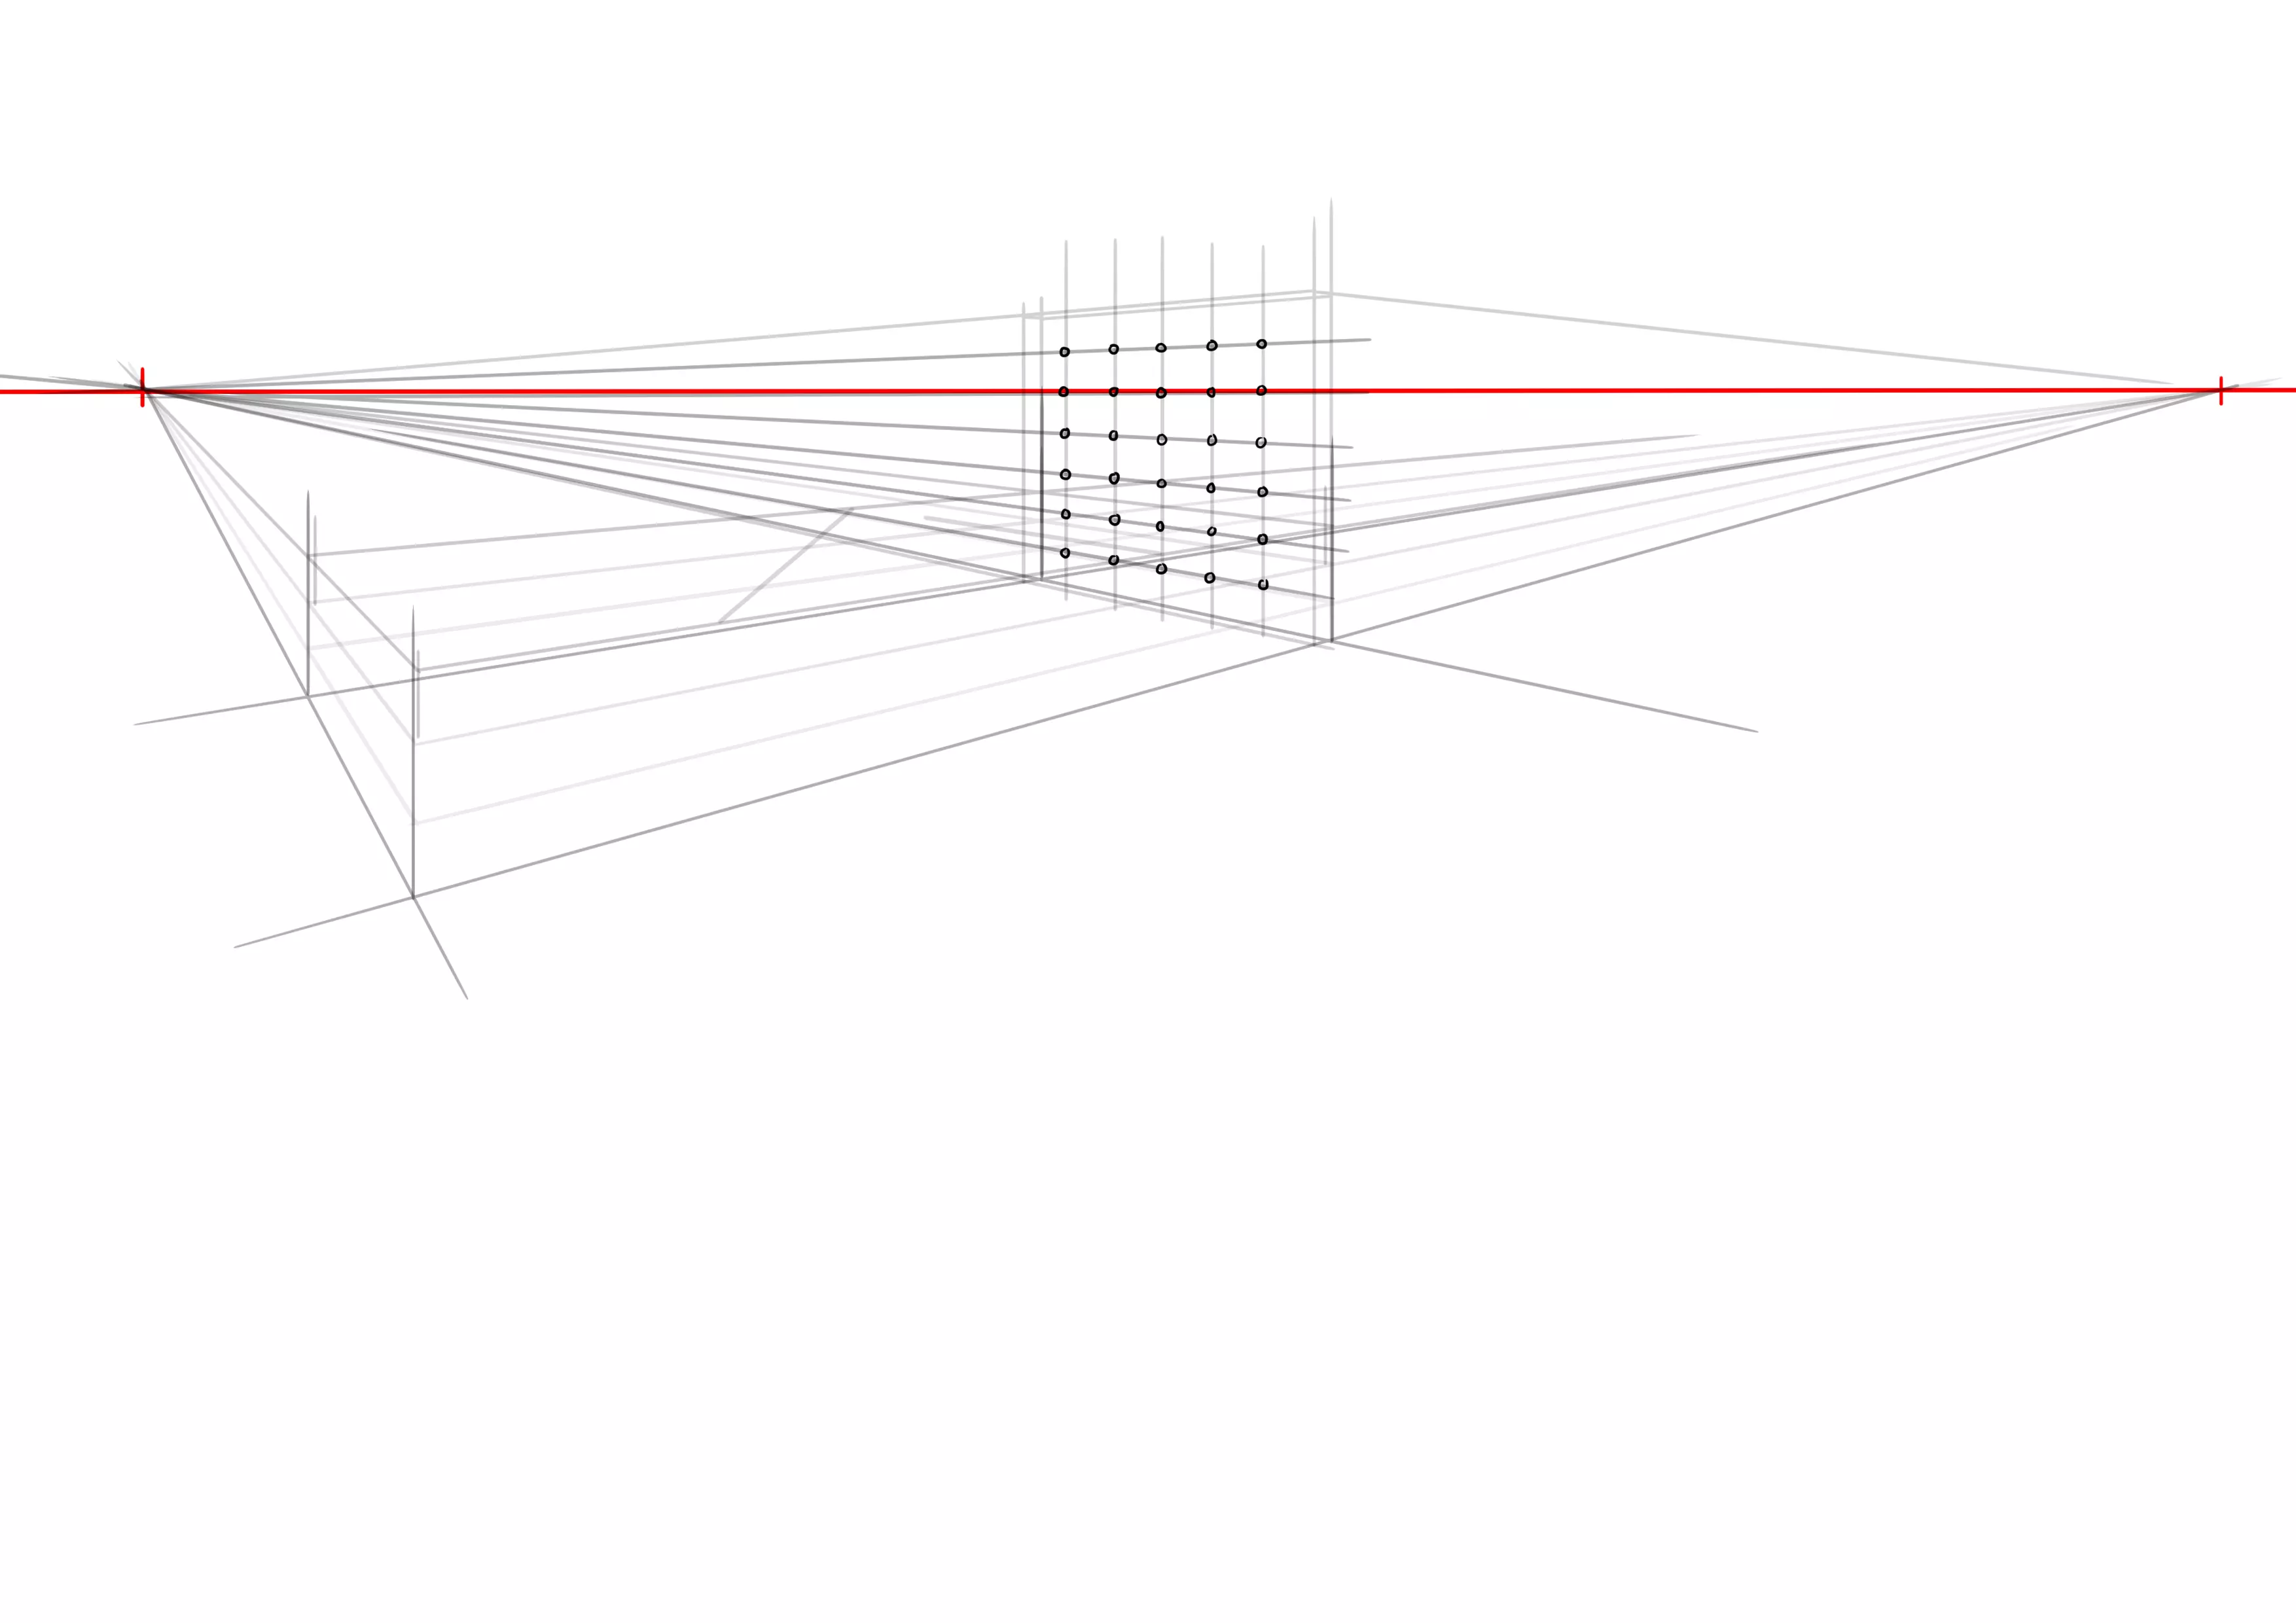
And vertically, so as to form squares. This is to then create our famous quilted effect.
Draw small ellipses (or circles, it’s not a big deal) at each intersection of the squares.
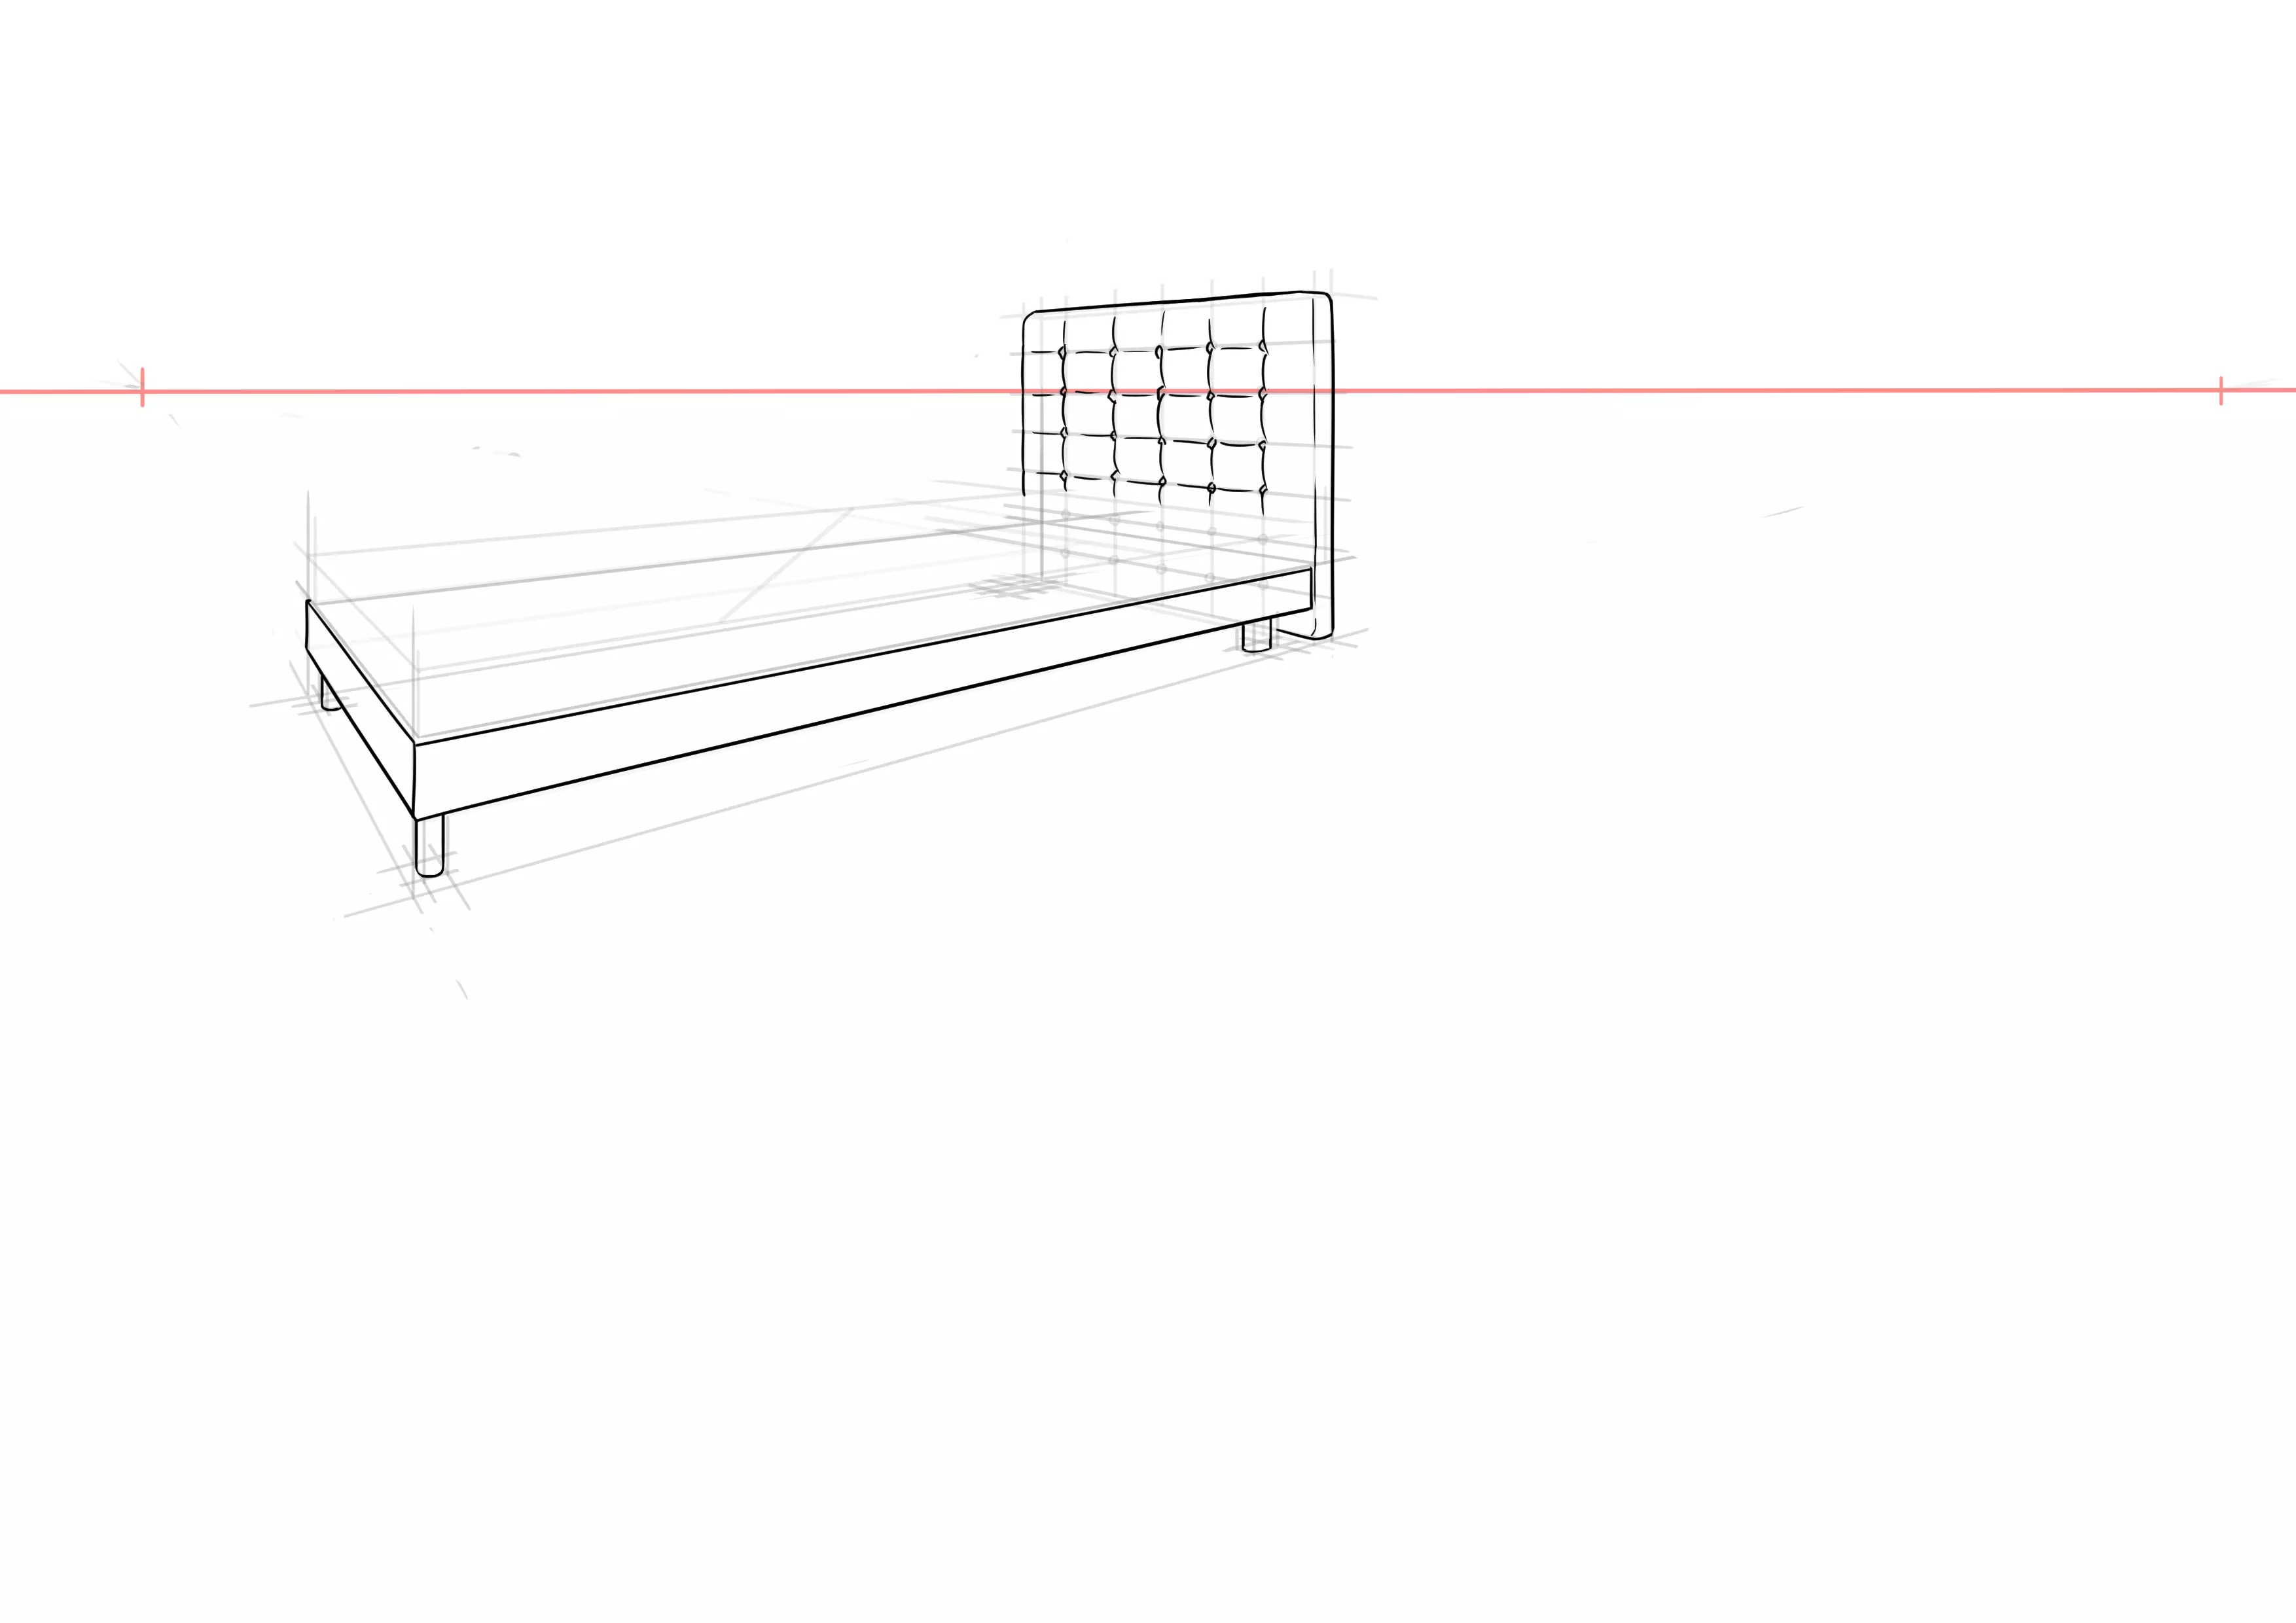
And one last small detail: we trace our feet. Be careful, they are not located exactly at the corners, obviously, there is a certain distance between their base and the edge of the bed. Let's start by tracing a smaller rectangle.
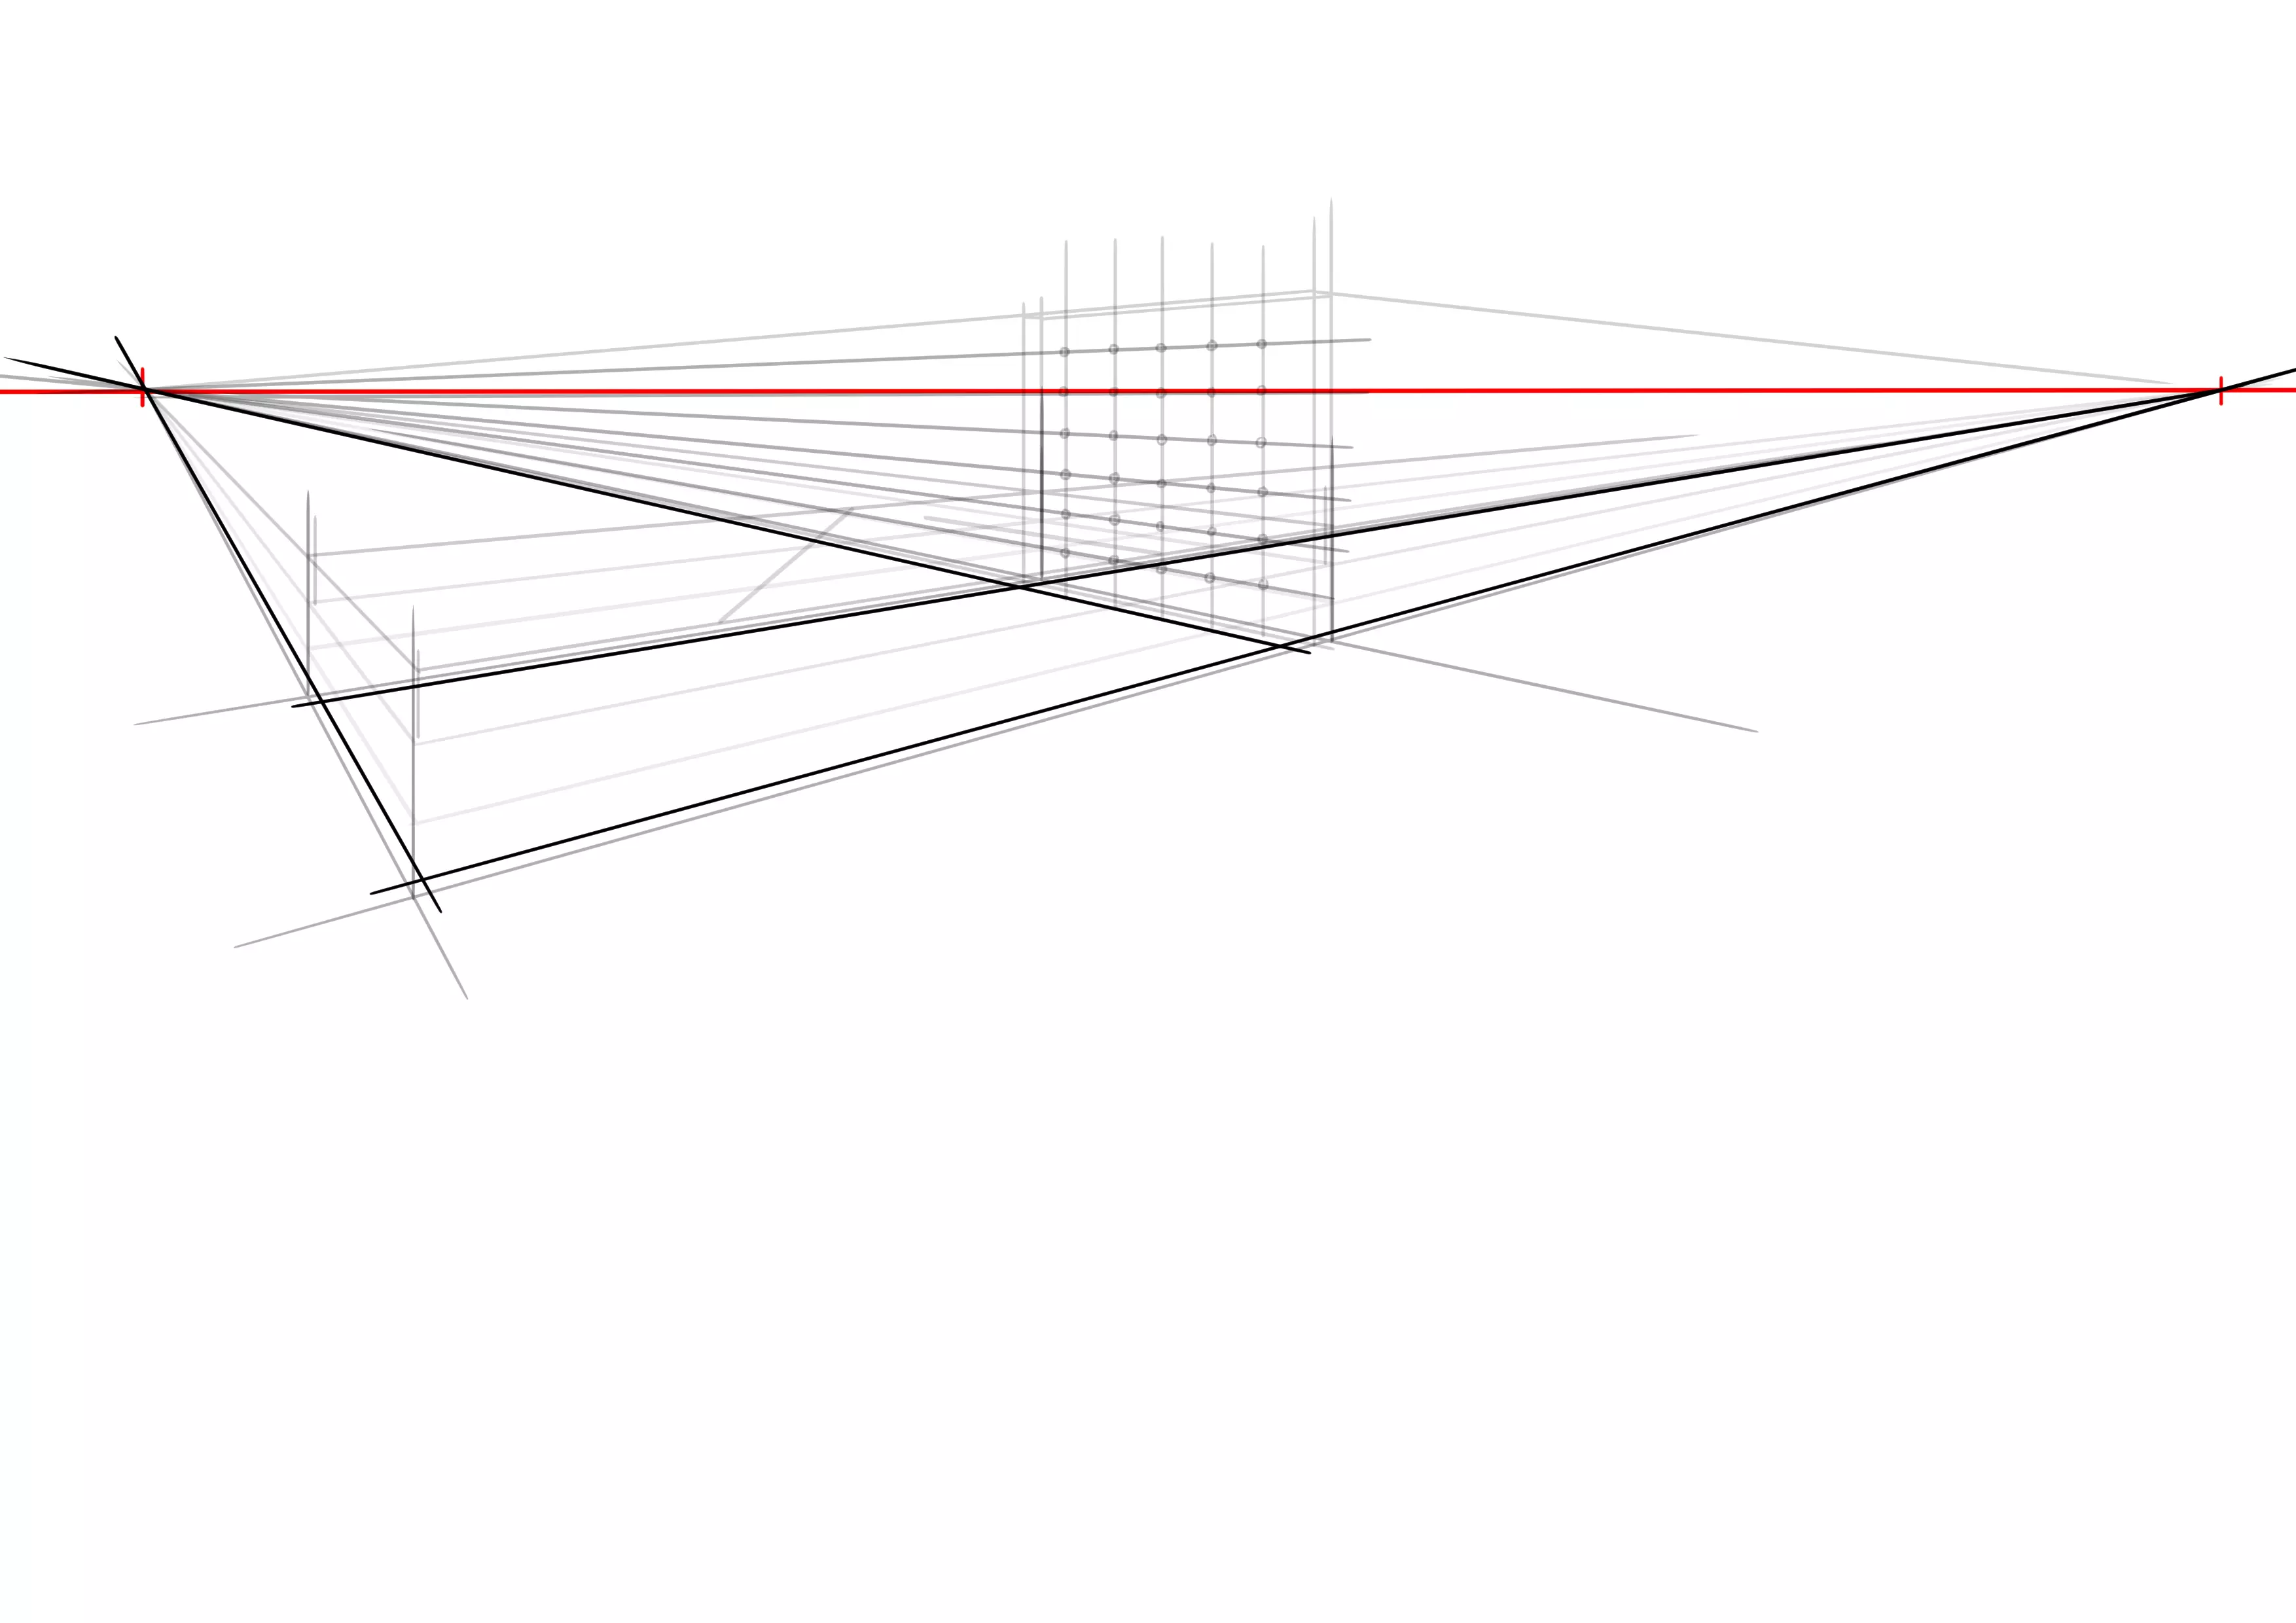
And a second one inside the first.
We erase what we just drew, with the exception of the squares located at the corners which are therefore our bases for the bed legs.
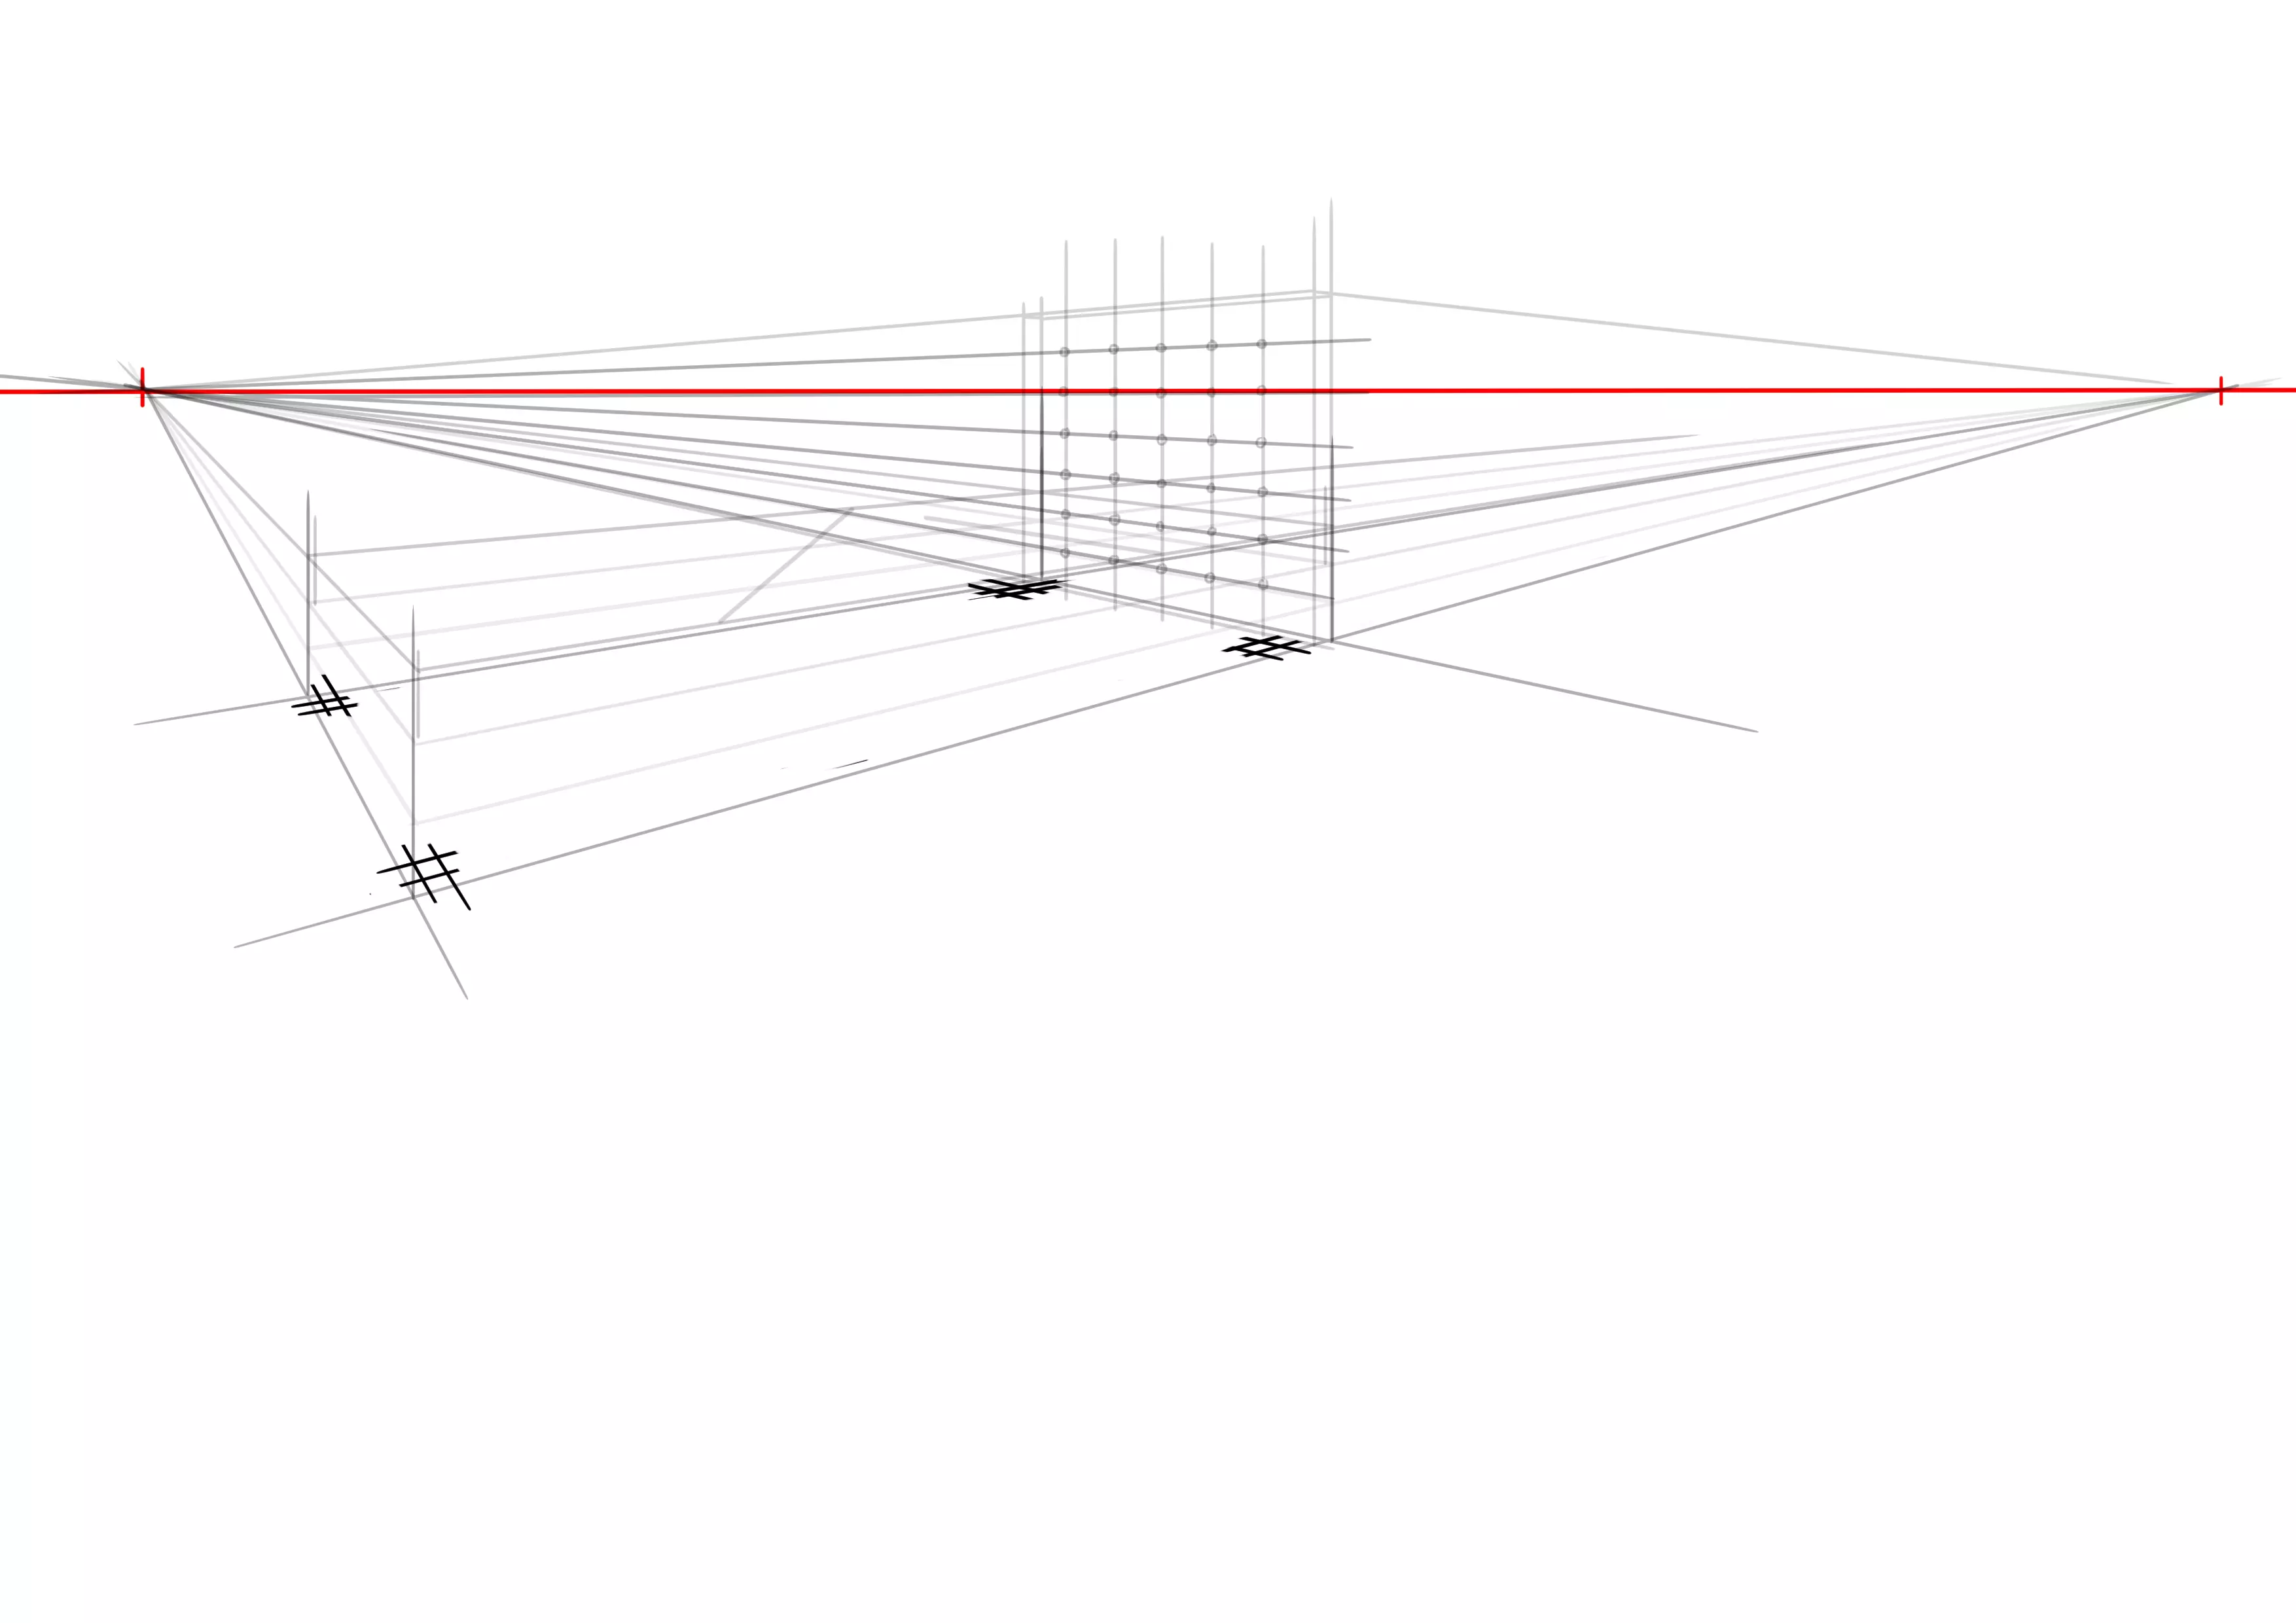
We draw the vertical lines down to the bottom of the bed base. And that's it for the sketch ^^

Let's erase all our construction lines, we won’t need them anymore, and lower the opacity (or take a new sheet, or lightly erase with a kneaded eraser).

DRAW THE DETAILS OF THE BED
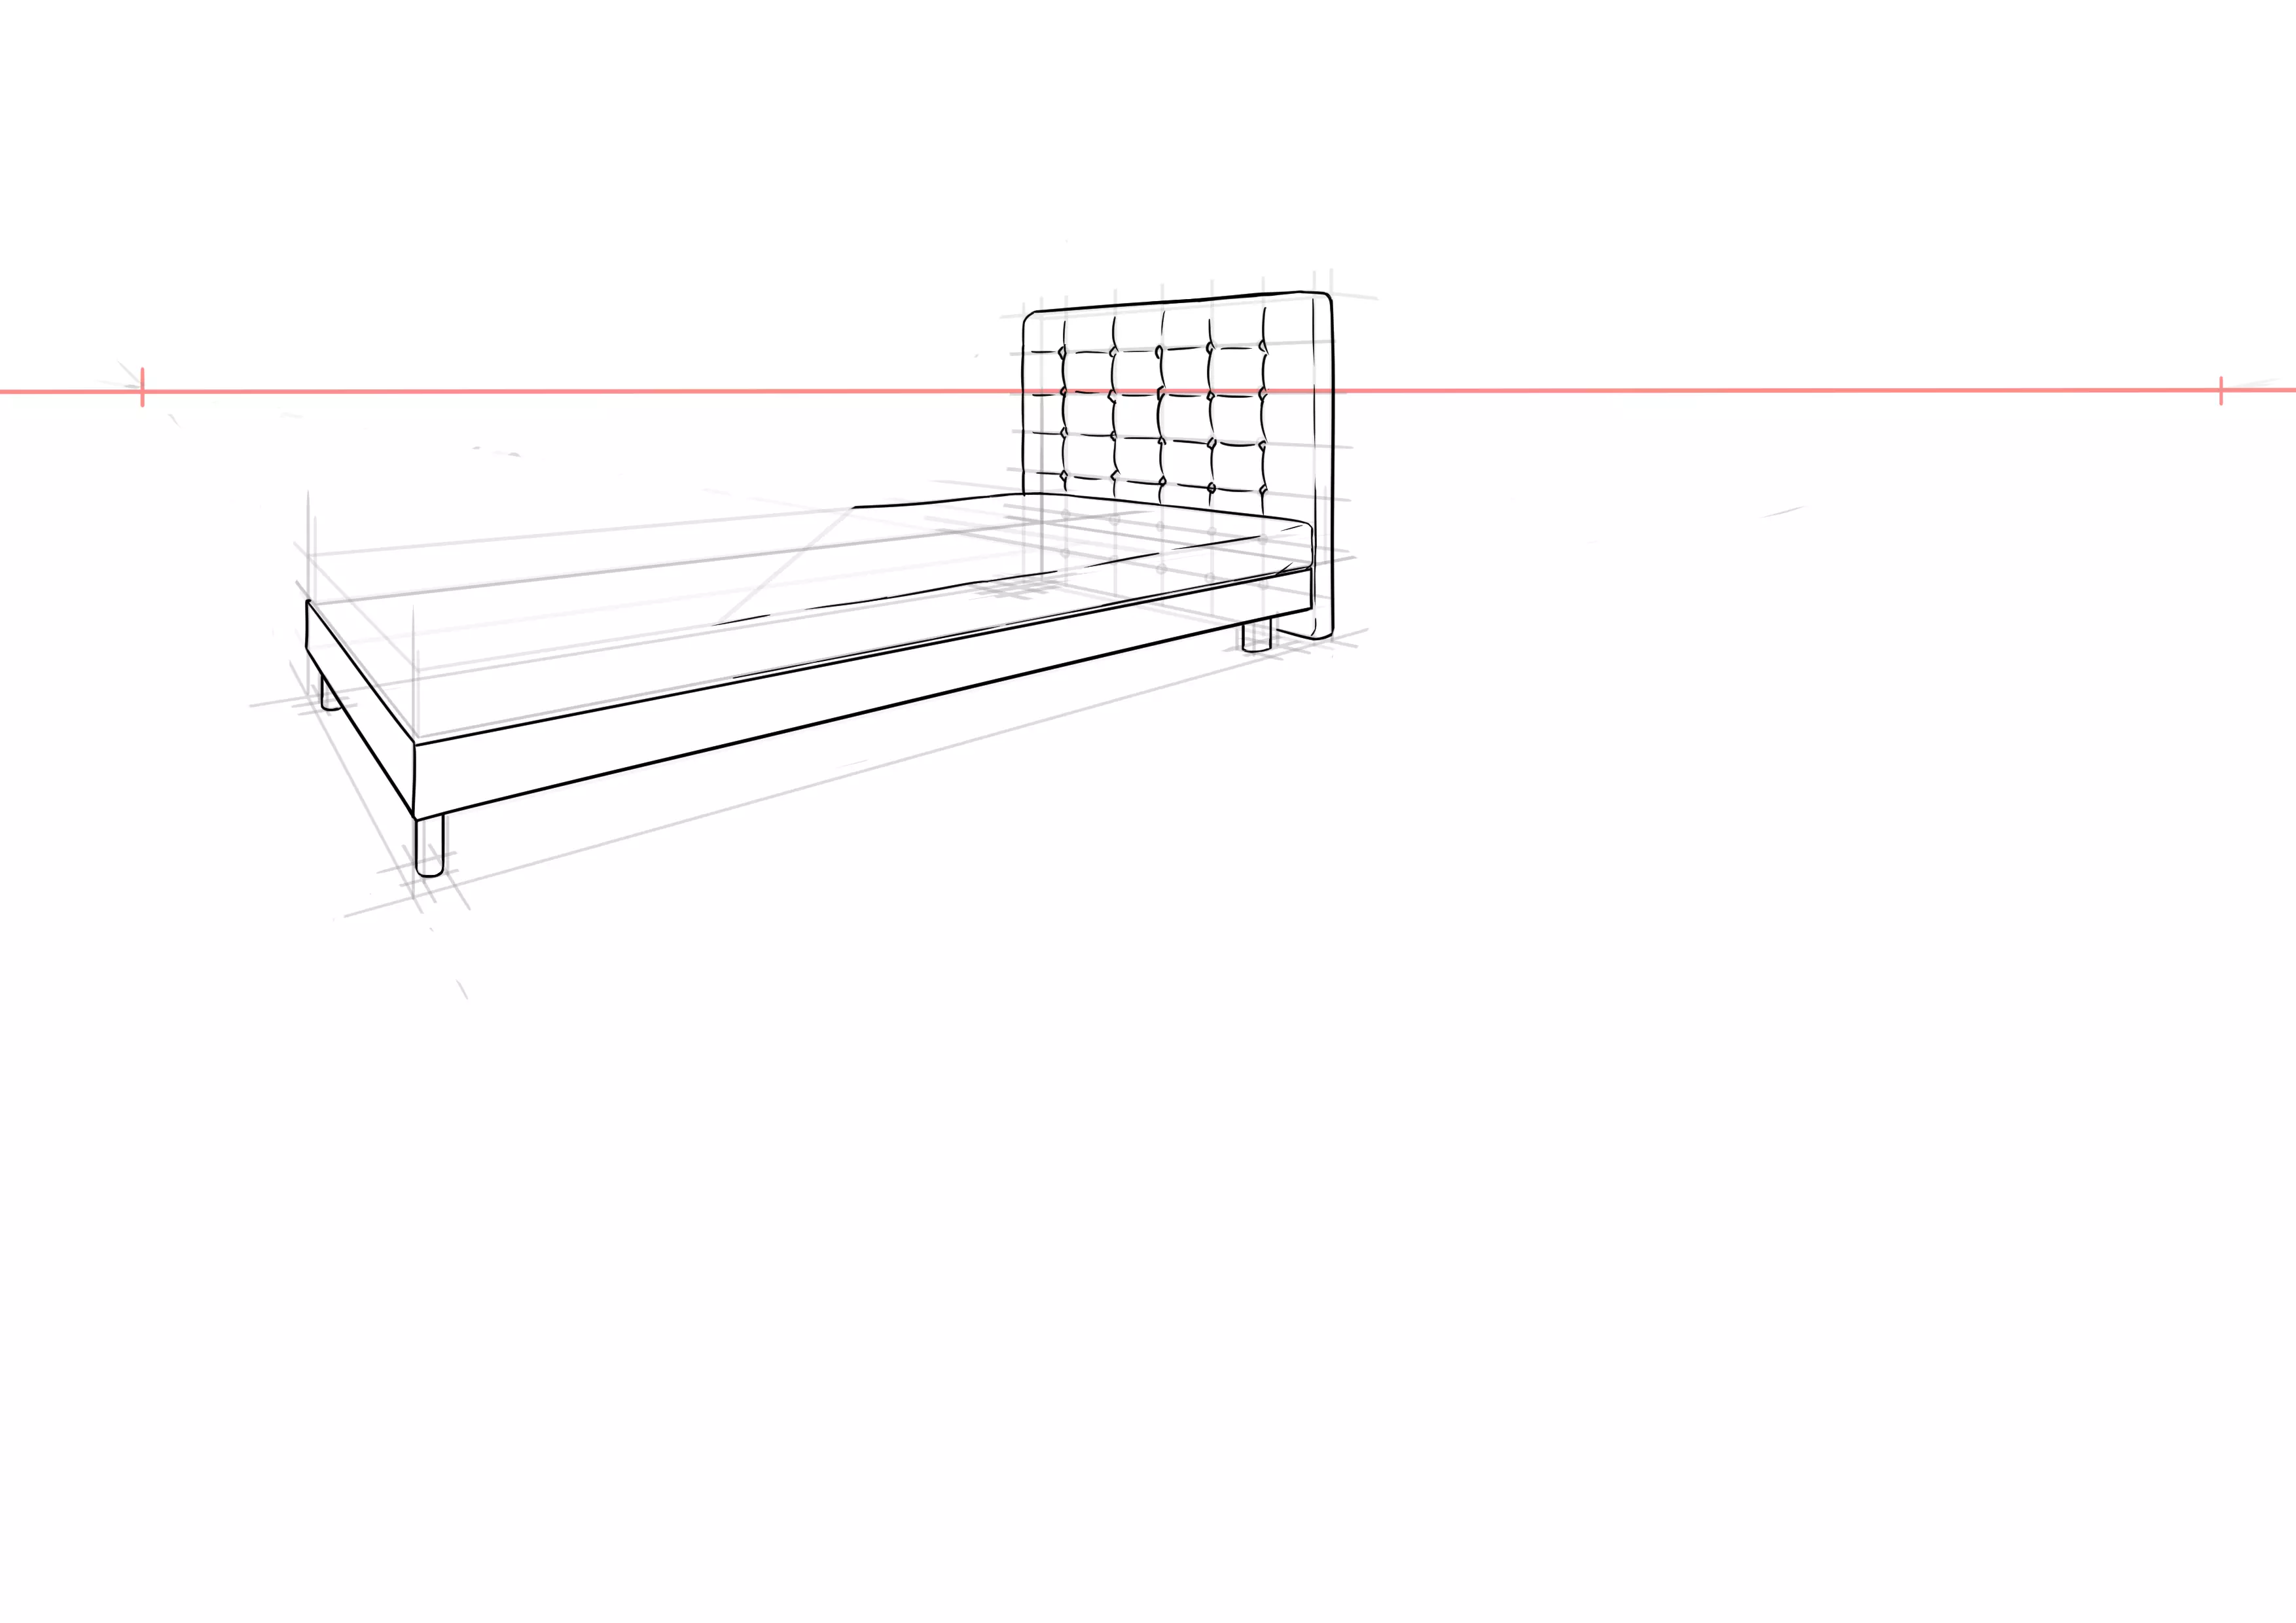
Now, we'll detail all of this and make it less angular. I start with the headboard. I draw the outer shape again, I'm just going to round the corners a bit.
Then I lightly and discontinuously trace the thickness of the headboard.
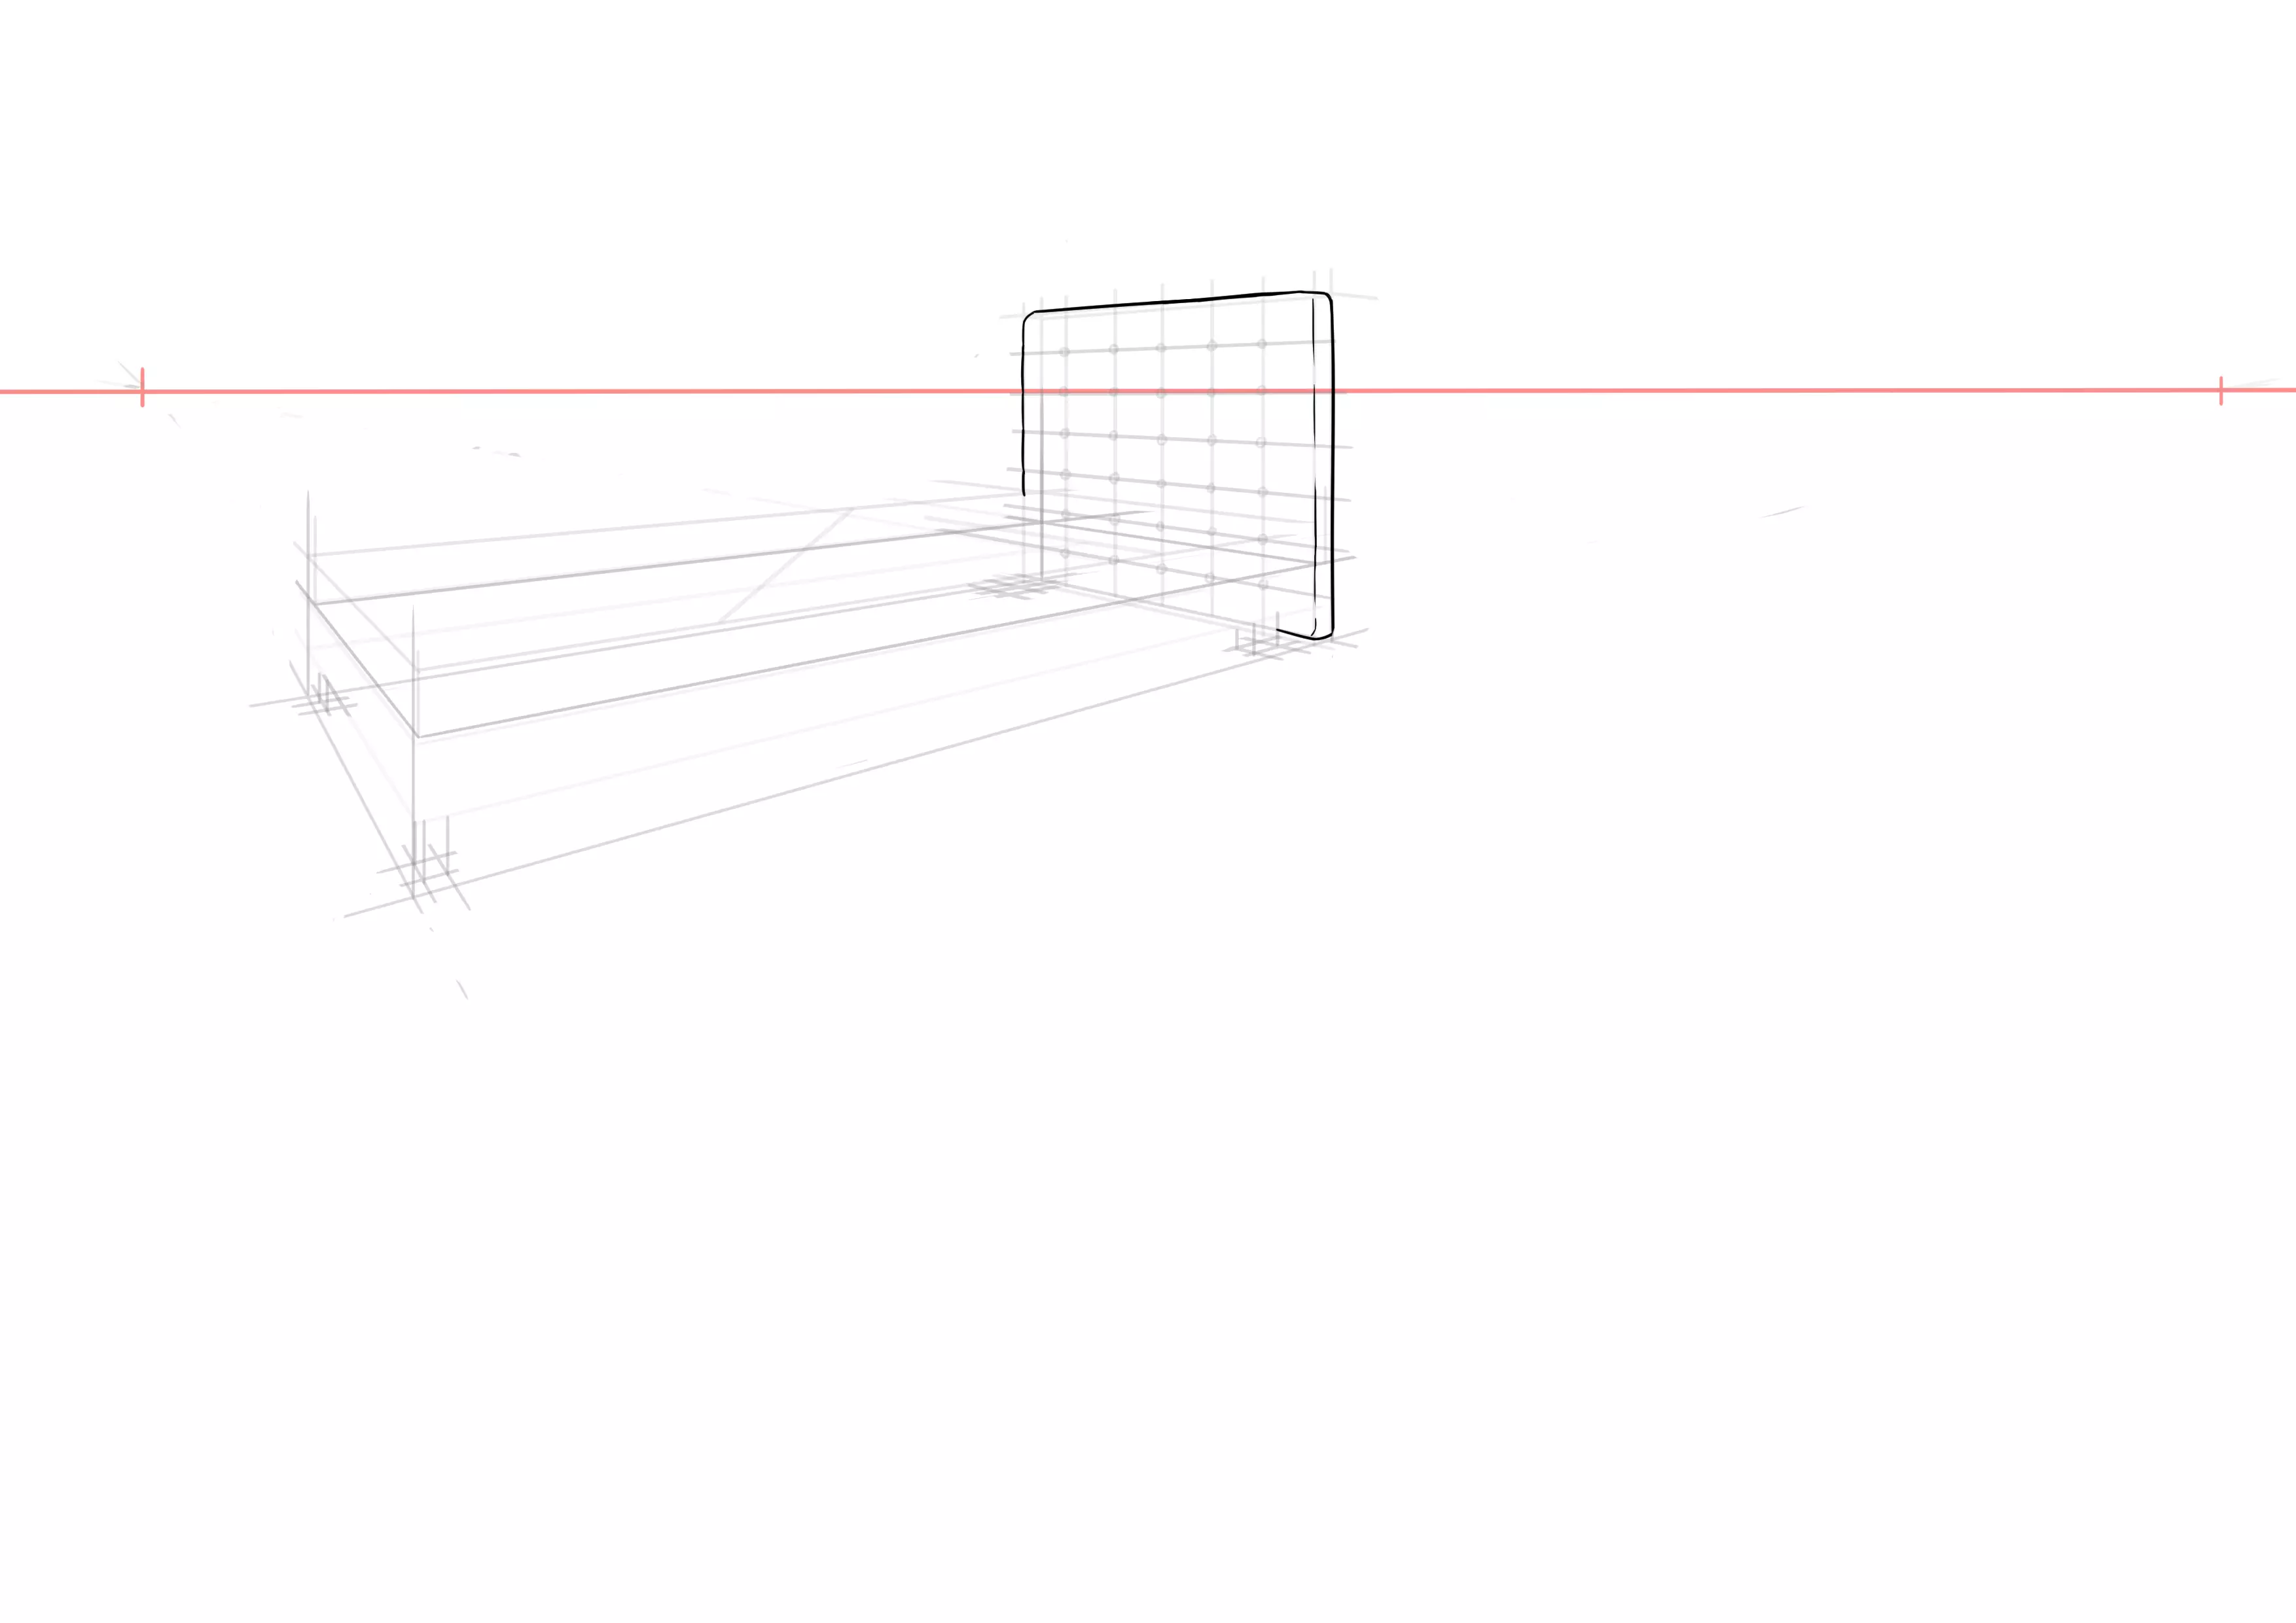
Then, we move on to the quilted side. Just make slightly curved shapes. It can perfectly hide the circles we traced beforehand.
We move on to the base of the bed which remains the same. It all depends on the material you want, to be honest. Personally, I go for wood. 😊
For the feet, if you remember the article about the key, I showed you how to make ellipses using a square. It's the same method here. My feet are tube-shaped, so I draw an ellipse and then elevate it.
For the mattress, let go of the ruler and lightly trace its thickness.
I want an unmade bed. This would require me to focus on the creases and how to make them, etc. It will probably be the subject of another article (feel free to ask if you are interested in the comments). In short, I will make a large line, more or less diagonal. This will be the edge of the open duvet.

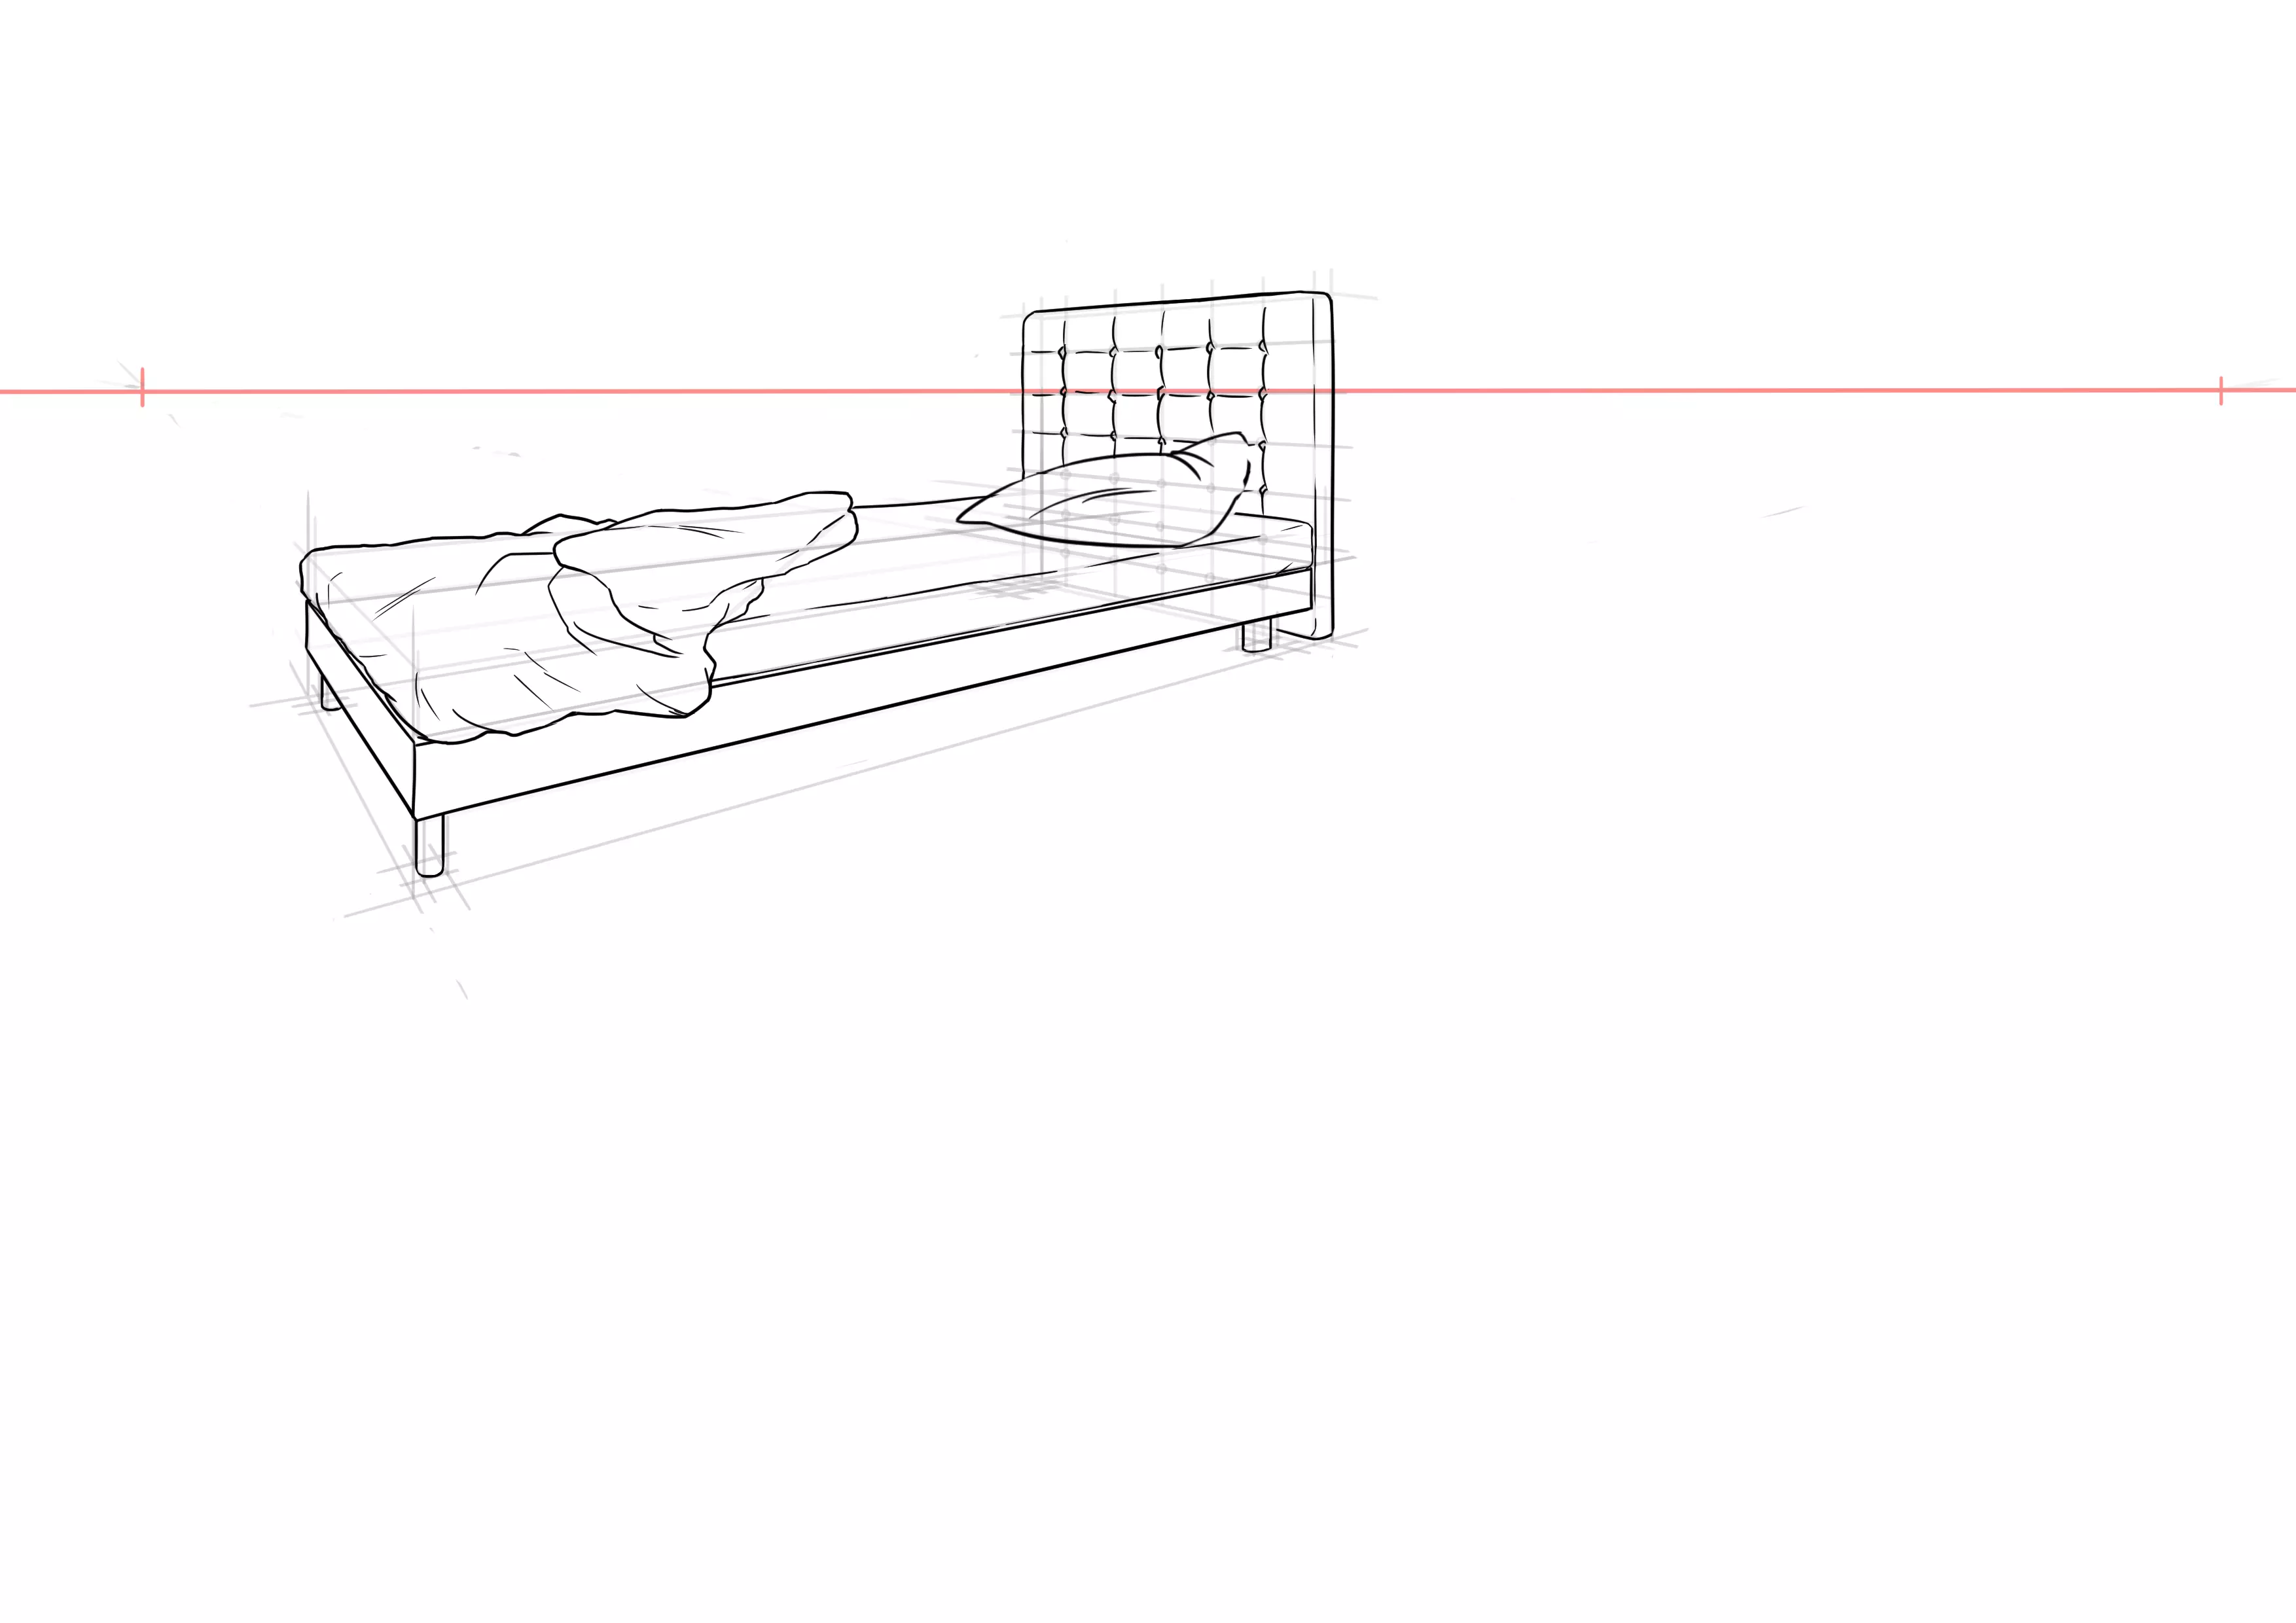
Quilts are thick and therefore have large volumes when folded (it's not like satin or a sheet that have very tight folds when folded). So, I will draw a vaguely triangular shape for the open part.
I add creases at the edges of the base (where the duvet is tucked in) and all areas where it can pull or fold.

I then position my cushion. It too is not aligned. It is askew. I'm even going to make one end lean against the headboard. So I start with a fairly simple shape.

And I detail it by adding some folds at the crease and where the head rested all night.
For decoration, I add a kind of ruffle all around (this is optional).
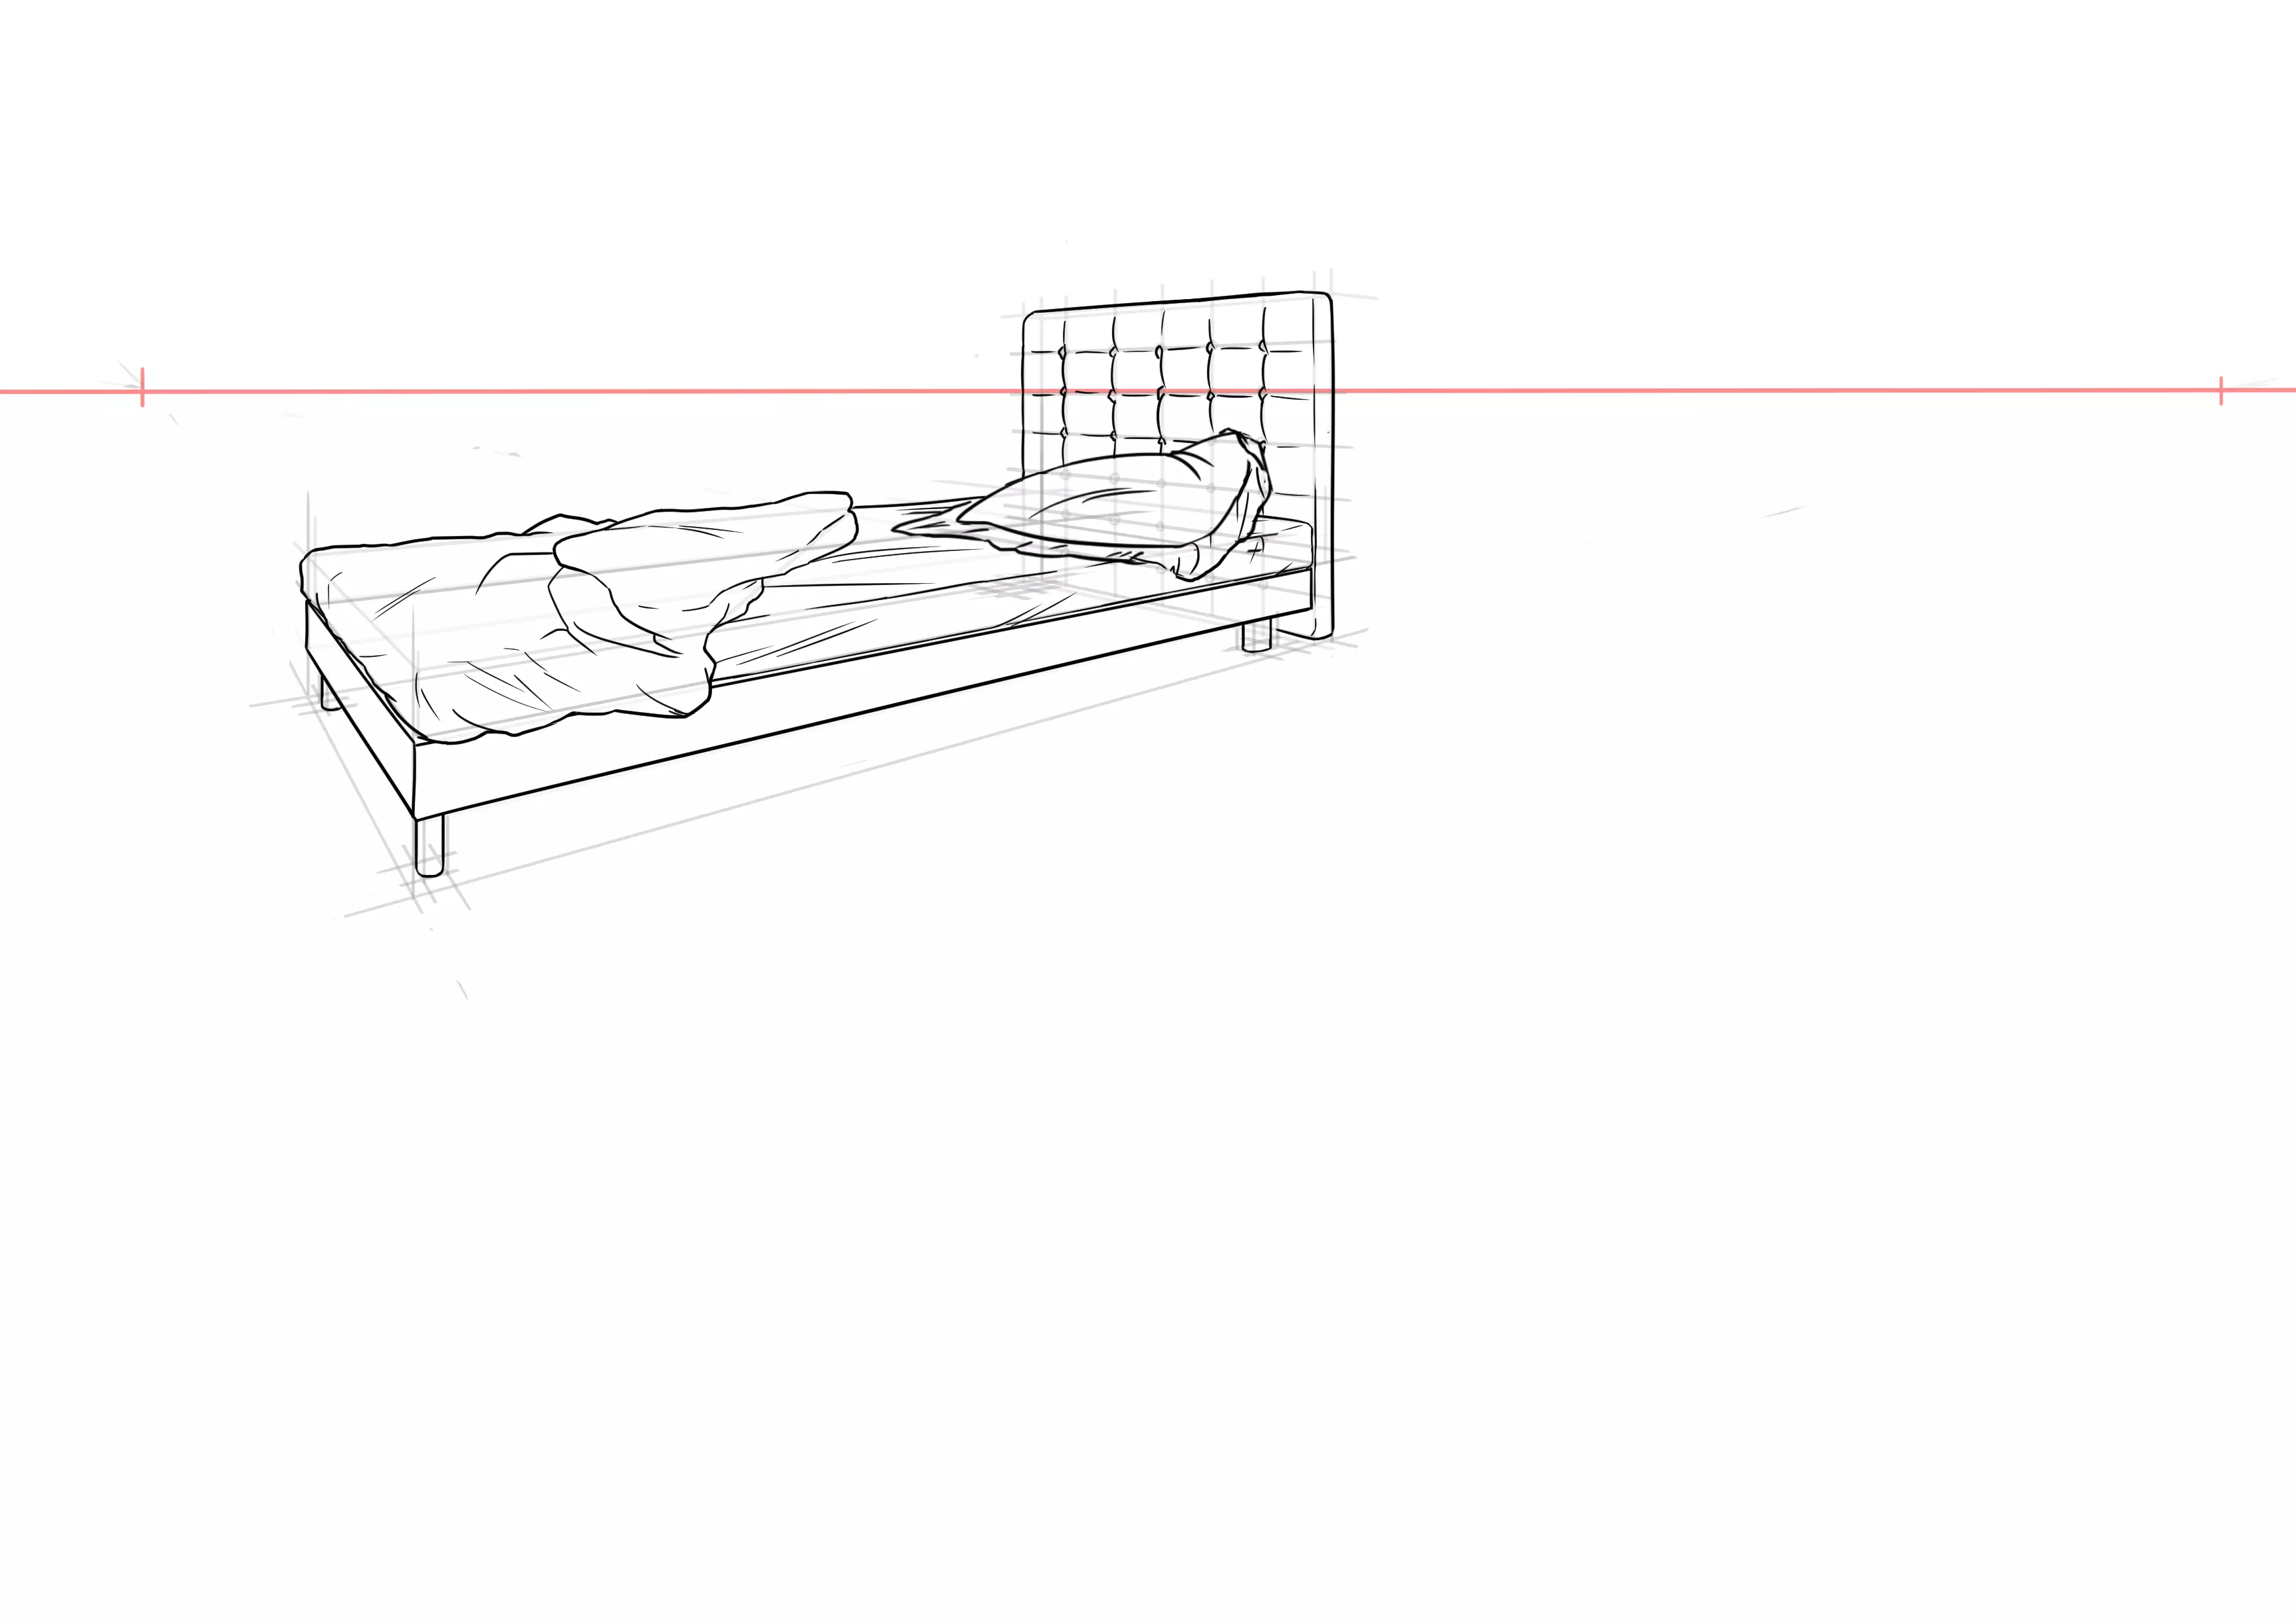
I also added folds under the bed, at the spot where the body rested.
And I erase the construction lines.

And there we go, now we have a nice bed 😃
N.B: You may have noticed, the perspective is really strong in my bed, it looks a bit weird. Normally, when there's such a pronounced perspective, it’s because we are looking at something very large (like a building, for example).
I have this overly strong perspective because I deliberately placed the vanishing points on my sheet, so that you can follow. But for this kind of objects of relatively small size, the vanishing points are normally very distant and go off the sheet. Next time, I will show you how to make objects with a less pronounced perspective.
Summary:
➜ The parallelepiped, it's life. It helps you build everything you need, use them, without forgetting about perspective, of course.
➜ Divide your overall shape into simpler shapes and place markers that will serve you later (example: headboard)
➜ Bring some life to your drawing by adding a bit of mess (who lives in something perfectly neat honestly?)
Also, vary the types of beds and their structure. There is no need to have a headboard, or even feet. It could be a simple mattress placed on a futon, a double bed, etc.
To bring your drawings to life, try as much as possible to never systematically reproduce the same decorative elements.
Grab your pencils and see you soon on Dessindigo for a new tutorial.
Good day / evening to everyone.
At Dessindigo, drawing puts color in your cheeks. ✏️
Illustrator and Editor:Camille Rakjah
Discussion
No comments yet.