How to Draw a Cactus
Many people love cacti and other succulents, to decorate their homes or nature, but also as motifs on clothes, decorations... Cacti are a hit! That is why I thought you might be interested in knowing how to draw them.
There are many varieties of cactus, each with unique shapes, colors, arrangement of spines... What I'm going to show you is just a small sample, but it will already be useful for drawing some cacti and using it to make others. If other species interest you, the best approach is always to look up references, and you will surely find similarities with what you will see here 😊
With this, let's go!
DRAWING A POTTED INDOOR CACTUS
We will start with a classic small indoor potted cactus.
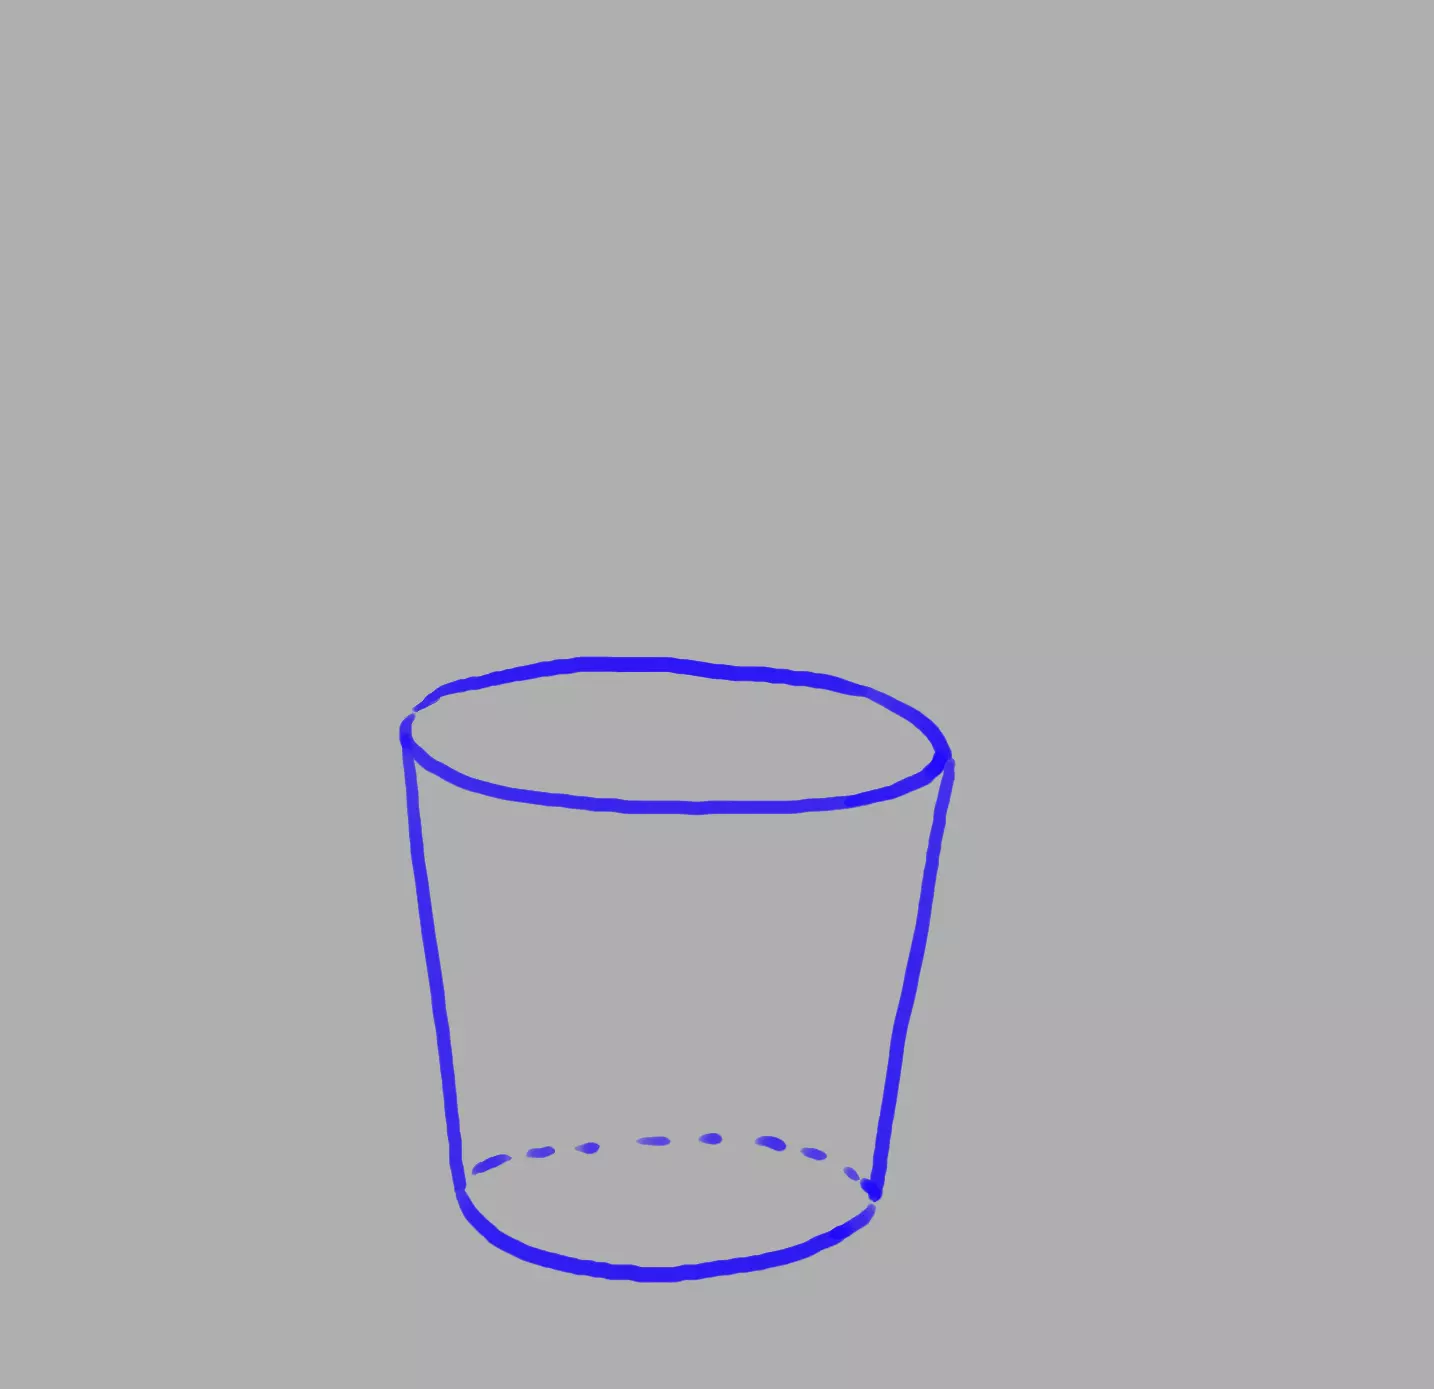
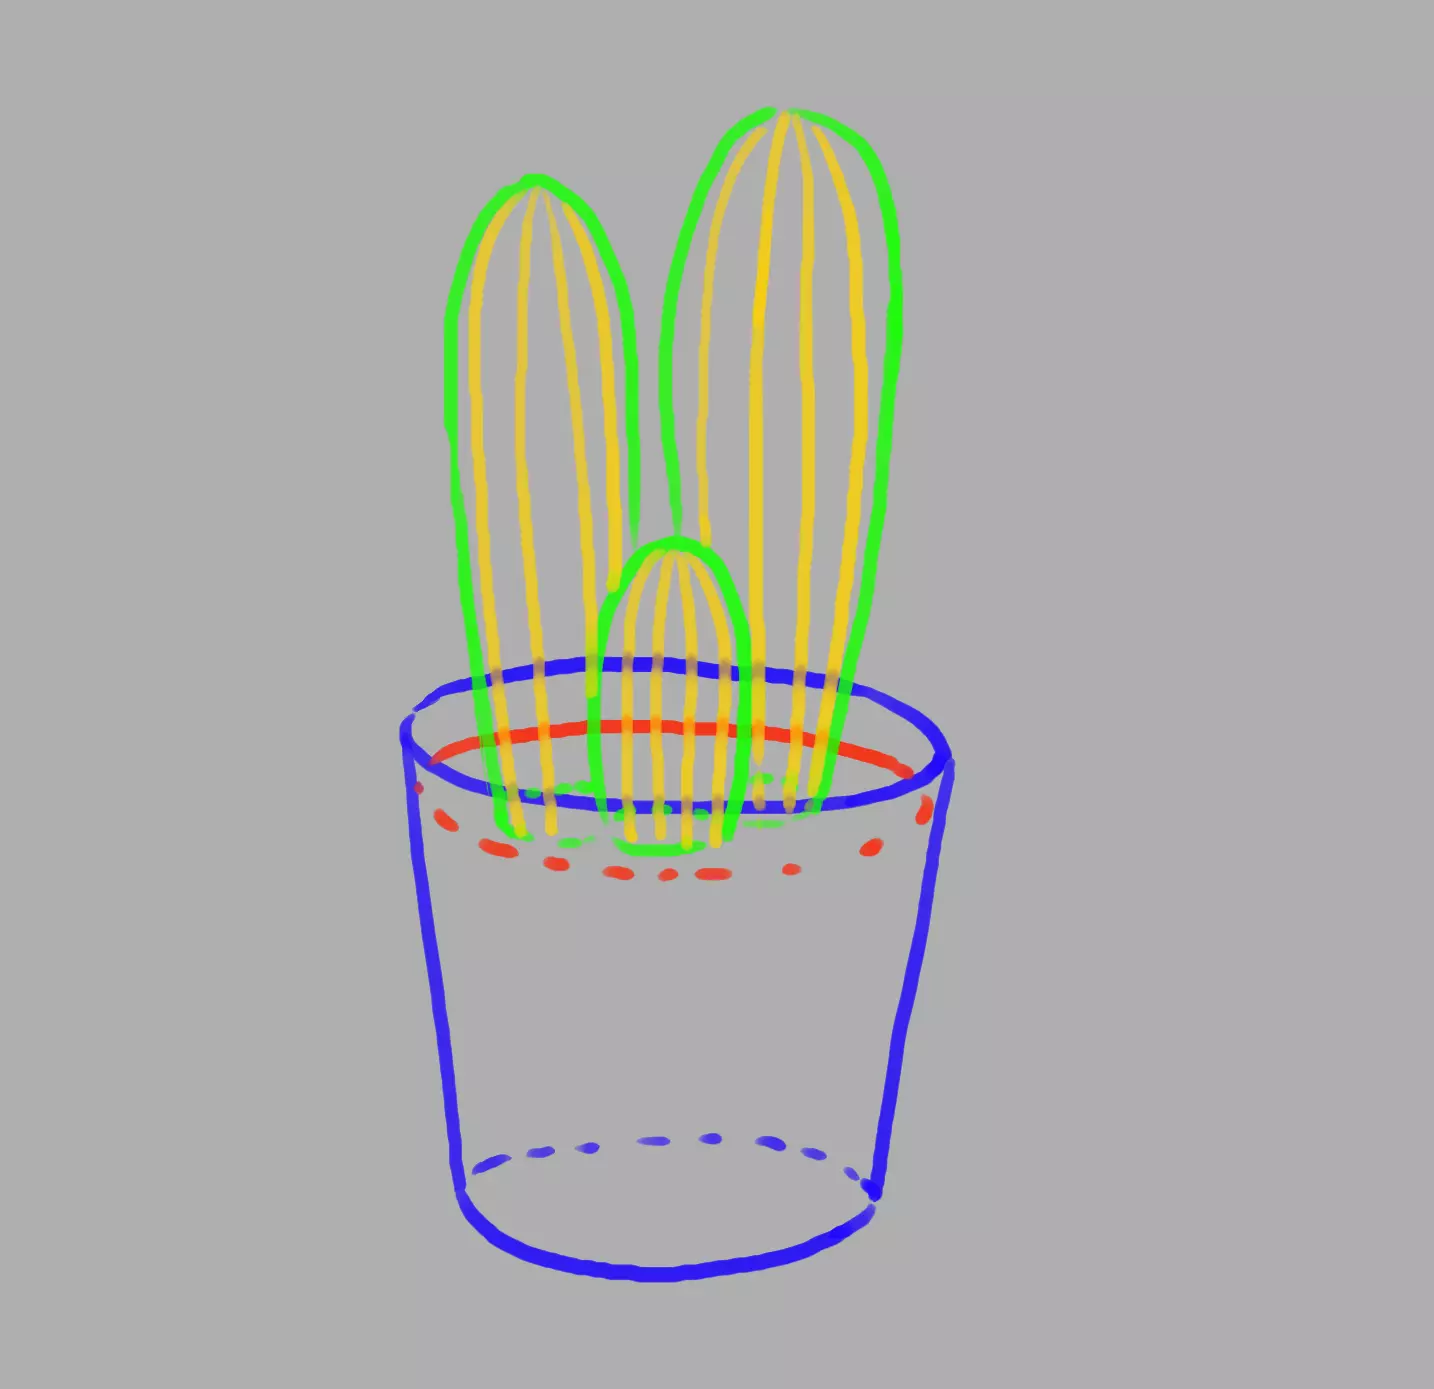
We start with the shape of the vase, slightly from above.
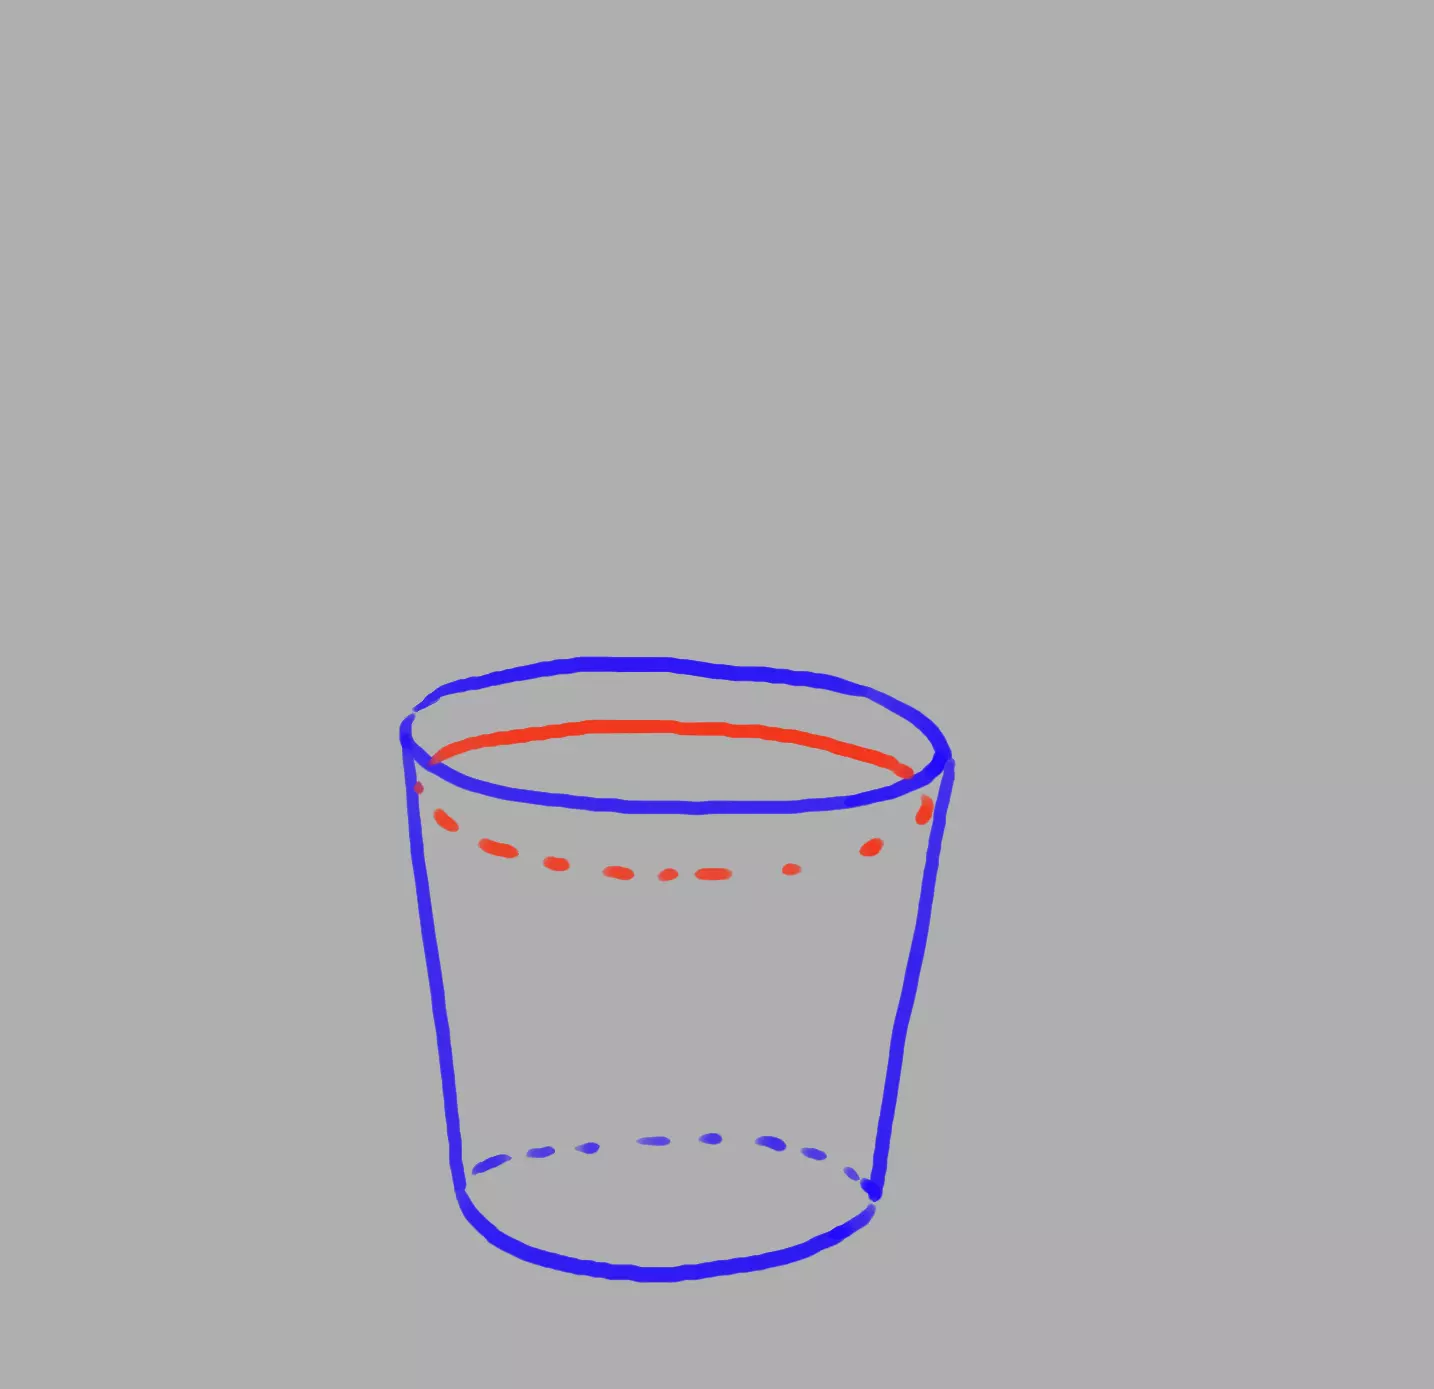
Then we add the soil.

We then draw the overall shape of 3 small cacti of different sizes.
Then we add stripes on the cacti. They represents the protuberances and hollows of the cactus.
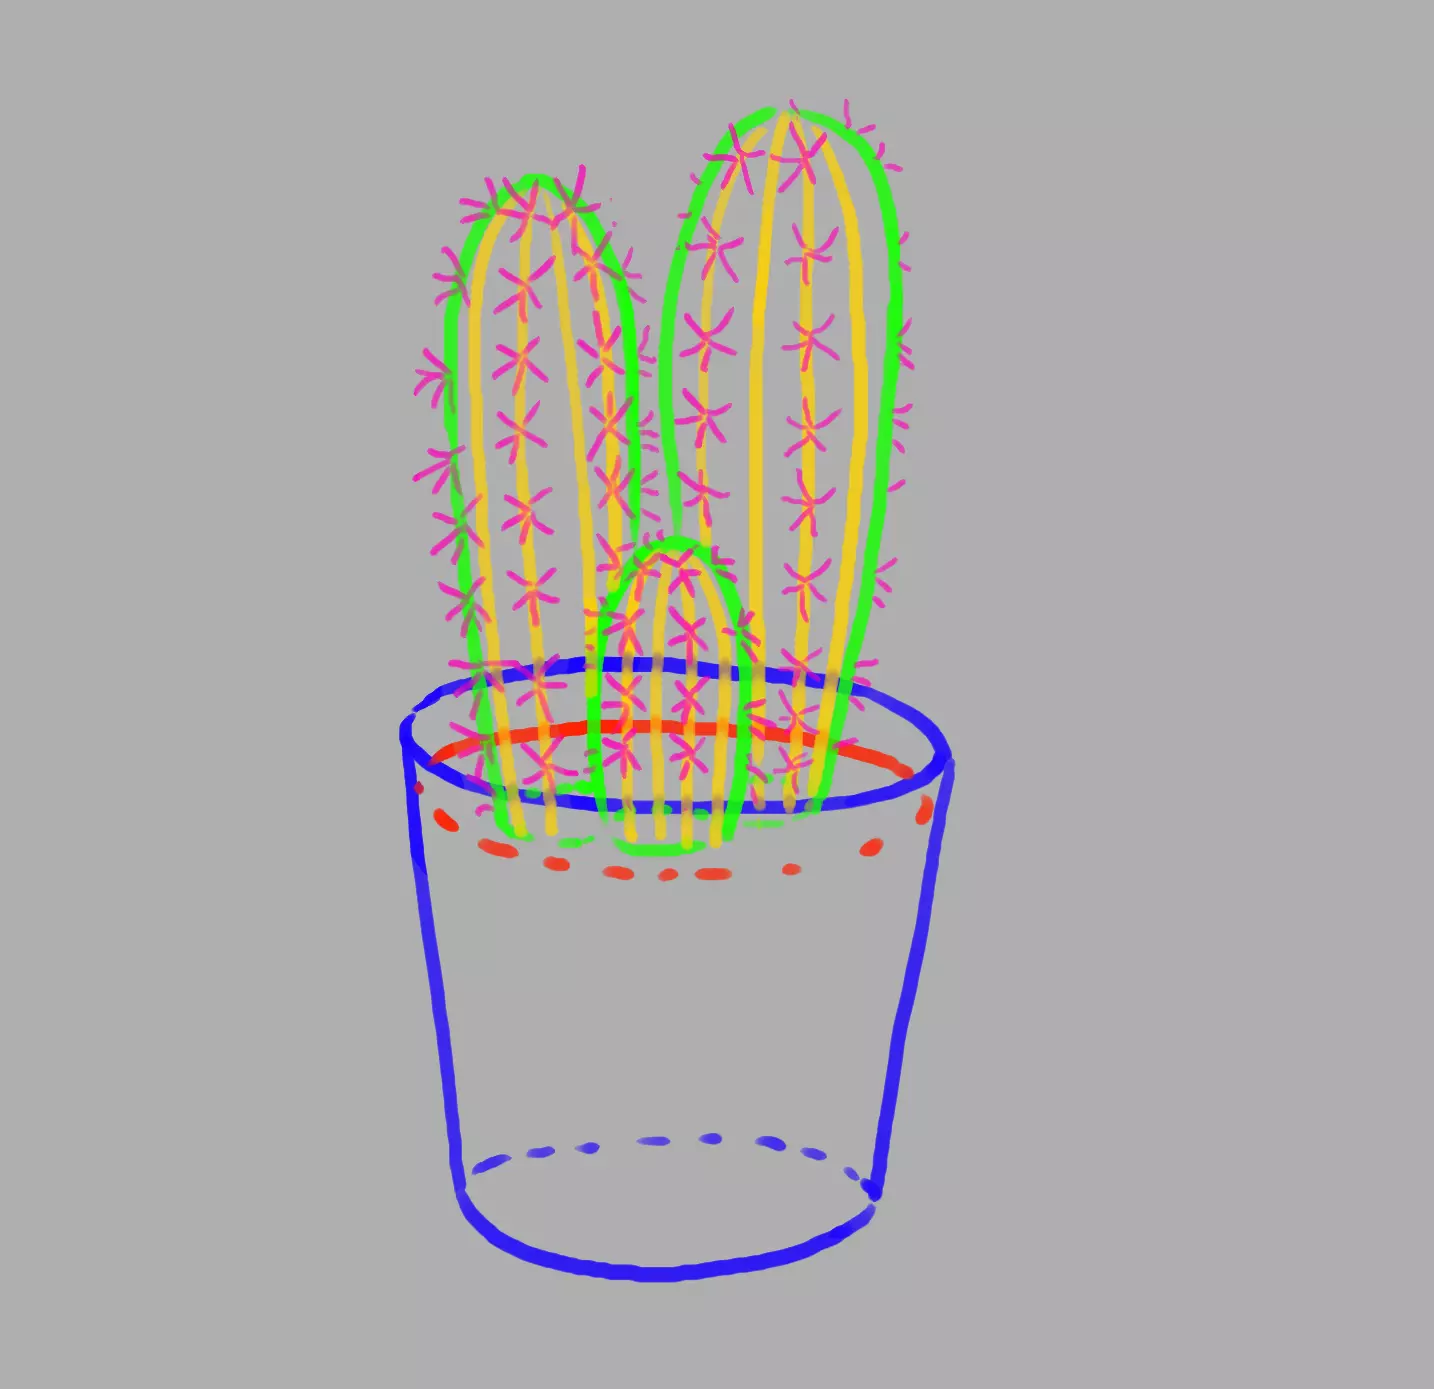
It's time to add the thorns! We put them on every other ridge, in the shape of a star. The ridges where the thorns are represent the protuberances of the cactus, while those without thorns represent the hollows. We also add some thorns on the sides.
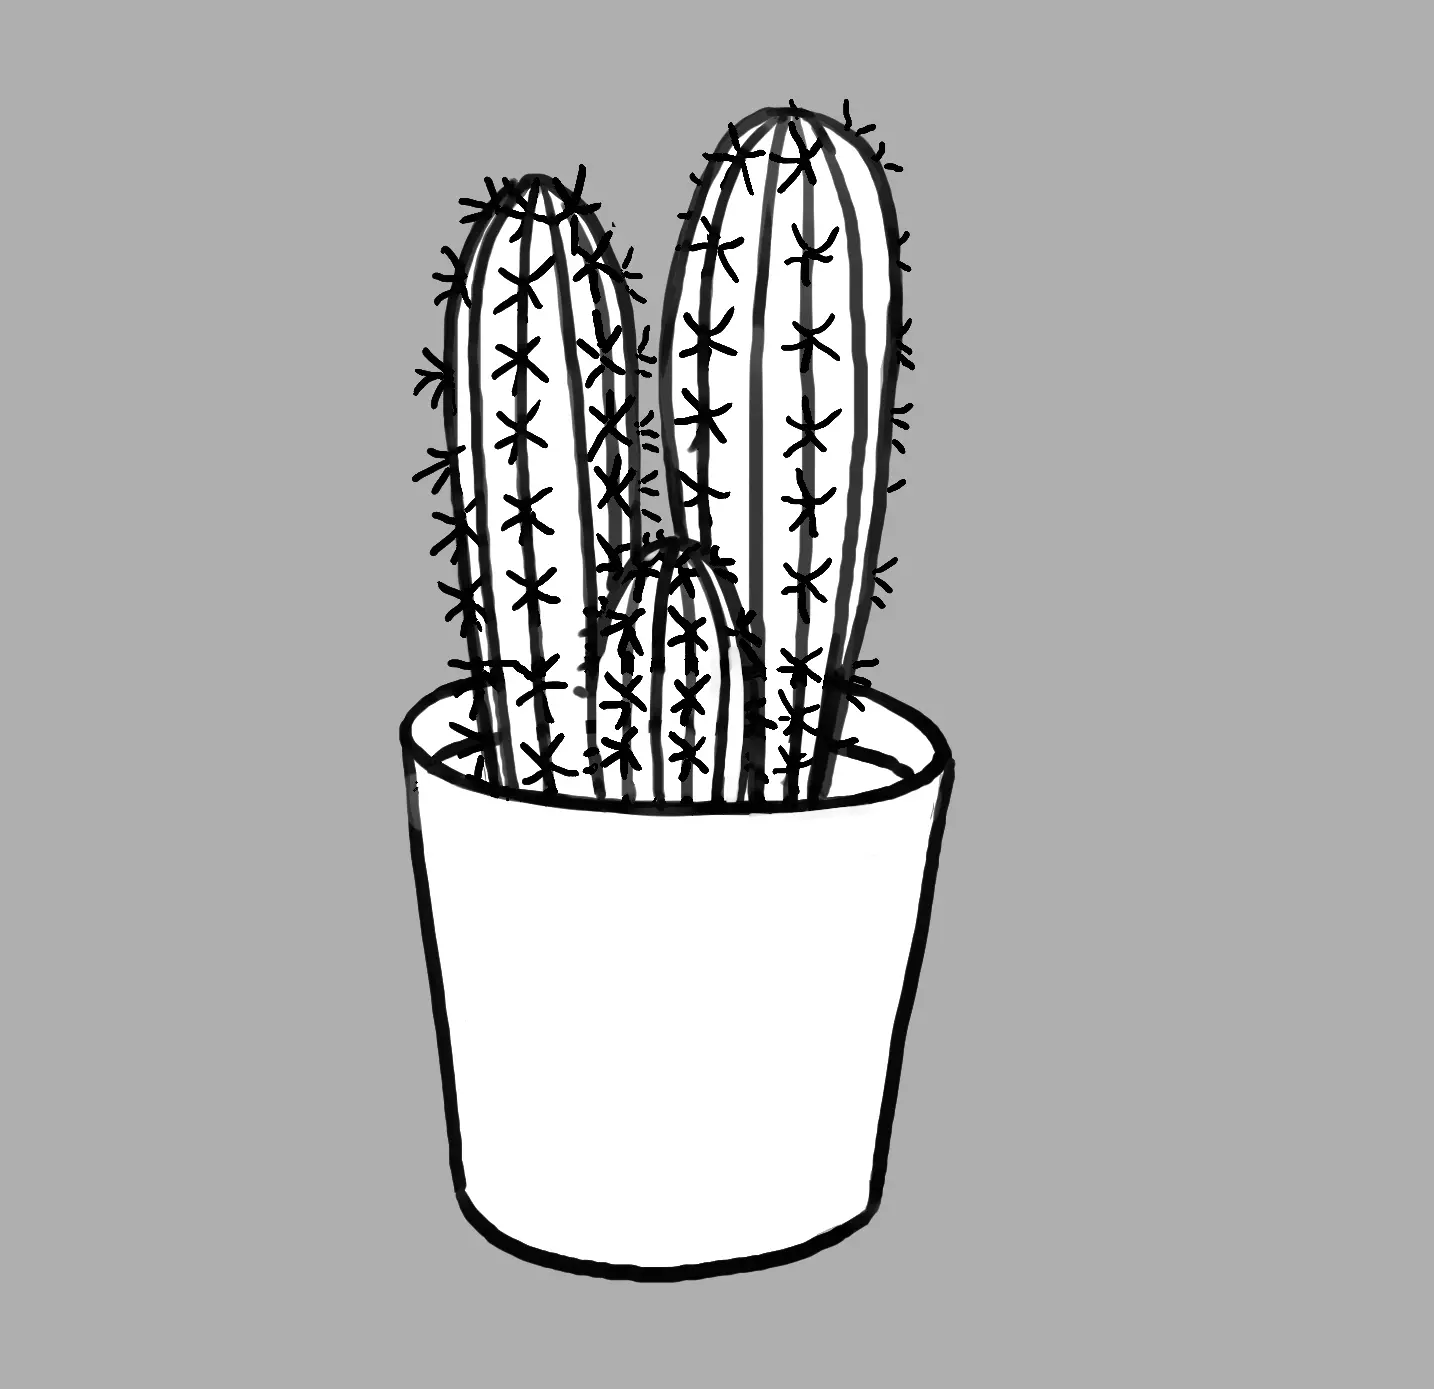
For cleaning, we make sure to handle the elements that overlap each other to erase the unnecessary construction lines (back of the vase, bottom of the cactus...). And here is the cactus pot!
DRAWING A LARGE CACTUS
For this new cactus, we will choose a large cactus that looks like the stereotypical image of the Mexican cactus. We will add flowers because many cacti are flowered! But if you want to draw a cactus without flowers, you can😊
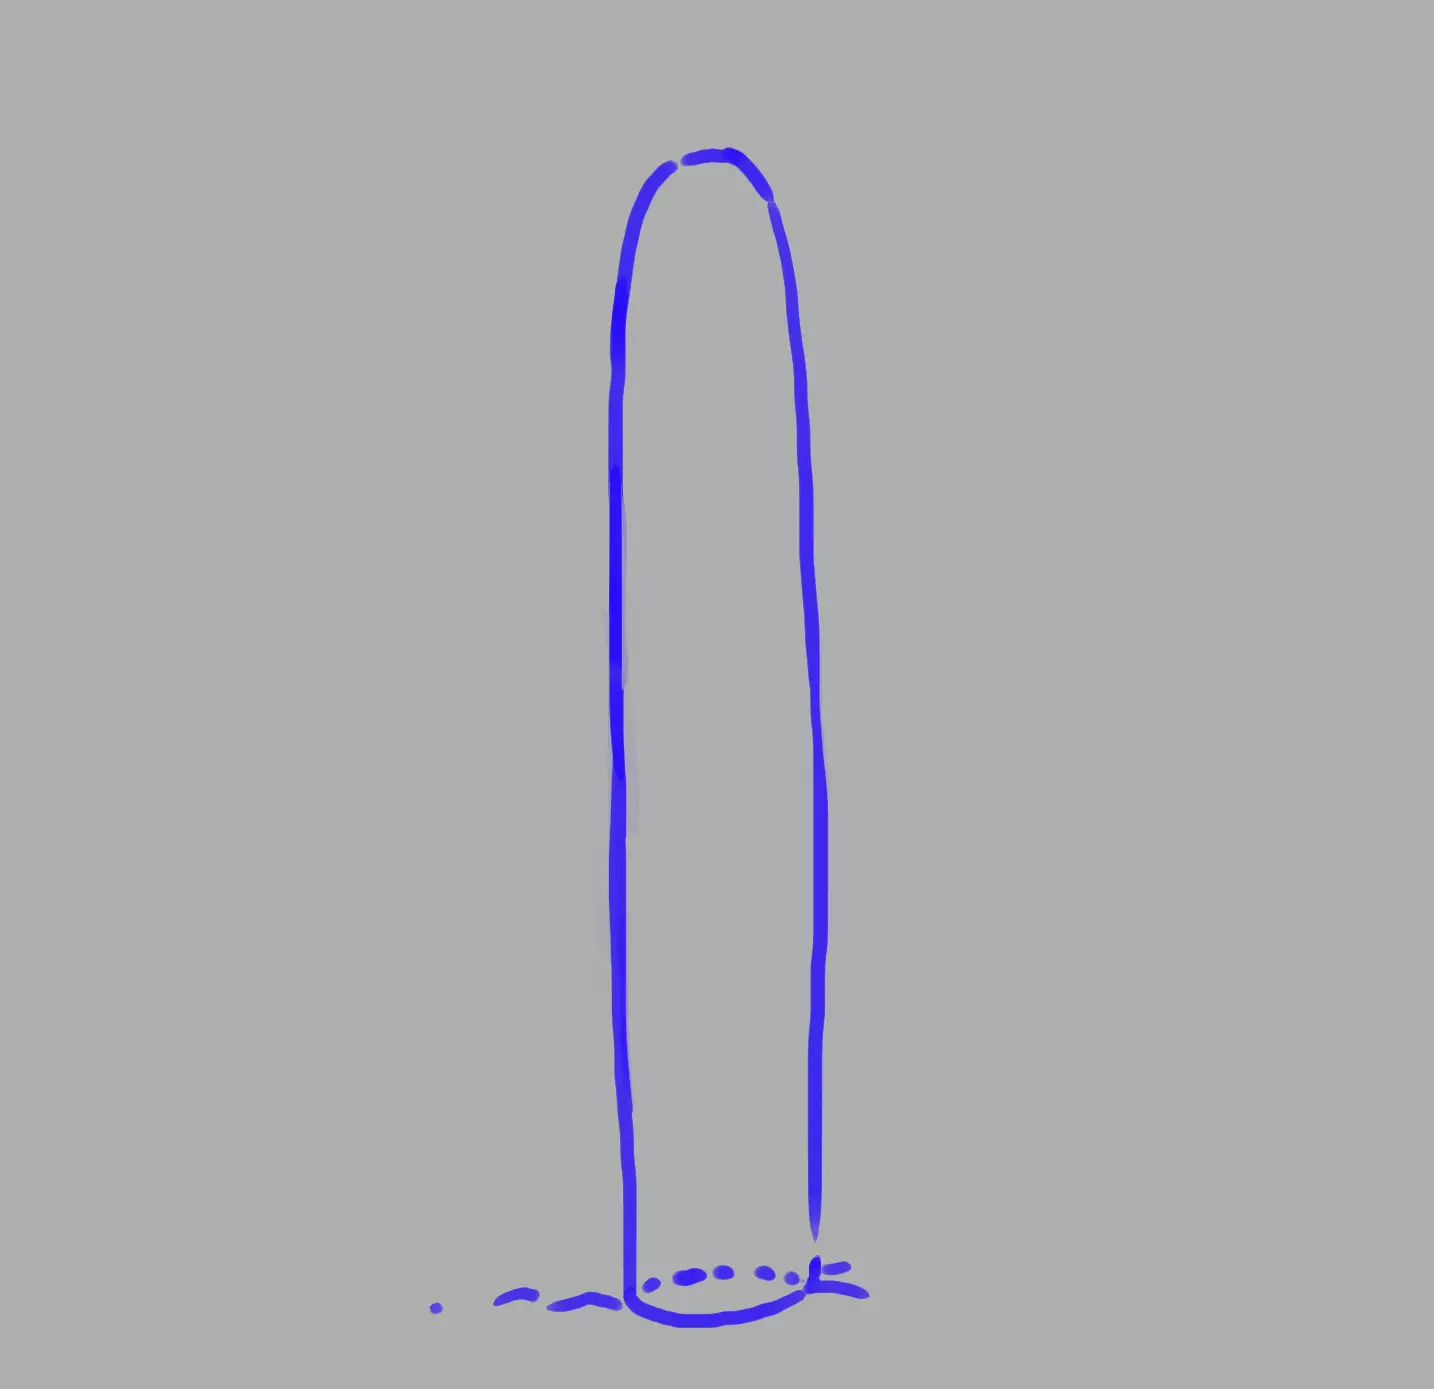
We start with the basic shape of the cactus. I hinted at a soil ground.
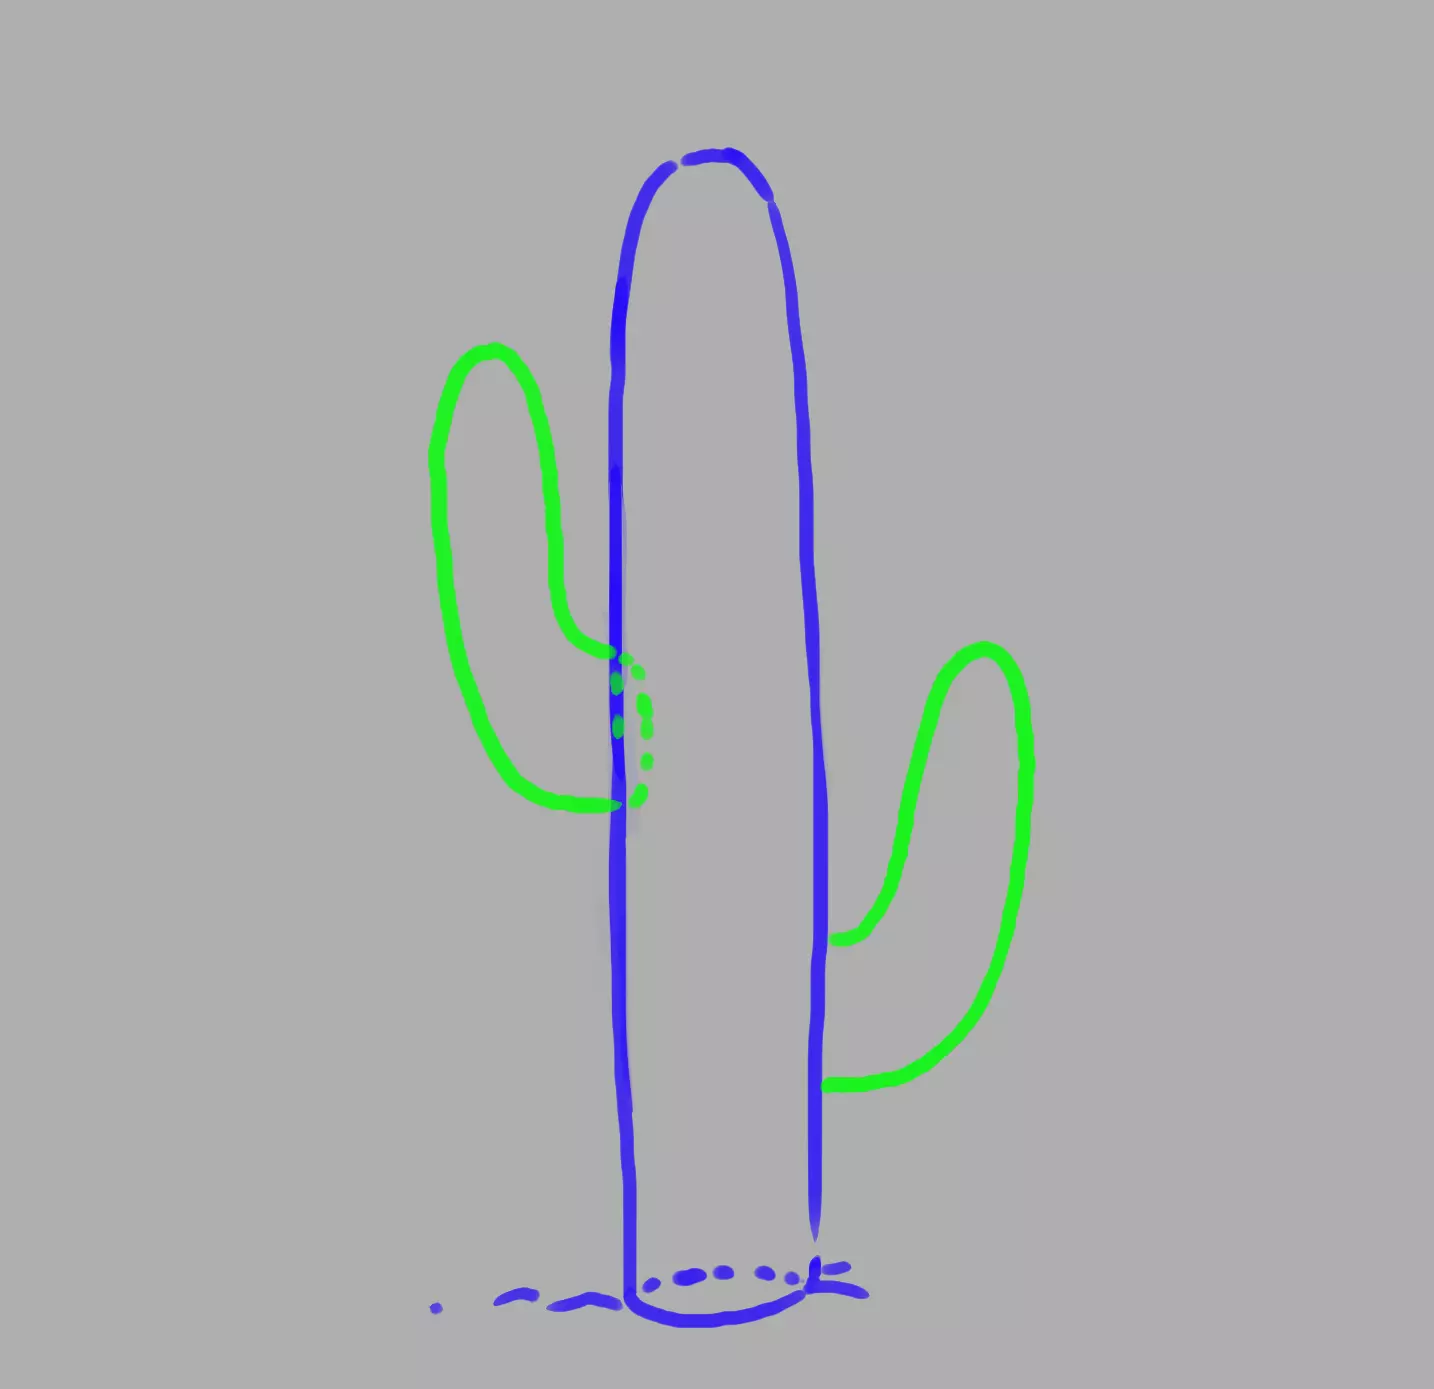
Appendages can be added, which can extend slightly in front or behind the basic shape.
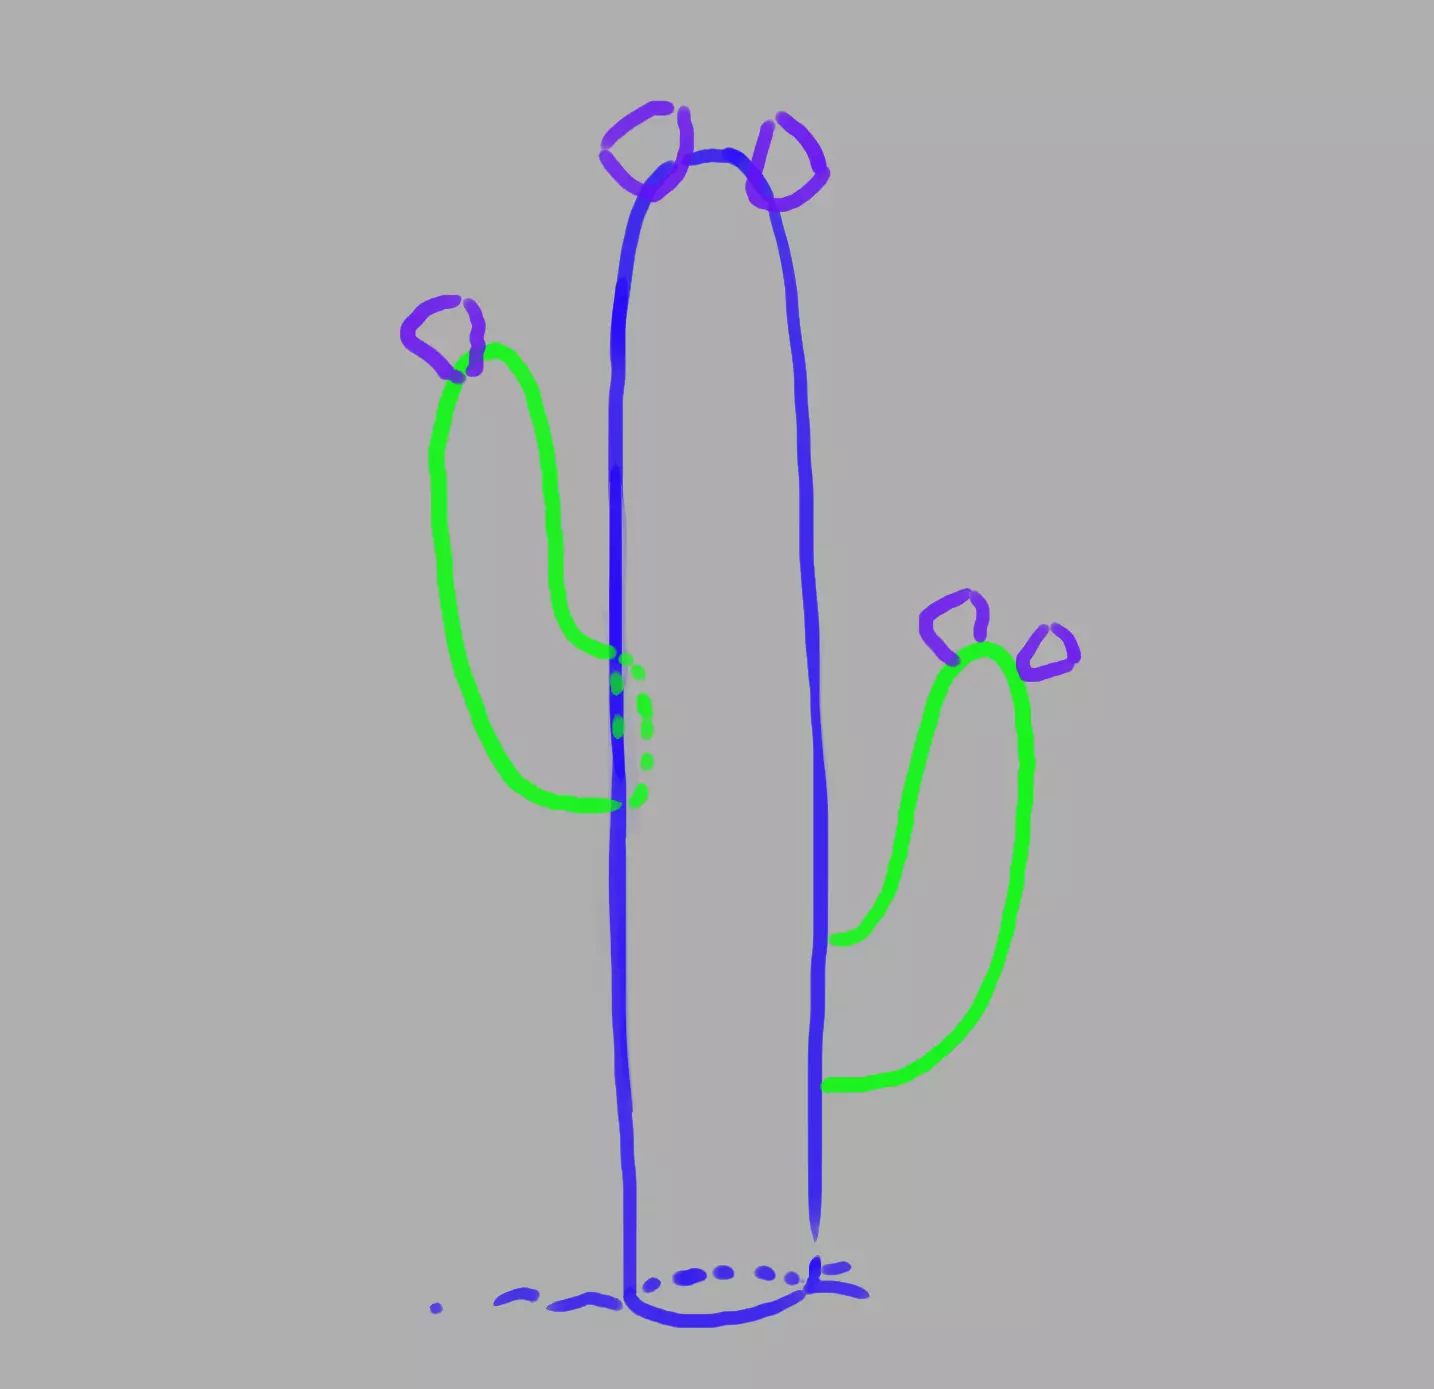
If we want to add flowers to the cactus, we can draw protrusions at the top of each part of the cactus. They will be the base from which the flowers will emerge.
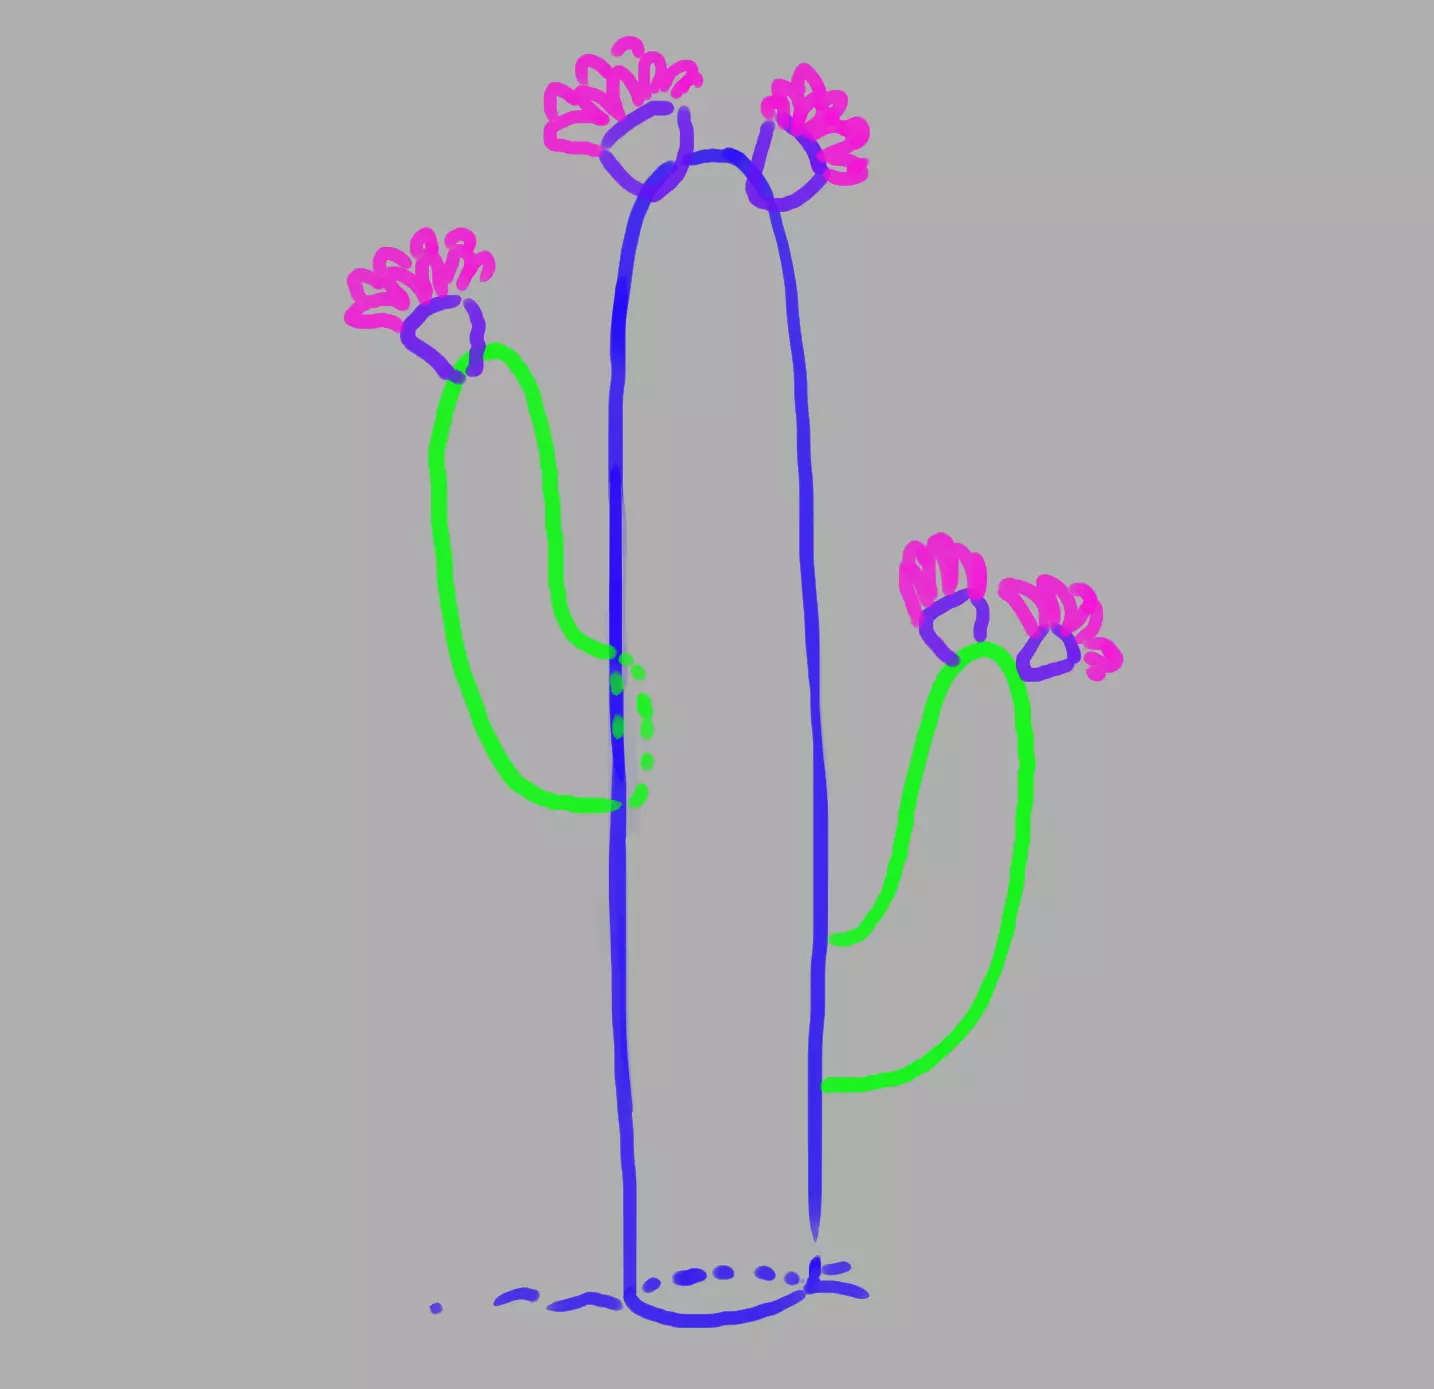
Draw the petals.
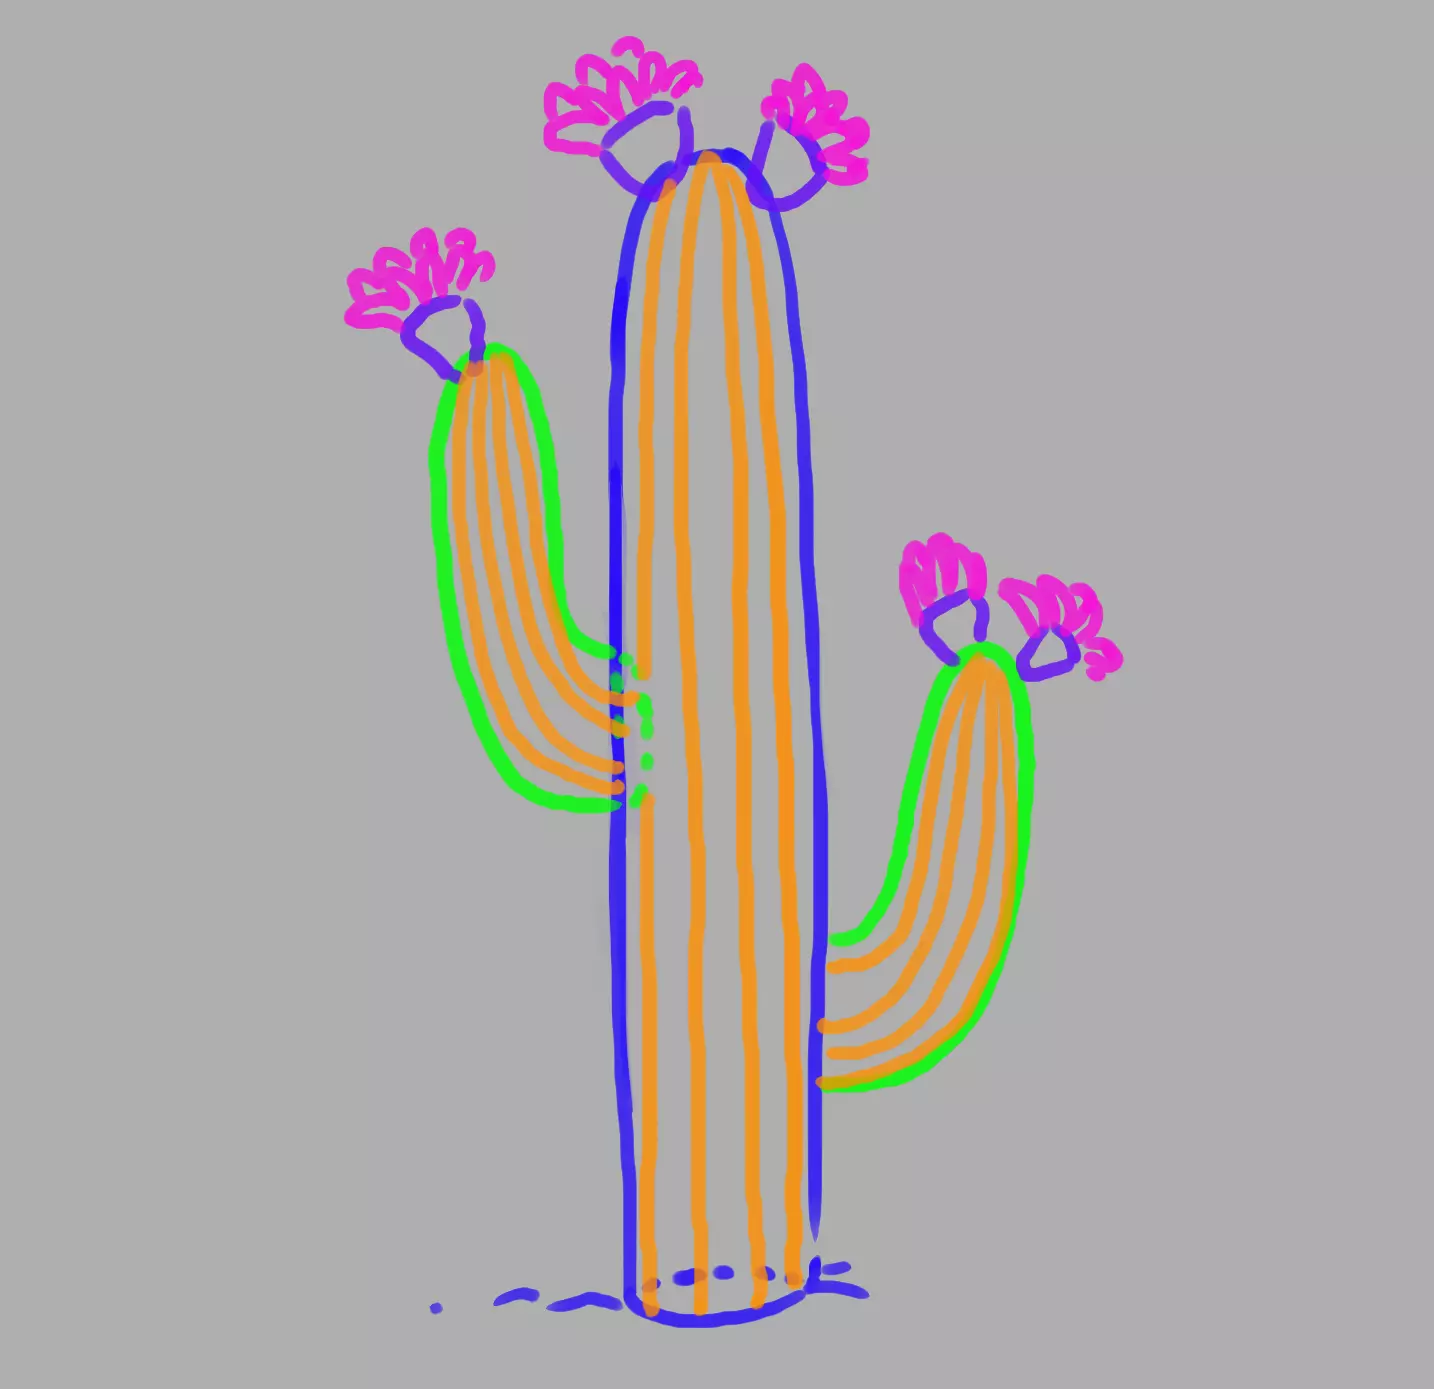
Just as with the potted cactus, we draw stripes that correspond to the indentations and protuberances on the surface of the cactus.
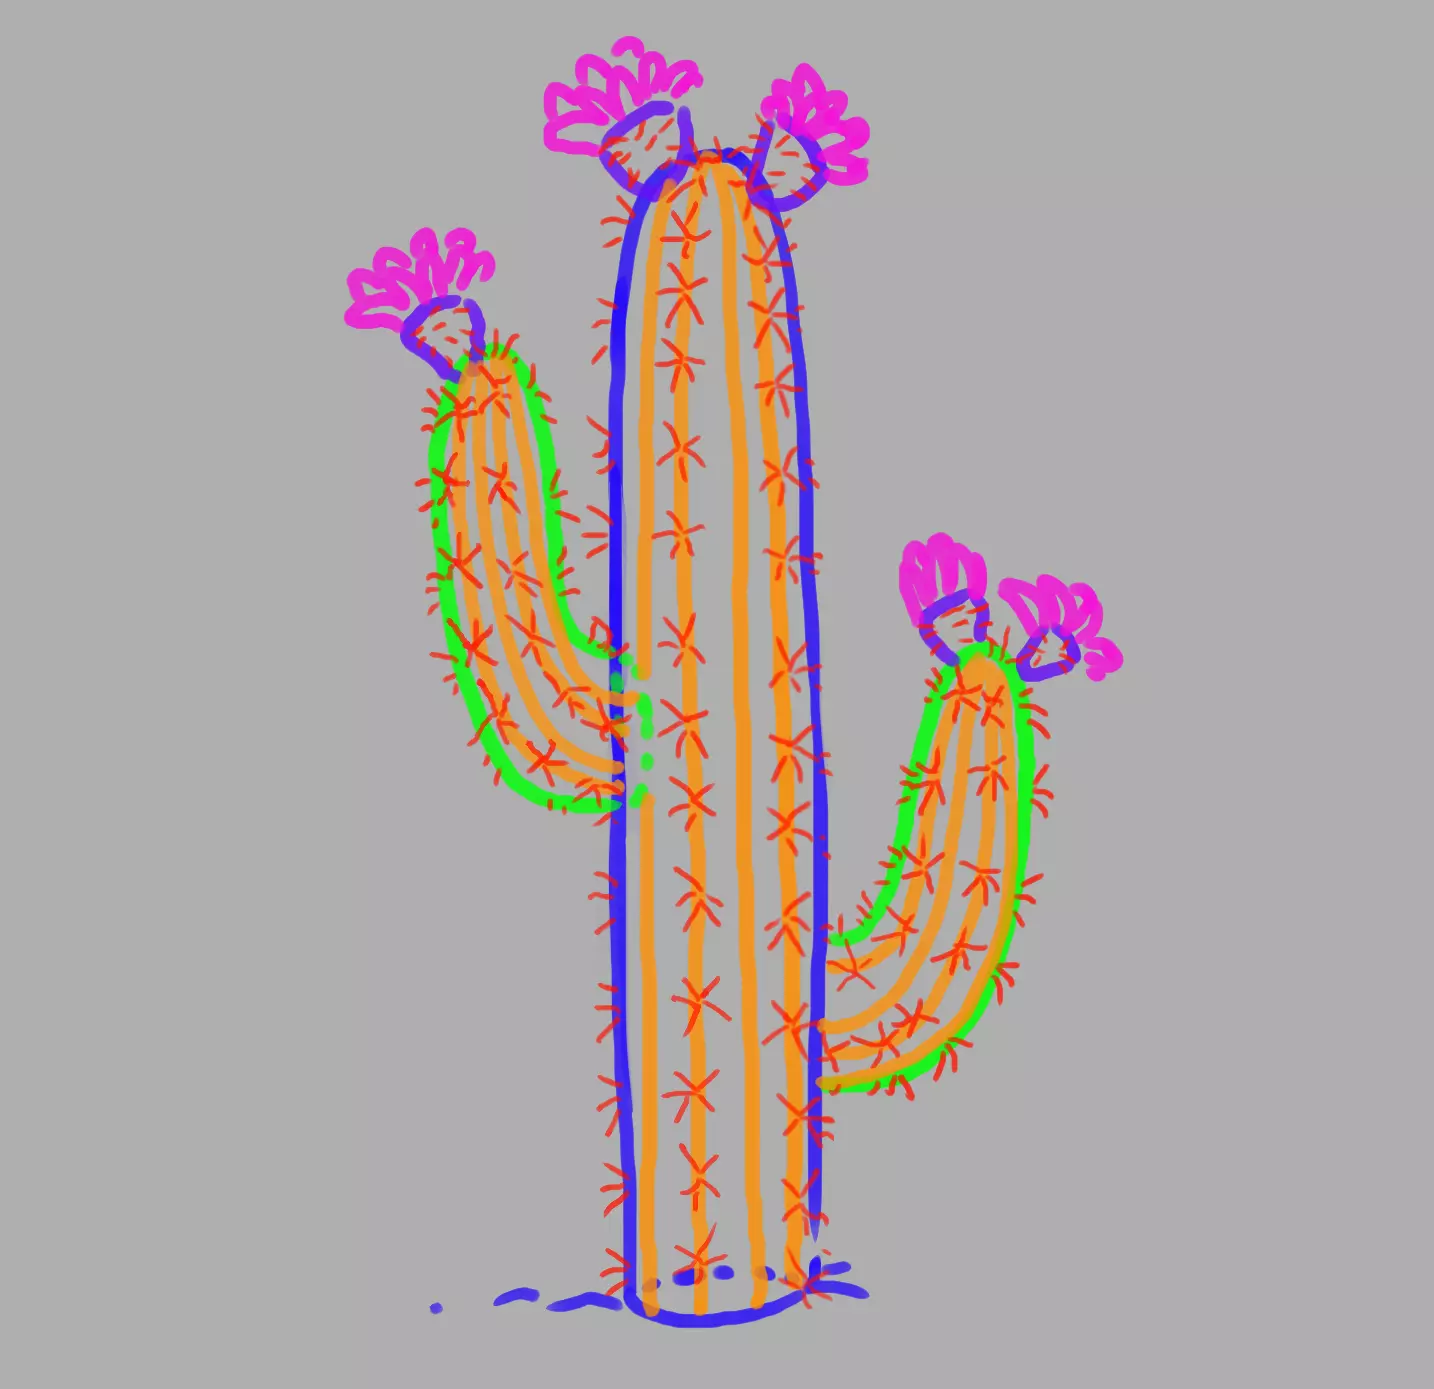
We make the thorns of the cactus like the one in the pot, on every other ridge, the thorns are on the protuberances. We arrange them in a star shape and add thorns to the sides. We also place the thorns at the base of the flowers.
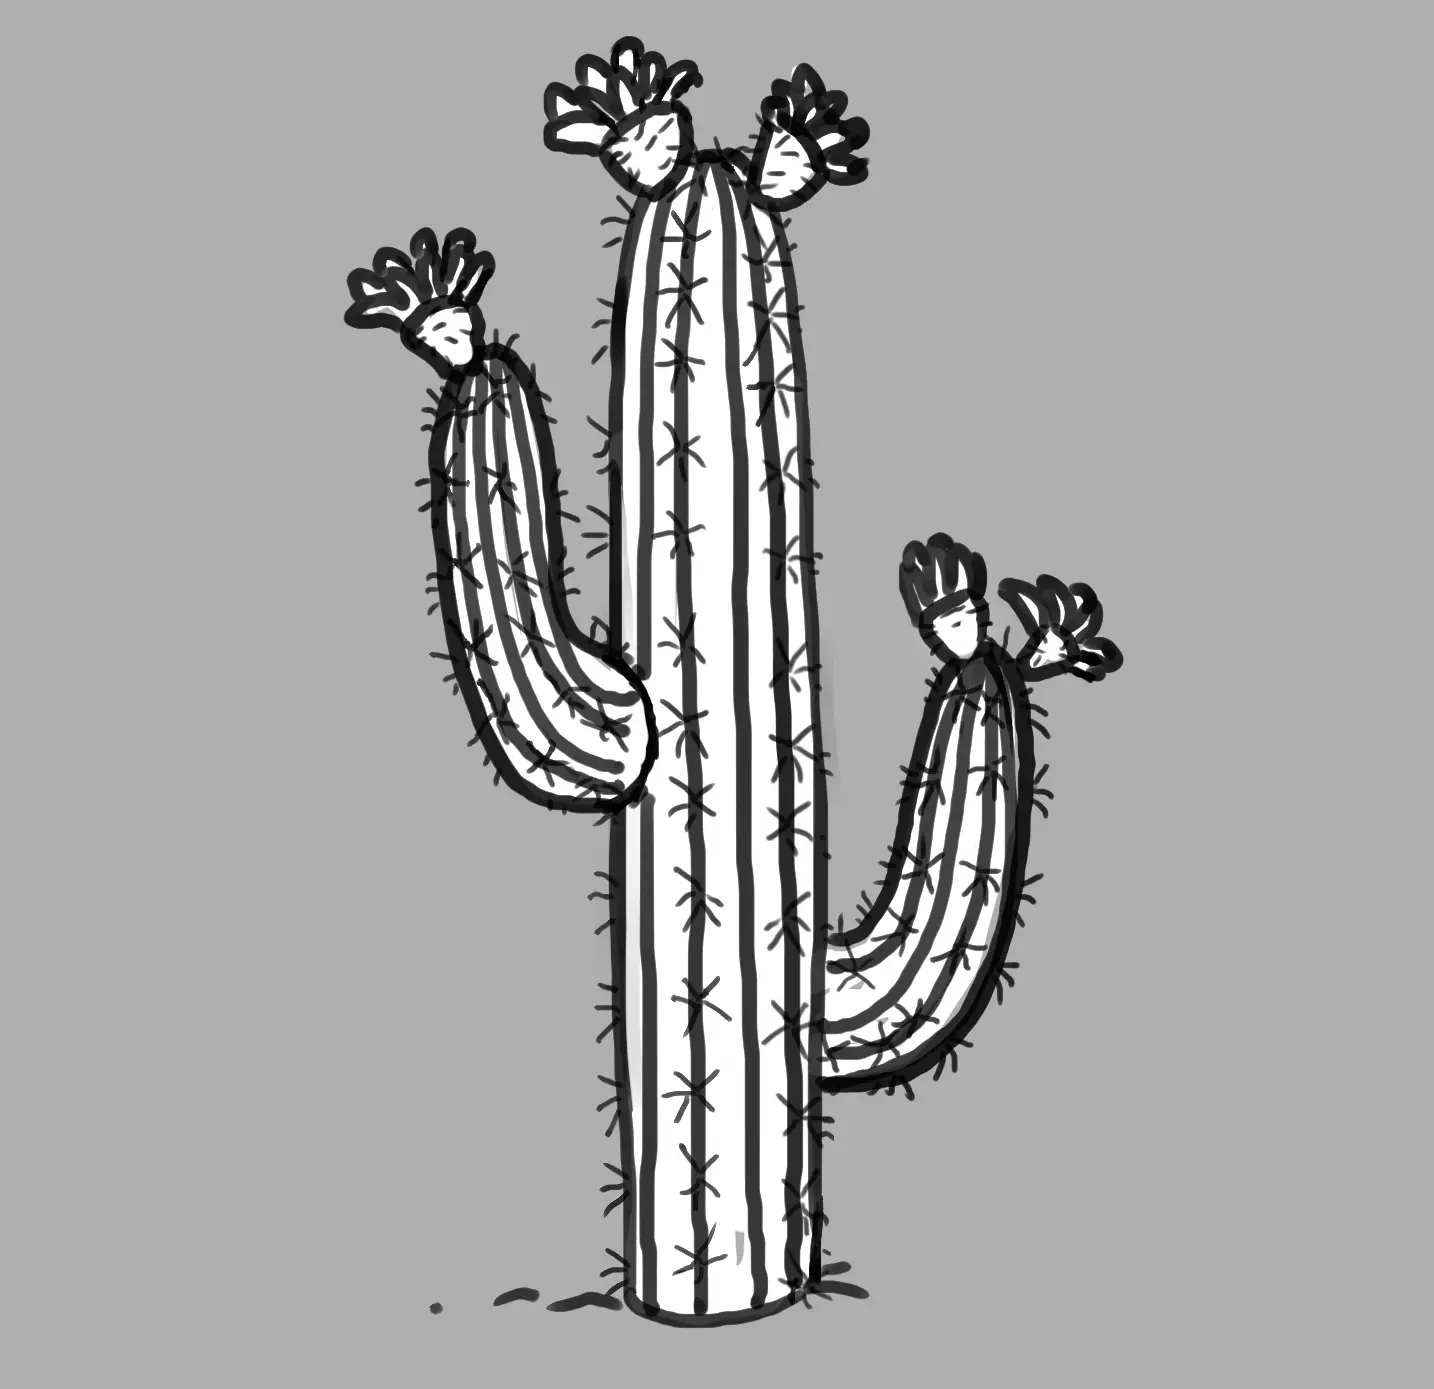
We erase the extra lines during cleaning, and that's it!
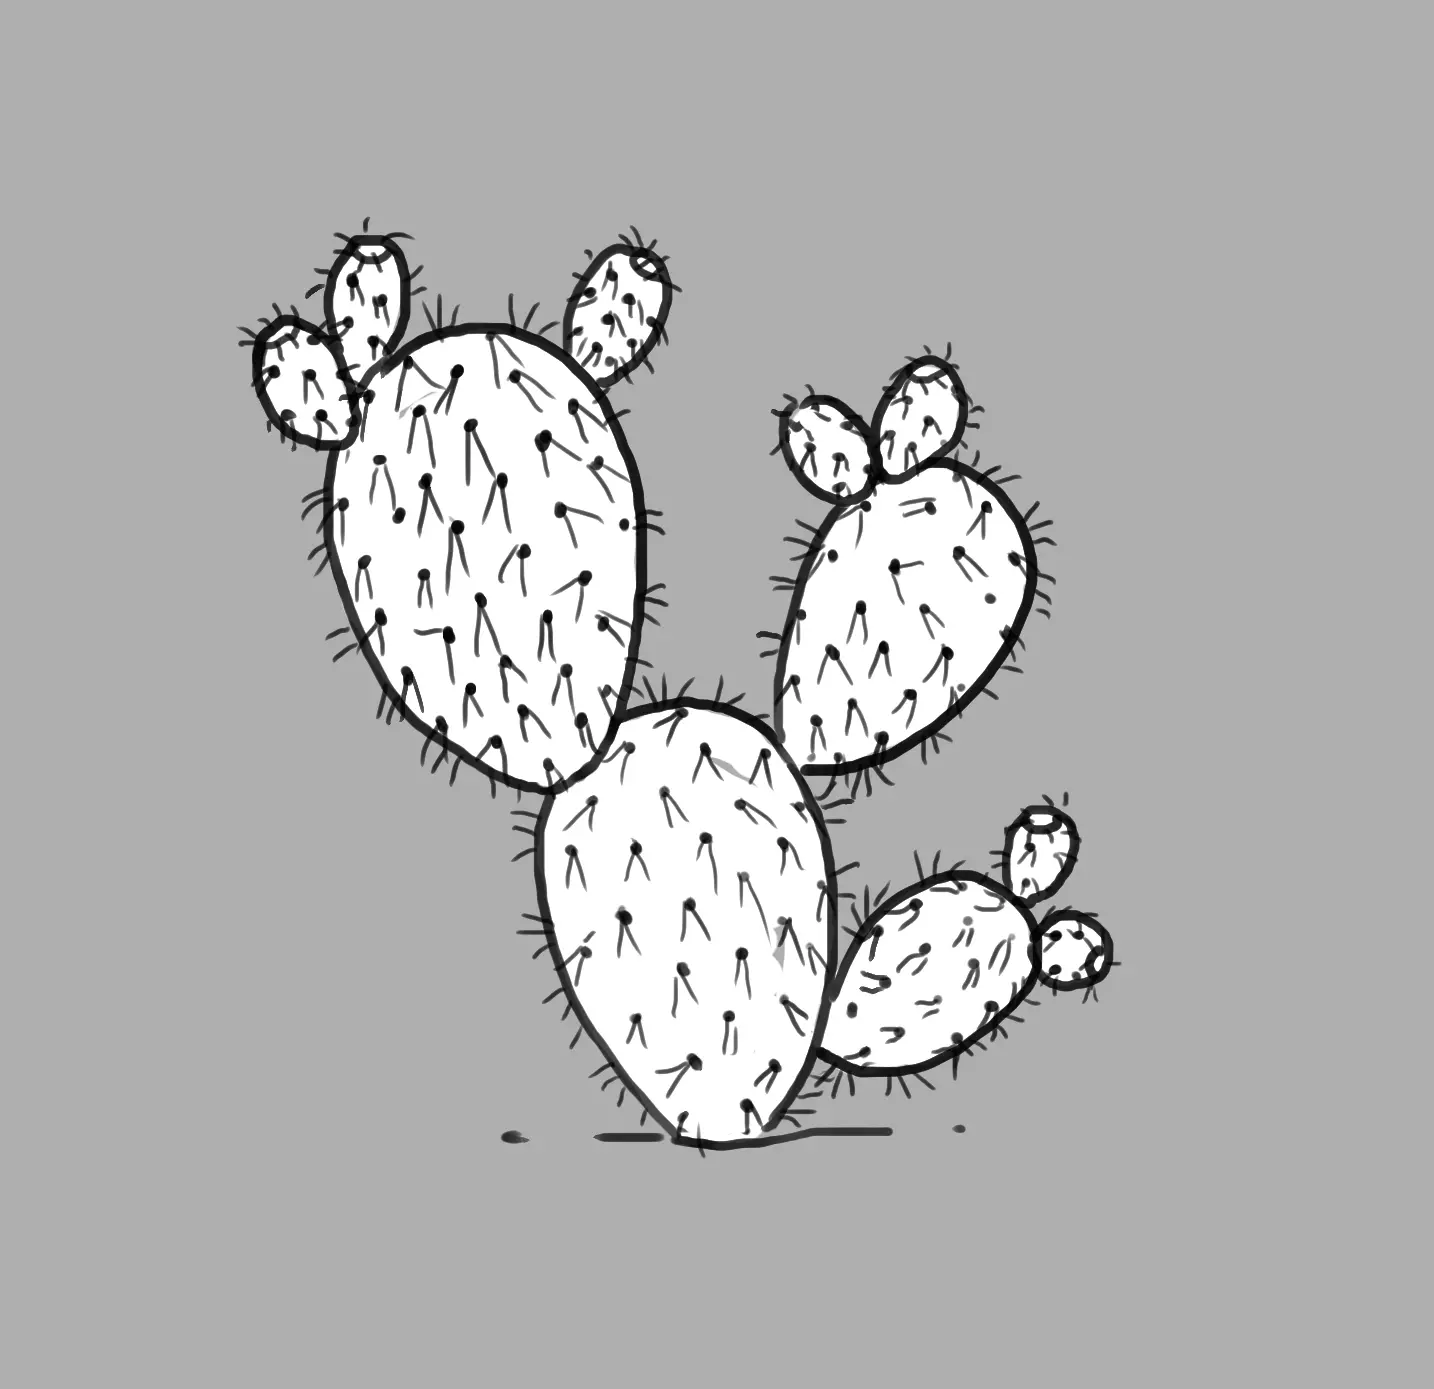
DRAWING A ROUNDED CACTUS
The third type of cactus chosen is the round cactus, sometimes called "mother-in-law's cushion" because of its pouf-like shape and spines making it unpleasant for our sensitive behinds.
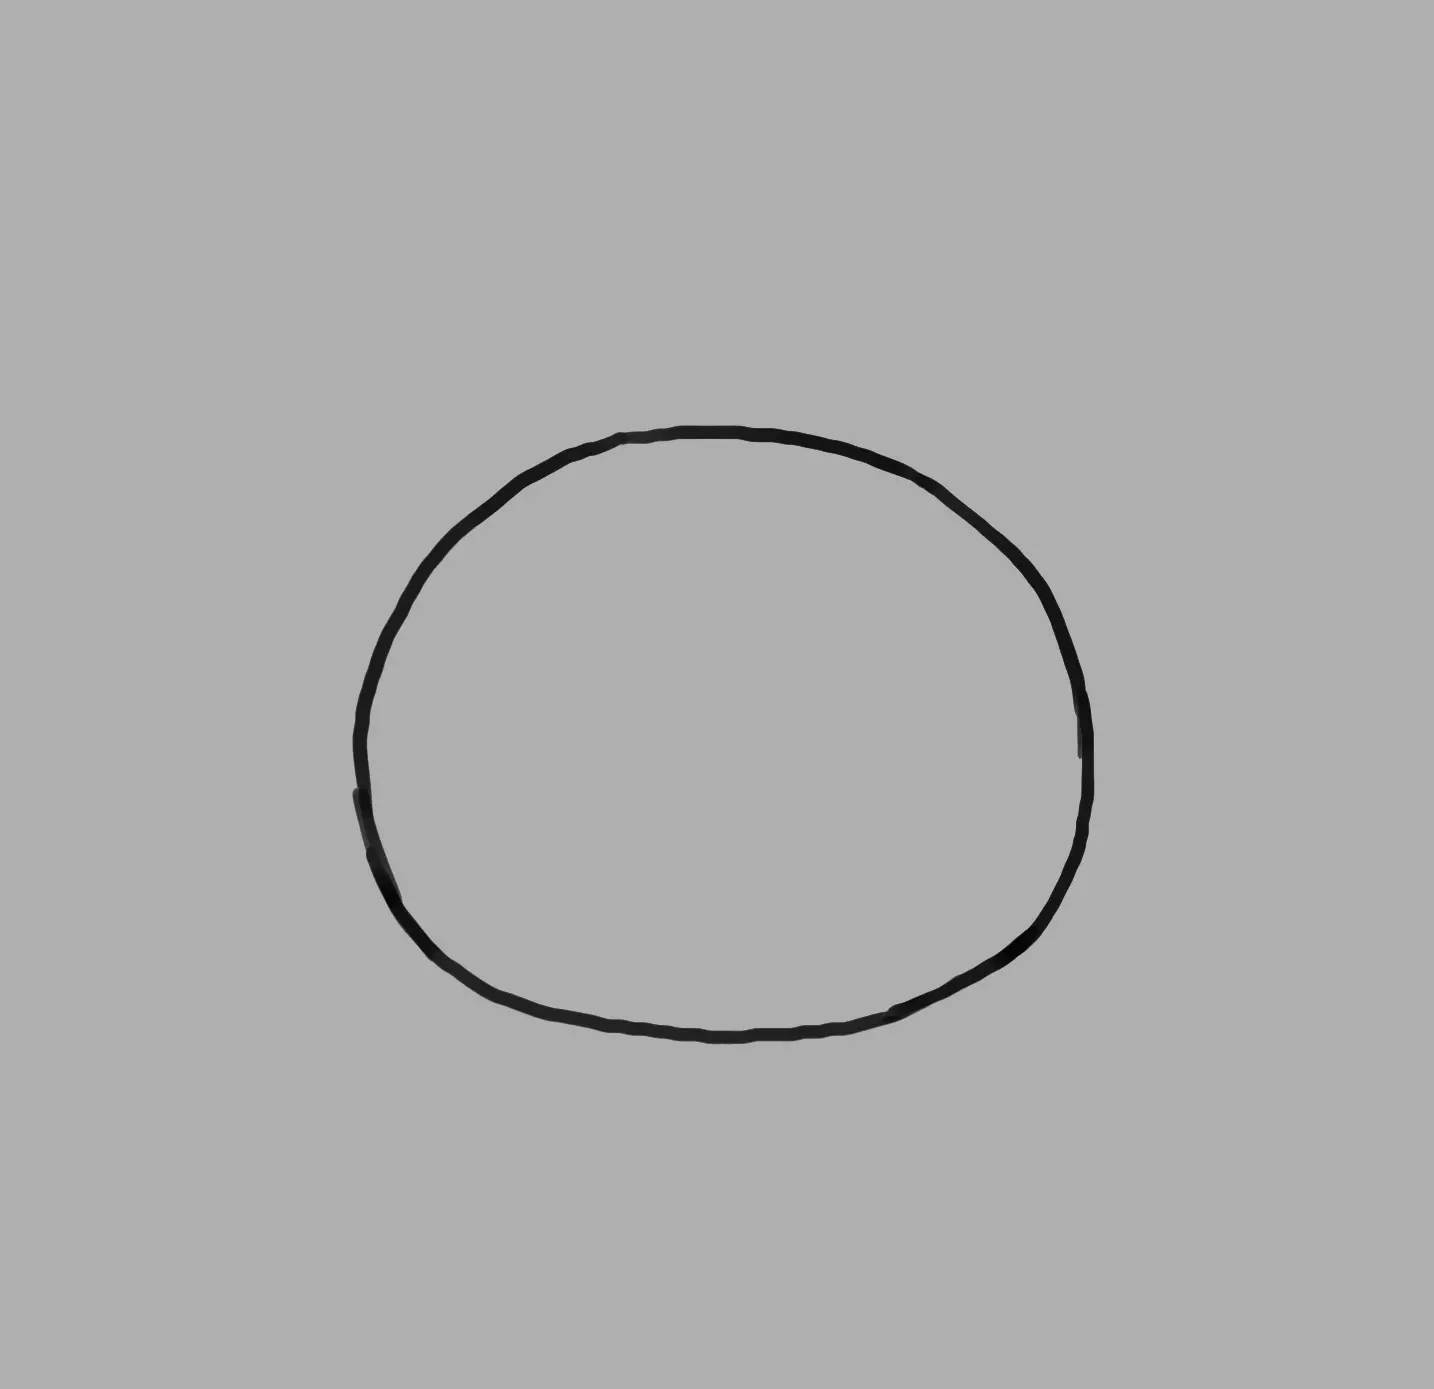
We simply start with a slightly flattened circle.

We will cut out this circle to clearly define the roundness of the cactus. The small red circle at the top of the cactus is a flat, often beige area where there are no ridges. This is where the ridges of the cactus begin, where the thorns will be positioned. The blue lines define the roundness and intersect with the red lines to help better position the thorns following the rounded shape of the cactus.
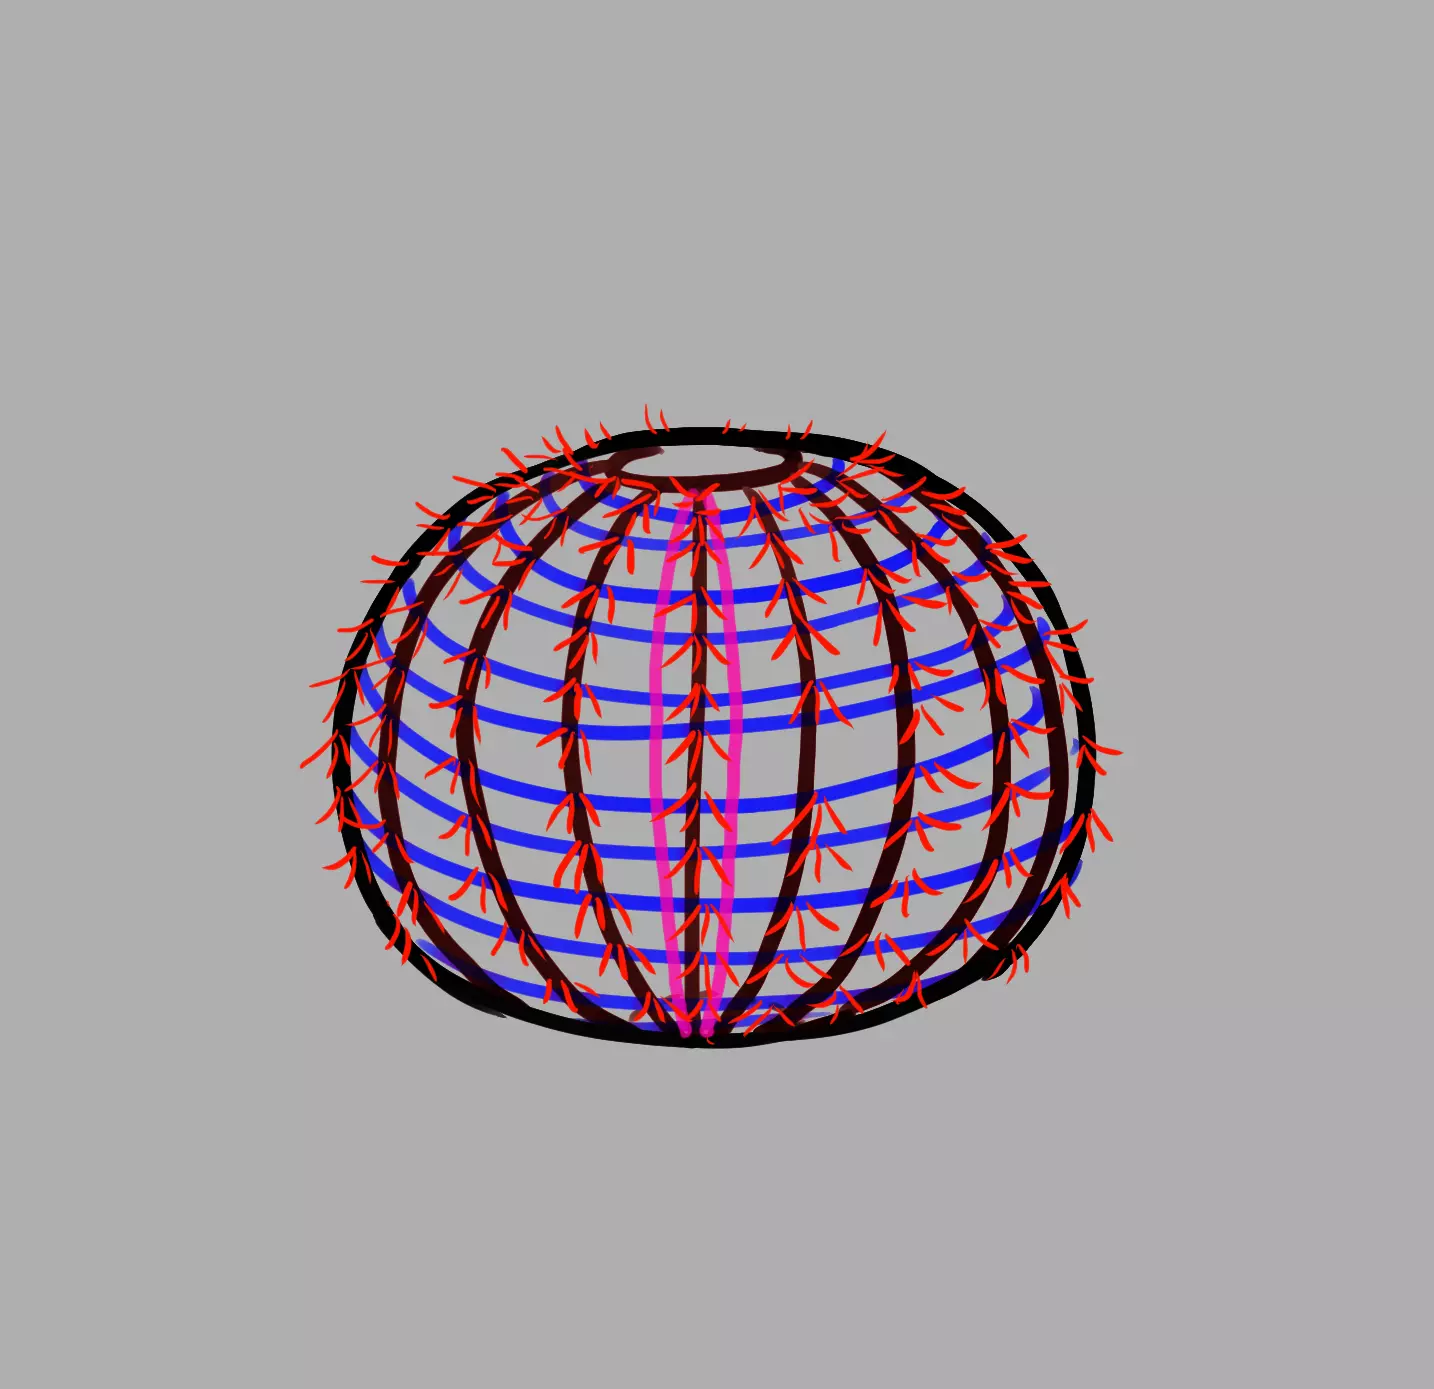
Then, we can place the spines, 3 per line intersection. The 2 pink lines represent the hollows of the cactus, while the spines are on the protuberances. There are hollows between each spiny protuberance, but we can only see the bottom of them on the side directly in front of us. On the sides, the bottom of the cavities is hidden by the protuberances, which pass in front.
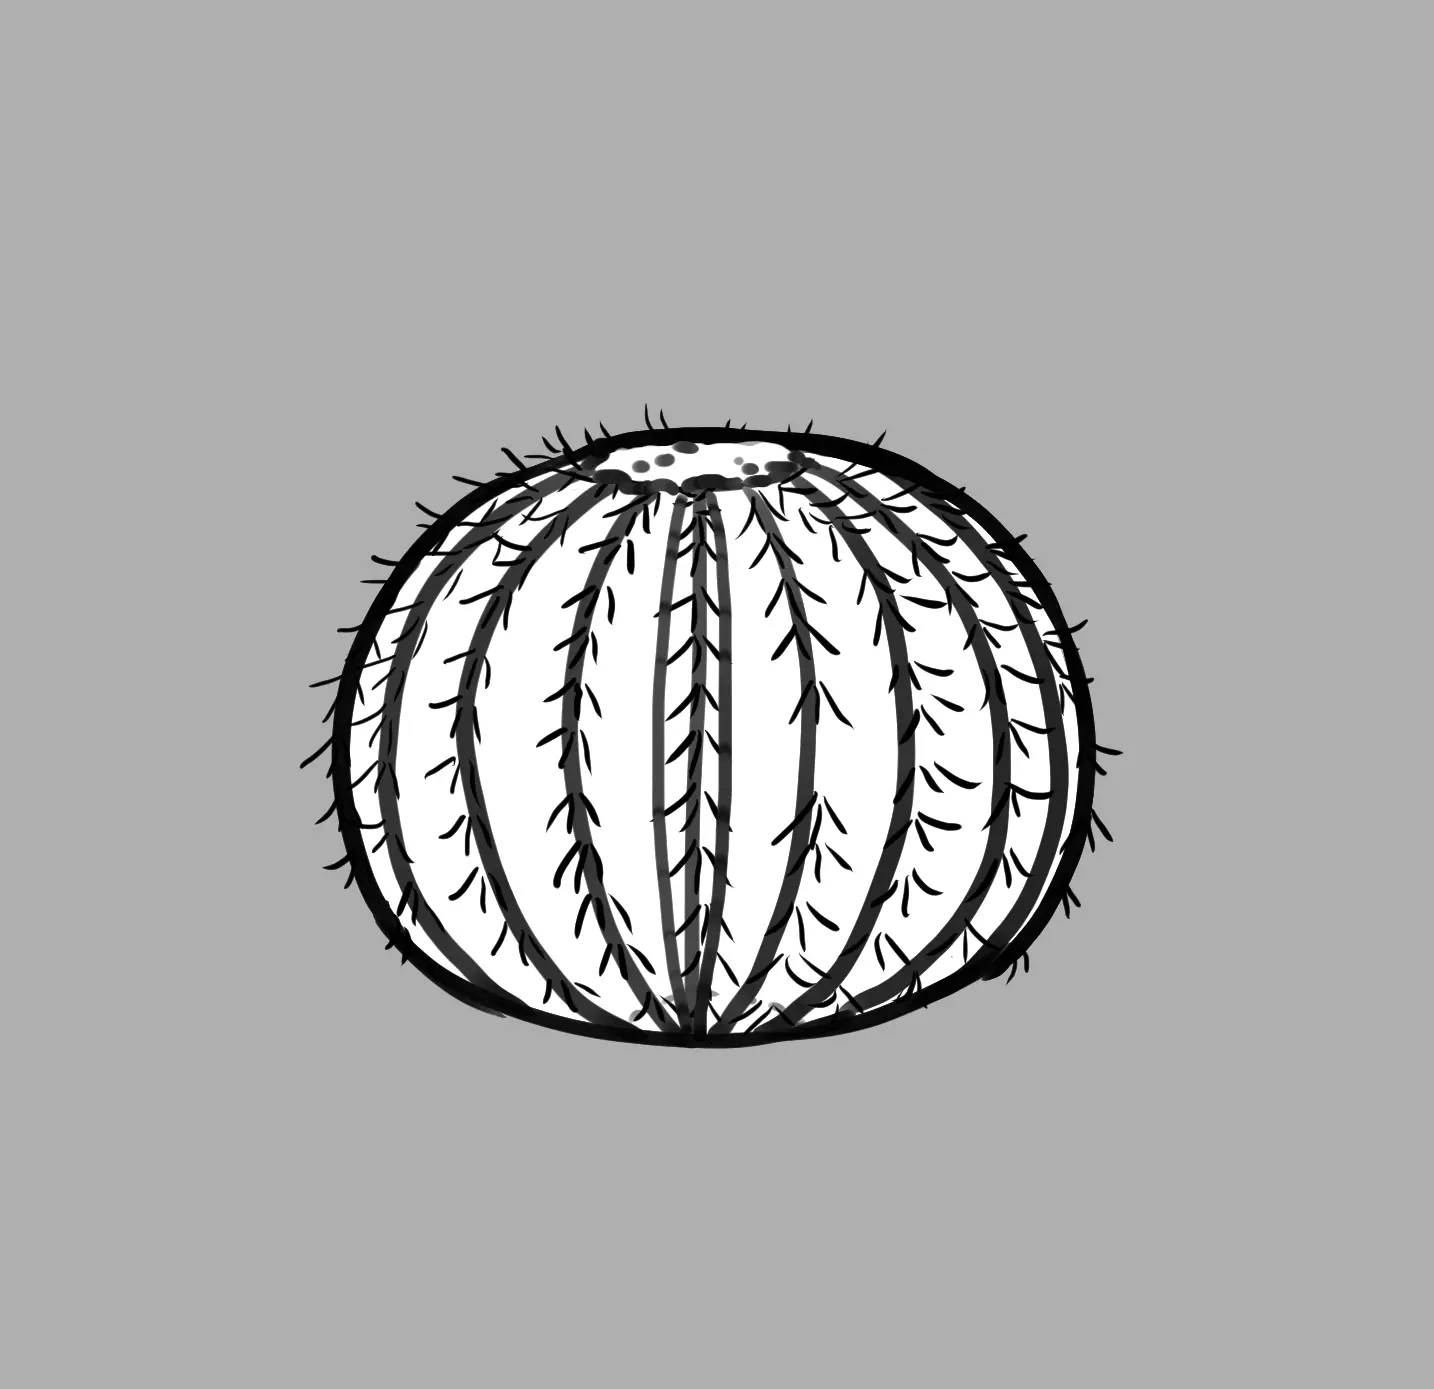
When cleaning, the blue lines are no longer visible, and irregularities are added to the top of the cactus. There you go!
THE PRICKLY PEAR
Some of you have surely come across the prickly pear cactus. These cacti, sometimes called "paddle cacti", can be found in places like the south of France. They consist of several flat, paddle-shaped pieces, with small red fruits (when ripe) at the ends, called "prickly pears".
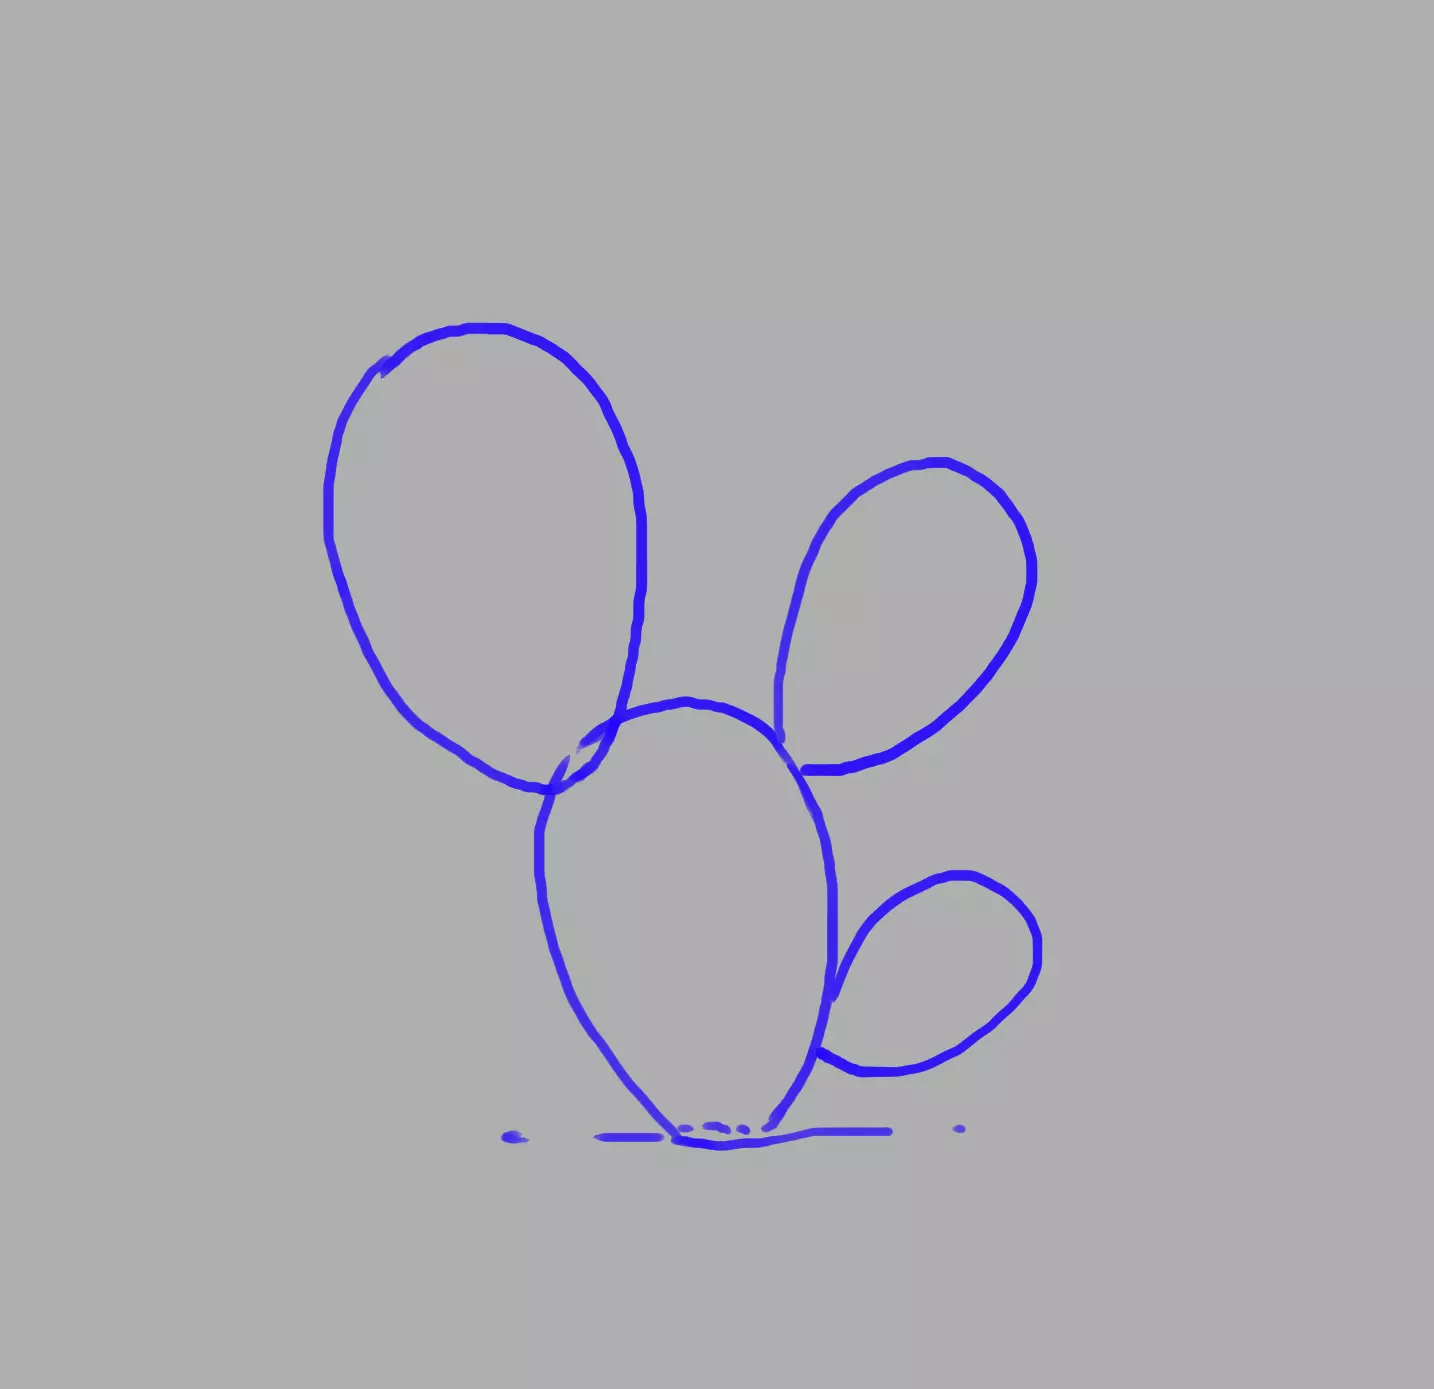
First, we draw the main shapes of the cactus, the “blades” attached to each other.
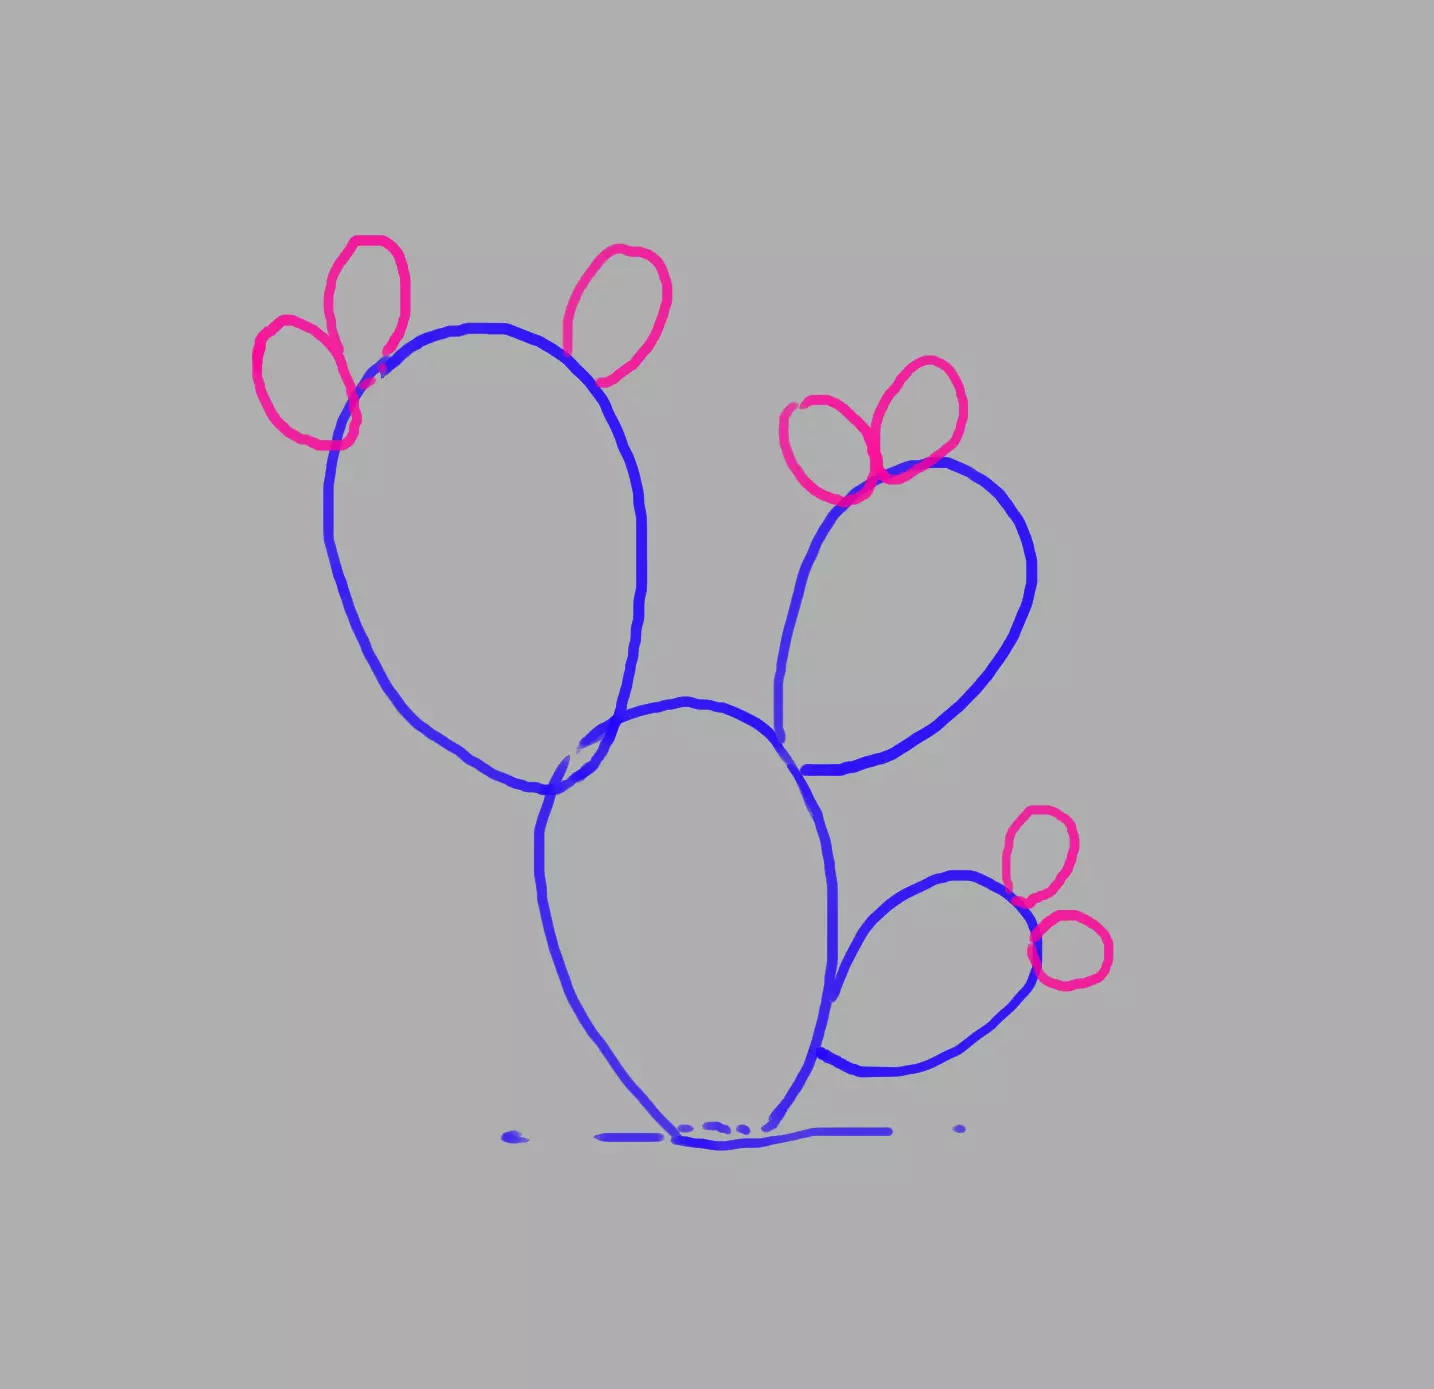
On top, we add the shape of prickly pears. I put only a few, but sometimes there can be many more, or even none at all.
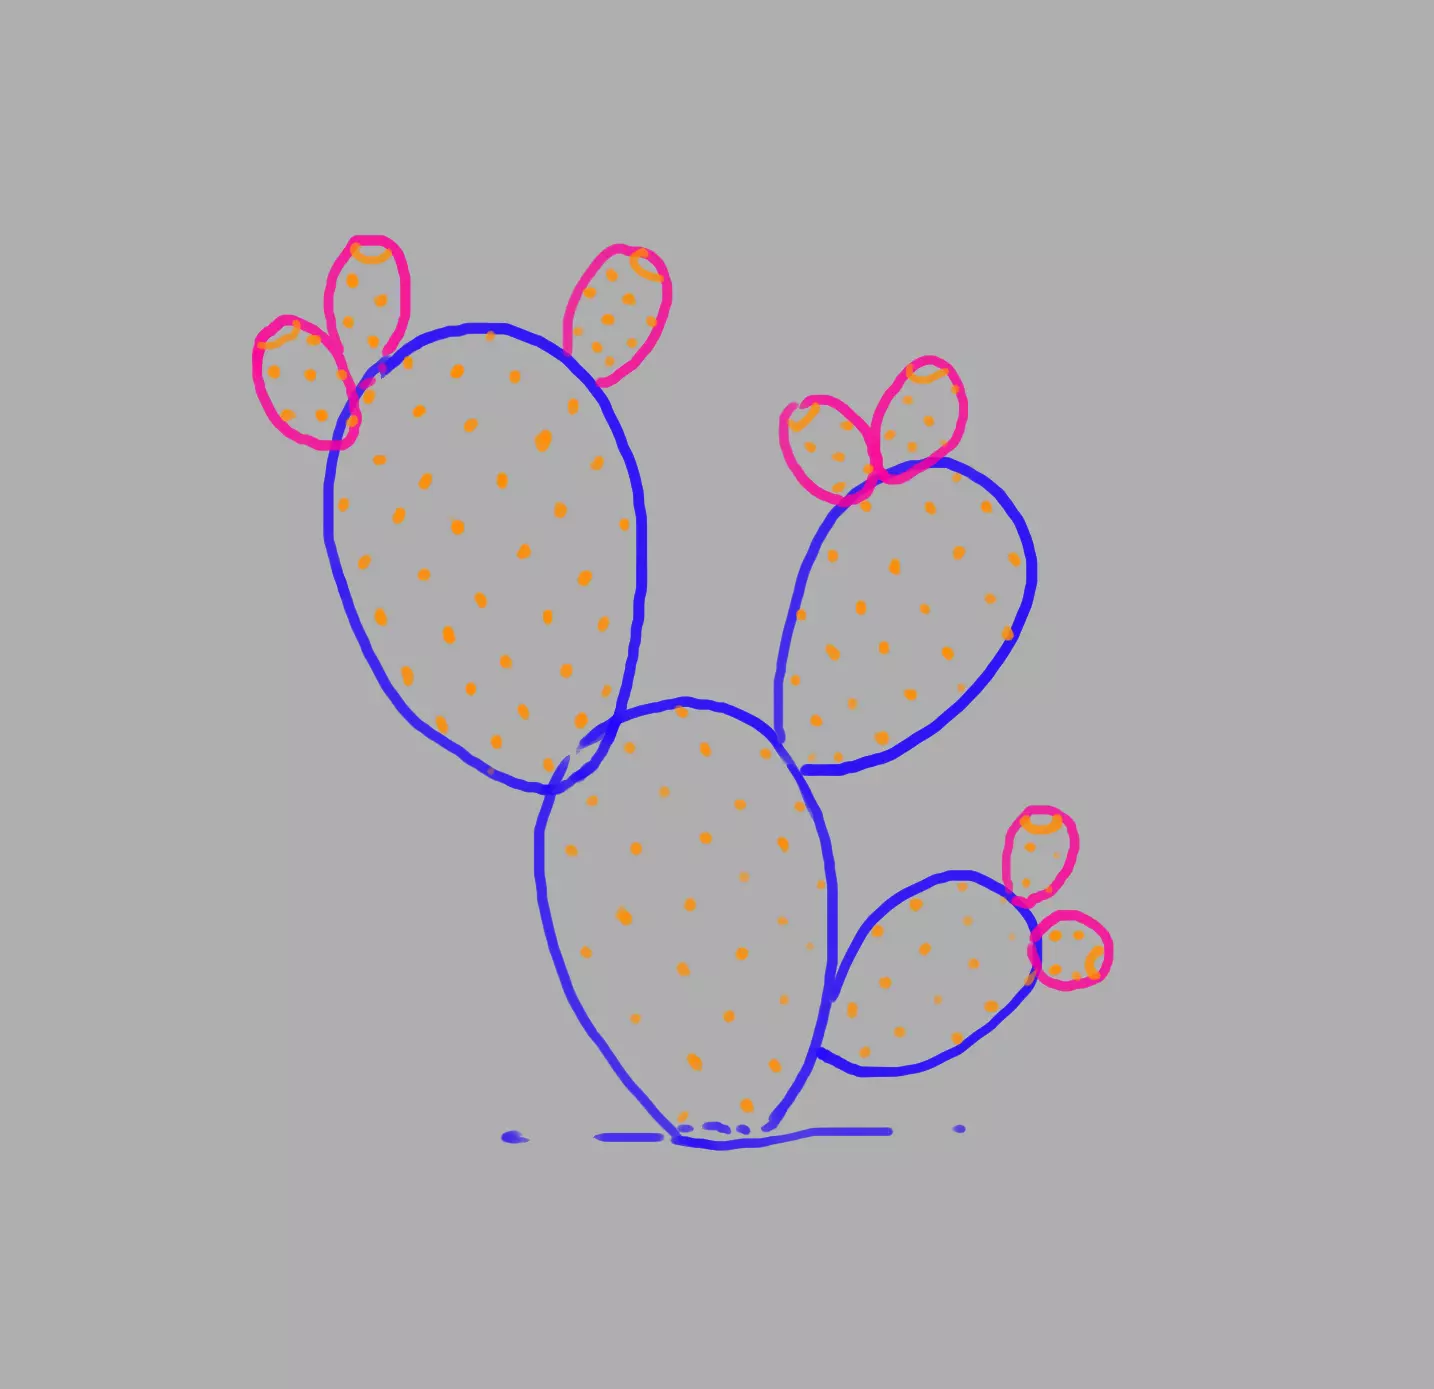
We then place the points from which the hands will start, evenly. We also add the mark the fig tip mark.
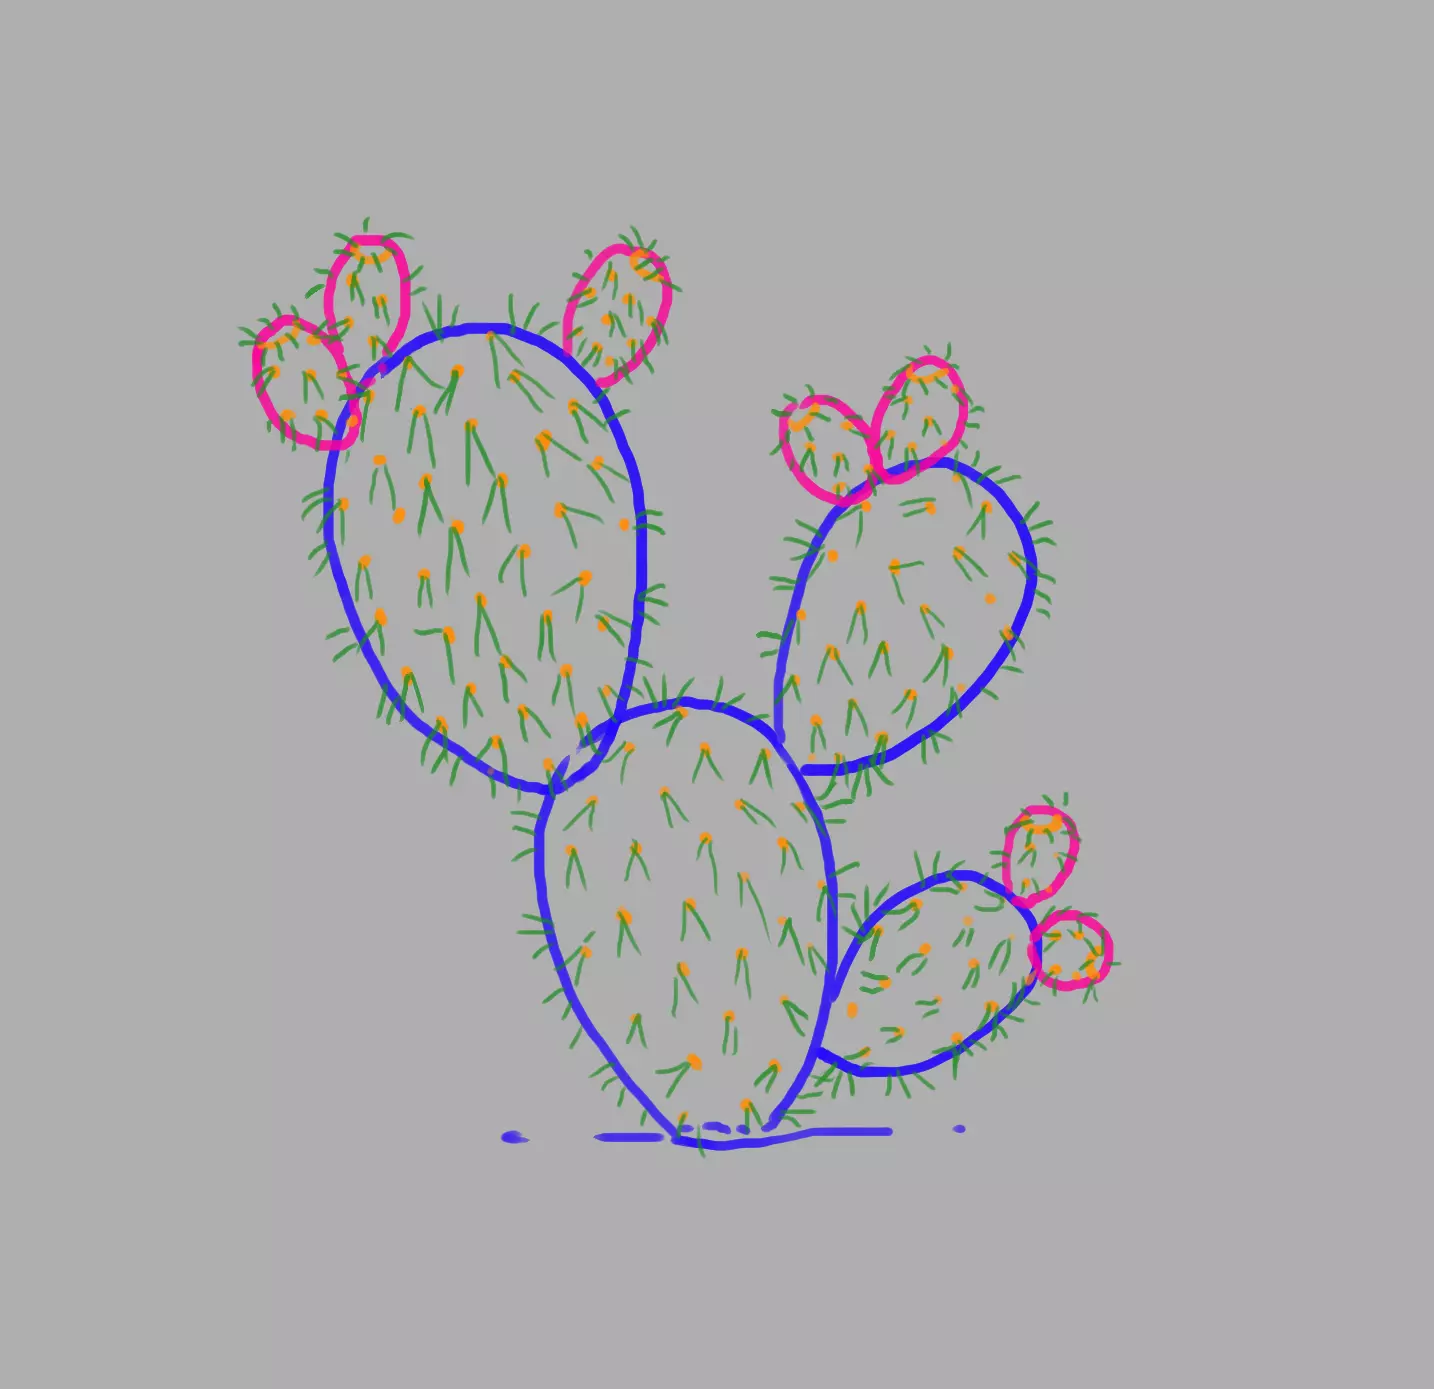
We remove 2 (or 3) needles from each point and all around the end of the figs. There are different types of prickly pears, so the needles may be longer or shorter.
Clean by erasing excess lines, and voila!
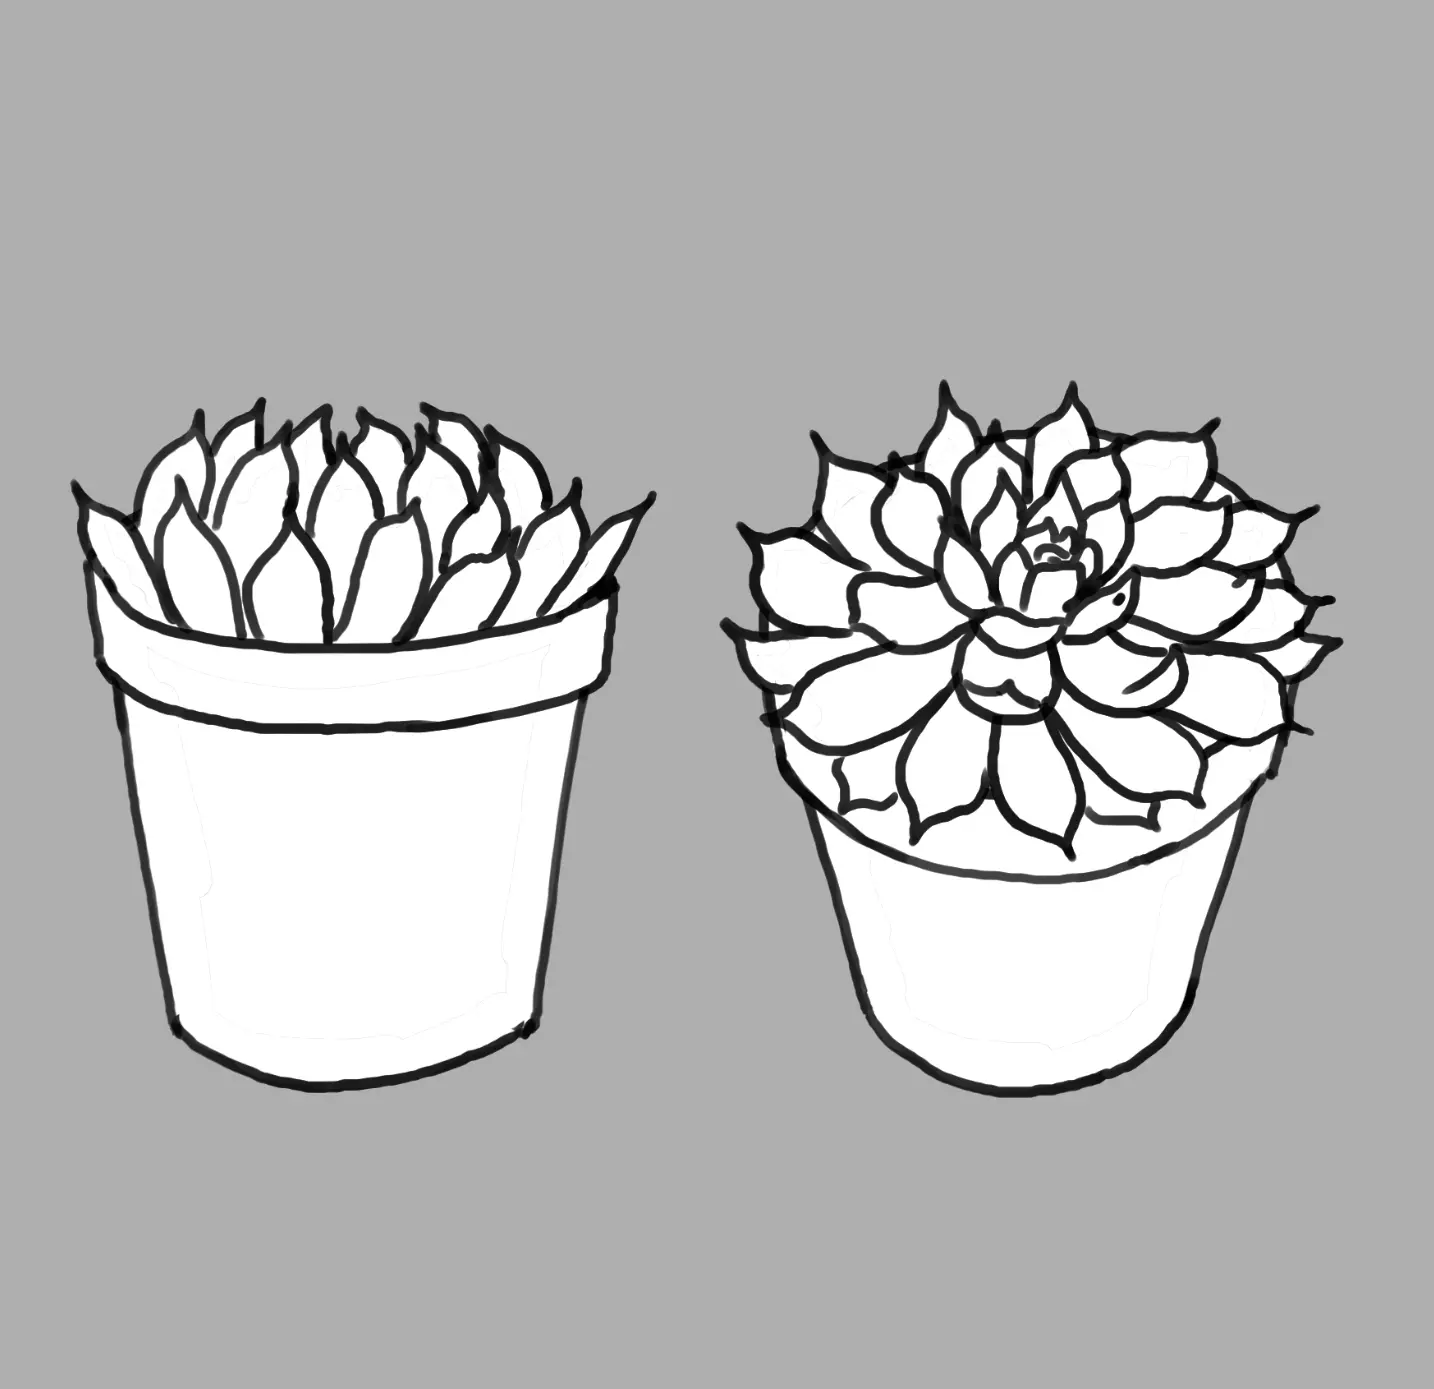
DRAWING SUCCULENT PLANTS
Succulent plants are not really cacti, but belong to a neighbouring family. Both are succulent plants, which store water in their tissues to resist heat. Succulents have become very popular as indoor plants and in drawings, so I found it interesting to talk about them. Like cacti, there are many species of succulents, so I chose one of the most common, the echeveria (which itself has many different shapes and colours).
On the left, we start with a less sprawling plant, seen slightly from above, and on the right a more sprawling one, seen more from above to clearly see how the leaves are arranged.
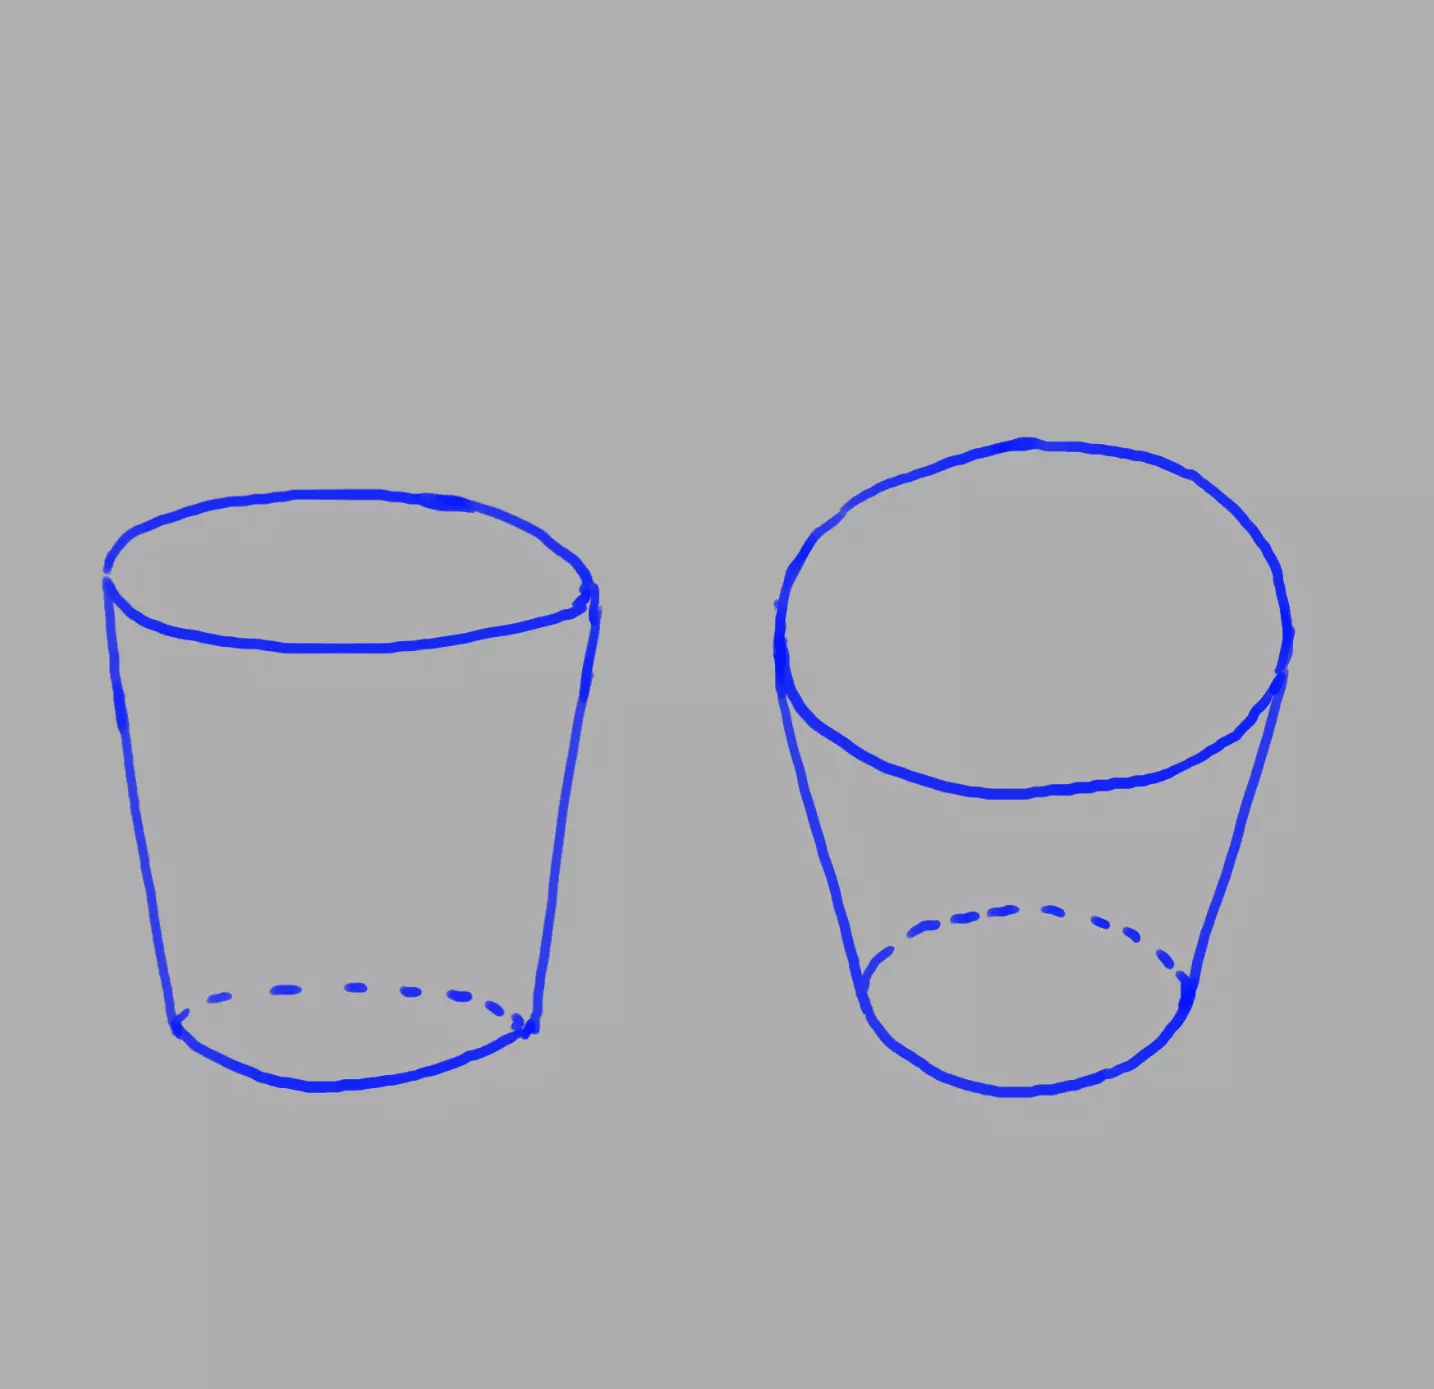
We will start with the shape of the pots, more or less from the top as explained earlier.
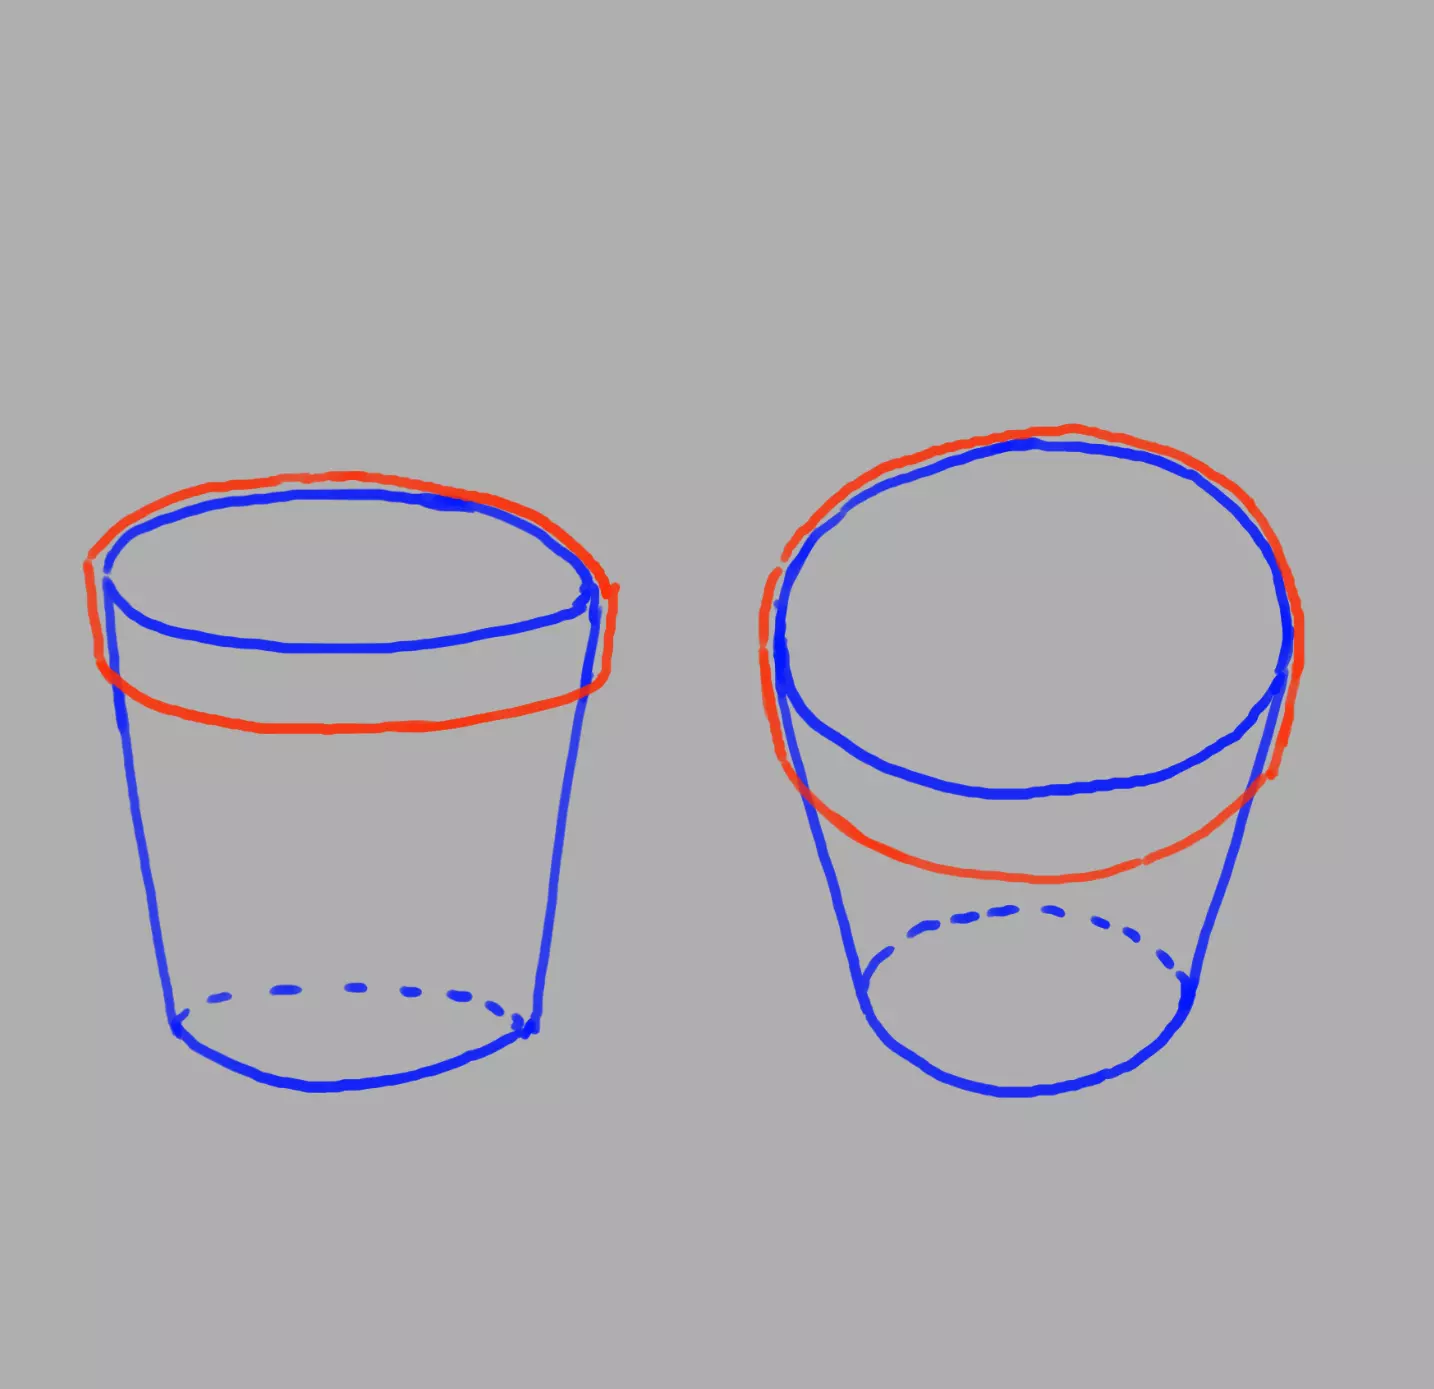
We draw an edge, adding thickness to the base pot. It's not necessary to create a border, but we might as well try new things!
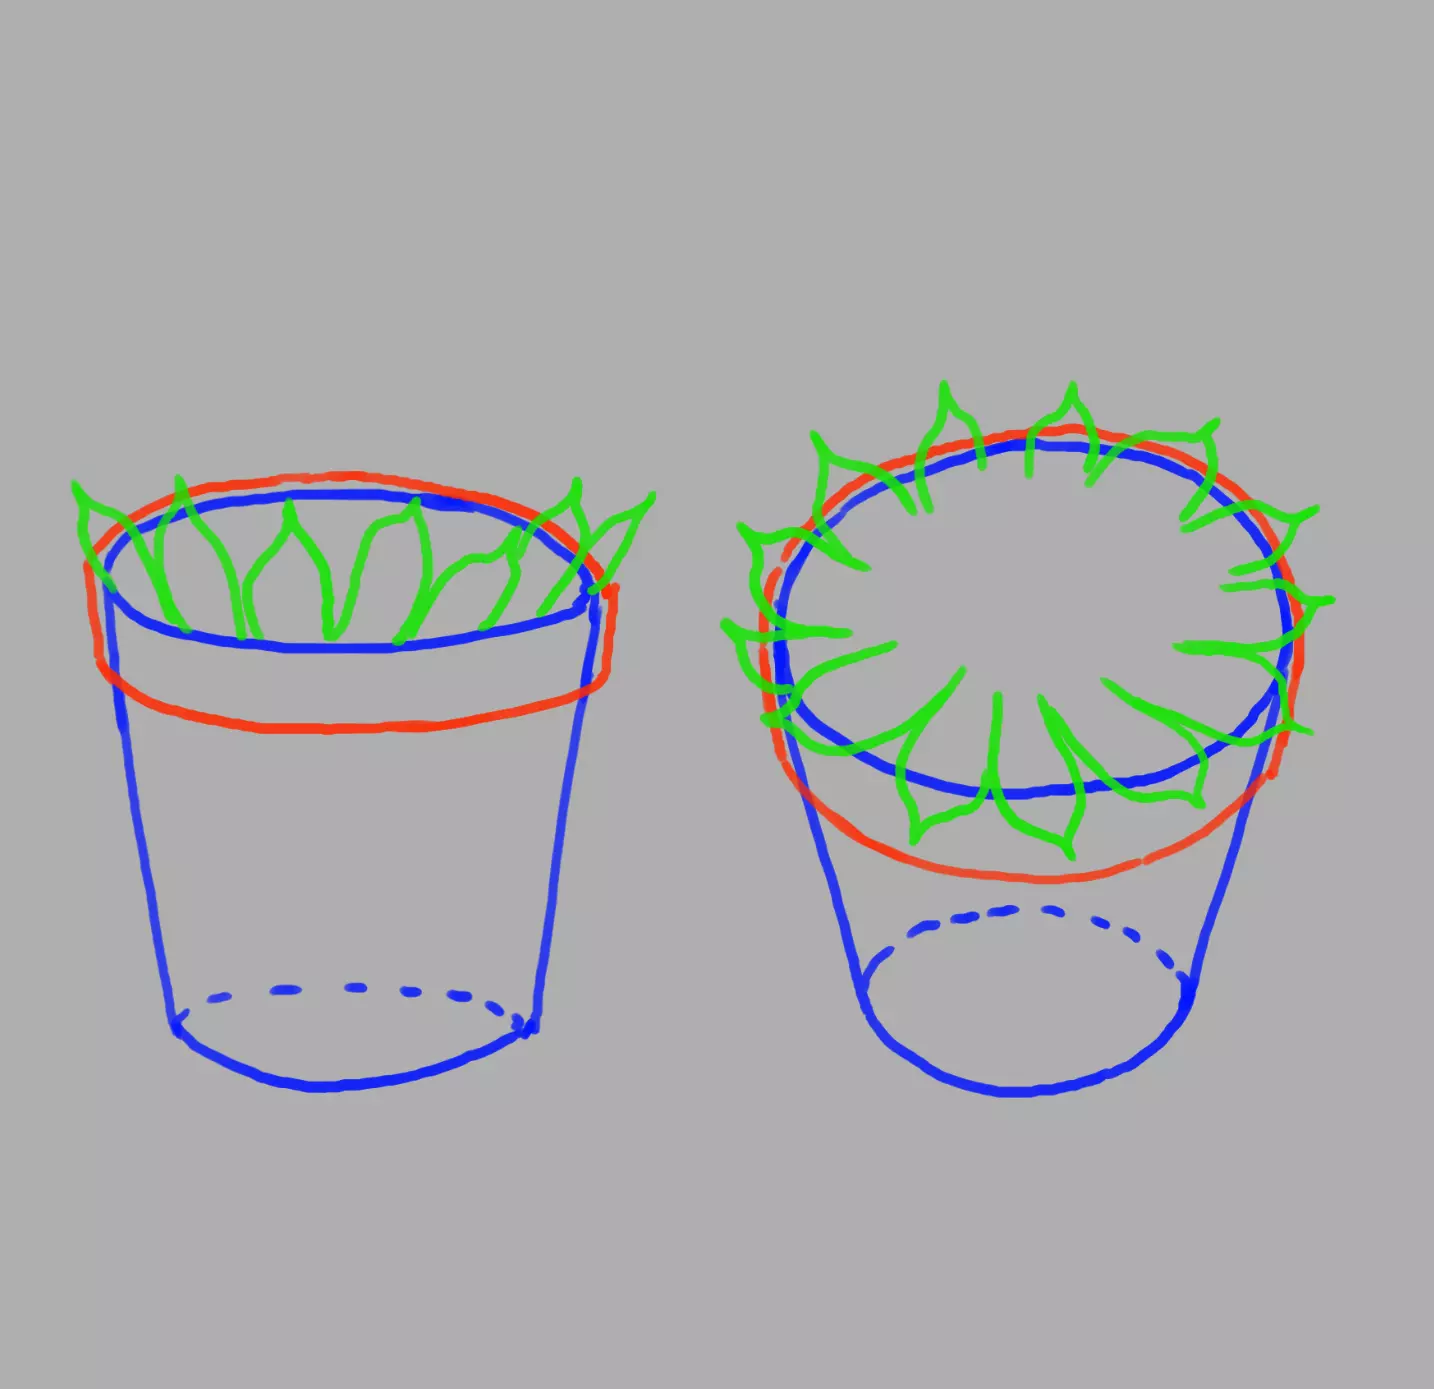
We start the leaves from their outer crown. For the first pot, the leaves go more upwards, for the second they are more spread out. It is important to pay attention to the shape of the leaves: thinner at the base, then widening towards a rounded and then pointed shape.
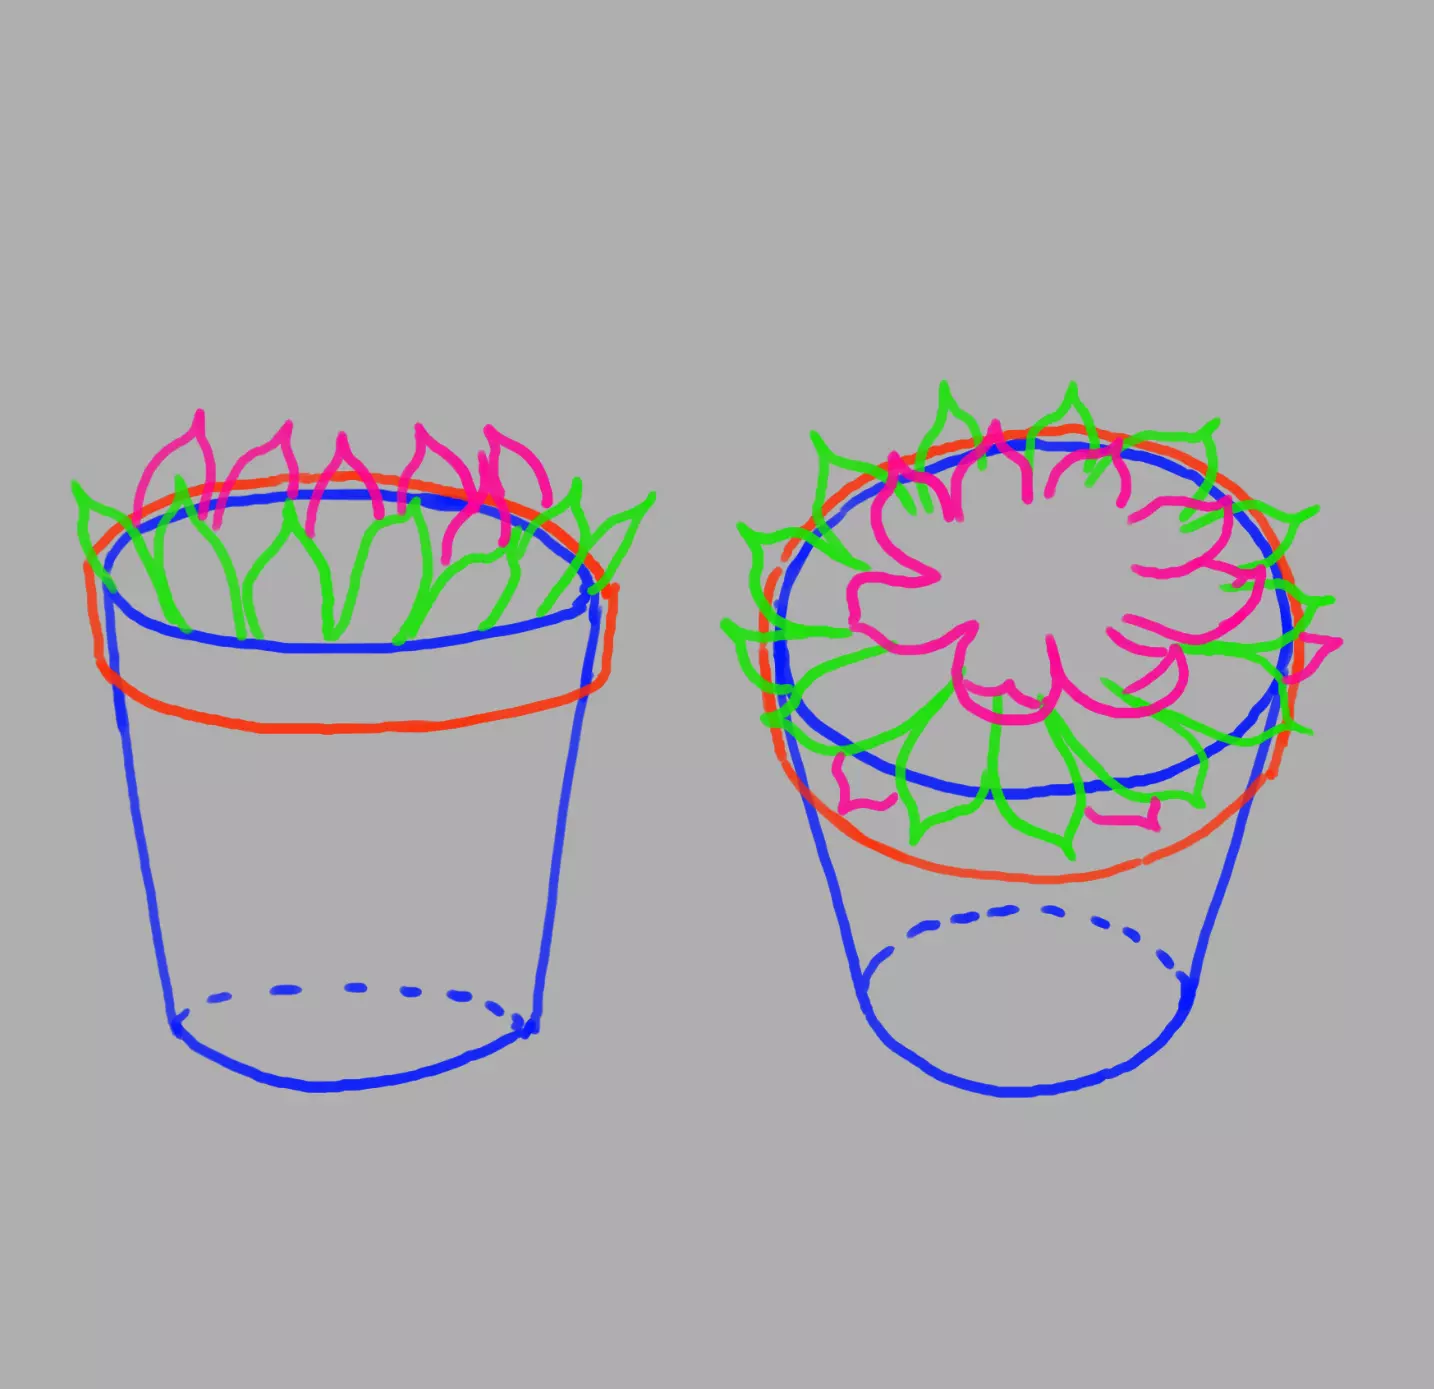
We continue inwards. For the first plant, the leaves will be more vertical and slightly turned inwards. On the right, the leaves are smaller. As the leaves are curved, we see the fold of those furthest in front curling upwards. We can add some leaves between those at the bottom.
We continue with the same principle by moving towards the centre of the plant. The first is smaller and narrower inwards. For the second, we draw a layer of small leaves and more small leaves joining in the centre. Almost like a rose.

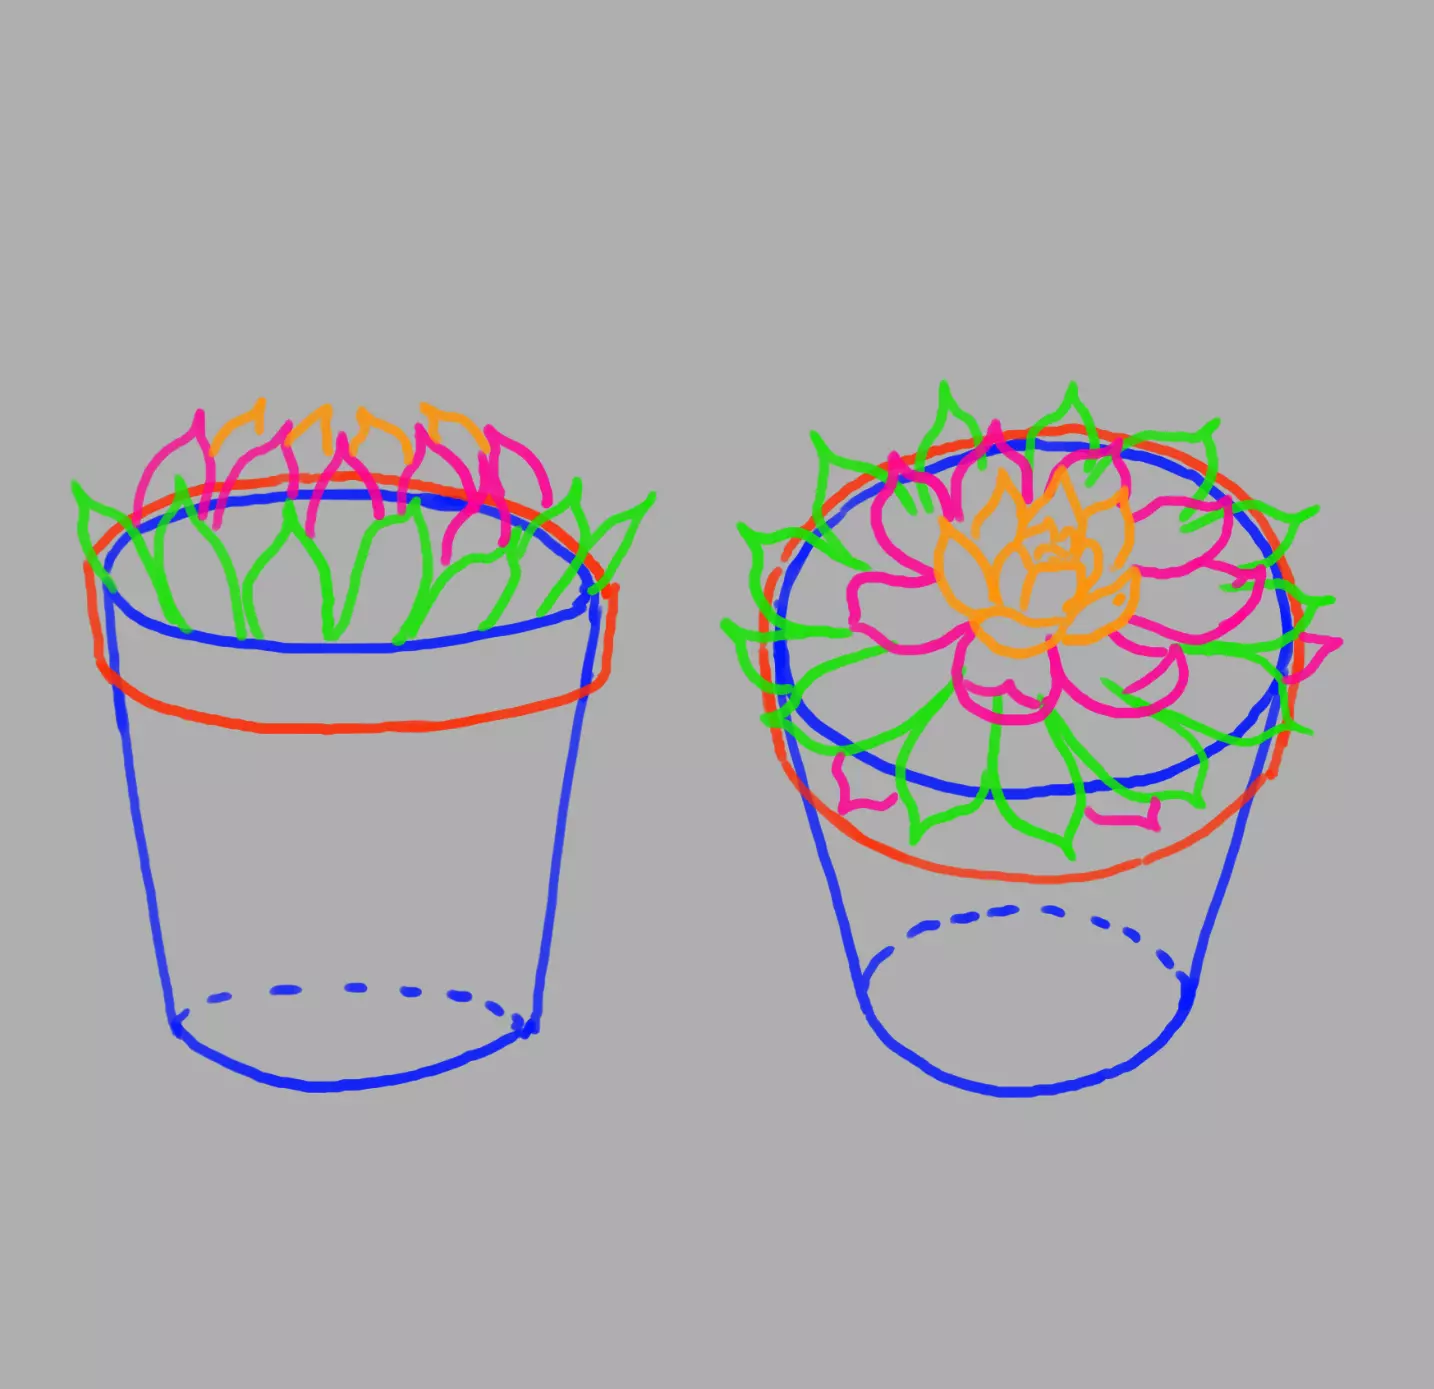
To clear up, we still have to remove unnecessary lines. We remove the parts of the pots that are hidden by the leaves and the parts of the leaves that sprout under the others. And here are the pretty succulents!
Now you have learnt how to draw pretty cacti and succulents! As already mentioned, there are so many different species, even hundreds of them! Nothing prevents you from taking liberties and inventing some of them, or even looking for photo references of many different cacti. You should be able to apply the processes you have learned to other species. May this tutorial add some spice to your creations!
Discussion
No comments yet.