How to Draw a Tree

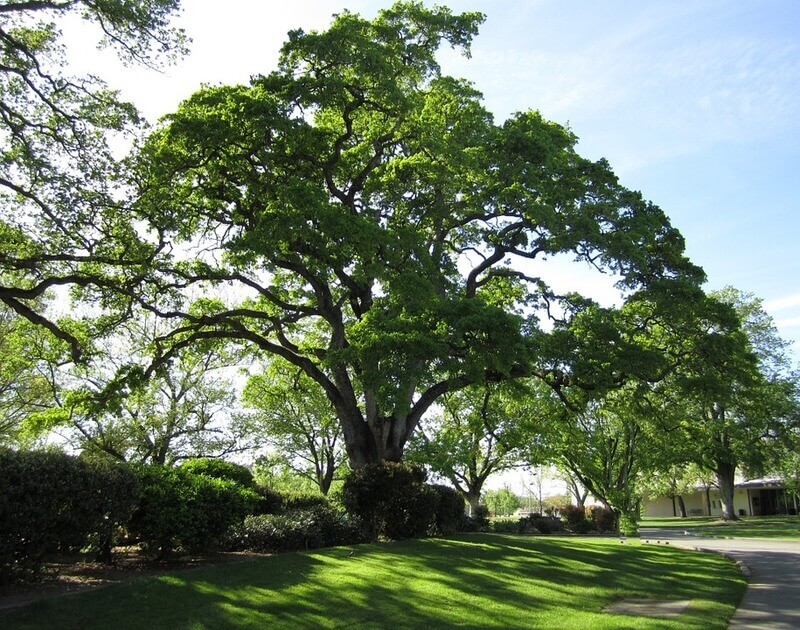
Trees are very useful in illustrations. Even if you like drawing heroic fantasy or fairy tales, they are elements that will often appear in your illustrations. And today, as I sense you are super motivated, we are not going to learn to draw one, or even two, but indeed three different types of trees! Yes, that's right. And in color. A crazy tutorial awaits us!
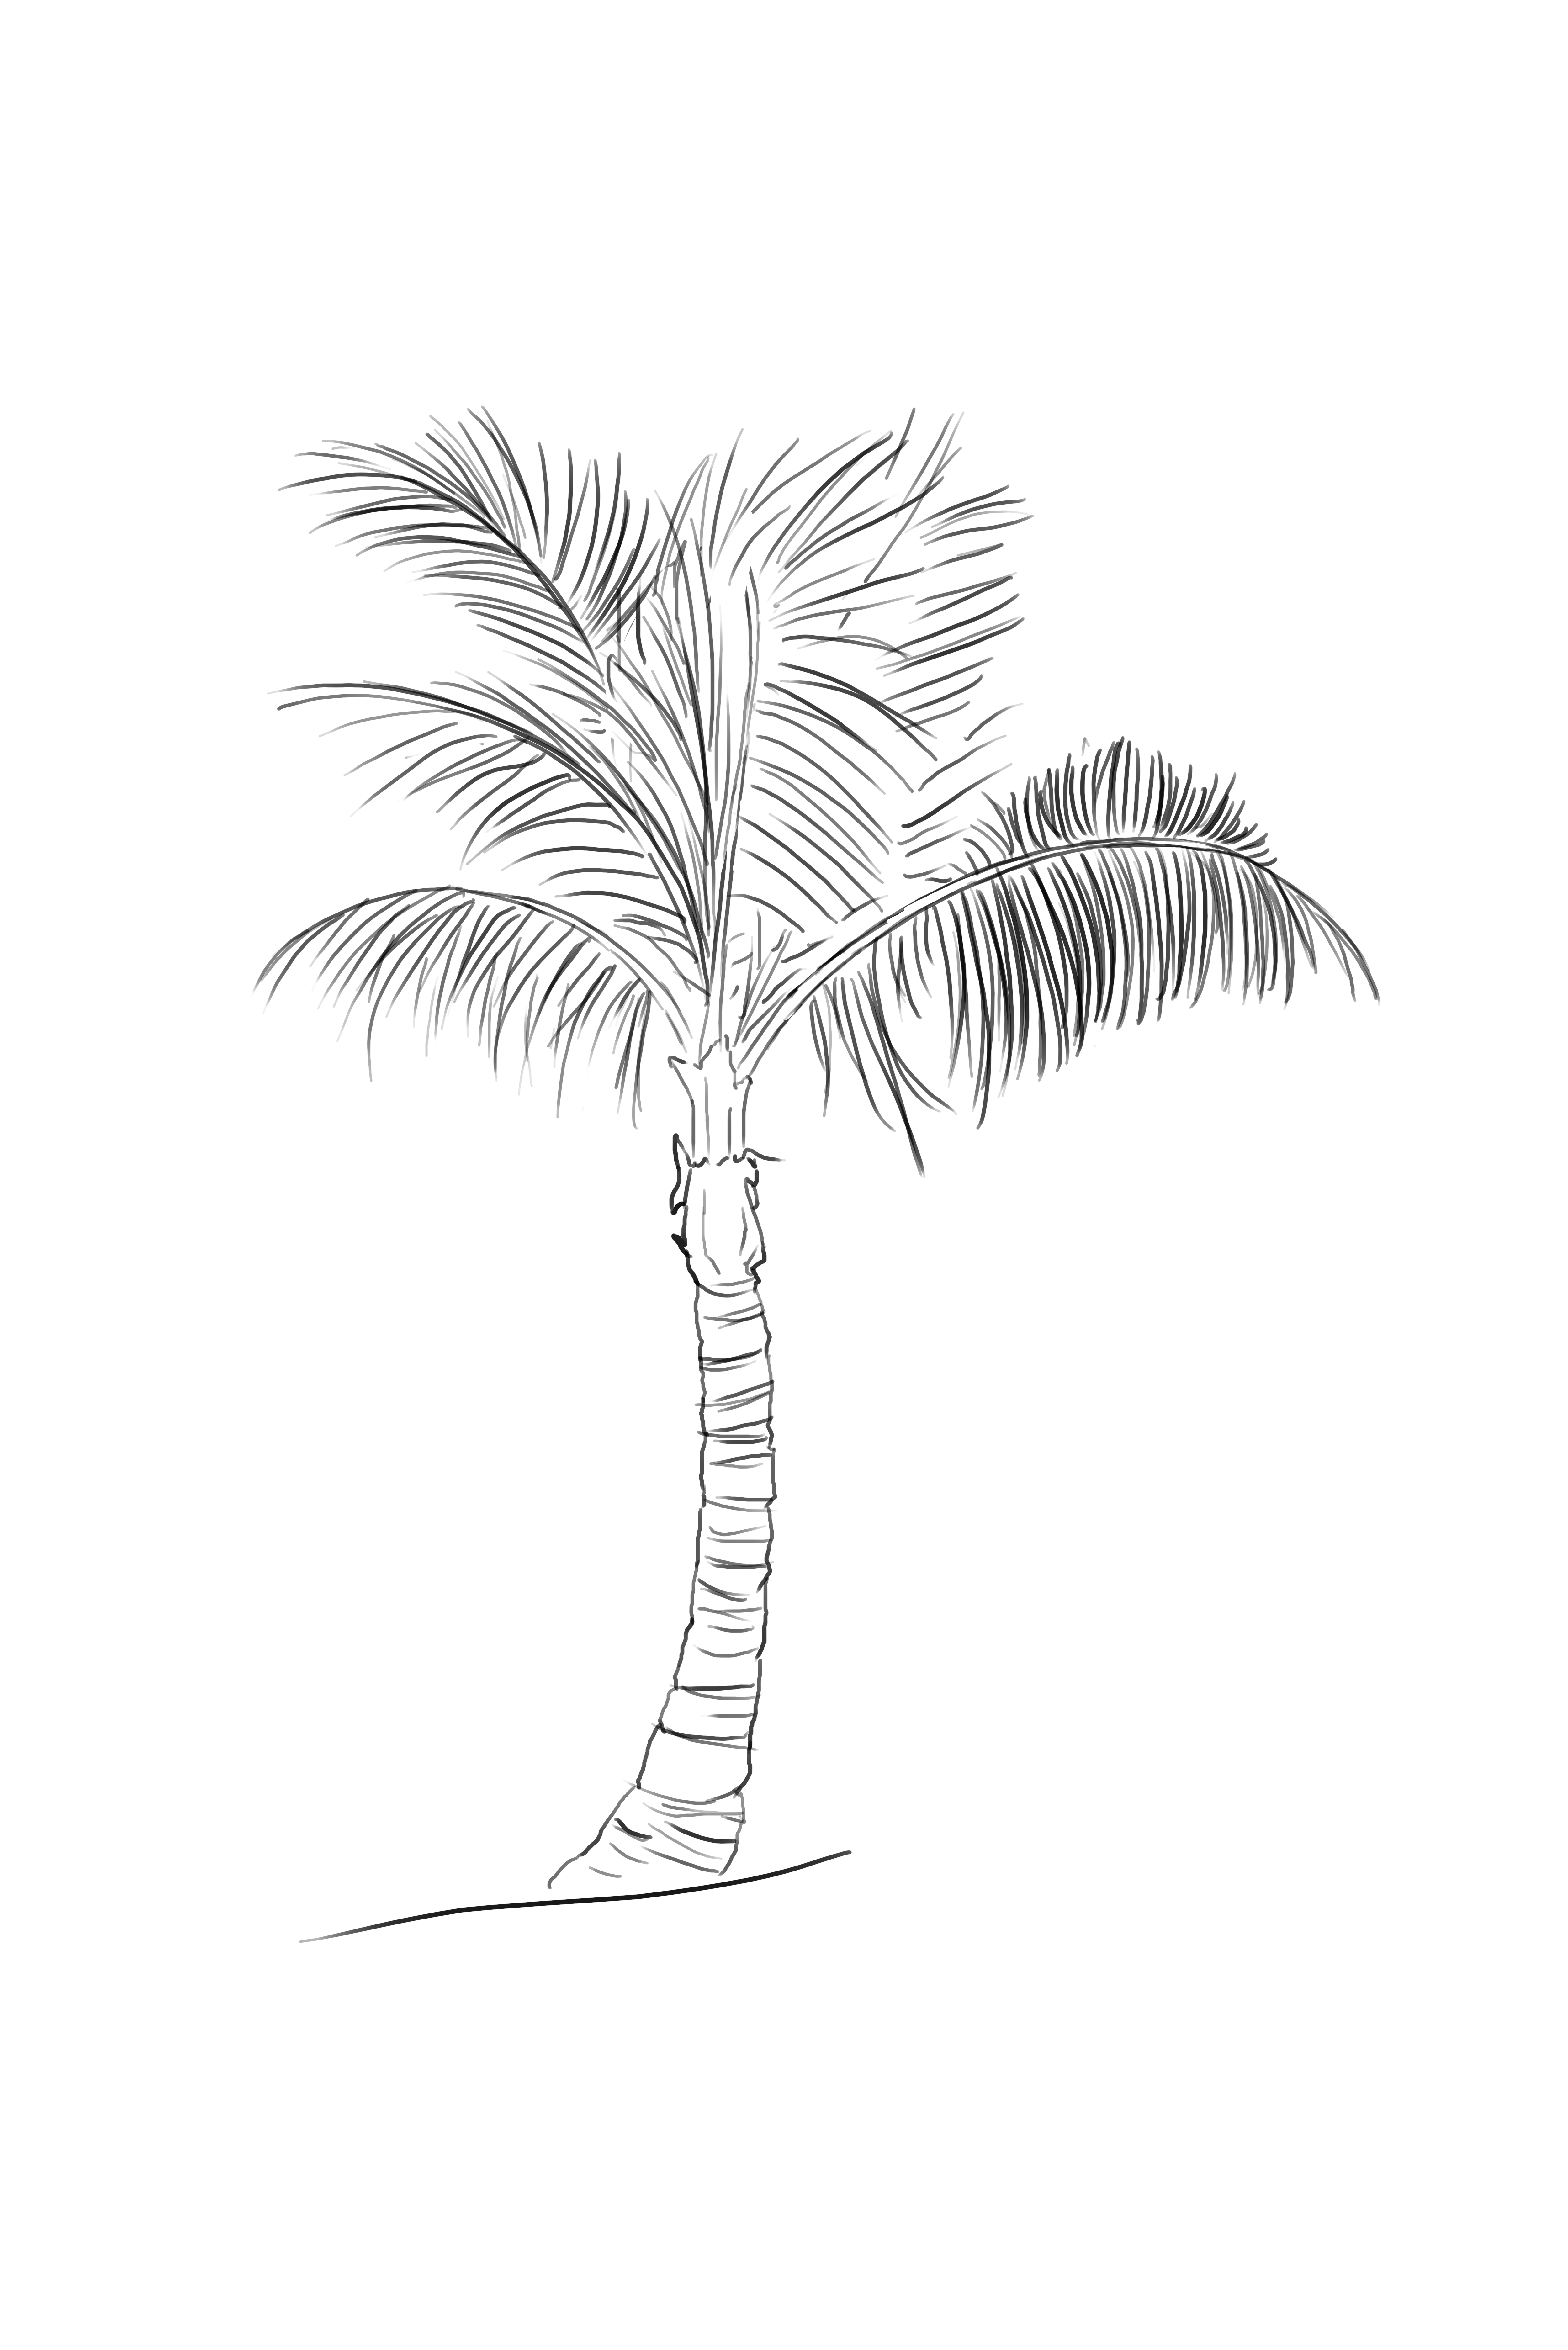
As you will see, it always works the same way. The rest are variations depending on the species and the season. So, we will study three different types of trees: the oak, the baobab, and the fir. Three very different trees from each other. Normally, you should be able to do the other types of trees yourself afterwards ;p
DRAW AN OAK
I'll start with a fairly common tree: the oak.
It is large, it is leafy, and it is the "classic" tree that generally comes to mind (at least for me, I instantly think of the oak when picturing a forest in Europe).
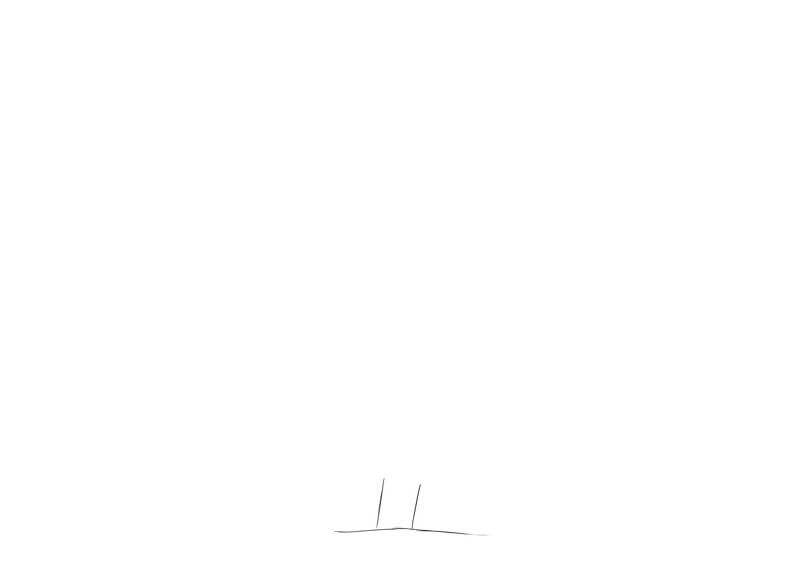
We will therefore start with its structure. Trees are all roughly made the same way: a central trunk, straight or twisted, more or less thick. Then there are variations.
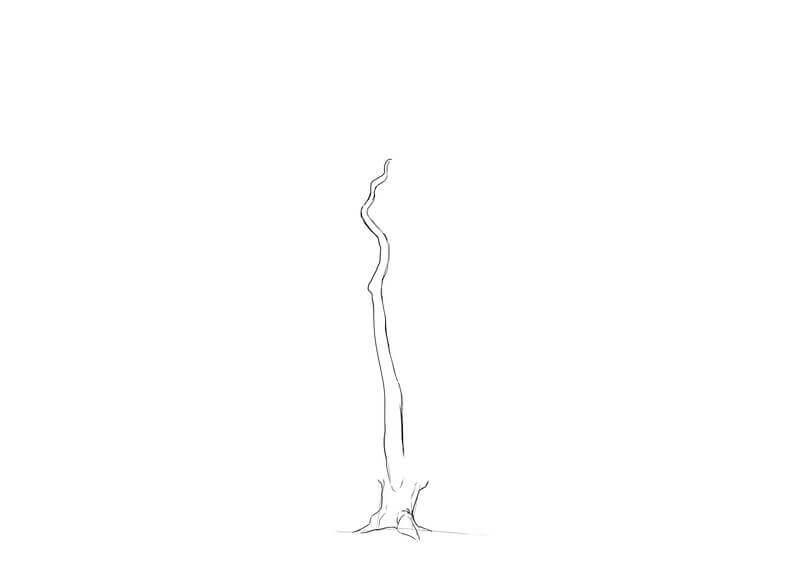
THE OAK TRUNK
The trunk branches off into more or less early branches, with branches of varying thickness which also branch off. Next comes the foliage, generally in the form of leaves or needles.
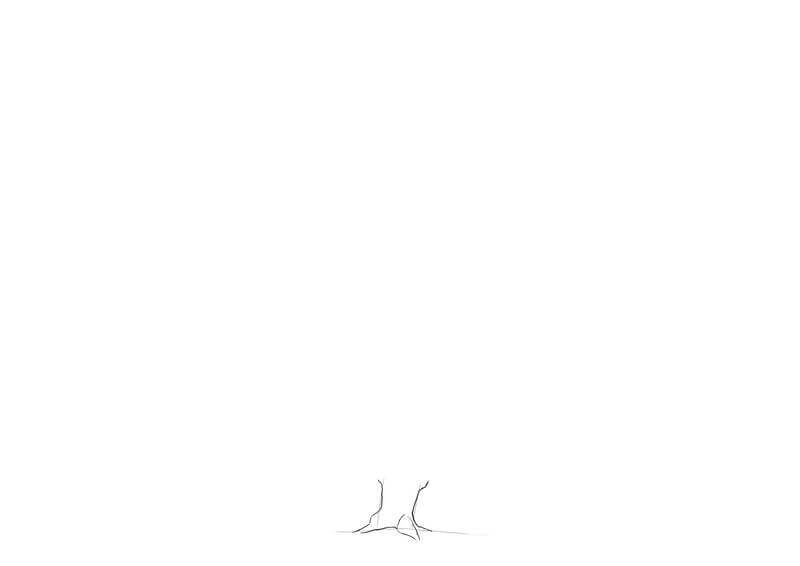
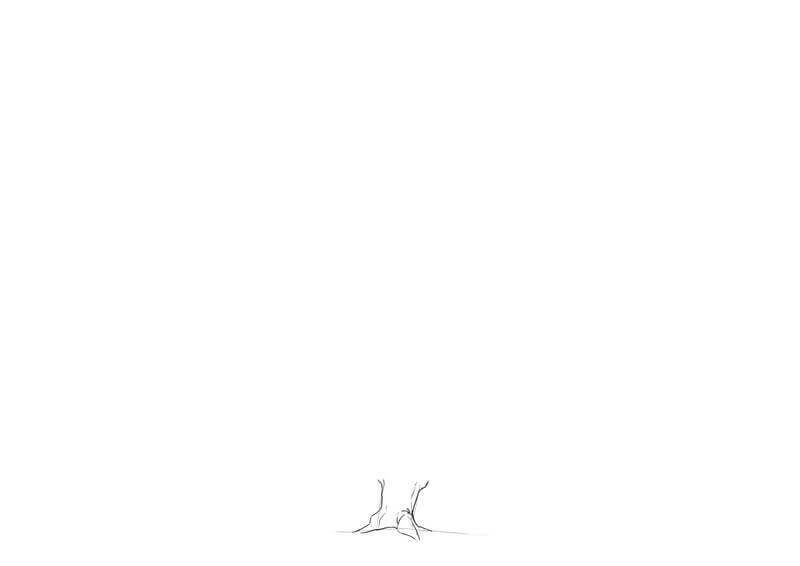
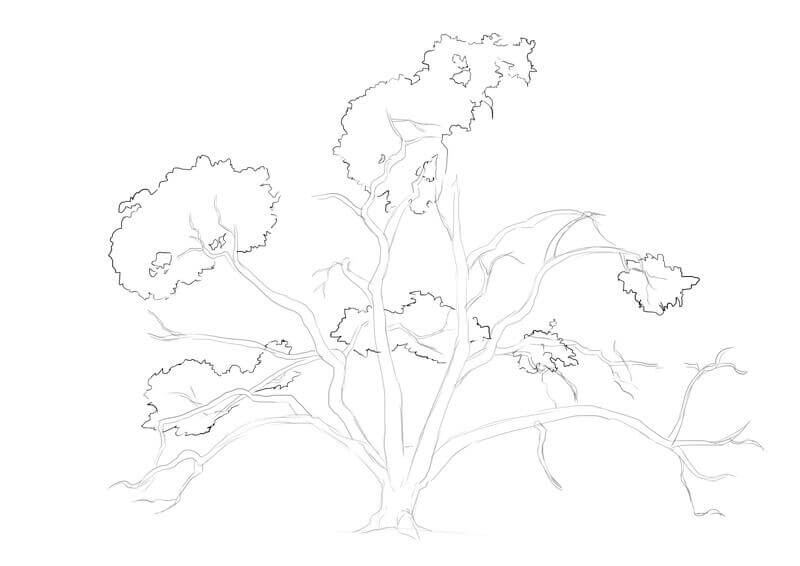
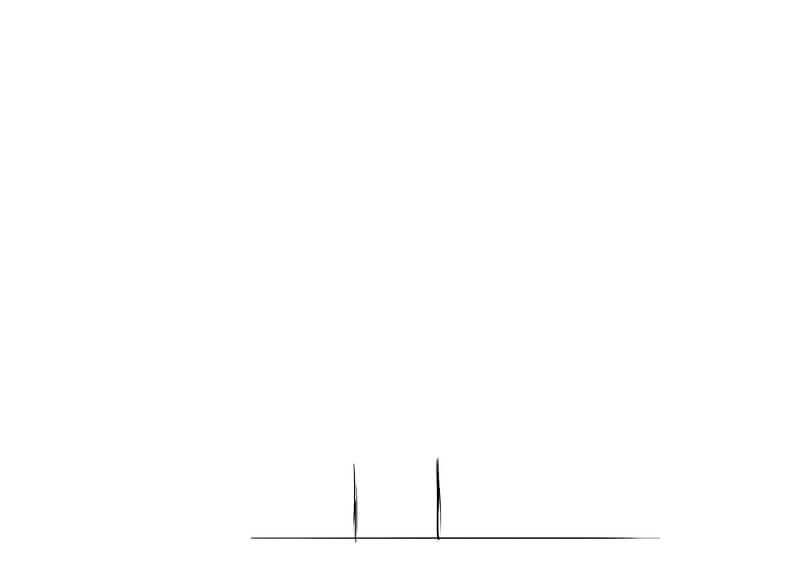
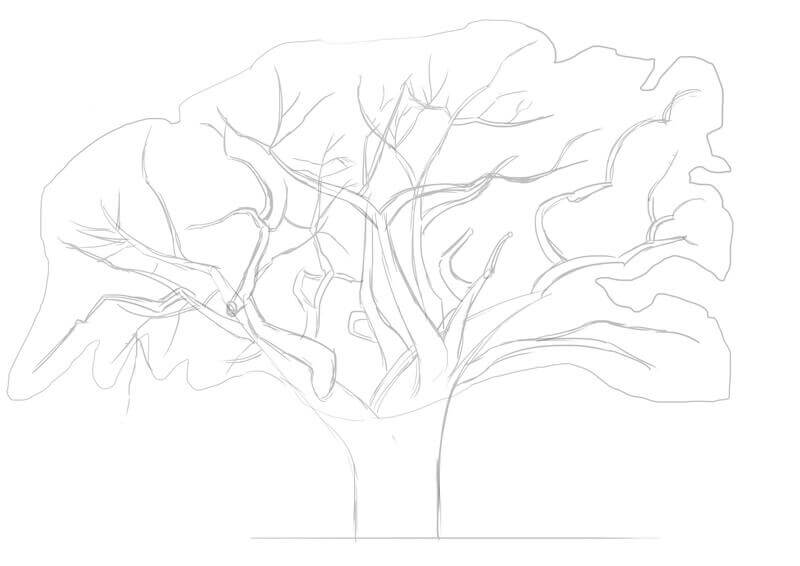
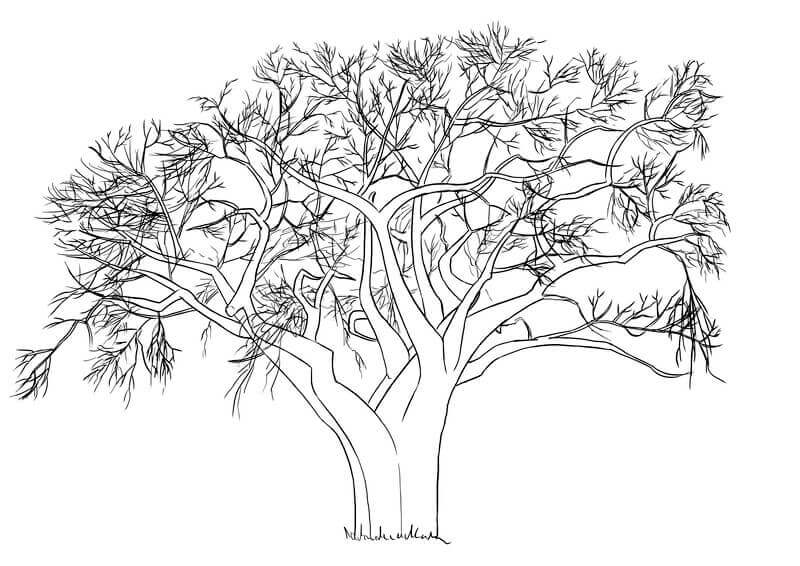
In the case of the oak, we therefore have a fairly straight central trunk with some kinds of bulges.
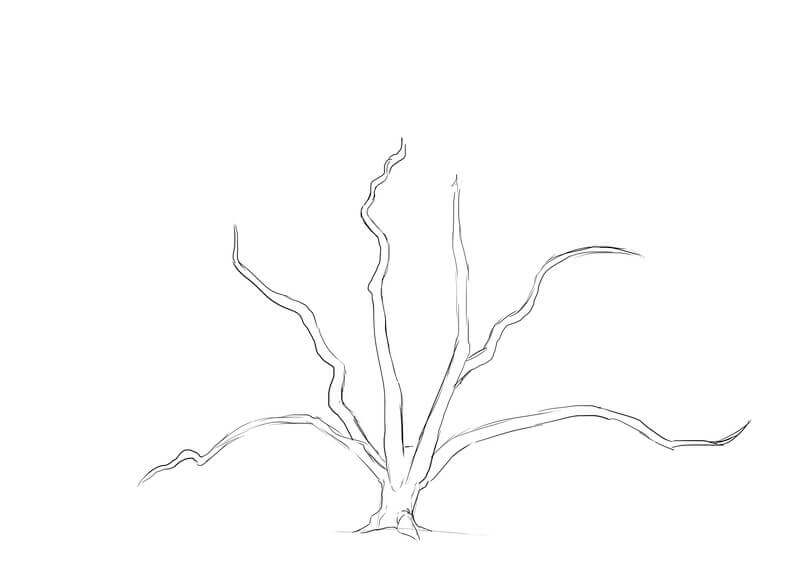
DRAWING THE OAK BRANCHES
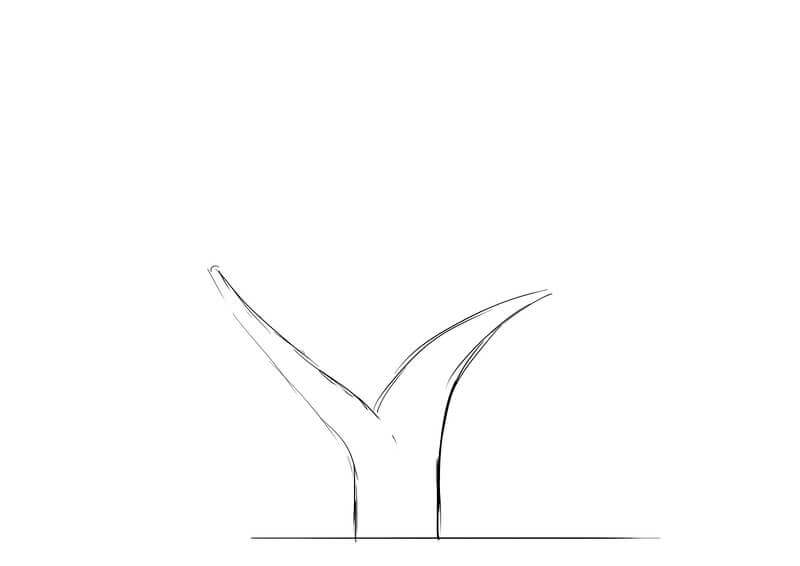
From there, we will start with at least one large branch going vertically, then others more inclined, or even completely horizontal. We are dealing with organic materials, so there's no need to make something regular, quite the opposite. Creating curves, "undulations", will be much more credible than a straight branch.
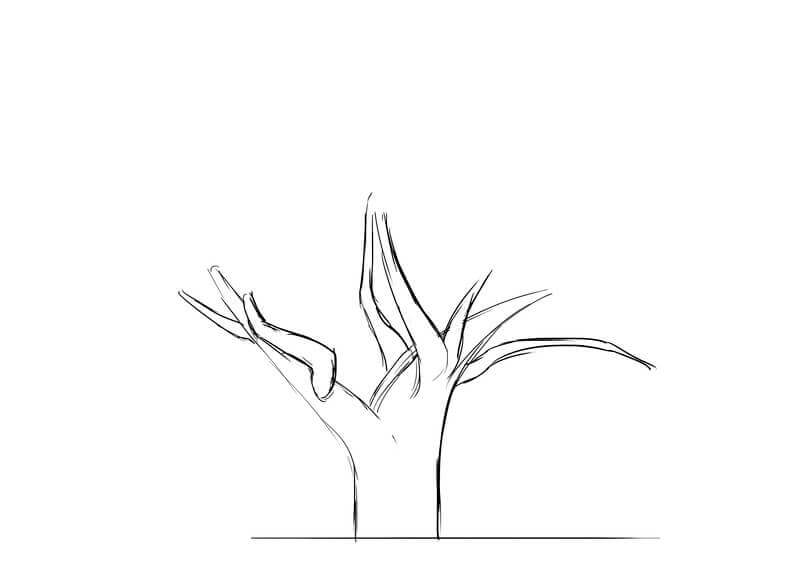
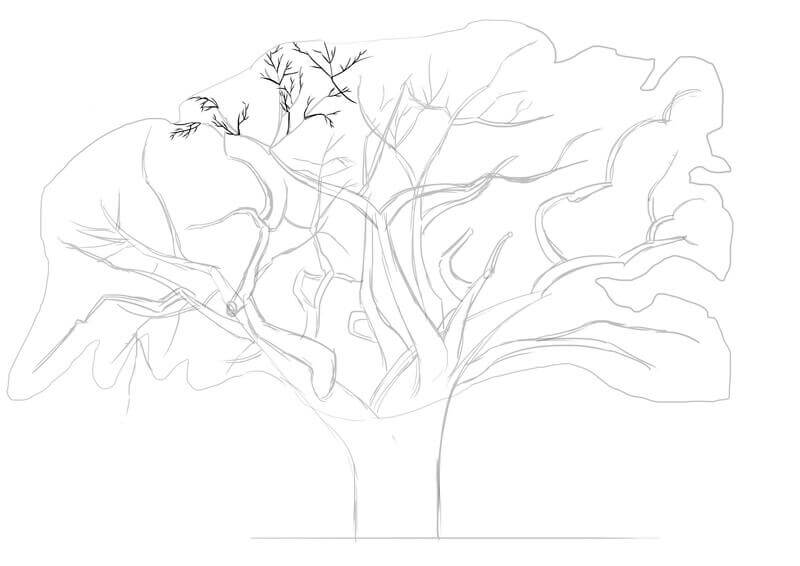
From these thick branches, we will create finer branches. Here again, let your imagination run wild.
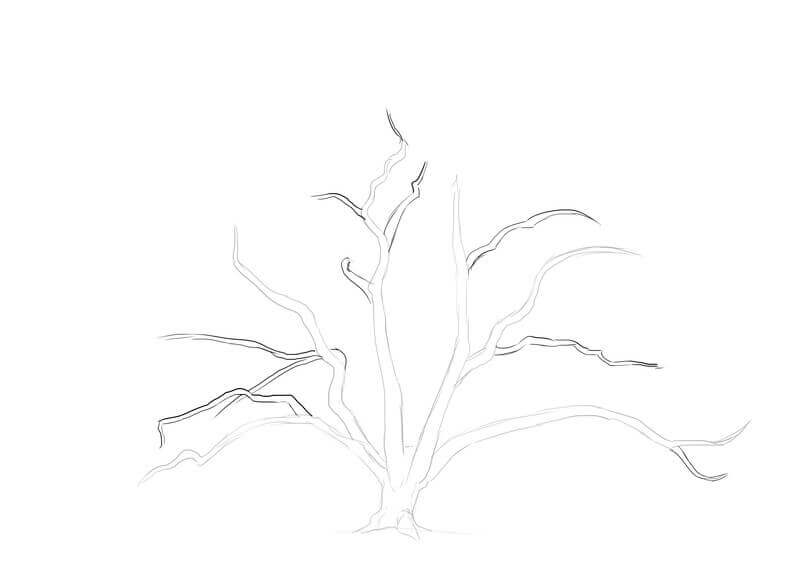
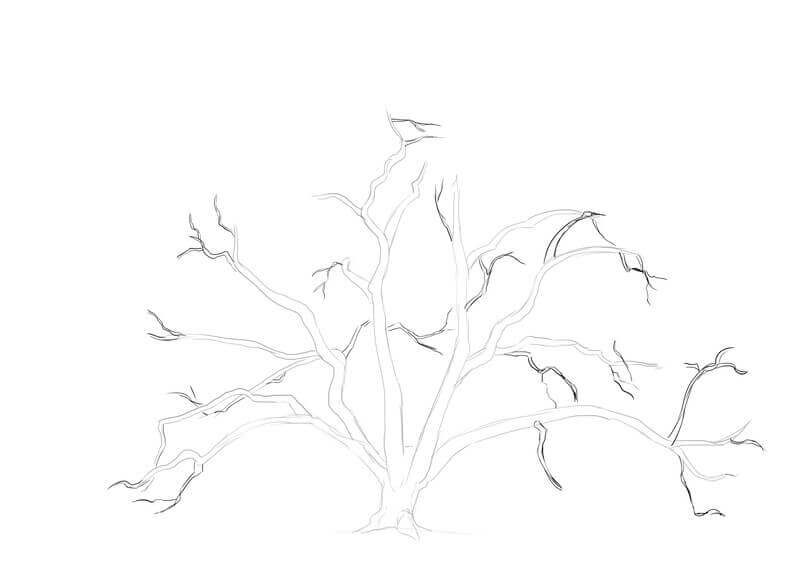
We therefore repeat the operation by adding smaller branches and ramifications.
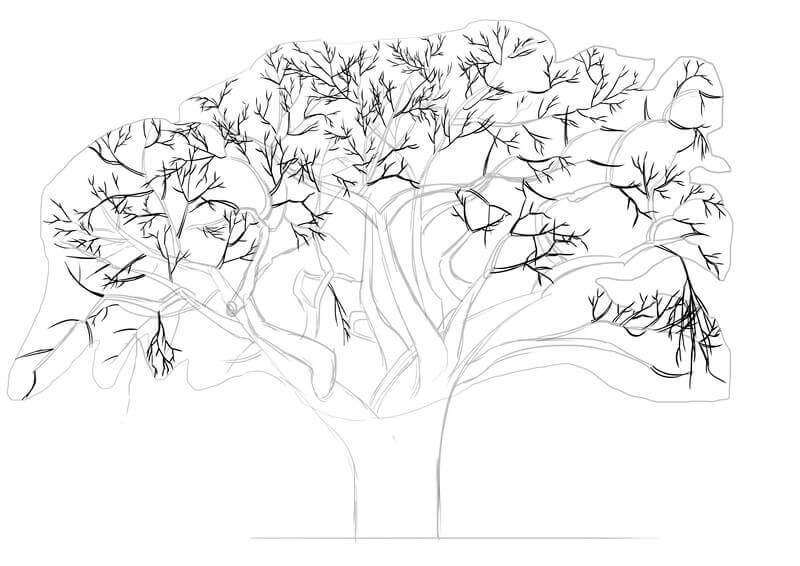
THE FOLIAGE
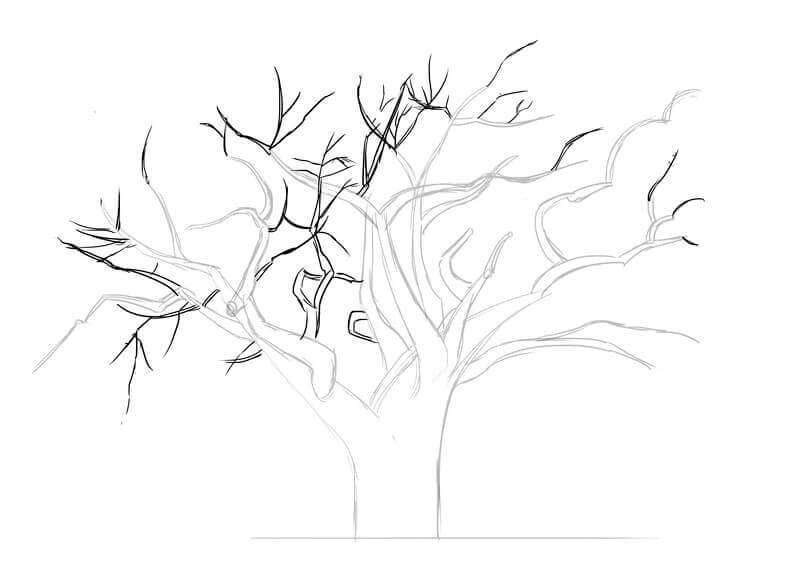
Most branches will be hidden by the foliage, but it's important to draw them first in order to correctly place the foliage on top. Because leaves grow at the ends of branches. Knowing this, we can then place them in "clusters". Keep in mind that there is foliage all around the tree, so there will be foliage that passes behind some branches we have drawn and others that will pass in front depending on their position in the tree.
For the foliage itself, you can give it the level of detail you want. For my part, I always like to suggest things, so I don't particularly go into detail except in a few chosen spots. Don't bother detailing every leaf individually, the result may not necessarily be up to your effort ^^
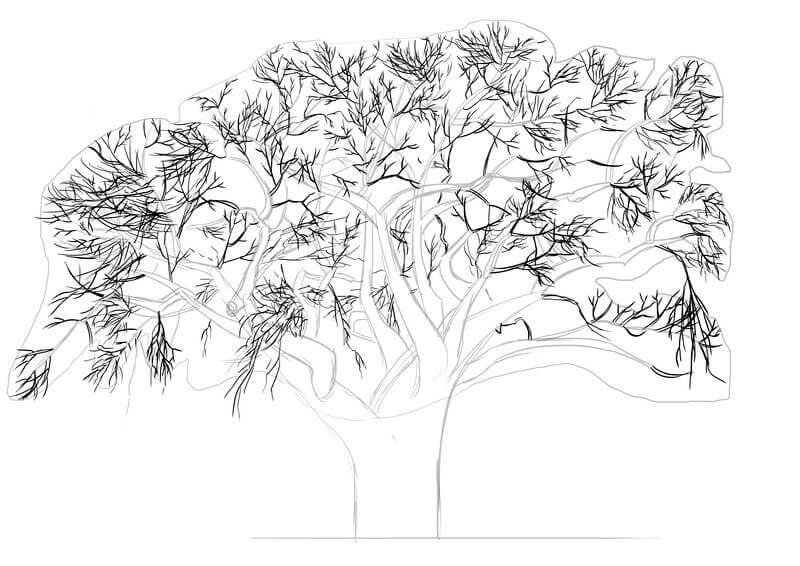
If you're struggling, start by placing the foliage behind the tree and then move forward ^^ Always think about working with masses. Foliage works a bit like clouds actually.
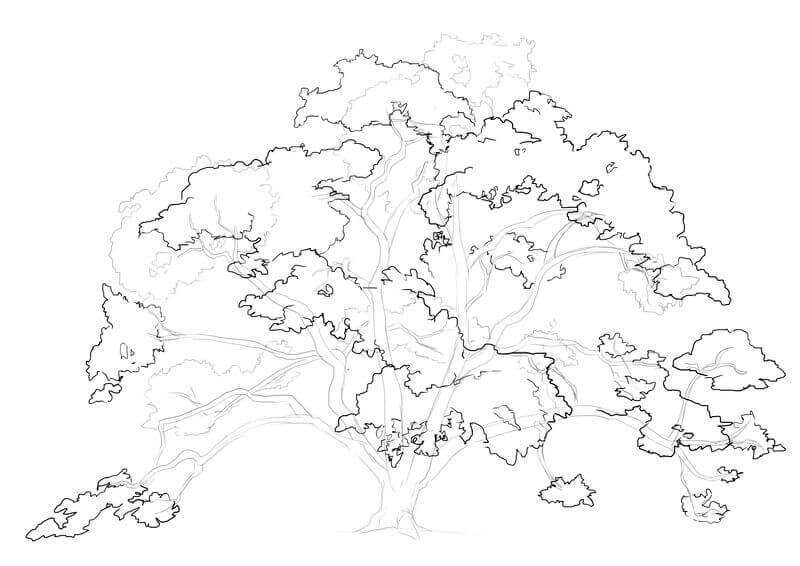
Then erase the areas hidden by the foliage.
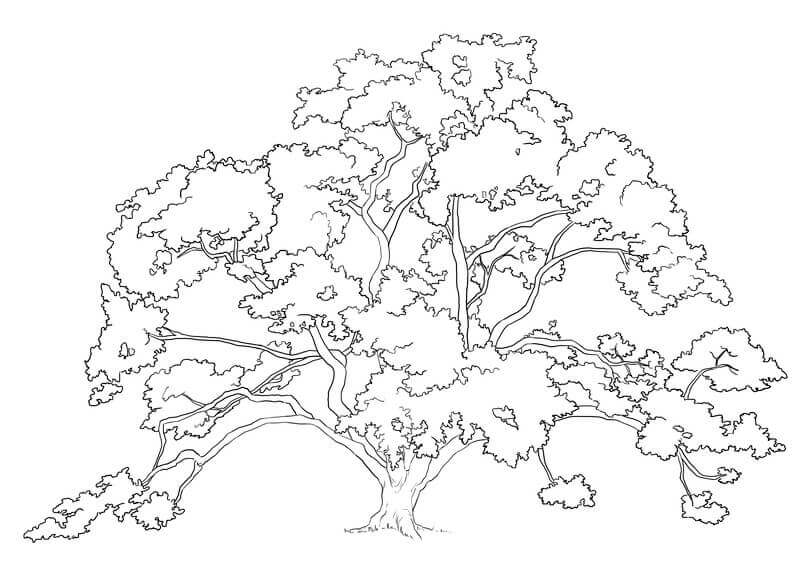
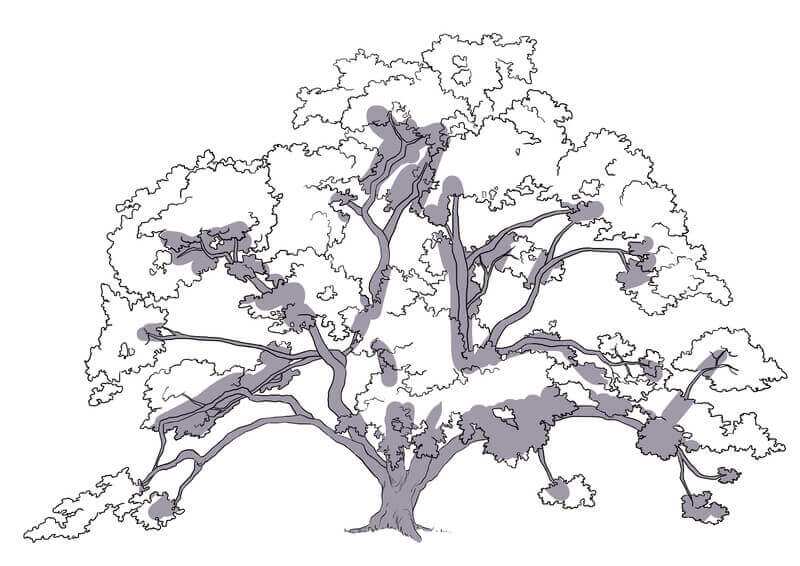
Before starting the color, I will quickly sketch the volumes of the tree for you so that you can correct your drawing if necessary or visualize more clearly how all this is put together ^^
APPLY COLOR TO THE TREE
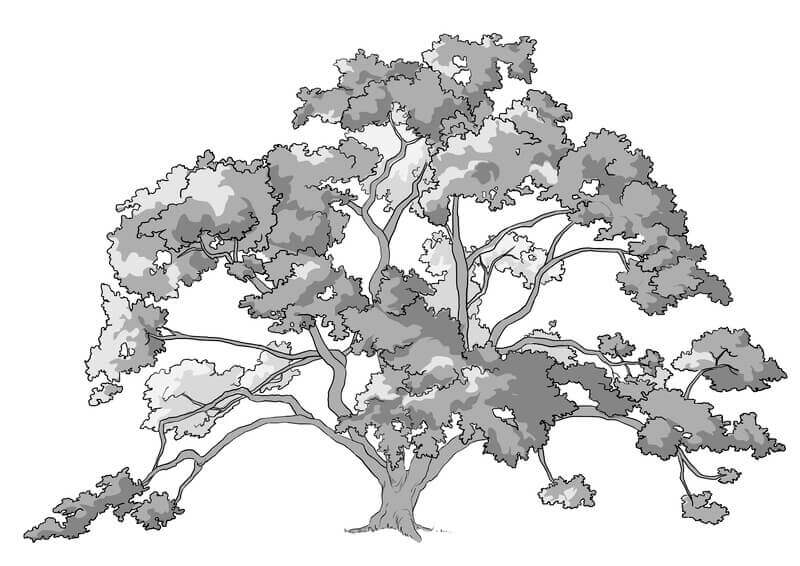
Here, your sense of observation is very important. Observe the colors carefully. A tree does not have a "brown" trunk and "green" foliage. It's much more subtle than that. Especially since there are variations in the shades. The trunk, for example, is in a very desaturated violet/brown, almost gray, and in places actually a bit more brown/greenish. So, I go with the lightest shade that I see. A kind of very light violet gray.
It's a weird color, isn't it?
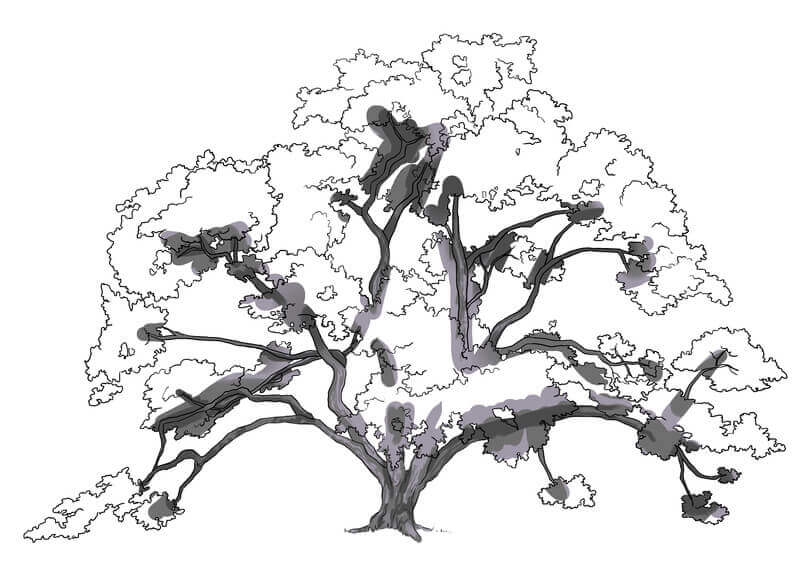
We'll fix that right away by adding the shadows. Note that the branches at the back of the tree are darker than those at the front. Personally, I used a basic gray, with no particular tint, for the shadows.
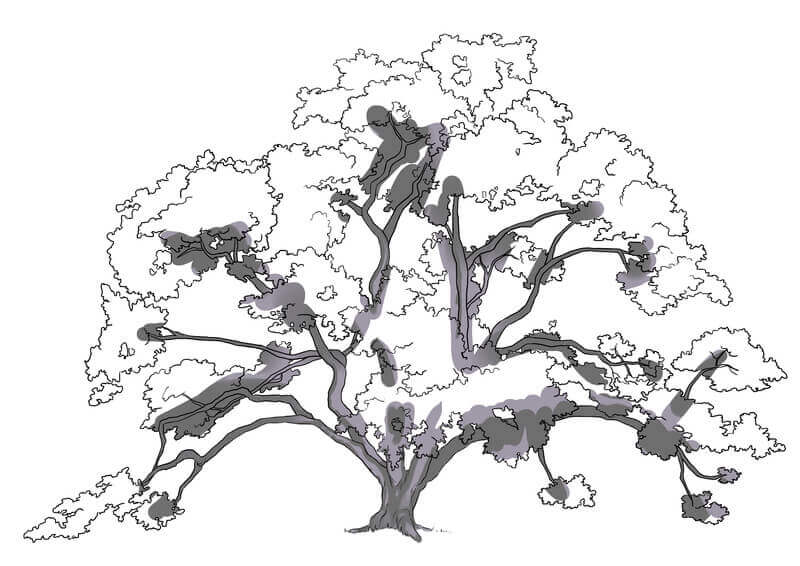
You can use a more purplish/bluish gray to add some light if needed, in my case I didn't need to use that ^^
Do not hesitate to work a little on the texture of the tree with small dark strokes (again, be subtle, we are far away, it must be very light).
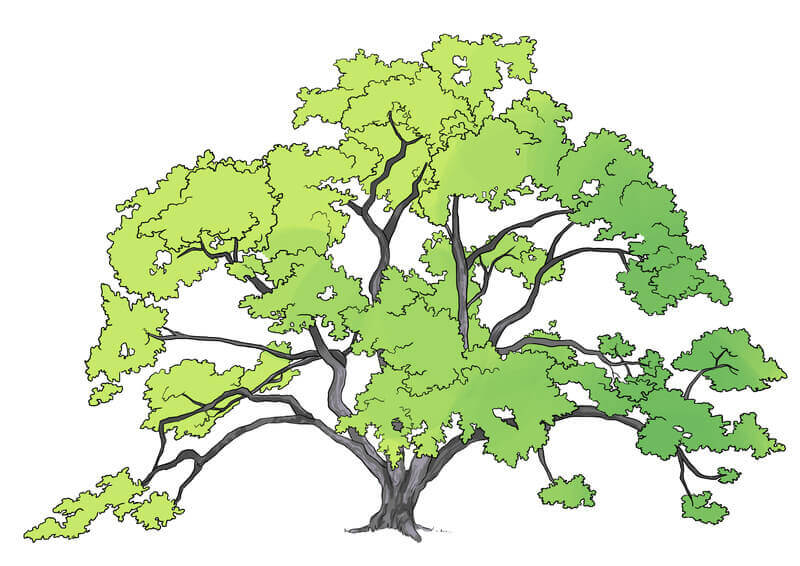
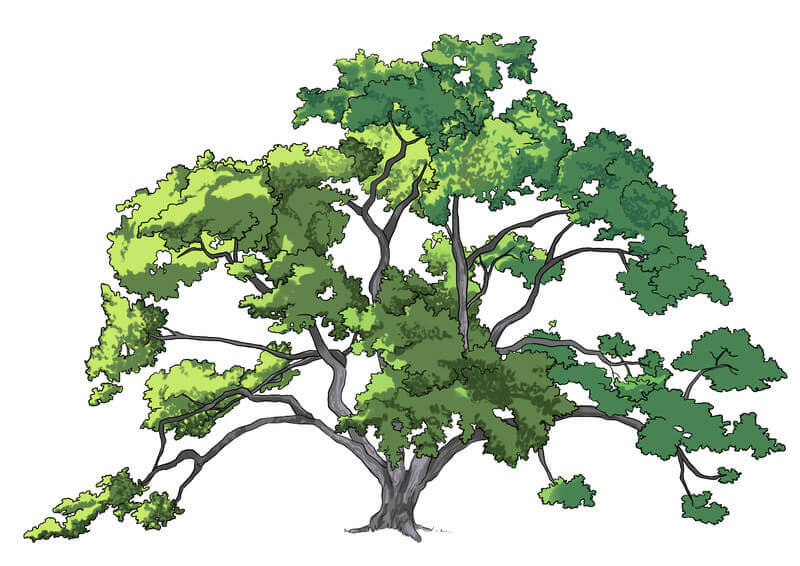
We're moving on to the foliage. Same thing, I see lots of different shades. It's normal that you might not see the same colors as I do, first because of your screen which alters the colors more or less and simply because color perception is quite subjective in the end ^^
I see a nearly yellow green, an apple green, and a more bluish green. I also place my lightest color here.
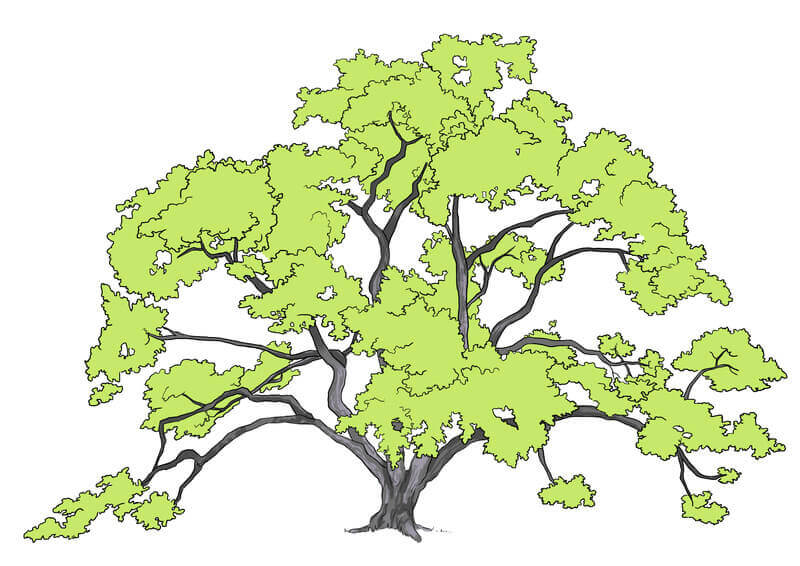
I am already going to place bluish shades here and there.
Also note that according to my reference, the foliage at the front is darker than that at the back, so I will darken it a bit before moving on to the shading itself. I use two greens for this: a yellow green and a bluer green.
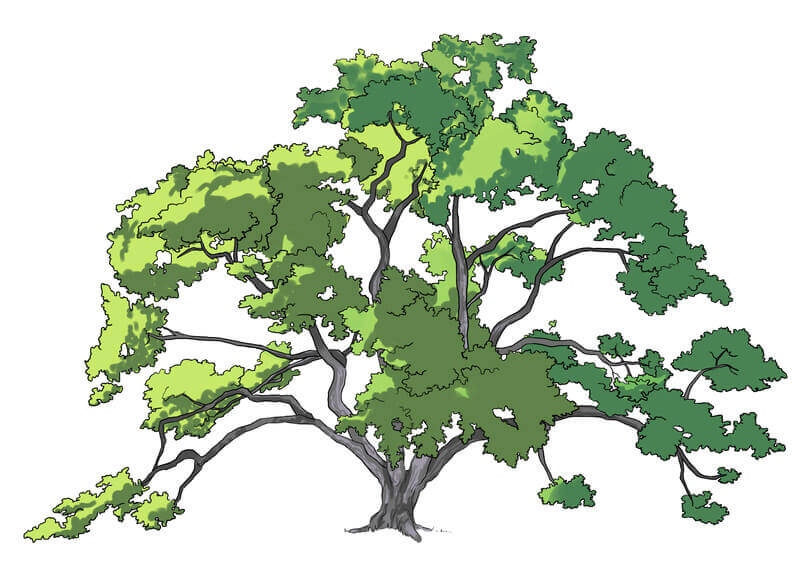
For shadows, we use a darker green, always with a bluish or yellow tint depending on the area we are working on. To color foliage, depending on the style of your drawing, you can stay quite vague like this.
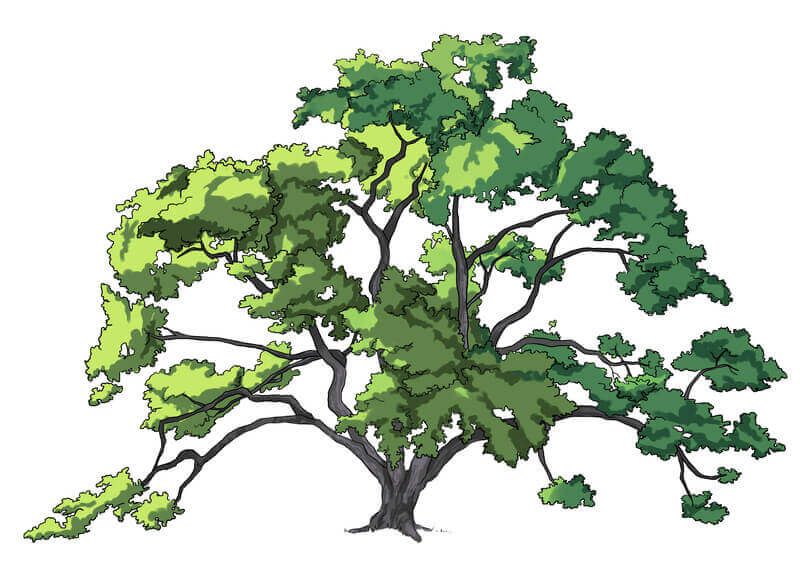
The leaves are almond-shaped, there's no point in detailing them one by one, but in places, it can be very interesting :)
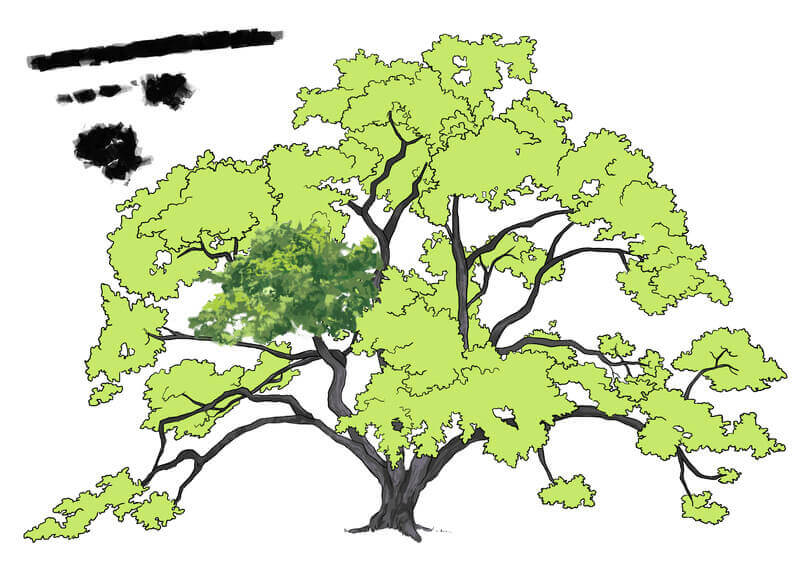
I'll show you step by step what it can look like, detailing as we go. If you work with paint, lucky you, you can take a hard brush and some paint with little water and dab it on your paper. You will then have a pattern that fairly well evokes leaves (which you can then rework in a more traditional way if you wish).
So we were here:


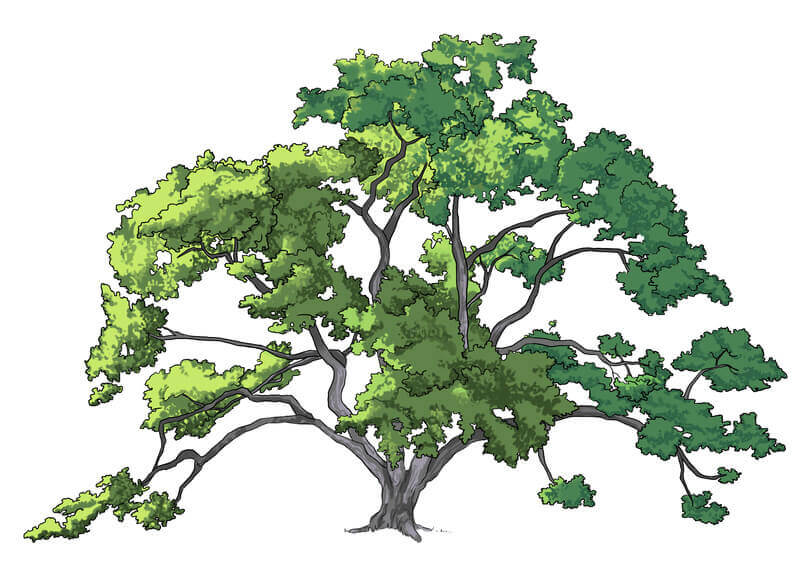

I used a shade of yellow-green and blue-green shadow, then I added an intermediate shade for the yellow-greens and added a darker shade for the blue-greens ^^
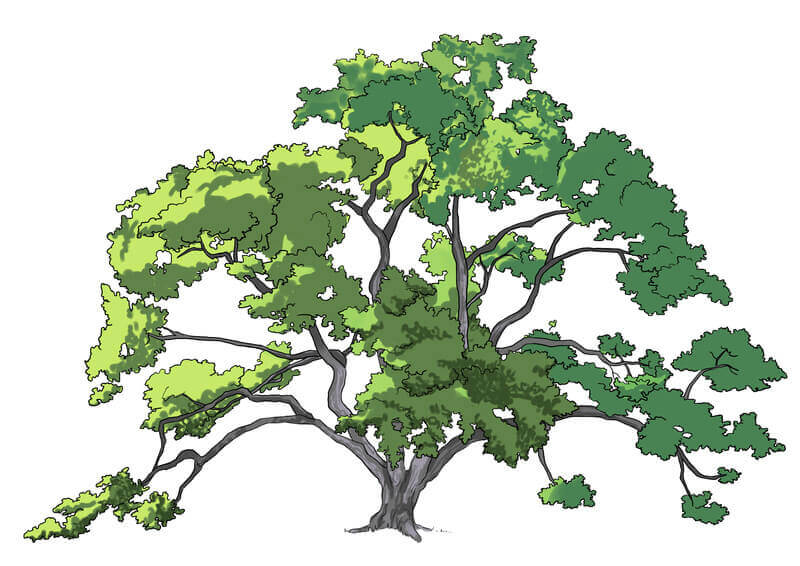
For others, especially those on computers: please, don’t use brushes with "leaf" patterns. They are very ugly and in terms of rendering, it’s clearly not the most effective. For this tutorial, I show you all the coloring with a basic brush, which slows me down a lot. But you can also use texture brushes like this, for example.
And then rework everything on top of that. Treating elements like foliage or animal fur is quite subjective. Doing everything leaf by leaf or hair by hair is not necessarily the most effective way, even if you want to be hyper-realistic. Simply because our eye does not perceive details everywhere. So don't hesitate to not detail everything everywhere ^^
And there you have it for the oak.

DRAW A BAOBAB
THE BAOBAB TRUNK
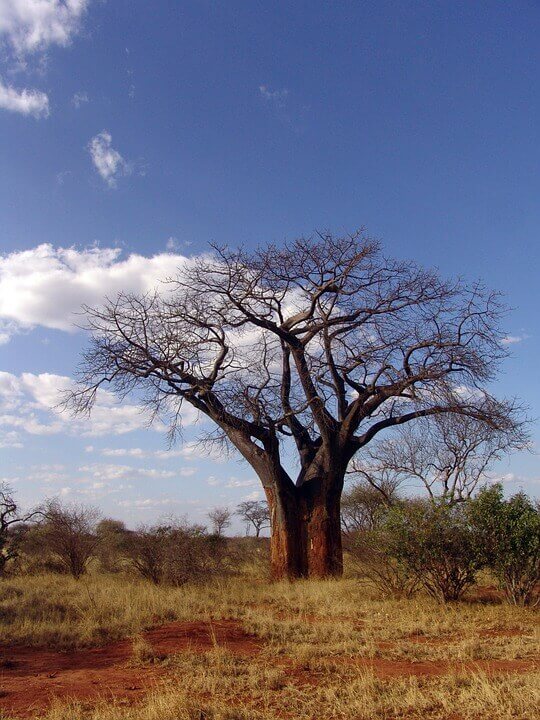
Here, it's the opposite of the oak, we start with a tree with a very characteristic trunk and no foliage.
We start all the same with the trunk! A small column that's more or less straight.
DRAW THE TREE BRANCHES
From there, we start with the largest branches that are quite twisted or contorted rather.
Same principle as for the oak, we branch out with smaller branches. Again, don't hesitate to make bends, even if they must be more pronounced this time.
And we repeat the operation.
I hope you are naturally patient because this baobab is going to put us to the test. Once we do these branches, I quickly draw the shape that encompasses all the mini branches we have left to trace.
And we start branching out again.
Yes, it will take time. The same principle applies to trees in winter, without their foliage.
We are now going to draw lines without much sense (well, a little bit just to not mess up our long and tedious work). We're going to make a lot of lines to give a "bushy" effect to the branches of the baobab. Because right now, it's a bit dismal. And let's do it cheerfully. It has to resemble something; we can't cheat with foliage this time.
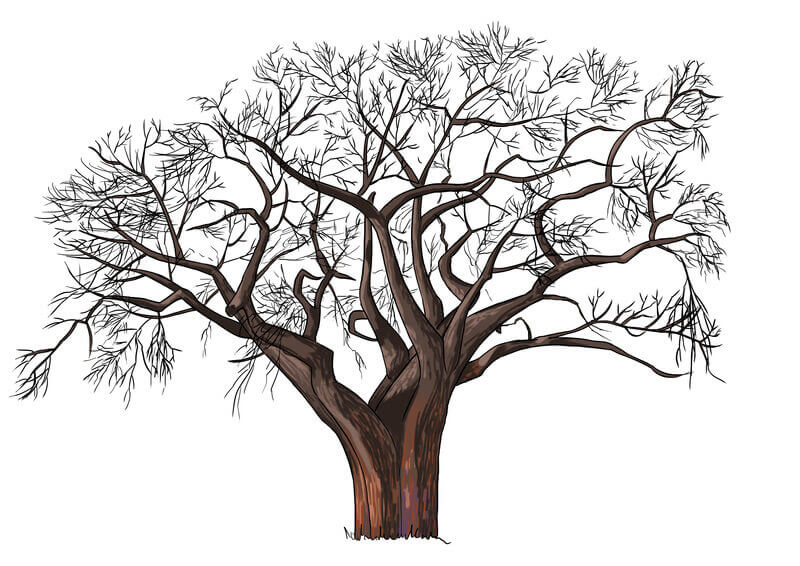
Once we have a good mass of branches, we go back and clean up what needs to be cleaned. If you work in traditional, good luck, personally, I didn't have the faith to go over the small branches we made.
Here it is, that's a baobab. Are you still alive? :3
It's true that depicting trees can sometimes seem lengthy and a bit tedious. But it's also an opportunity to turn your brain "off" and let your hand do the talking. And in the end, your illustration will only look better with a well-executed tree, so it's worth taking the time.
Come on, let's move on to color!
APPLY COLOR TO THE BAOBAB
We do it the same way. I warned you, it's always the same principle ^^ Here we don't have foliage, so it's going to go very fast :D
The trunk therefore, personally I see it brown / orange.
We will give it less uniform shades. Personally, I see a kind of brownish / grayish purplish hue on all the branches. I take this opportunity to already give some texture to the trunk.
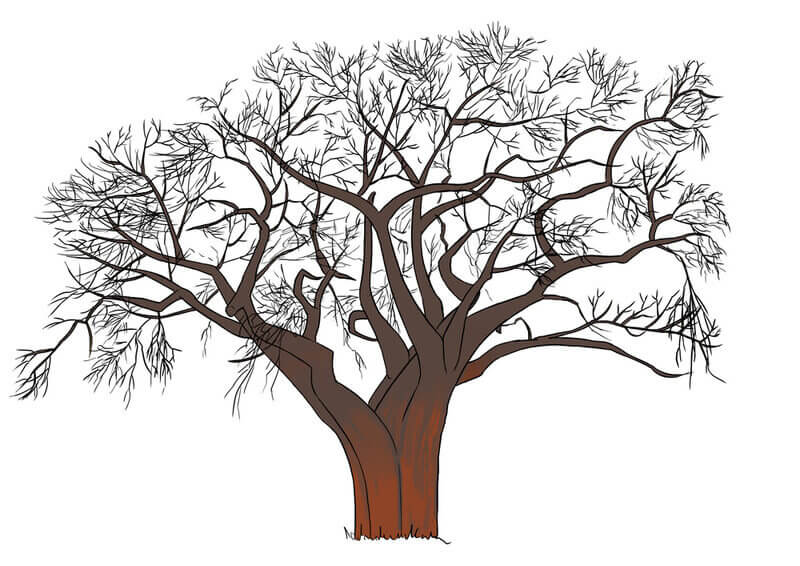
THE LIGHT OF THE DRAWING
The lights are set. A kind of fairly light orangey beige.

We do the same thing on the branches with a grayer shade.

Finally, we apply the sharp shadows. Notice the distinctive volume around the trunk and the shadows showing that the branches twist slightly on themselves.
And that's it. Quick, right?
If that was too fast and you would like a video on this topic, I invite you to check out my Youtube tutorial about it ;)
DRAW A CHRISTMAS TREE
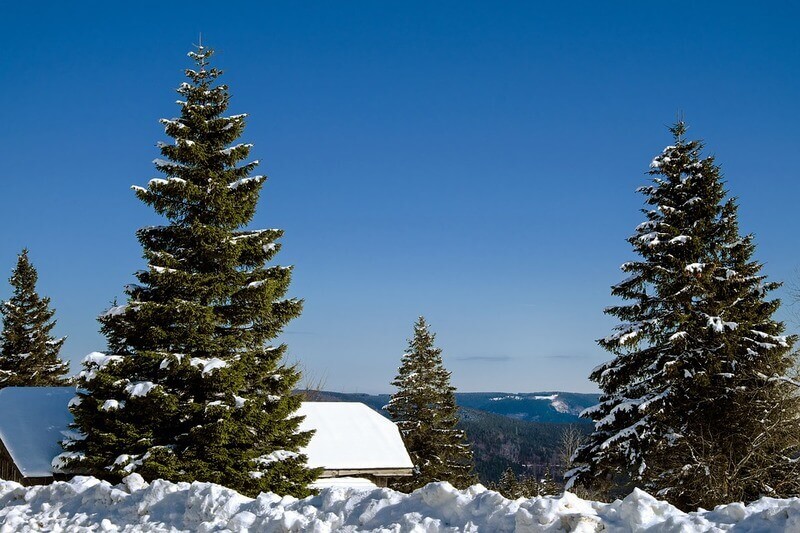
I'll finish with something simple. Yes, yes, I assure you, it's easy ^^
In general, for fir trees, there's really no need to bother drawing the whole structure. They are leafy enough that we don’t need to worry about it, unlike the other two types of trees we've already seen. SO NO BRANCHES! Pop the champagne!
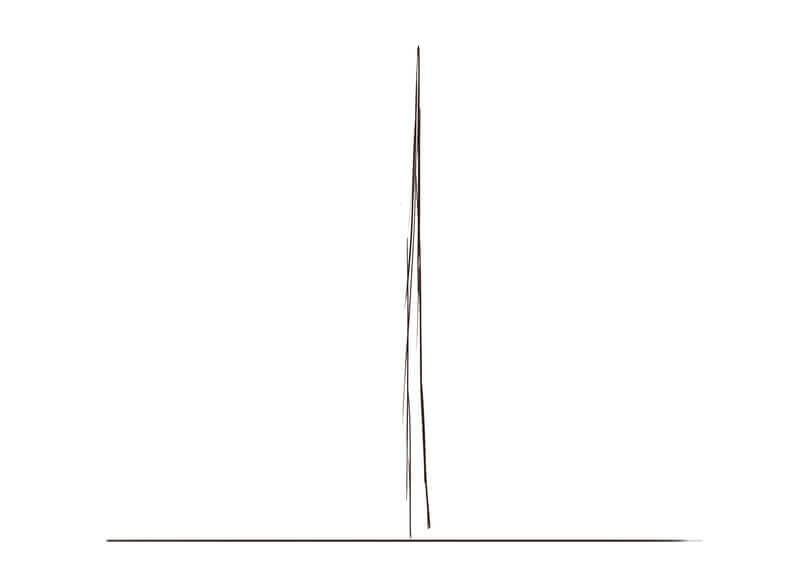
THE TRUNK OF THE FIR TREE
So we start as before with the trunk (after all). Yes, indeed, because even if it will be almost entirely hidden by everything else, it allows us to have a first sketch of our Christmas tree and especially to define its size for what follows.
DRAW TREE FOLIAGE
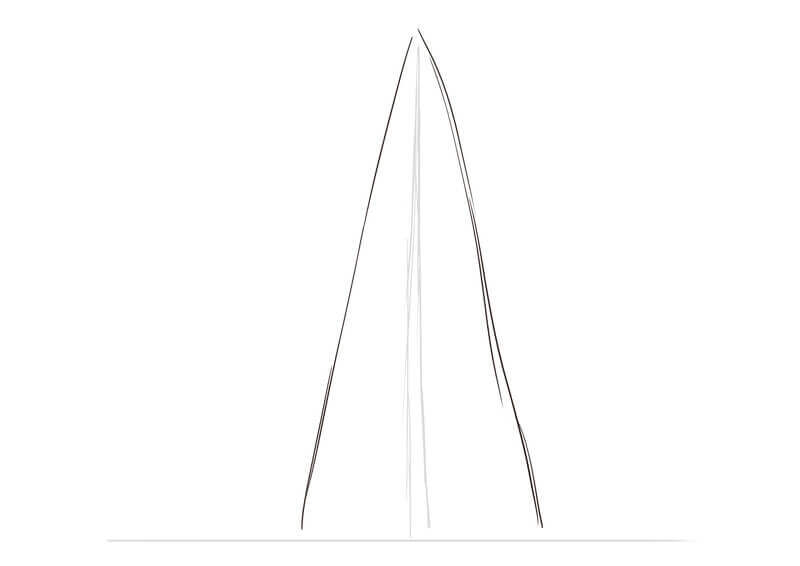
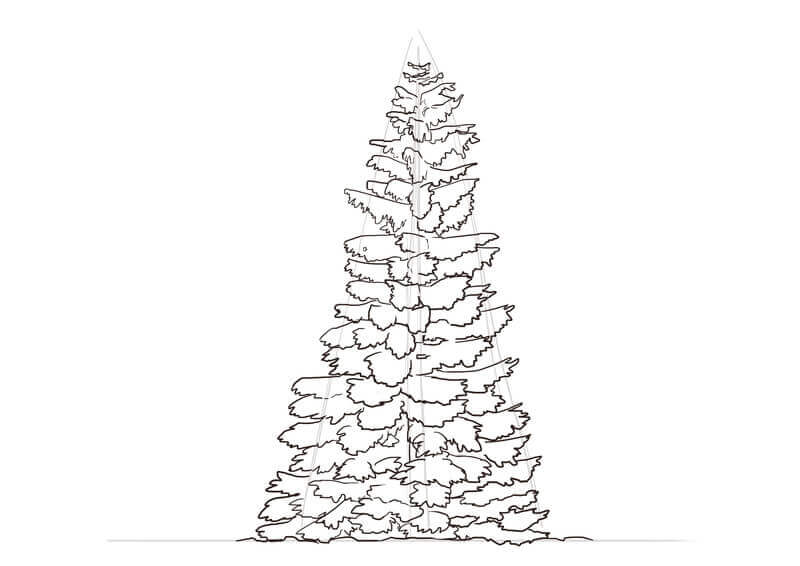
Then I trace the approximate shape of its foliage.
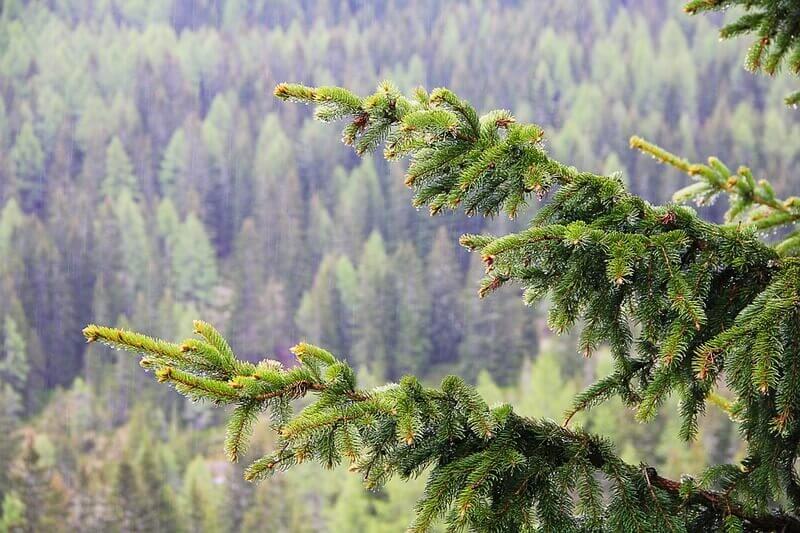
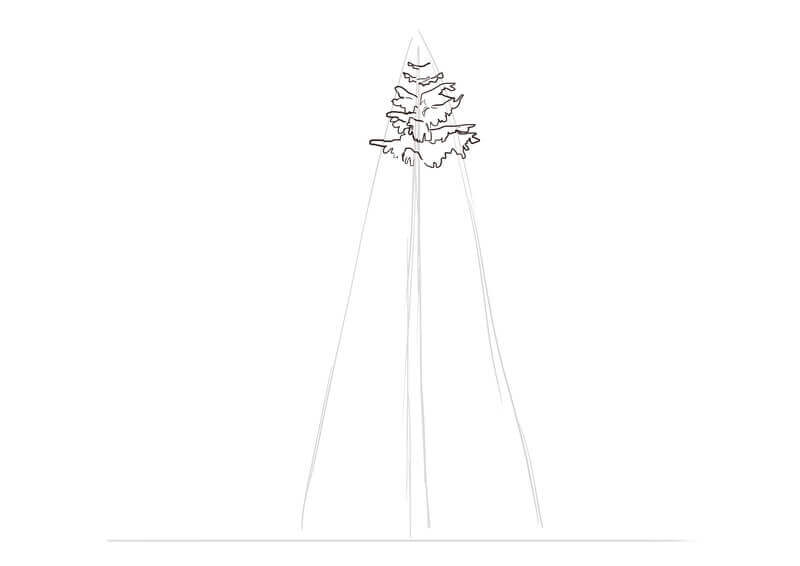
We will elaborate further. You have all either decorated or seen Christmas trees before, so you more or less know what a fir branch looks like. Fir trees have relatively uniform foliage, unlike the previous two examples. Even though we're still not aiming for perfectly uniform lines, we can try to be less random. Be careful not to be too regular and uniform. We are still dealing with something organic, so symmetry and equal distances between branches would immediately look synthetic.
The top of the branches is generally quite flat and the underside is irregular as it is made up of needles.
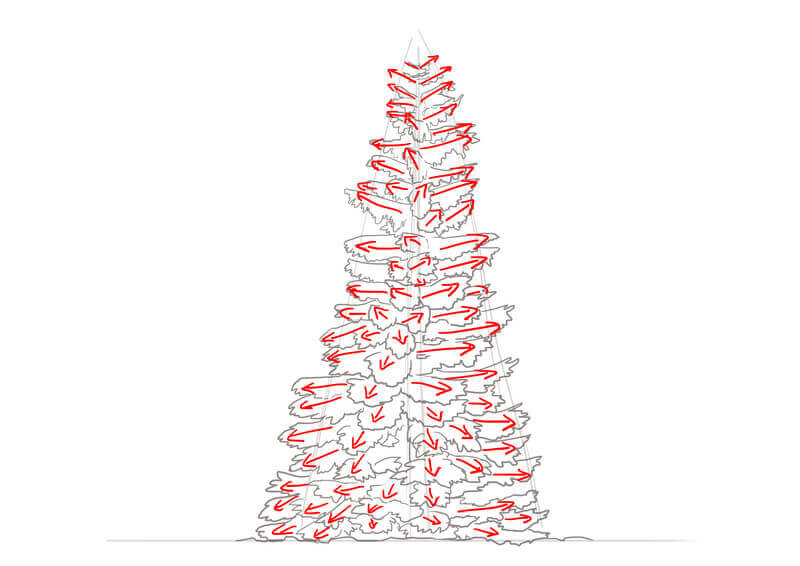
If you have trouble understanding the structure of the branches, here is a small diagram with the angle of each branch. In fact, they are arranged radially around the trunk.
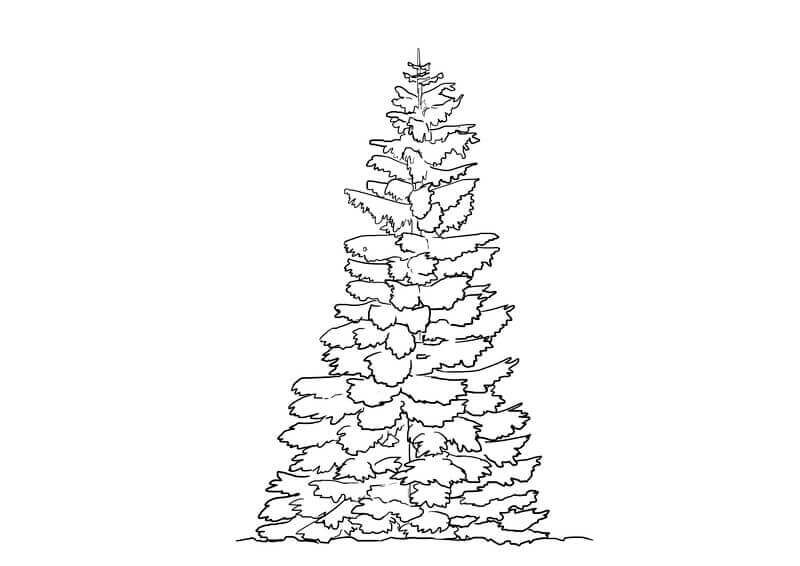
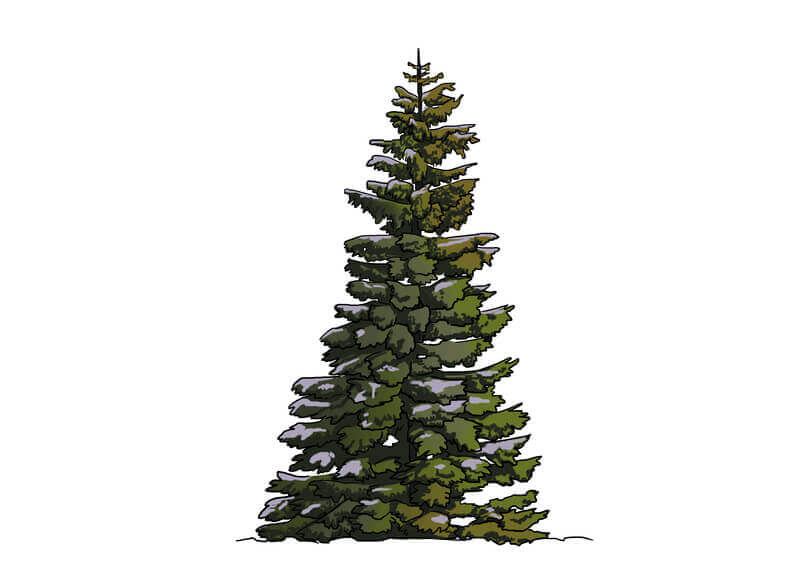
Here is what it looks like once finished.
APPLY COLOR TO THE FIR TREE
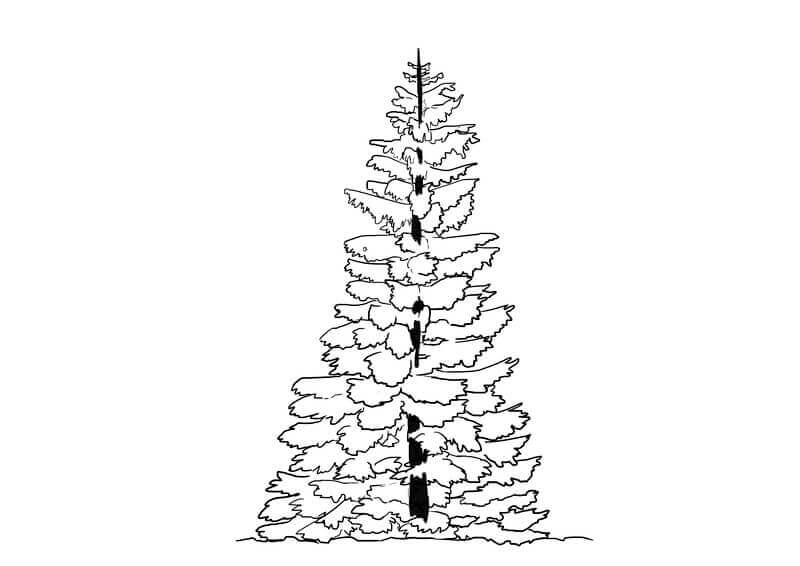
Here, it's going to be quite simple as well. The trunk is completely in the shadow, so we start right away with a very dark gray.
For the foliage itself, a fairly yellow green is chosen.
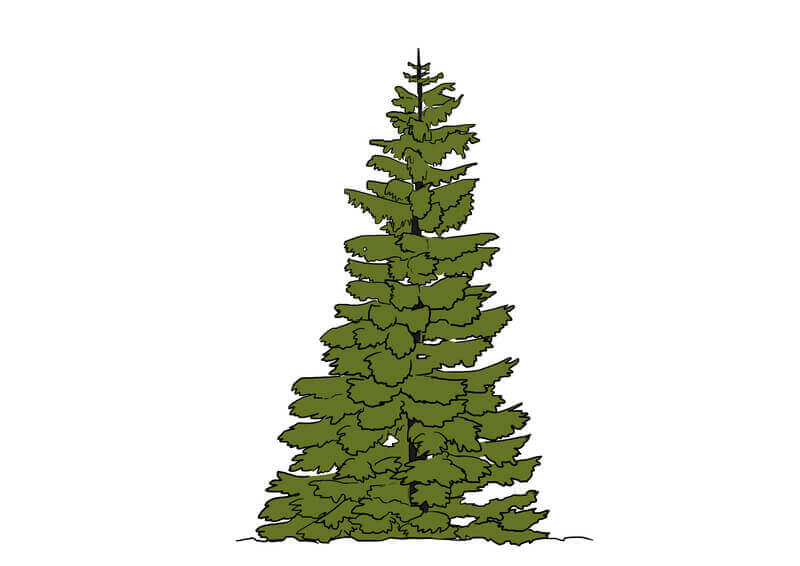
We can add nuances with a slightly orange shade and another bluer one.
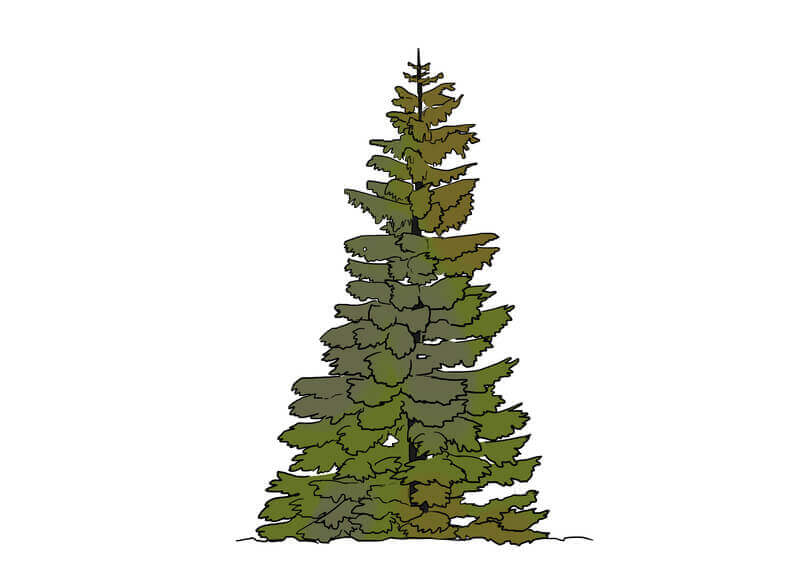
We darken the area at the bottom left a bit, which is quite in the shadow, before starting the shading itself.
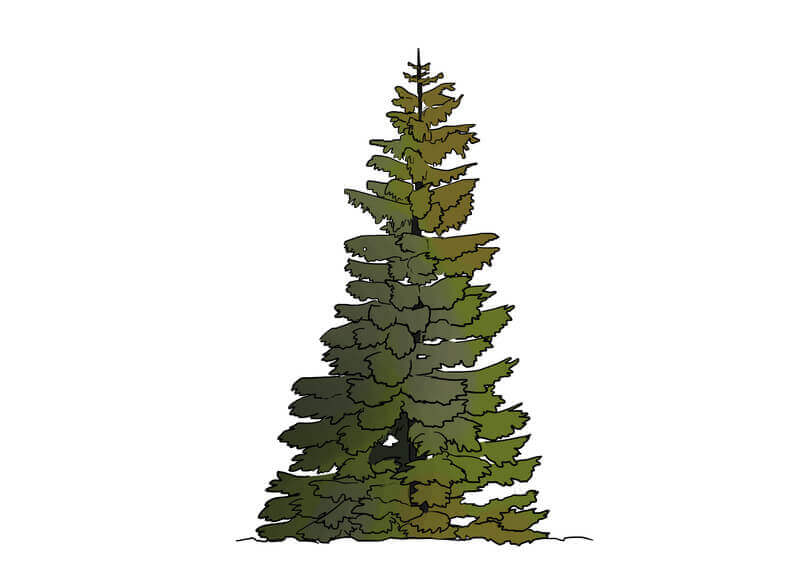
THE SHADE OF THE TREE
The shadows are in a green leaning slightly towards brown. It seems to me that I used the same shade everywhere in this case. You can choose multiple shades for different areas if you wish, of course ^^
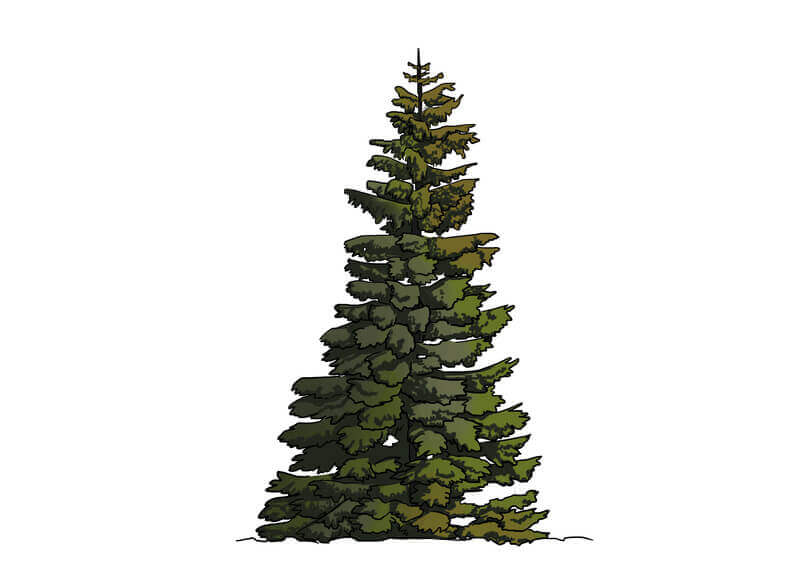
Again, depending on the level of detail you want, you will spend more or less time on it. Personally, I stuck with something super simple.
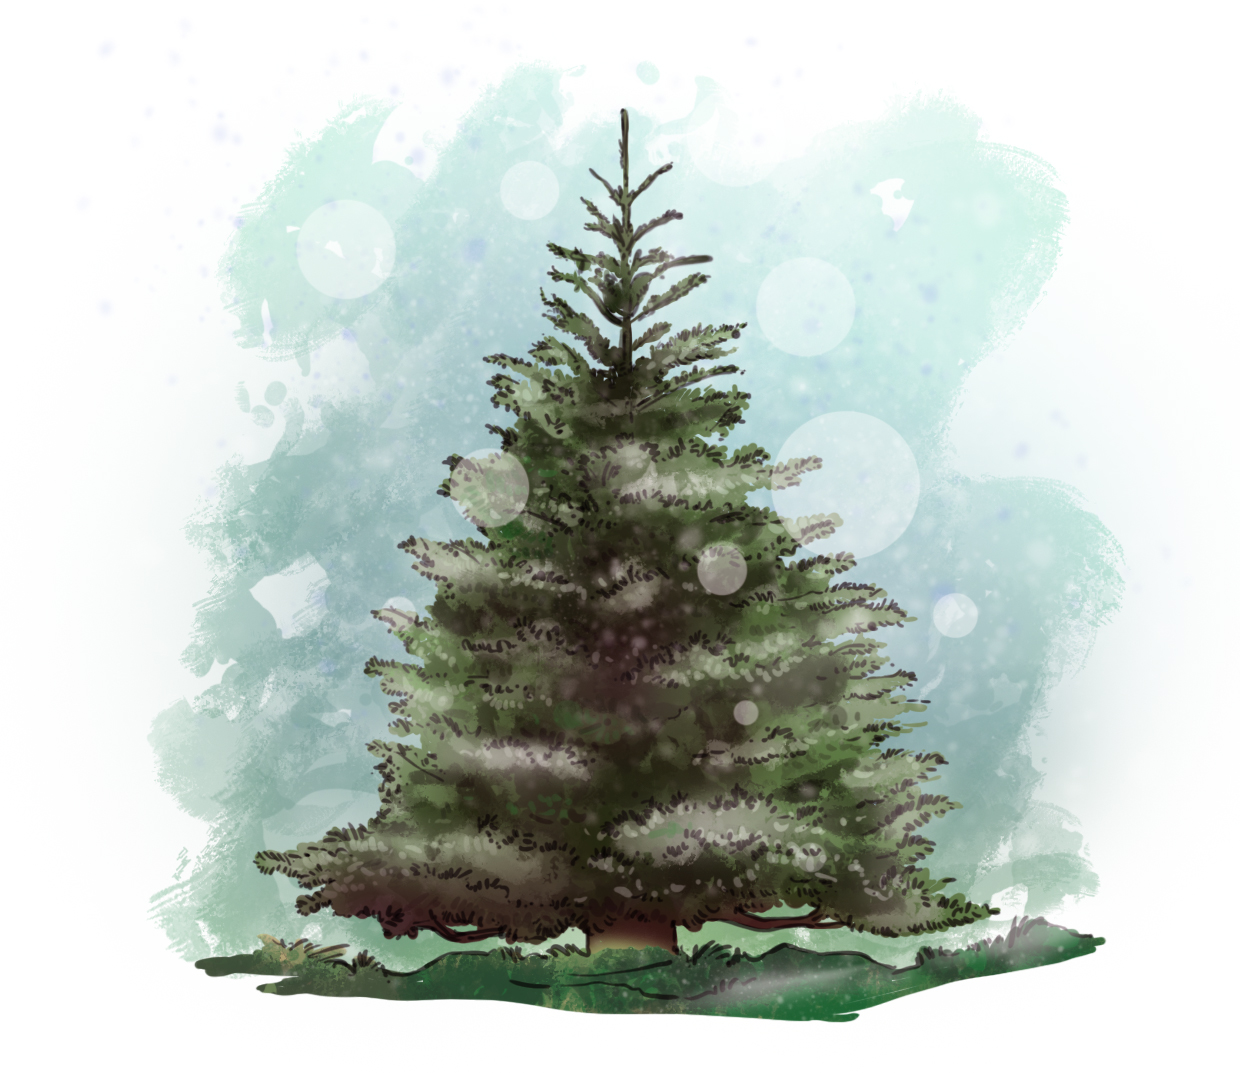
For those who want, we can also lay the snow (in varying amounts according to your wishes). We start with the shadow hue that I see in a purplish gray:
THE LIGHT OF THE FIR TREE
And then, we place the lights, almost pure white. And that's it for our lovely tree!

REMINDER AND CONCLUSION
Here you have, more or less, the methodology to create trees. We almost always proceed in the same way.
Recap:
- We draw the "skeleton" of the tree (trunk and branches)
- We then place the foliage logically, not forgetting that our tree has branches all around its trunk and not only in front of us.
- We choose the level of detail we want
- For color, references, it's always life
- Again, adjust the level of detail to what you prefer / need.
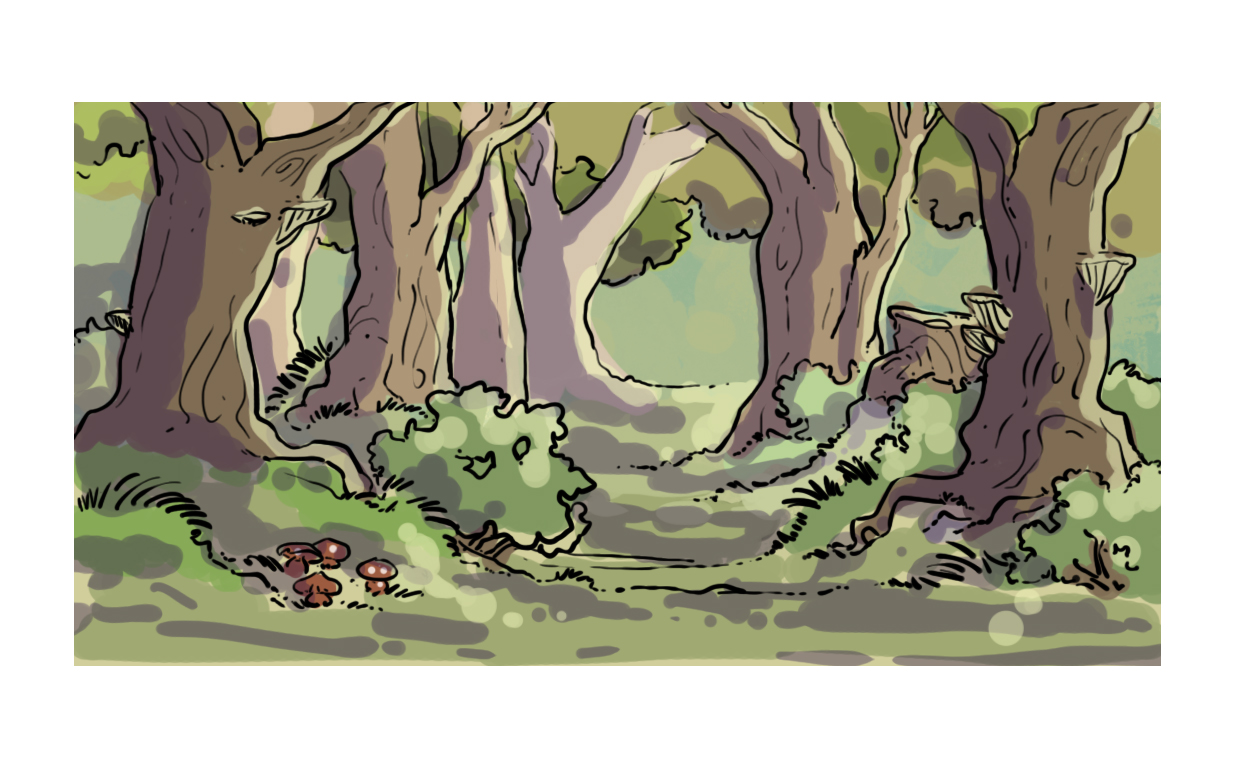
Here is the tutorial finished. I hope you enjoyed it and that it will help you create beautiful tree drawings for your illustrations. Trees are a very recurrent element that, you will see, you will frequently want to add to your drawings. It would be a pity to miss out on this by settling for a simple rigid stem as a trunk and a pseudo cloud for foliage.
Take the time to carefully observe the trees around your home, and take the opportunity to photograph them. Firstly, because trees are beautiful, and also because these will serve as your own reference images when you need to draw and observe trees.
With that, I wish you happy drawing and lots of fun :)
Discussion
14 comments