Draw a Christmas Tree
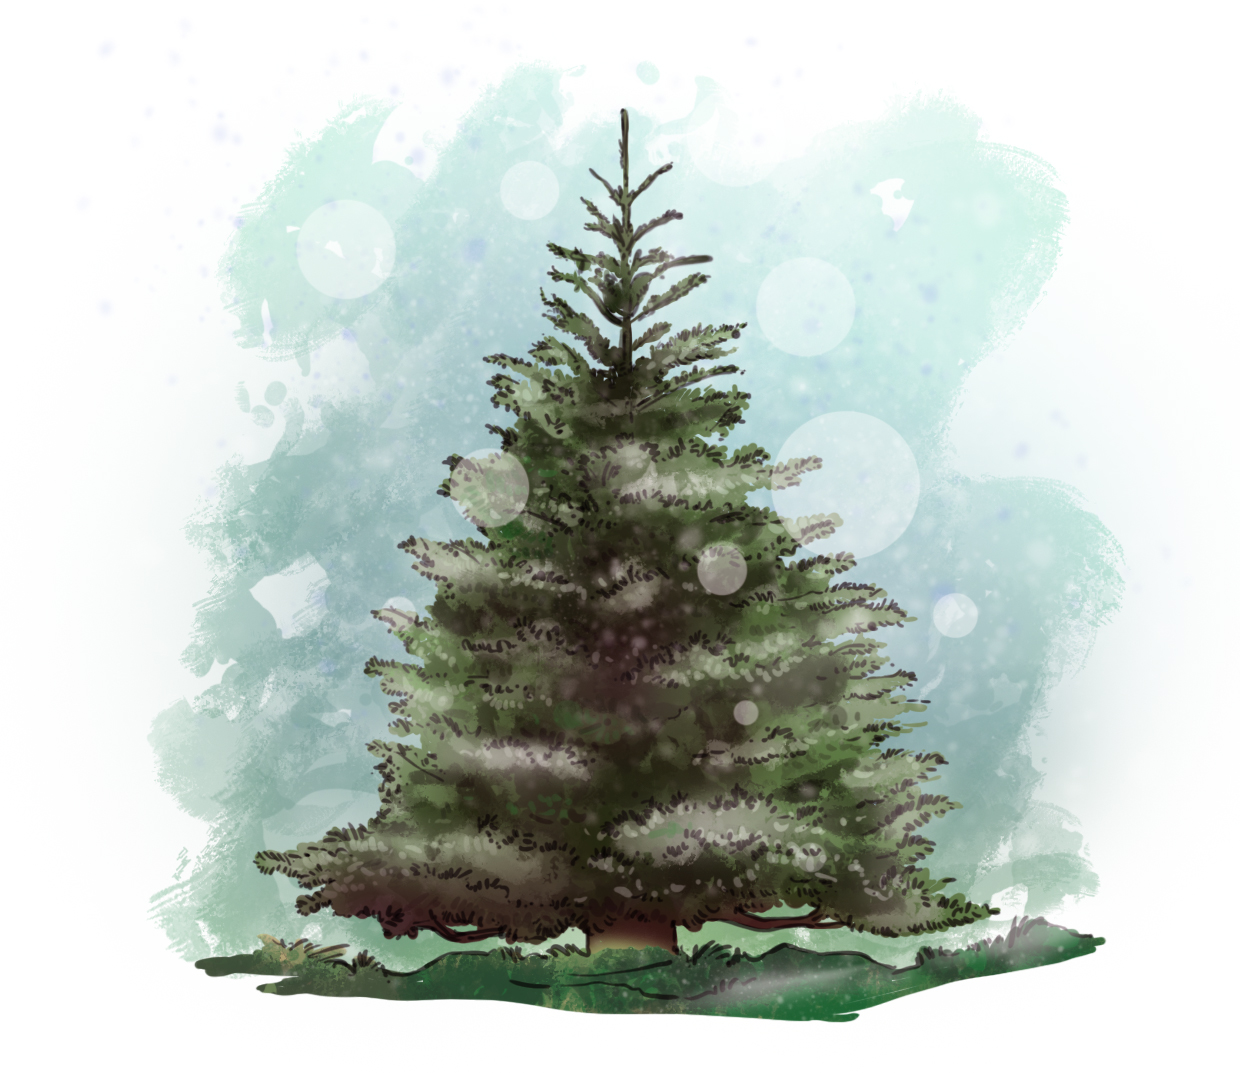
Hello everyone, today we are going to draw a tree dear to our hearts, the fir tree! Yes, because it is not just any tree, it is the king of end-of-year celebrations! This tree has a strong festive connotation, besides being the symbol of the beautiful forests of the North.
UNDERSTANDING THE STRUCTURE OF THE FIR TREE
Firs are conifers and are part of the Pinaceae family (like spruces, cedars, and pines). They are easily recognizable by the way the needles attach to the stems: one by one.
THE BASIC STRUCTURE
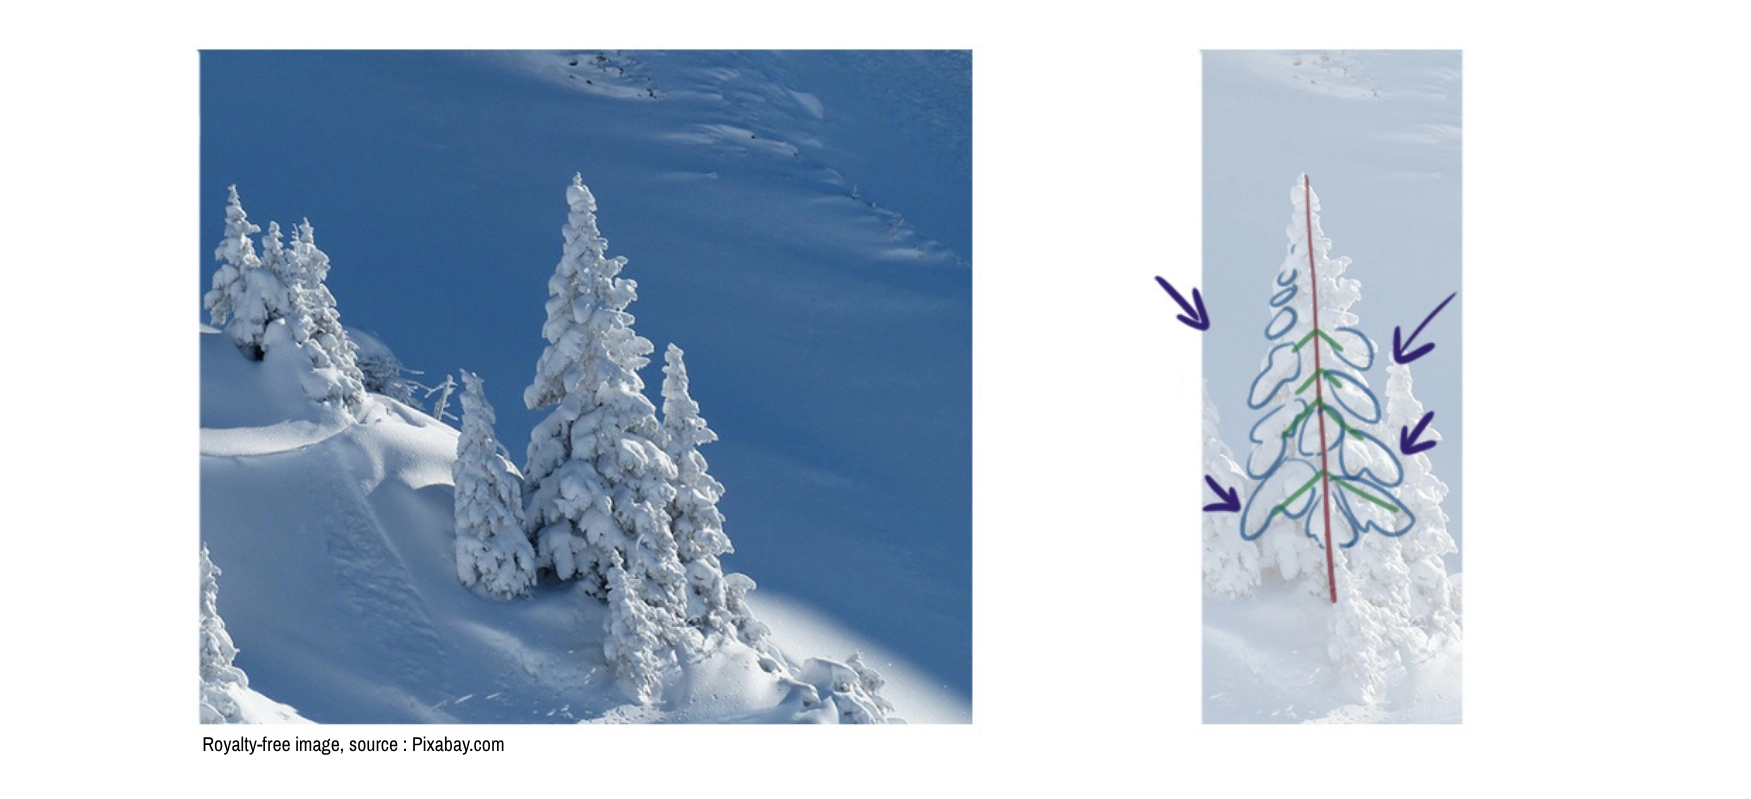
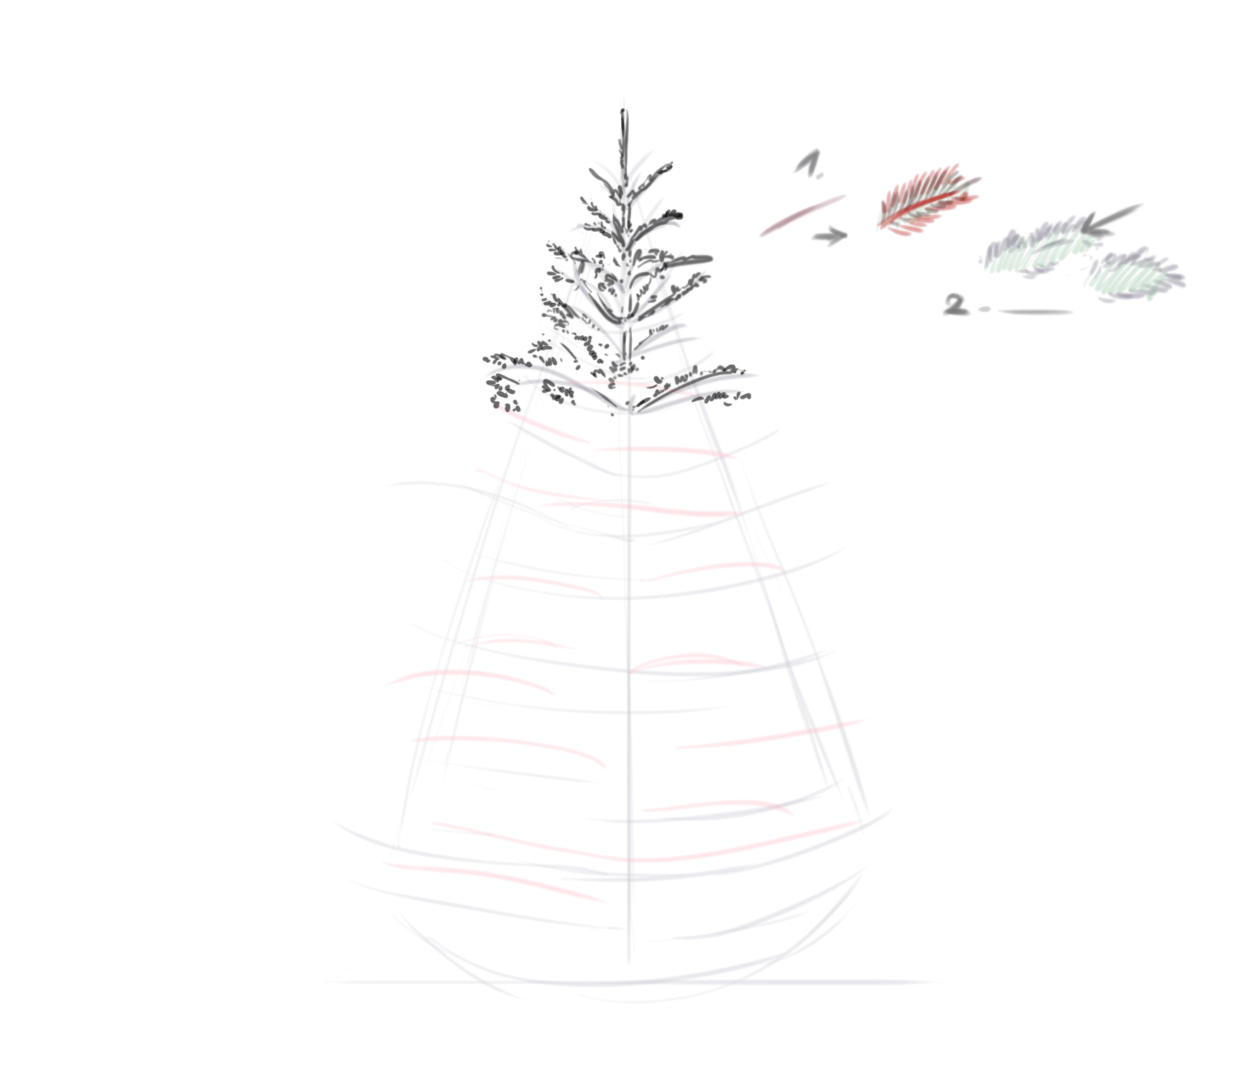
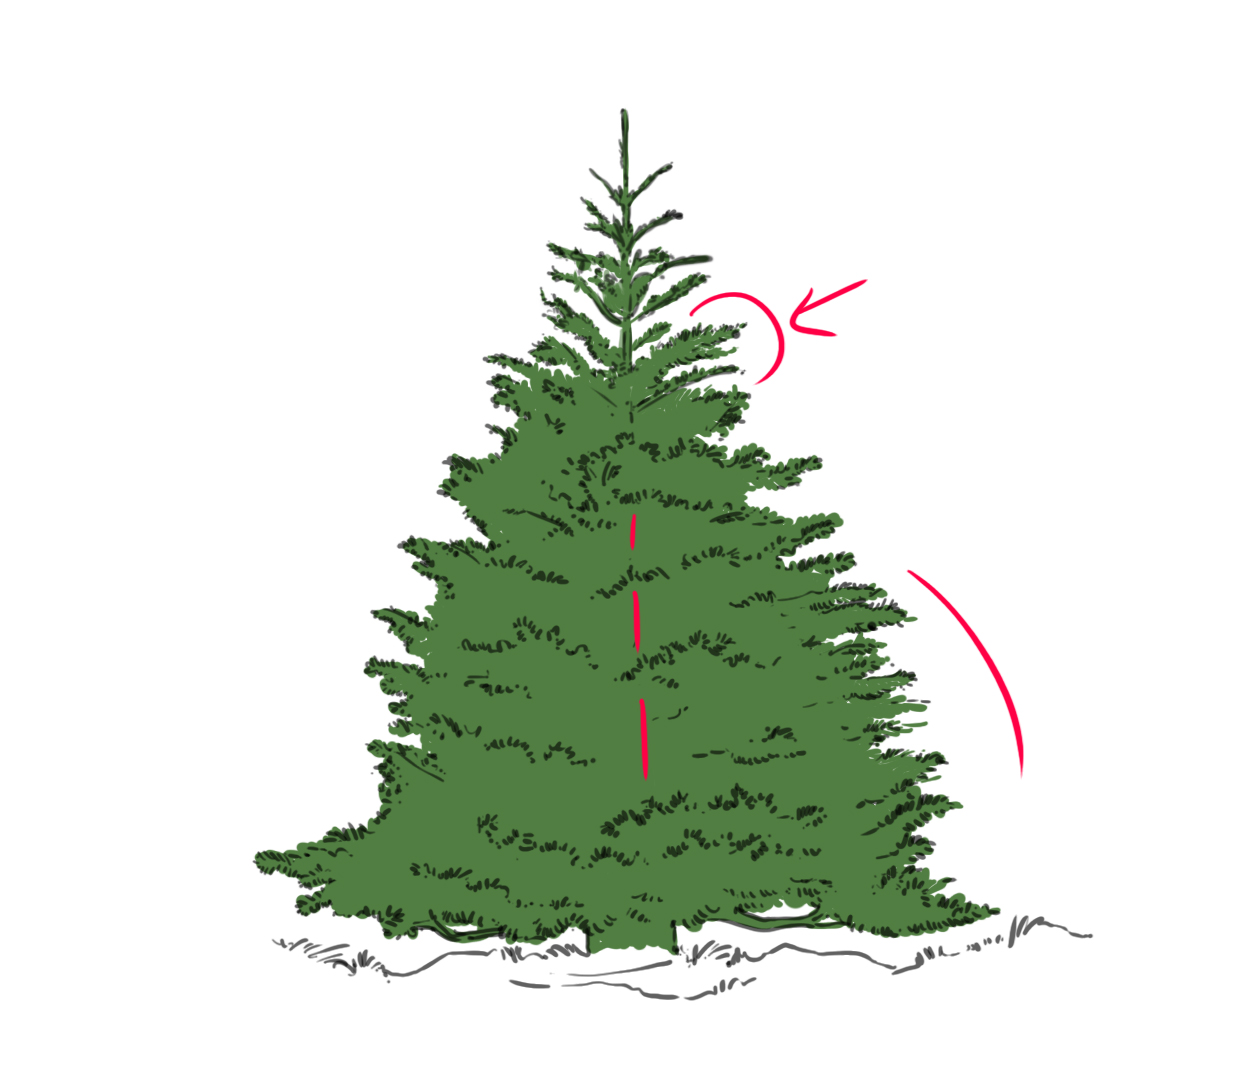
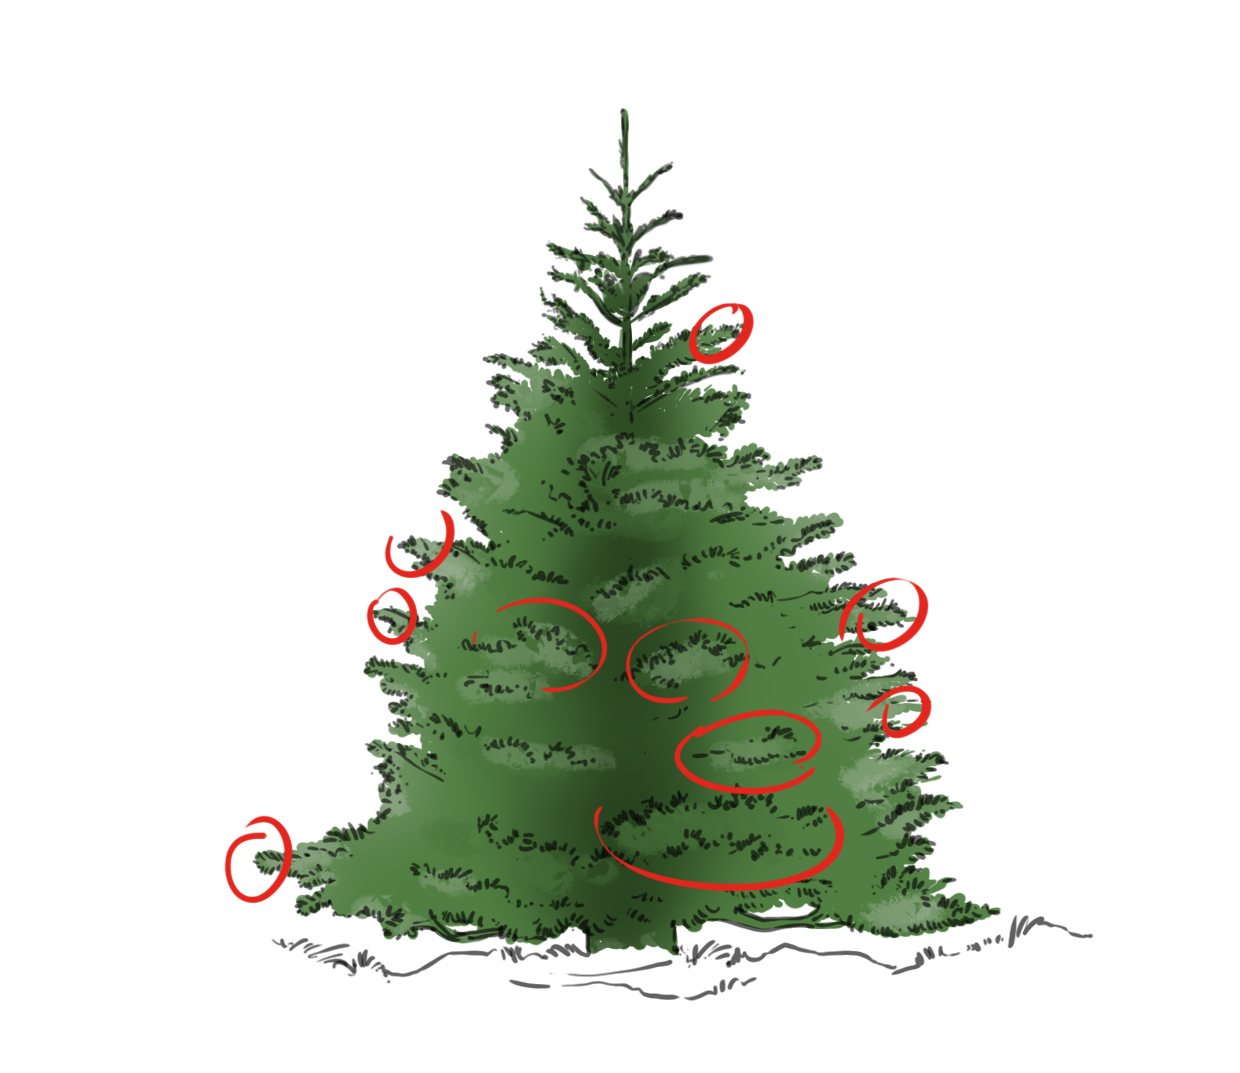
So it seems obvious, but the general shape of the fir tree is rather conical, with the trunk in the center (in red).
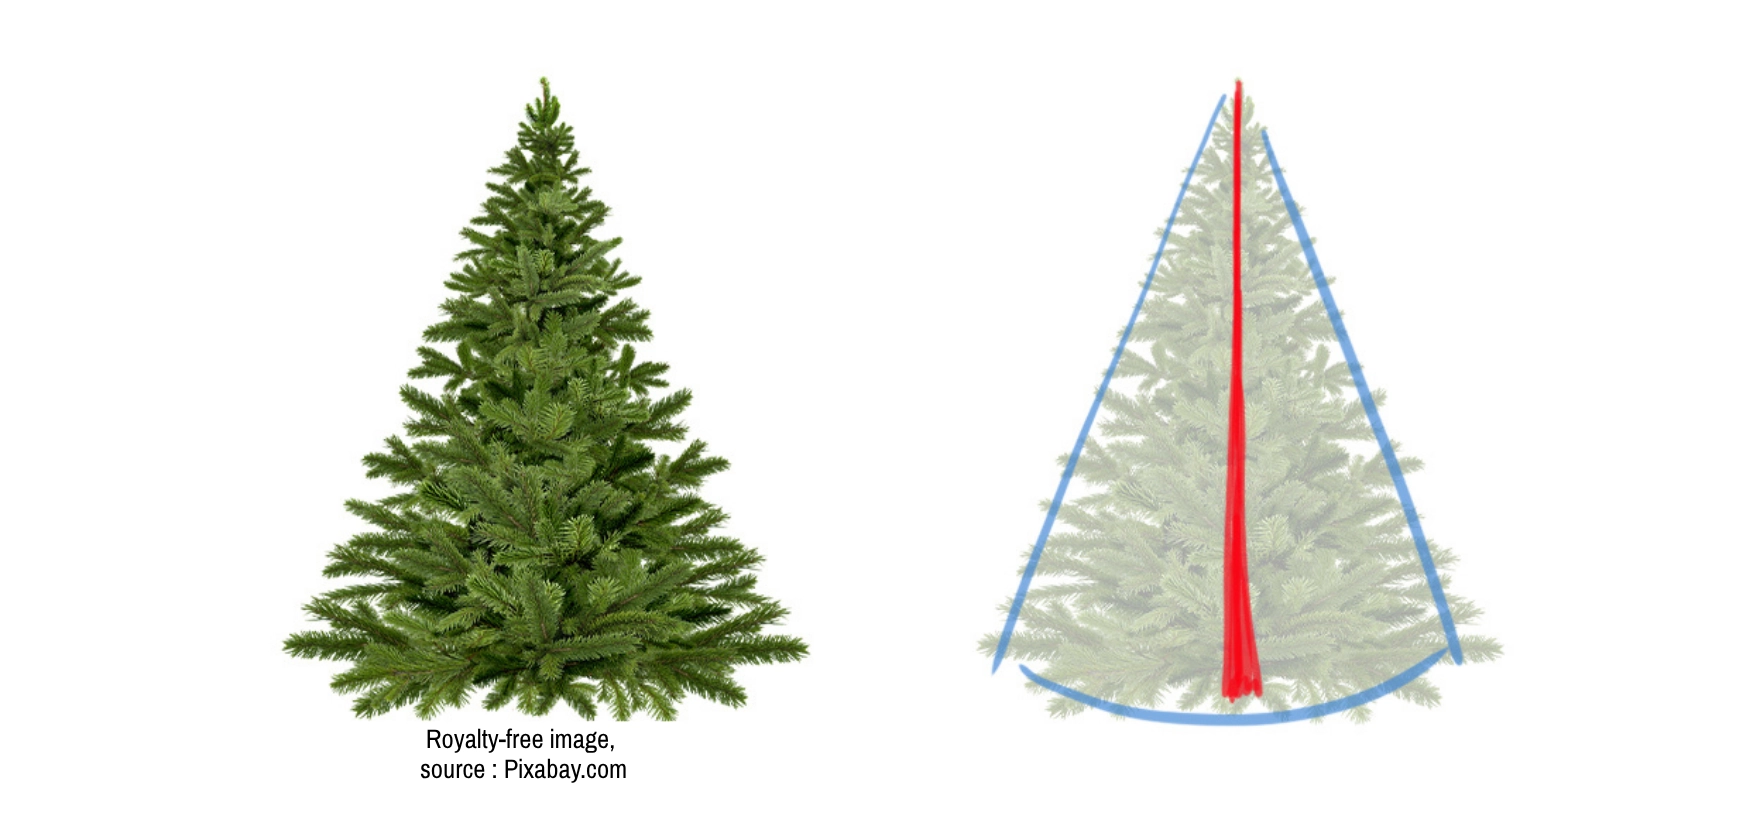
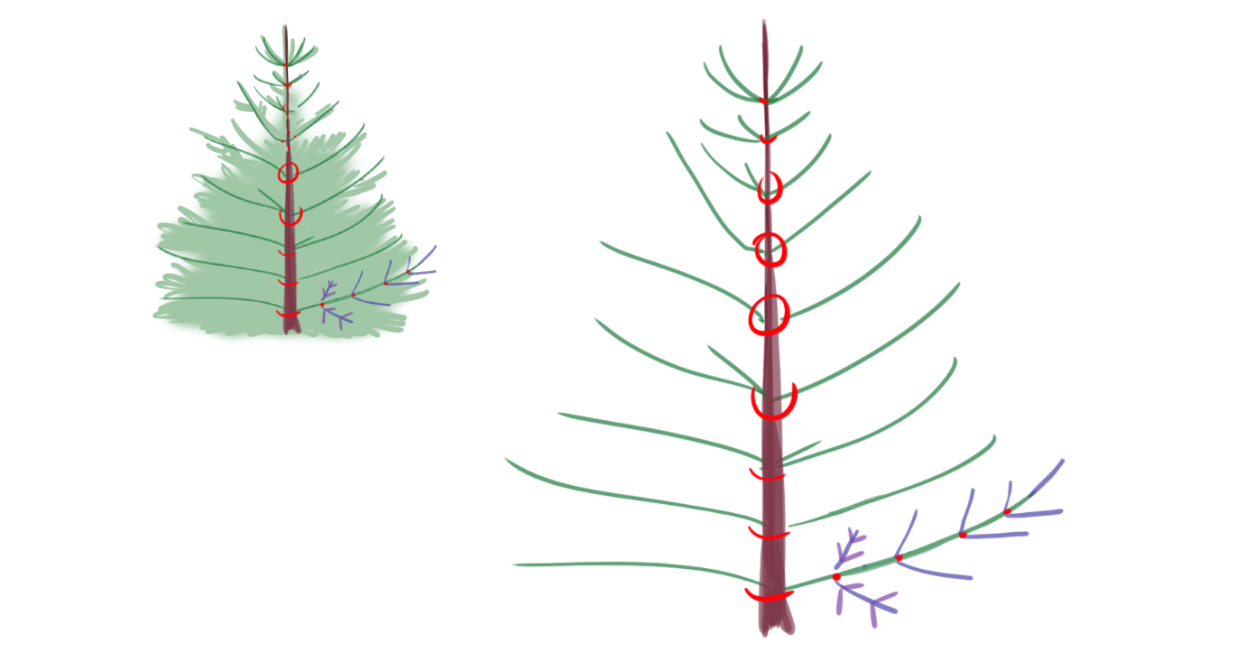
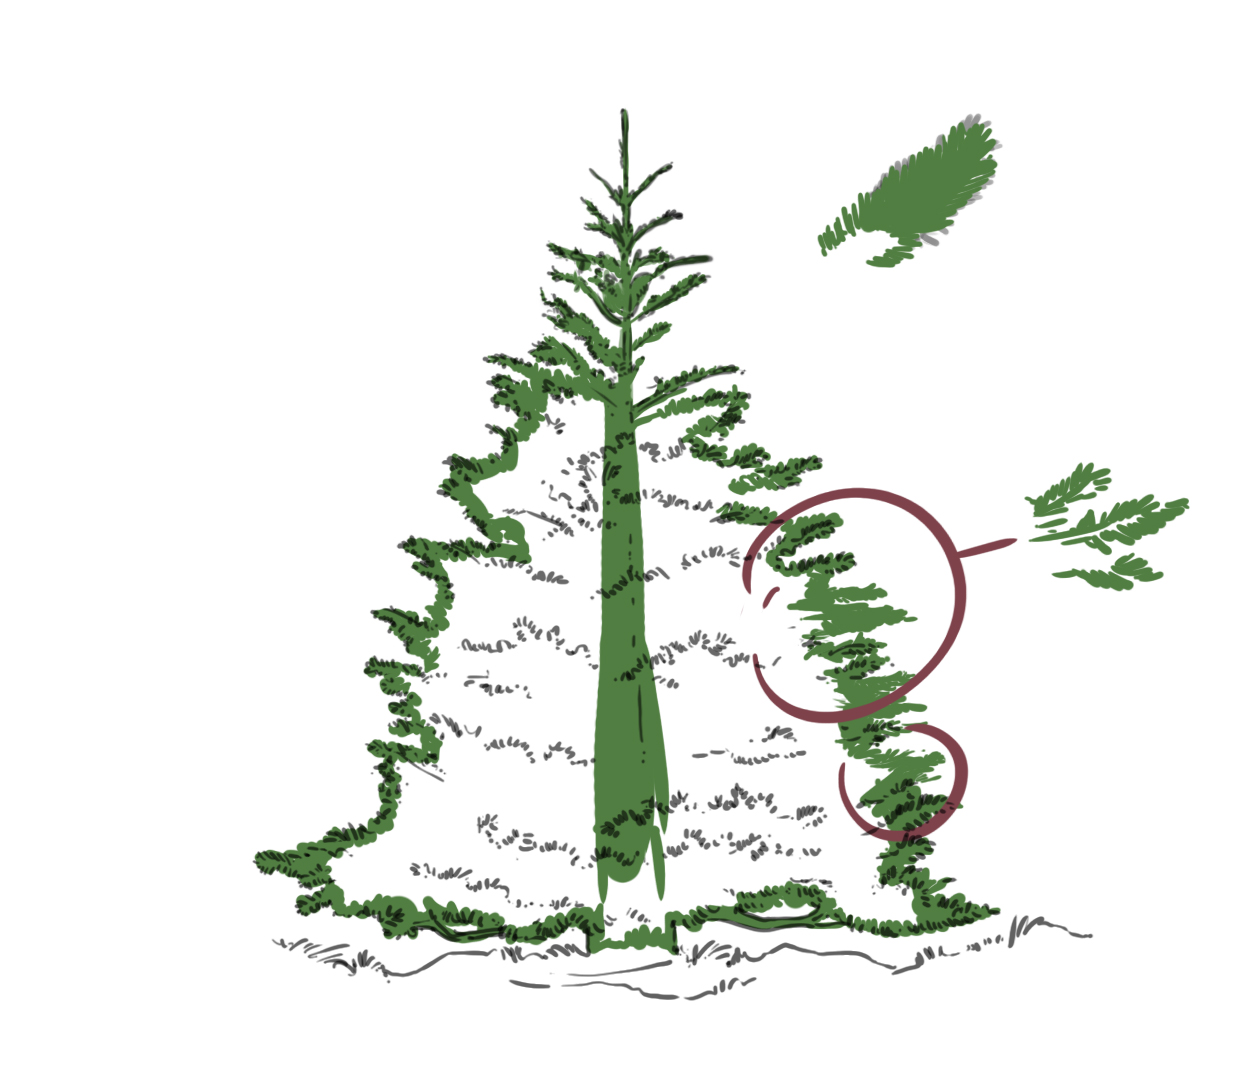
The fir tree has a small peculiarity; it grows in "levels" or "stories" to simplify the idea. So, along the trunk, we will find "knots" (encircled in red) from which the branches grow.
The branches (in green) are structured symmetrically and also branch out in a balanced way (in purple).
Note that despite everything, it will be more realistic to create some imperfections in this cone shape.
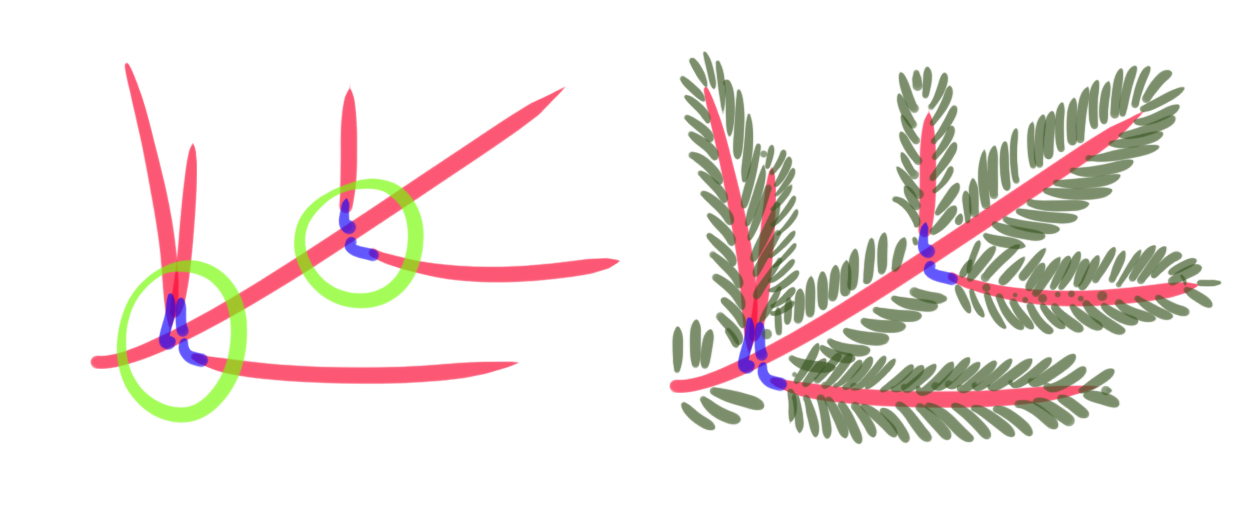
If we zoom in a bit more on the tip of a branch, we find the same structure. At the base of the branch (in pink), the pattern starts from "nodes" (green circles). The needles attach themselves one by one to this base.
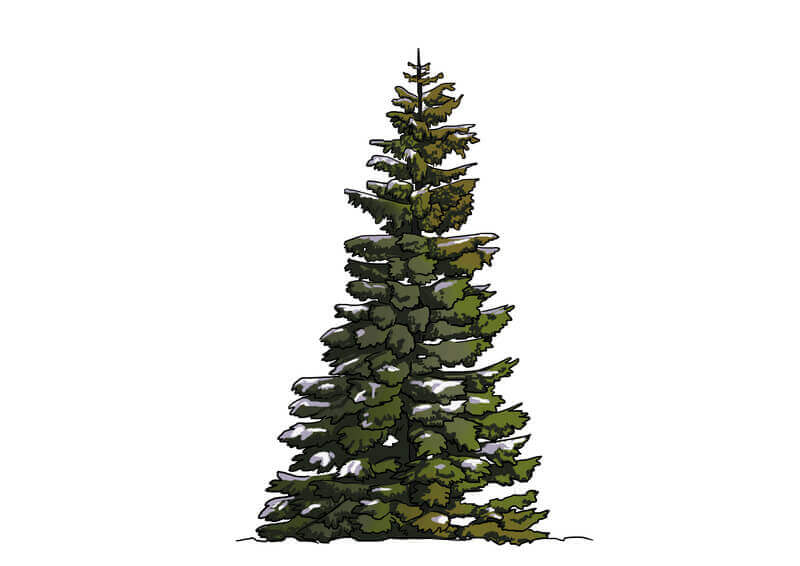
THE SNOW-COVERED FIR TREE
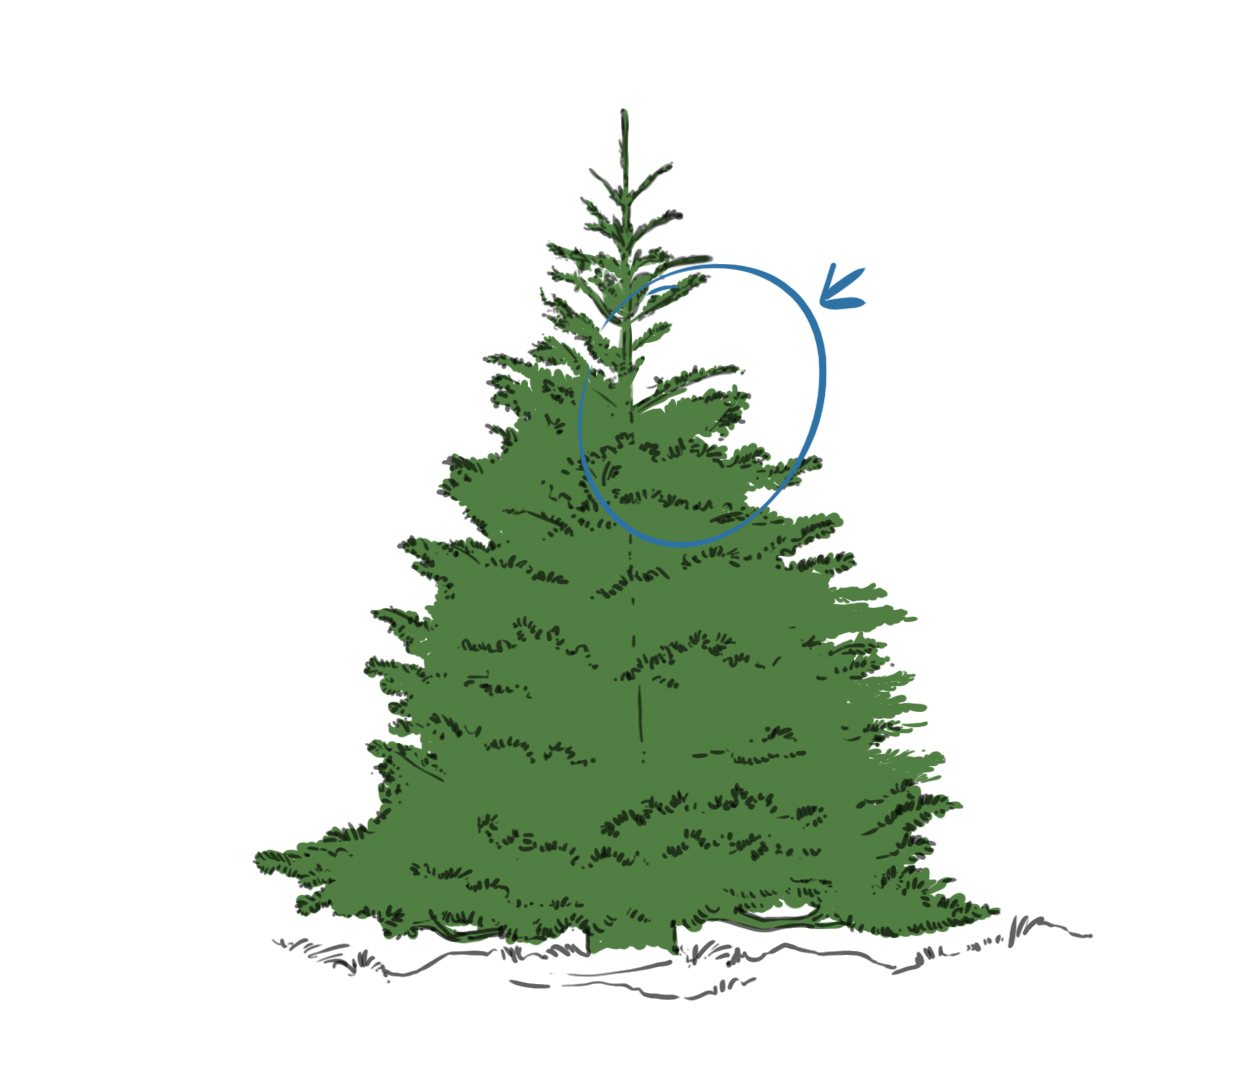
If you opt for a fir tree in a snowy setting, keep in mind that the snow will settle on all the branches of each "level," giving us that 'bundled' impression (blue arrows).
And let's not forget that the weight of the snow will bear down on the tree, causing the branches to bend downwards.
DRAWING A CHRISTMAS TREE STEP BY STEP
Let's not beat around the bush any longer and get started. We are going to draw a fairly classic Christmas tree, one that is nicely sized without being too big.
DRAWING THE TRUNK AND THE GENERAL SHAPE OF THE FIR TREE
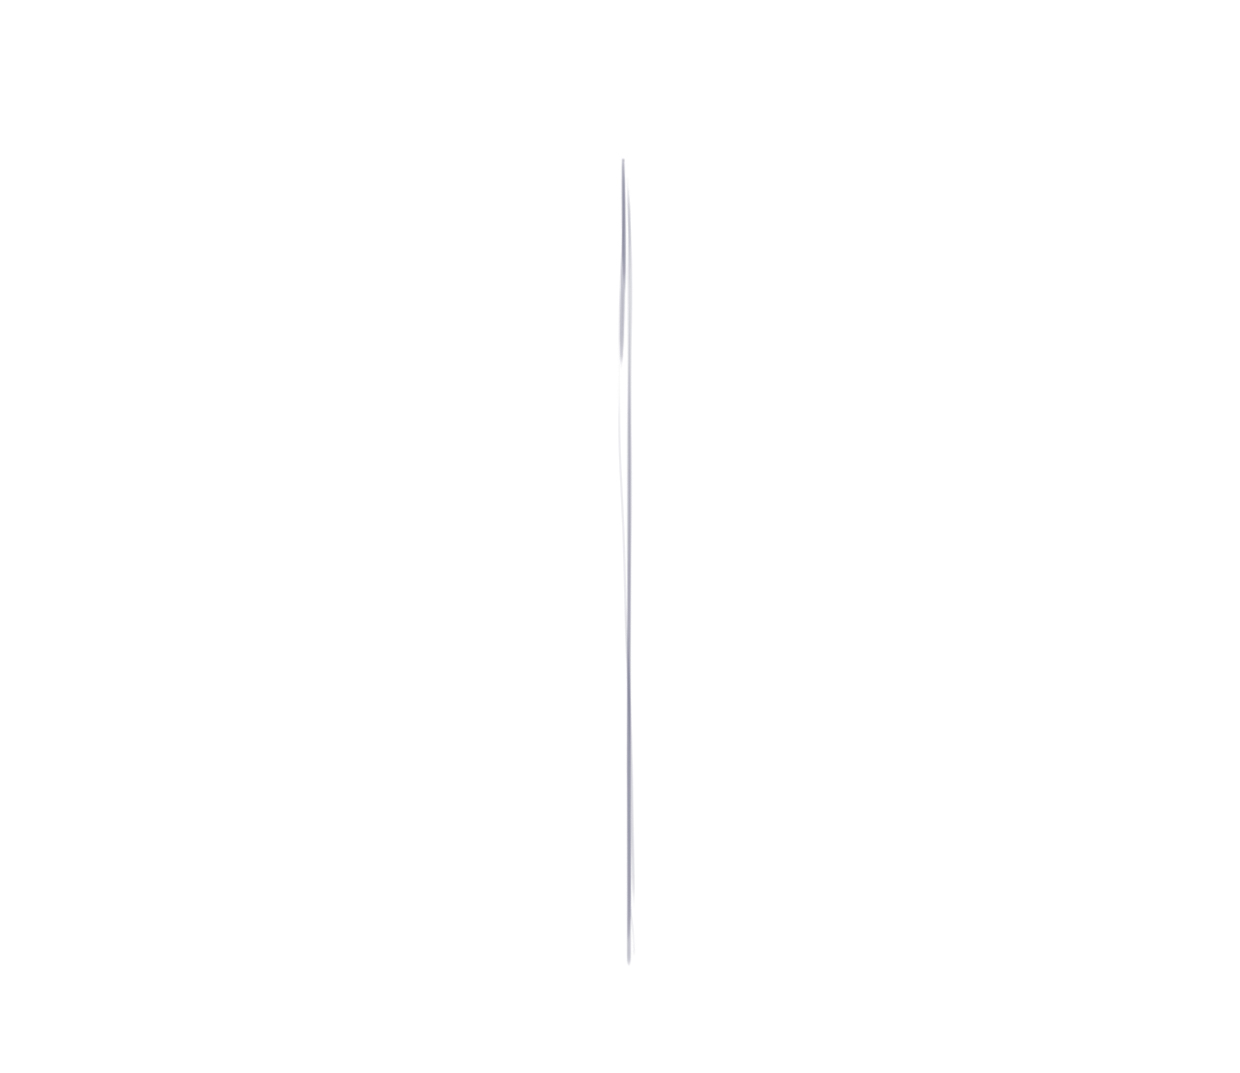
Step 1:
For the base, I will draw a vertical line that will serve as a reference for the trunk. This will help me as the tree is built in a fairly symmetrical way.
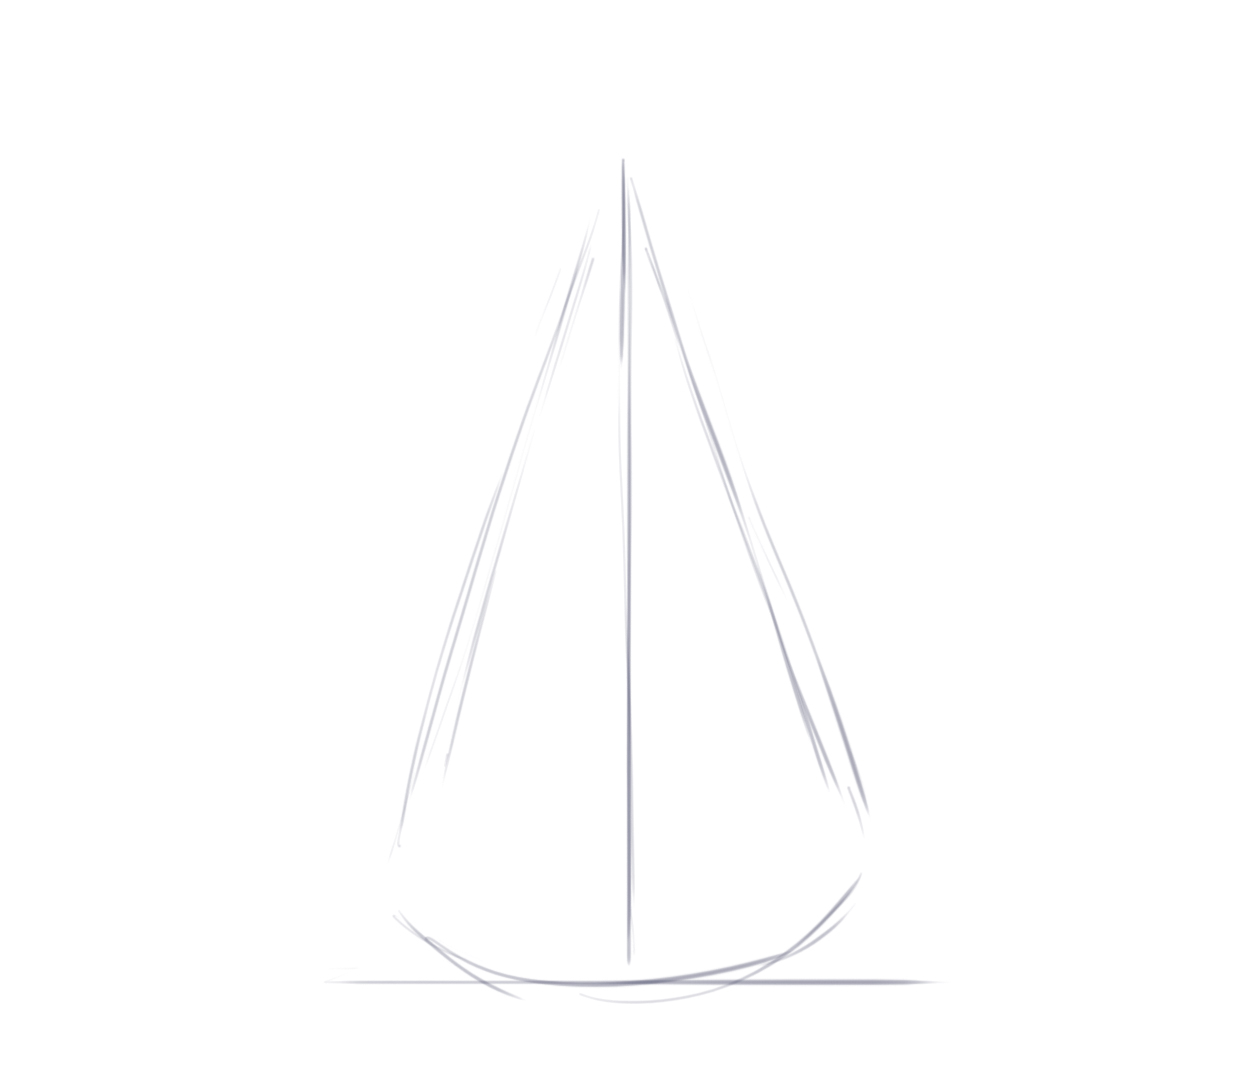
Step 2:
I will quickly form the general conical shape of the tree, just to guide me. Note that I will create a gently rounded base.
DRAWING THE BRANCHES AND THE NEEDLES
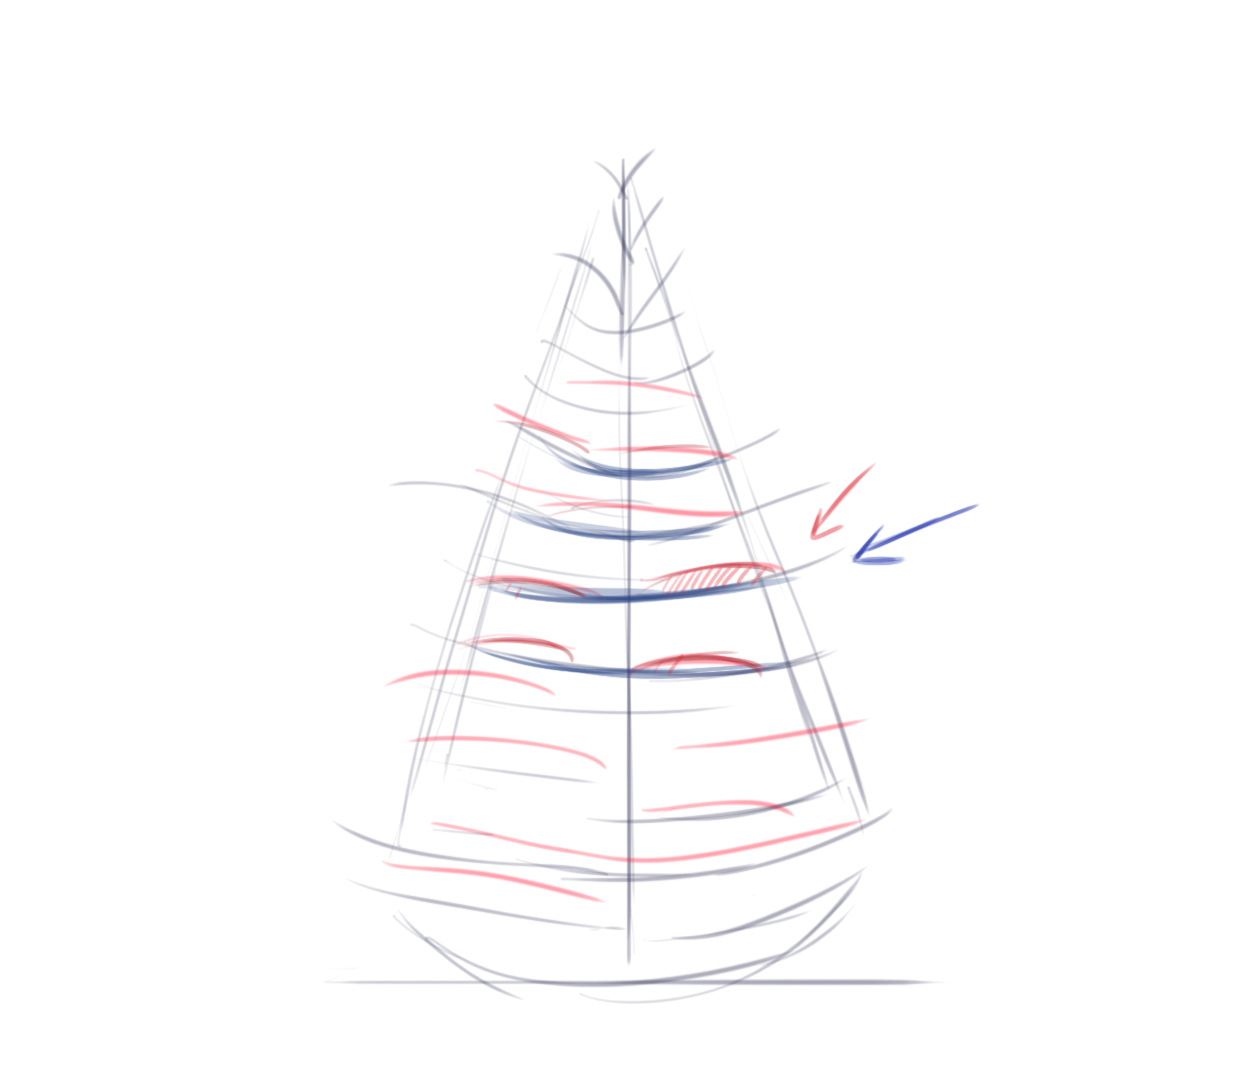
Step 3:
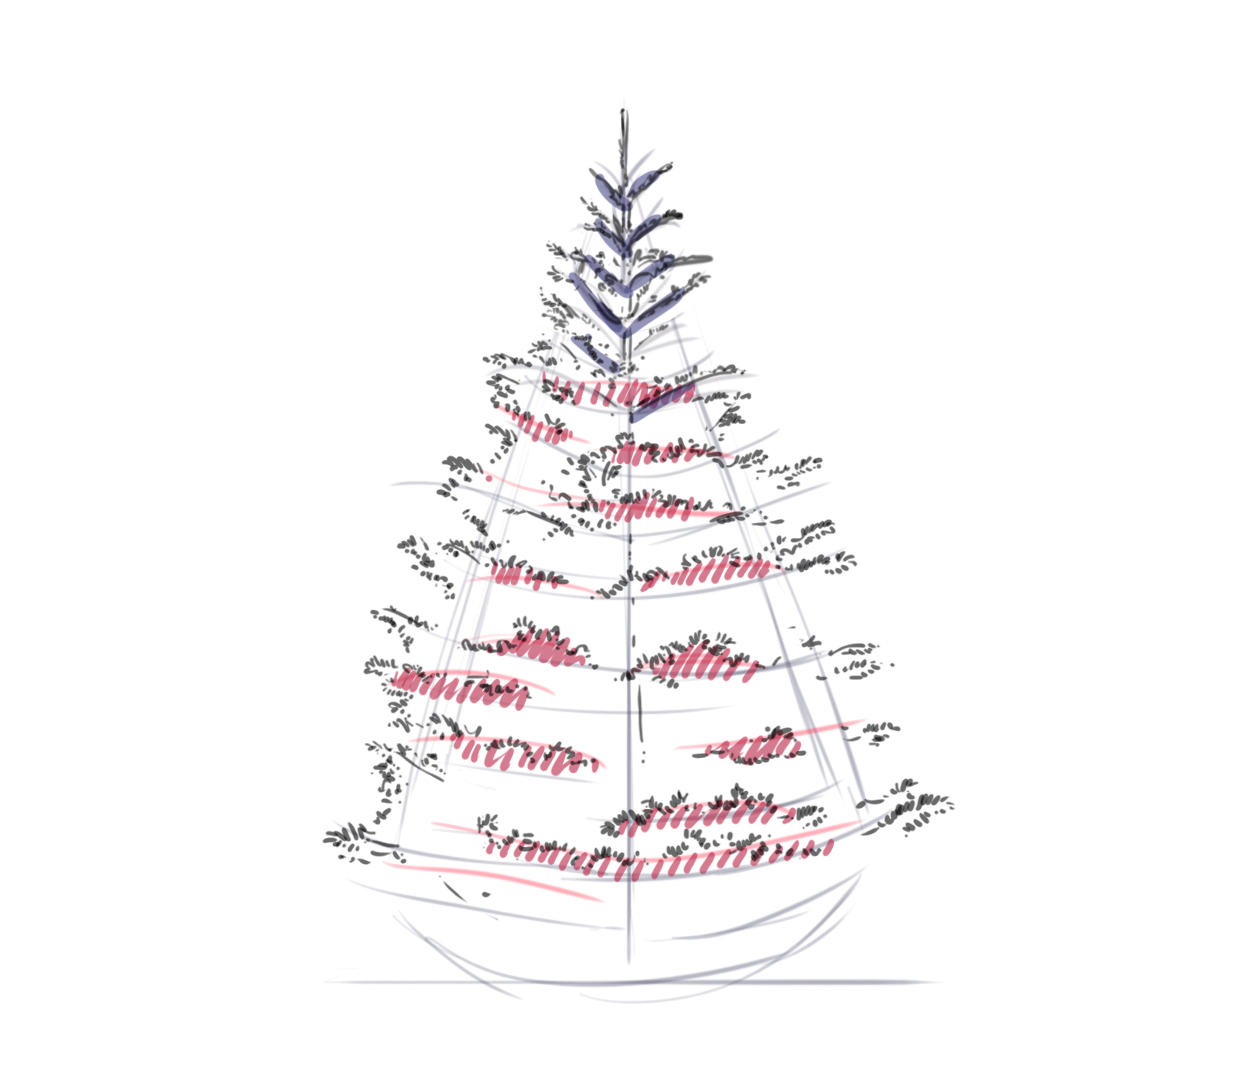
So, as I was saying previously, the branches (in blue) are distributed by level along the trunk. The needles attached to the branches will form a mass/volume, like a cushion (in red).
(This is the "cushion" on which snow will accumulate, if there is any!)
Step 4:
On this basis, we will start tracing the branches.
At the top, I will simply follow the line of the trunk. I will then draw 2 or 3 small branches and after that, I will follow the same principle: a knot (in red) from which the branches extend.

Step 5:
On each stroke that represents a branch, I will need to form the needles. So, unless you want to make a hyper-realistic drawing, or one with a very tight framing, we are not going to draw the needles one by one (as in 1). We will need to give the "impression" of needles (2).
For this, a good technique will be to draw hatch marks around the axis of the branch (2).
Draw your hatching more on the outside of the tree without progressing too much towards the interior of the branch and the tree.
Step 6:
I will continue with this idea and "shape" the needles on the exterior, based on the structure of the branches distributed by levels.

Step 7:
For the "mass" inside the tree, I will form spines at the level of the "cushions" (red hatched lines / refer to step 3).
In blue, I have highlighted the previously placed branches that are visible.
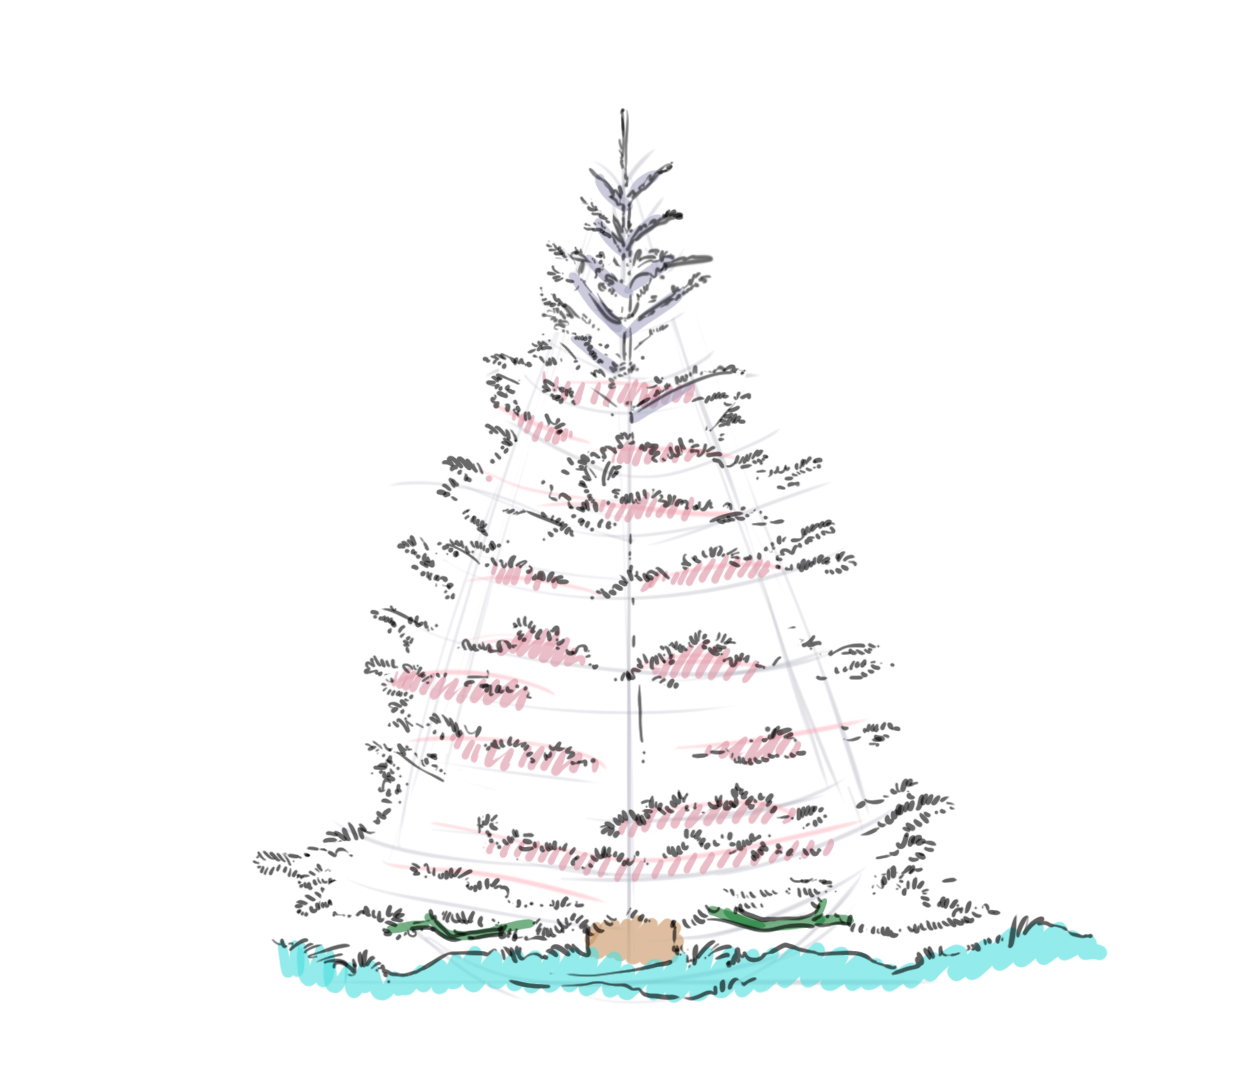
Step 8:
I will continue with the same principle. At the bottom, I will shape a few branches that can be seen (in green) and place a ground to anchor my fir tree (in blue), in addition to forming the trunk.
It is always better to draw a "ground" for your drawings, as this will prevent your subject from looking like it's "floating." You you want you can add details to the background, but you can also be content with a simple line.
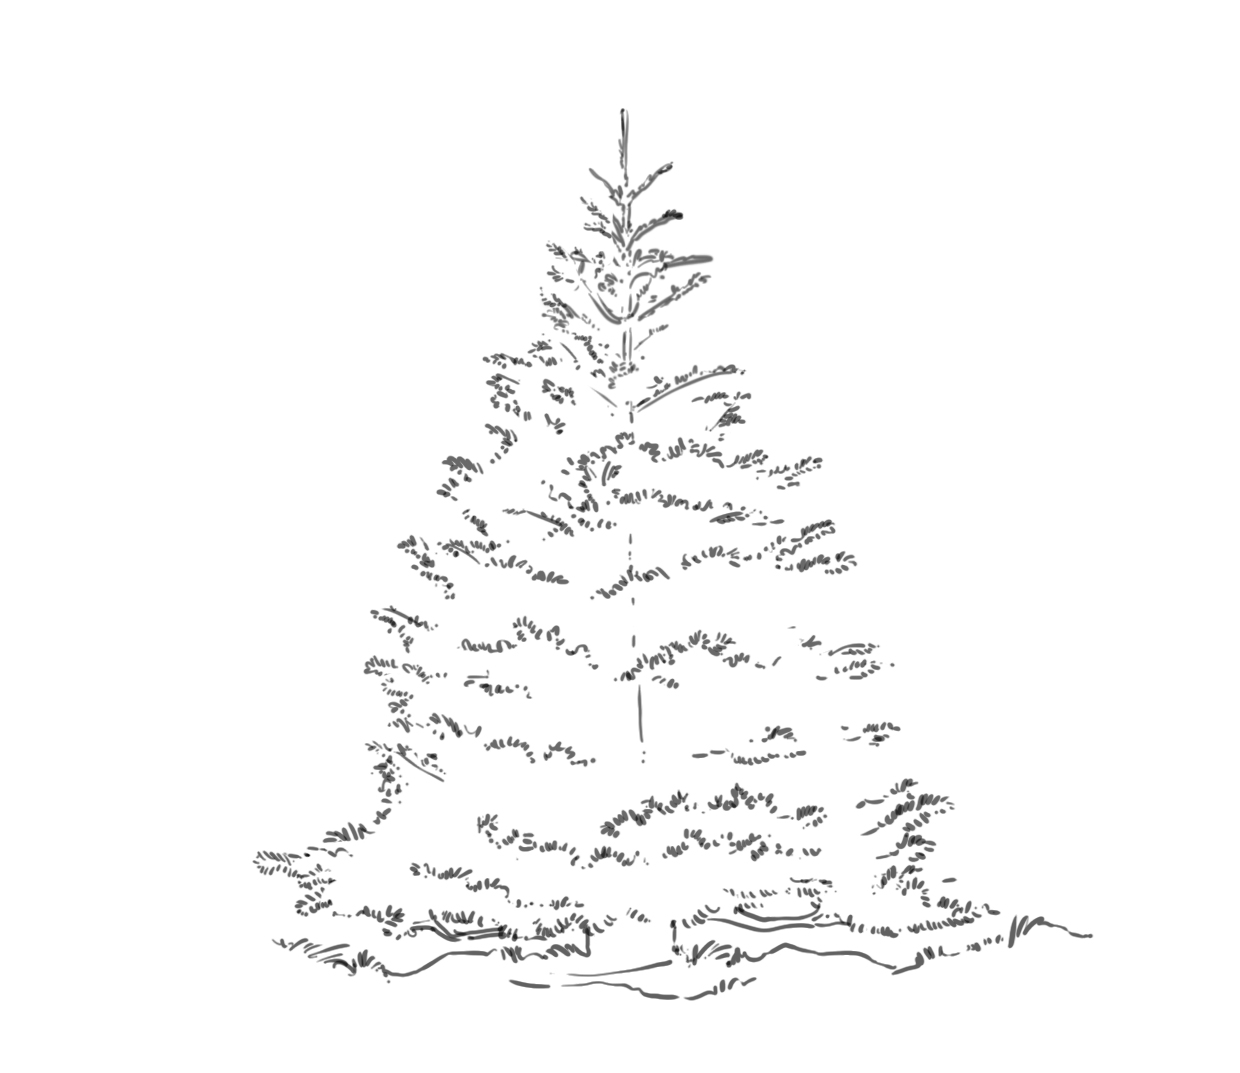
Step 9:
I will clean up the sketch lines.
ADDING COLOR
Step 10:
I will choose a fairly bright and slightly dark green.
I'm already coloring in the trunk area. So that there are no small "holes," this area will be well filled. Our "spine" will be nice and dense.
Then I will color the exteriors. It turns out that I did not strictly draw certain areas (circled in burgundy). For these areas, I will more or less coarsely form spikes using my brush.
Step 11:
Once my flat wash is done, I can see that my tree is a bit bare at the top right (area circled in blue). It could very well stay like that, as small imperfections in appearance often add more realism to the scenes.
But I want it to be a bit more balanced, so we are going to fix that.
Step 12:
Tada! I will add a few branches to give it a more symmetrical shape.
As I go along, I will erase the lines that suggested the trunk (vertical red lines) as it won't be seen behind the dense needles.
And as I am revising my drawing, I will add needles where it looks as if they are missing (at the bottom, right).
Step 13:
Now I will deepen the green around the trunk to suggest that the foliage is dense, especially with the trunk serving as a support behind.
Step 14:
Now I will clear the needles from the ends. Let's not forget the needles that finish the branches that are facing us (red circles).
Step 15:
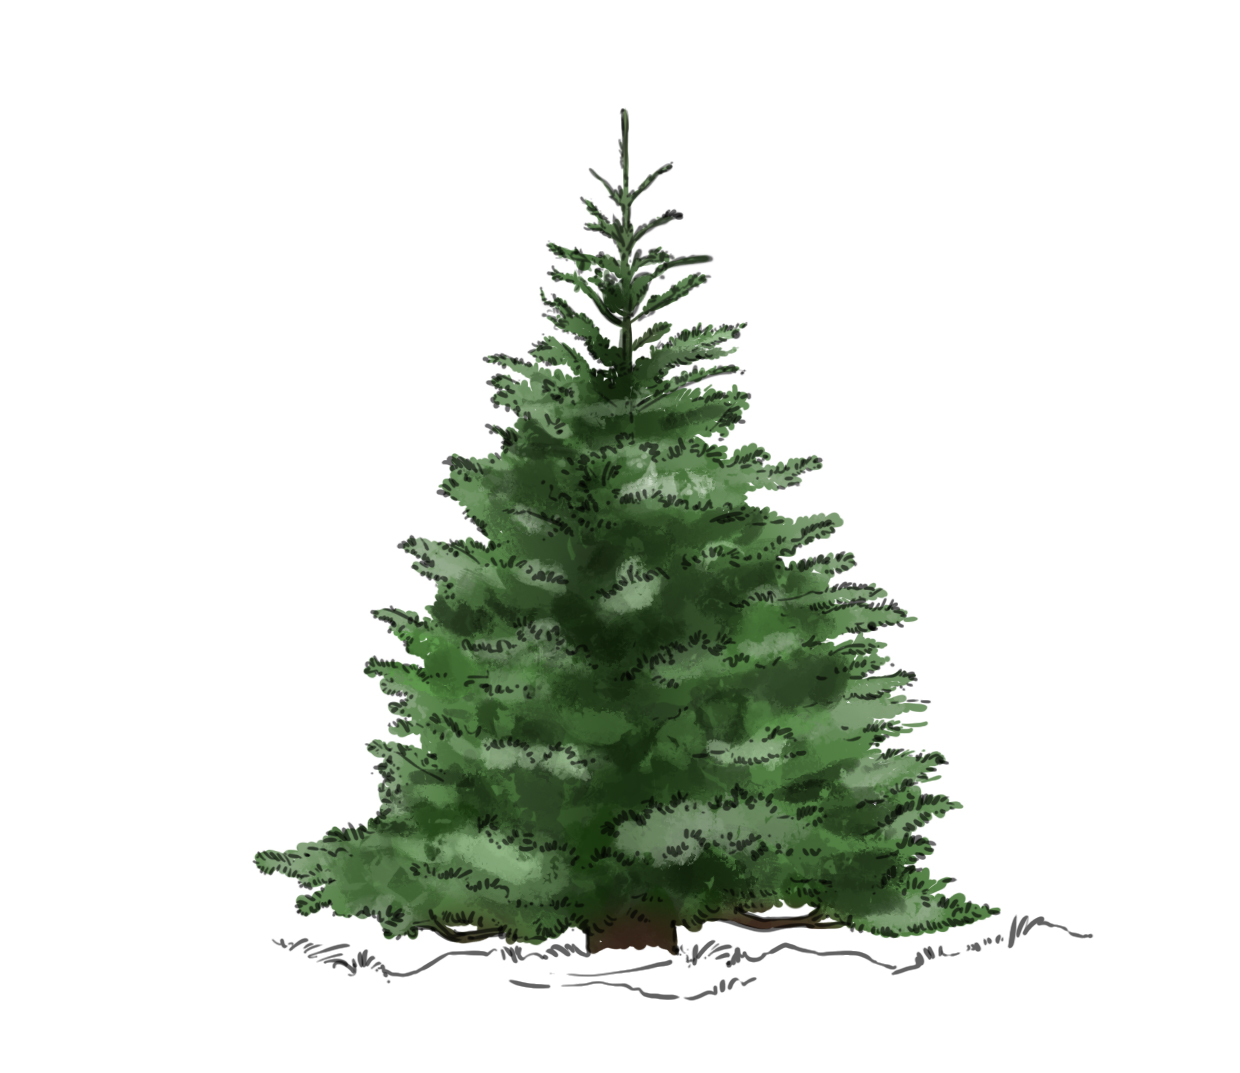
Now I will break up the overly uniform aspect of my base green by speckling my flat area with darker zones.
By the way, I chose a slightly dark brown for the trunk.
Step 16:
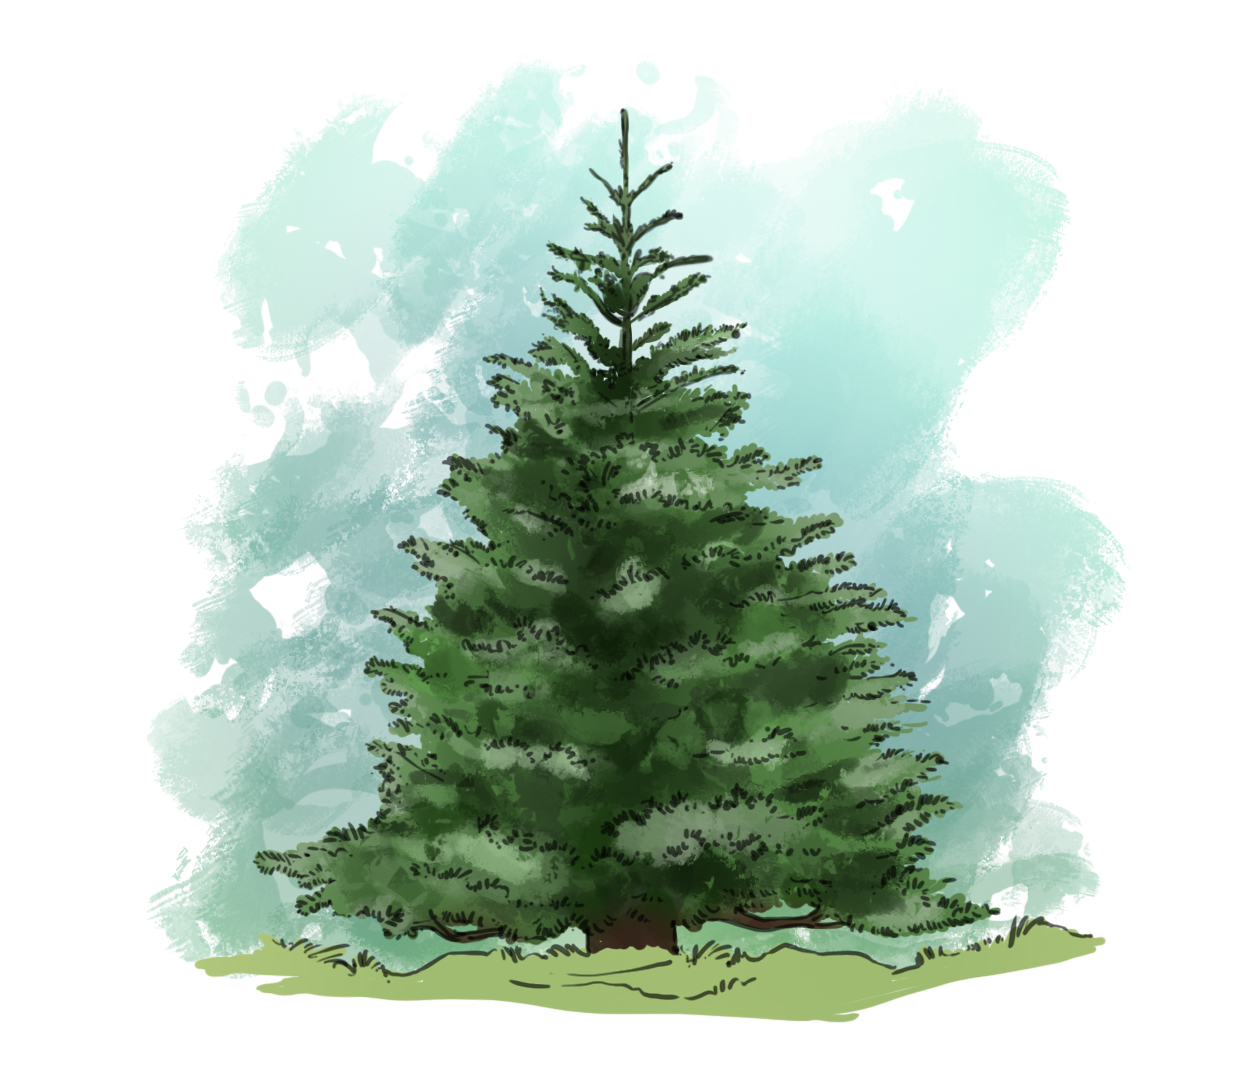
Now, without drawing overly detailed scenery, I will quickly add a background.
I chose a low-saturated blue-gray behind the tree and a more "yellow" green as the base for the ground.
Stage 17:
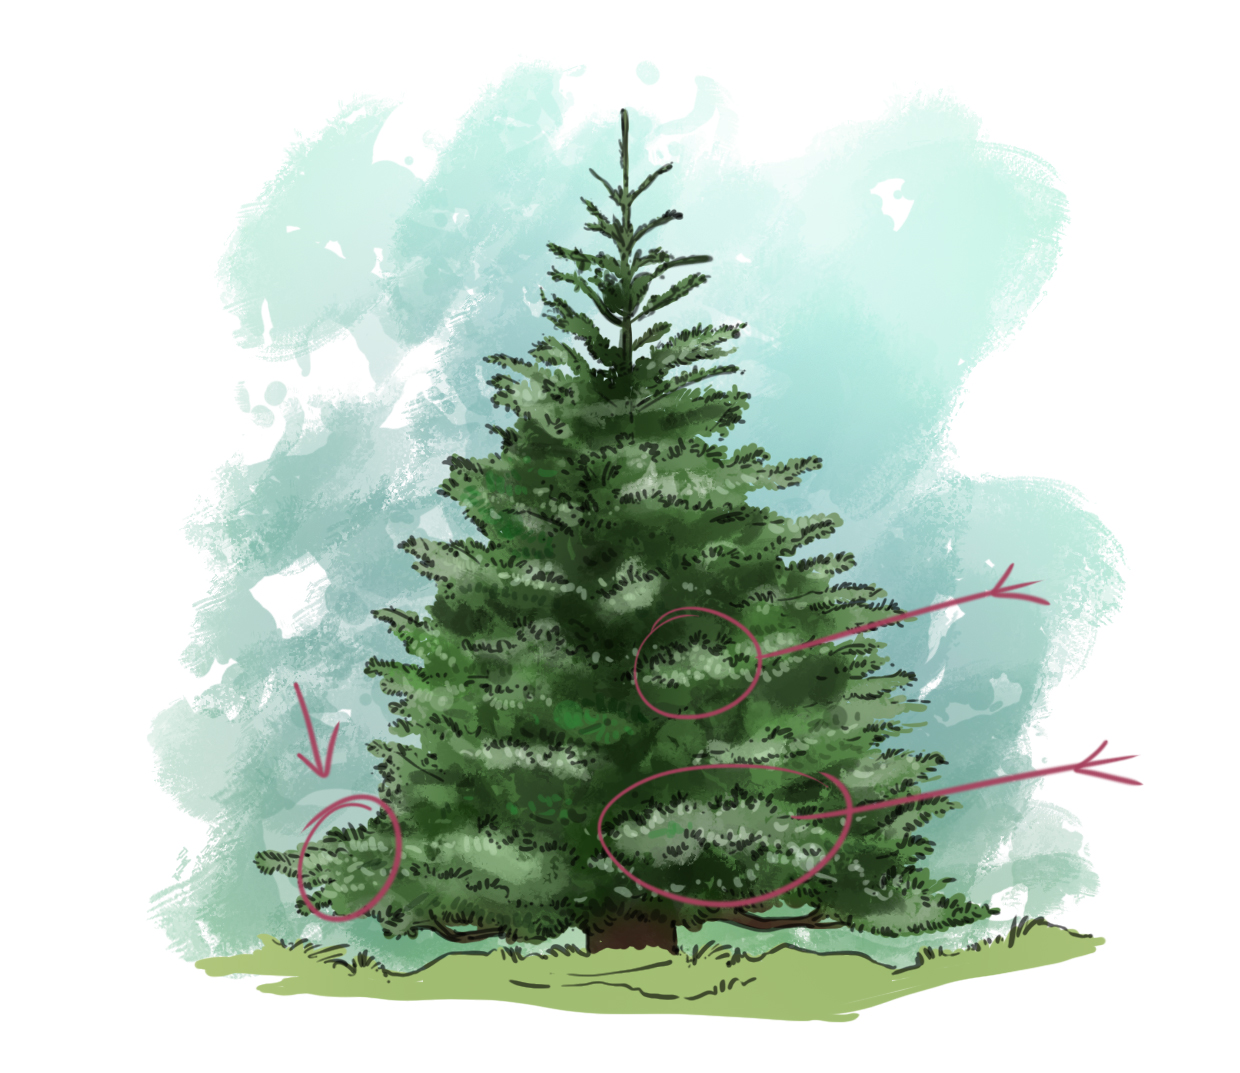
I'm going to add a bit more density to my foliage by working on it a little more. I will re-highlight the contours of the levels (areas indicated in pink) and dot the tops of the branches with a very light green.
Step 18:
And now I will place shadows under these "levels." The idea is to bring out the tiers of branches. You mainly need to mark the shadow under the last branches.
I will also work on my soil by darkening it.
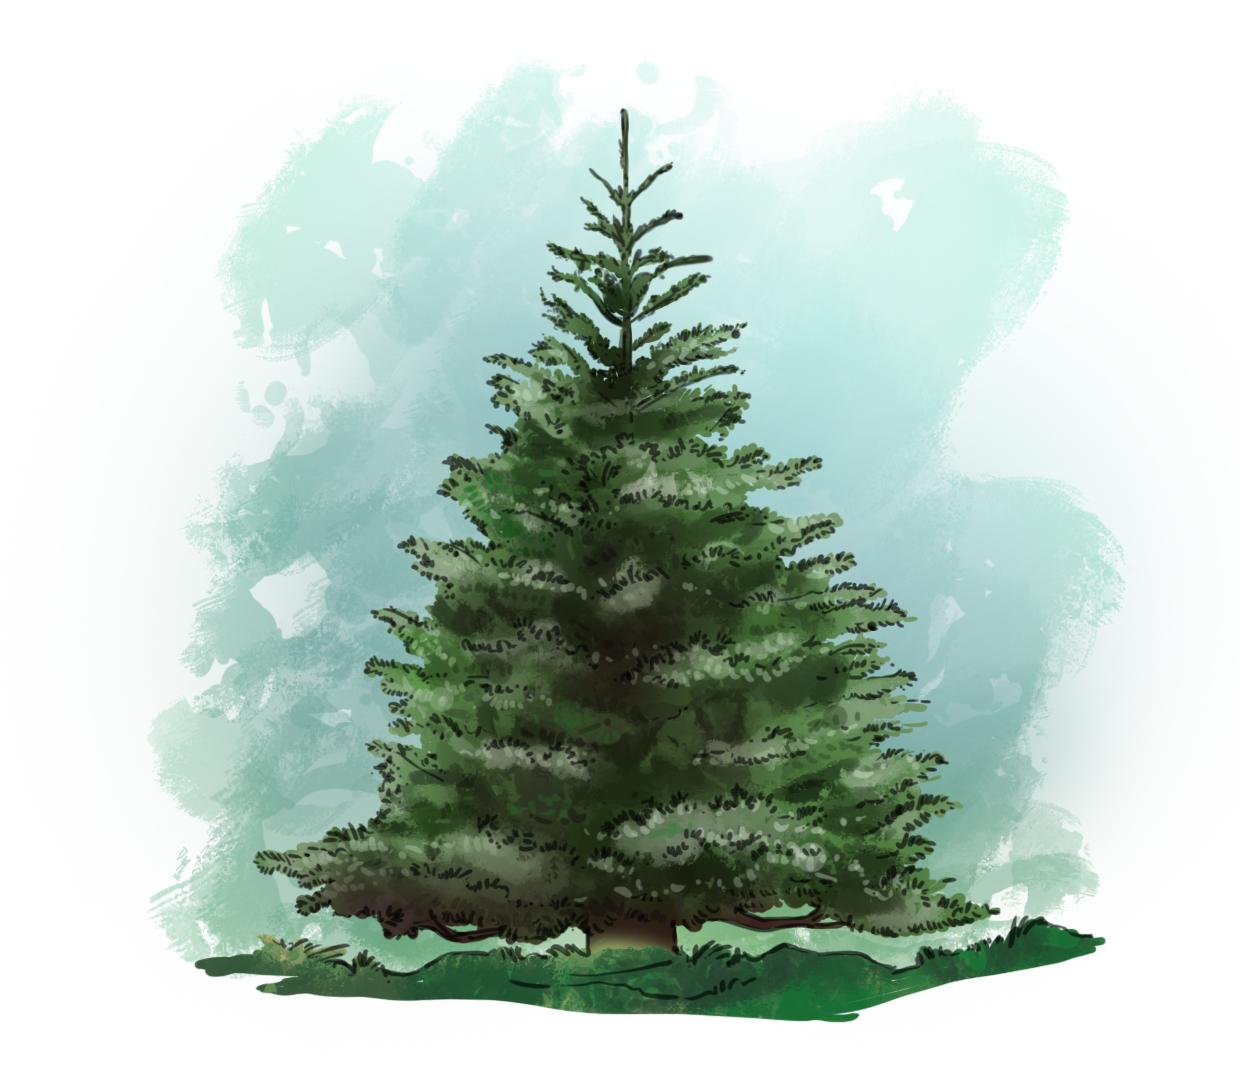
Stage 19:
And nothing is stopping you from choosing a slightly bluish and veiled light, and letting a few flakes fall...

Despite what you might think, it's not that simple to draw a tree. The fir tree has a simple and fairly symmetrical structure, which makes our task a bit easier. For the foliage, the common mistake is to want to create too many details. It's mainly about "suggesting" rather than actually drawing each leaf, or in our case, needle.
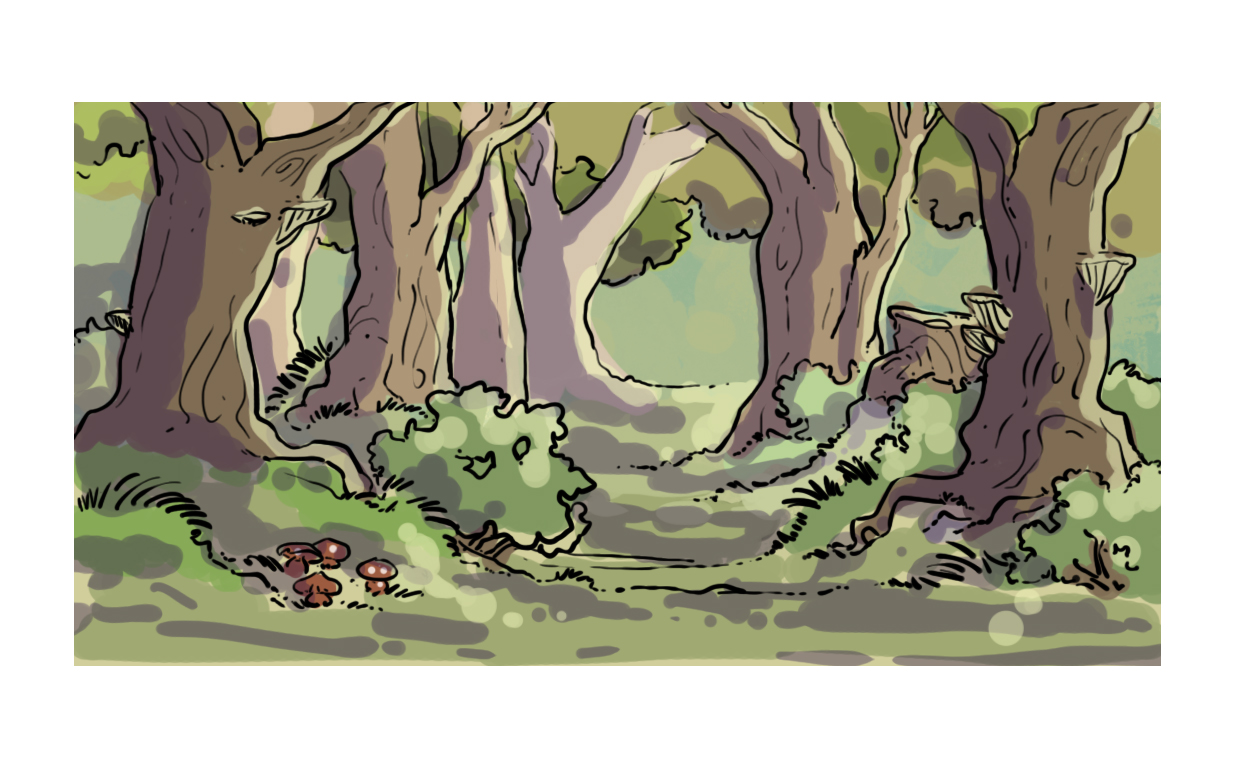
If you wish to practice on other types of trees or create an overall decor including vegetation, you can check out our tutorials for learning how to draw a tree or learning how to draw a forest.

Discussion
8 comments