How to Draw a Forest

In this article, we are going to draw one of the most classic settings: the forest.
So obviously there isn't just ONE forest, there are many, especially since the trees that make them up are diverse and varied, whether in their shapes or in their hues.
Today we are going to see how to compose a forest. I will not start with a very detailed and realistic drawing; the goal is to give you the steps and key points to create a dense and believable forest.
Before starting, ideally, it could be useful for you to keep in mind this tutorial:
SKETCHING OUT THE FOREST DRAWING
So first, a little overview of the basics. Although there are several plant species in a forest, when it comes to large trees, only one to two varieties will seem to be present. This is obvious in "artificial" forests, for wood exploitation or replanted by humans, but it is also observed in more wild sites.
So the idea is that you choose one or two varieties of large trees, no more. In addition to them, there will be a whole lower level of vegetation, shrubs and bushes, and on the ground grass and mosses.
Another point, we will create a set, so there will be a certain "depth" of field. We must not forget that the further away objects/subjects are, the smaller they appear, the less visible details are, and the more indistinct/blurred the outlines become.
Also note that with distance, colors will become less vivid and will gradually fade as you move away from the observation point.
We will draw our forest in an elongated frame, to enhance the impression of landscape.

I start by drawing the "ground" line of my foreground. The earth is uneven, we avoid straight lines which are unnatural.
I'm starting with the idea that we'll have something like a trail, a natural path in the middle of our setting. So I'm leaving the path "free" in the middle.

I choose as the dominant species for my forest a tree with a rather wide trunk and thick roots. Therefore, I create 2 trunks on the sides, hinting at the first branch delineations at the top and extending one or two roots at ground level.

Now I create the first level of depth by drawing 2 other trees right behind. To the left, a new tree, and to the right, I opt for a stump. You will need to be careful to break the arrangement of your trees a bit for a more natural look. Avoid placing them all 2 meters apart, lean one, break one, make one smaller or much larger than the others, etc etc etc...
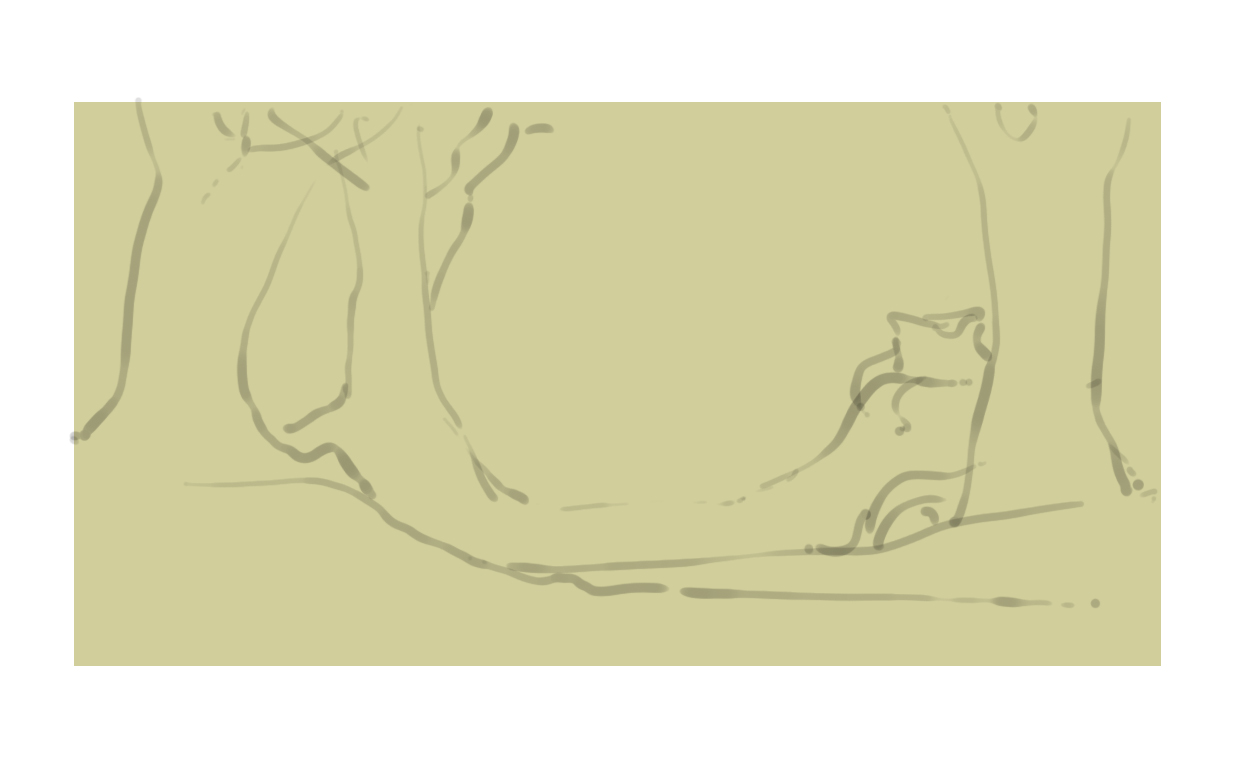
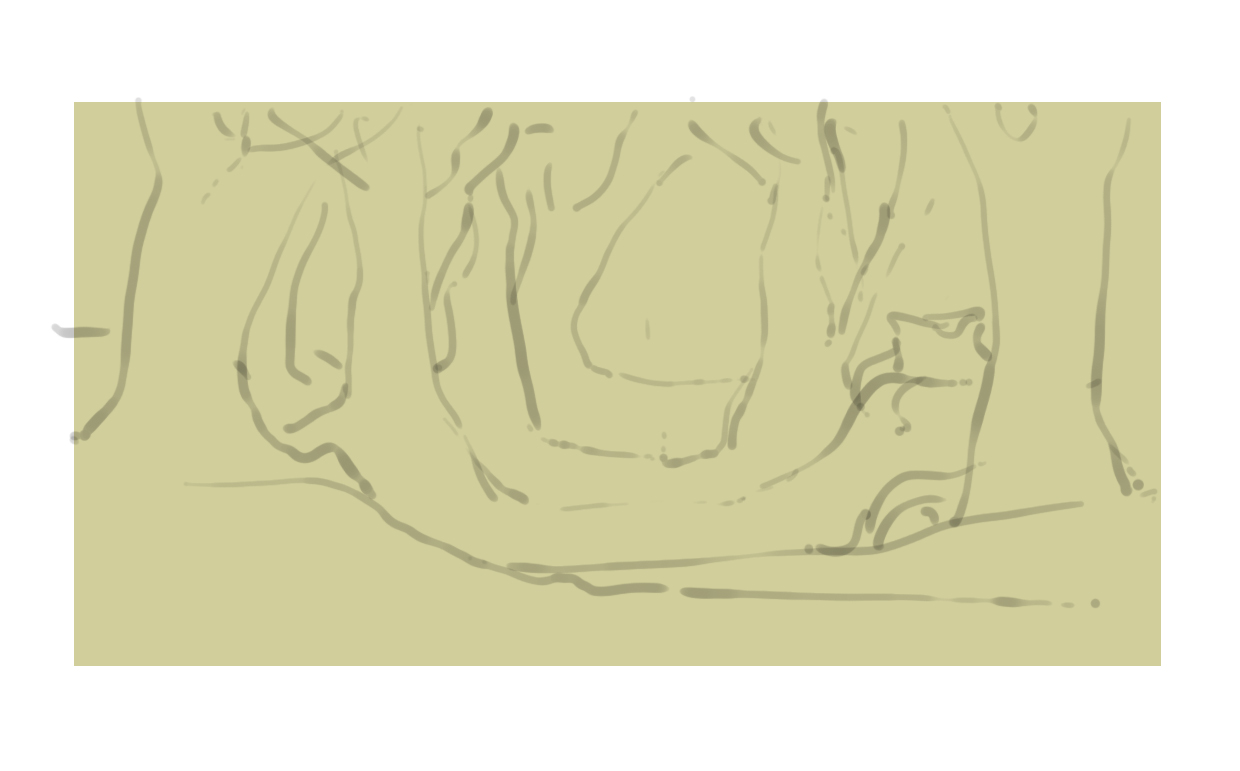
Here I am drawing my trees on another plane, also slightly behind. You will note that having kept the middle "empty", we start to see the path in the middle. Between the trees, I draw a "line" for the ground, to anchor the trees and prevent the impression that they are floating. This also helps to establish the depth of the image.

I finish with a final level of the plan by drawing a tree in the background. Note, I slightly break the alignment by tilting it and anchor it to the ground by drawing the ground line at its level.
I add a mound of grass in the foreground on the left. Near the first trees, I shape some bushes. Note that I do not draw leaf by leaf; I "shape" the bush. Avoid overly straight and abrupt lines; favor curved shapes.
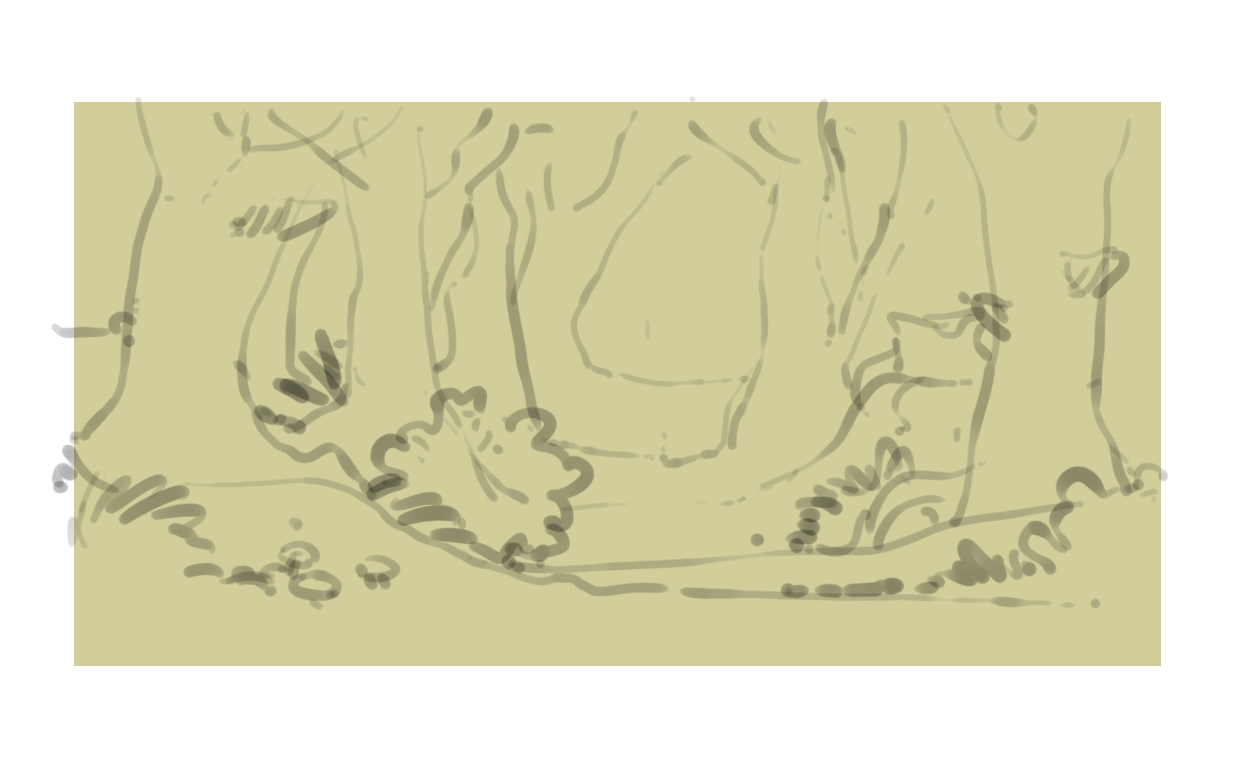
I also placed a bit of vegetation around the tree on the left in the background. I'll stop there. The elements beyond are too "far", I can afford not to detail the scenery behind too much.
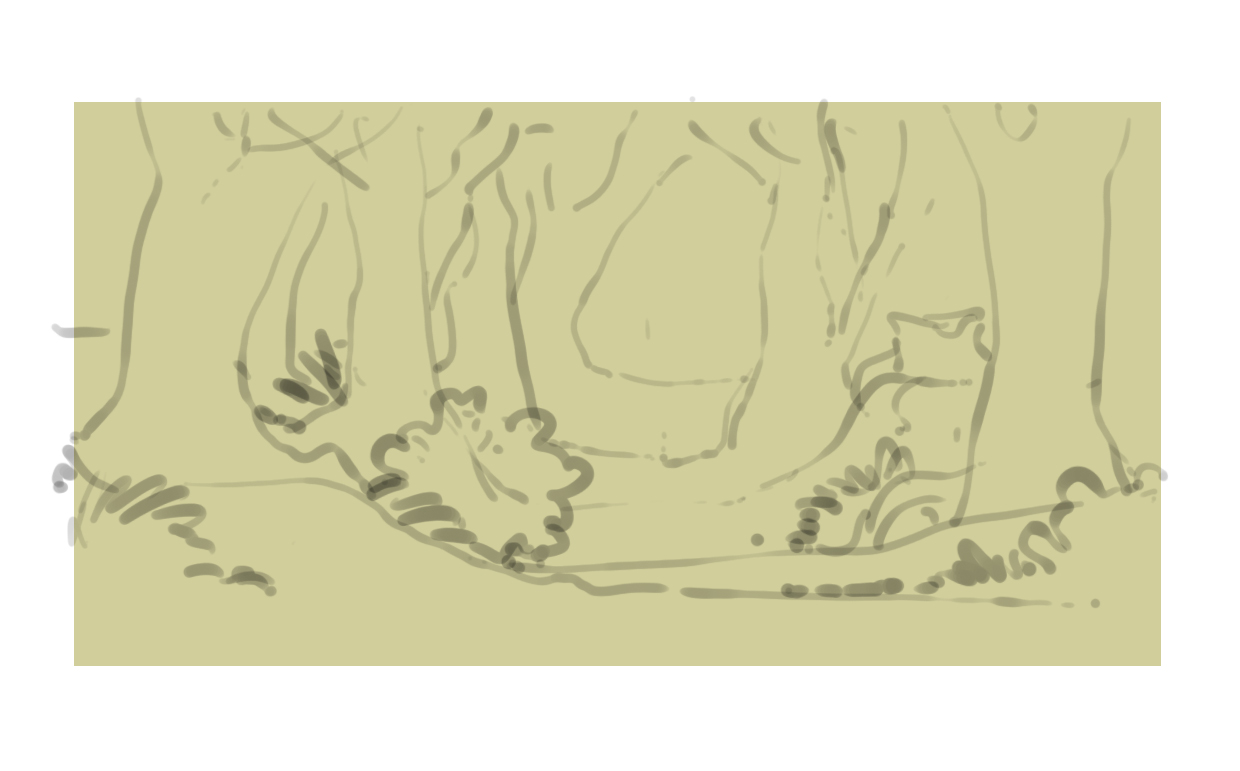
I'm adding mushrooms on the trunks of the trees in front and some on the ground to the left. I'm not adding any on the right. The "sparse" side helps maintain the naturalness of the scene.
CLEANING UP THE DRAWING
Now I am tracing cleanly over my sketch. I add the limits of the foliage at the back (in red). I also "close" my drawing by carrying over the most distant ground line to the edges of the frame (in blue).
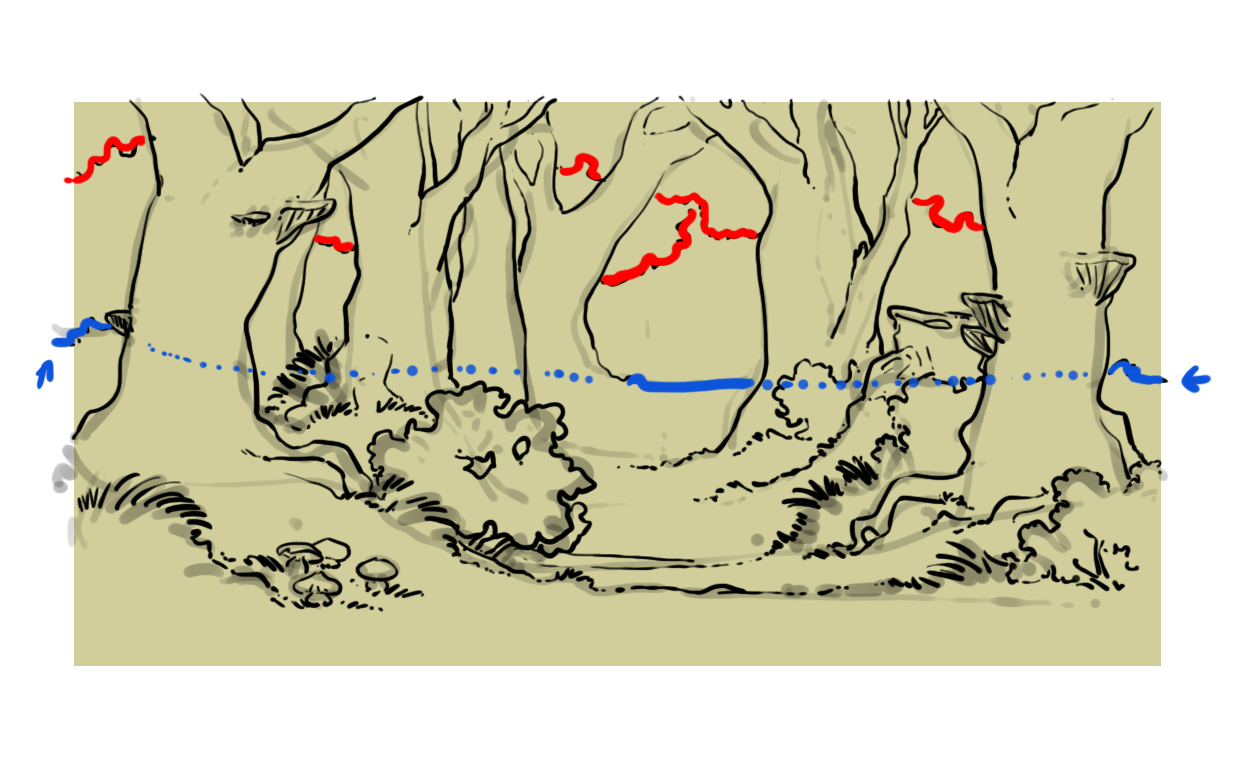
On the trees in the first two planes, I detail the trunks a bit by quickly suggesting the pattern of the wood on the bark.
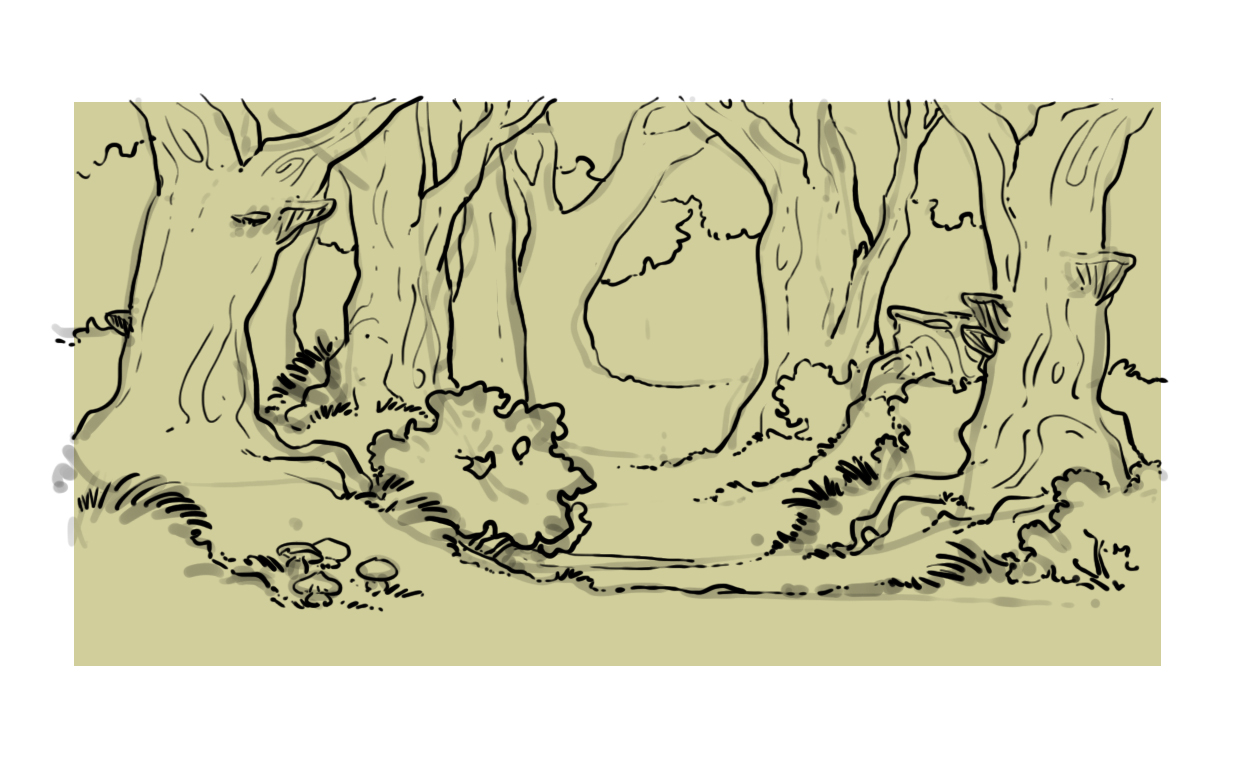
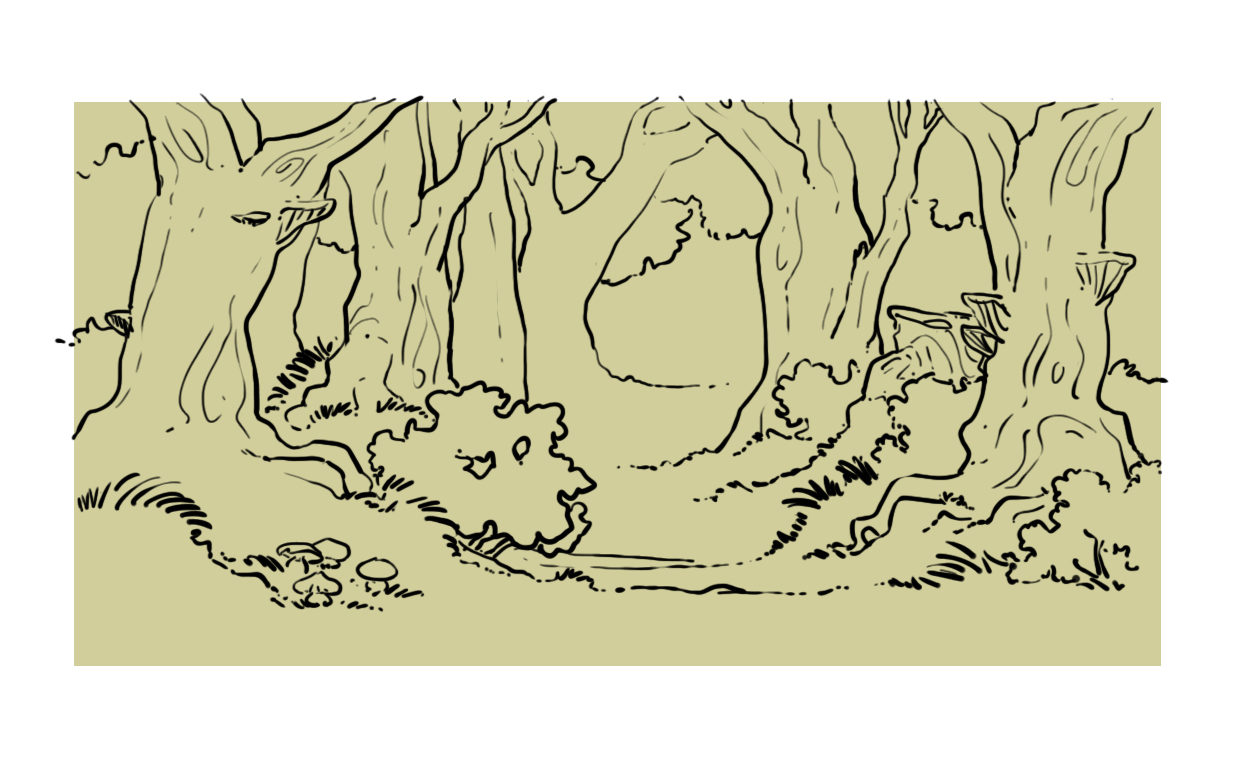
I am cleaning up by keeping only the final trace.
COLORING THE FOREST DRAWING
I start by coloring the tree trunks. I go for a very clear and quite deep brown, a bit dark. I lighten this shade gradually as the trees move away from the foreground.
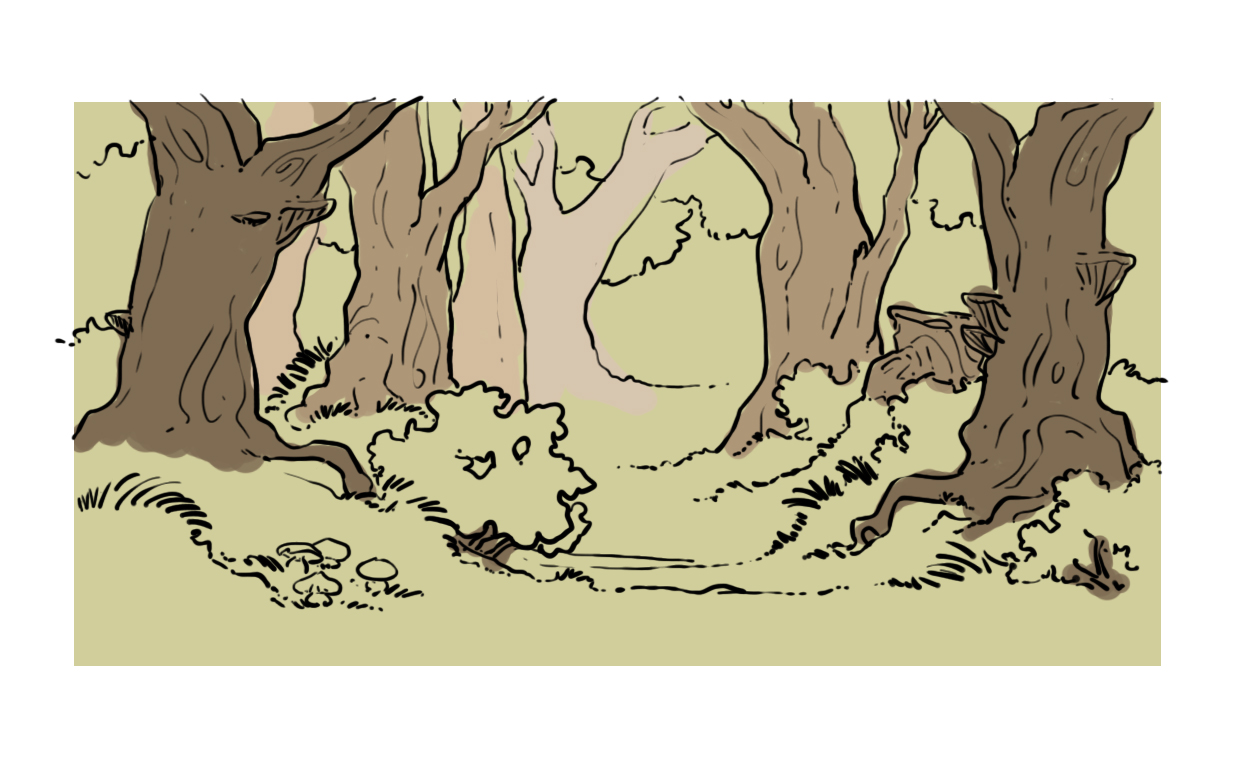
I'm coloring the bushes and the grass in the front. We keep in mind that with distance, colors "fade". I also color my little mushrooms right in front. I place touches of gray at the base of the first tree on the right and the stump, to suggest rocks.
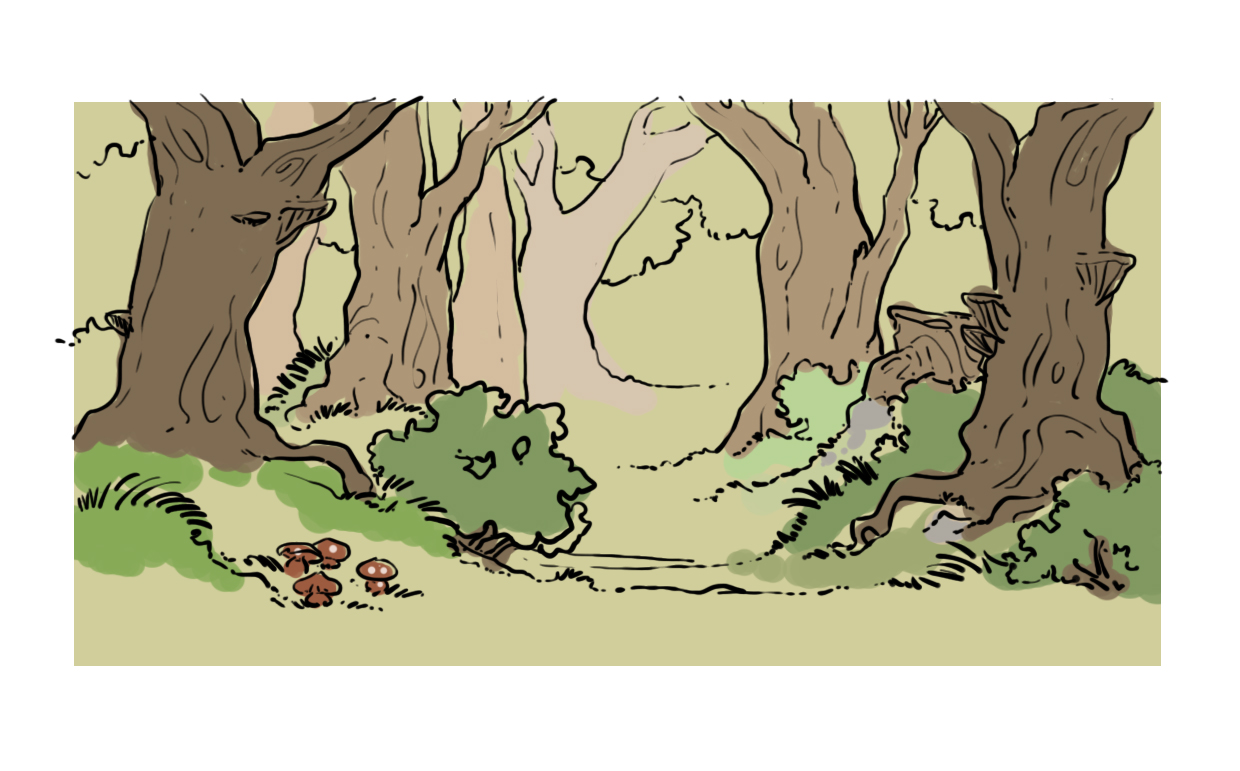
For the ground, I choose a less saturated green that I lighten towards the "back" of the forest.
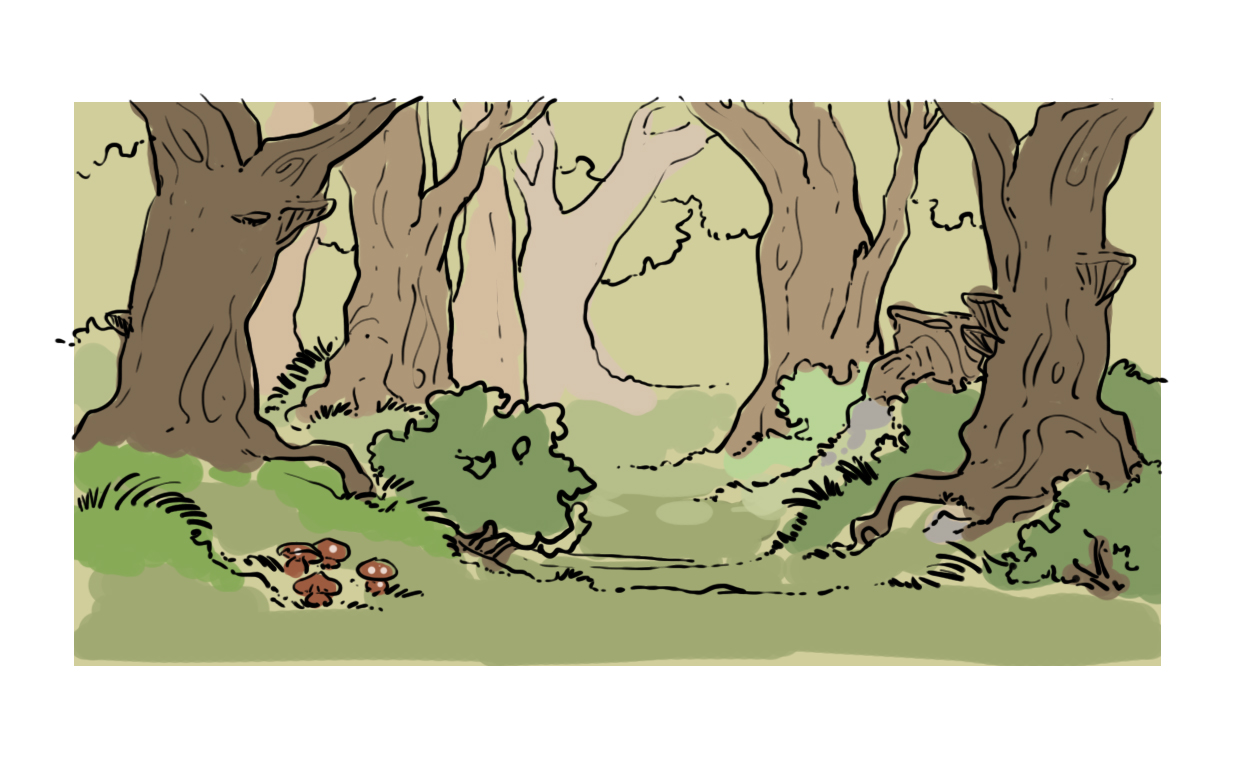
I tint the foliage of the trees. It is preferable to vary the shades rather than to use a solid color to make it more natural; not all the leaves of all the trees have exactly the same color.
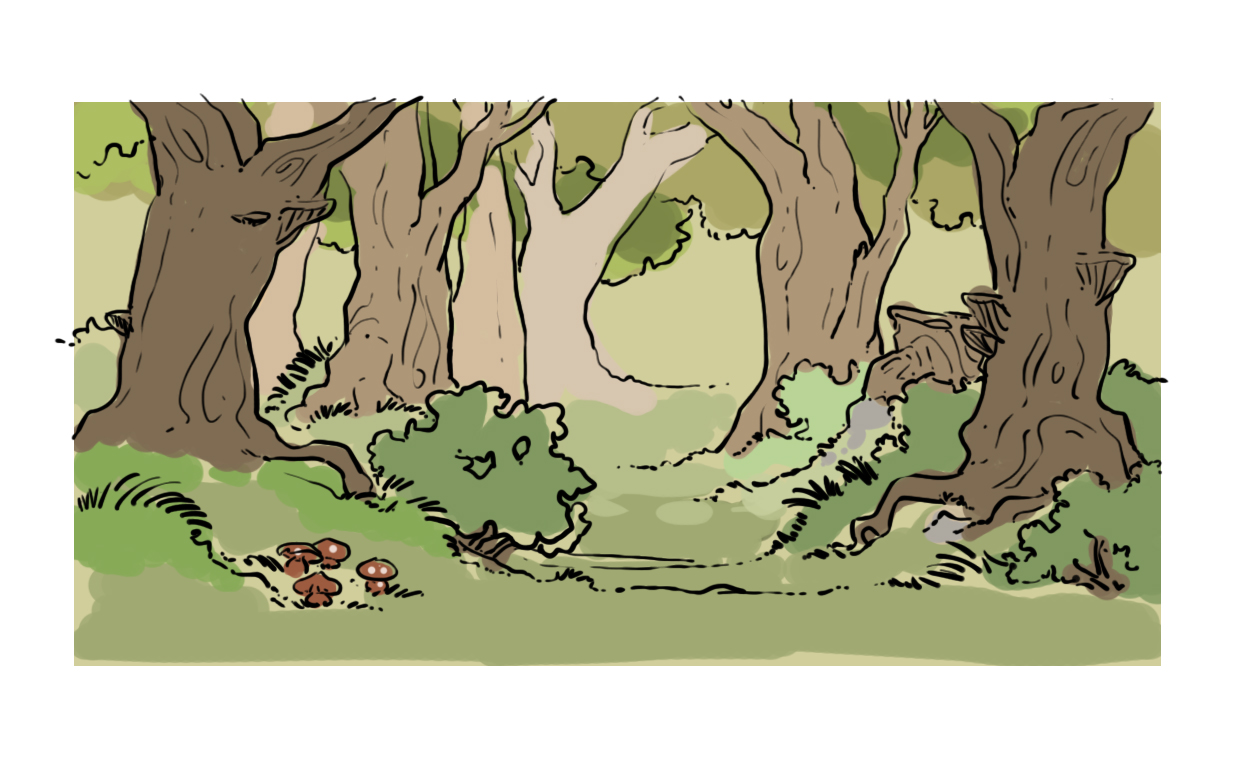
For the "background" I choose a green in line with the ground, to suggest that the vegetation continues beyond.
APPLYING SHADOWS AND LIGHT TO THE DRAWING
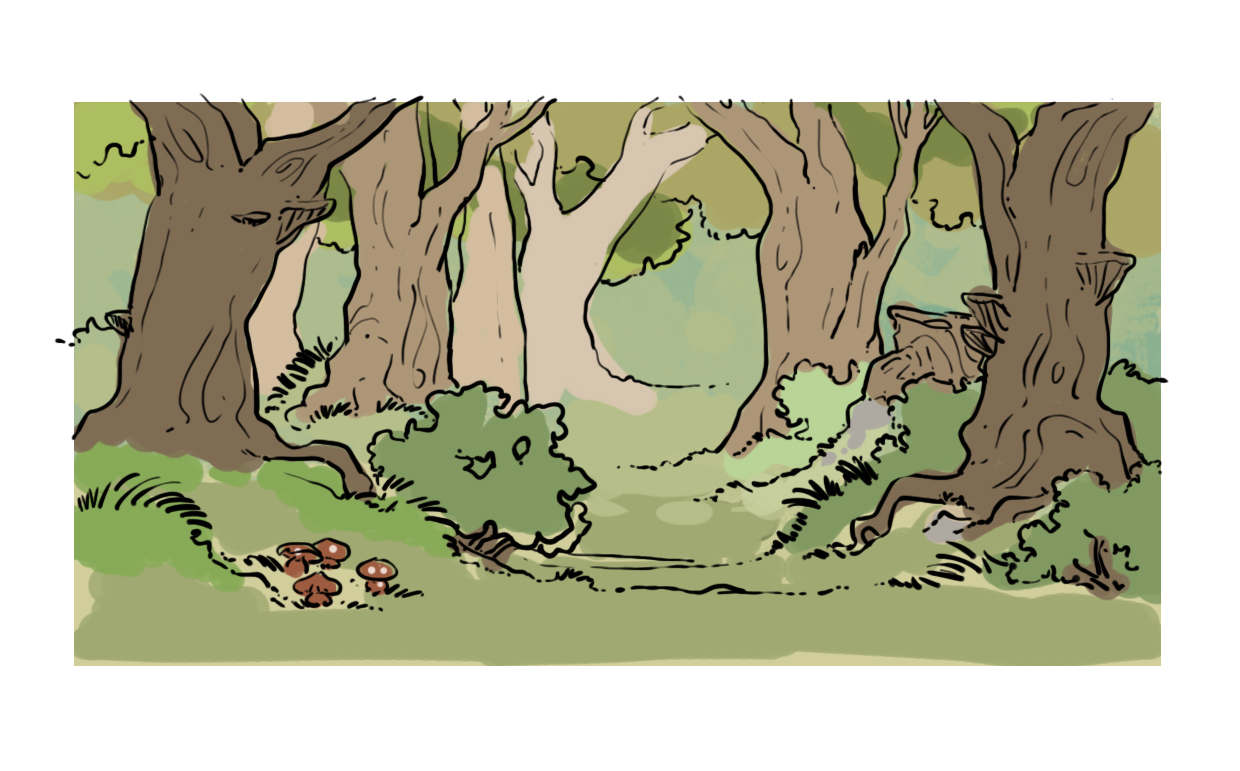
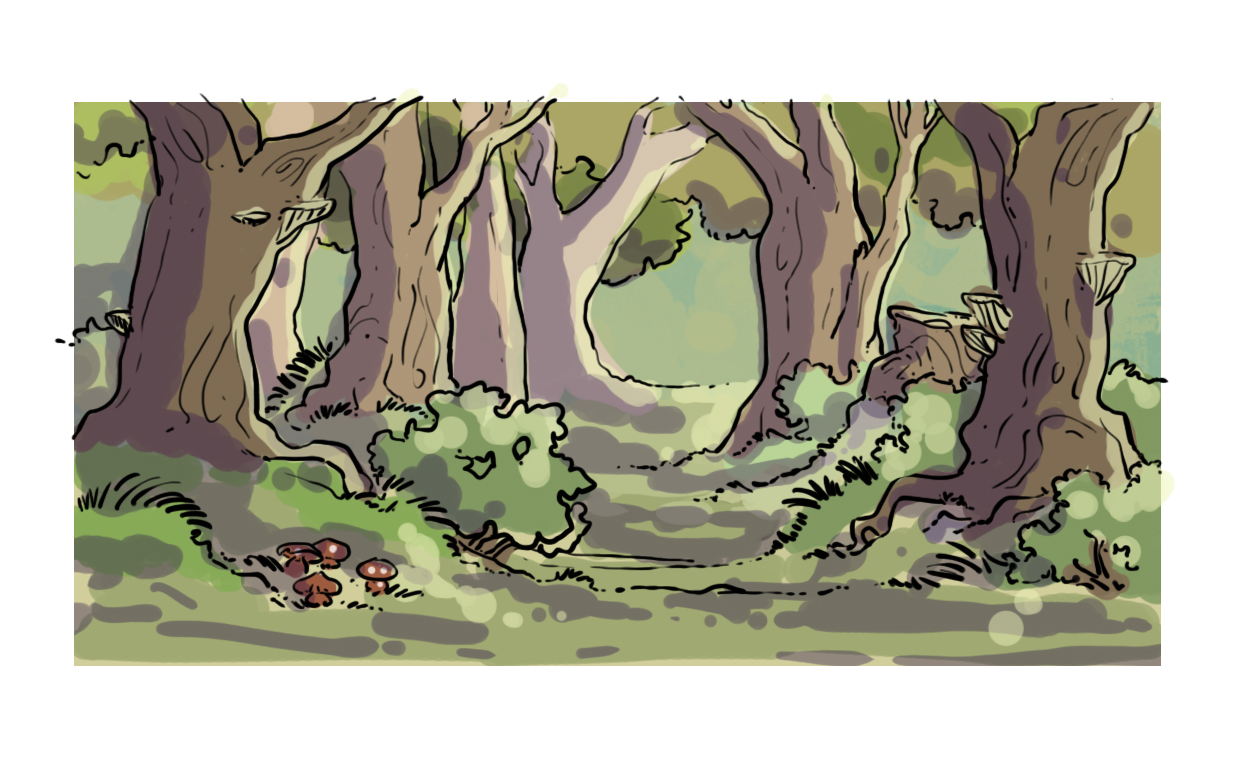
I'm placing shadows. The light is coming from the right. You'll notice that I'm adding patches of shadow here and there on the ground to create the dappled light effect from the foliage.
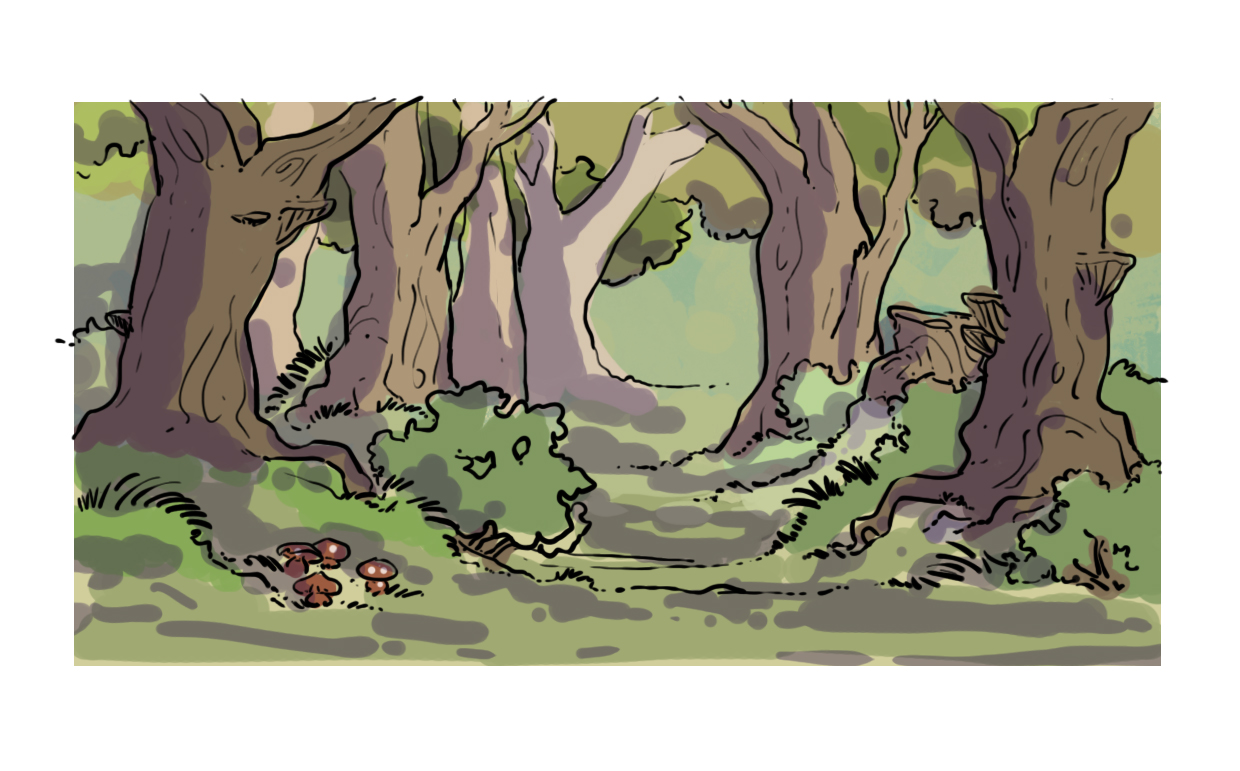
I am enhancing the lighting with a line of light on the trunks. You can also place some light spots on the ground.
By putting all these steps end to end, we see the forest forming.

I'm just cleaning up the drawing that's spilling over the frame a bit and then it's done.

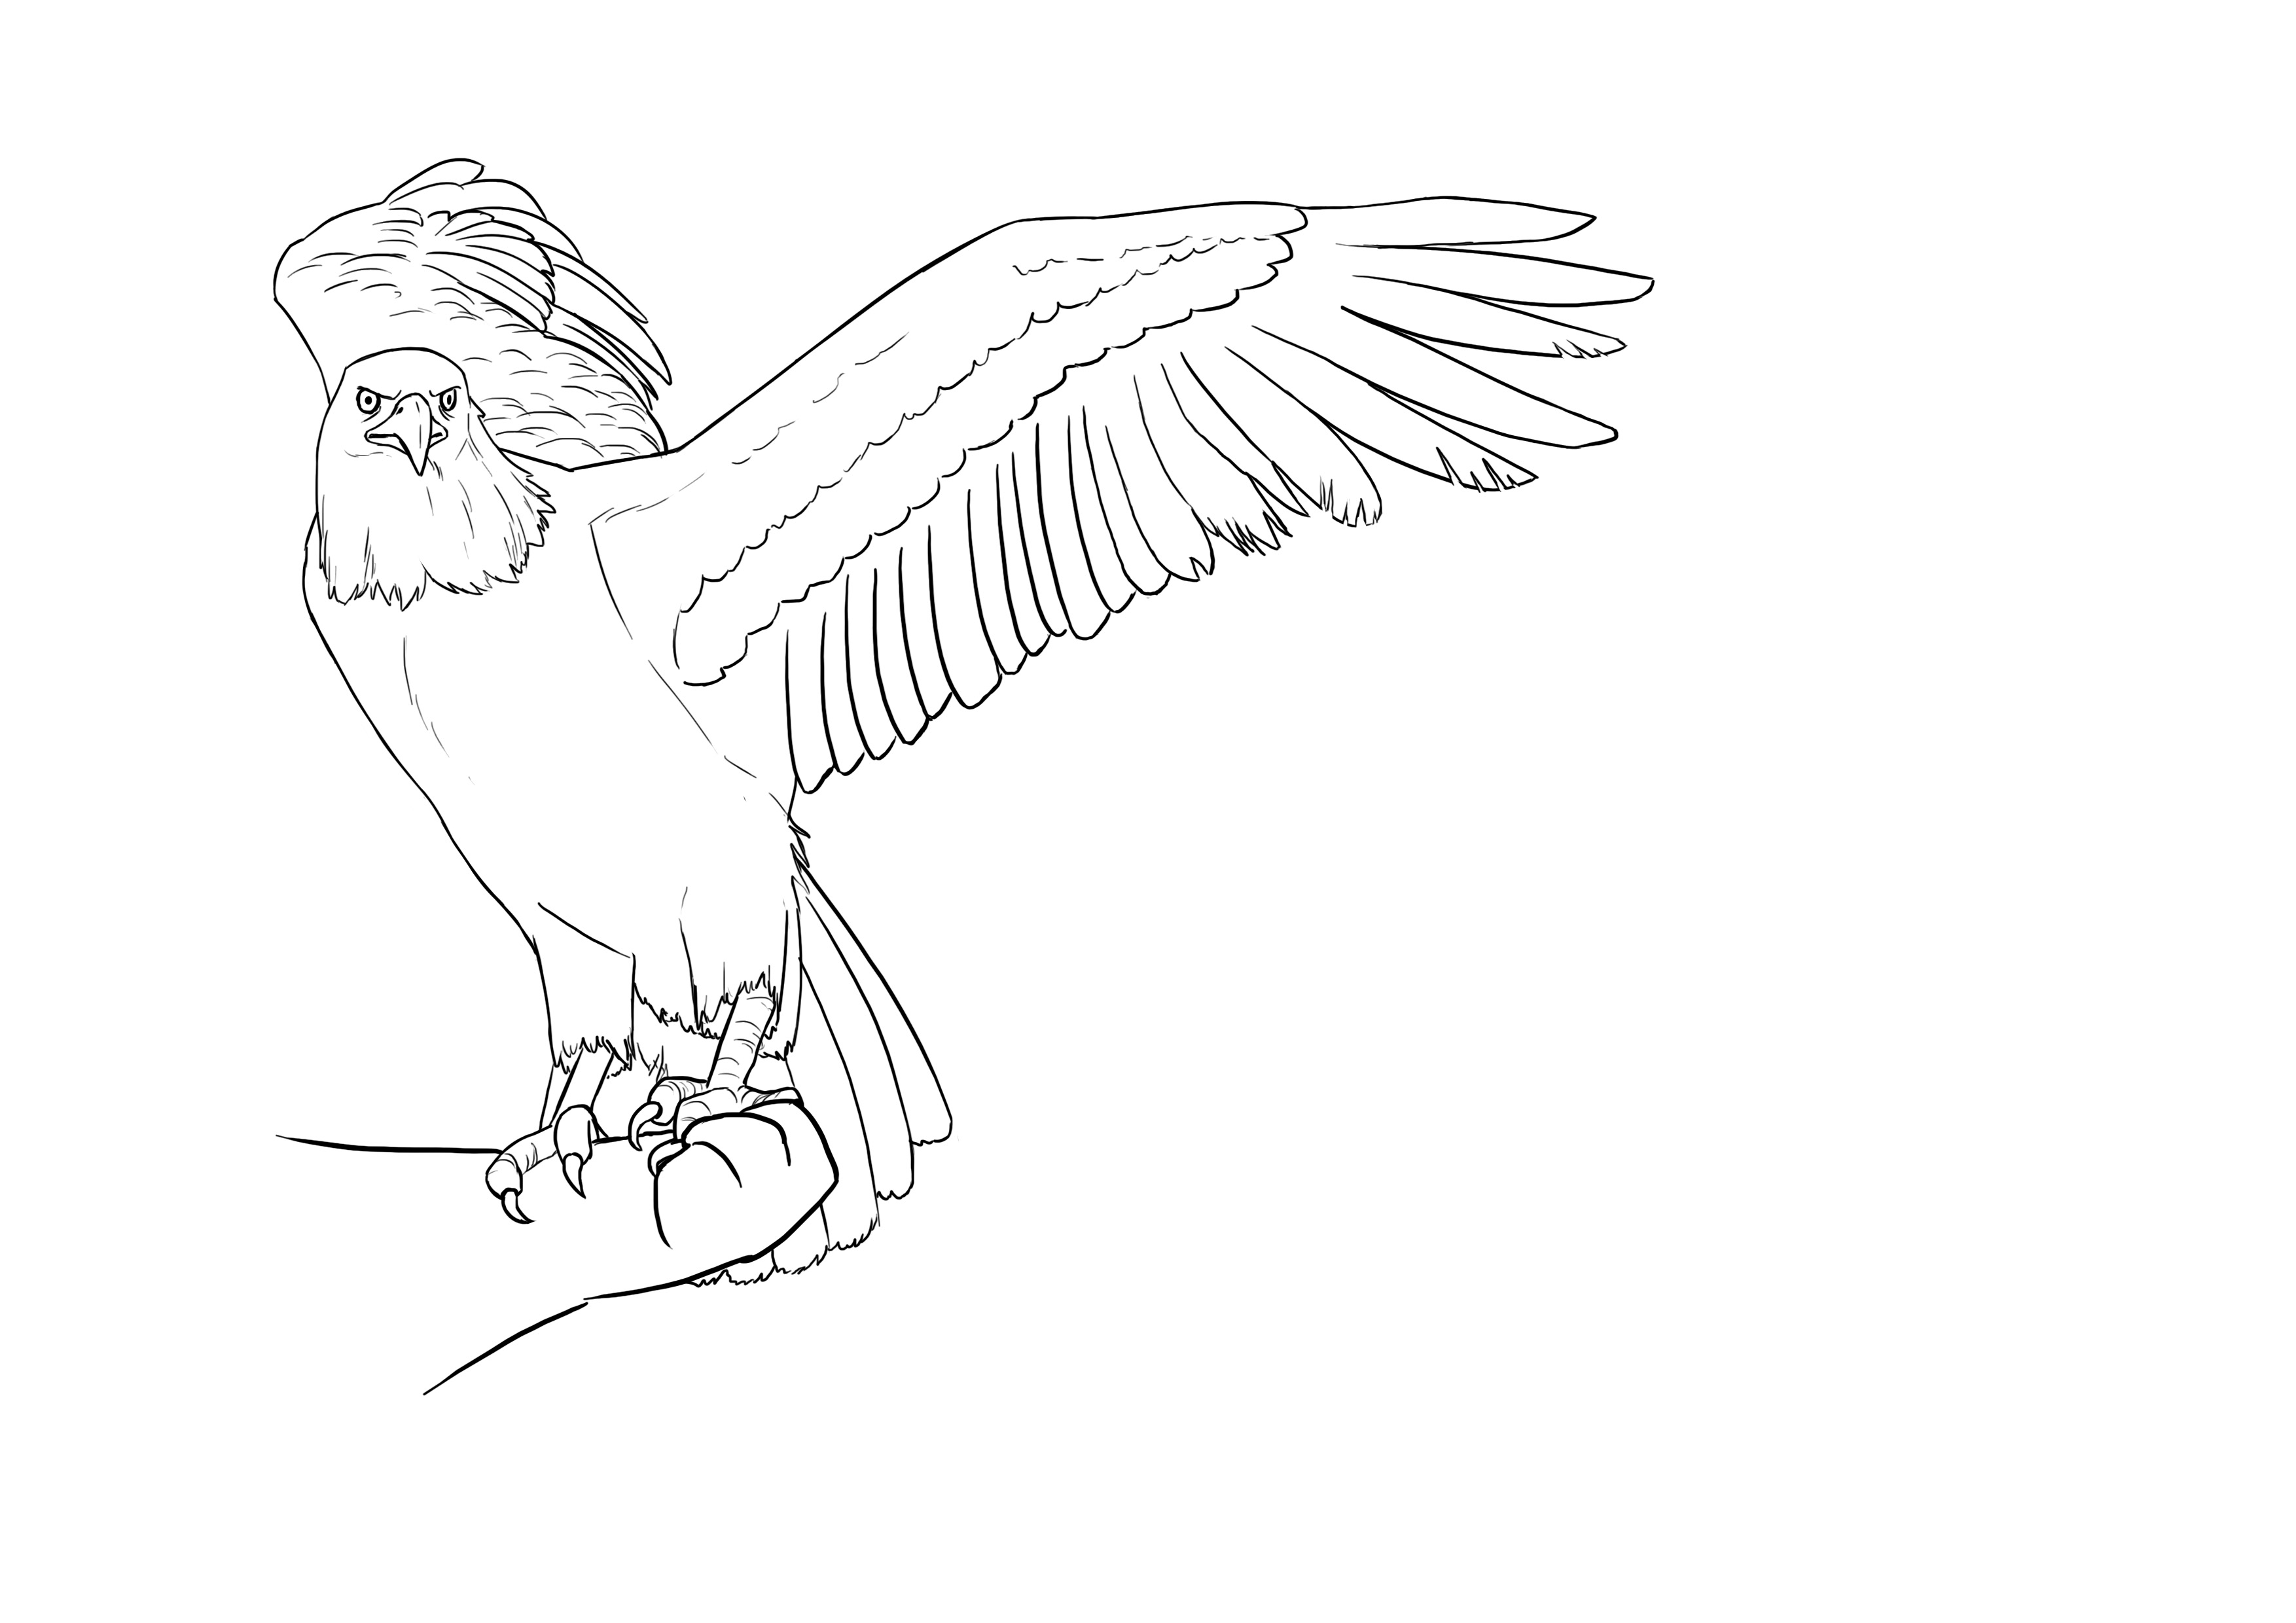
As I was telling you at the very beginning, this is a quick sketch. Obviously, you are free to work more on this base, to detail the trees, their branches... You can add some life by adding wildlife, a bird, a squirrel, a passing boar...
It will also be entirely possible and relevant to work more on the light. The light in a forest is "filtered" and cut through the foliage, it is not uniform. You can also detail the ground, the mosses and lichens on the wood and stones.
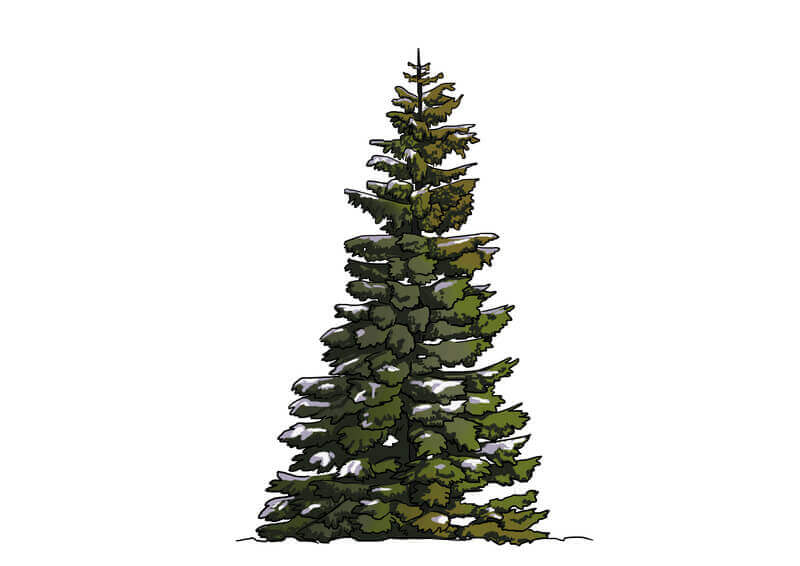
And of course, there are more distinctive forests, depending on the climates. An Amazonian forest, full of ferns and lianas, will be quite different from a forest in northern Europe.
Before you venture into the forest, I would advise you to at least master how to represent trees. Even if they are not the only ones in the forest, they are its framework and if you are not comfortable with this element, drawing will be laborious.
No matter which type of forest you choose, remember to manage perspective and depth of field, avoiding straight lines and overly symmetrical compositions.

Discussion
12 comments