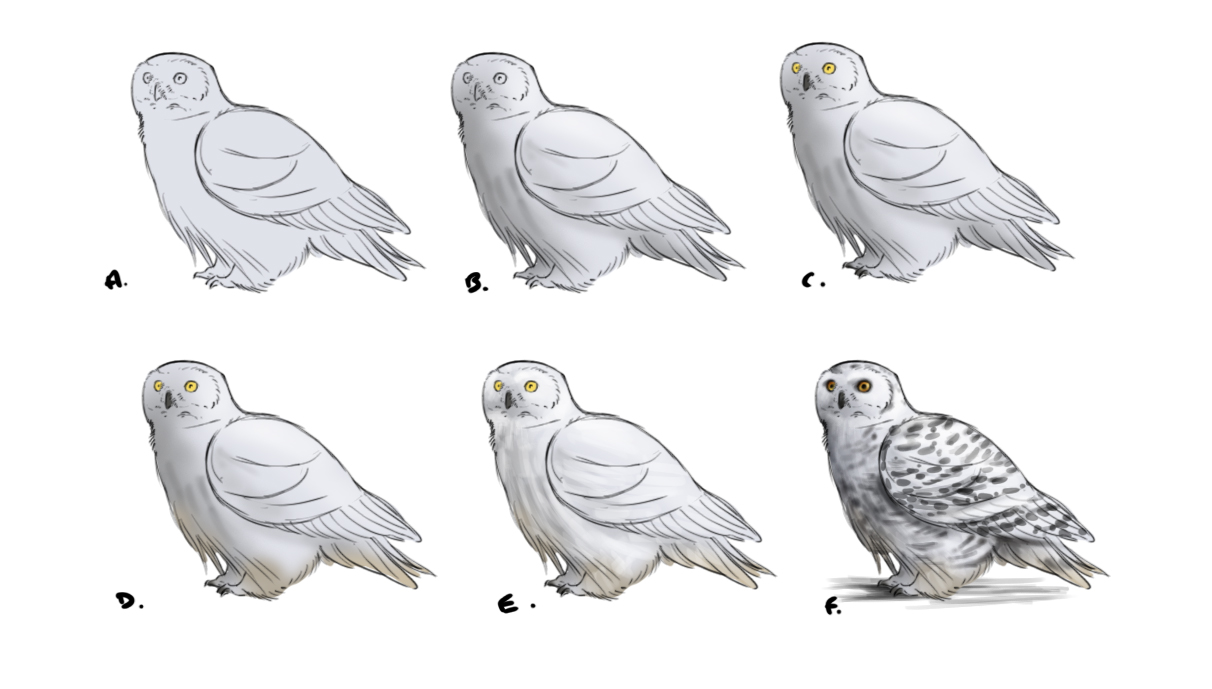
How to Draw a Bird
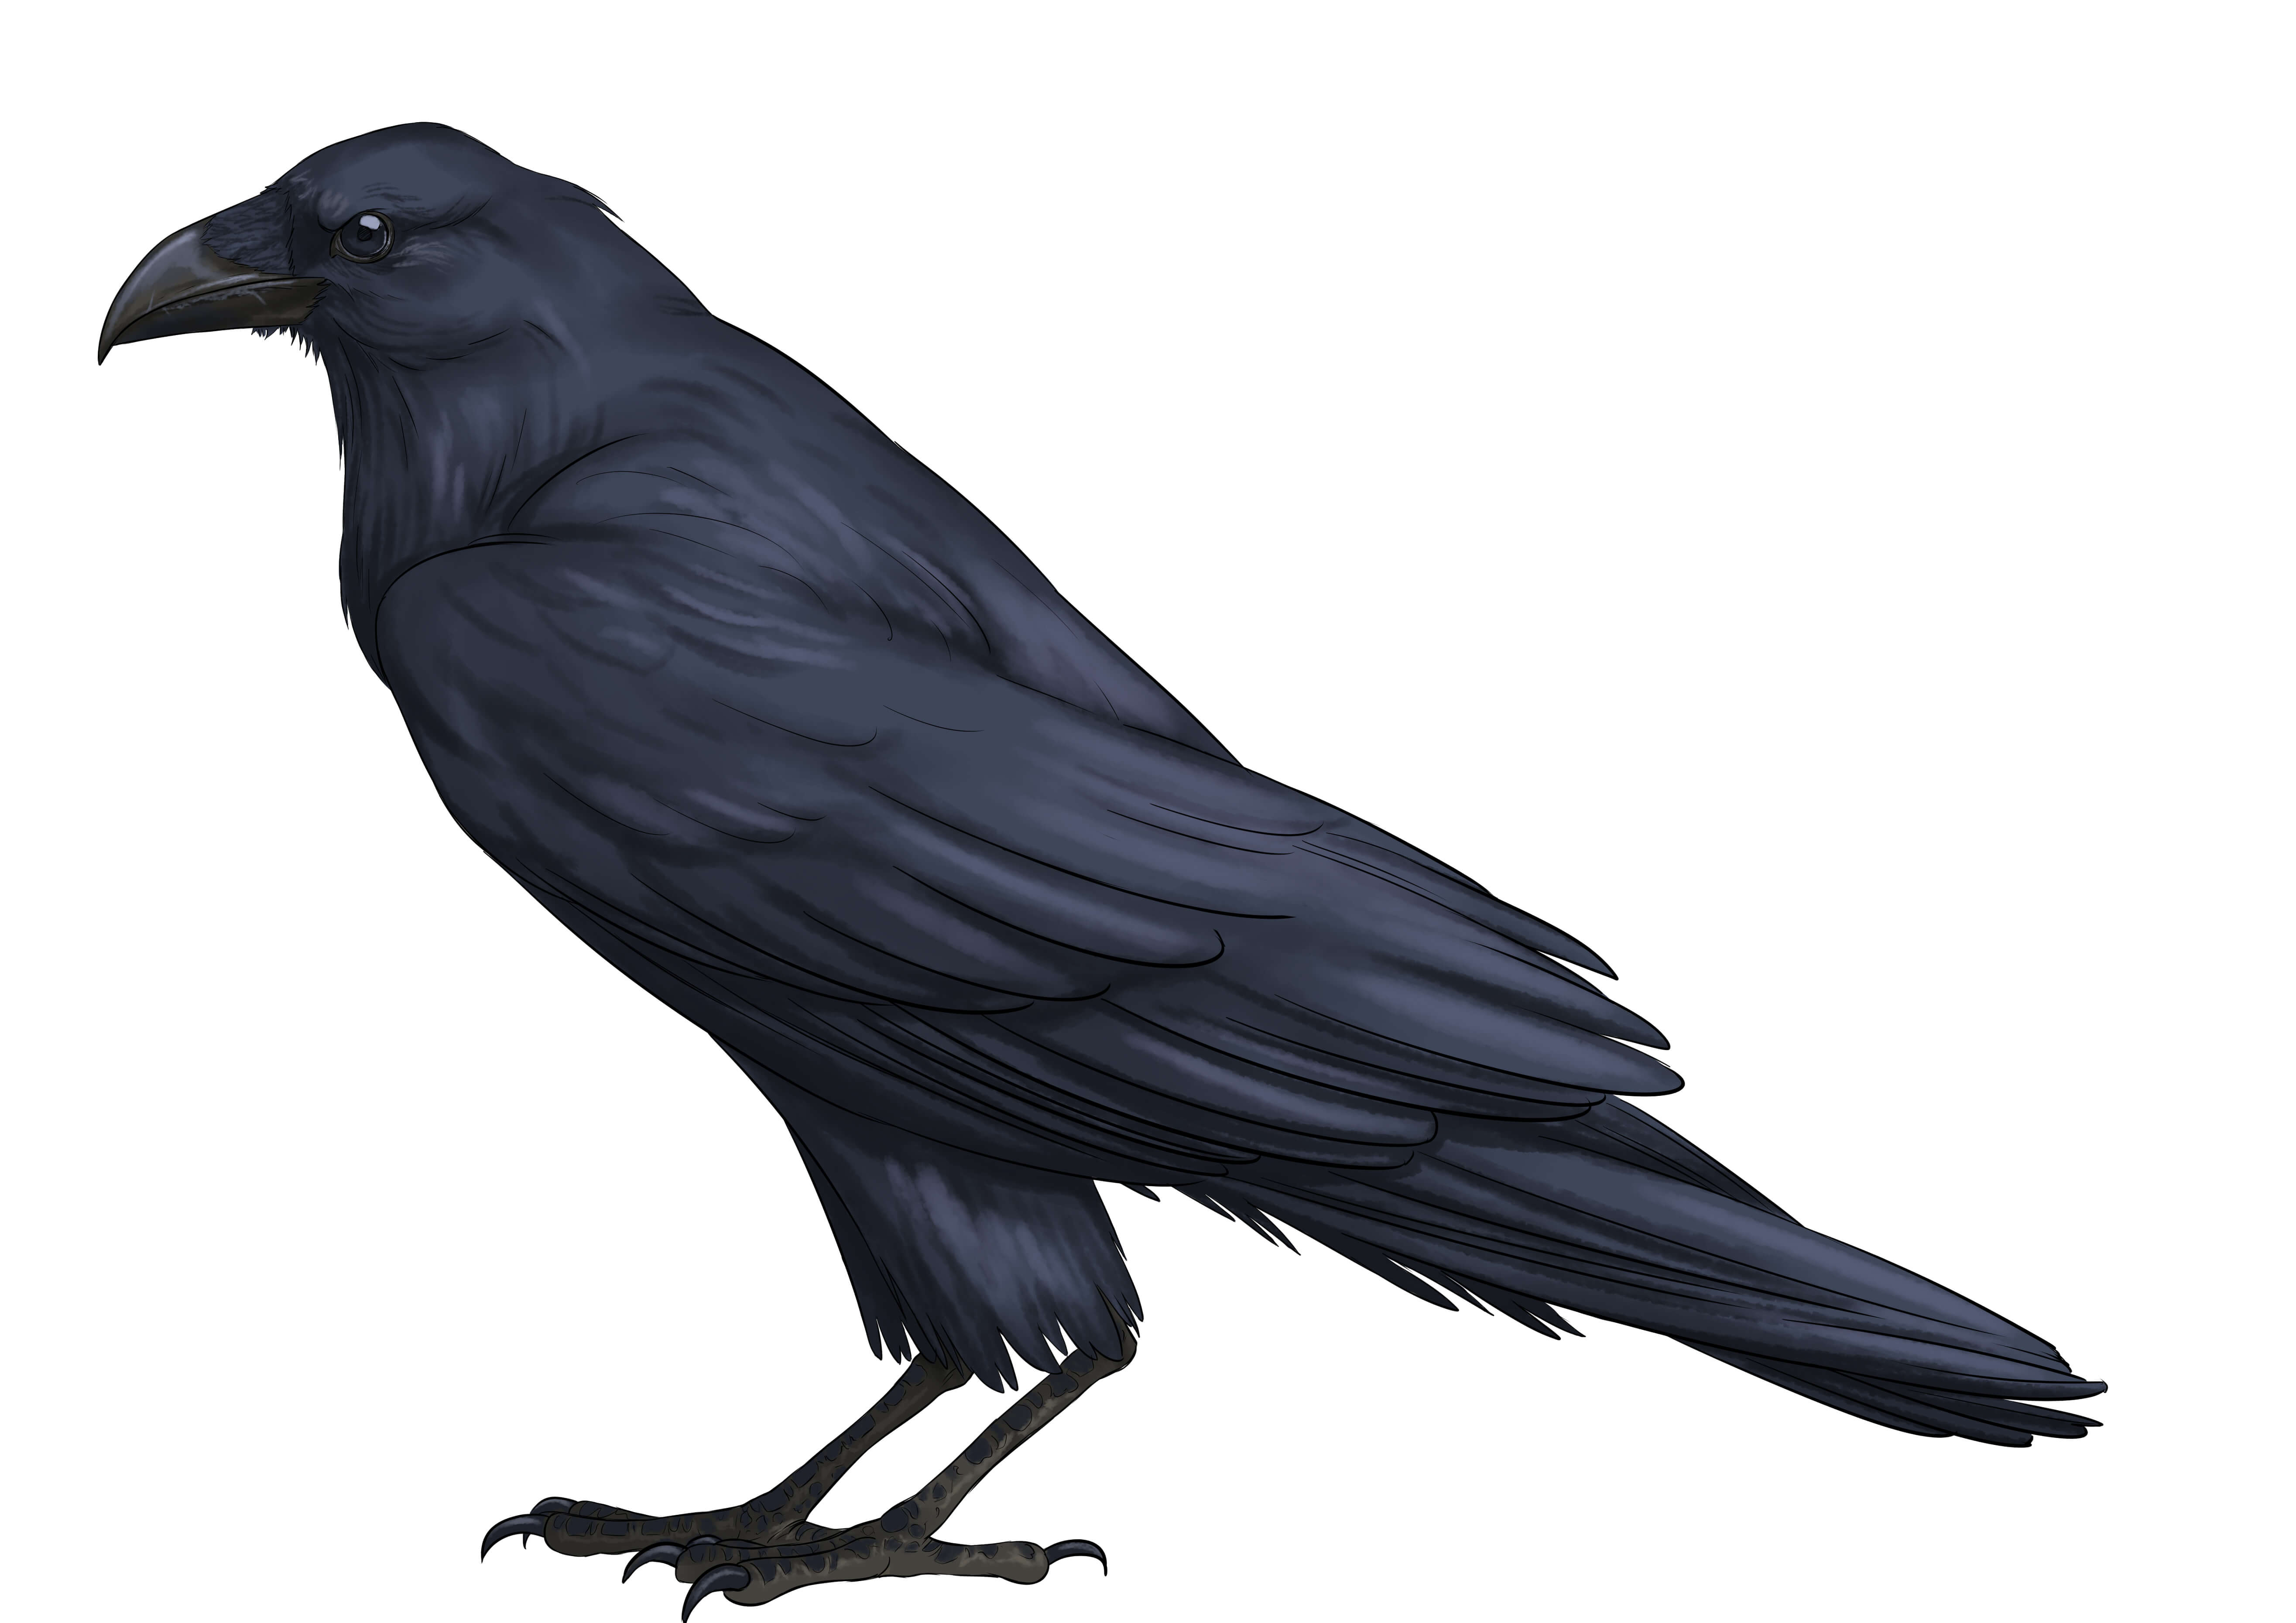
Although we already have an article about one of our feathered friends (namely the crow), today we will take a closer look at two of his little comrades. The robin and the American eagle. There are tons of bird species of various shapes and sizes, but they are all more or less built the same.
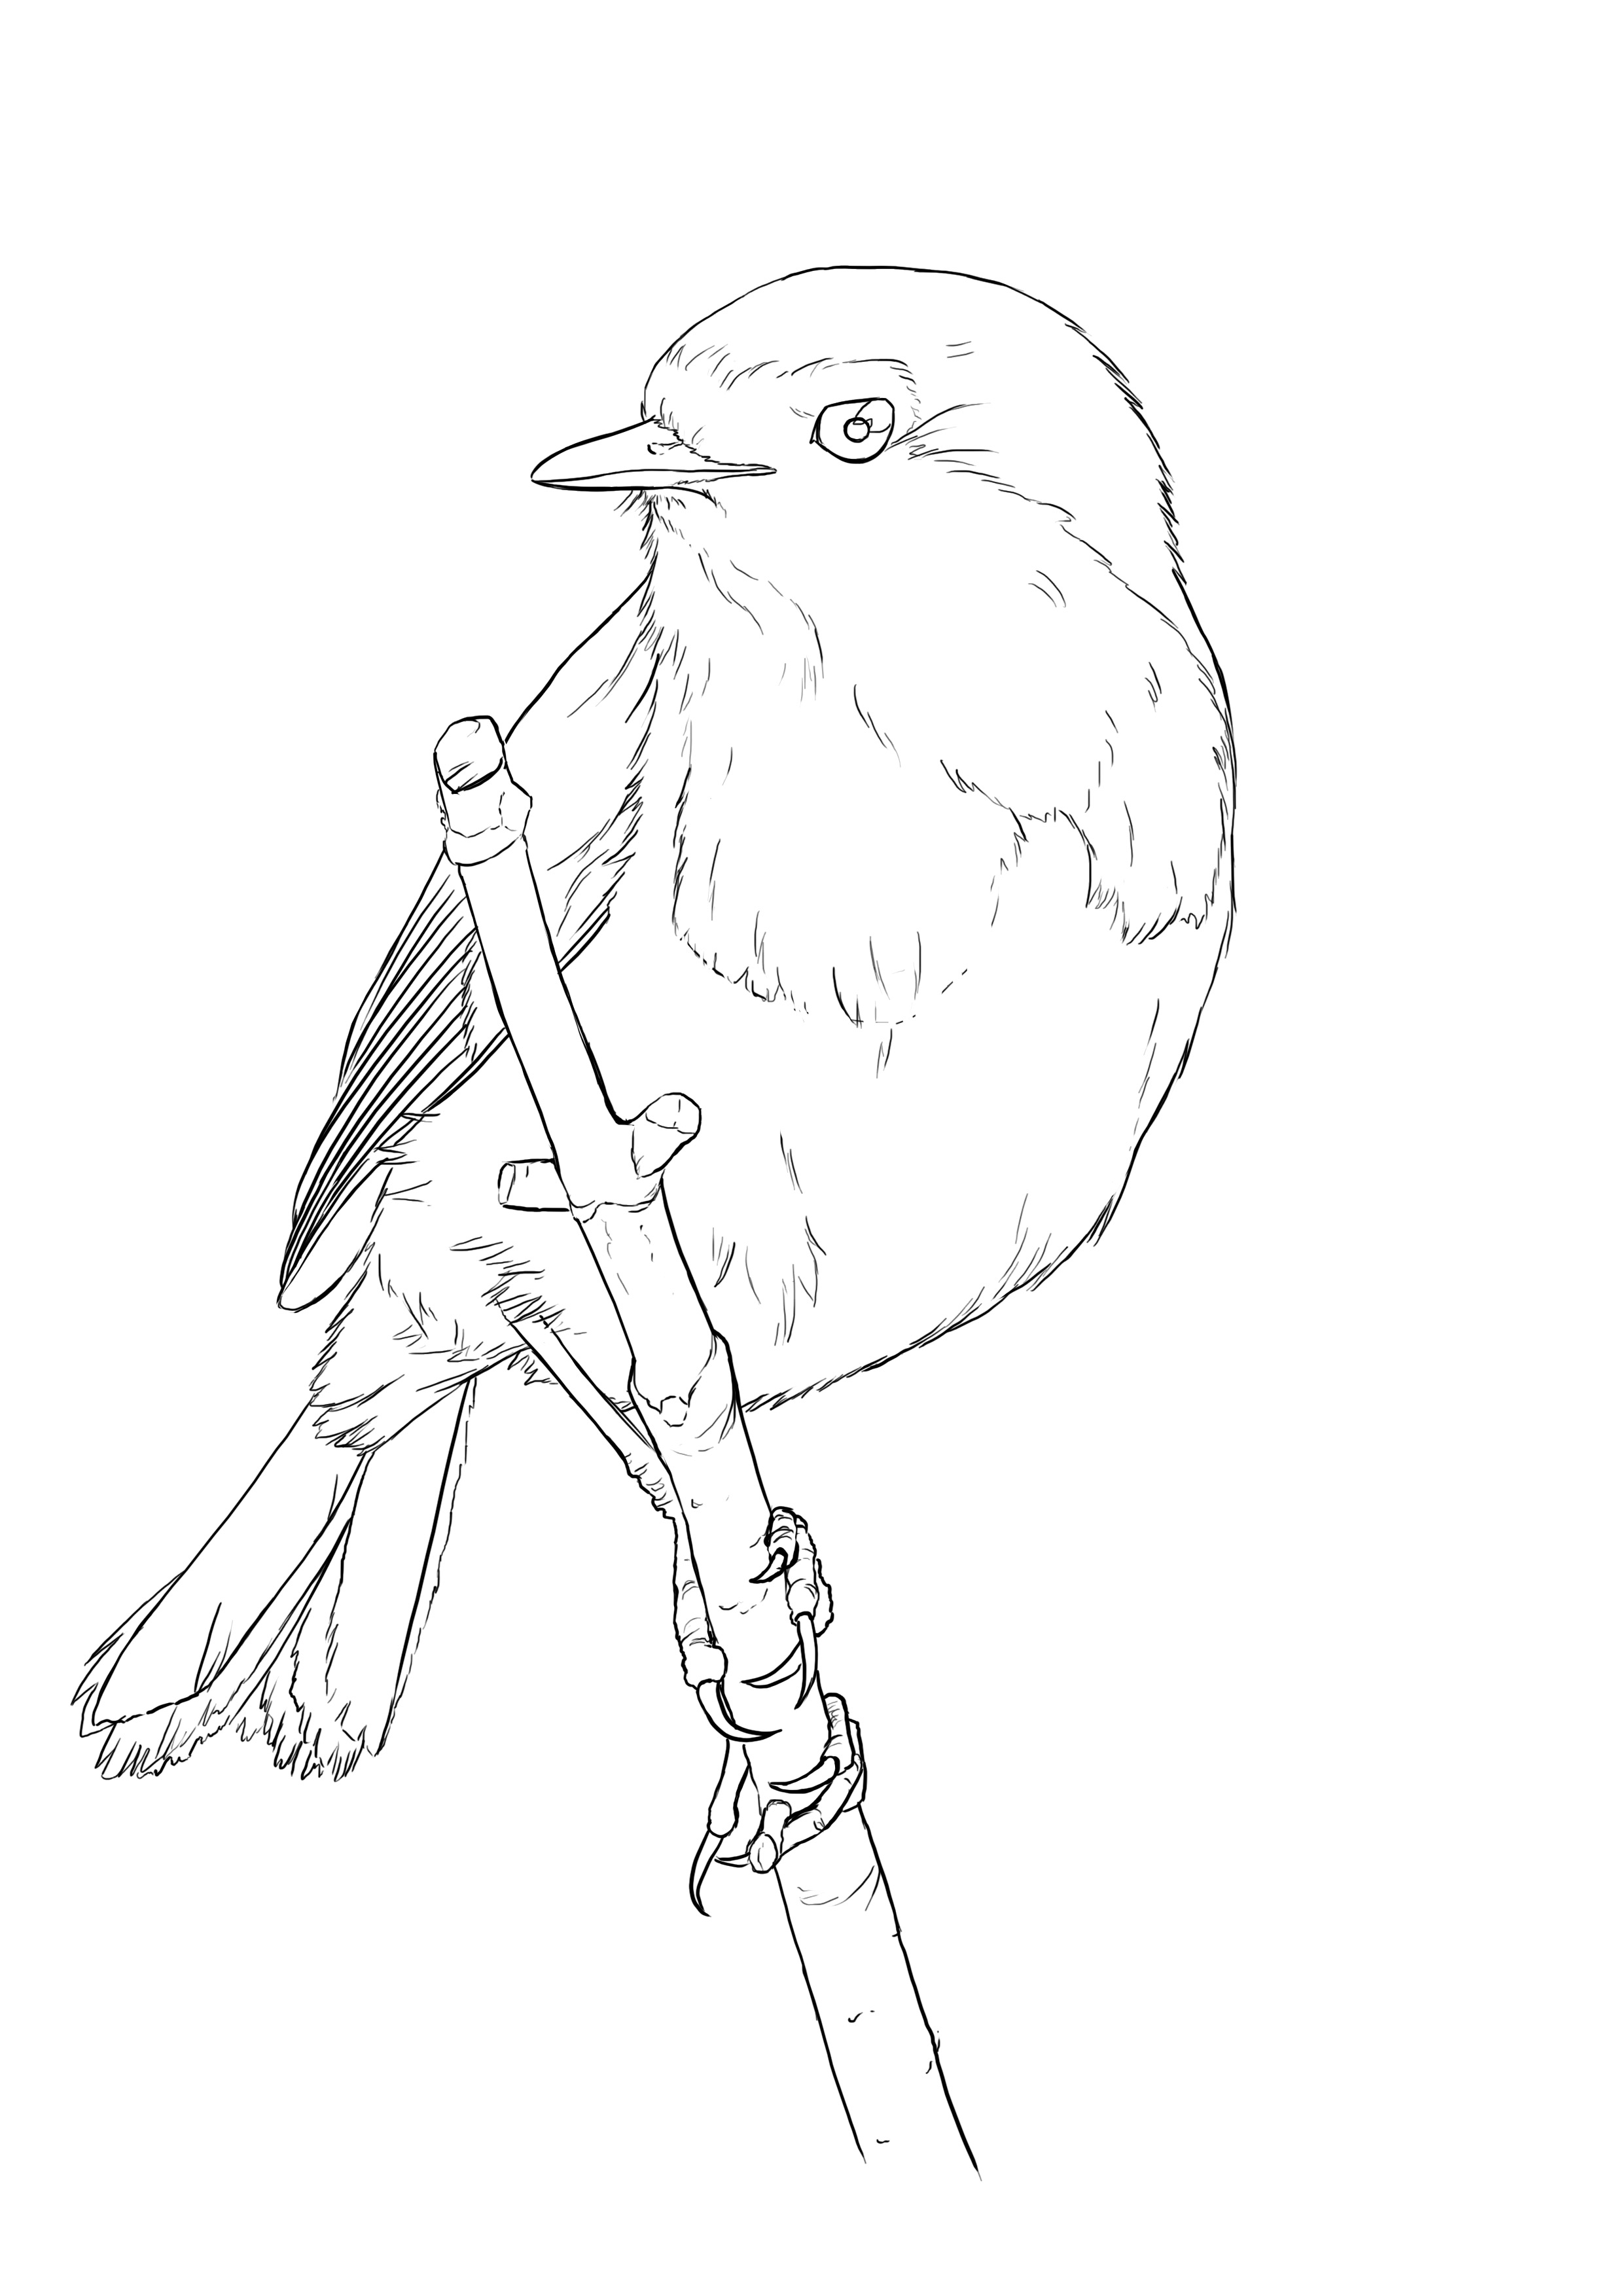
HOW TO DRAW A ROBIN
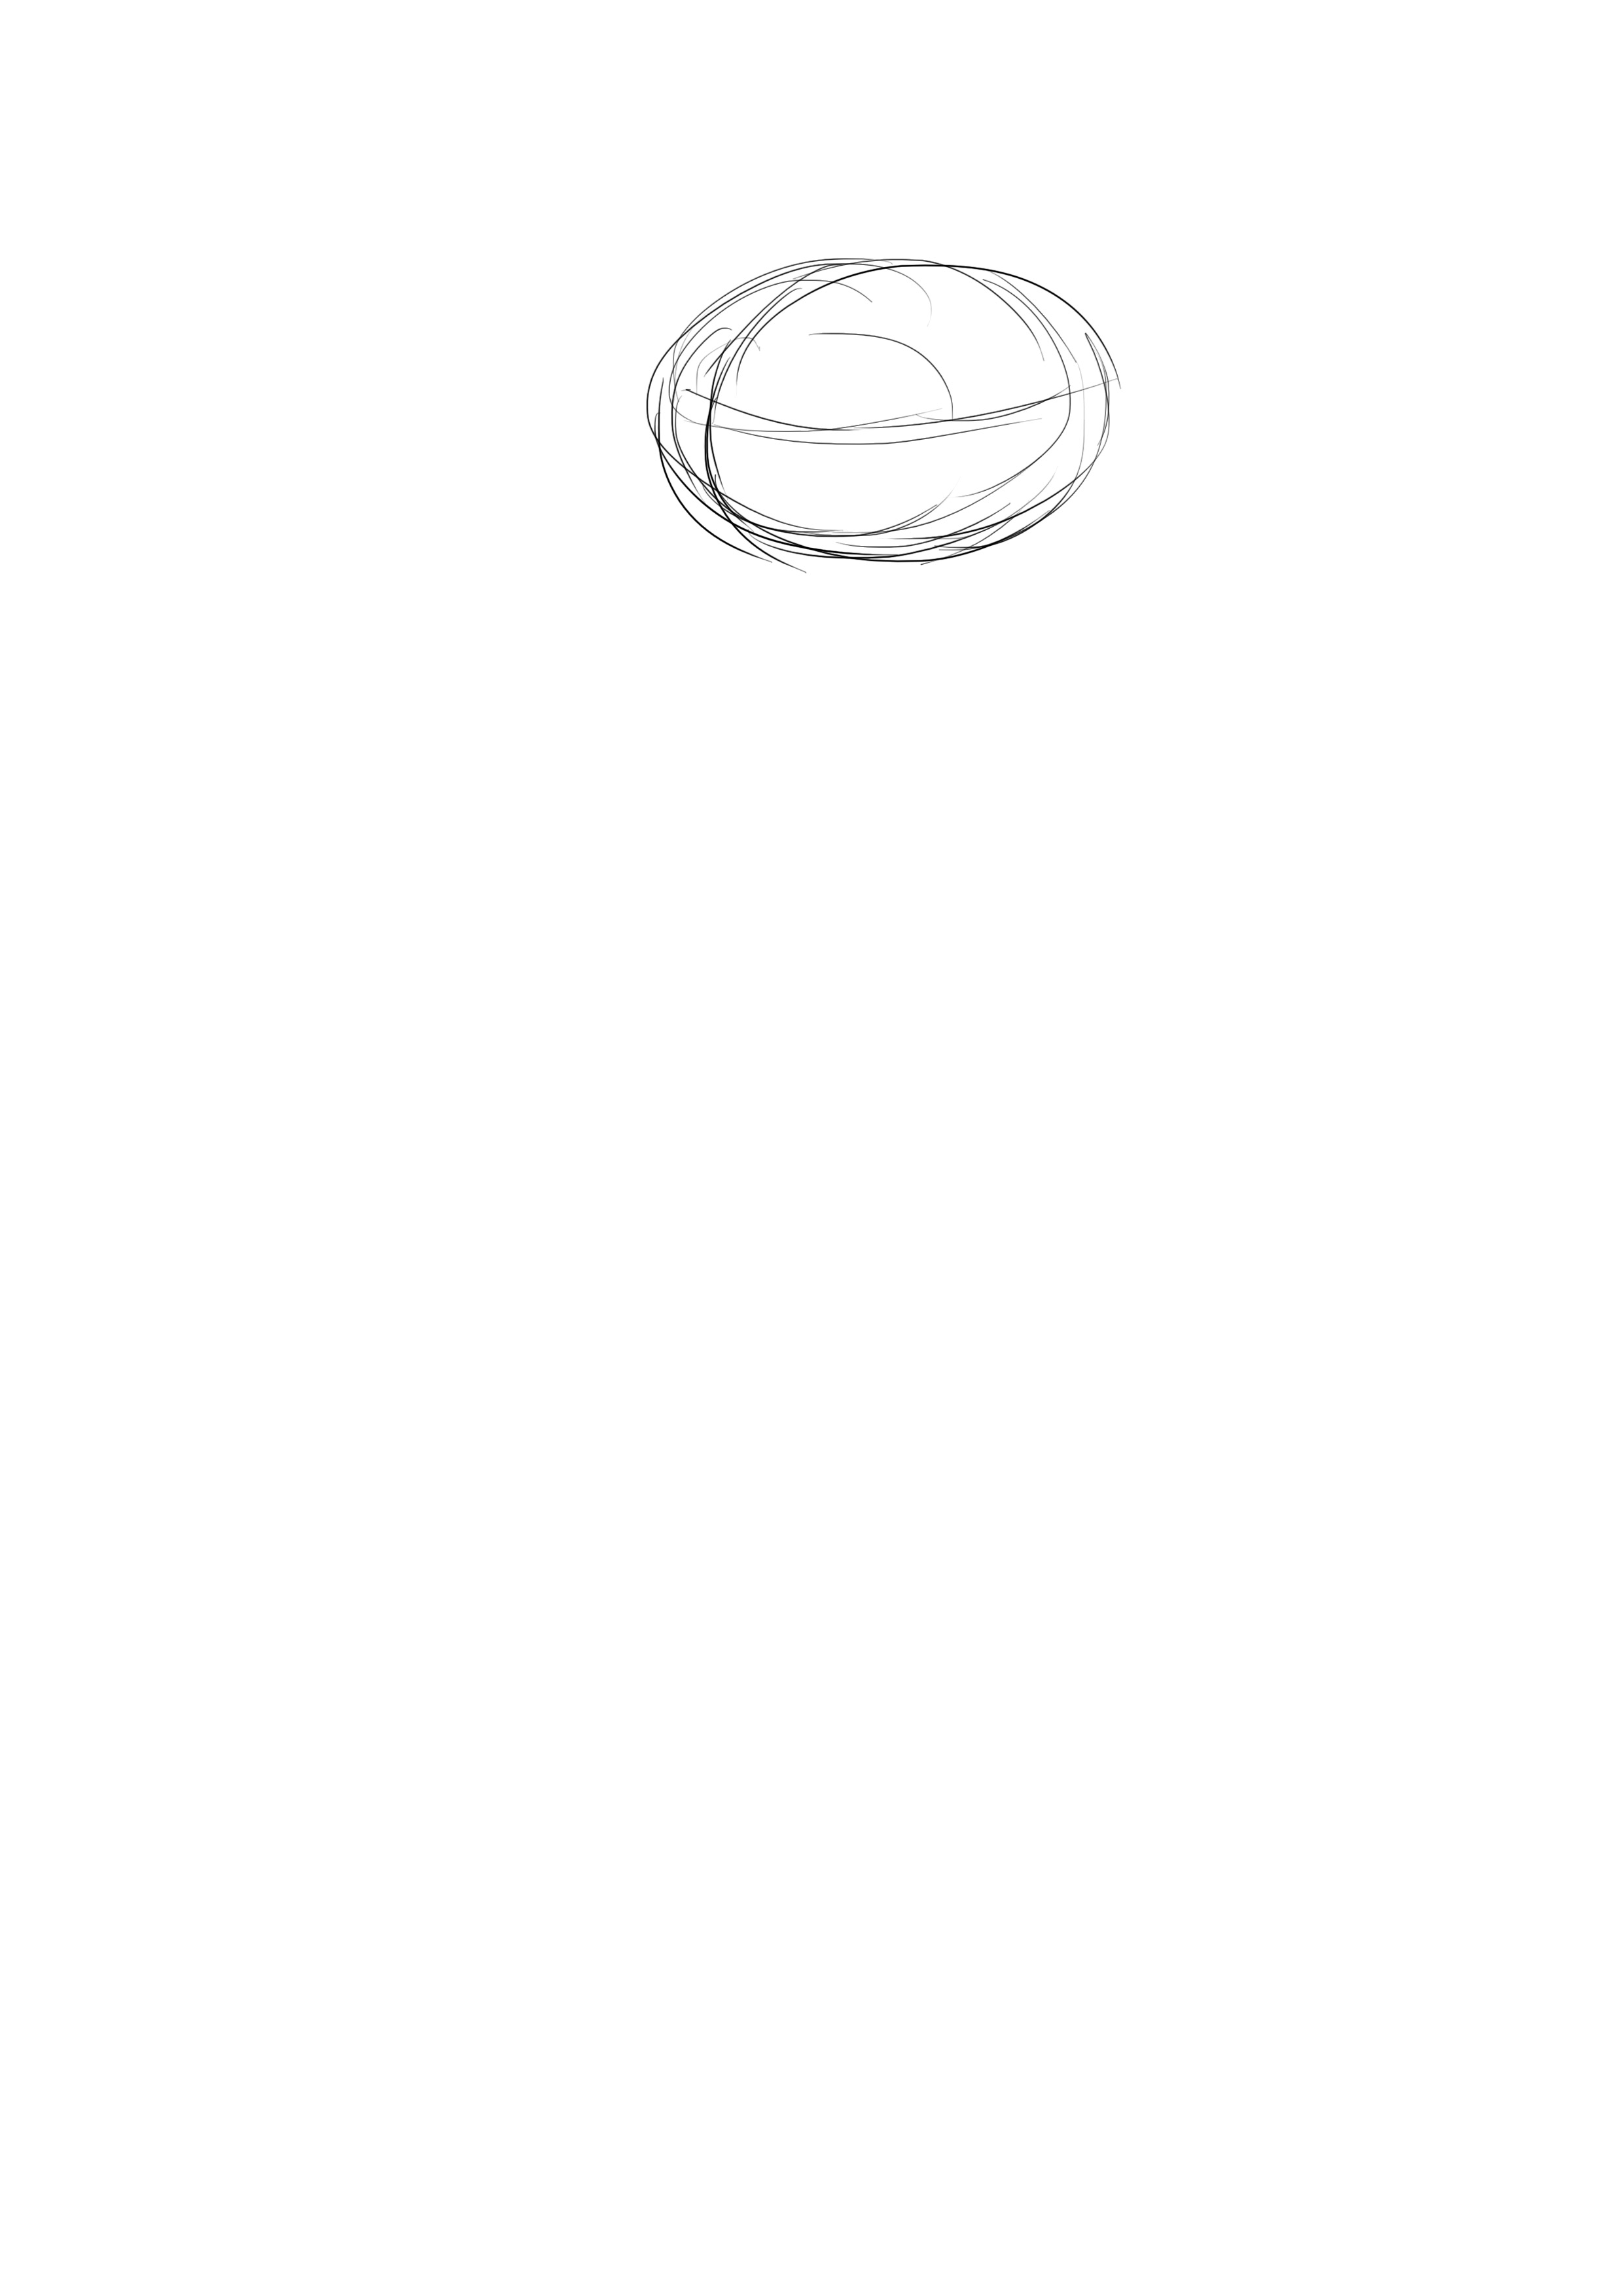
It's the simpler of the two in my opinion because you can reduce the shape of this bird to a little ball of feathers.
BIRD WATCHING
Look at that cute little face. It really looks like a bird from cartoons: a ball, two skinny legs with 3 toes in front, and a quite flattened head with small eyes and a small beak. It's extremely simple to make and personally, I find it super cute.
I'm reminding you of something important that I had already mentioned in the article about the crow: most birds, with the exception of owls and other birds of prey, have eyes placed on the sides of their skull (which is why birds generally look at us from the side), not near the corners of their beak.
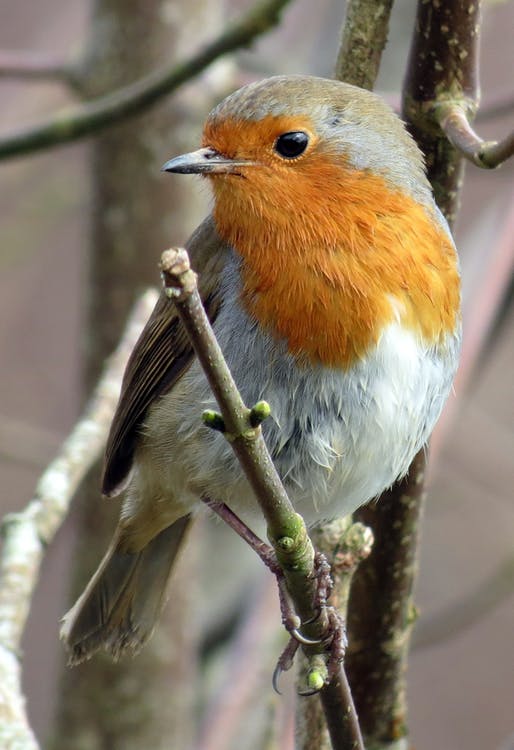
You’ve got it, the robin is quite simple to draw. I’ll use this photo as a reference.
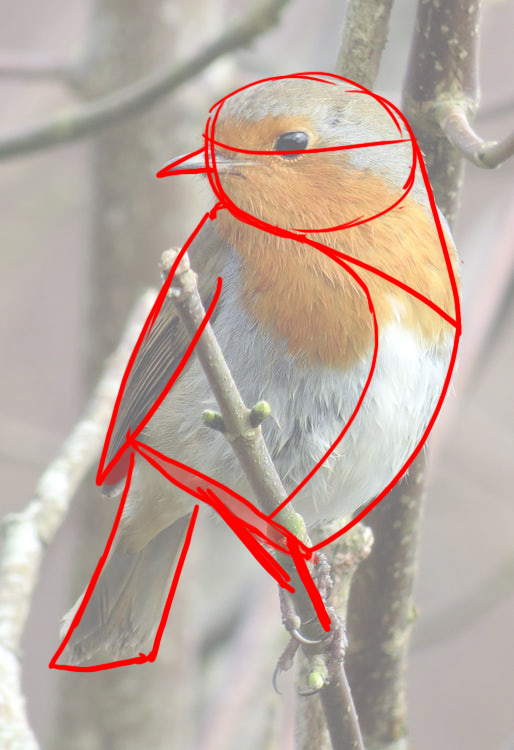
I'll quickly tell you a few important little things: the width of the head fits one and a half times into the width of the body, the beak is located at the midpoint of the skull, the eyes a tad higher. The body can almost fit into a square. The legs start at the back of the body.
A little diagram to show you the position of our bird's body. Because even though these are simple shapes, it's important to properly understand its posture. Here, there is a twist, the torso is turned ¾ towards us while the head is almost in profile, completely turned to the left.
THE ROBIN DRAWING
The part we love the most! :D
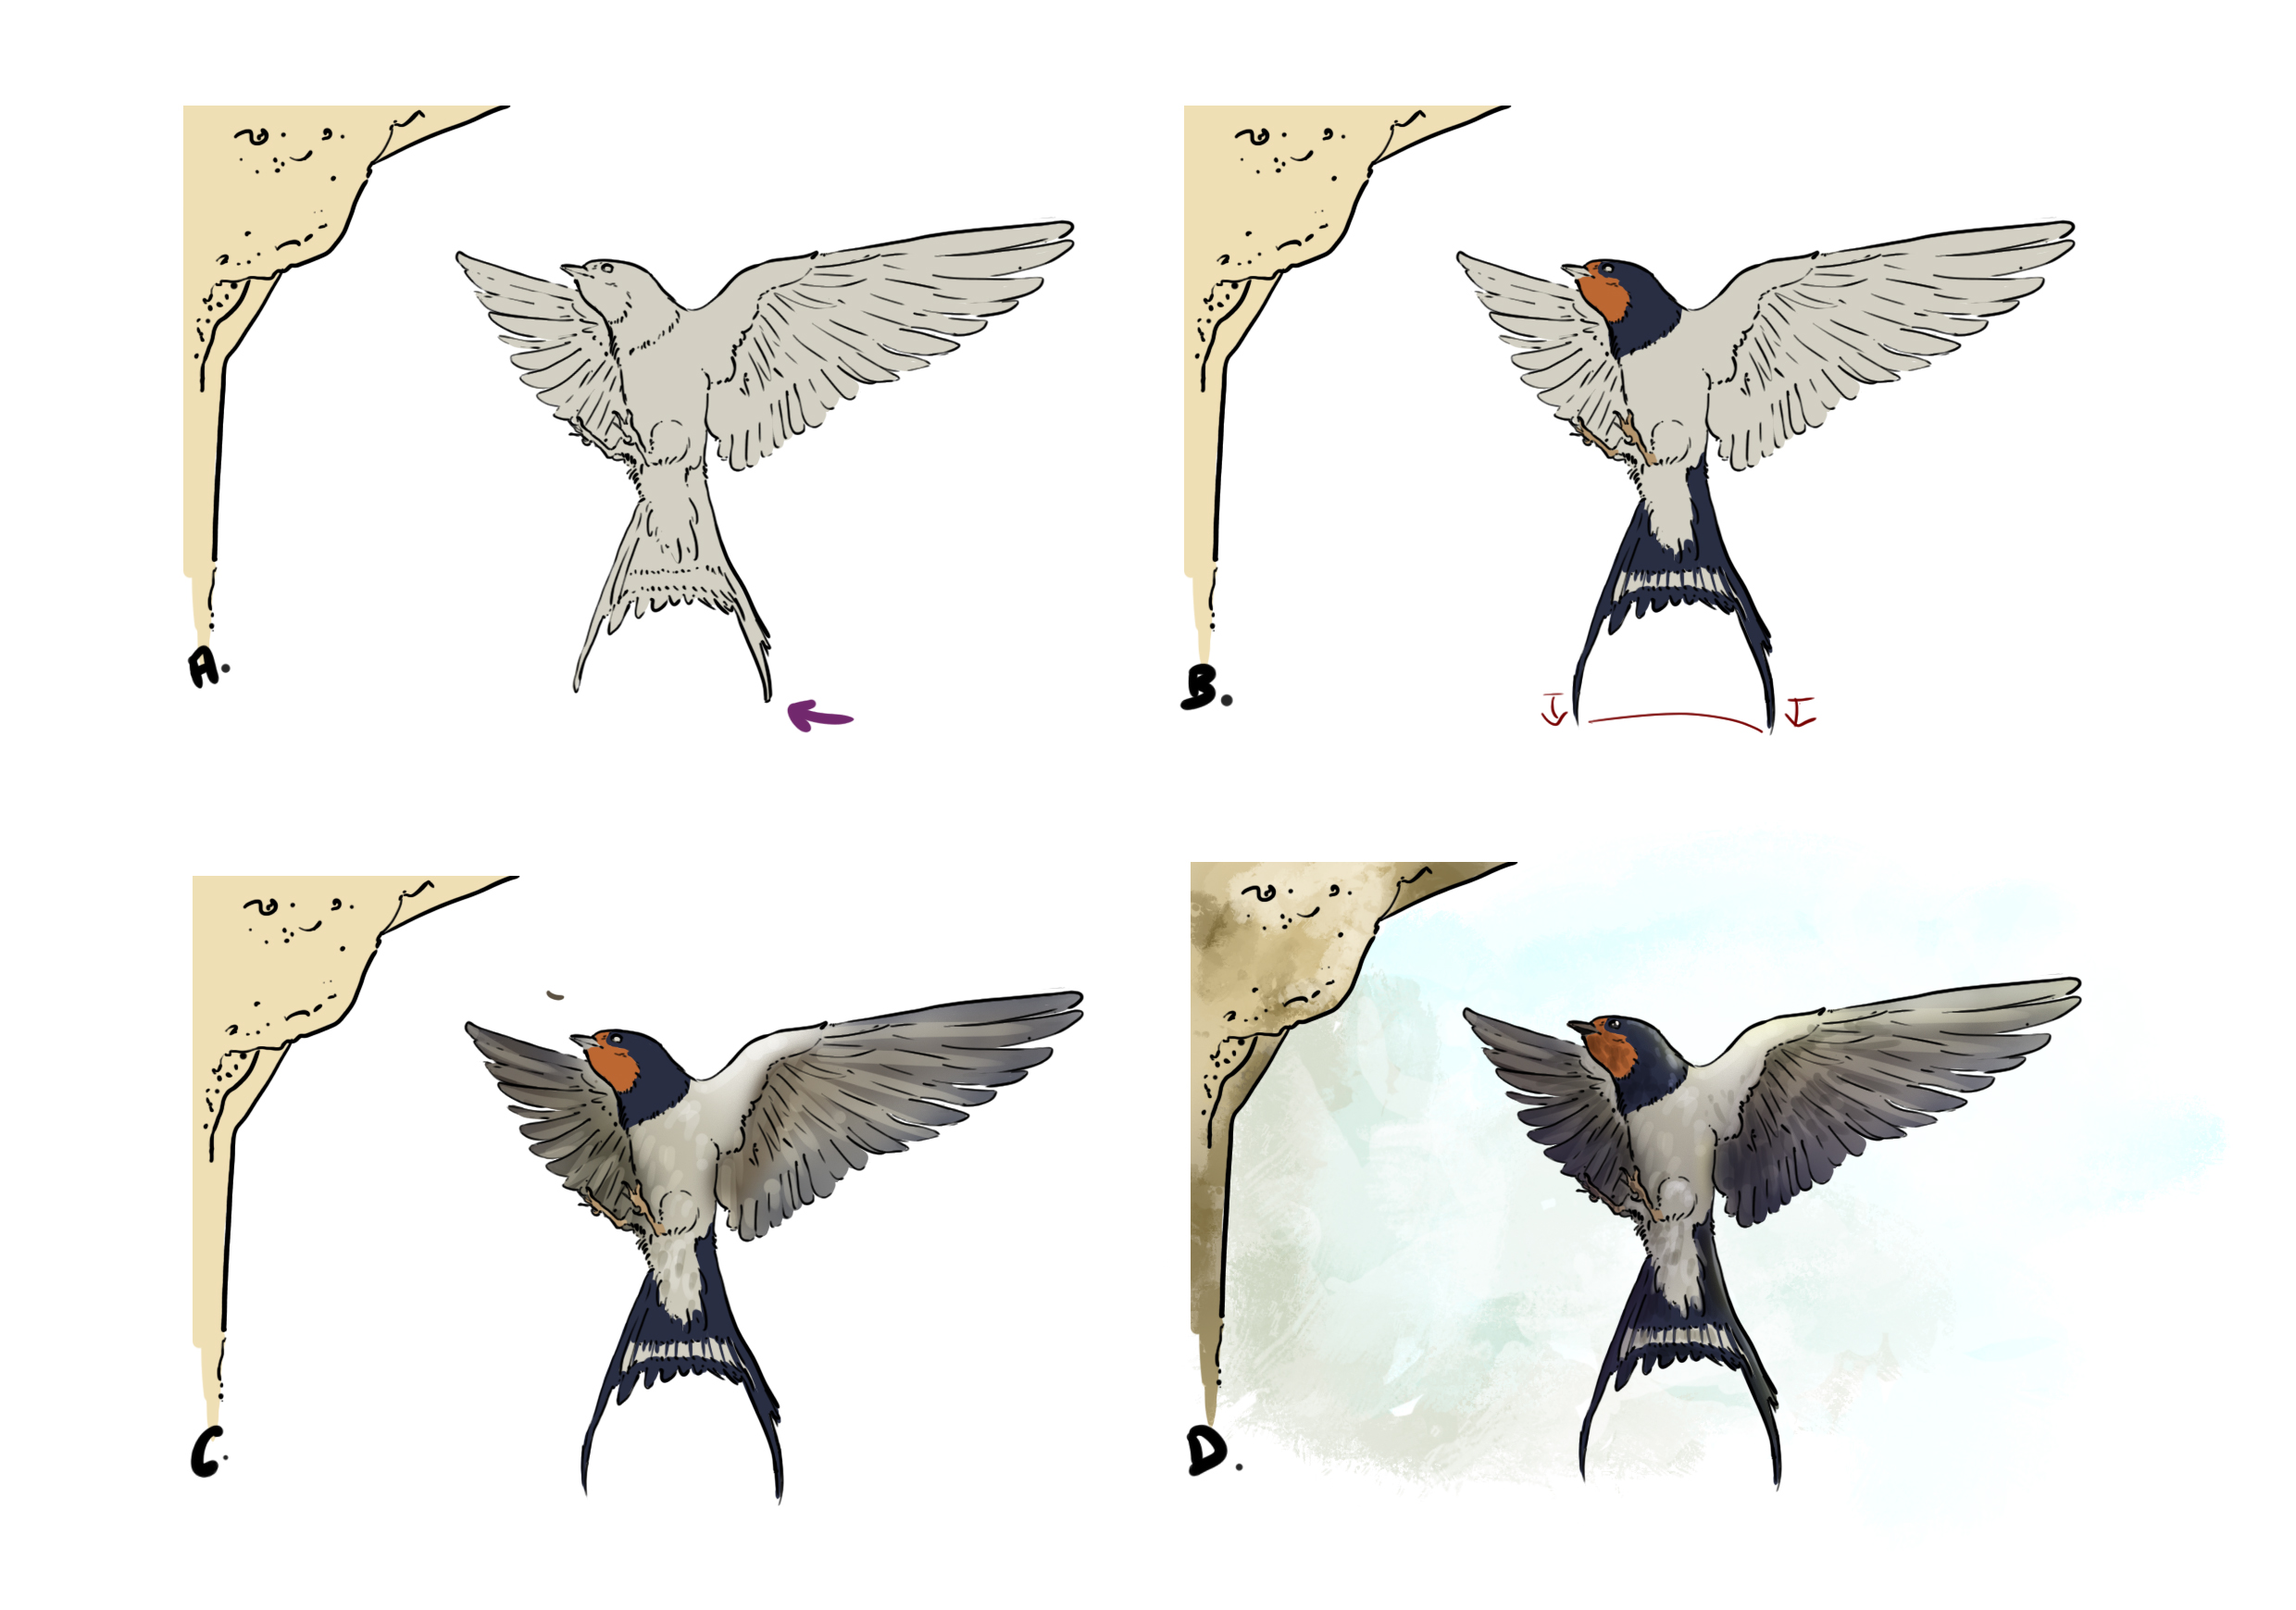
We start with the head, you know it's always how I start. So, we draw an oval that's not too squished. As always, if it helps you, you can draw the construction lines of the head (like the eye line, for example). Personally, I always draw it, it’s extremely useful.
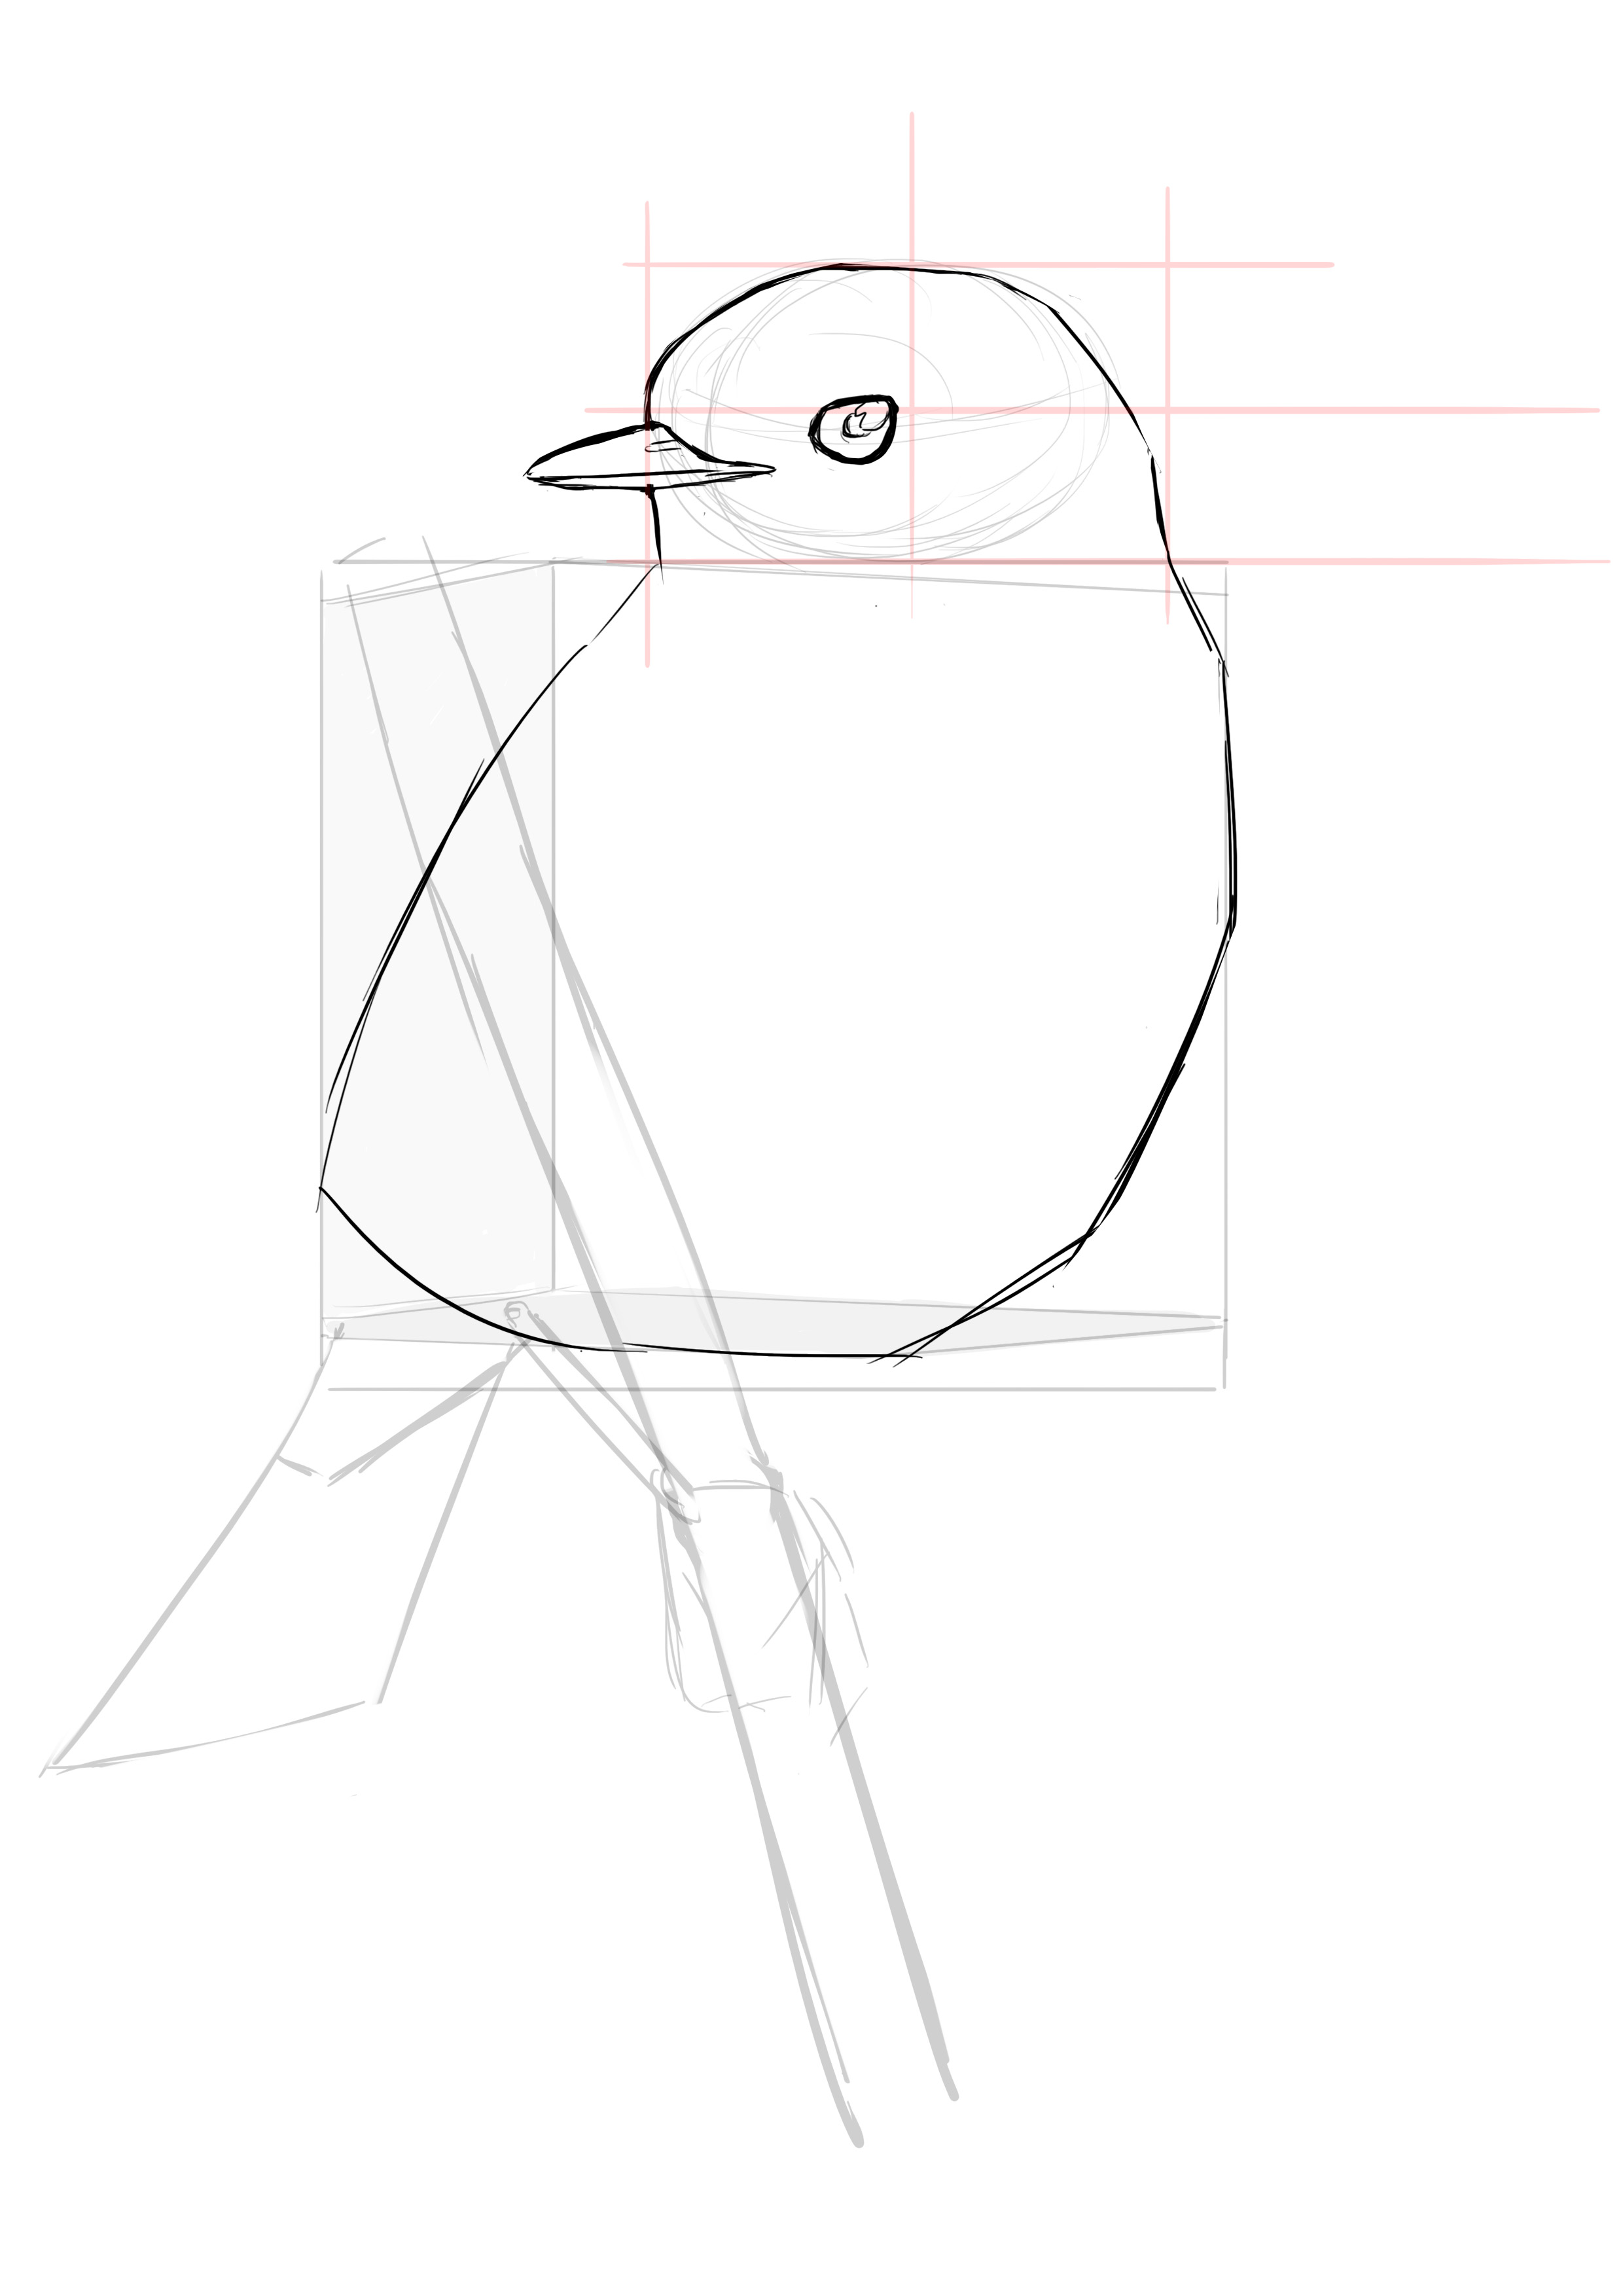
Next, we are going to draw a large square in which the body of our robin will fit. No need to make an exact square by measuring with a ruler and all. I would even say that it is slightly wider than tall.
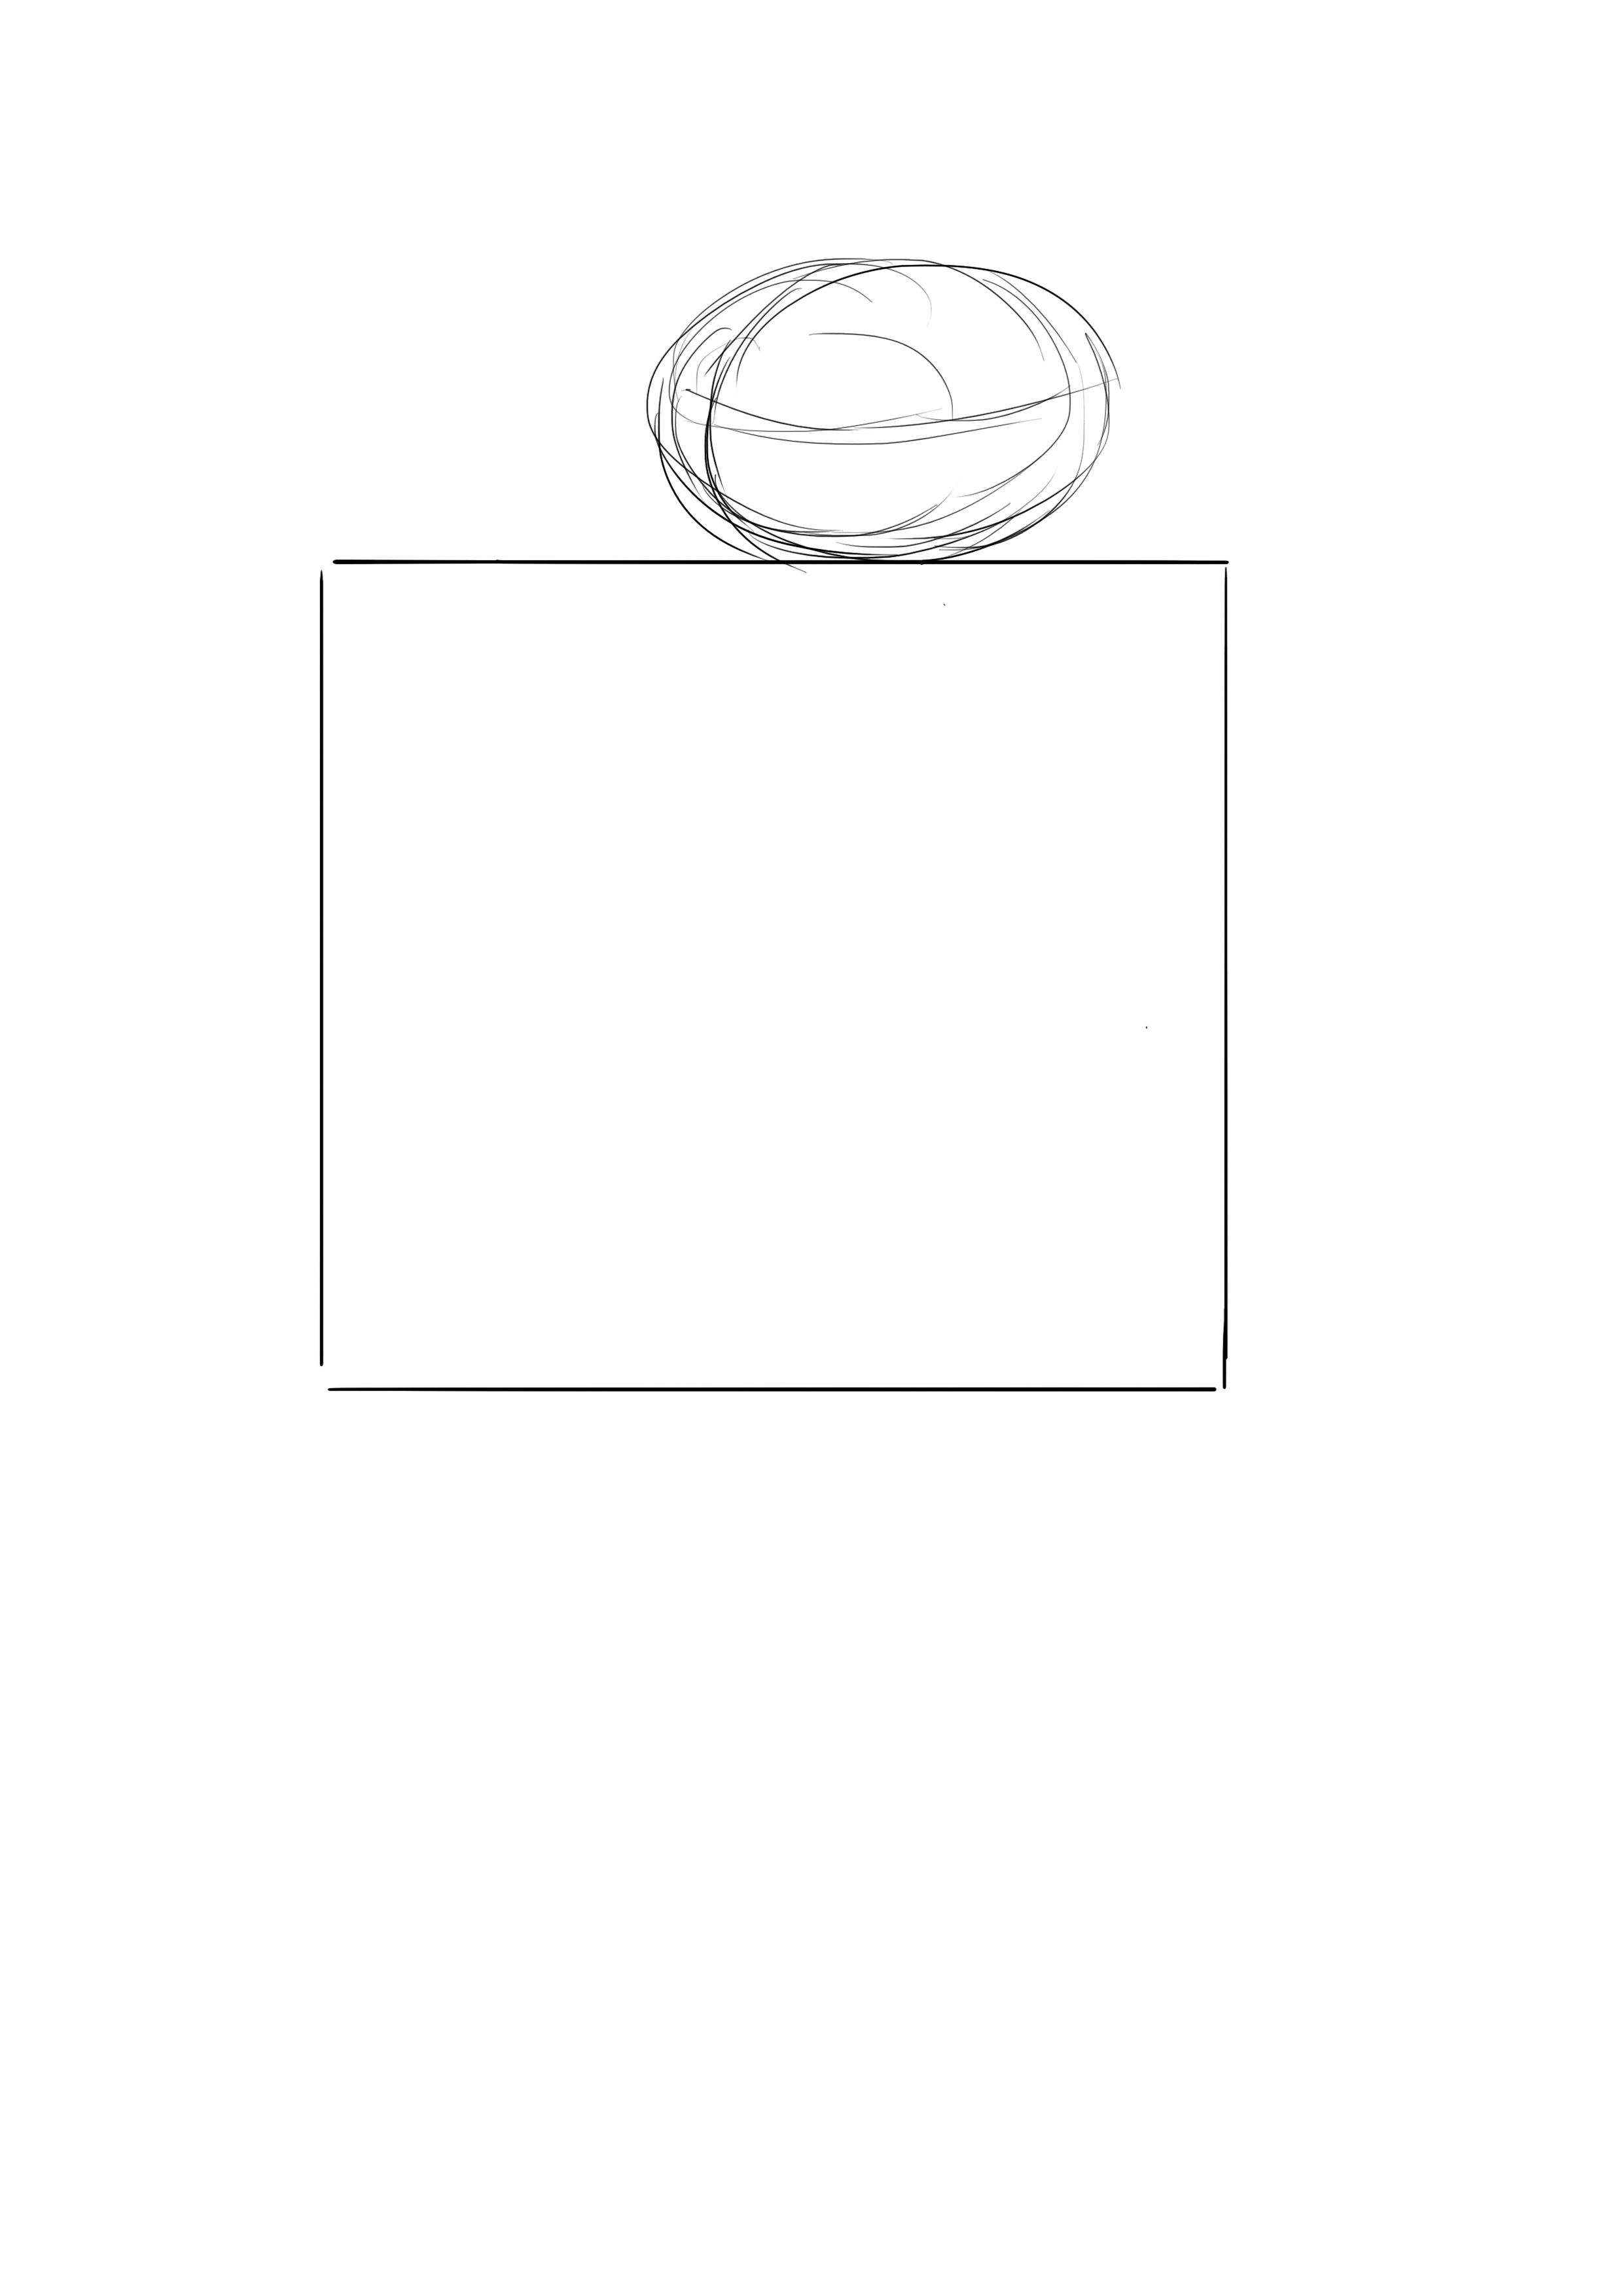
We will modify this square to include the twist that we noticed during the observation stage. This gives us something roughly like this.
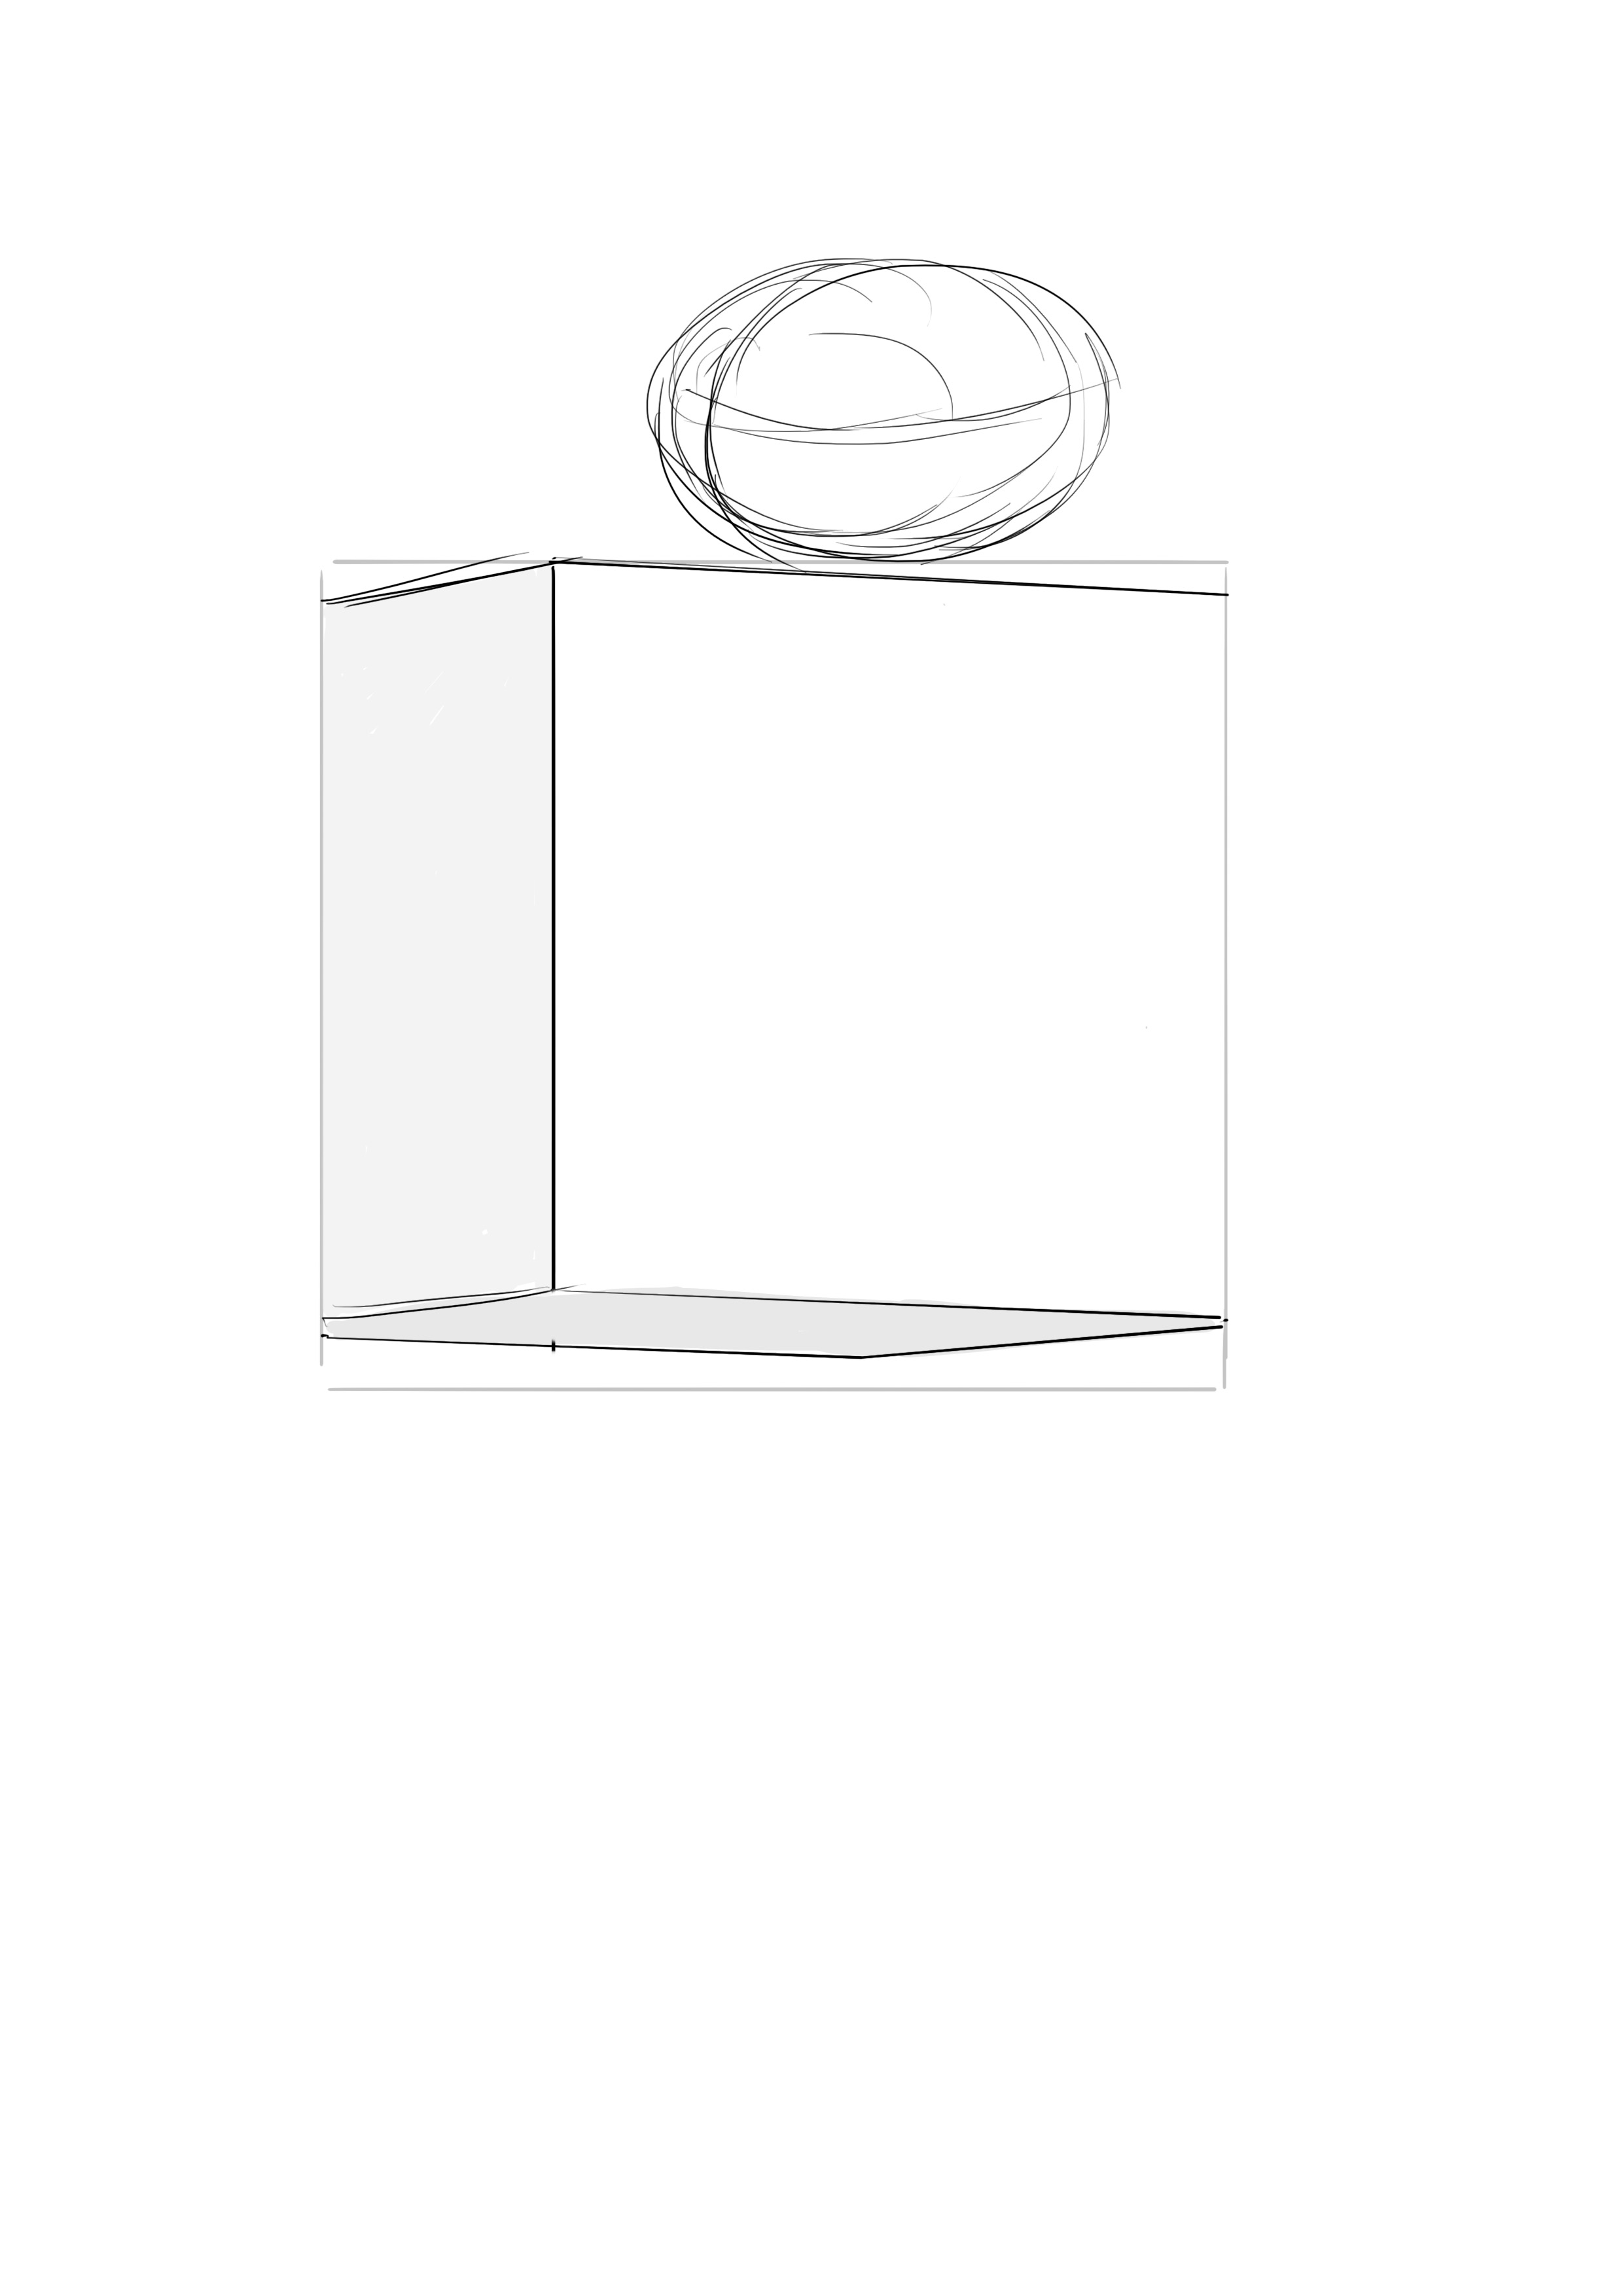
We erase the lines of the square that we no longer need (I forgot to do it, but you can erase them). And we add a fairly triangular shape for the tail. In height, this area should be about 2/3 the height of the head. And slightly less wide than it is tall.
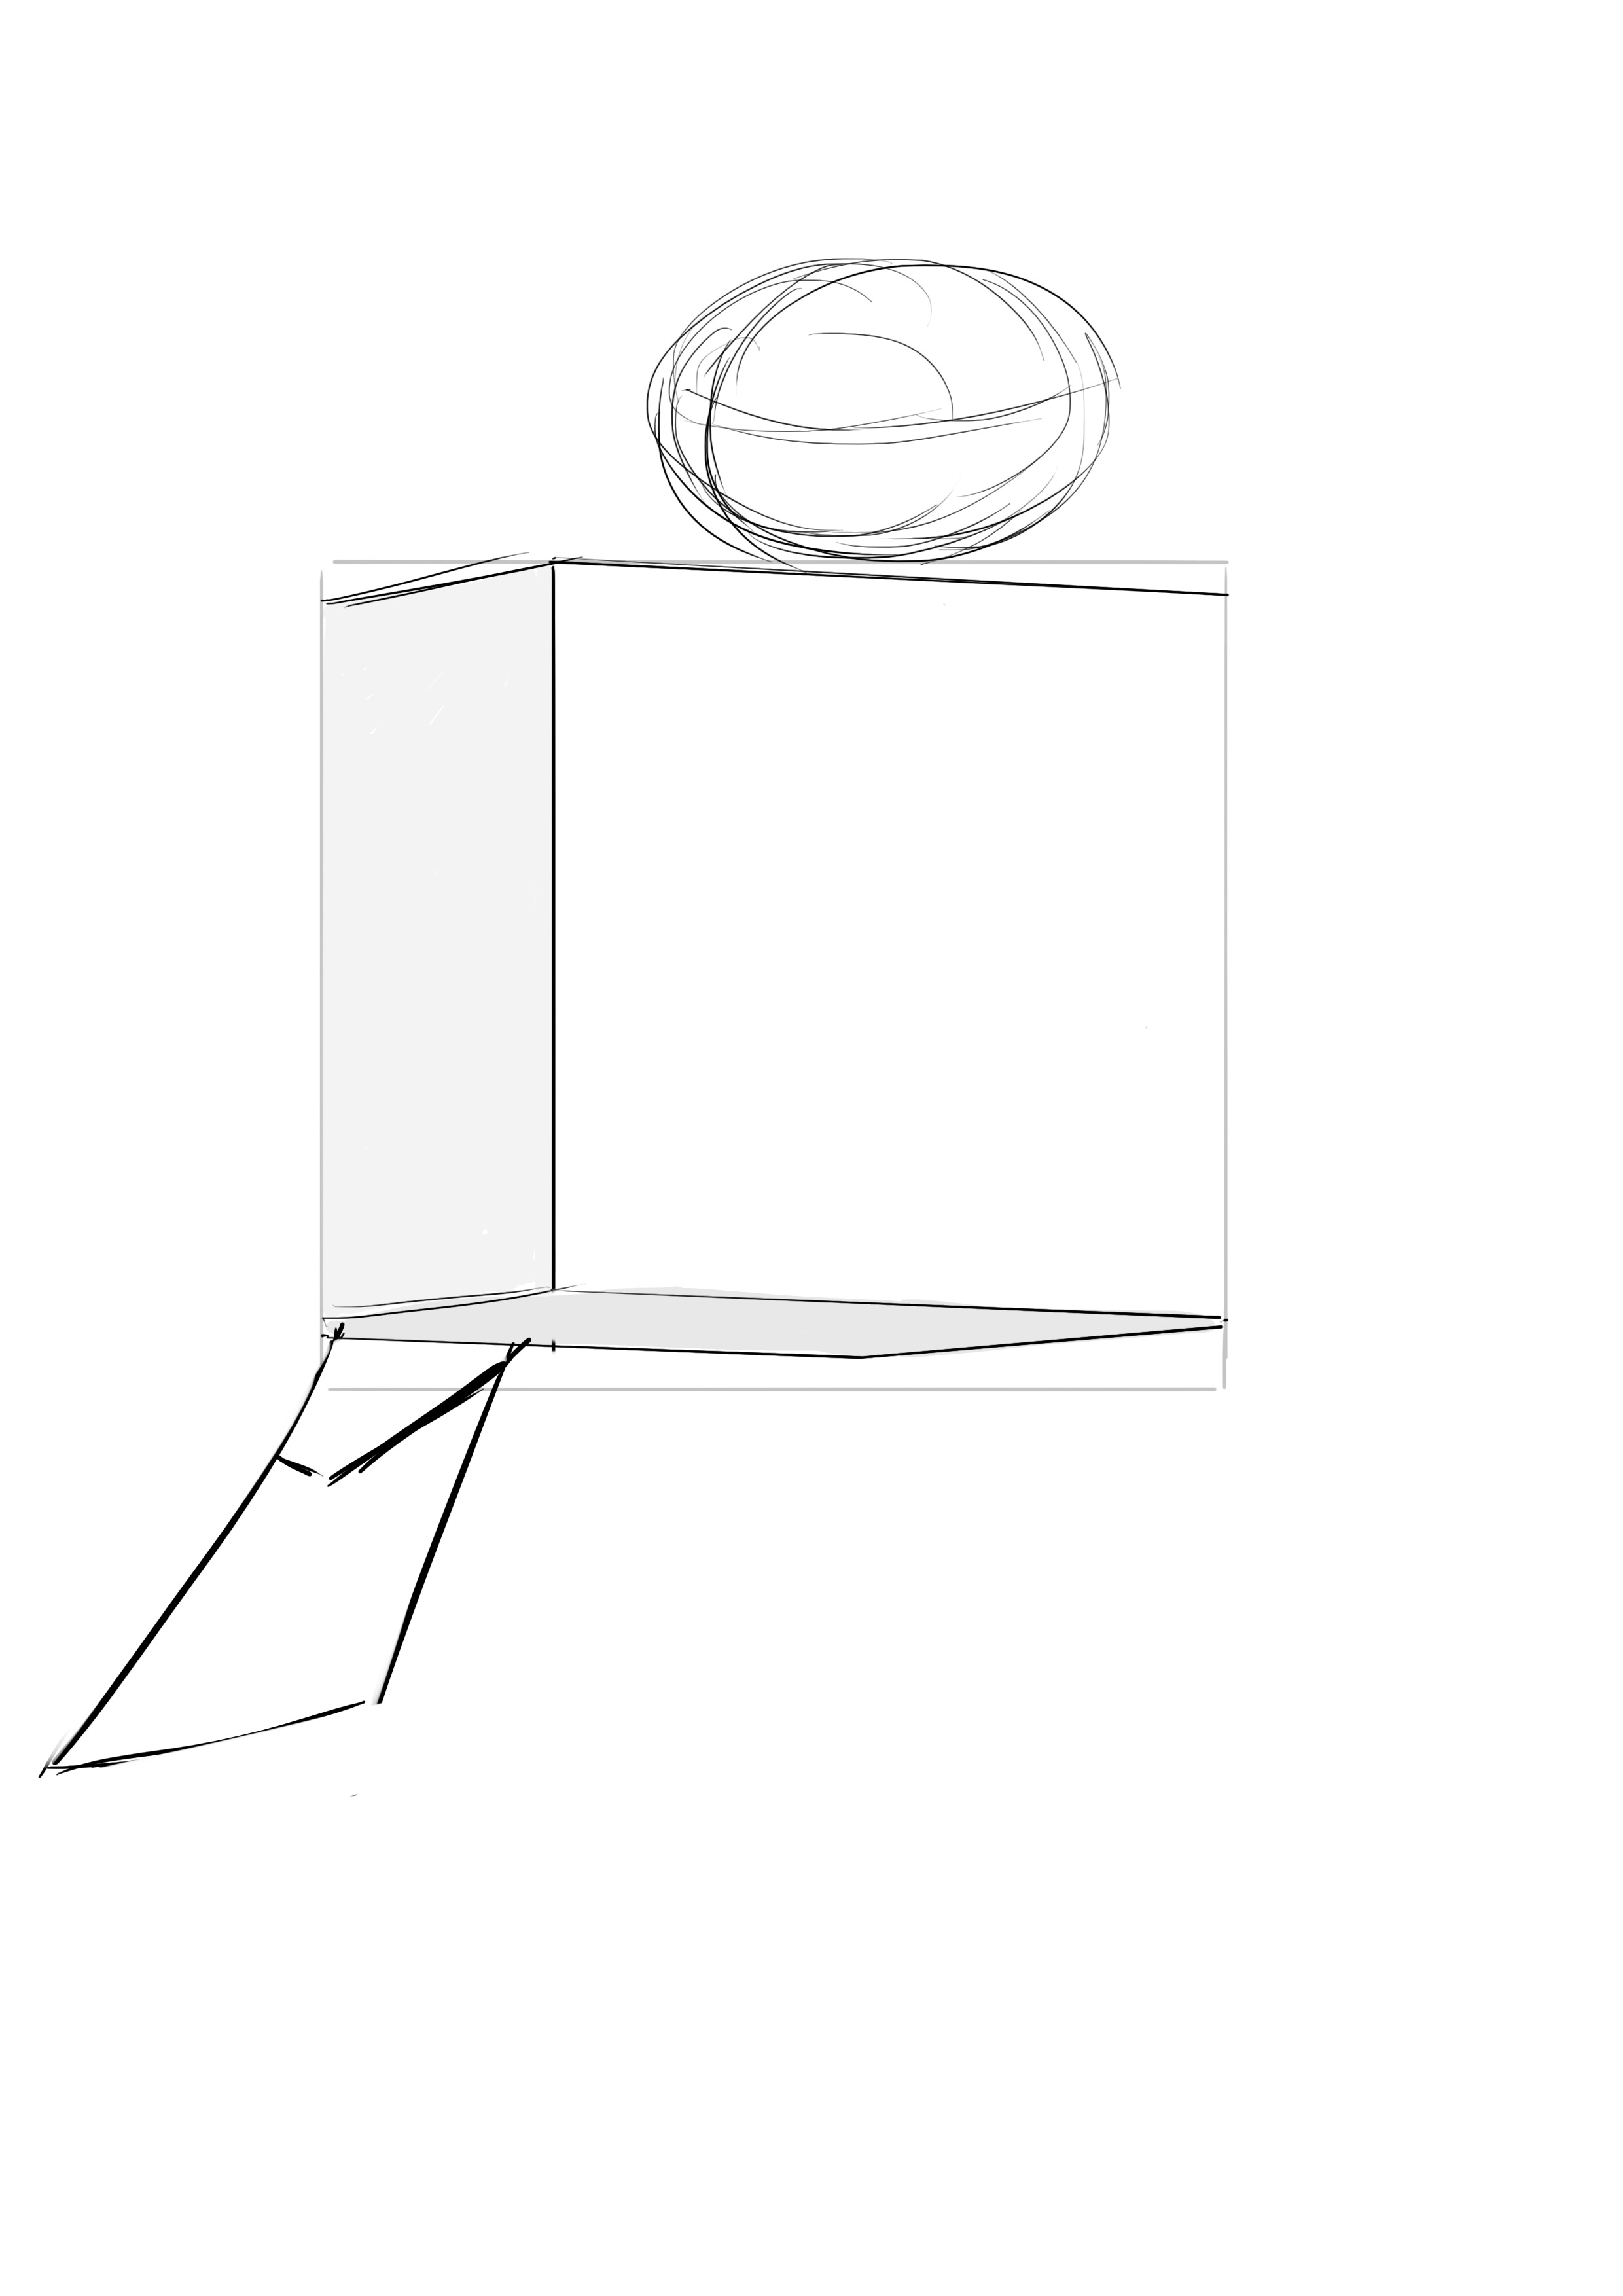
The legs are then quickly put in place.
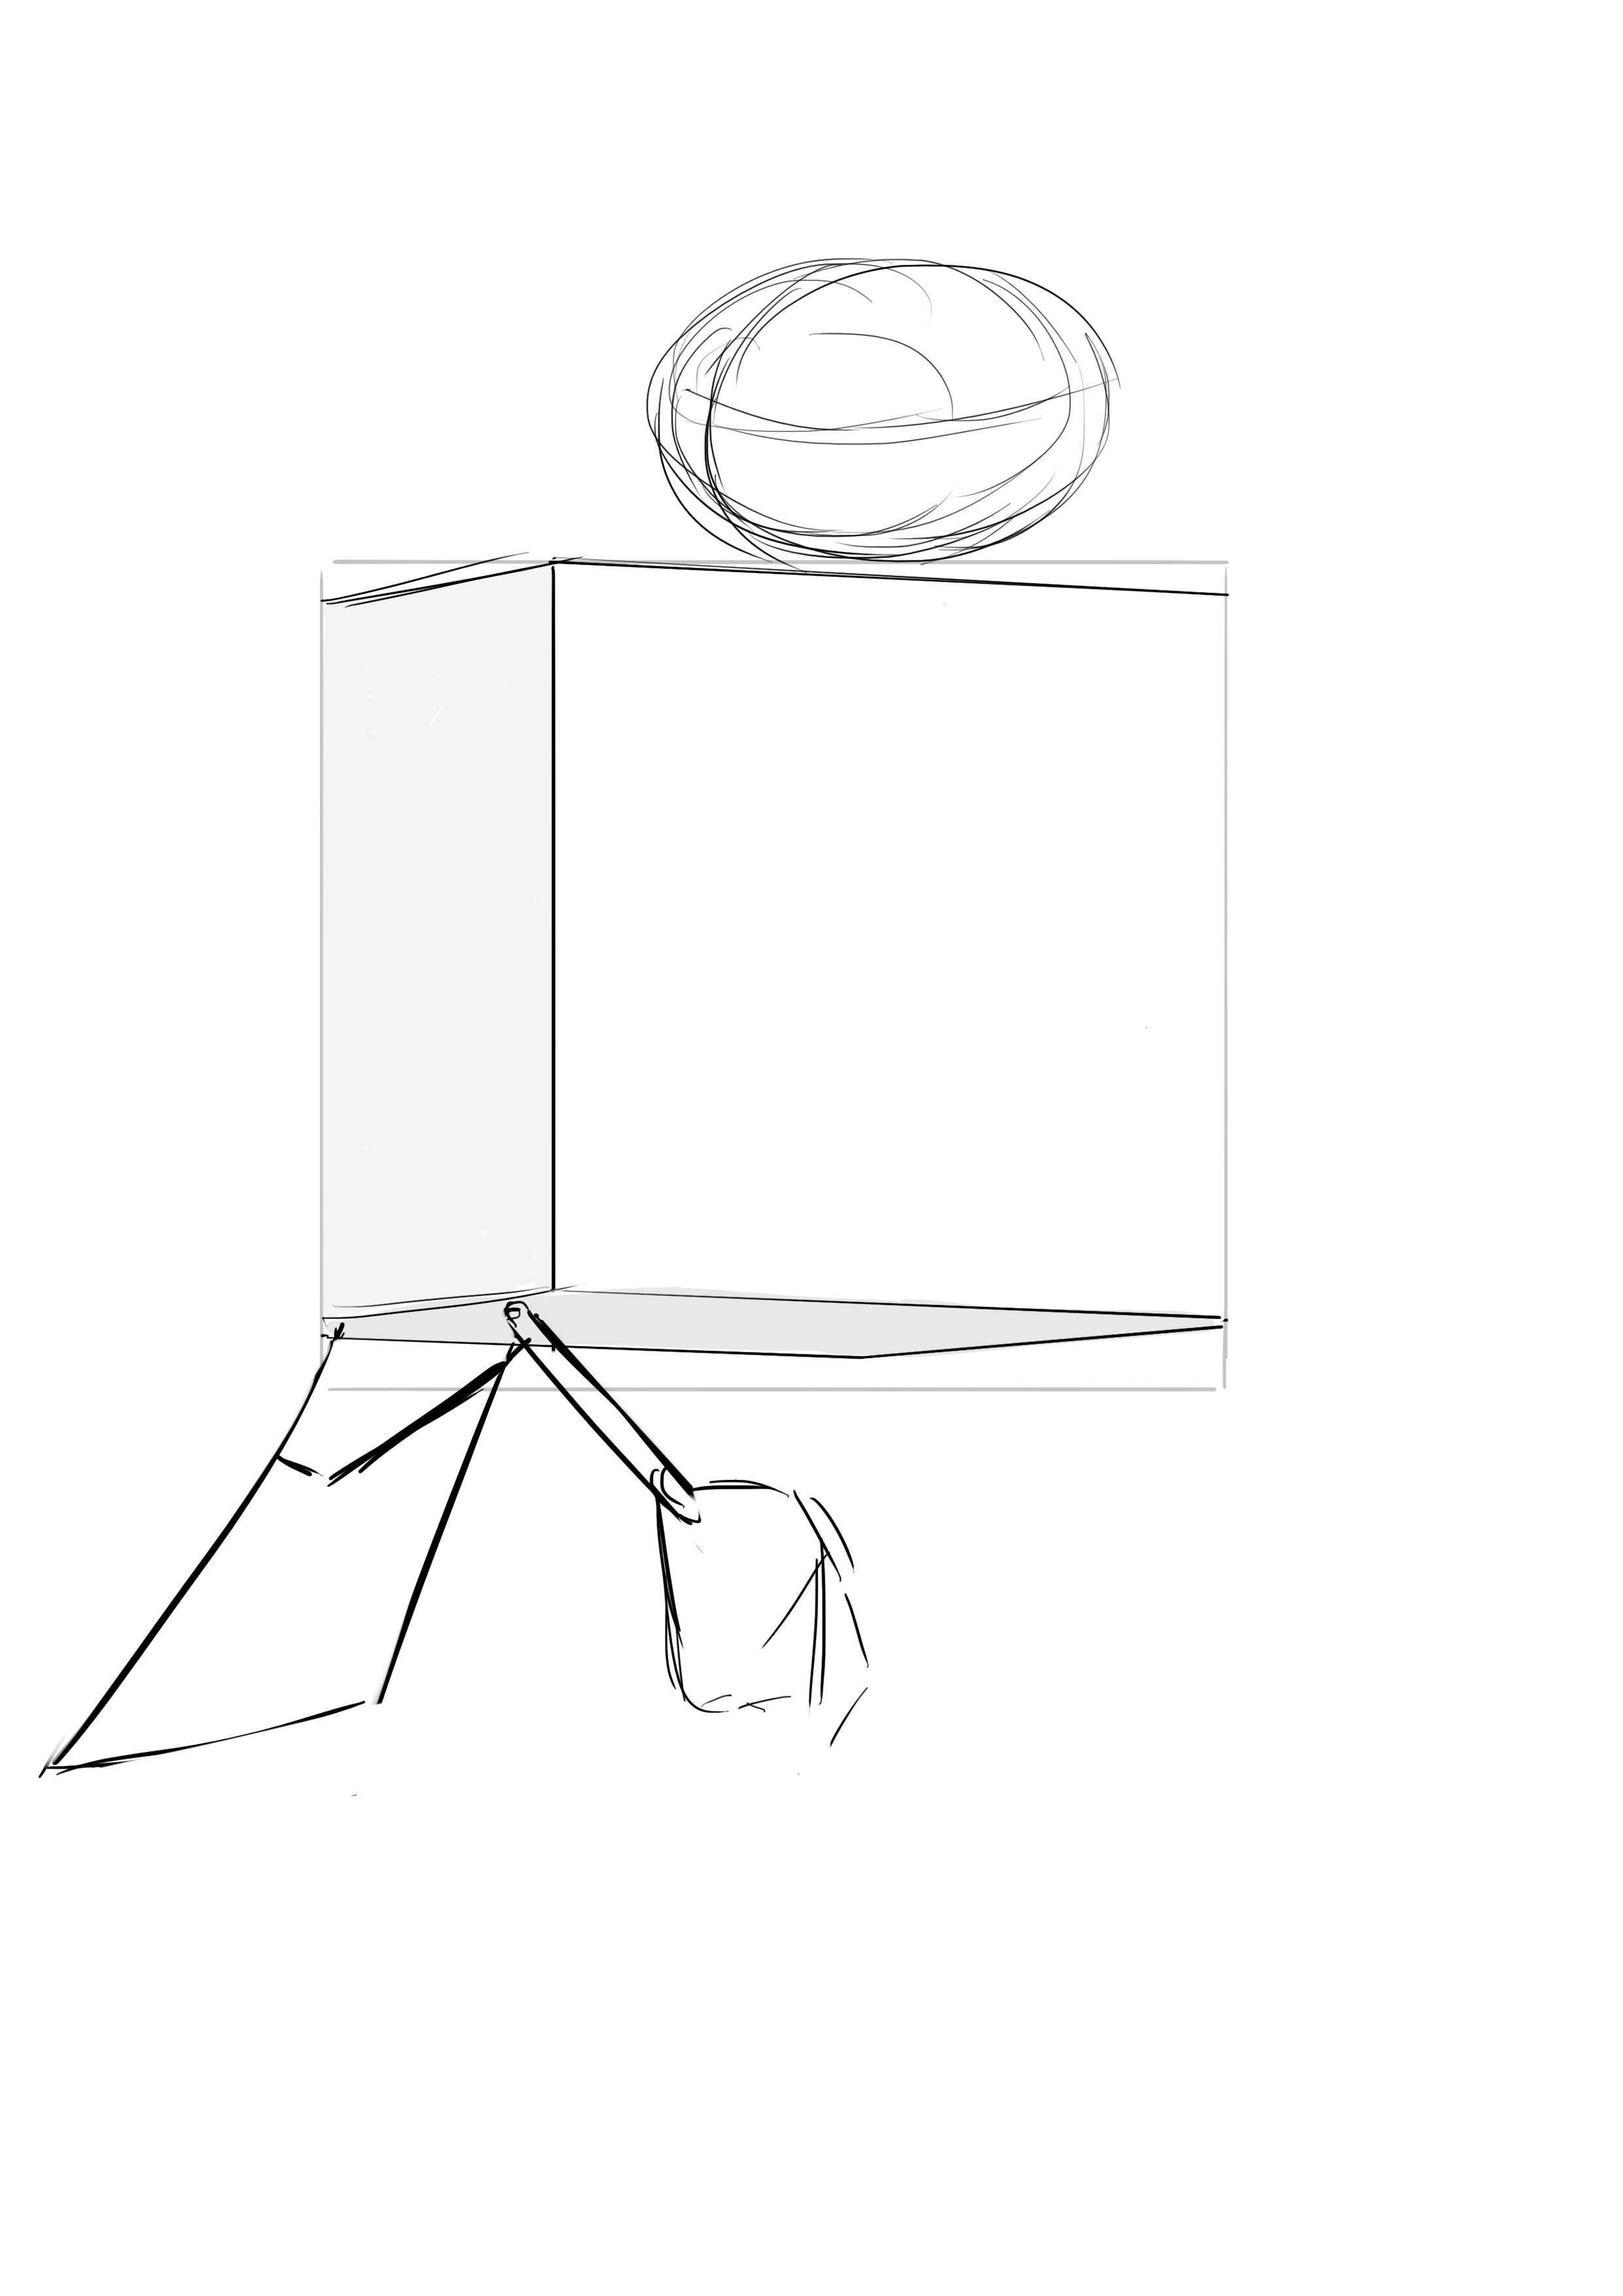
We add the branch that hides the second leg.
DRAWING THE DETAILS OF THE BIRD
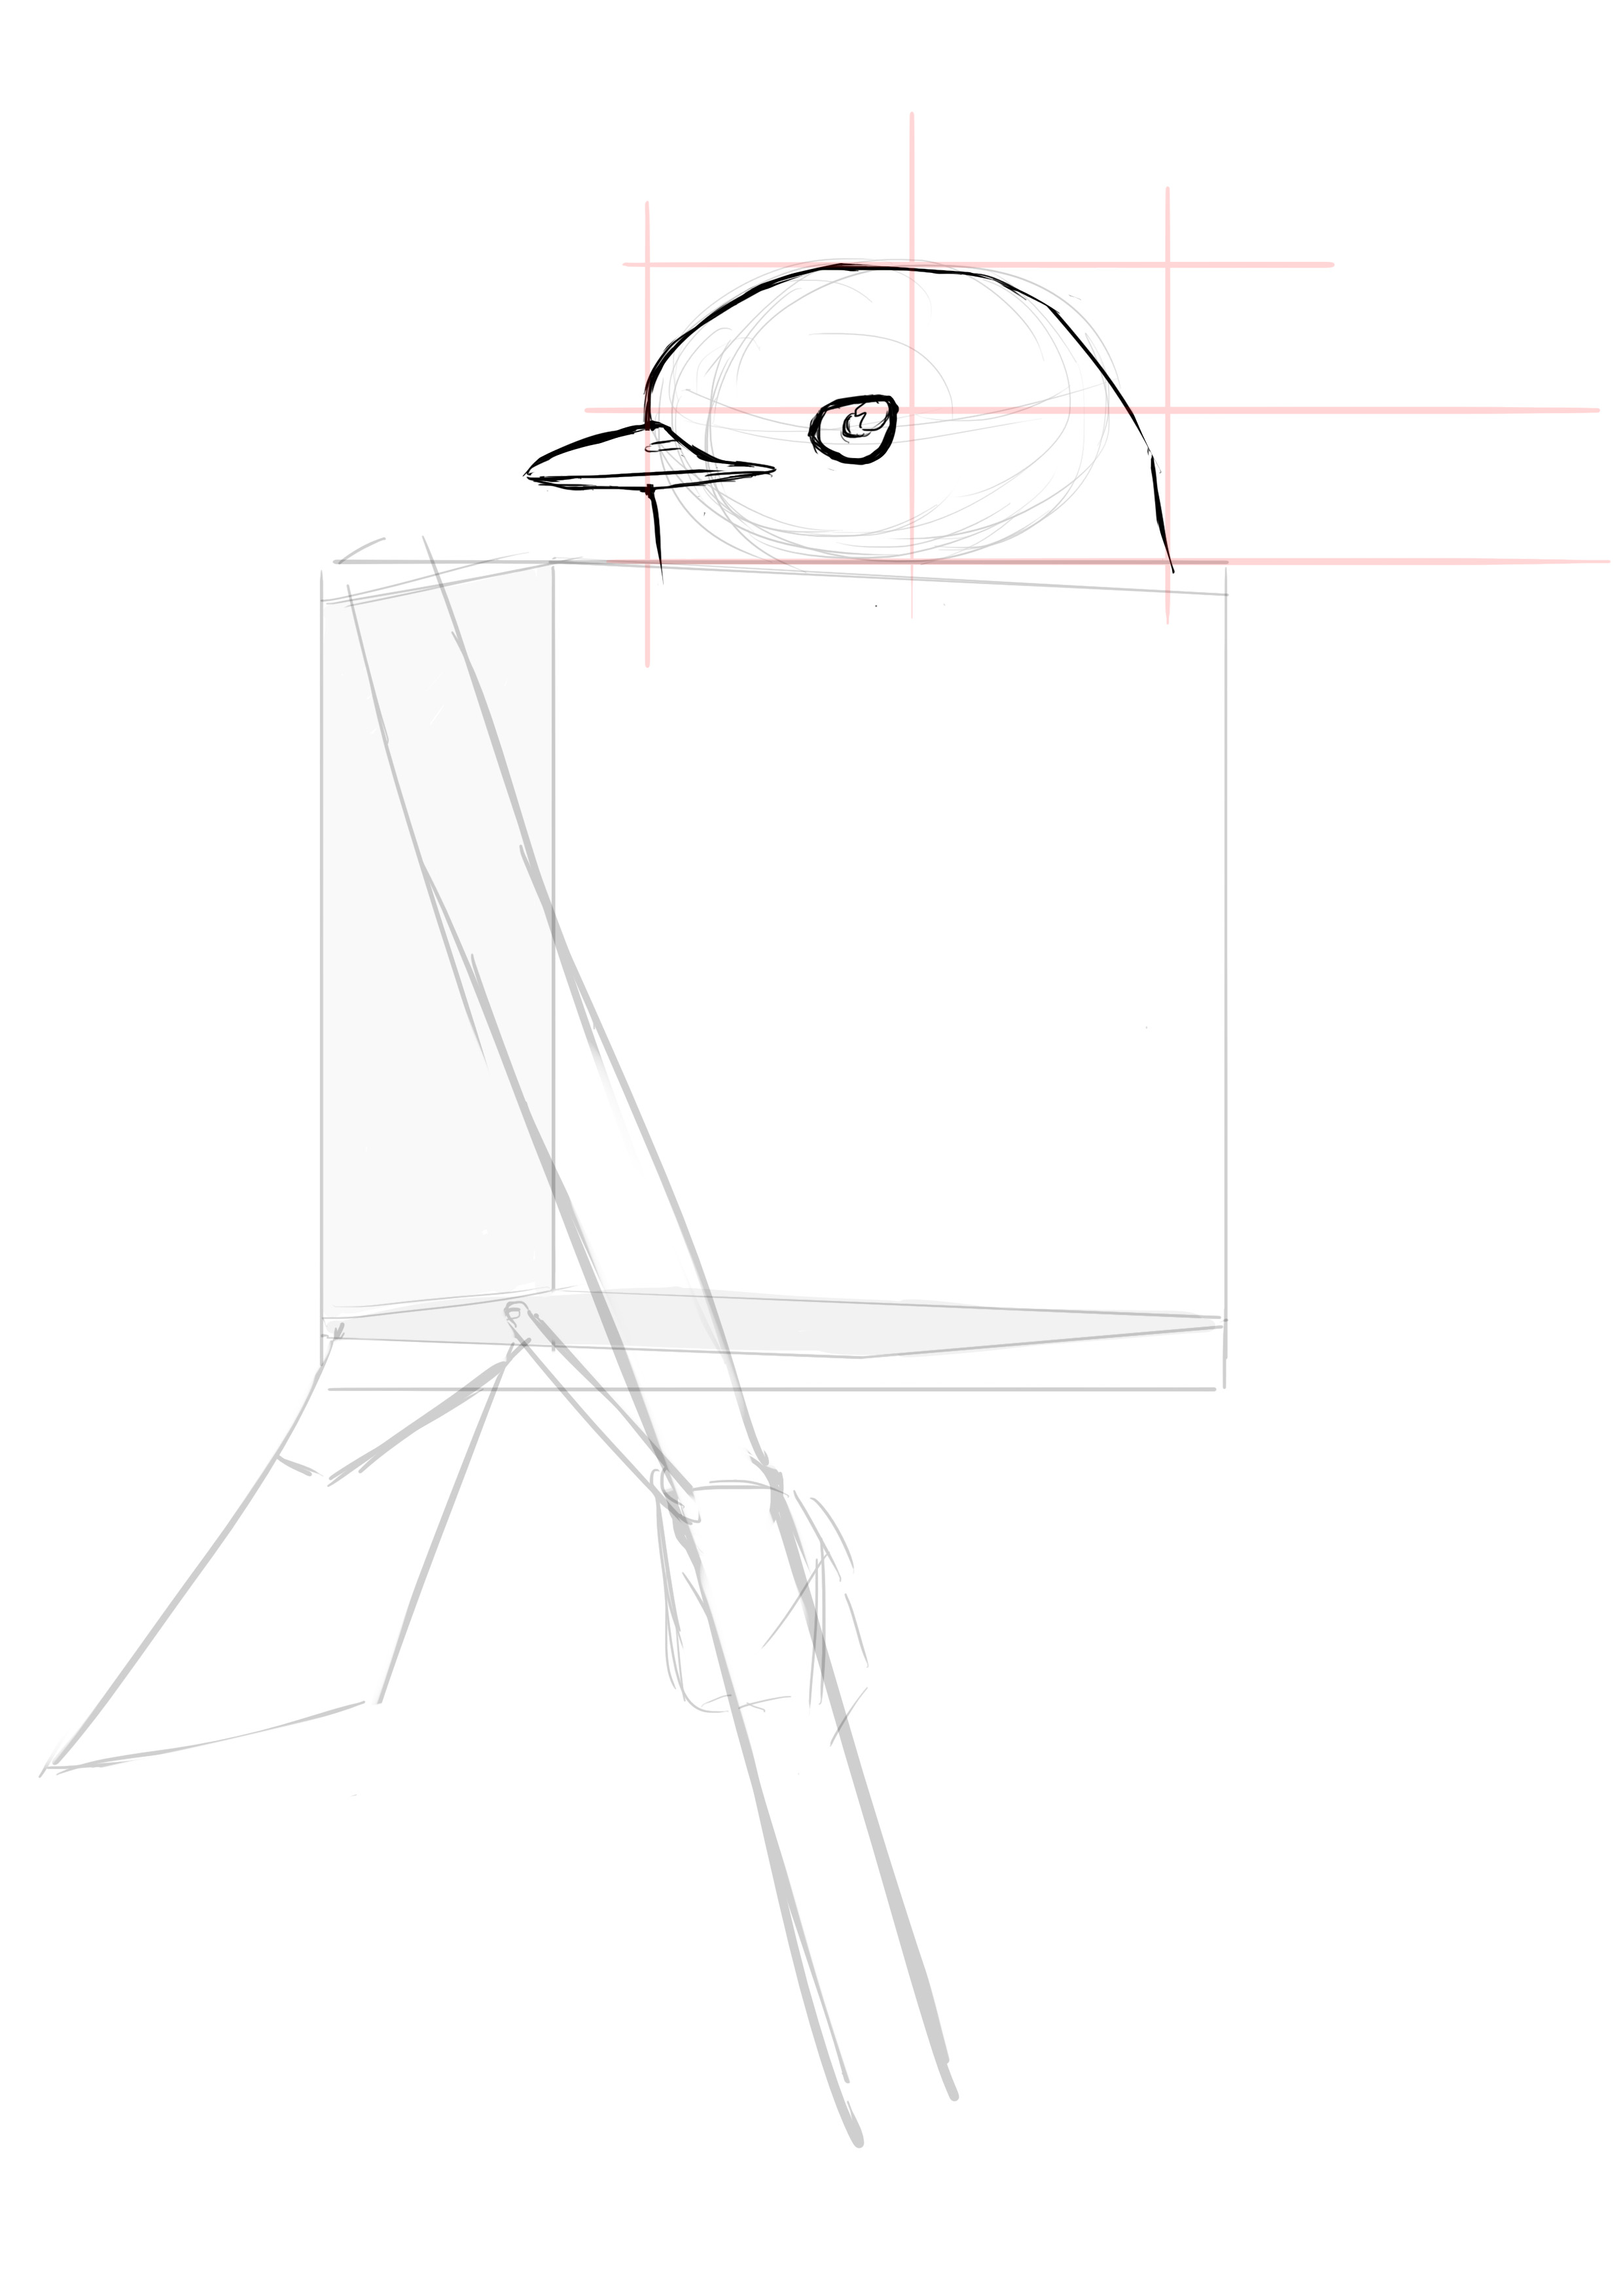
We start detailing the bird! We modify the shape of the head that doesn't form a perfect oval, observe closely. More rounded towards the front. We then place our beak, a bit below the halfway point of the height. The bottom is very straight, the top slightly curved.
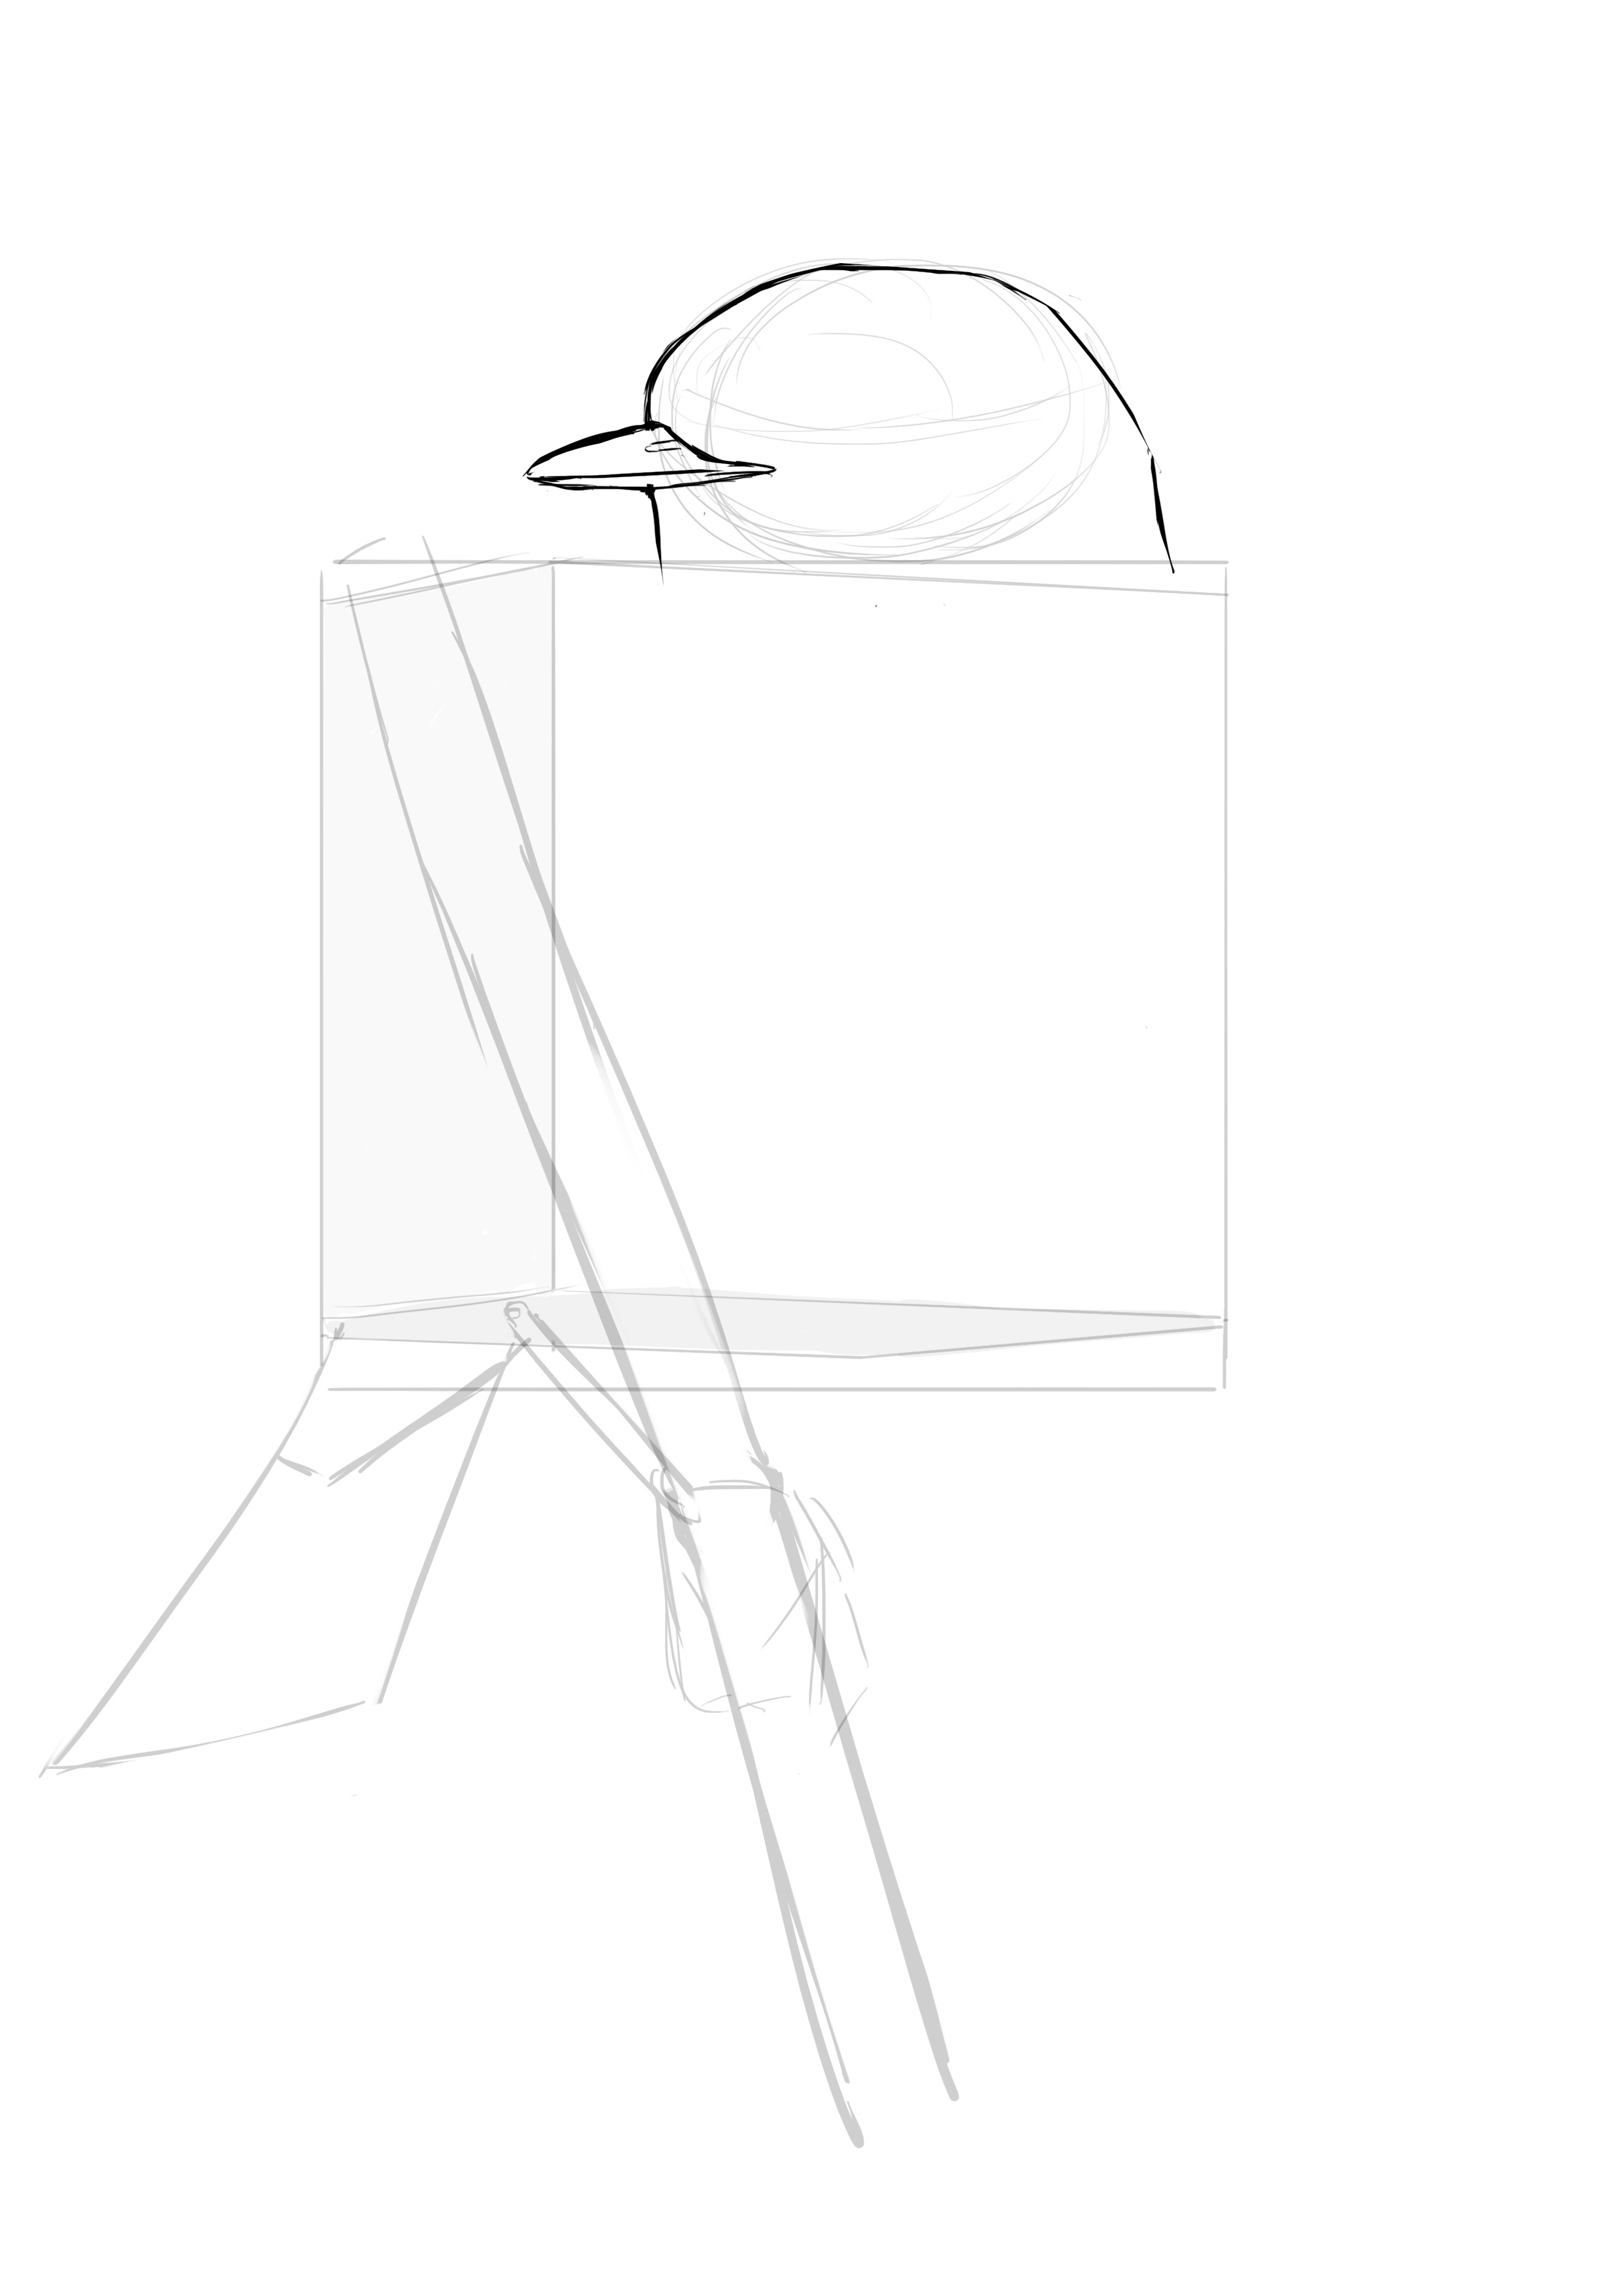
Next comes the eye, located in the middle in terms of height and almost in the middle in terms of width as well. Take a good look at the shape it has. Very rounded below and quite flat on top. It's characteristic, so make sure to focus on that.
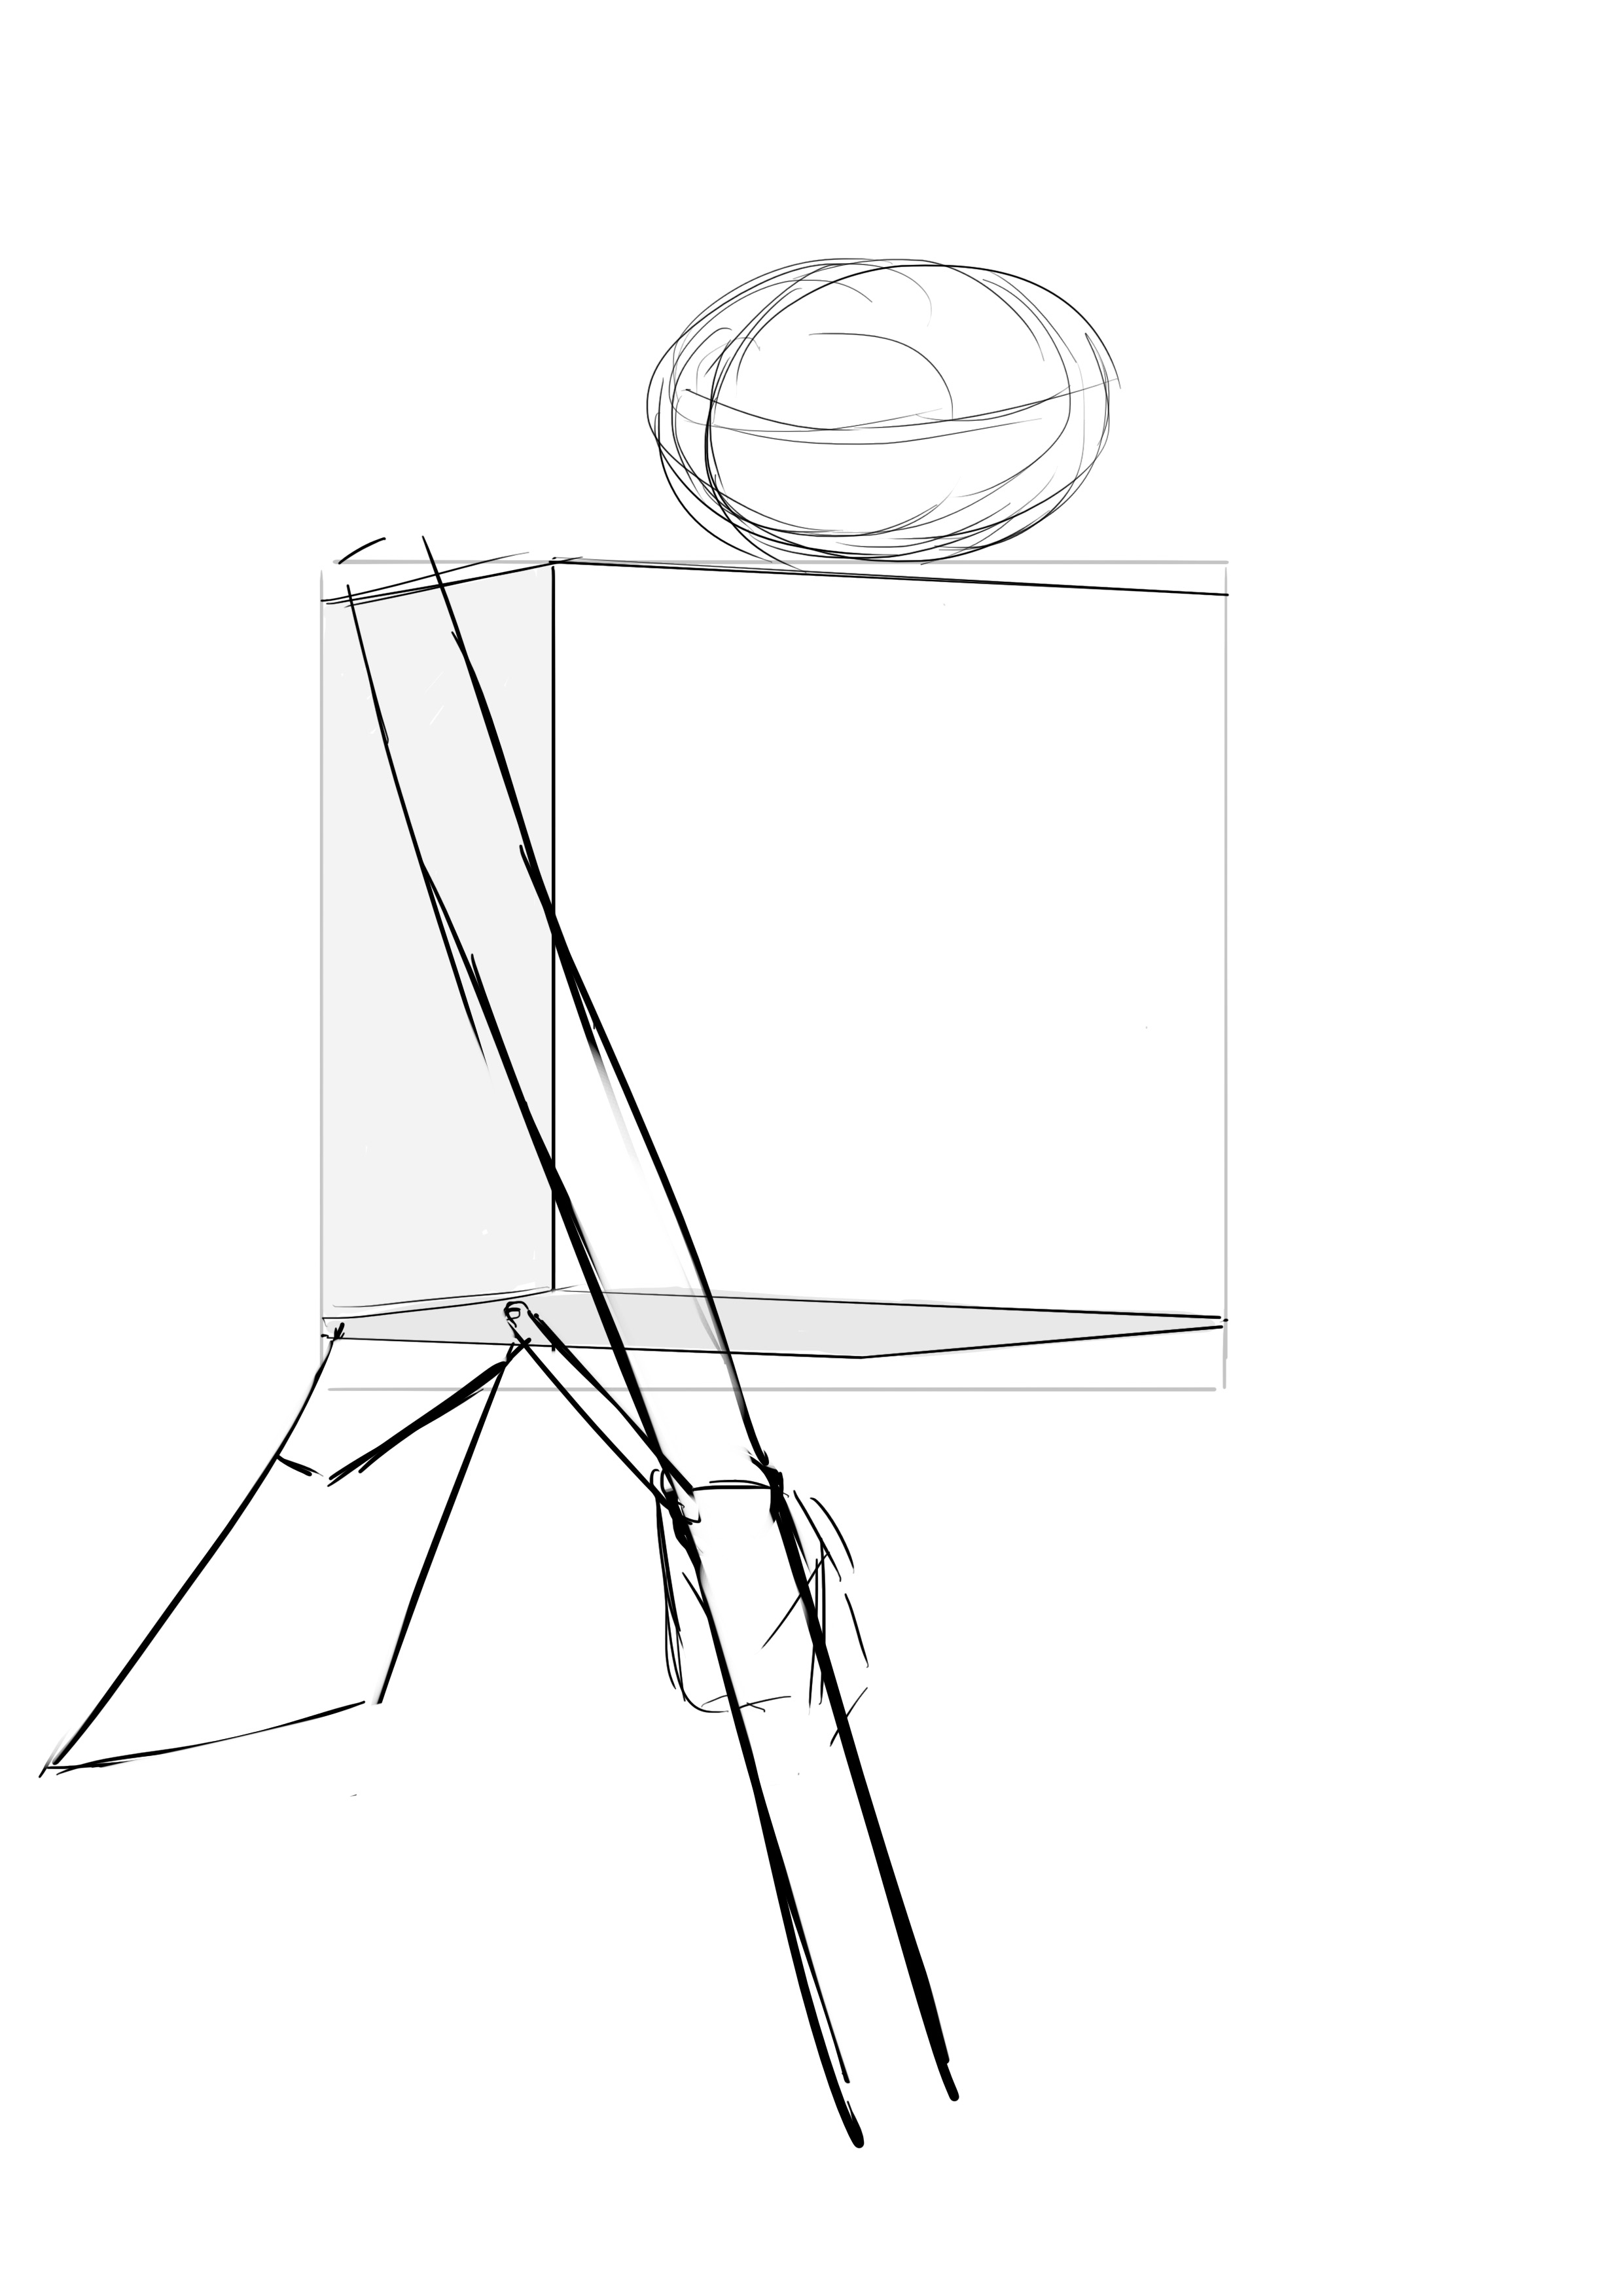
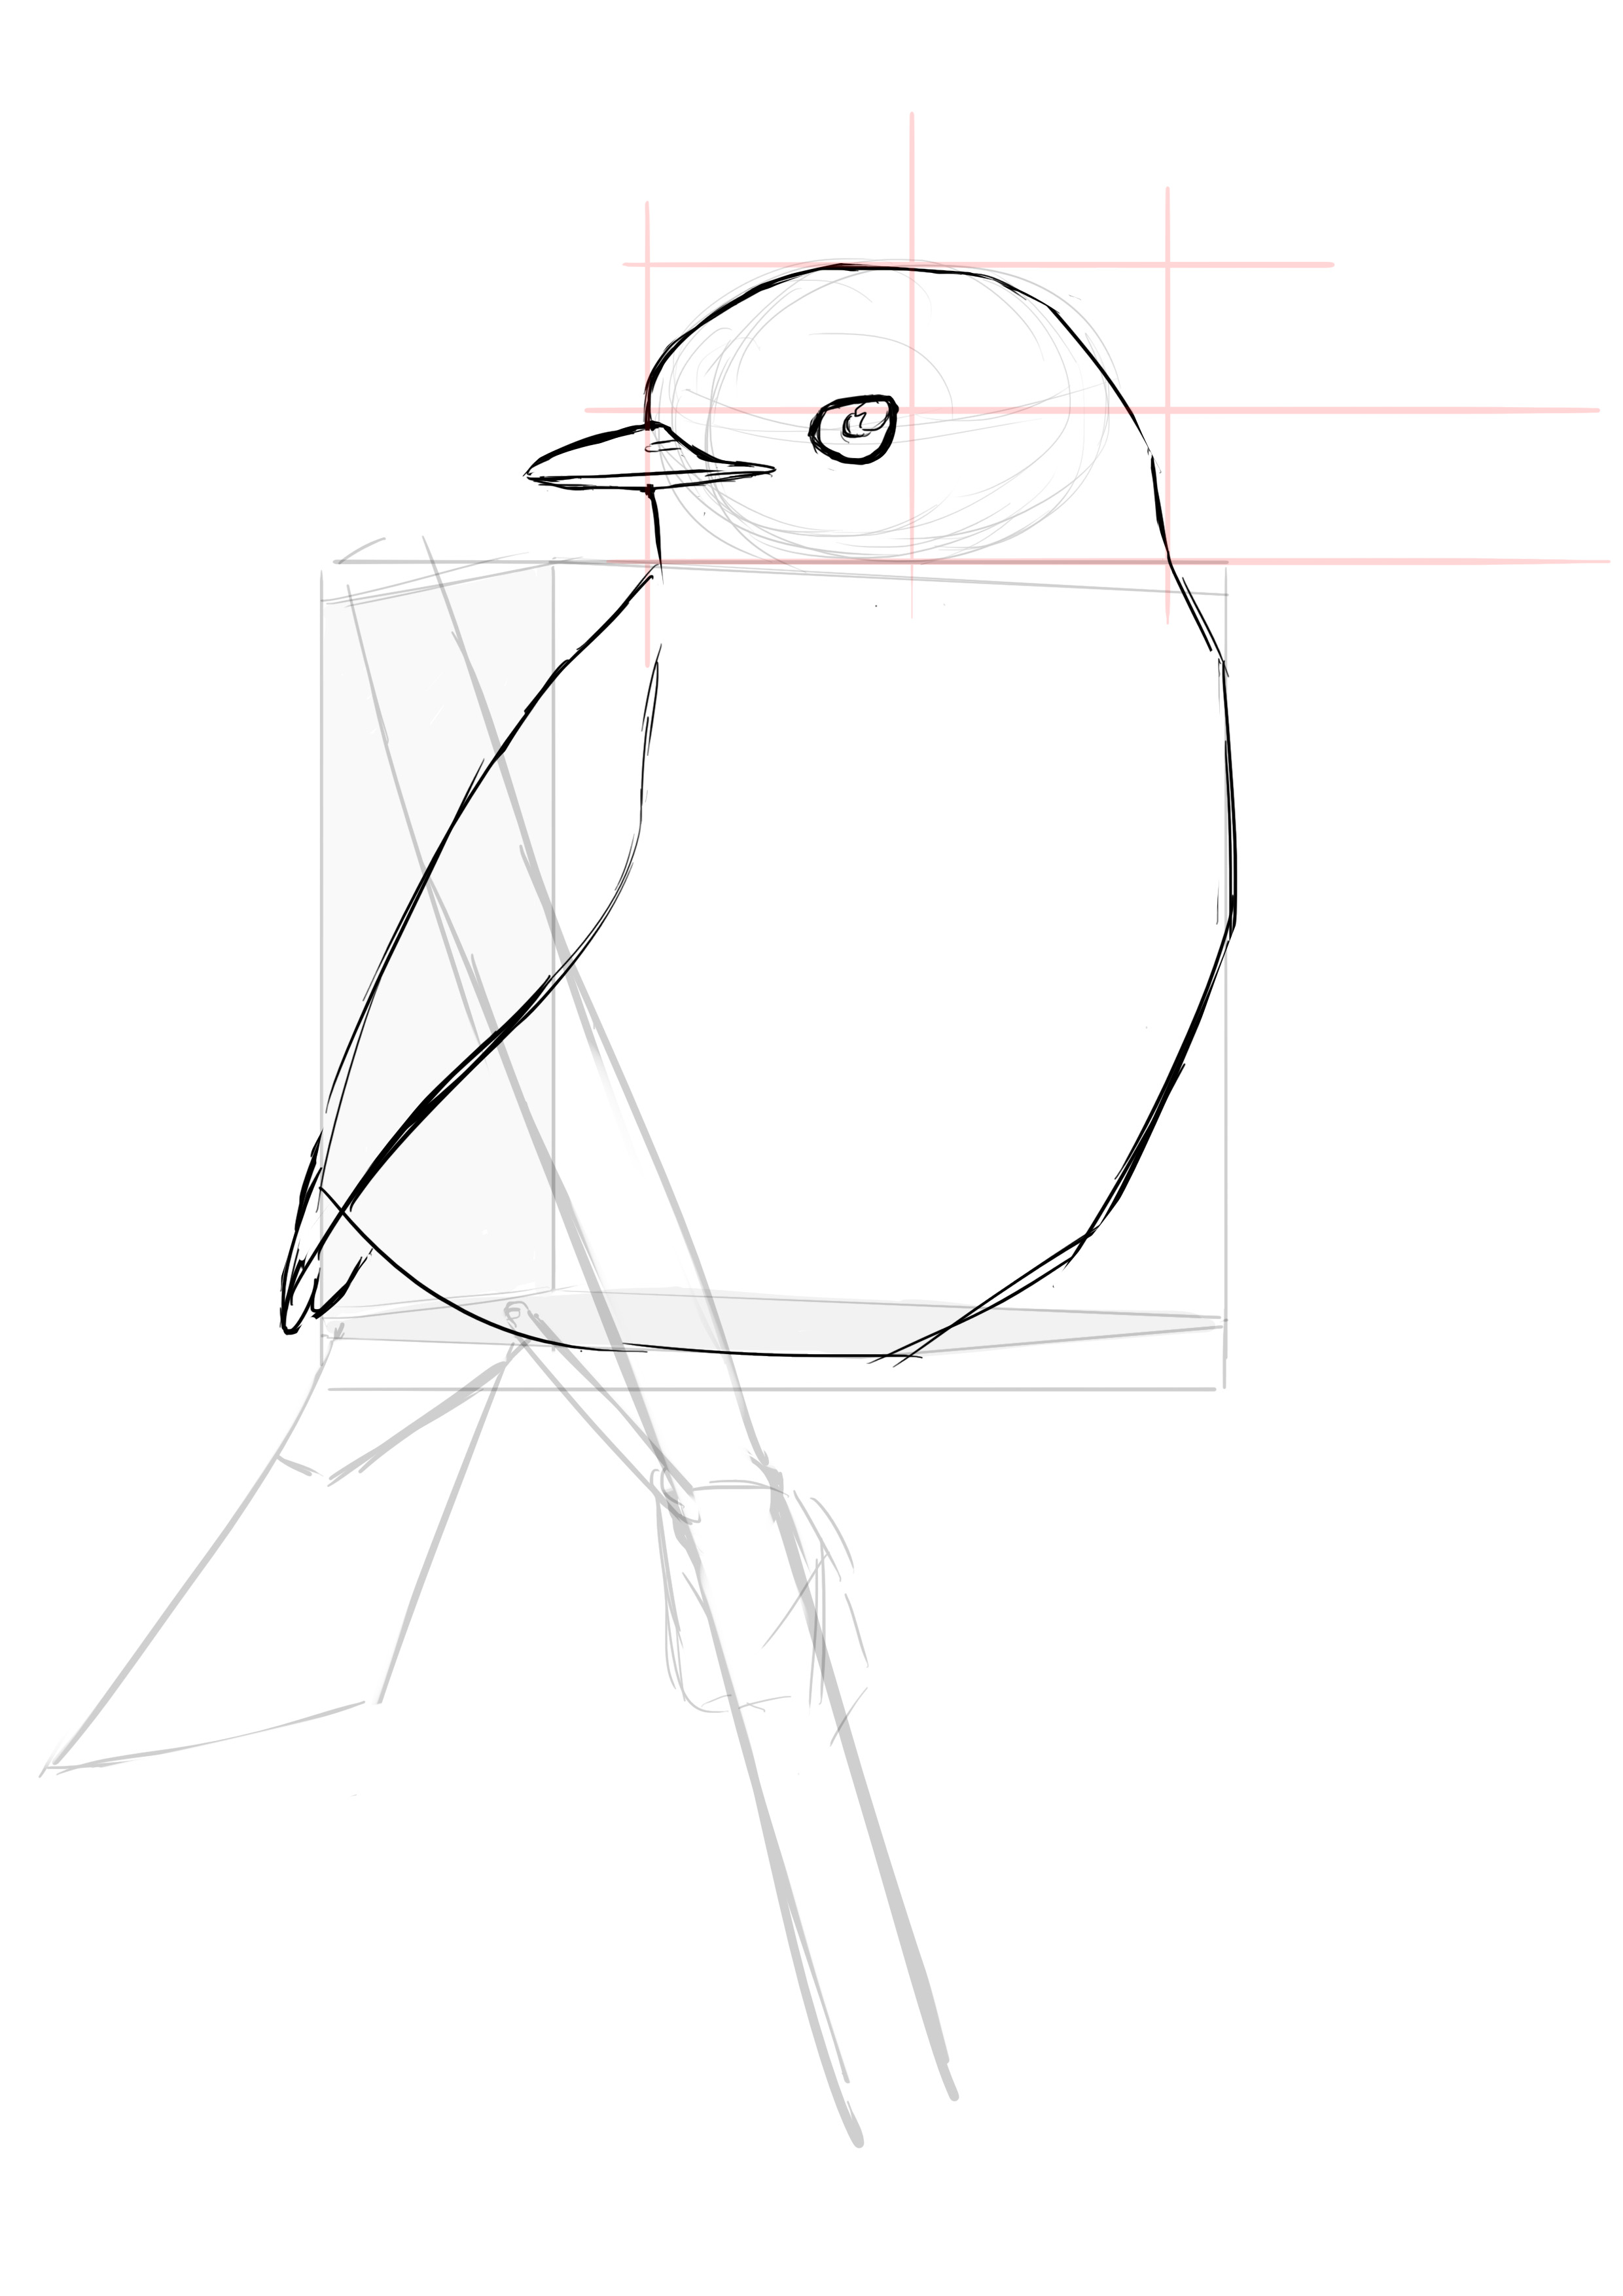
We then trace the body that follows a diagonal.
On top, we position the bird's wings (yes, they can extend beyond our rectangular box, don't worry ^^).
We position the tail. Here is the little diagram I had made to explain how the bird's tail "articulated," since we're going to need it to correctly draw the feathers right after.

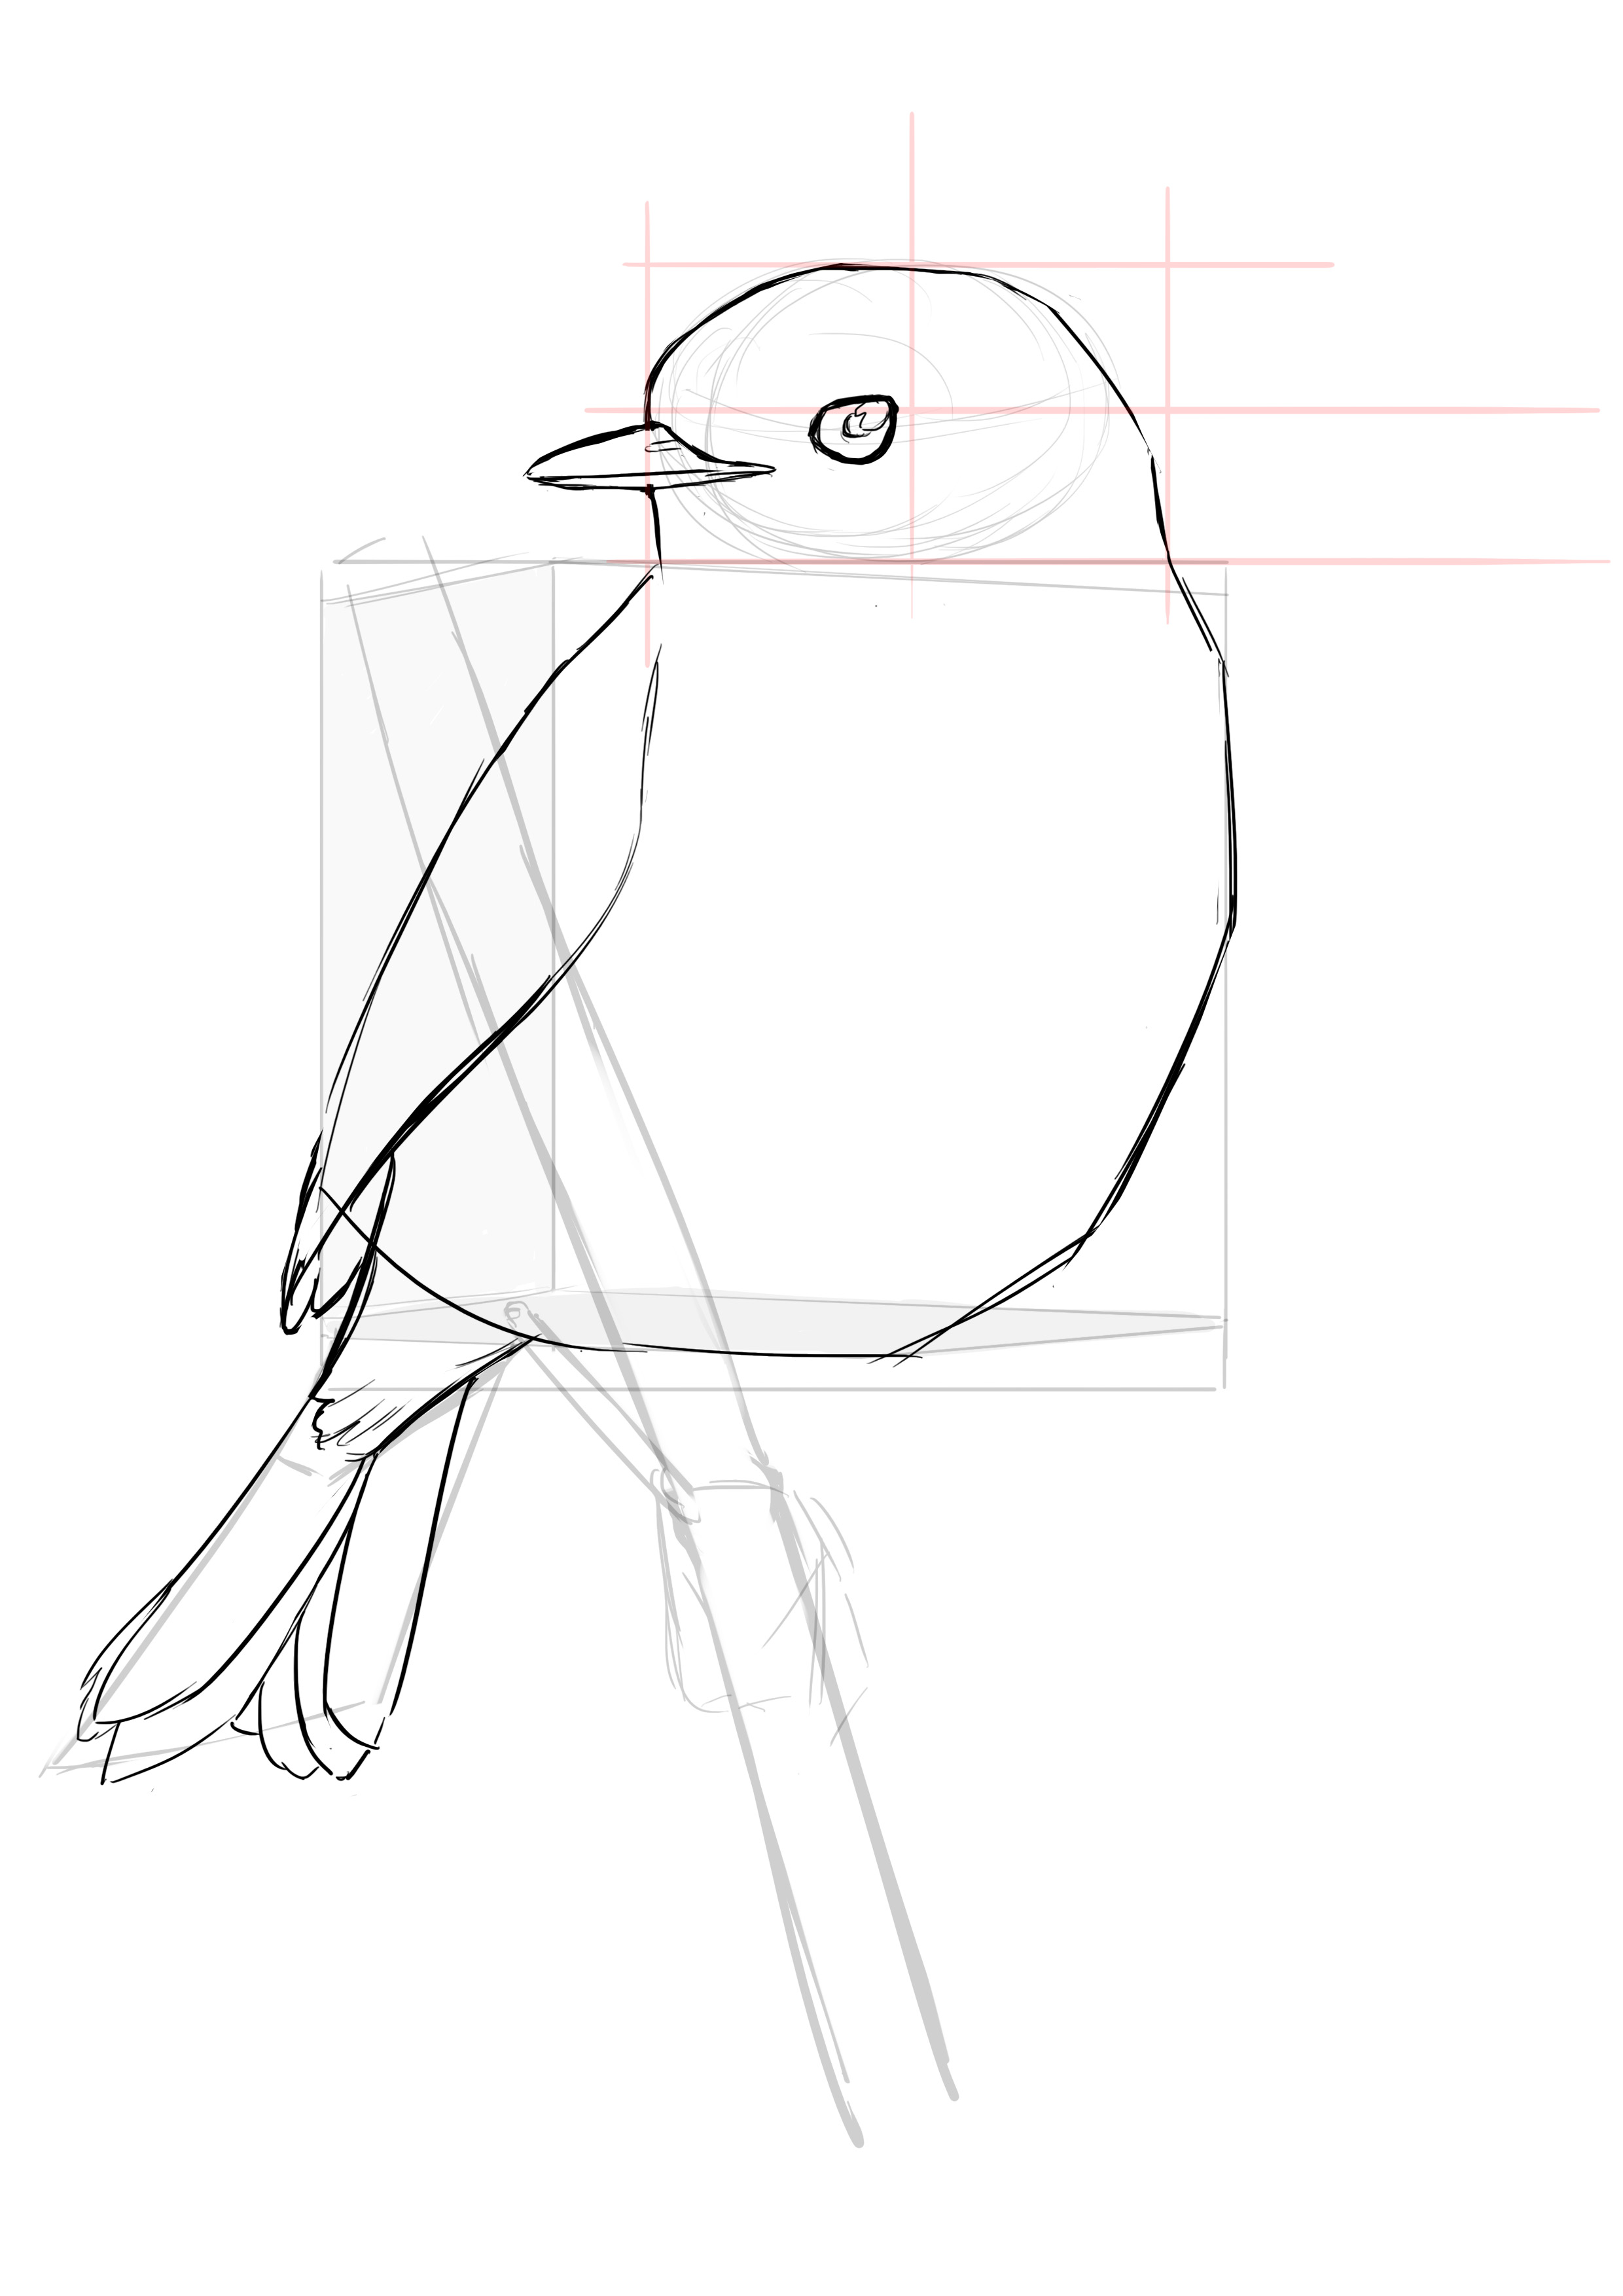
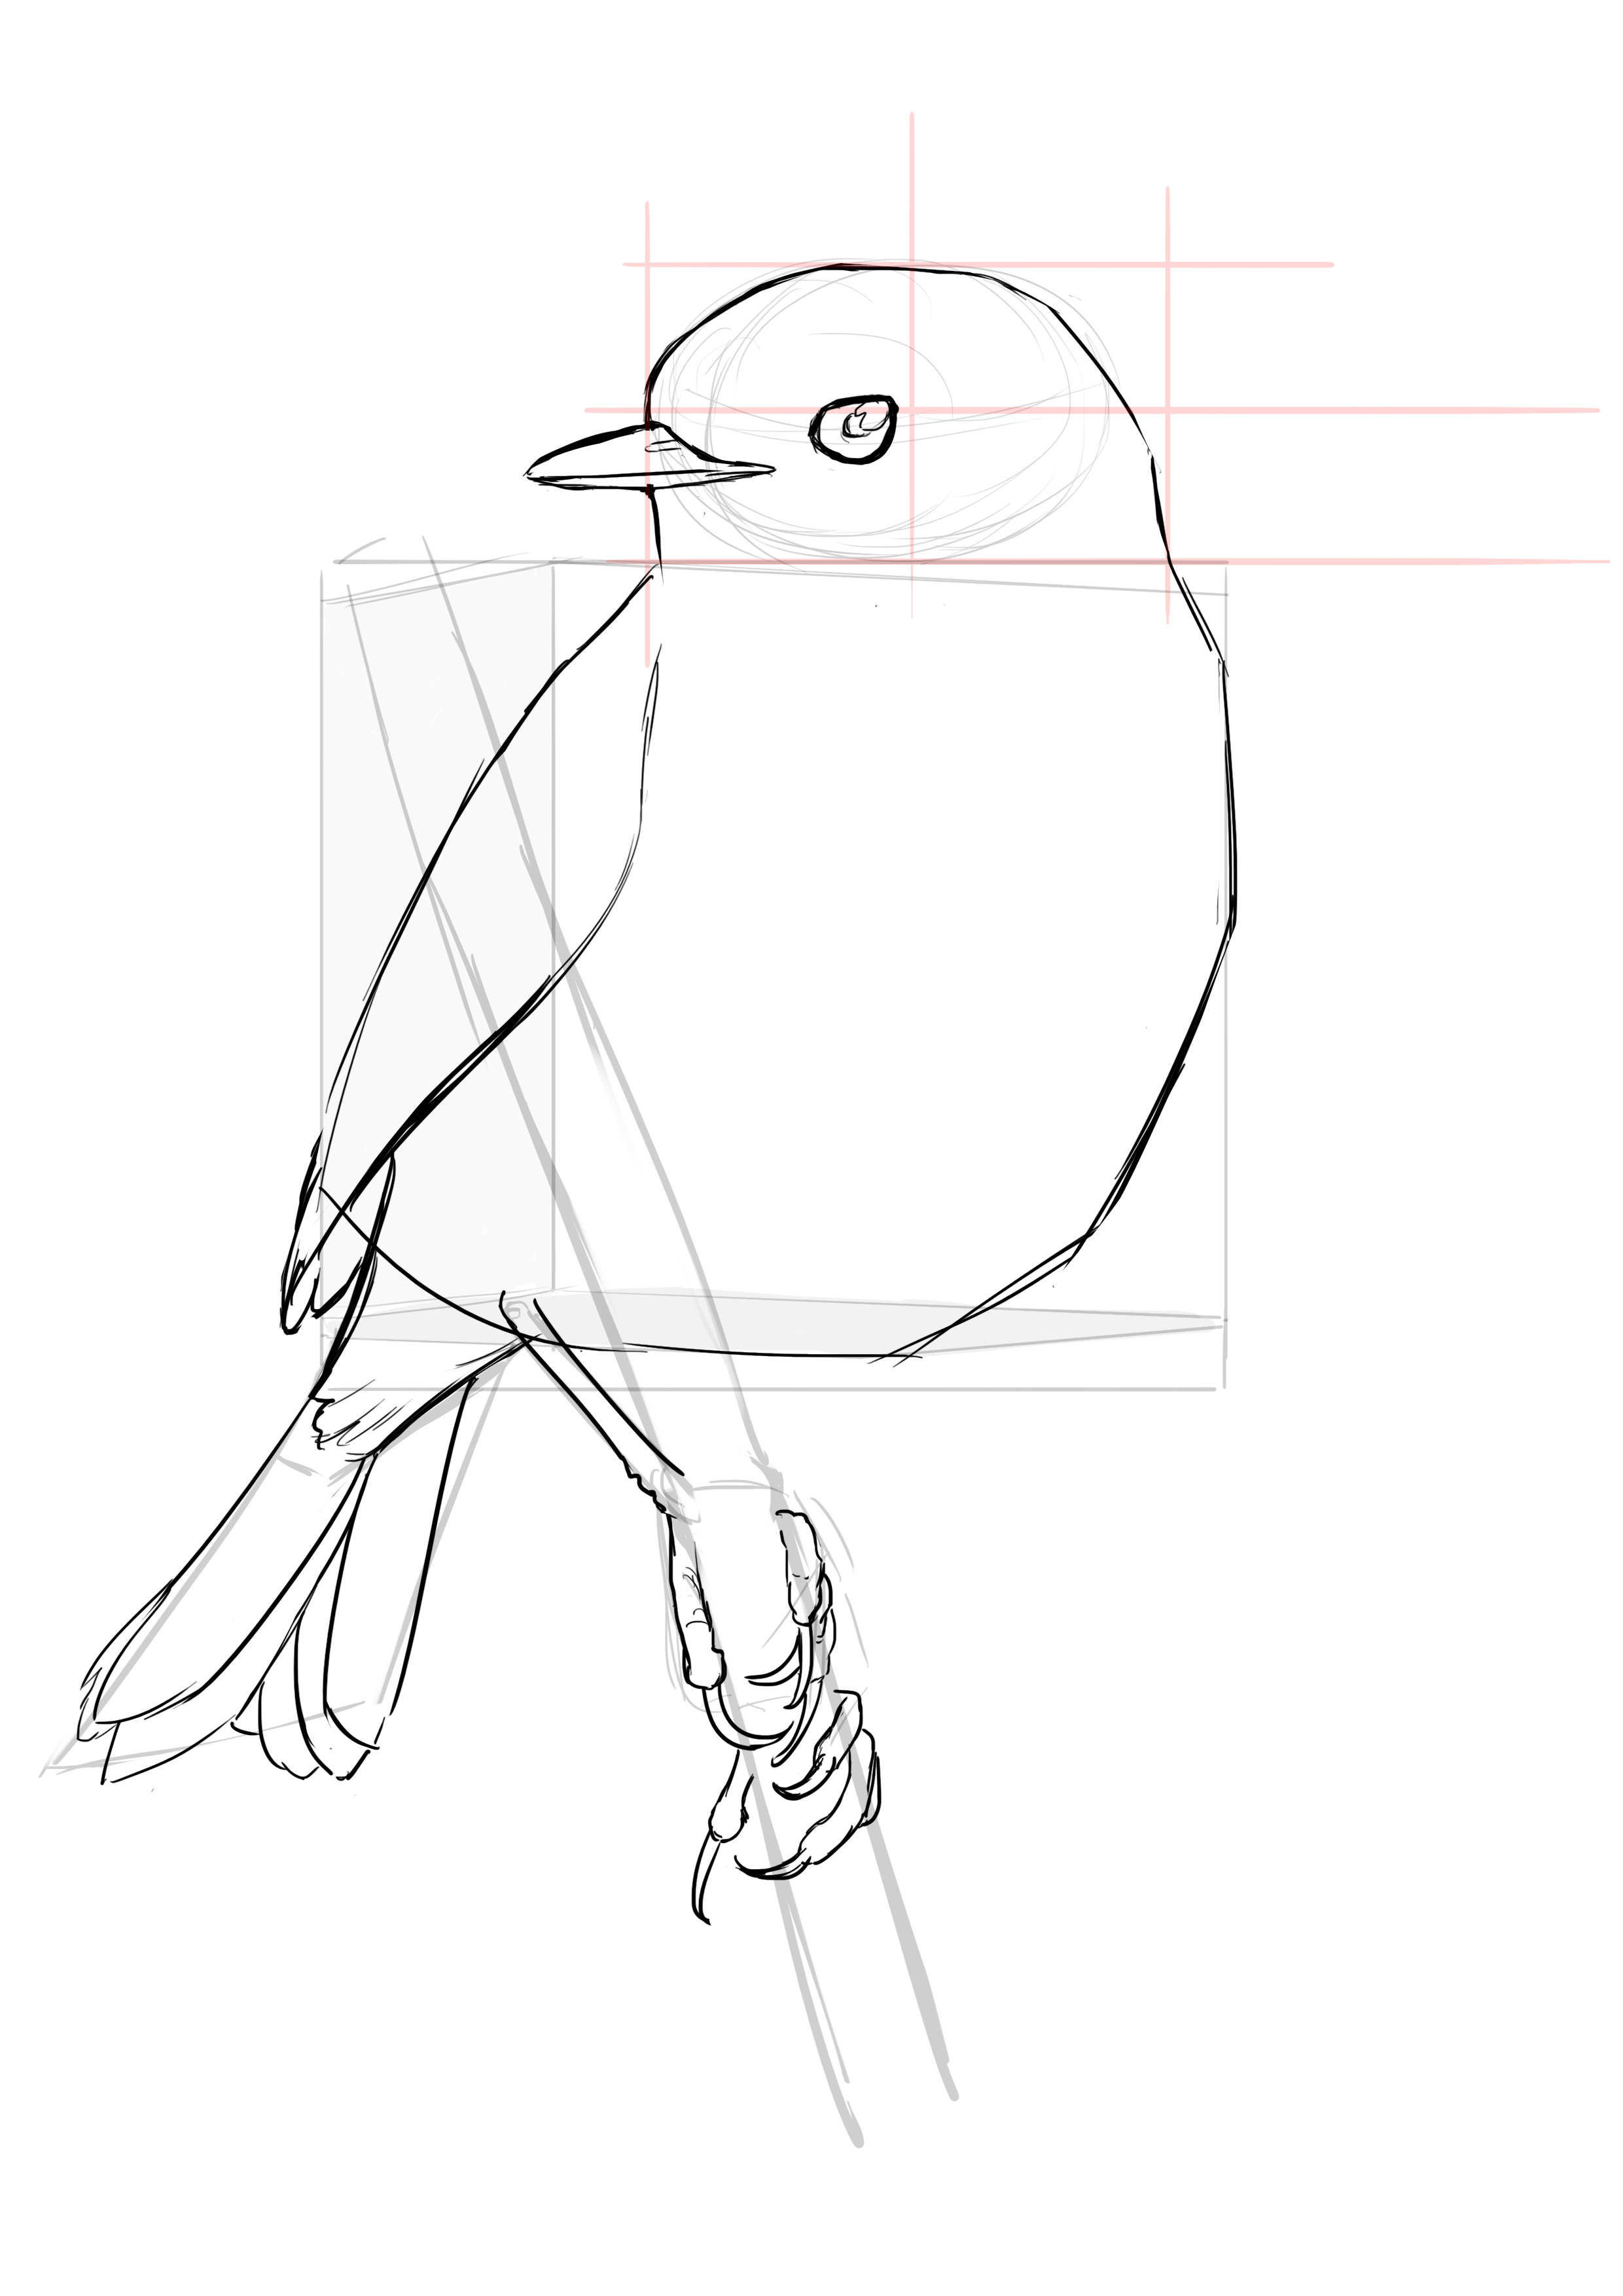
And so the legs, with, I remind you, three toes in front and one behind. And loooong talons :D
Okay, we've done the bulk of it, just need to detail and lightly place the different colored areas of our robin.
As always, choose the details you will draw. If you draw all the feathers you see, not only will it take a tremendous amount of time, but also the result may not meet the expectations. Our eye is not meant to focus on details everywhere at the same time. Detail certain areas that seem important to you and that you want to highlight, and leave the others.
Here's what it looks like:
HOW TO DRAW AN EAGLE
He is here, he is tall, he is beautiful, he is strong. I'm talking about the American eagle!
Well, before the fans of birds of prey flood the comment section, let me clarify one thing, by quoting Wikipedia:
Despite its English name ofBald Eagle("bald eagle") or its popular name of "white-headed eagle", it is not an eagle of the genusEaglebut of a sea eagle of the kindHaliaeetus[...].
Here to establish a crucial truth :) If you're interested, you can check out the full articleHERE.
Alright, let's move on to our drawing of the eag... uh, of our bald eagle, obviously.
OBSERVING THE MODEL FOR DRAWING
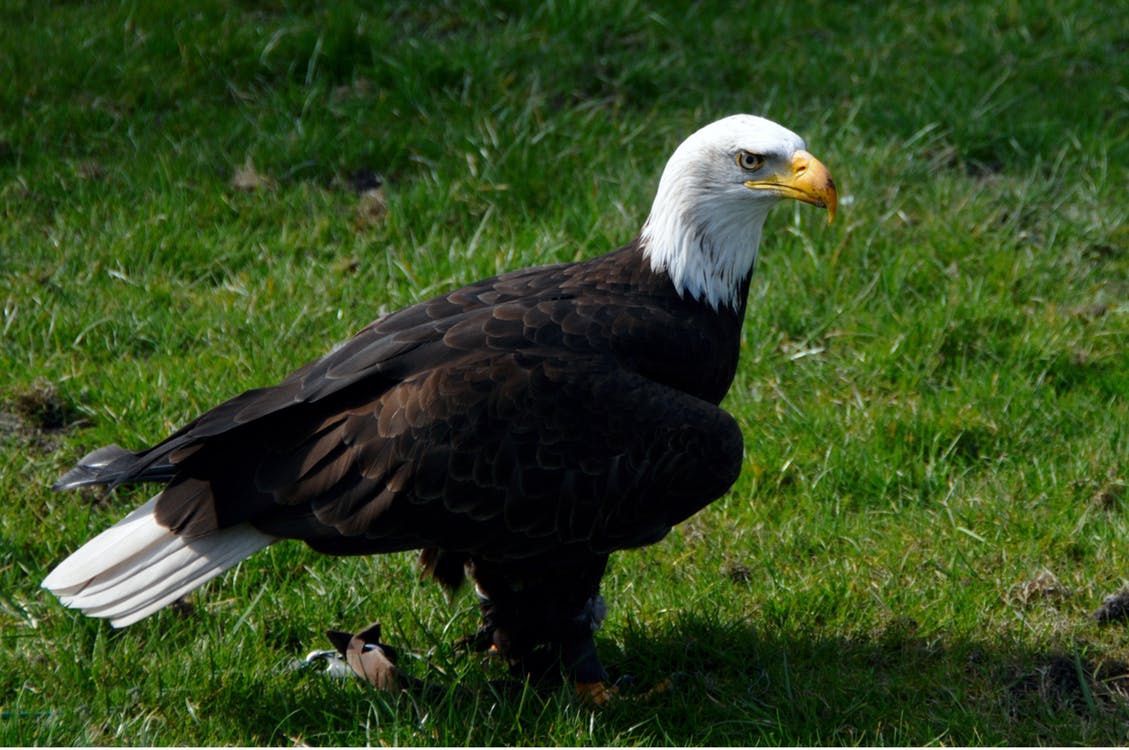
We are moving up to the next category here. Especially in terms of size.
It is much more massive, has much denser plumage, a head, eyes, and a beak that are also much more impressive, just like the size of its wings.
It still retains a number of features we've already seen. Like the fairly flattened head (but much more square). A beak with a fairly flat underside, legs towards the middle of the body (as soon as the birds are big enough it seems). Eyes still located on the sides but much less than our two previous examples. Because this bird is a raptor. A predator. It therefore needs to focus on its prey to swoop down on it.
I will speak more concretely about its proportions in the drawing section J I will simply say that when it stands, the height of its head + neck fits 3 times into the height of its body and four and a half times in length (including tail)
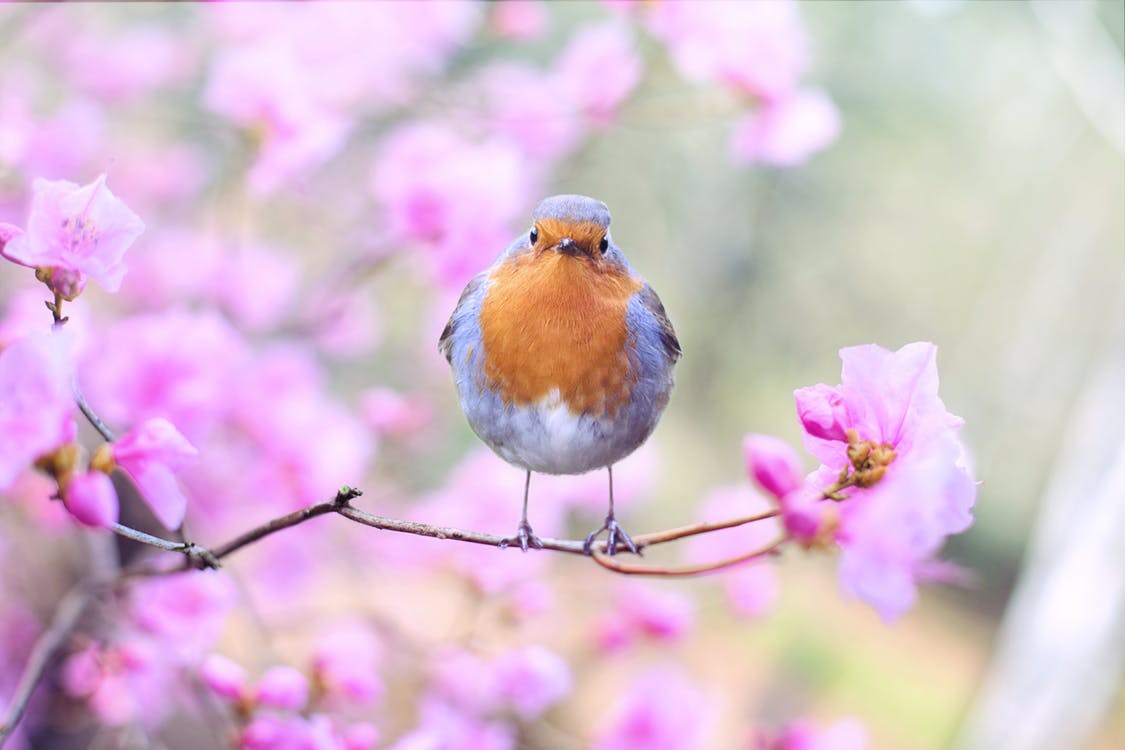
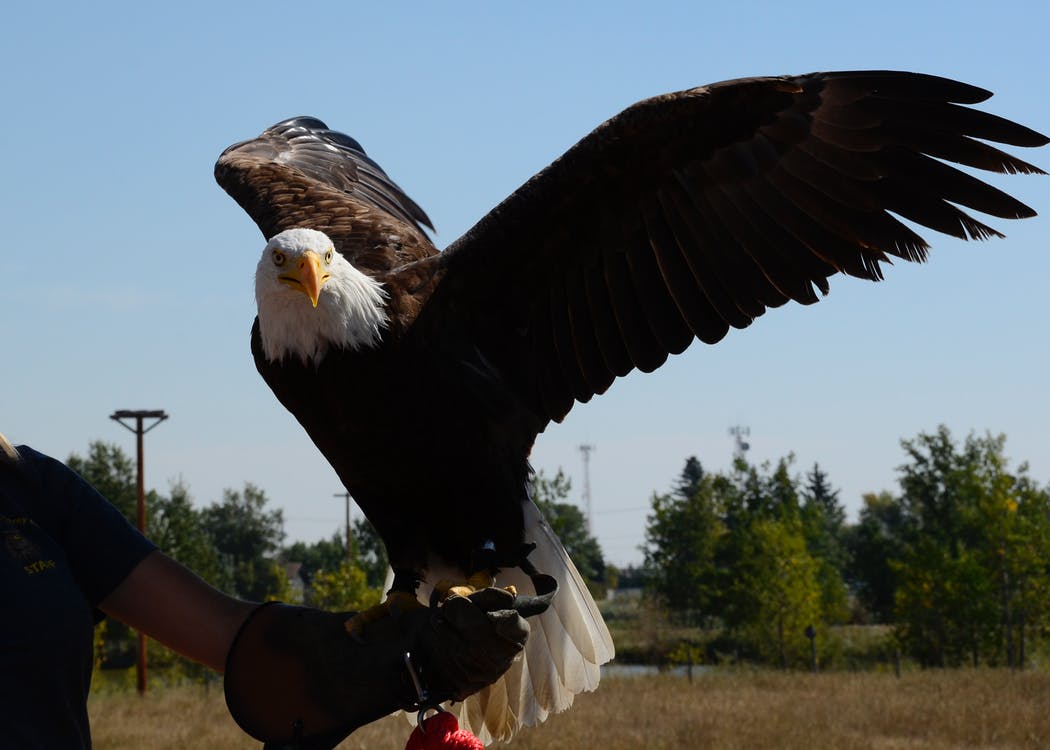
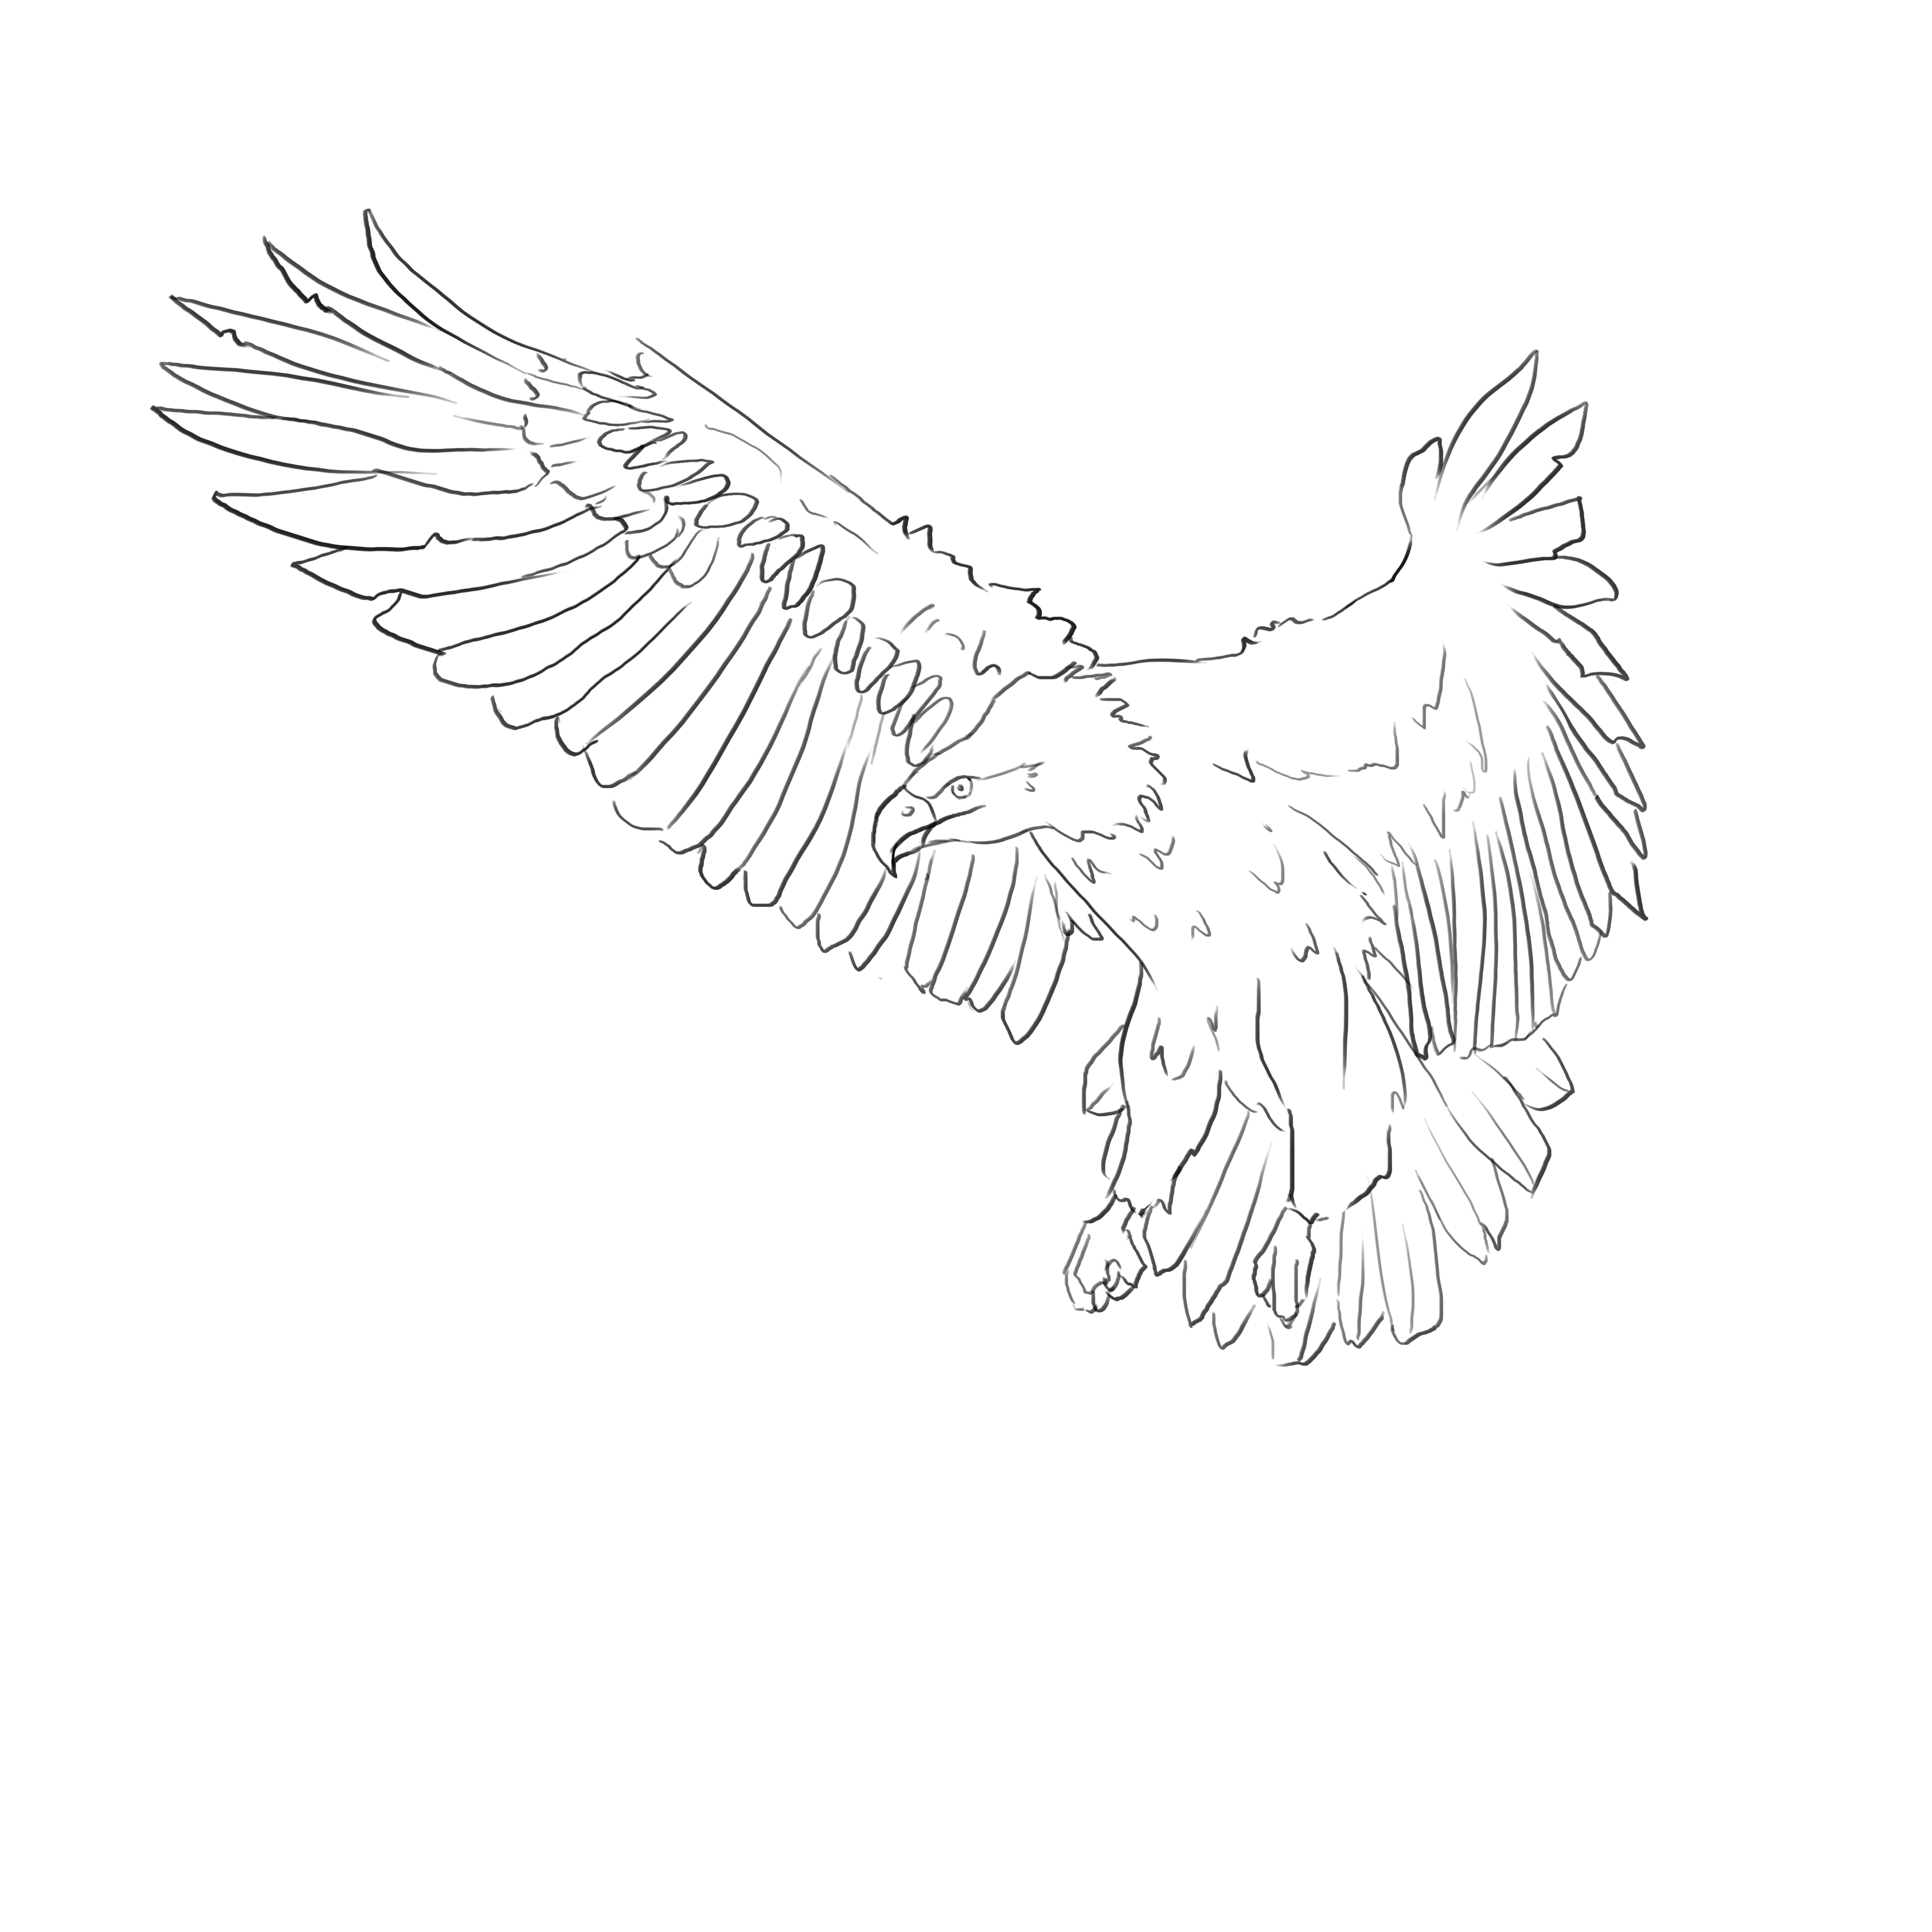
For this last example, we'll base it on this photo:
But Rakjah, his wing is super dark, you can't see anything, it's not funny.
We agree, it frustrates me a lot, so we're going to cheat. In this kind of situation, there are two solutions:
- We take other referencesto see how the wings are arranged. For example:
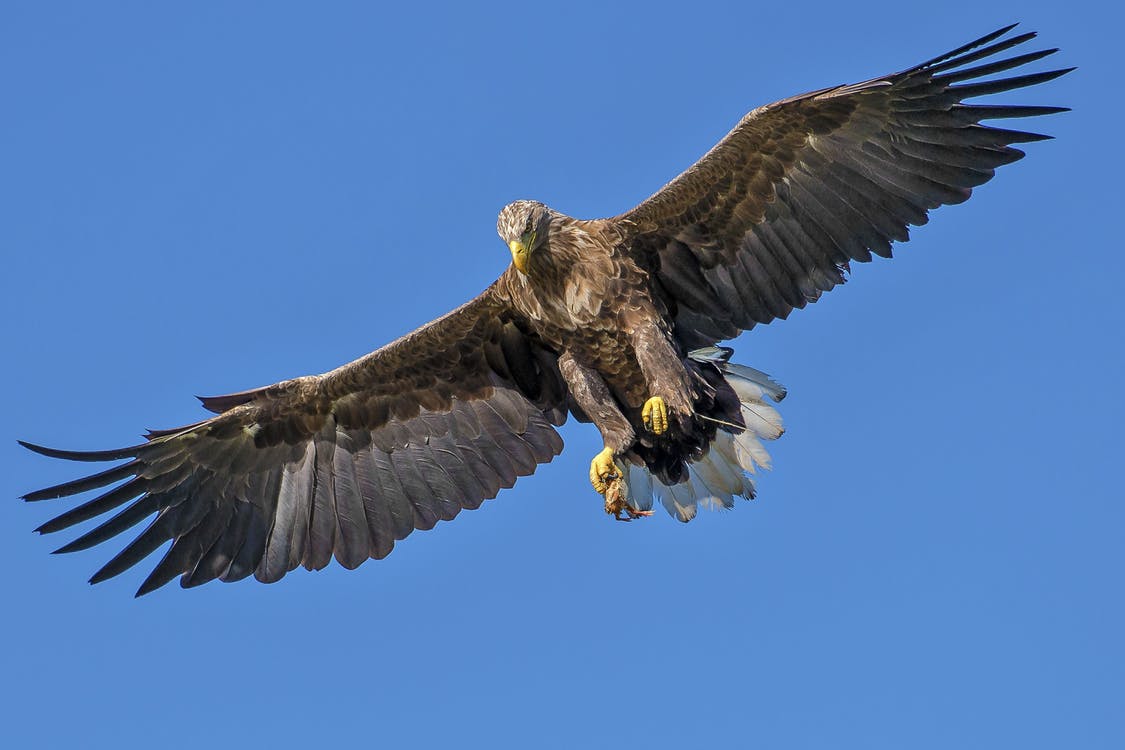
- Or well,we open photoshop and manipulate the phototo see more clearly :)
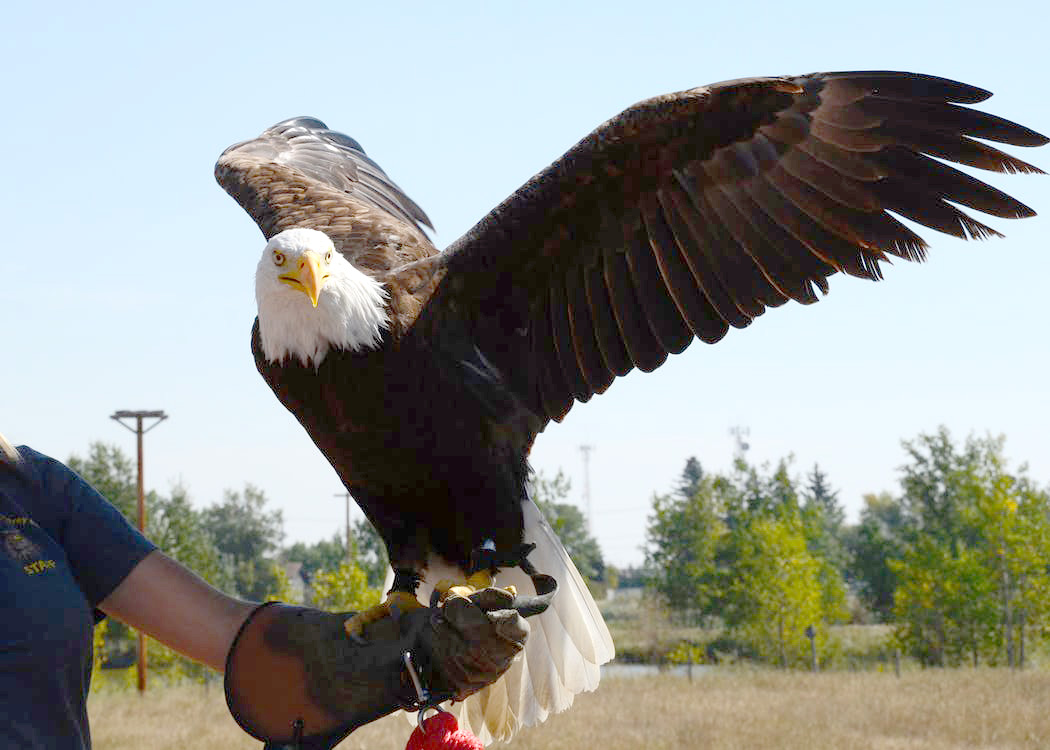
In this case, I have chosen the second option, because it’s the first time we are going to draw a wing like this. Moreover, this alters the colors and details elsewhere, but it’s not a problem, it’s just the wing that interests me, so, I will use the basic model for the eagle, but I will switch to the lightened version when we need to detail the bird's wing.
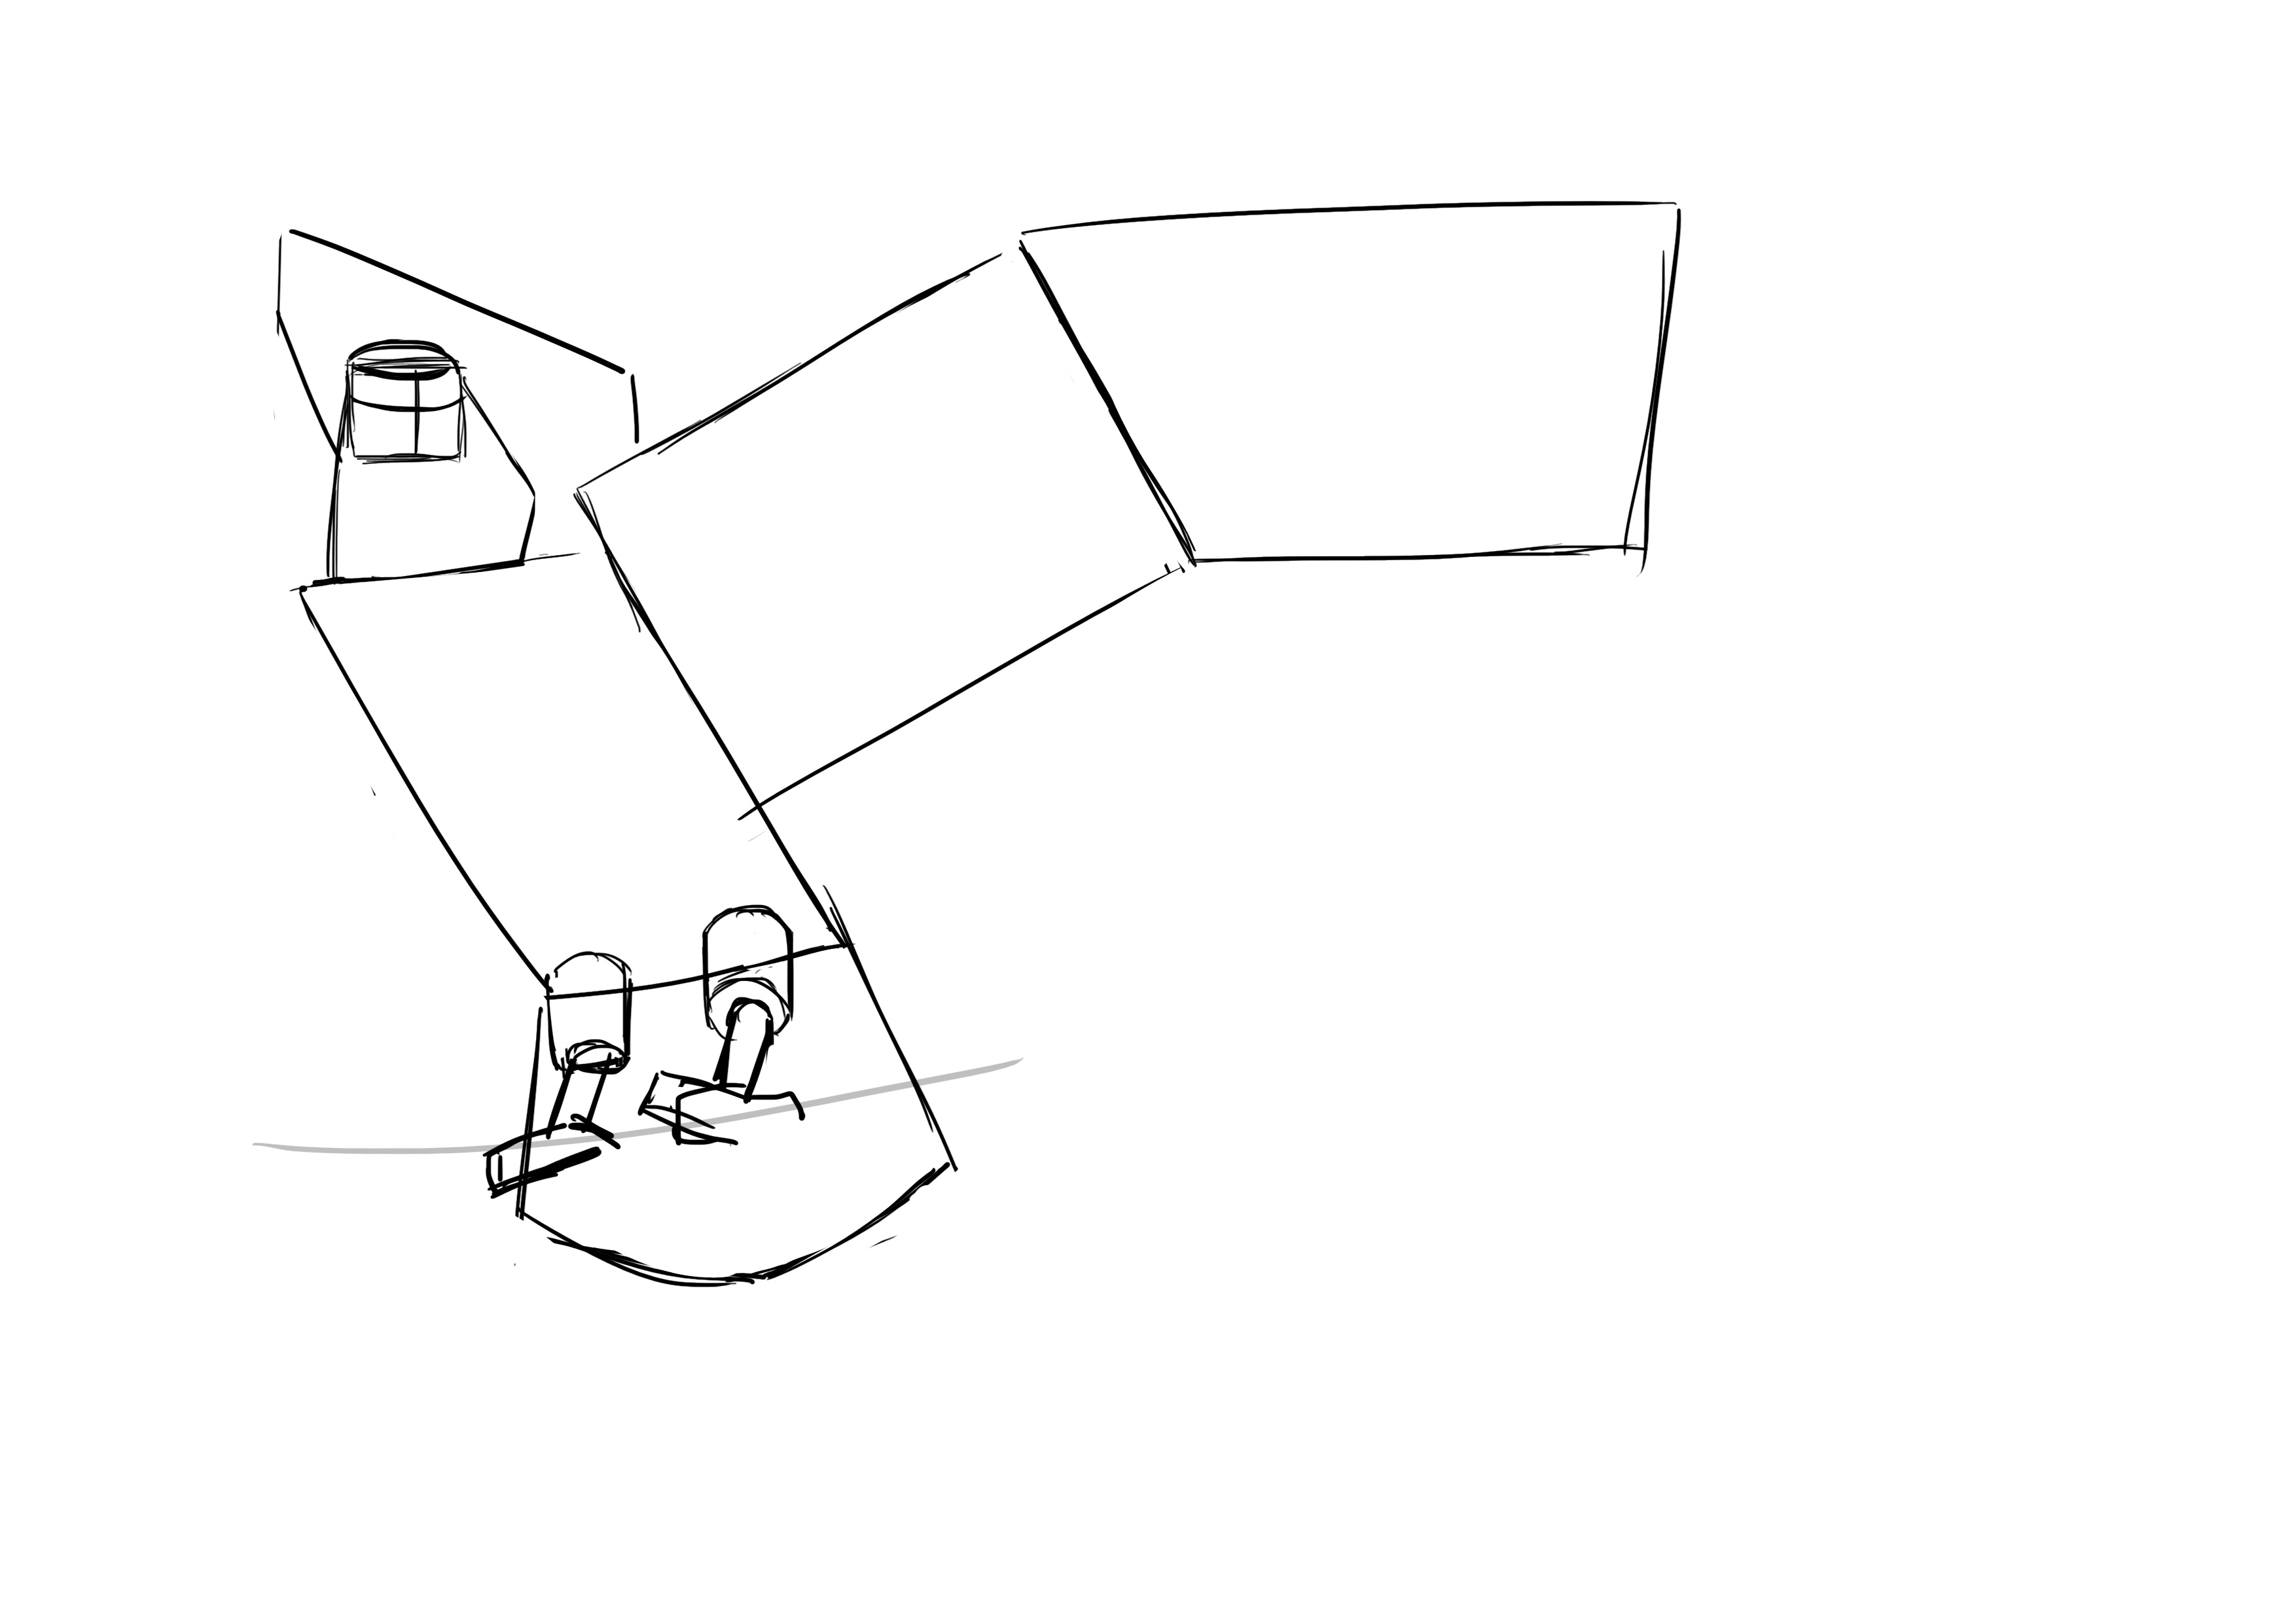
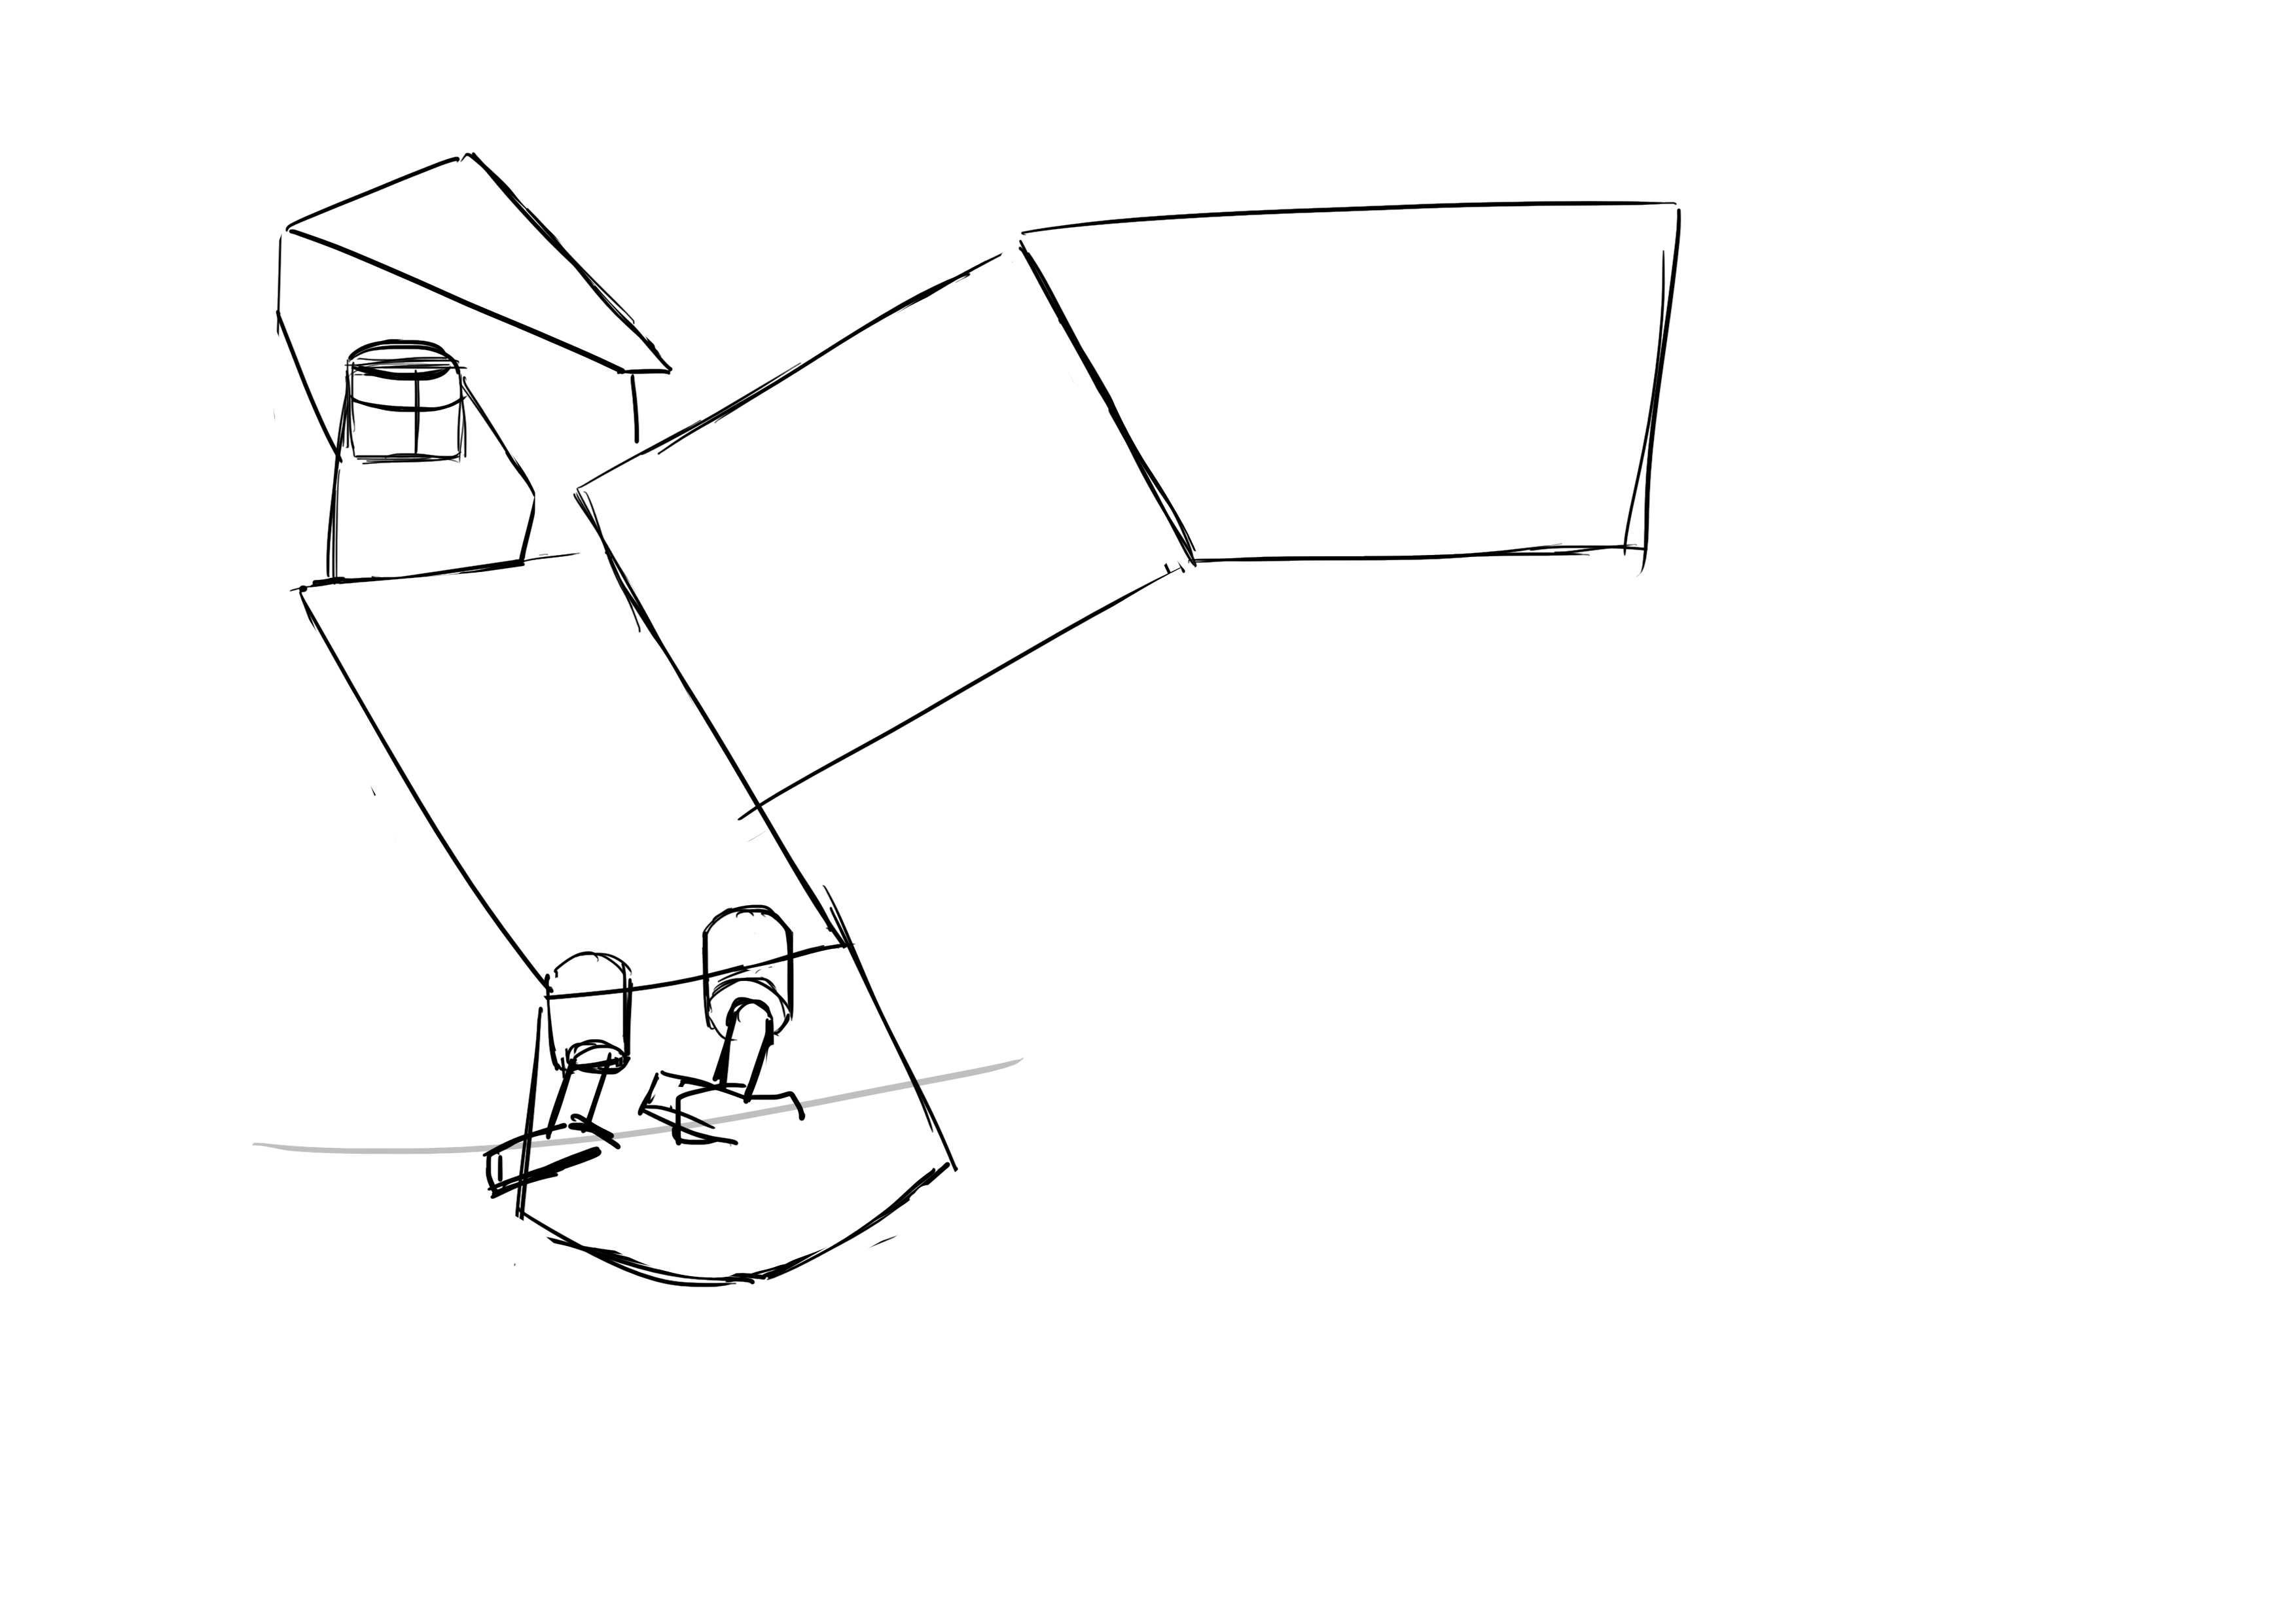
Surprisingly, the pose here is not as complex as it seems. Once again, our bird is twisted, I'll redo the usual little diagram for those who have trouble visualizing.
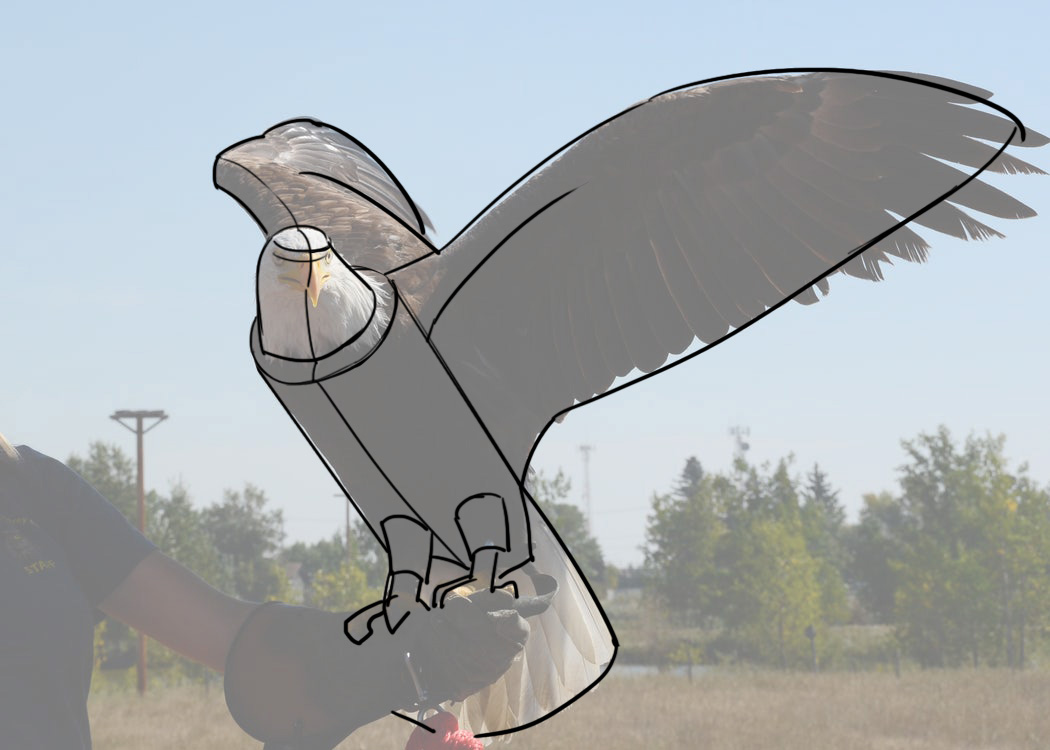
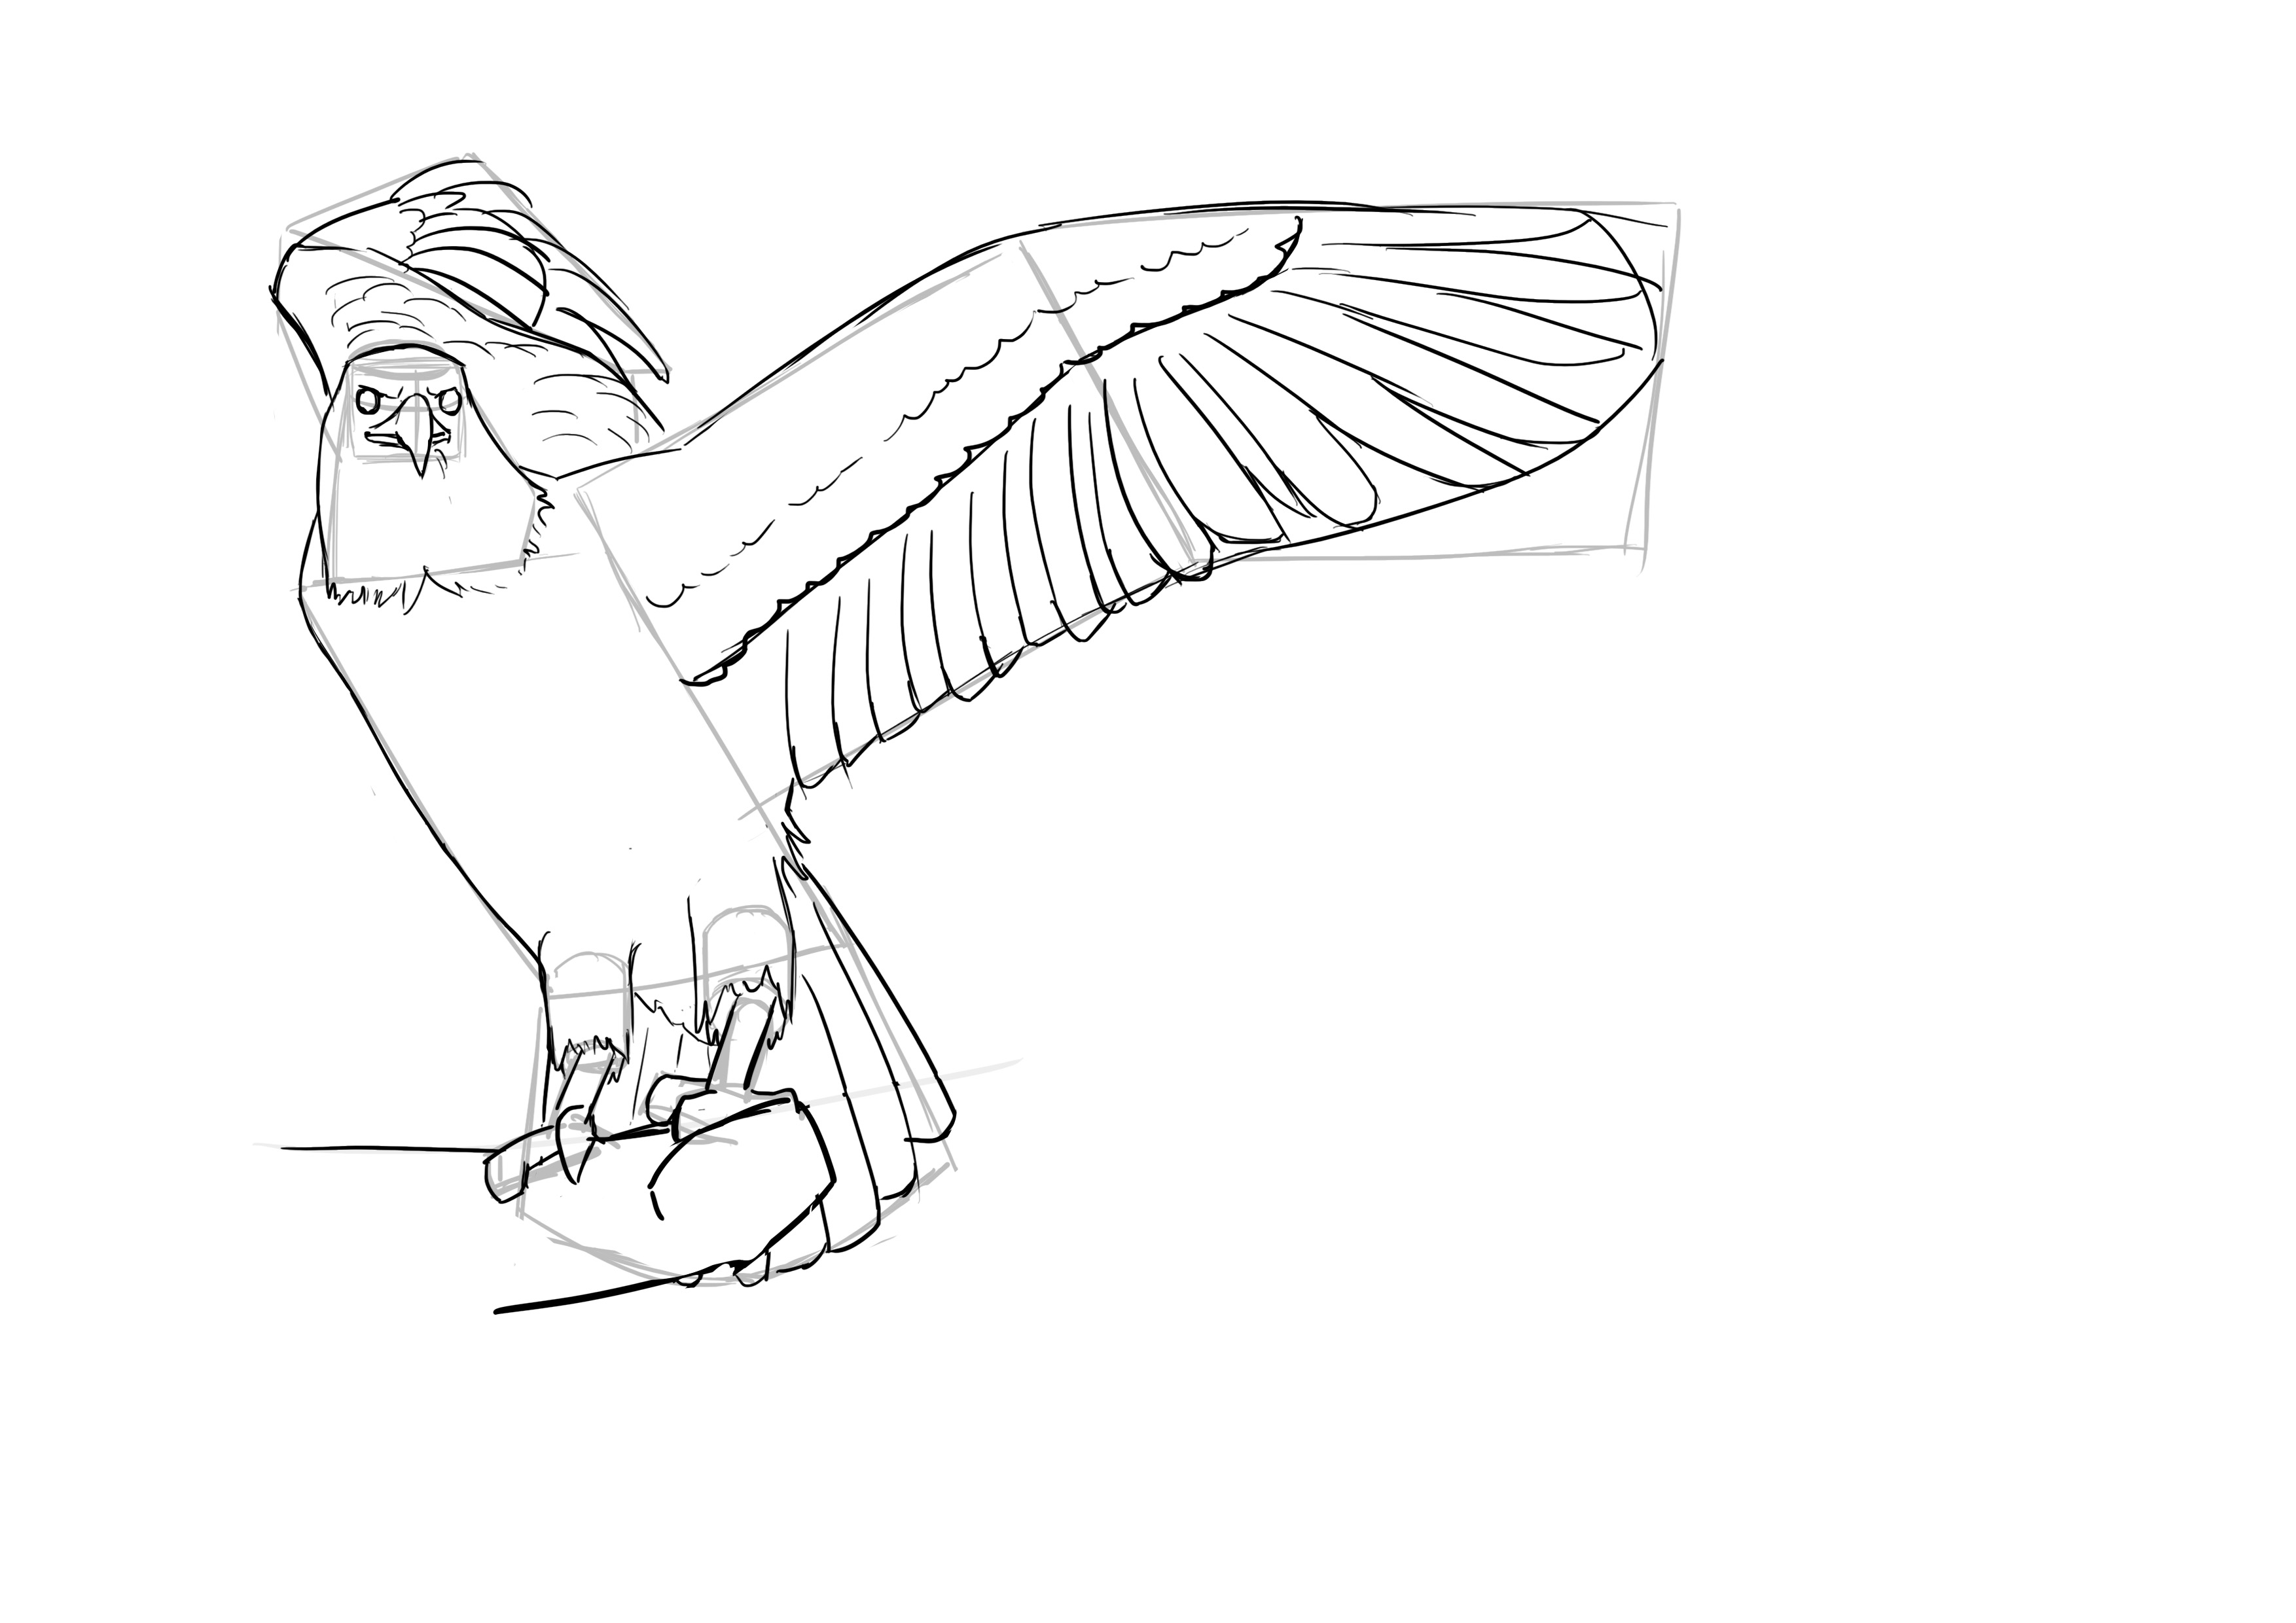
THE EAGLE SKETCH
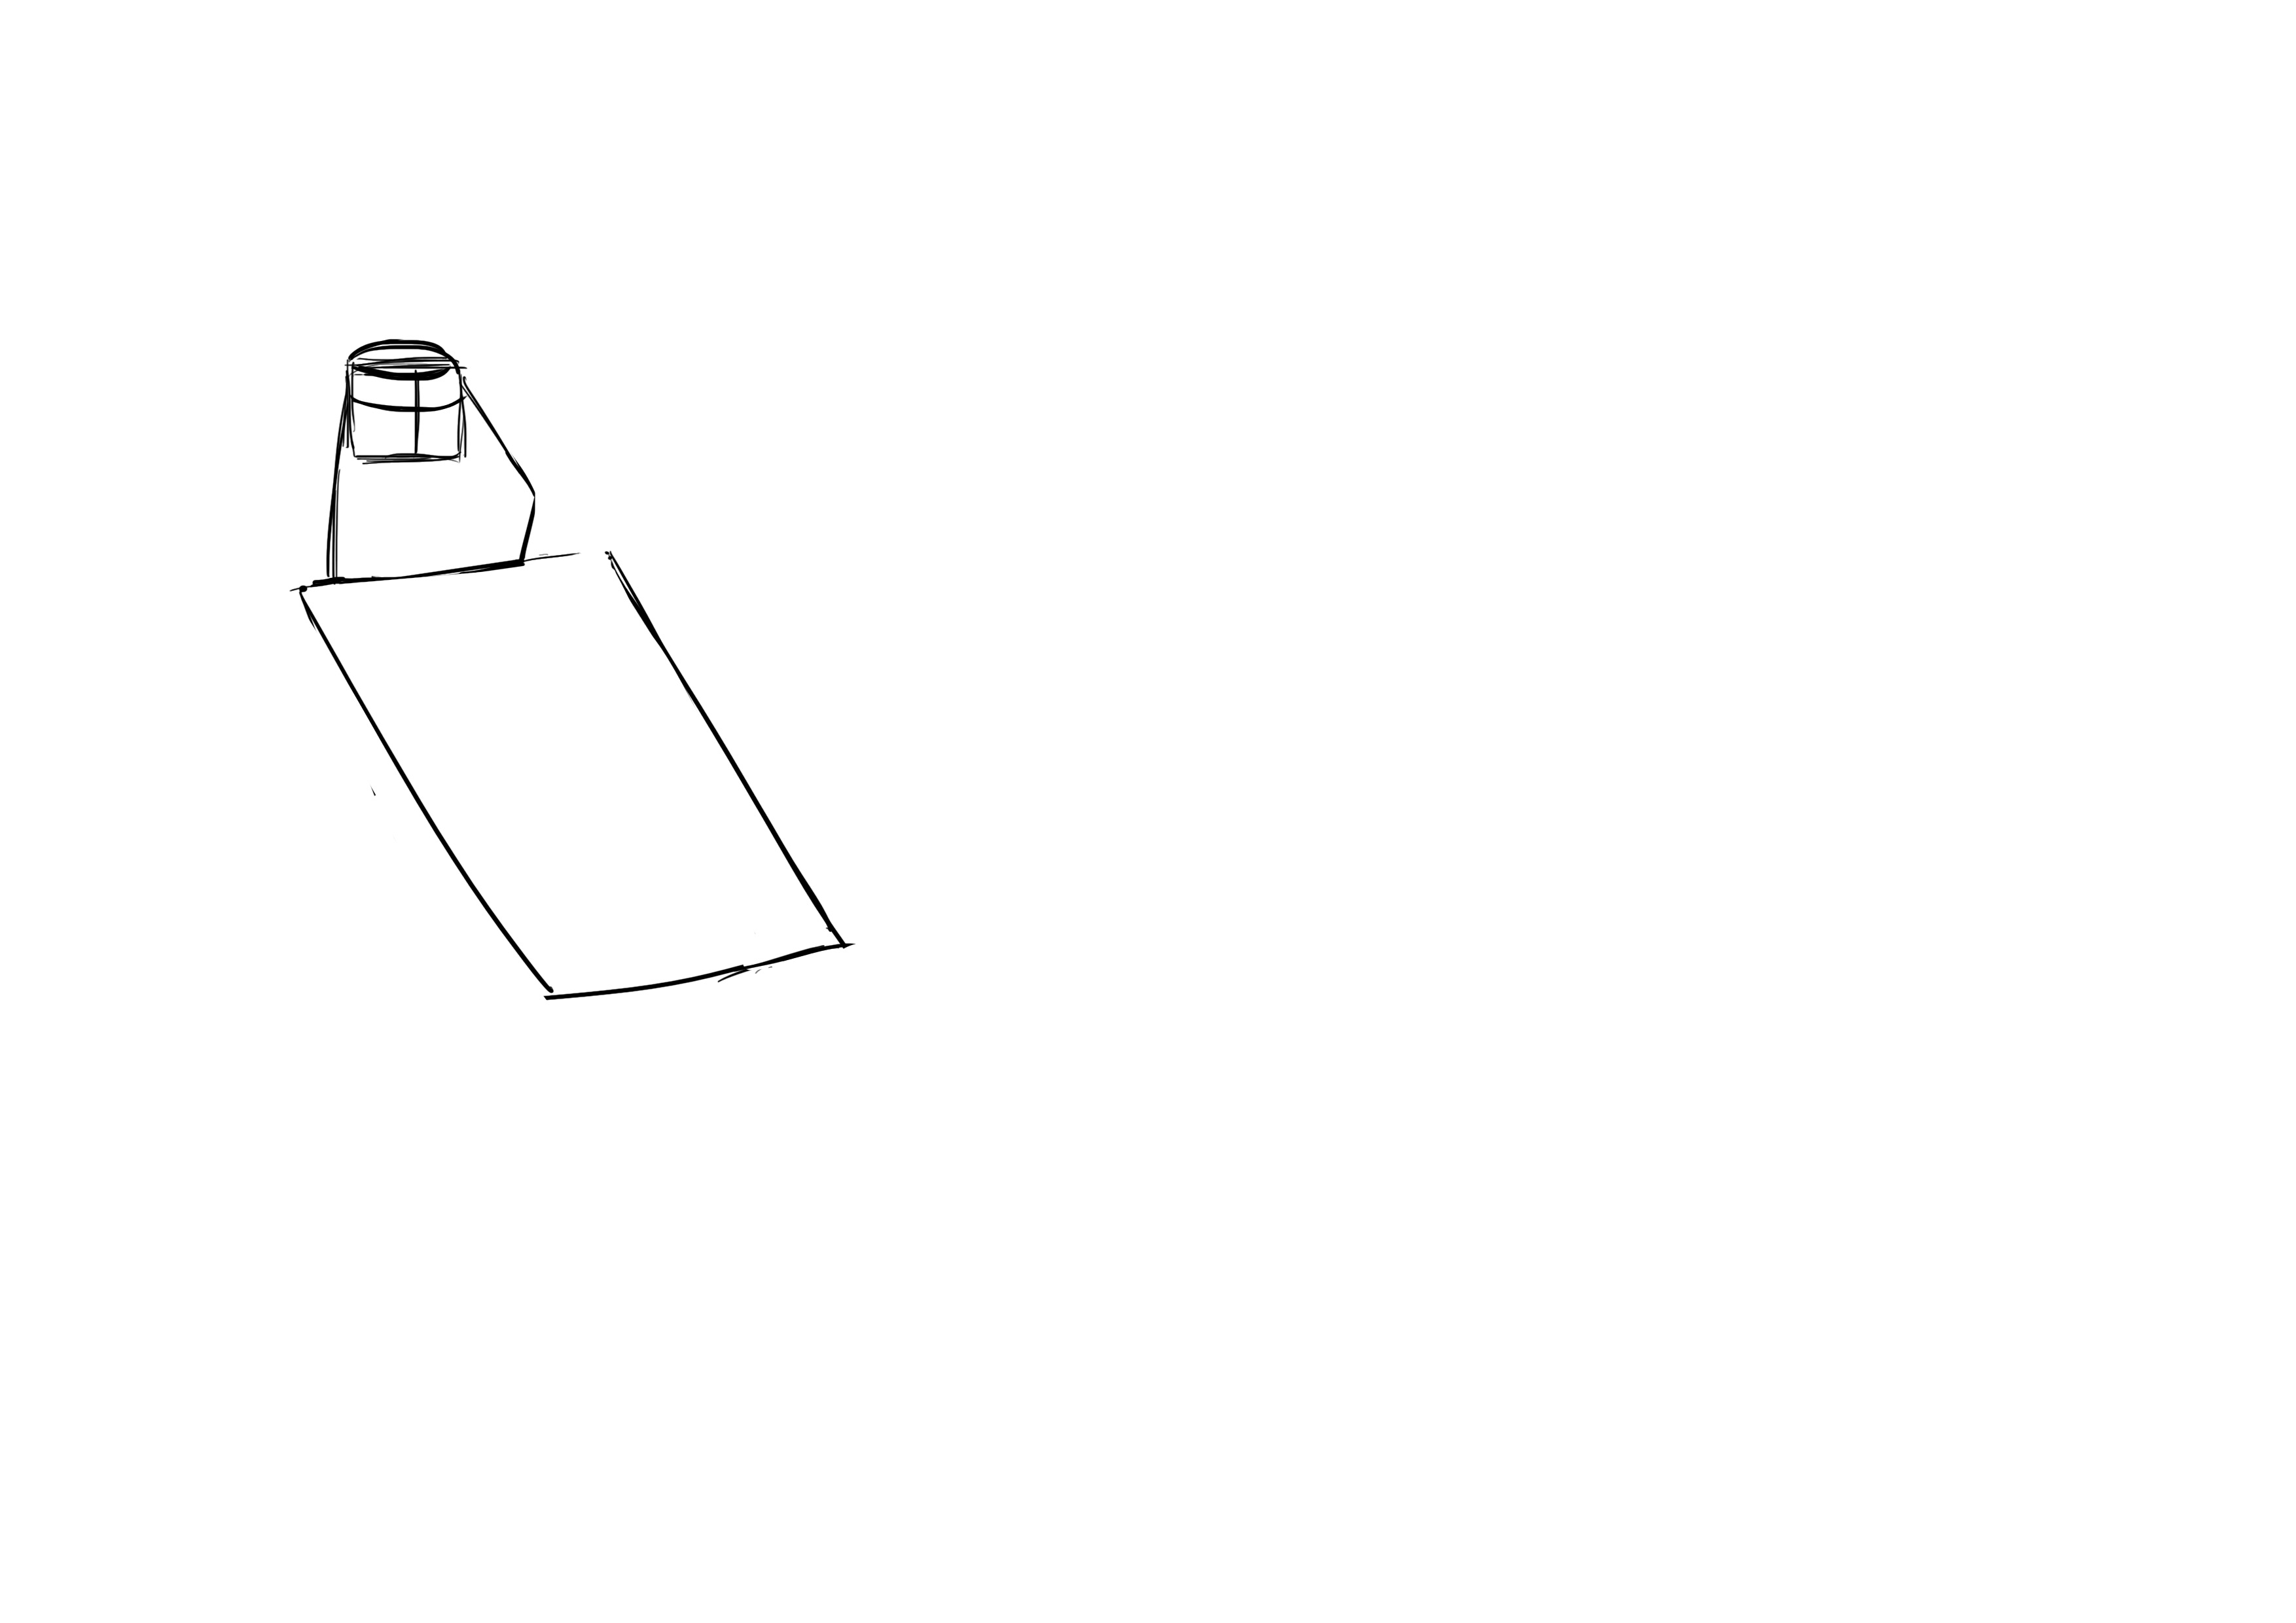
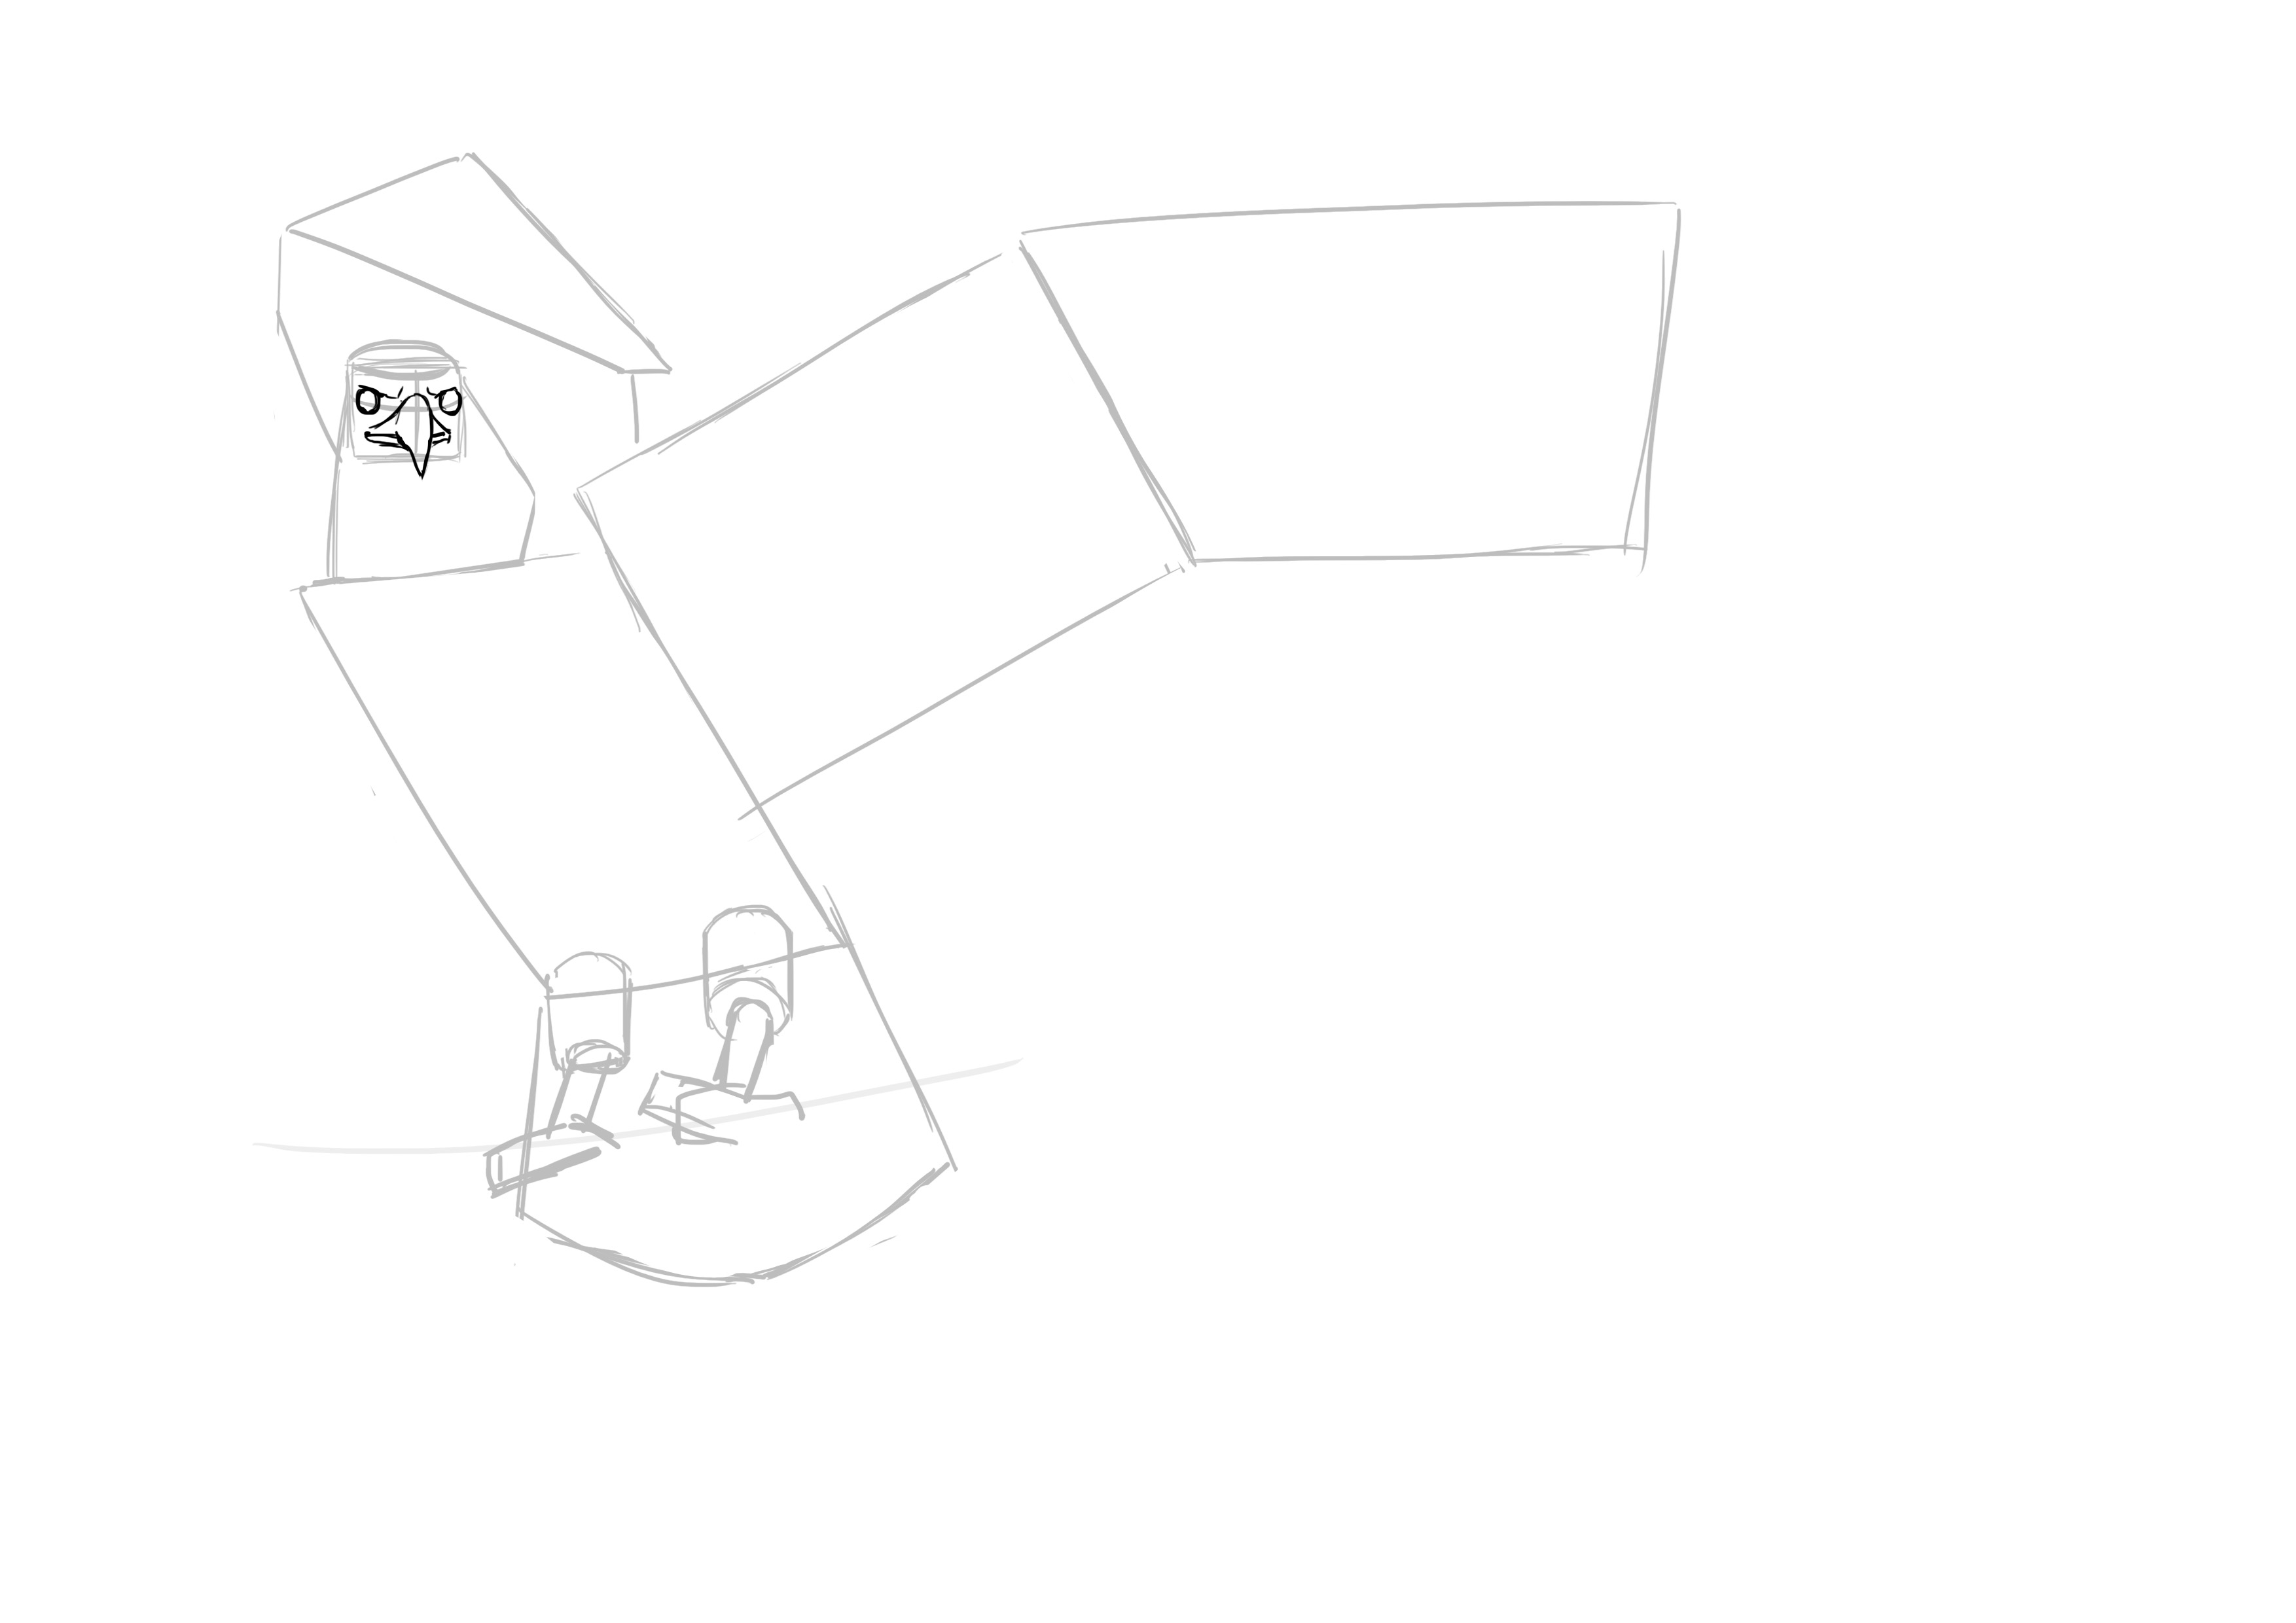
So we start with... the head! Yes, we don't change a winning team! :D Here the head is almost facing forward. That's good, it’s a change. So I would tend to make a rectangle.

We're even going to do better. We'll draw a curve on the front face of the rectangle and round off the top too. That way, you can't go wrong when placing the eyes.
Also position the lines for the eyes and the beak. So, the middle line of the head (not exactly in the middle here, since the head is not entirely facing forward either). The eyes are located at the halfway point, as usual (or almost).

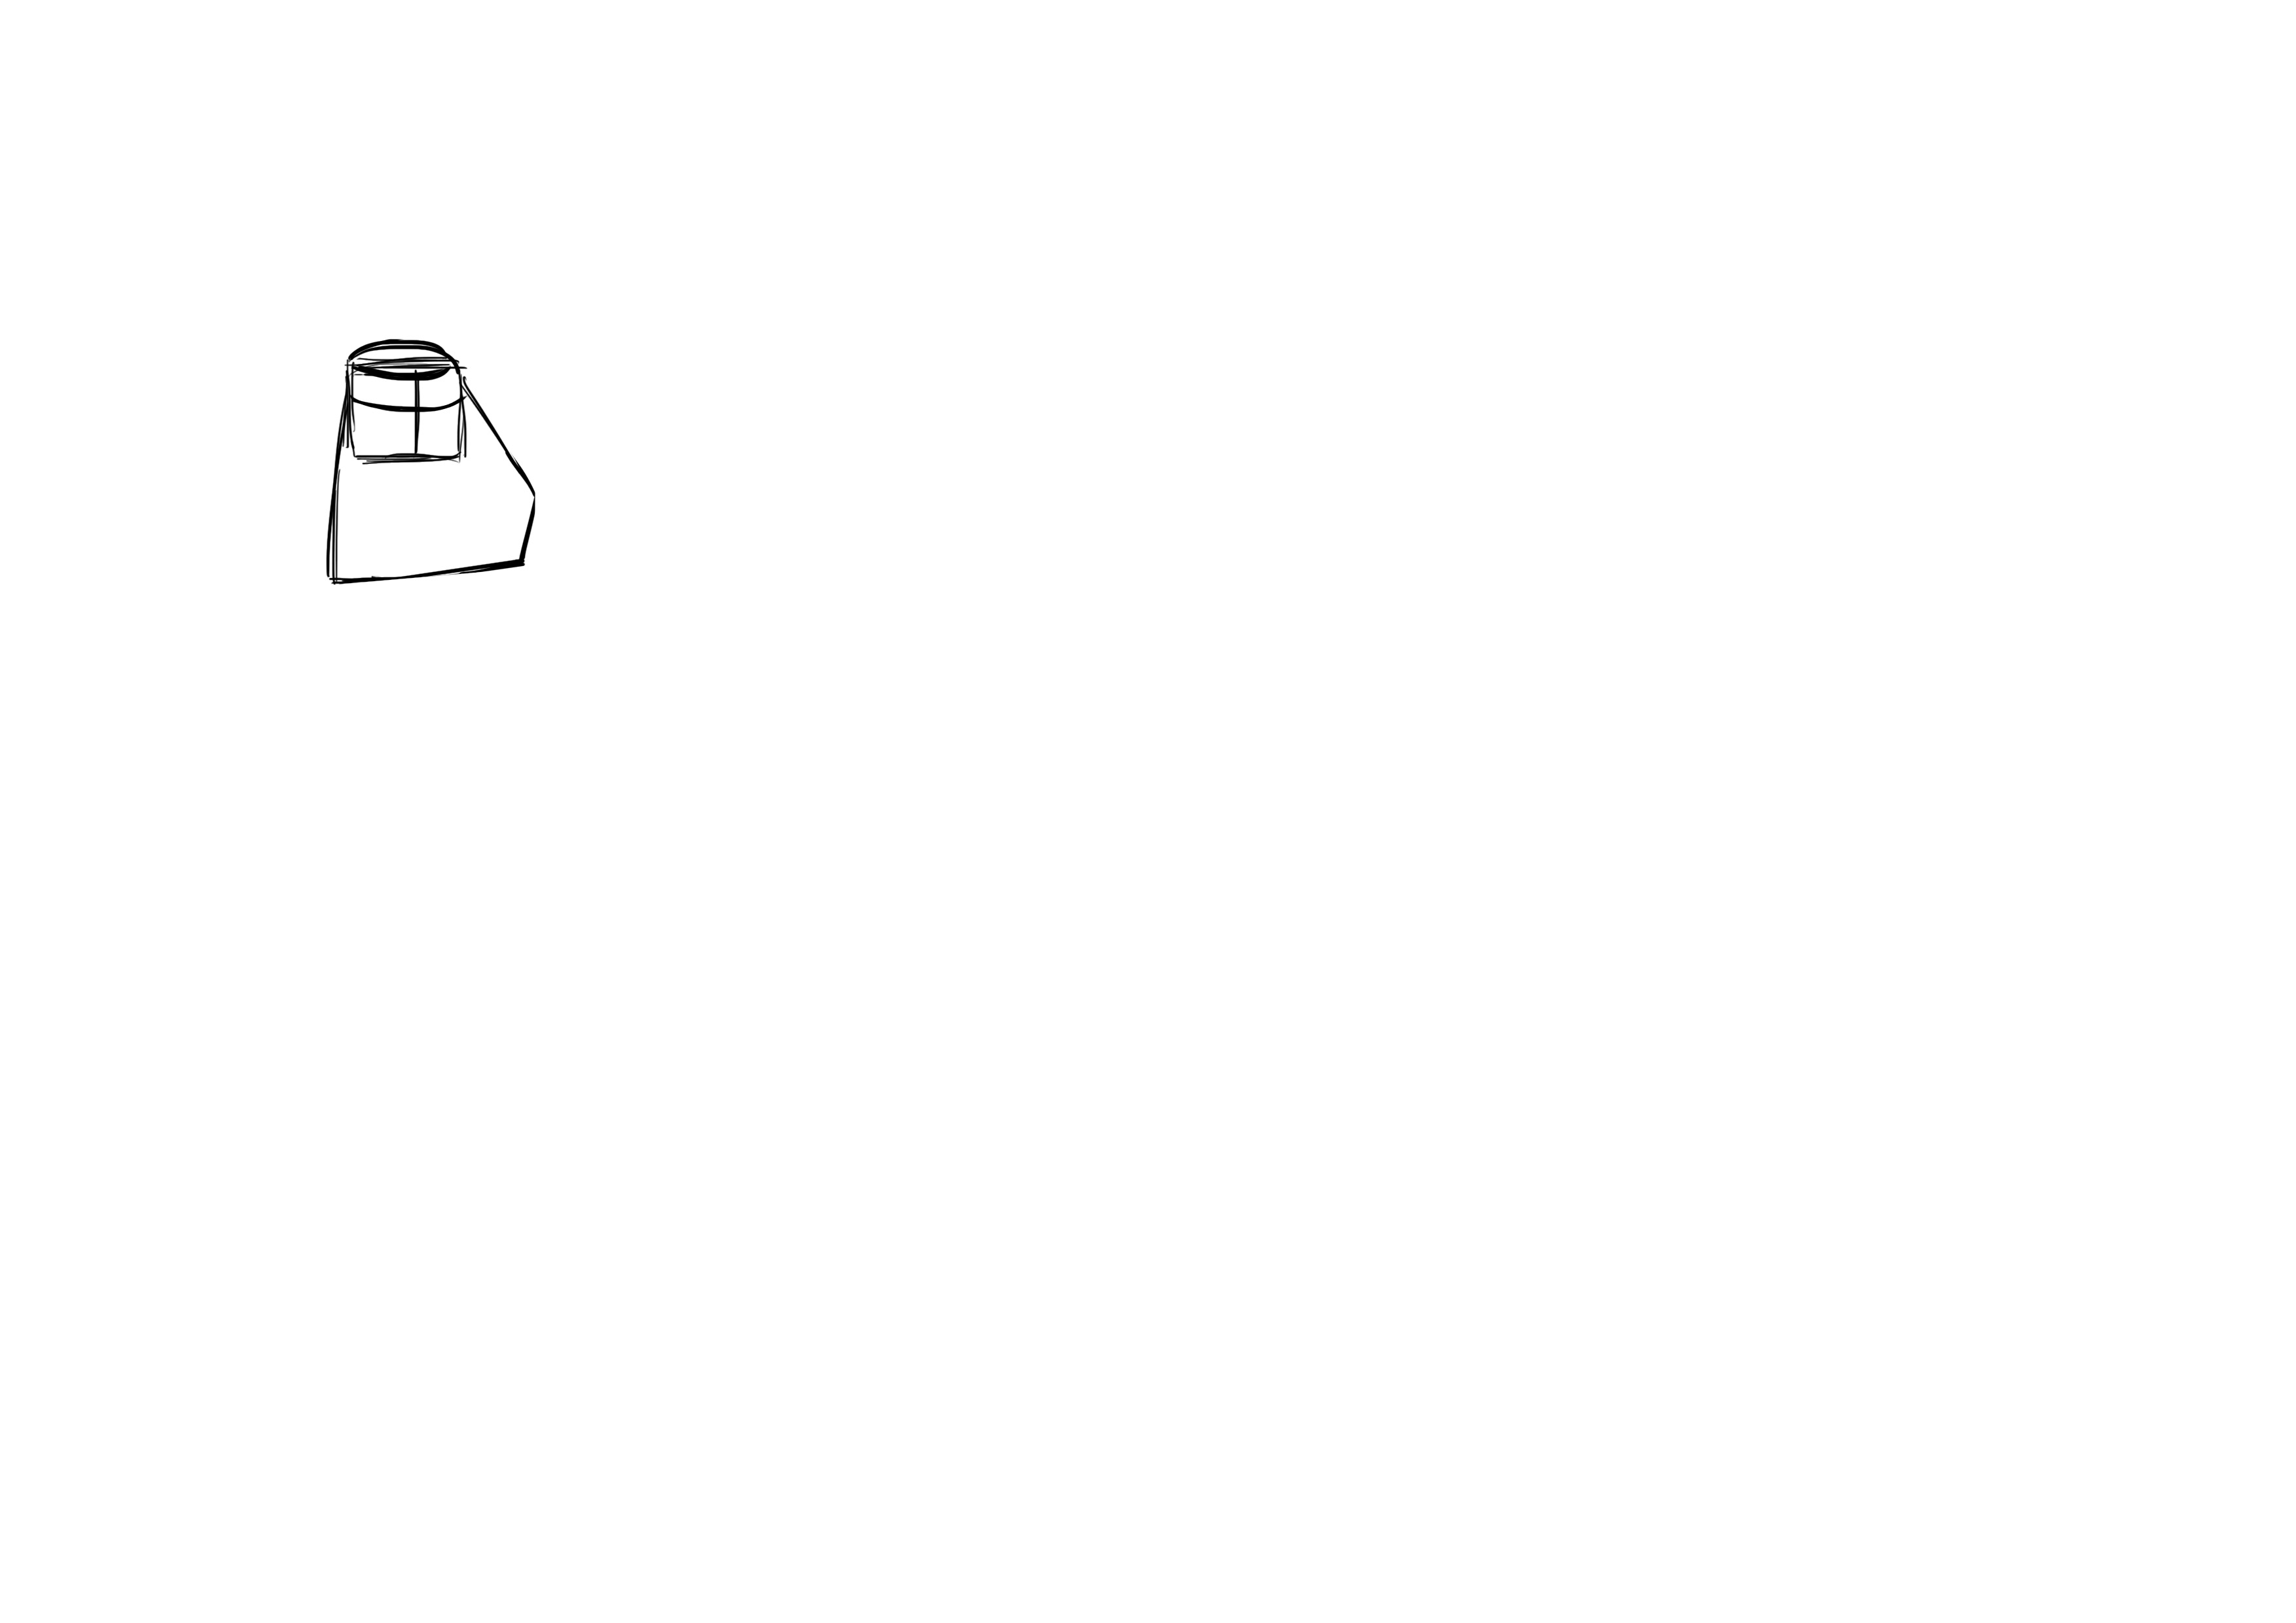
Now the bird's neck, I am referring here to the white part below the head. It is about as tall as the head and one and a half times wider.
[No Text]
The body is a large rectangle. Slightly wider than the widest part of the neck, and one and a half times longer than it is wide.
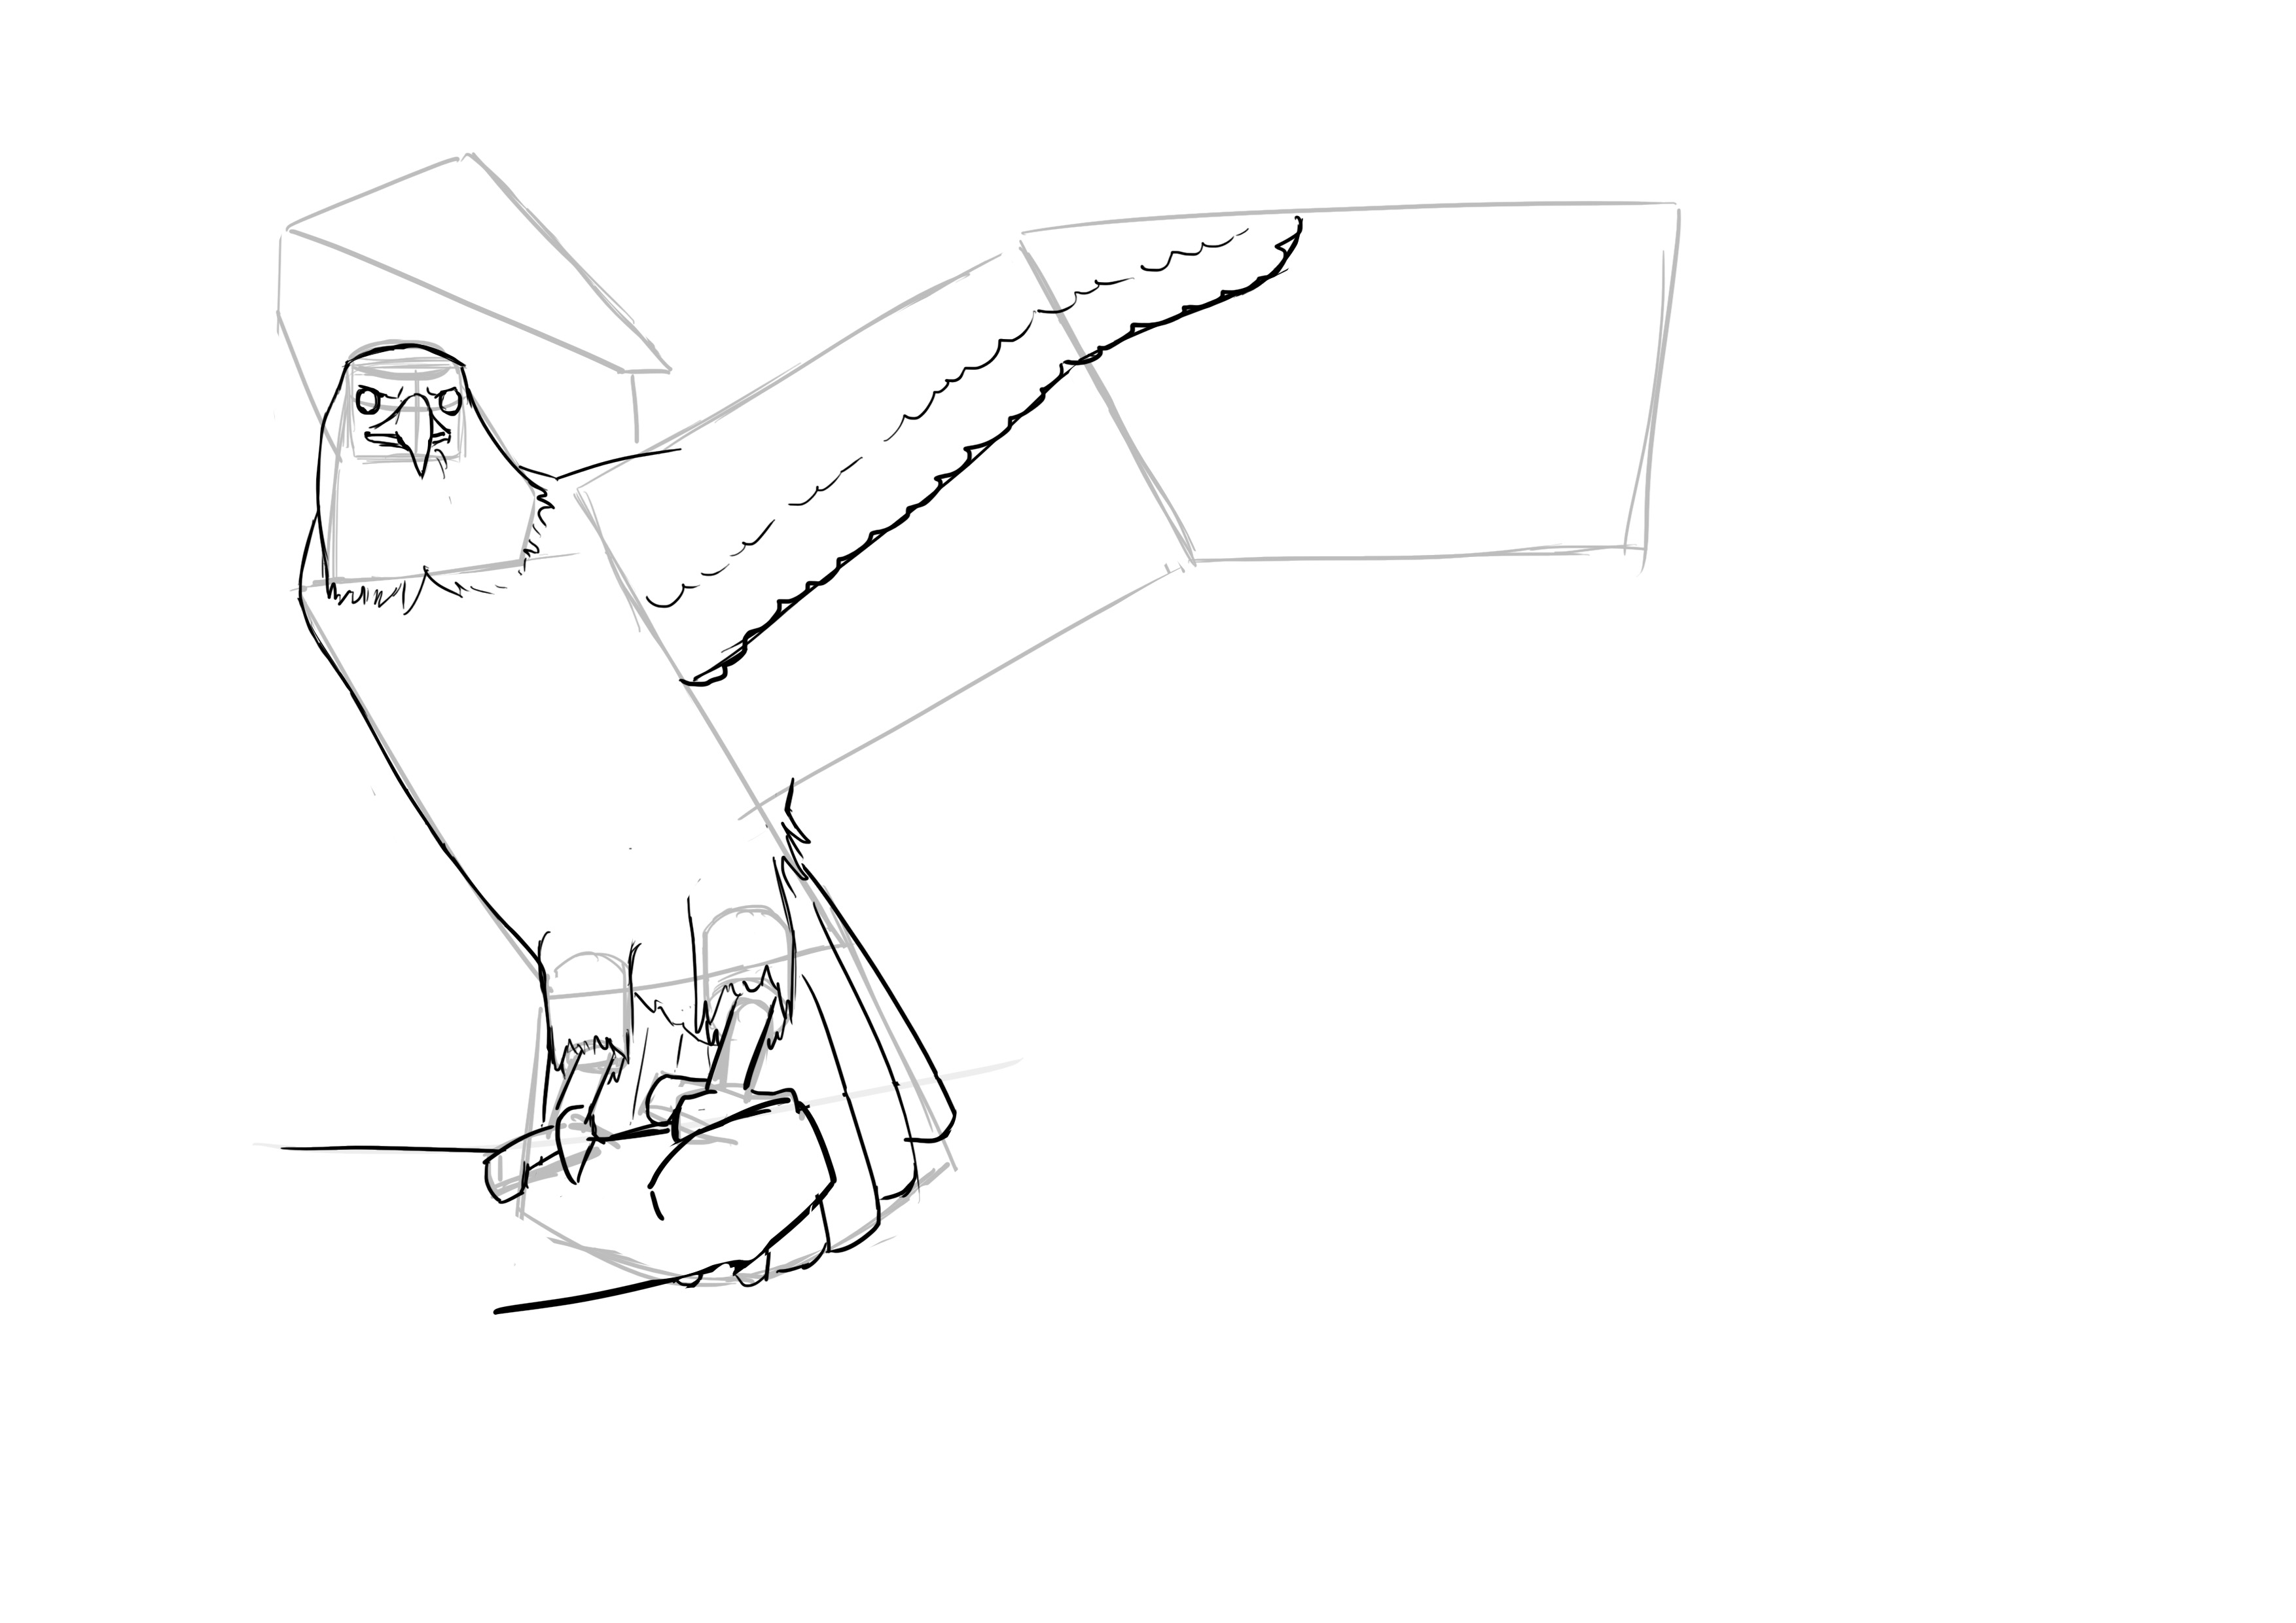
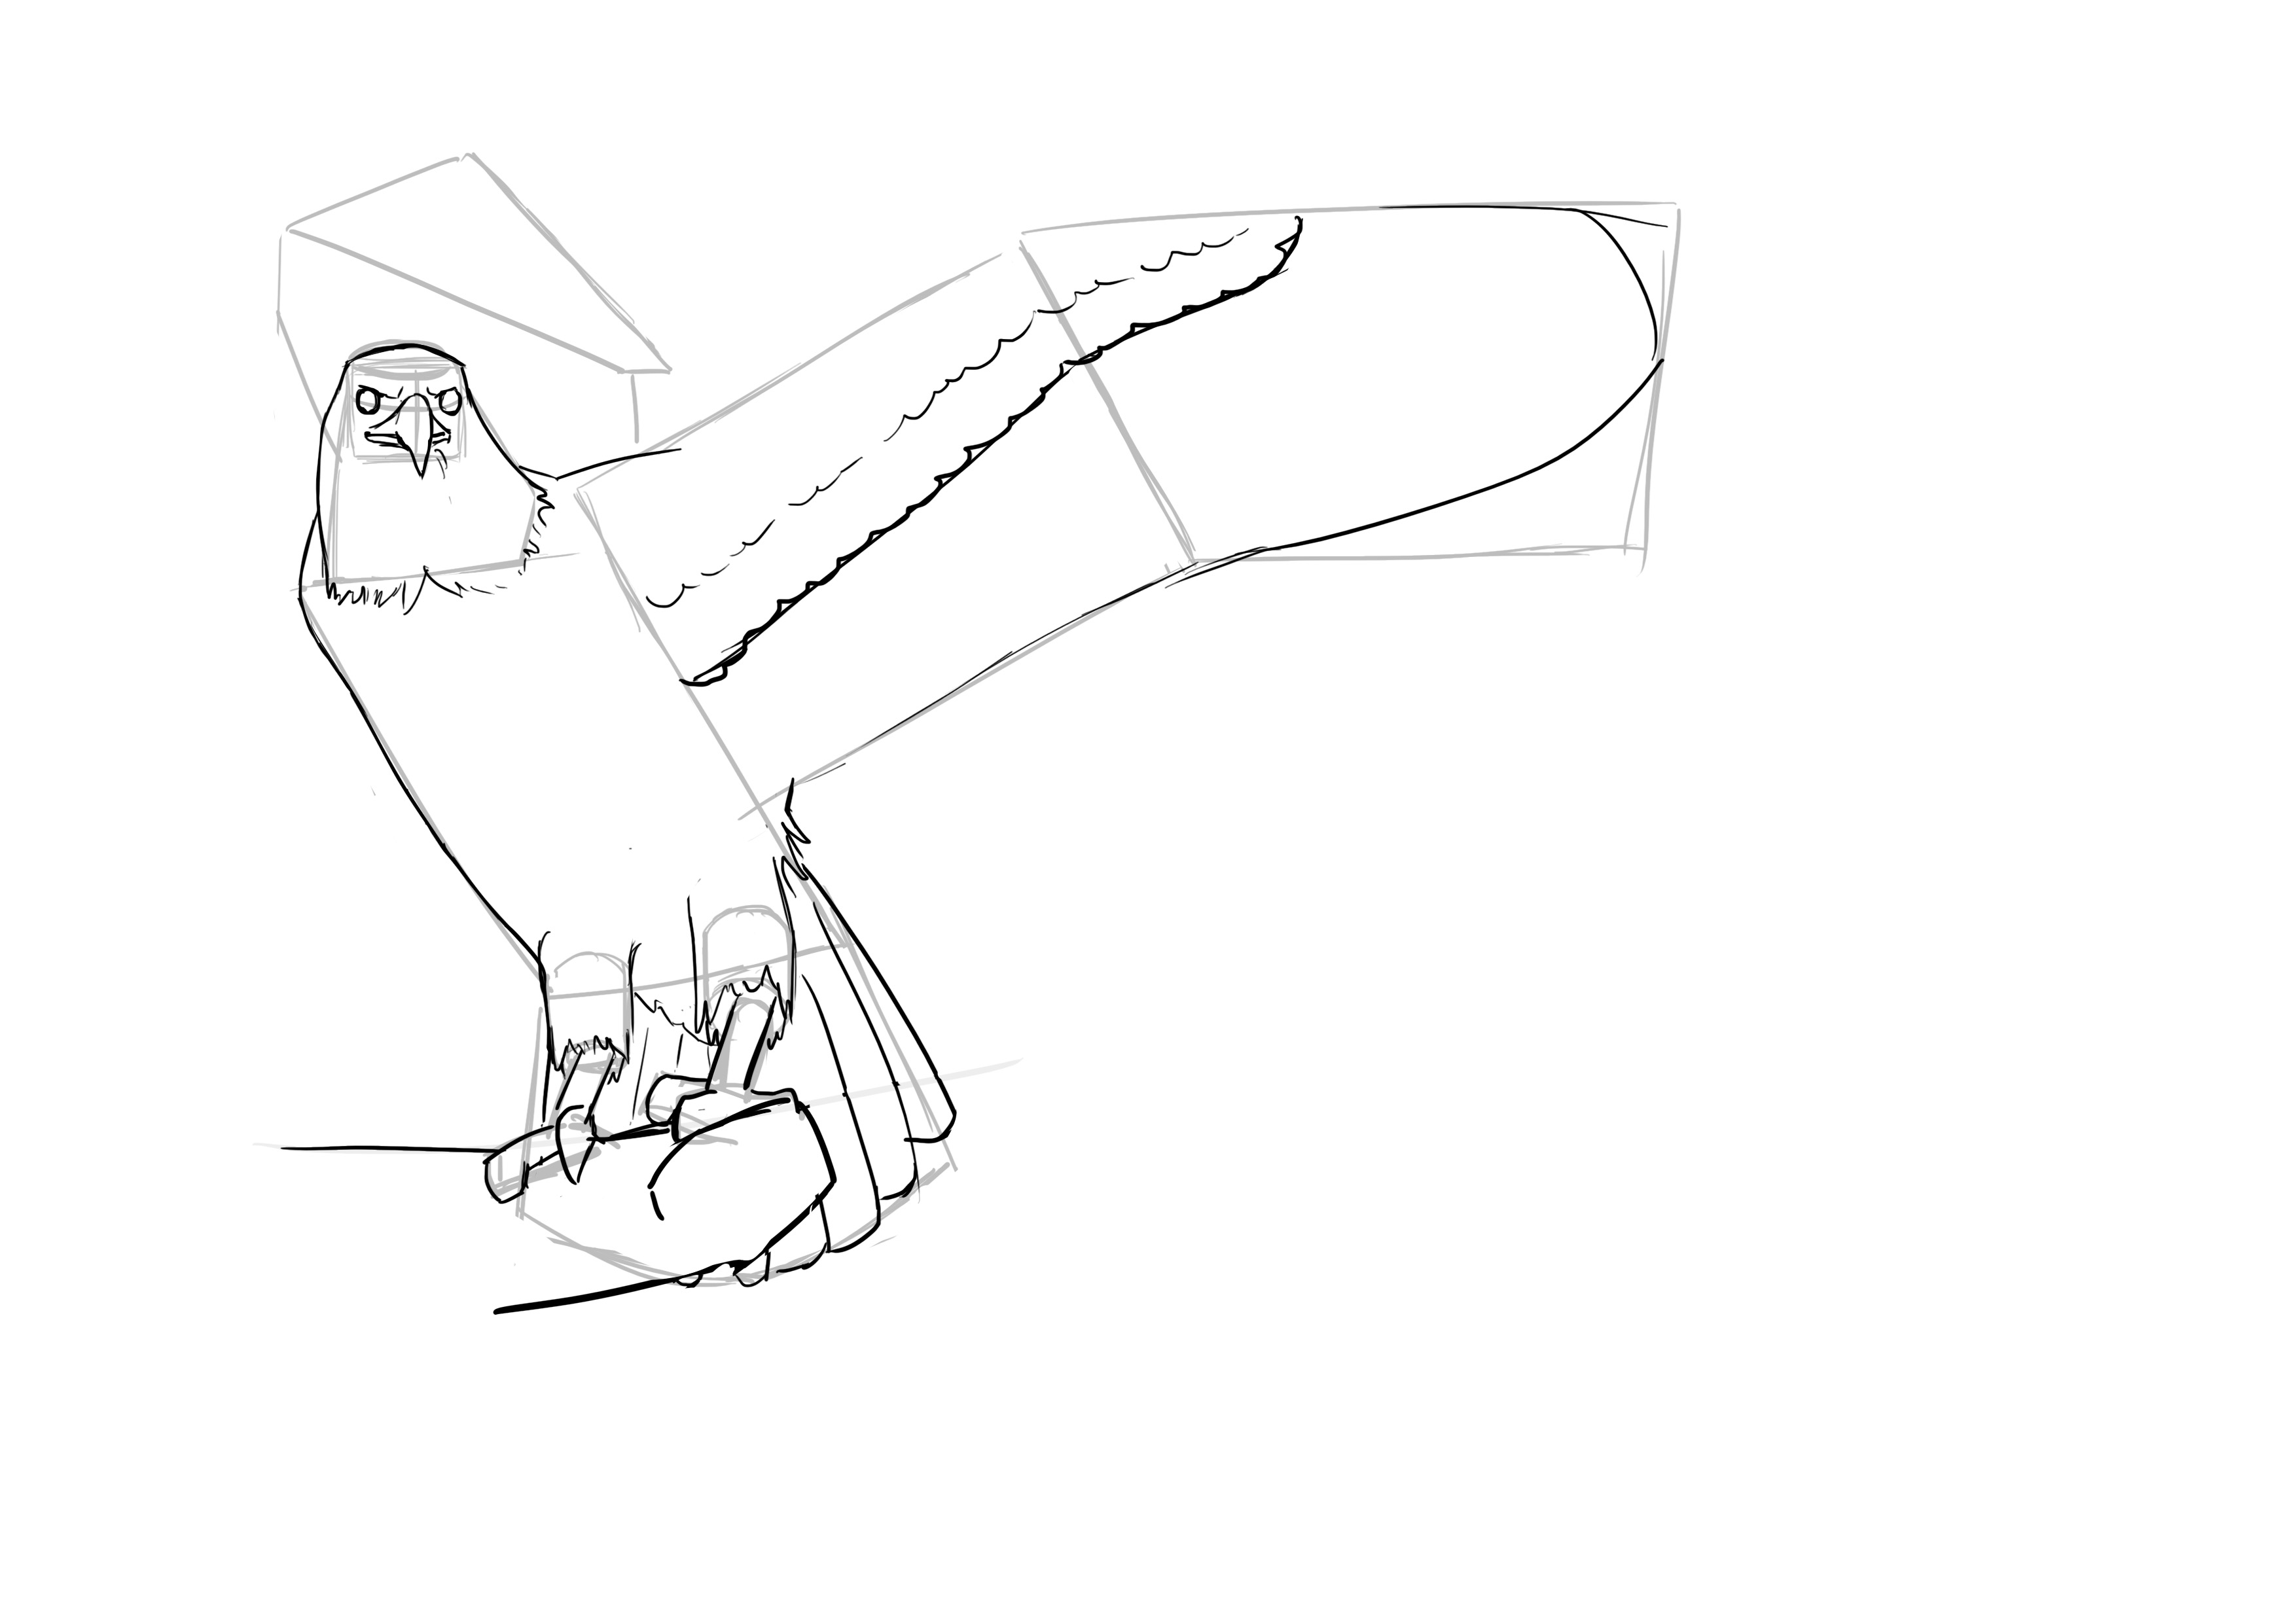
The tail is placed, which is well fanned out, as I was explaining earlier, you can see it very clearly here. It is as long as the body is wide.
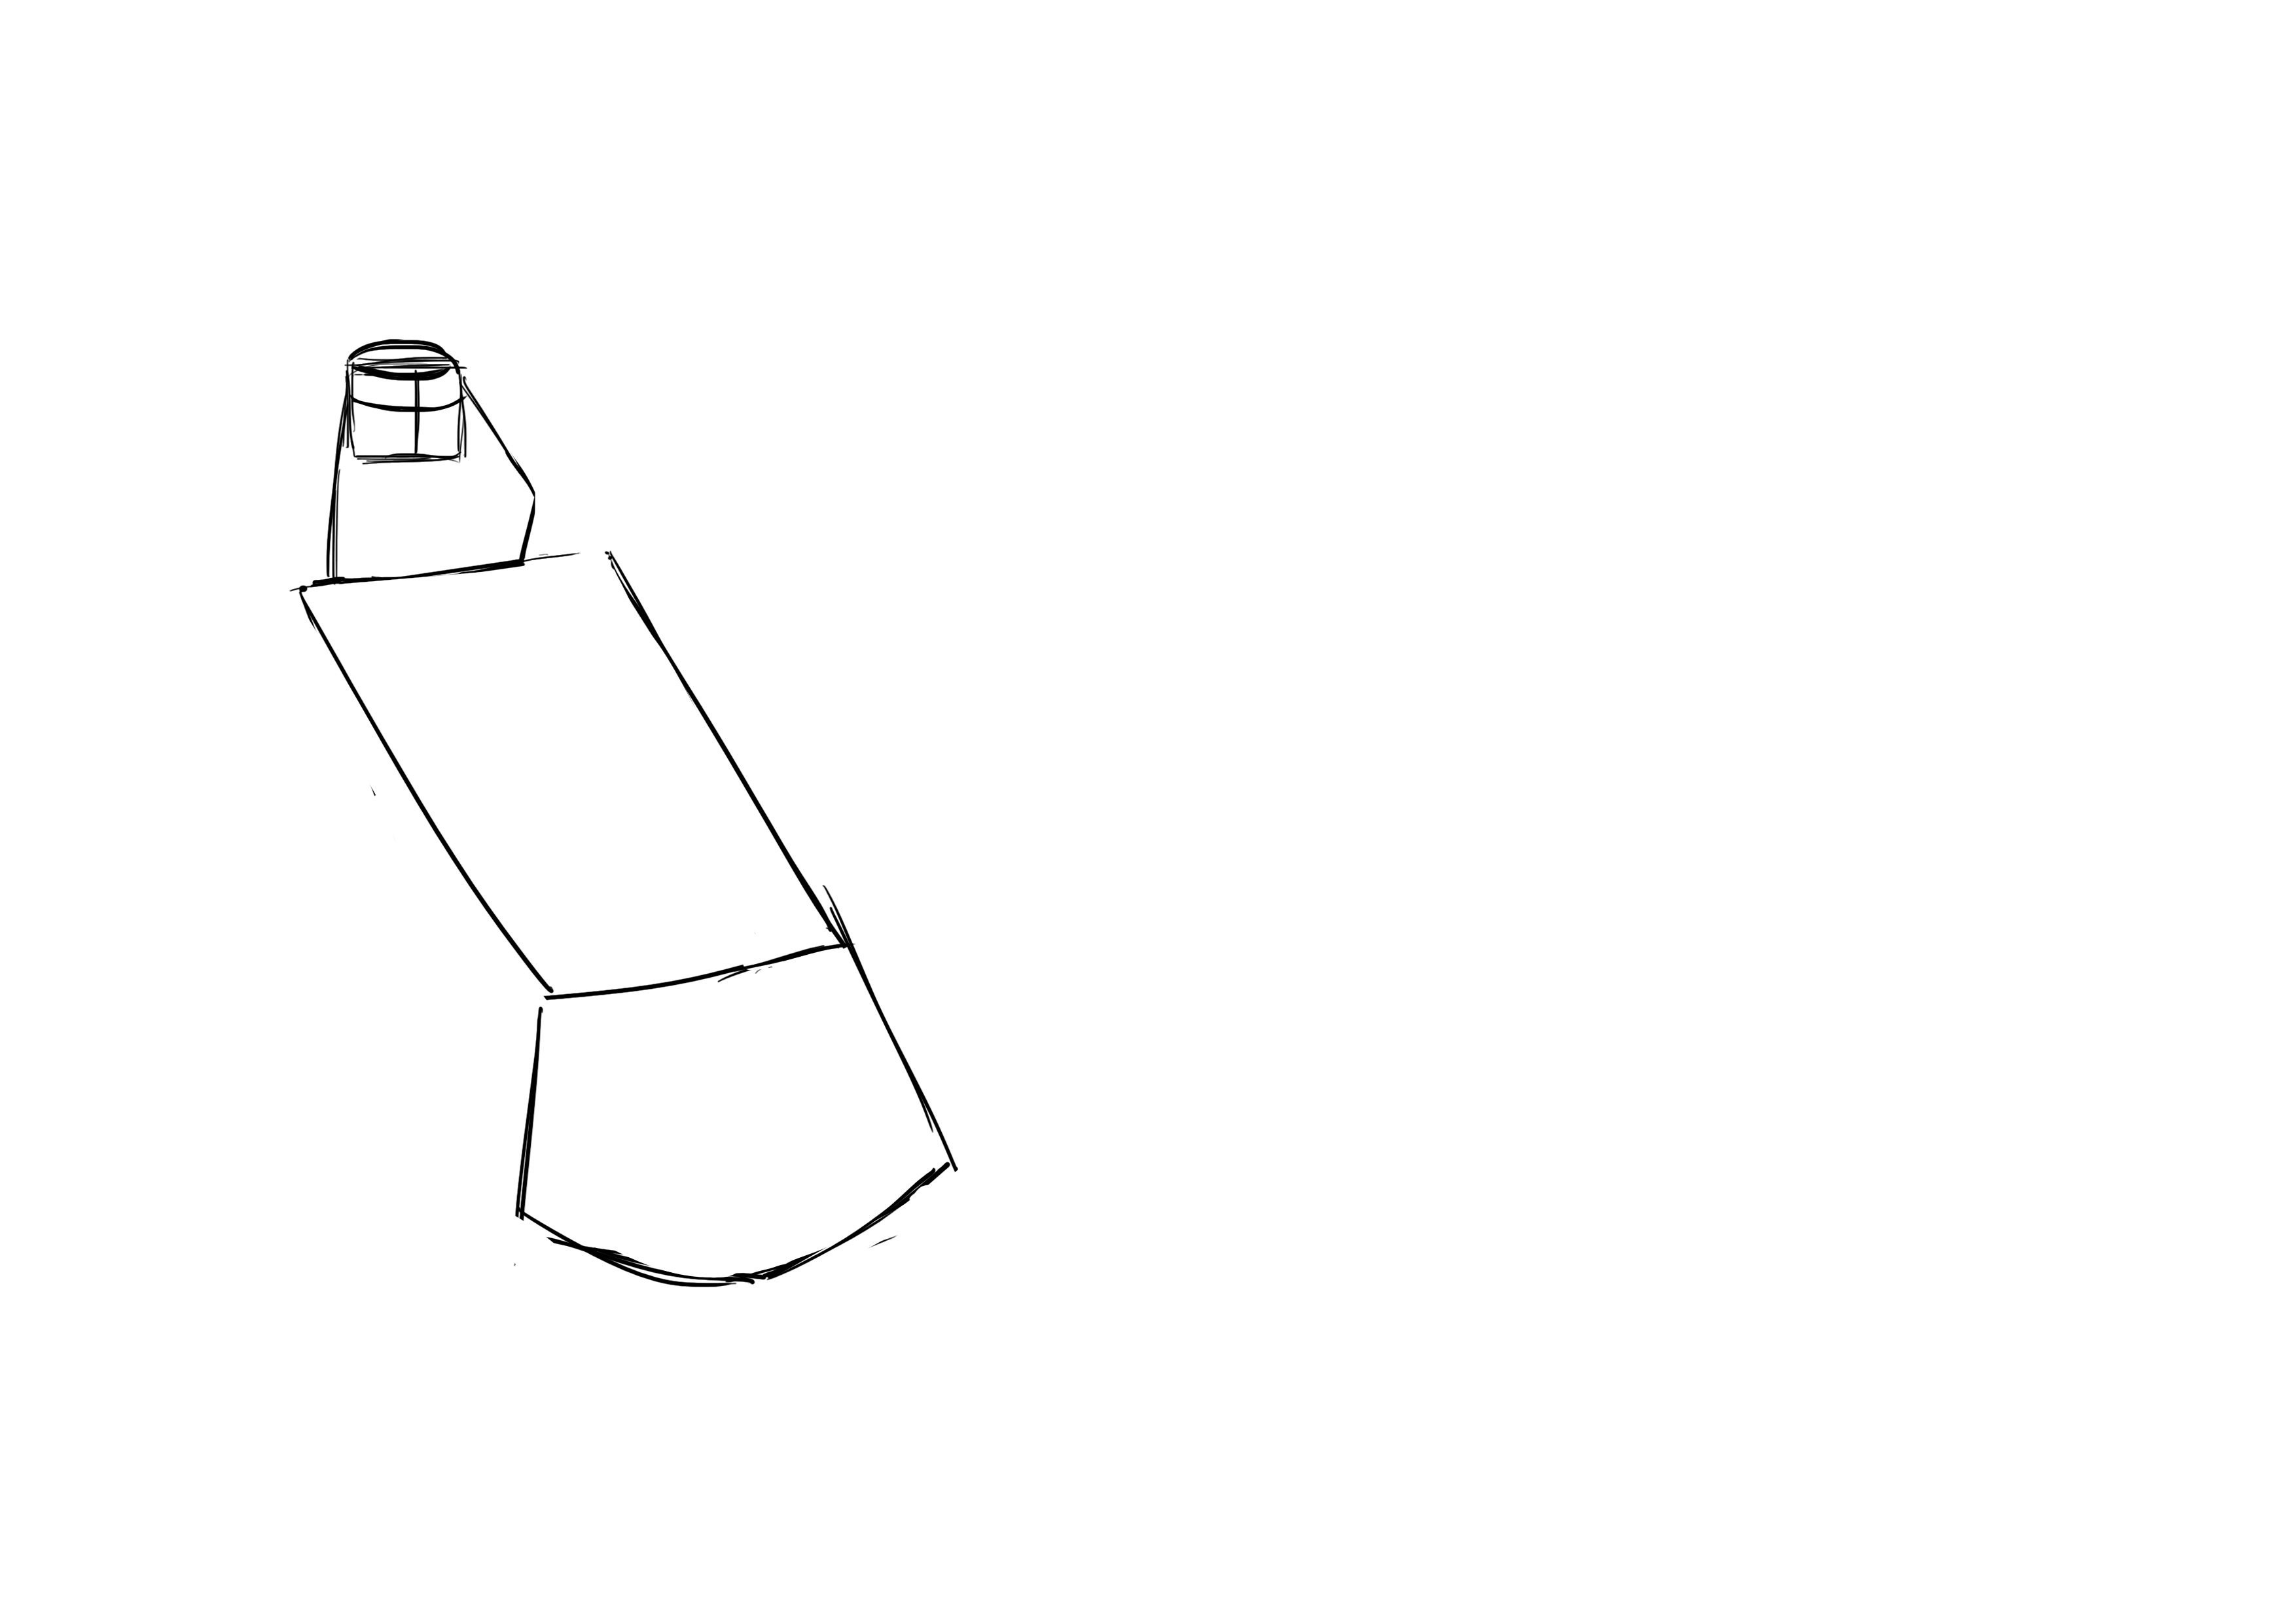
We place the legs on the ends, short and thick. Like the robin, the eagle has three toes in front and one in the back.
And now, the wings. We can start by fitting them into large rectangles. I'll draw a first rectangle for the part that goes up to the joint, and a second one for the second part.
The front wing starts at the base of the head (in terms of height placement on the body) and ends just below the mid-point of the body. This gives us its width. And it is twice as long as it is wide.

Second part, we still have the width, but this time, we need to nearly horizontally tilt the tip of the bird's wing. This part is 2 and a half times longer than the width.
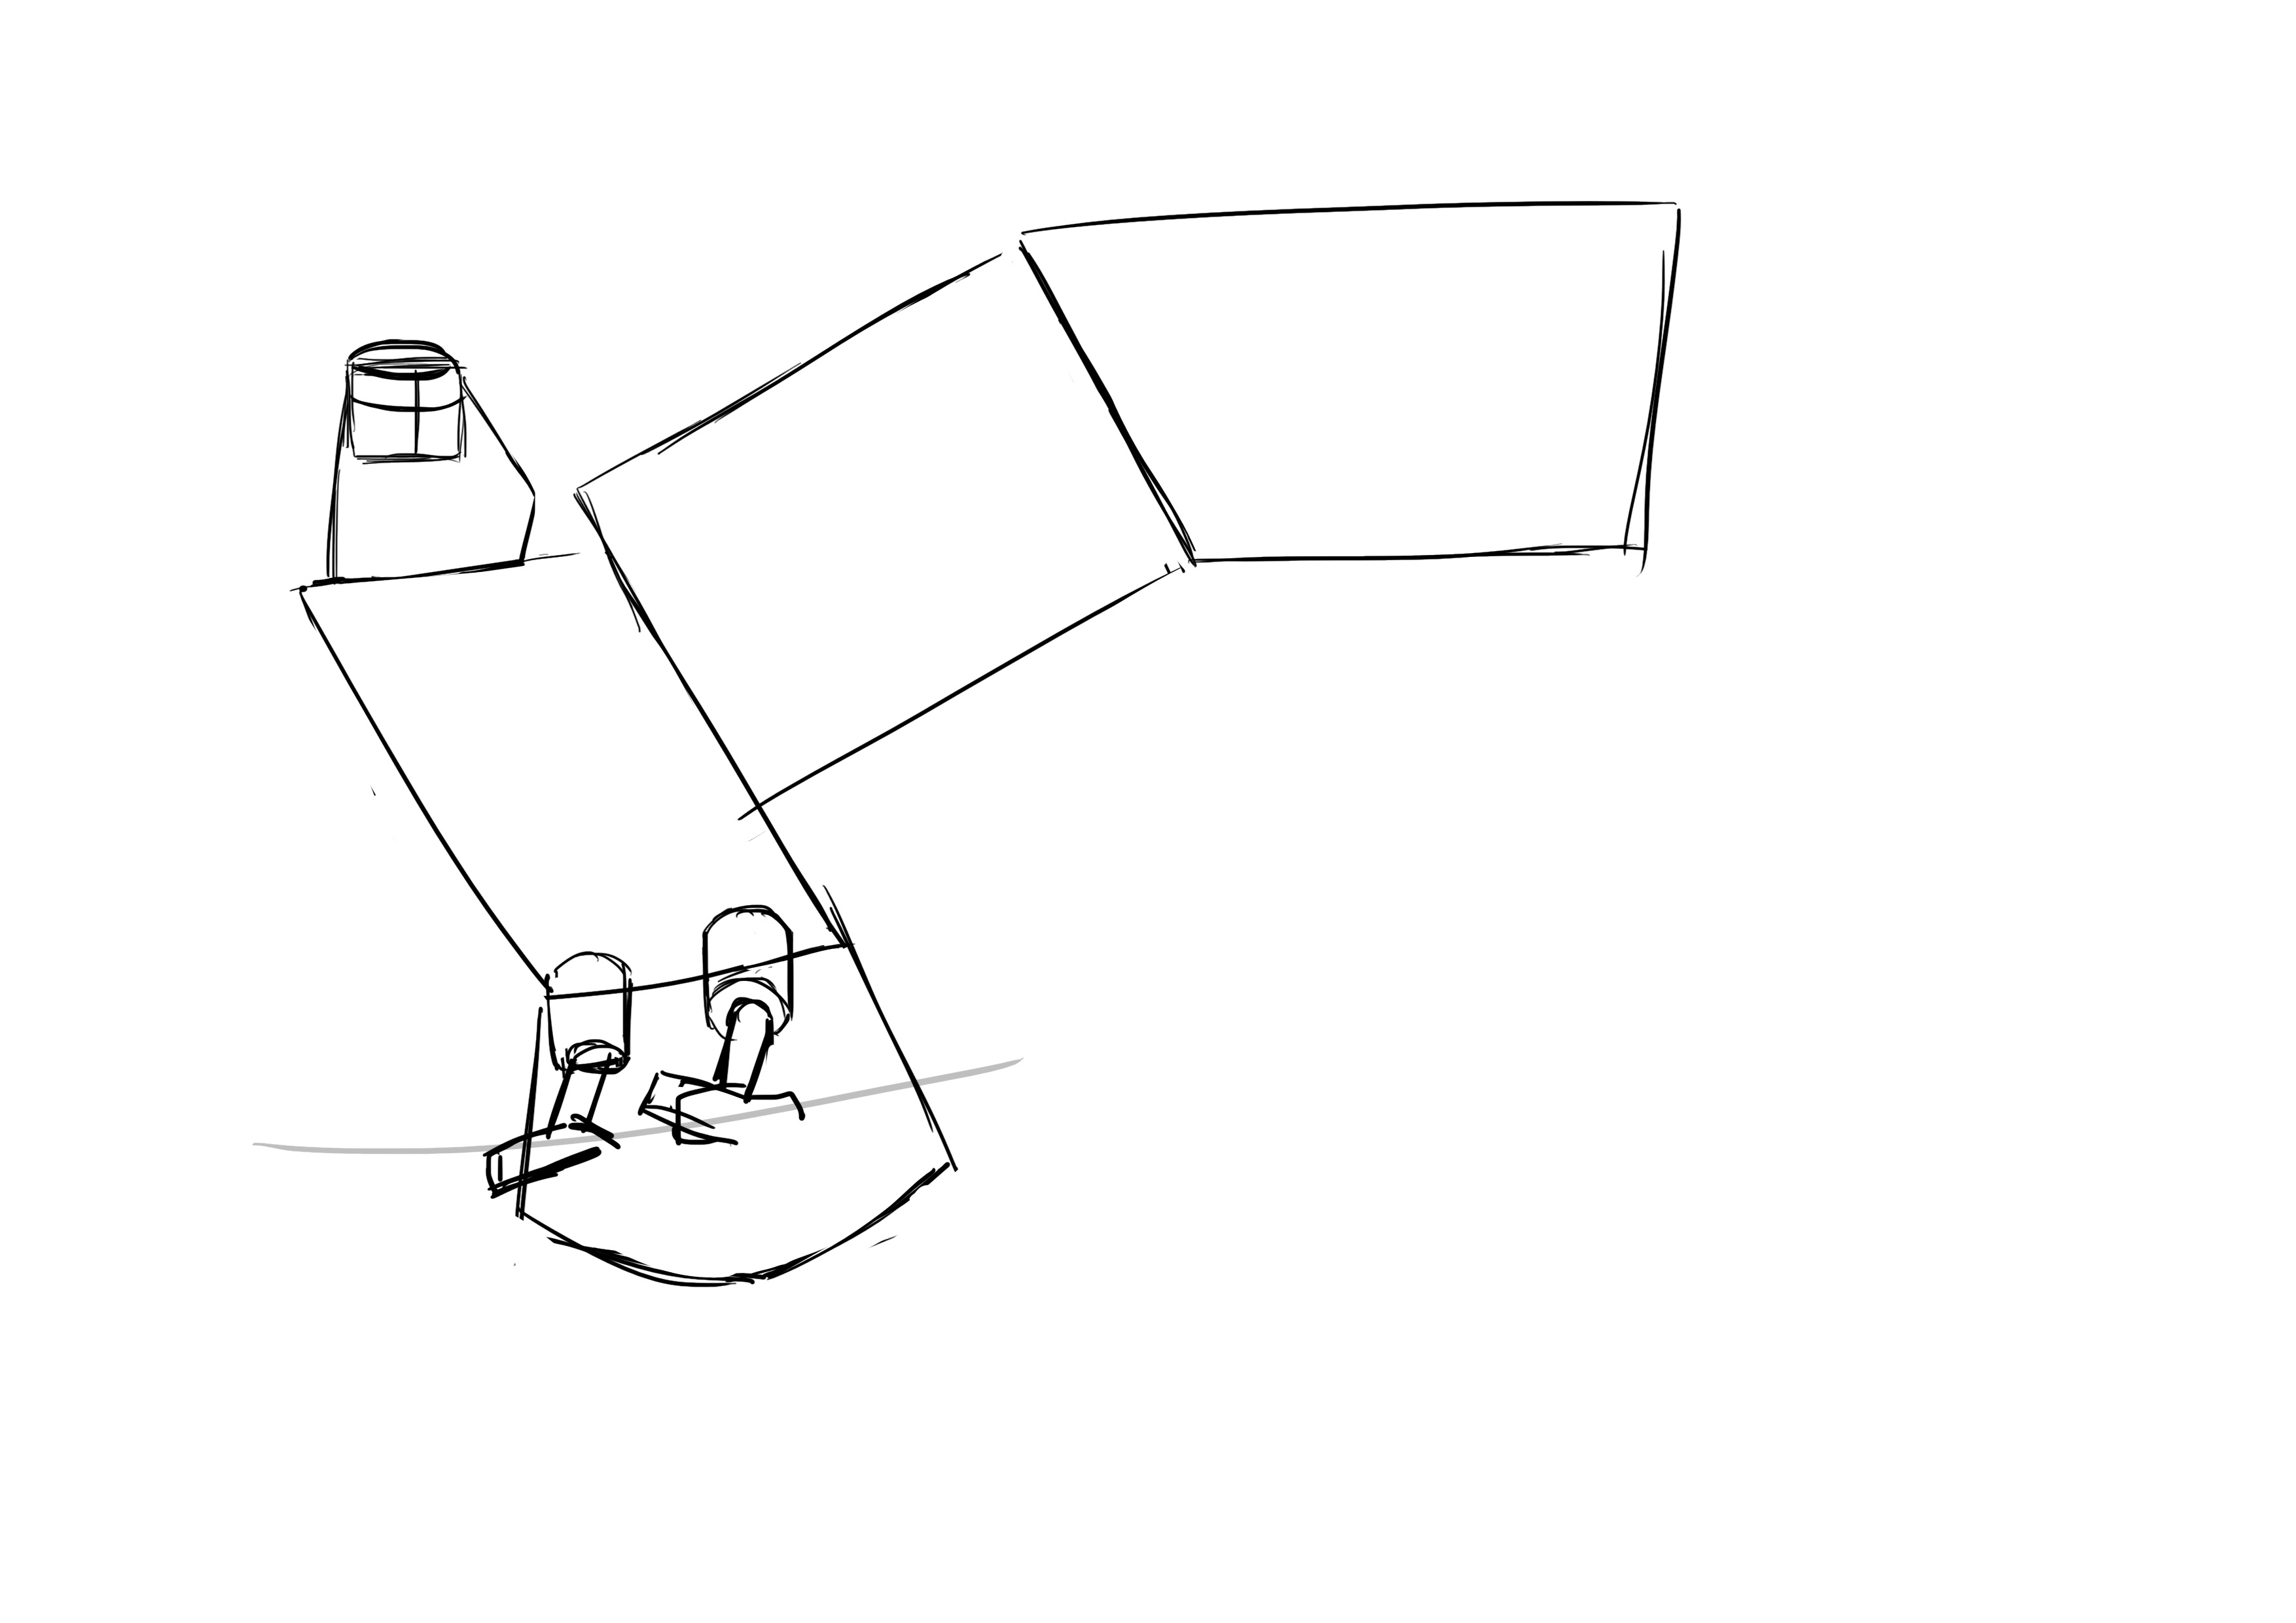
We repeat this process for the rear wing with a small variant: perspective! Yes, our dear friend uses her charms here to give us a foreshortened wing. That is to say, it completely compresses the distances, giving the impression that the wing is smaller, even though we all know very well that this is not the case.
But this does not change anything for us in this case. Our wing starts right above the front of the body and is a bit wider than the other. So, we draw a first triangle like this with the tip of the triangle placed at the height of a head above our eagle's skull.
And we draw an inverted triangle about the same size for the tip of the wing.
Before moving on to the details, why not watch the video from our Youtube channel, where I explain about a completely different bird?
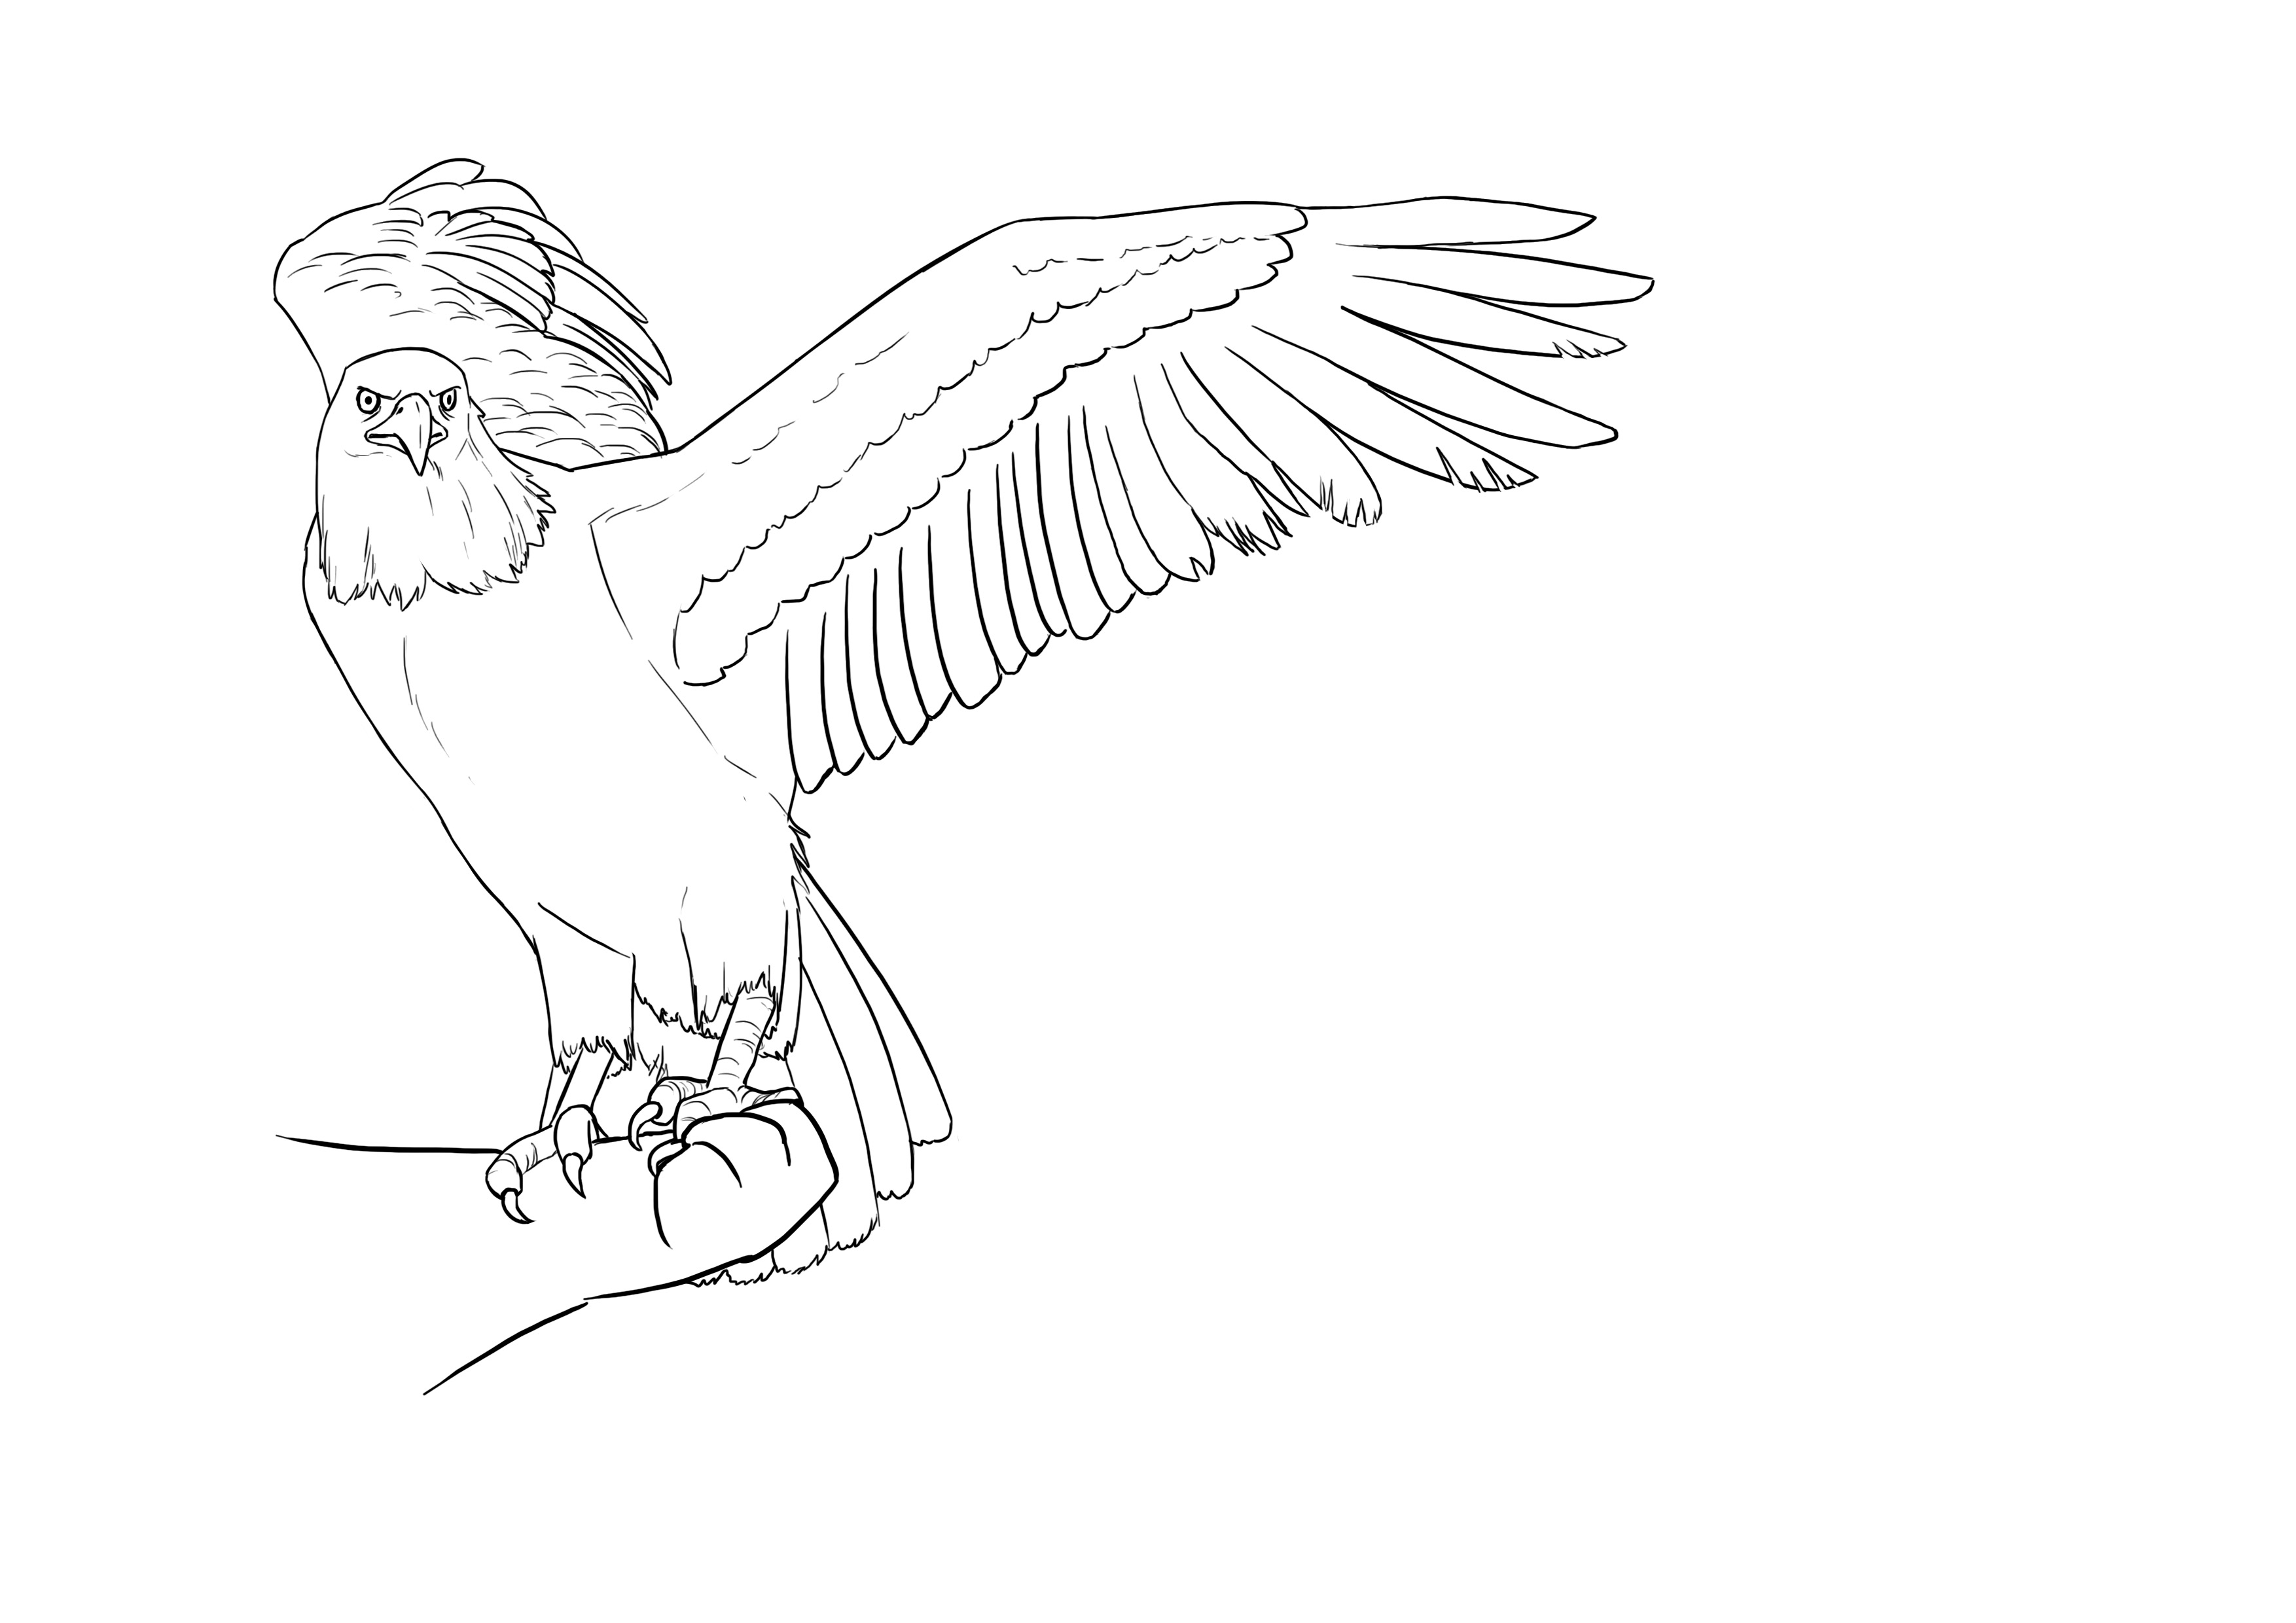
THE DETAILS OF THE EAGLE DRAWING
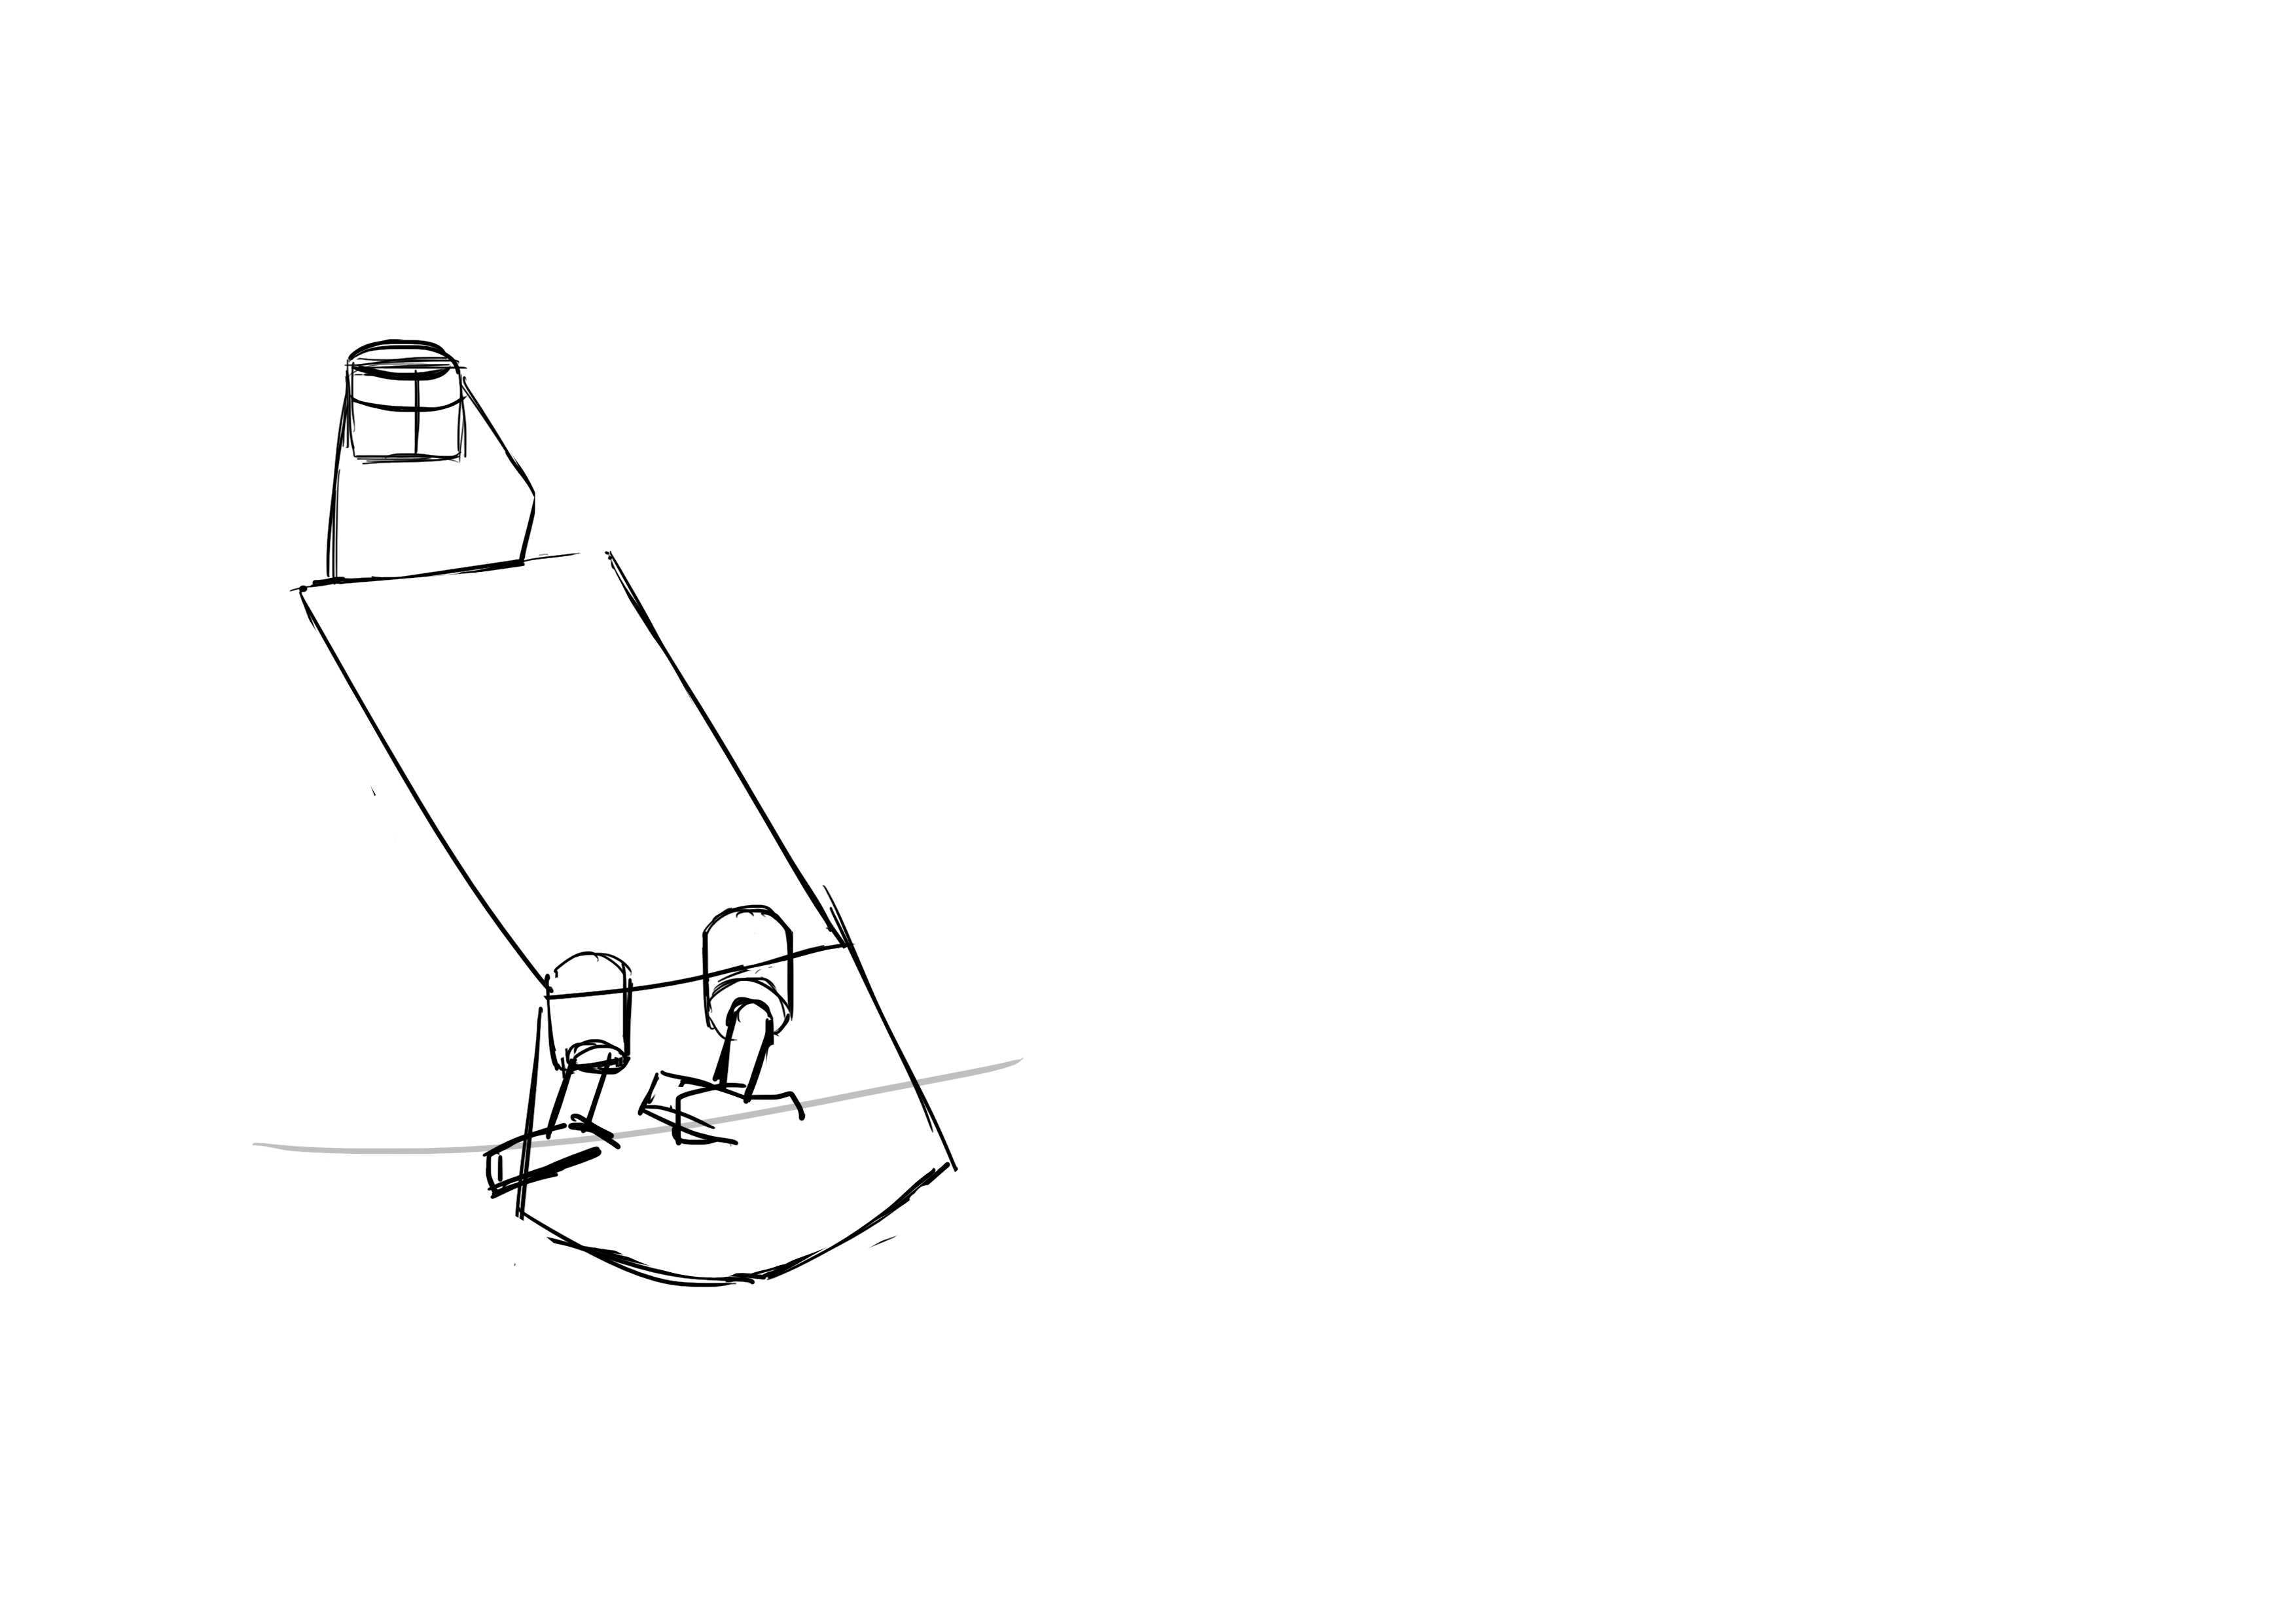
Now let's get into detail! We start as usual with the head by placing the beak. It's quite wide and long. 2/3 of the head in height and it starts at the middle of the skull, exactly like the eyes. The mouth itself is almost as wide as the head.
Once that's done, we position the eyes right above the corners of the mouth and at the level of the beak. Eagles have a kind of brow ridge that makes it look like their eyebrows are furrowed, so they seem to always be in a bad mood. It's a small but important detail ^^
Then we detail the body a bit more and add feathers to key areas (around the legs, for example).
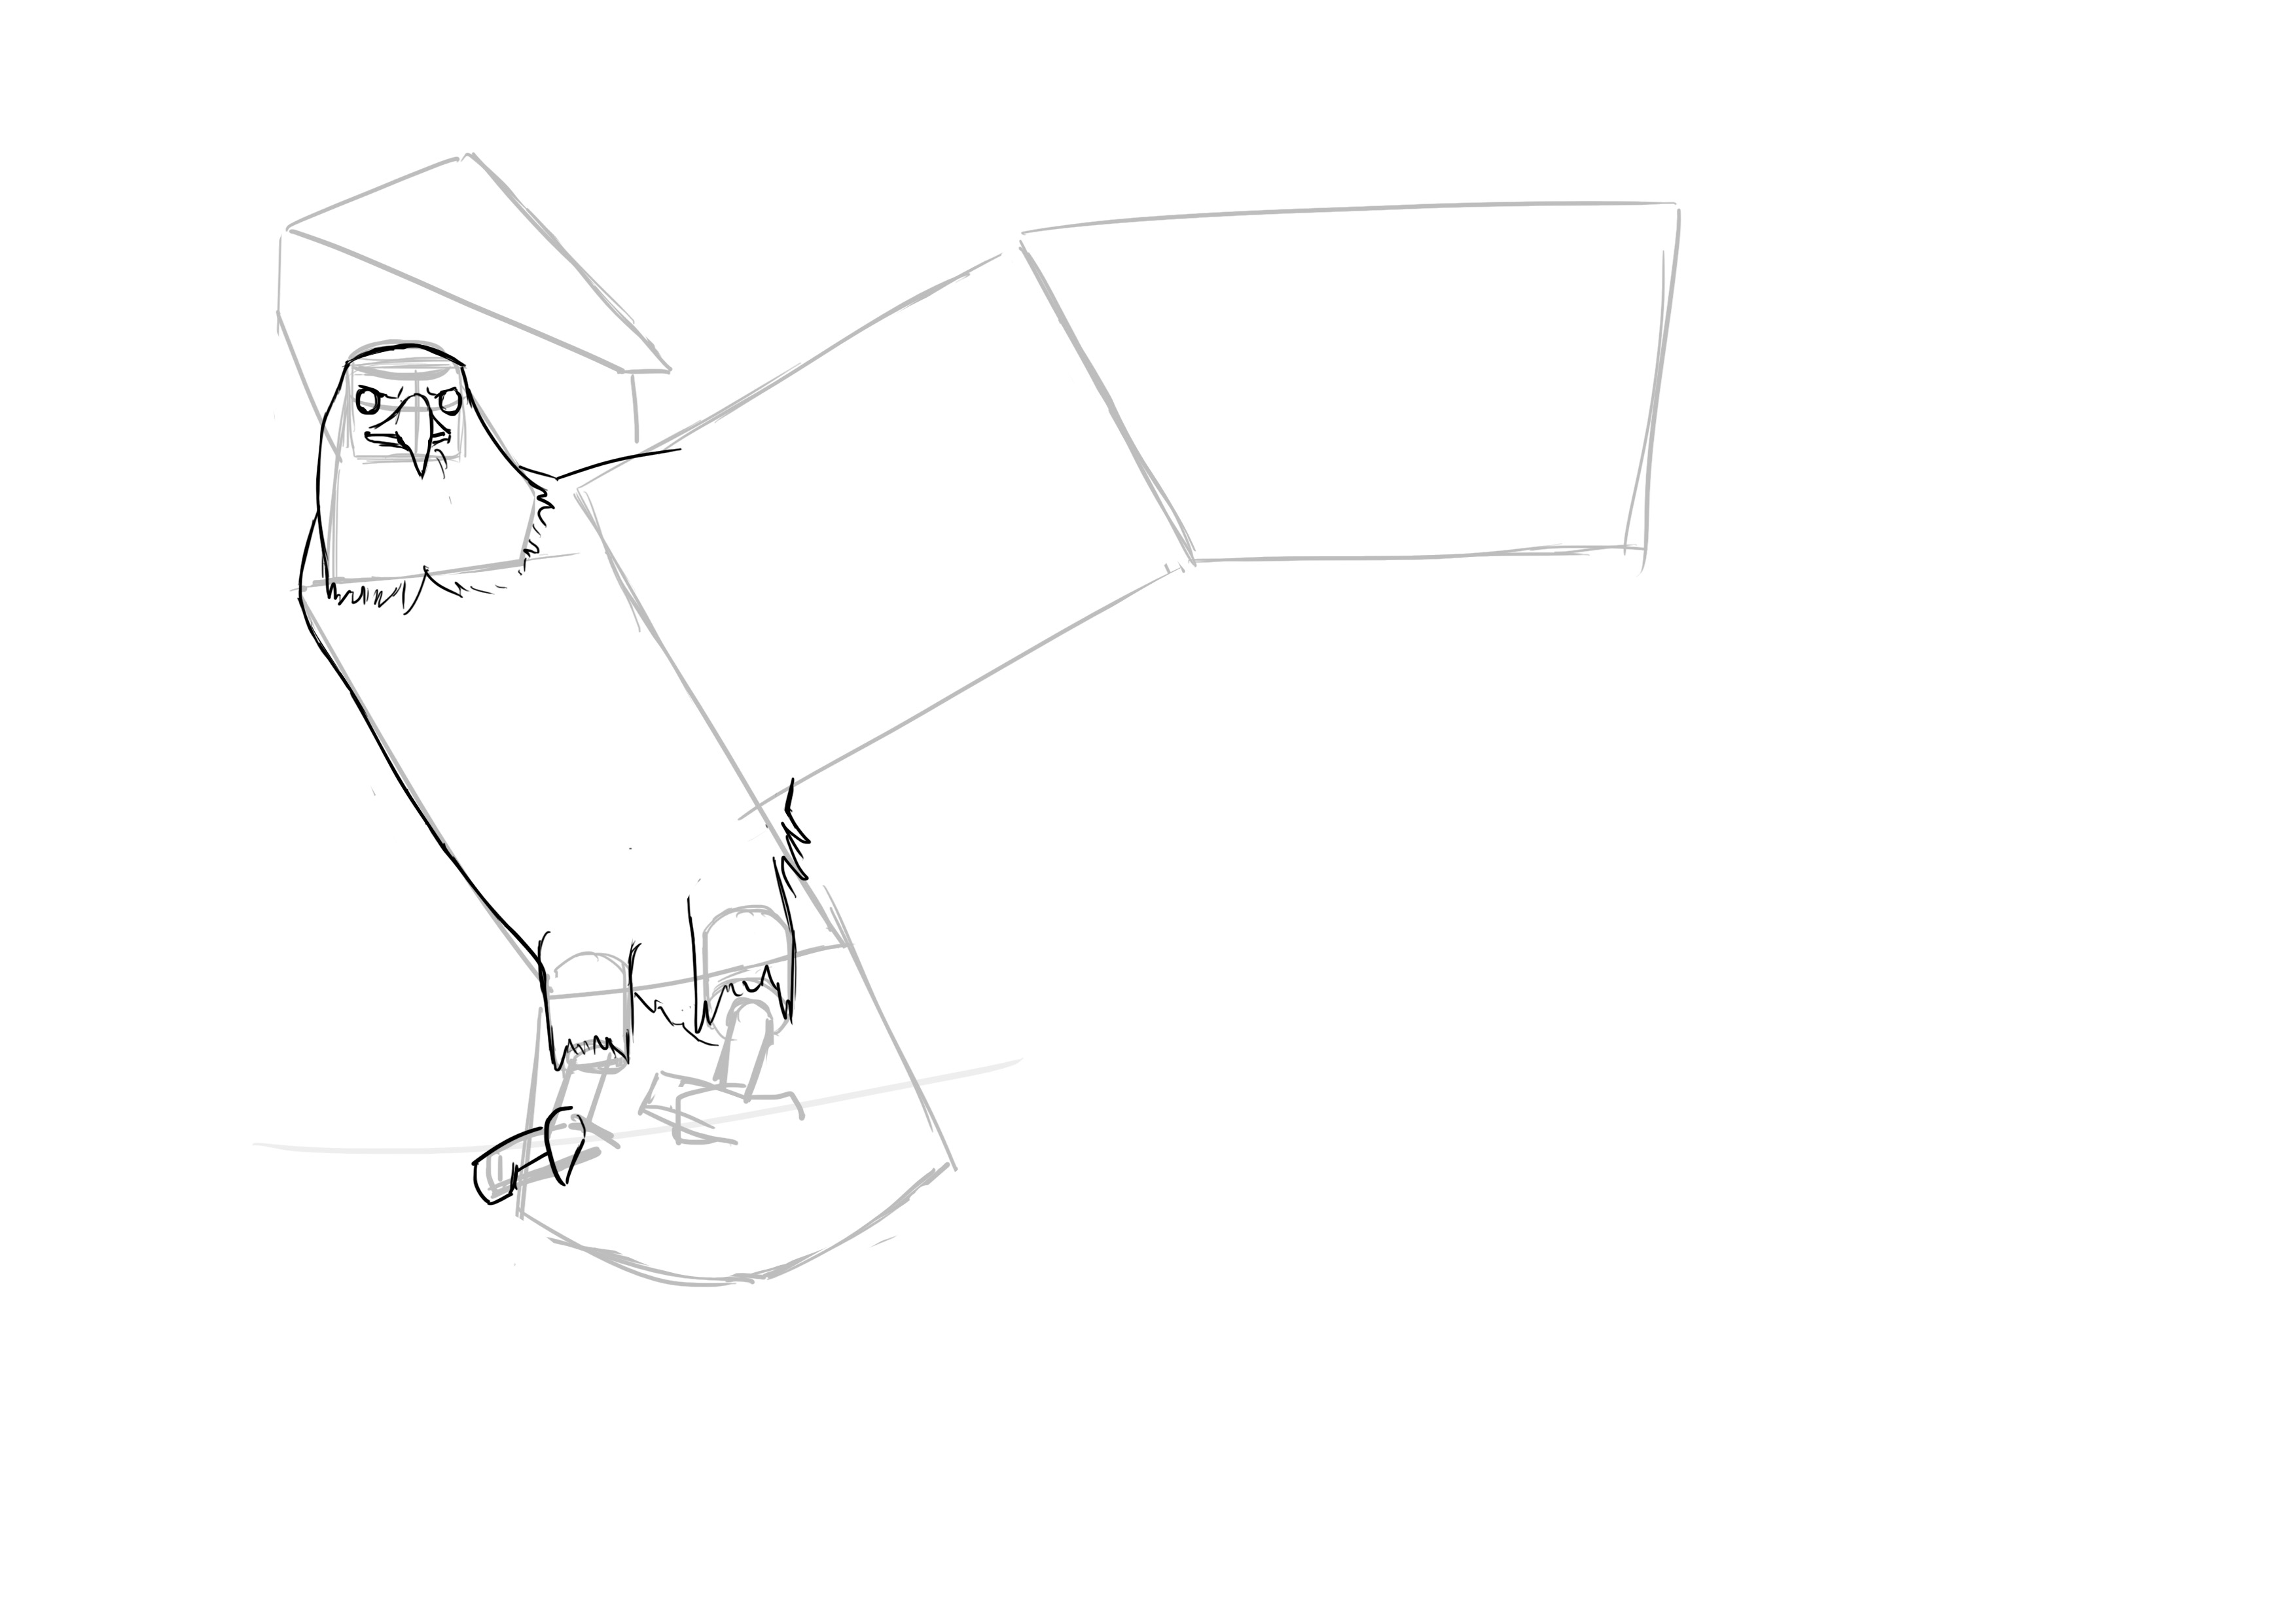
We also draw the legs correctly.
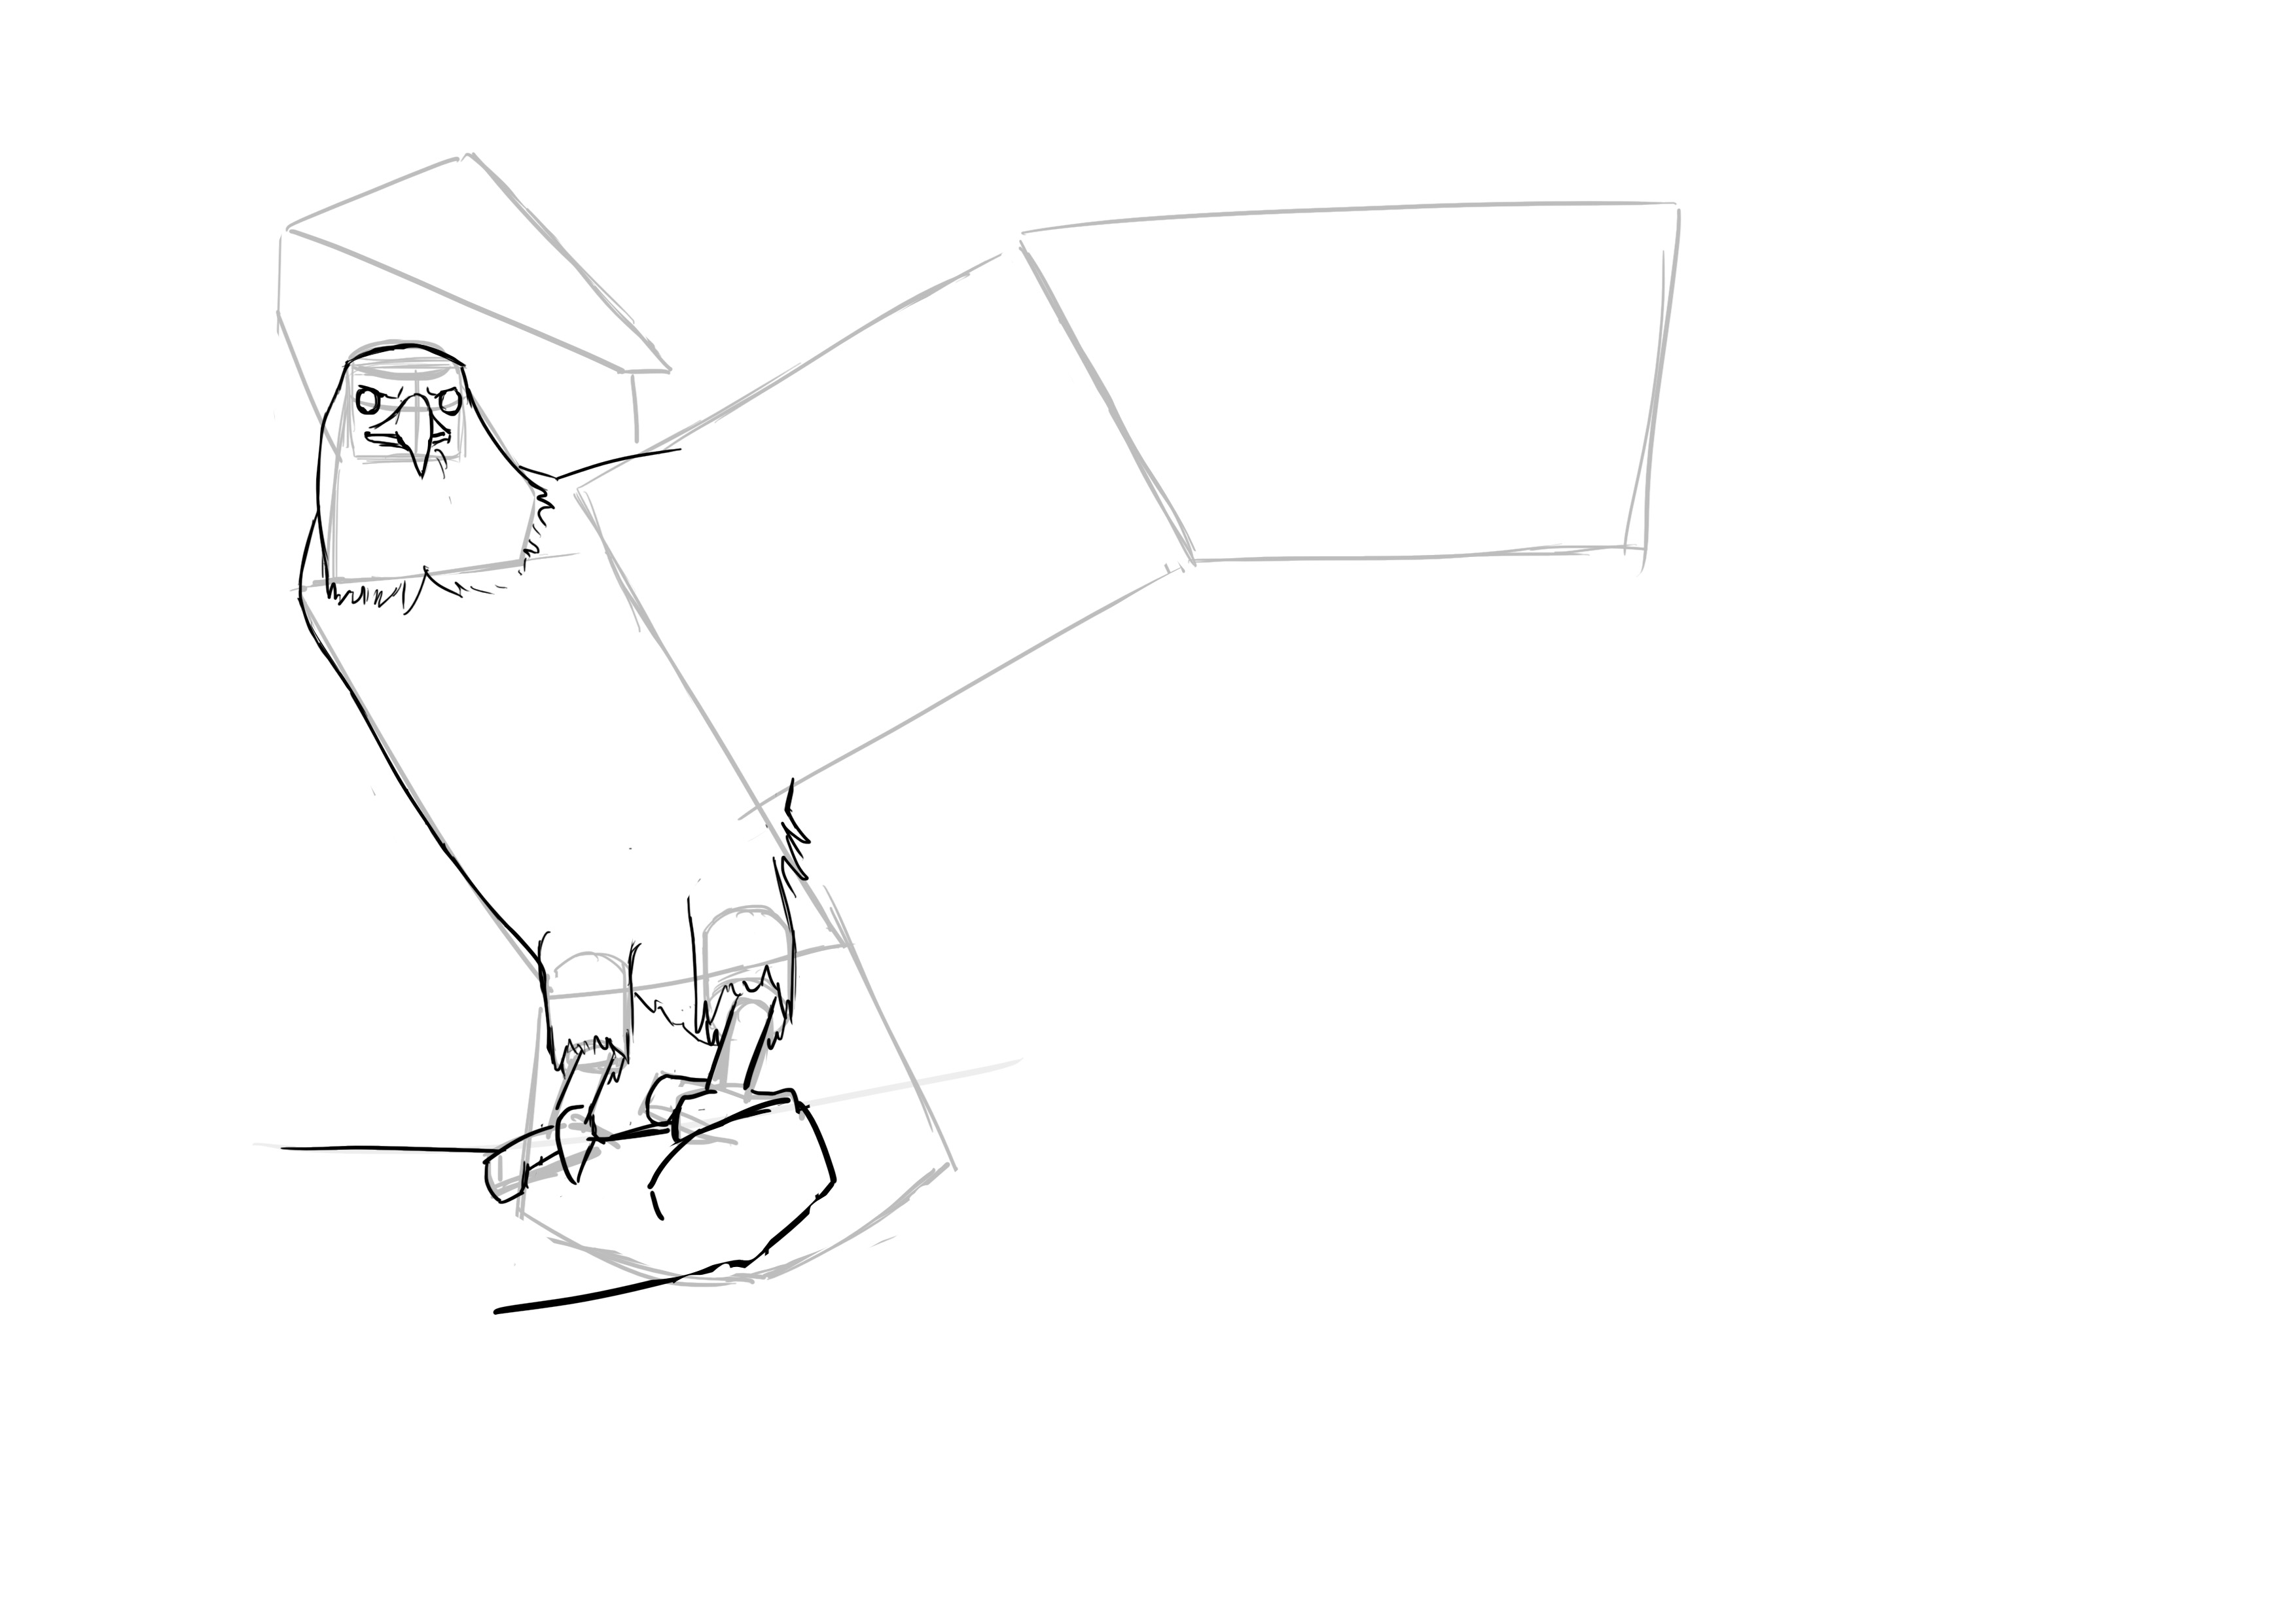
We stand in line, keeping in mind the fan principle that I explained earlier and which is very evident here.
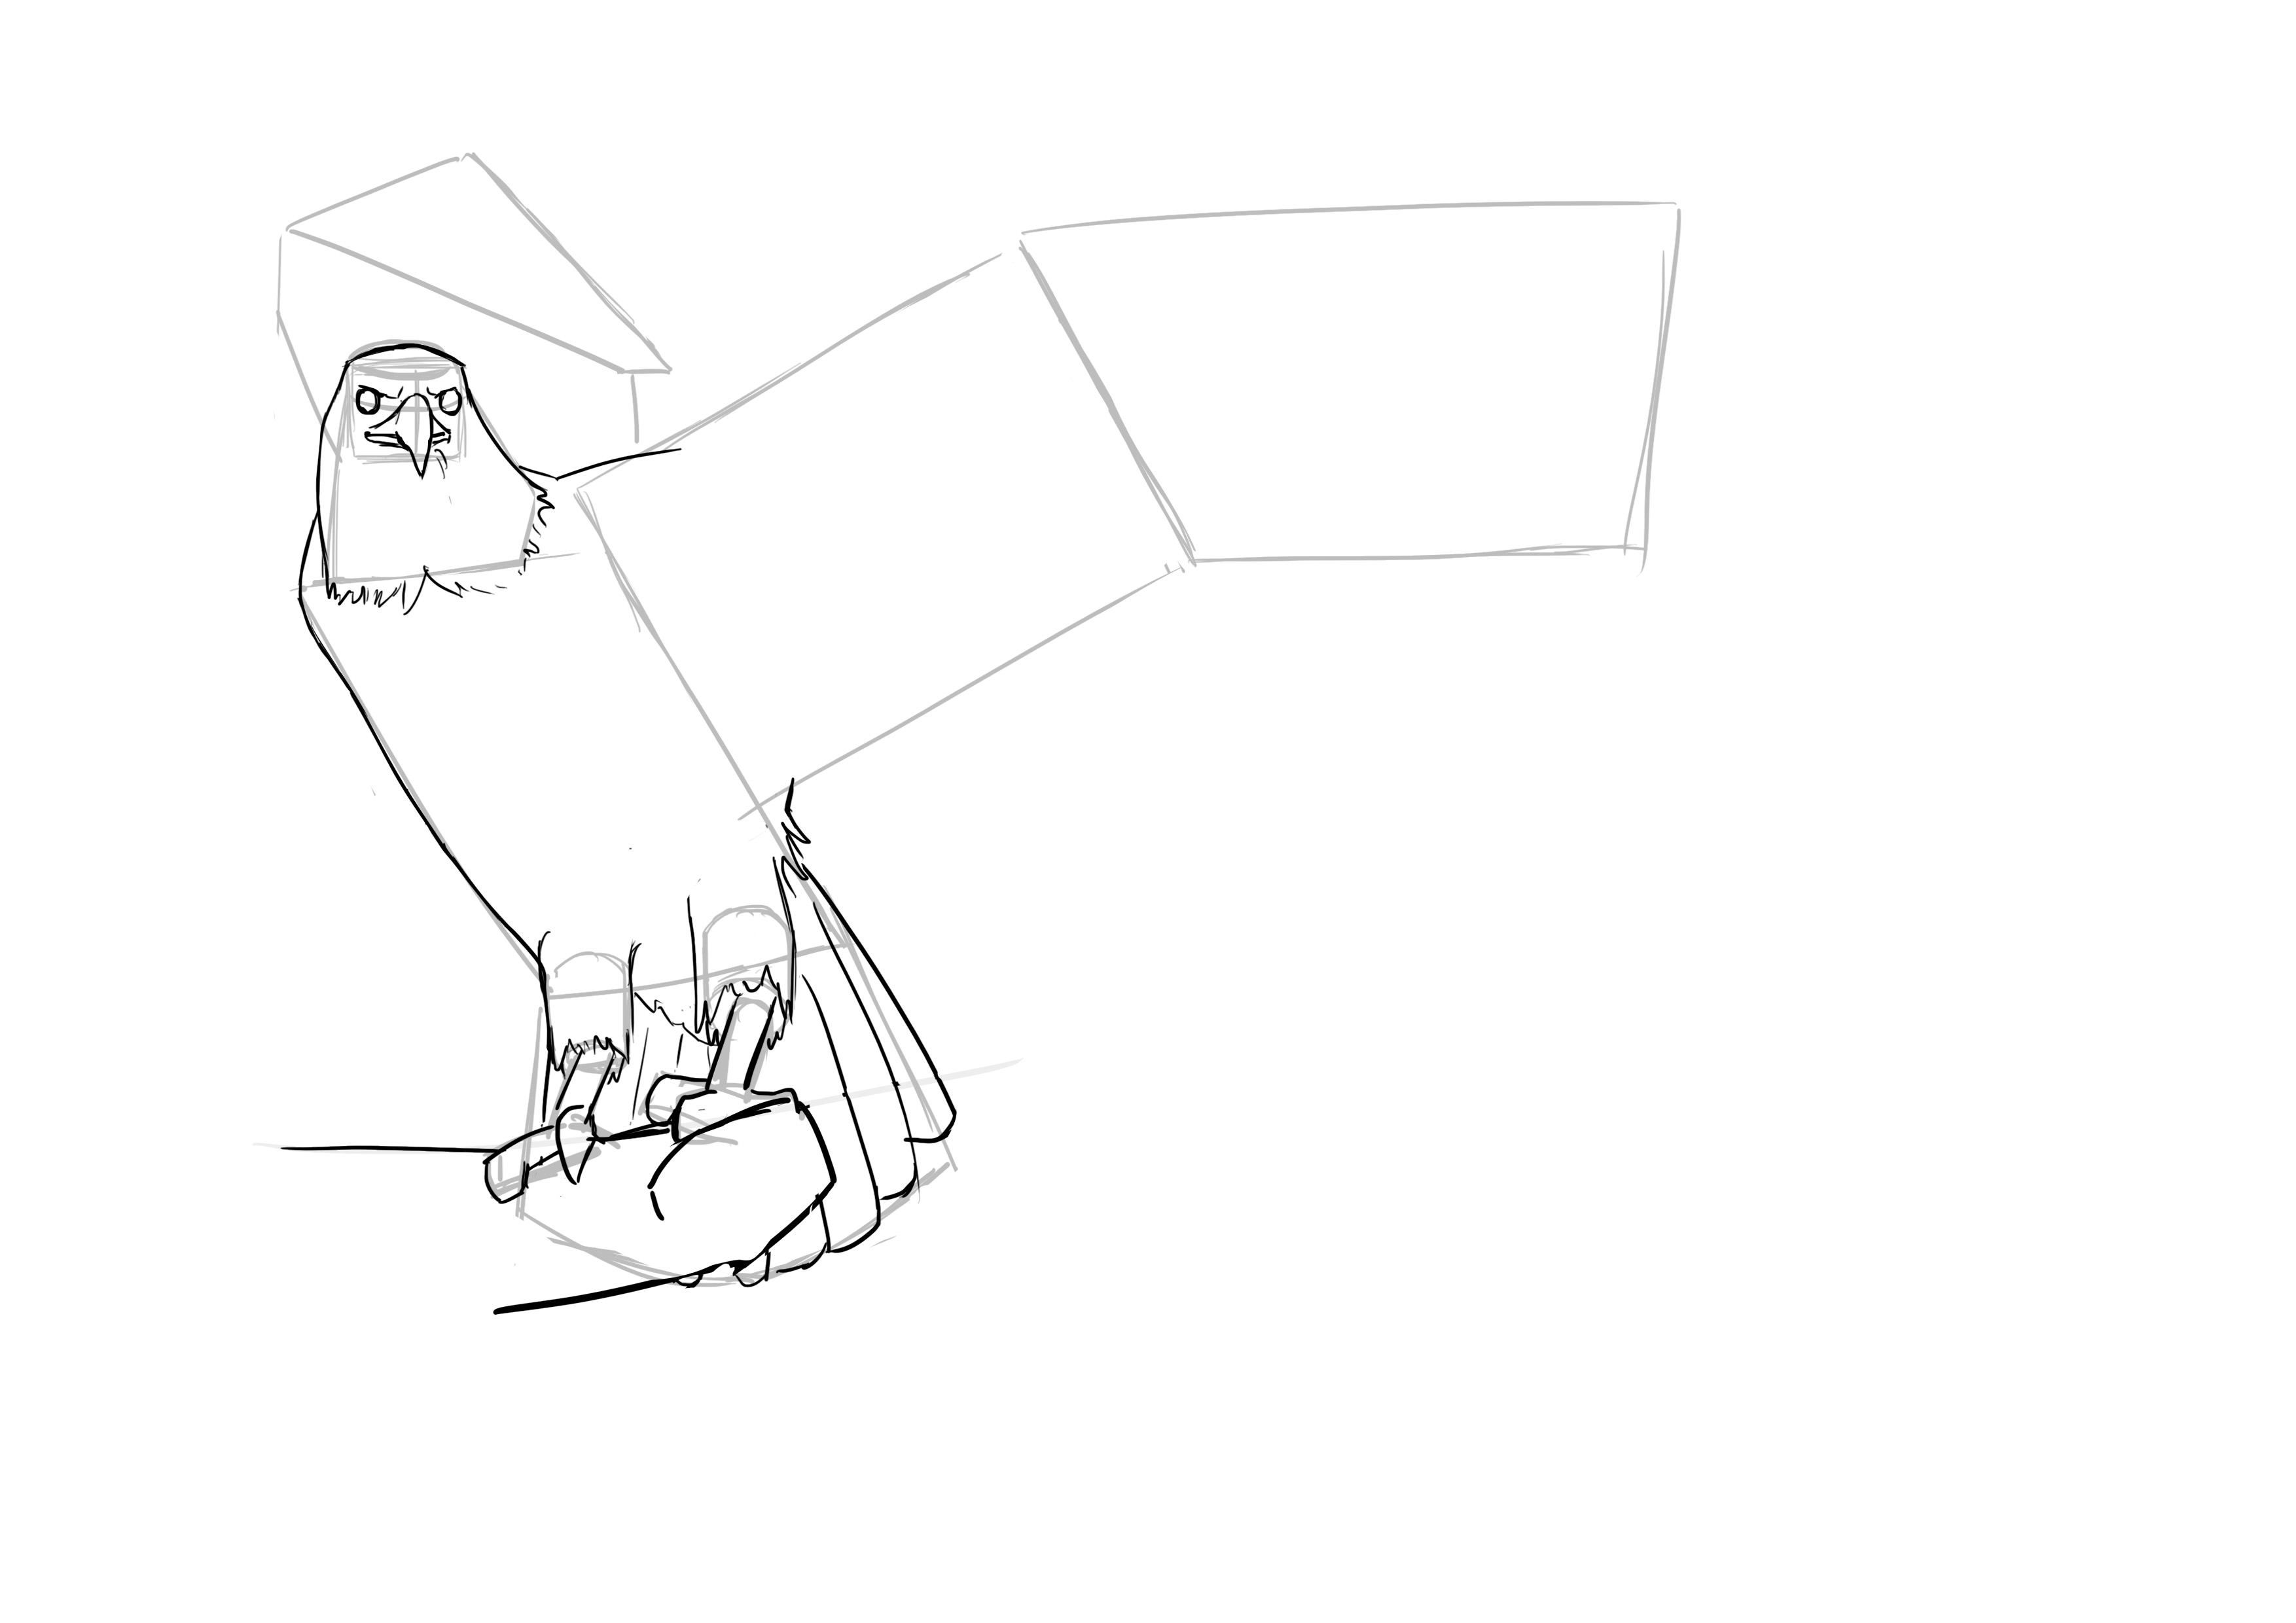
And we're attacking the wings :3 So, as we can see on the lightened version, there are three main areas, let's say, for the feathers. I am currently talking about the feathers of the fully open wing because the feathers are not arranged in the same way on the inner and outer faces of the wings.
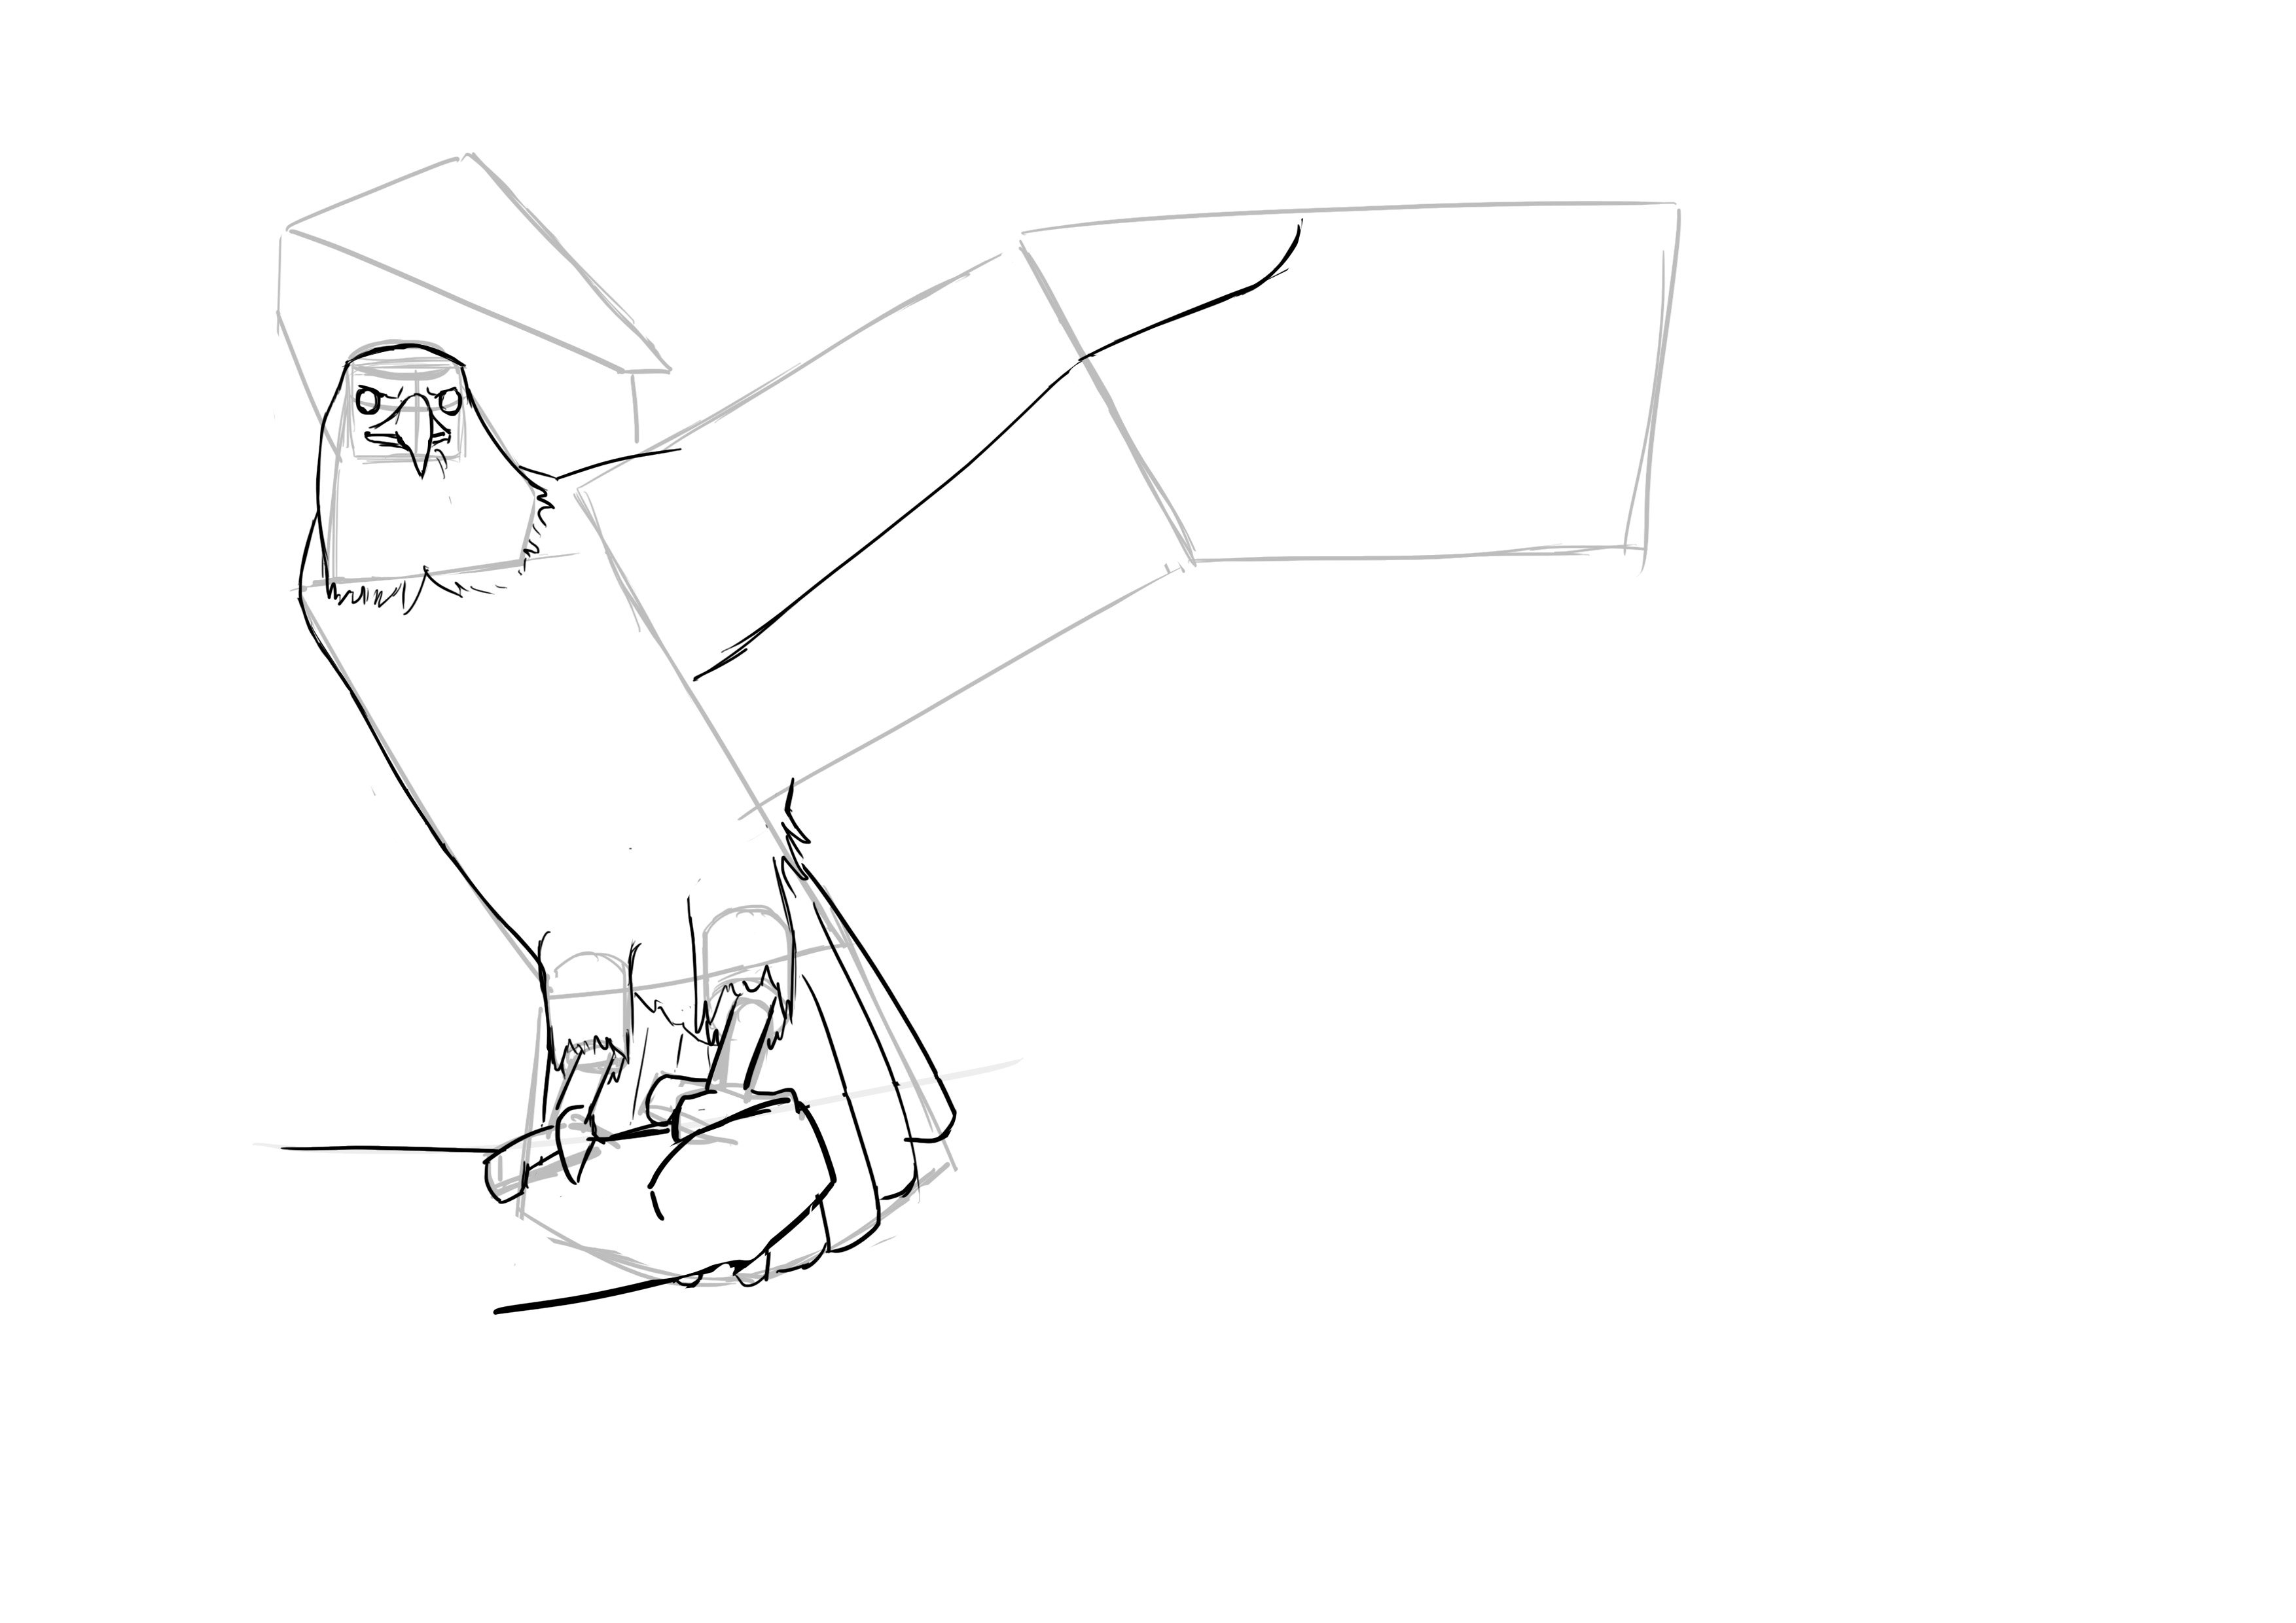
So here we have a first area with small feathers almost all along the left edge. This part occupies about a third of the width, or even half at the base of the wing. As with hair and fur, we always follow the direction of feather growth.
The second are the very long feathers. It should be noted that they are always arranged overlapping each other, always in the same direction :)
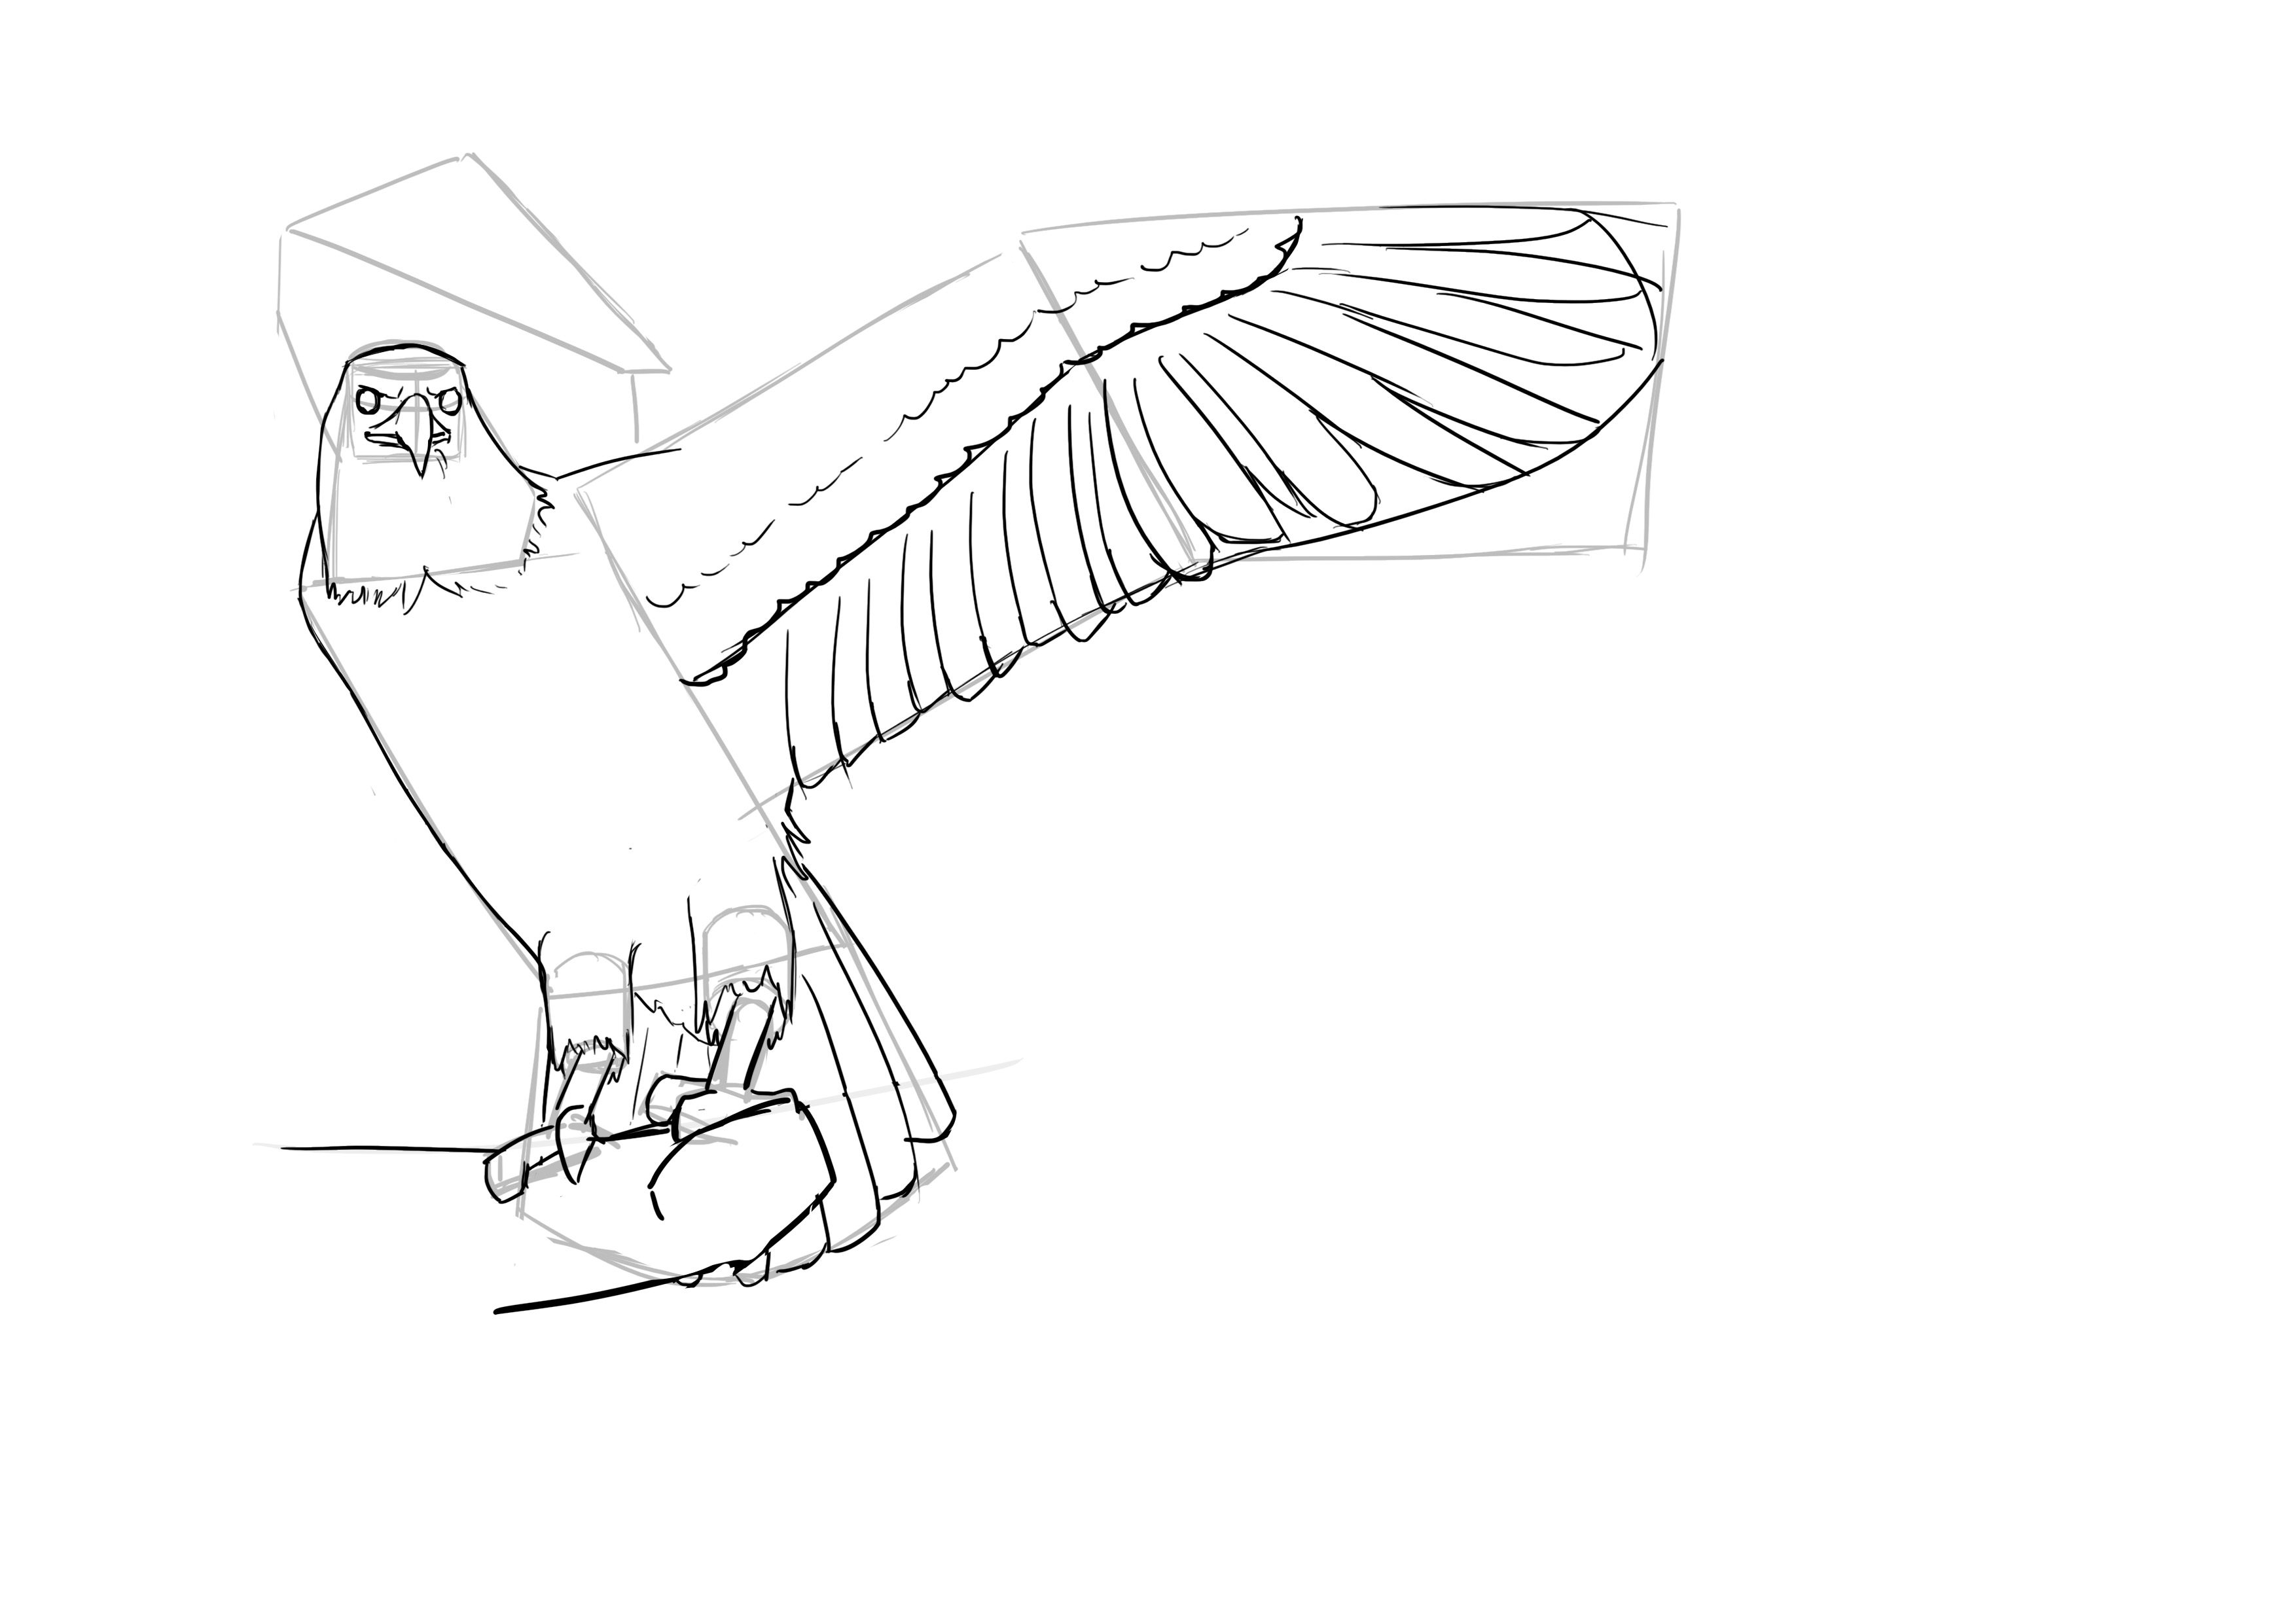
For the second wing, the first half is made up only of small feathers. And the second, one recognizes the pattern observed on the first wing. All that remains is to do it all over again.
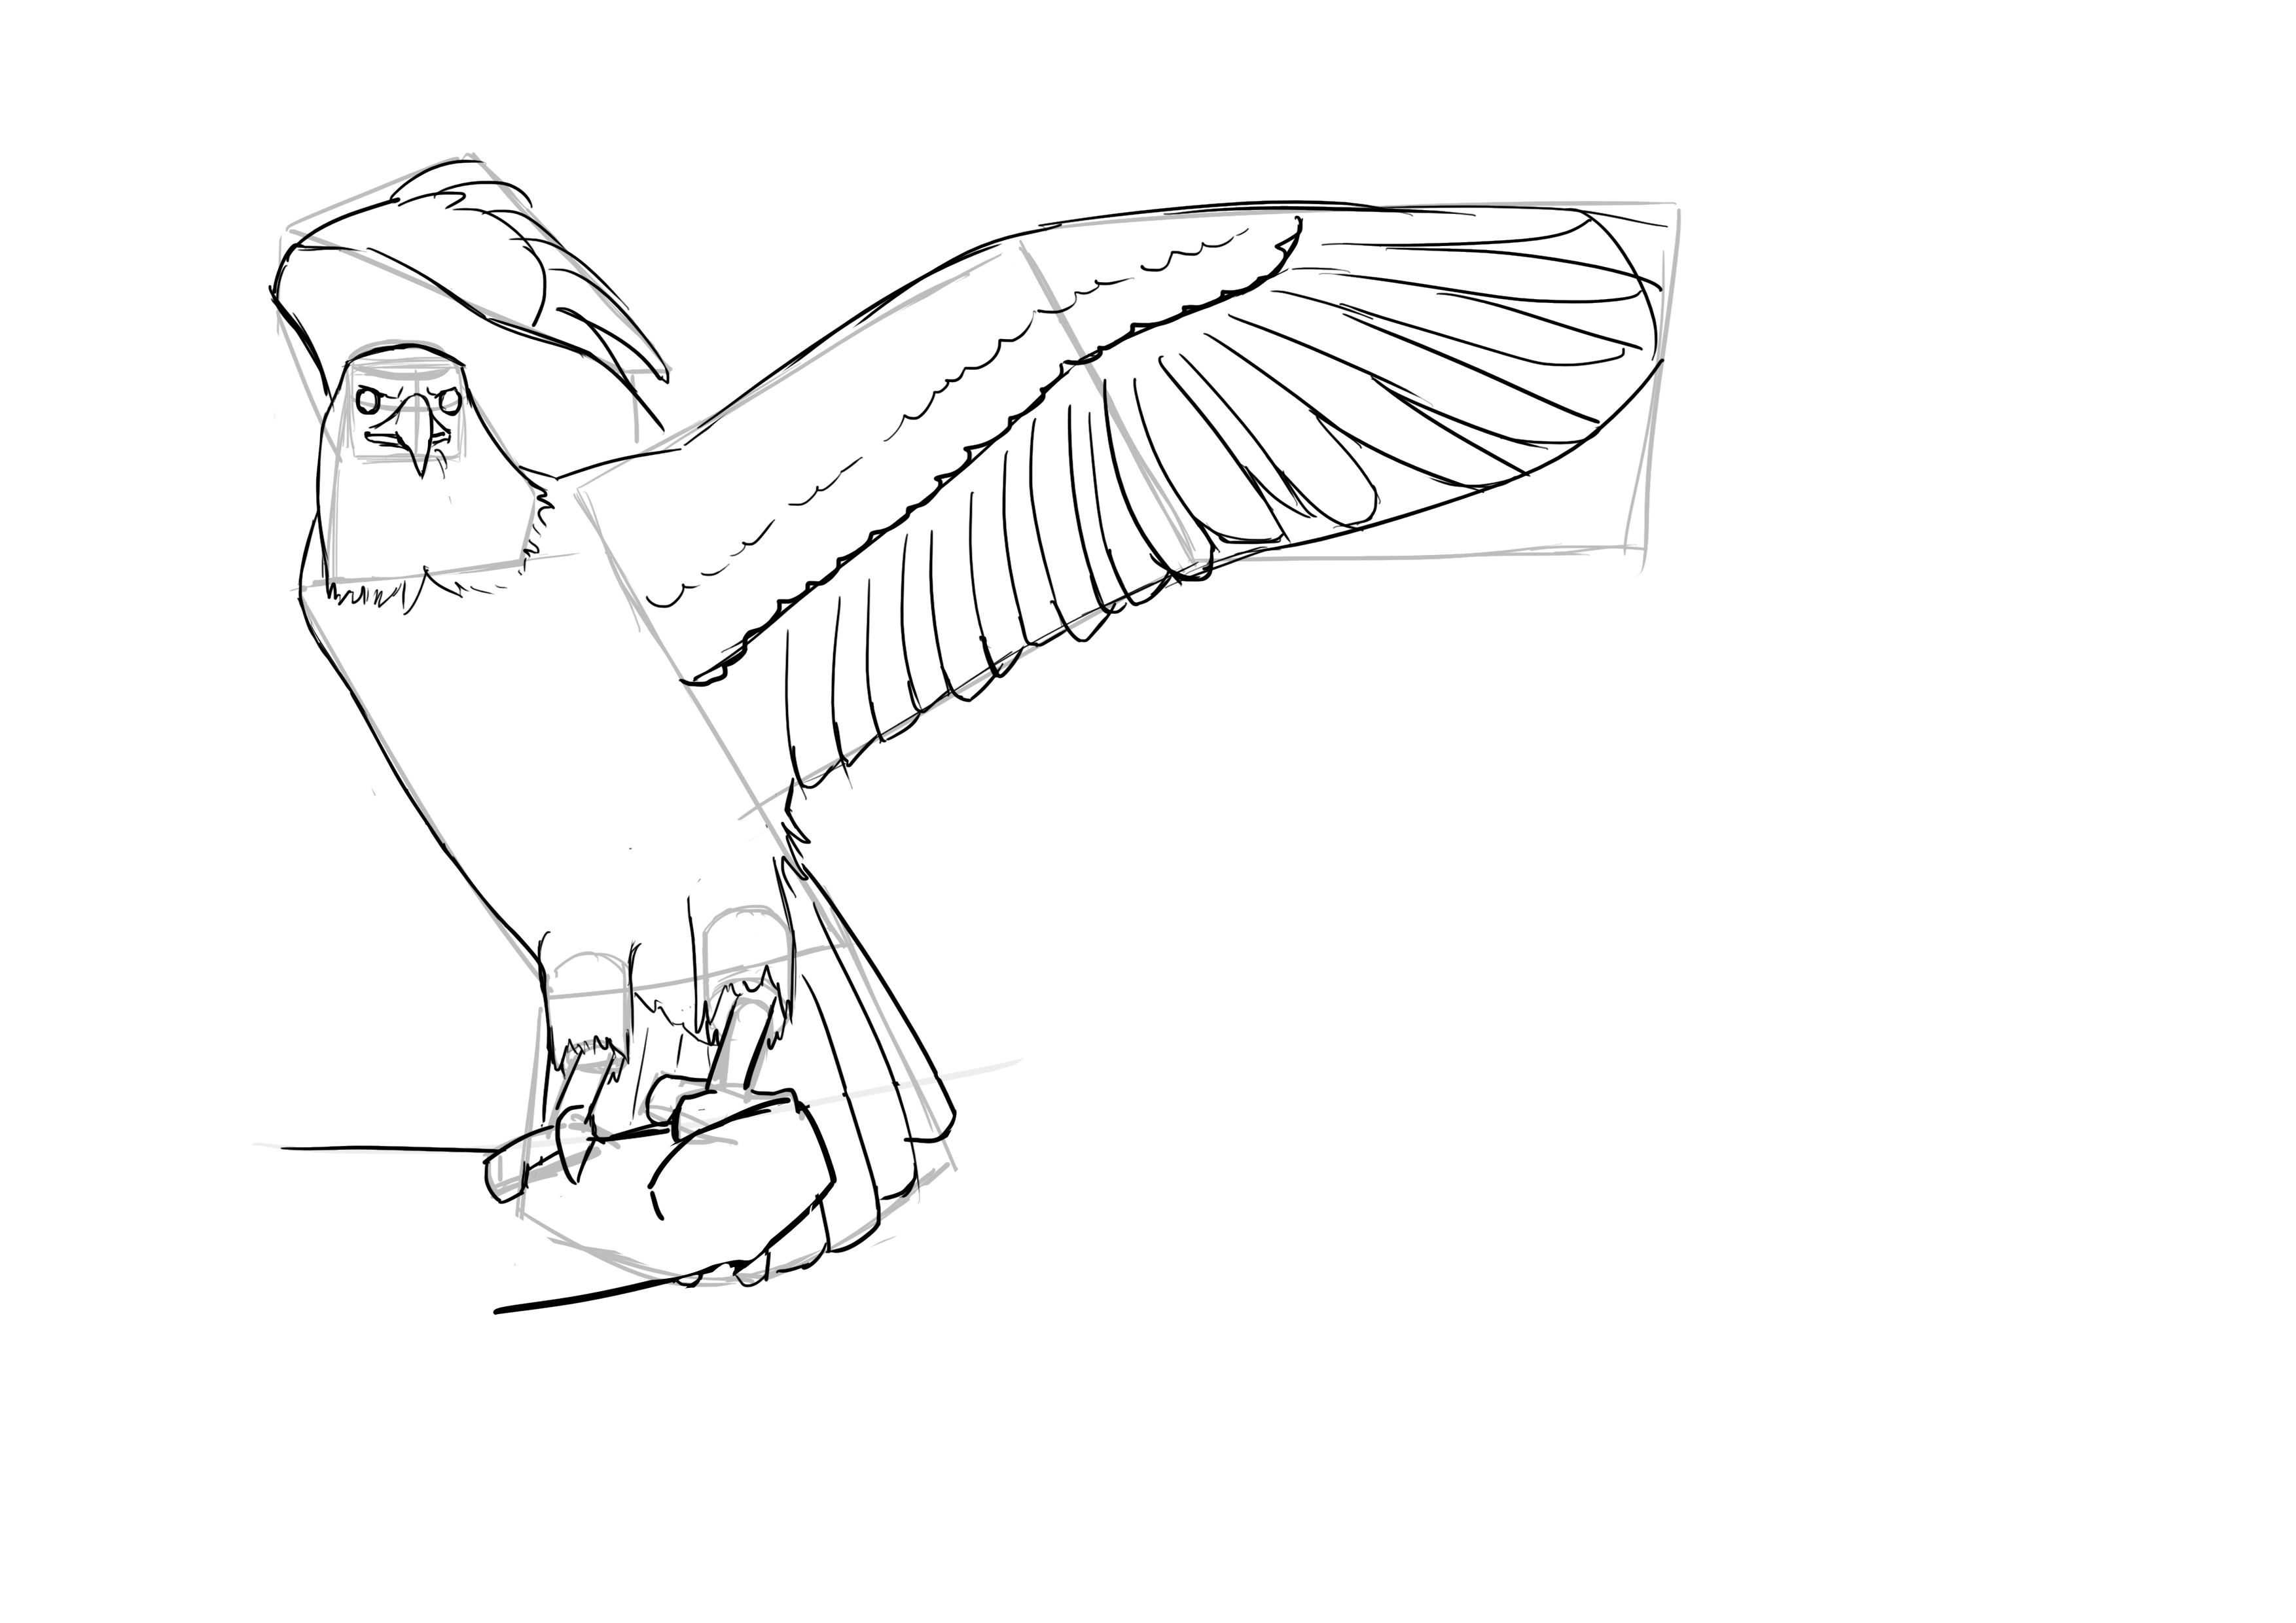
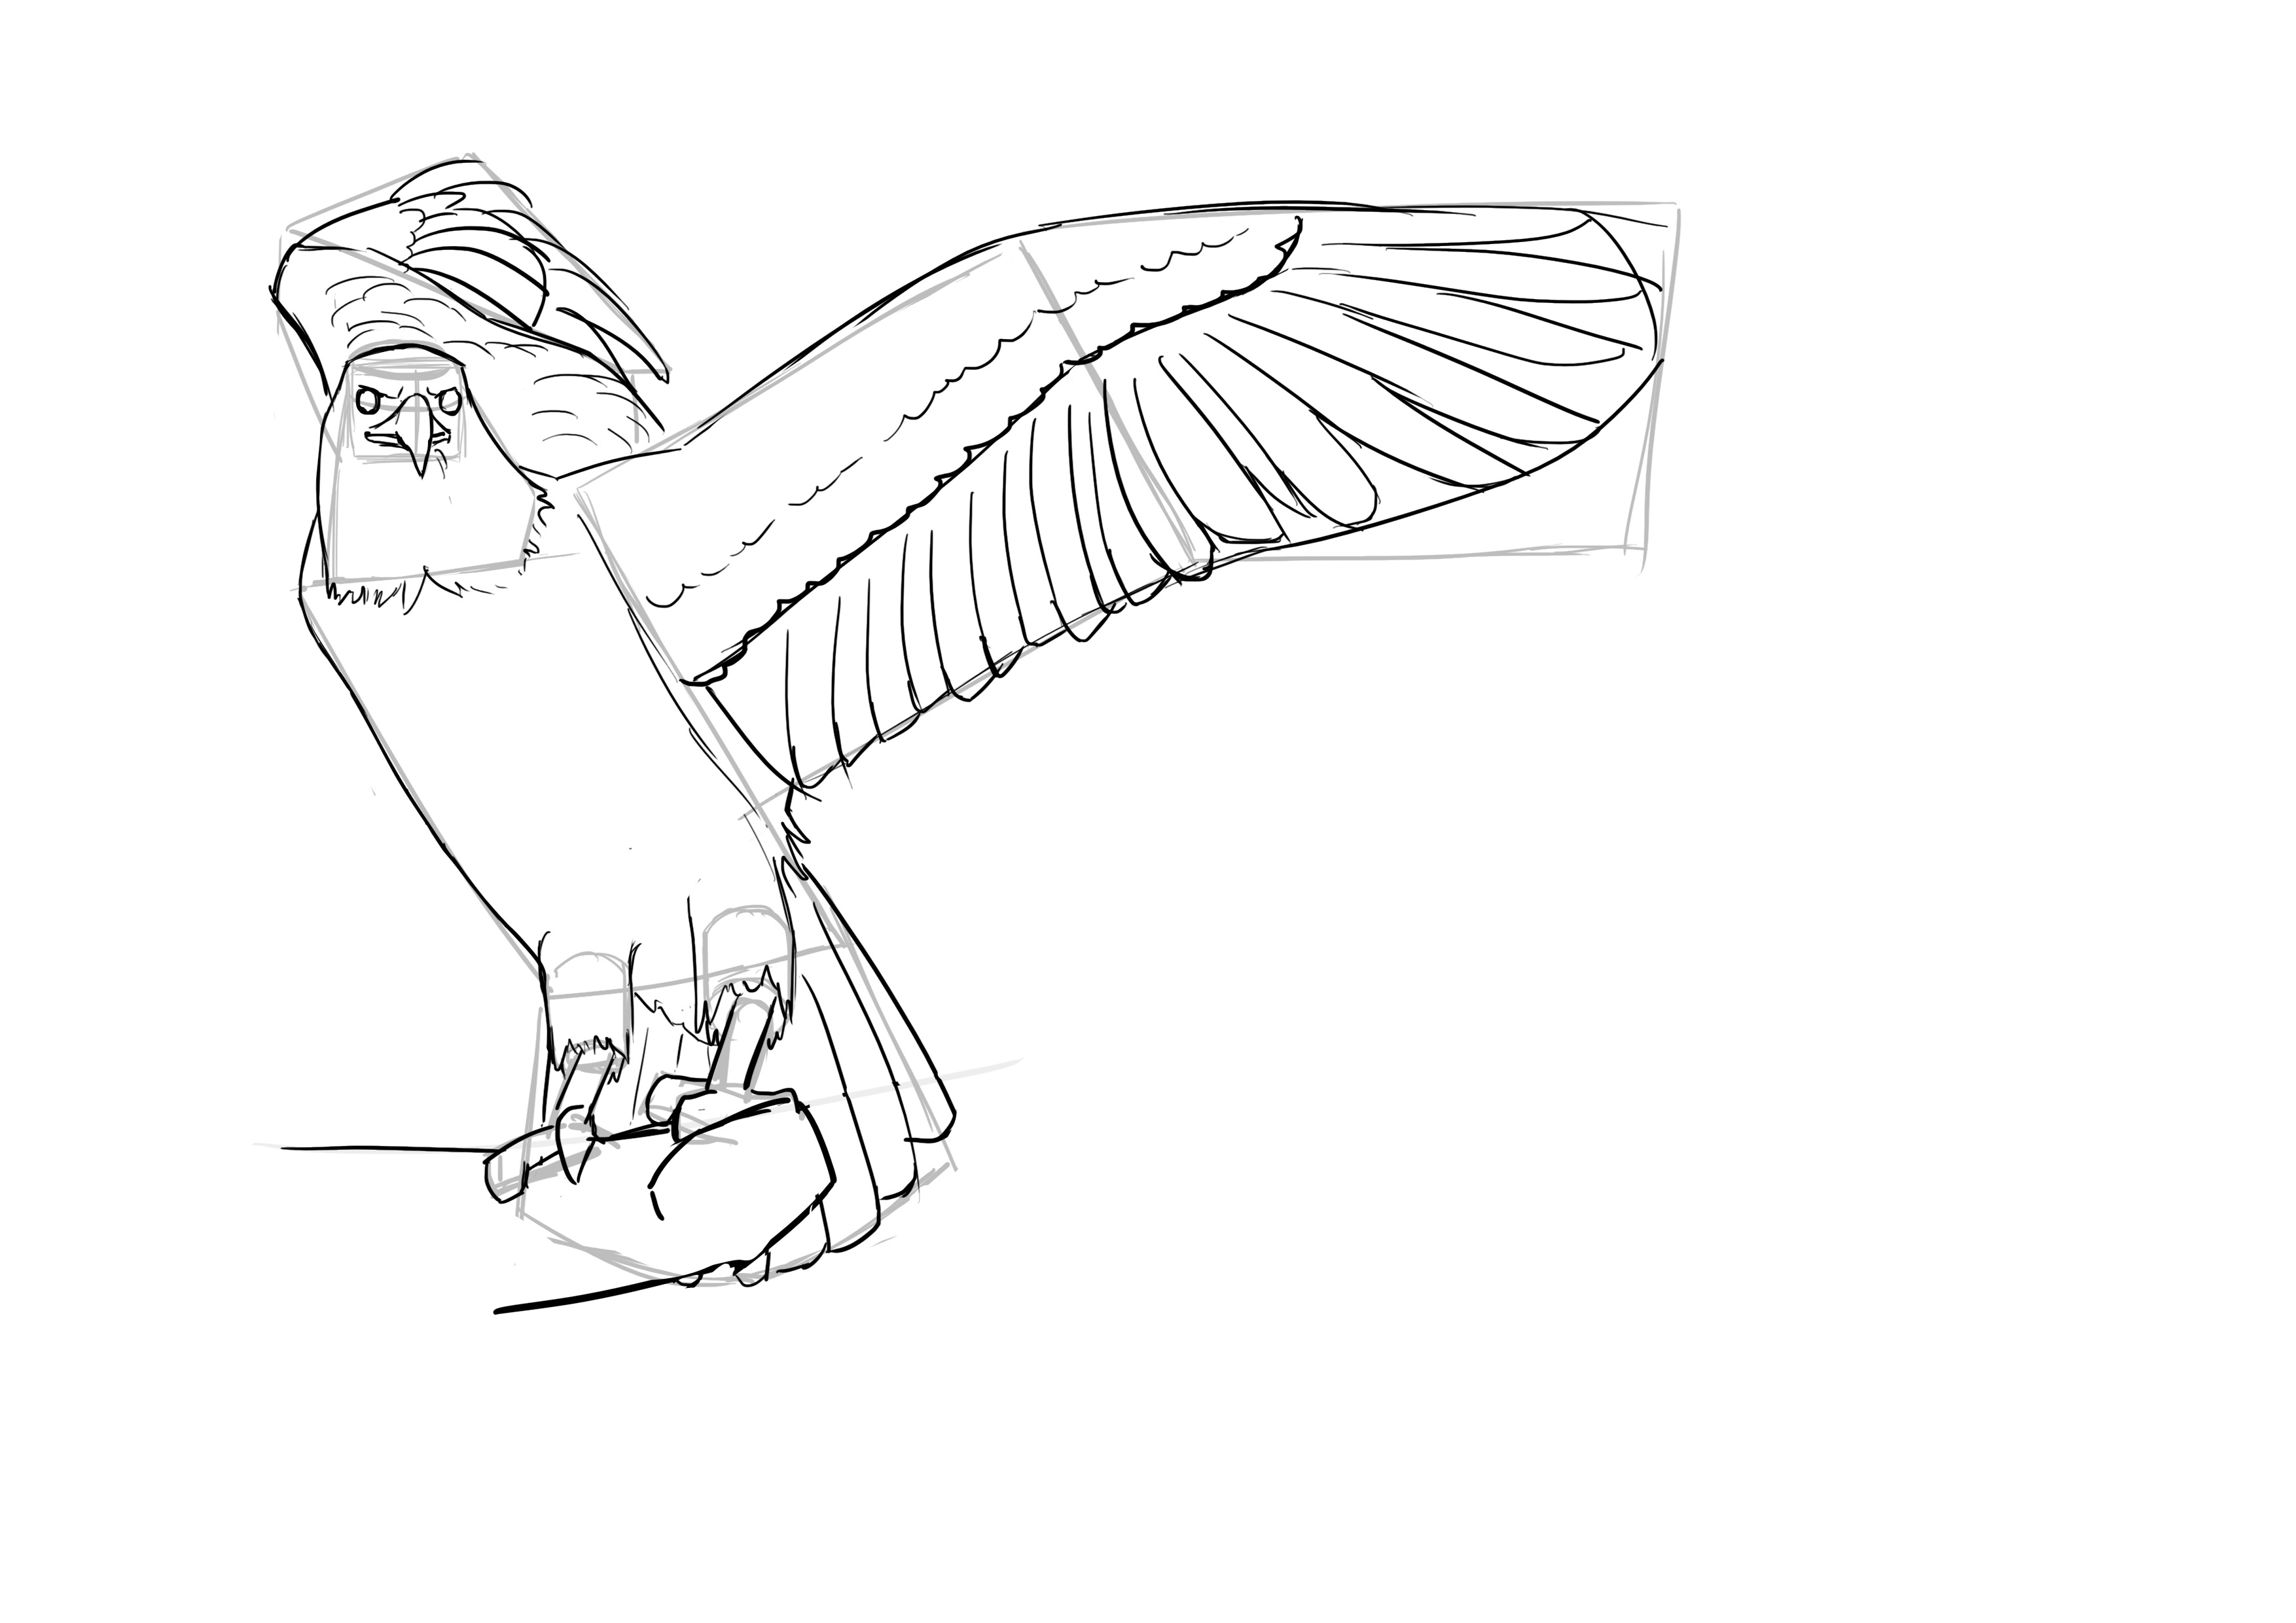
When we're satisfied, we go over it cleanly, and there you have it for the eagle!

Phew, that was a long article!
The method is always the same and there are always elements that recur as we've seen. Usual characteristics, always the same way of constructing things, etc.
Summary:
- We observe its model well
- It is built with simple shapes, especially if there are twists (it helps)
- We don't hesitate to take other references if certain details are hard to see on the one we've chosen.
Good luck!
Editor and Illustrator: Rakjah
Popular Articles
Discussion
Very well explained and I am very happy with my birds💯