How to Draw a Feather

If some of you like to draw Angels, Pegasus, or simply birds, perhaps you've wanted to make feathers swirl around them. It adds movement, can have a poetic aspect too, and greatly helps with the image composition.
Today we are going to see how to draw a traditional feather.
OBSERVATION
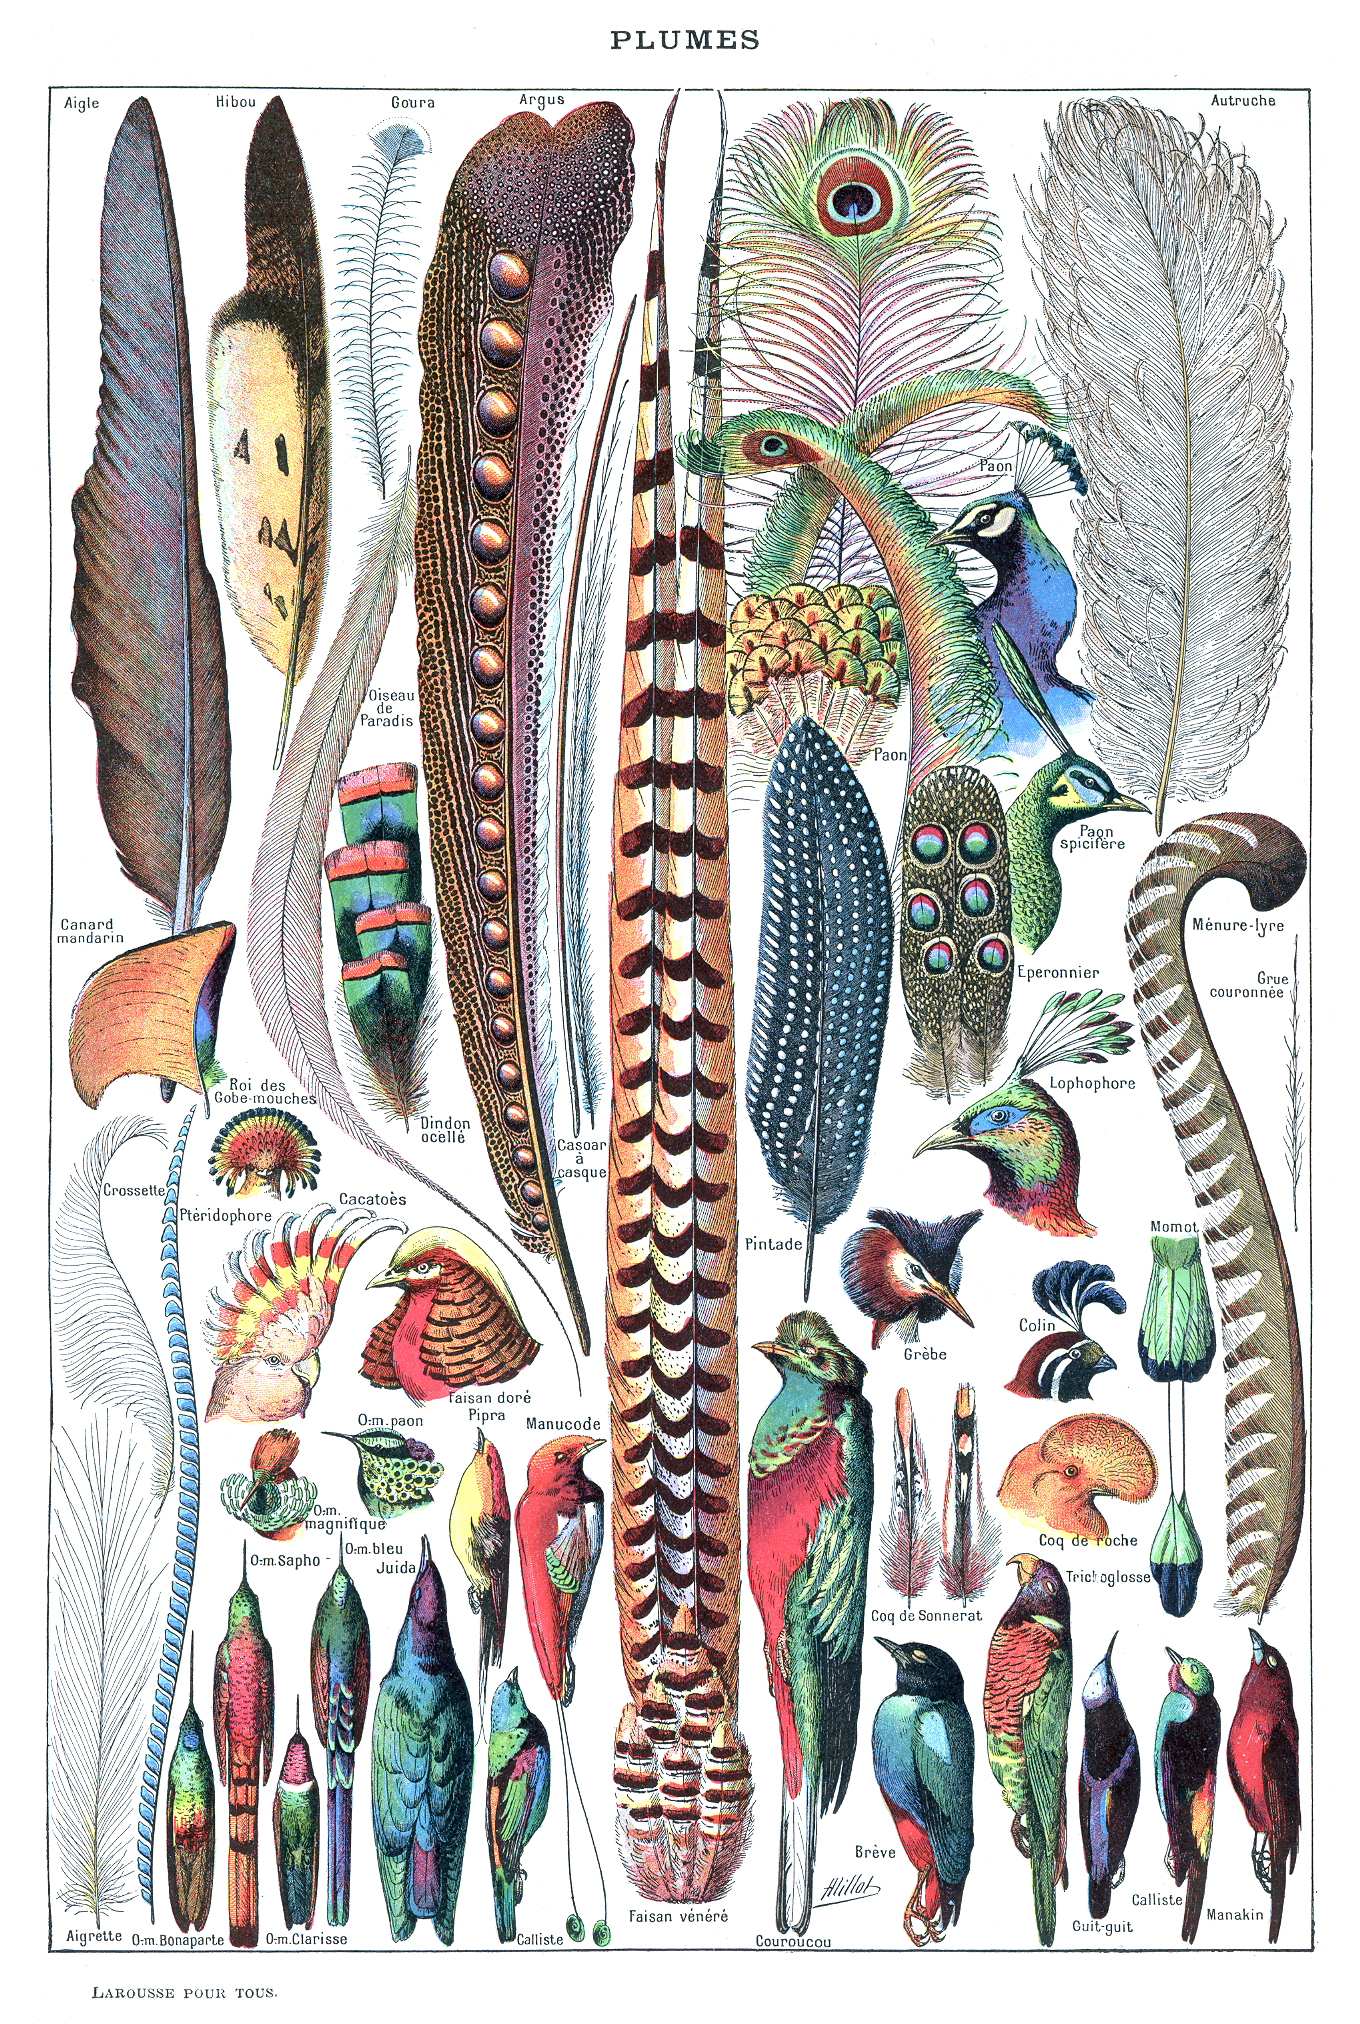
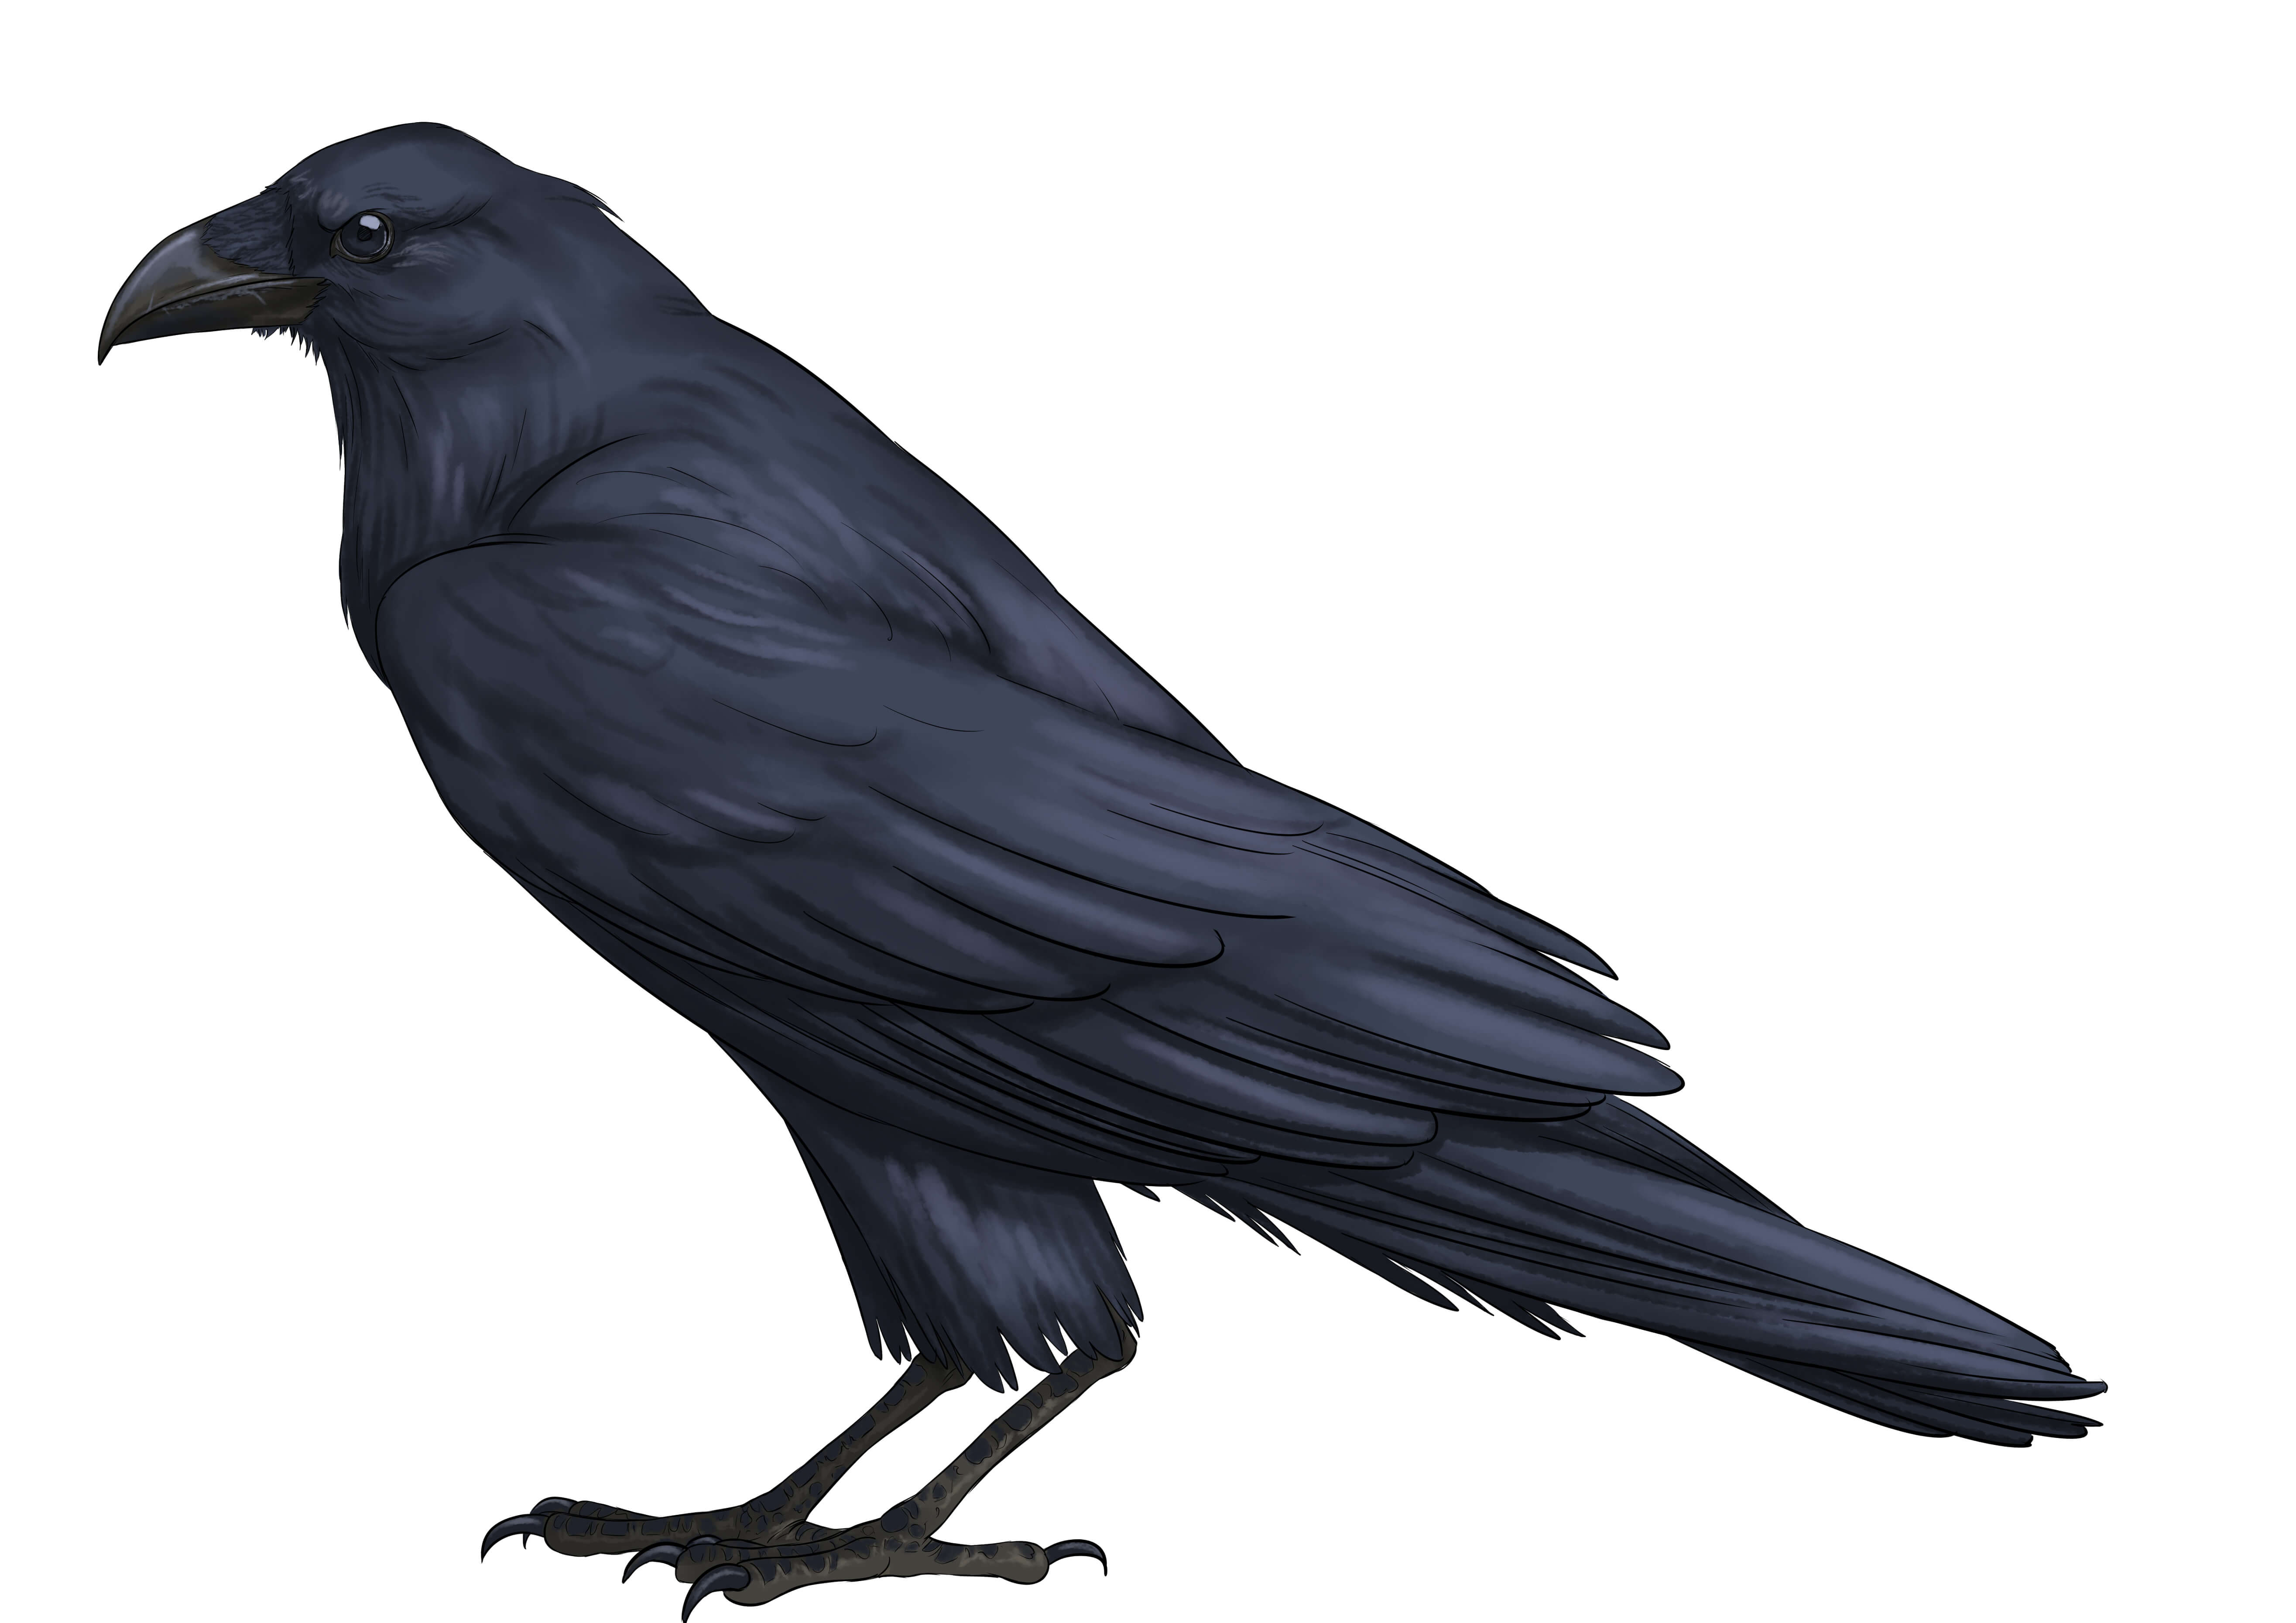
As always, the first step consists in observing what you want to draw. As we can see, there are various types of feathers corresponding to the bird species, but also to their placement in the plumage and their function.
I will distinguish two main types of feathers that interest us in our specific case:
- The feathers (the most commonly found feathers, long and sturdy, used for flying)
- The coverts, which are a fine down, are more of a decorative aspect
Source: Larousse for Everyone - Adolphe Millot (illustrator)
Image from Wikipedia
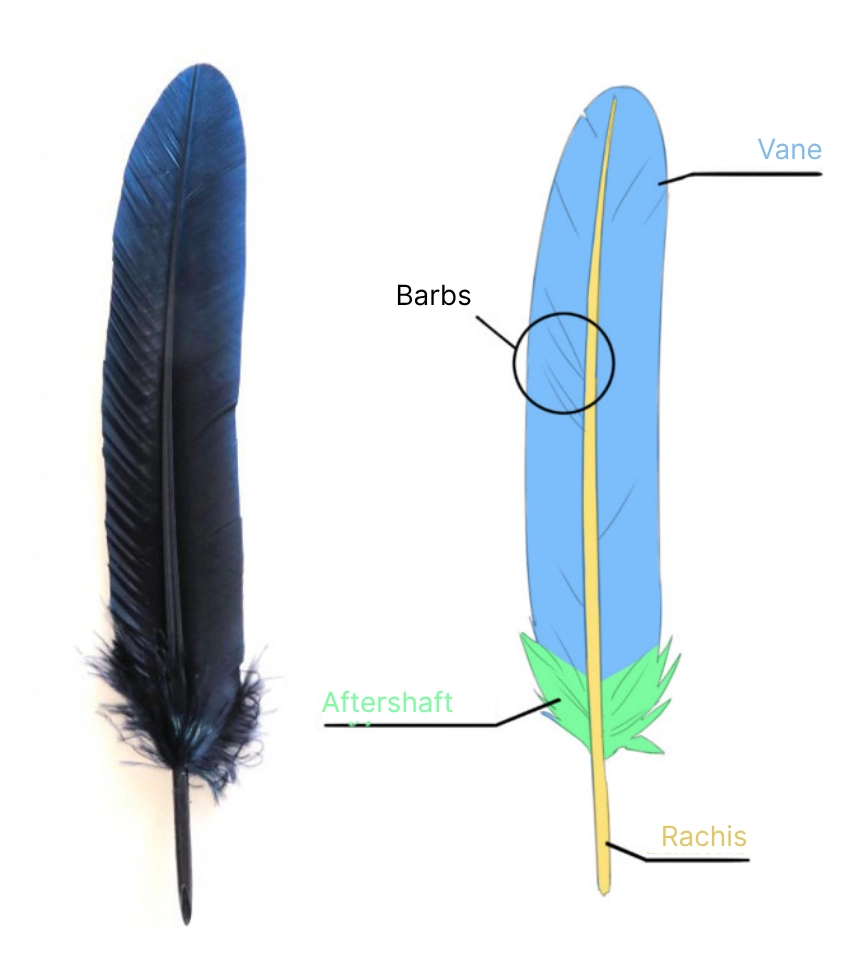
THE STRUCTURE OF A FEATHER
Today, we will focus solely on penne.
Their structure is very simple: a central shaft (called the rachis) on which the feather's vane grows. The vane is made up of barbs. It is also worth noting the slightly less arranged and aligned barbs at the base of the rachis. This particular area is called the hyporachis.
Beards do not necessarily grow evenly on each side. As can be seen, some are sometimes longer on one side rather than the other. This is a detail that matters.
THE DRAWING STEP BY STEP
We start by drawing the central shaft. No need to make it straight, we can give it a nice gentle curve. However, keep in mind that the shaft is always thicker at its base than at its tip. Similarly, unless it is a cut quill (for writing, for example), its base will be broken irregularly. This is a detail, but it will add more or less realism to your drawing.
Then, we draw the standard. As we have seen, there is no need for it to be perfectly even on both sides. It can even have irregular edges.
There are no specific rules regarding the length of the feather or the vane. It depends on the bird species concerned and one can find extremely variable things, whether long very fine feathers or very small ones with a wider vane. So do according to your preference. Speaking of birds, did you know there is an article about it on the subject of how to draw a bird? If that's not the case, take a look!
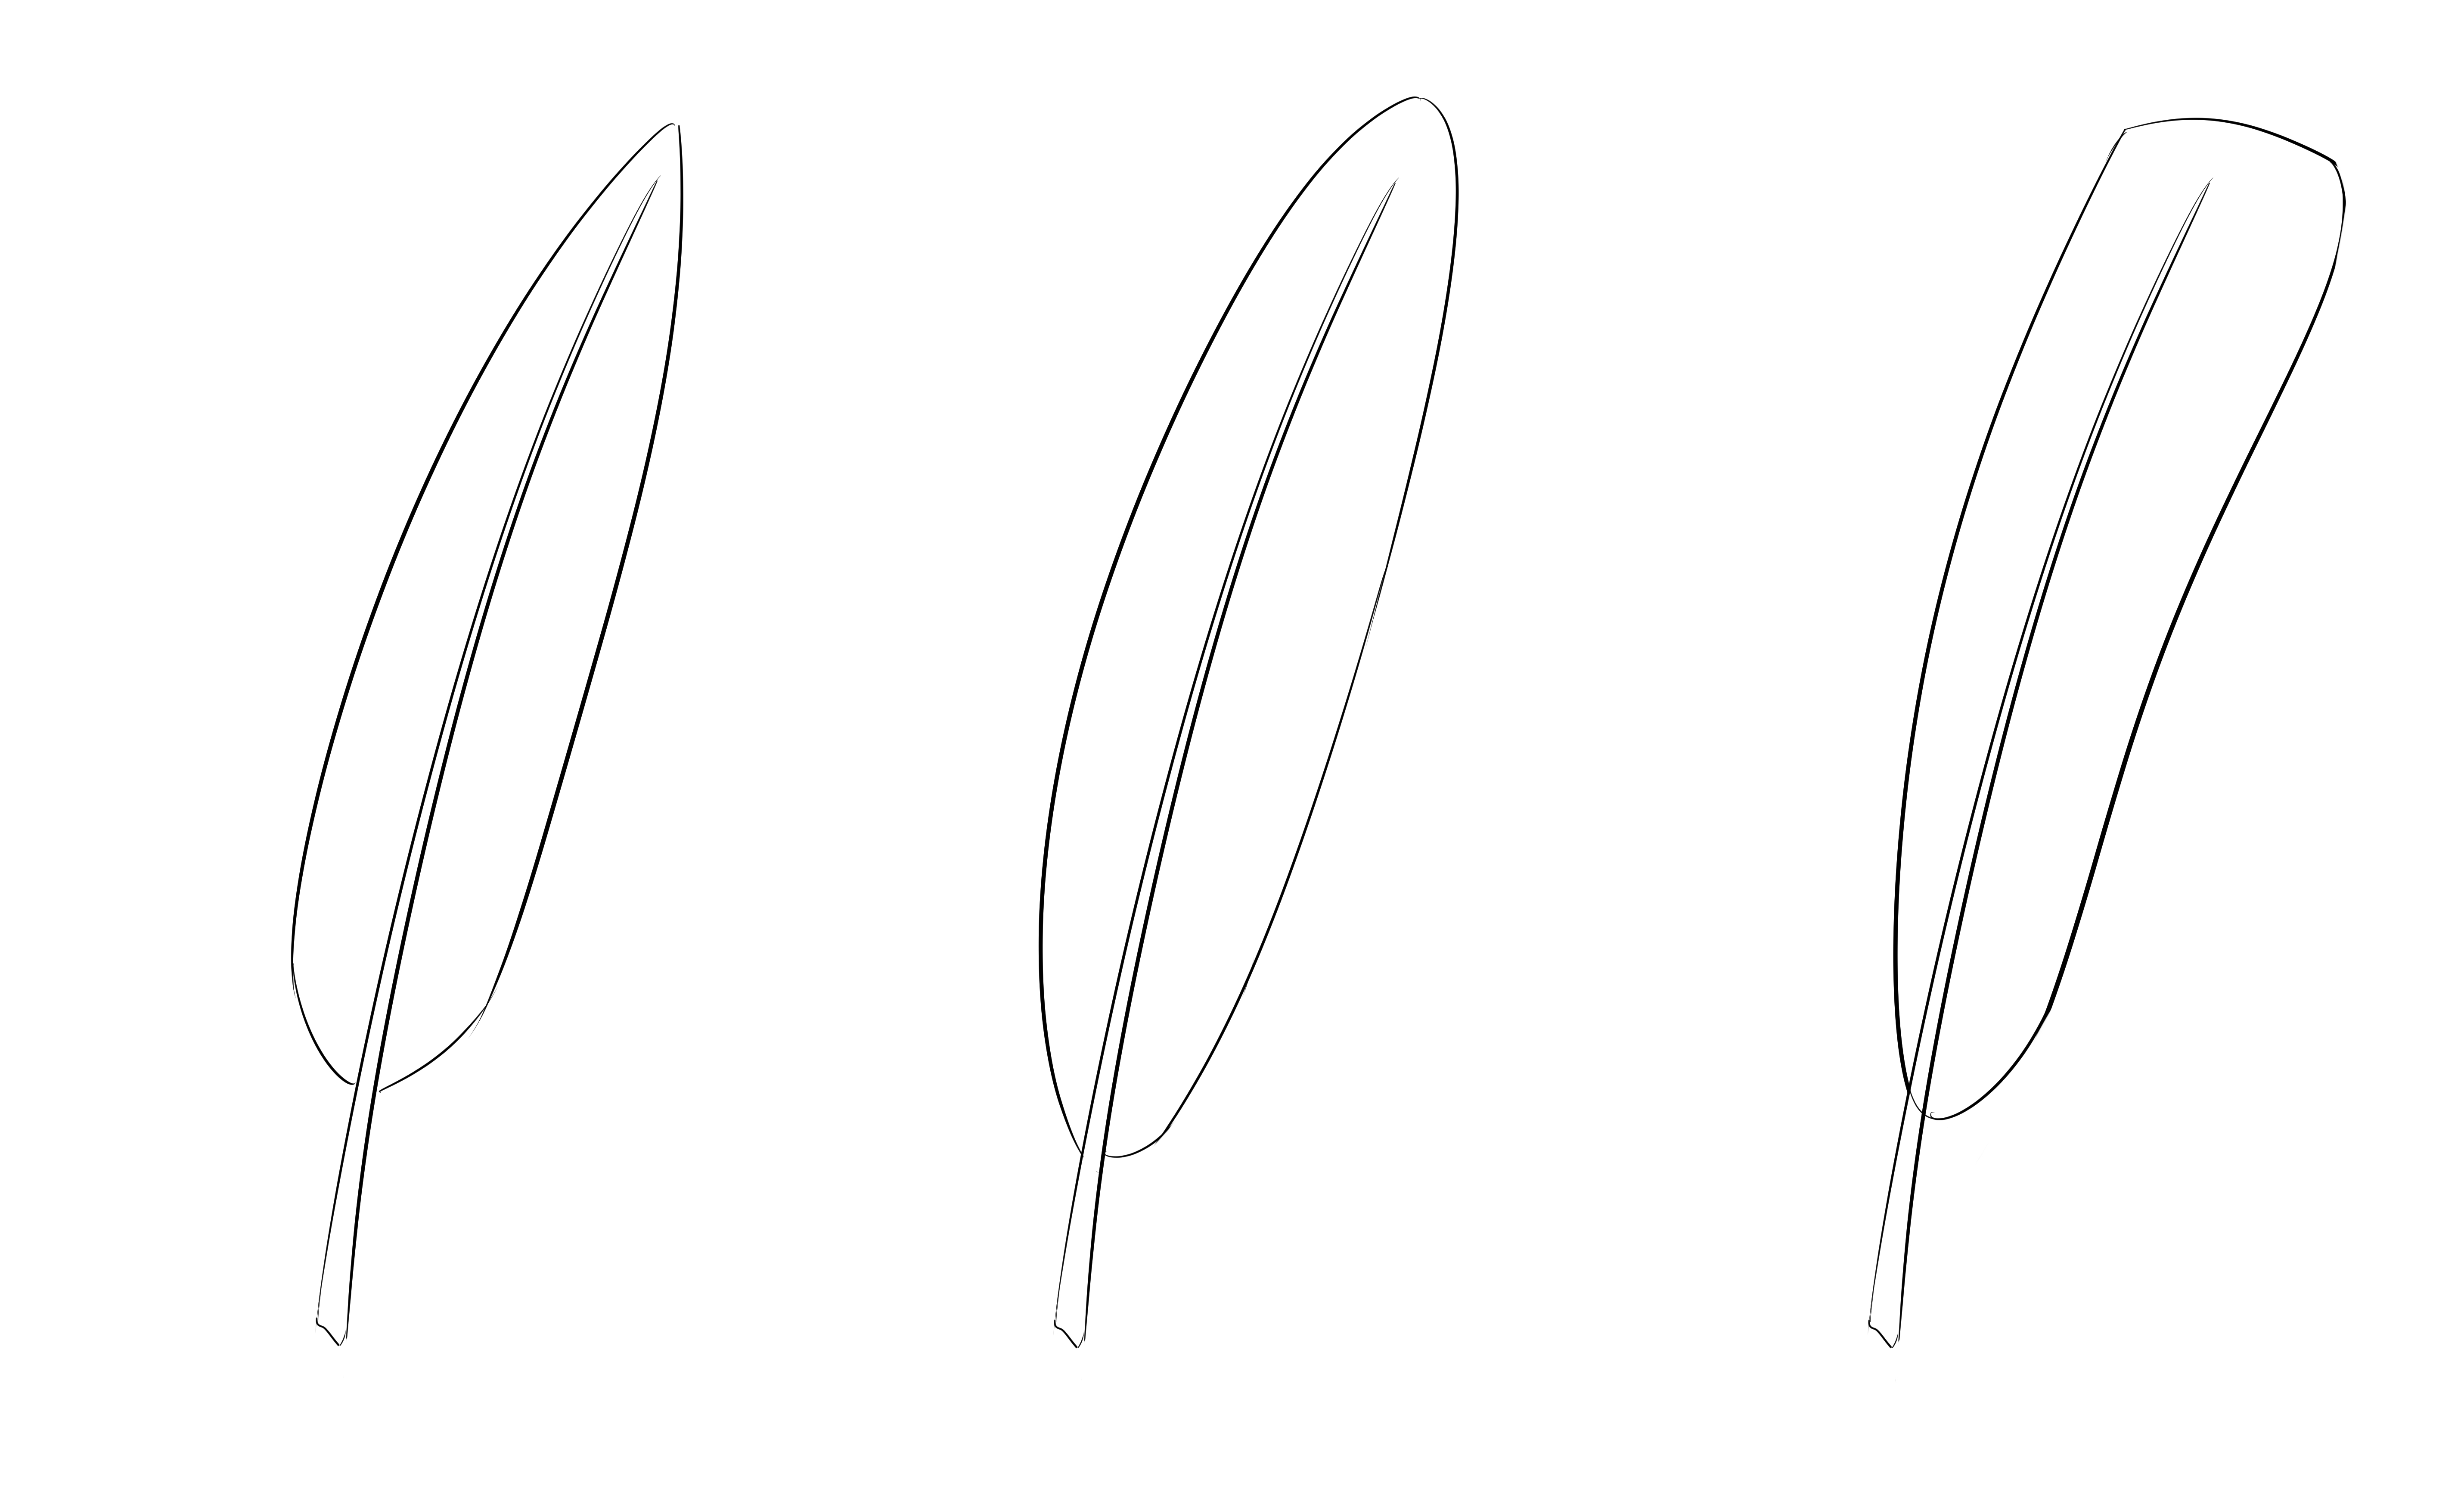
Similarly, you are free to give it the shape you prefer. You can opt for a very almond-like shape, or conversely closer to an ellipse, or even make its end a bit more squared. This depends on your preferences or the breed of bird in question.
I have chosen to go with the second option.
Inside my standard, I isolate a section that will thus be the hyporachis.
We will note the direction of the barb implantation. They go from the rachis outward and from the base of the feather to its tip. This is very important, especially for the hyporachis, to clearly understand the direction of barb implantation.
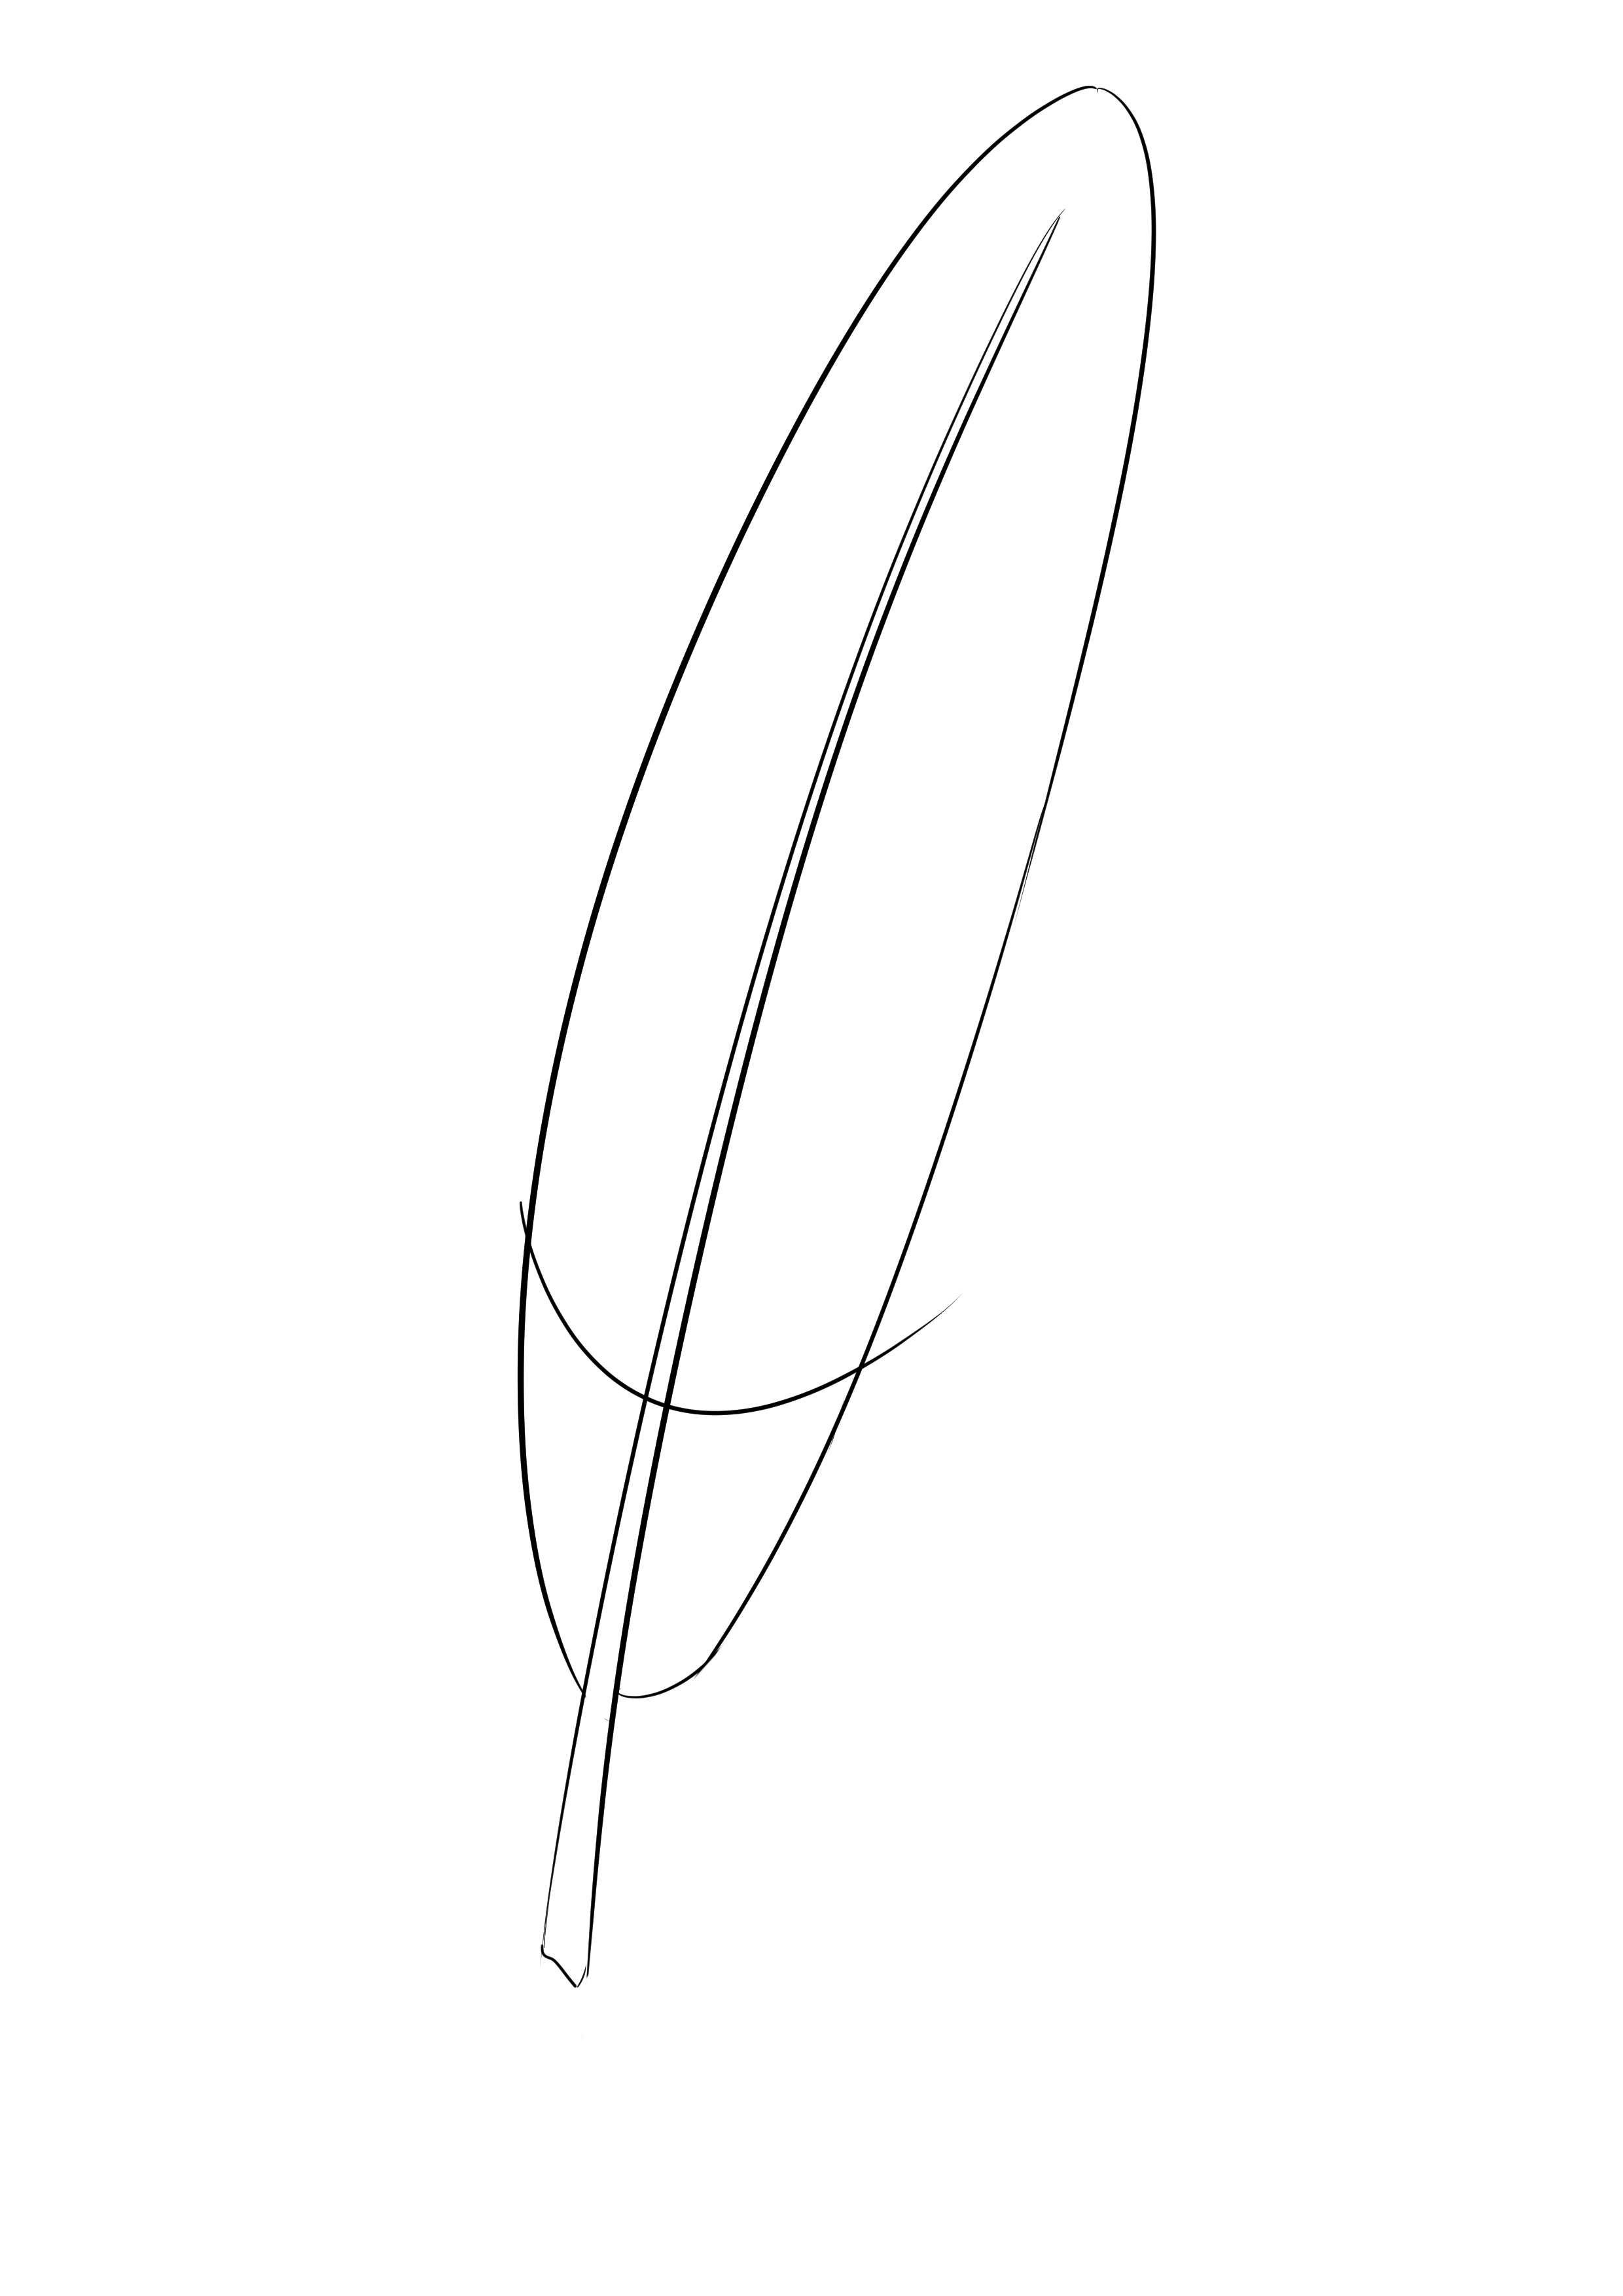
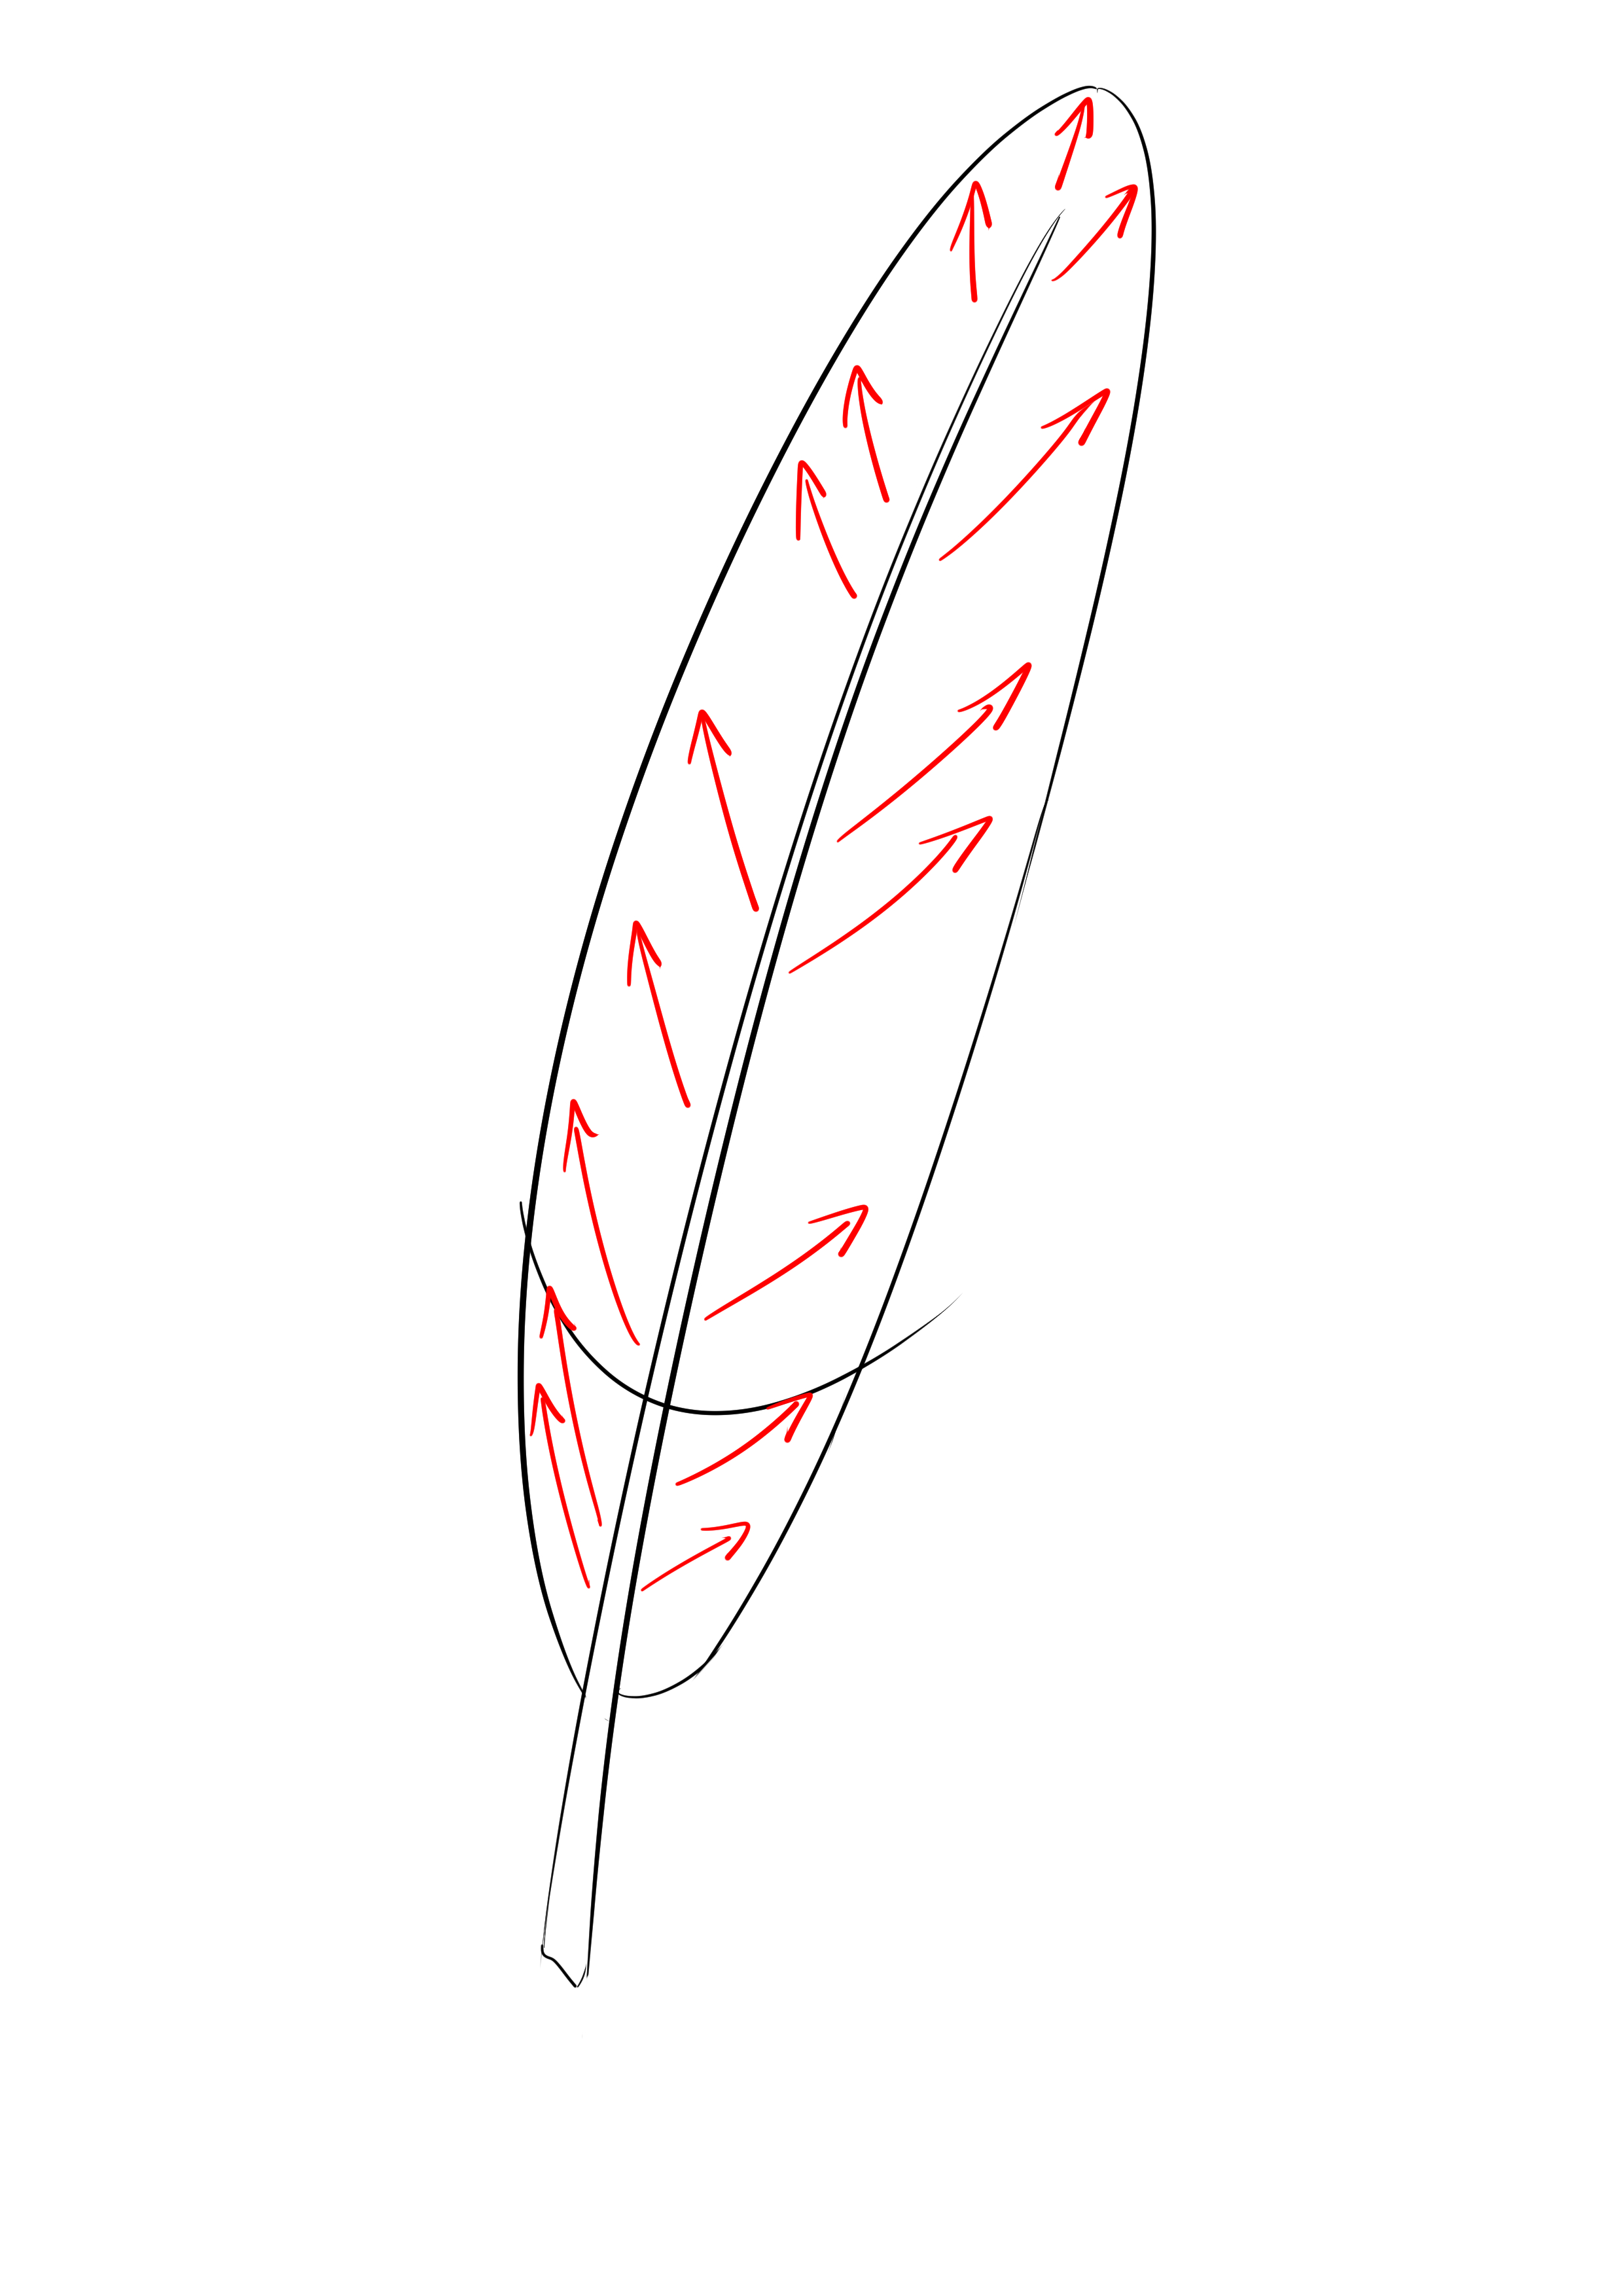
A feather is rarely perfect, sometimes some barbs are not well aligned with the others and leave a gap between them and their neighbors. Add one following the direction of implantation. There can be more towards the end of the feather rather than on its sides.
Regarding the hyporachis, the barbs are often quite fluffy or at least spaced apart from each other. You can therefore draw and detail them. Make sure that your details are not arranged too uniformly in order to maintain a maximum of naturalness.
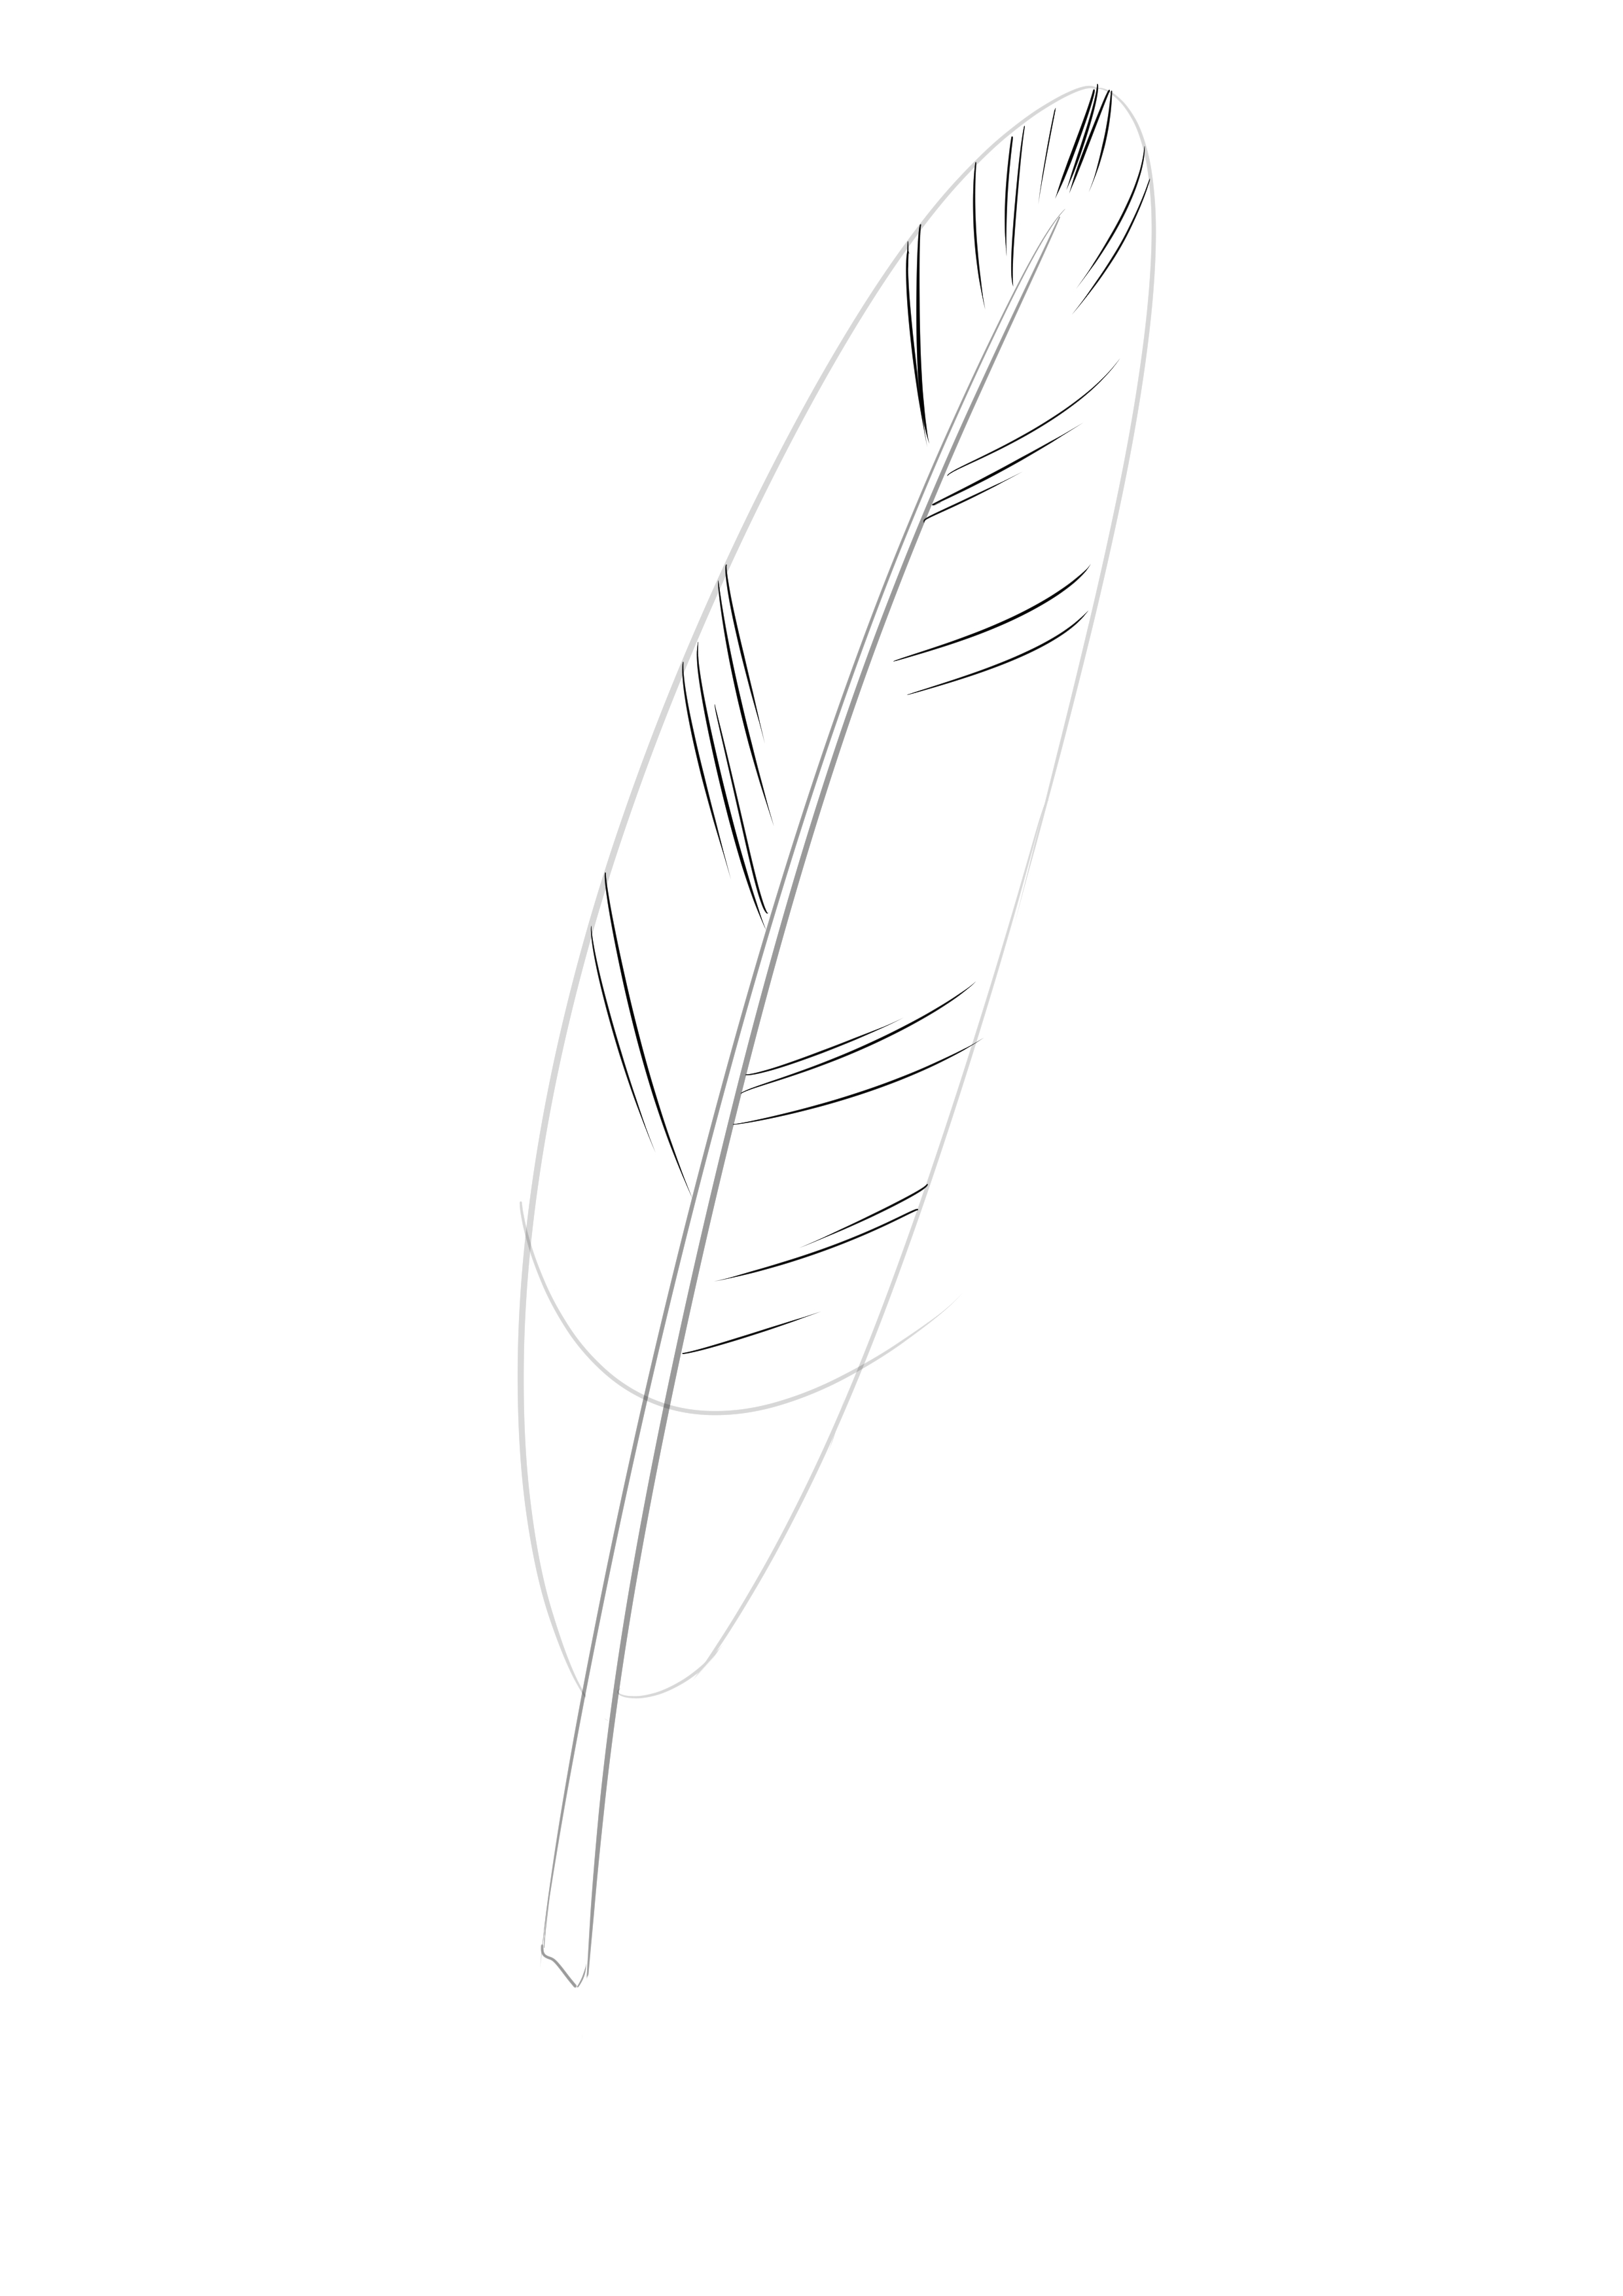
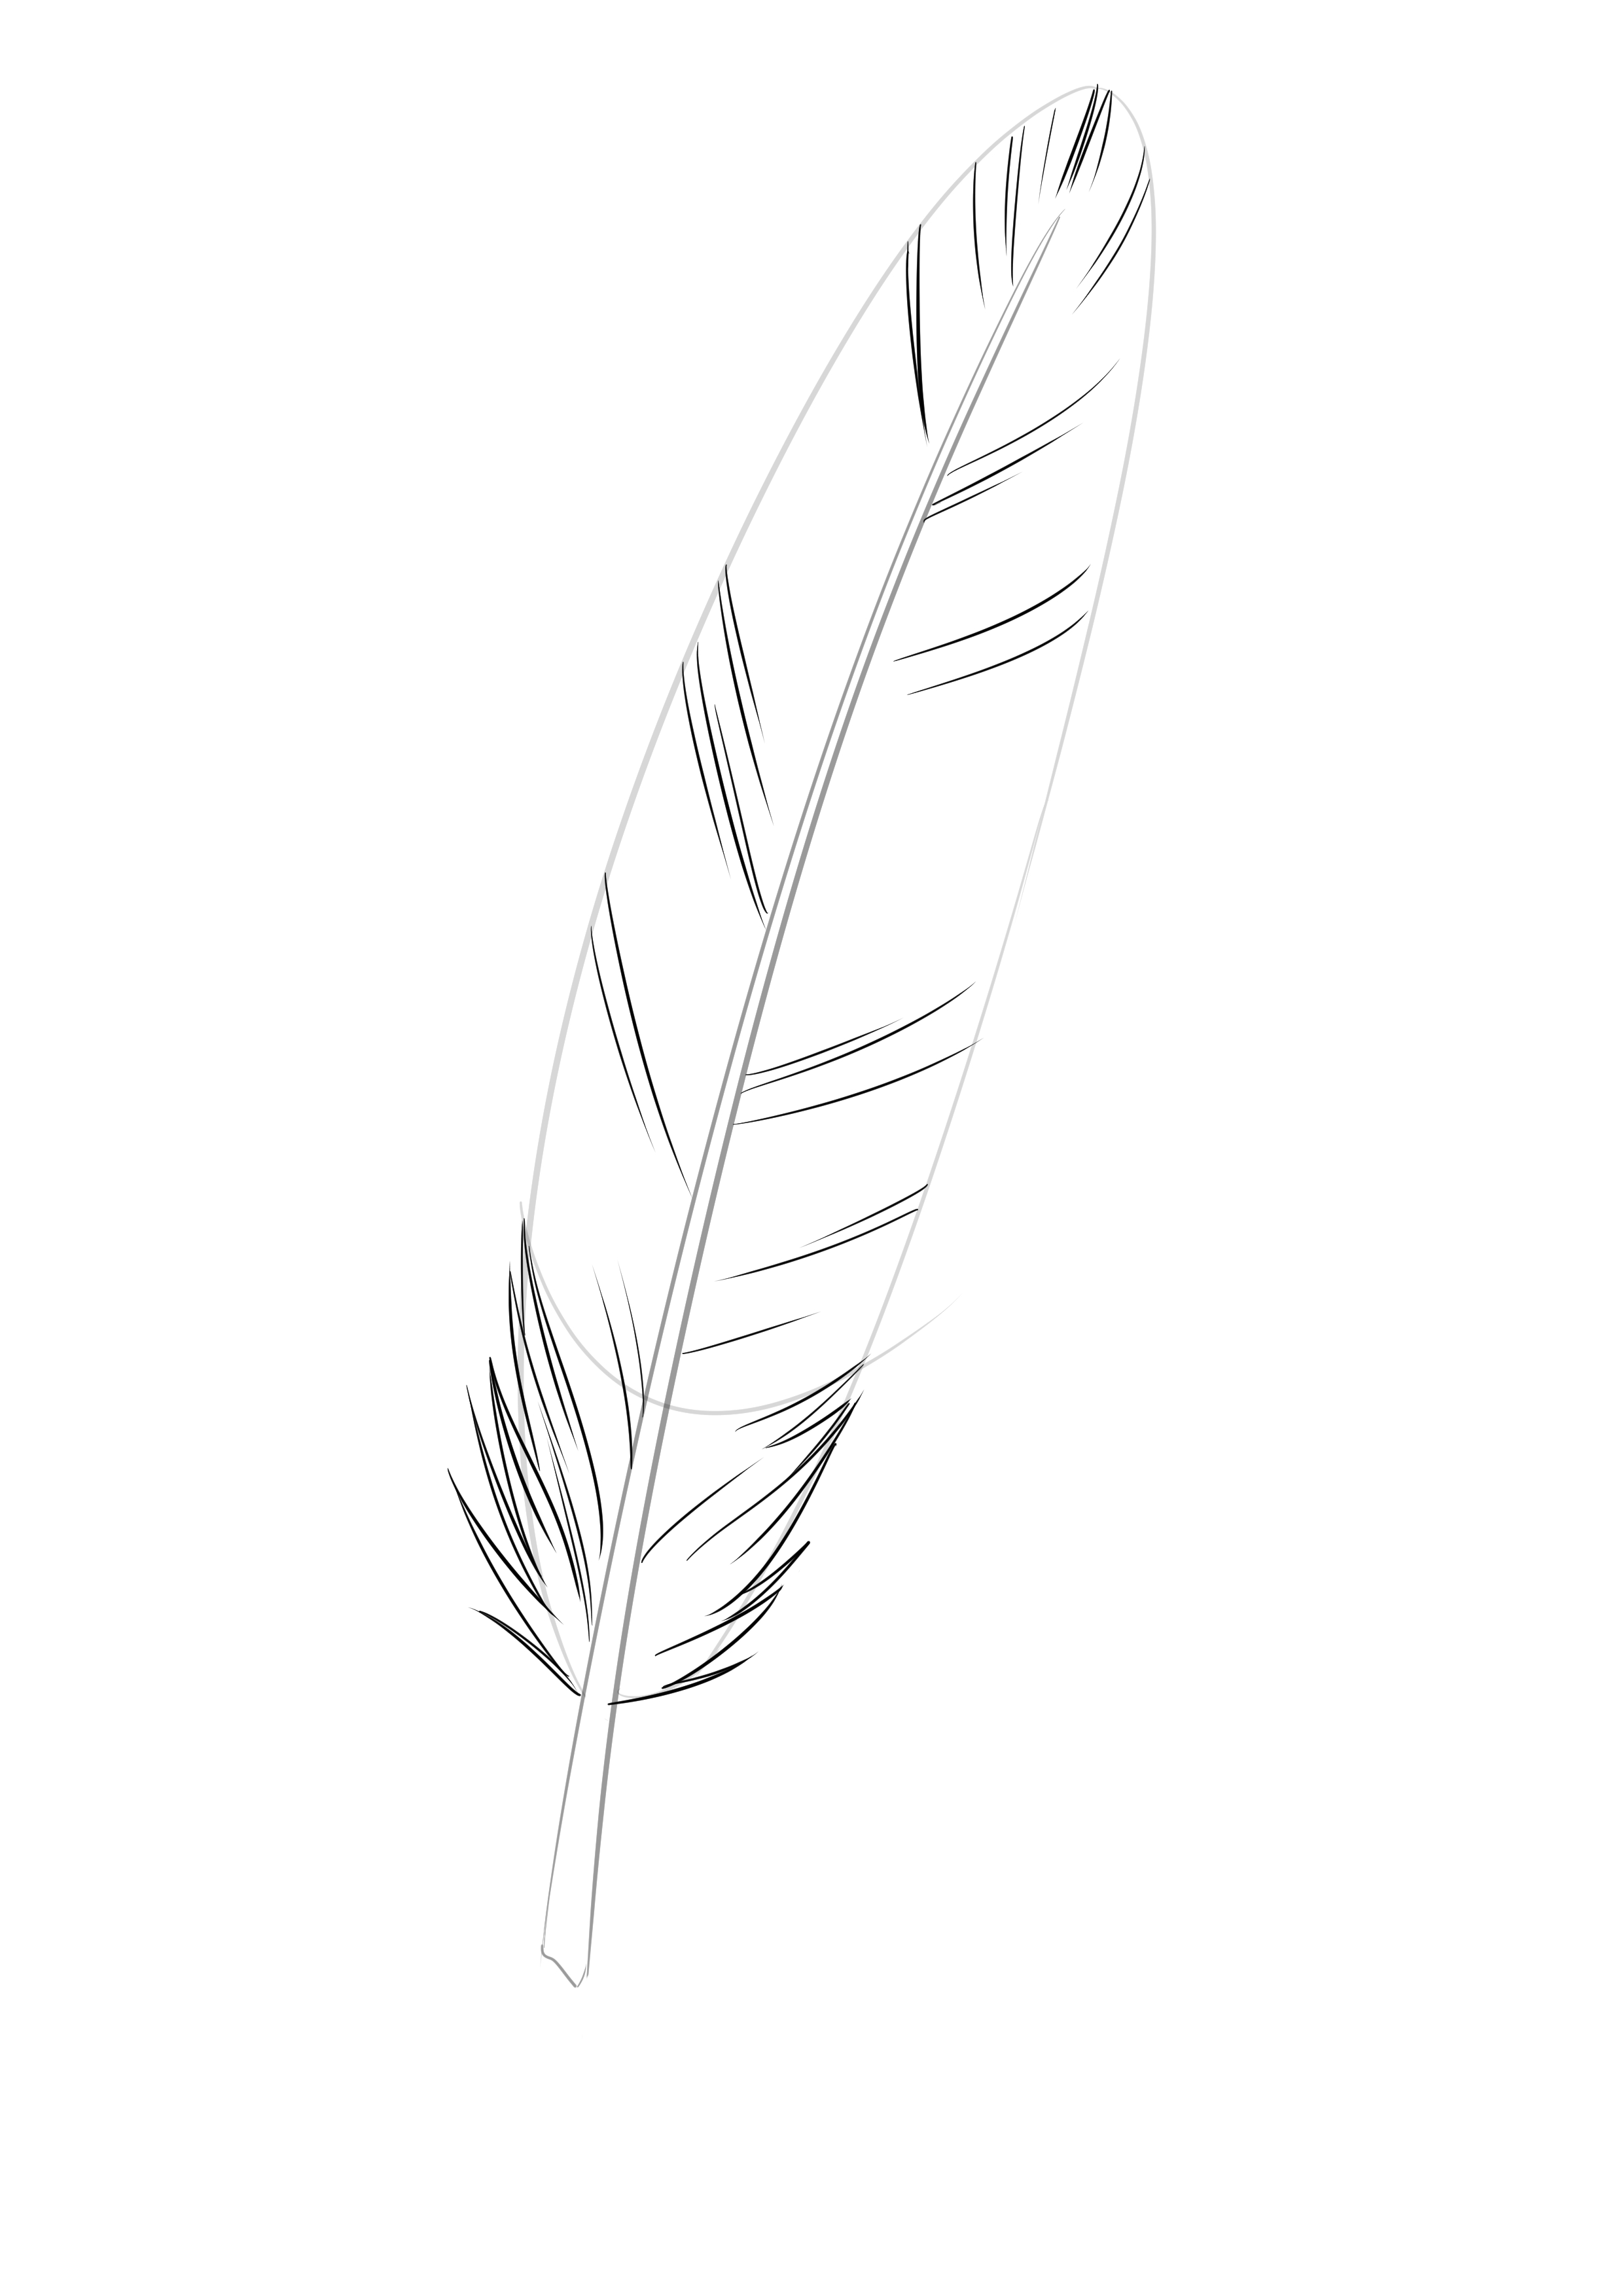
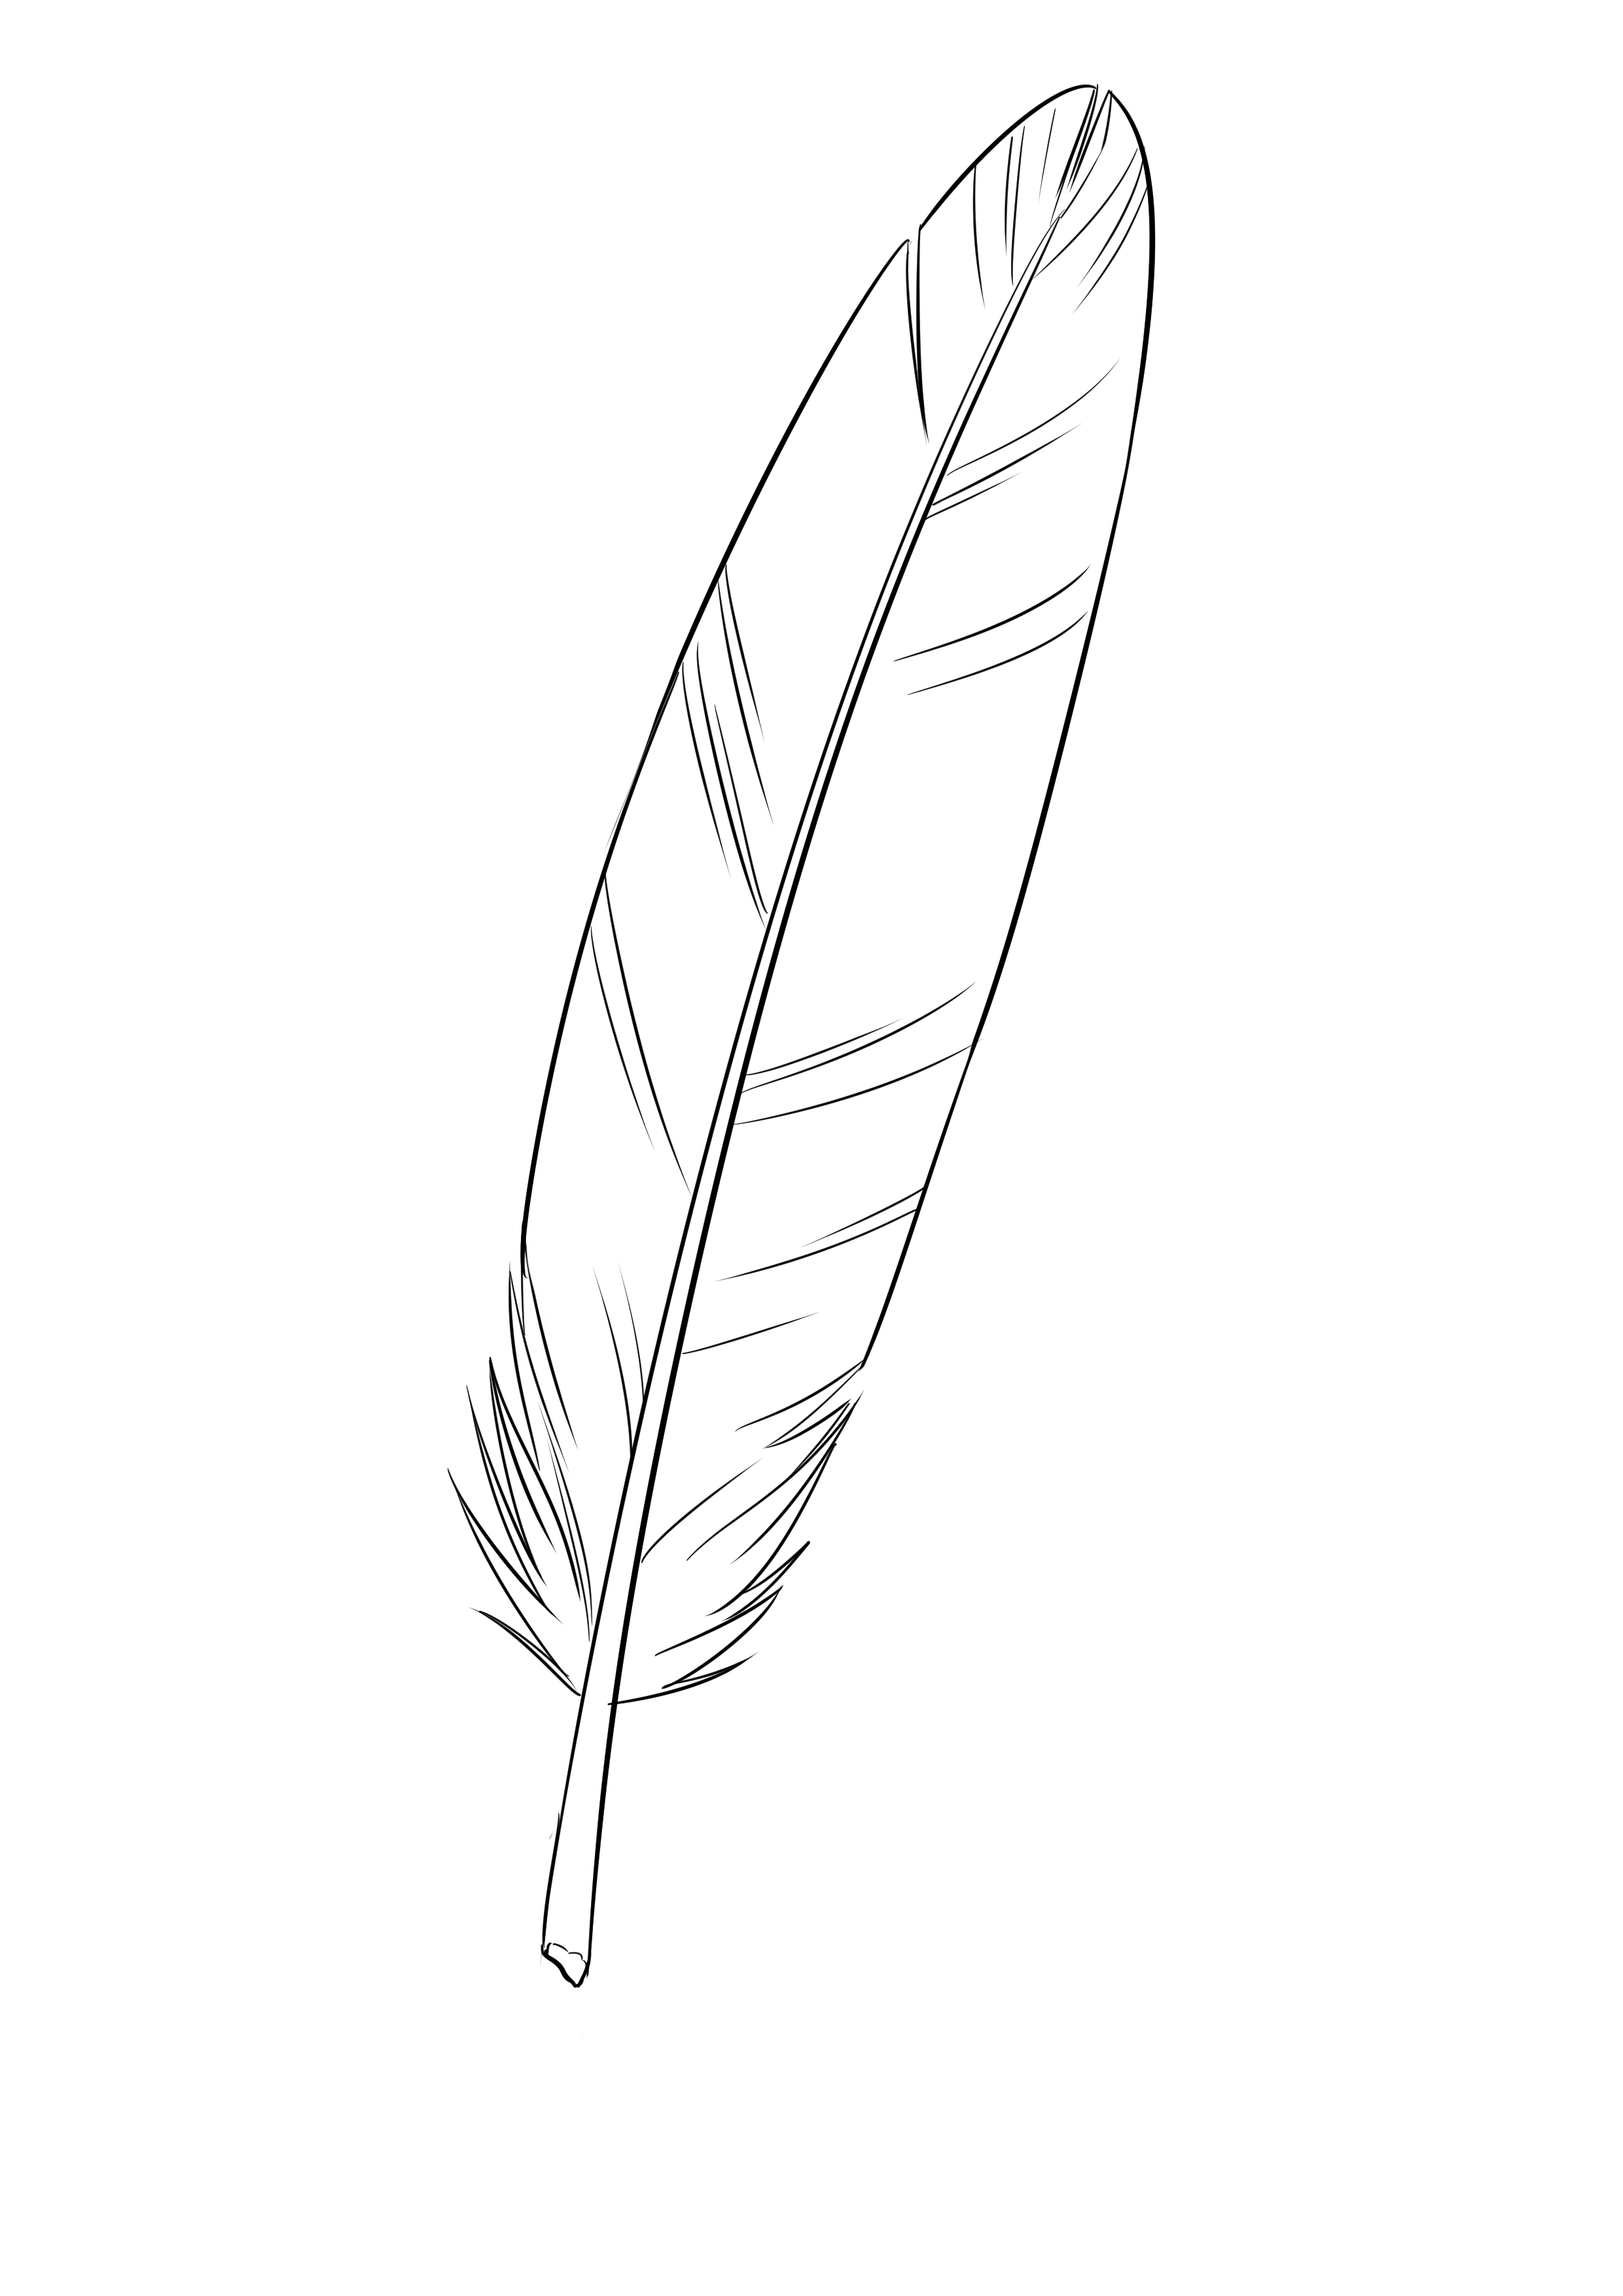
We erase the parts of the banner that we no longer need.
COLORING THE DRAWING
The Basics
I will discuss here the coloring of a simple gray feather.
For a realistic rendering, the first step is to get rid of the lines/inking of your drawing. For practicality reasons, I will demonstrate on a computer, but the methodology is exactly the same if you are drawing on paper.
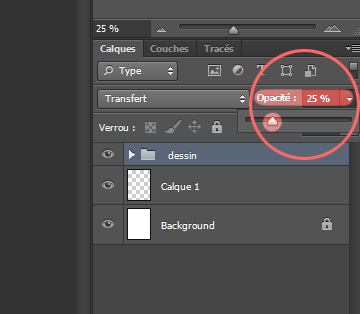
So, if you are on a computer, lower the opacity of your drawing until you can only see it slightly.
Those on paper, if you have a kneaded eraser (I recommend it, it's very handy), gently erase your drawing so as to keep a very light line again. Or, if you are particularly careful, you can redo it on a nice sheet by drawing light lines.
Next, we will fill in the stem. This latter is rarely white. Sometimes it leans slightly towards gray, other times more towards yellow. Therefore, choose a light shade leaning towards one or the other of these colors.
This is simply about laying down the colored base before detailing it.
Let's do the same for the rest. I've chosen a gray feather. These are never uniformly gray. Their base is always lighter, almost white, and their tip is very dark gray, almost black. The shade of gray in question can vary from a bluish tint to a more ochre tint. Again, I leave you to choose the color that suits you best. I have chosen a more ochre tint for myself.
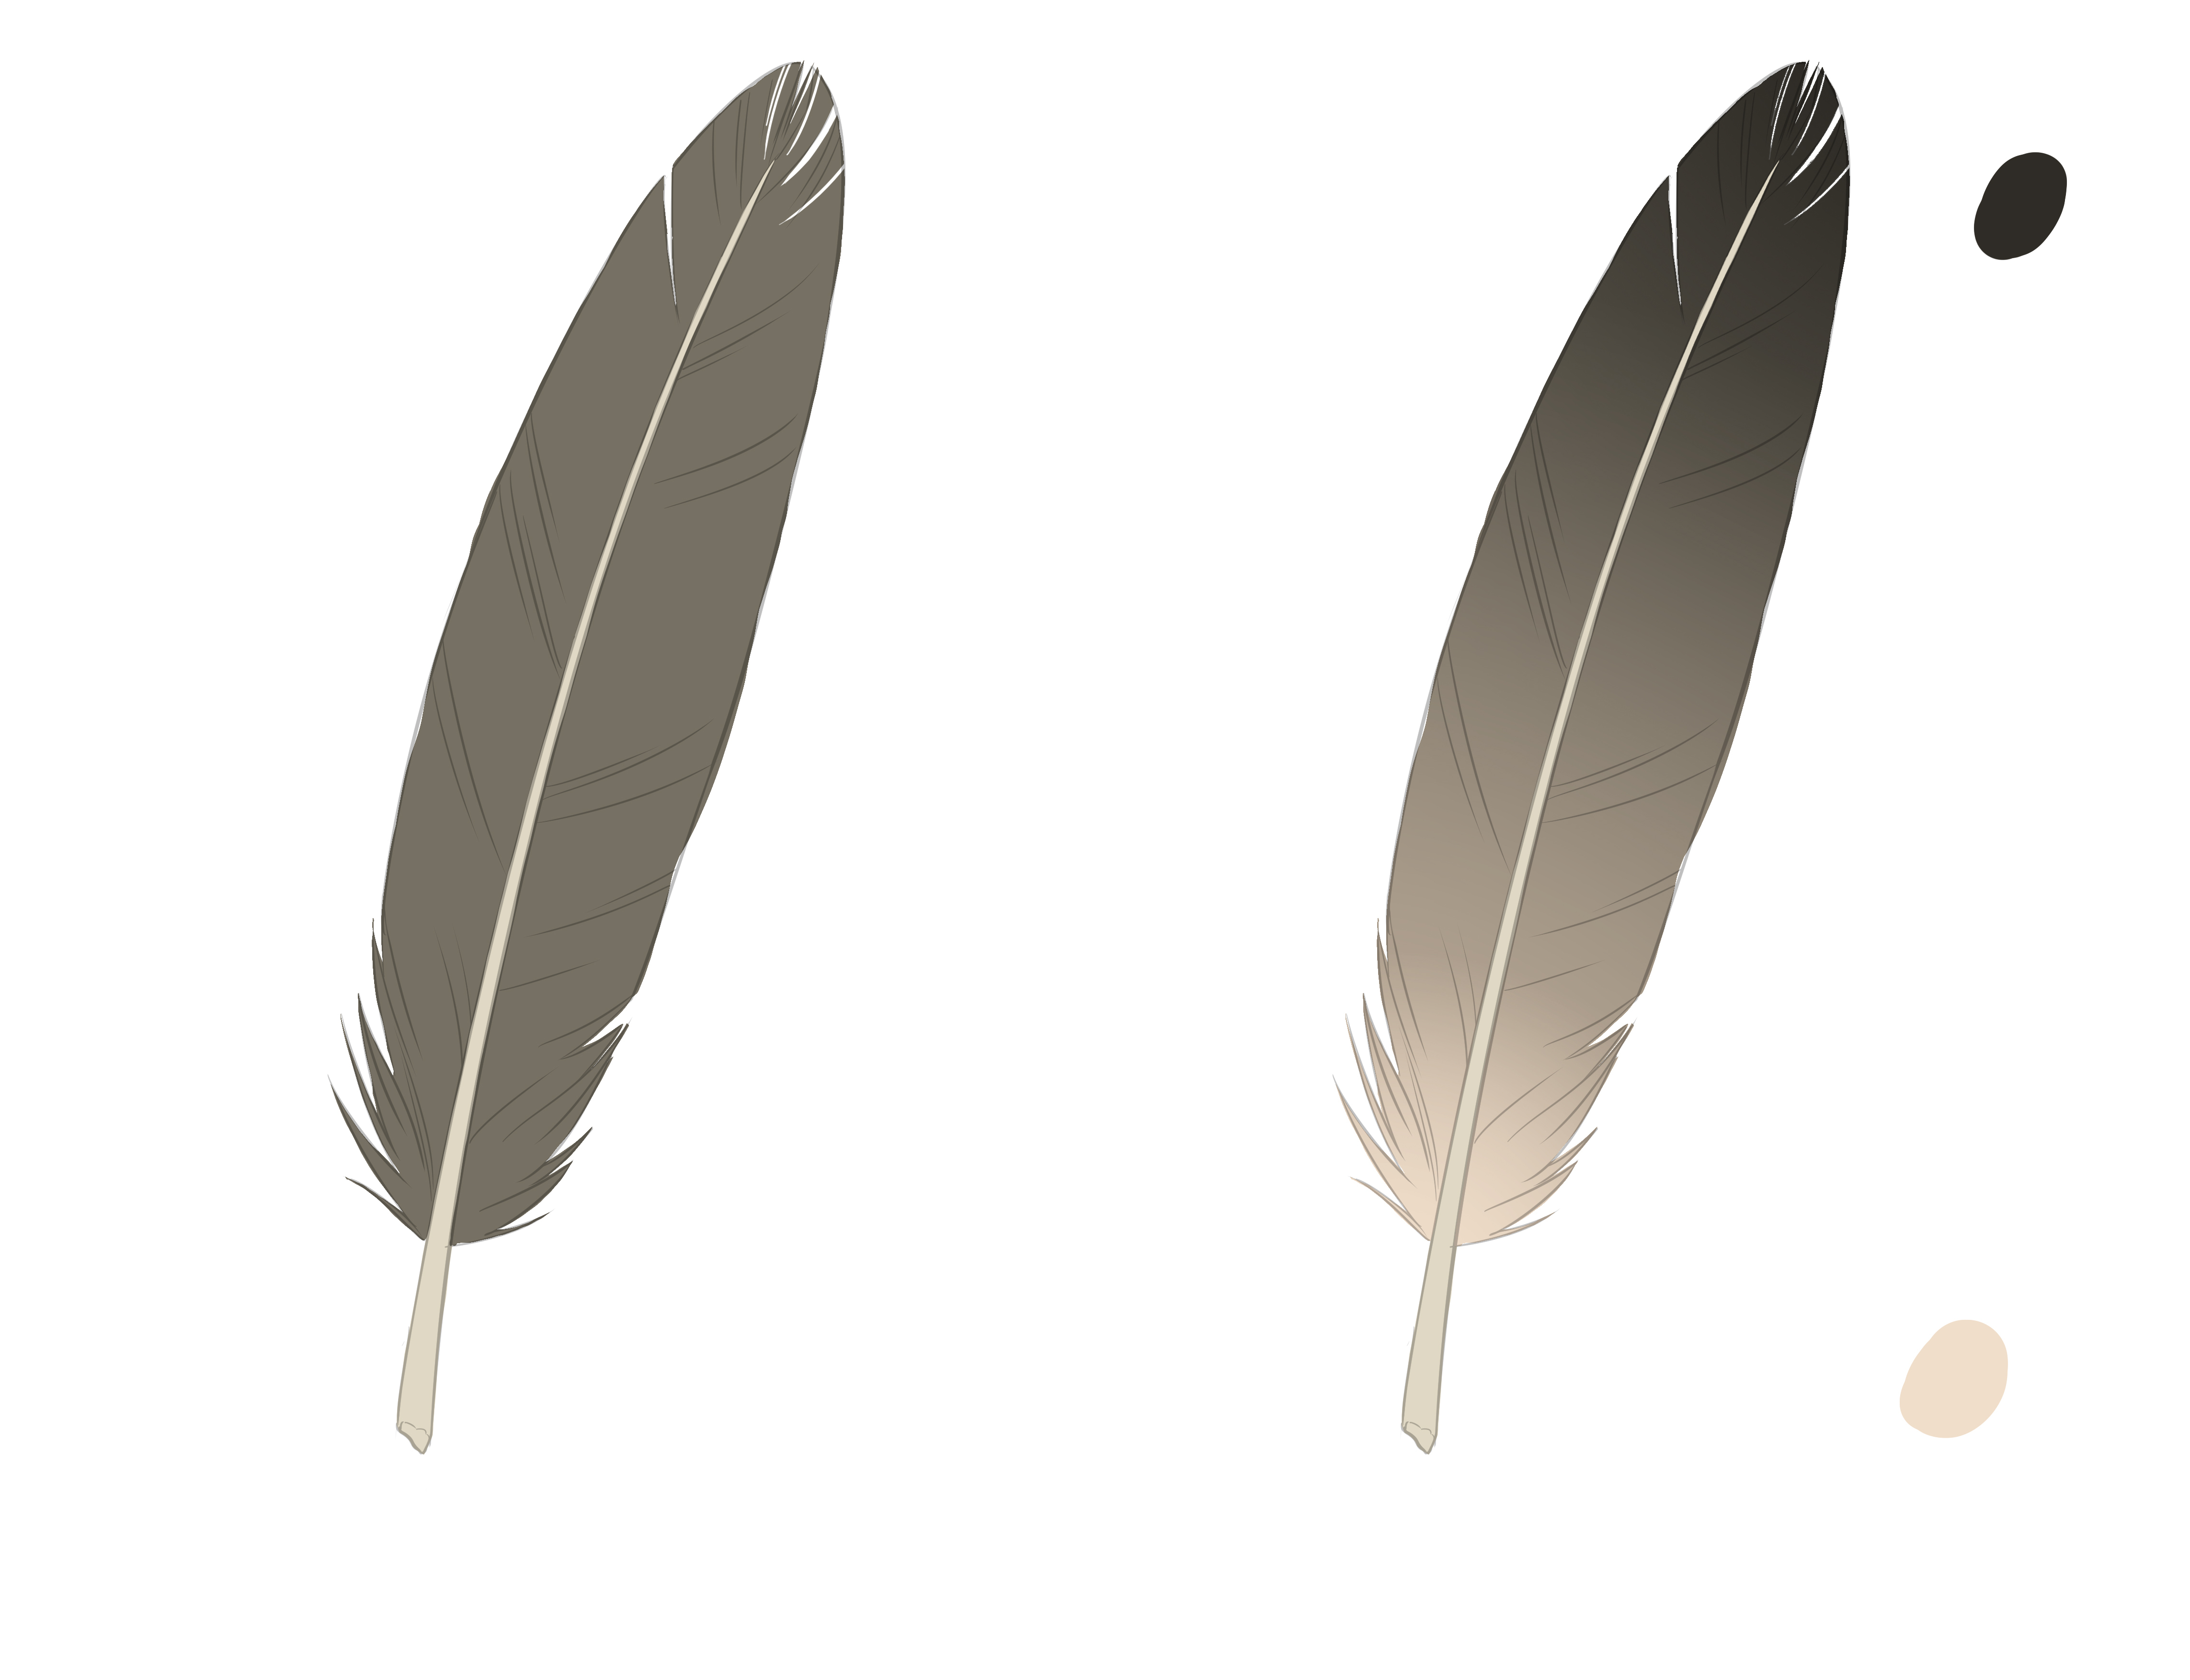
Be sure to take your time to have a perfect colored base, with a very sharp shape on the standard and well-defined small beard hairs on the hyporachis and certain areas of the concerned standard.
From there, the real work begins: shading.
THE SHADES OF THE FEATHER
Let's go back to the stem. Use a shade that is slightly darker and grayer than the base color and apply it to the edges of the stem. Because your stem is a cylinder. So you need to position the shadows accordingly. Also, add a few spots randomly. The stem isn't supposed to be clean and perfect. Imperfections will make it look more realistic ^^

Also consider darkening the stem more on the side of the tip than at its base. Simply because the tip is covered by the banner and therefore shaded by it.
And we're done with the stem!
Let's move on then. A feather is rarely completely flat, it has some volume. One side may be flat, but the other will be more curved. Regardless, you will need to slightly darken the area around the quill. Be careful with your brush / pencil strokes whether they are digital or traditional: always respect the direction of the barbs' placement. Otherwise, your rendering may be unconvincing.
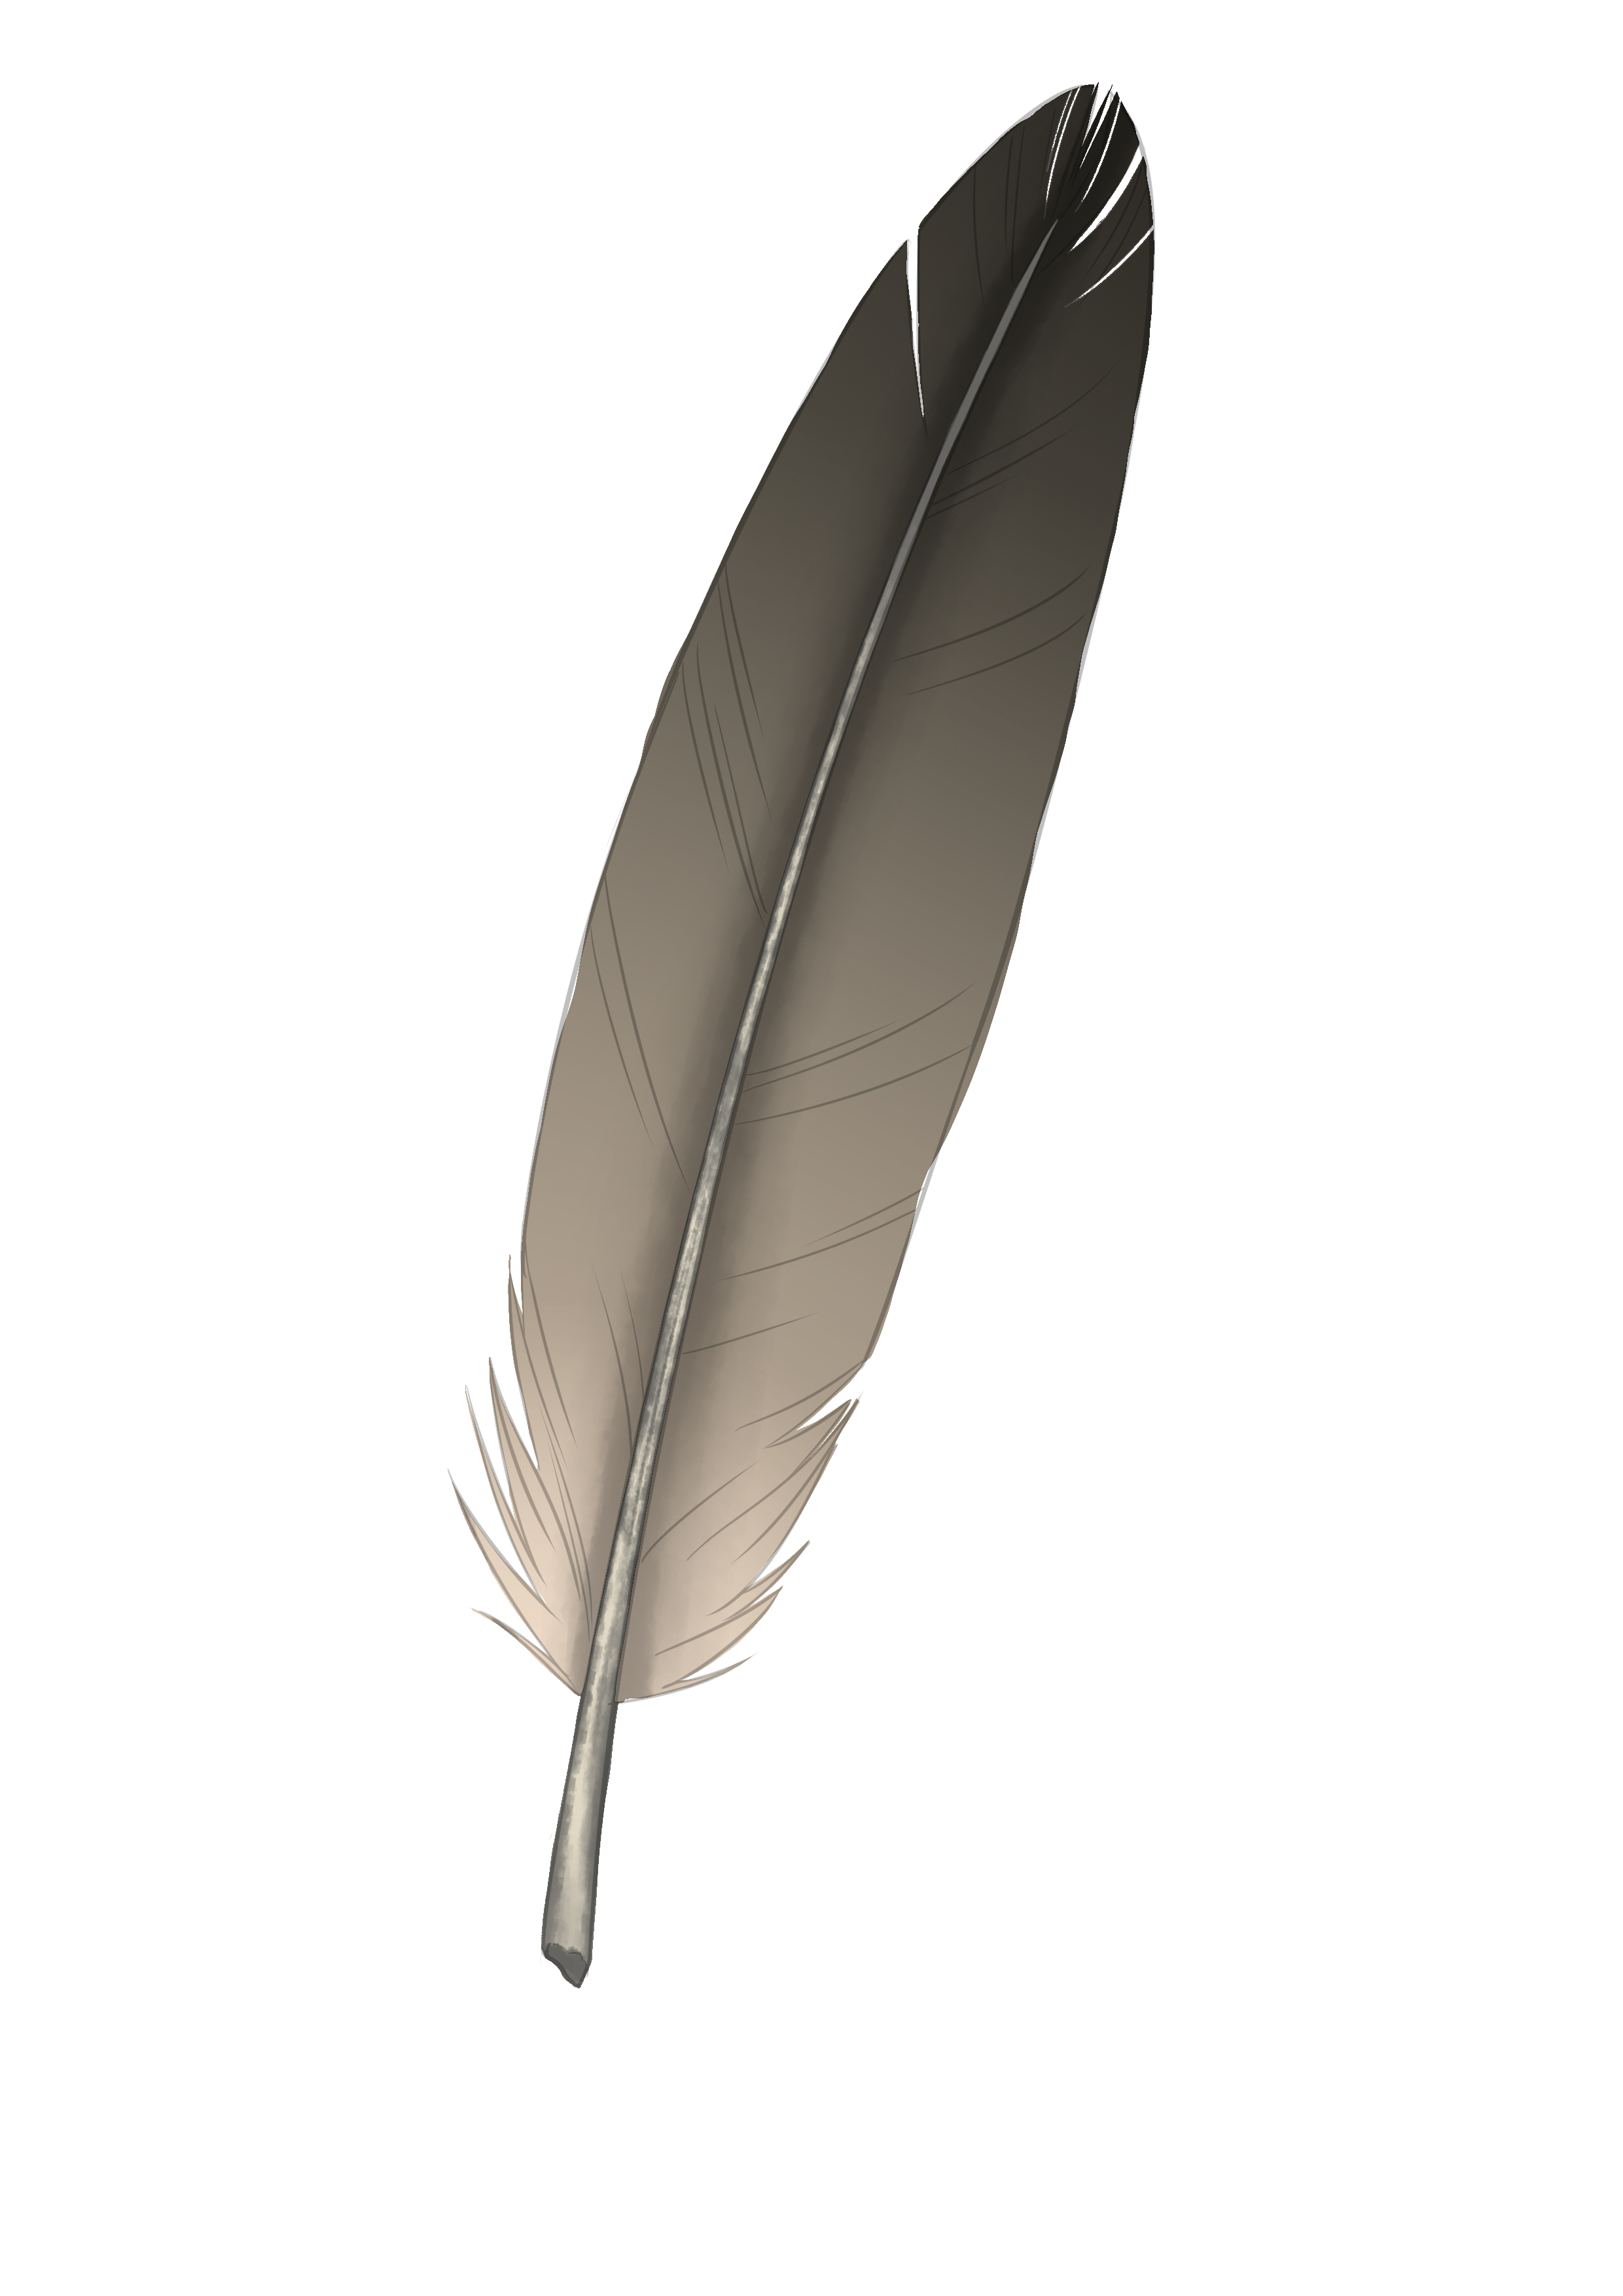
Also place shadows towards the end of one half of the standard (usually the wider of the two). Always respecting the direction of the feathers' implantation to give a convex appearance.
At this stage, our pen is starting to look good.
You can go so far as to detail the beards a bit (be careful to remain subtle and delicate and always follow the direction of placement). Don't hesitate to really blend your shadows very softly (by this I mean: do not make them too sharp) to achieve a very soft rendering. This remark concerns only the banner, not the pole.
Last detail, we will accentuate the shadow around the stem along the base of the standard. Choose a deep gray and draw a very fine line. You can also take this opportunity to further stain your stem if you find it still too clean.
Finally, for those on computers particularly (those on paper presumably don’t need this): remove your basic drawing. If you find that it lacks some details, feel free to add or enhance some ^^
Here, you have made a feather!

RECALL OF THE DRAWING STEPS
- Analysis of your model
- Start with the stem, then the standard
- Isolate an area of the flag that corresponds to the rachis and detail the barbules according to their direction of implantation
- Then color it all, softly for the banner, with sharper shadows for the stem / the rachis.
Discussion
15 comments