How to Draw a Window
Window design has evolved throughout history, following architectural trends. Usually, when designing furniture, it is not the element you spend the most time on. However, you will see that by modifying the windows a little, you will add a touch of originality to your designs.
THE DIFFERENT TYPES OF WINDOWS
Technology has also evolved, and today we find a wider range of window options. Here is a short list of them:
- The casement window, a classic. It is the most commonly used type of opening. Both window sashes have a vertical opening and the panes open sideways.
- The sliding window, which is practical for saving space: one of the window panes slides behind the other.
- The awning window is less common. It is often found on smaller windows, or skylights: it does not open in the middle, but on an axis by sliding upwards or downwards.
- The sash window. It does not slides sideways - like the sliding window - but from bottom to top, or vice versa.
Here are some examples of tile and window patterns:
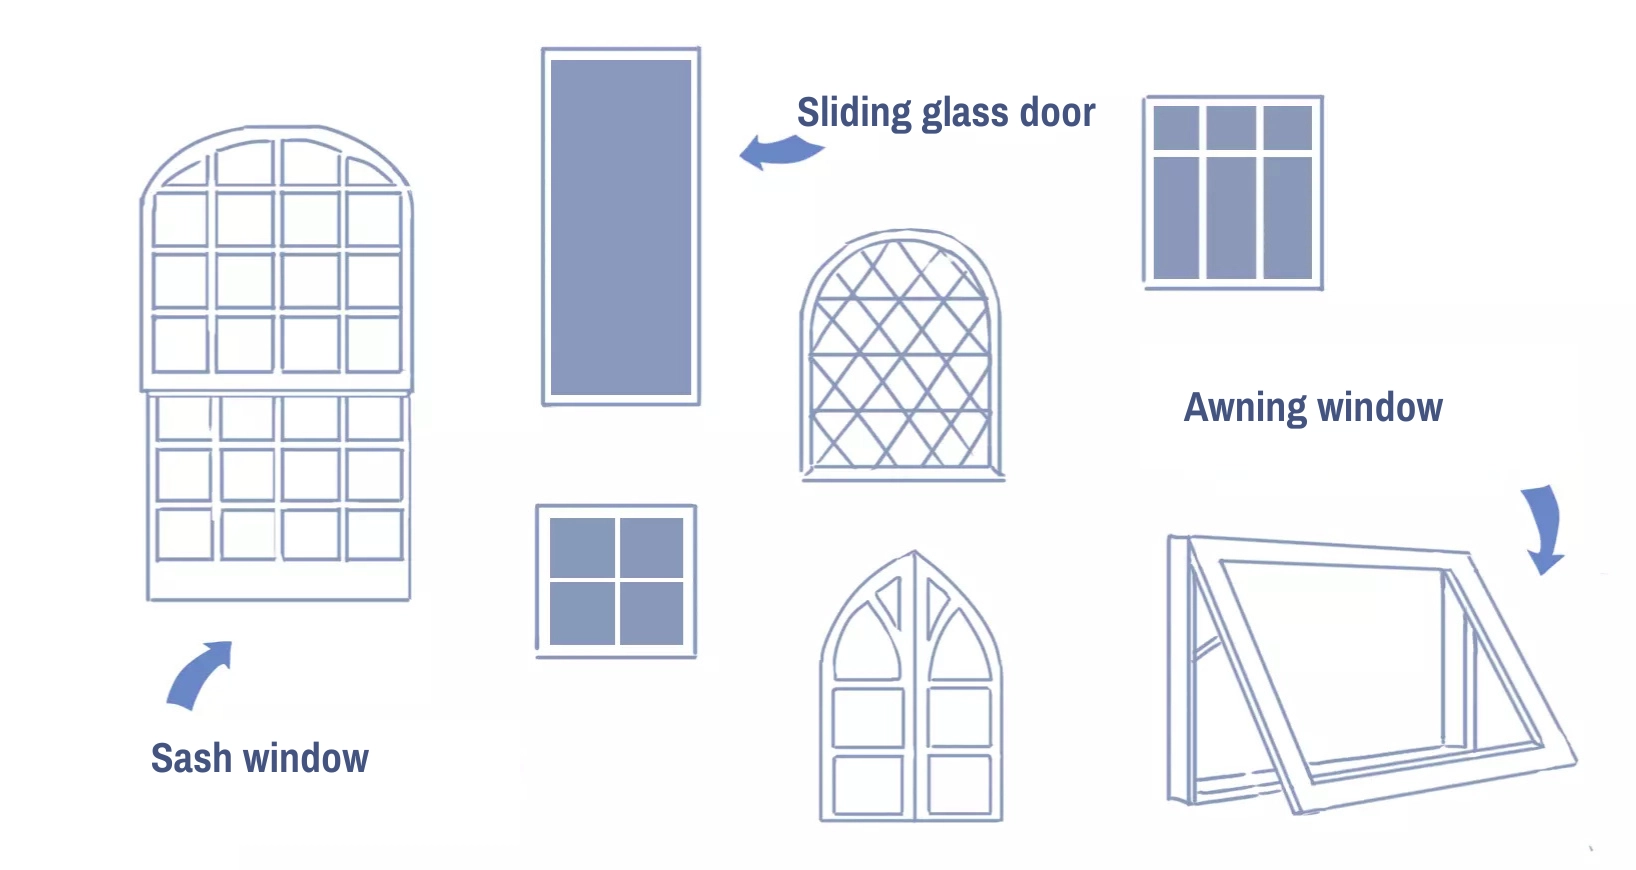
There are even simpler forms of windows that take basic geometric shapes, such as the oeil de boeuf (circular), and the houleau window (triangular).
DRAWING A CASEMENT WINDOW STEP BY STEP
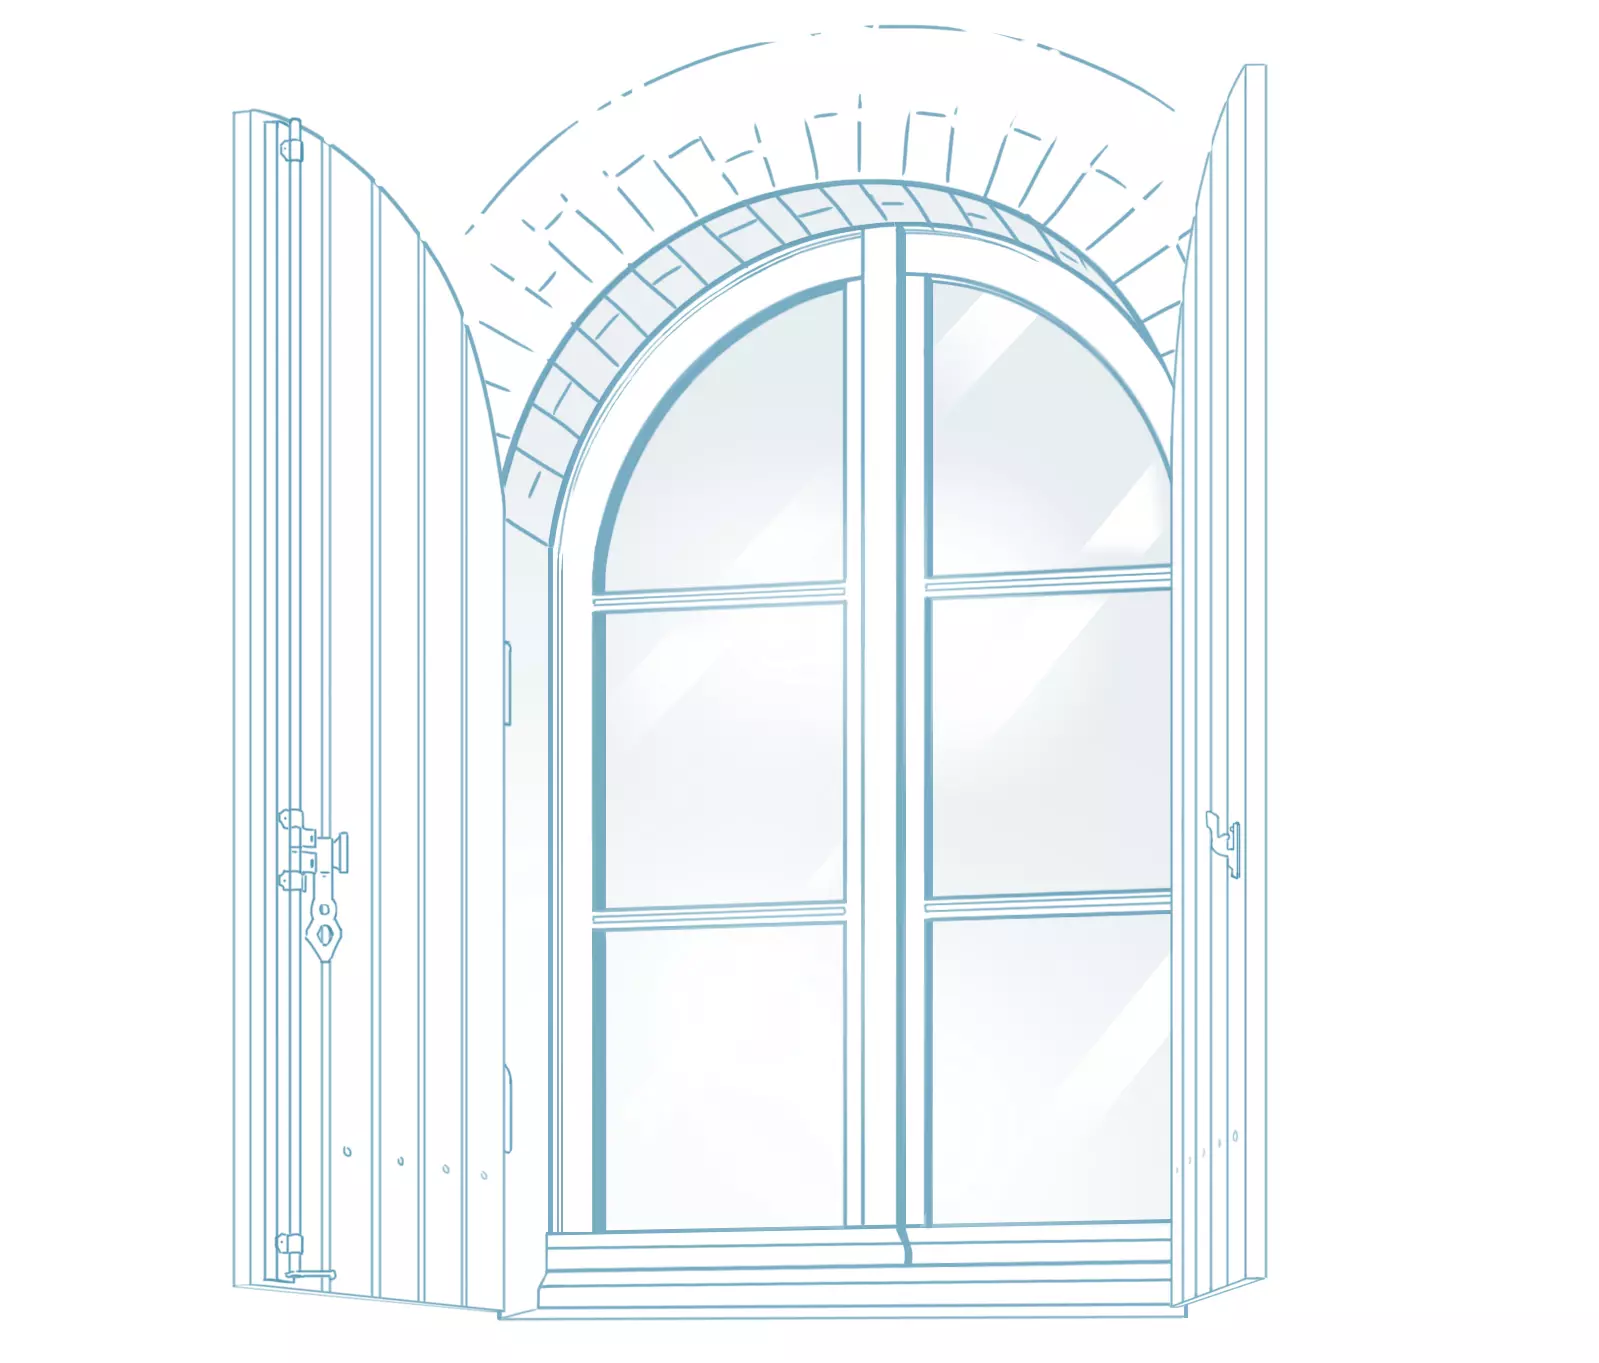
We will draw a window with shutters, but seen from the outside.
It will have 6 glass panes: 4 rectangular ones at the bottom, and two in the shape of an arch at the top. Its opening is French-style, i.e inward. It’s the type of window commonly found on the façade of a country house.
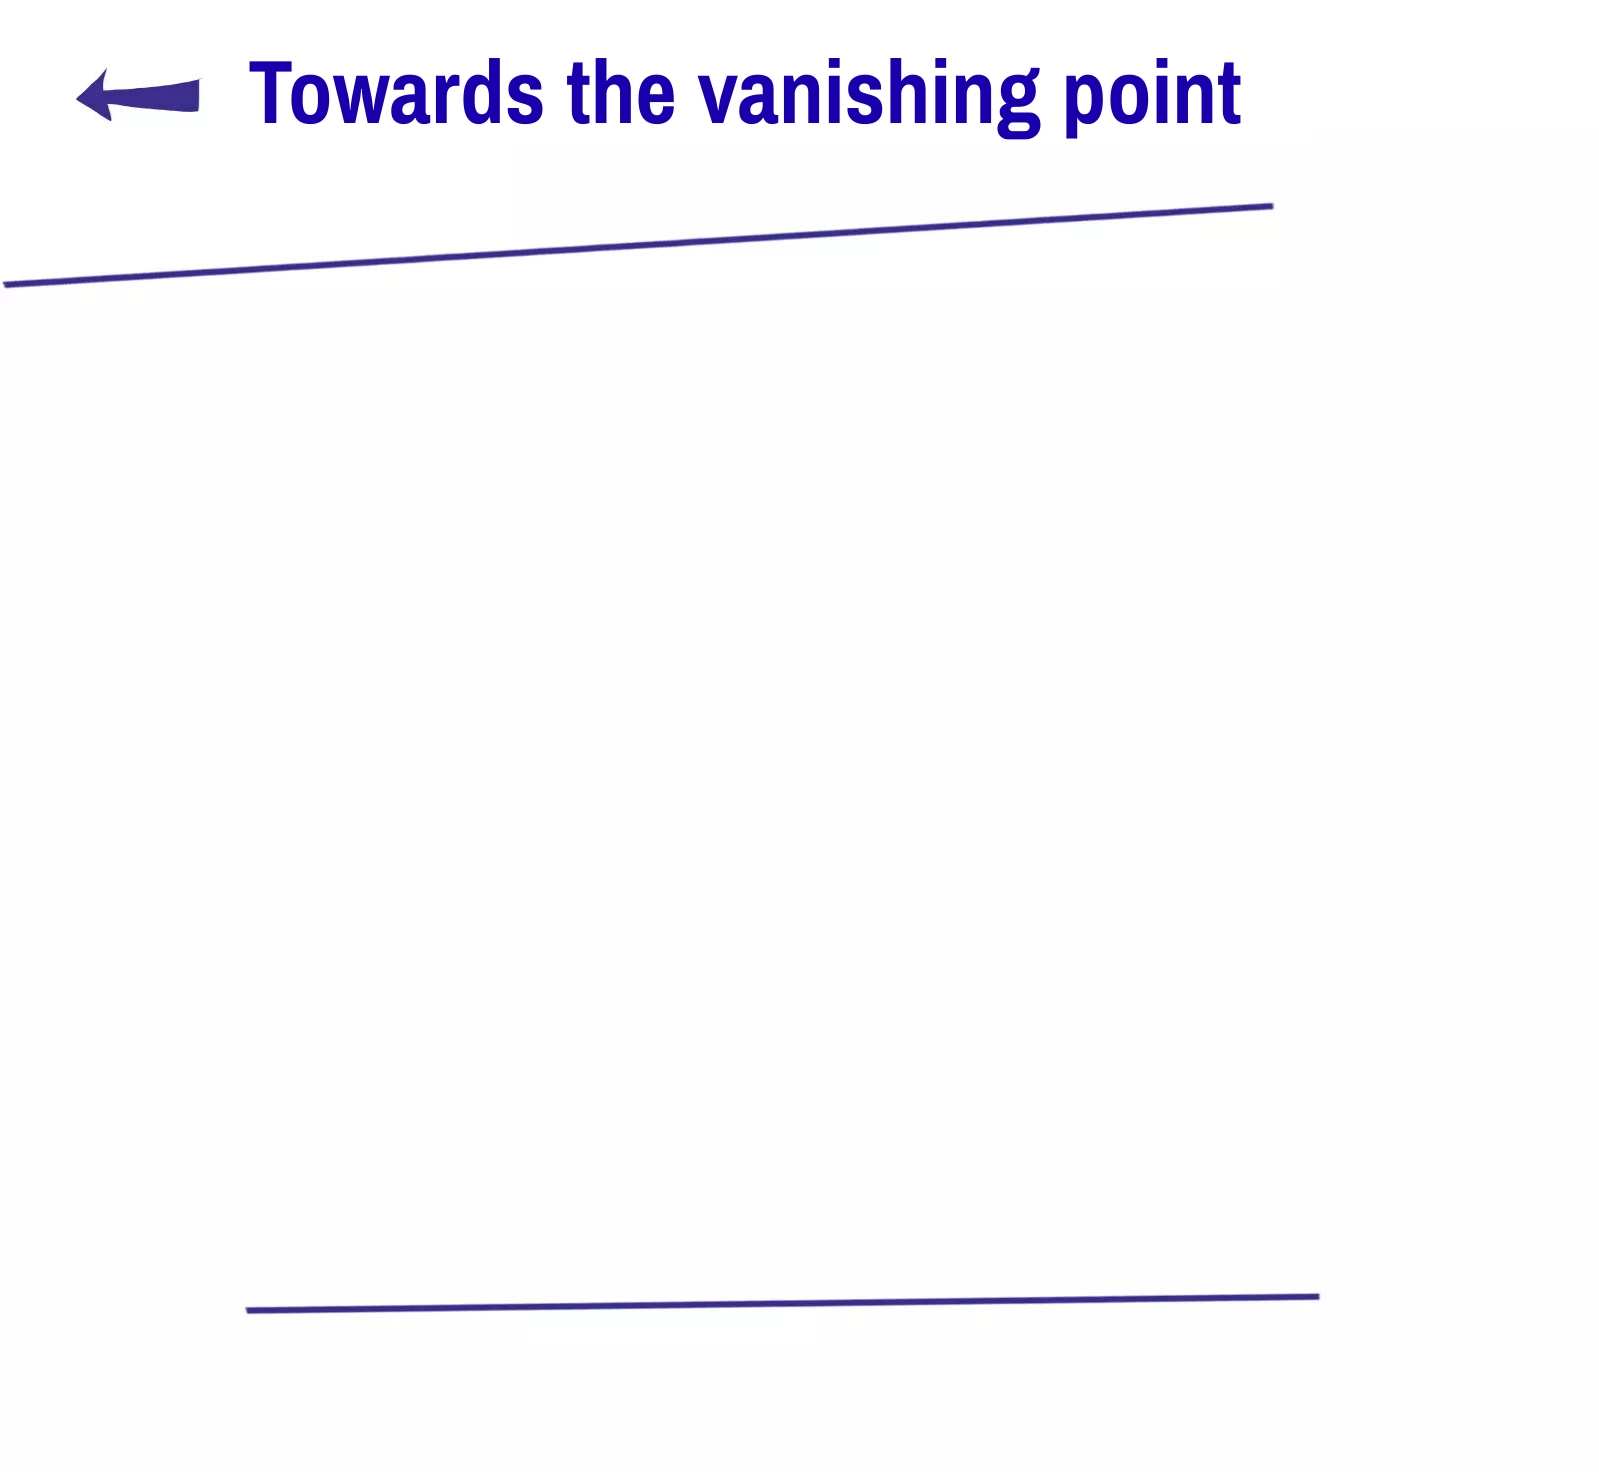
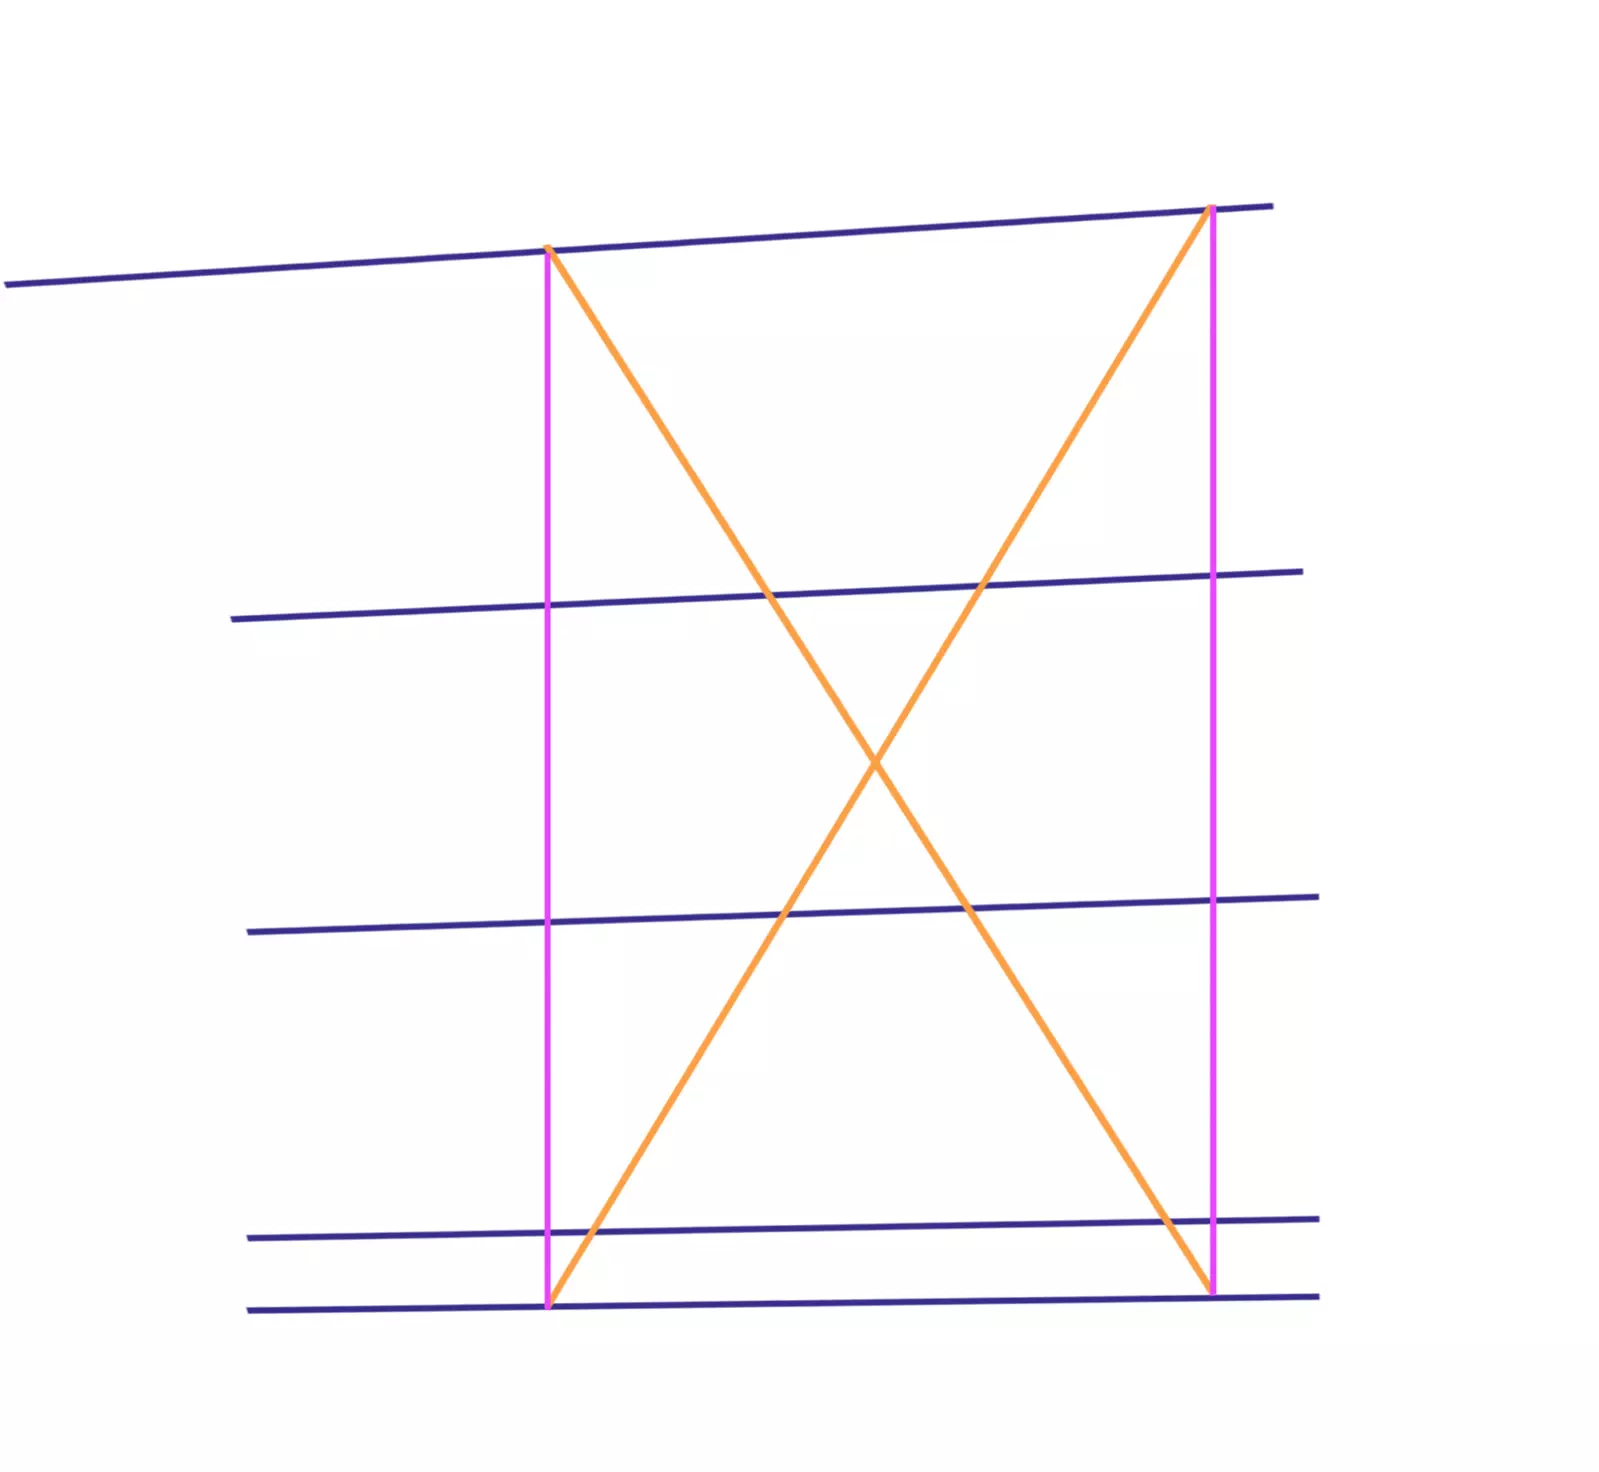
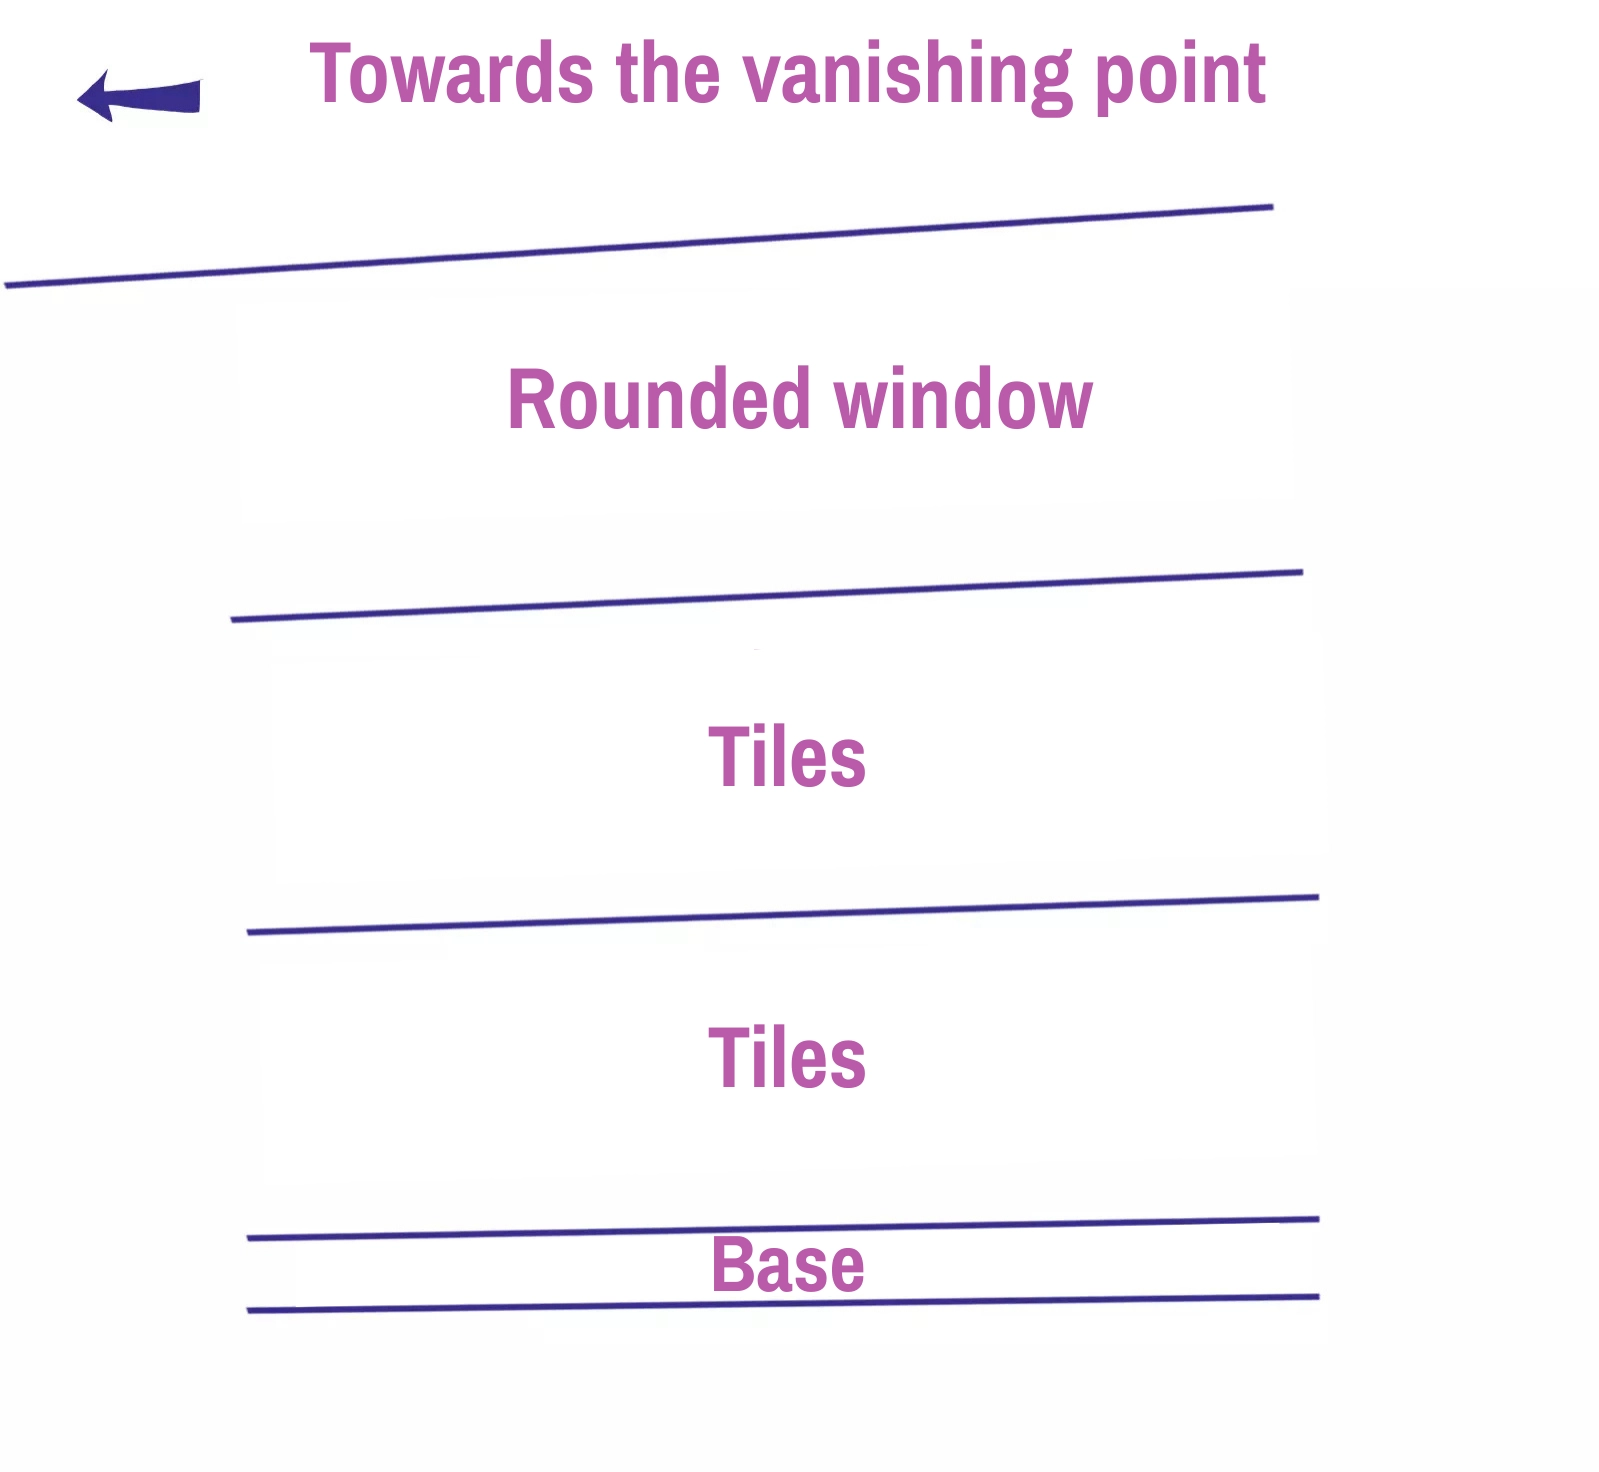
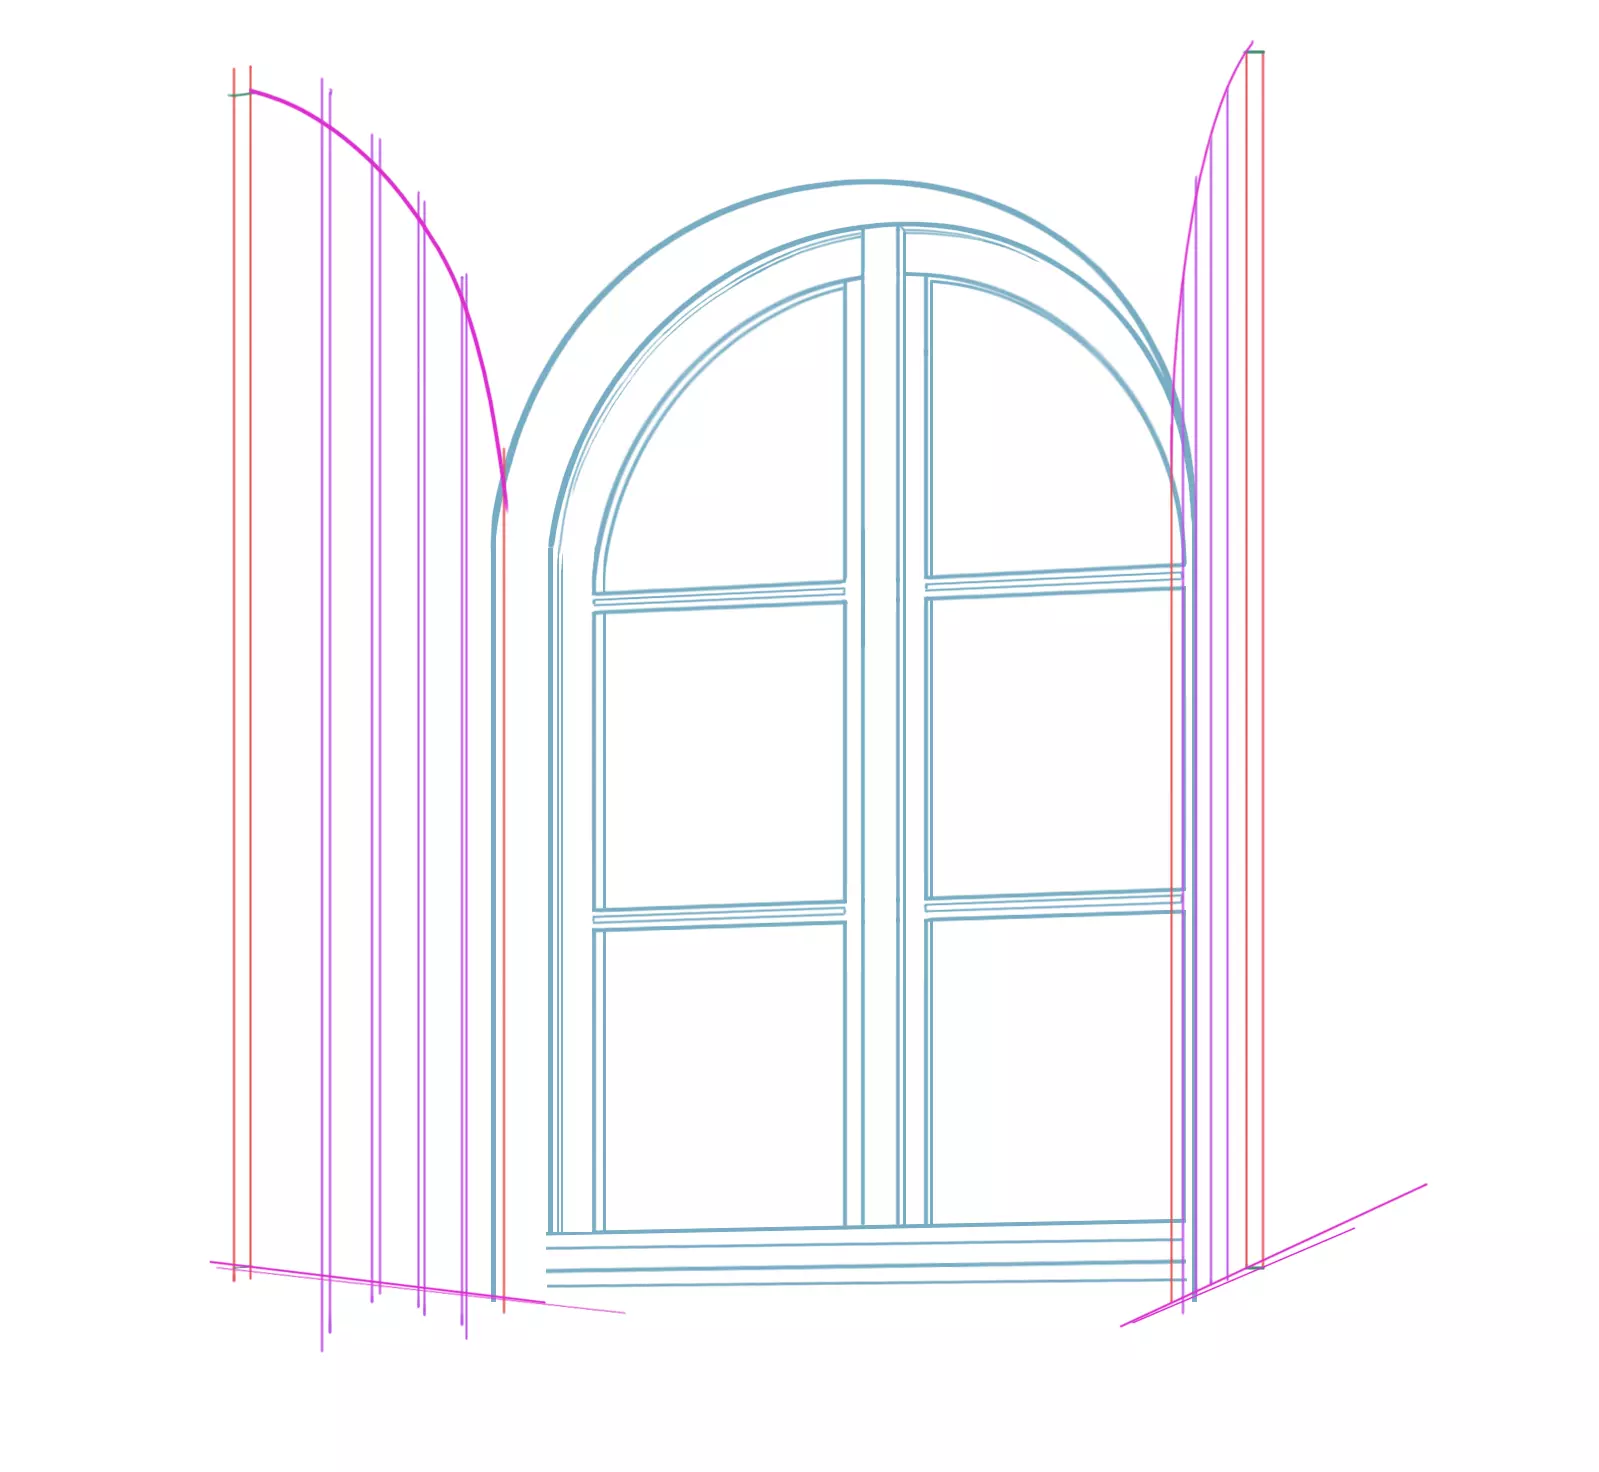
1/First of all, I choose a viewpoint. I want to draw a window seen from the side, so I define a first vanishing point quite far away. All the horizontal lines on the front of the window will follow this vanishing point.
I start by drawing the highest and lowest line of the window.
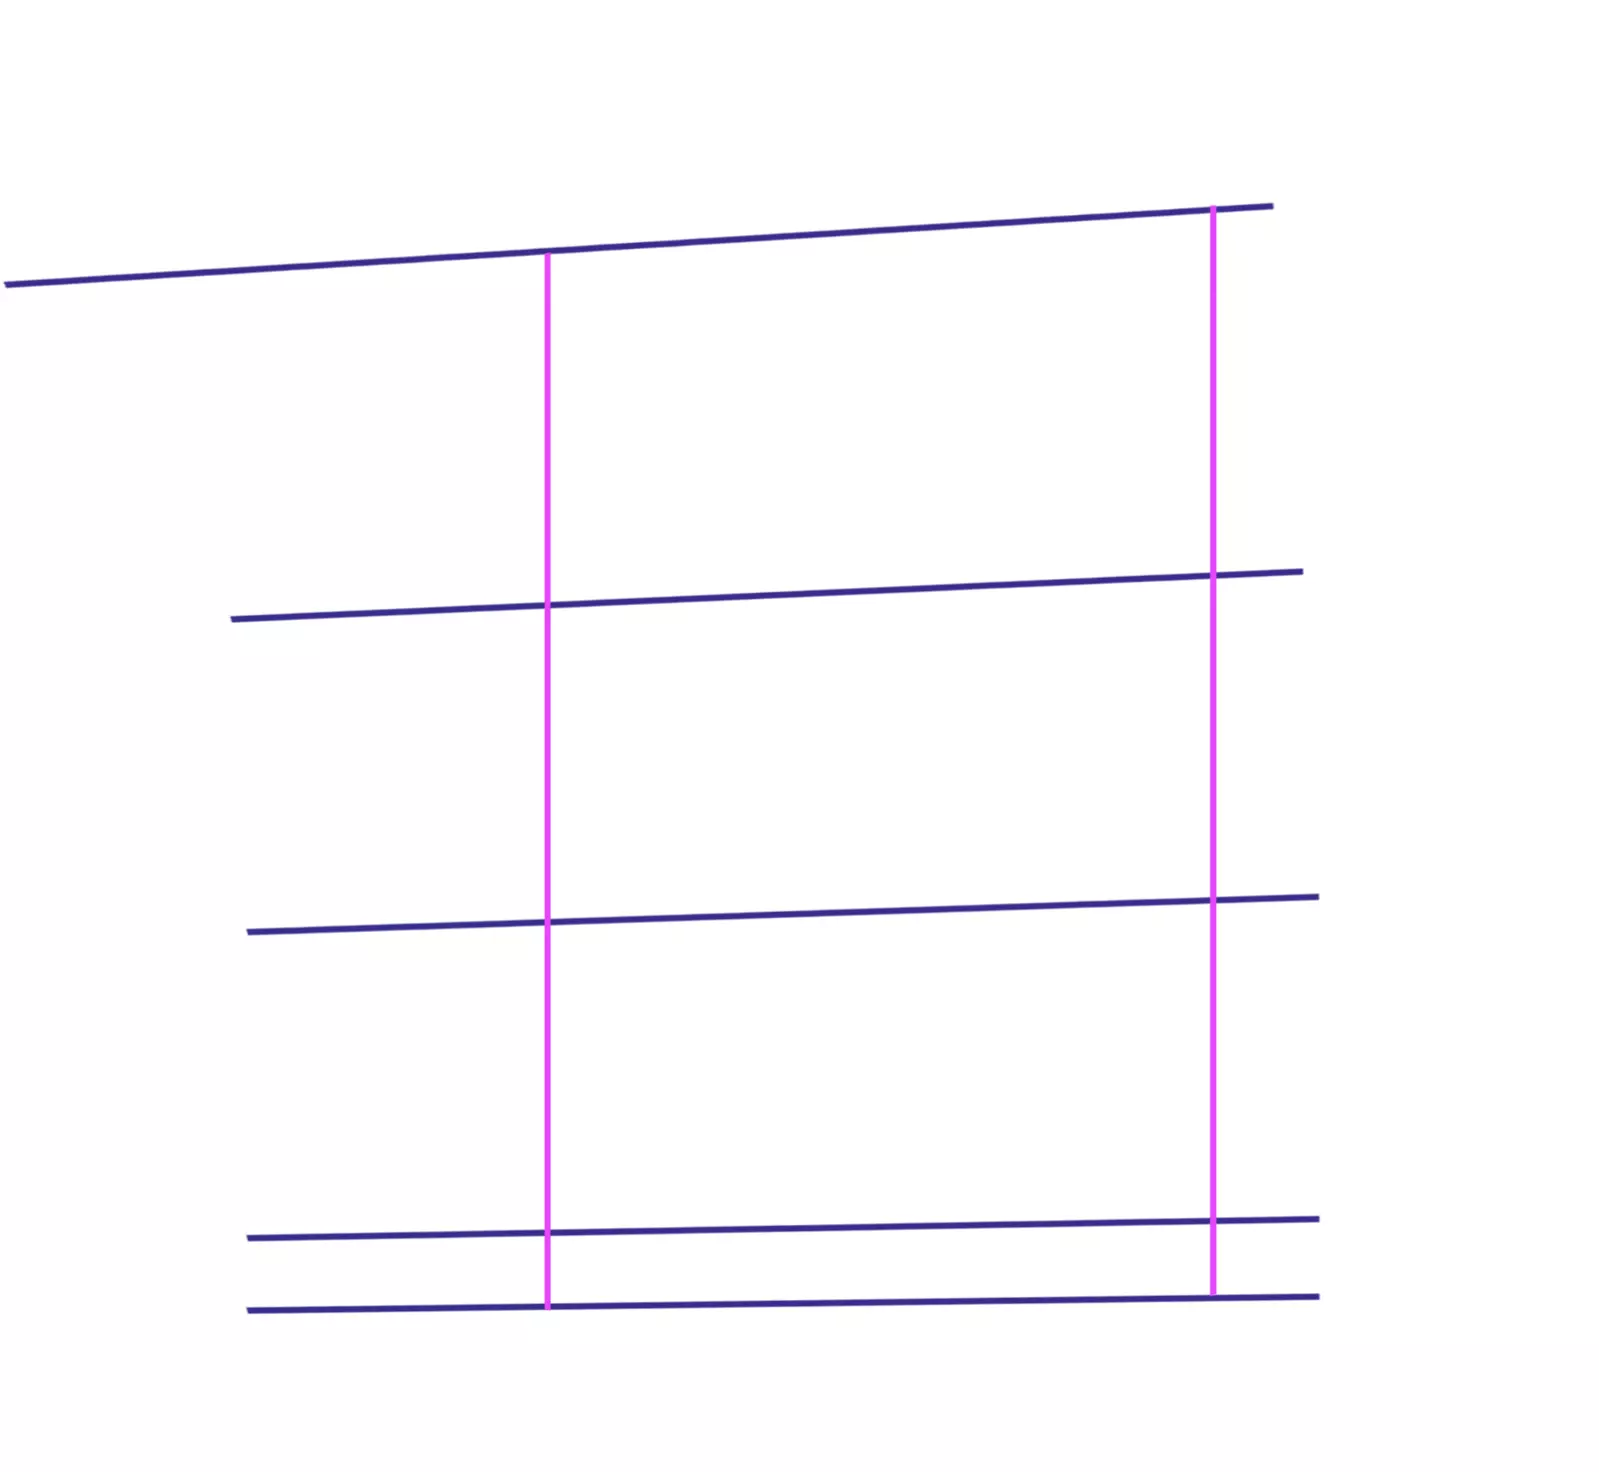
2/2 Now I draw the lines that will separate the tiles horizontally. I thus define one space for the rounded tiles, two spaces for the rectangular tiles, then a smaller space for the window frame, always moving towards the first vanishing point.
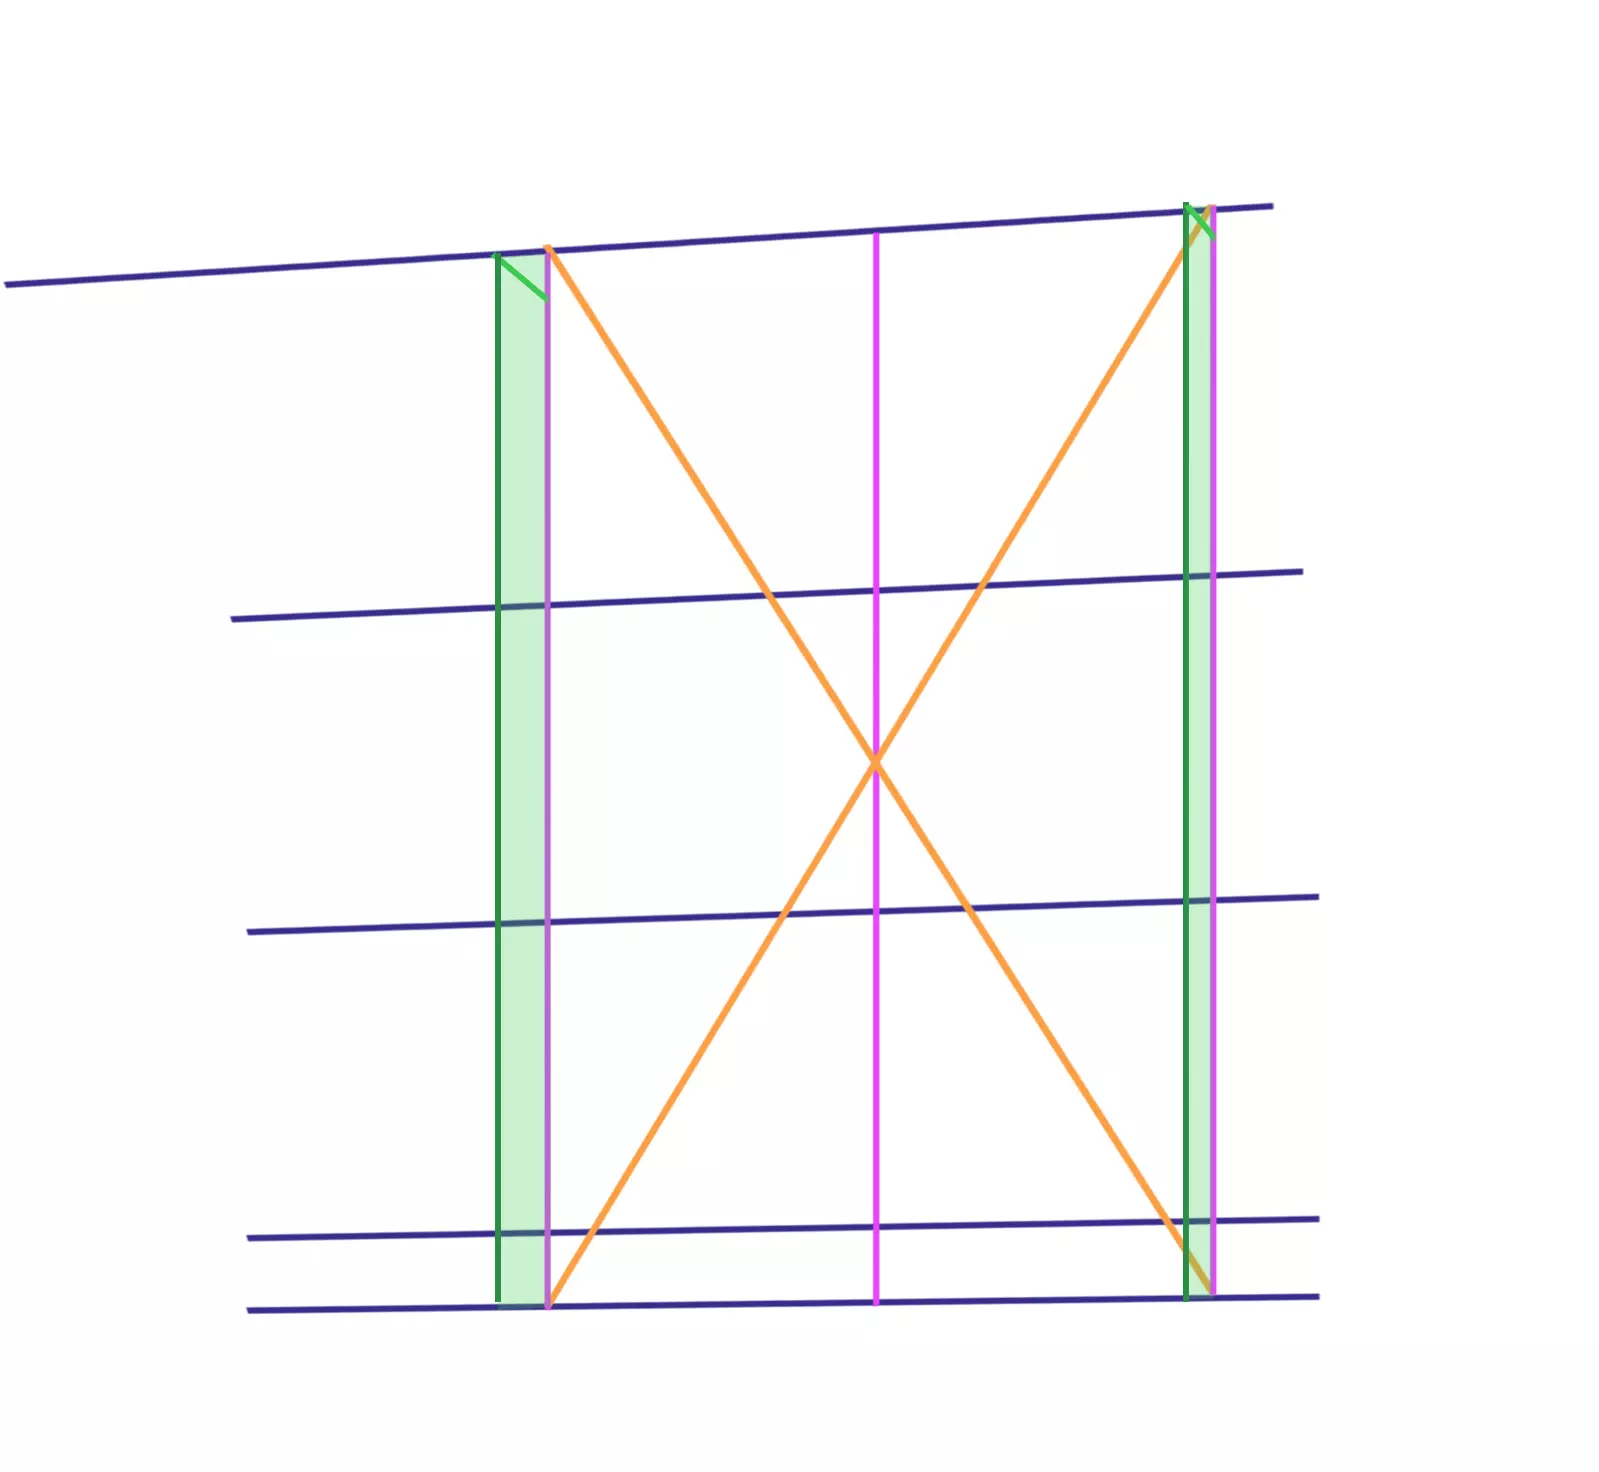
3/3With two vertical lines, I finish defining the overall area of my window.
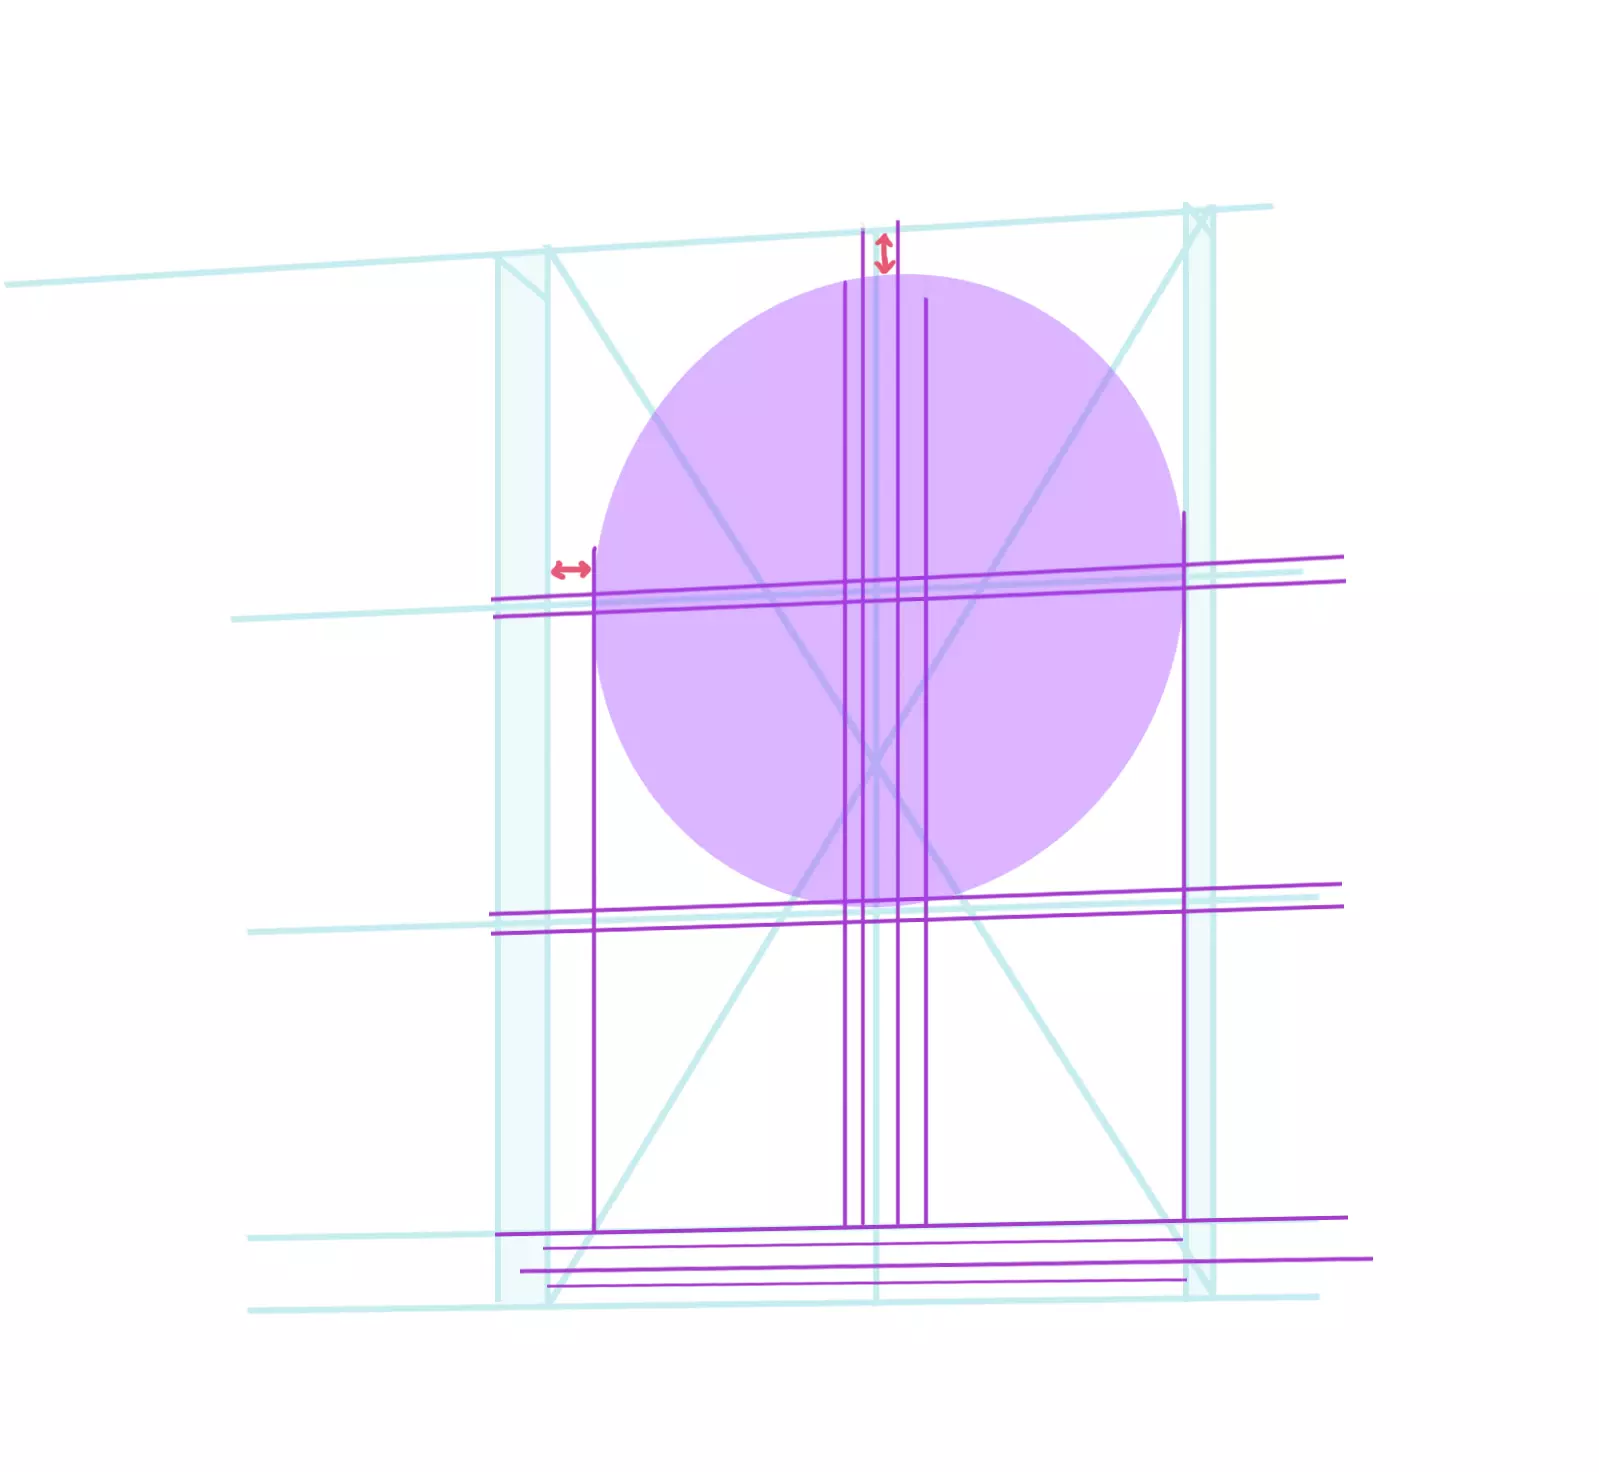
4/4I am trying to define the centre of my window to draw the central opening, but for this it is not sufficient to divide the rectangle in half. To find the correct dimension for the centre of my already perspective rectangle, I draw the diagonals of the rectangle. The centre point of the cross is then the correct reference.
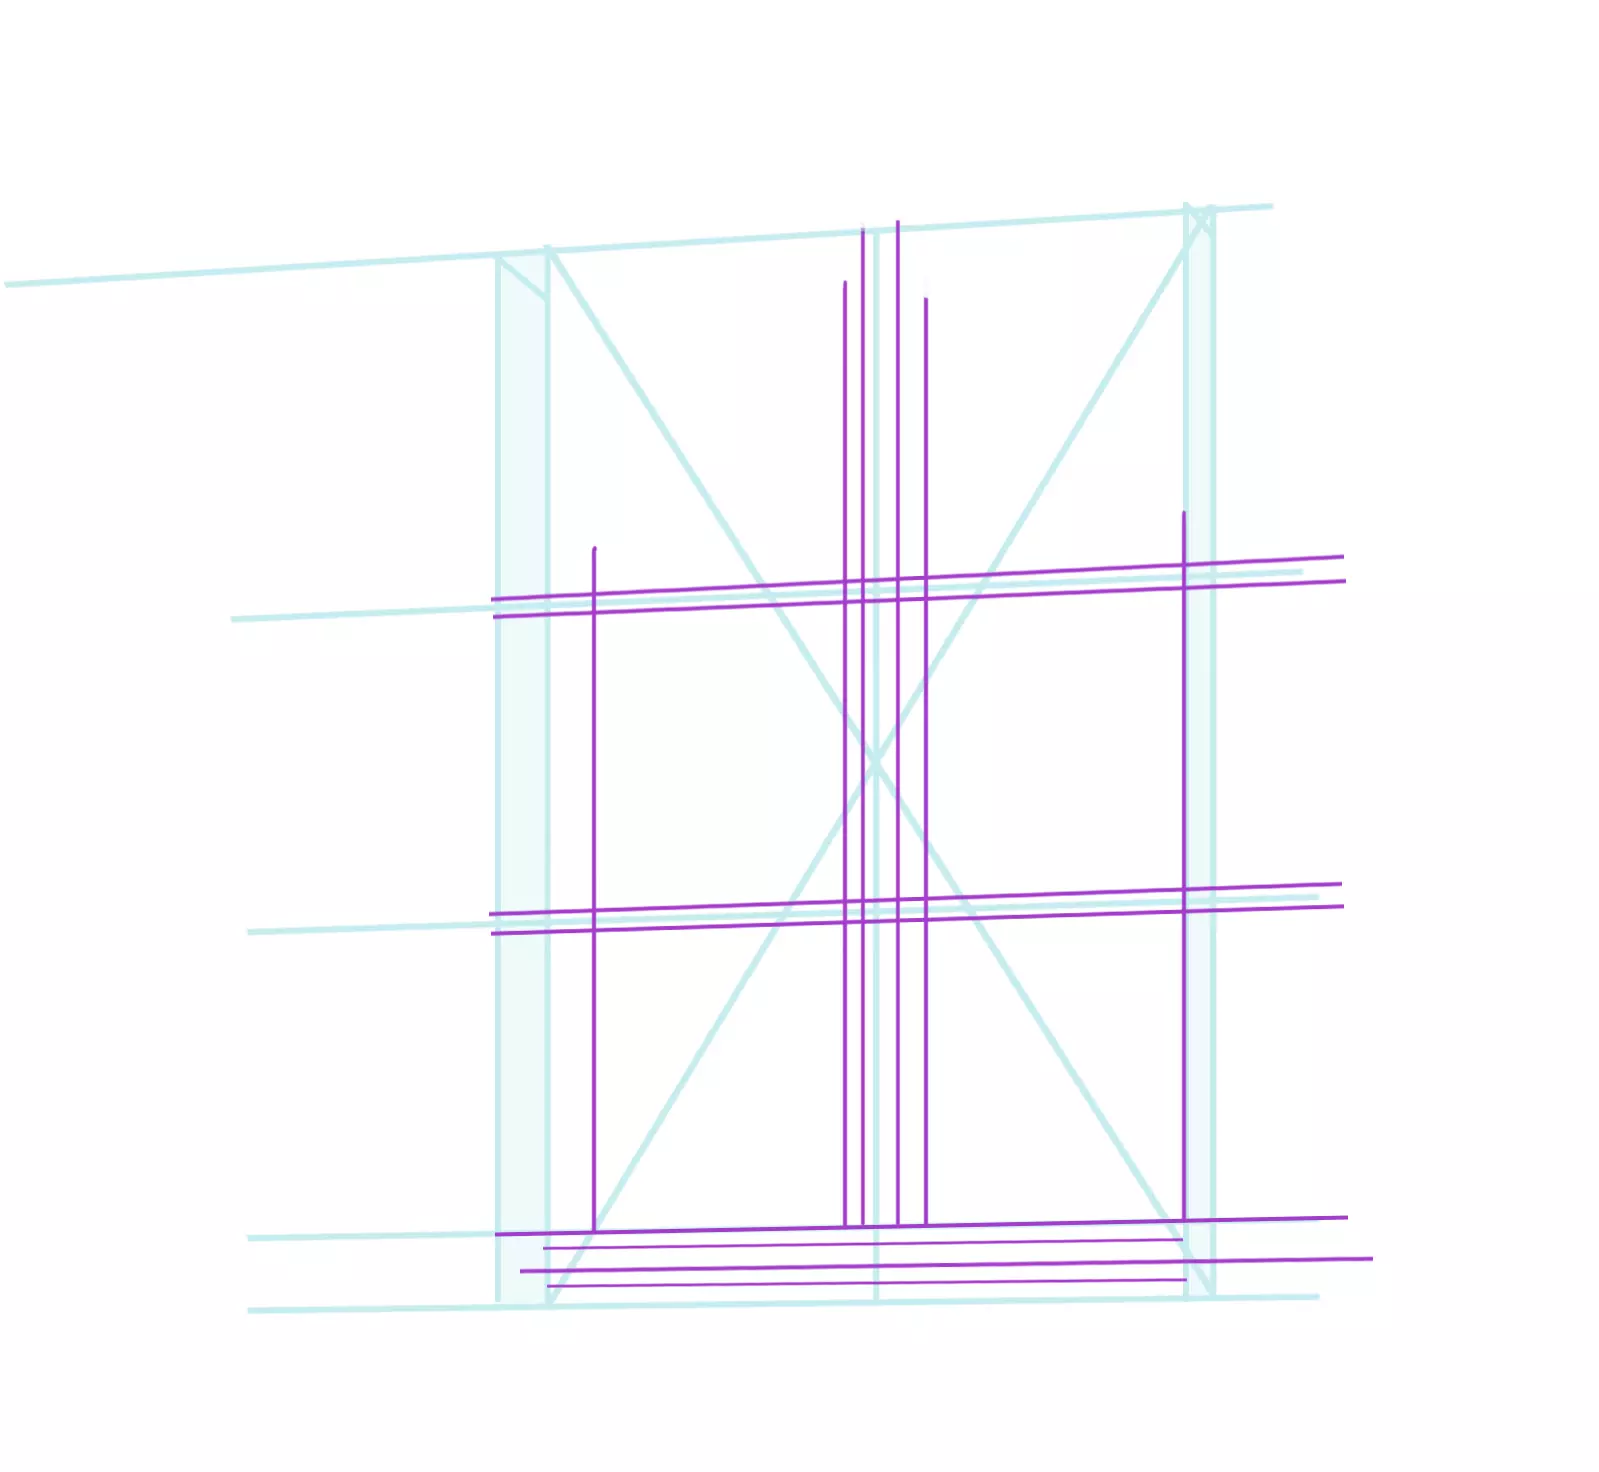
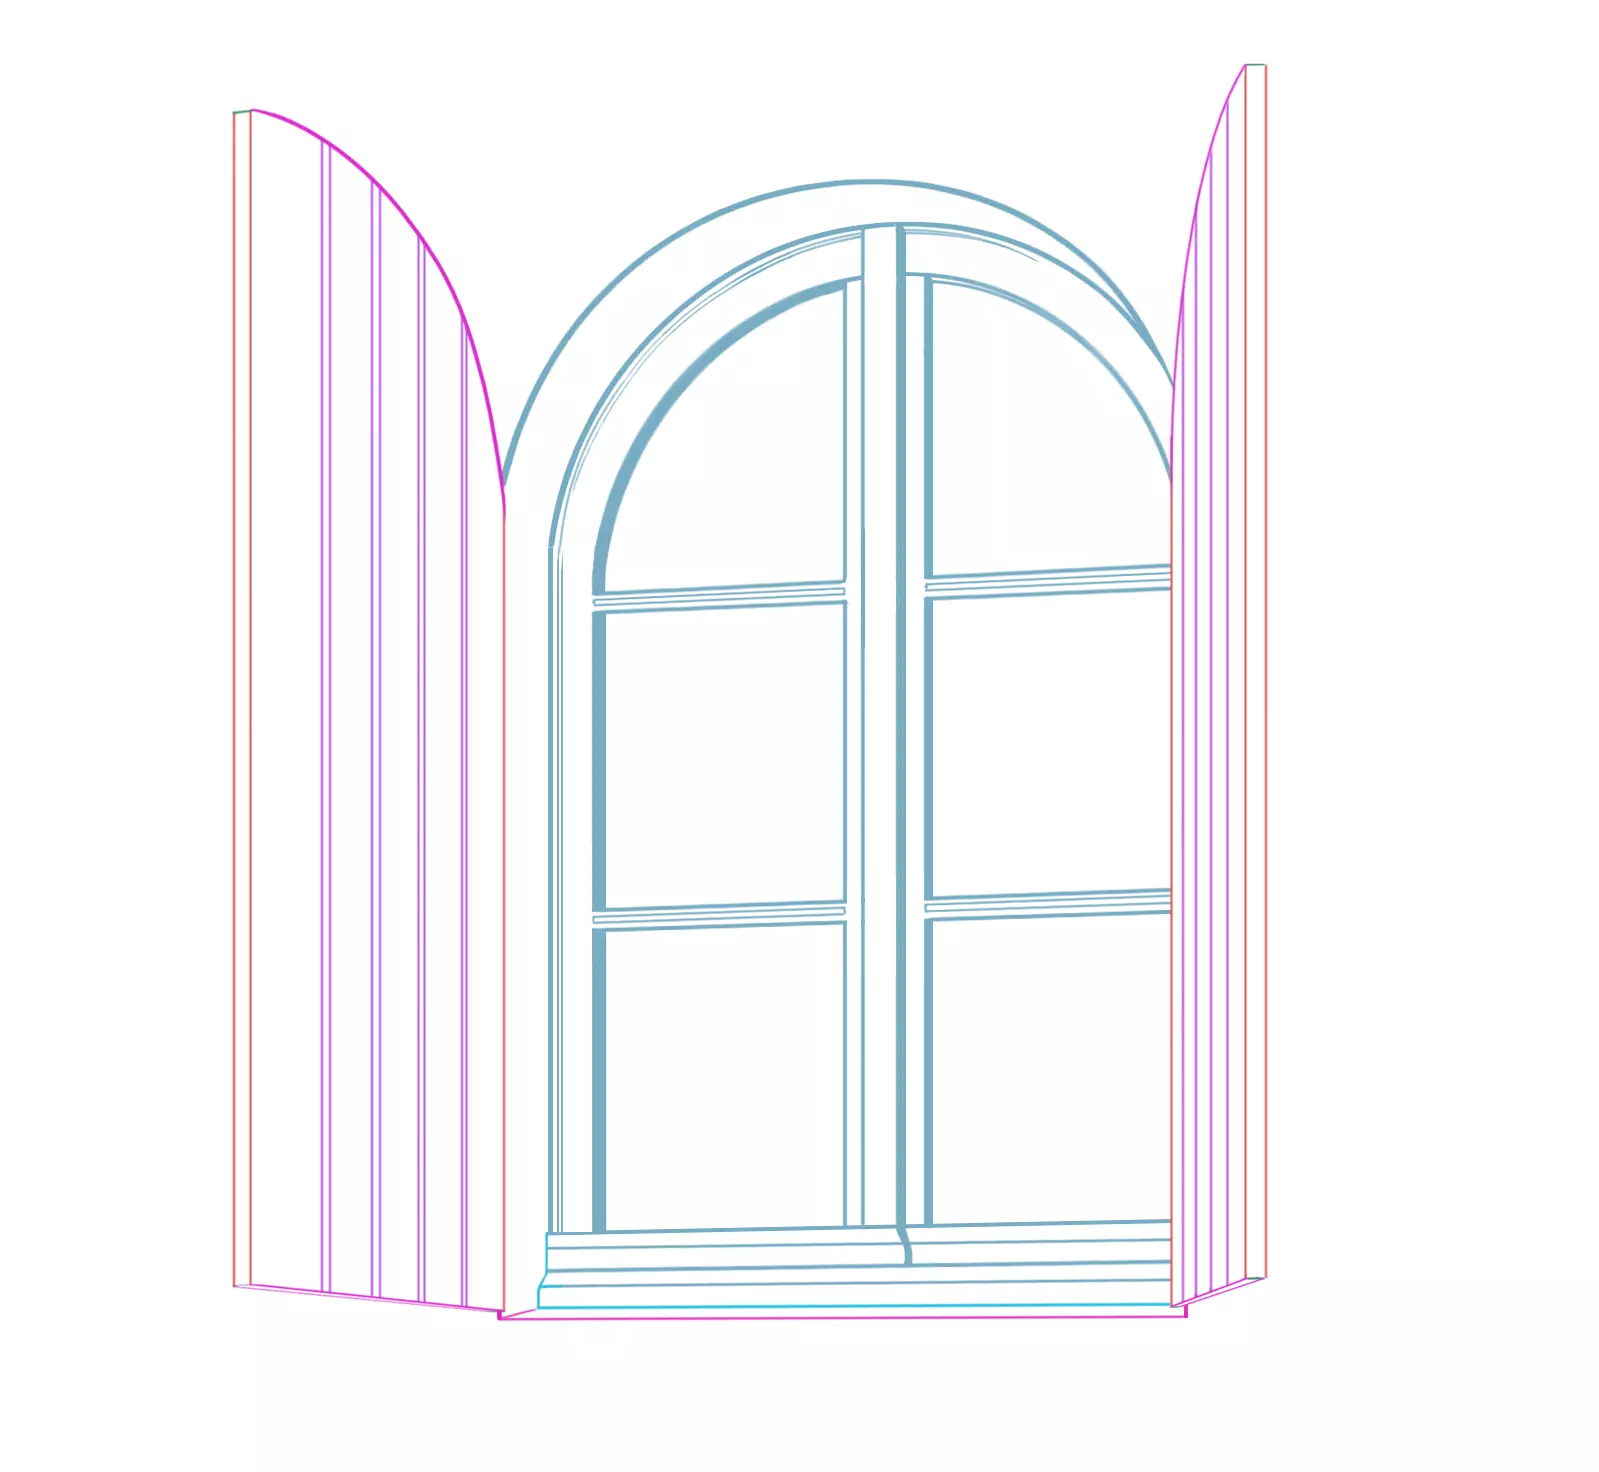
5/5I am drawing the edges of the wall into which the window fits and I'm choosing a second vanishing point.
6/6I draw the center line: the opening of my window.
7/7My initial construction lines are finished! I lower the opacity and redraw the main lines of the wood surrounding the windows. It's necessary to maintain the same thickness for the wood between the rectangular windows, and keep in mind the symmetry of the construction.
8/8The drawing of an ellipse (also modified in perspective) helps me to draw the characteristics of arched windows.
9/9I can remove the ellipse and draw the curve joining the lines of the first horizontal division of the window.
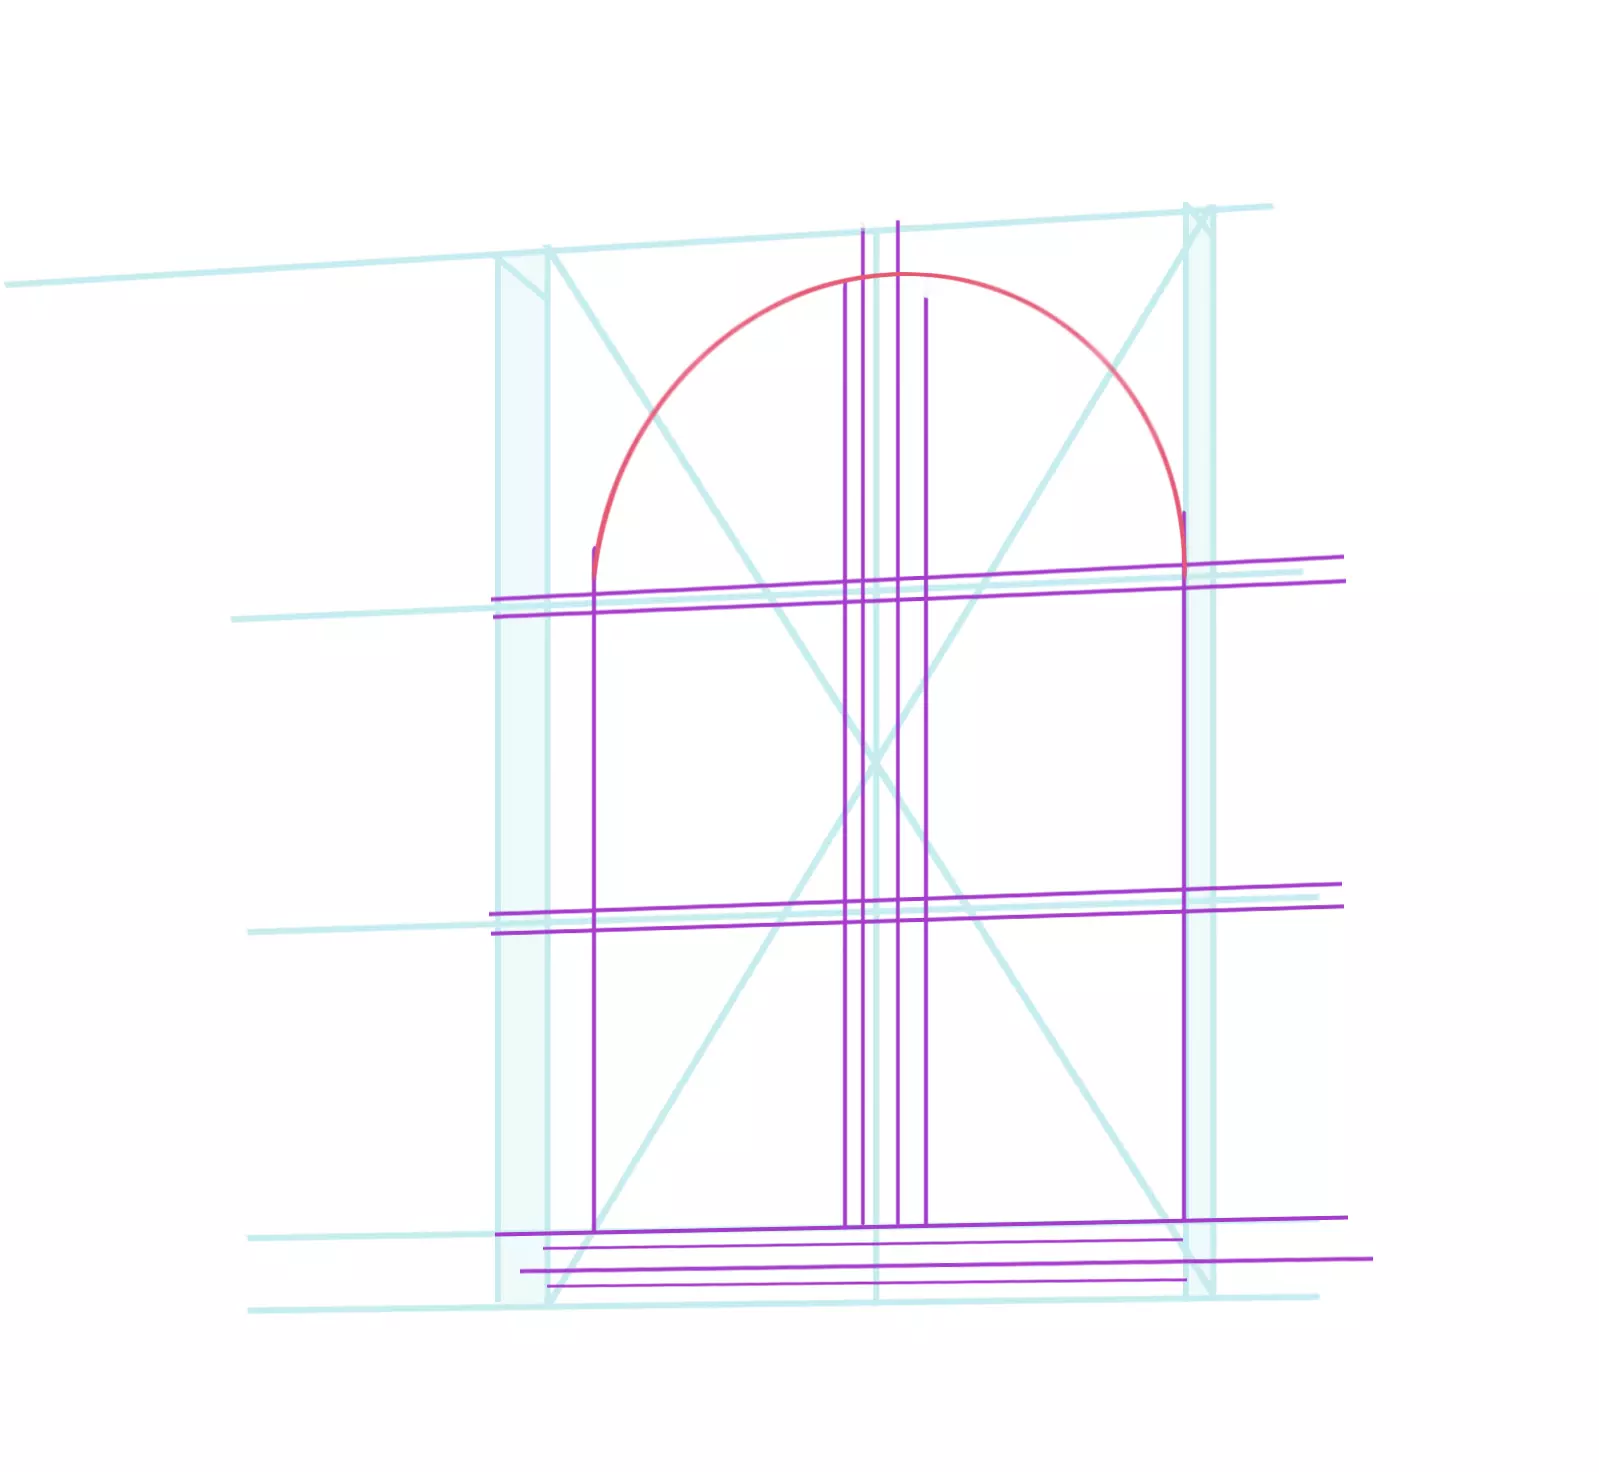
10/10I clean up the front, removing all unnecessary lines. I now have a large central vertical band, two smaller bands at its sides, well-defined squares and the horizontal lines at the base of the window.
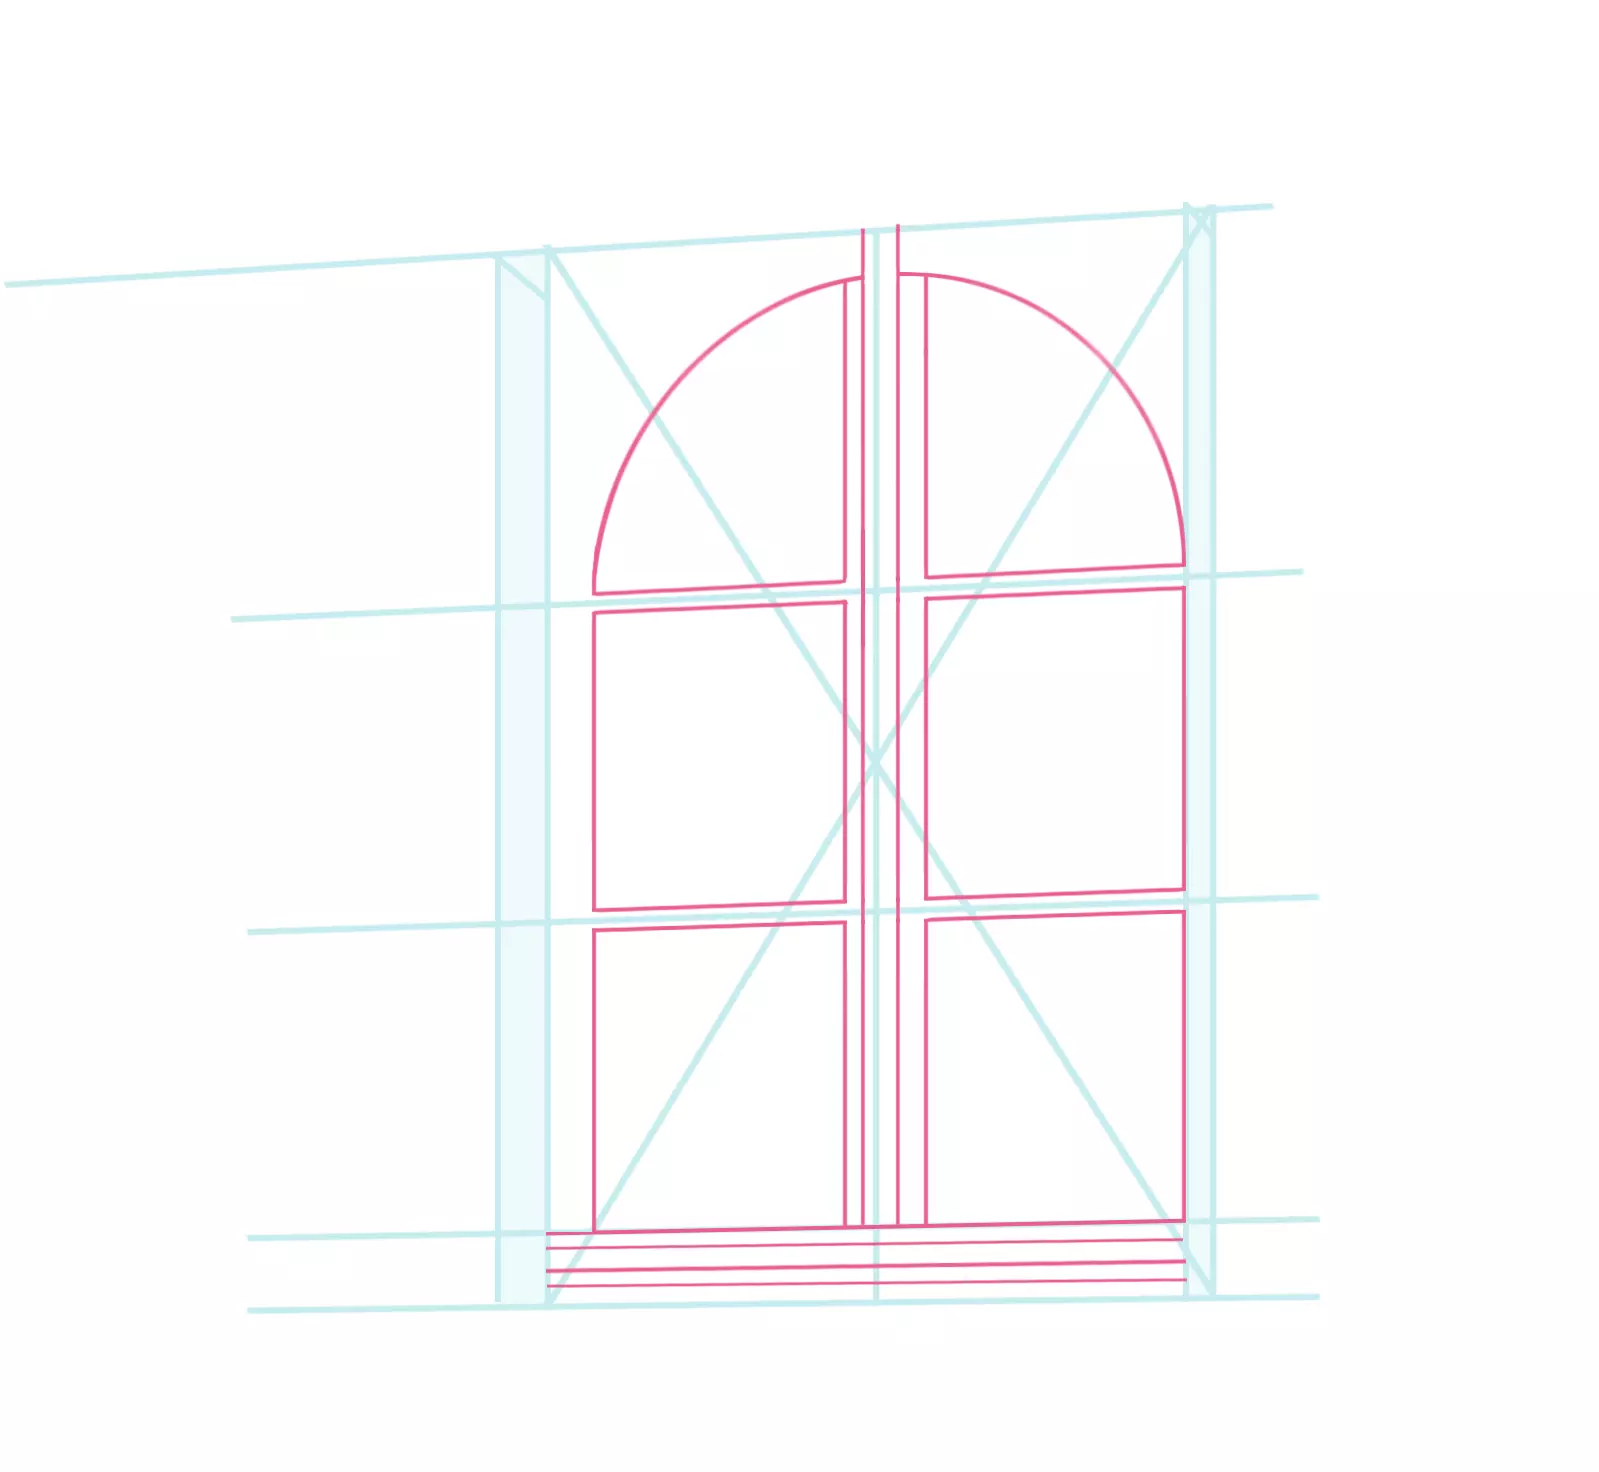
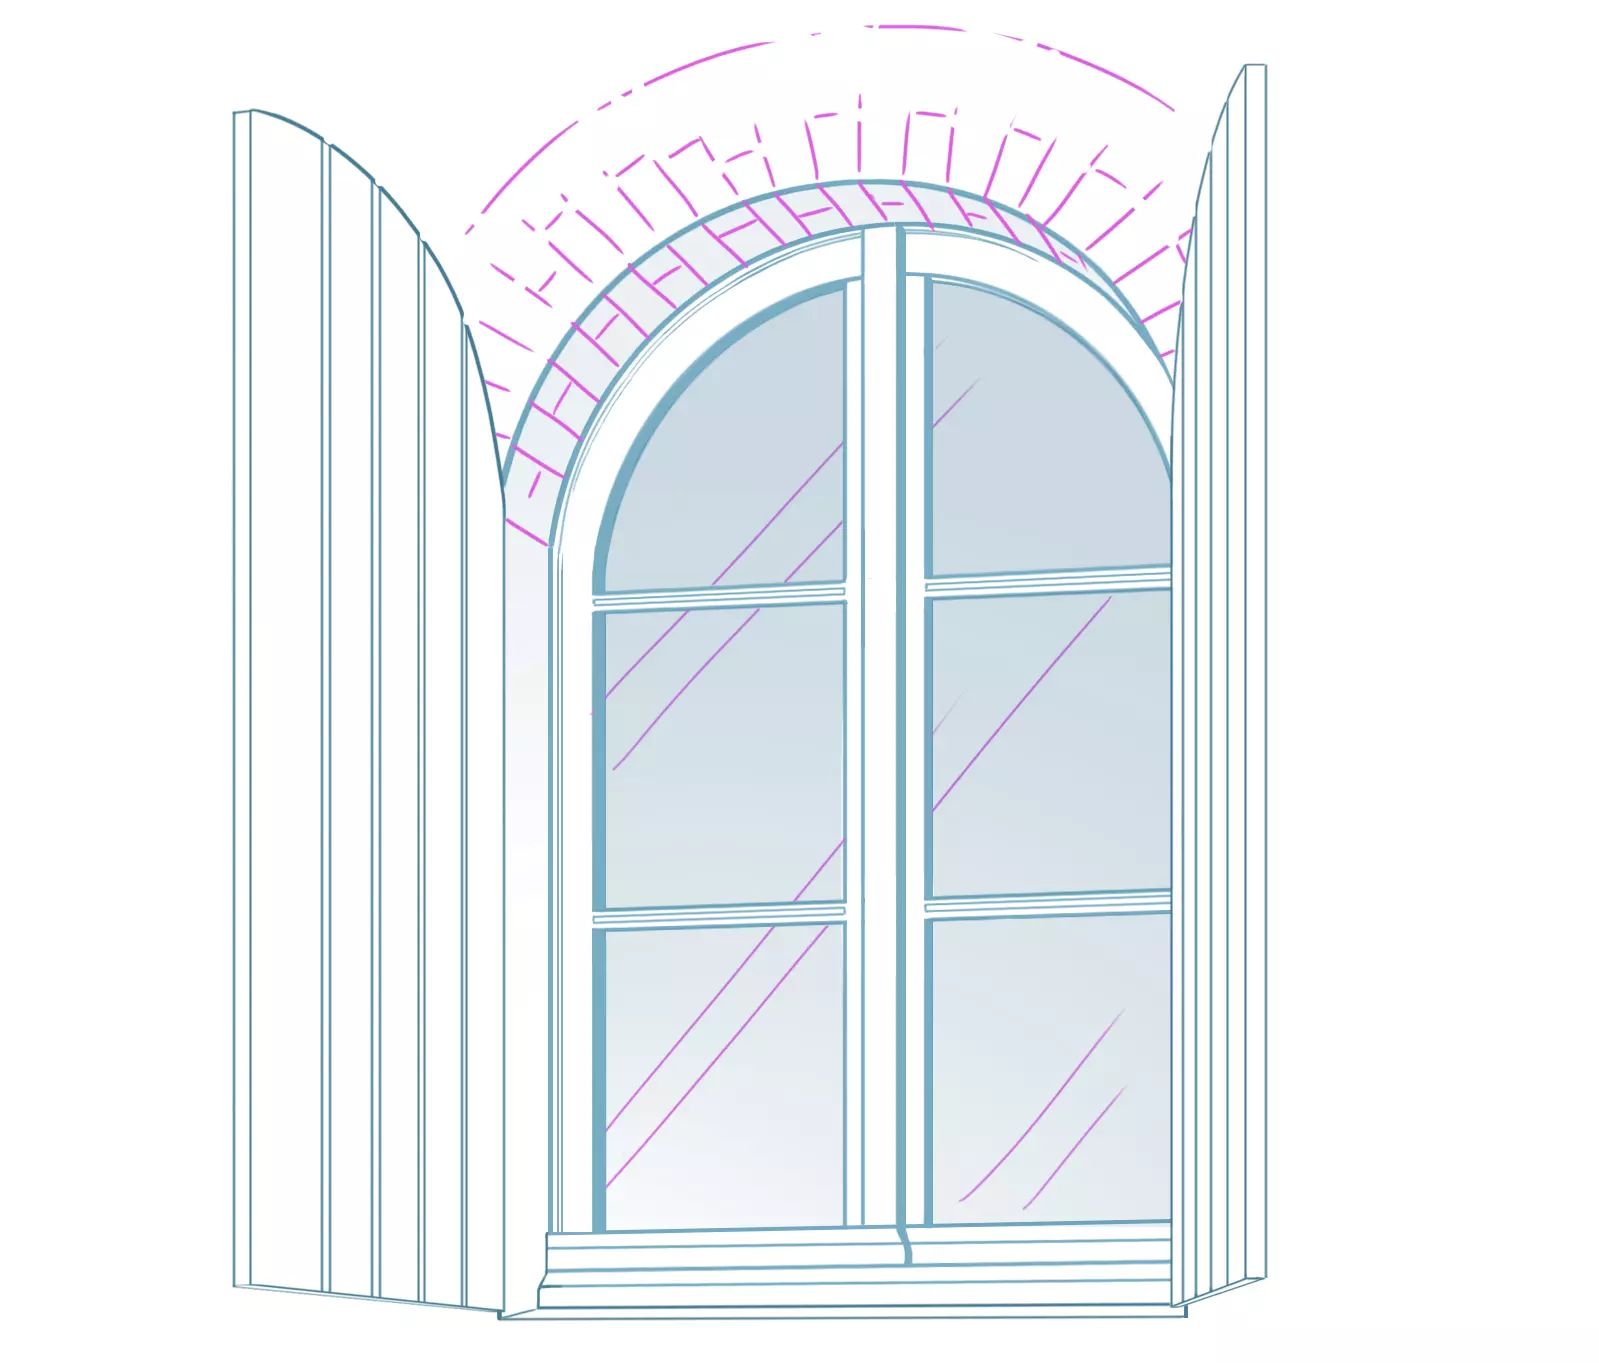
11/11I draw the arch of the wall, using my construction lines to know where each arc begins and ends.
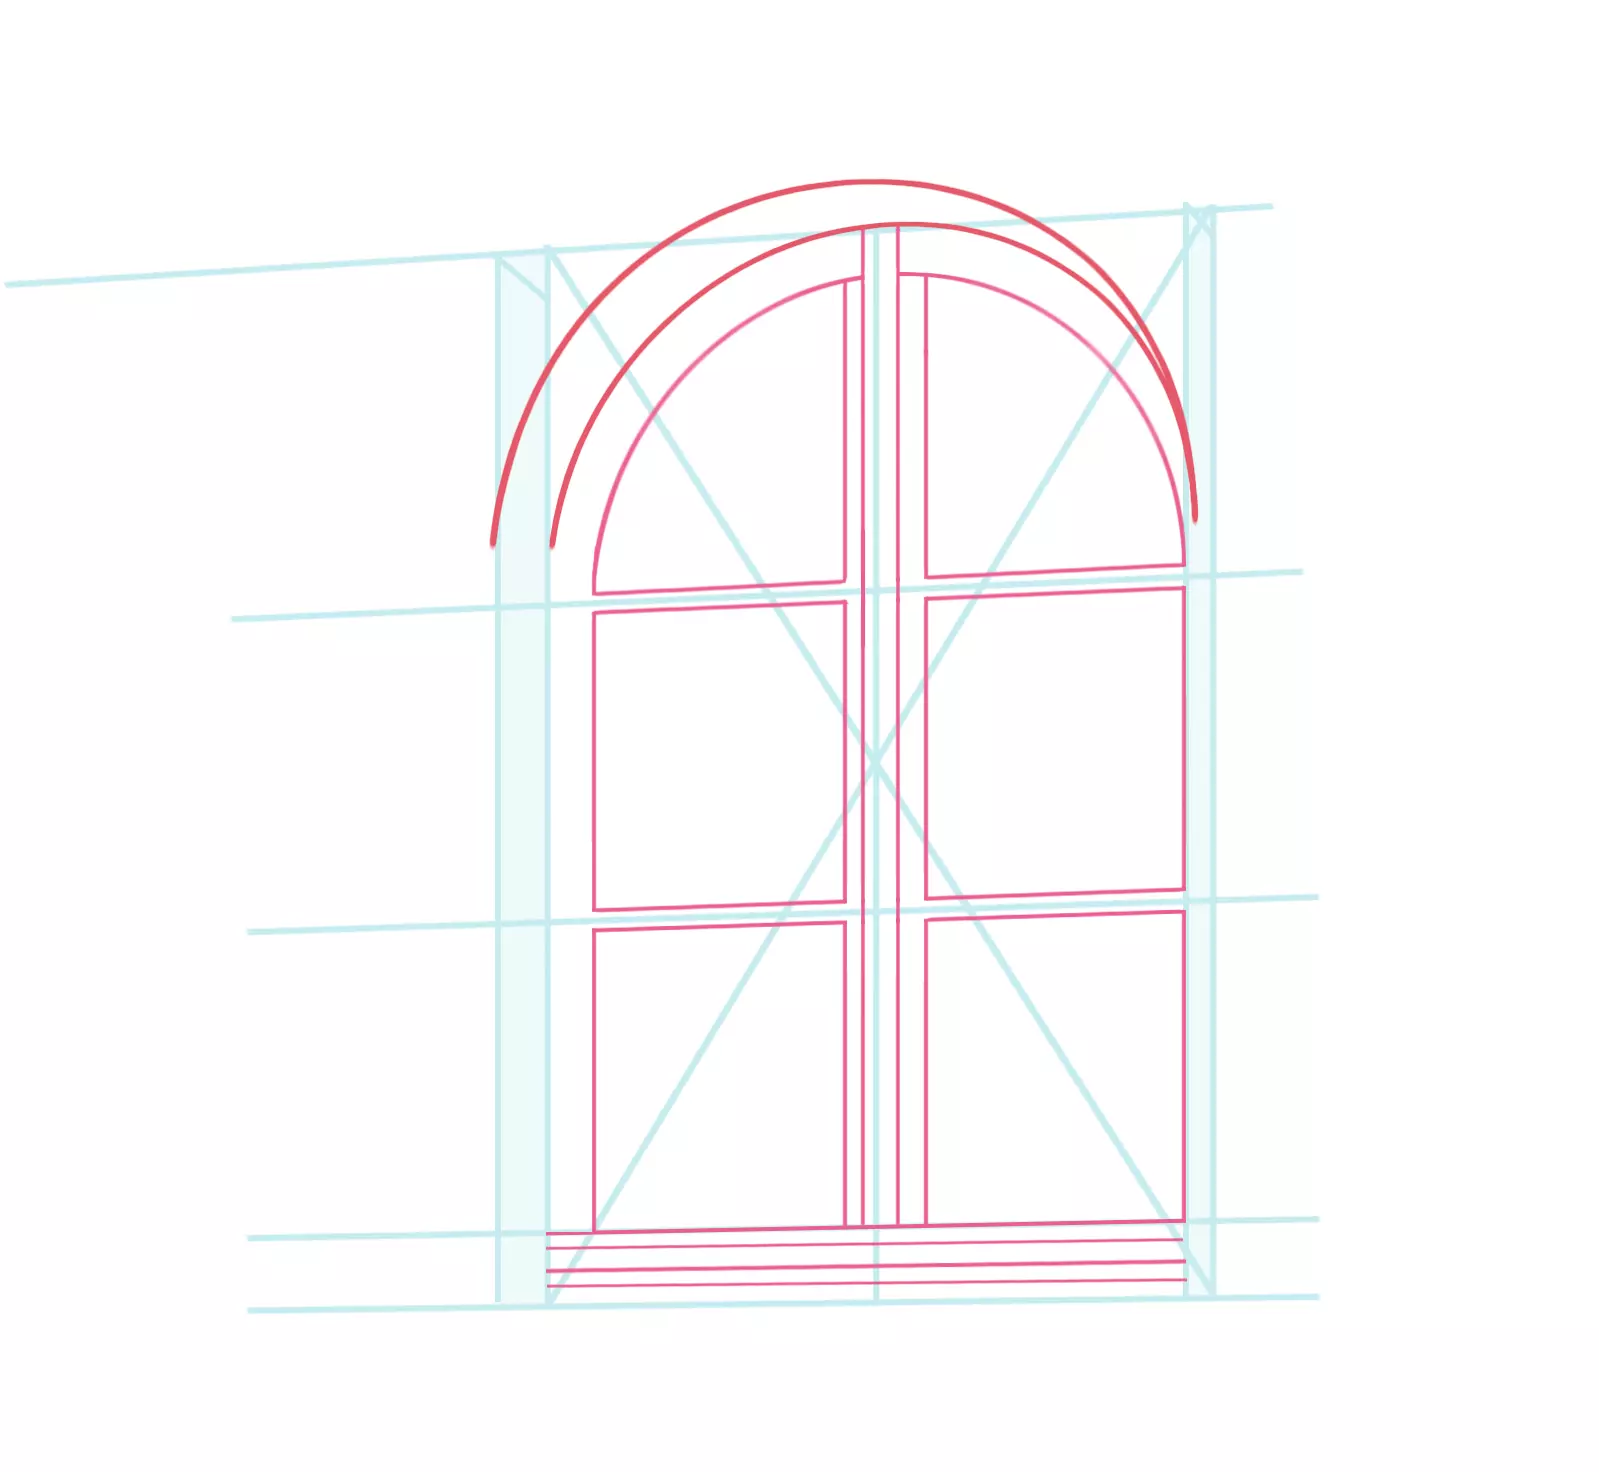
12/12I finish opening the wall by extending the lines of the arch to the base of the overall structure.
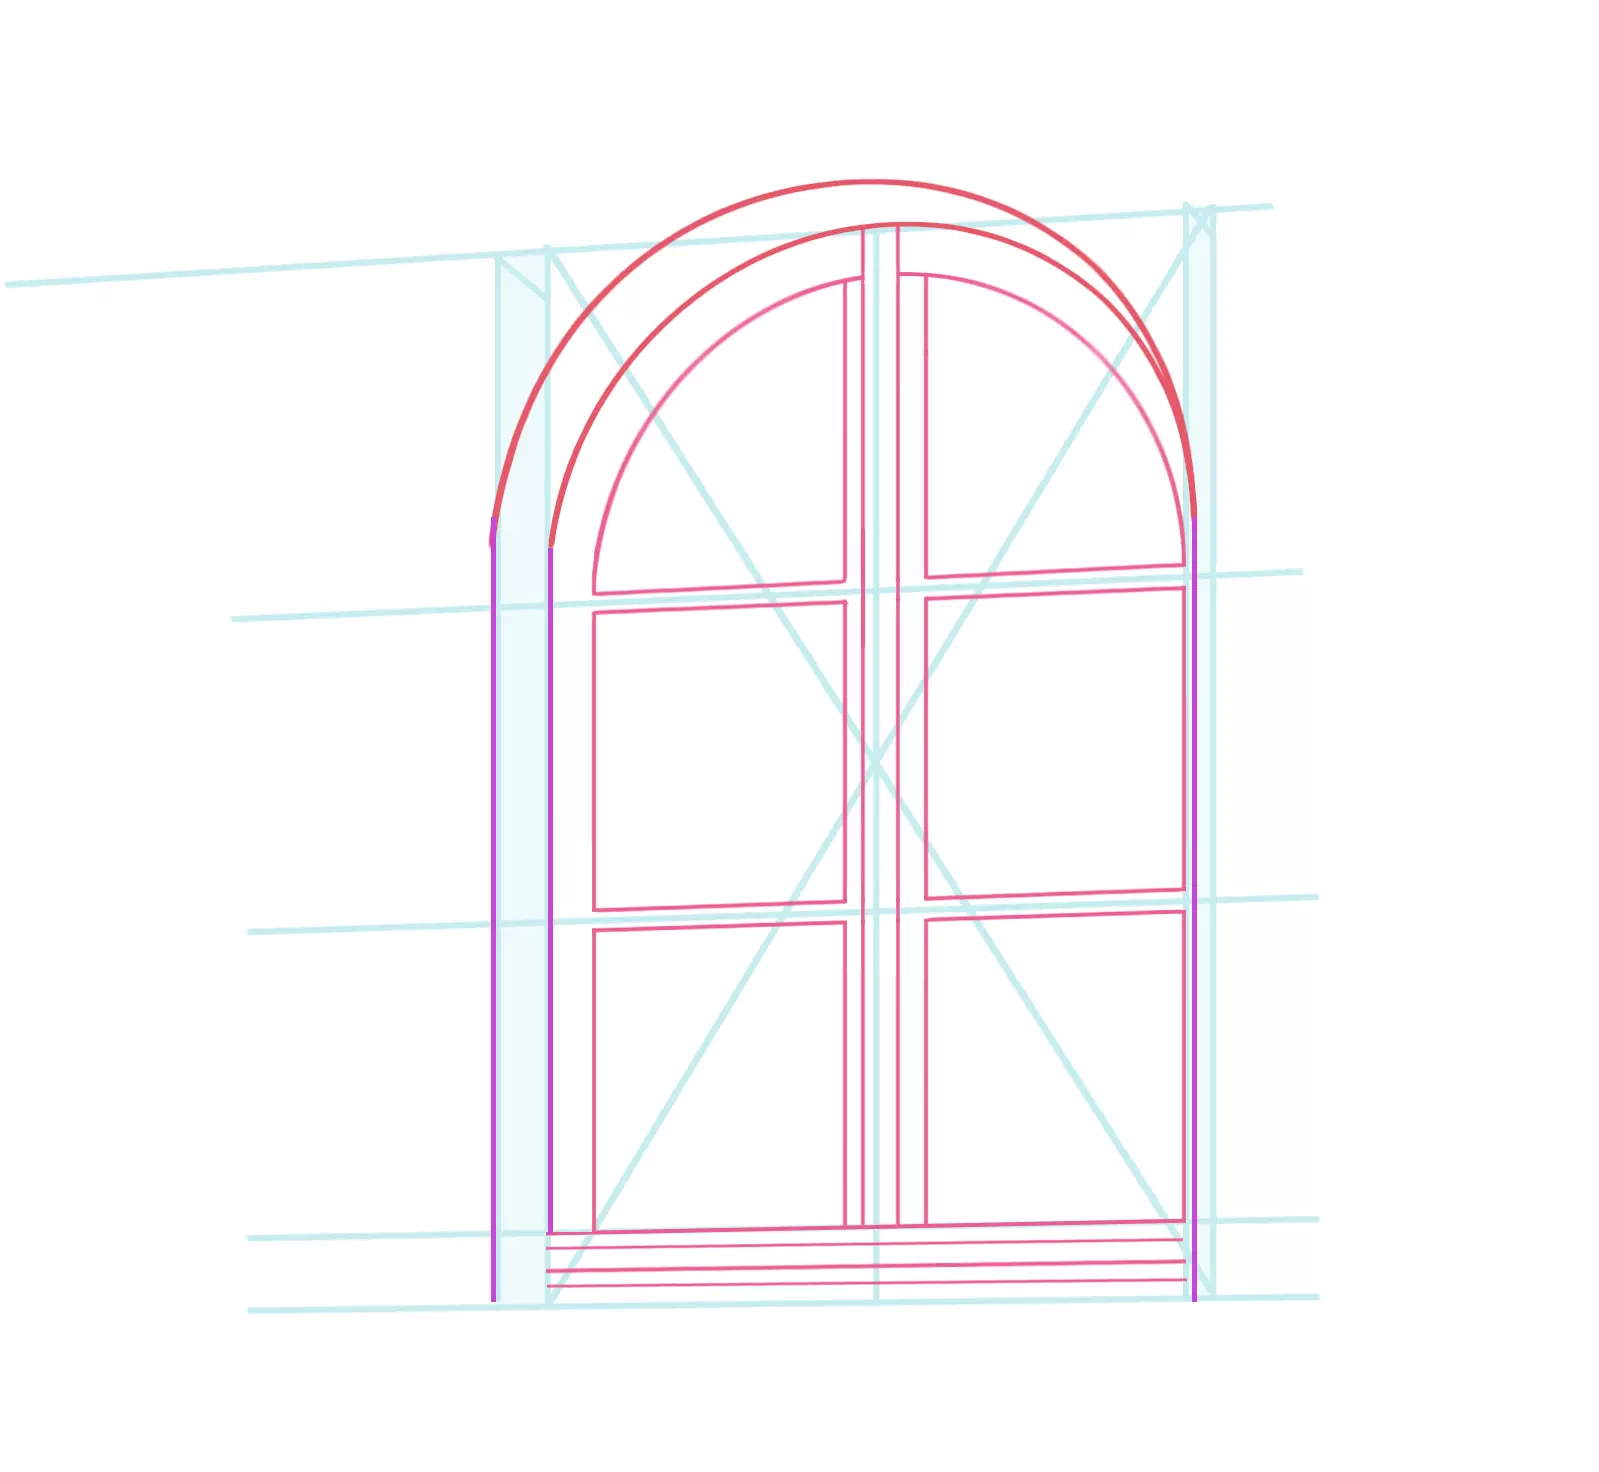
13/13I draw the thickness of each element of the drawing: the wood of the frame, and the glass panes that we see through transparency.
The horizontal lines are simply a small detail of the window wood.
14/14I clean the lines.
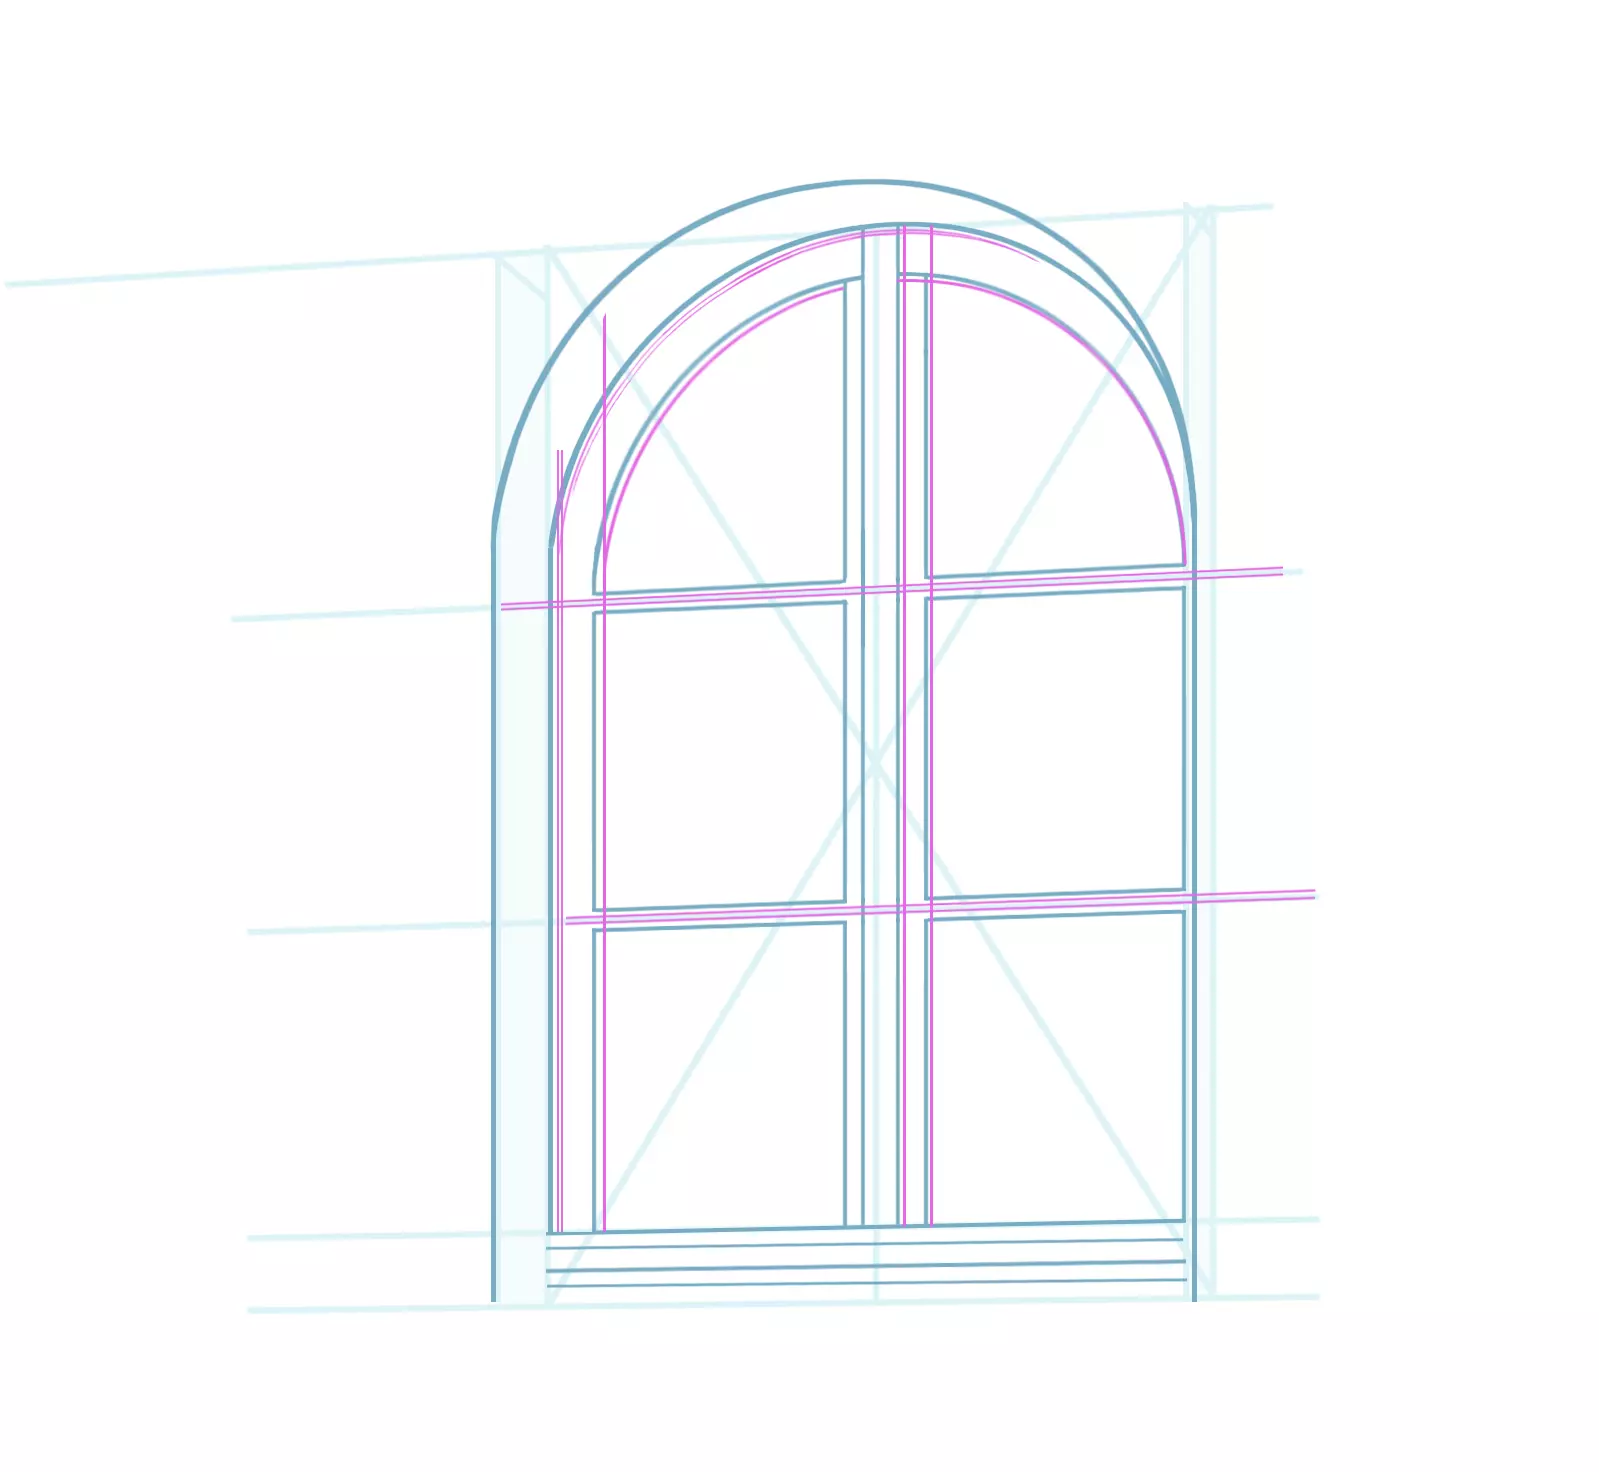
15/15Once the window is cleaned up, I temporarily remove the construction lines to draw over the vertical lines of the shutters. I use a shortcut to represent them. On the right-hand shutter, the lines are doubled because they are wooden slats (on the right-hand one it is not visible because of the perspective).
16/I draw the lines at the top and bottom of the wooden shutters: they follow the circular arch shape of the windows.
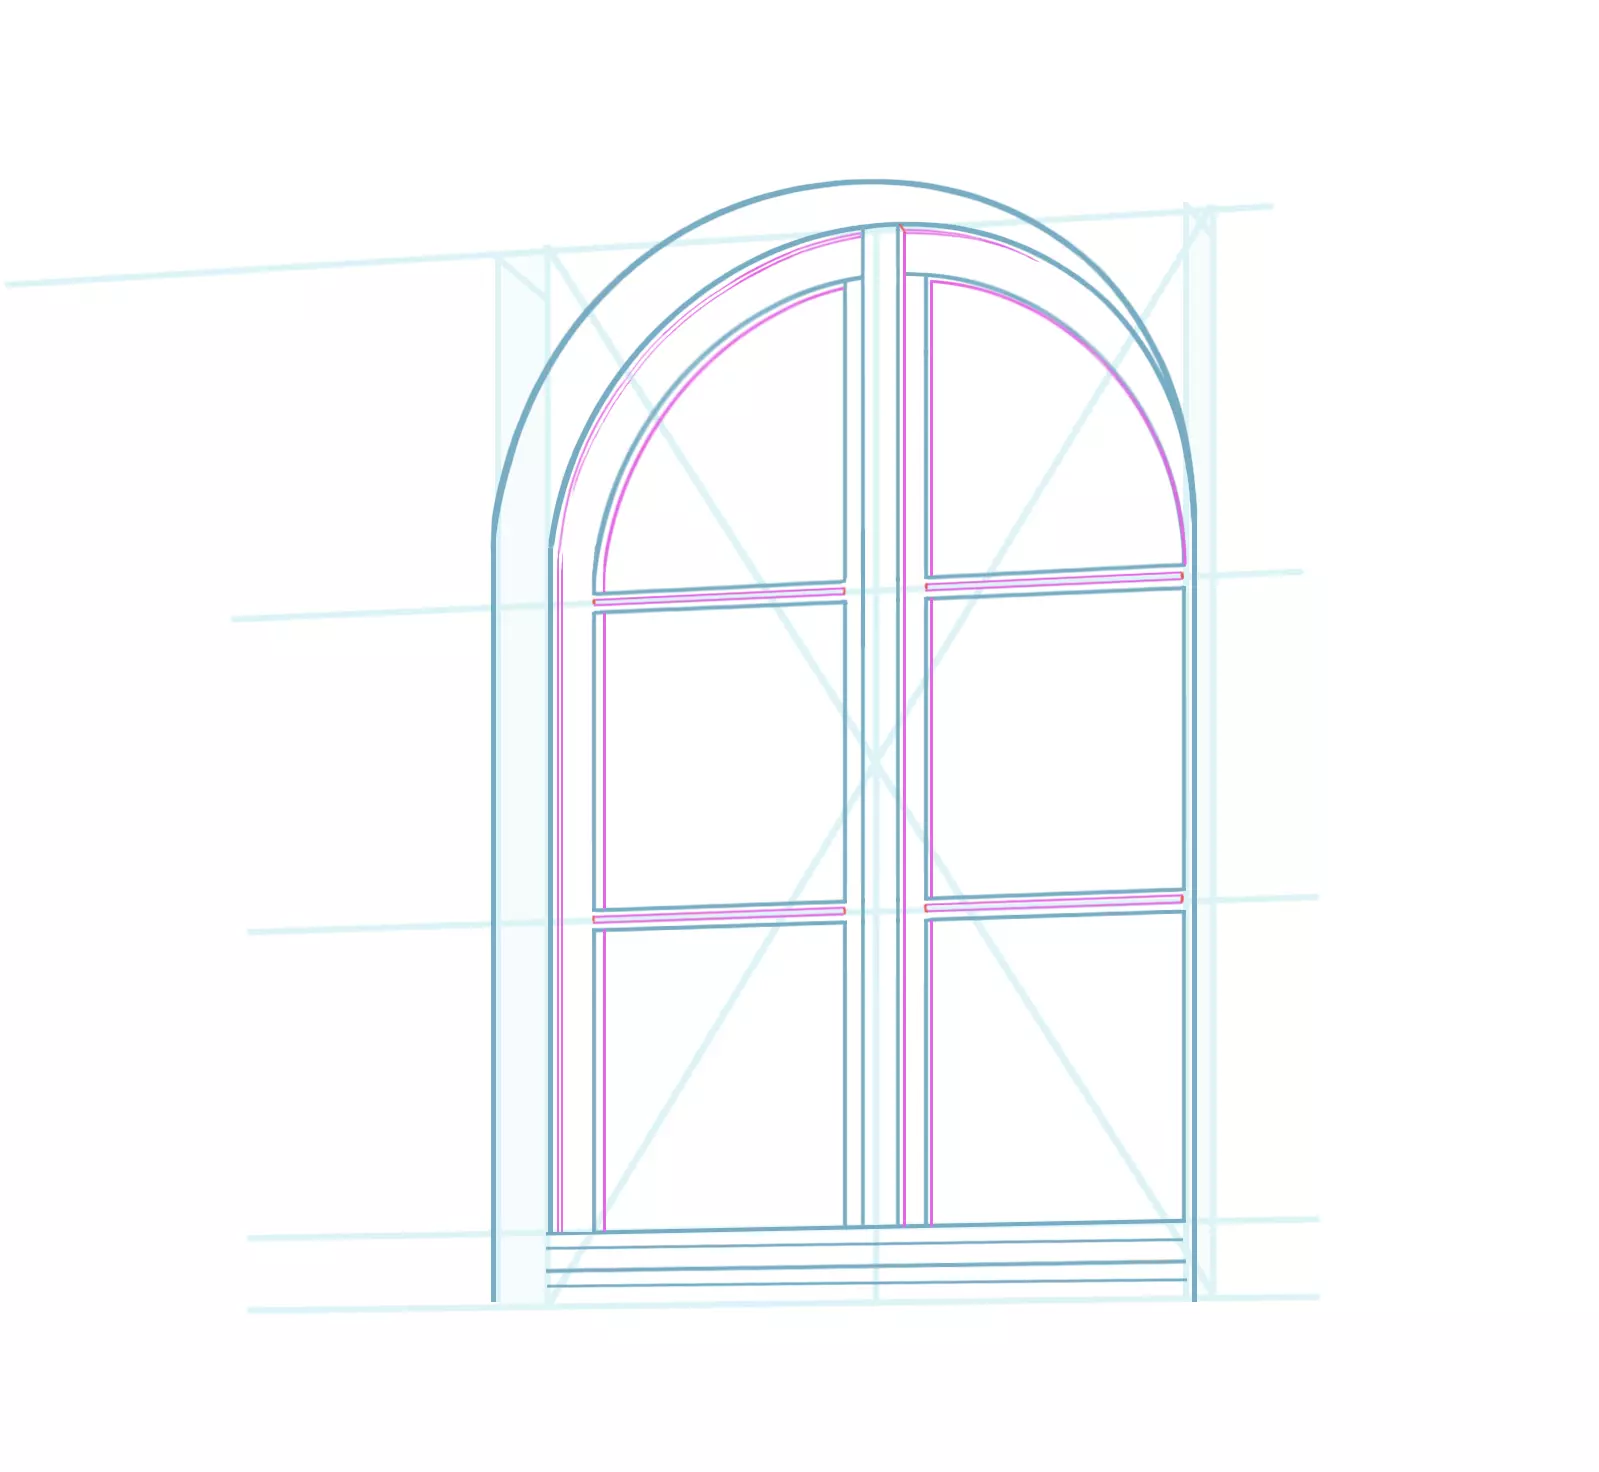
17/17Then, I define the thickness of the shutters with small green lines.
It is time to see things more clearly! I delete the extra lines and finish drawing the lower part of the frame. I add a thick line to indicate the window opening.
18/18To decorate, I add bricks to the top of the arch, keeping in mind the second vanishing point previously chosen. I detail the top of the wooden slats of the shutters.
Finally, I lightly shade the windows and draw lines for the area of the future reflections, which will be white.
19/I lightly colour the reflections on the windows with white to bring them to life.
Now I am thinking about the locking system for the shutters. For the left-hand shutter, a piece of wood is needed to support the iron system, a latch and a catch on the opposite shutter. I am also designing some small nails and hinges for the shutters (visible on the left one).
Textures can be added to the wood and walls, or even other details such as flower pots on the windowsill, curtains slightly visible inside the house...
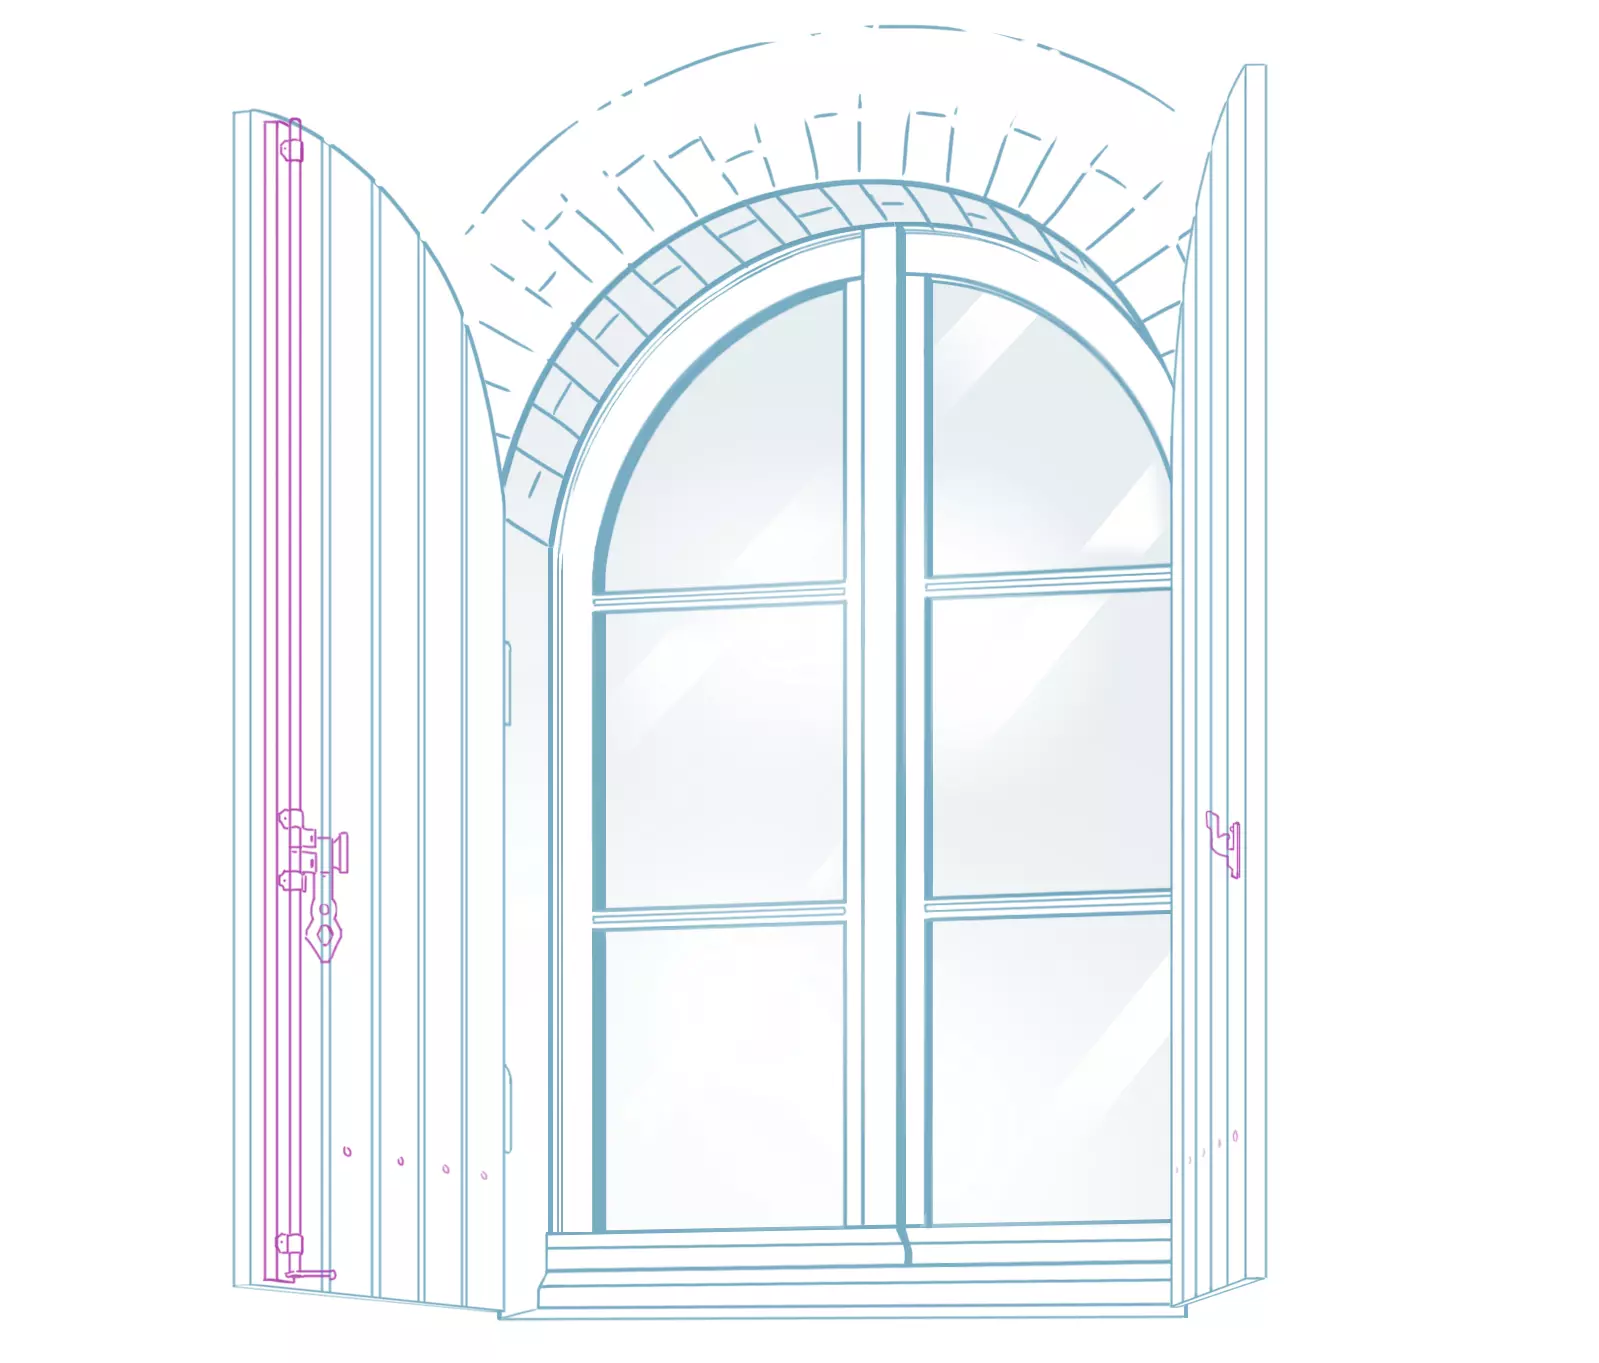
20/I erase the excess marks on the wood battens where the drawing of the lock system is located.
Here, we cleaned up the drawing for the last time :) Our big window is finished!

Discussion
No comments yet.