How to Draw a Volcano
Today we're tackling a hot topic (hahaha): volcanoes!
And since it's not super complicated, we're going to do it in color. Totally, yeah.
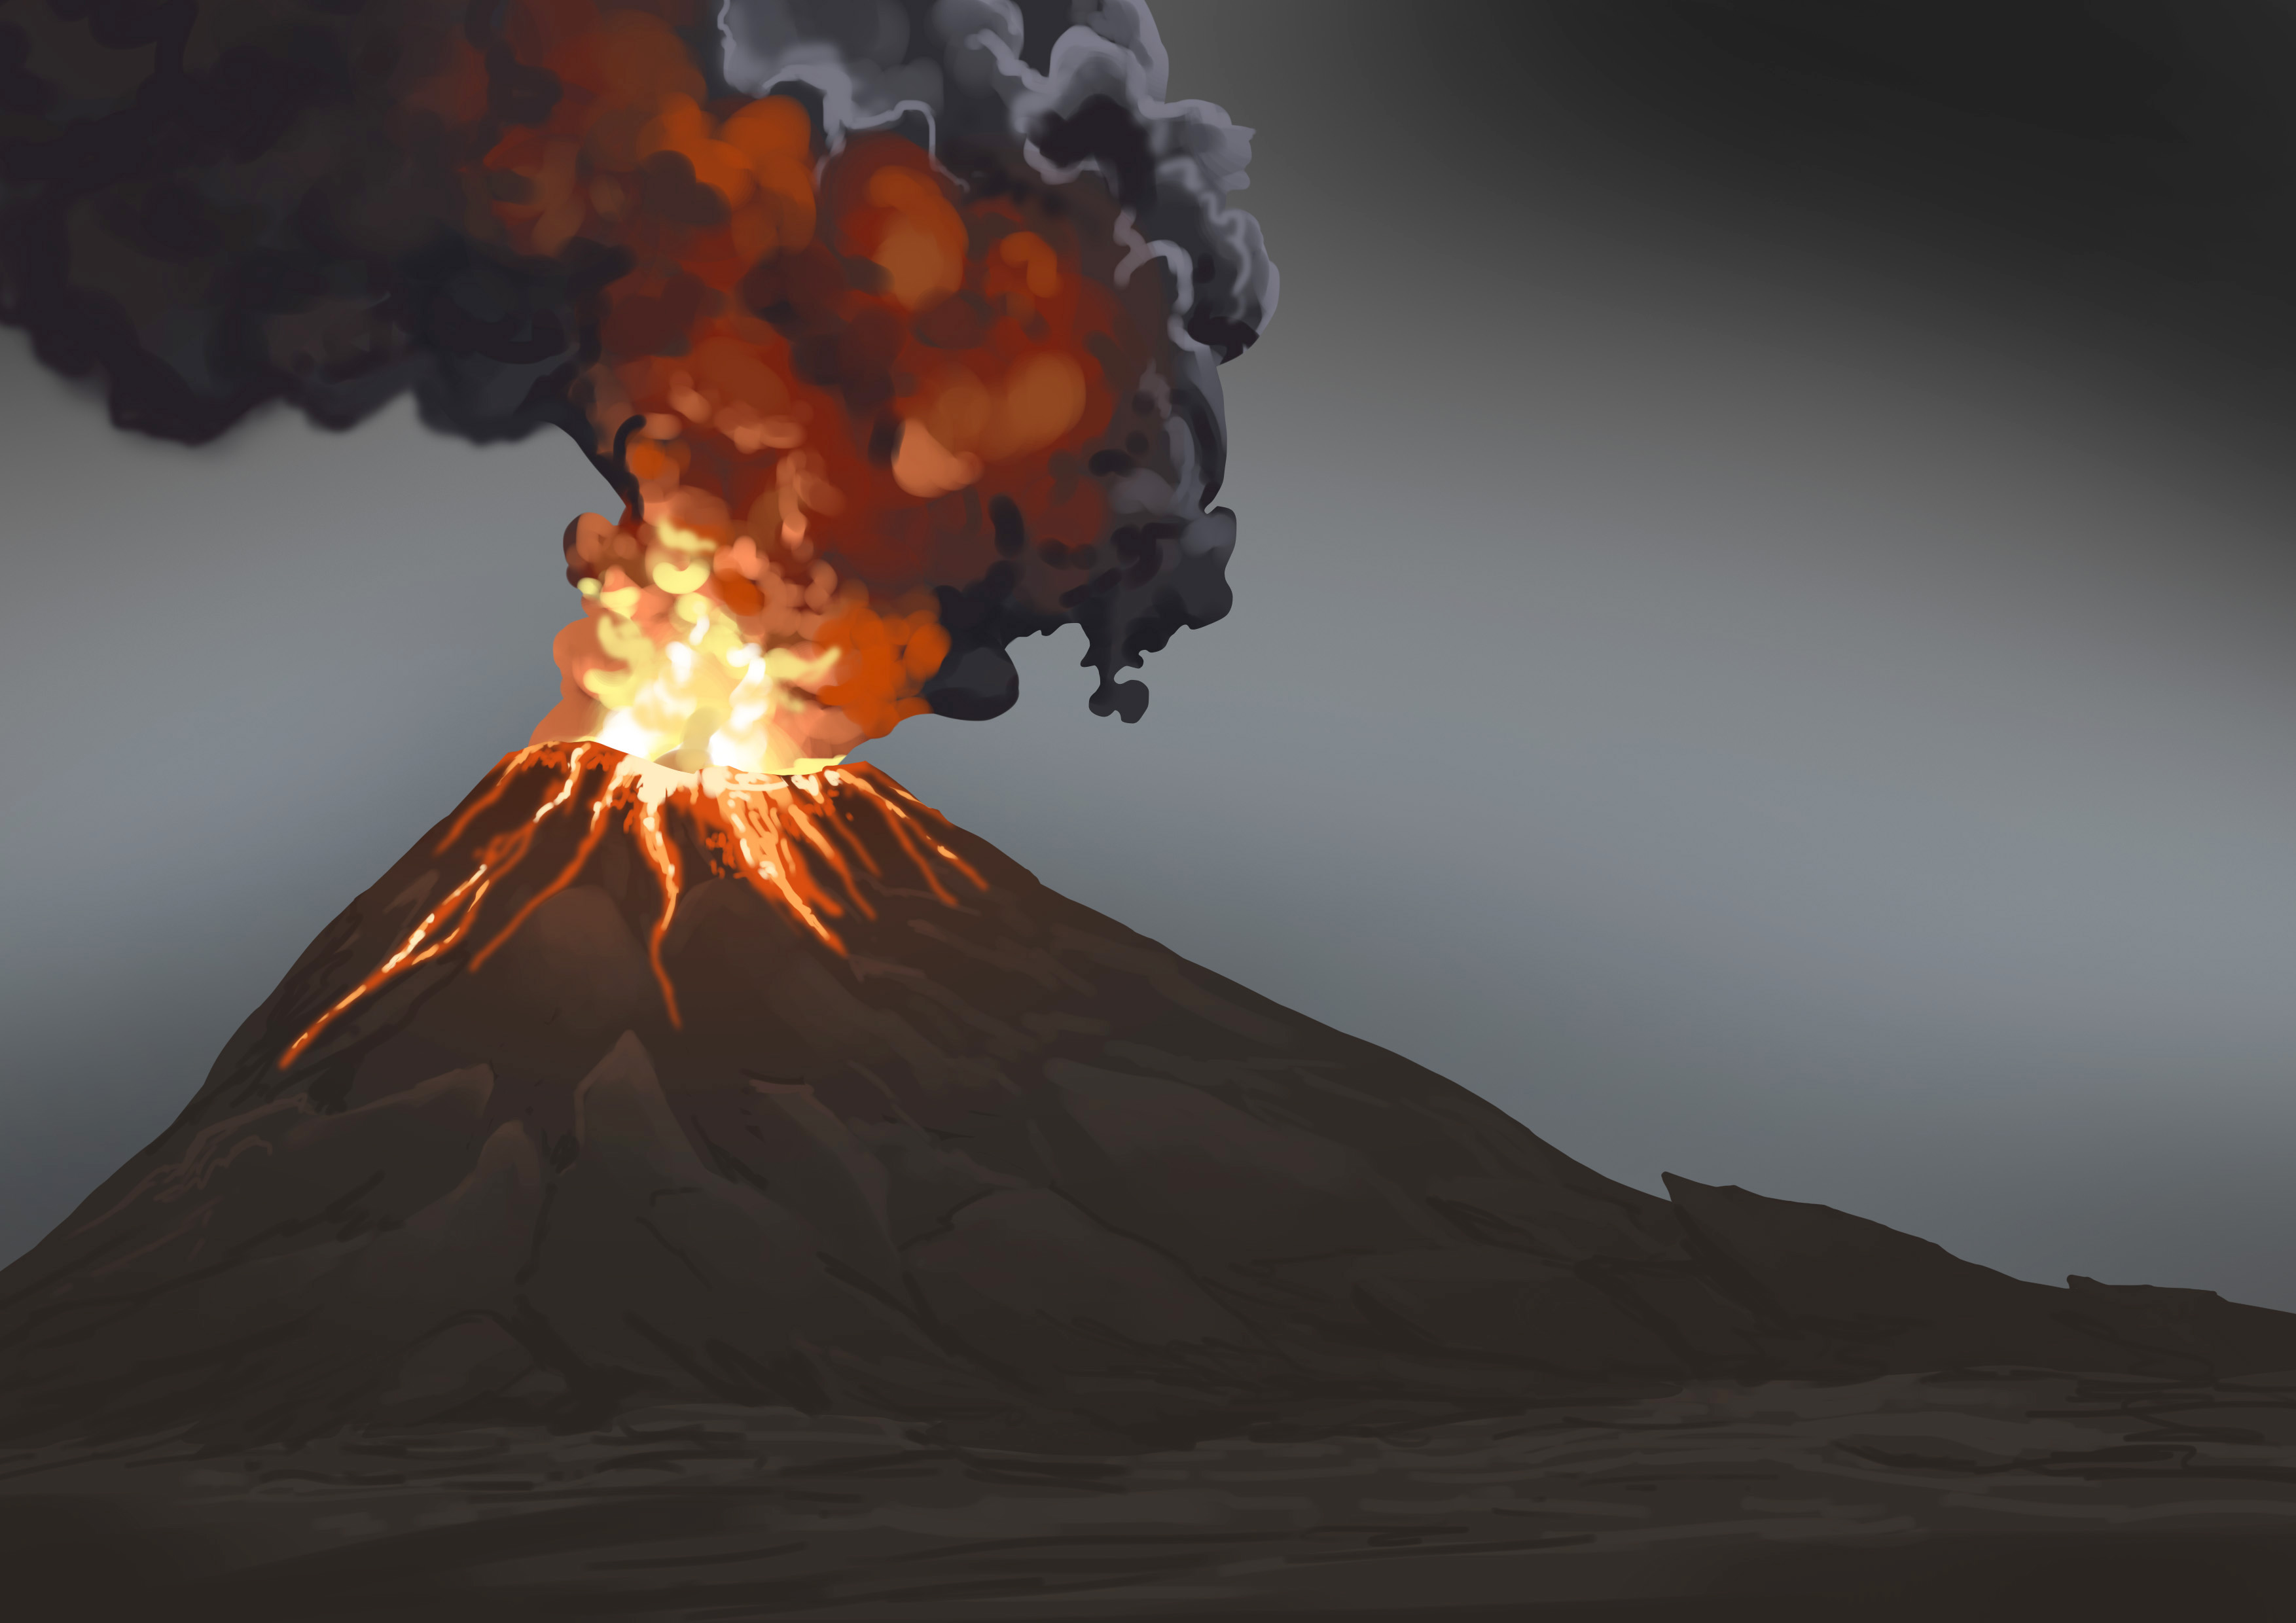
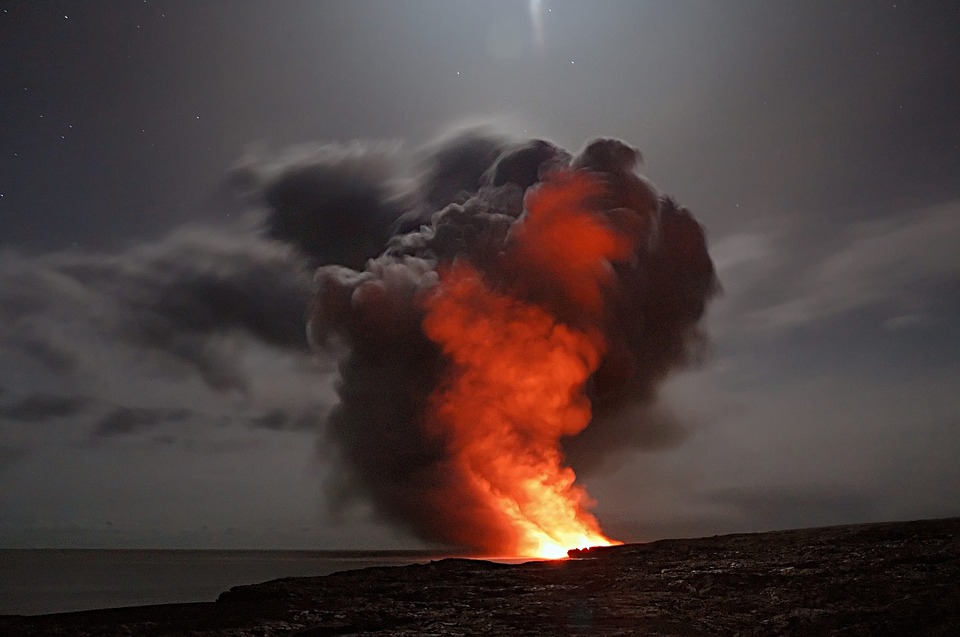
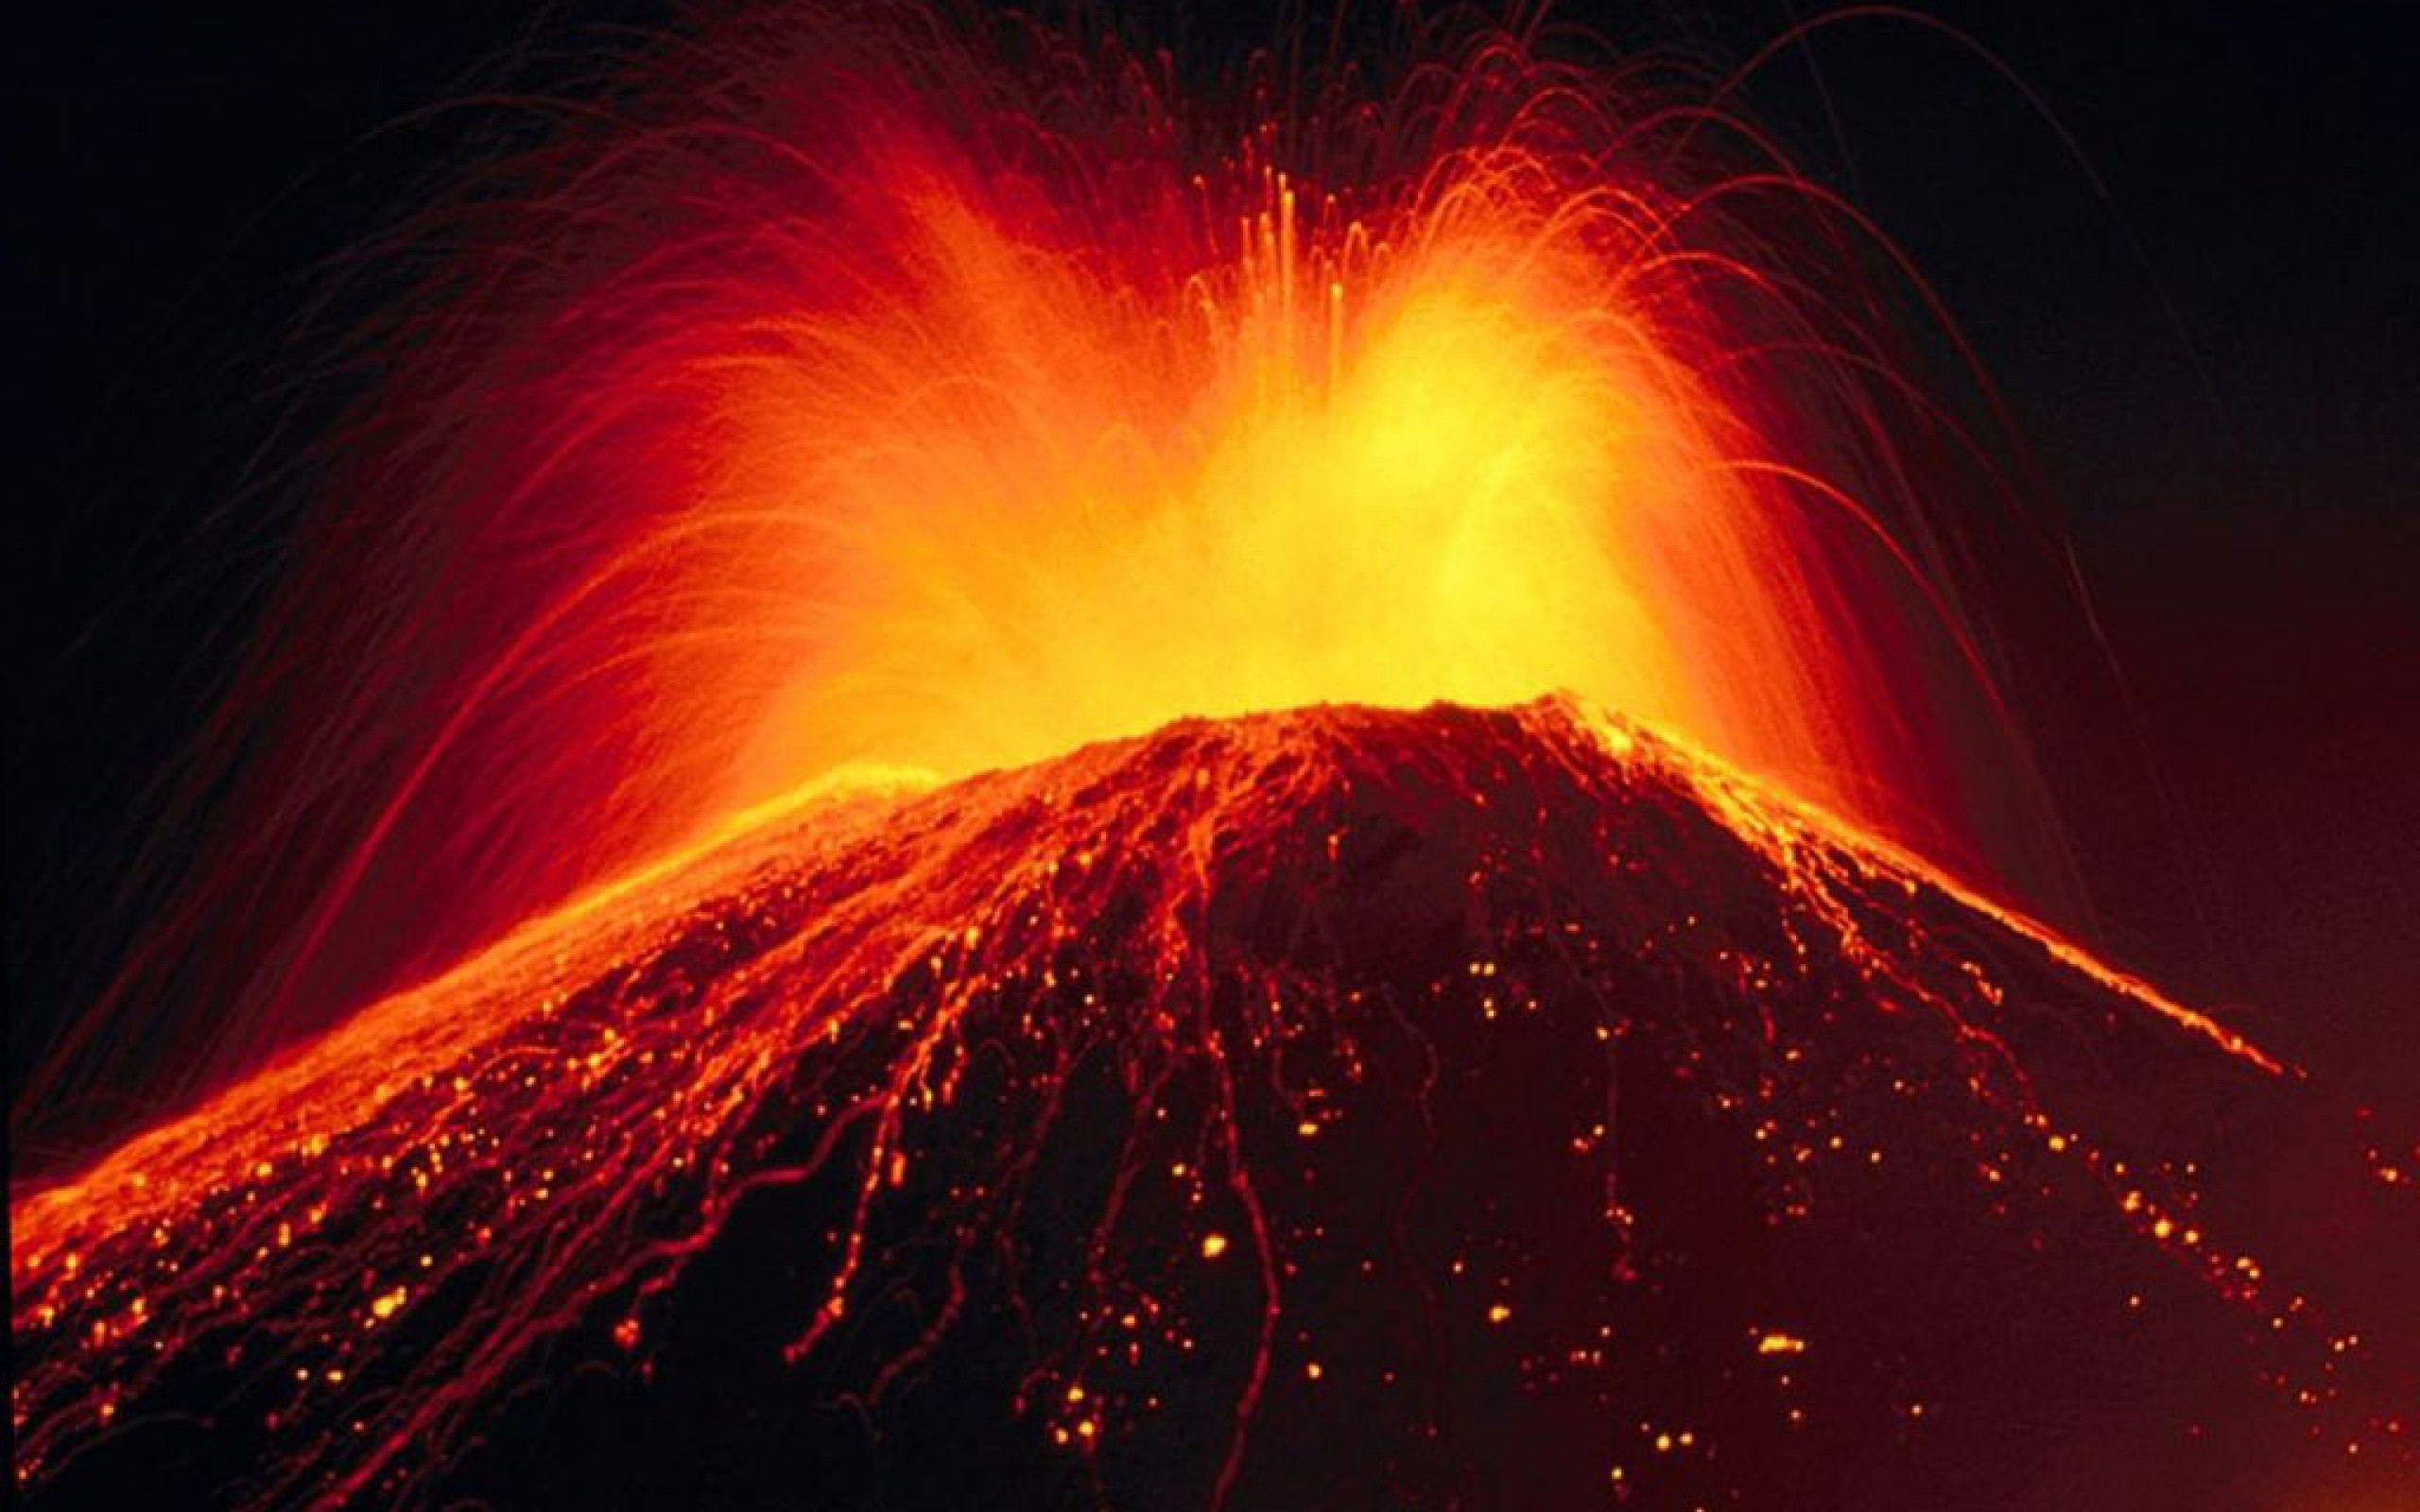
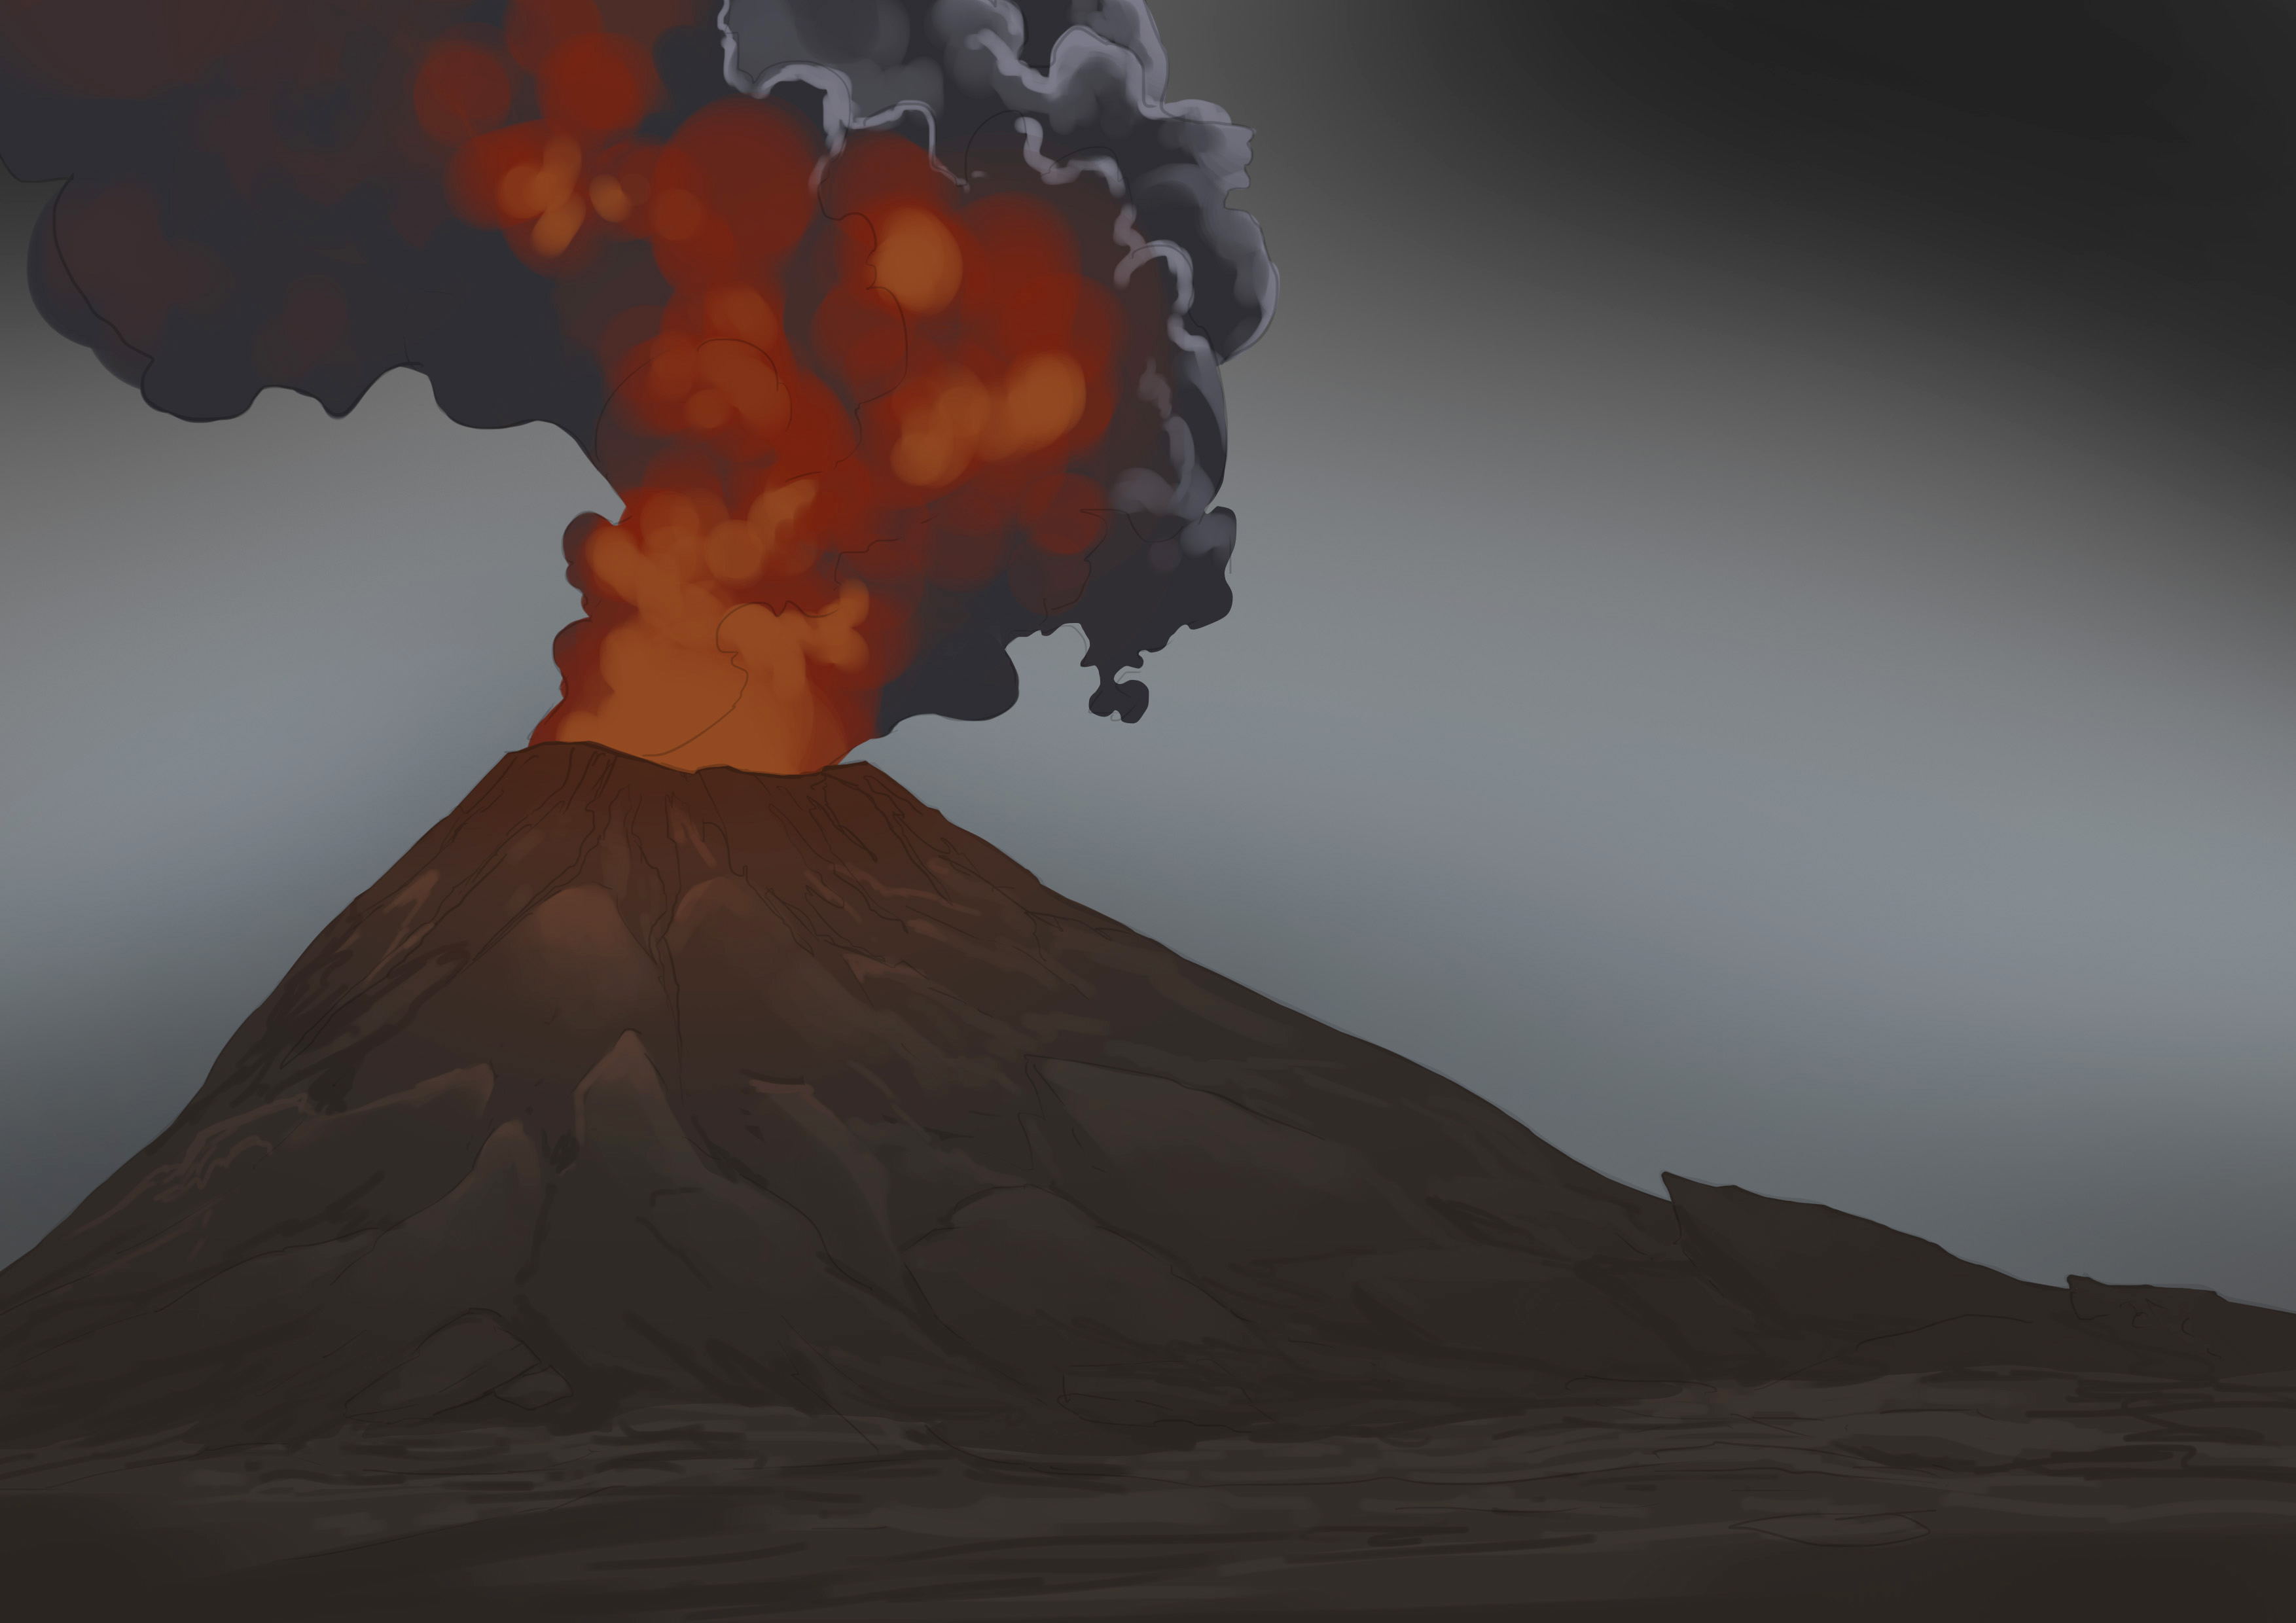
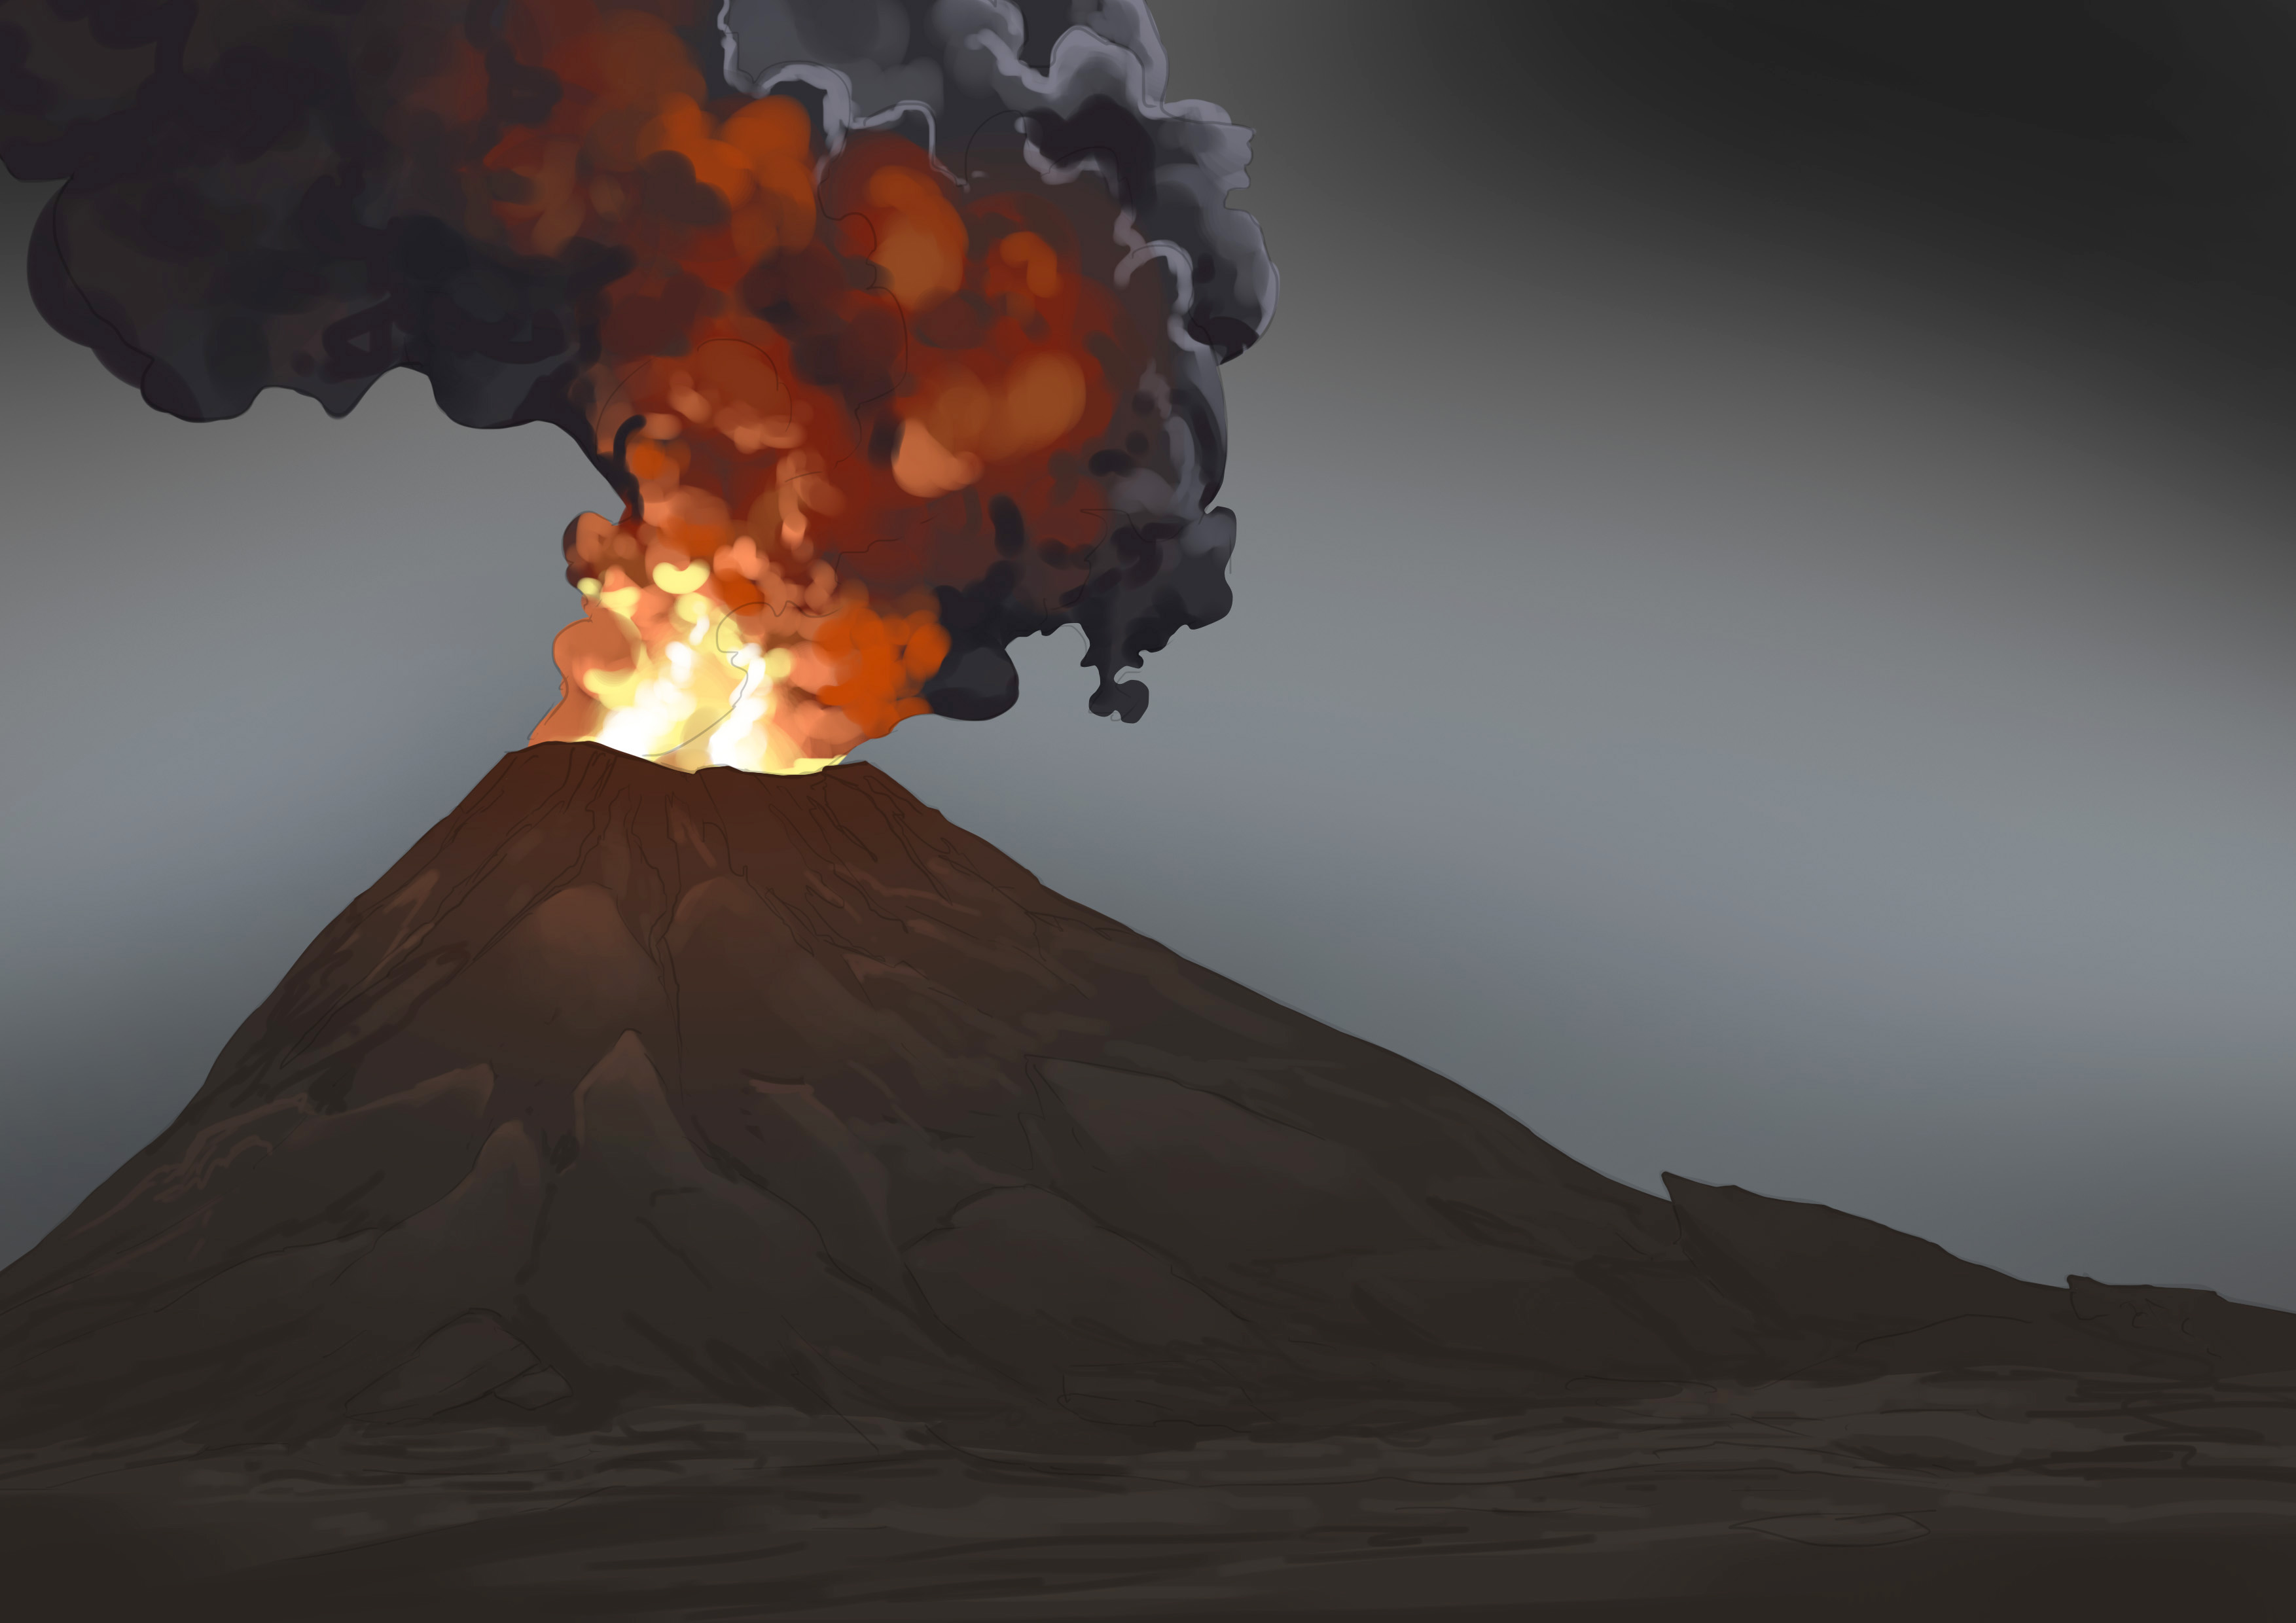
Most photos of volcanoes are very dark. This is because they look prettier at night and because, generally, the volcano has spewed its clouds before erupting, so the sky is overcast. Consequently, in terms of pure drawing, there isn't much detail. It's more about the color play.
The volcano itself is a mountain on which lava flows and which emits smoke.
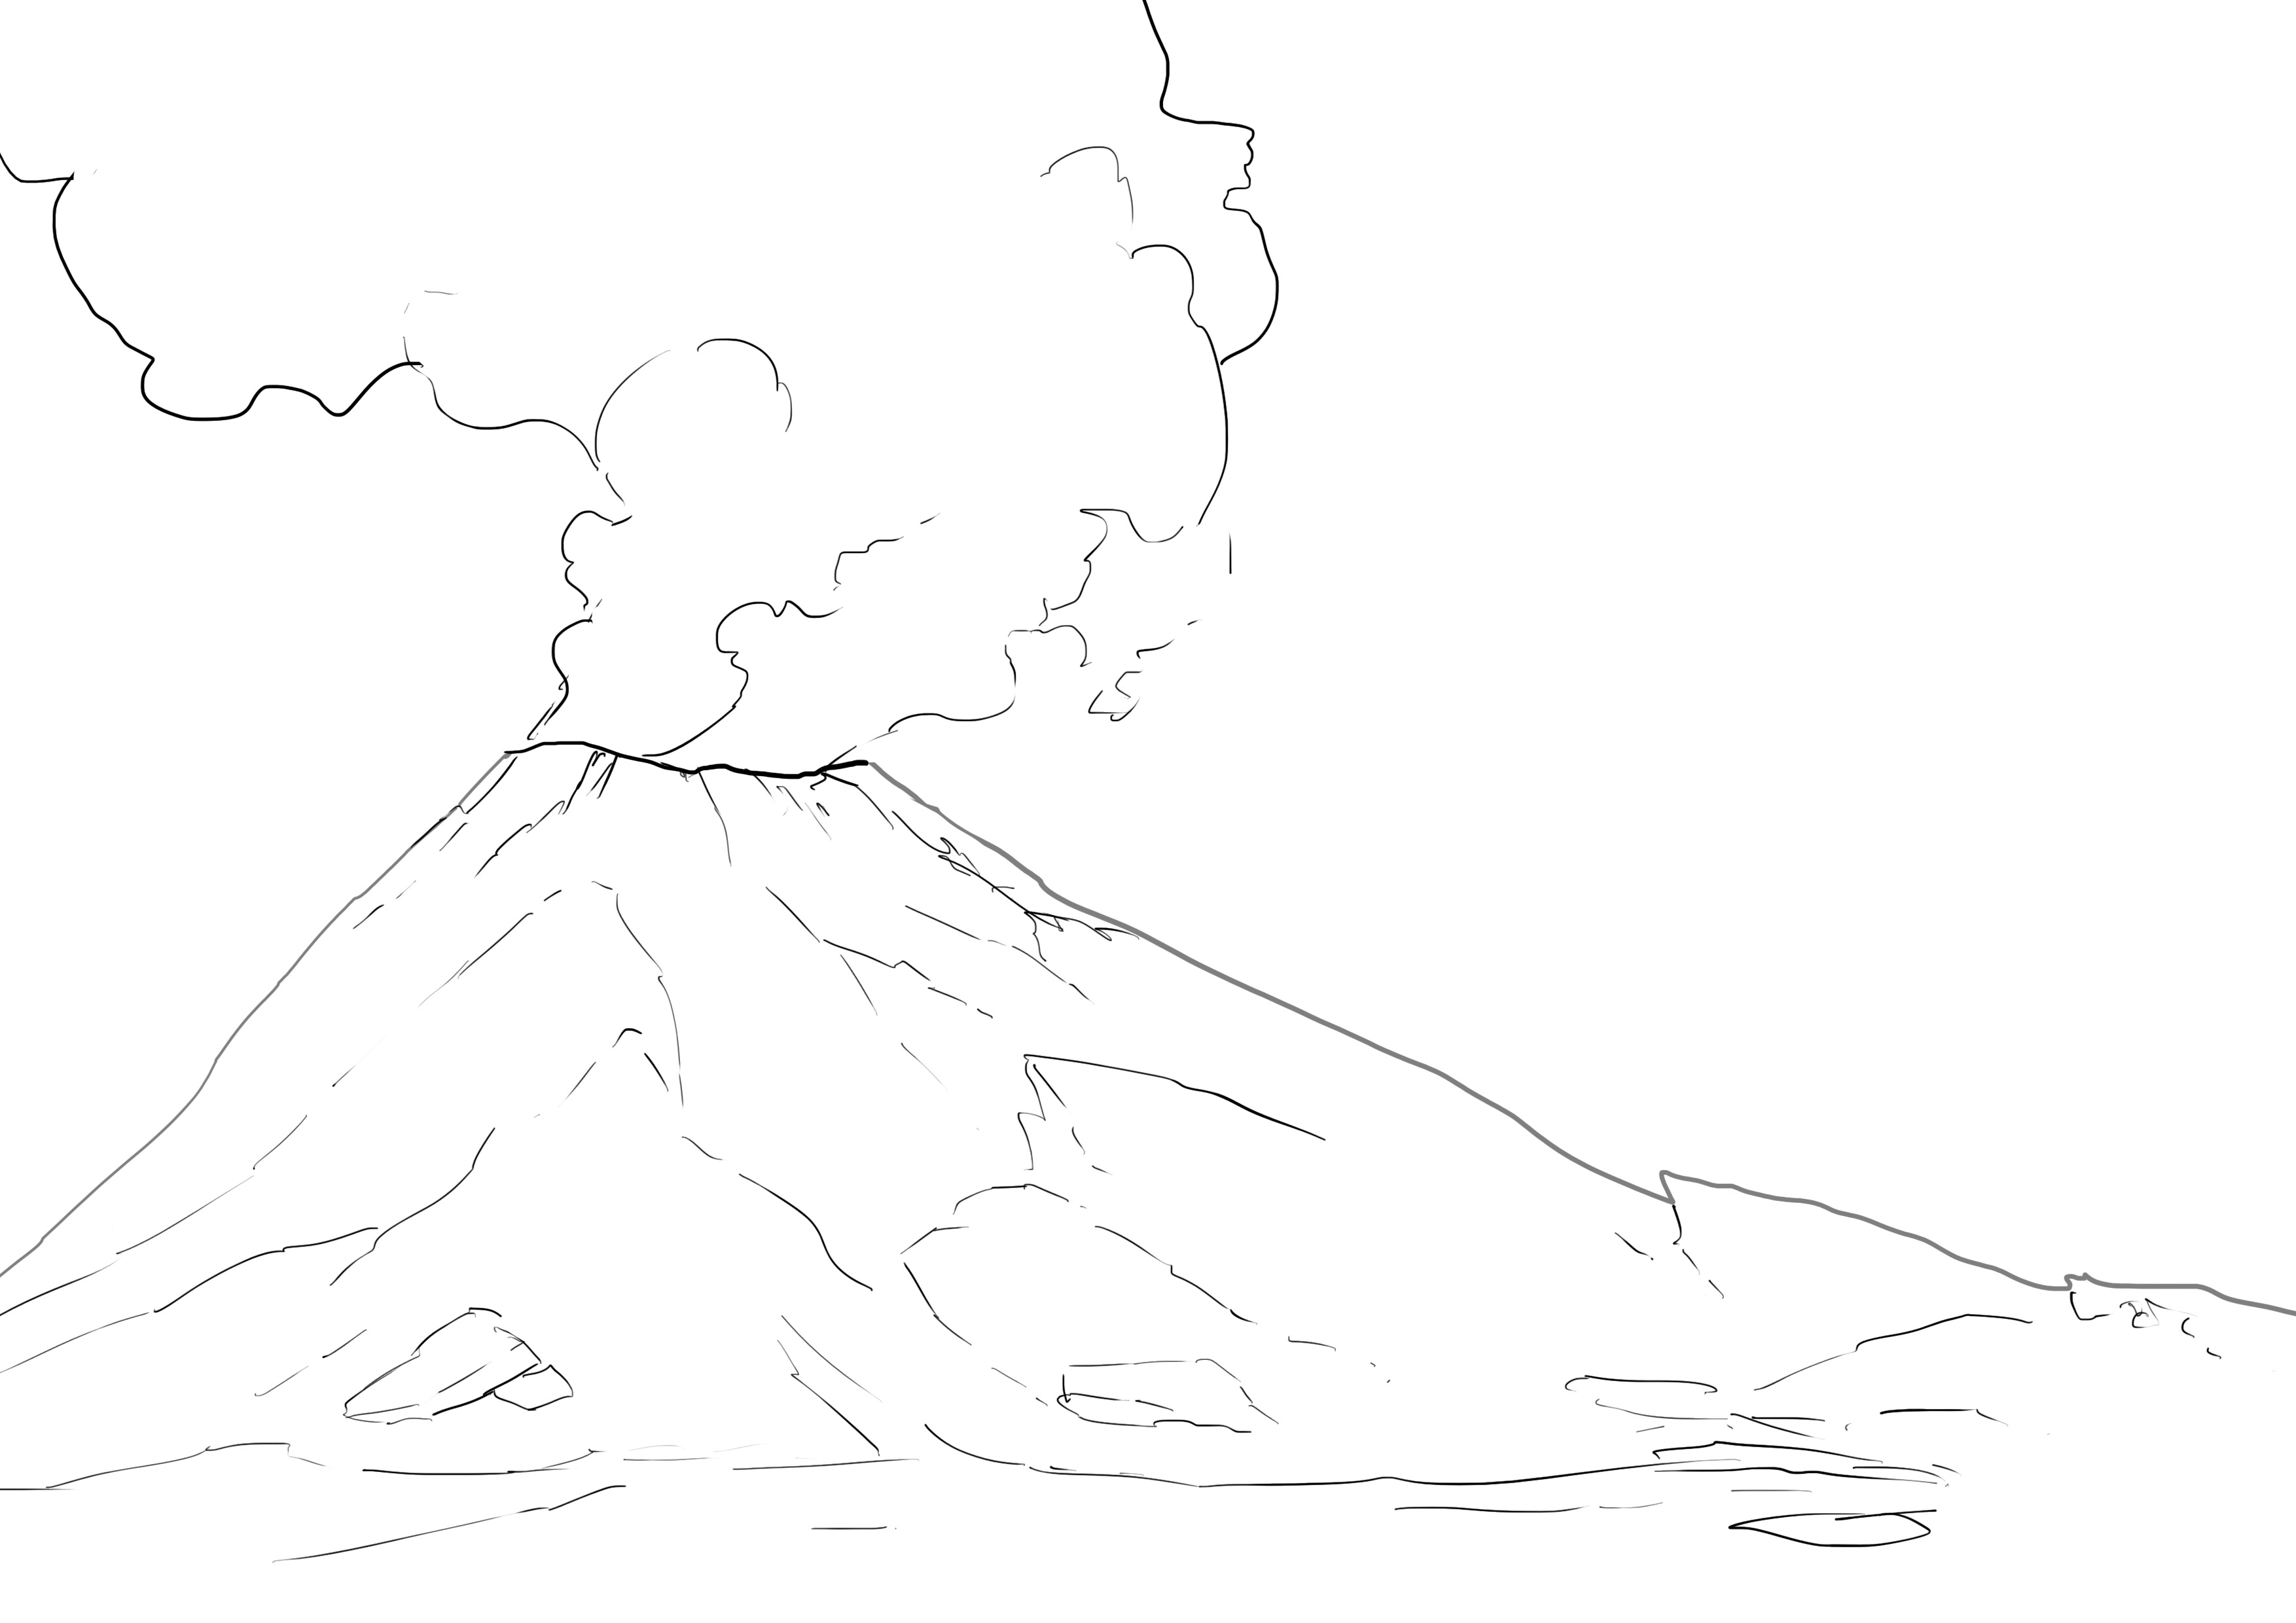
DRAWING THE VOLCANO
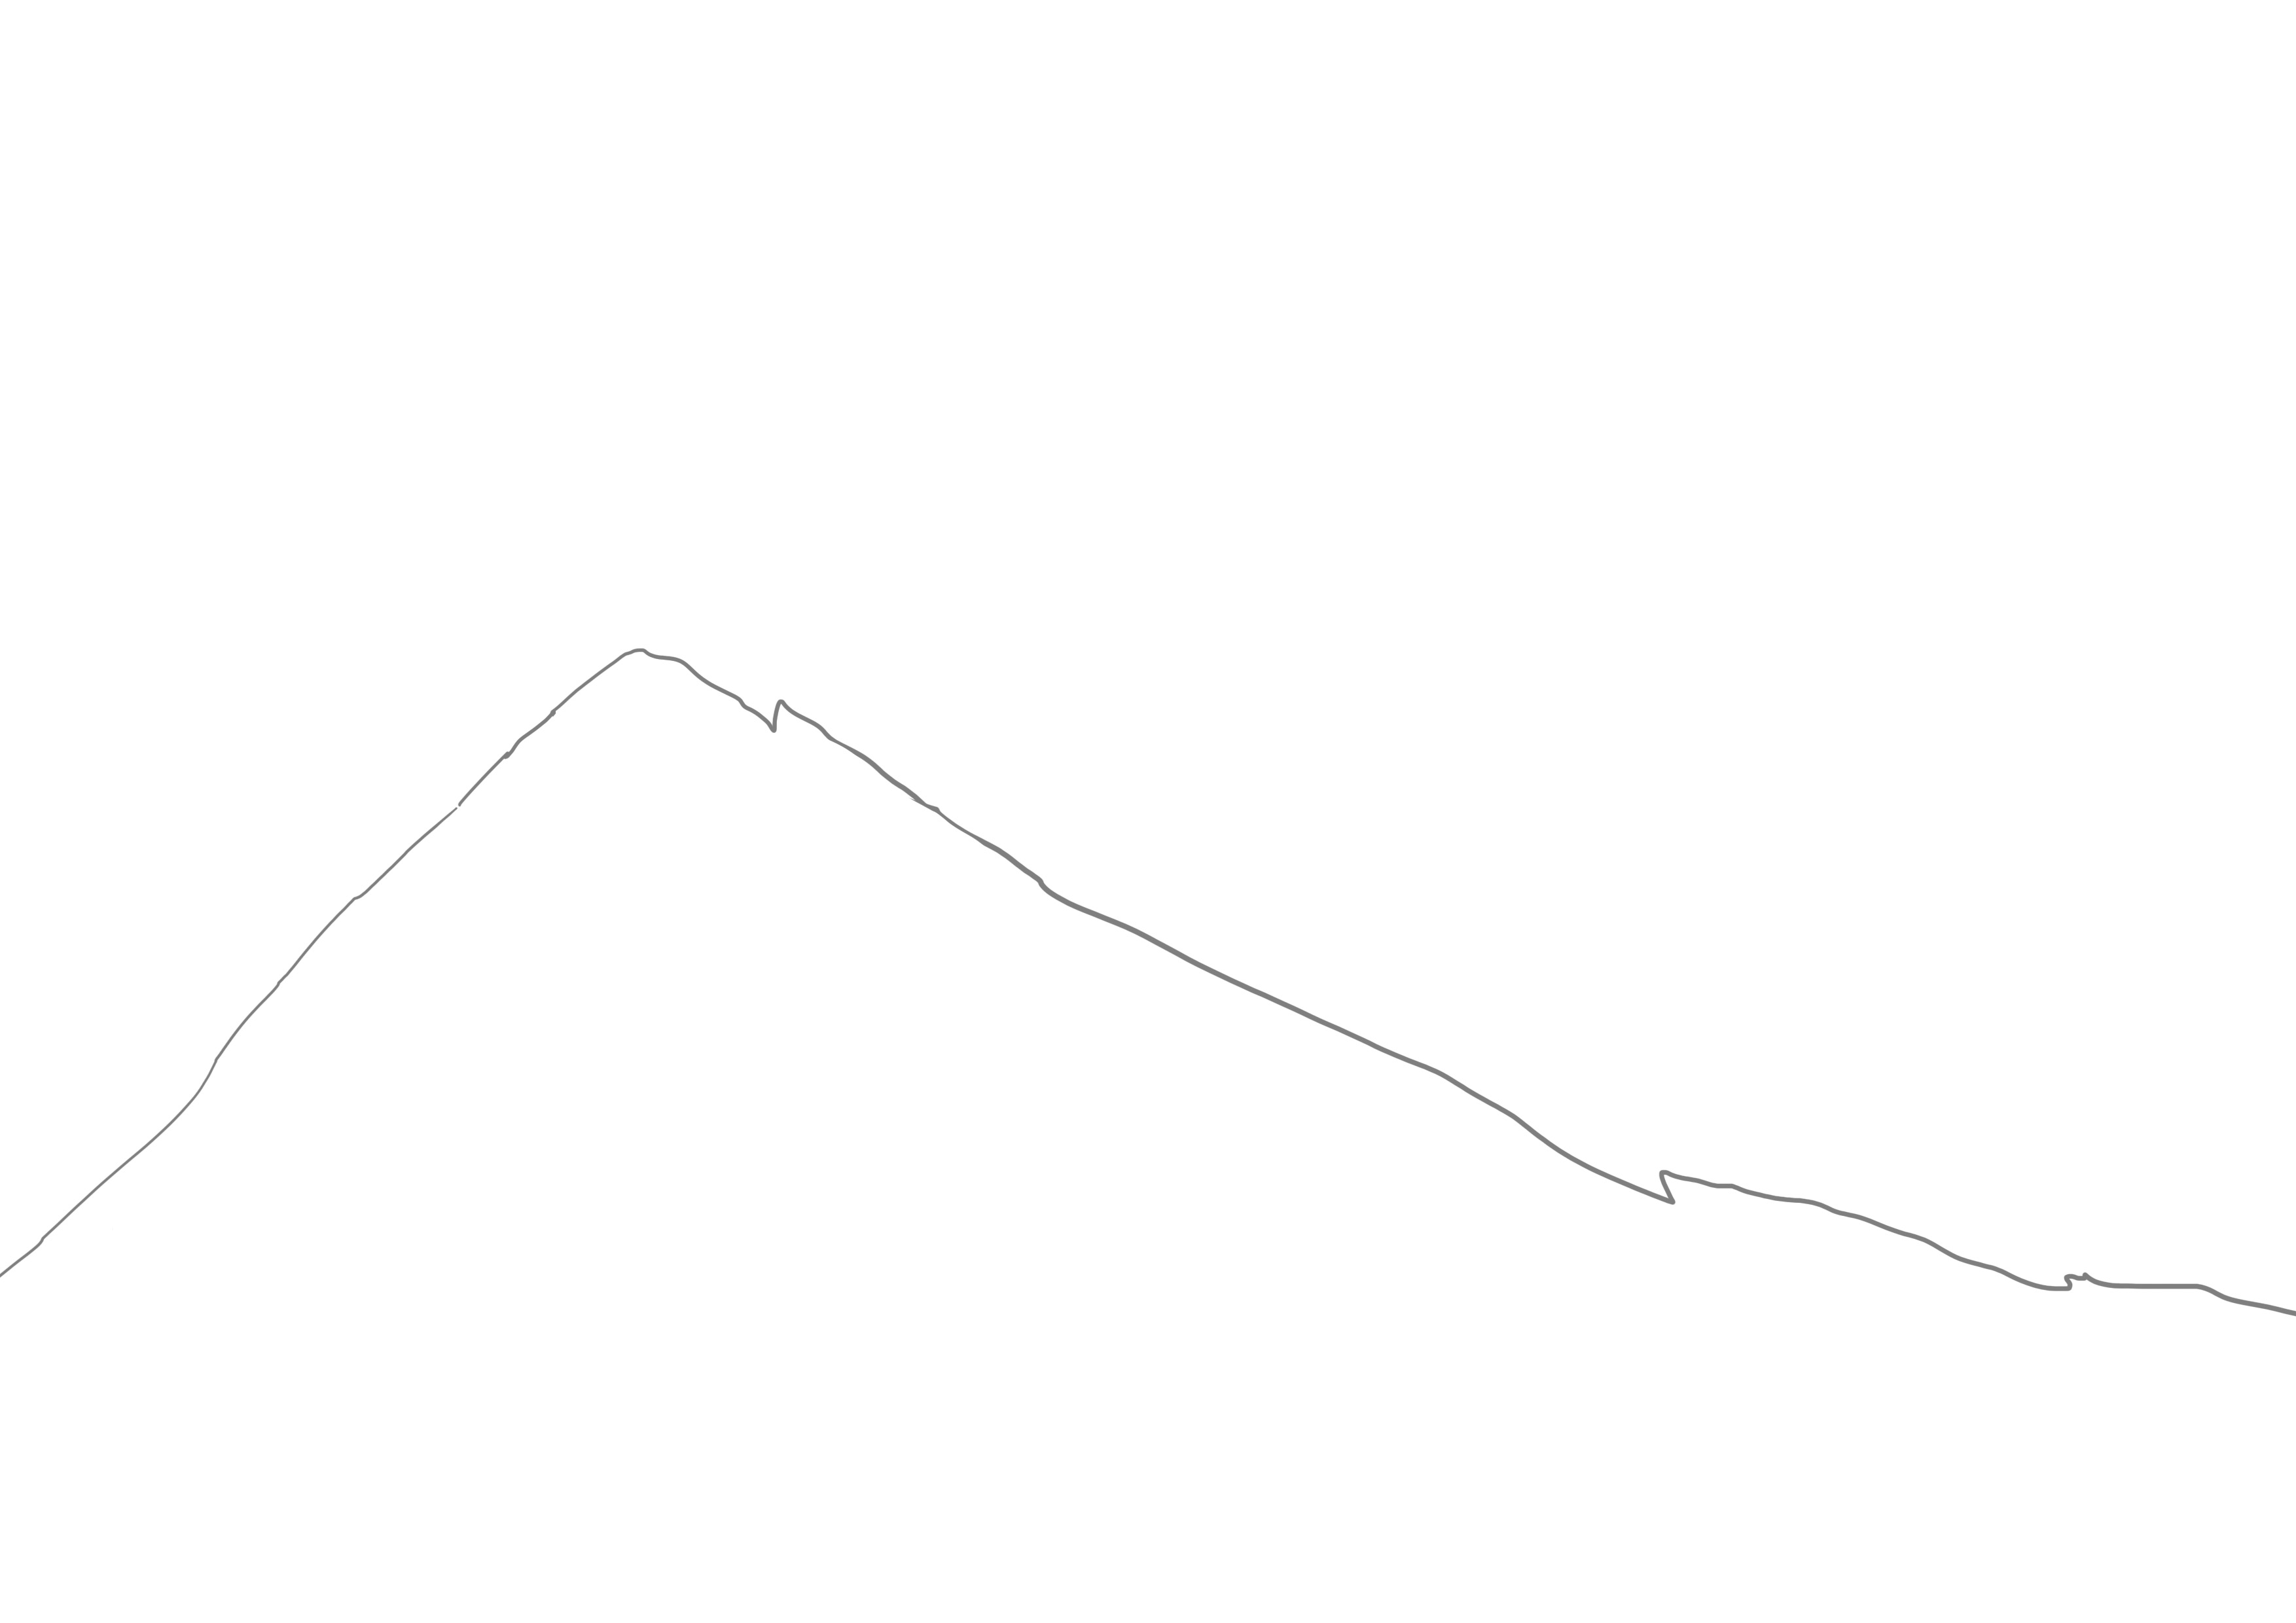
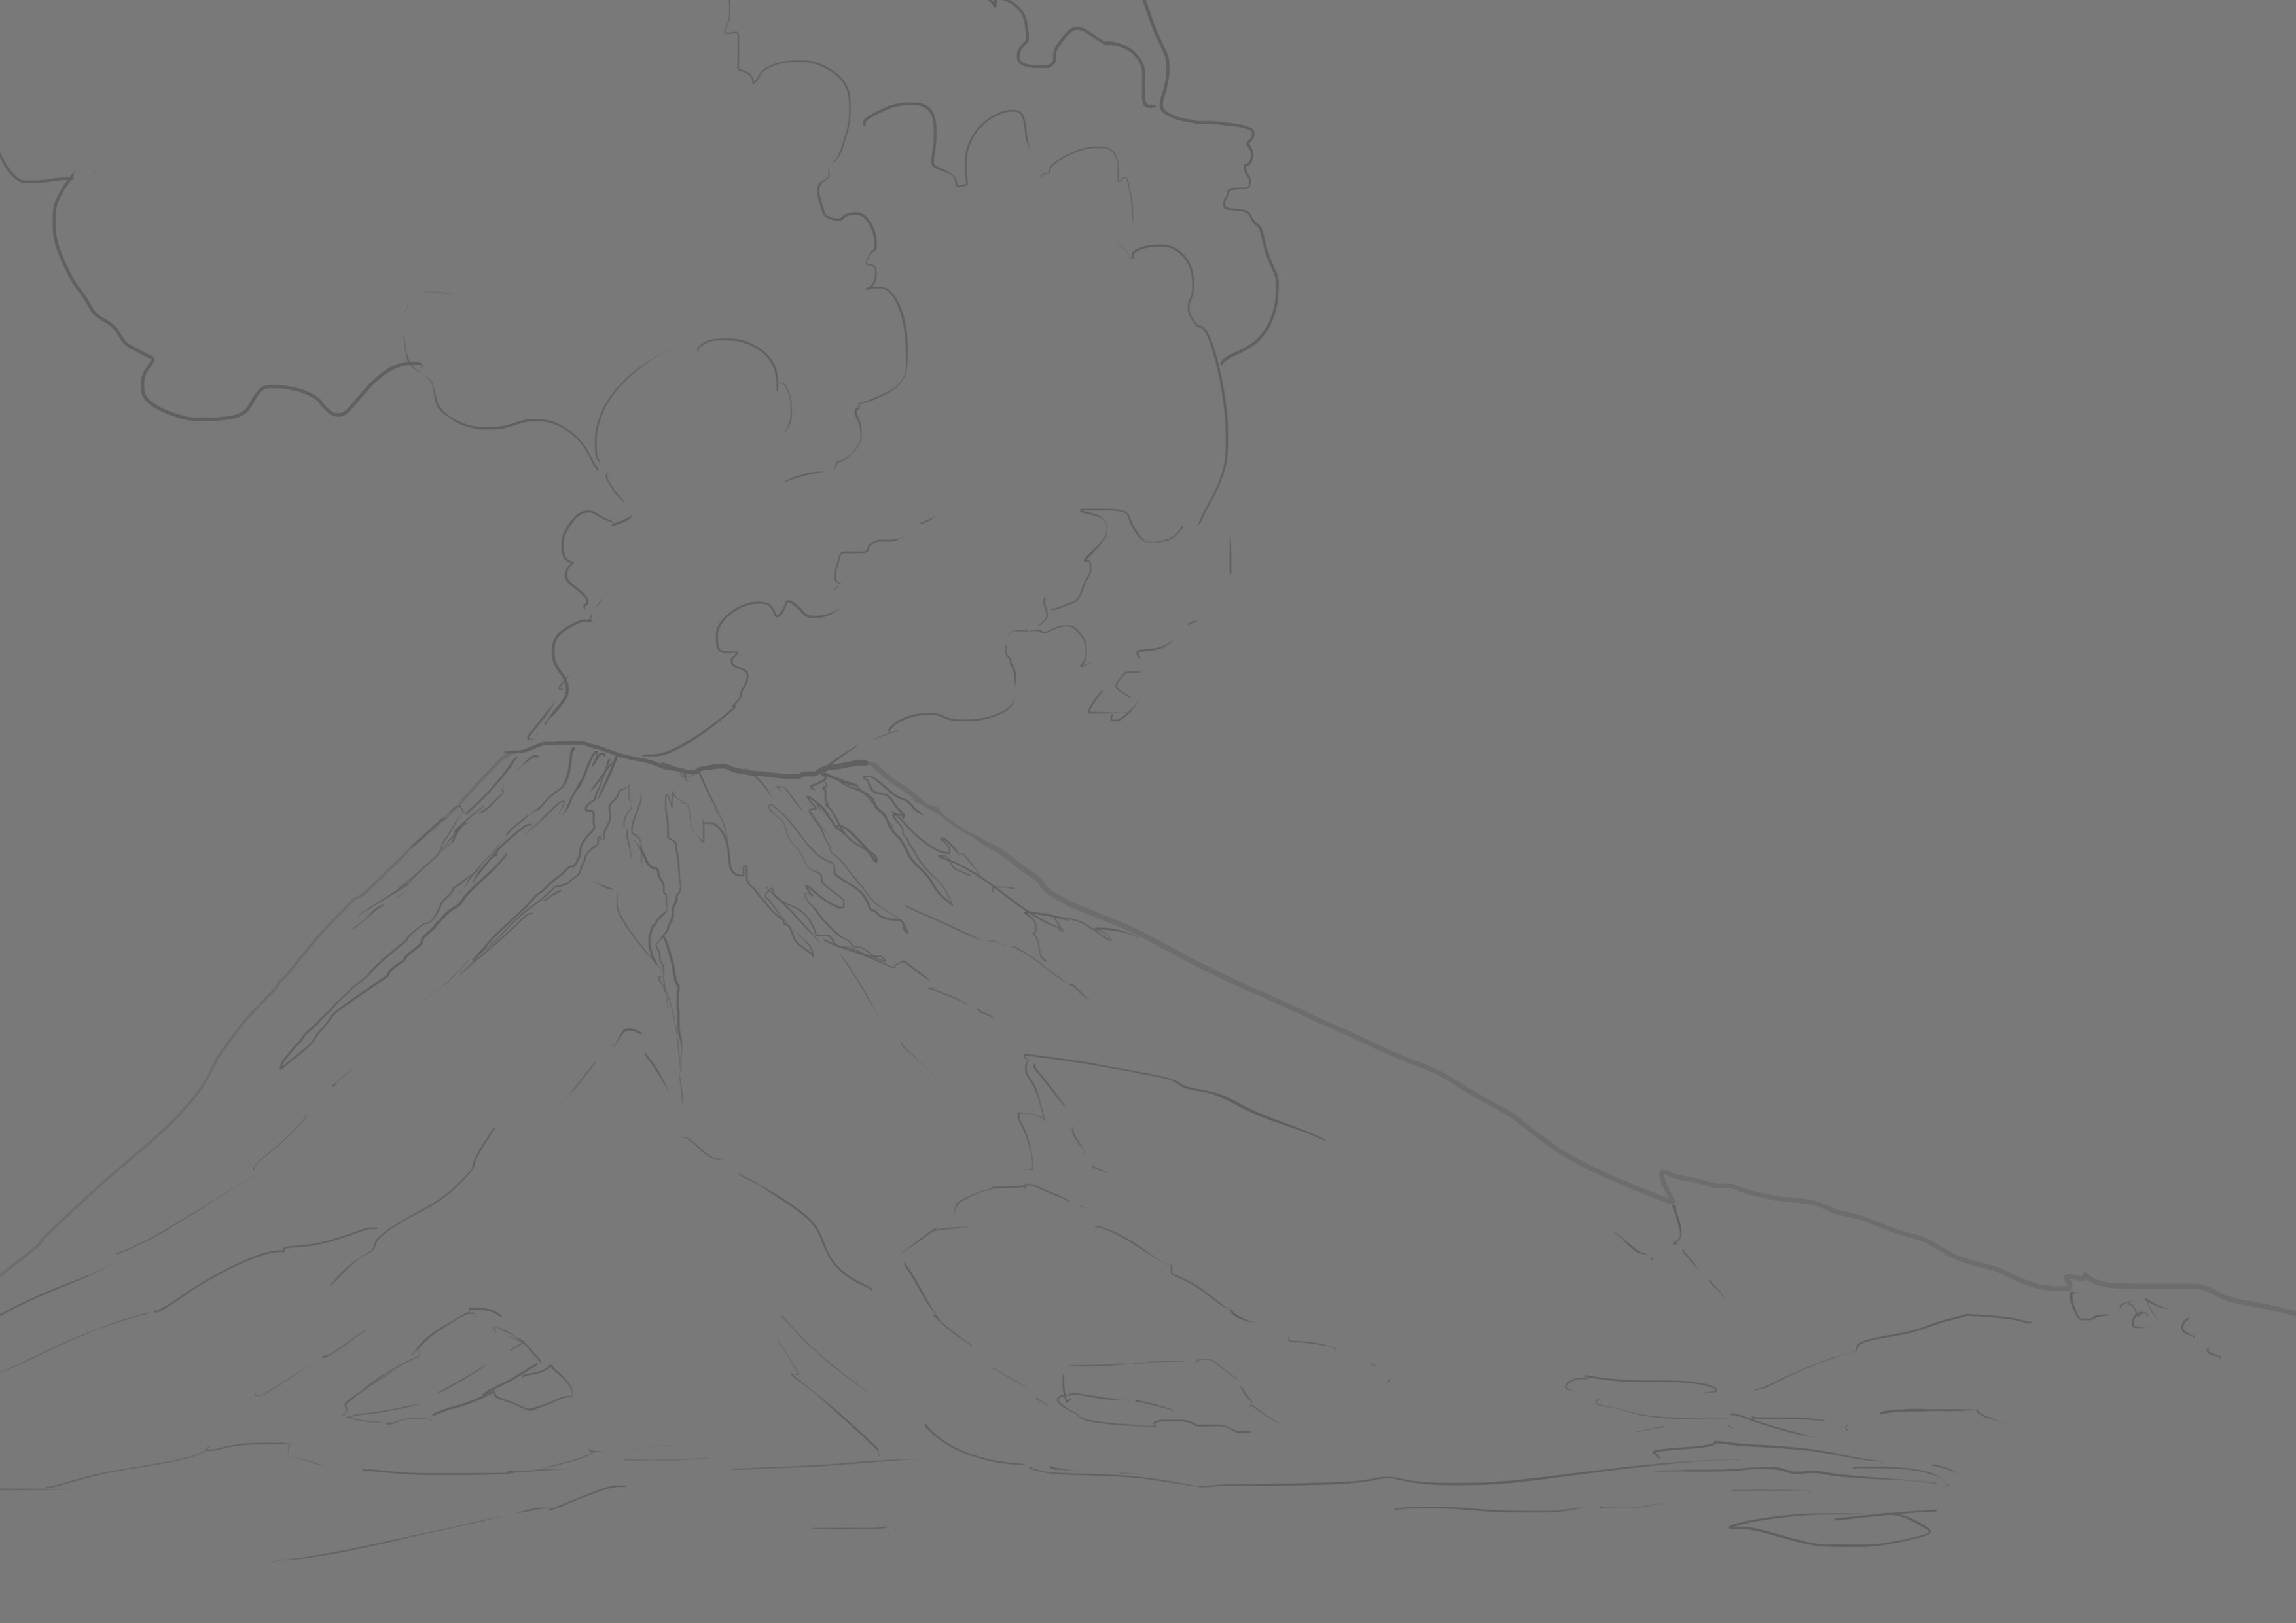
As I was saying, it’s quite simple in terms of drawing. You just need to create a mountain. There are no specific rules in this case. It can look more like a huge hill or something a bit steeper.
DRAWING THE MOUNTAIN
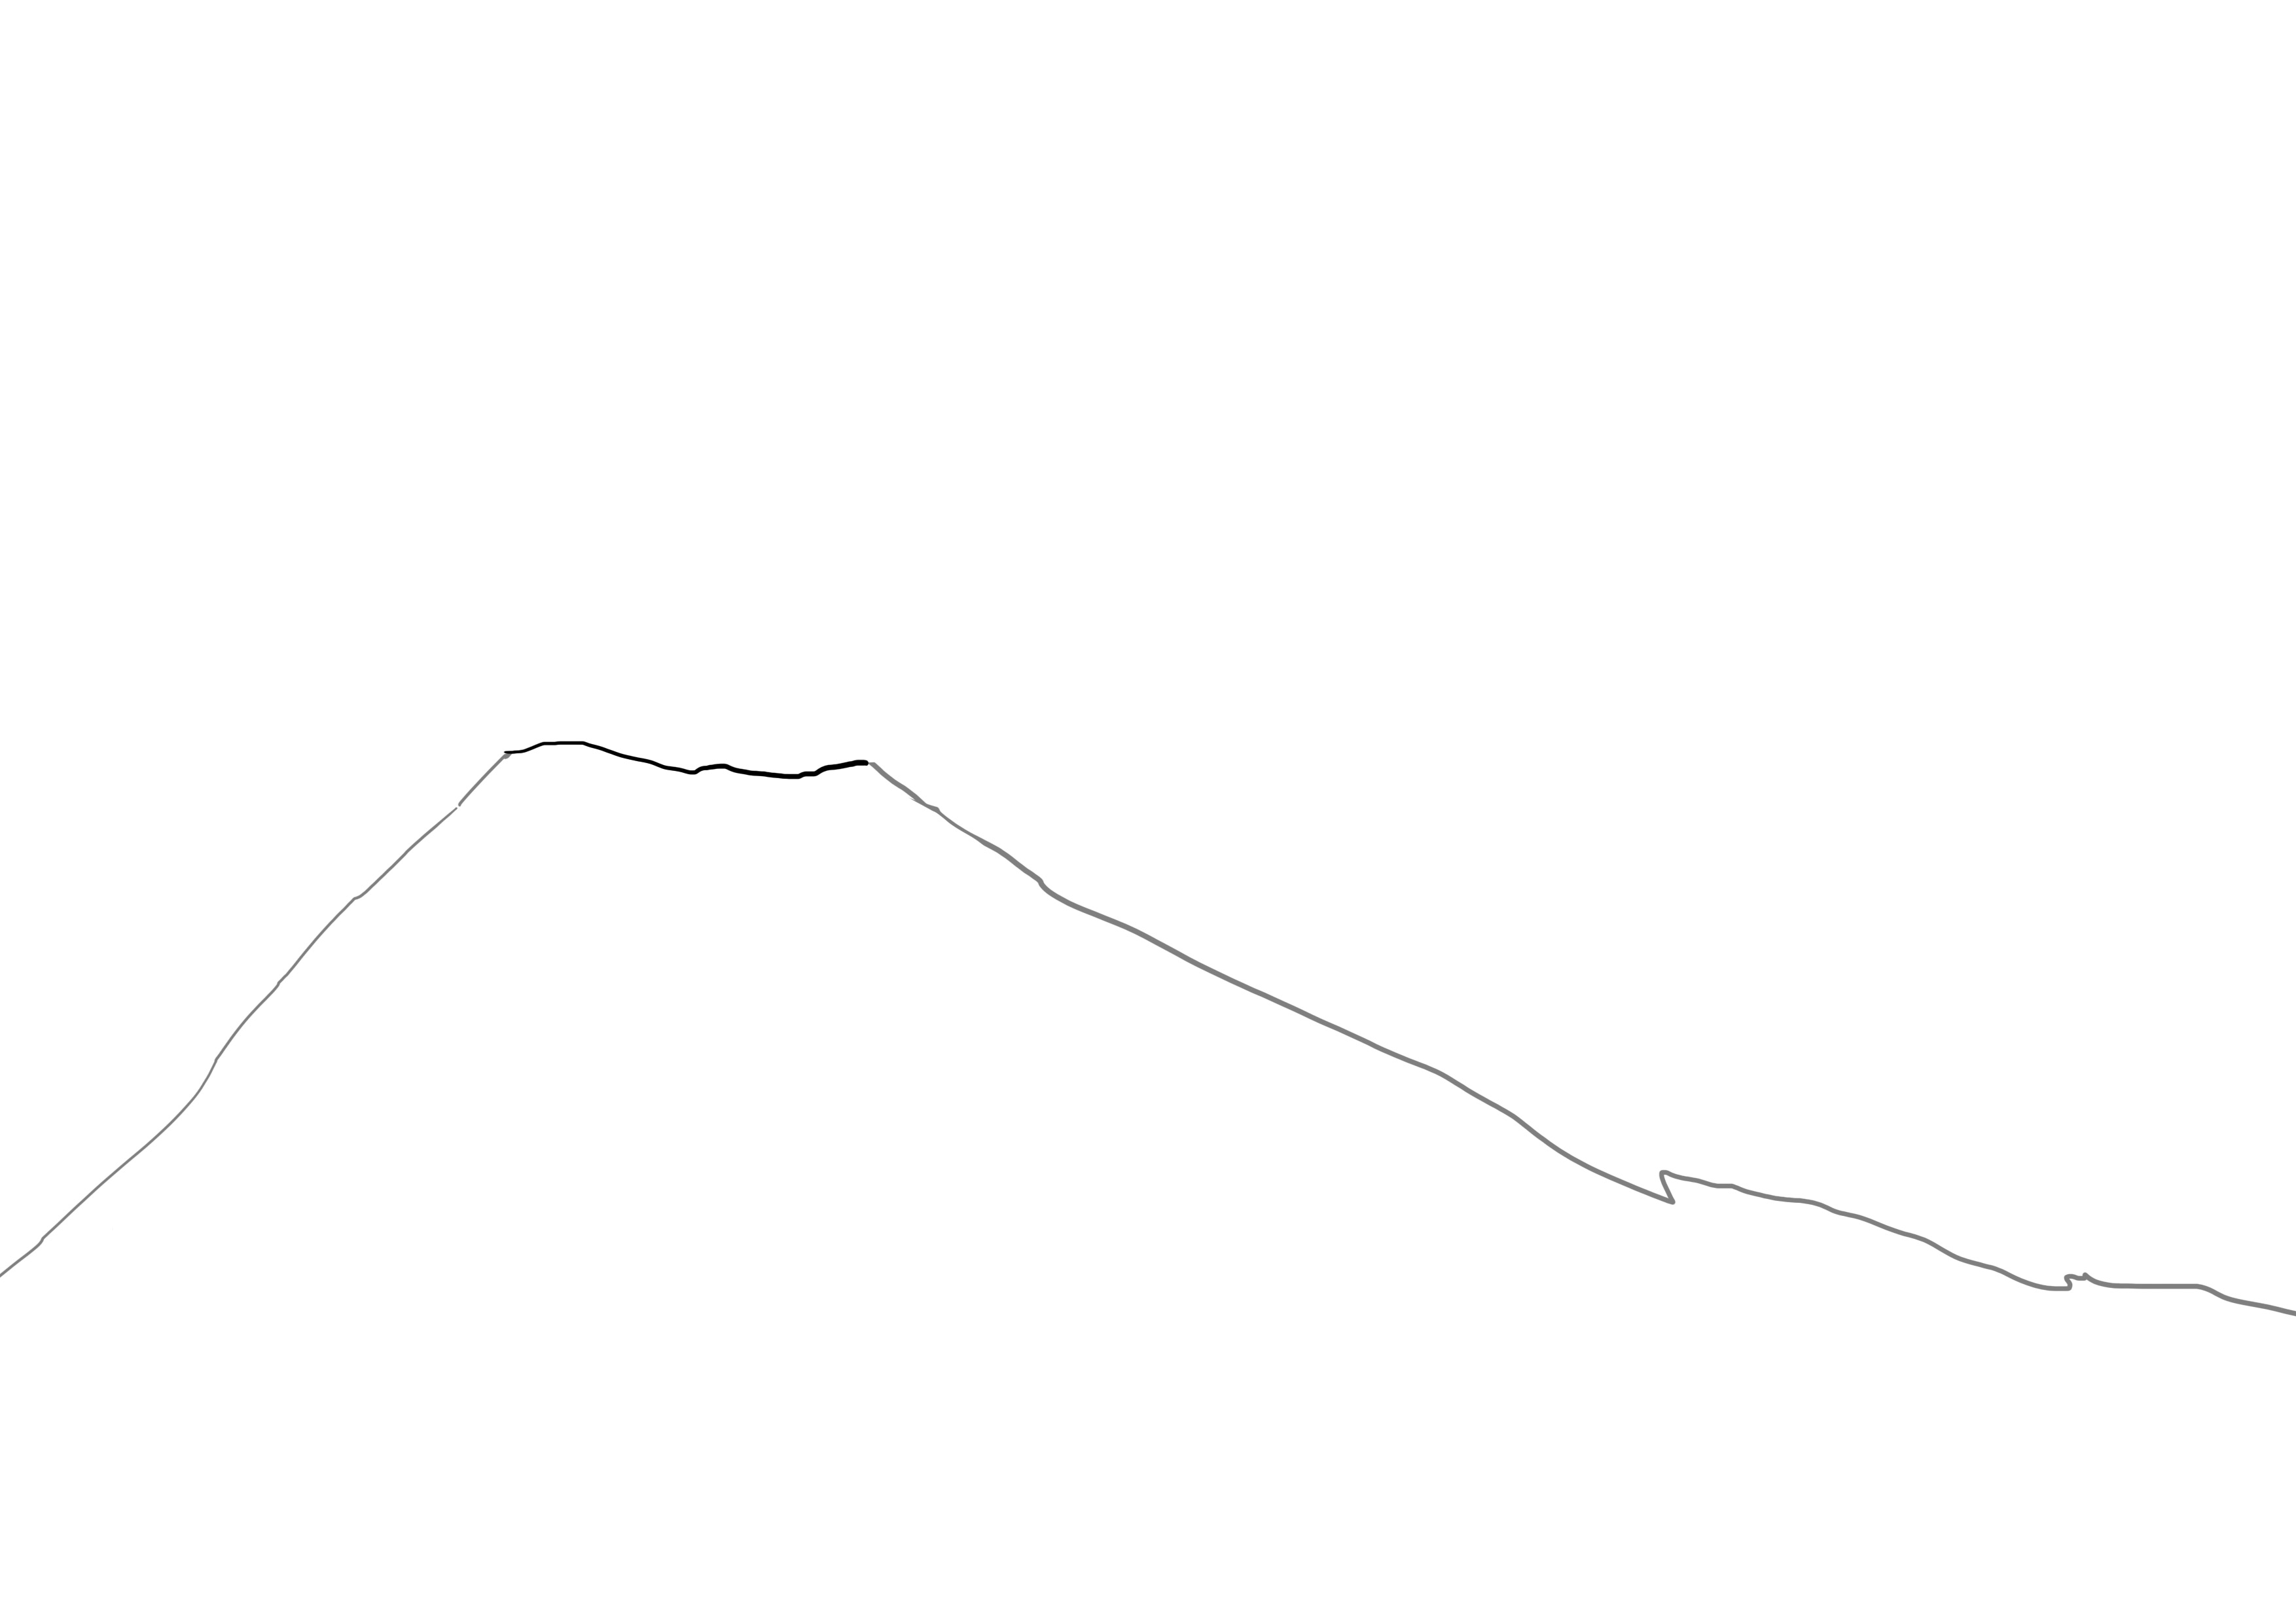
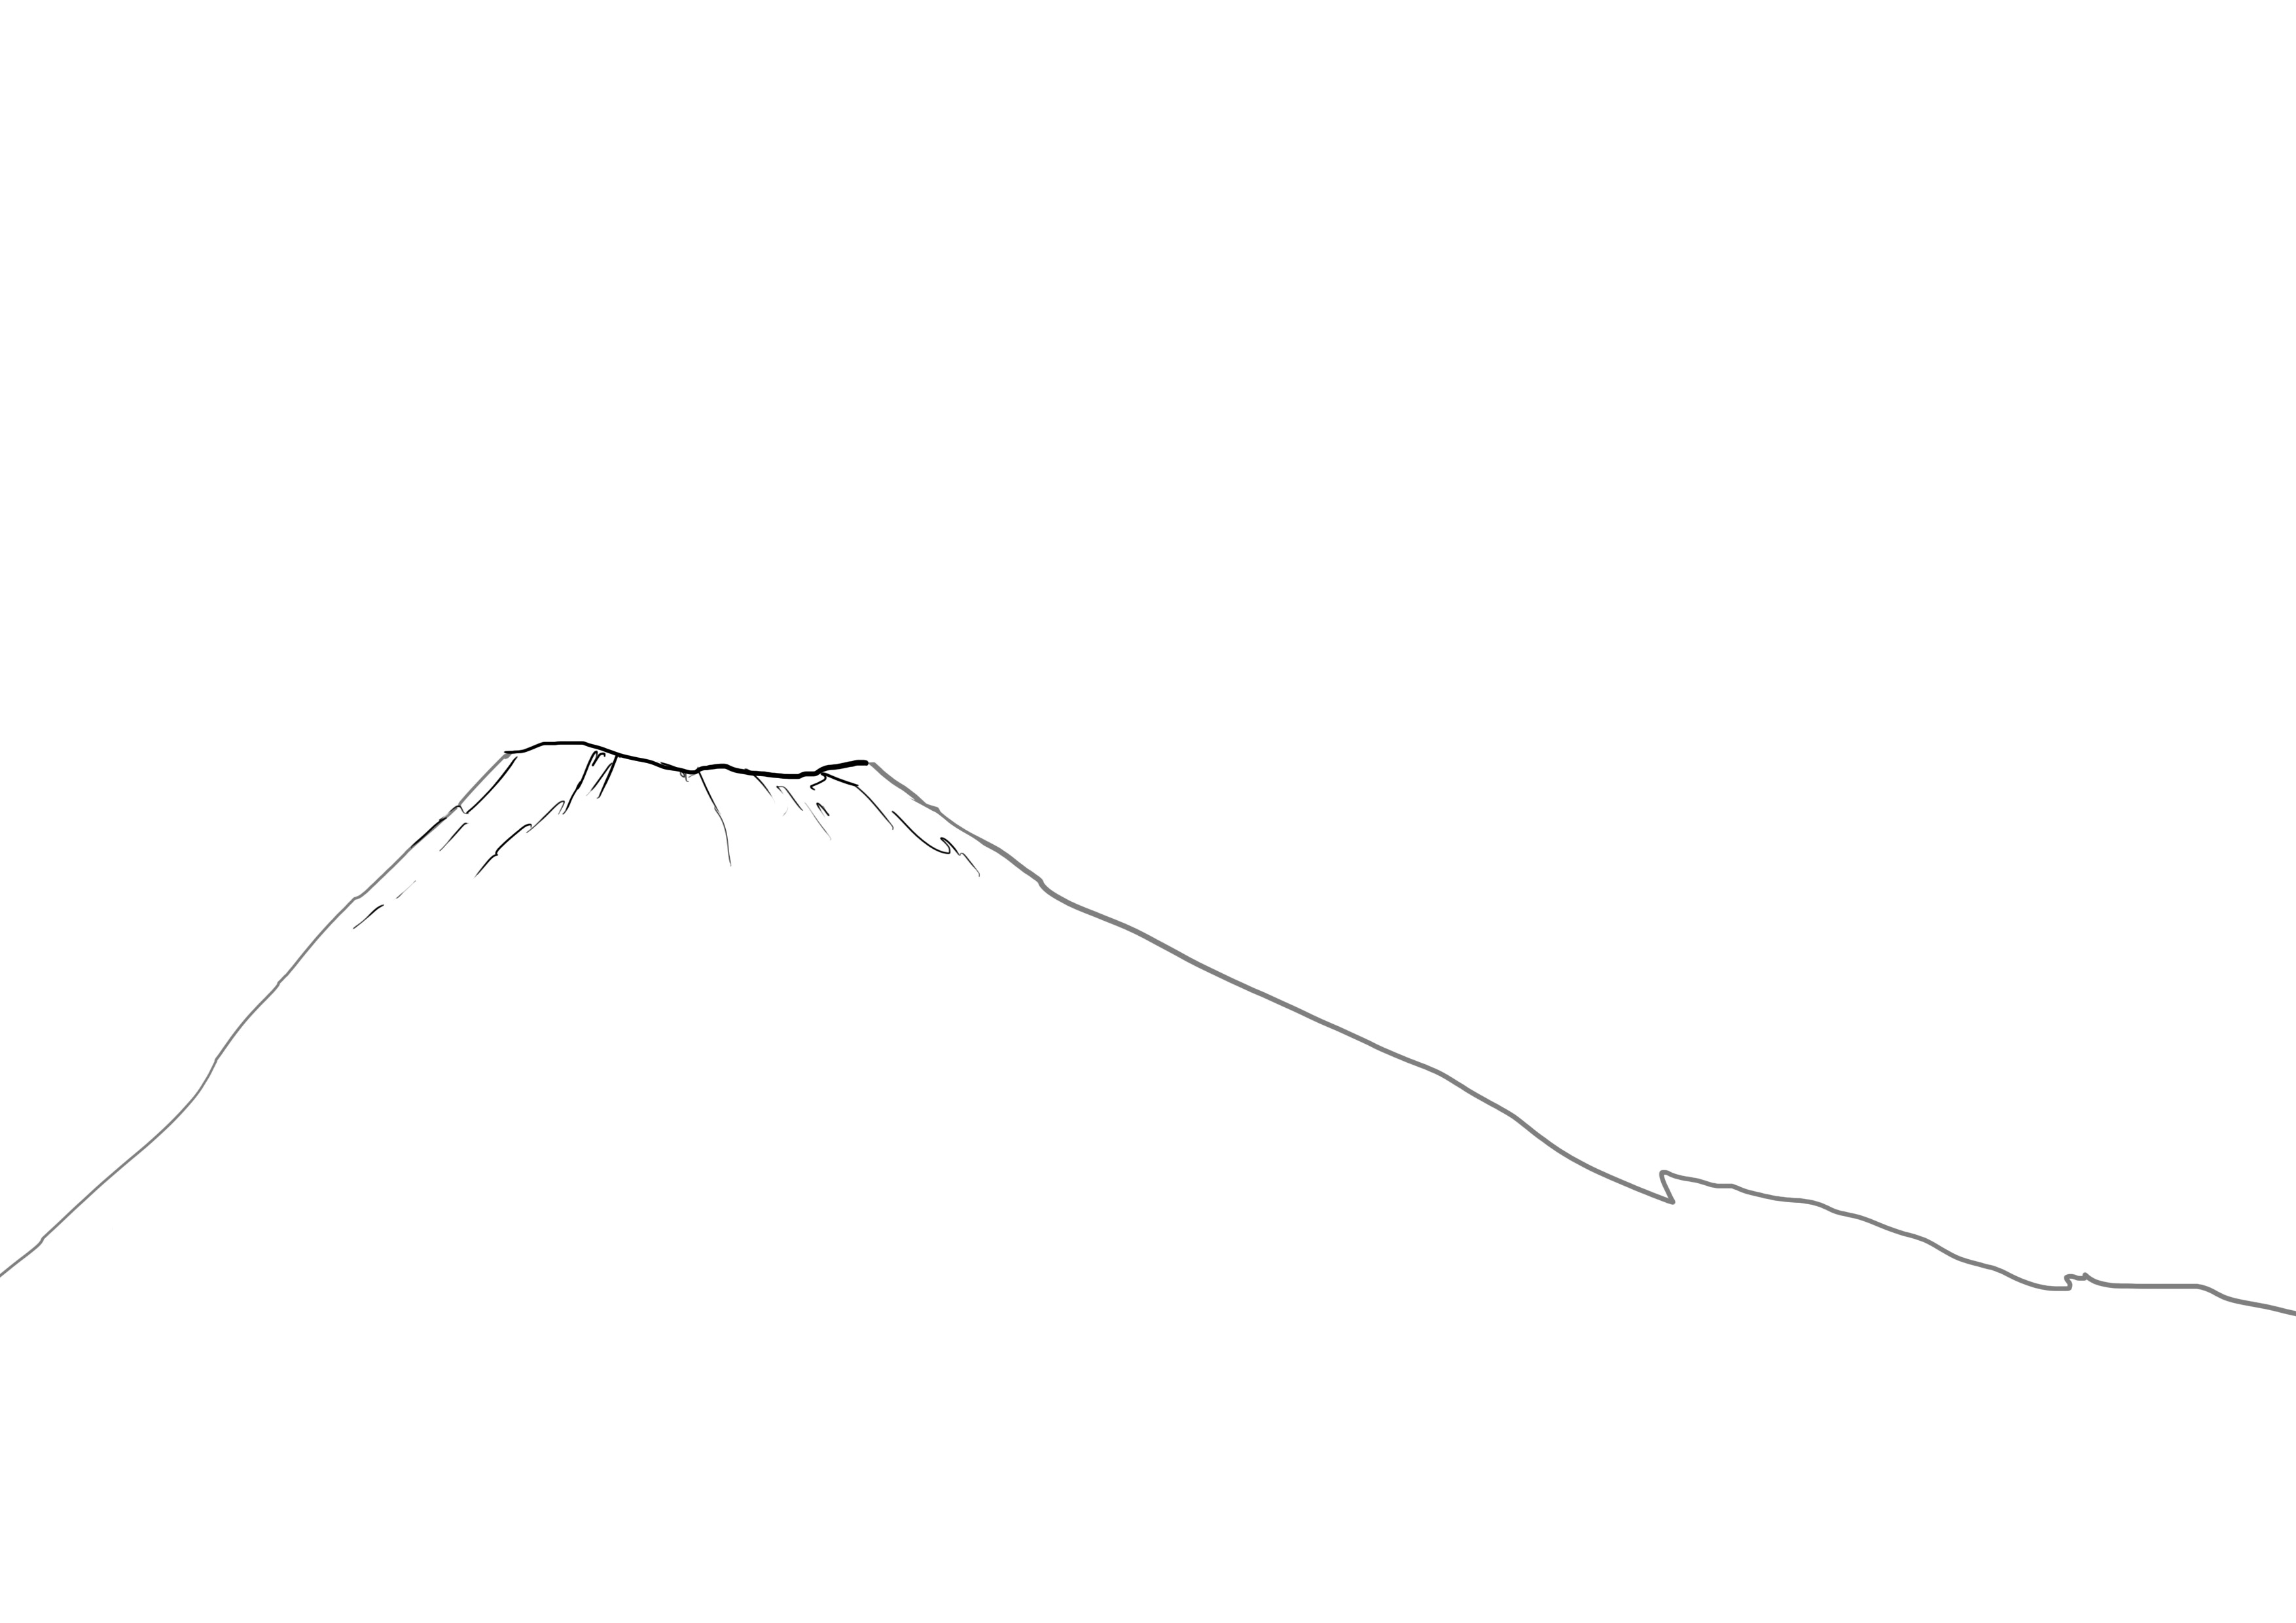
Generally, the top of this mountain is removed where the volcano's vent is located. The circumference of this vent is also very variable and not necessarily regular. In other words, this can cut the top of our volcano along a horizontal line, a more irregular curve, or at a certain angle.
Nevertheless, there will never be "teeth" for the simple reason that it is the edge of the volcano's chimney. When it erupts, lava will fall on it and solidify. I don't know if you have ever watched lava cool and harden, but it forms "waves", very rounded, very smooth patterns. Therefore, it is not possible to have sharp cliffs and marked crevasses for the volcano's ridge. Everything will be smoothed and "flattened" by the lava from previous eruptions.
We will still need to detail this mountain a bit and not just stick to its silhouette on the pretext that it will be very dark. And you will quickly understand why later.
I don’t really have any specific rules to give you for mountains, except that randomness is good and that generally, I use quite straight lines.
I'm showing you some steps because honestly, it's really random. I simply make sure that things are not at equal distances which isn't particularly aesthetic and not very natural. And I generally start from the top and move downwards.

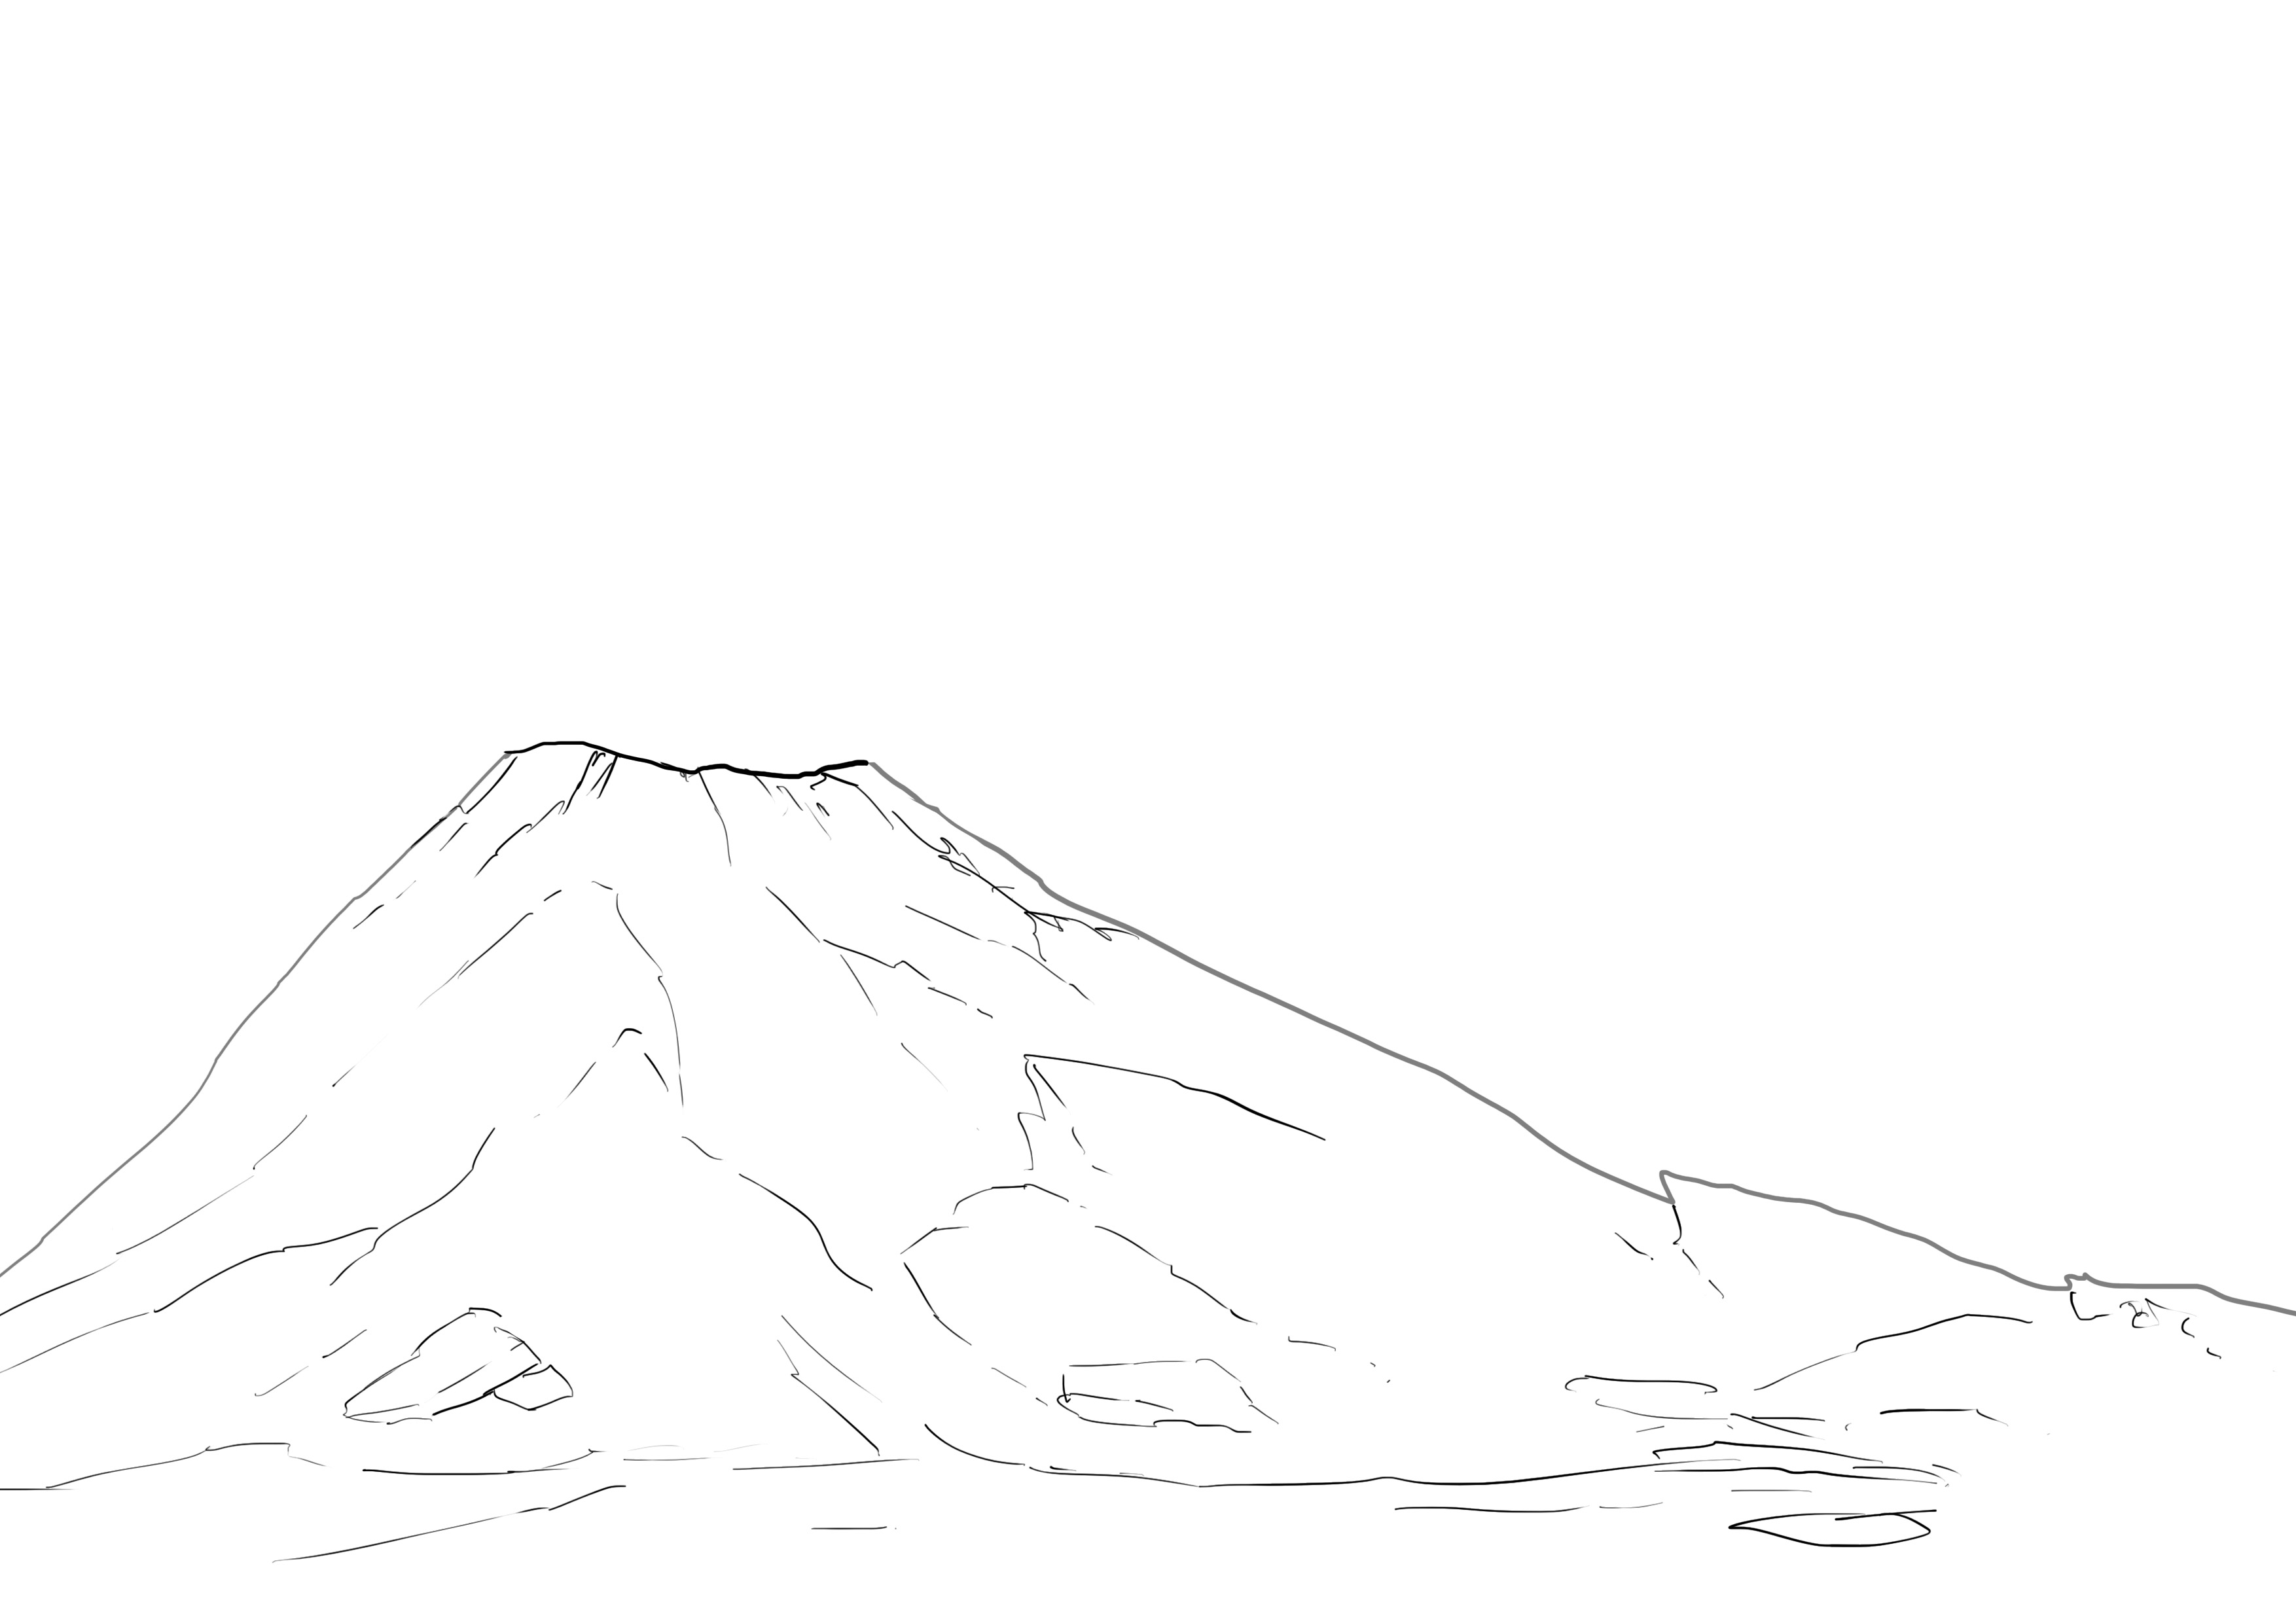
At this point I urge you to focus primarily on the top of the volcano rather than its base.
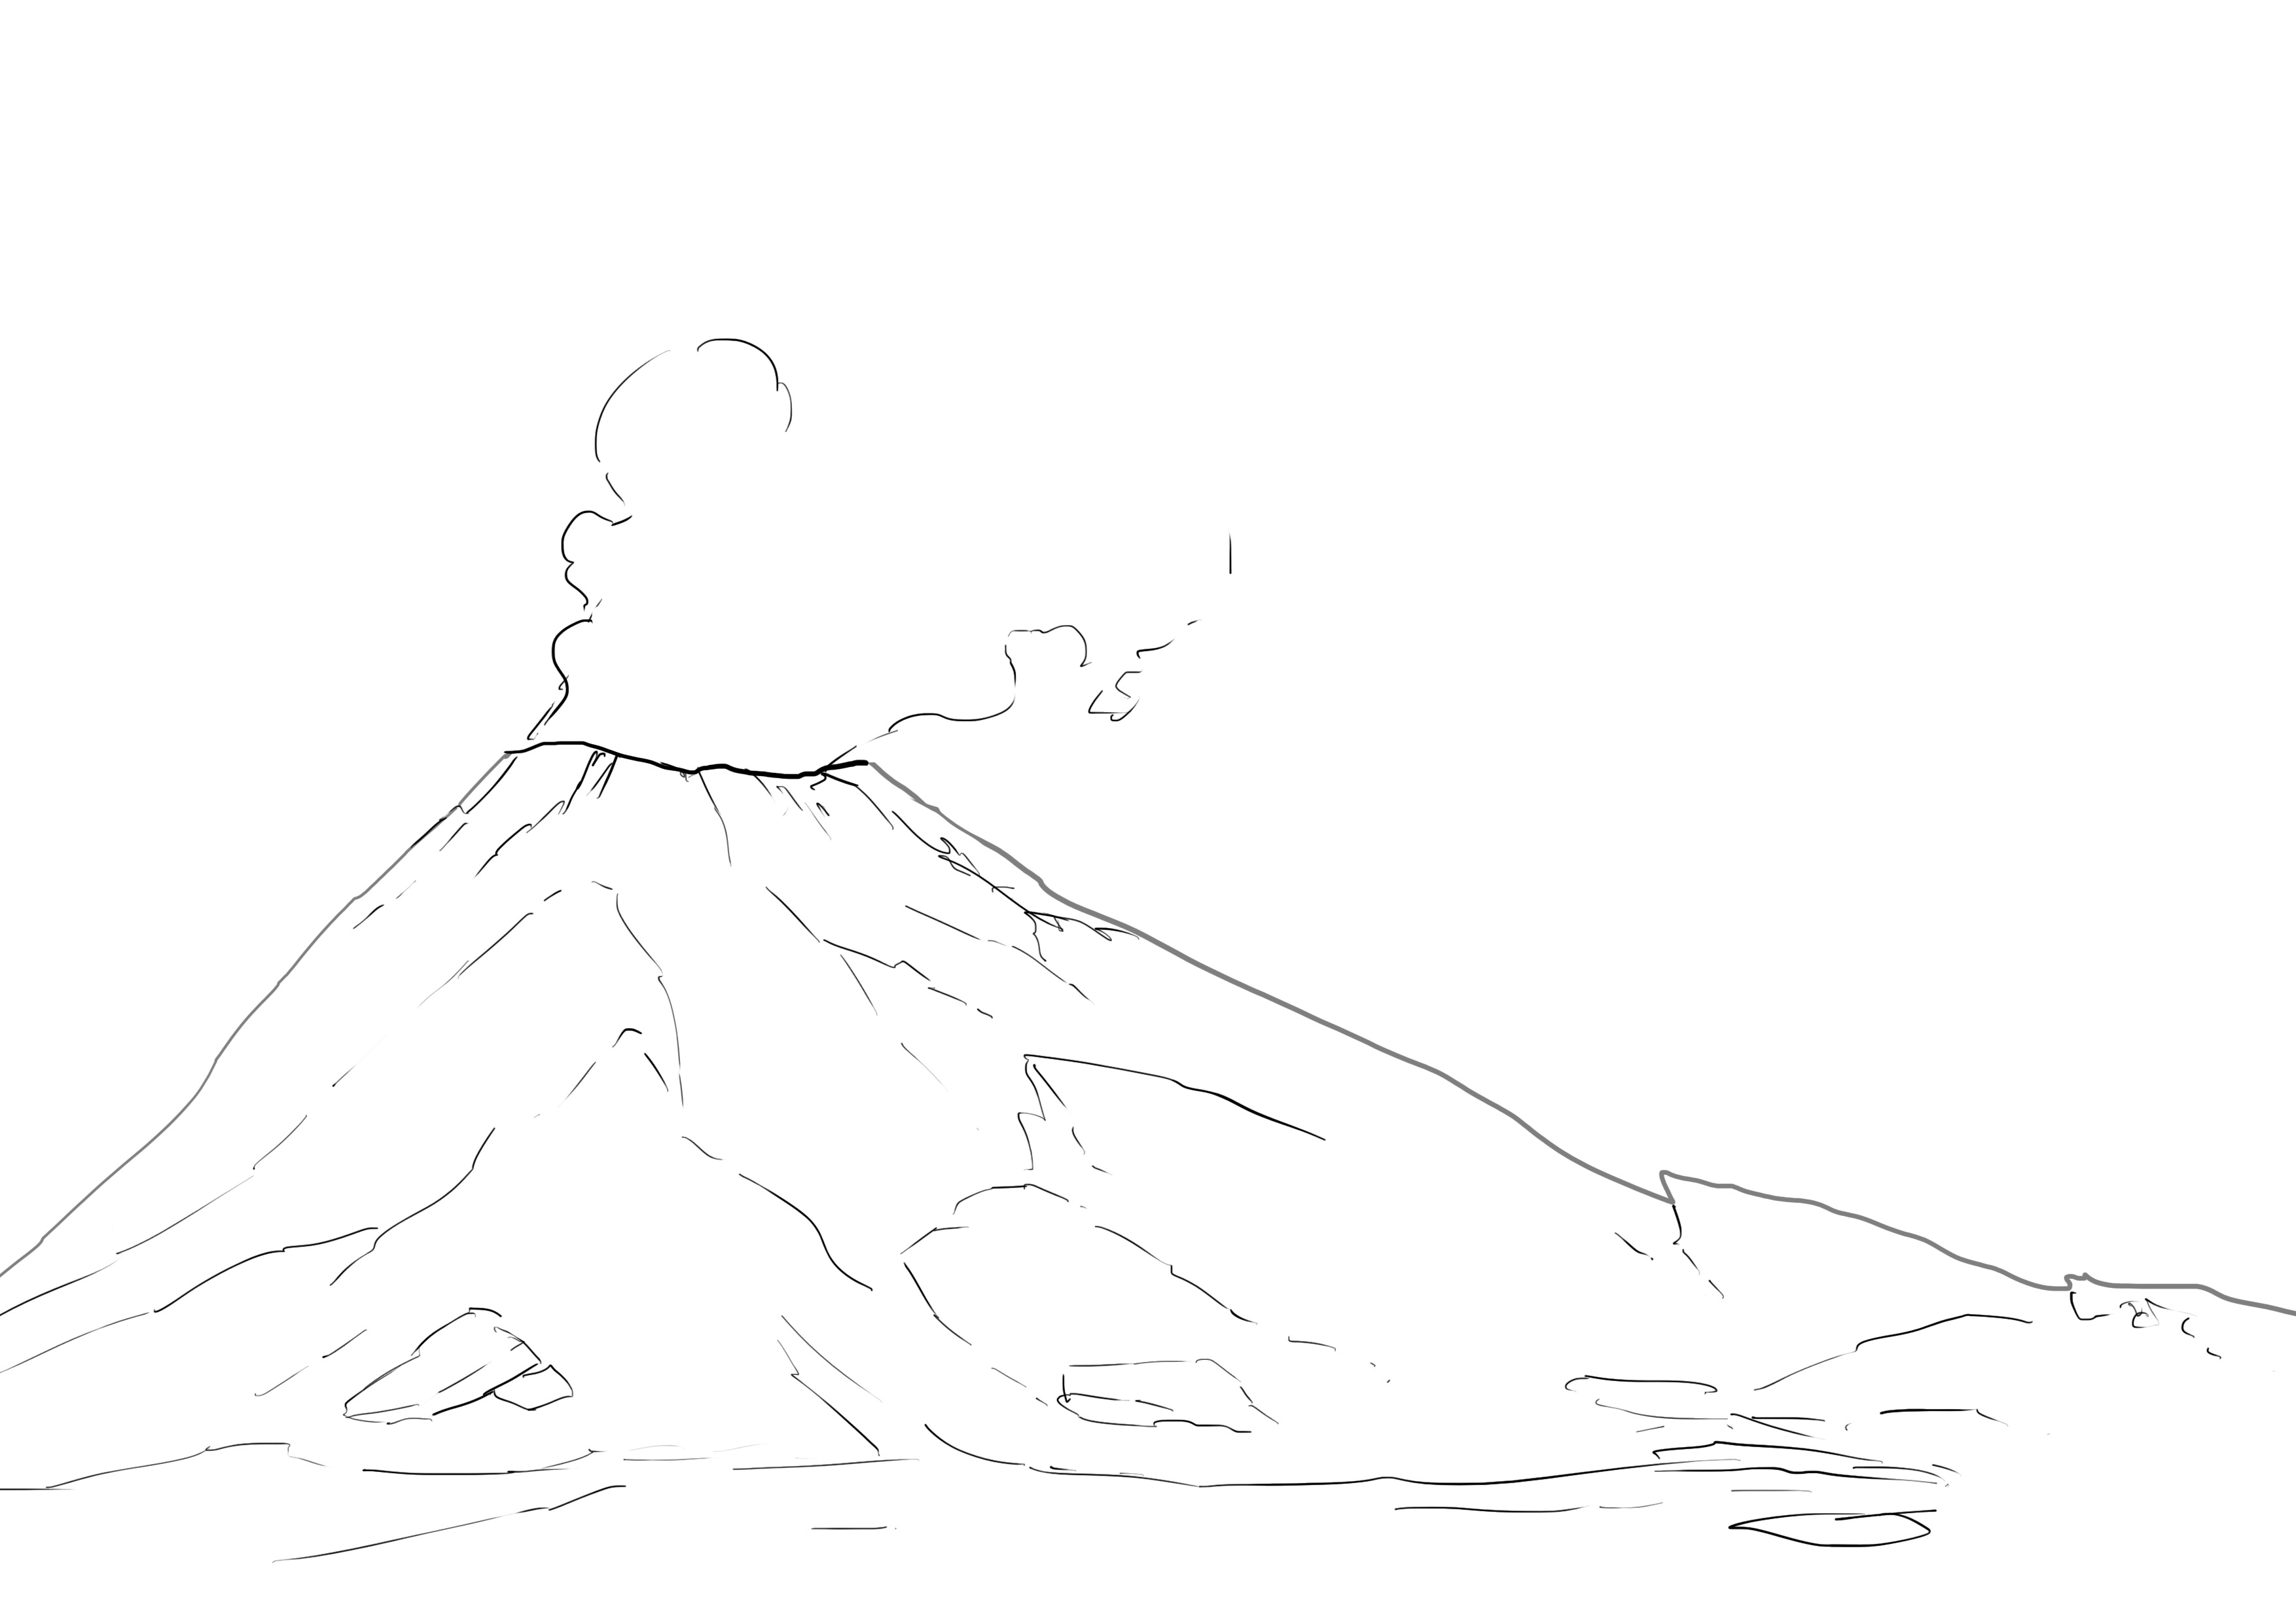
DRAWING THE LAVA AND SMOKE OF THE VOLCANO
We are now moving on to the slightly more challenging part! For our example, I really want to add both lava AND smoke. If you've had a chance to read the article on clouds, get it out, because we're going to need it :D
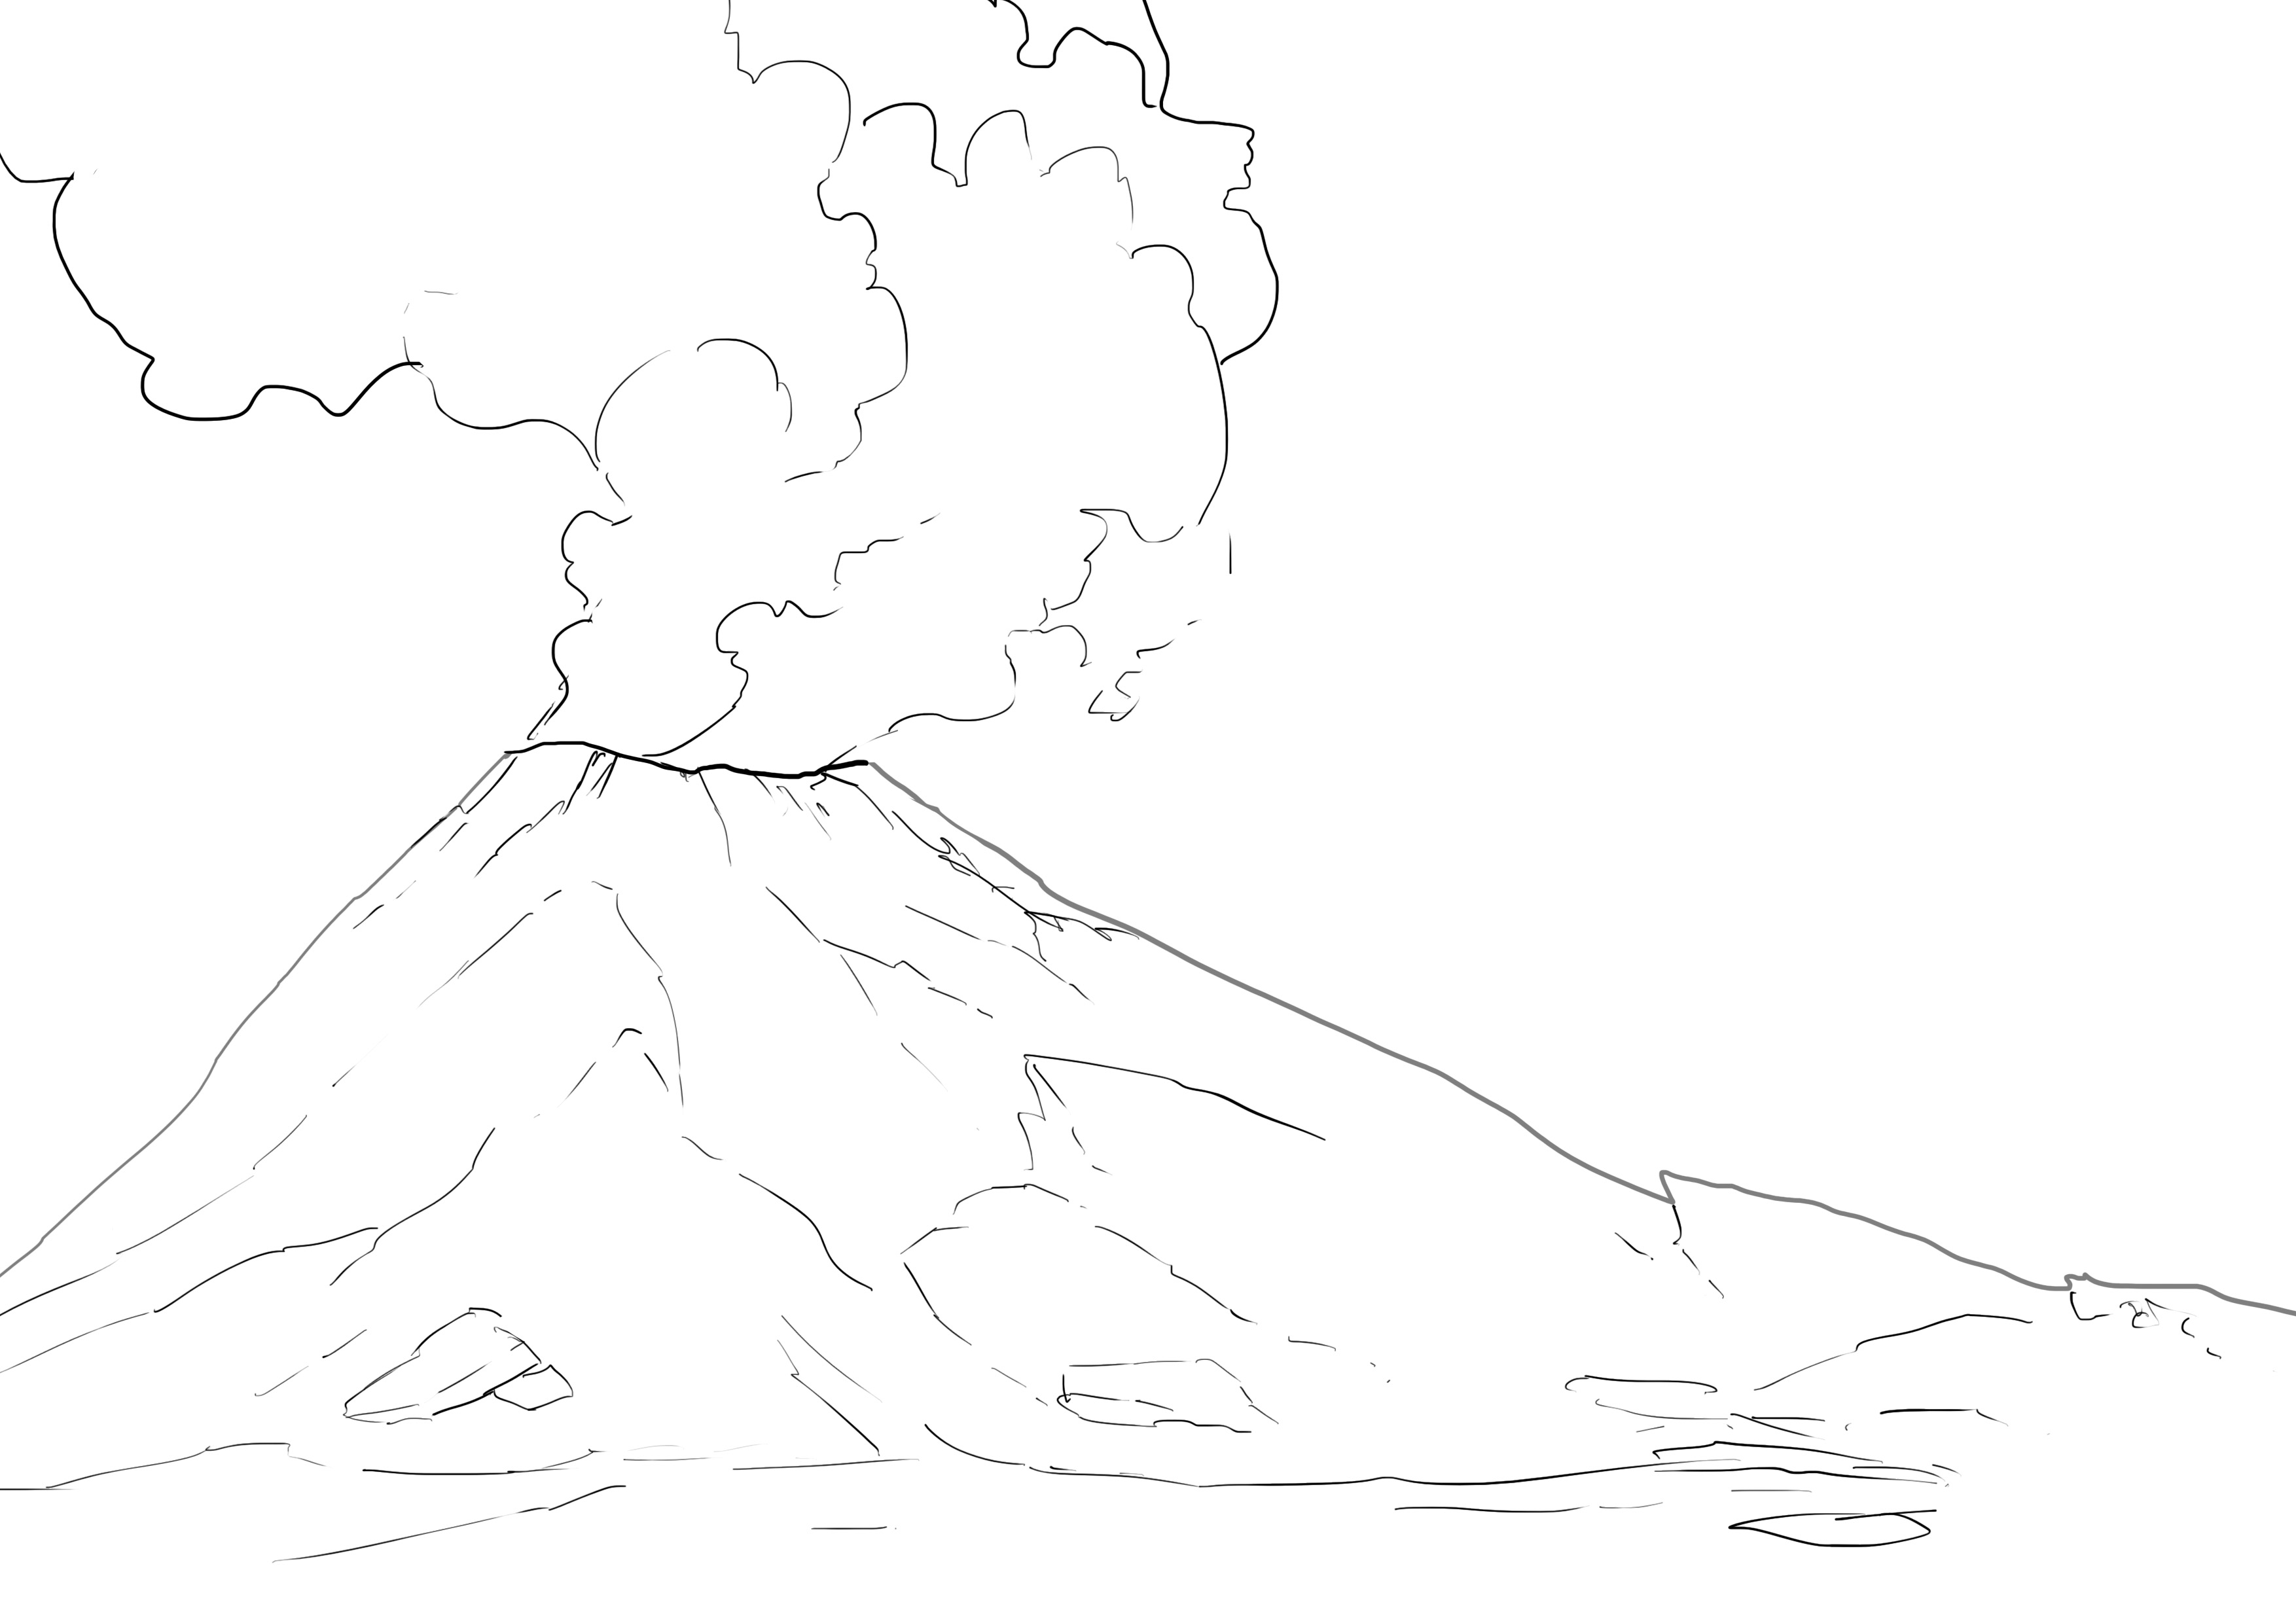
We'll start with the smoke. I really like references with smoke columns that don't clearly show the lava explosion. So I'm referring you to the article on clouds to draw that, you are experts now ;p
The only additional consideration here is that the smoke is emitted by the volcano. The column is therefore small at the volcano's exit and widens and dissipates as it rises into the sky. Depending on the angle of your smoke plume, you will provide indications about the wind and the strength of its blast.

If it rises straight up, there's probably not much wind. If the cloud spreads out quickly, the wind force is not very strong. And if the plume tilts one way and then another, it's a safe bet that there's wind.
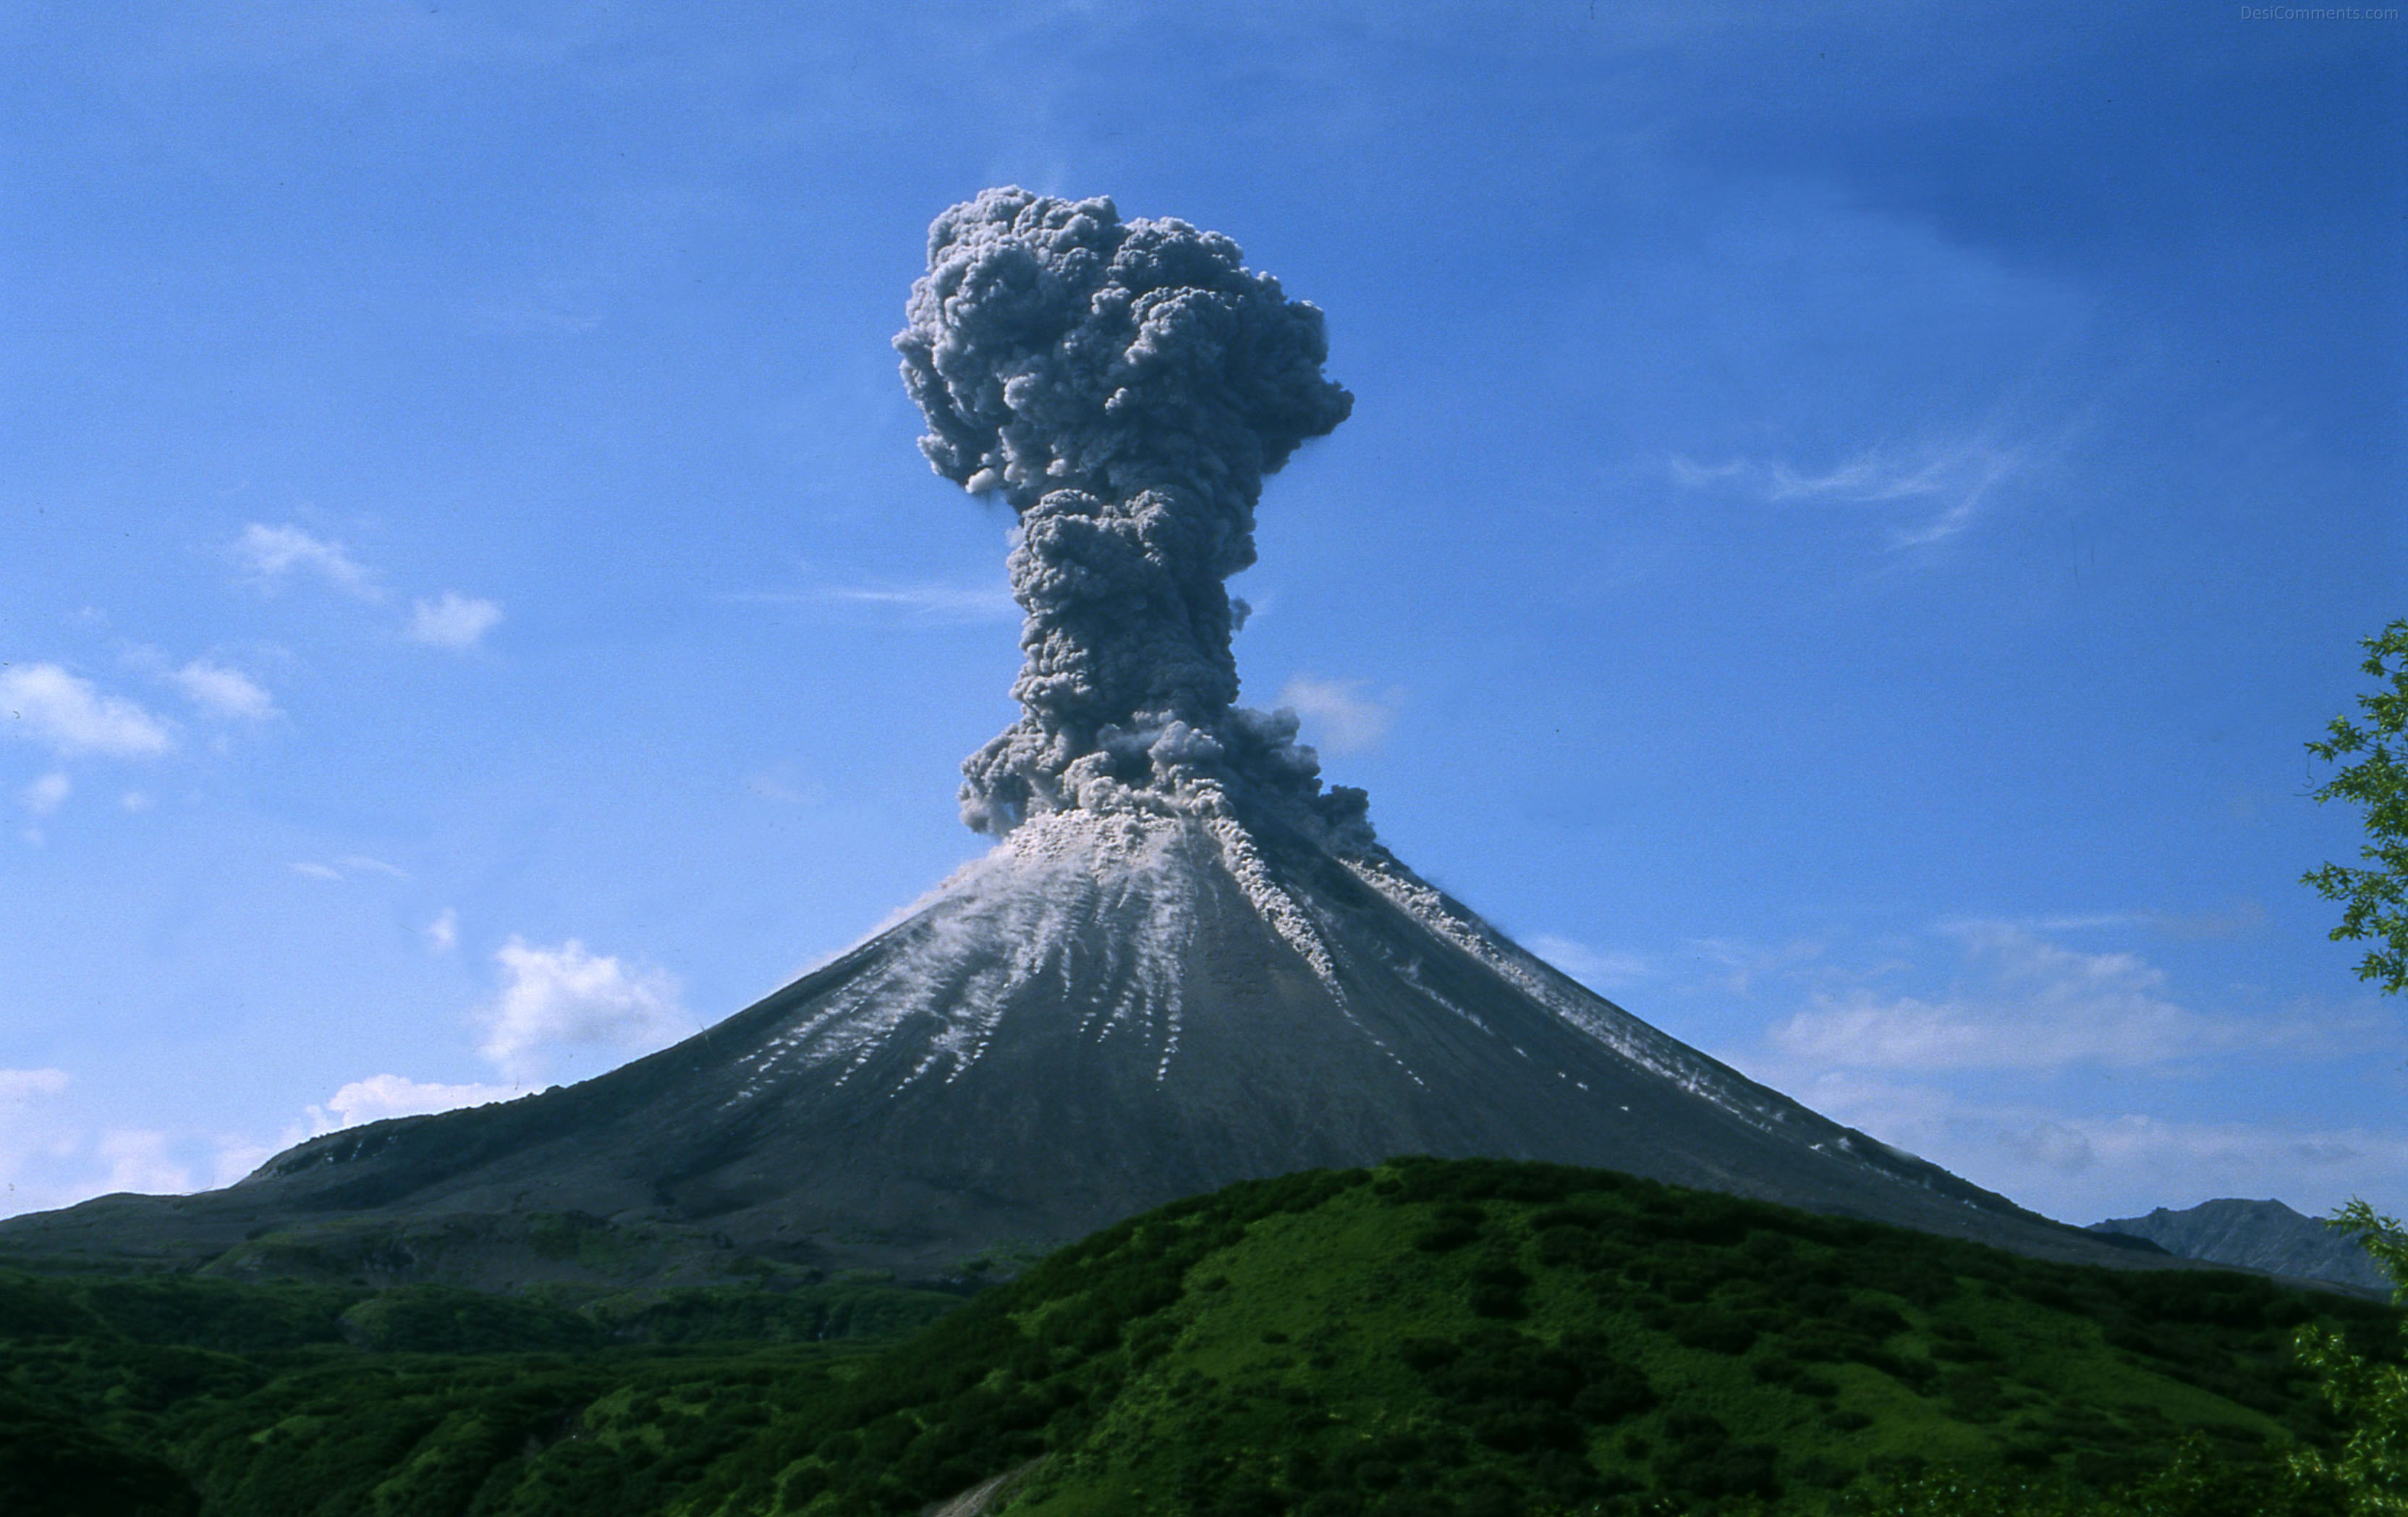
For my part, I really like the wide and curved plume of the last reference image. So, I will base my smoke plume on that.
Now the lava. As mentioned before, I don't particularly like showing the actual lava explosion. I prefer to suggest it with smoke and colors. Otherwise, I think it looks too much like "fireworks." But you can choose to show it if you prefer :D
In this case, go for a fairly circular shape and make small jets of lava. Like little flaming pebbles being ejected along the sides of the volcano.
So, I'm going back to my basic drawing. We're going to tackle the lava on the flanks. The lava will cascade down the slope and outline the relief. It will highlight (haha pun intended) the roughness of the terrain. Hence the importance of having already drawn it earlier ;p
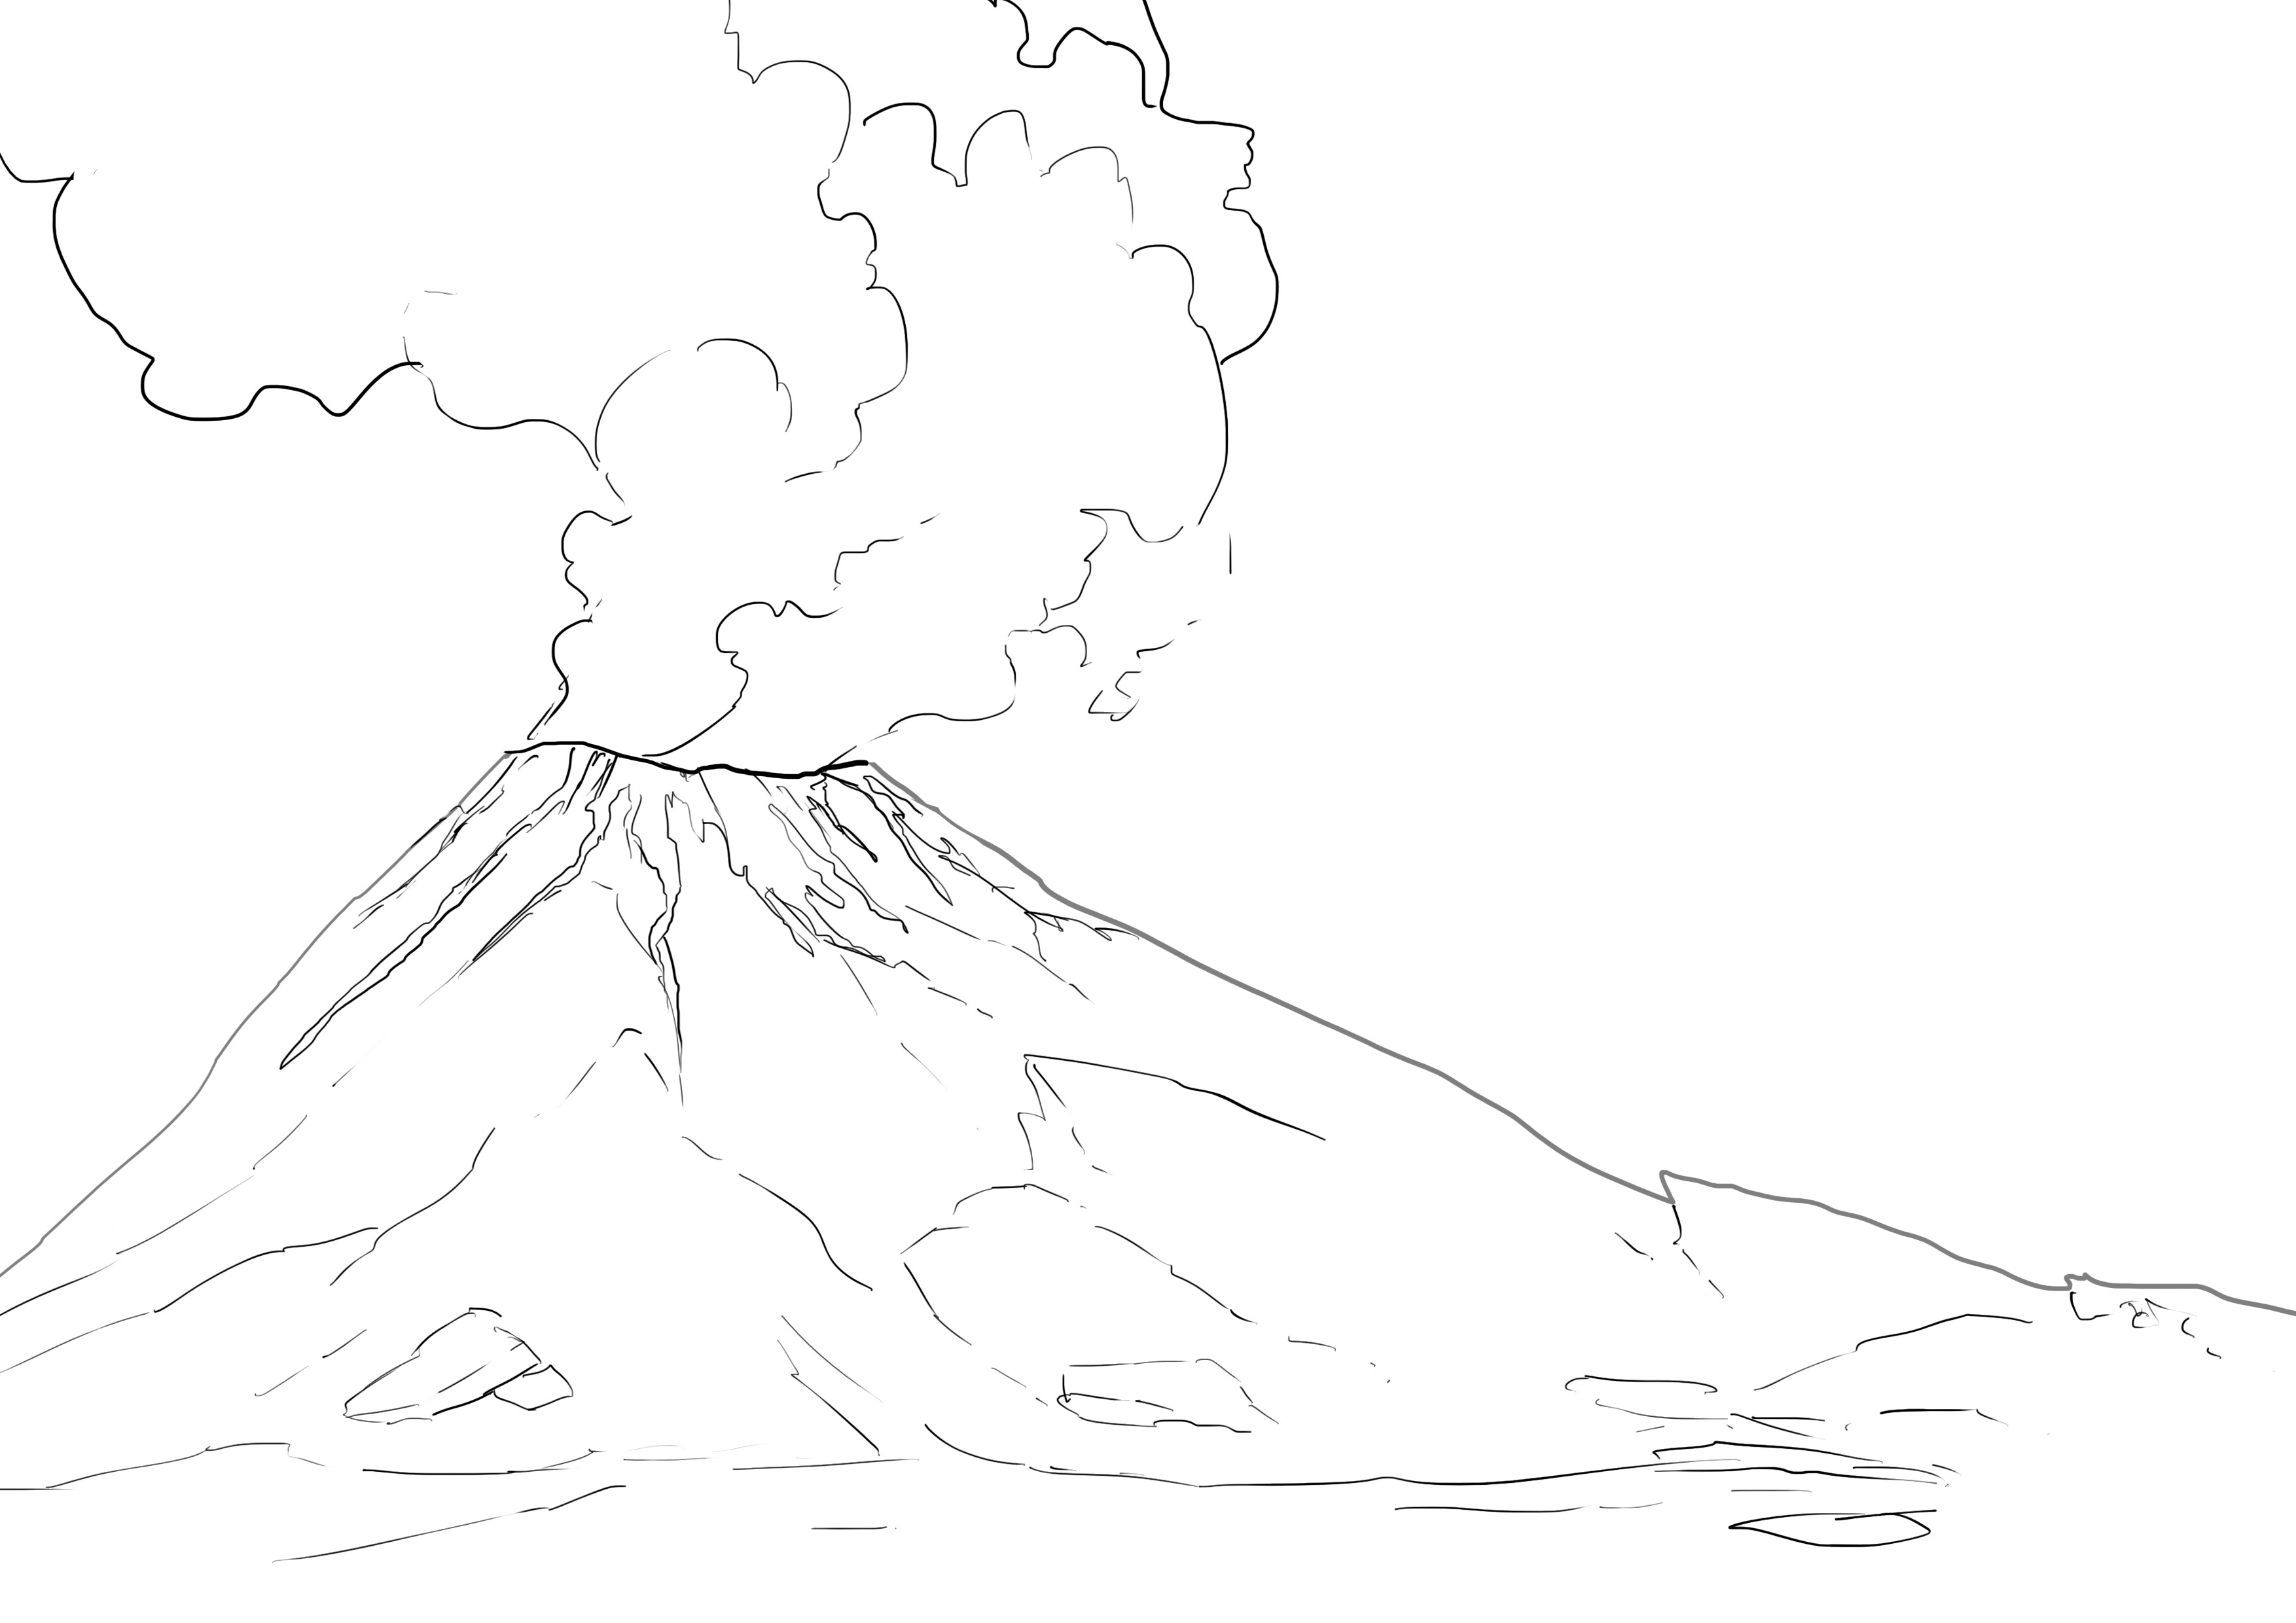
Lava is thick, flowing, like a kind of very thick sauce. So you can make wider areas or quite thick flows, but always respecting the roughness of the terrain.
And we have everything we need to start the color!
ADDING COLOR TO THE DRAWING
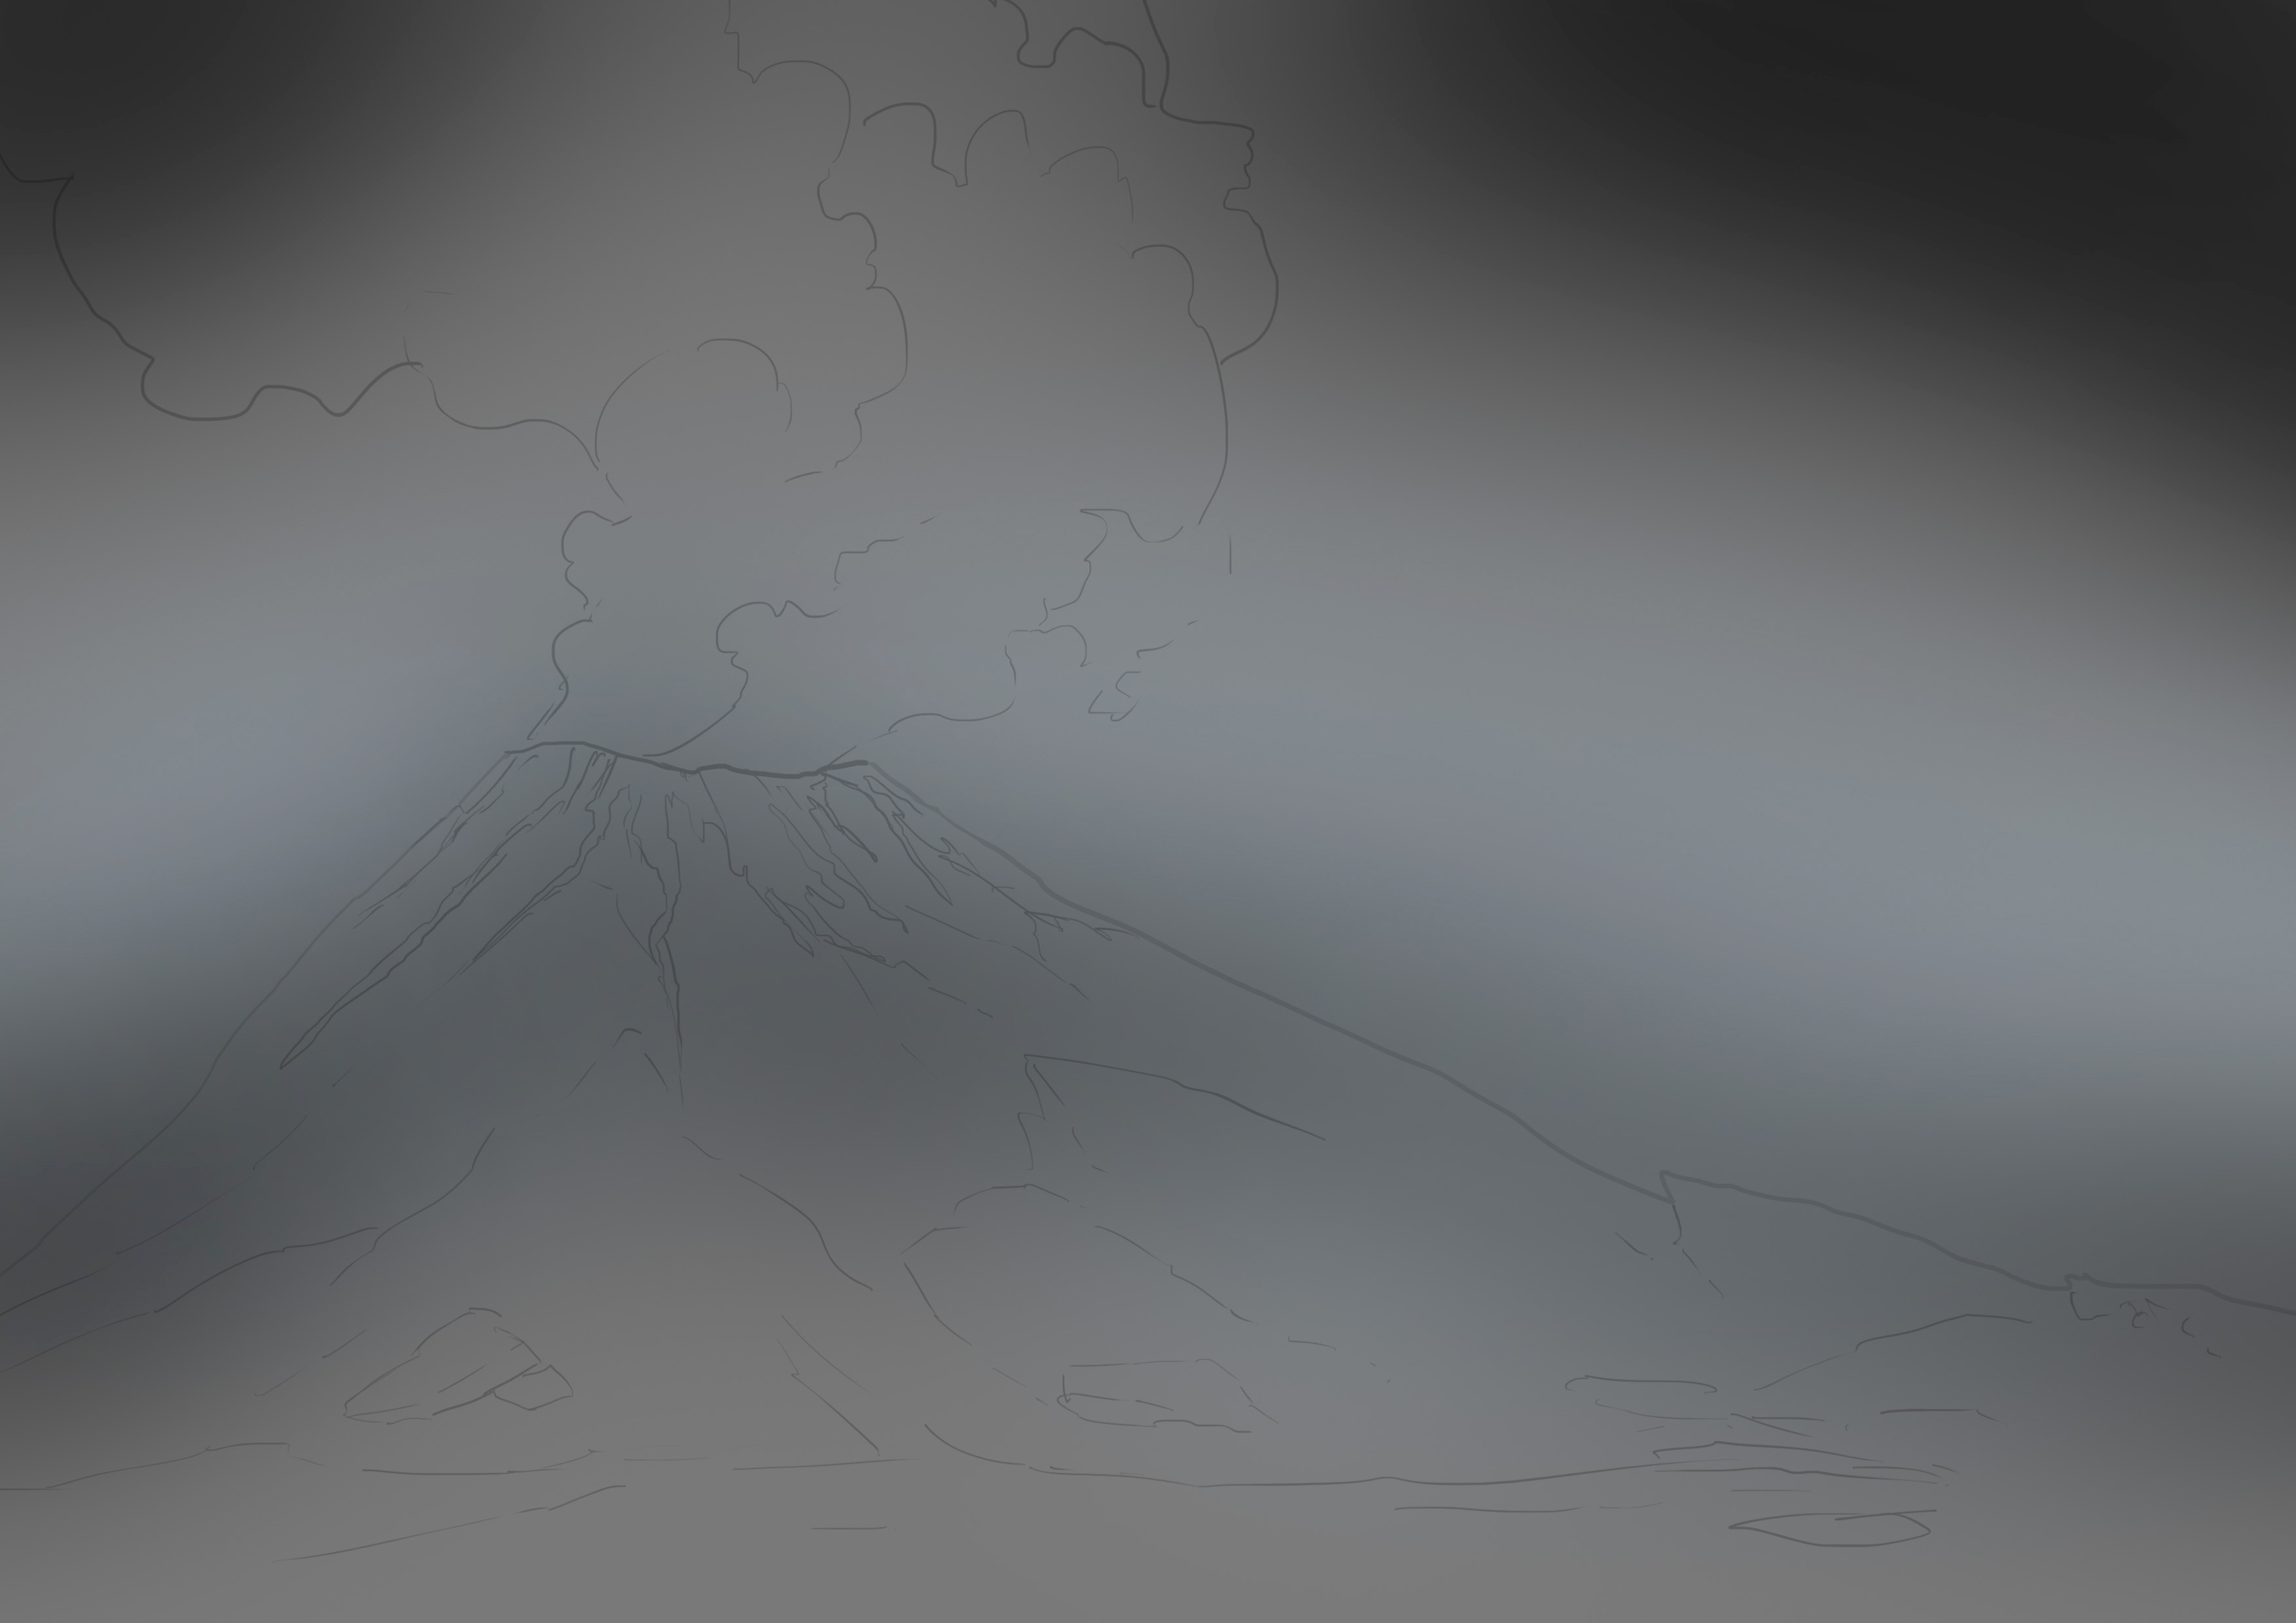
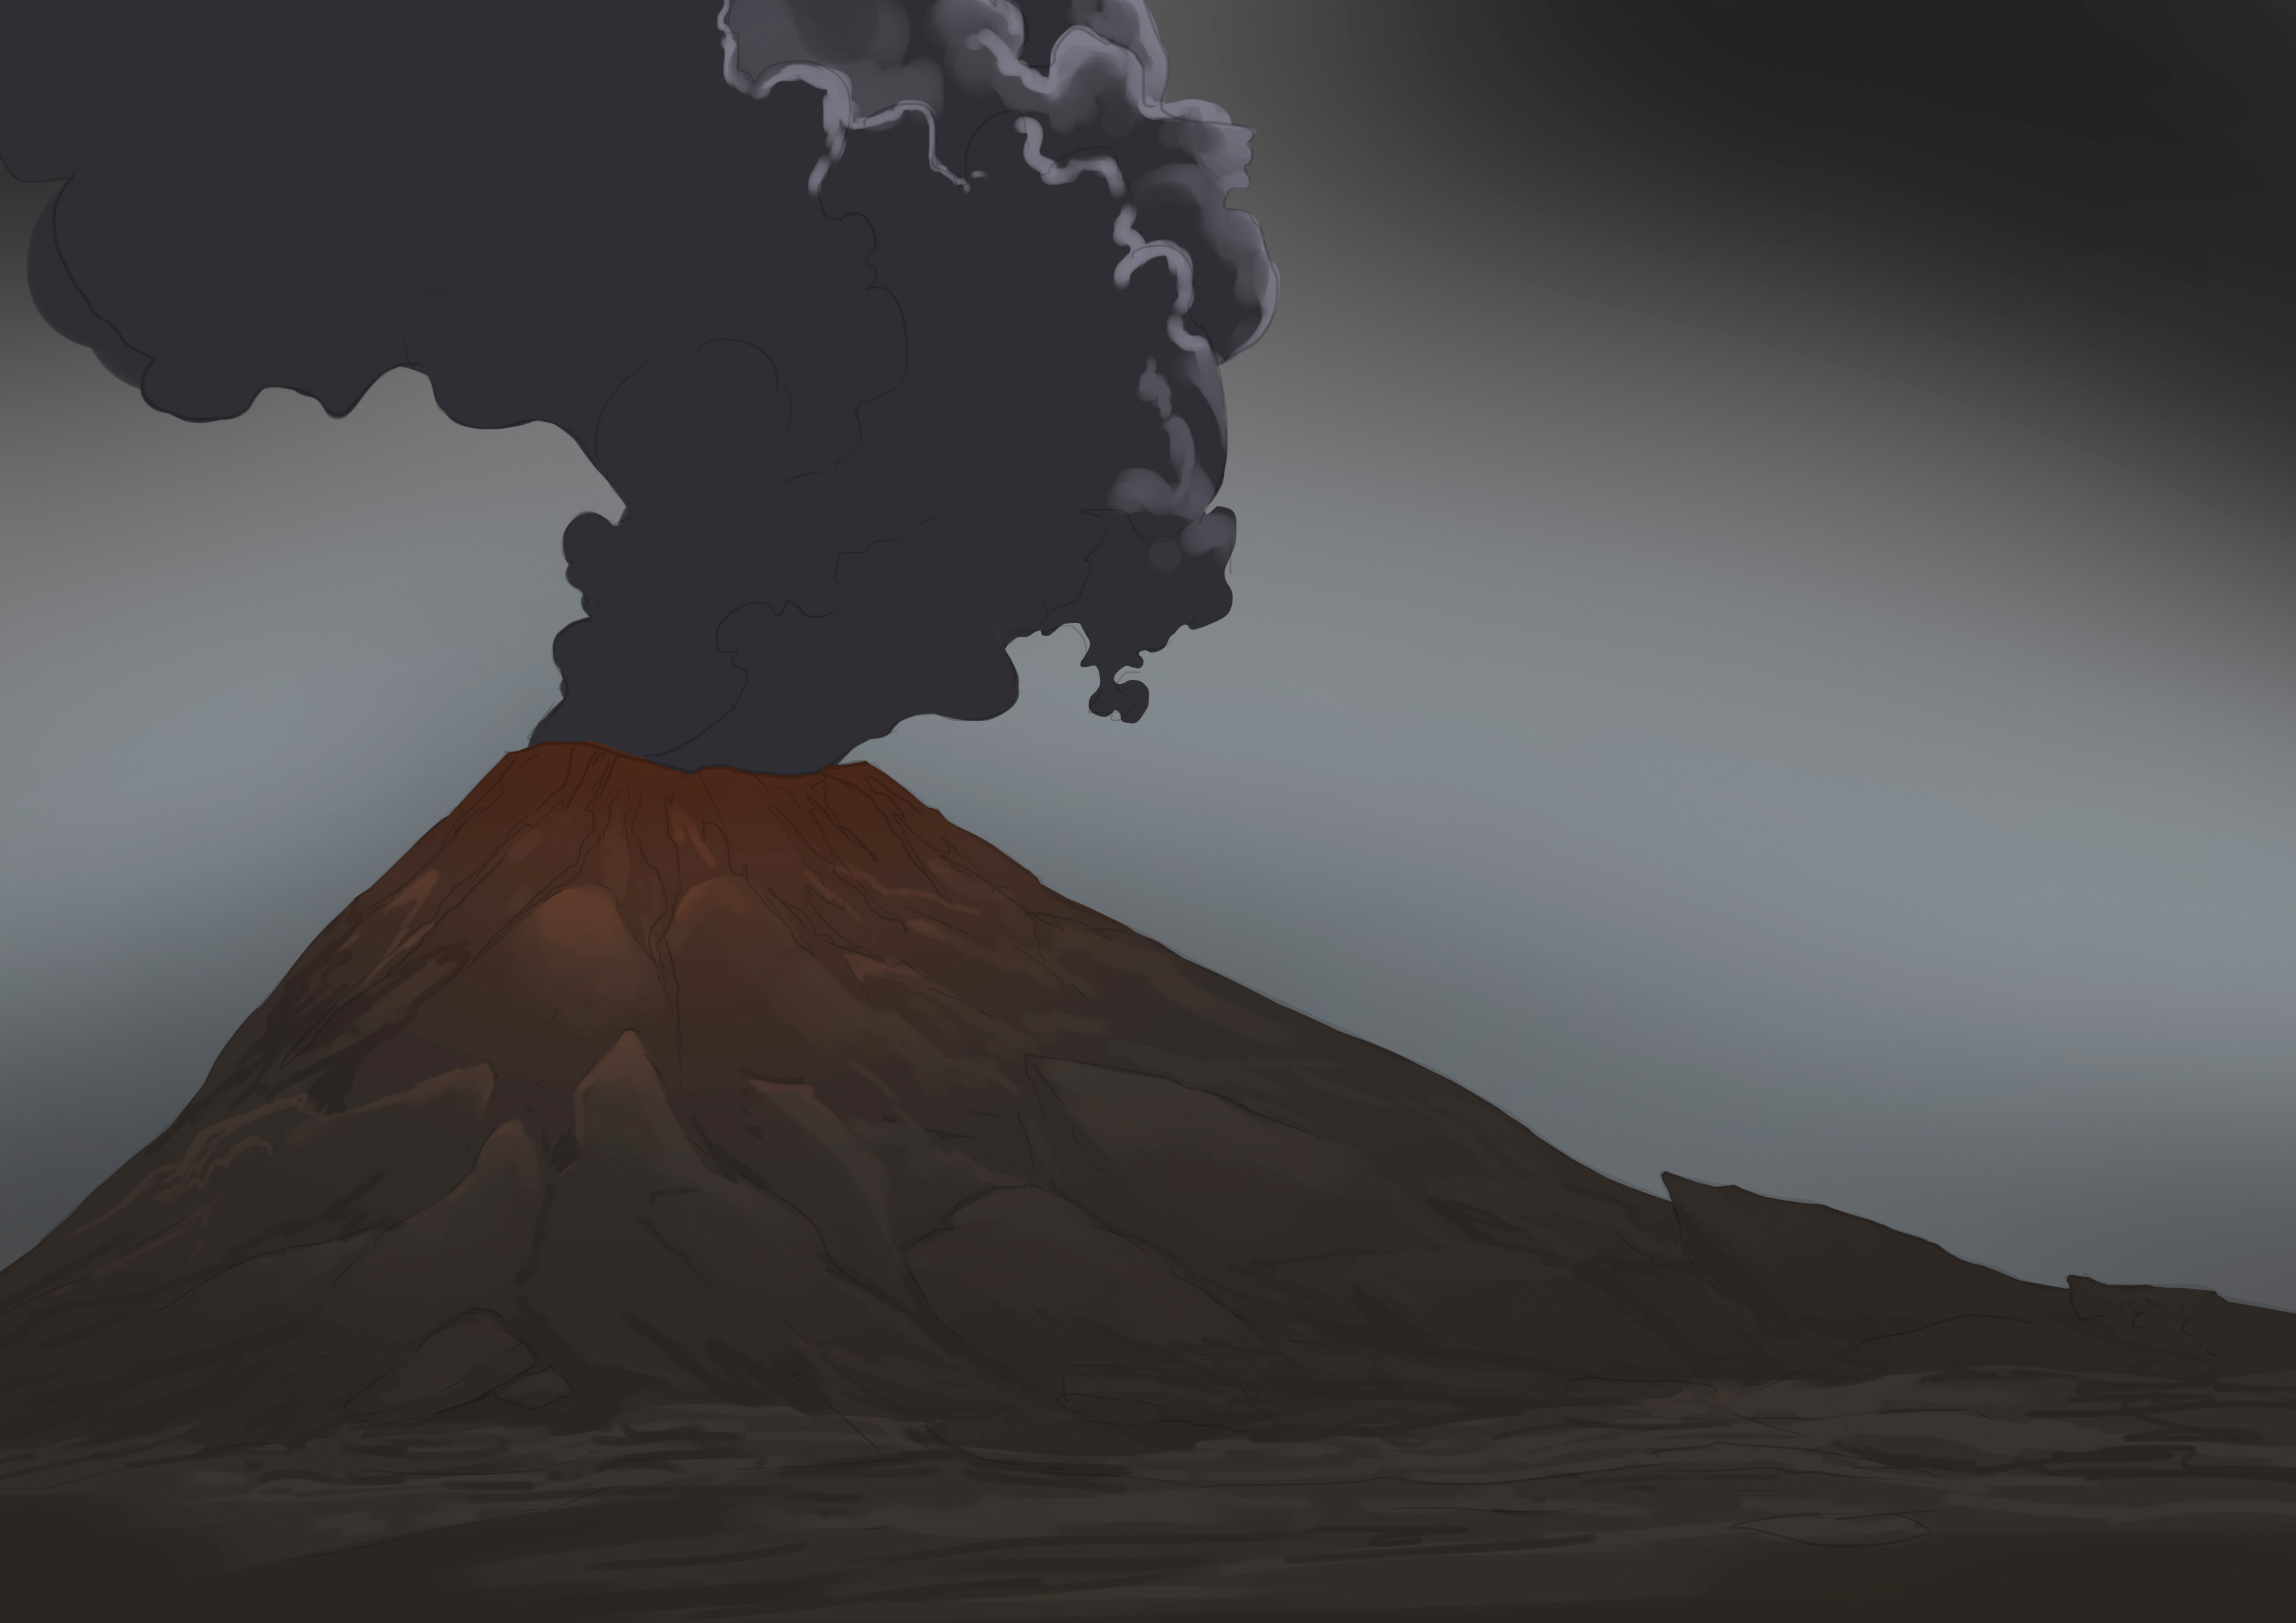
Here too, we will need a background. You can opt for either gray or midnight blue. As always, choose a color reference that you like and try to stick to it. I would also like to mention that for this example, I'm going to reduce the opacity of my drawing, aiming for a slightly more realistic rendering. This is also why I haven't redone it cleanly.
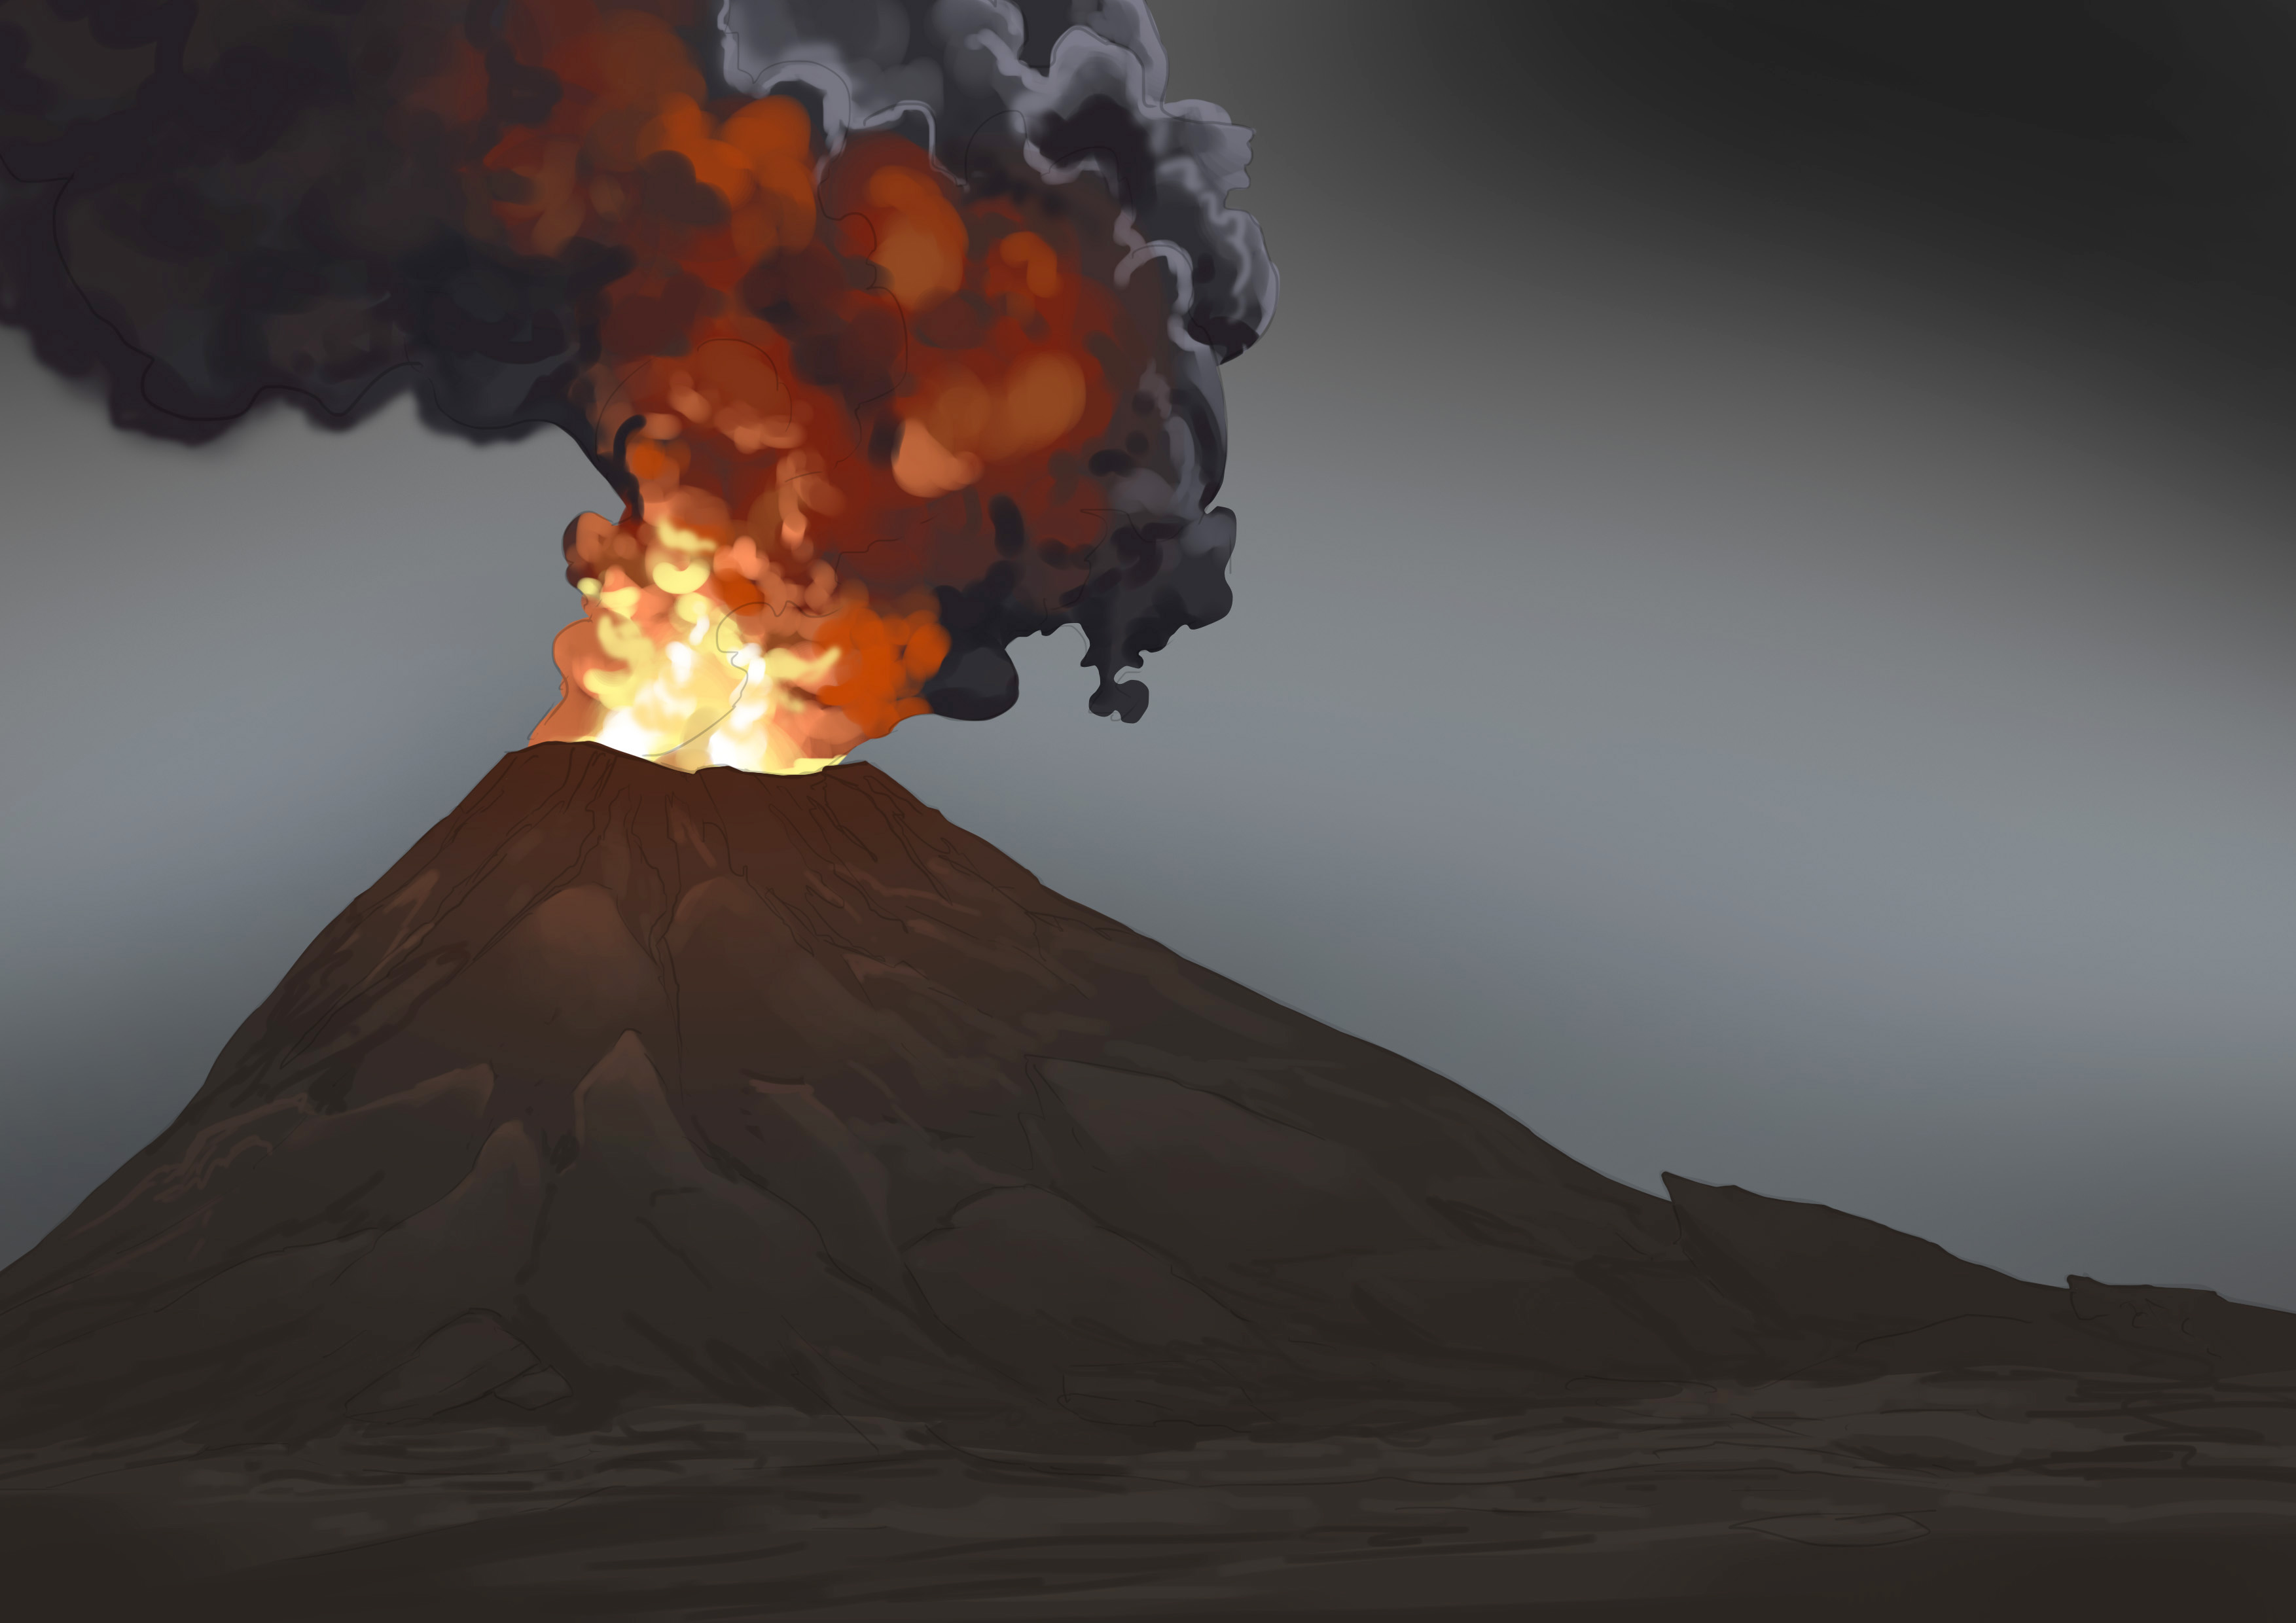
For my part, I'm going to go with a gray. I will deliberately choose a medium gray because I notice that everything, except the lava of course, is darker than my sky. So, I should not go too dark. In fact, I will add variations in the shades of the sky so that it does not look too strange.
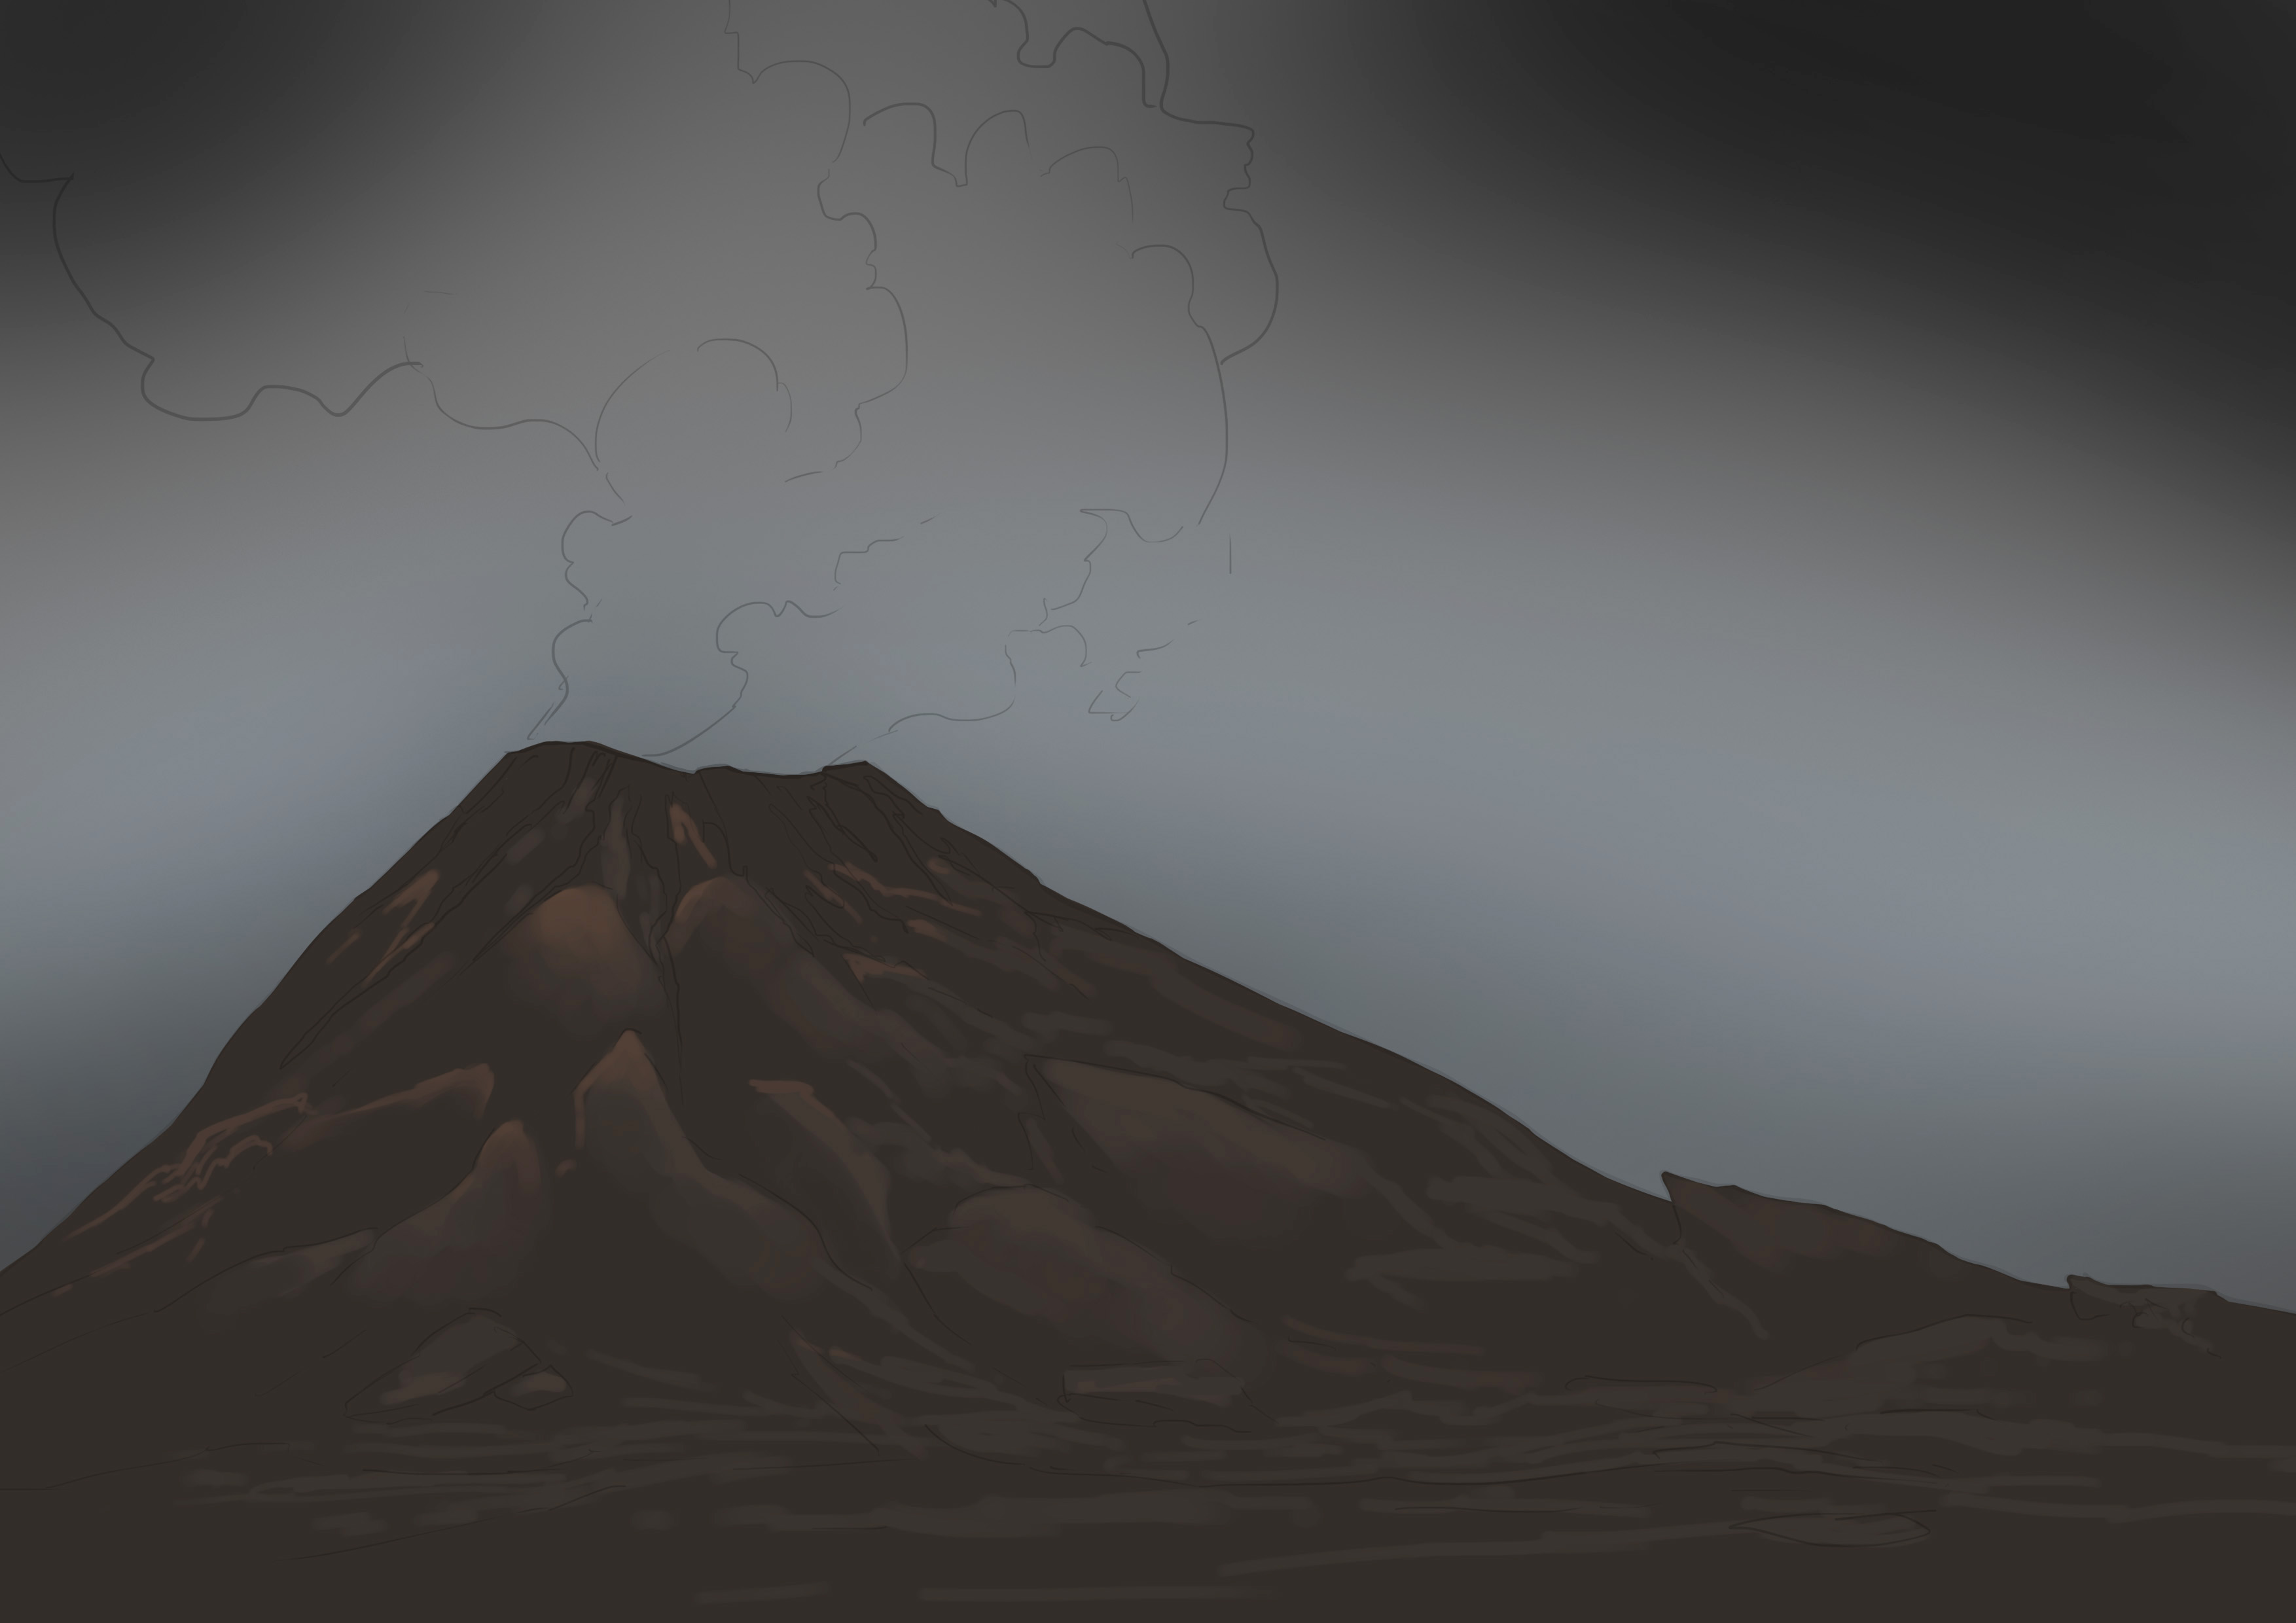
Let's move on to the volcano. I'm going to choose a darker gray, slightly ochre, and draw its silhouette.

Once that's done, I will choose a slightly lighter shade to work on the highlights and a darker shade for the shadows. These mainly concentrate at the base of the volcano.

ADDING LIGHT TO THE DRAWING
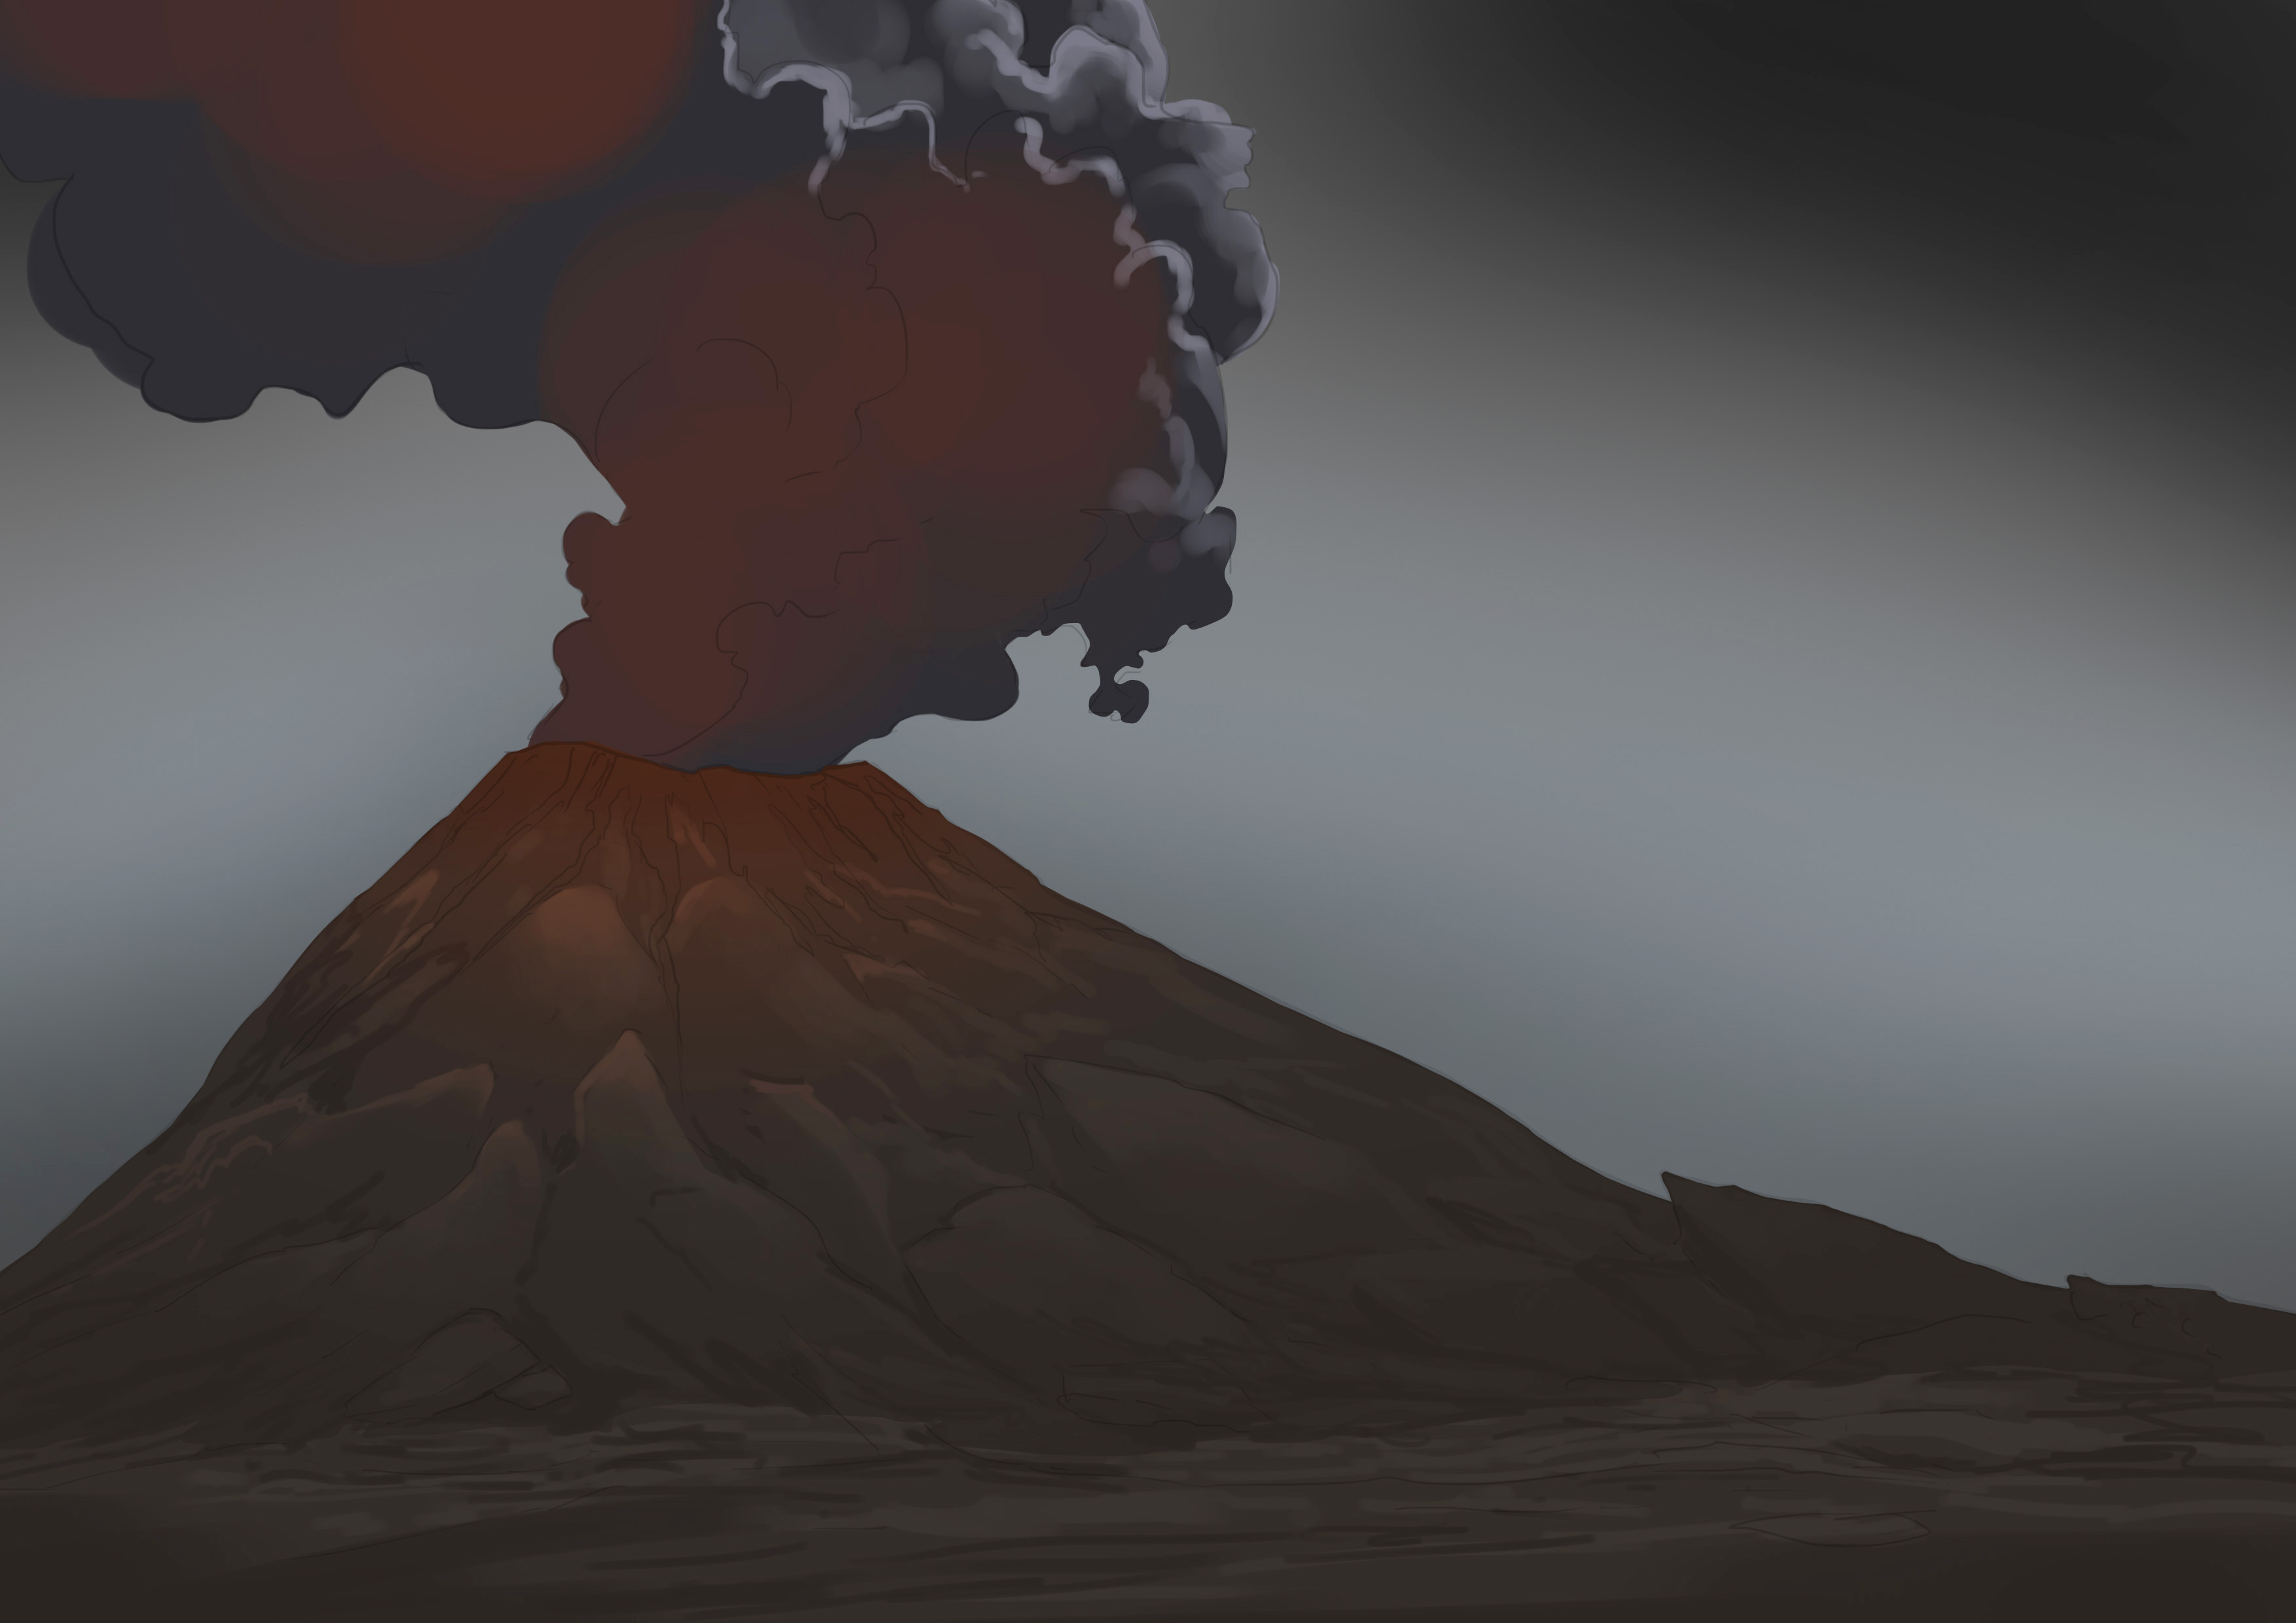
The main light source is quite obvious: it's the volcano's lava and to a lesser extent, the sky. As always, respect your light sources.
So we're going to add a slightly more reddish-orange tint towards the top of the volcano before moving on to the smoke. If you are doing the color in a traditional way (I recommend using gouache for this), add this orange shade before working on your shadows and lights, it will make your life easier :)

Once again, I refer you to the article about clouds. It's the same principle, we have two light sources here: the sky and the lava. You really need to use reference images for this.
CLICK ON THE LINK BELOW TO SEE THE DETAILED ARTICLE ON CLOUDS:
>SEE THE STEP-BY-STEP TUTORIAL ON HOW TO DRAW A CLOUD
So I'm starting with a dark base that I model with lighter shades and orange hues.
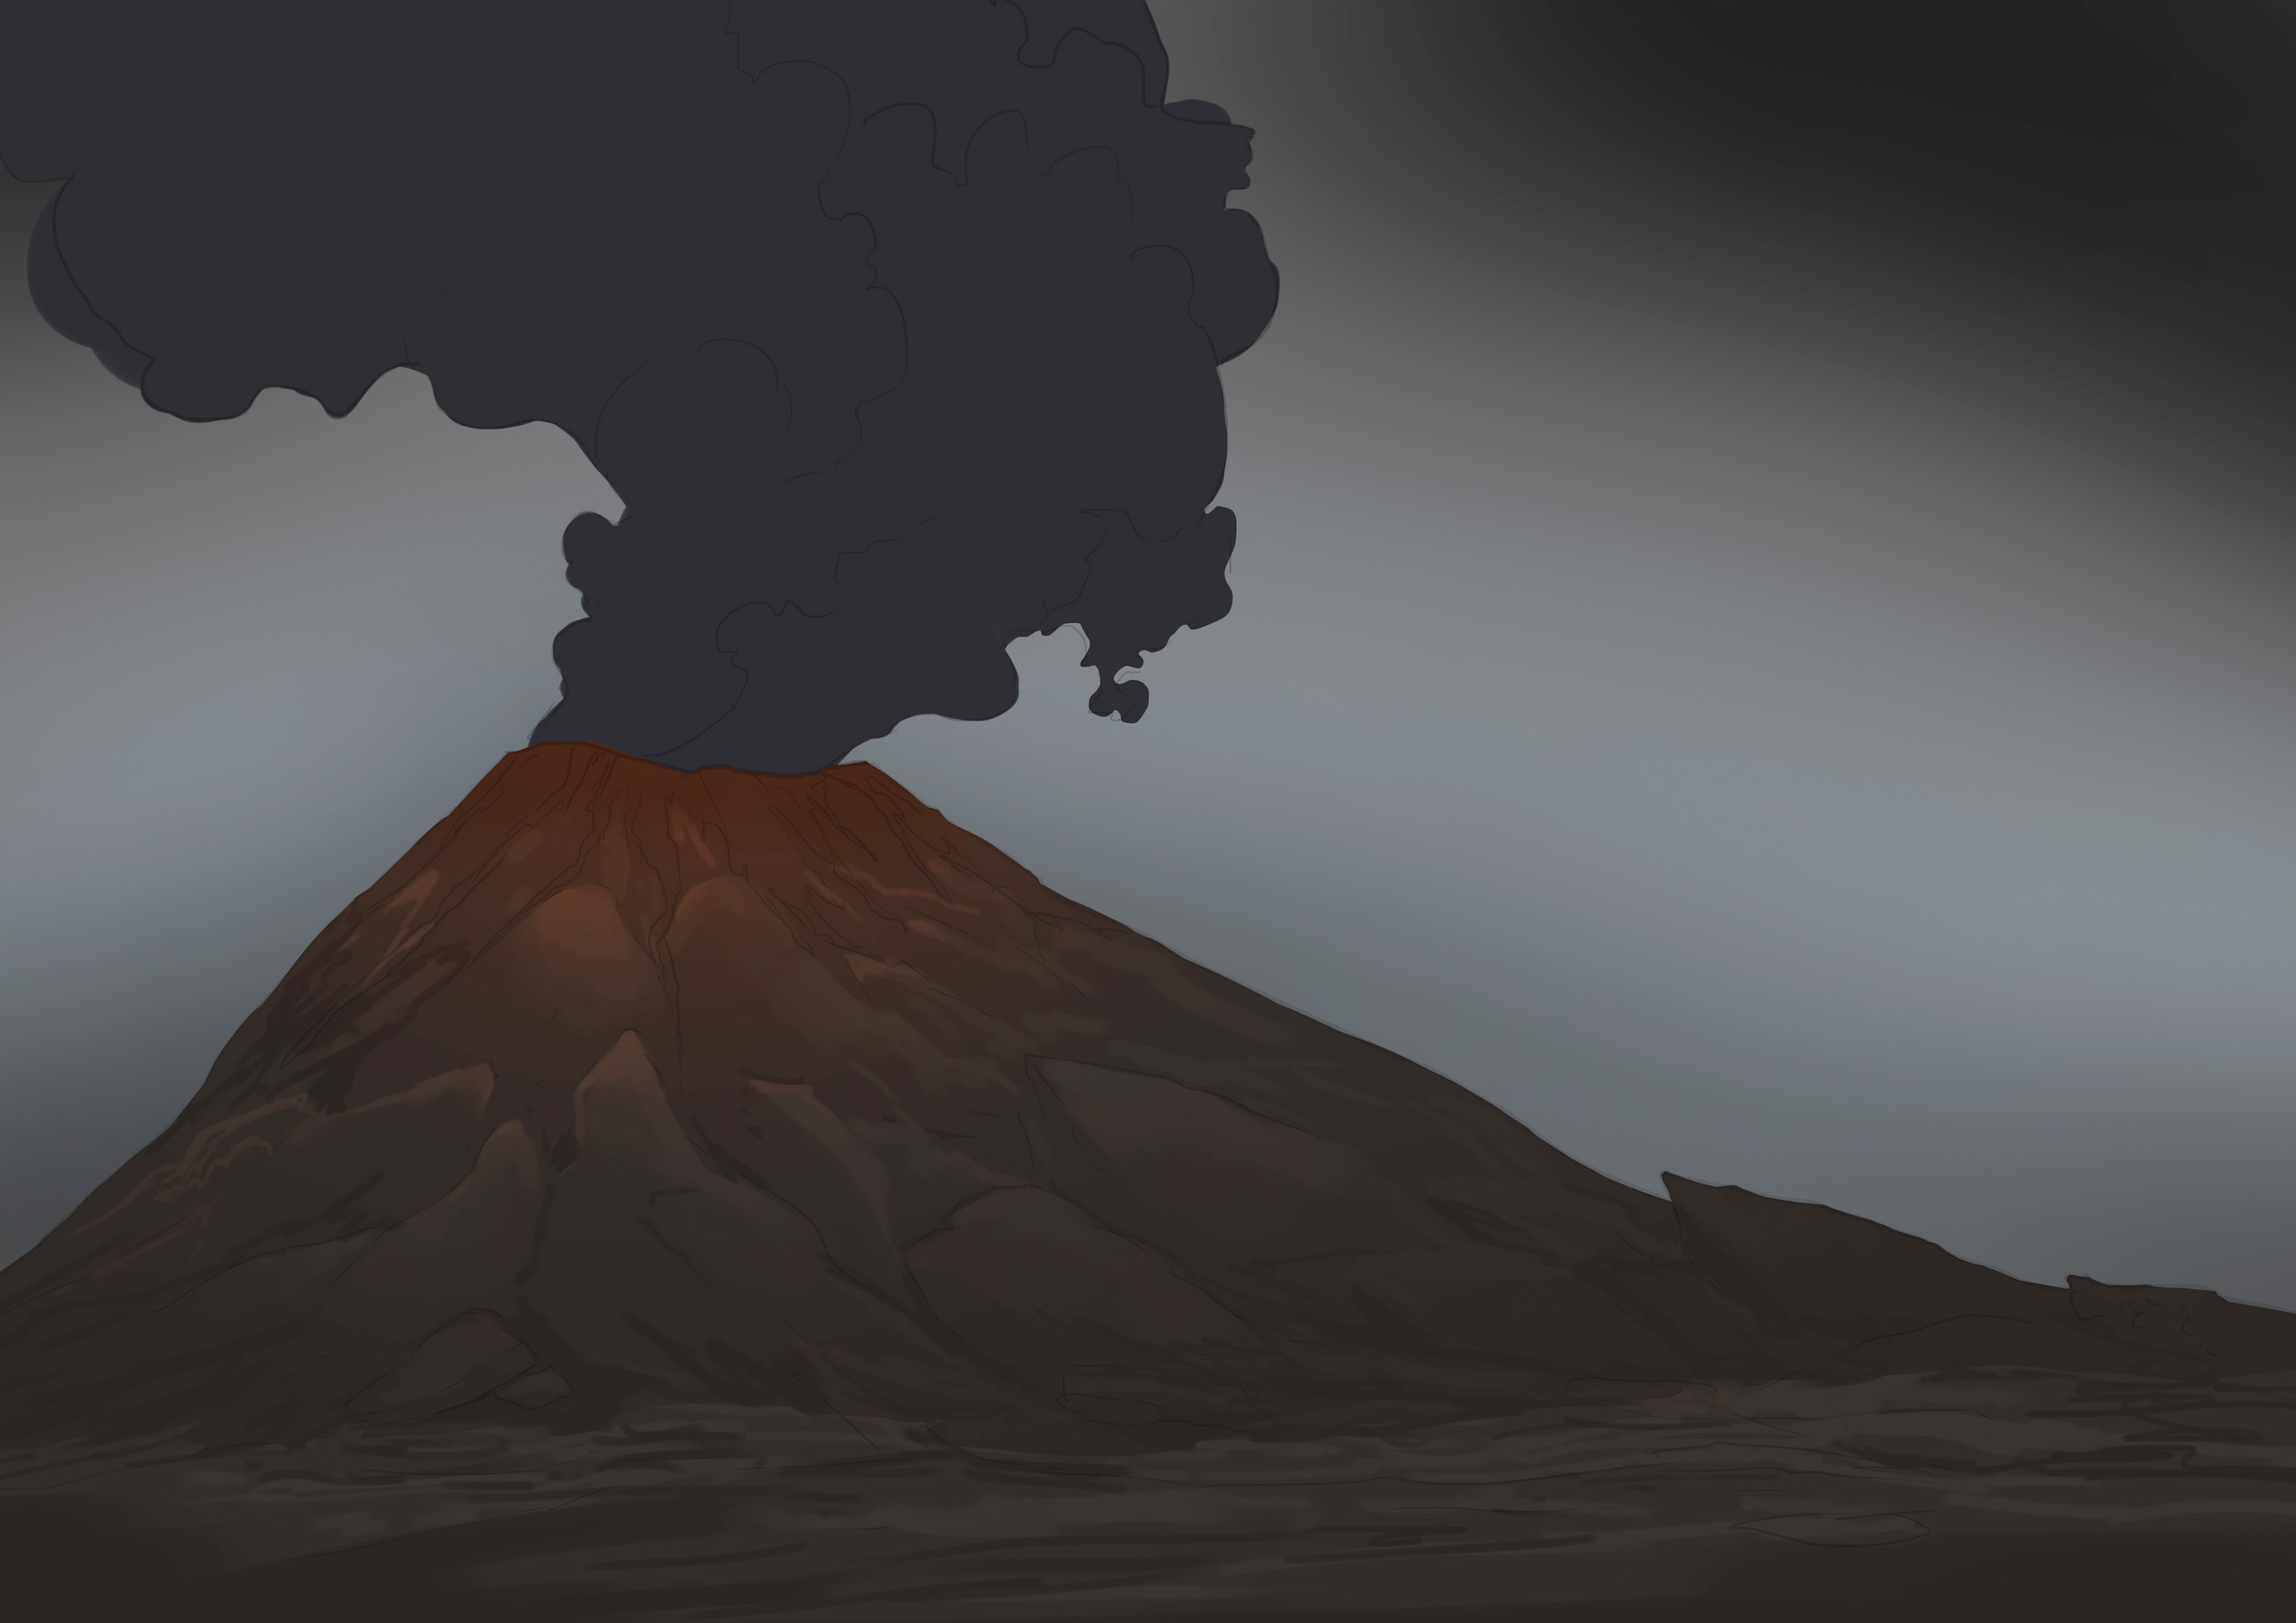
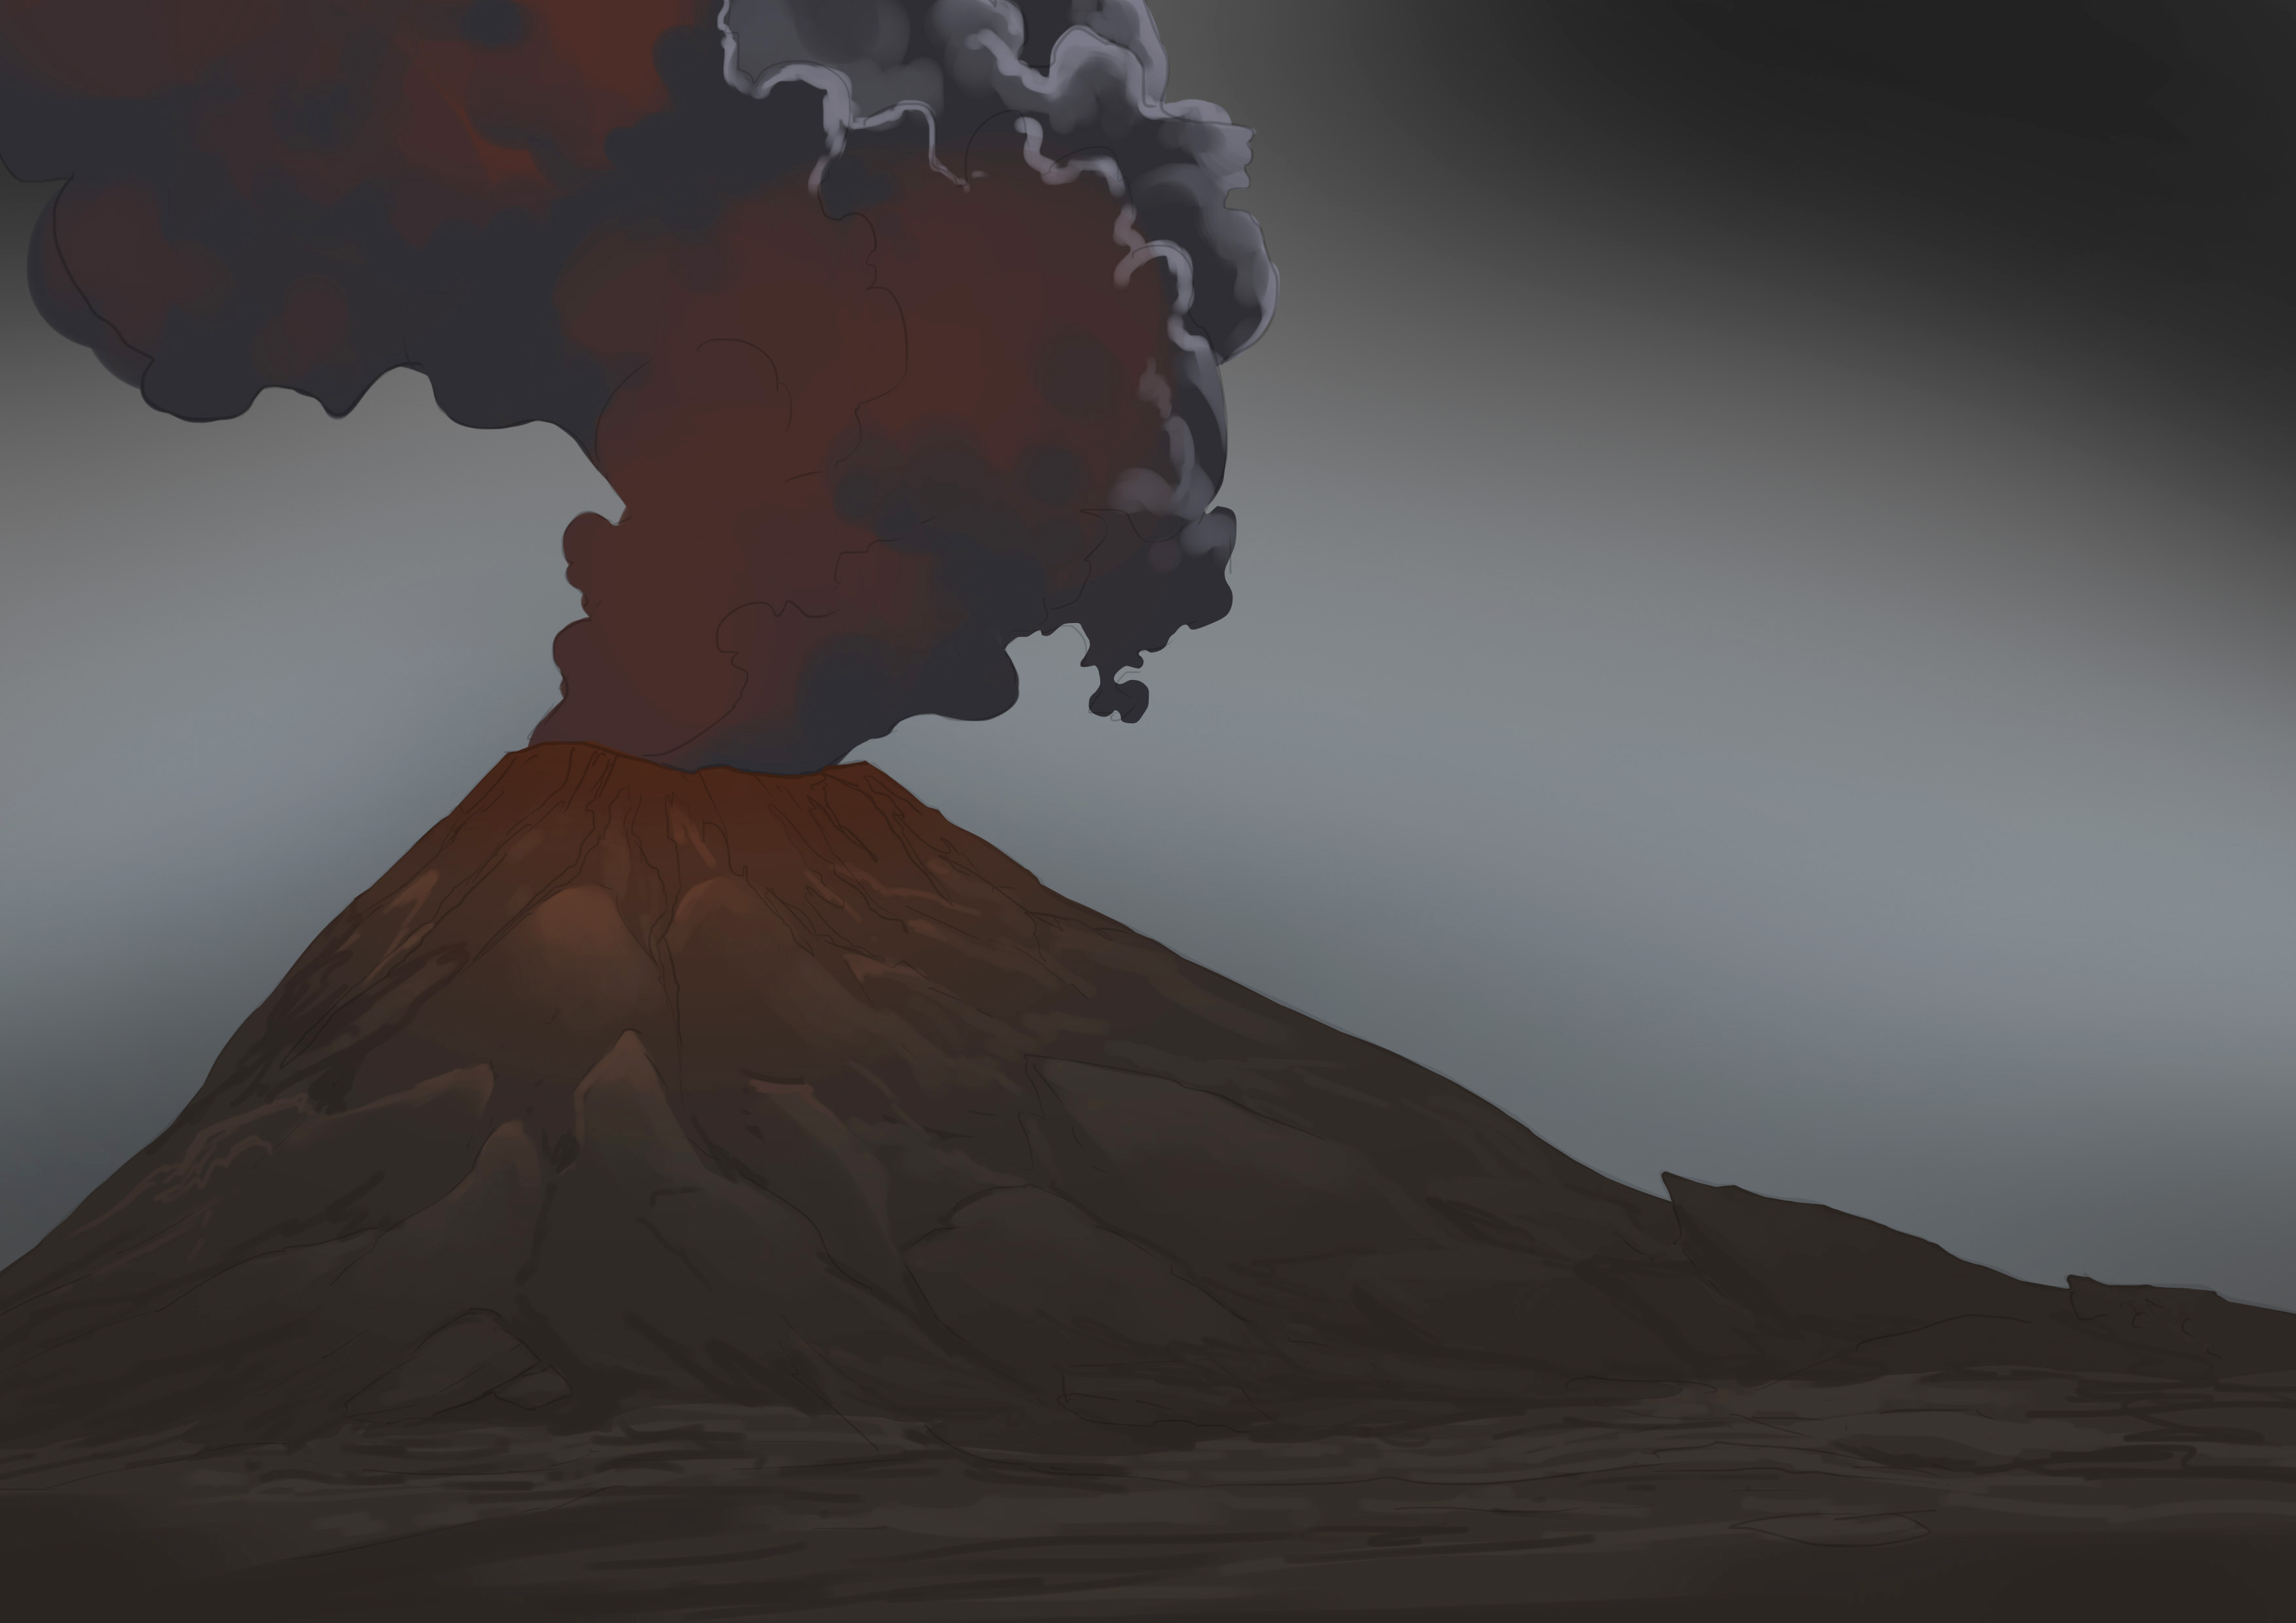
Then I add our most intense light. I always start with the darkest color, which here will be a deep orange/red. I'm already beginning to shape my cloud as I apply it.
I chose a lighter orange. On a smaller area this time.
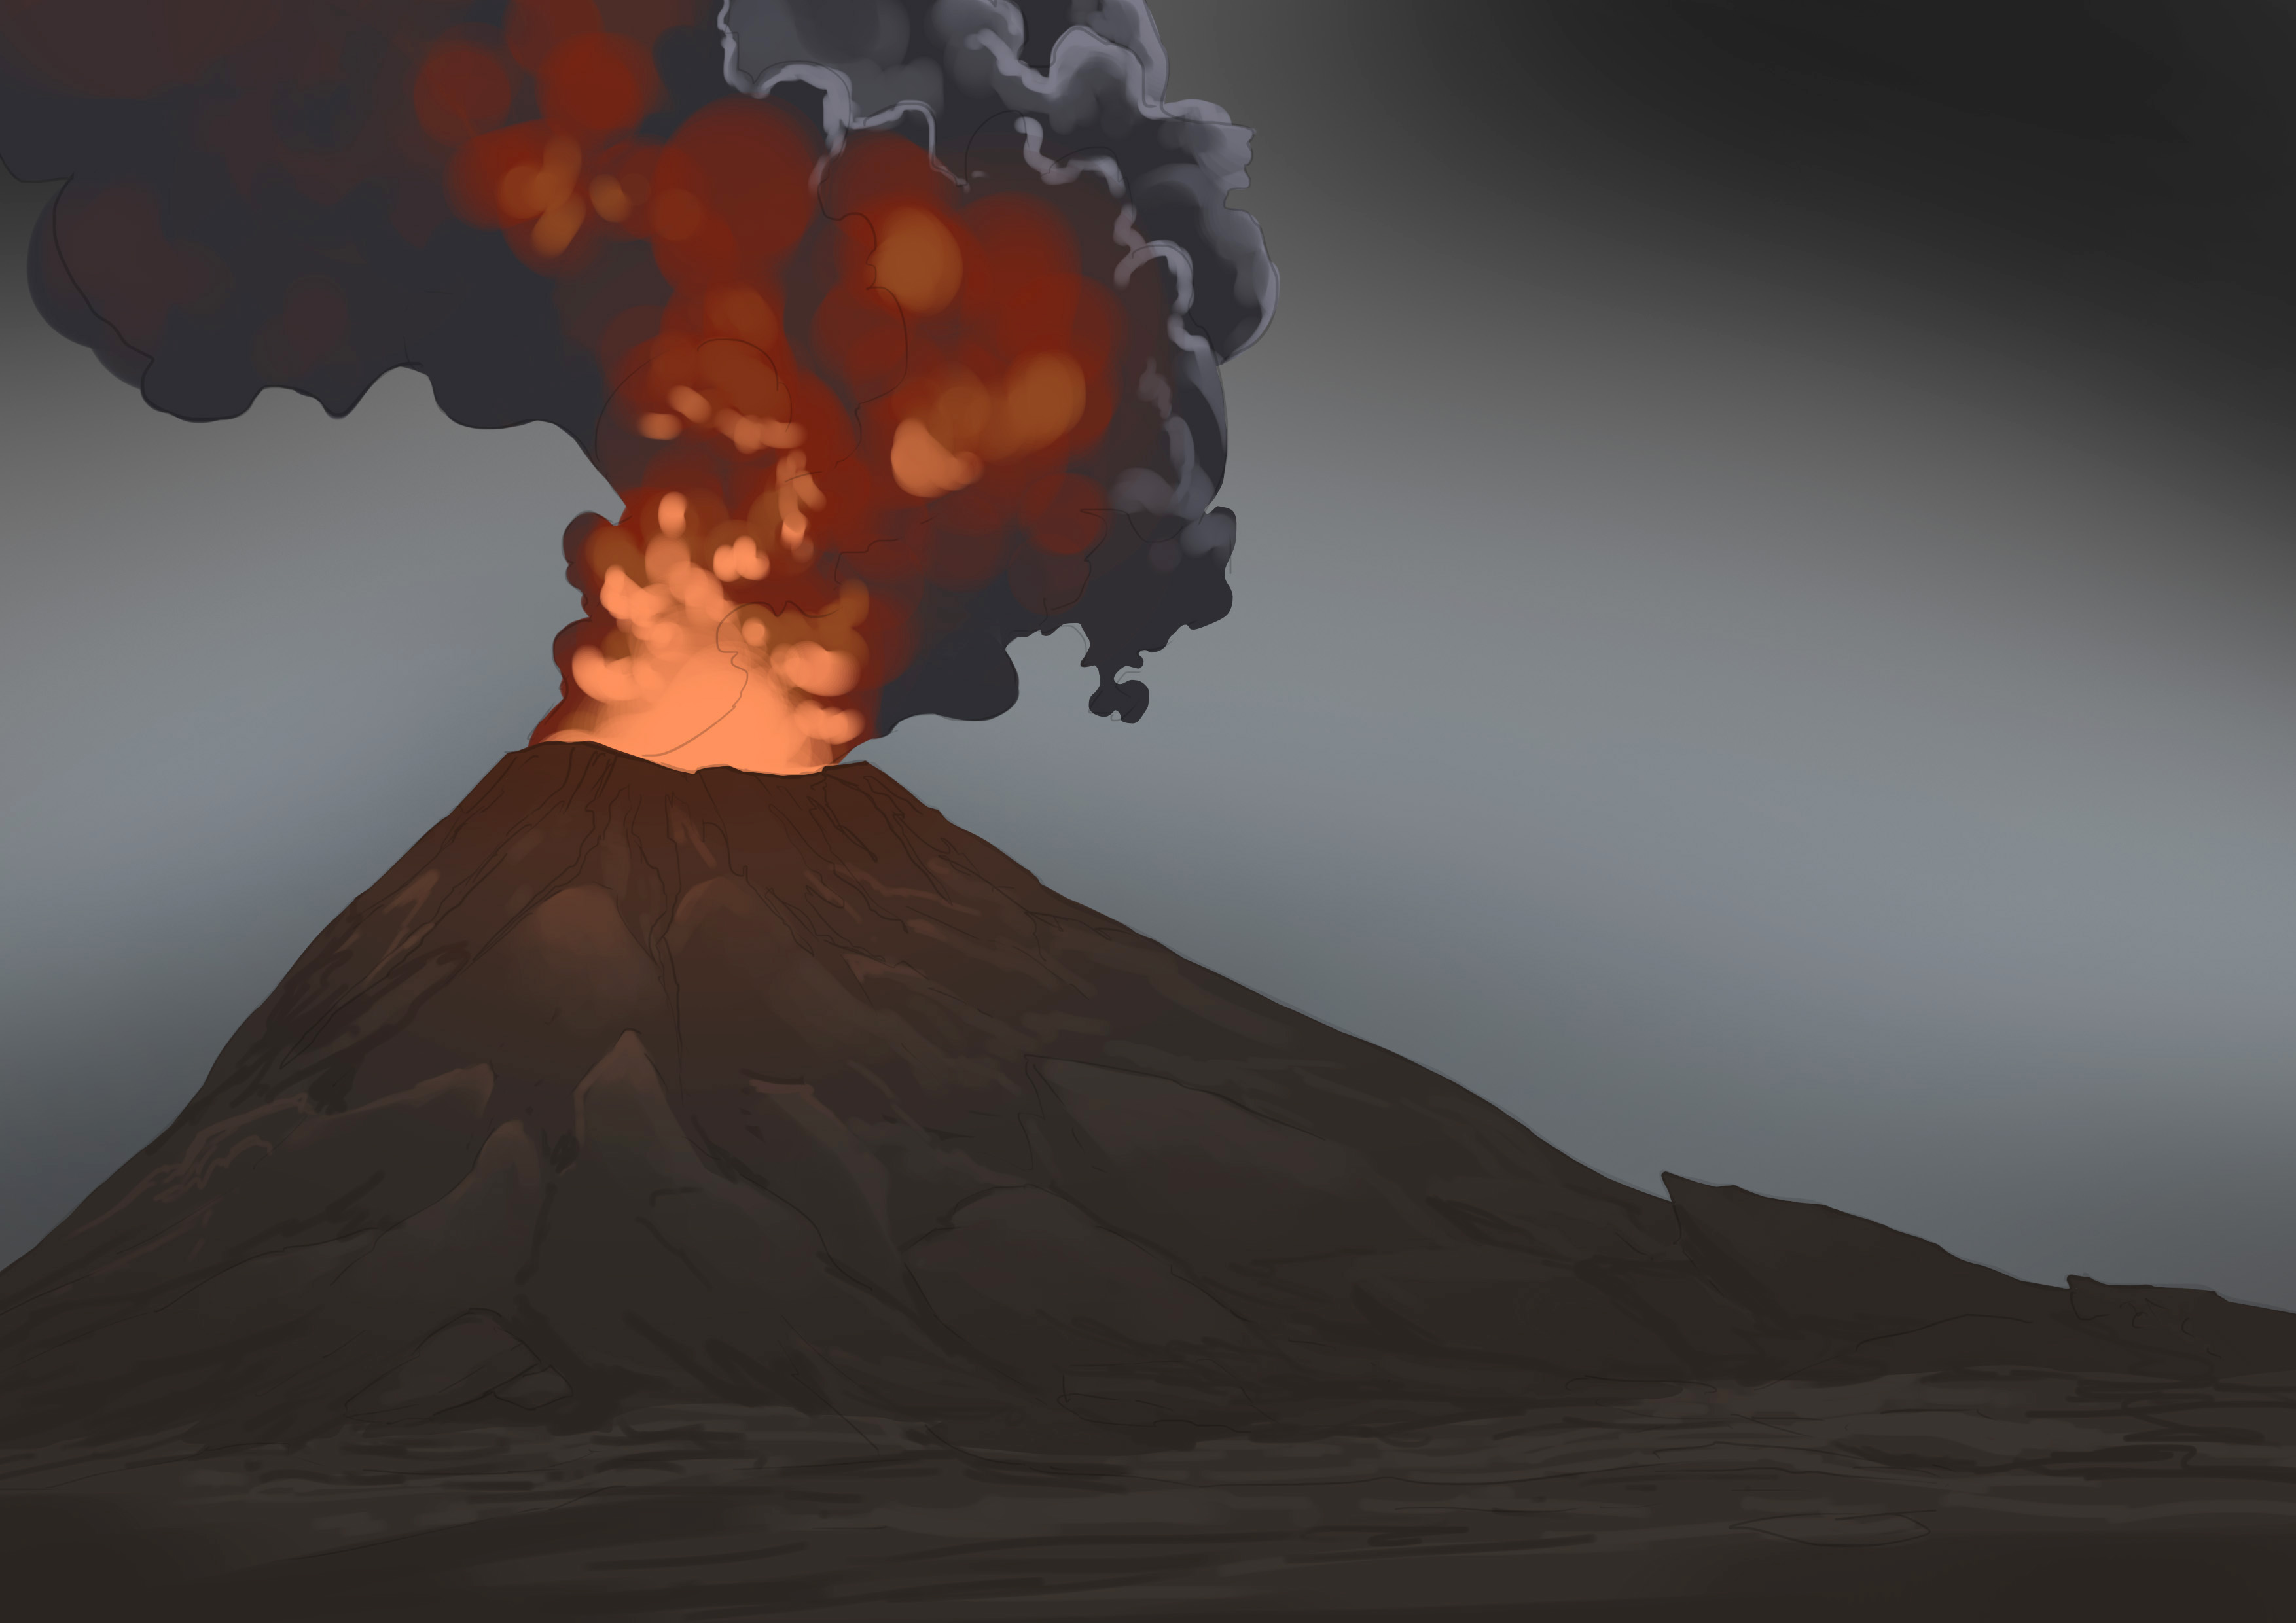
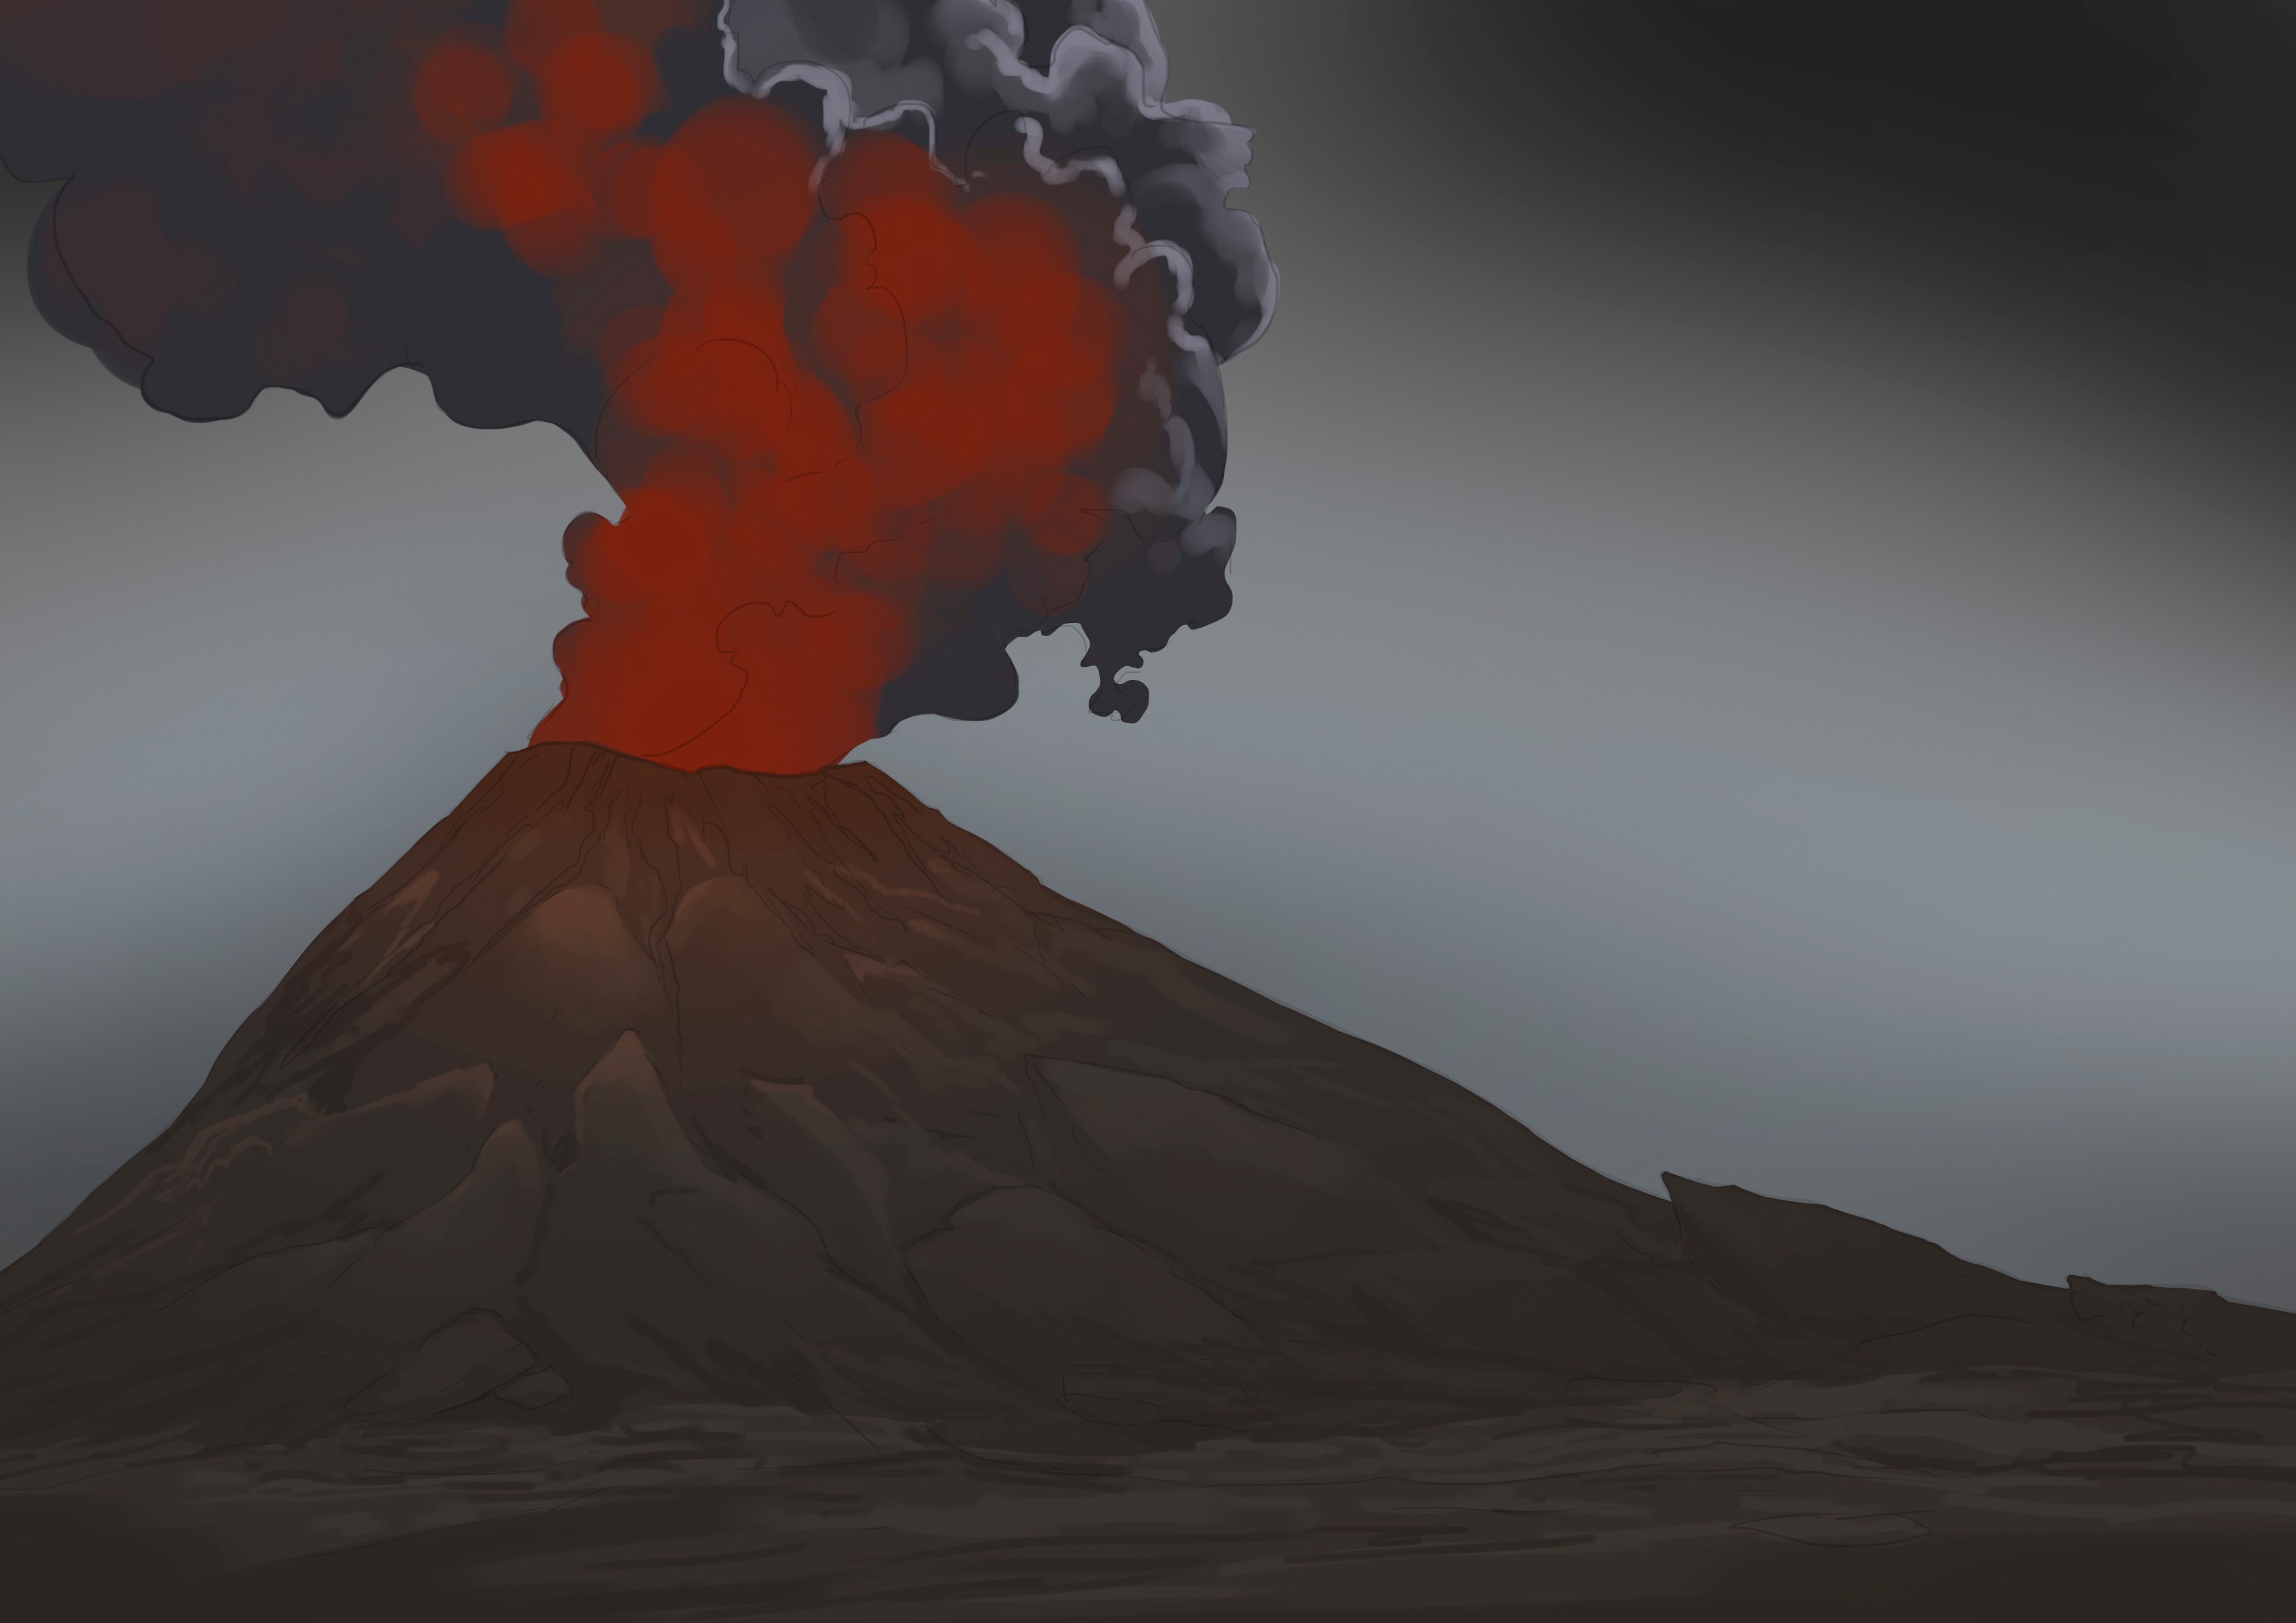
Here is the same thing but with a bright and clear yellow. It's very close to the base of the eruption.
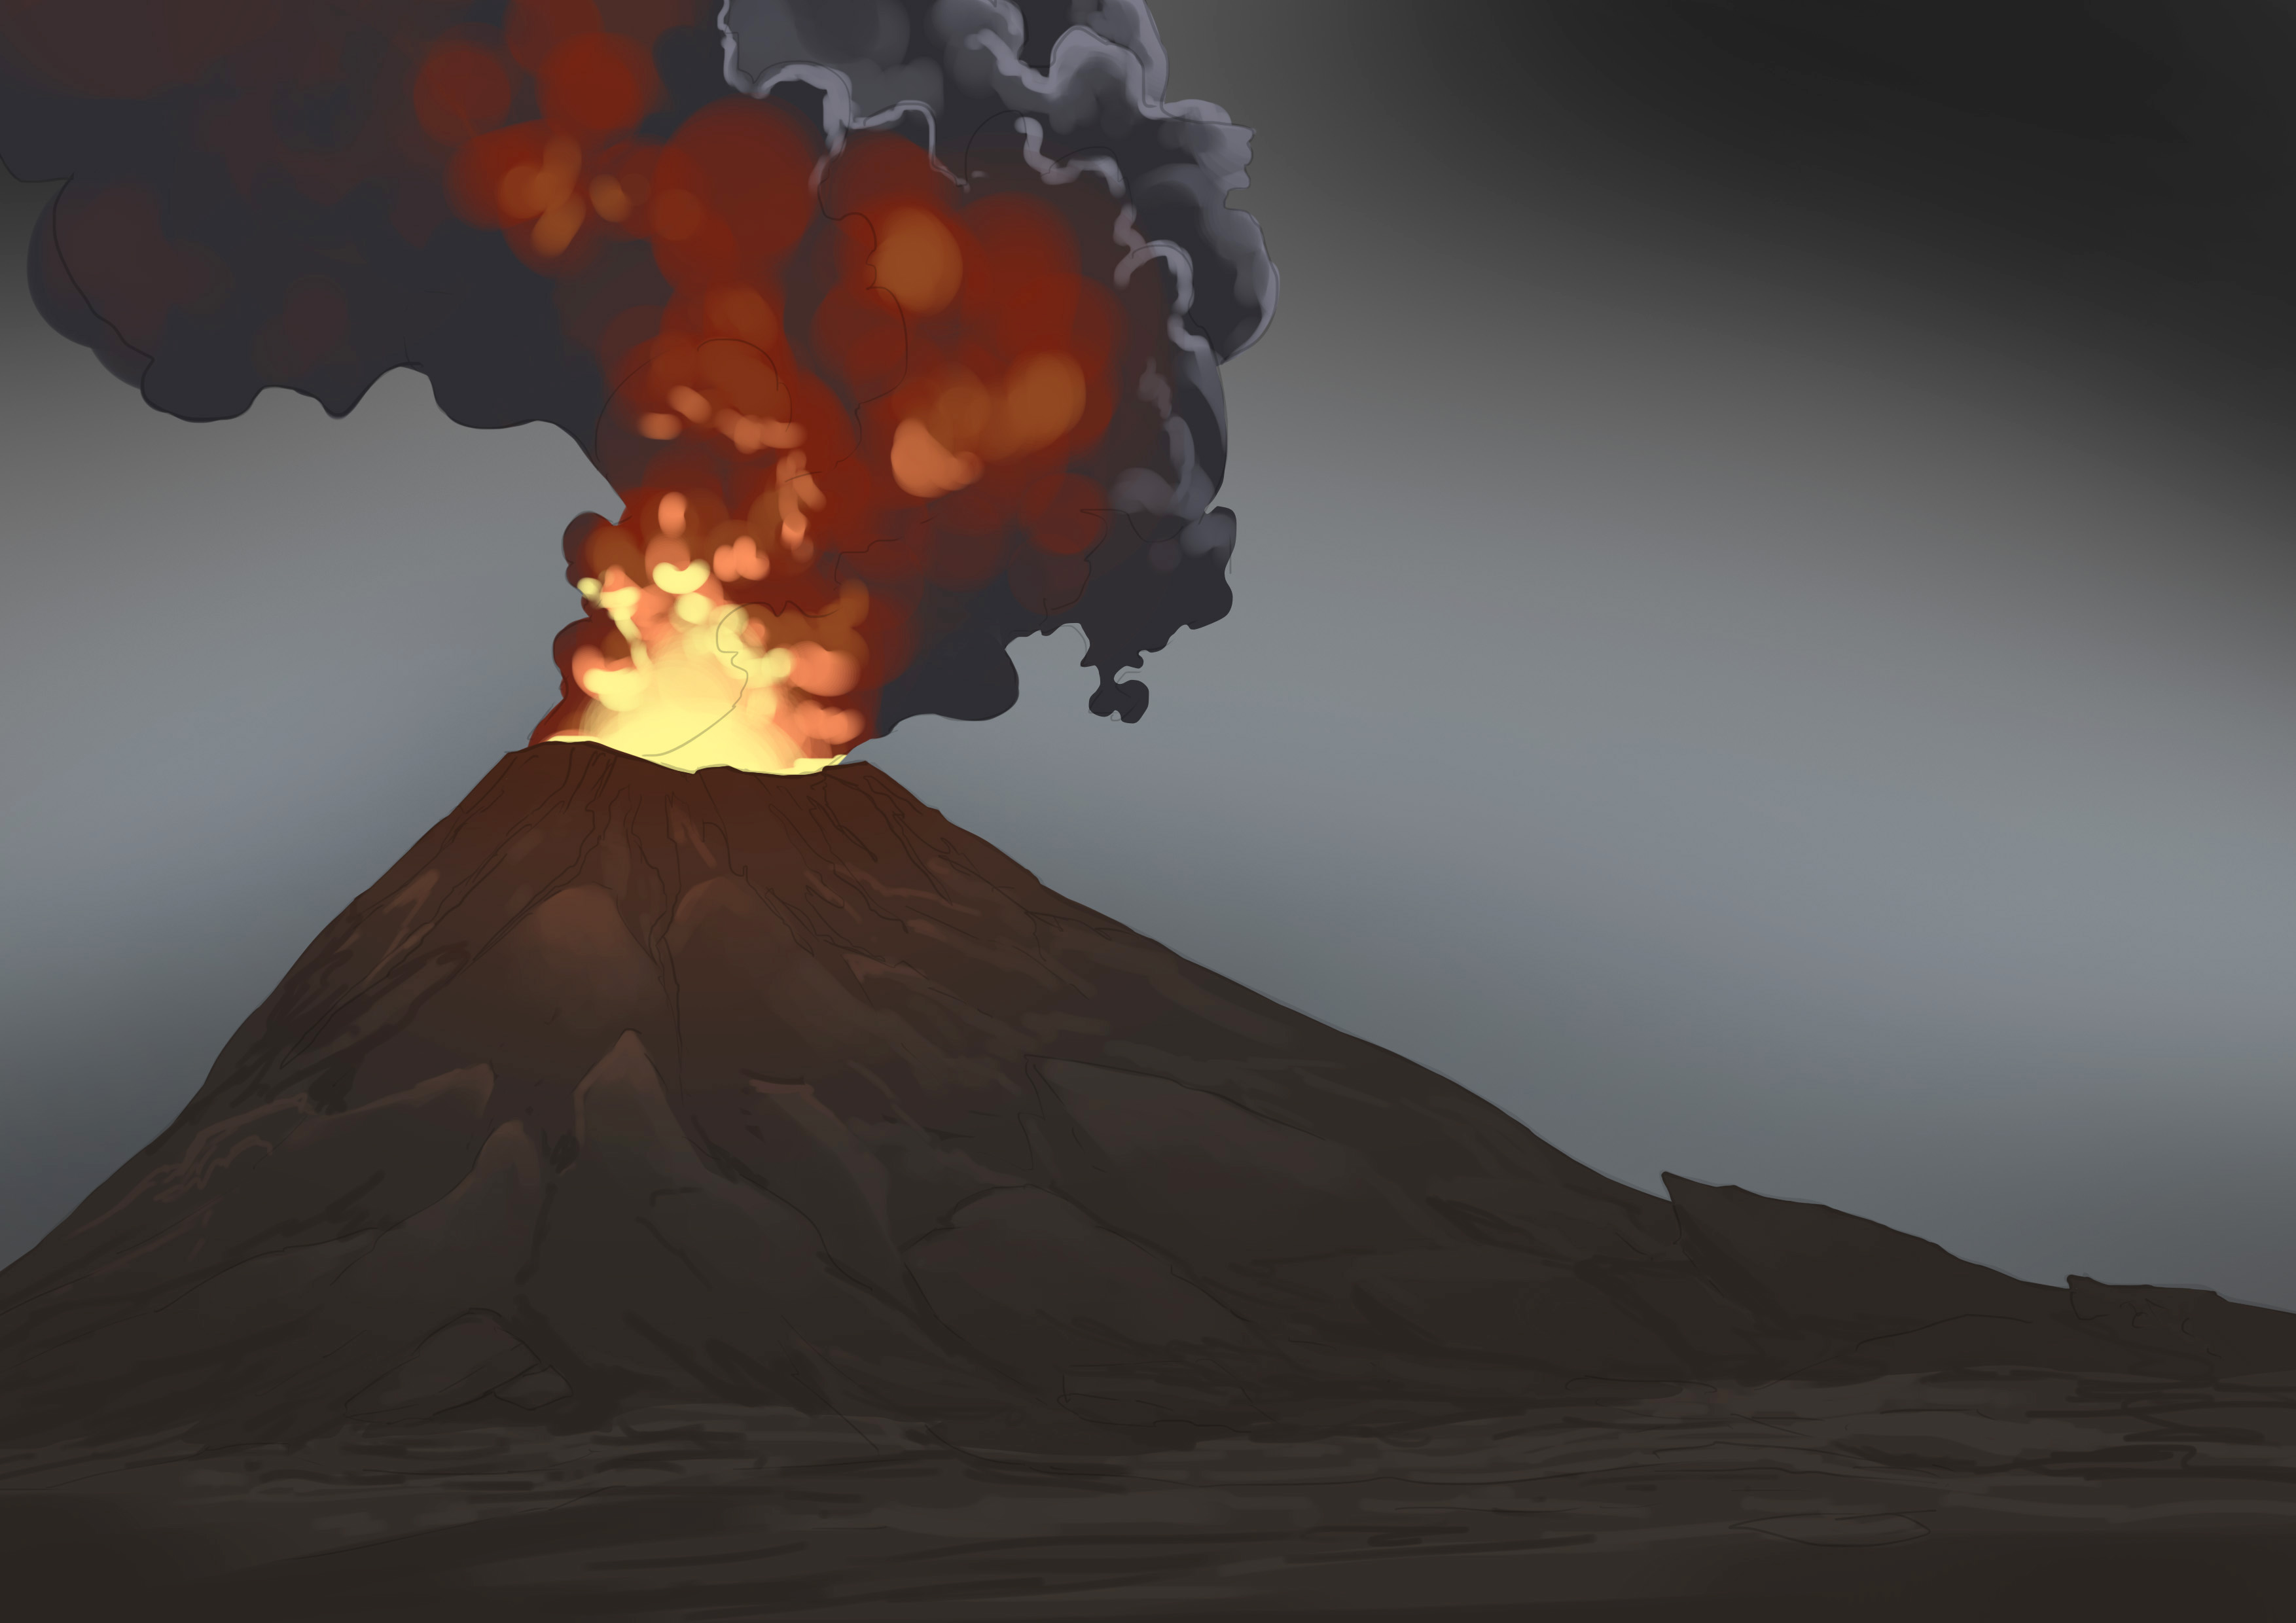
Finally, pure white (it's rare to have it, but when facing a powerful light source, pure white is essential).
From there, we reshape the cloud, never forgetting the main light source. Again, base your coloring on a reference image.
I am reworking the outlines of certain parts of the cloud so that they are less sharp as well.
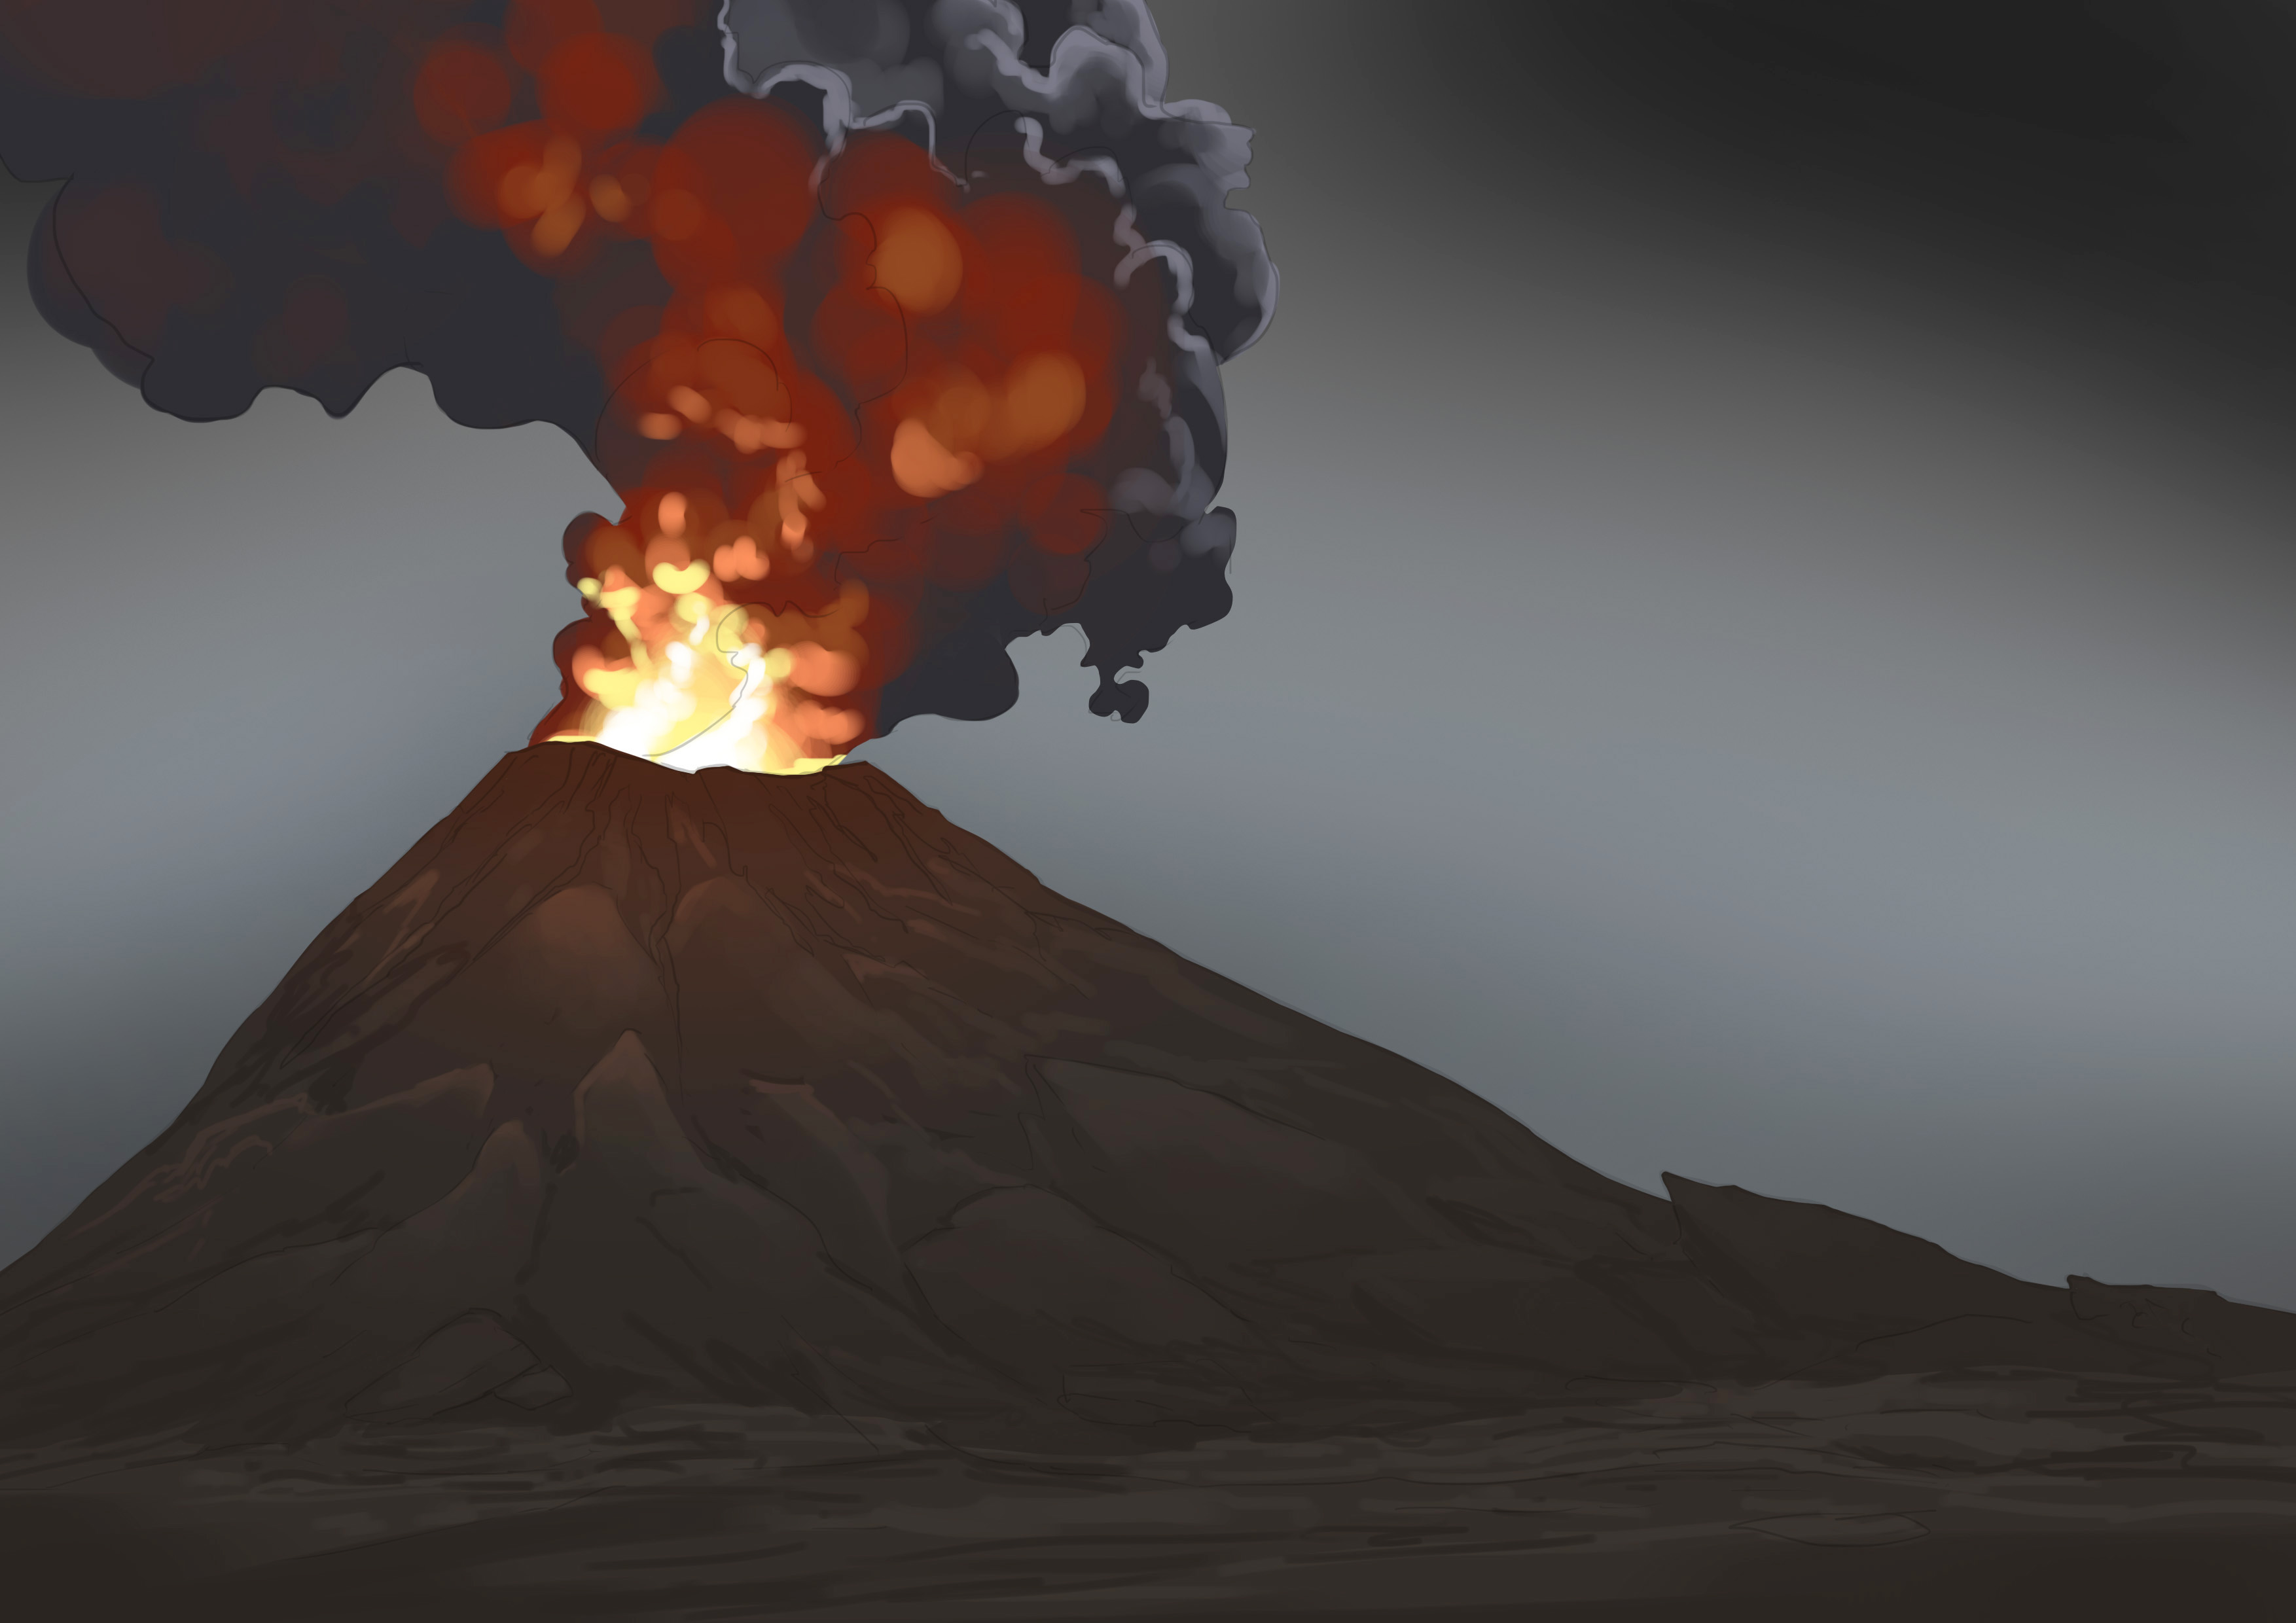
So there remains the lava! We use the same principle as for the light in the cloud: from darkest to lightest (I find that this works best for fire in general). Don’t hesitate to go for very saturated colors. We’re looking at molten lava here, it’s now or never! Choose a deep orange/red and start drawing our lava flows. Here too, you can keep it quite blurry for a better rendering.
Regarding lava, as with fire in general, the brighter it is = the hotter it is. Lava flows and cools upon contact with the ground, so the lighter colors will always be at the center of the flows and toward the top of the volcano. Once that's understood, add the second color, a yellower orange and just as saturated. Don't bother making clean, neat lines; I find it works better when the flows are a bit "blurry".
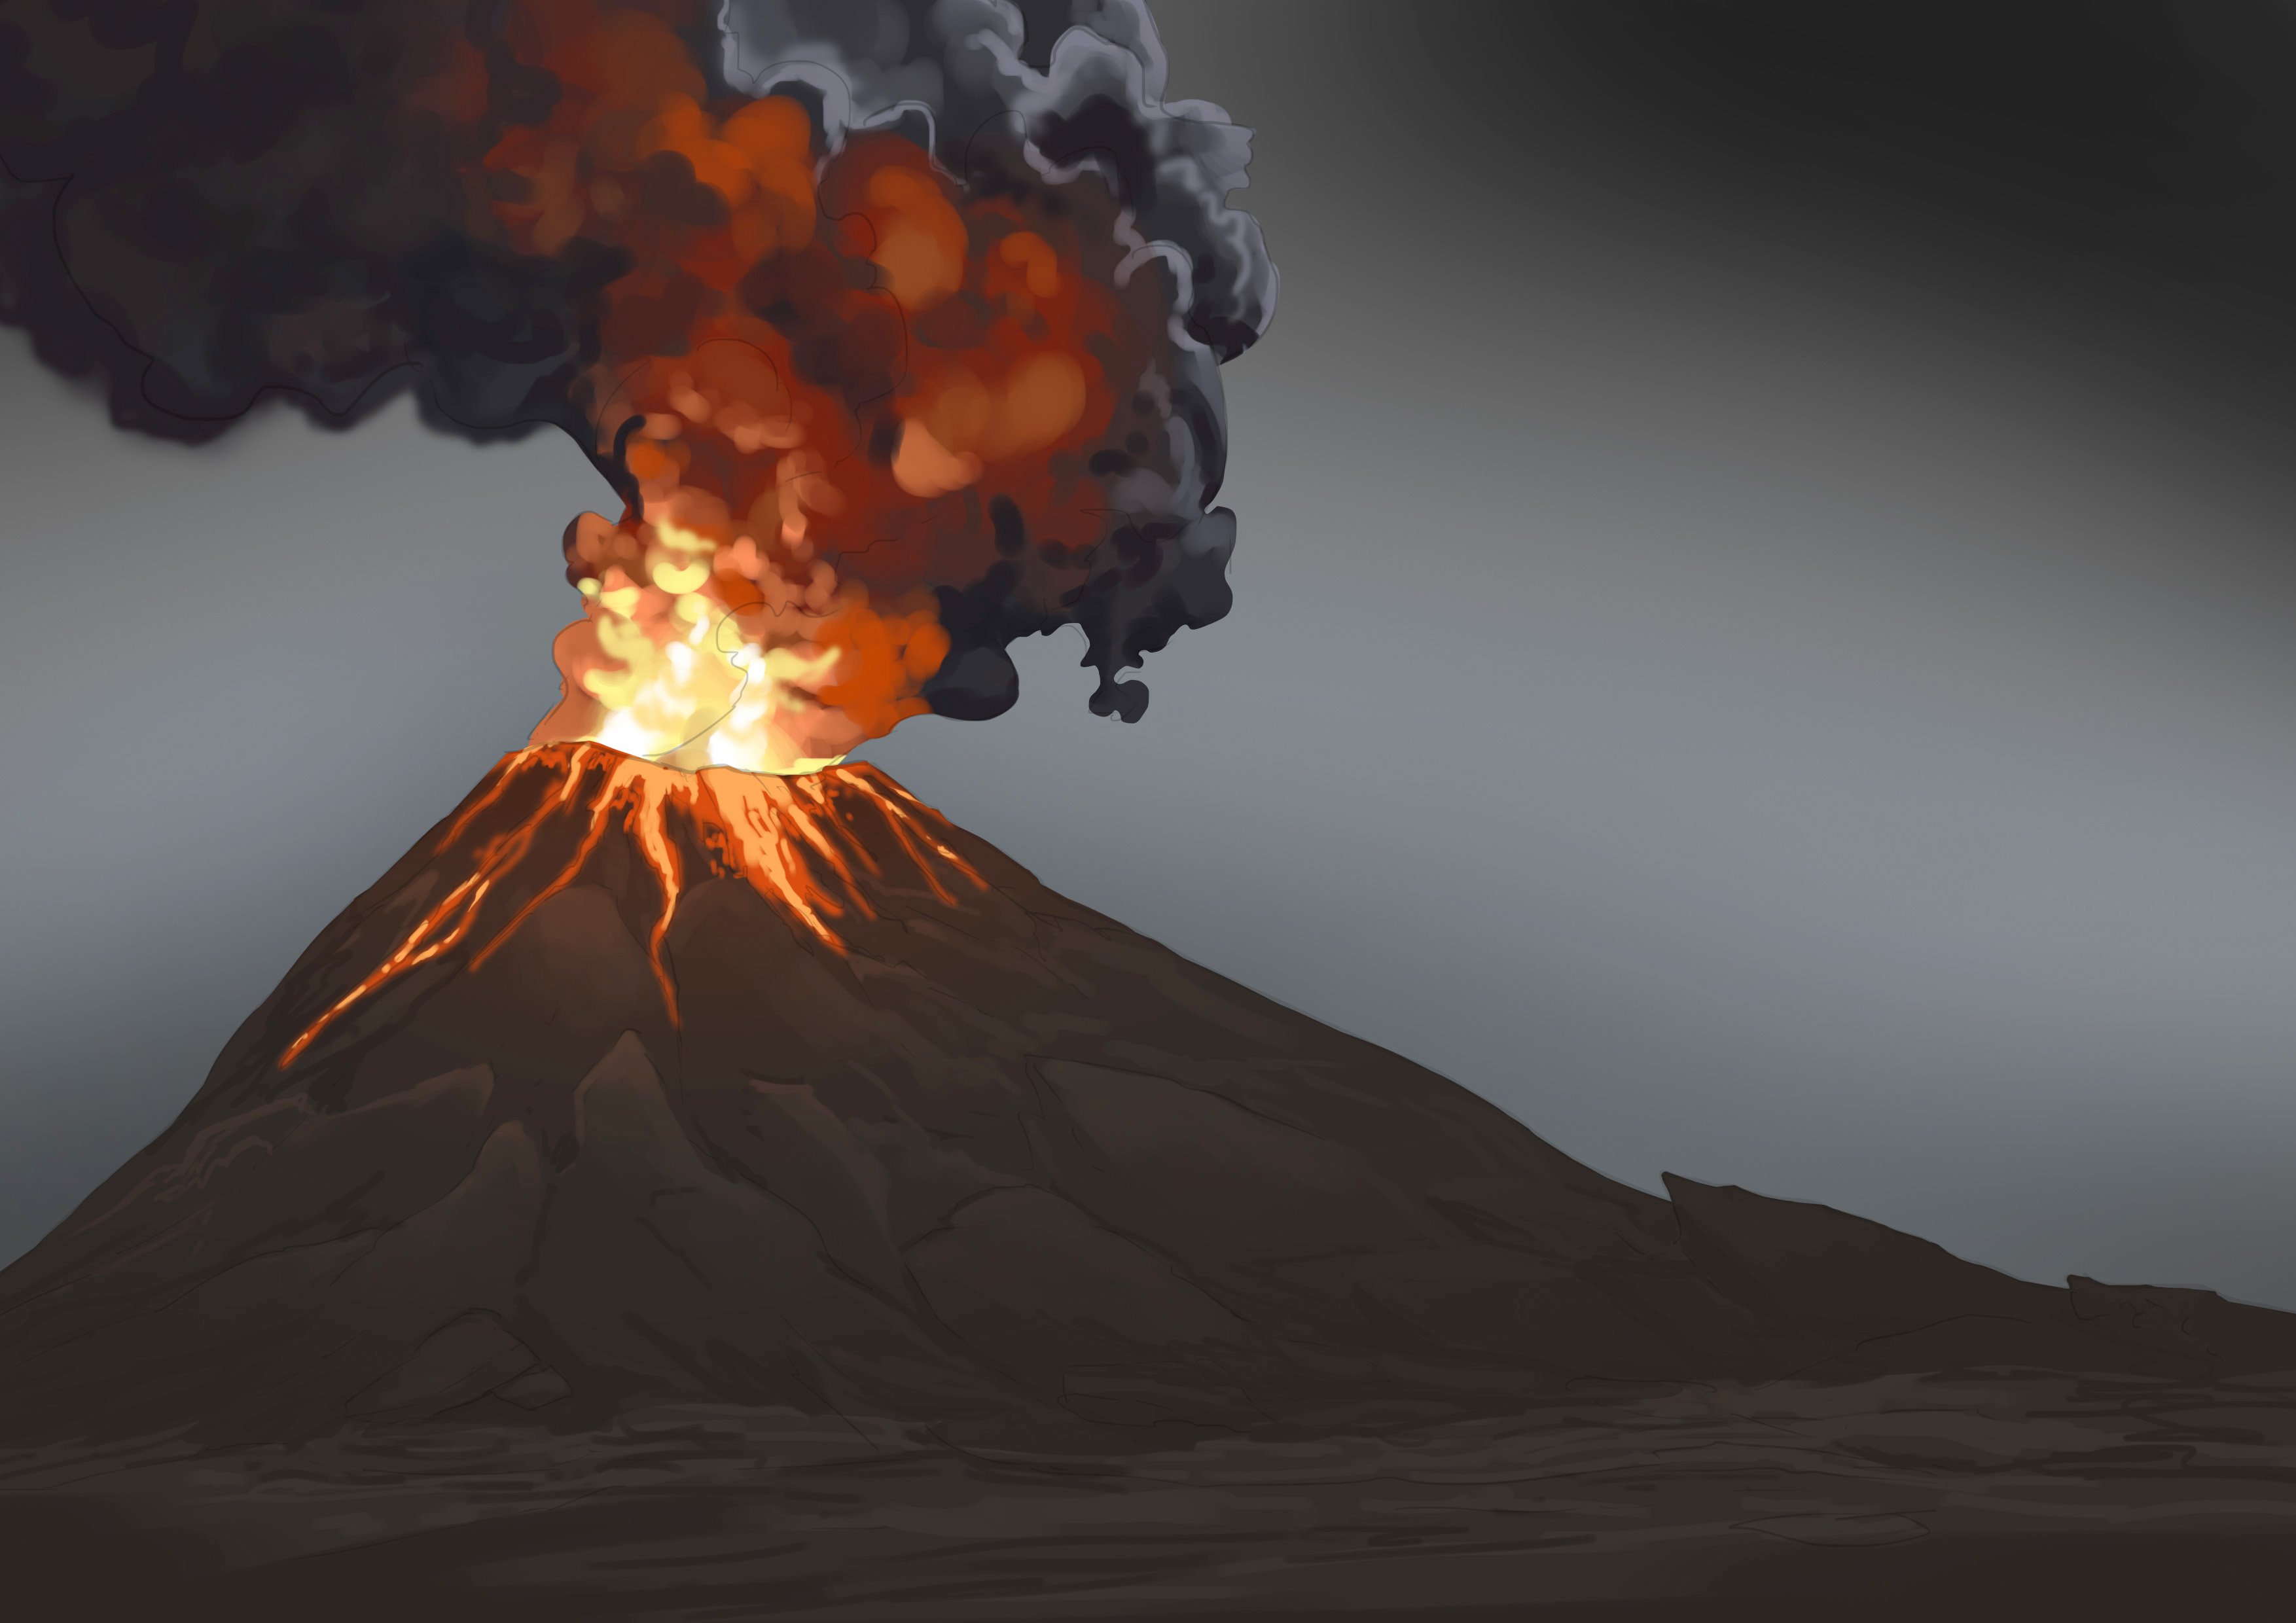
Then very light yellow on even smaller areas.

And there we have a volcano! :D

Summary:
- The essence of the rendering relies on color
- Beware of the shape of the smoke plume and the path of lava flows
- Reference images are essential for this type of particular phenomena

Discussion
5 comments