How to Draw Clouds

Hello everyone! Today’s topic is a bit special: clouds!
Why is it special? Because, like fire or water, representing clouds is difficult and subject to numerous stylizations and interpretations. Because it is an intangible element that does not adapt to all styles in its realistic version.
Let's start by analyzing our subject.
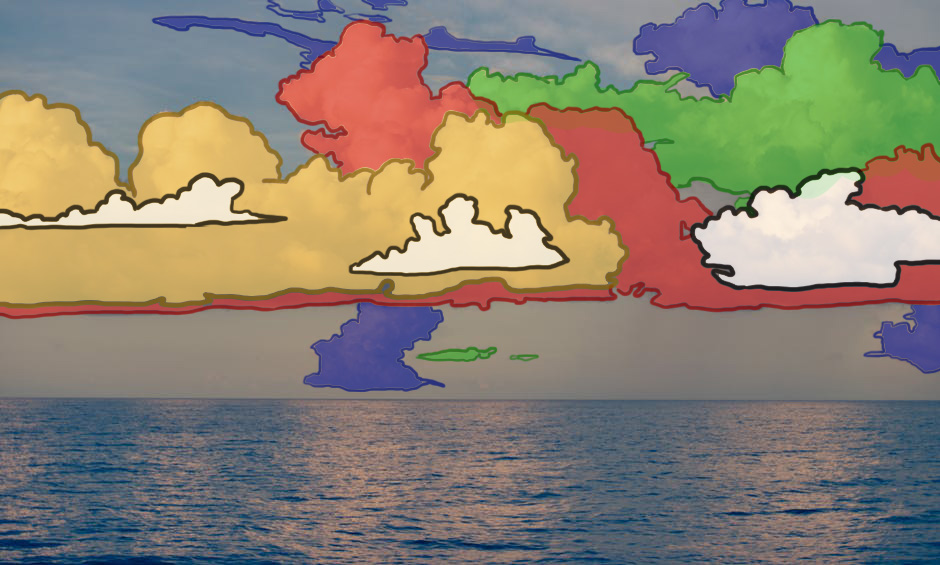
CLOUD OBSERVATION
Clouds have very diverse and varied appearances. They consist of water droplets suspended in the air, with varying levels of concentration, which results in a wide range of shapes and densities.
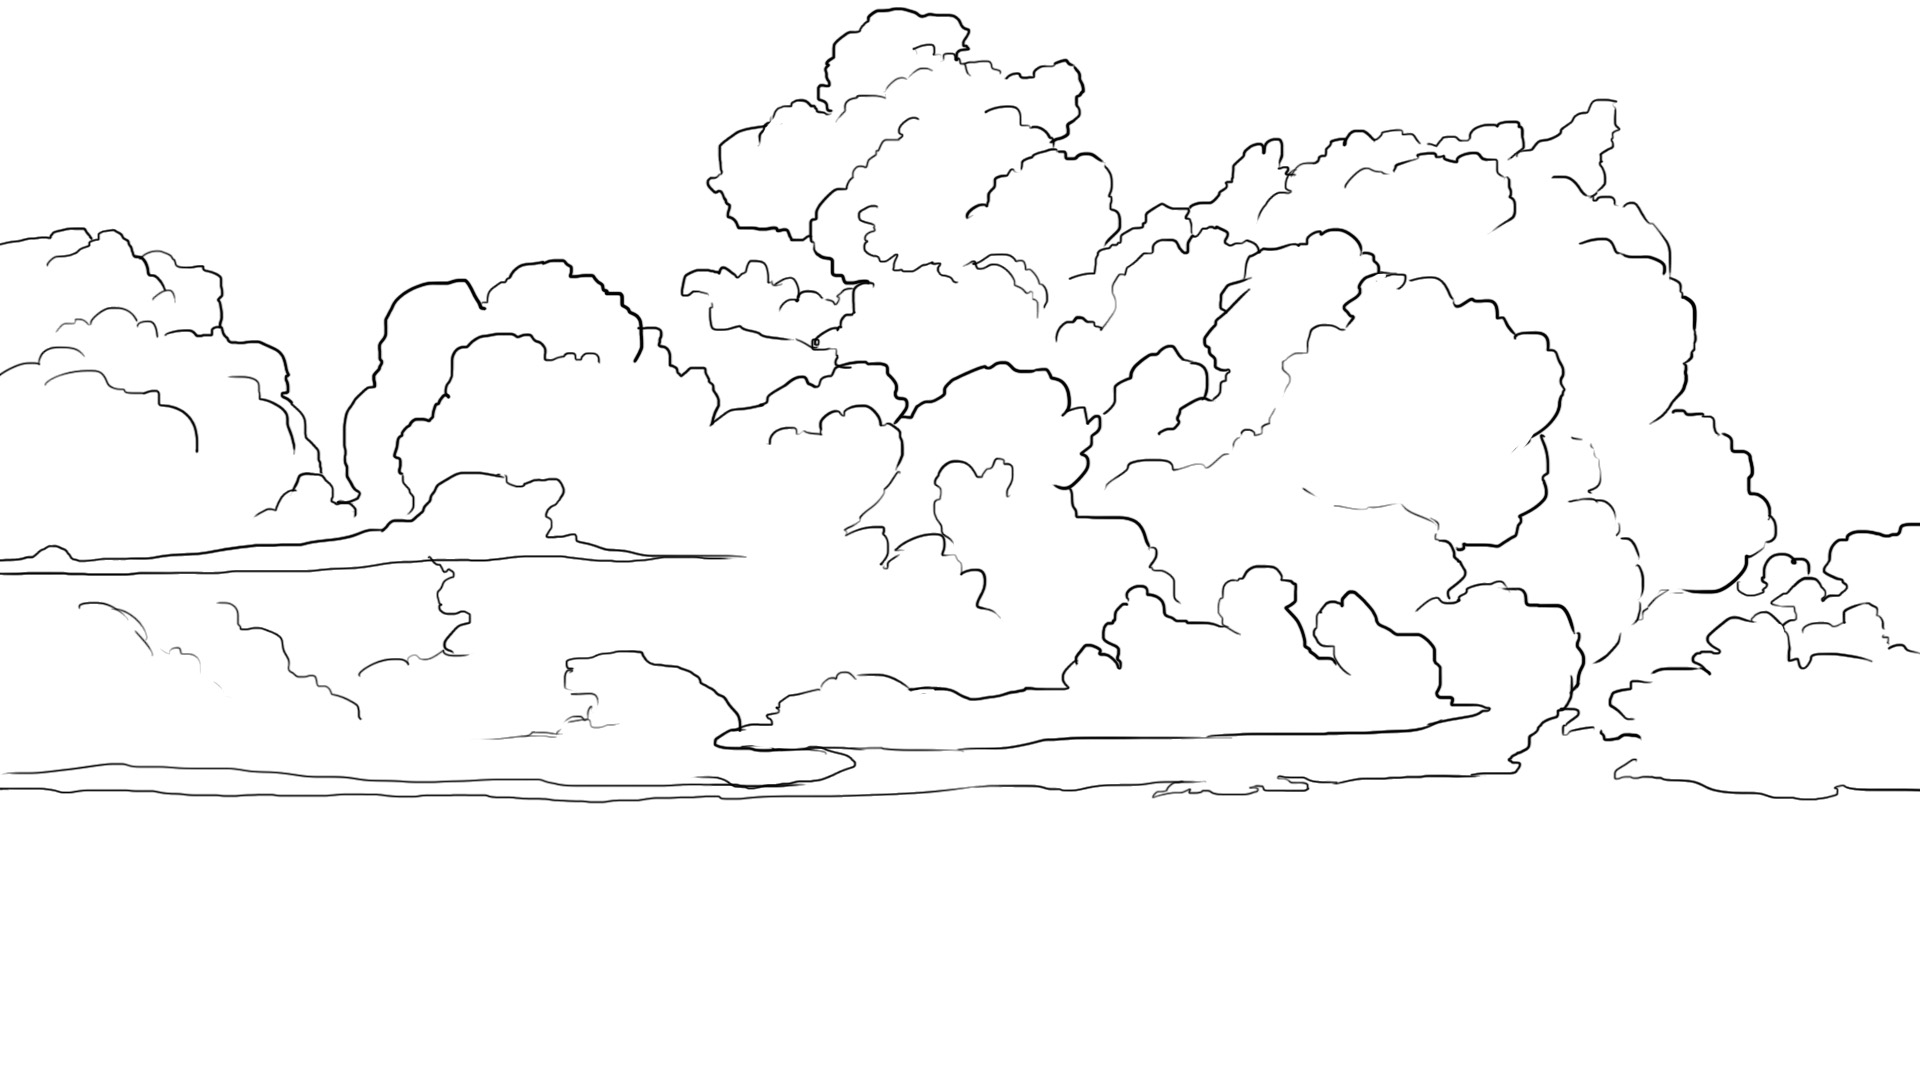
CONCENTRATED CLOUD
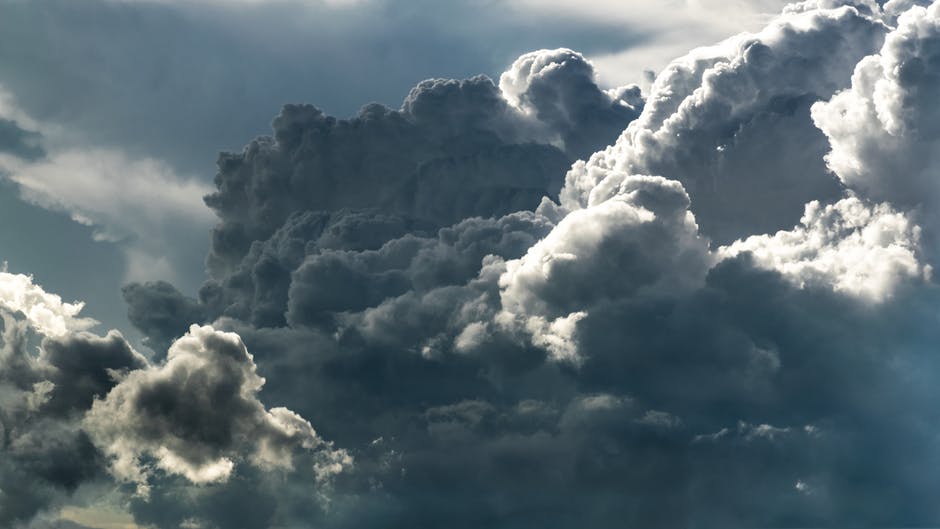
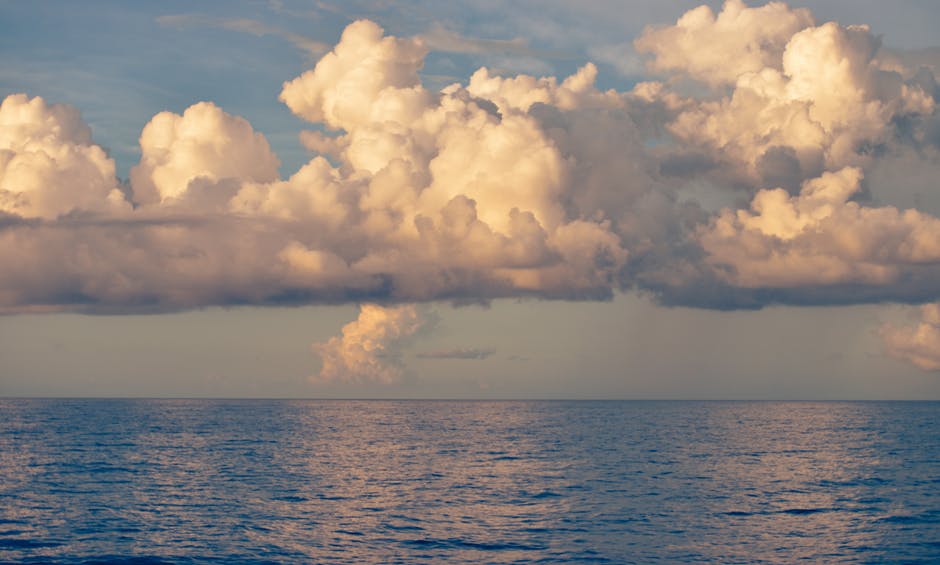
Here, the clouds are very dense; they almost look solid. On the one at the bottom left, it is clear that the dark areas are due to a high density of suspended water. There is a transparency effect on the edges of the cloud, where the density is lower.
Light passes through more easily. Depending on the position of the light source, working with this type of cloud will be different and the shapes will be sharply defined, with that famous "fluffy" effect.

DENSE CLOUD COVER
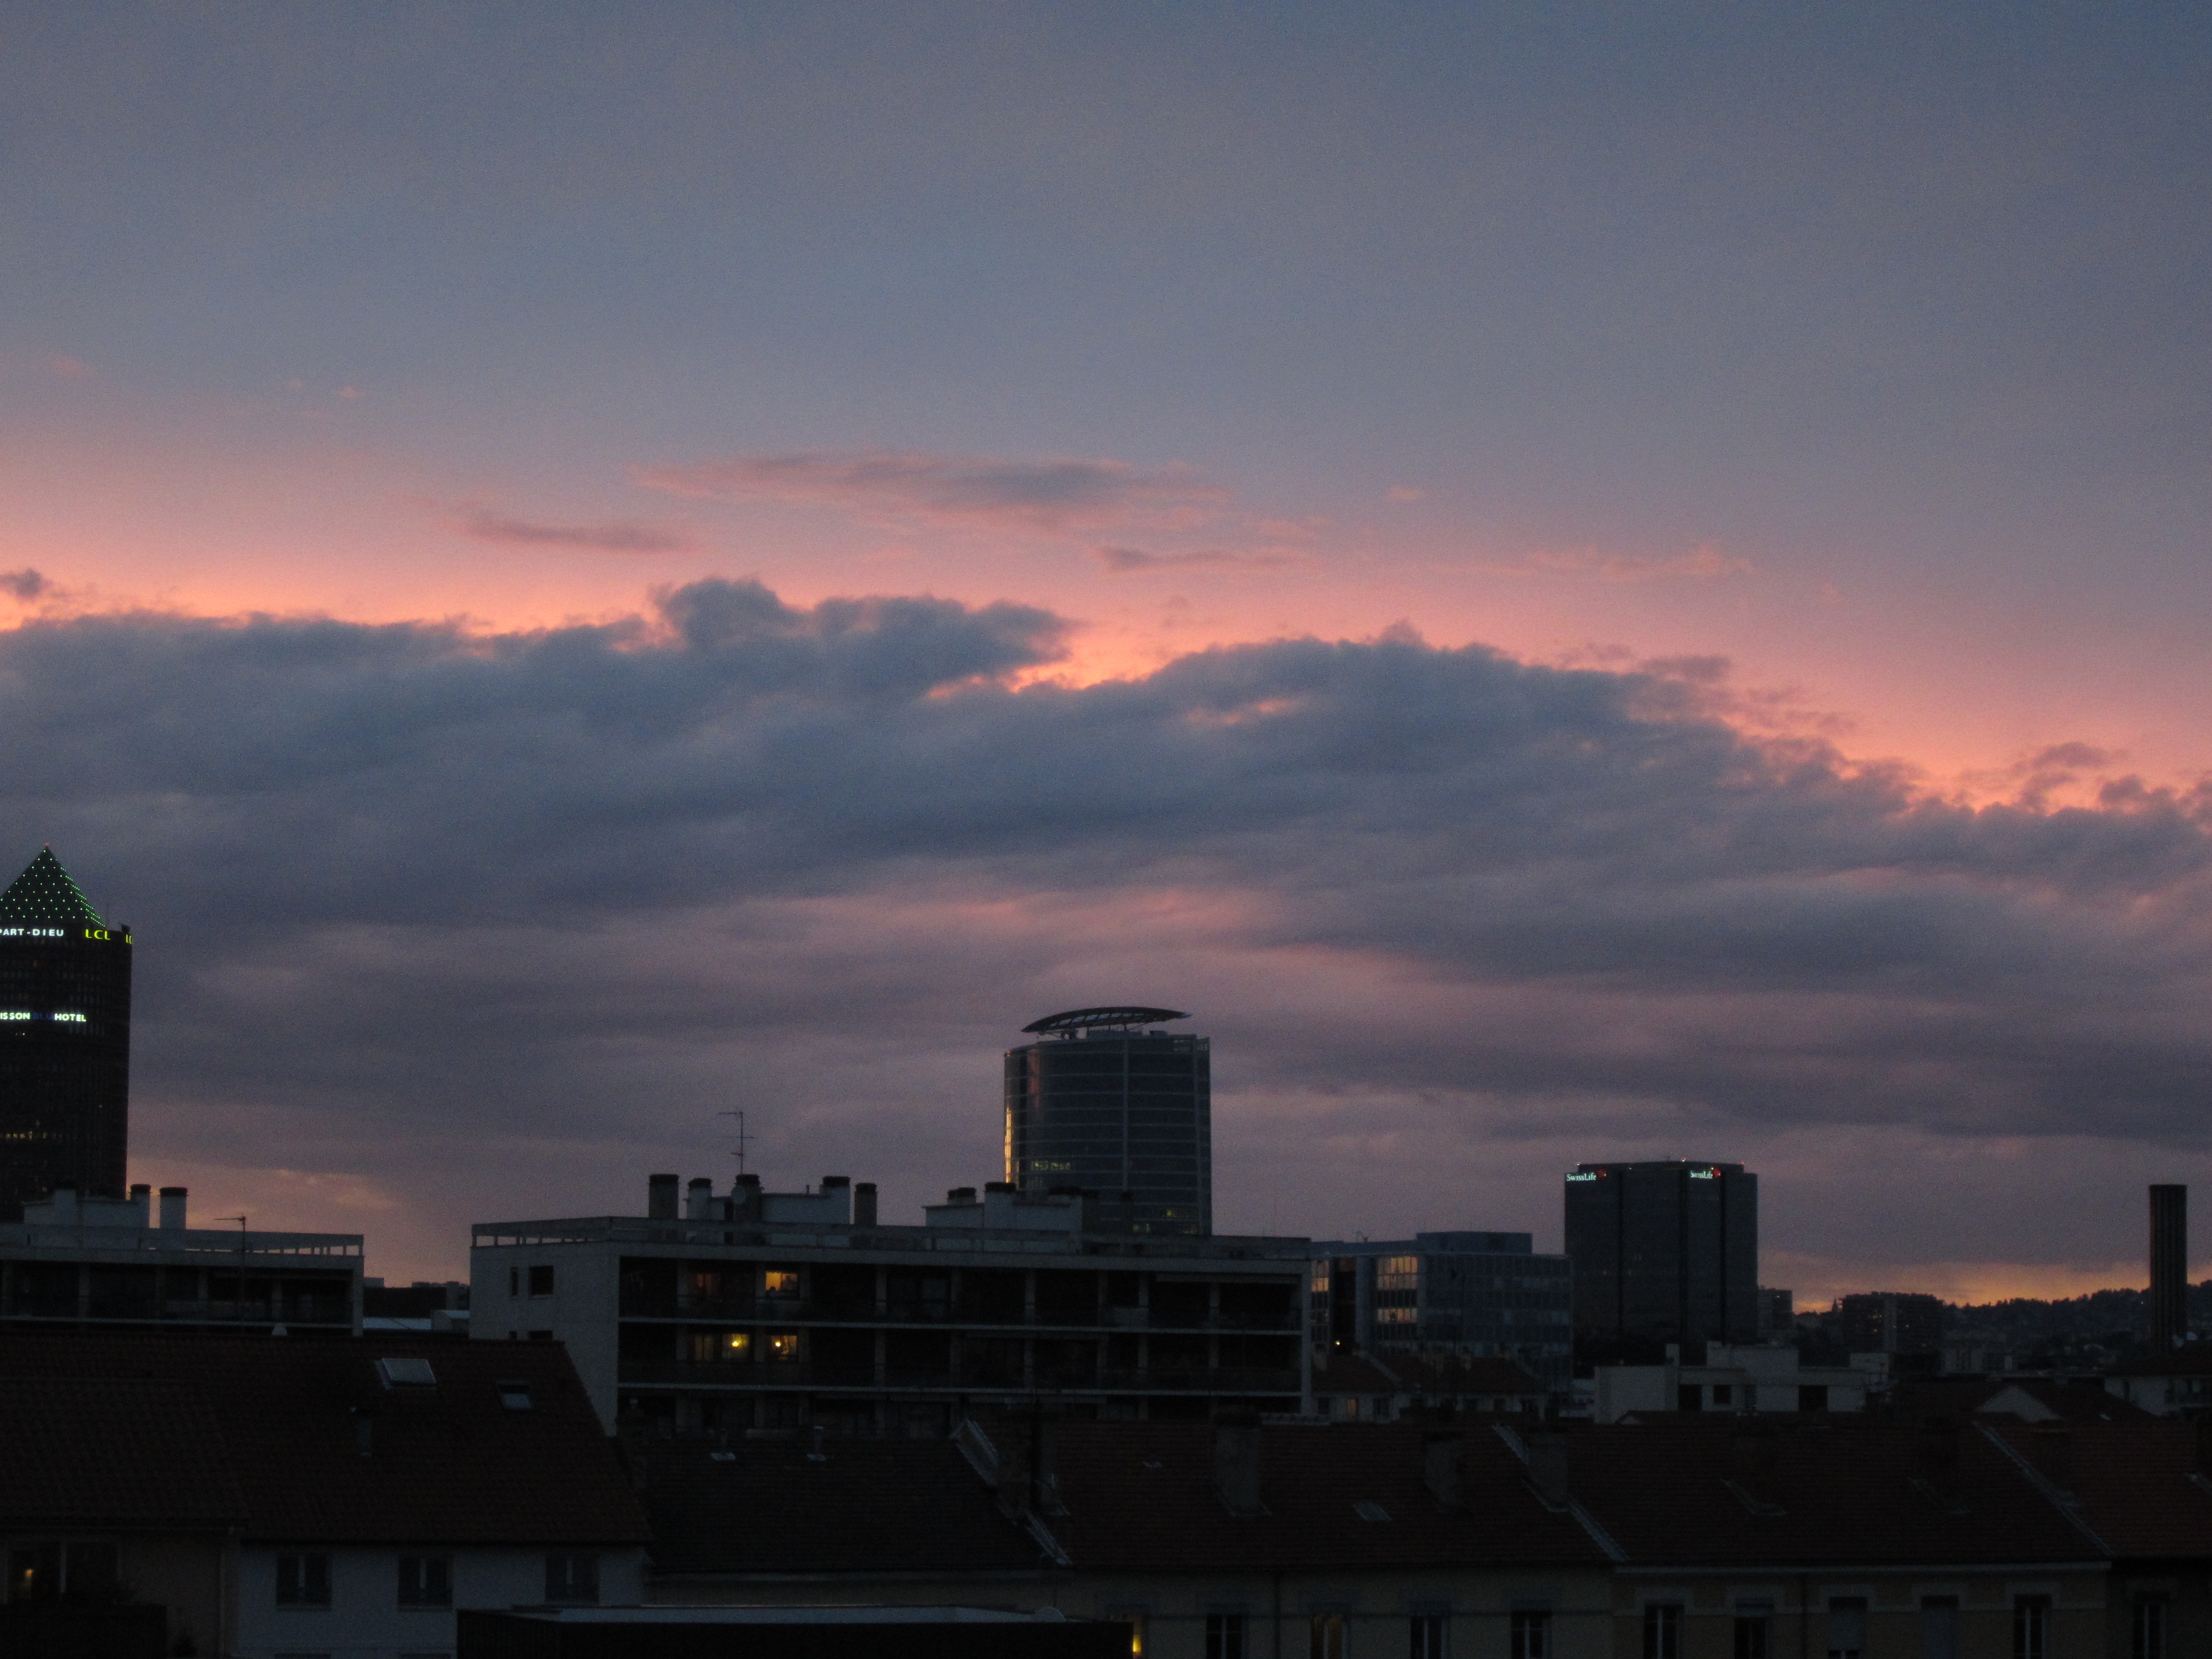
It's the same principle here, the density is quite high, but rather uniform, and the setting sun makes it difficult to see the low density in some places. It is evident to some extent through the variation of shades (more rosy). The shapes of the clouds are smoother, spread across the sky like a large blanket.
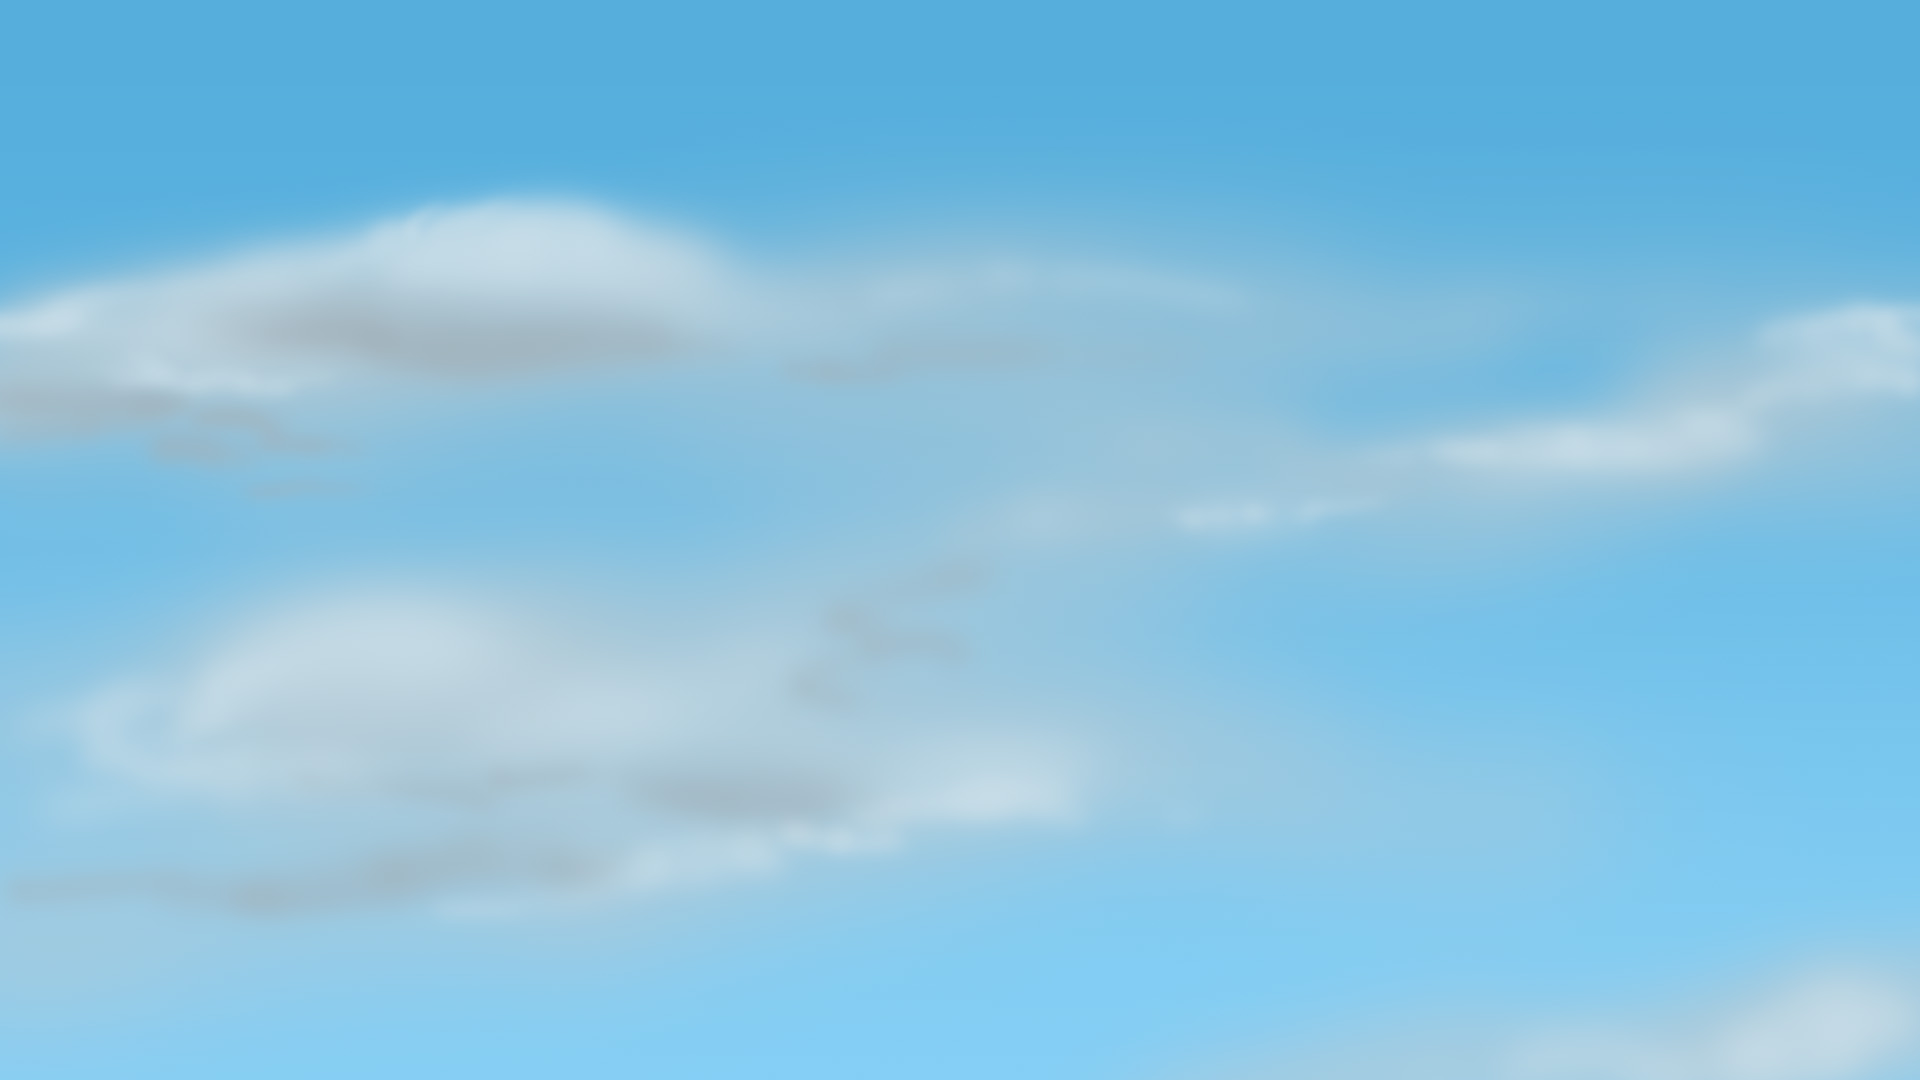
LIGHT CLOUD
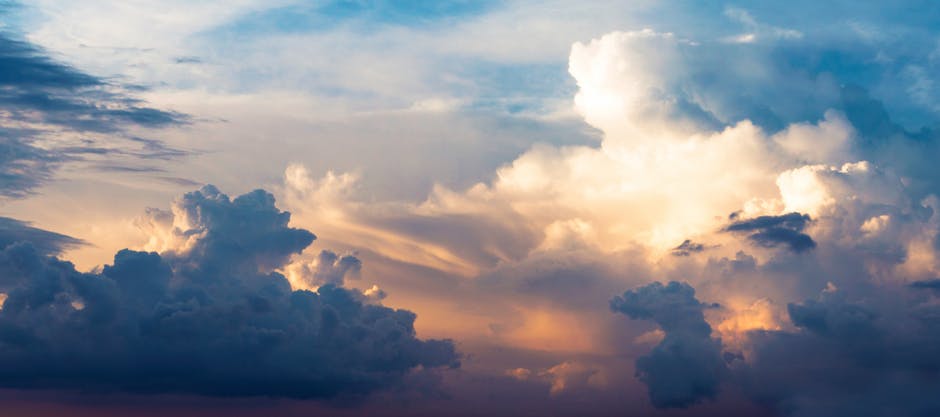
Here, it’s the background on the left that interests me. The somewhat gray part of the image, let's say. It's a type of cloud that we frequently see, quite sparse, generally white or gray, shapeless, and quite blended into the sky.
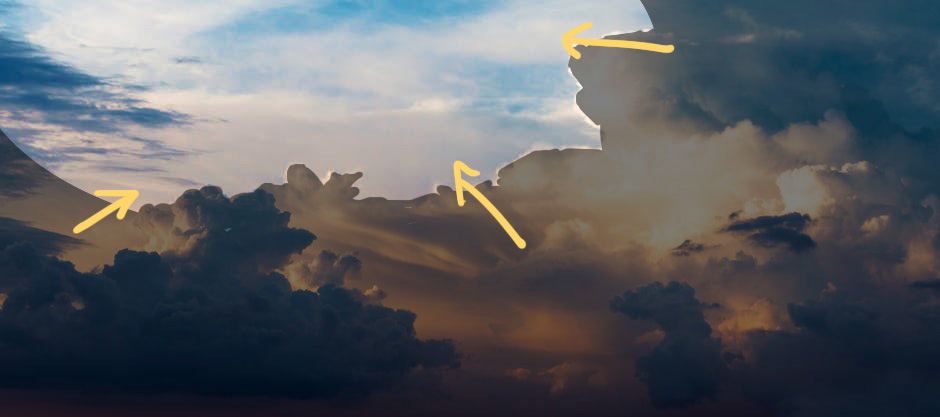
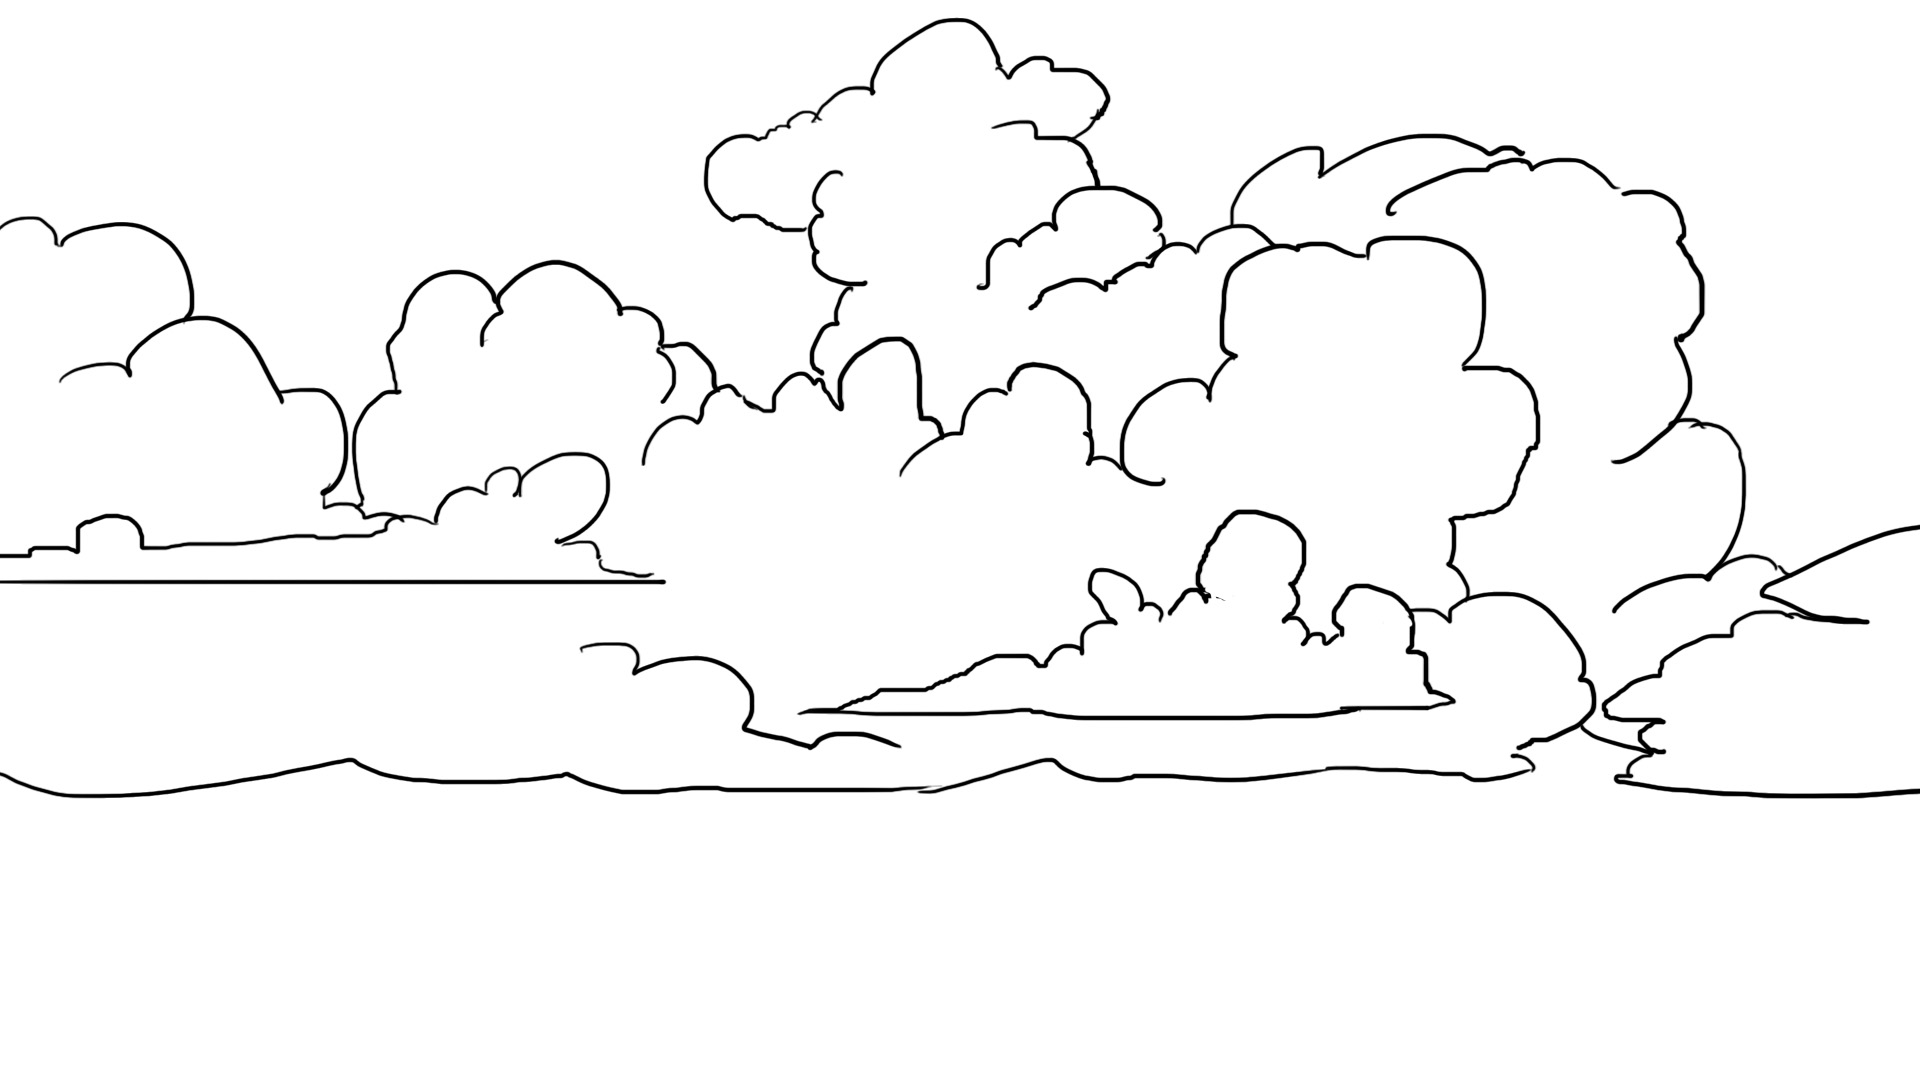
FRAGMENTED CLOUD
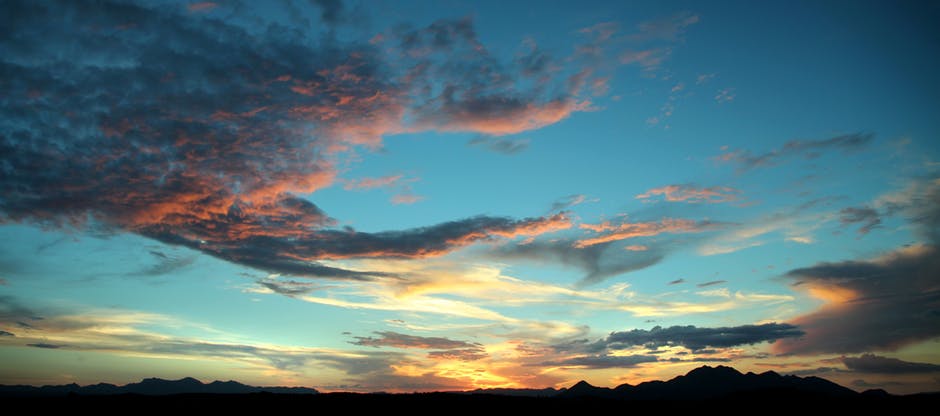
Here, the clouds are a bit of a mix. Some are clearly defined and stretch out in long, dense trails. Others, varying in density and thus in definition, appear fragmented (foreground at the top left).
There are also other types of clouds, not to mention those that forecast rain or snow. The variations in sky color and light also play a significant role. However, you will notice that it is common to have several types of clouds in the same photo. So, feel free to mix it up :D
What can we actually take away from this?
For me, the denser a cloud is, the more solid it appears, and the sharper its shapes, shades and colors will be.
Conversely, the lighter a cloud is, the closer its hue to that of the sky, the more easily it will be dispersed, the more easily it will appear as trails, and the less contrast there will be on it. Its shape will be more diffuse.
Our subject being very unique, I am not going to teach you THE method to create clouds. There are far too many possibilities. I'm going to show you different examples, whether it's with line drawing alone or in color. If you want to know how to draw a simplified kawaii cloud, I encourage you to check out our article where it is featured: 5 easy drawings.
Generally, for elements like liquids, fire, electricity, or in our case clouds, I would tend to tell you not to do line drawing/inking (or keep it light or colored). Work on it directly in color. Unless you're working on a manga, for example, where you need to draw things in black and white :)
CREATING THE DRAWING
I find that the drawing itself is not very complicated. I'm going to show you two examples.
DRAWING A CLOUD IN STREAKS
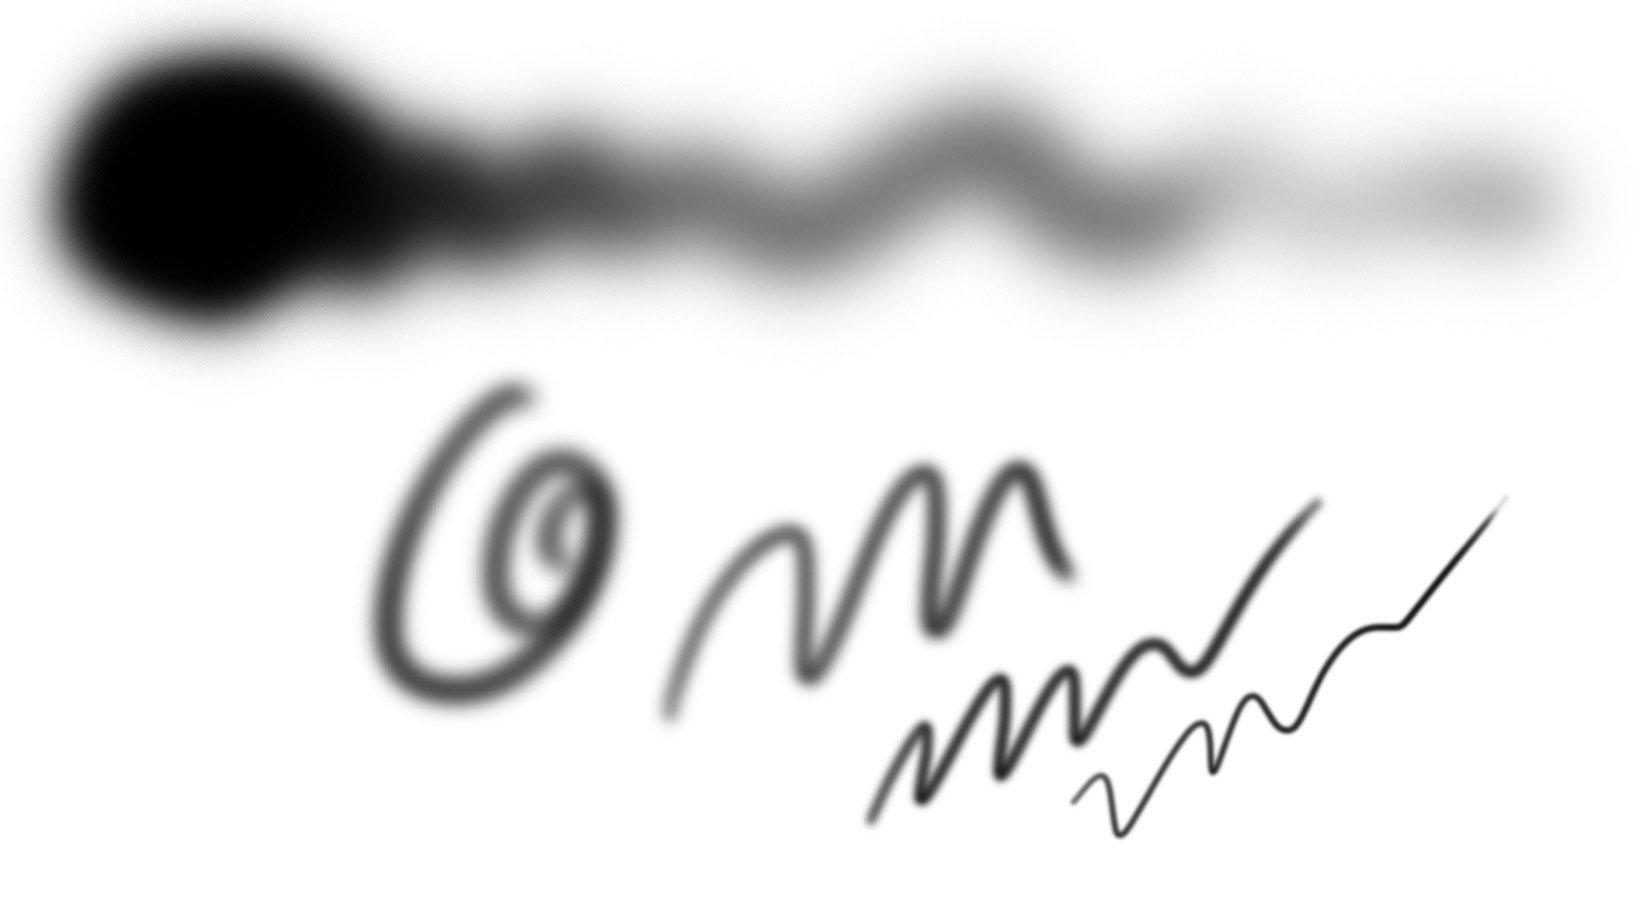
The first technique I use quite frequently is for sparse, streaky clouds. You just need to make irregular stripes. Be careful not to space them evenly, as that wouldn't look natural at all. You can refer to a photo of the sky if you wish.
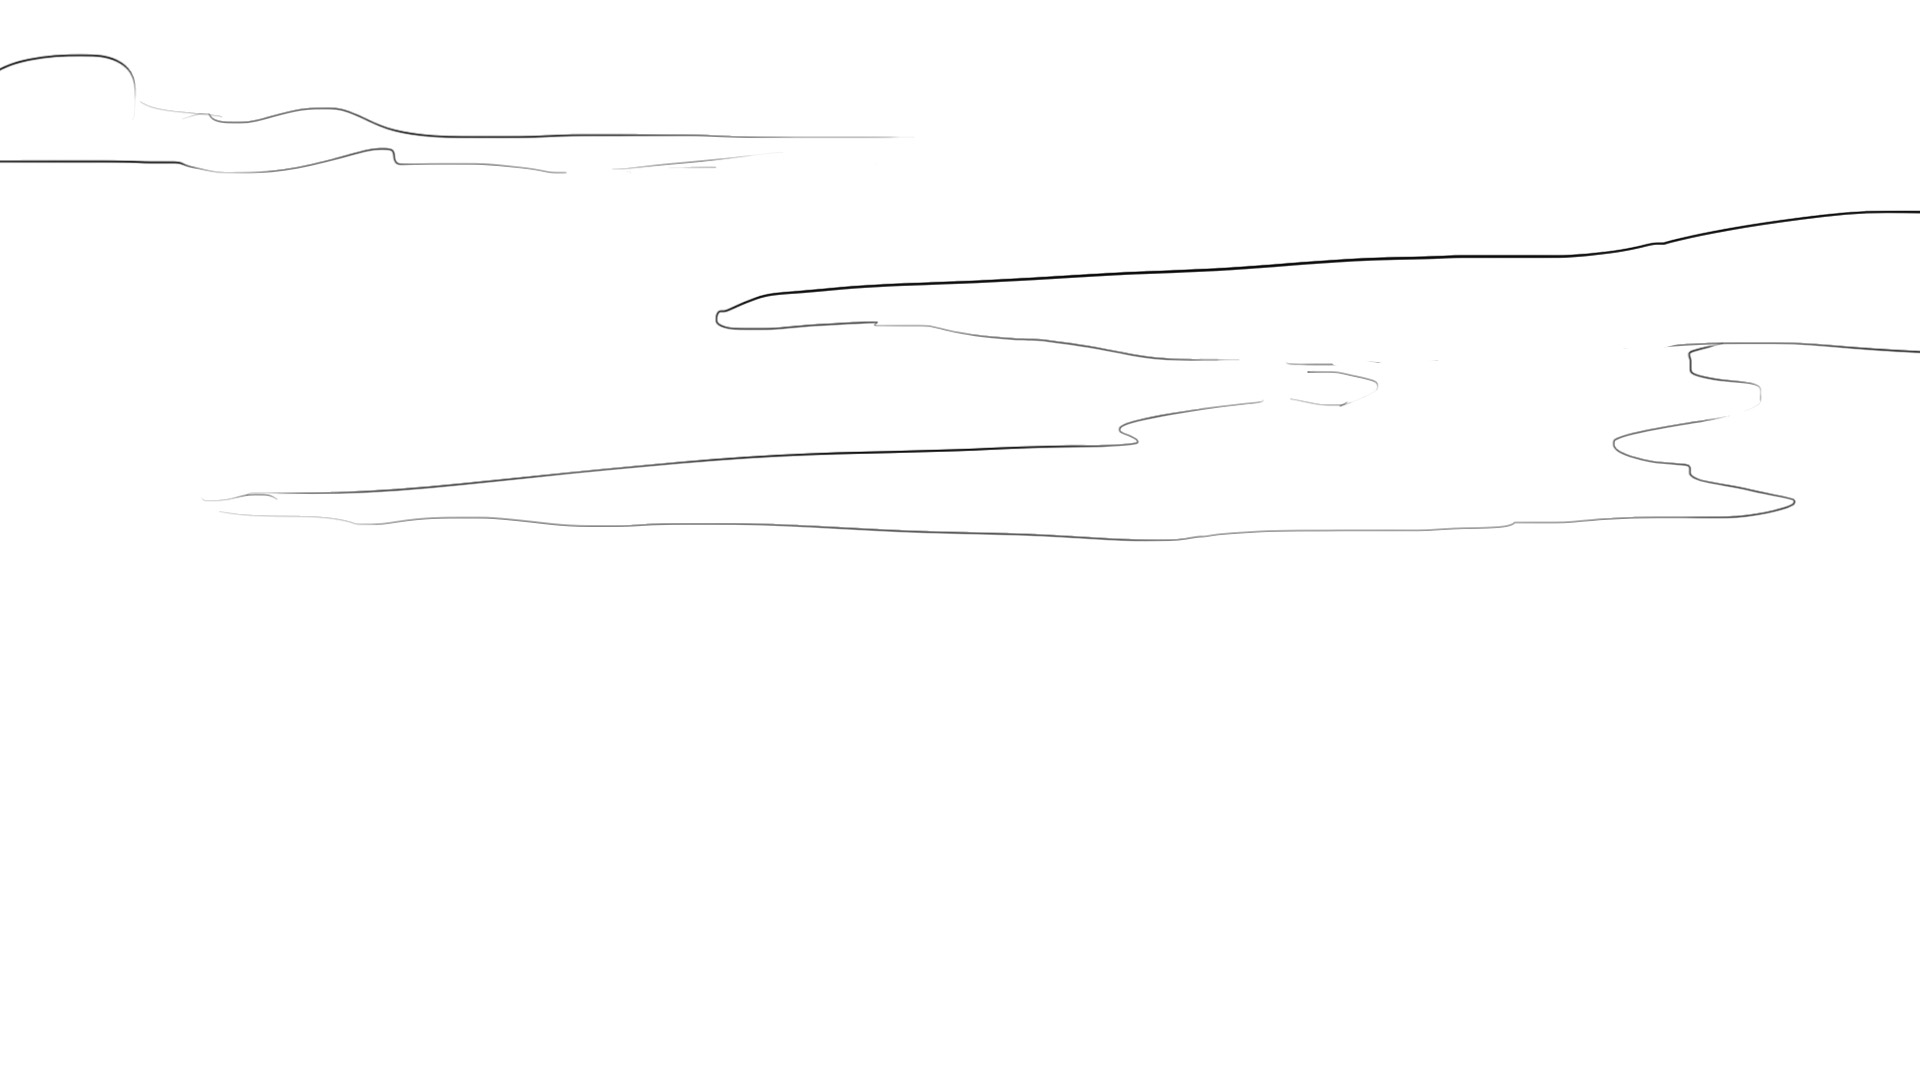
For example, I will show you through a quick illustration sketch what it can look like:
It seems obvious to me but: don't press too hard. We are drawing something that isn't tangible, make it feel that way ^^ Besides, it's far away from us, so all the more reason to be delicate in its outline.
DRAWING A DENSE CLOUD
Here's a second example with a dense cloud. This time I will show you two variants. The first is more realistic. As with the previous example, relax and make irregular shapes. Use a photo as a reference if necessary.
I will base it on the second one I showed you. Here, the shapes are more sinuous, more intricate, more detailed. Make curves, counter-curves, all the while keeping in mind that the bottom of clouds is generally relatively flat. It is very evident in this photo: the suspended water droplets that form the clouds do not start from the ground. There is a clear distance between the ground and the start of the cloud layer.
When this phenomenon occurs on the ground, generally in a localized manner, we call it fog ^^
Returning to our main topic, the clouds are arranged on several levels. Schematically, we could divide them as follows:
It's not exactly accurate, in reality, it would be closer to cotton balls somewhat clumped together, but unless you are looking to make characters that revolve around a cloud, it's not a big deal if you forget this detail :D
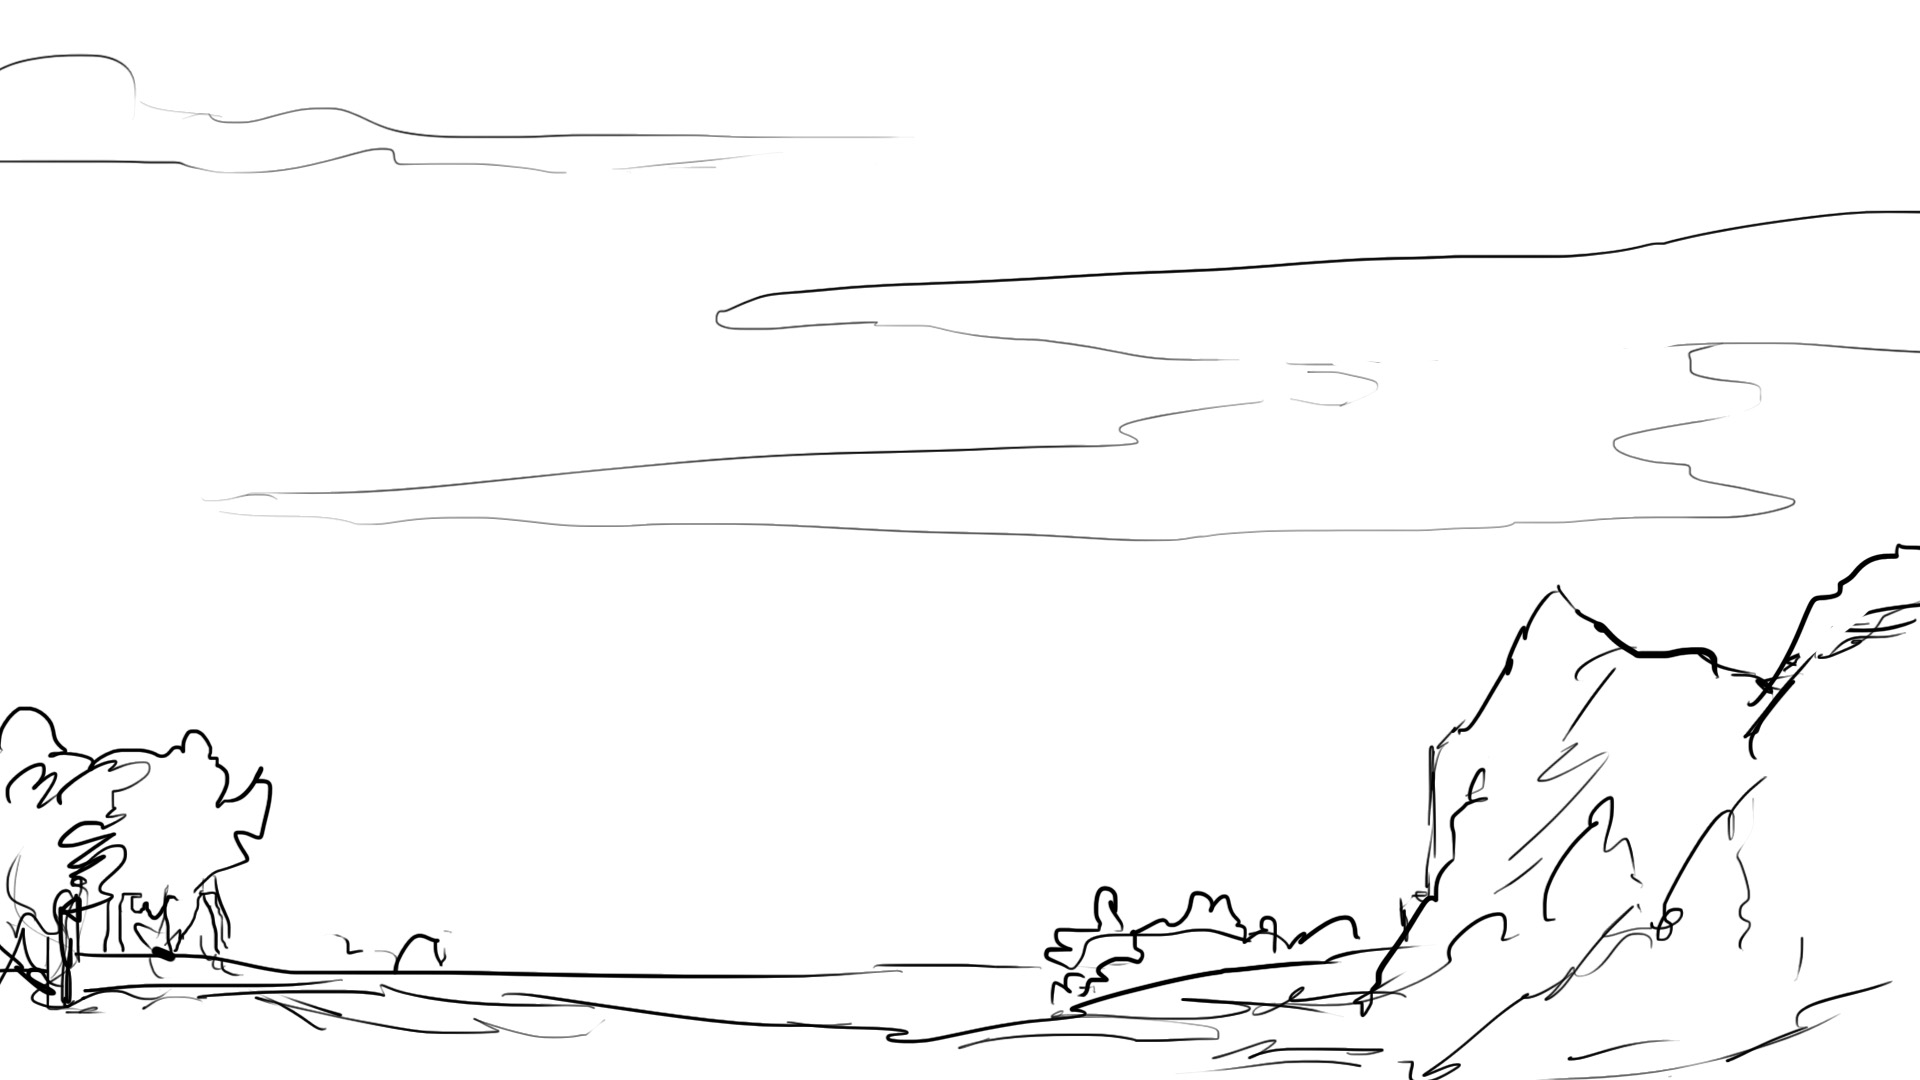
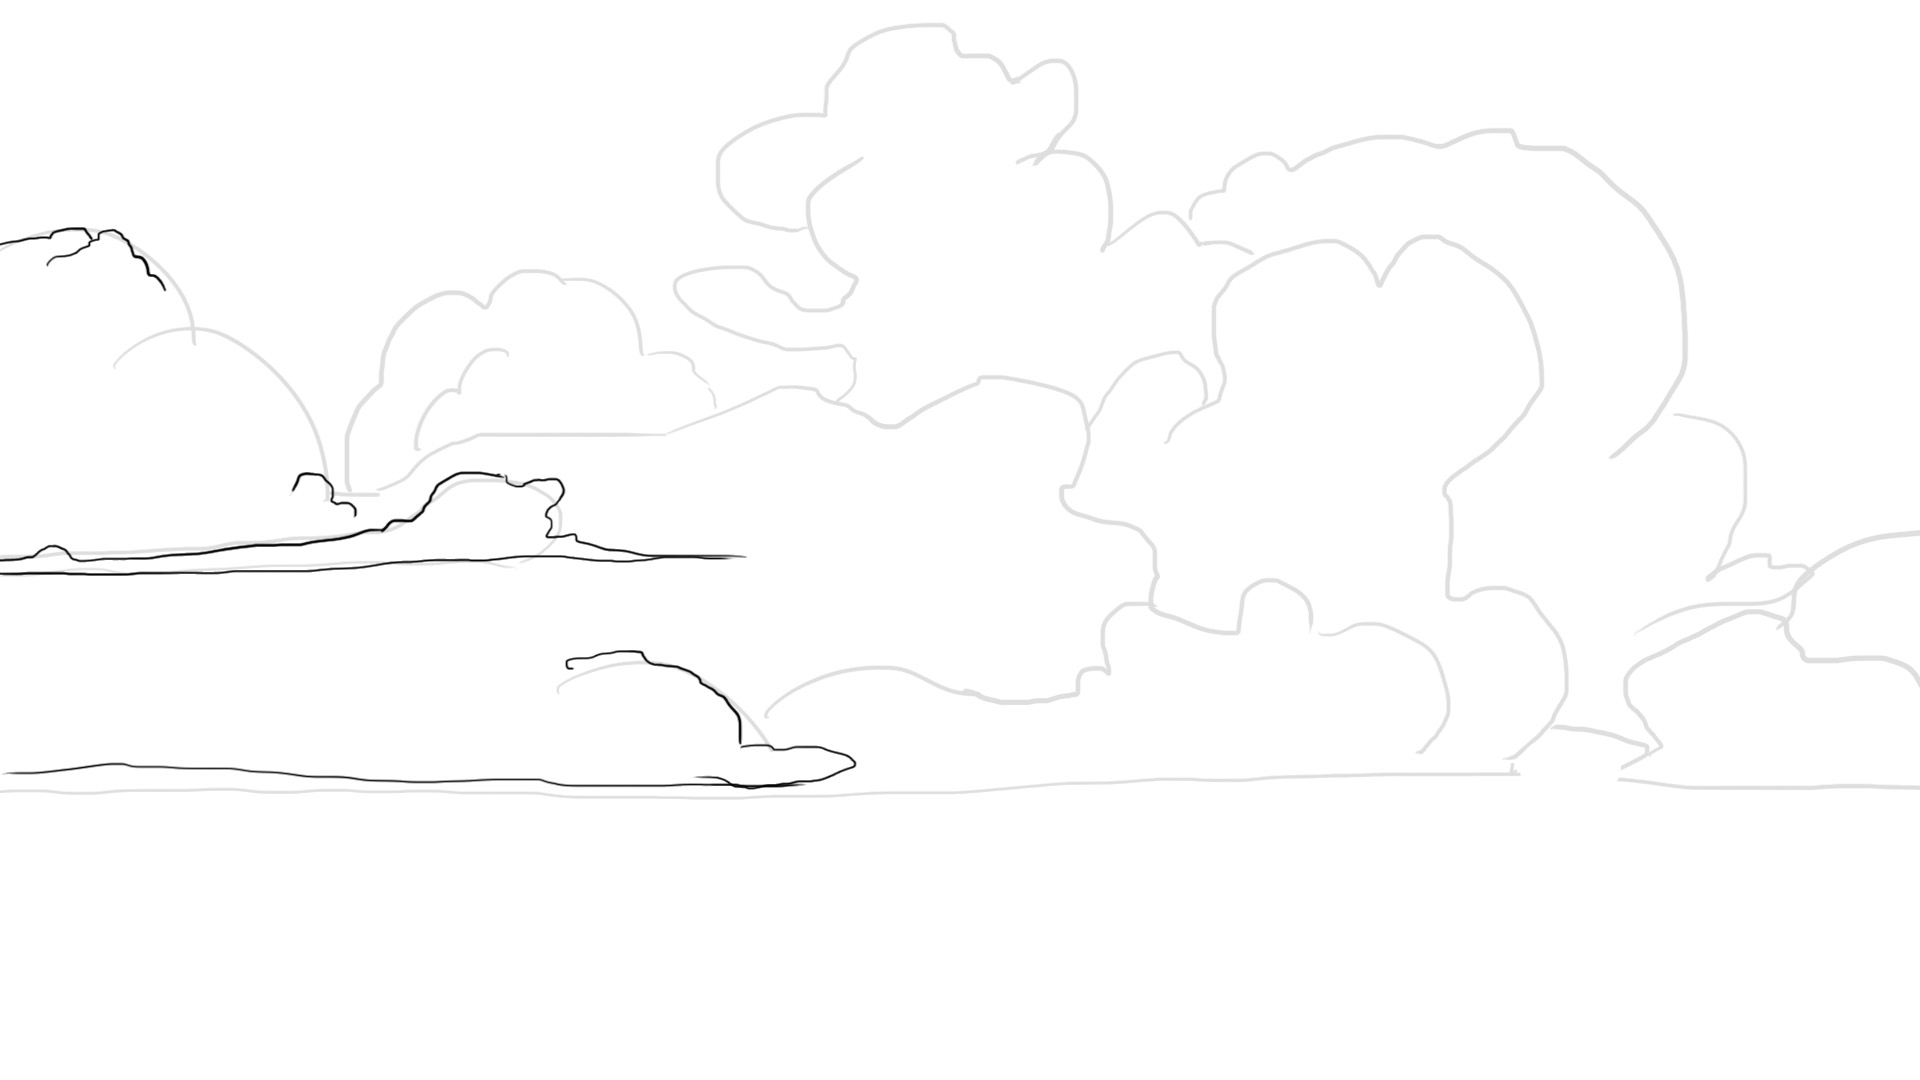
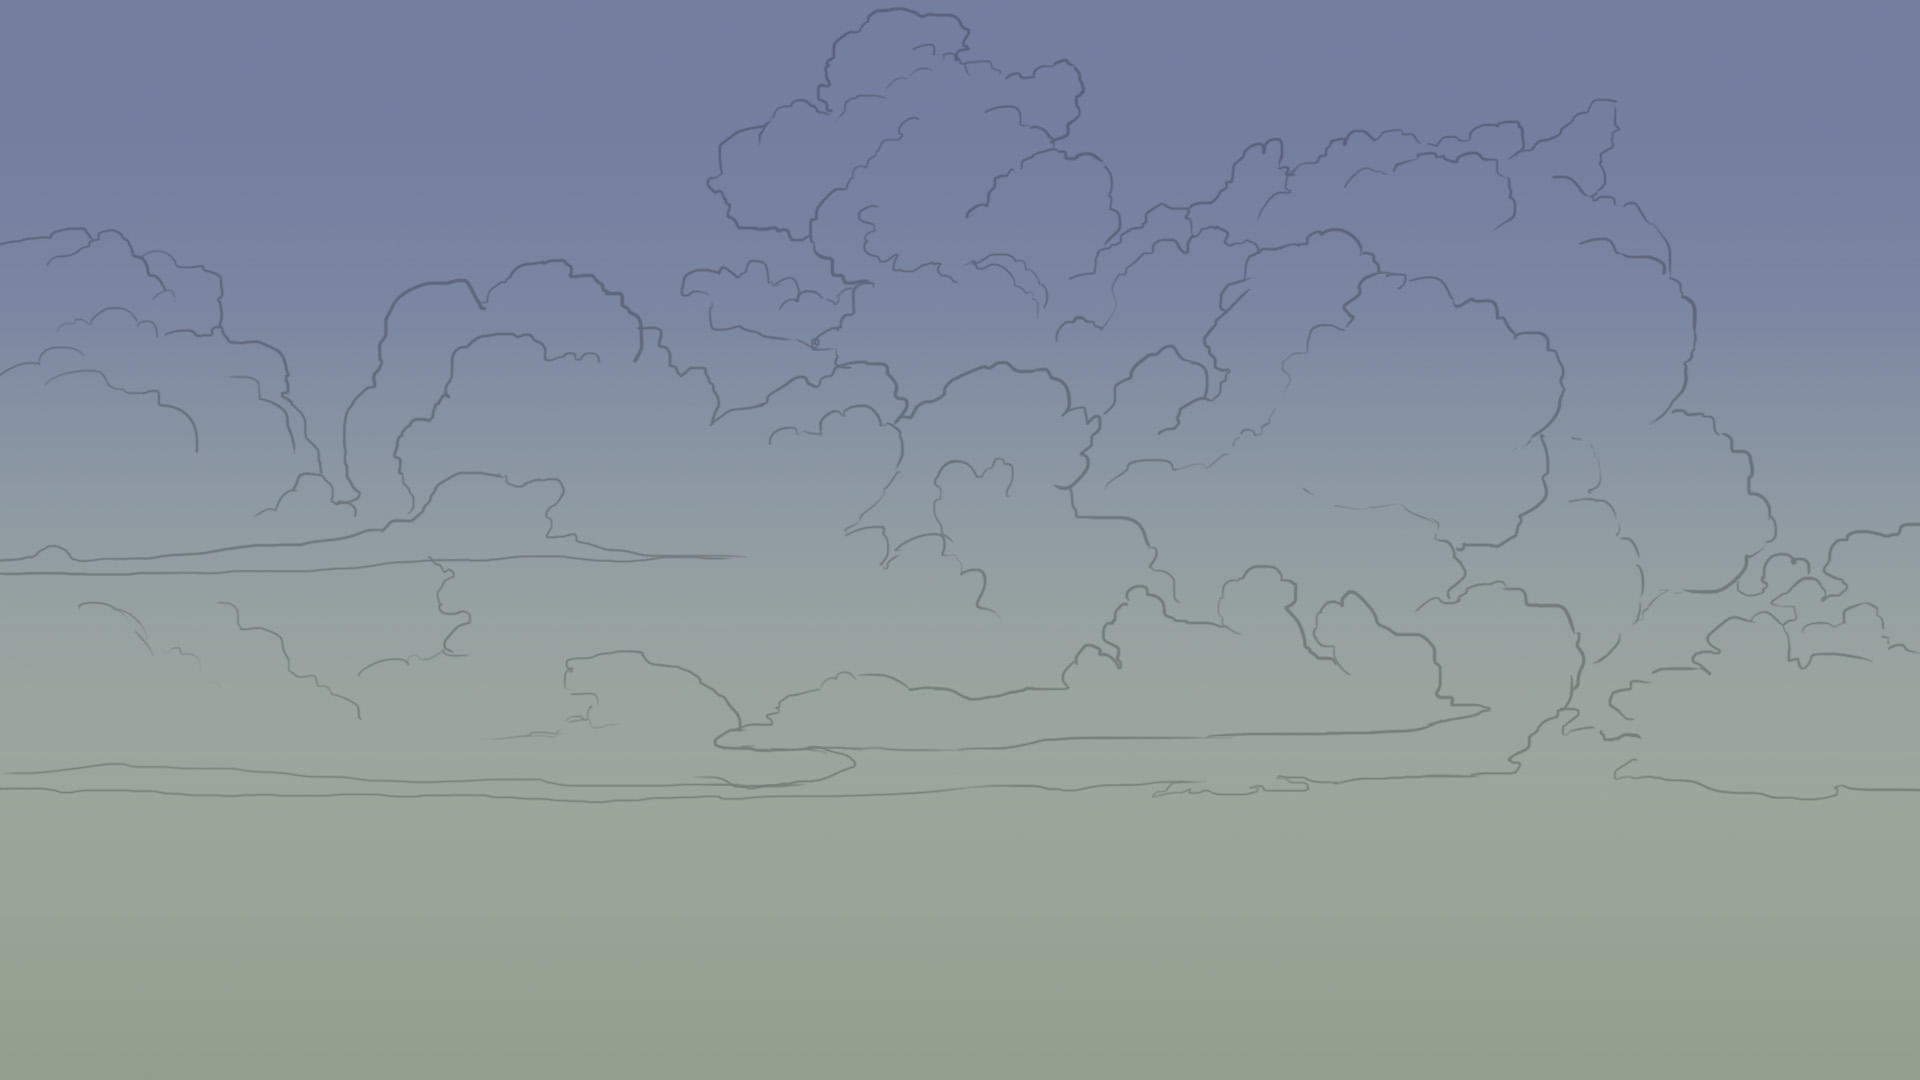
With a rather realistic layout, it could look something like this:
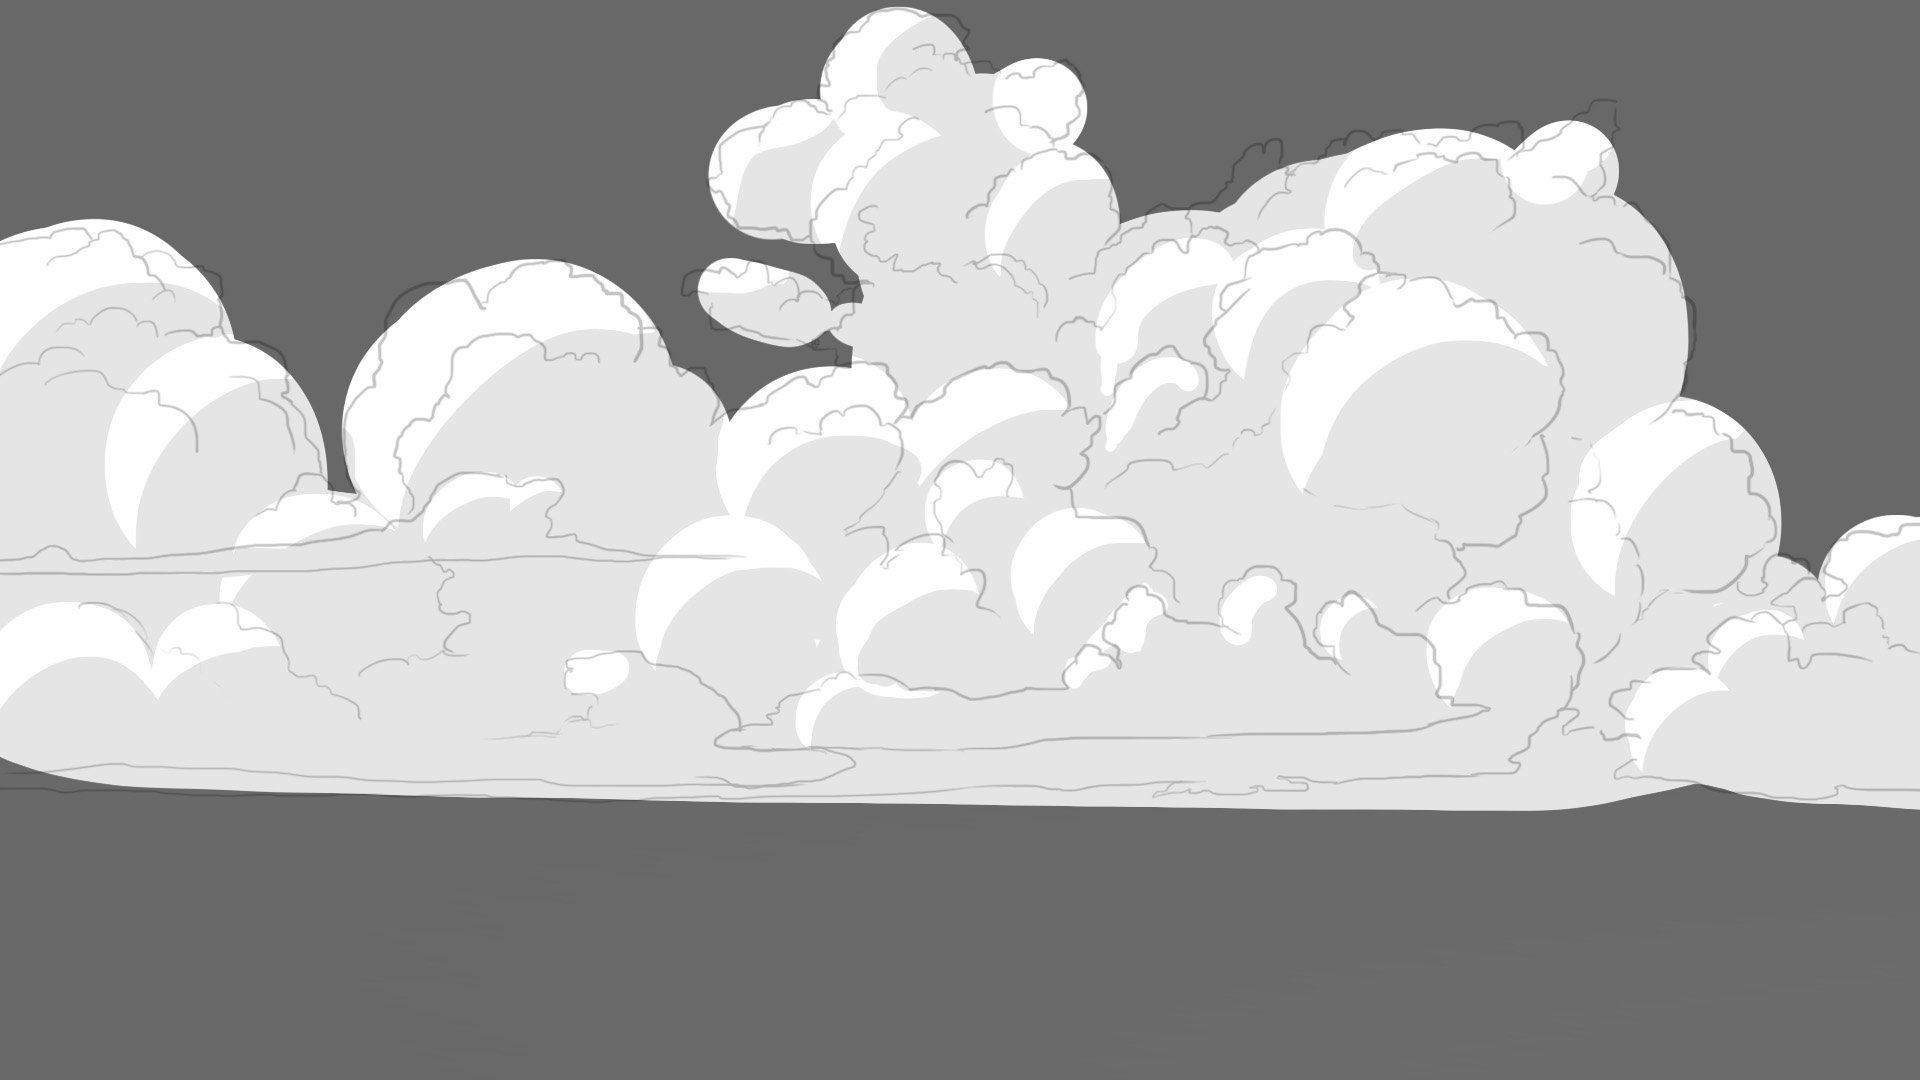
First, the overall shape (does it already look like clouds to you?)

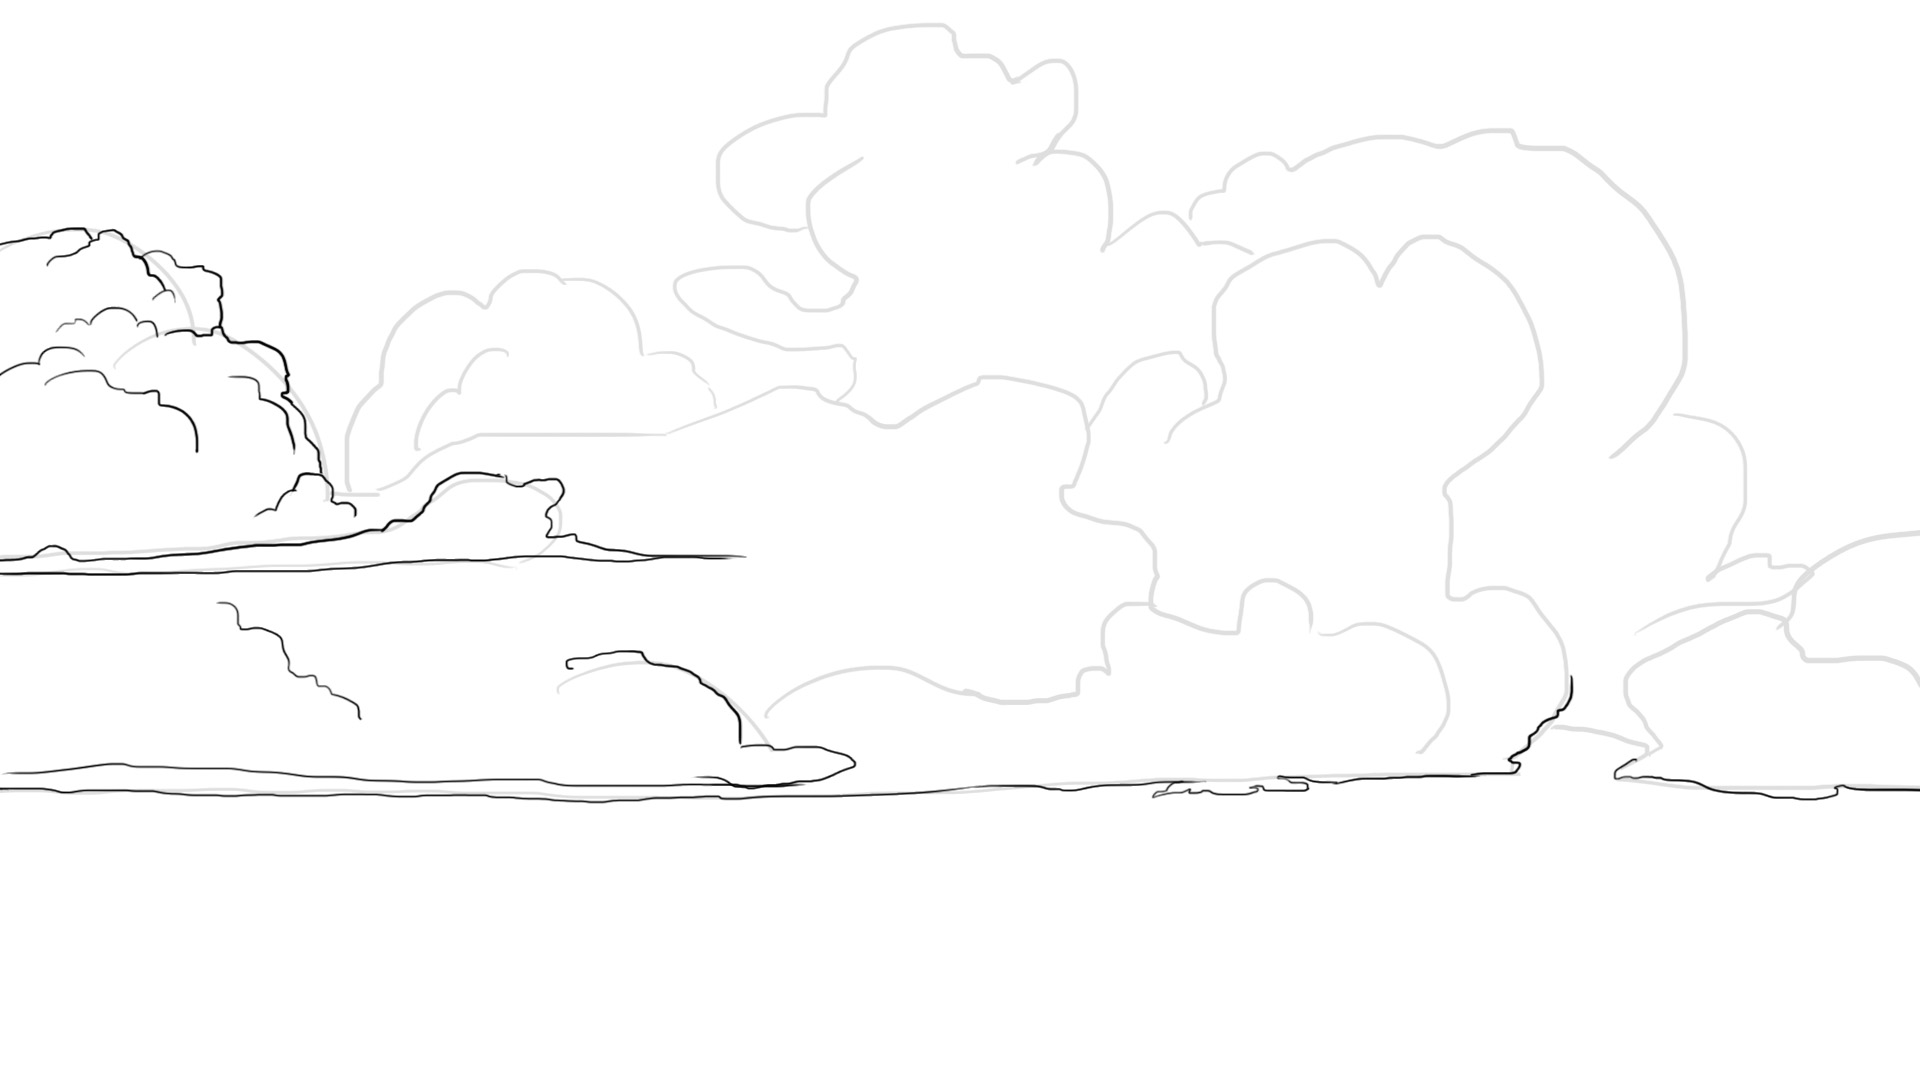
Then we start detailing (adding the fluffy effect). I'm not trying to faithfully reproduce the photo, but I often refer to it to see how the clouds are formed.
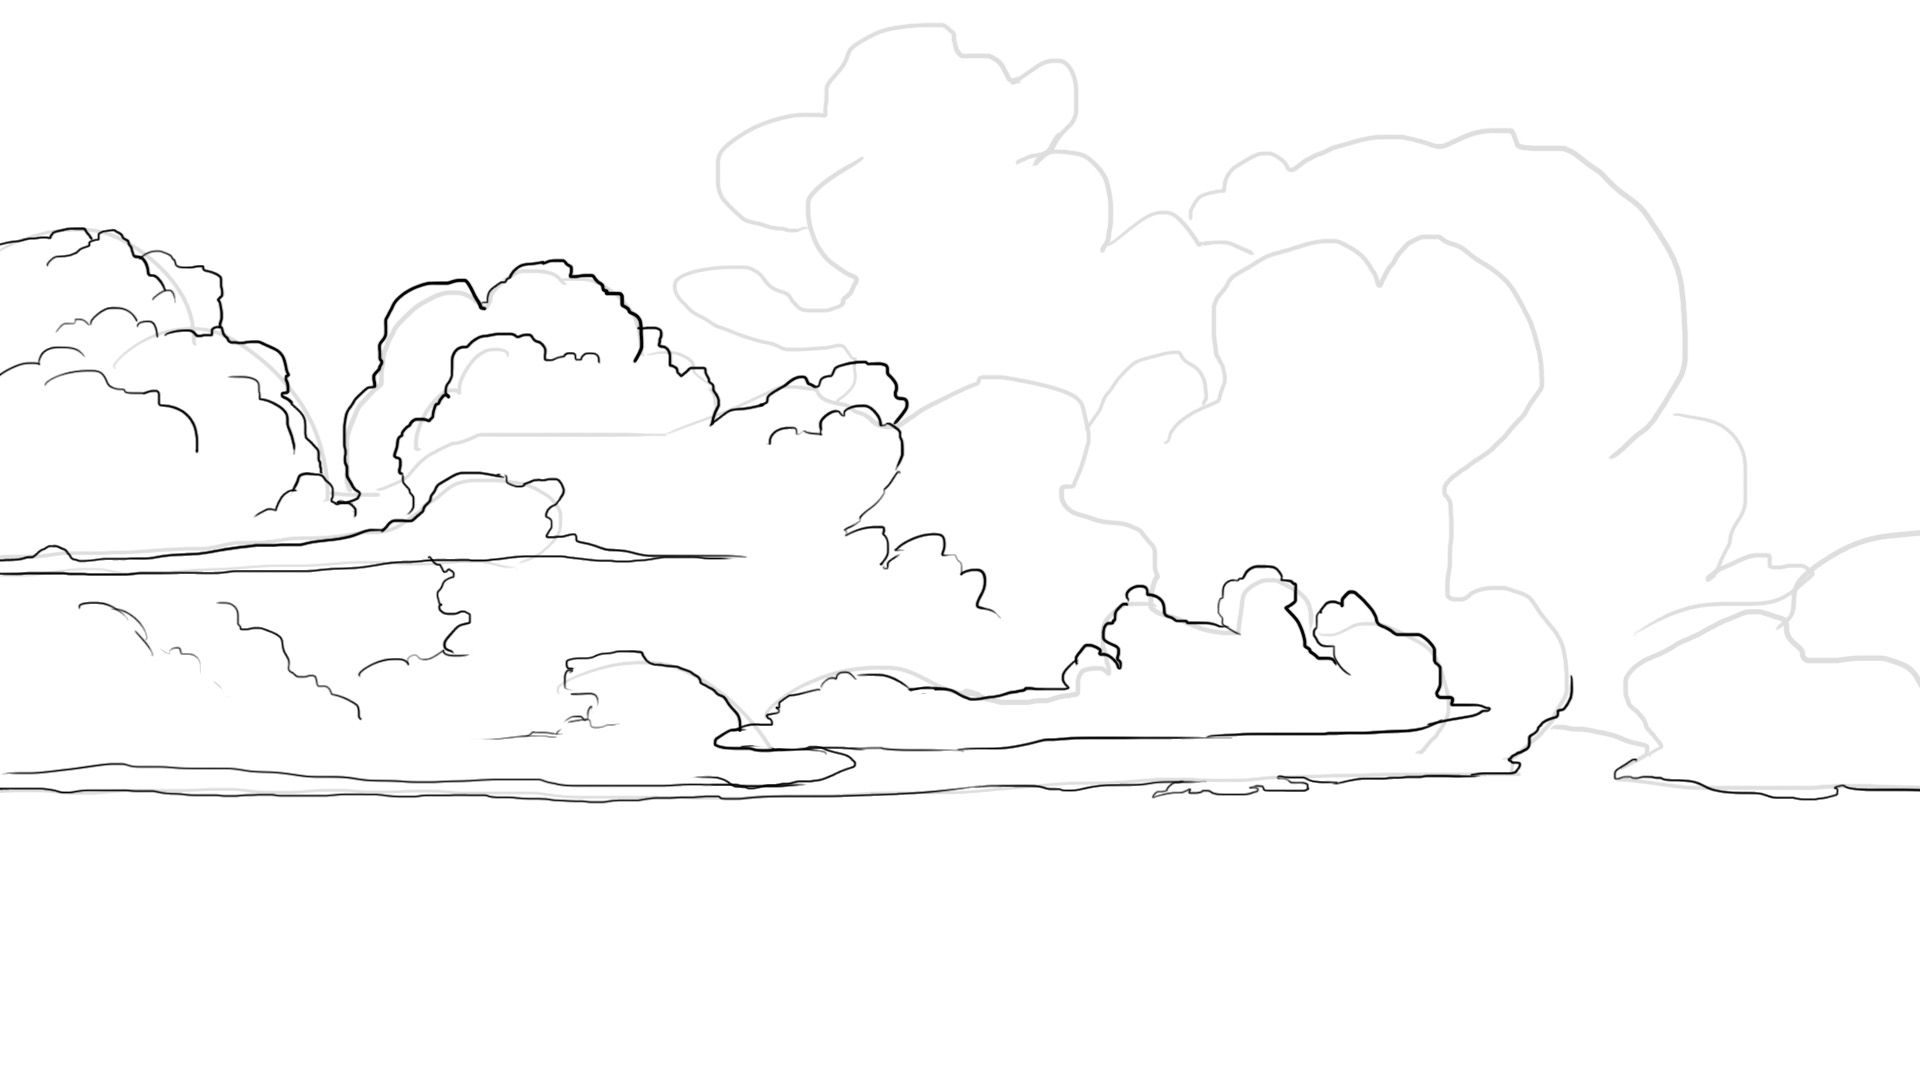
But you can also opt for something simpler and more illustrative, like this for example:
The goal is to always keep in mind the characteristics of clouds. A rather horizontal base and random, fluffy clumps on top. There is no exact science in this case. :)
ADDING COLOR TO THE DRAWING
This time, we're getting to the heart of the matter.
I will revisit the 3 examples I used for the drawing part.
COLORING THE LIGHT CLOUD DRAWING
Let's start with the sparse cloud. This one is quite simple. Let's begin by laying down our sky color. I'll choose a nice blue and slightly grade it for a more natural look.

On that note, we'll choose a light bluish tint, leaning towards gray. Since clouds are water vapor, they can be a whole lot of colors. The droplets reflect light, so they can appear gray, off-white, pinkish, violet, blue and a whole lot of other shades. That's why I recommend choosing a reference photo that roughly matches the colors you want to recreate.
Caution, for those using Photoshop: do not use the eyedropper tool to pick colors directly from the image. You will never learn to see colors if you don't make the effort to find them on your own.
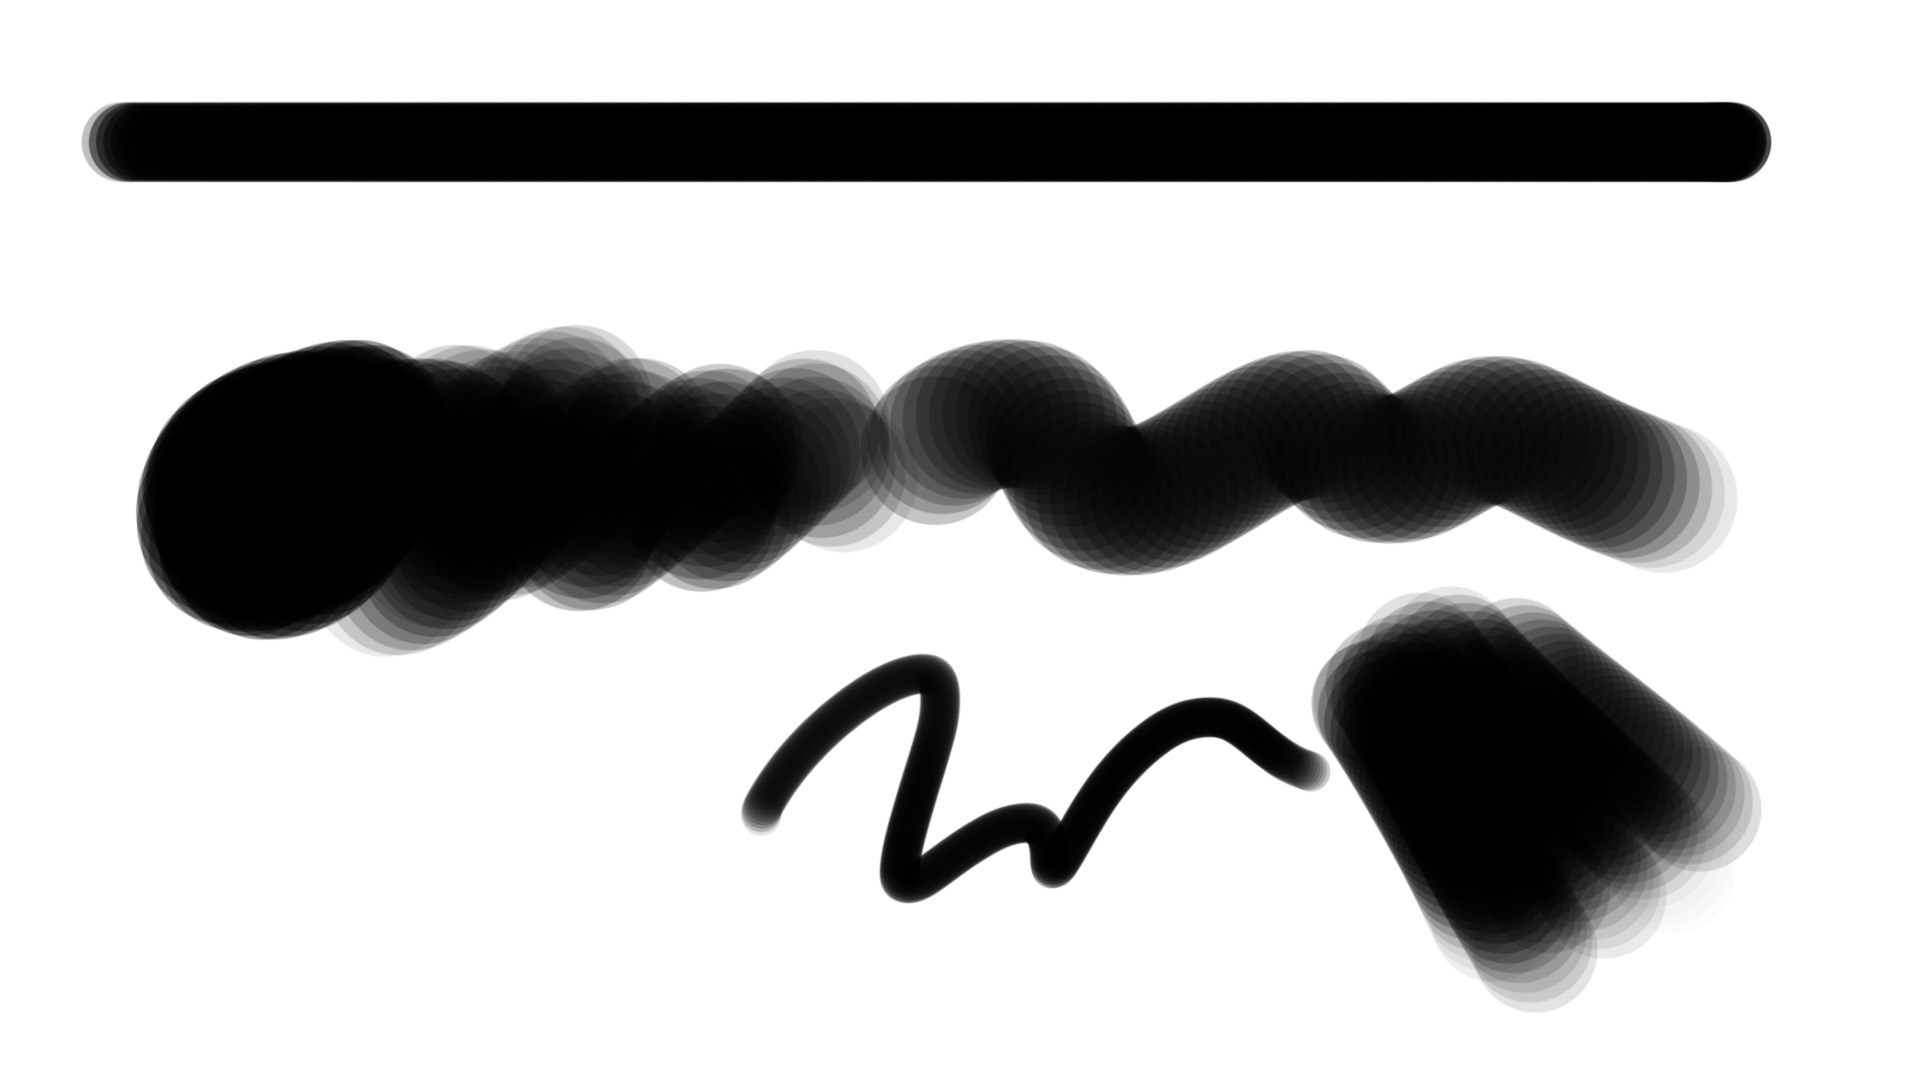
So, let's choose a somewhat gray shade and a relatively diffuse brush. You can choose another brush according to your preference, I'll leave that up to you ;) For this specific type of cloud, diffuse brushes are quite handy.
So, draw light streaks, varying the size of your brush and the spacing between them. With a smaller brush, we will detail some areas slightly to achieve a less soft and more realistic effect.

Once that base is set, choose either a lighter or darker shade than your base. For my part, I will choose a lighter shade to add the highlights. As always, choose the position of your light source and stick to it.
Your lights will be directed towards this source. This time, you will need to have a very light touch. Slightly degrade some areas and apply your brush more decisively on other spots.

We will now choose a color just a tiny bit darker than our base color (the difference should be very slight), in order to lightly grade some shadows.
And that’s it for this type of cloud!
THE DENSE COLORED CLOUD
Let's move to the dense cloud. I will start with a realistic rendering. You can reuse the line that we made previously as a base, we will erase it later (or not, as it turns out, I will ultimately decide to keep it because it adds a bit more structure to my drawing).
Moreover, I mentioned earlier that I advise you not to ink your clouds, but if you choose to do so, dense clouds are particularly suitable for that.
I'll quickly show you what the volumes of this type of cloud look like. Specifically, it’s like a cluster of small spheres. Keep that in mind when you paint ^^
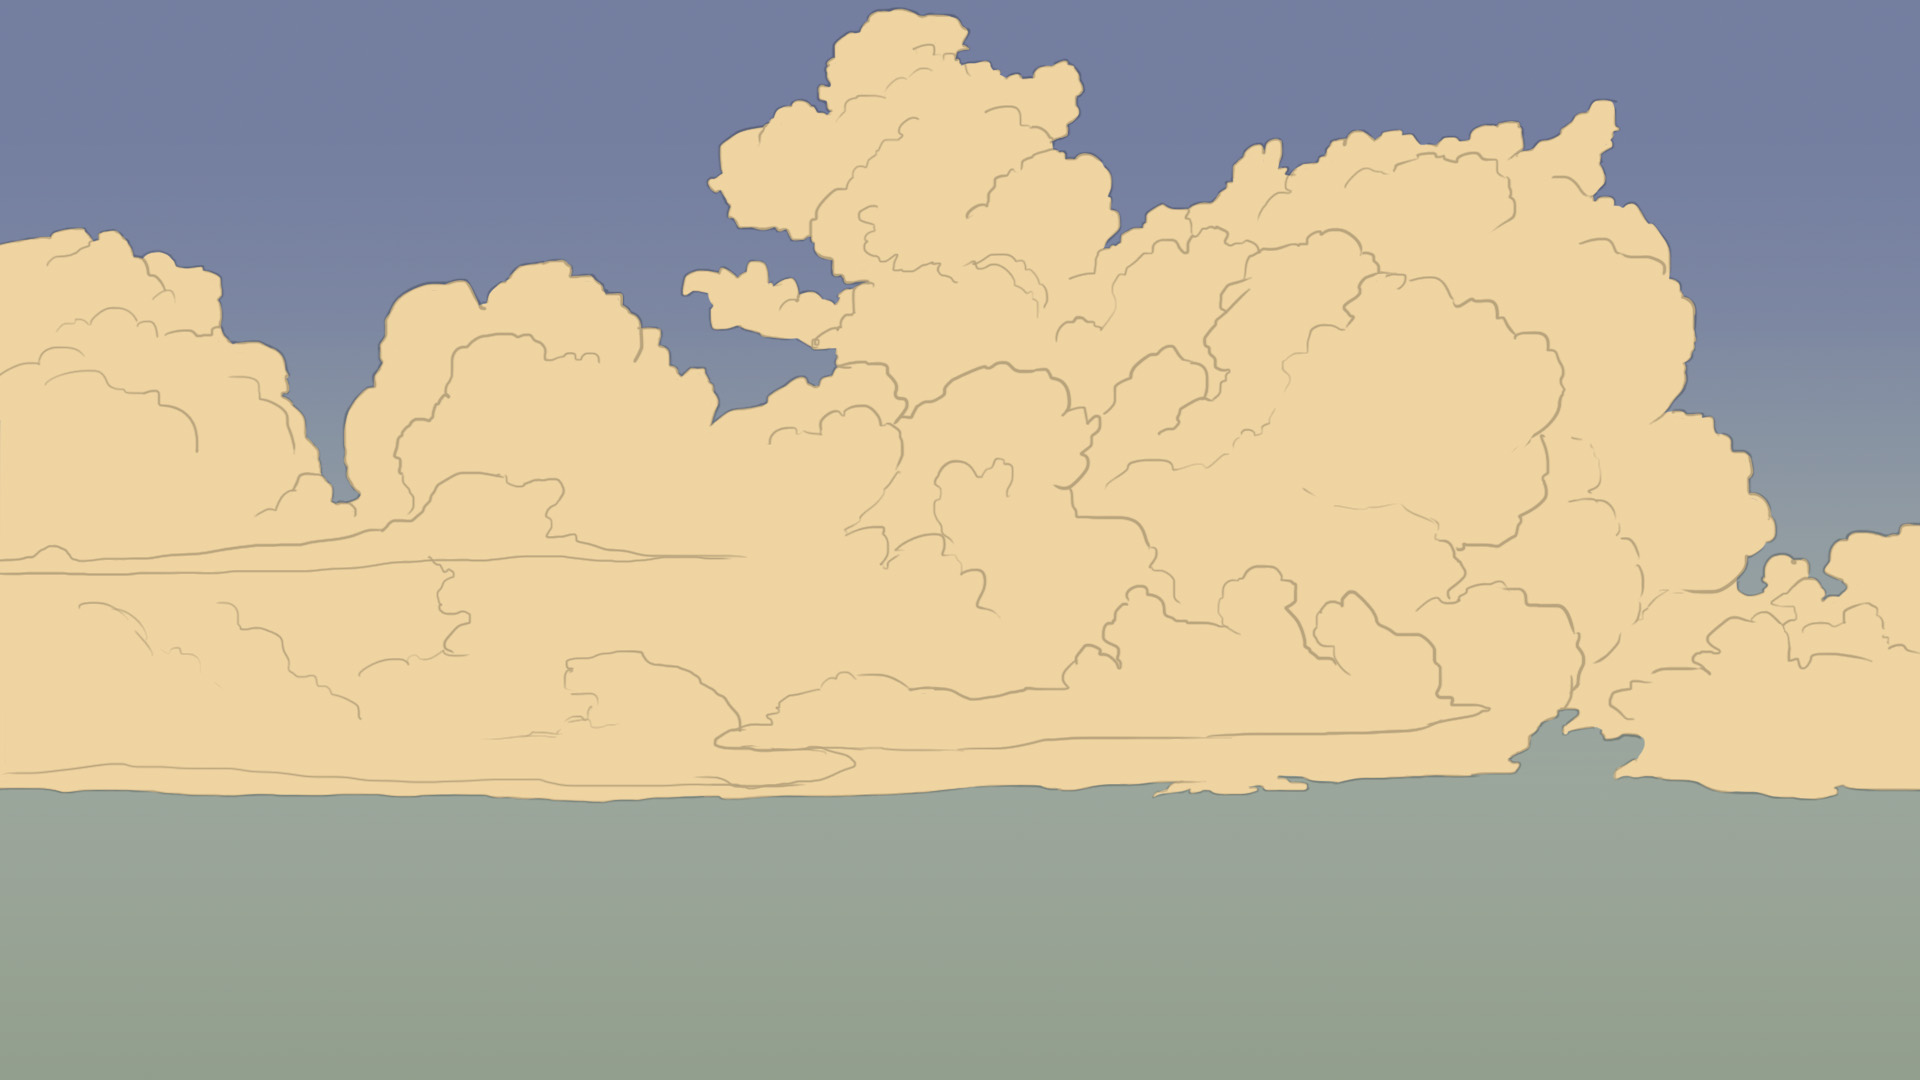
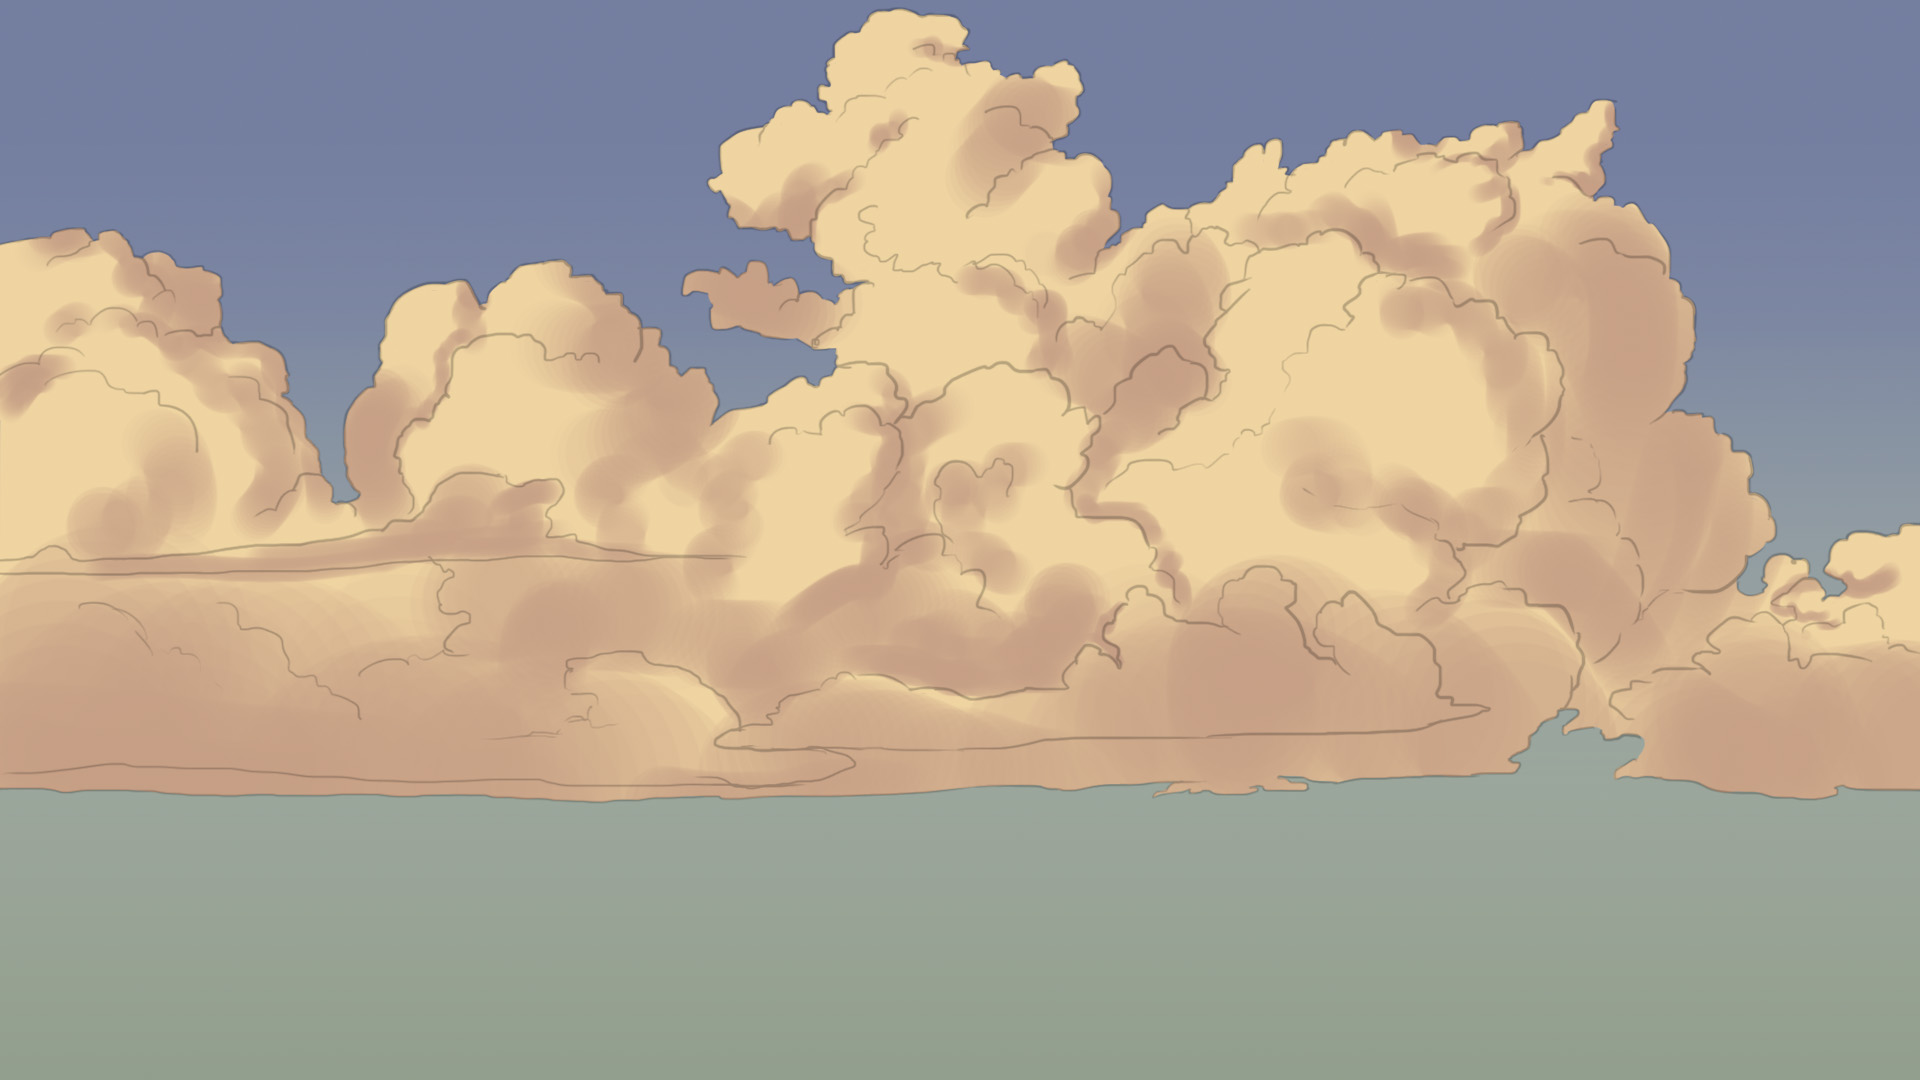
I start as before by painting the sky. Here my sky has pretty shades, blue-gray on top and a slightly green-gray beneath my cloud.
My cloud, in my opinion, has different colors: a very light color, close to off-white with yellow hues. A shade slightly darker leaning more towards yellow/orange. An even darker shade leaning towards something more pinkish/violet.
And a really dark shade closer to a blue/ green gray. These are the colors that I see. It's possible that you perceive them differently. Follow what your eyes show you :D
I'll start with shade No. 02. For this cloud, I can use a much sharper brush. My cloud stands out clearly against the sky, so it's much more appropriate. I really like working with brushes that aren't completely opaque, where the amount of color varies depending on the pressure I apply to my stylus. It's very useful :D
So, I start with a completely opaque shape, just to have my base set and clear.
SHADOWS AND LIGHT IN DRAWING
Once this step is done, I take the slightly darker color and in the same way, I begin to apply my shadows. As always, keep in mind the position of your light. Again, I vary how hard I press down, which naturally creates patterns in my cloud.
Always make circular or very soft and light gestures so as not to break the fluffy spirit of the cloud. No thick straight lines, no hatching; we are dealing with something very cotton-like, it must feel that way.
Once you feel satisfied, we will add the touches of light! Here, they will allow us to establish the position of the light, but also to separate our planes from each other.
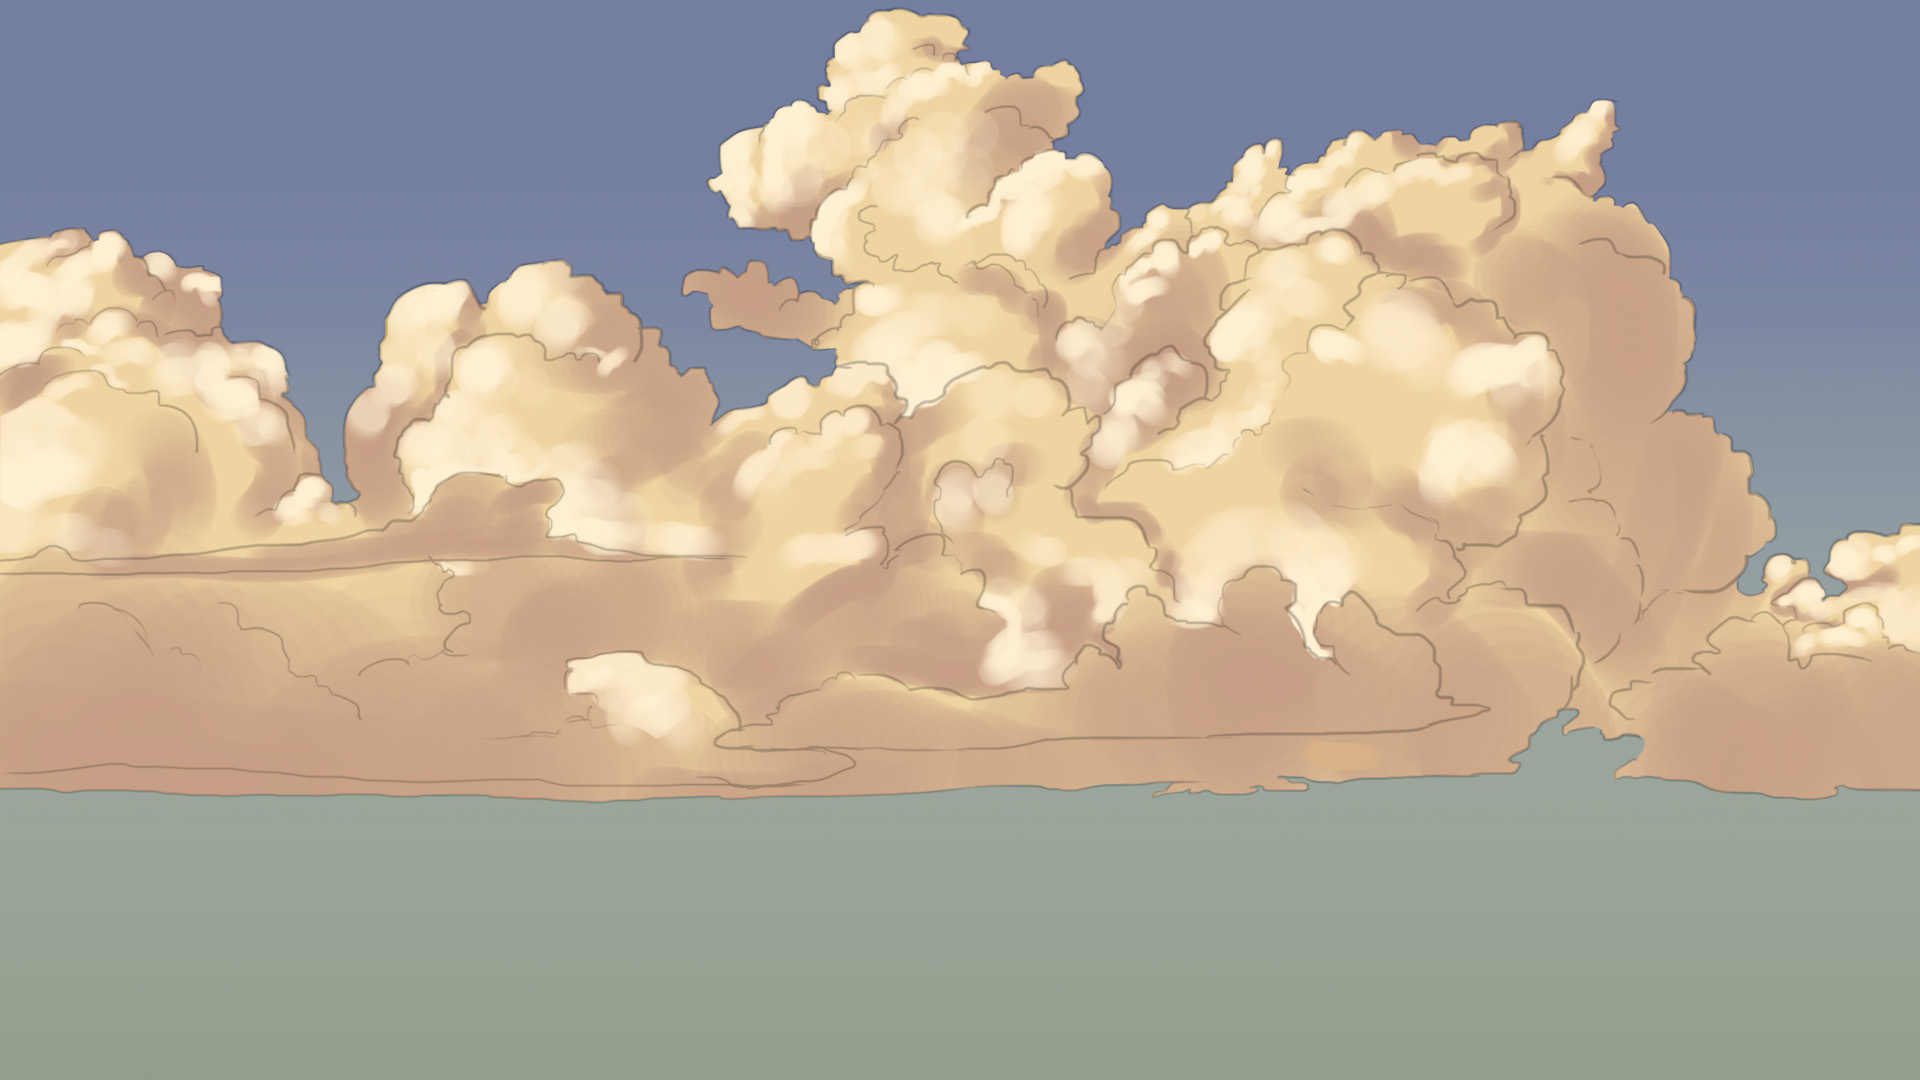
The touches of light are diffused to varying degrees, so do feel free to vary the size of your brush to paint large areas while playing on the pressure of your stylus, or on the contrary, to carve out the shape of a slightly darker cloud in the foreground.
We will then take our darkest shade to give more depth to the cloud.
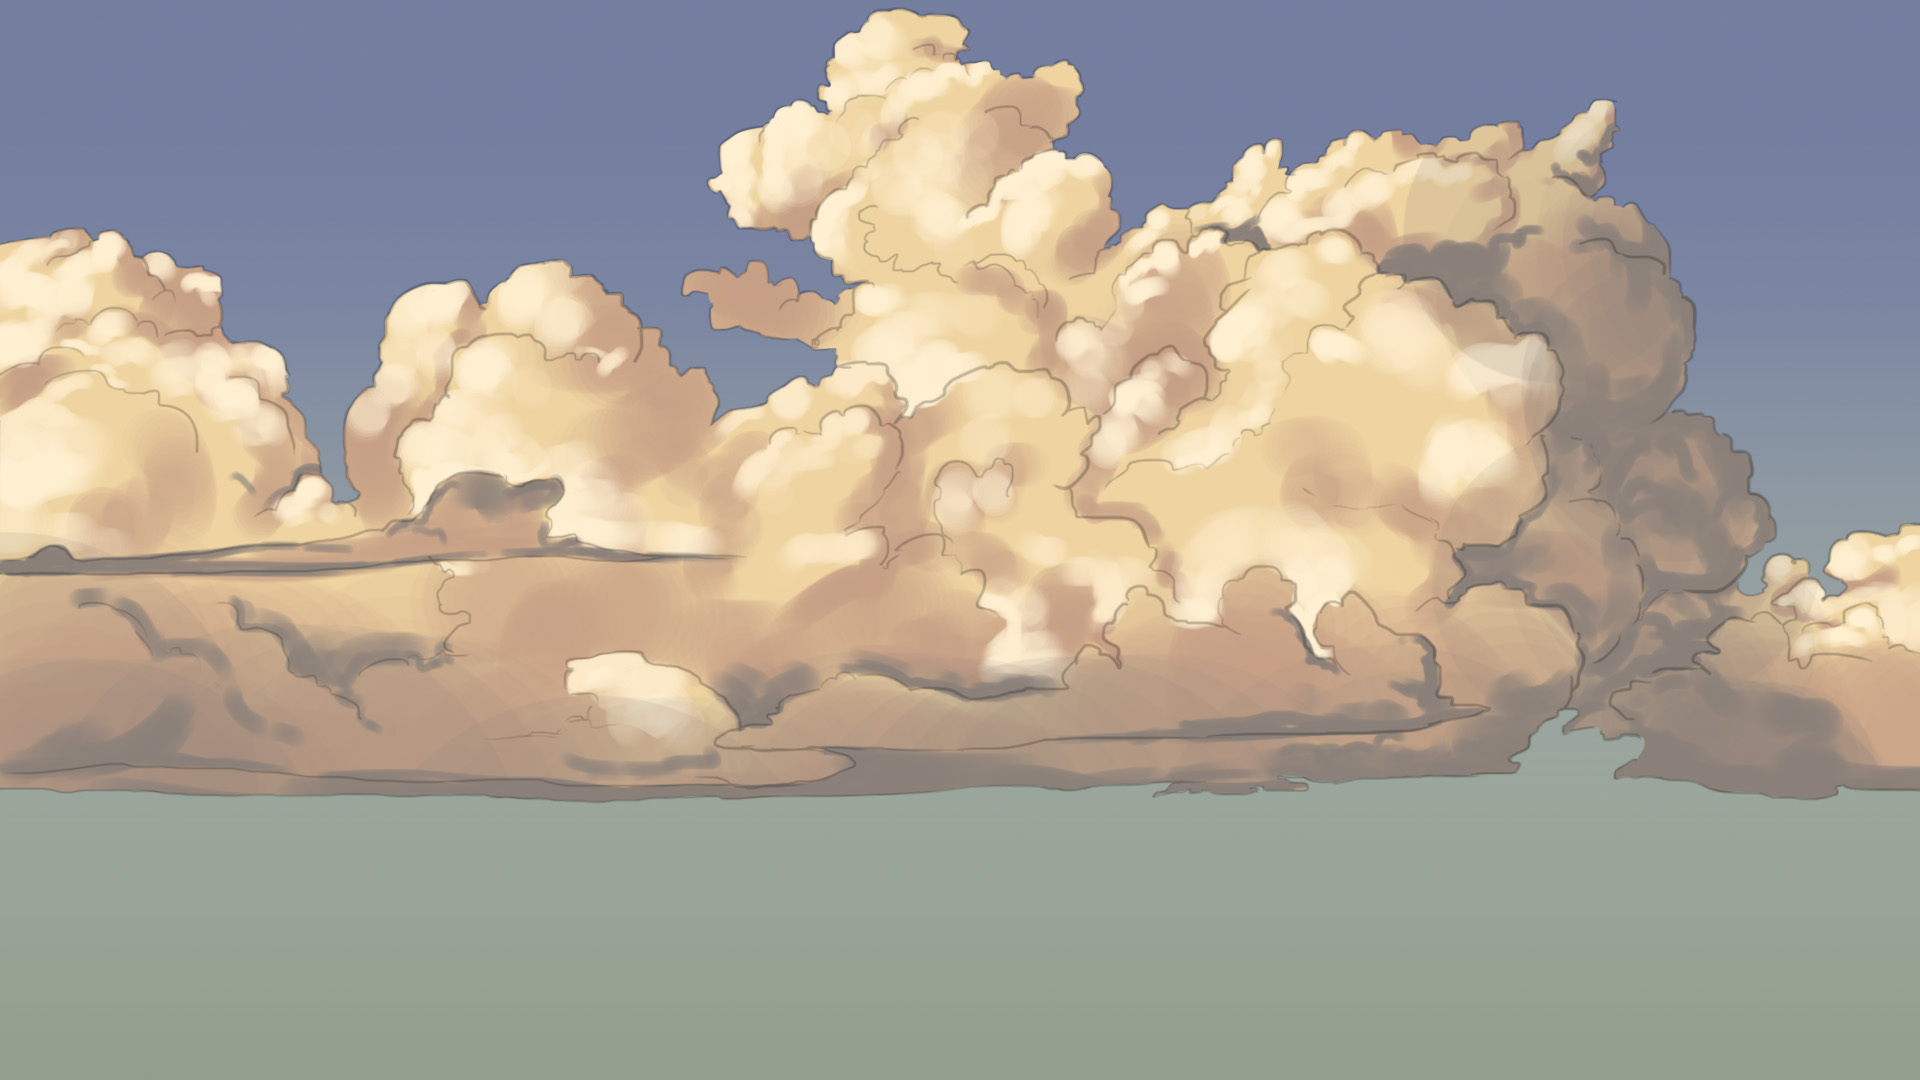
Now that we have our base, we can delve into the details and create nicer transitions. Fade some areas, create new fluffy patterns here and there to make your cloud more realistic. You can use colors already used or the gradients you’ve achieved to detail certain areas.
In the end, you'll end up with something like this. (Don't forget to remove your initial sketch if you had one, and if you wish, for my part, I left the line art at very light opacity).

Pretty nice, right? Clouds can have a real impact on the sky in your illustrations, which is why working on them can make all the difference.
DRAWING A STYLIZED COLORED CLOUD
Alright, one last example with the same clouds as before, but stylized this time. The colors are generally the same, it’s the working method that has changed here. The shapes have been simplified, and I've left the inking (the one I showed as an example in the drawing section, the stylized version ^^) which I switched to "overlay" mode so that it is less prominent.

You get a different but no less interesting result in the end. Have fun looking at how clouds are made in illustrations and animated films. Those in Mulan or Hercules are very stylized.
Those in animations are as well, even if less "illustrative", so to speak. You can be very free with these kinds of elements, so do not hesitate to try lots of things and see what best fits the rest of your style. So that everything you draw works together harmoniously :)
The choice of your colors is, I believe, one of the key elements in addition to understanding the volume of your clouds. So, pay particular attention to these two elements.
Think softness, think light, think color! You can style clouds in many ways and easily adapt them to your style. If the volumes are understood and the colors are consistent, it will work very well :D
Popular Articles

Discussion
Thank you for these very useful explanations