How to Draw Hair
If you draw characters, you have definitely wanted to draw hair. Personally, it’s one of my favorite areas. It’s not very difficult initially, there are only three elements to consider.
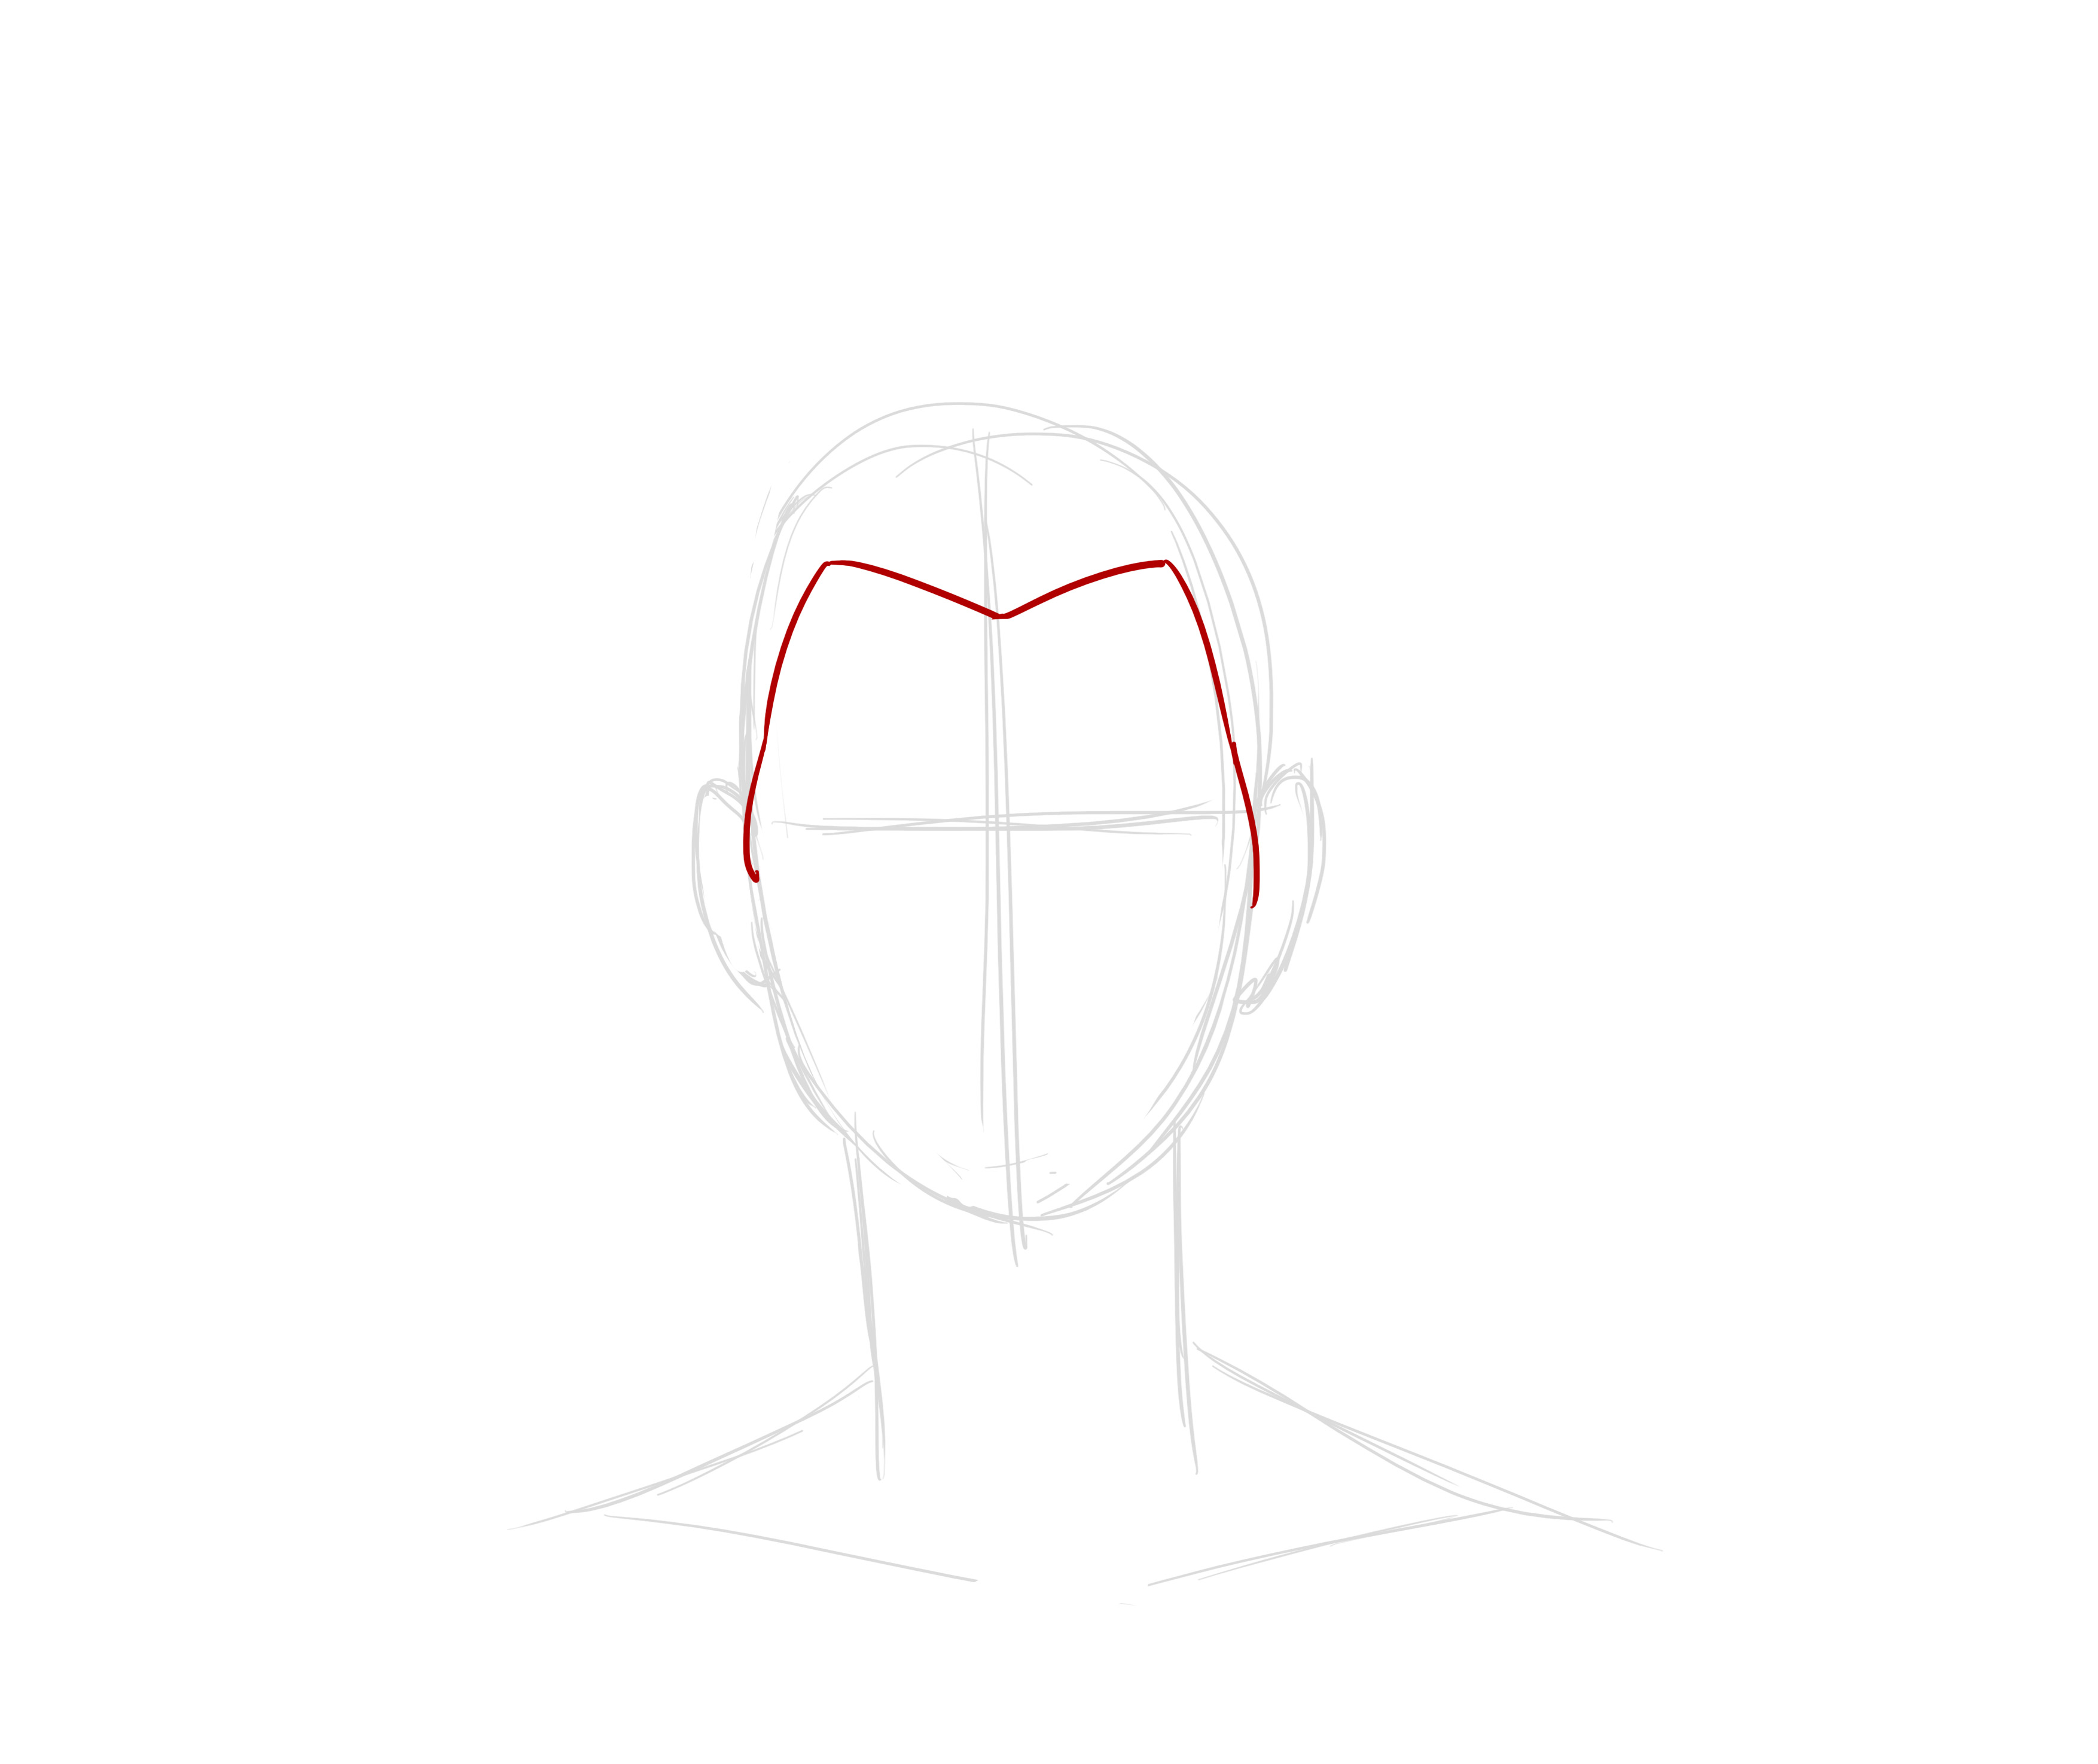
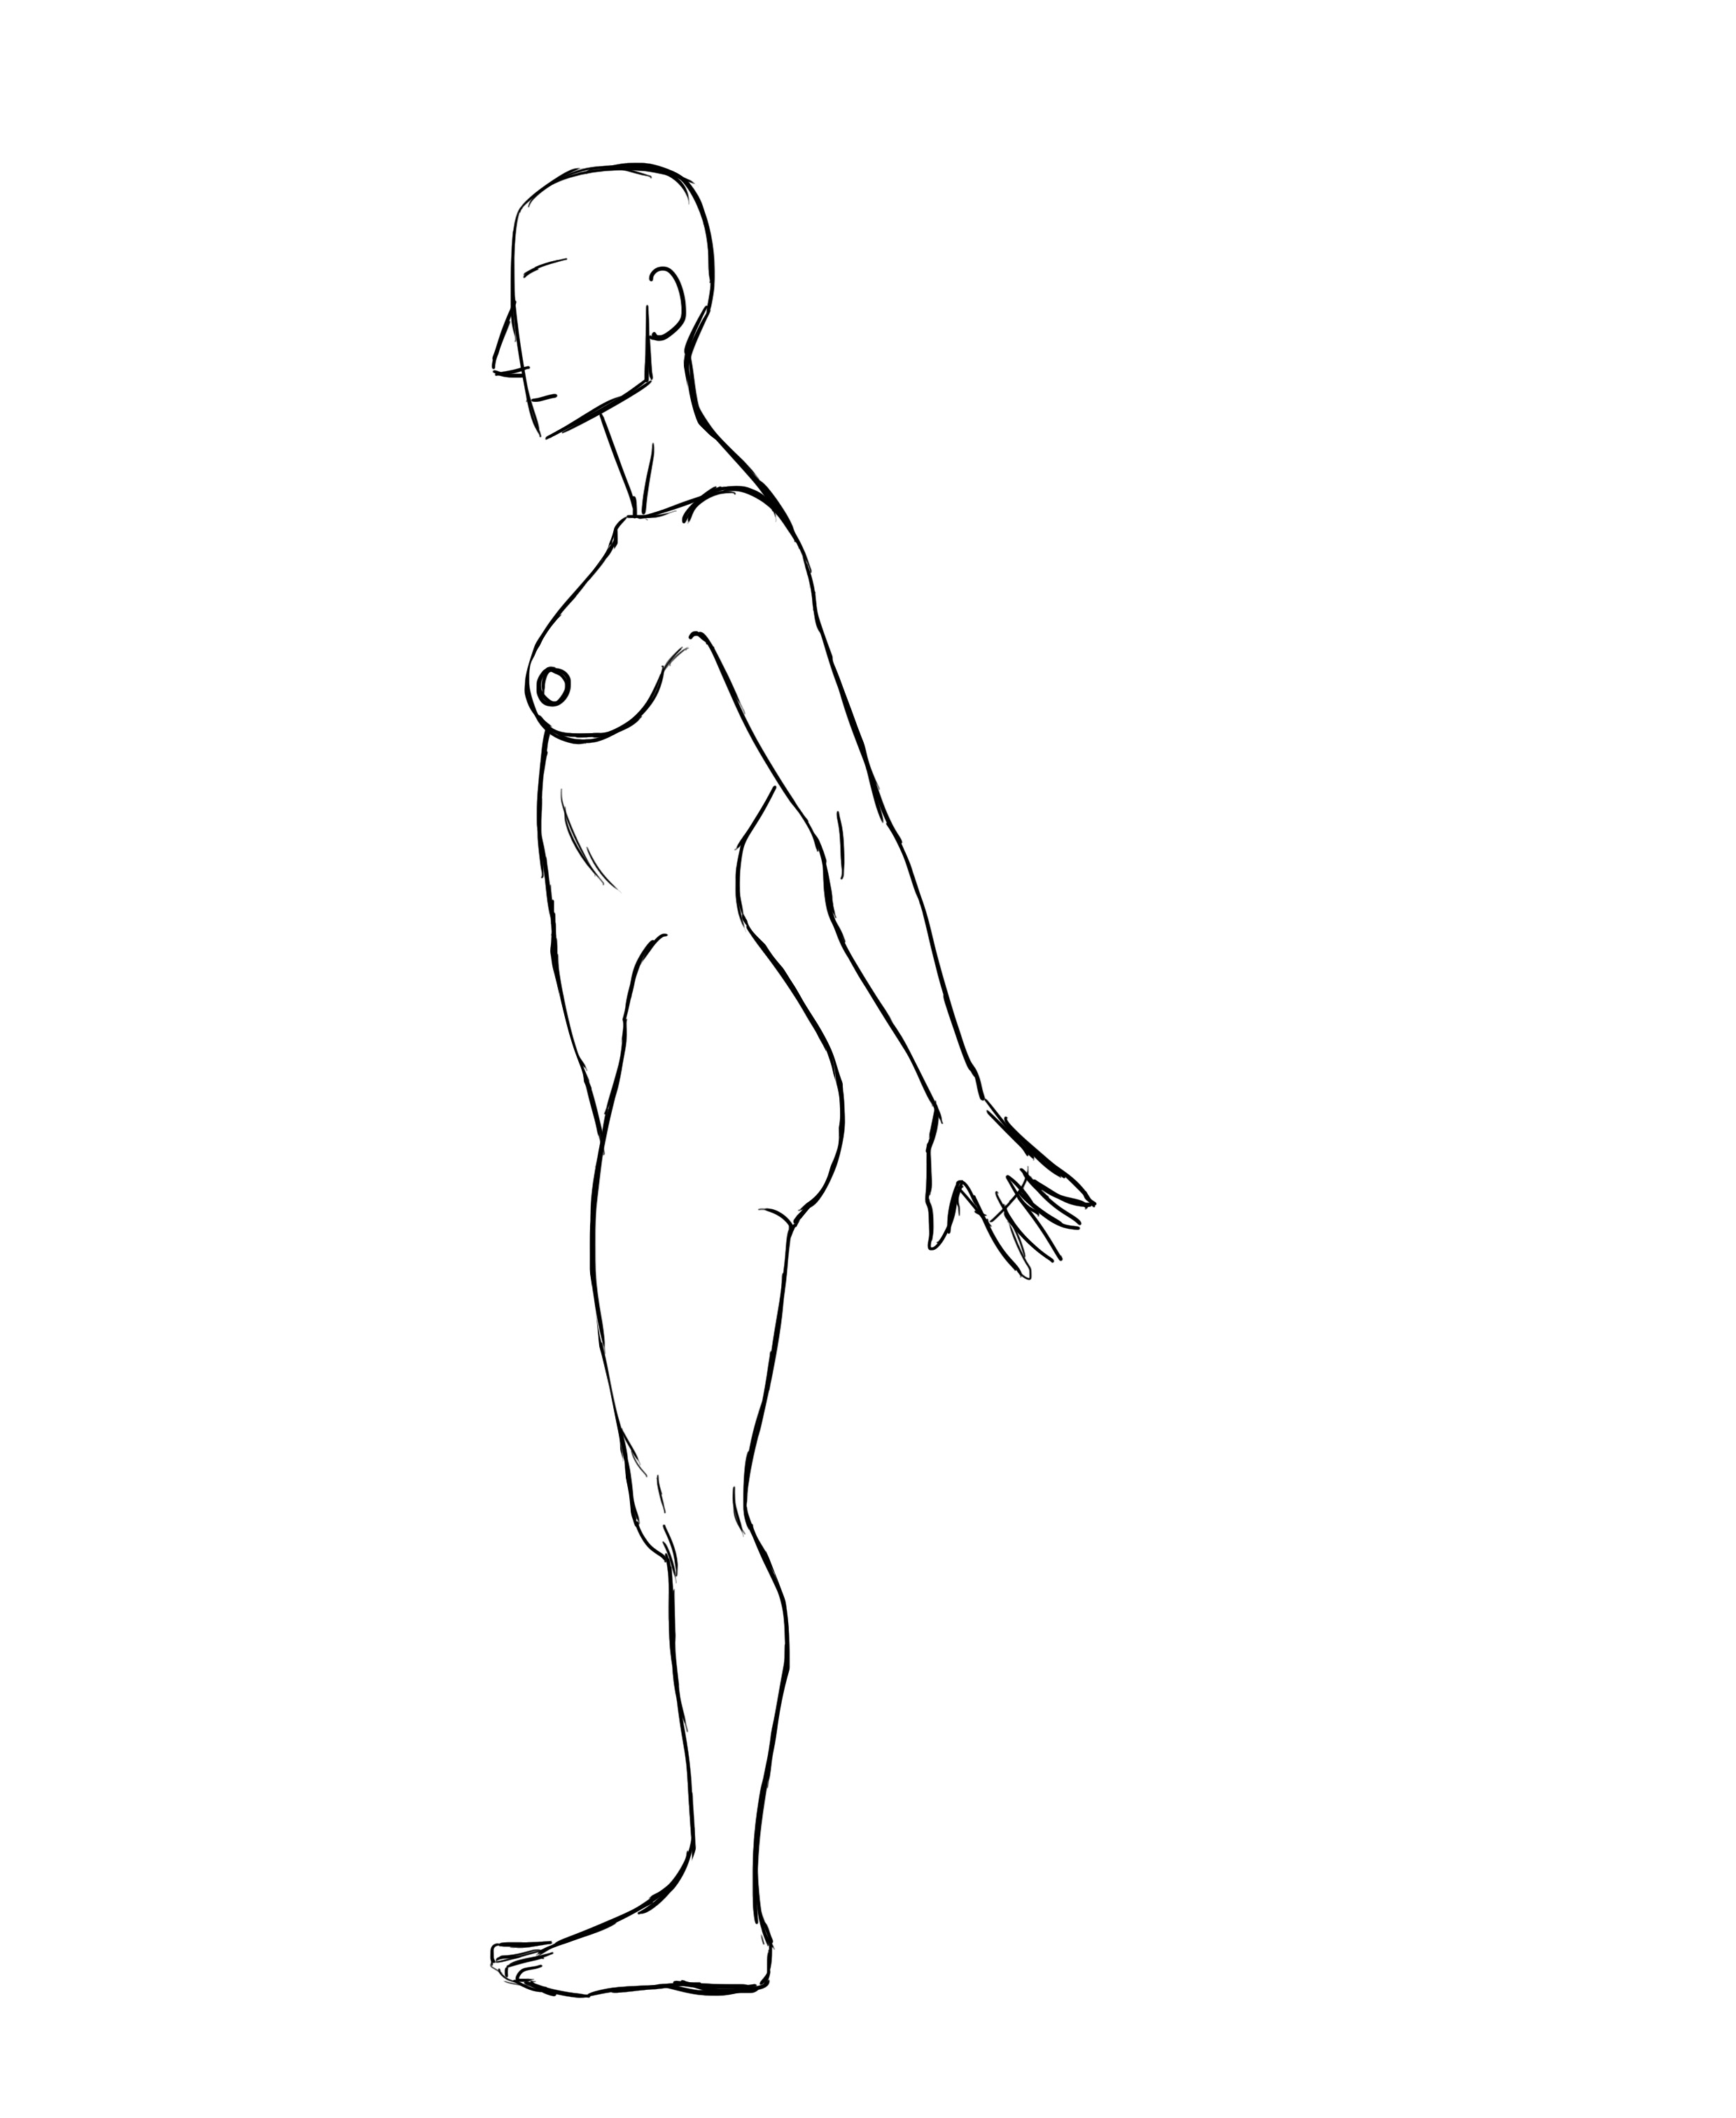
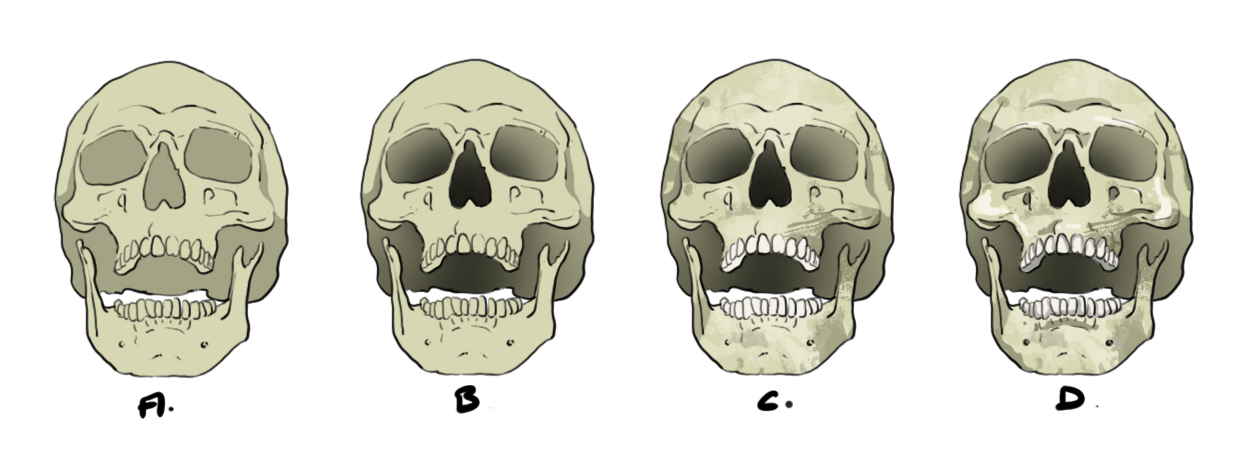
DRAWING THE HAIRLINE
This is the area of the skull where hair grows. Its shape and size vary among individuals and with age. The parts that vary the most are the area above the forehead and the pattern of the nape of the neck.
Here are some examples. Note that the coverage area can vary in size, meaning you may need to leave more or less space on the forehead and around the nape of the neck, etc.

DRAWING DIFFERENT TYPES OF HAIR
Once we have chosen a hairline we like, we still need to choose the type of hair: straight, wavy, curly or kinky.
Each one has particular characteristics. Hair, whatever its nature, starts from the skull and then falls (some quicker than others) due to gravity exerted by the ground.
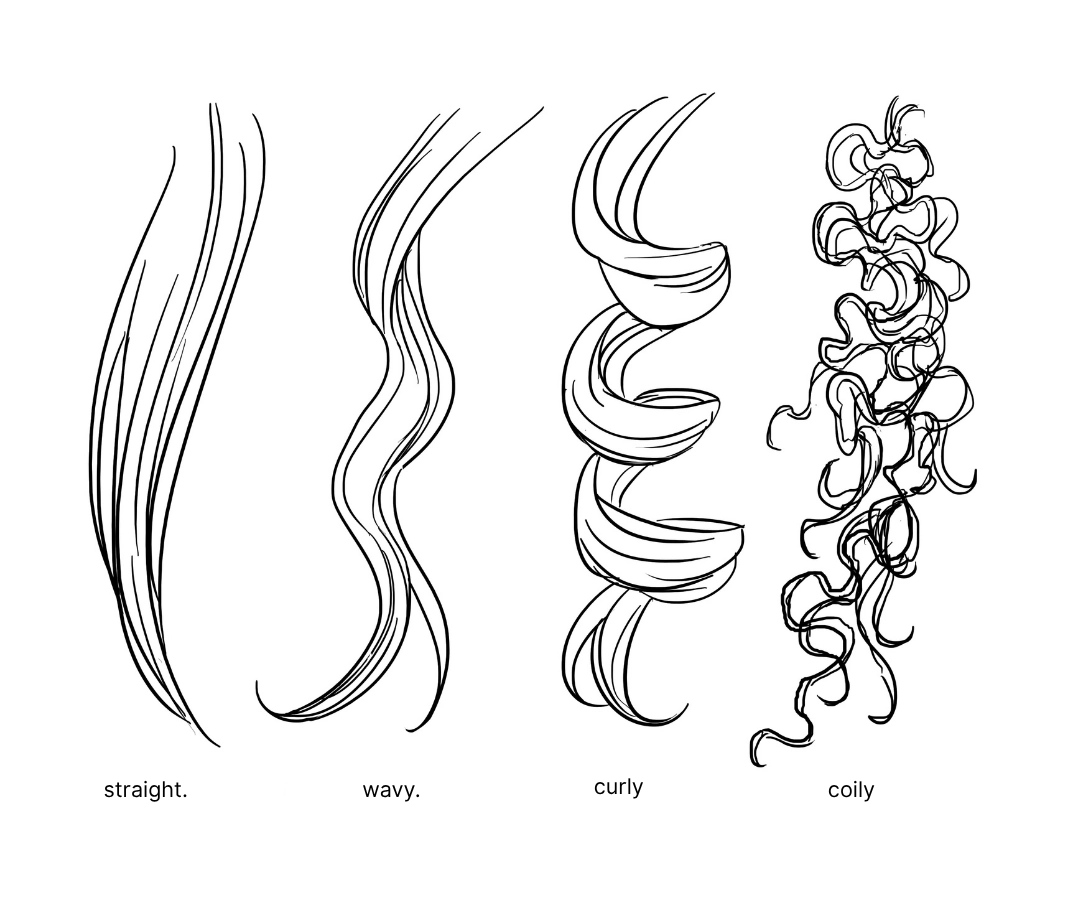
The easiest to draw in my opinion are straight and curly hair.
HAIR LENGTH
The last important parameter is hair length. Long or short hair does not react the same way. For example, curly or wavy hair is more voluminous and lighter when short.
Even for straight hair, you have probably noticed that it is easier to style it up on the head when it is short to create a little tousled effect because it is much less heavy.
Similarly, hair grows straight out of the scalp and curves as it becomes longer and heavier (somewhat like a tree branch that gradually bends under the weight of its foliage, if you will).
Now that we know all that, we can really start drawing!
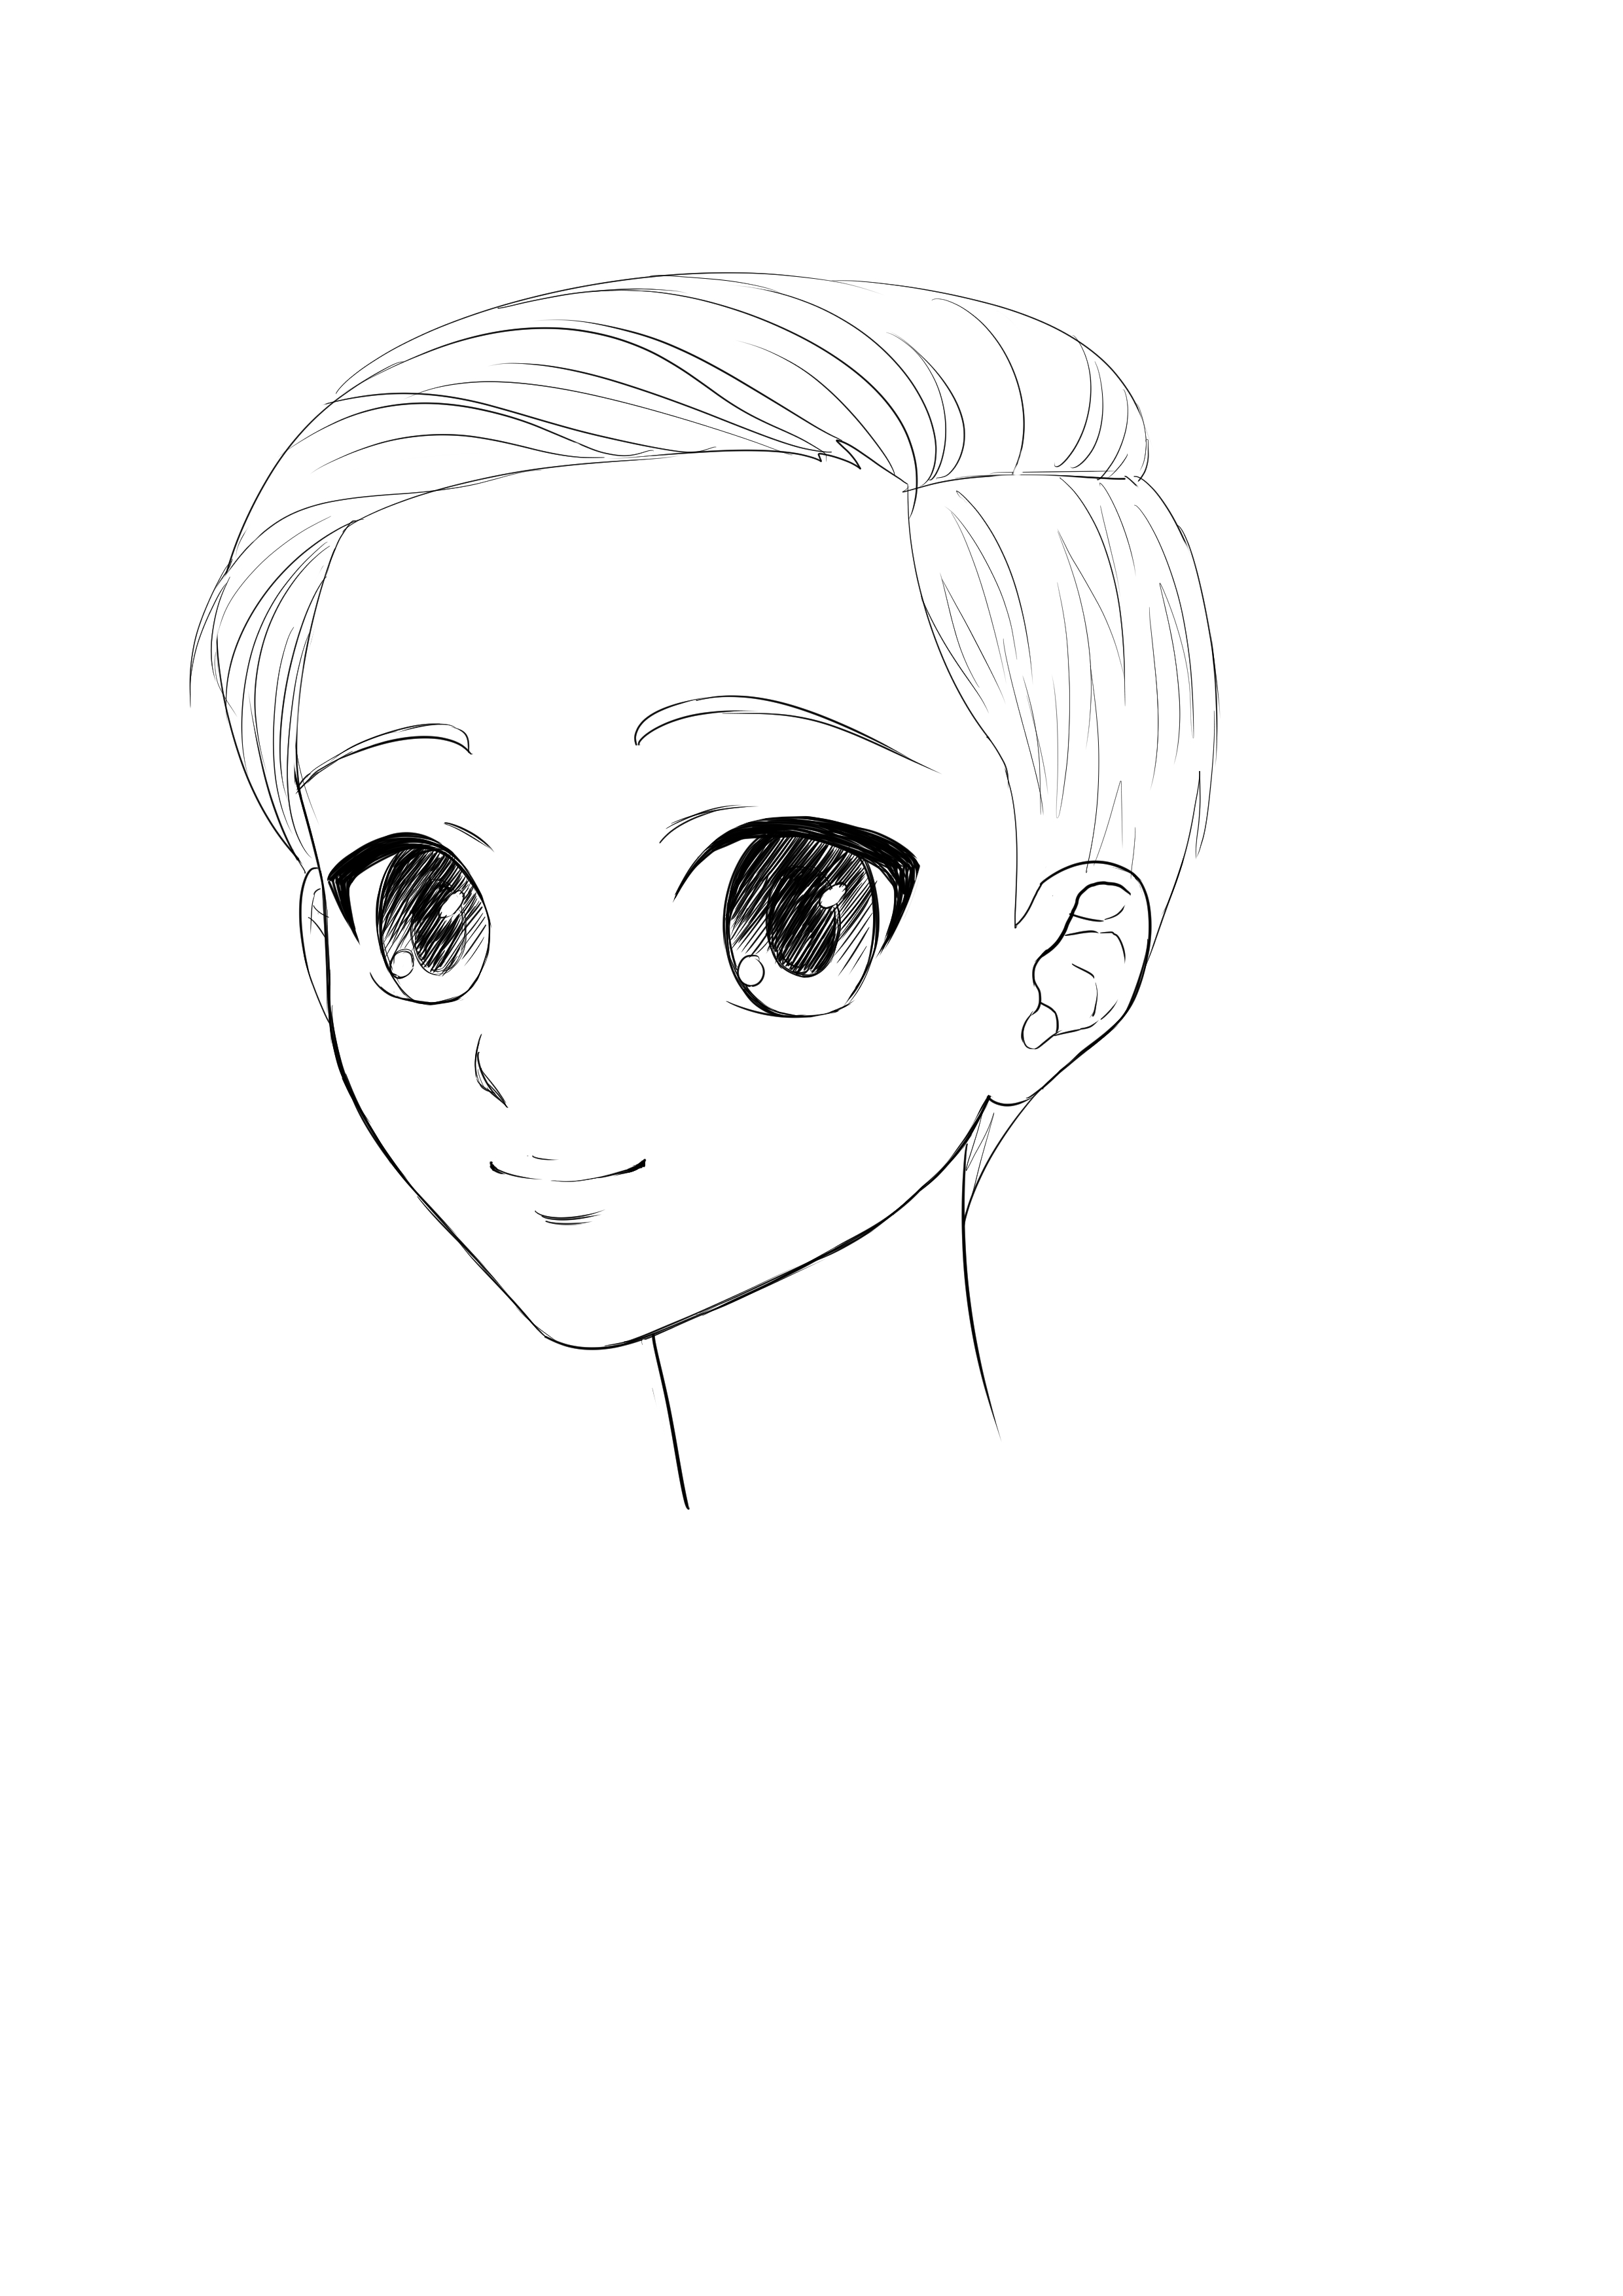
I will show you step by step how to draw three different hairstyles with different hair textures. A long, smooth style with bangs. A short, curly style with a side parting. A medium-length, kinky cut. We are not going to deal with drawing the woman's face in this article, if you want to complement your gorgeous hairstyle with a beautiful face, I recommend checking out the article available on our blog! ;)
DRAWING LONG, STRAIGHT HAIR
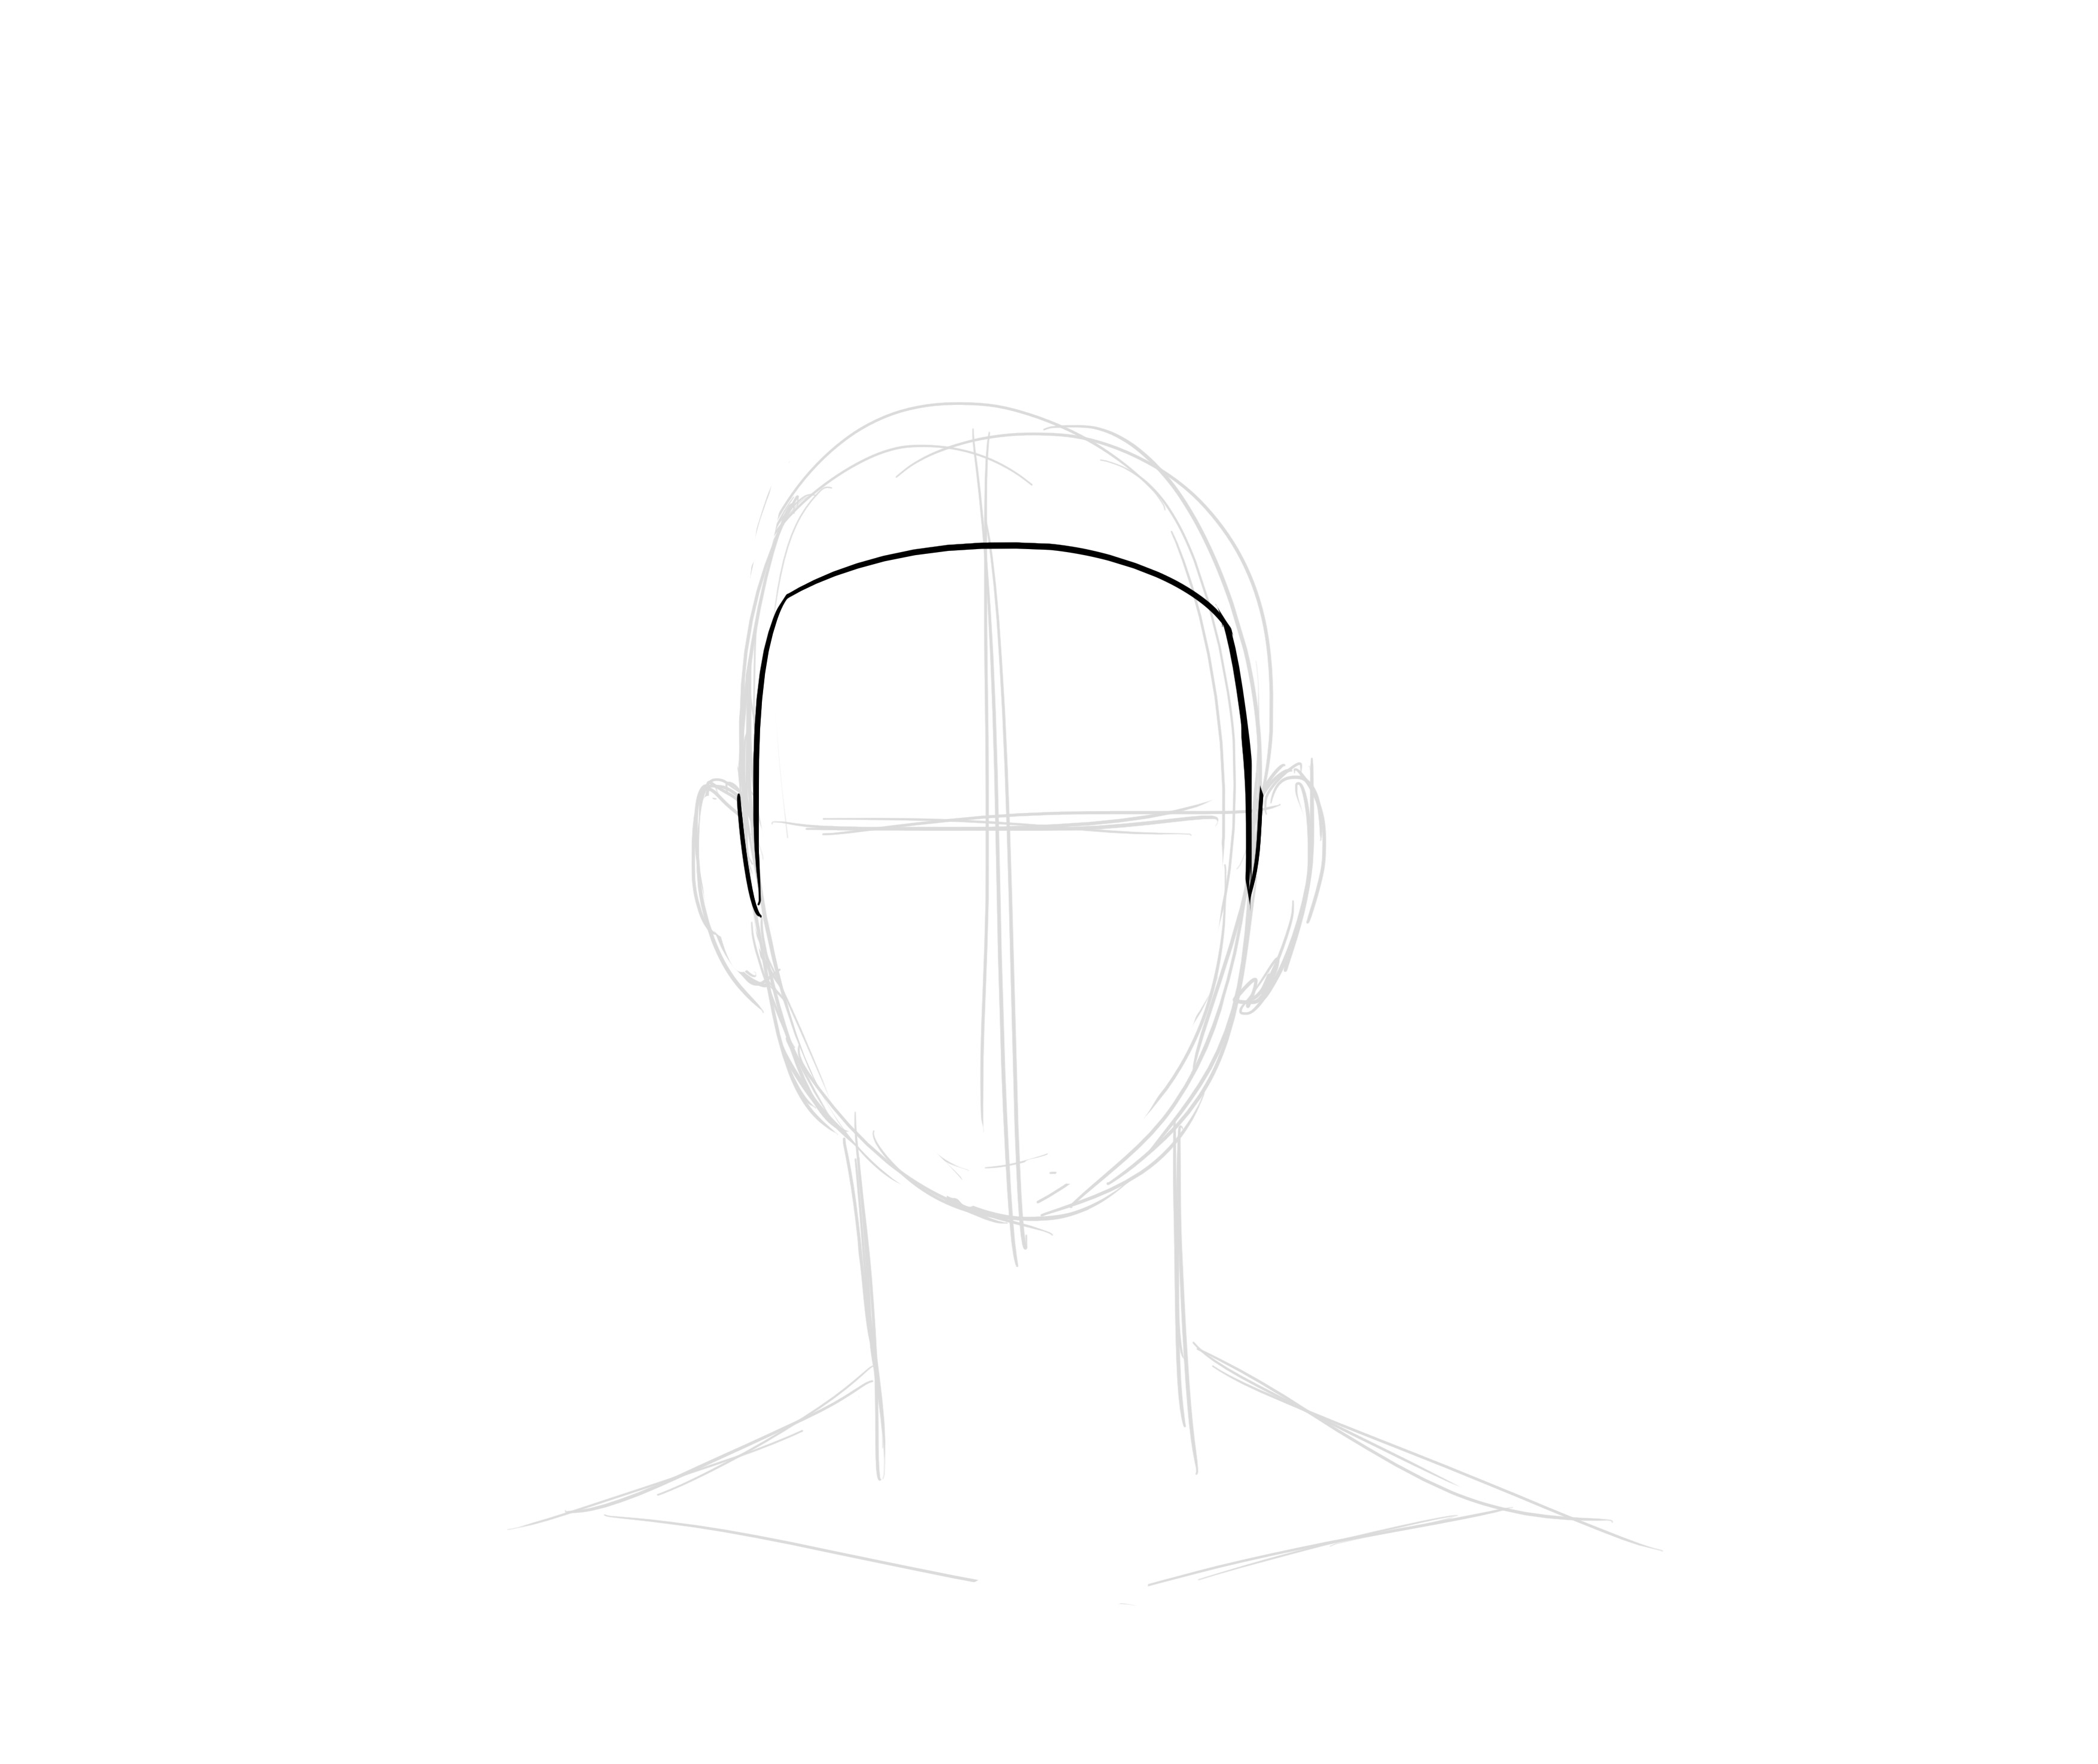
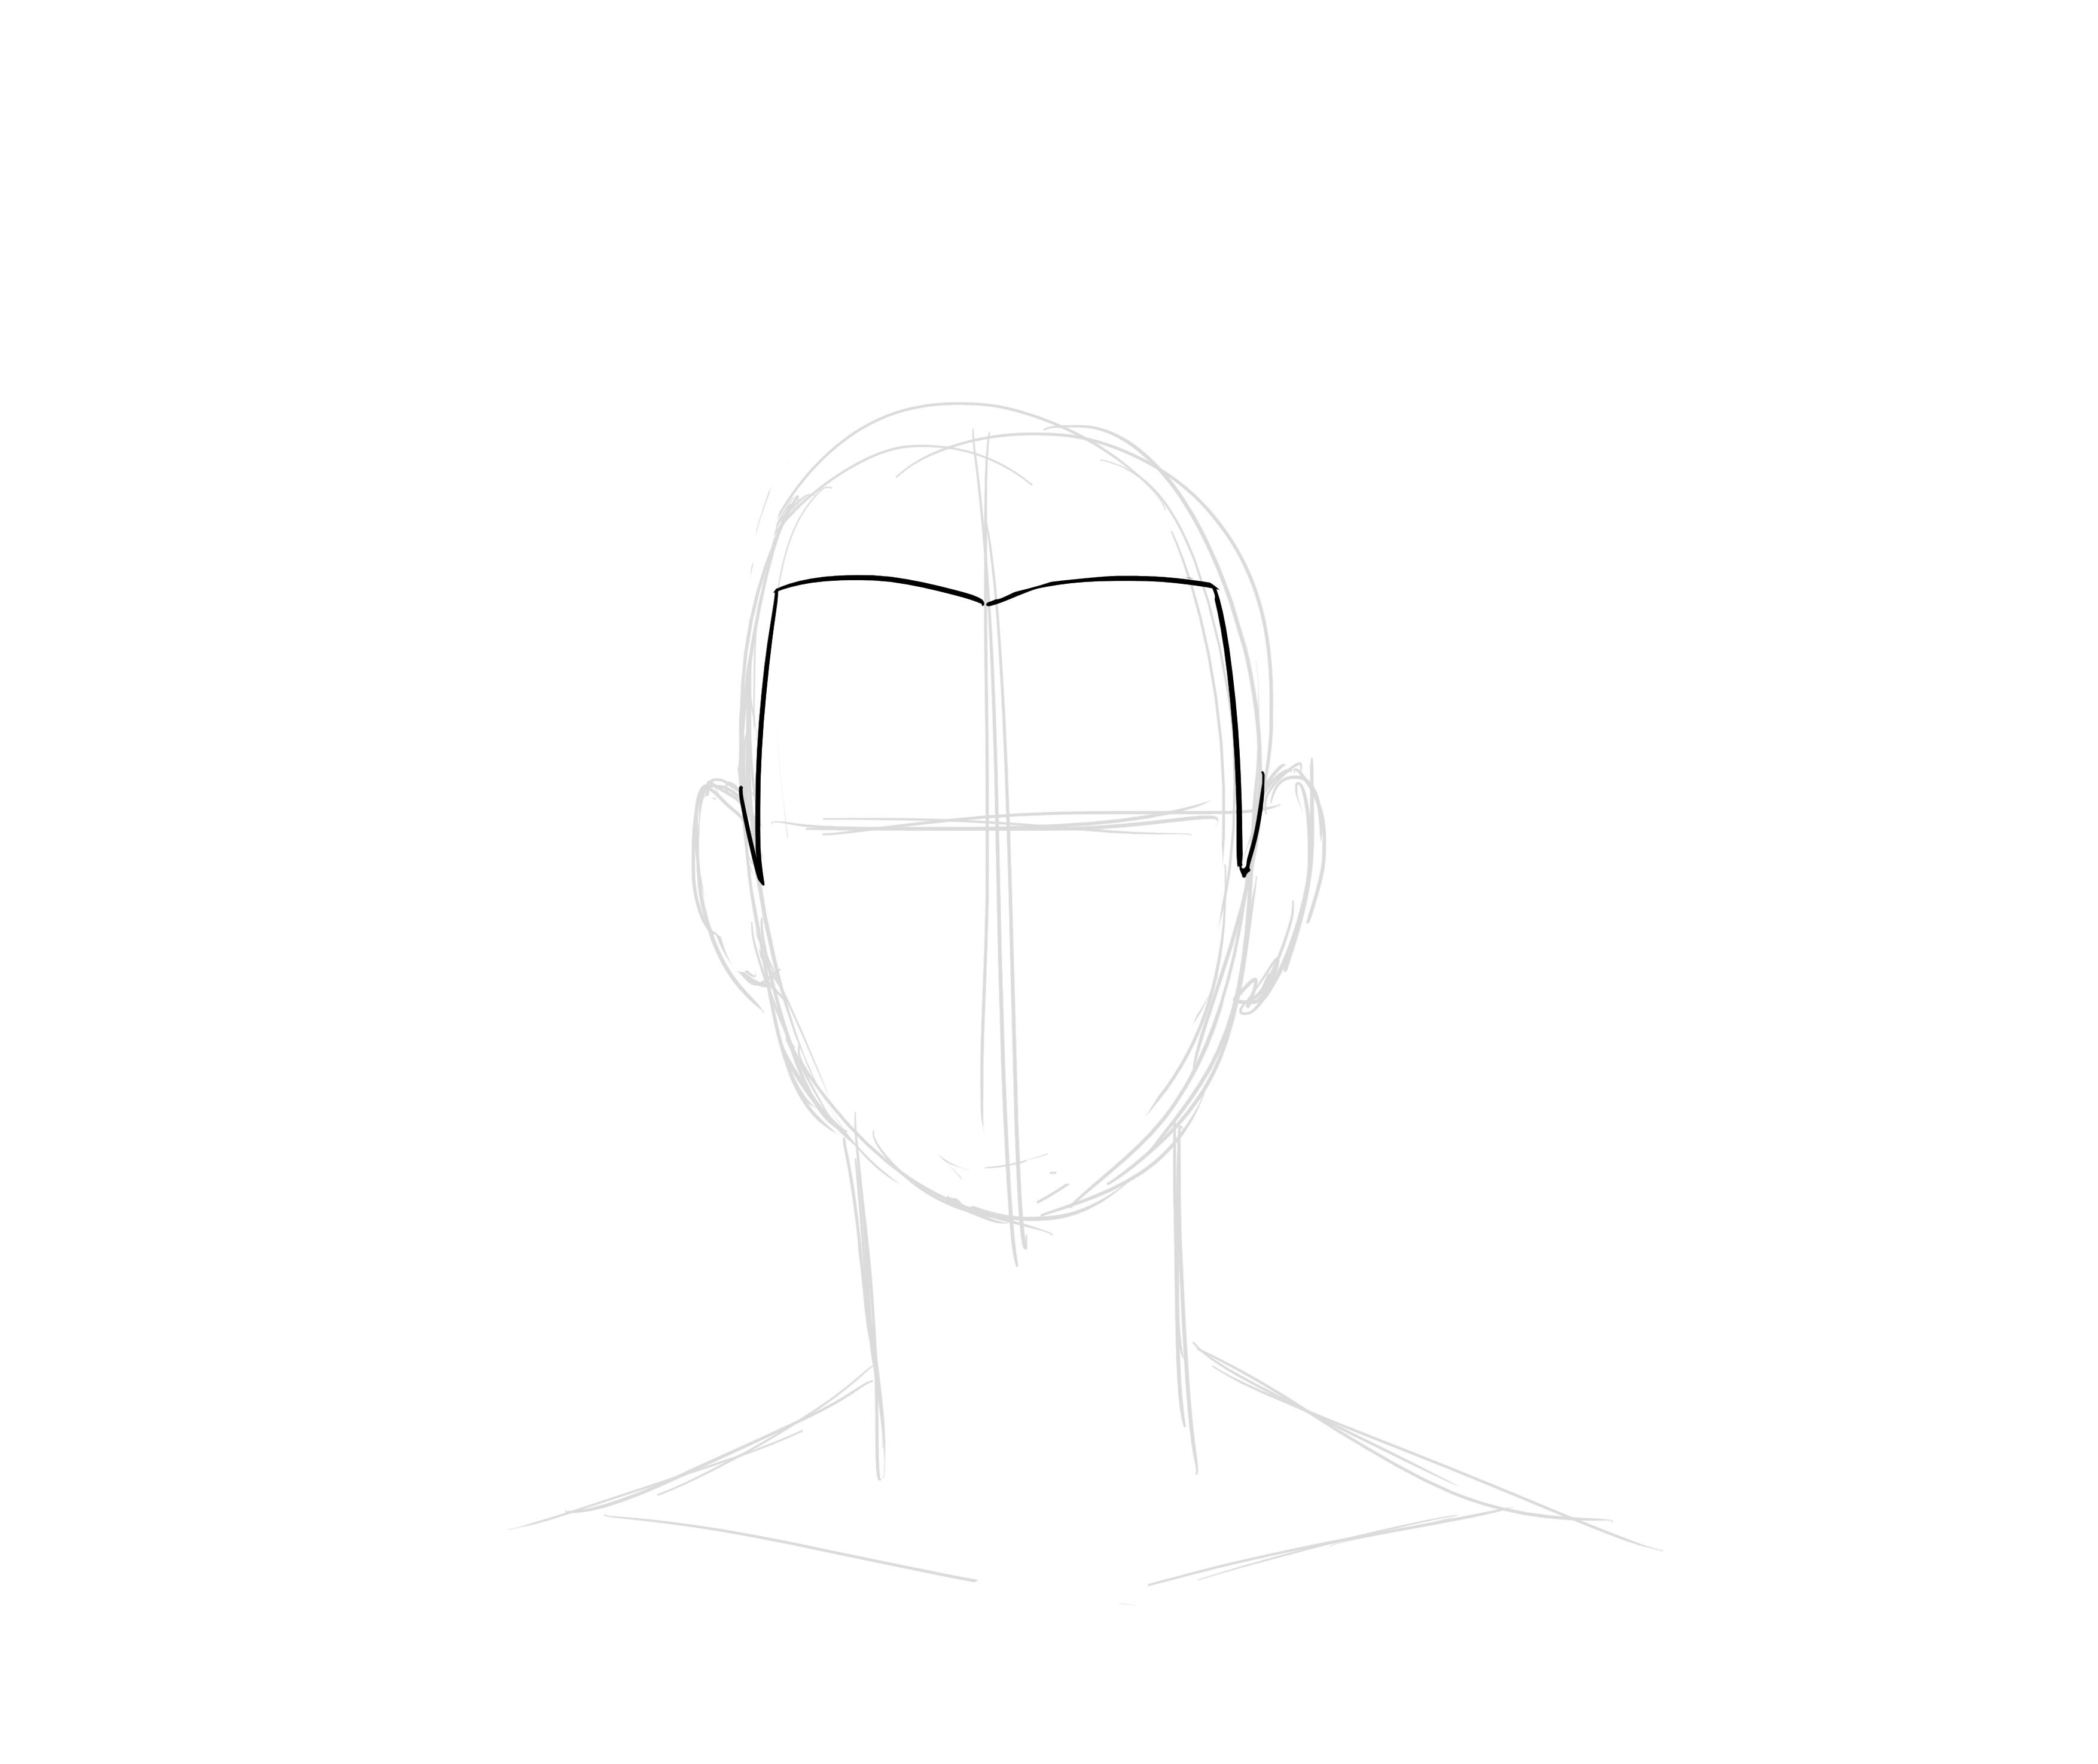
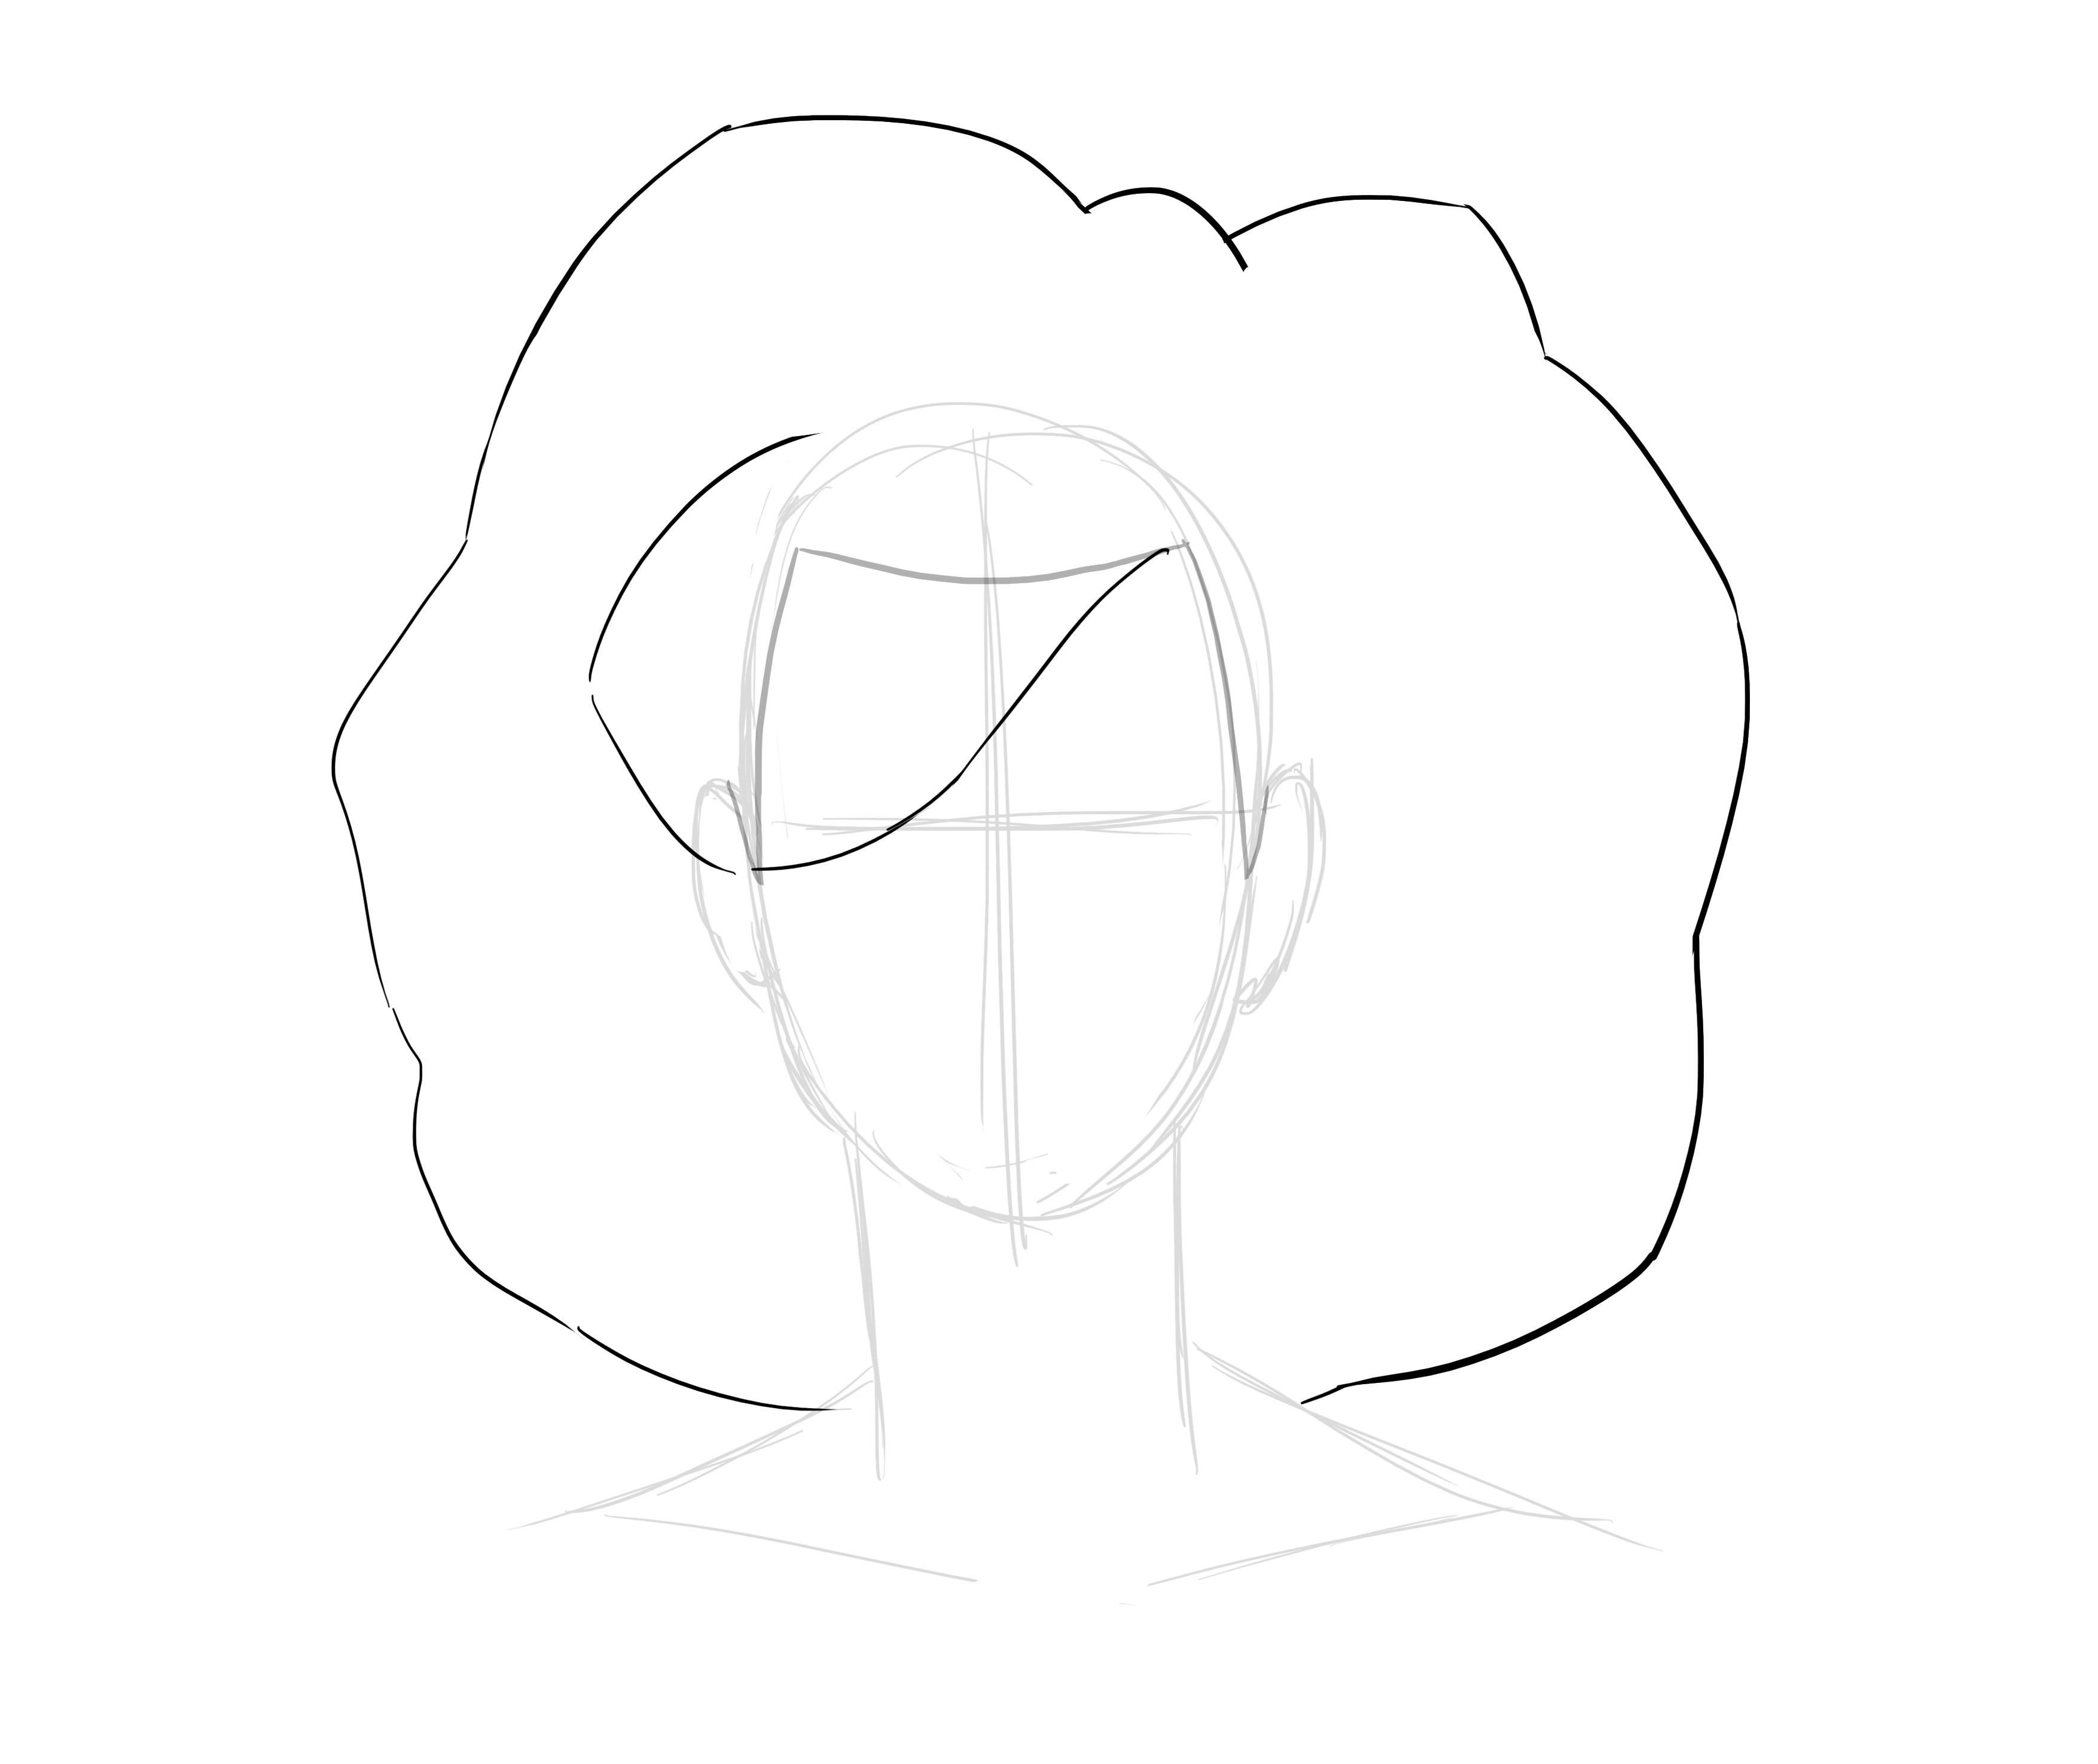
The first step will always be the same: hairline.
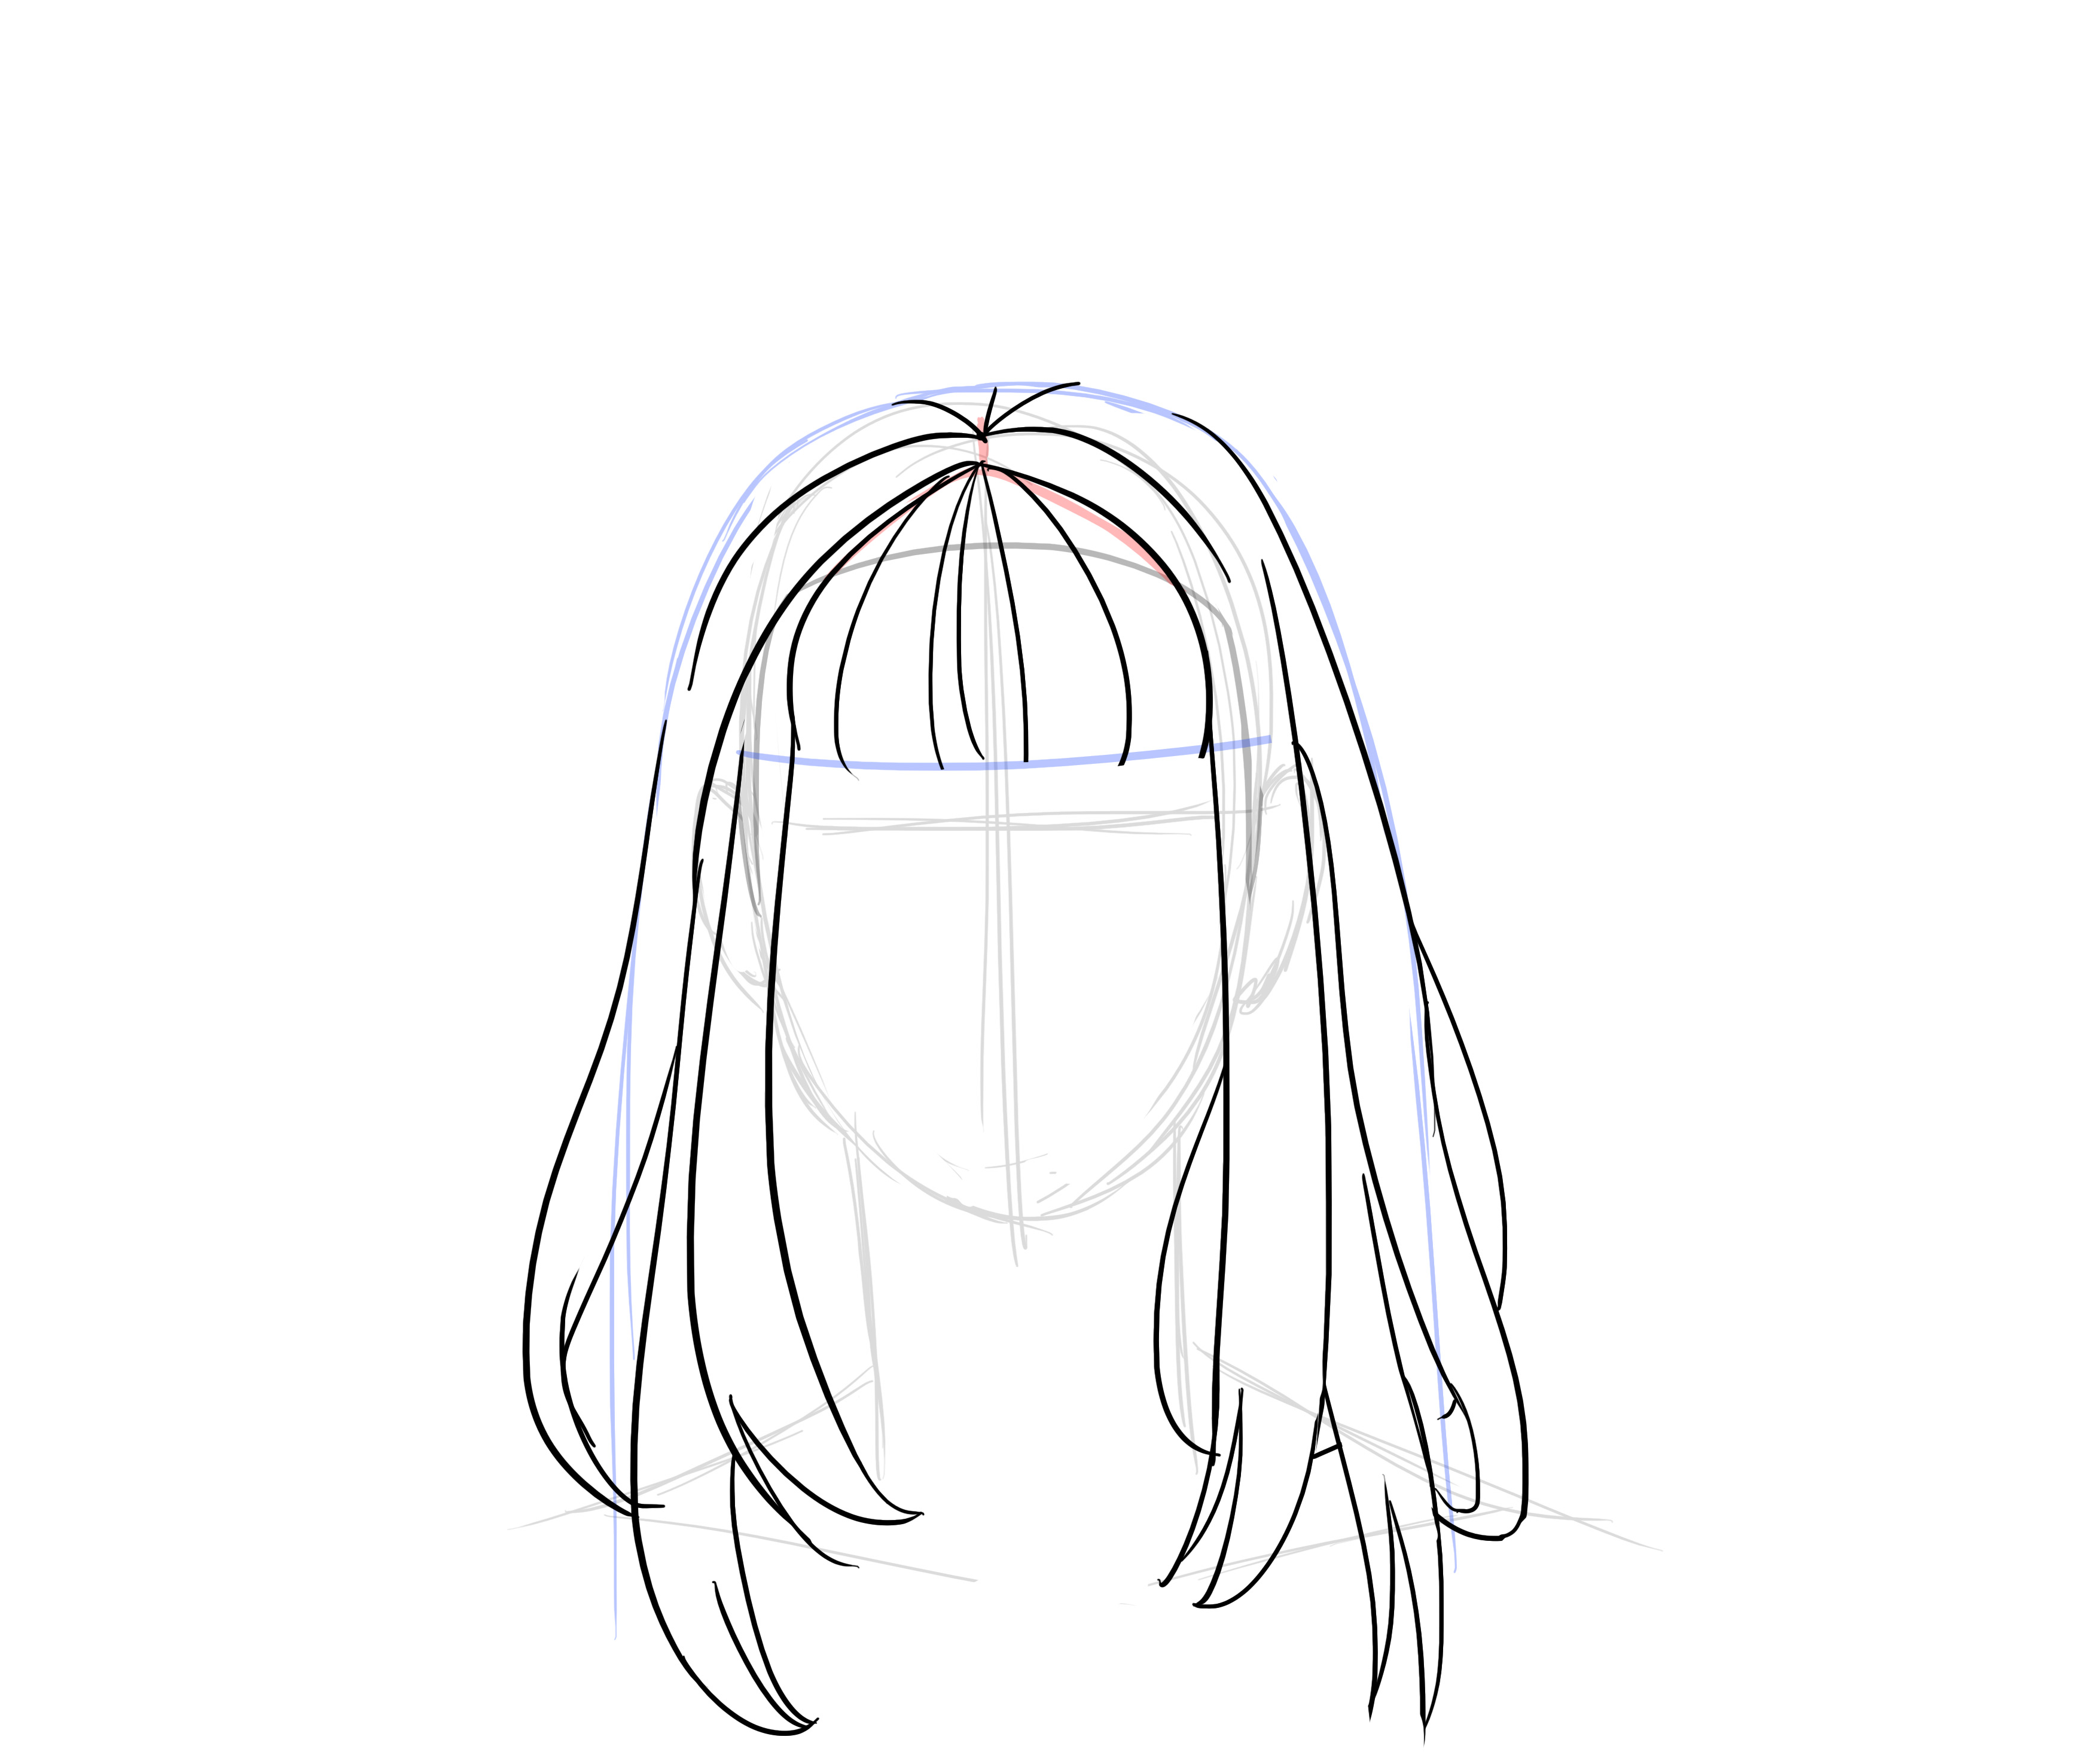
Then, I recommend working with strands and not hair by hair. Nothing will prevent detailing later if desired. I recommend working strand by strand because it makes things much easier and is more effective for achieving a realistic look (look around you, hair often groups into strands, this is especially noticeable with wavy and curly hair).
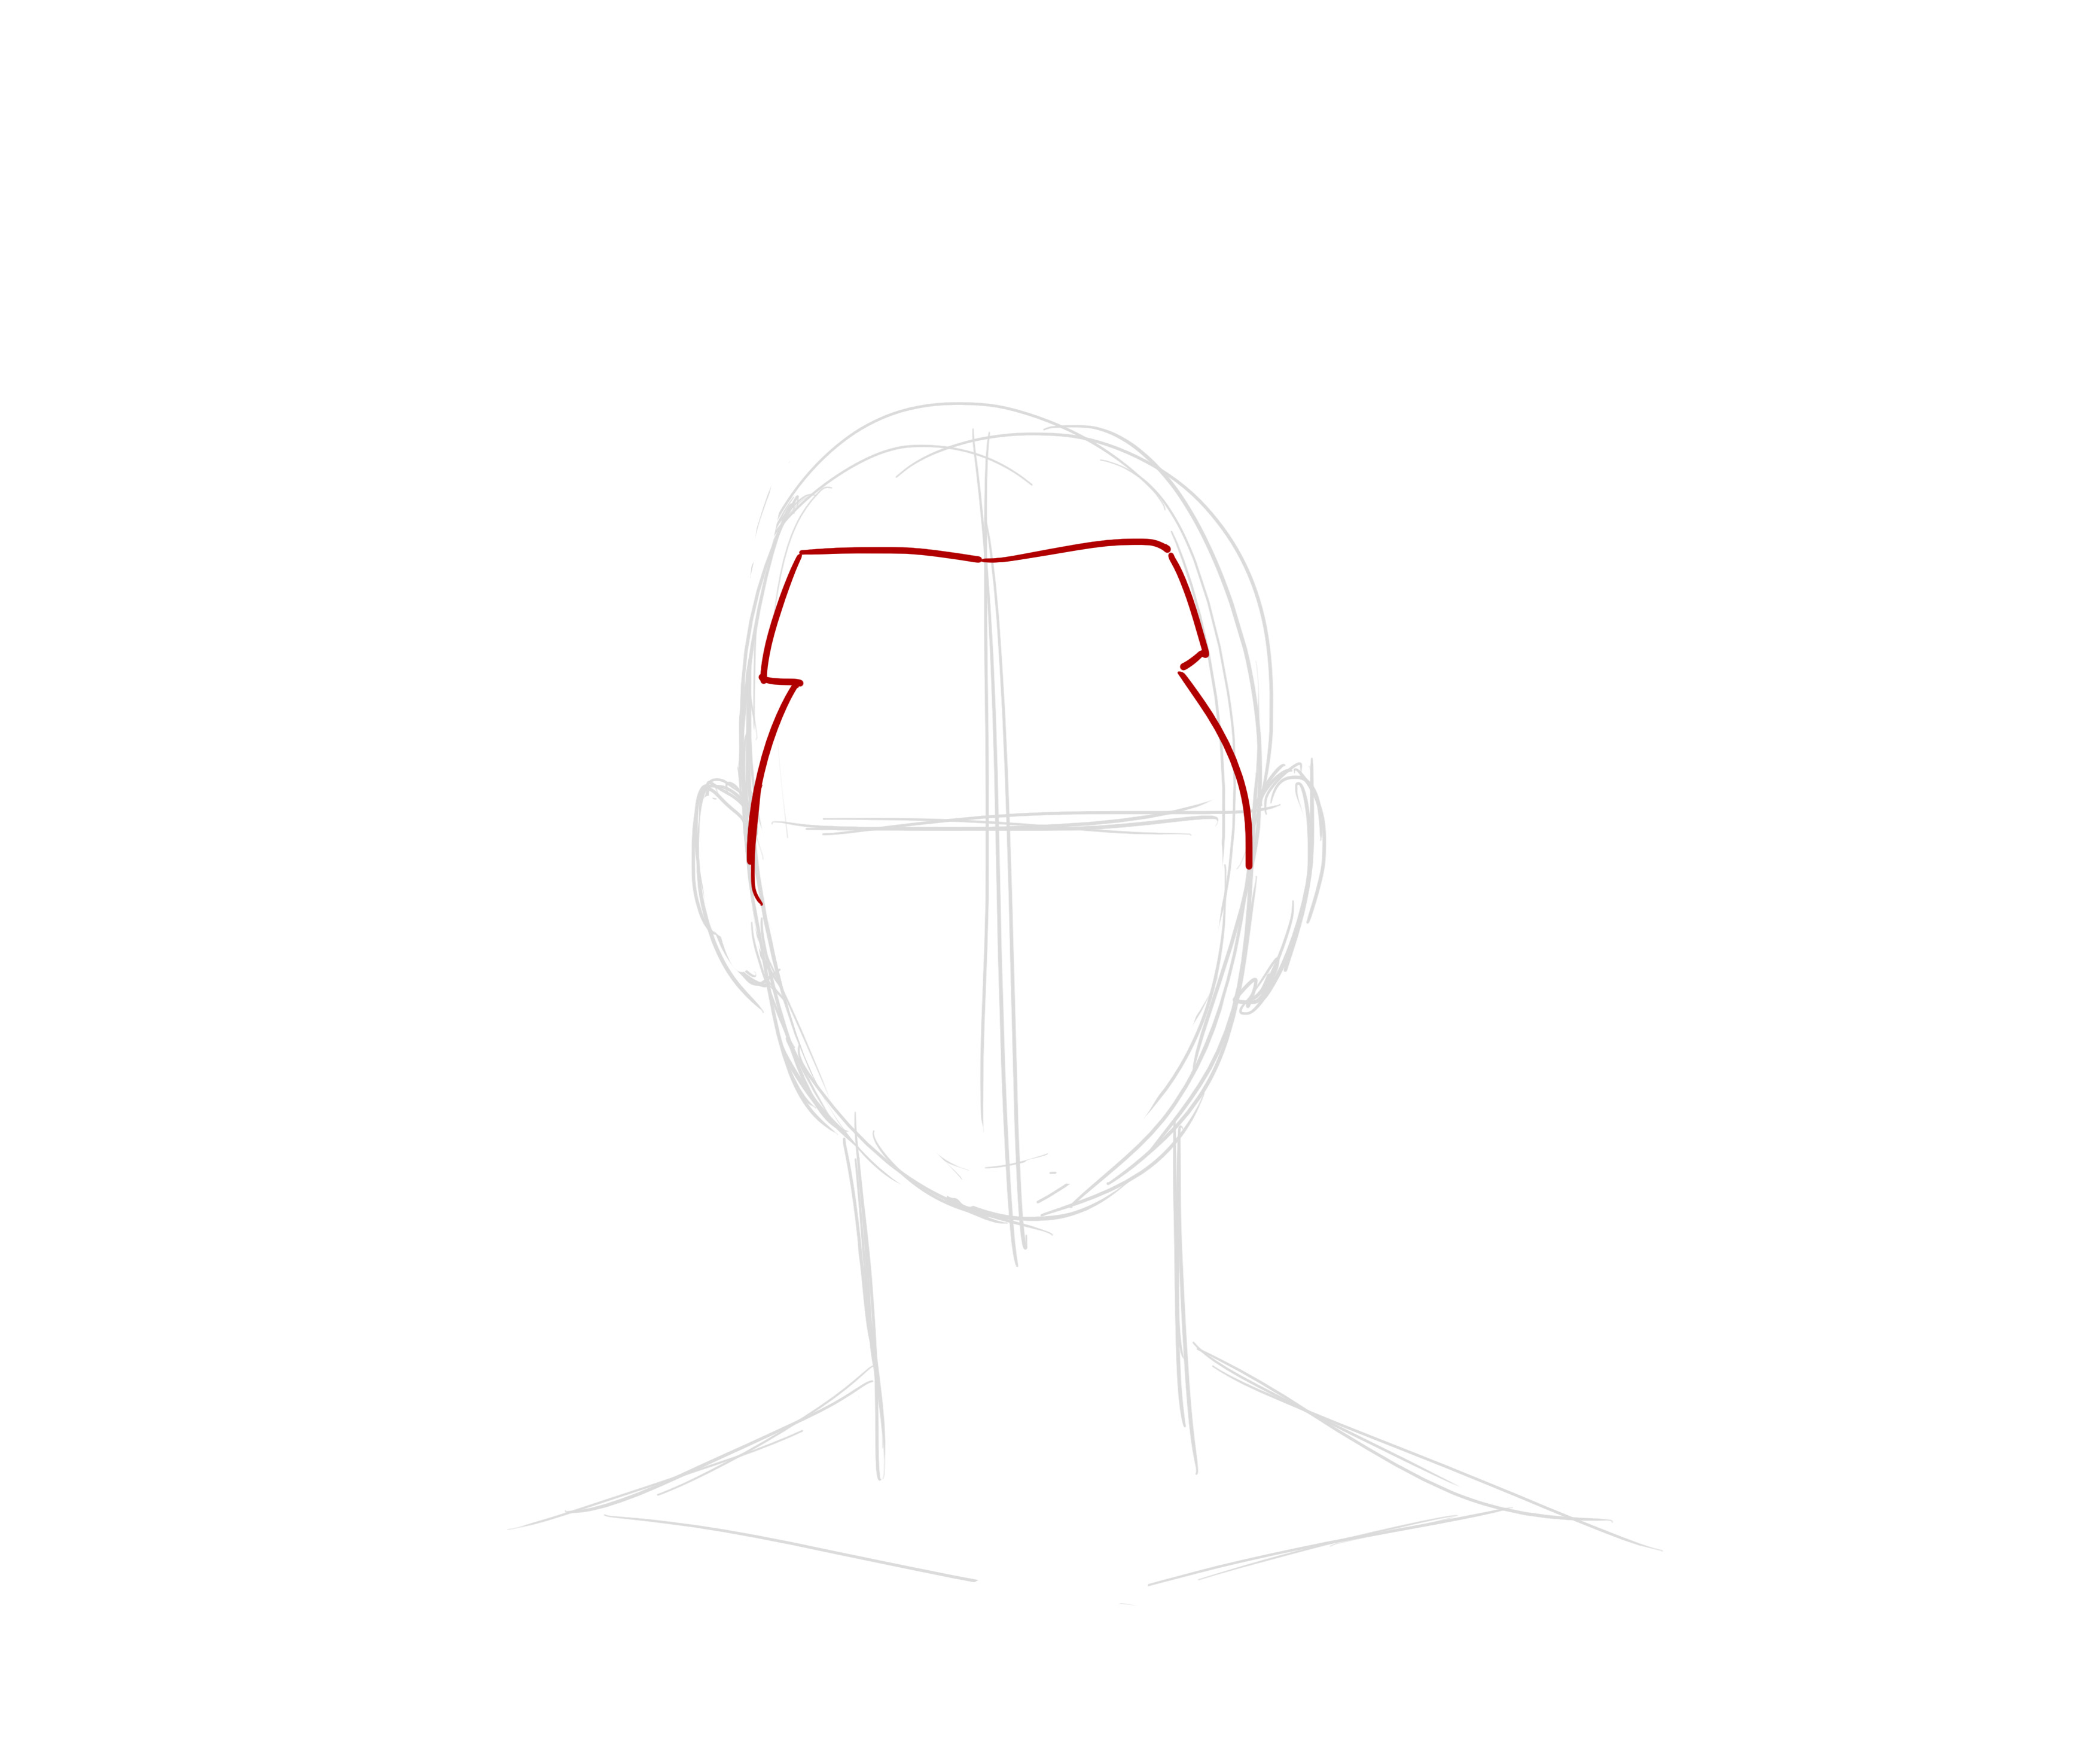
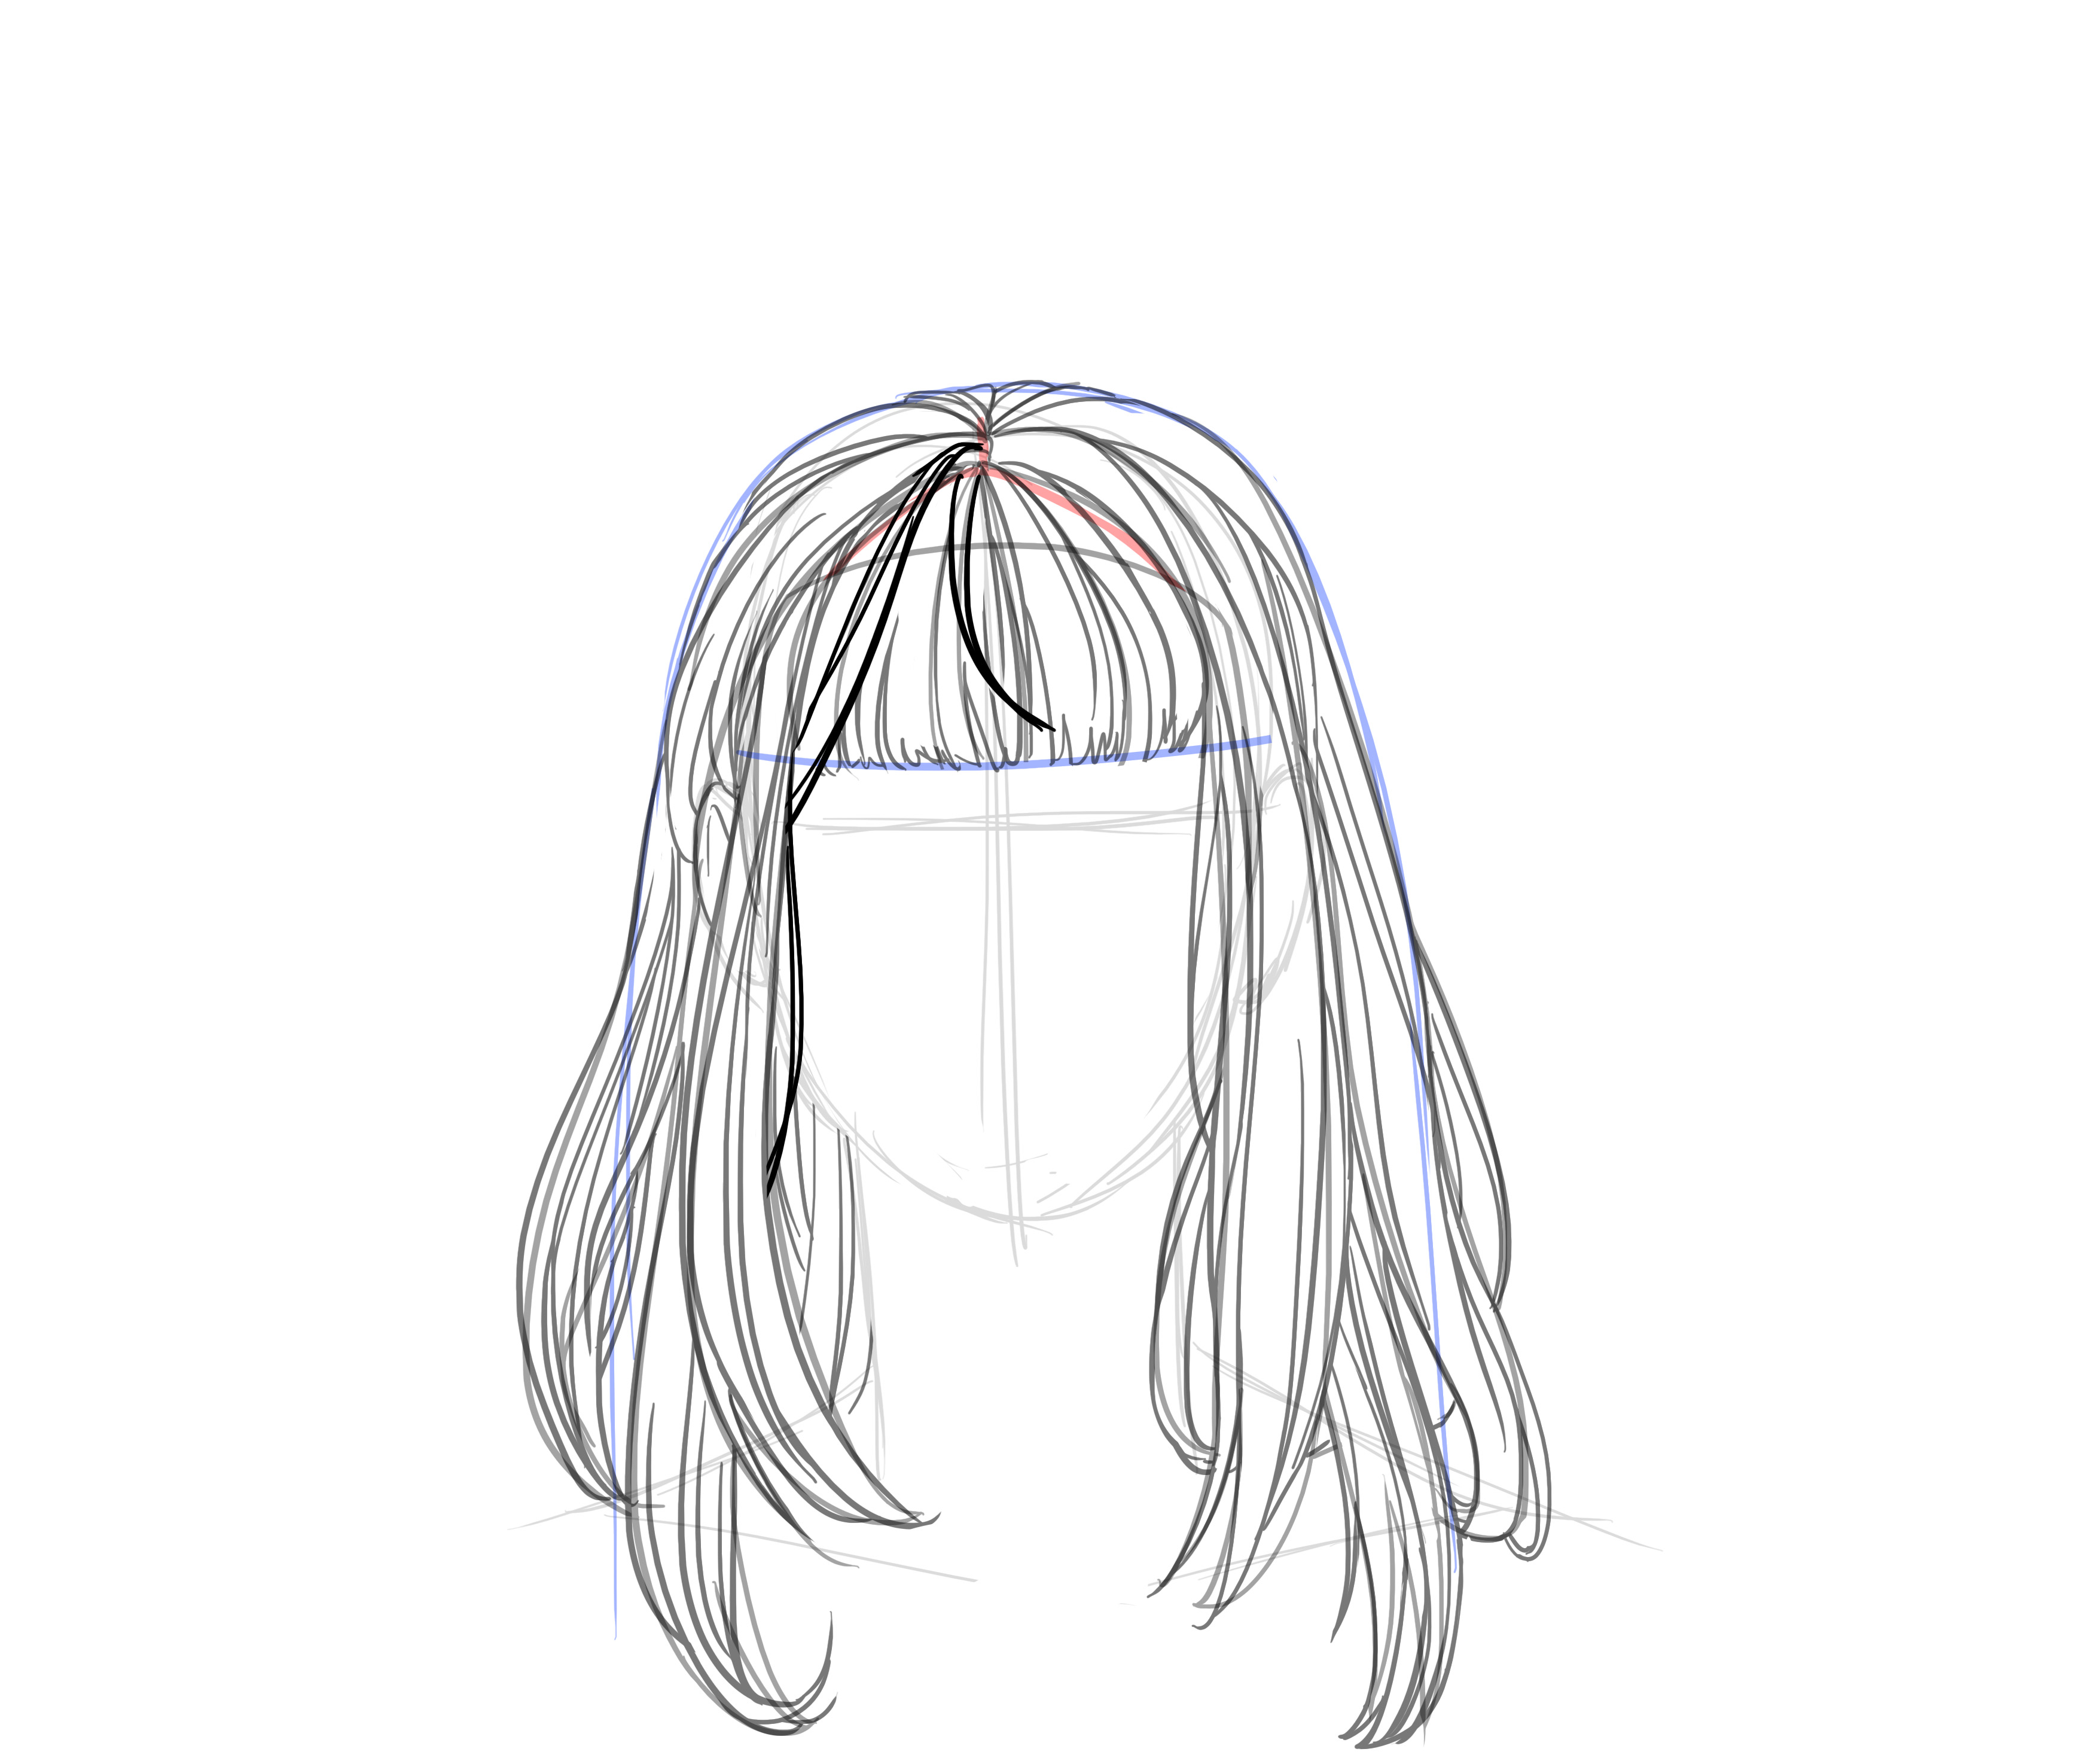
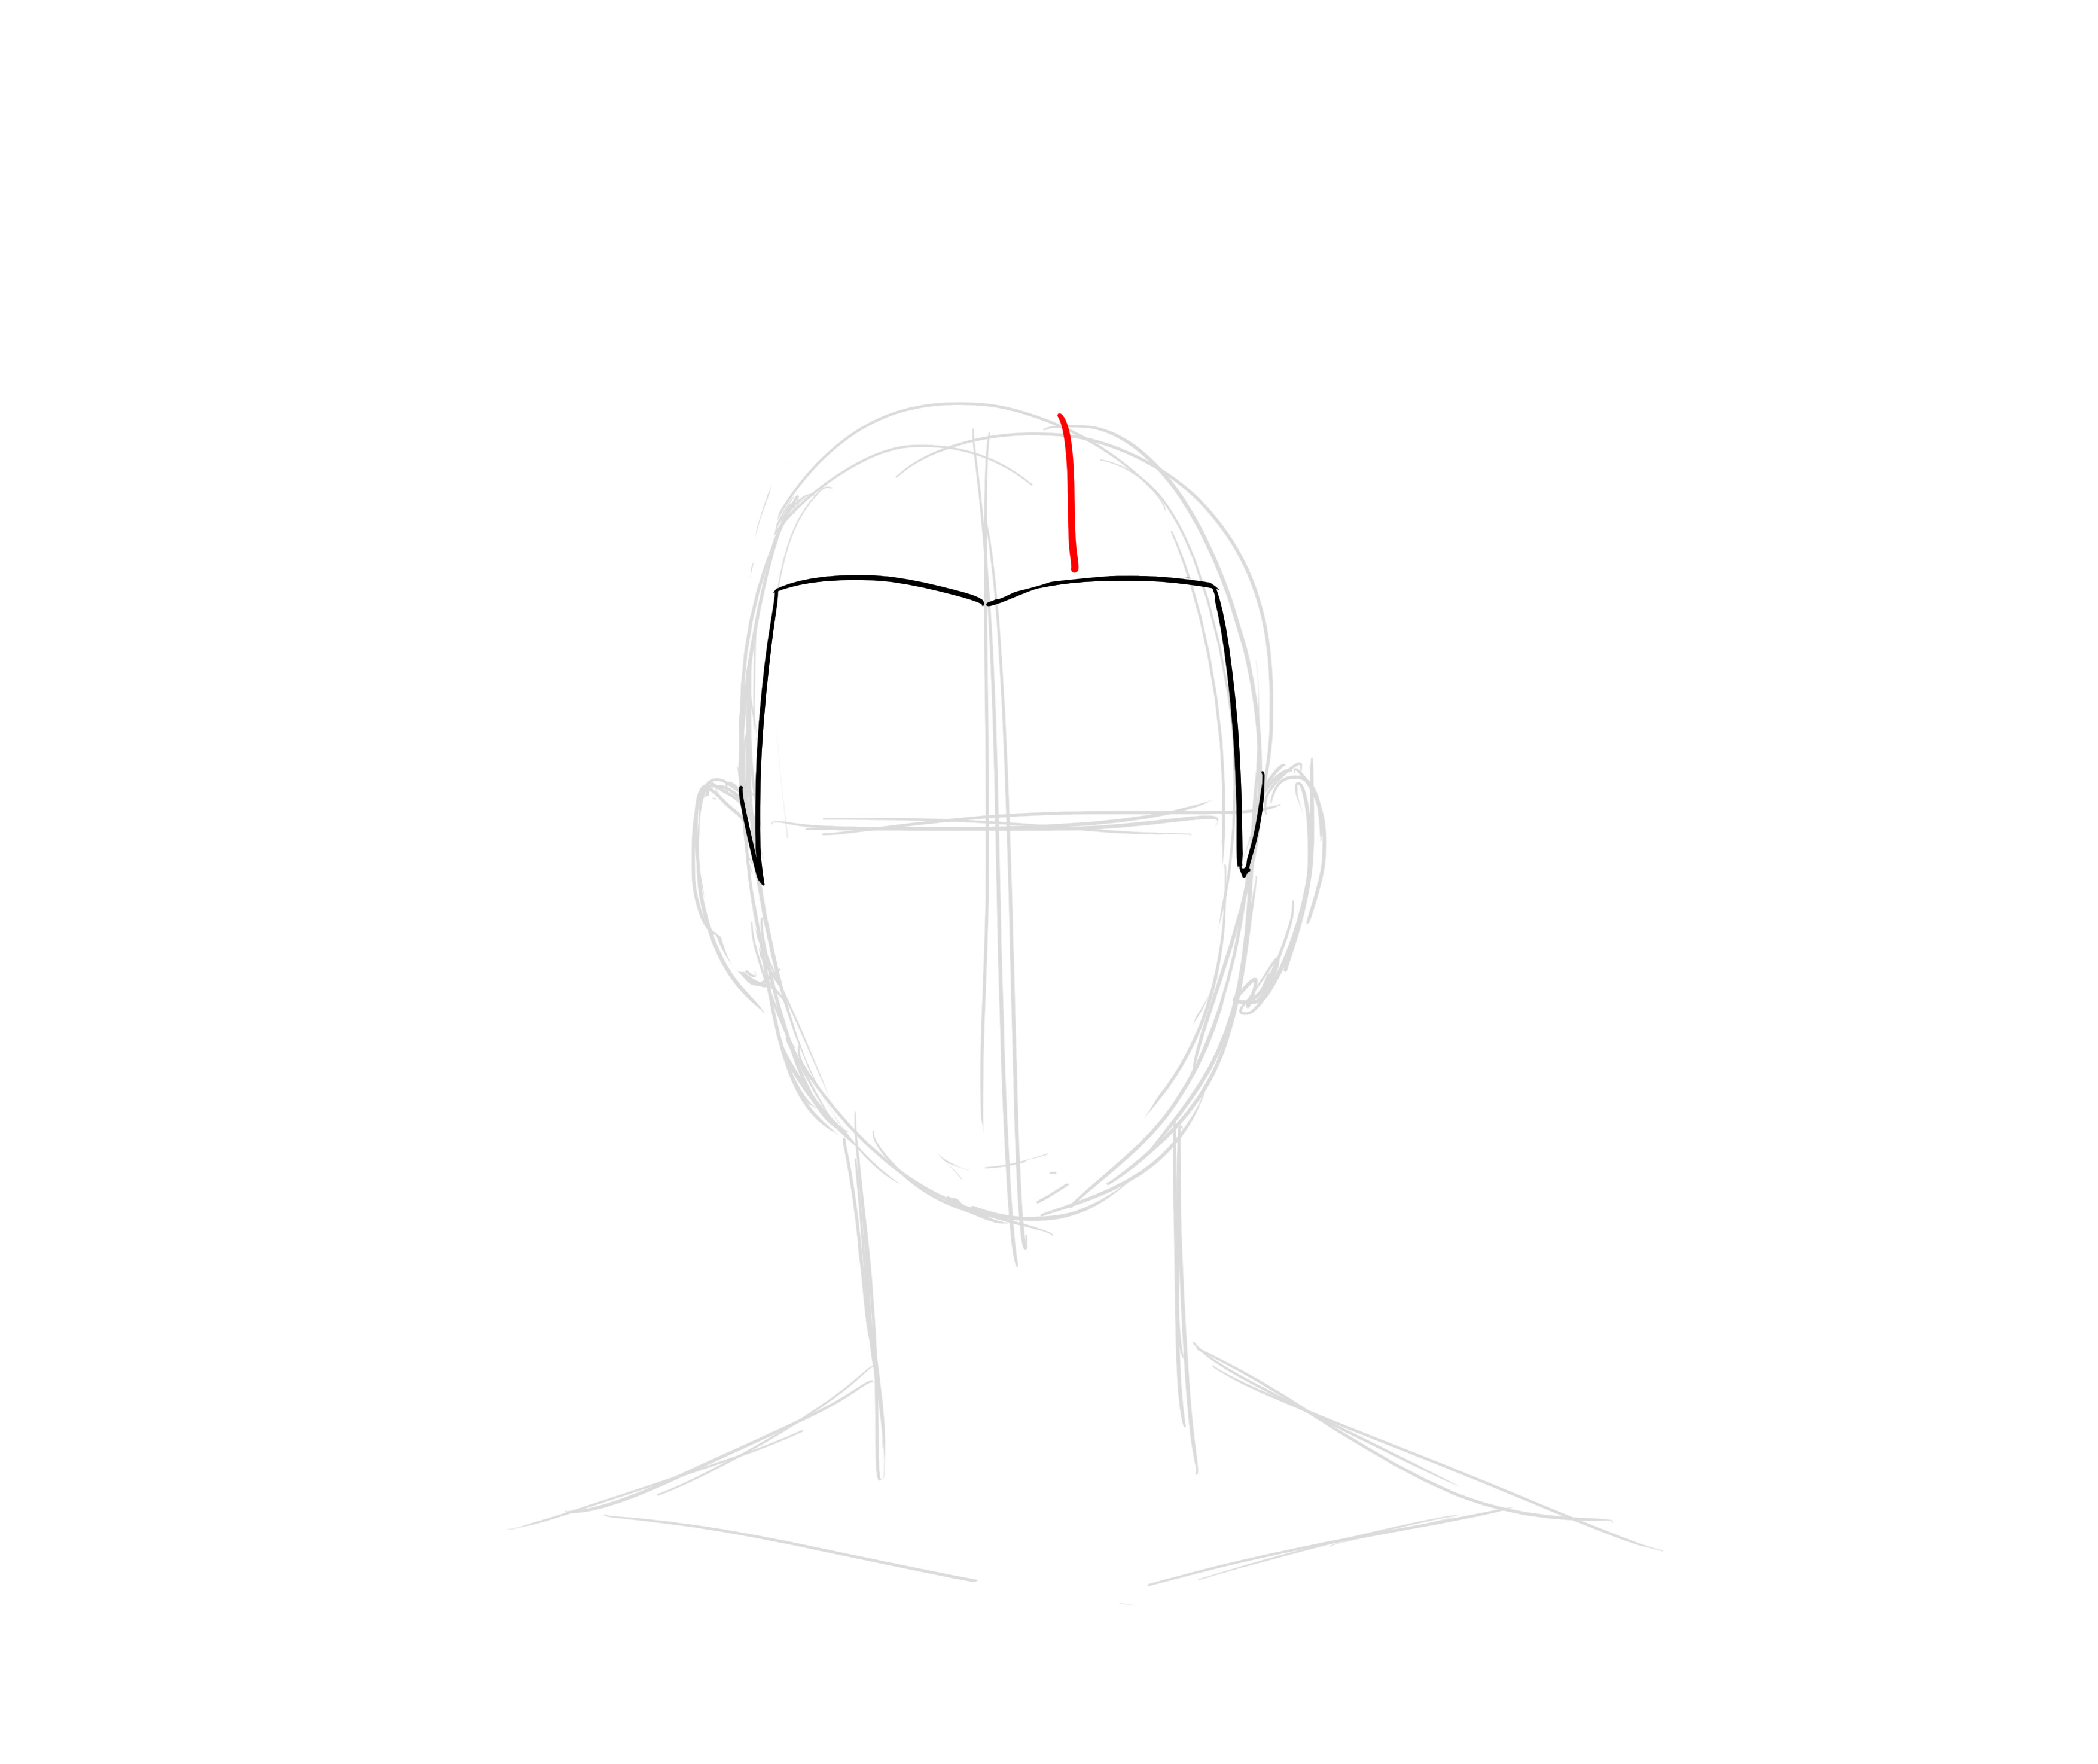
Another important parameter is the location of the parting (if there is one). This greatly influences how the hair will position itself and behave. Here, I have a section at the front for the bangs and a central parting afterwards.
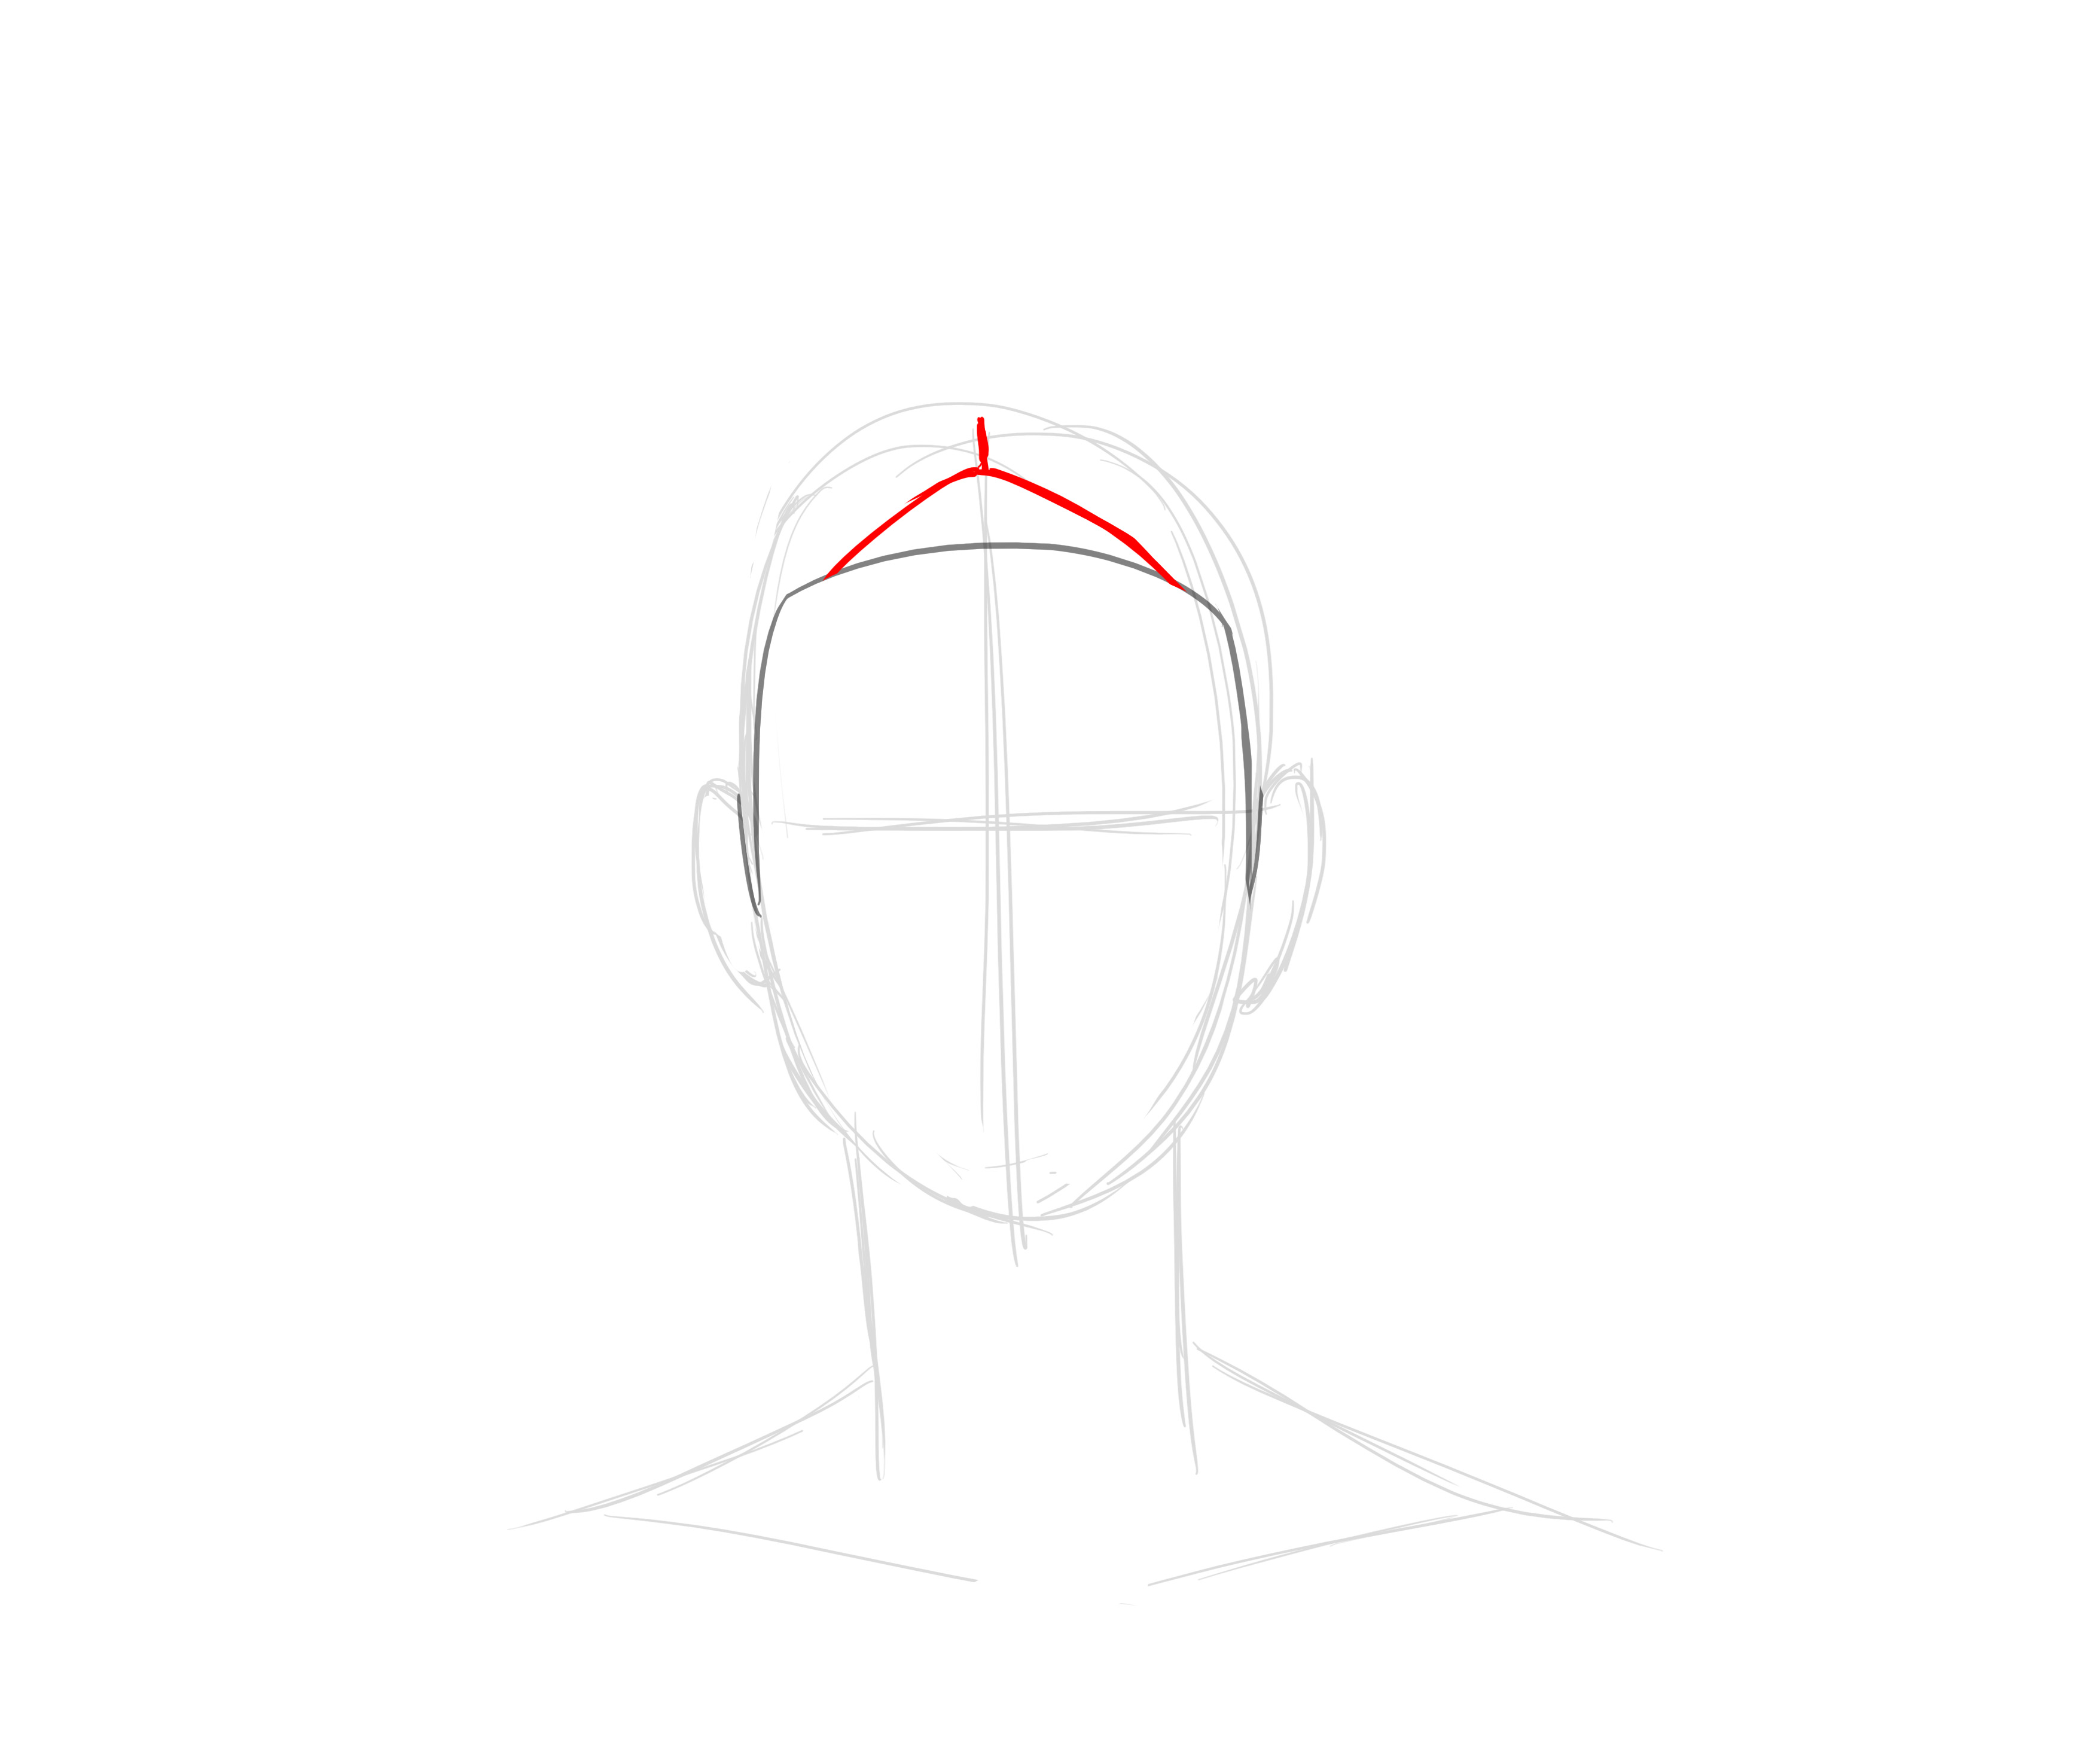
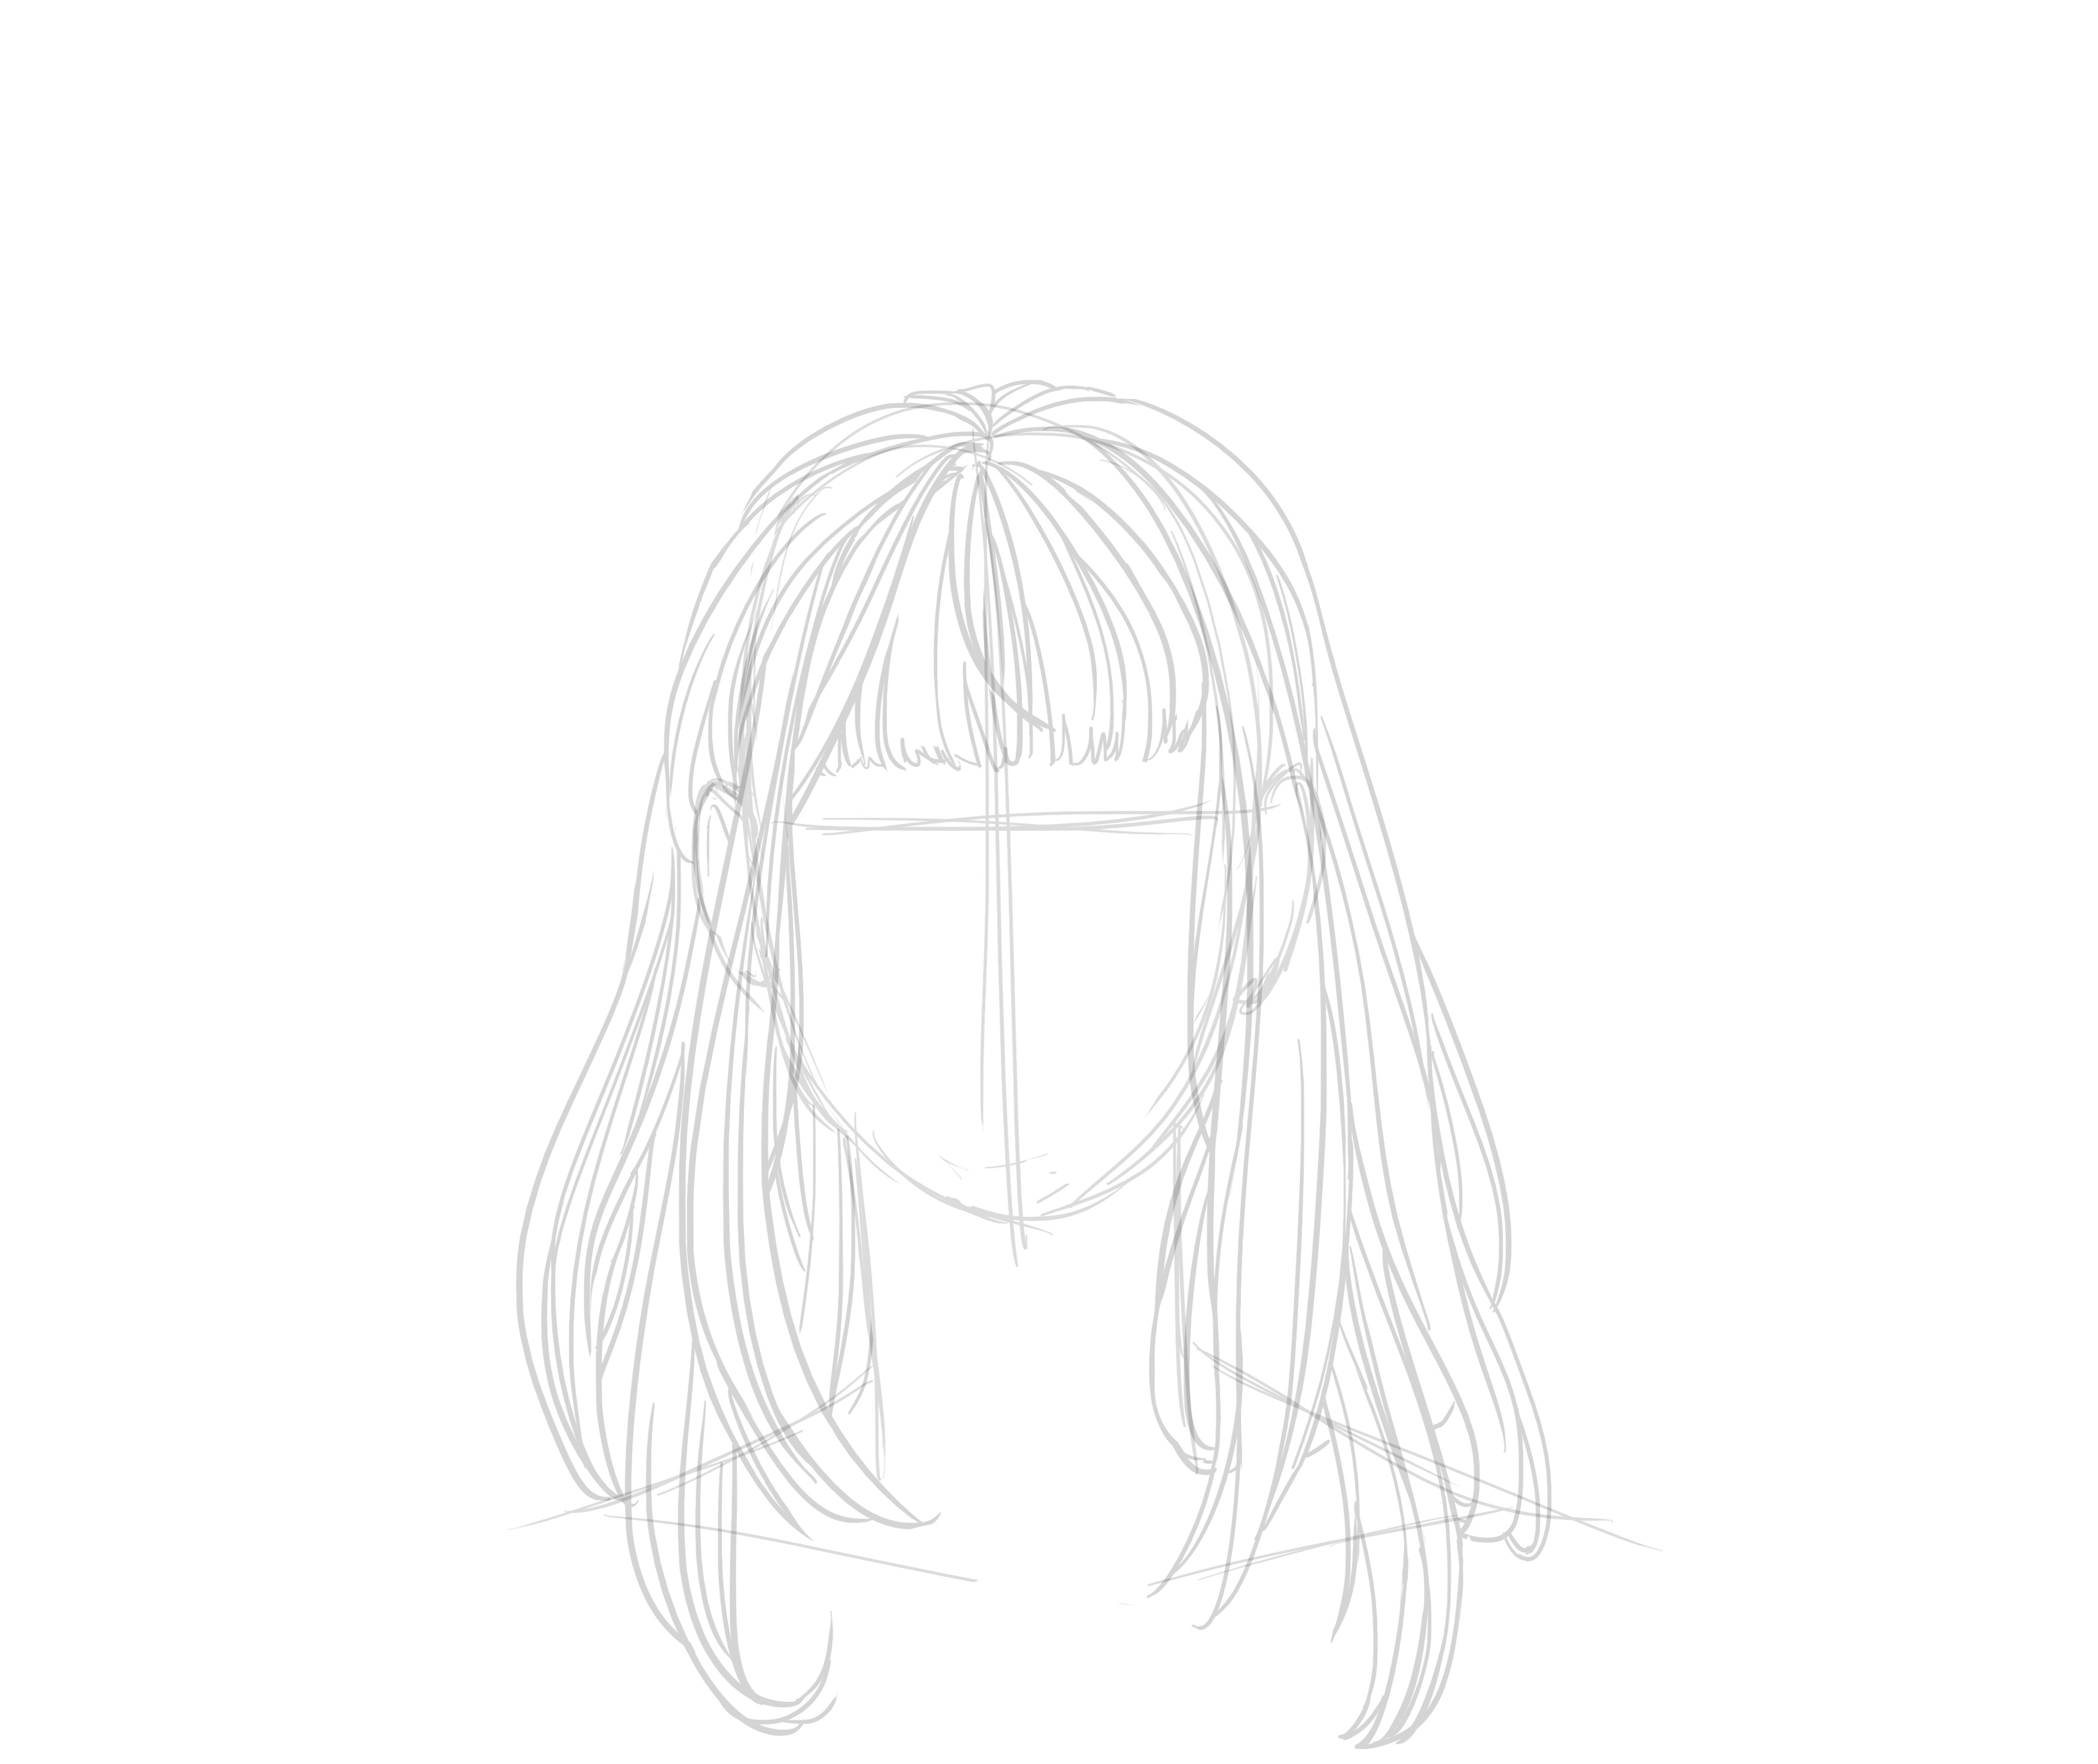
Then we add the strands. For this, we keep in mind that the hair has some volume and does not stick to the scalp. We ensure we give it some volume.
I thus divide my general shape into strands.
Straight hair is not "perfectly straight" like sticks. Indeed, the strands are smooth but also flexible. Their shape varies depending on whether they are resting on something, being pulled, or floating in the wind. Here, we will go for something very simple, only the shoulders modify their curve and a few strands are pulled behind the ears.
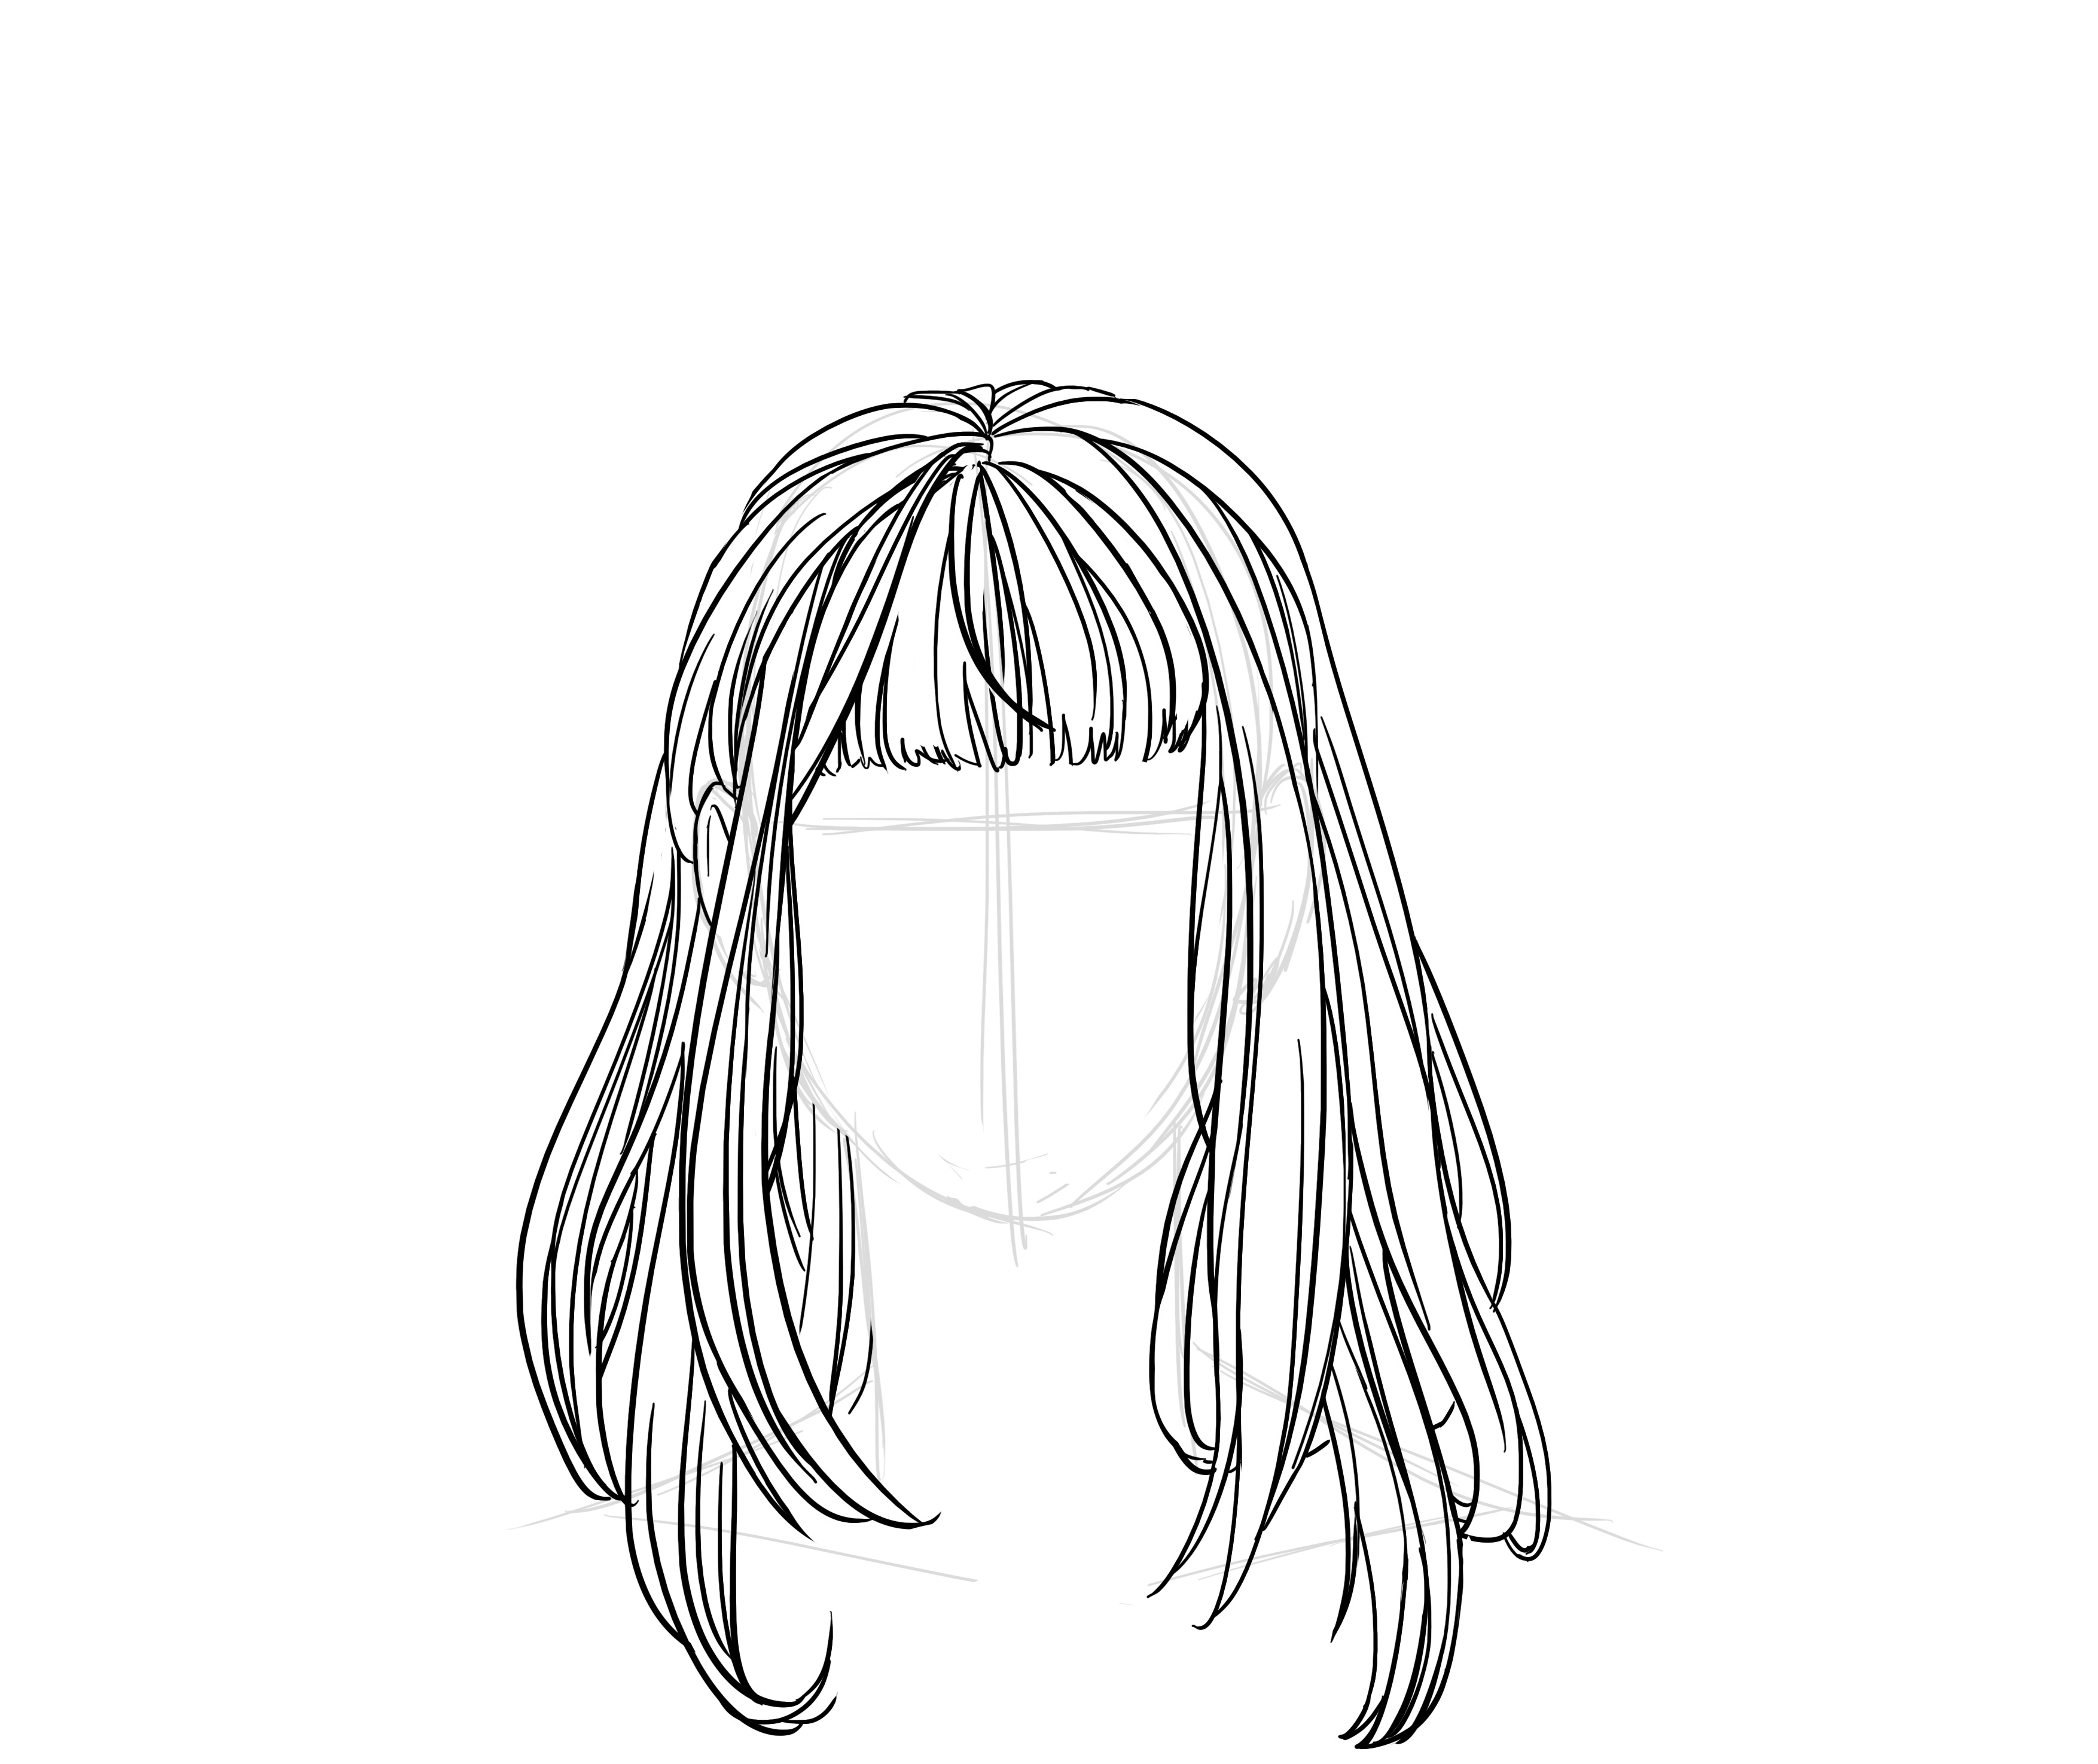
We then add some details, particularly at the tension points. In this case, it is very similar to how fabrics work.
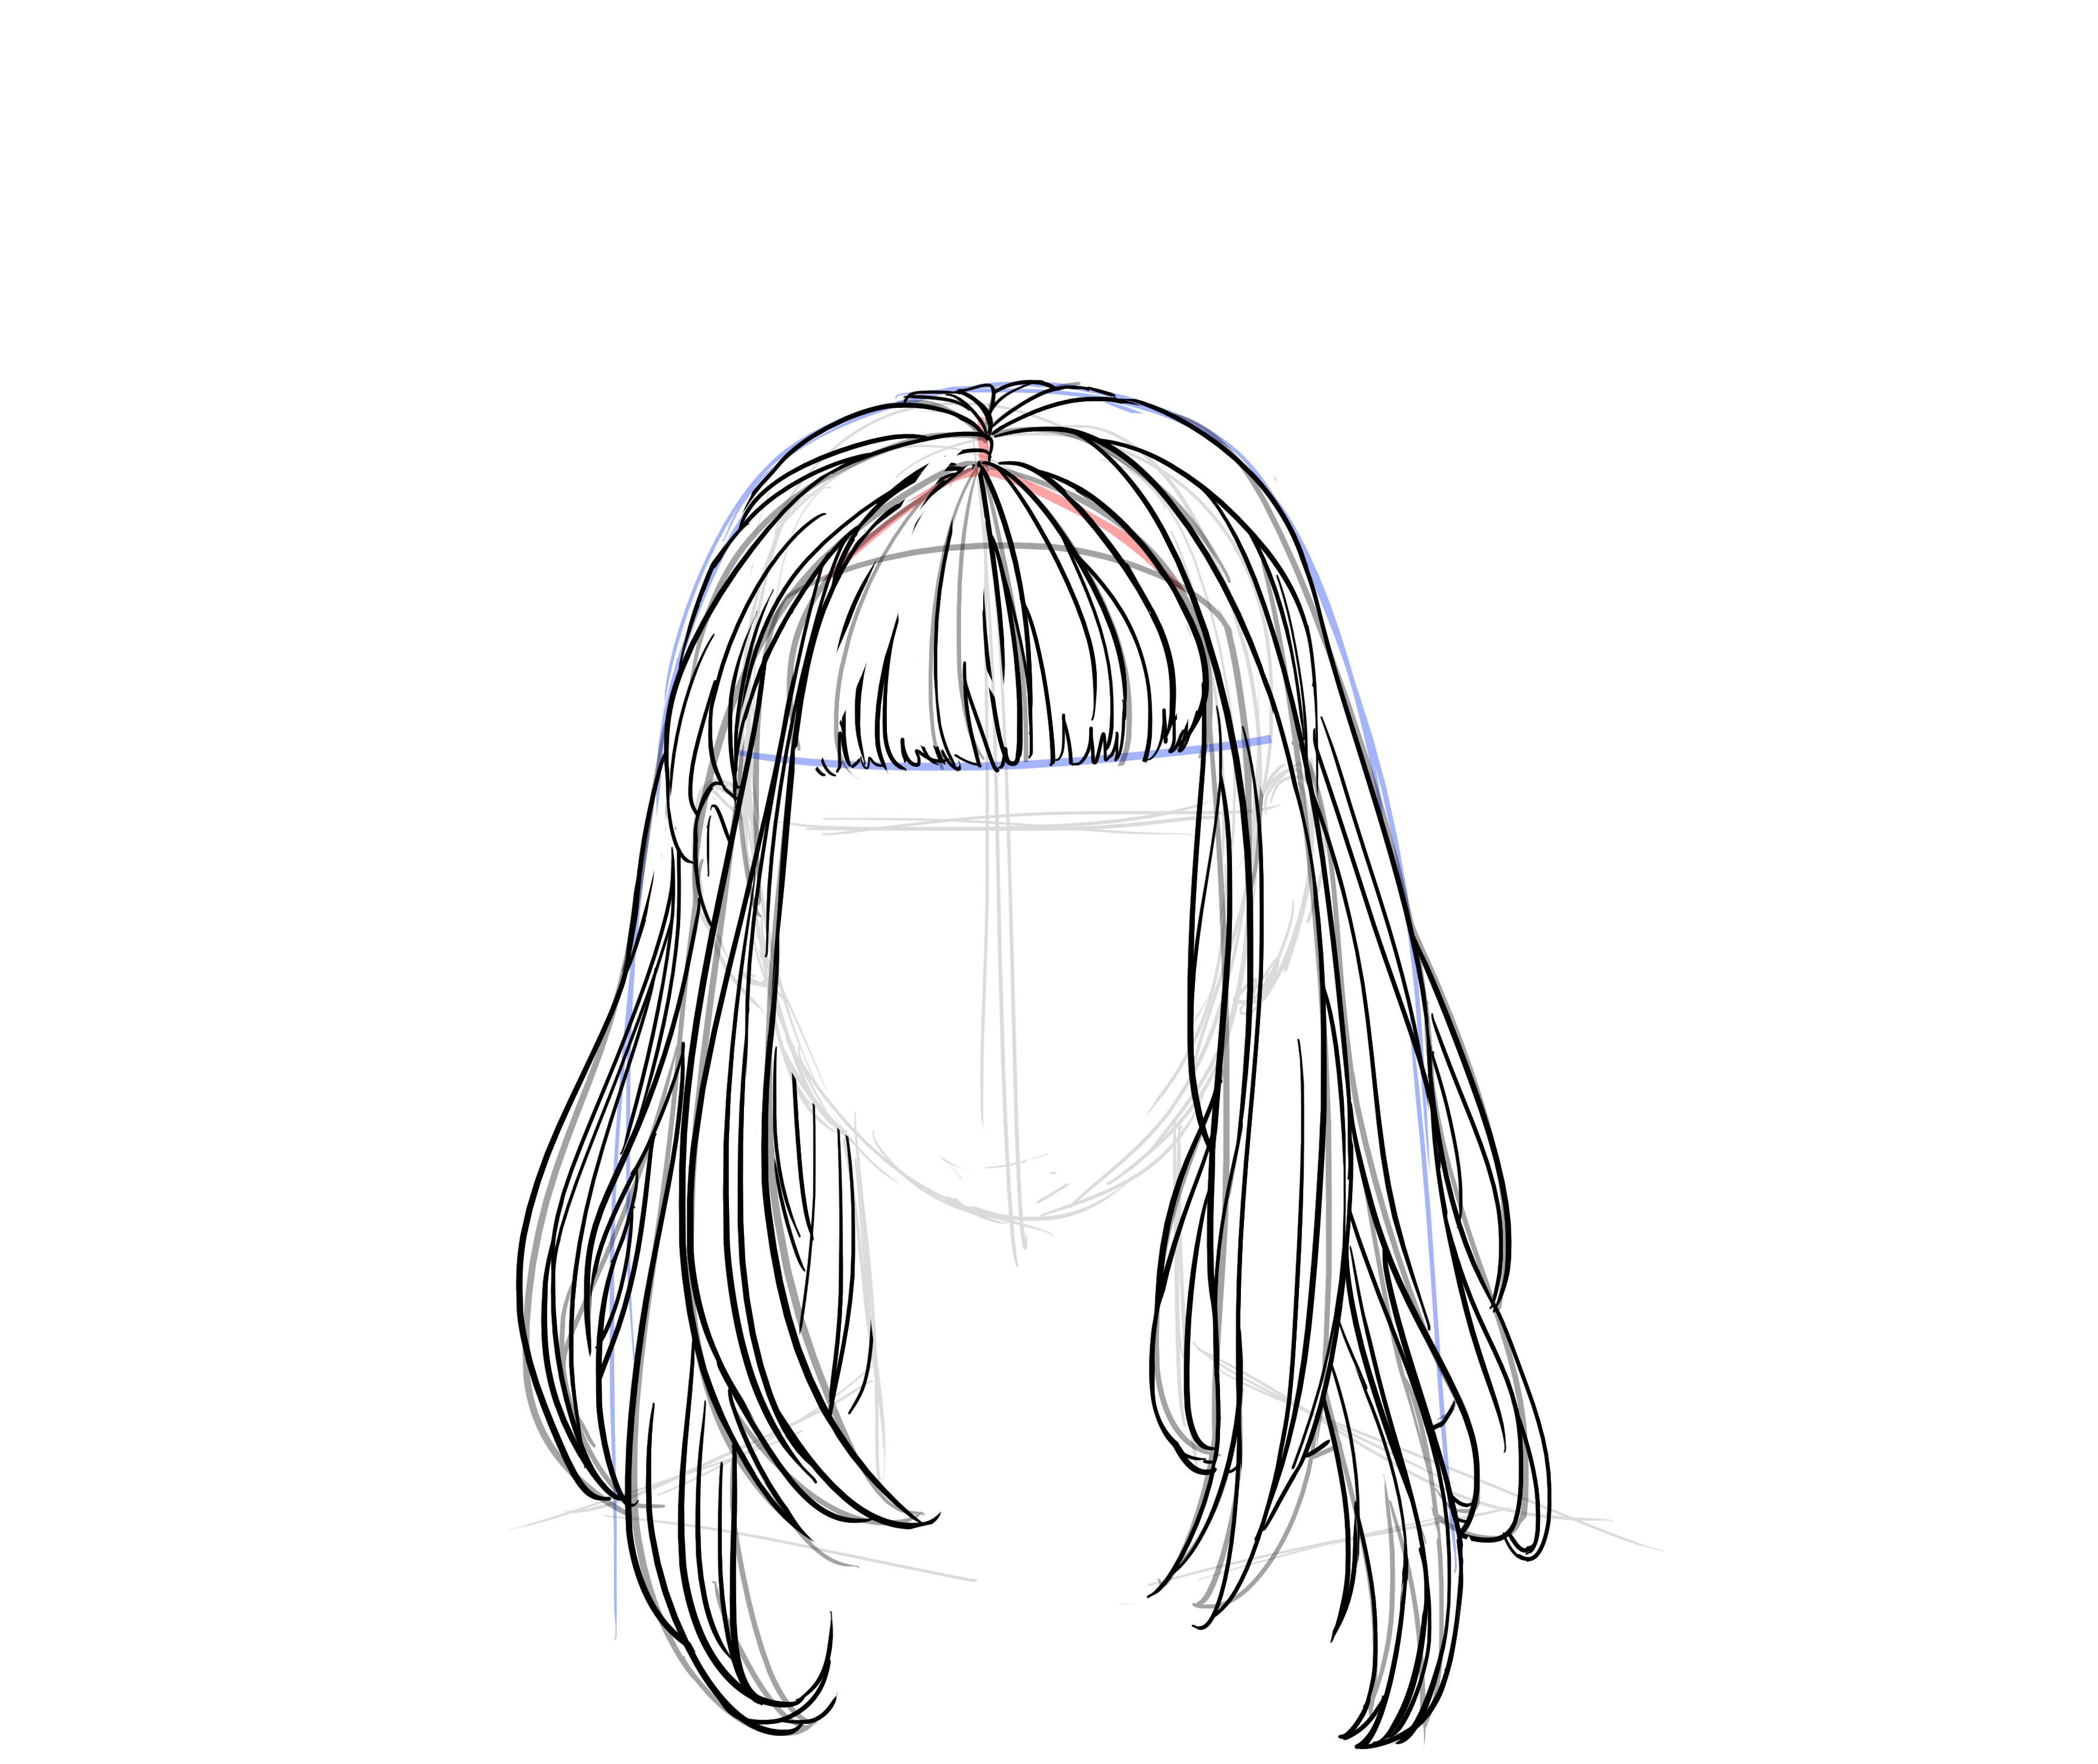
You can, if you wish, give it a more tousled look by pulling a few stray strands over the rest.
And there you go!
DRAWING SHORT AND CURLY HAIR
Here's a new challenge: curls. As always, I am a proponent of minimal effort. So I am not going to draw each curl one by one perfectly. Partly because it would take a huge amount of time, and also because the result would look very artificial. Like when someone who doesn't naturally have curly hair gets a perm and all the curls are identical, the same size, etc.
We always start with the hairline.
Then the division into locks. Don't hesitate to add volume. The roots are well lifted from the scalp, the hair also takes up more space in width.
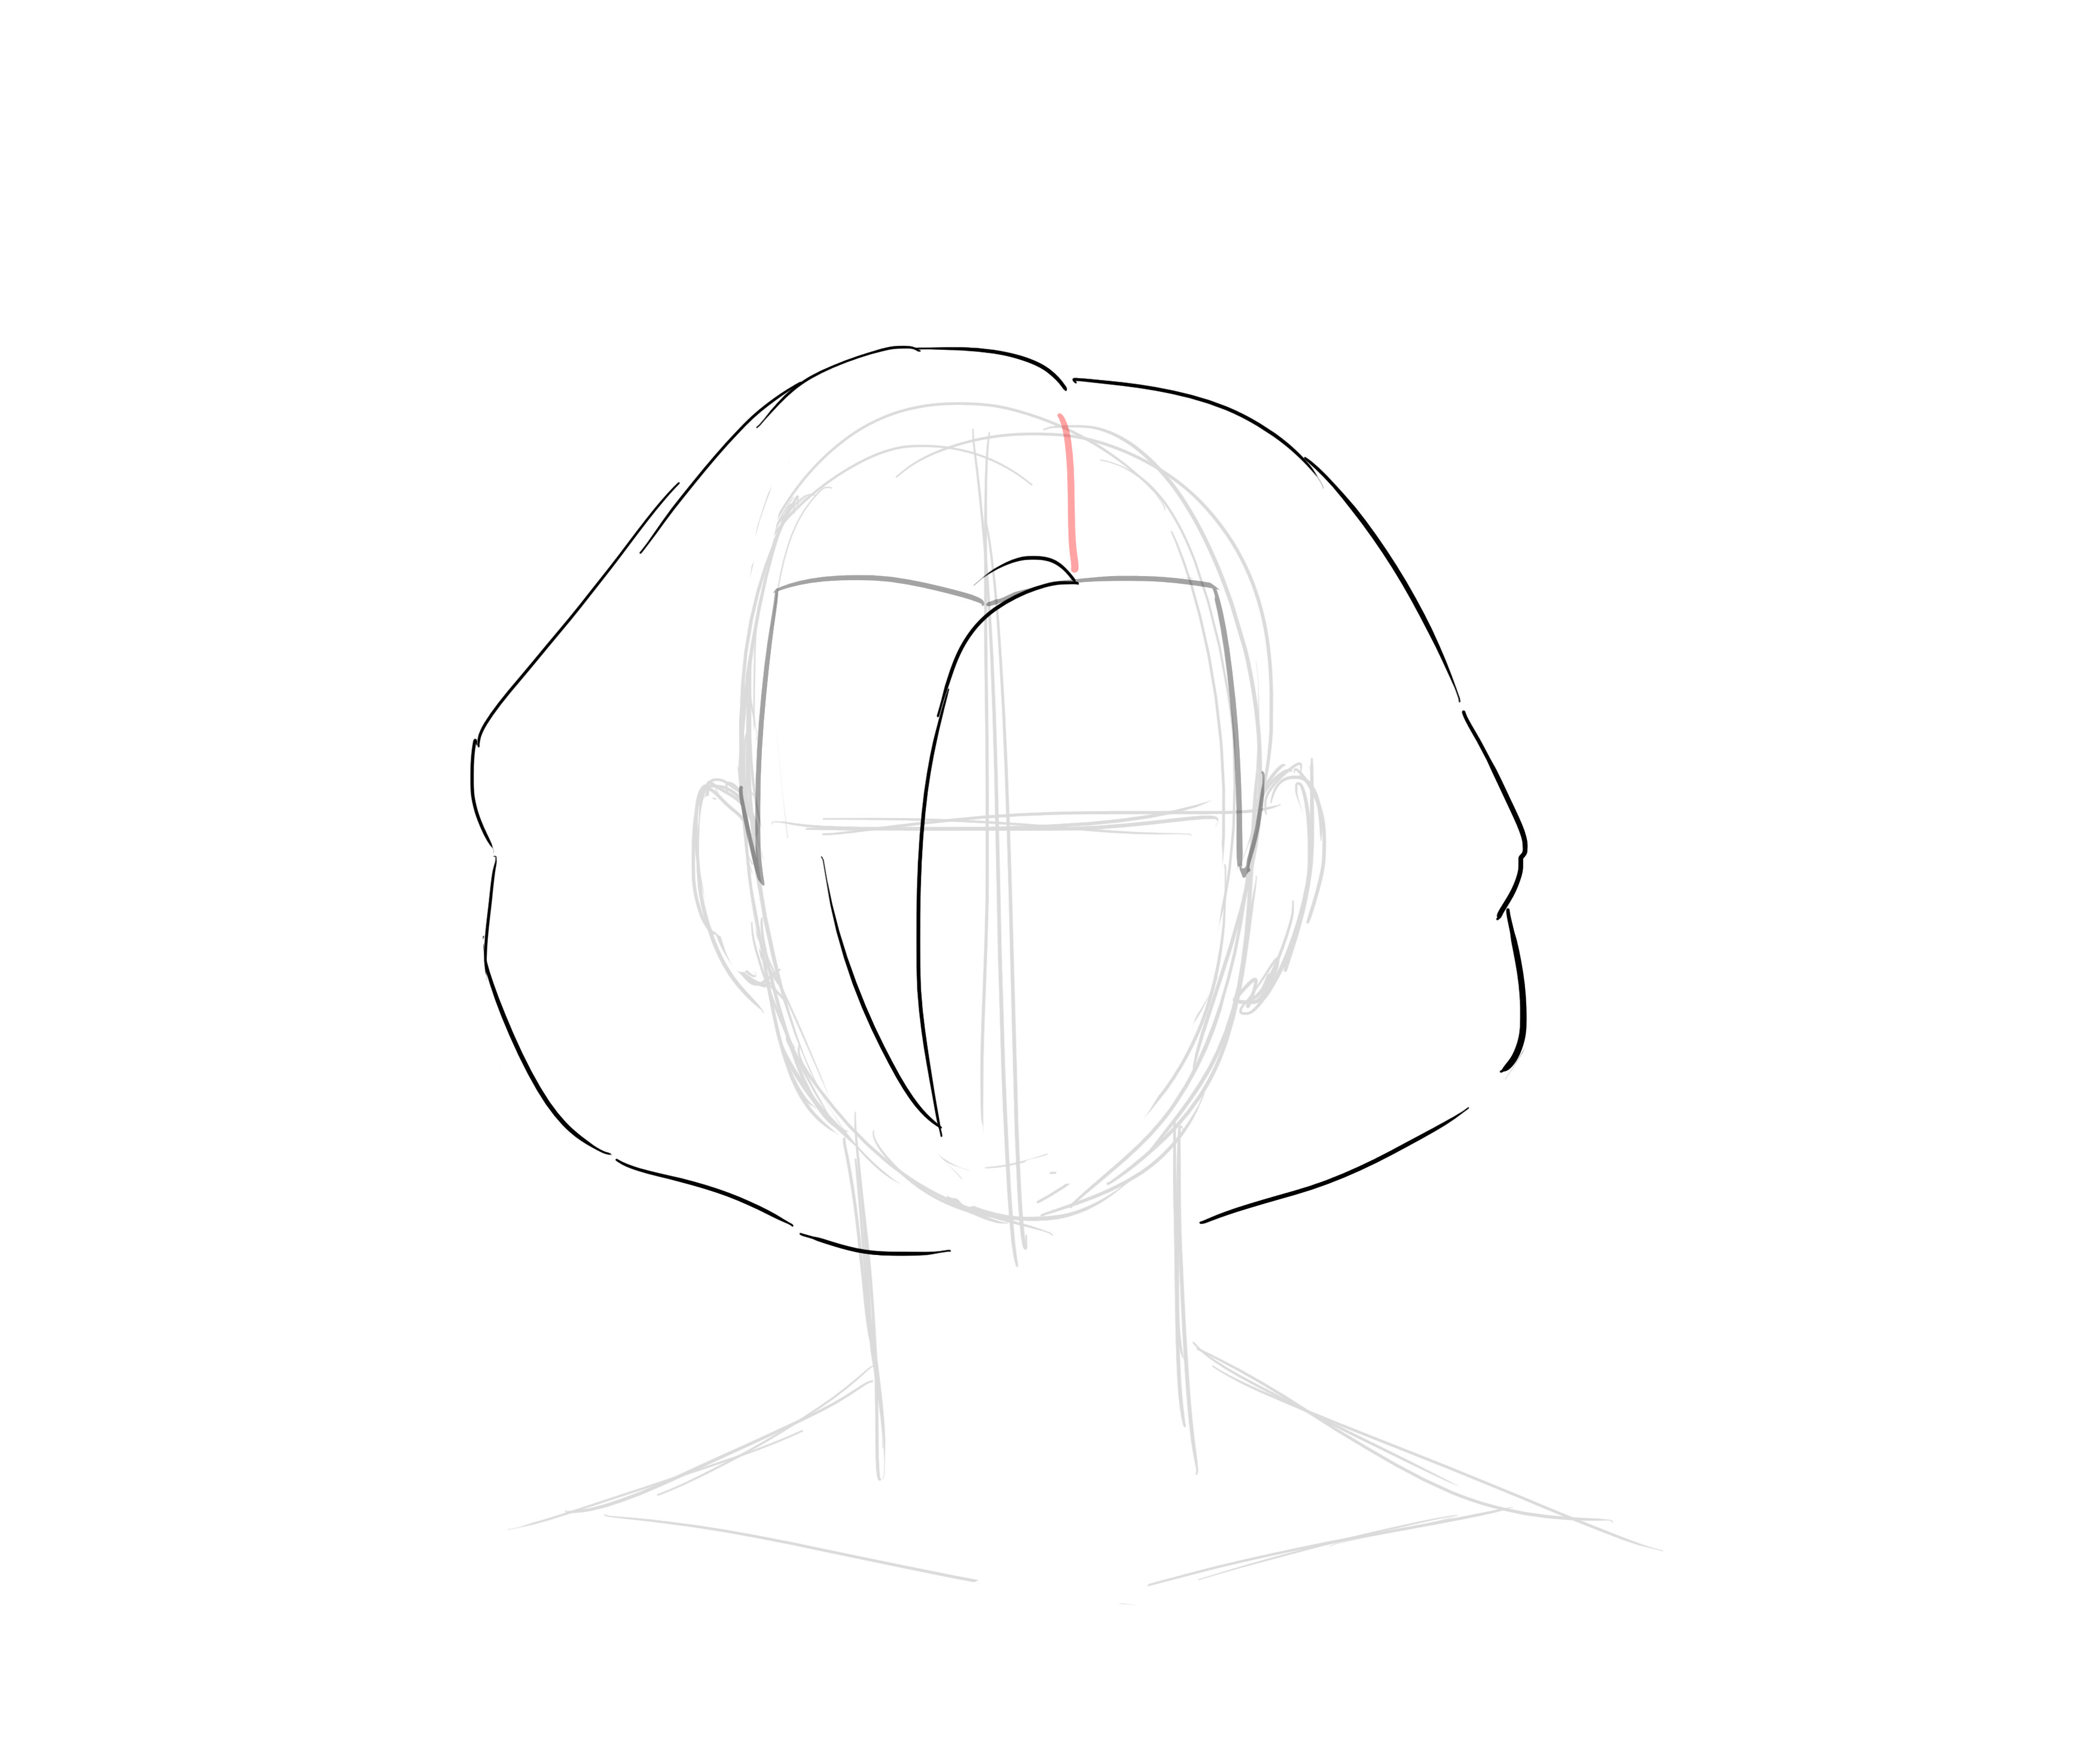
Except that here, of course, the locks will not be straight but curly / wavy.
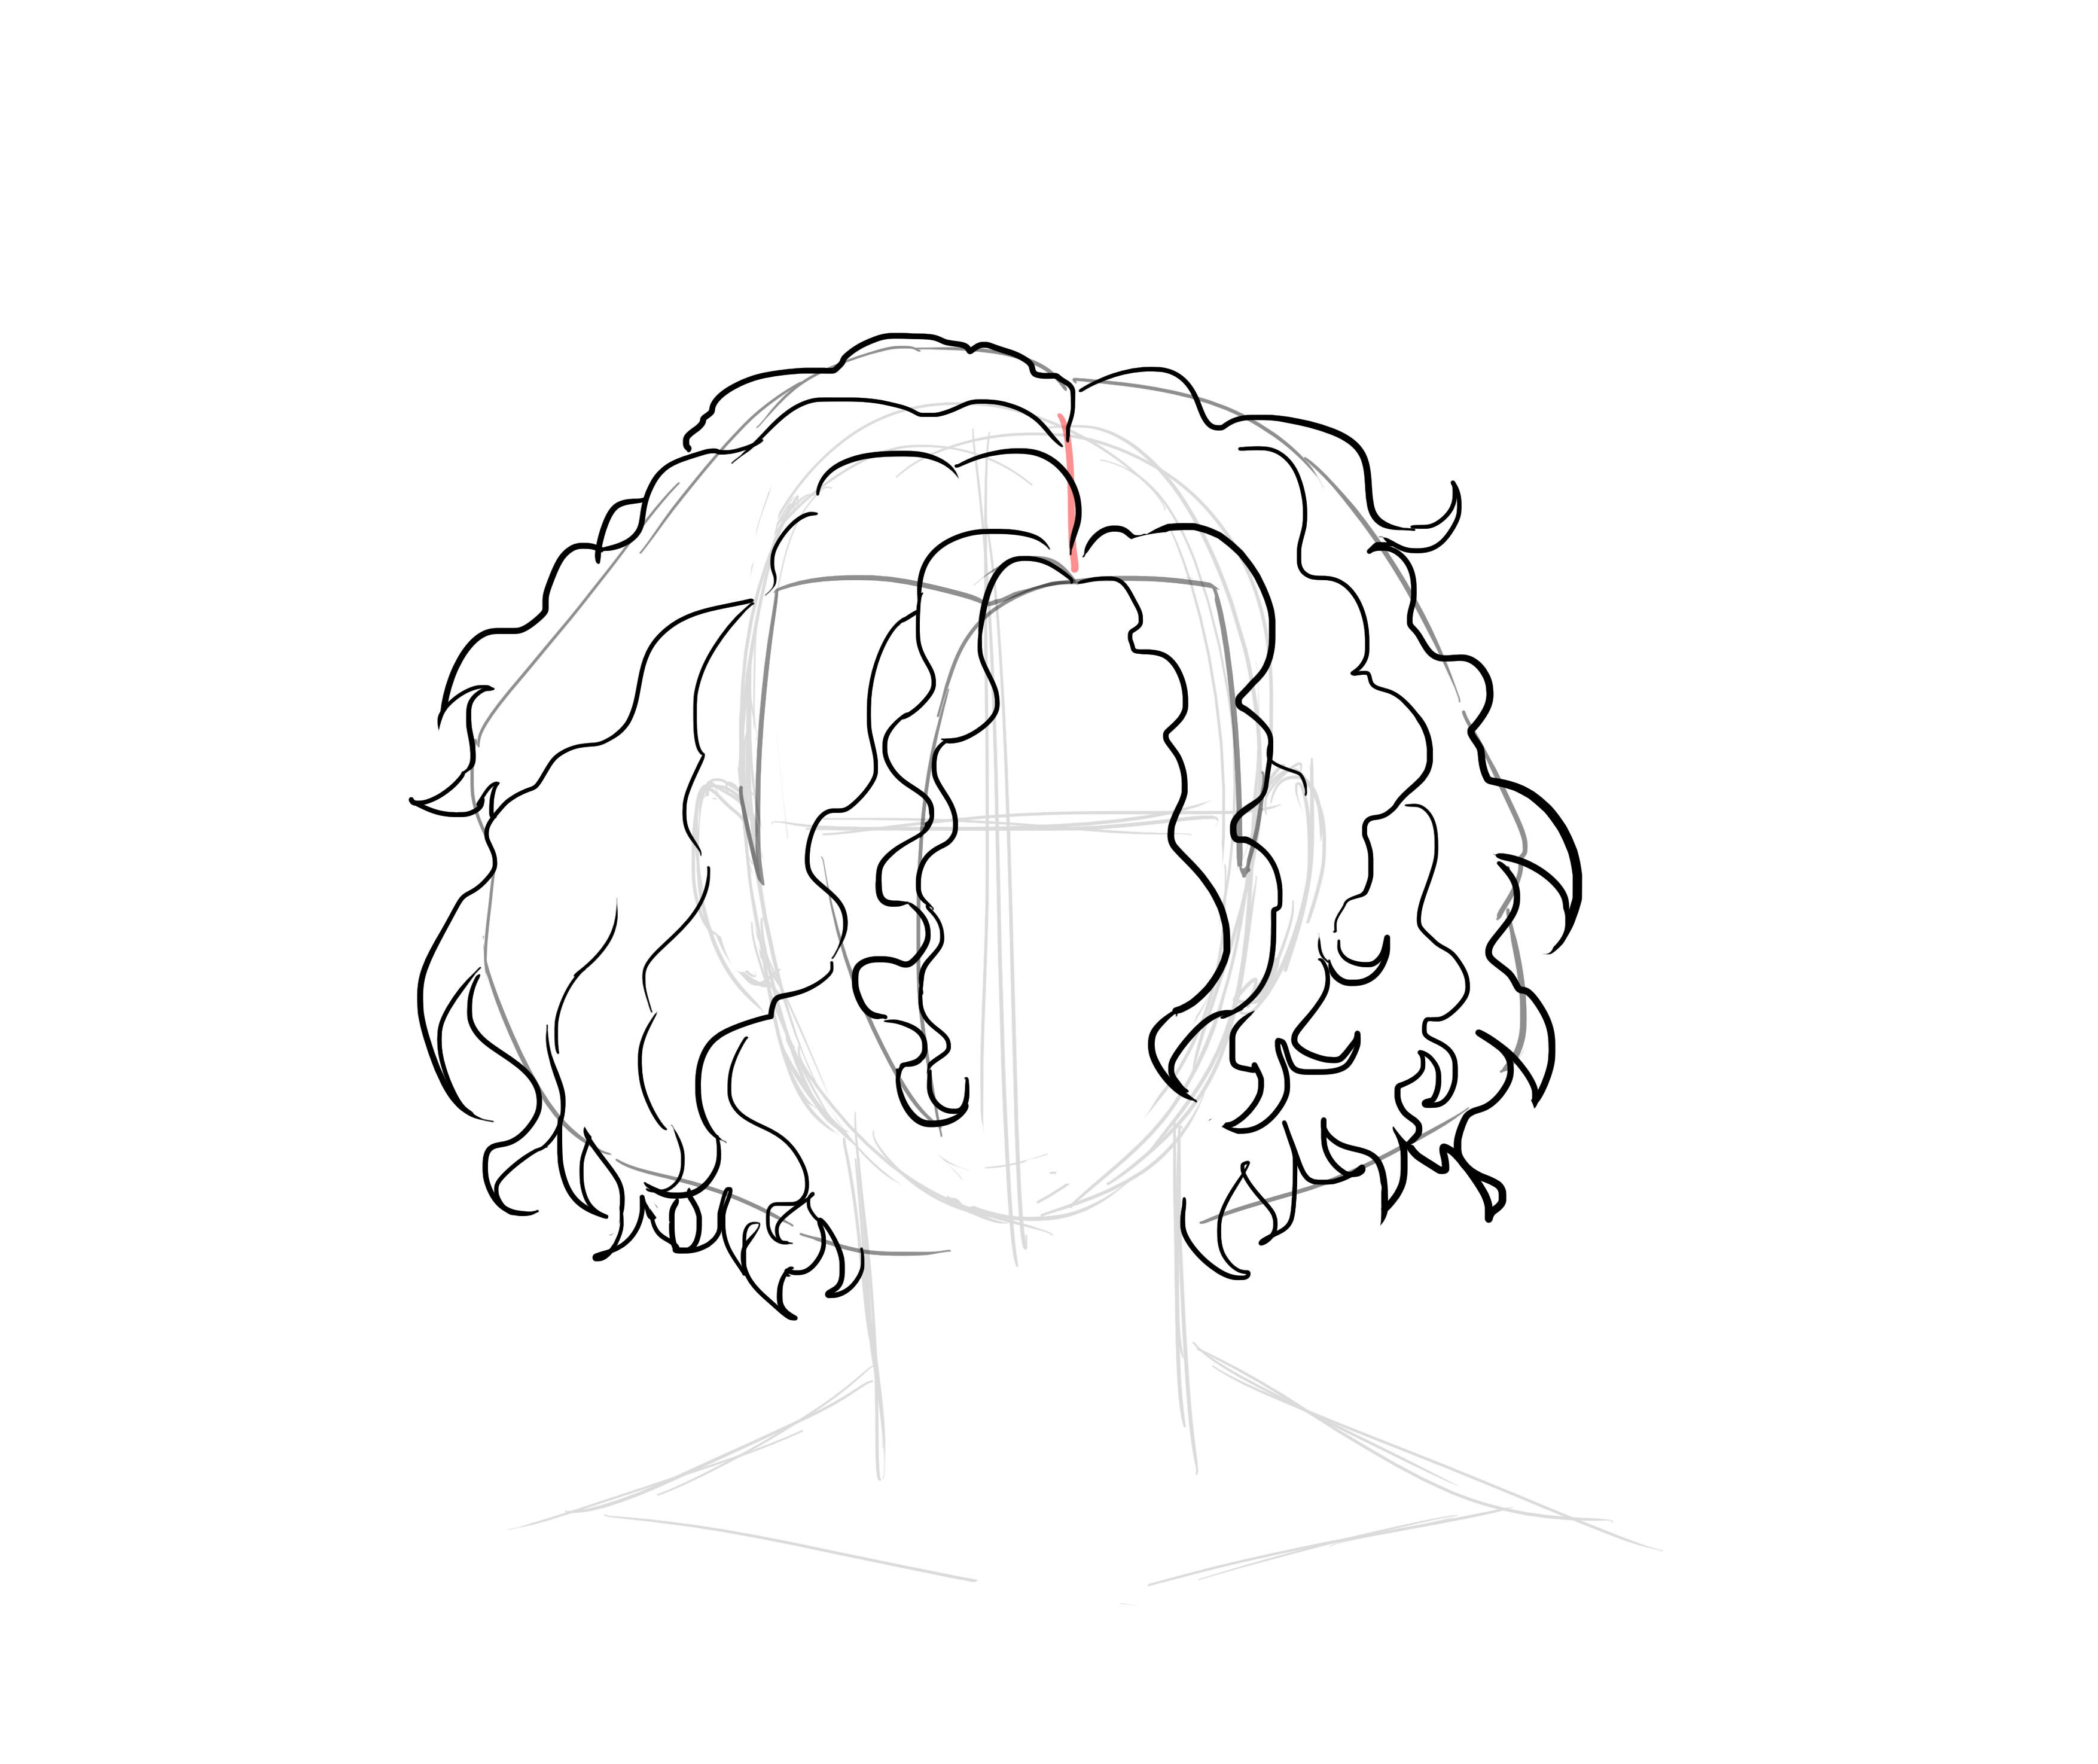
There is no particular rule for curls. But if you observe curly hair, you will notice that there are different types: ringlets, small frizzy locks, simply wavy strands and actual curls. So no need to be consistent, on the contrary.
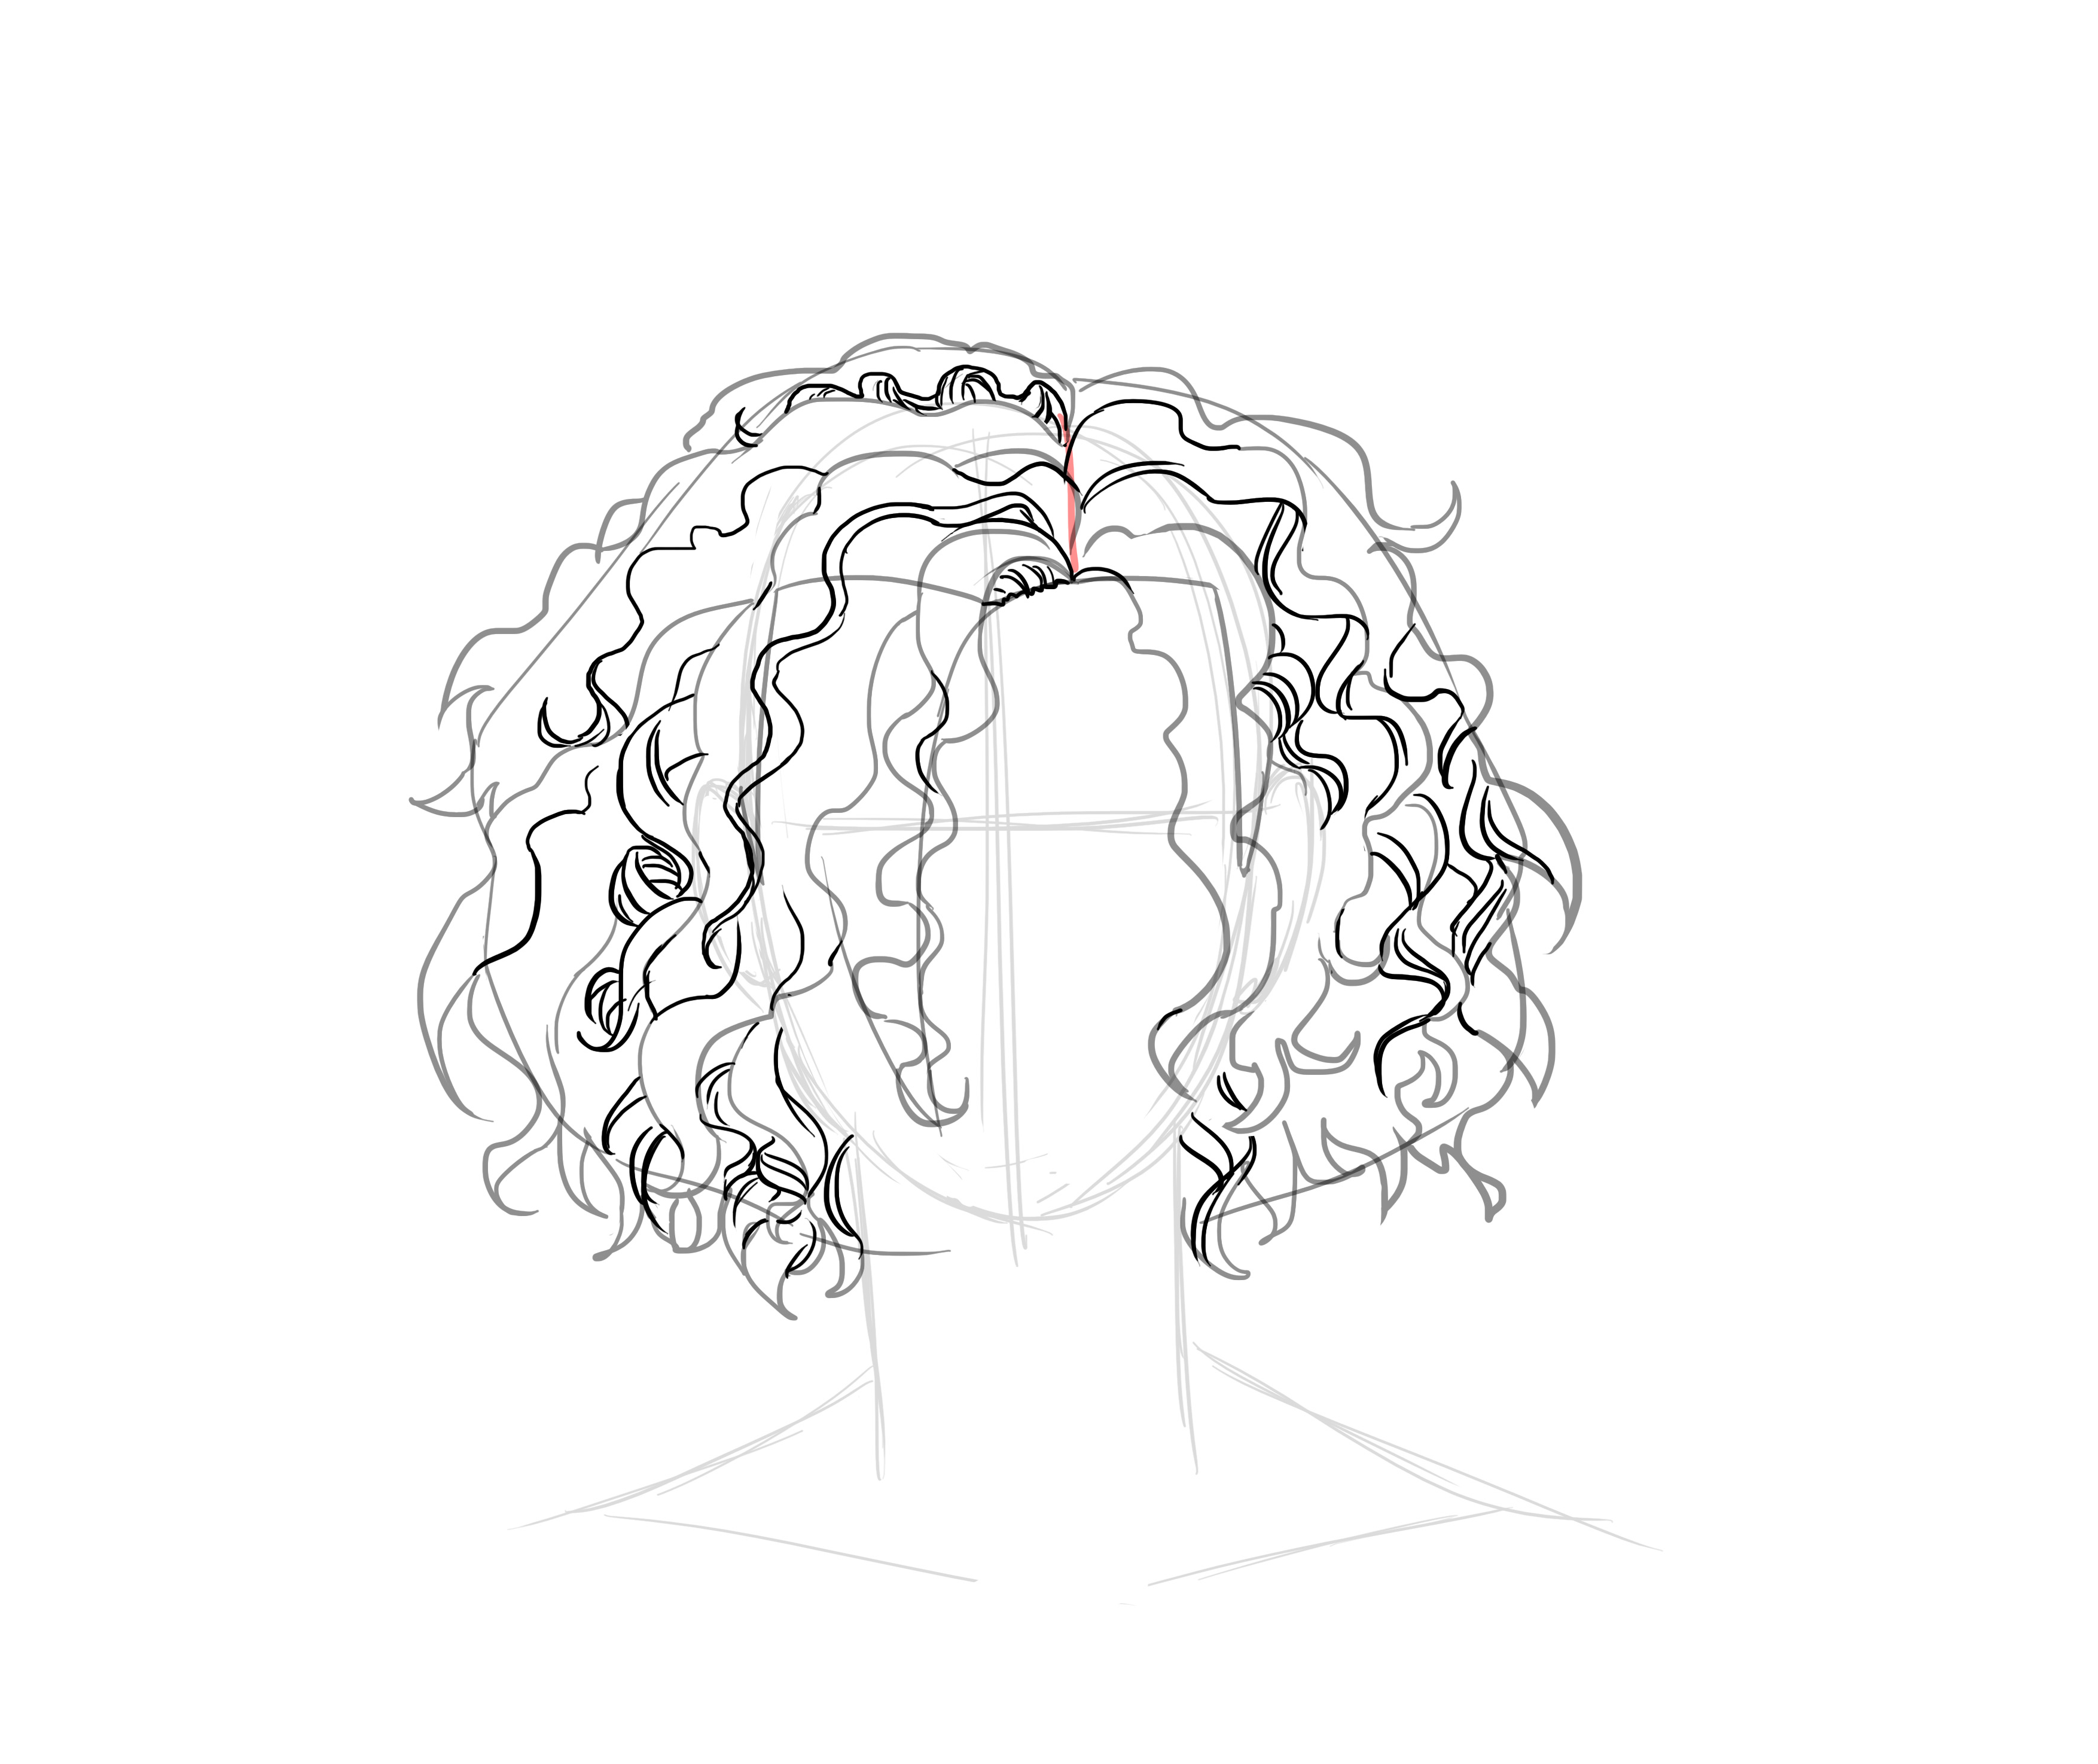
This gives us the following:

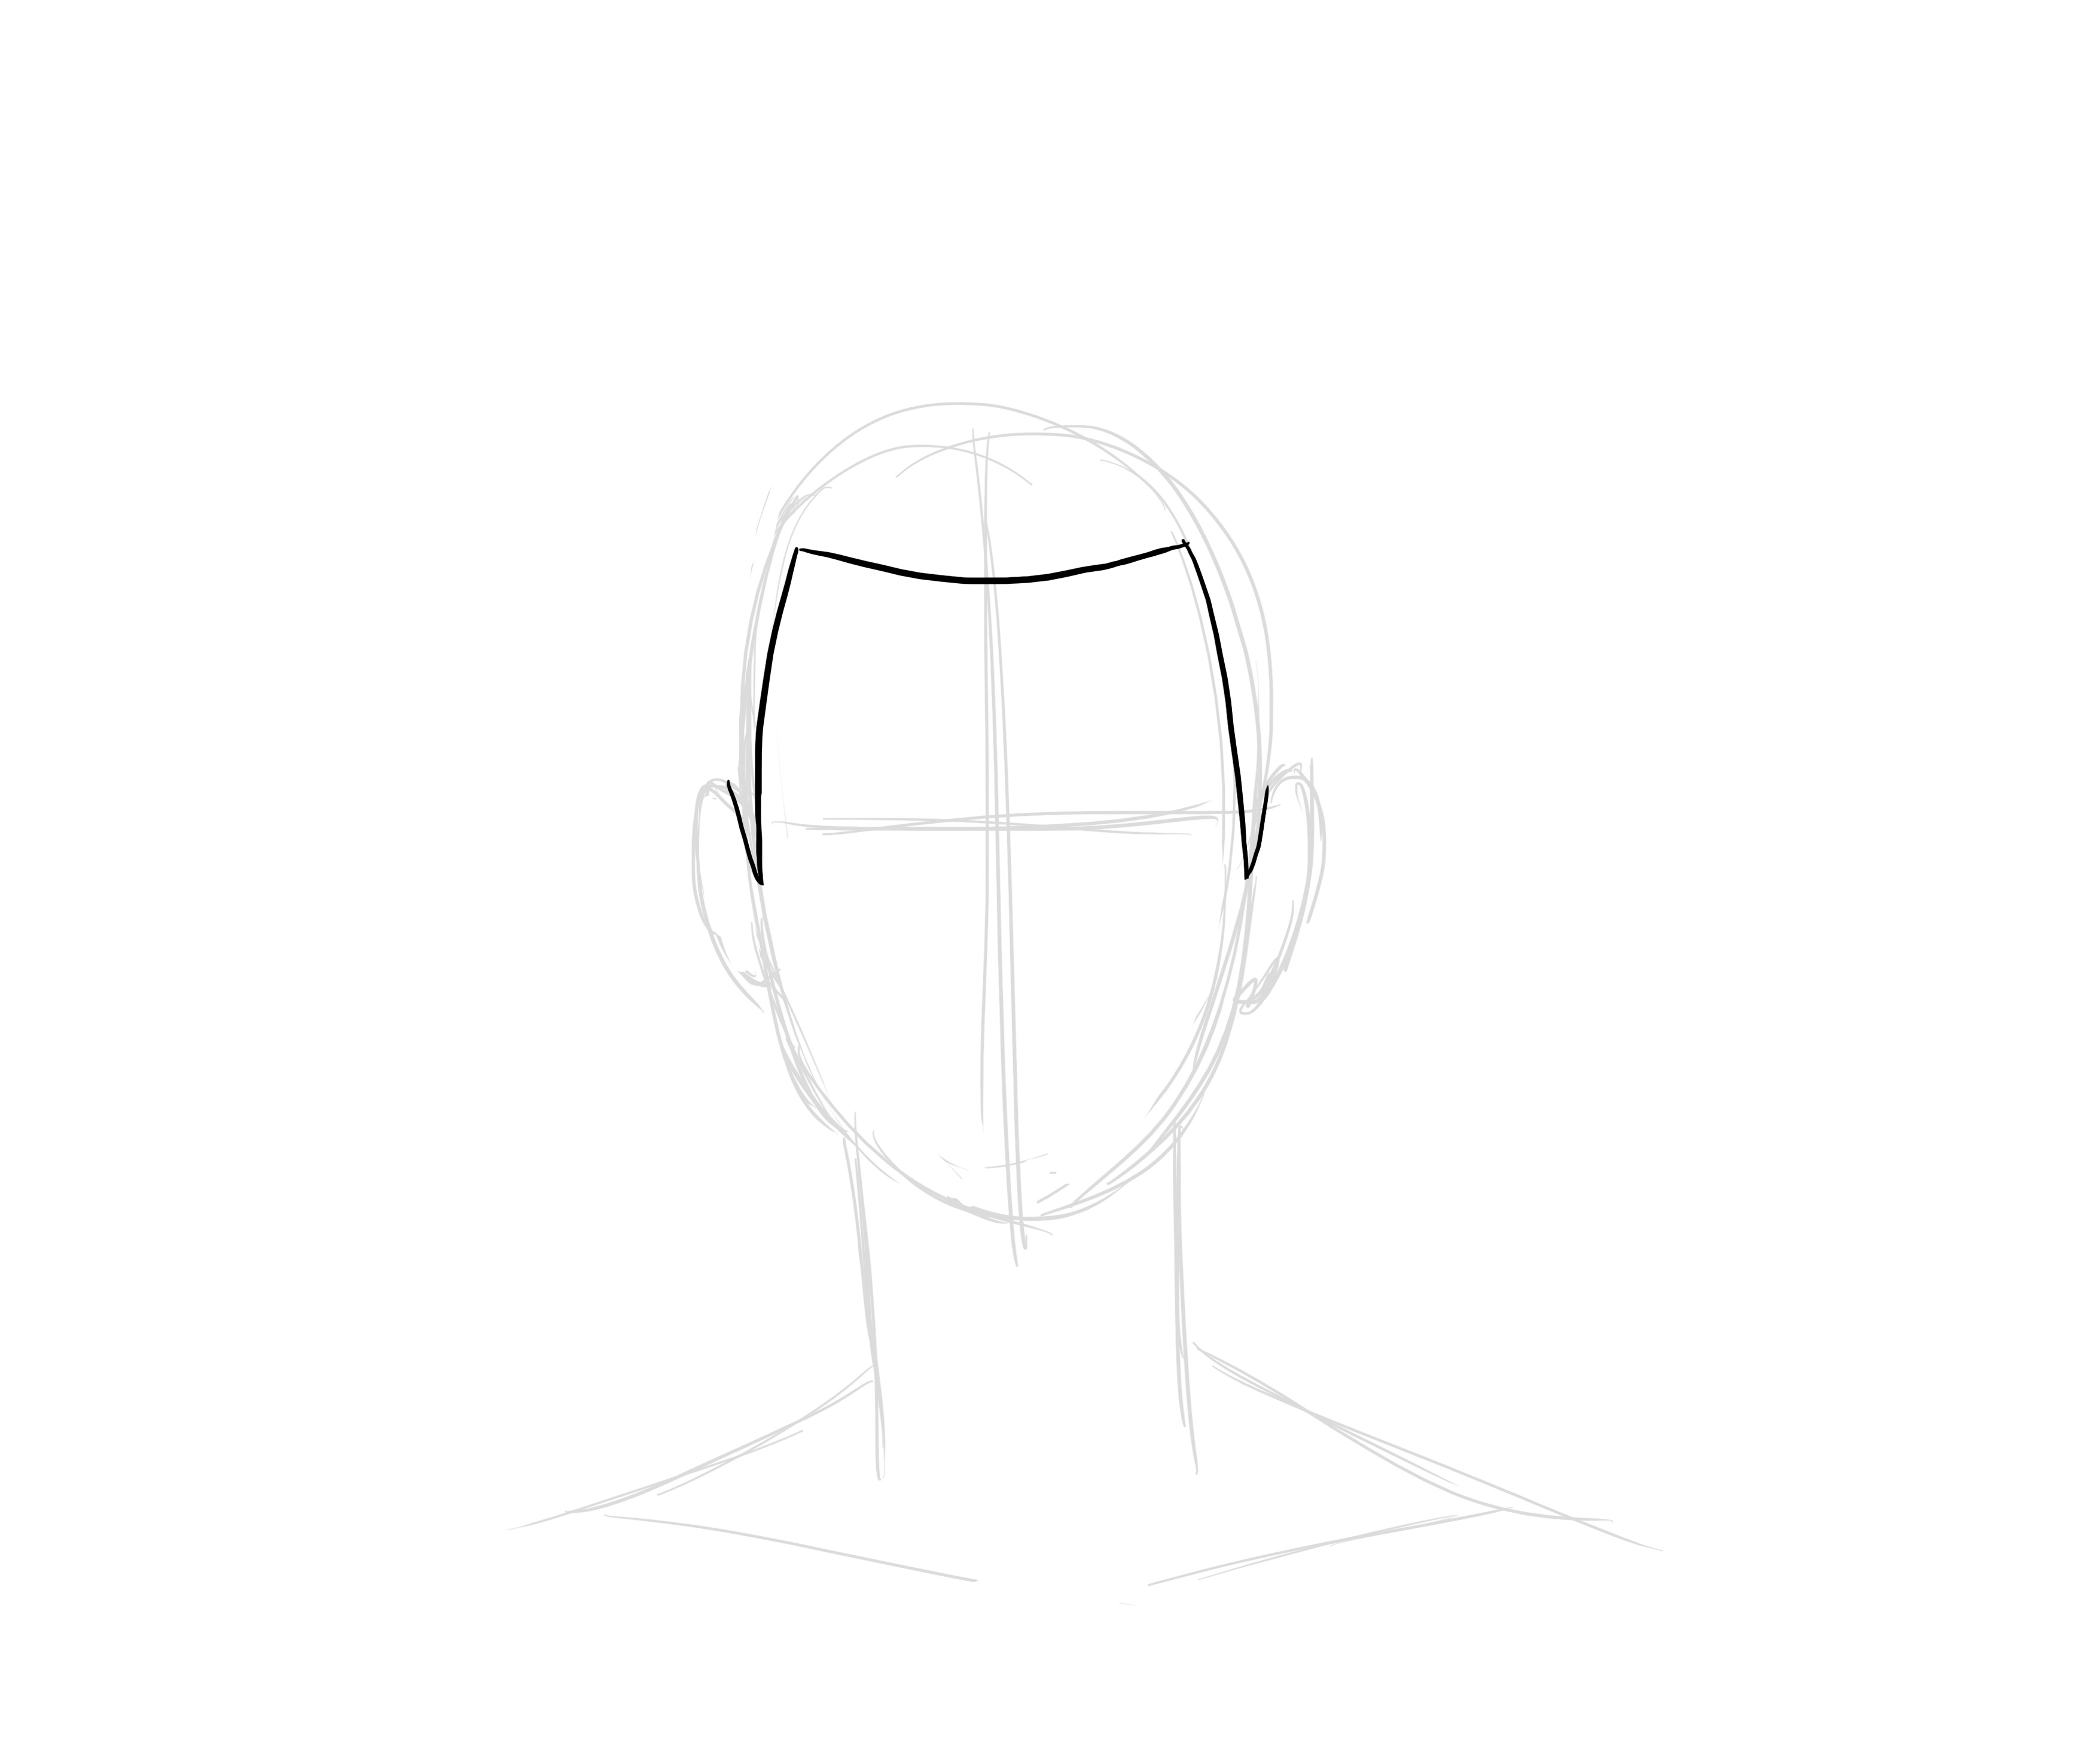
DRAWING MEDIUM-LENGTH AND KINKY HAIR
Kinky hair follows the same rules as others, with the difference that the strands are much larger.
So we do the hairline first:
The highlights:
And for the kinky effect, just irregular lines.
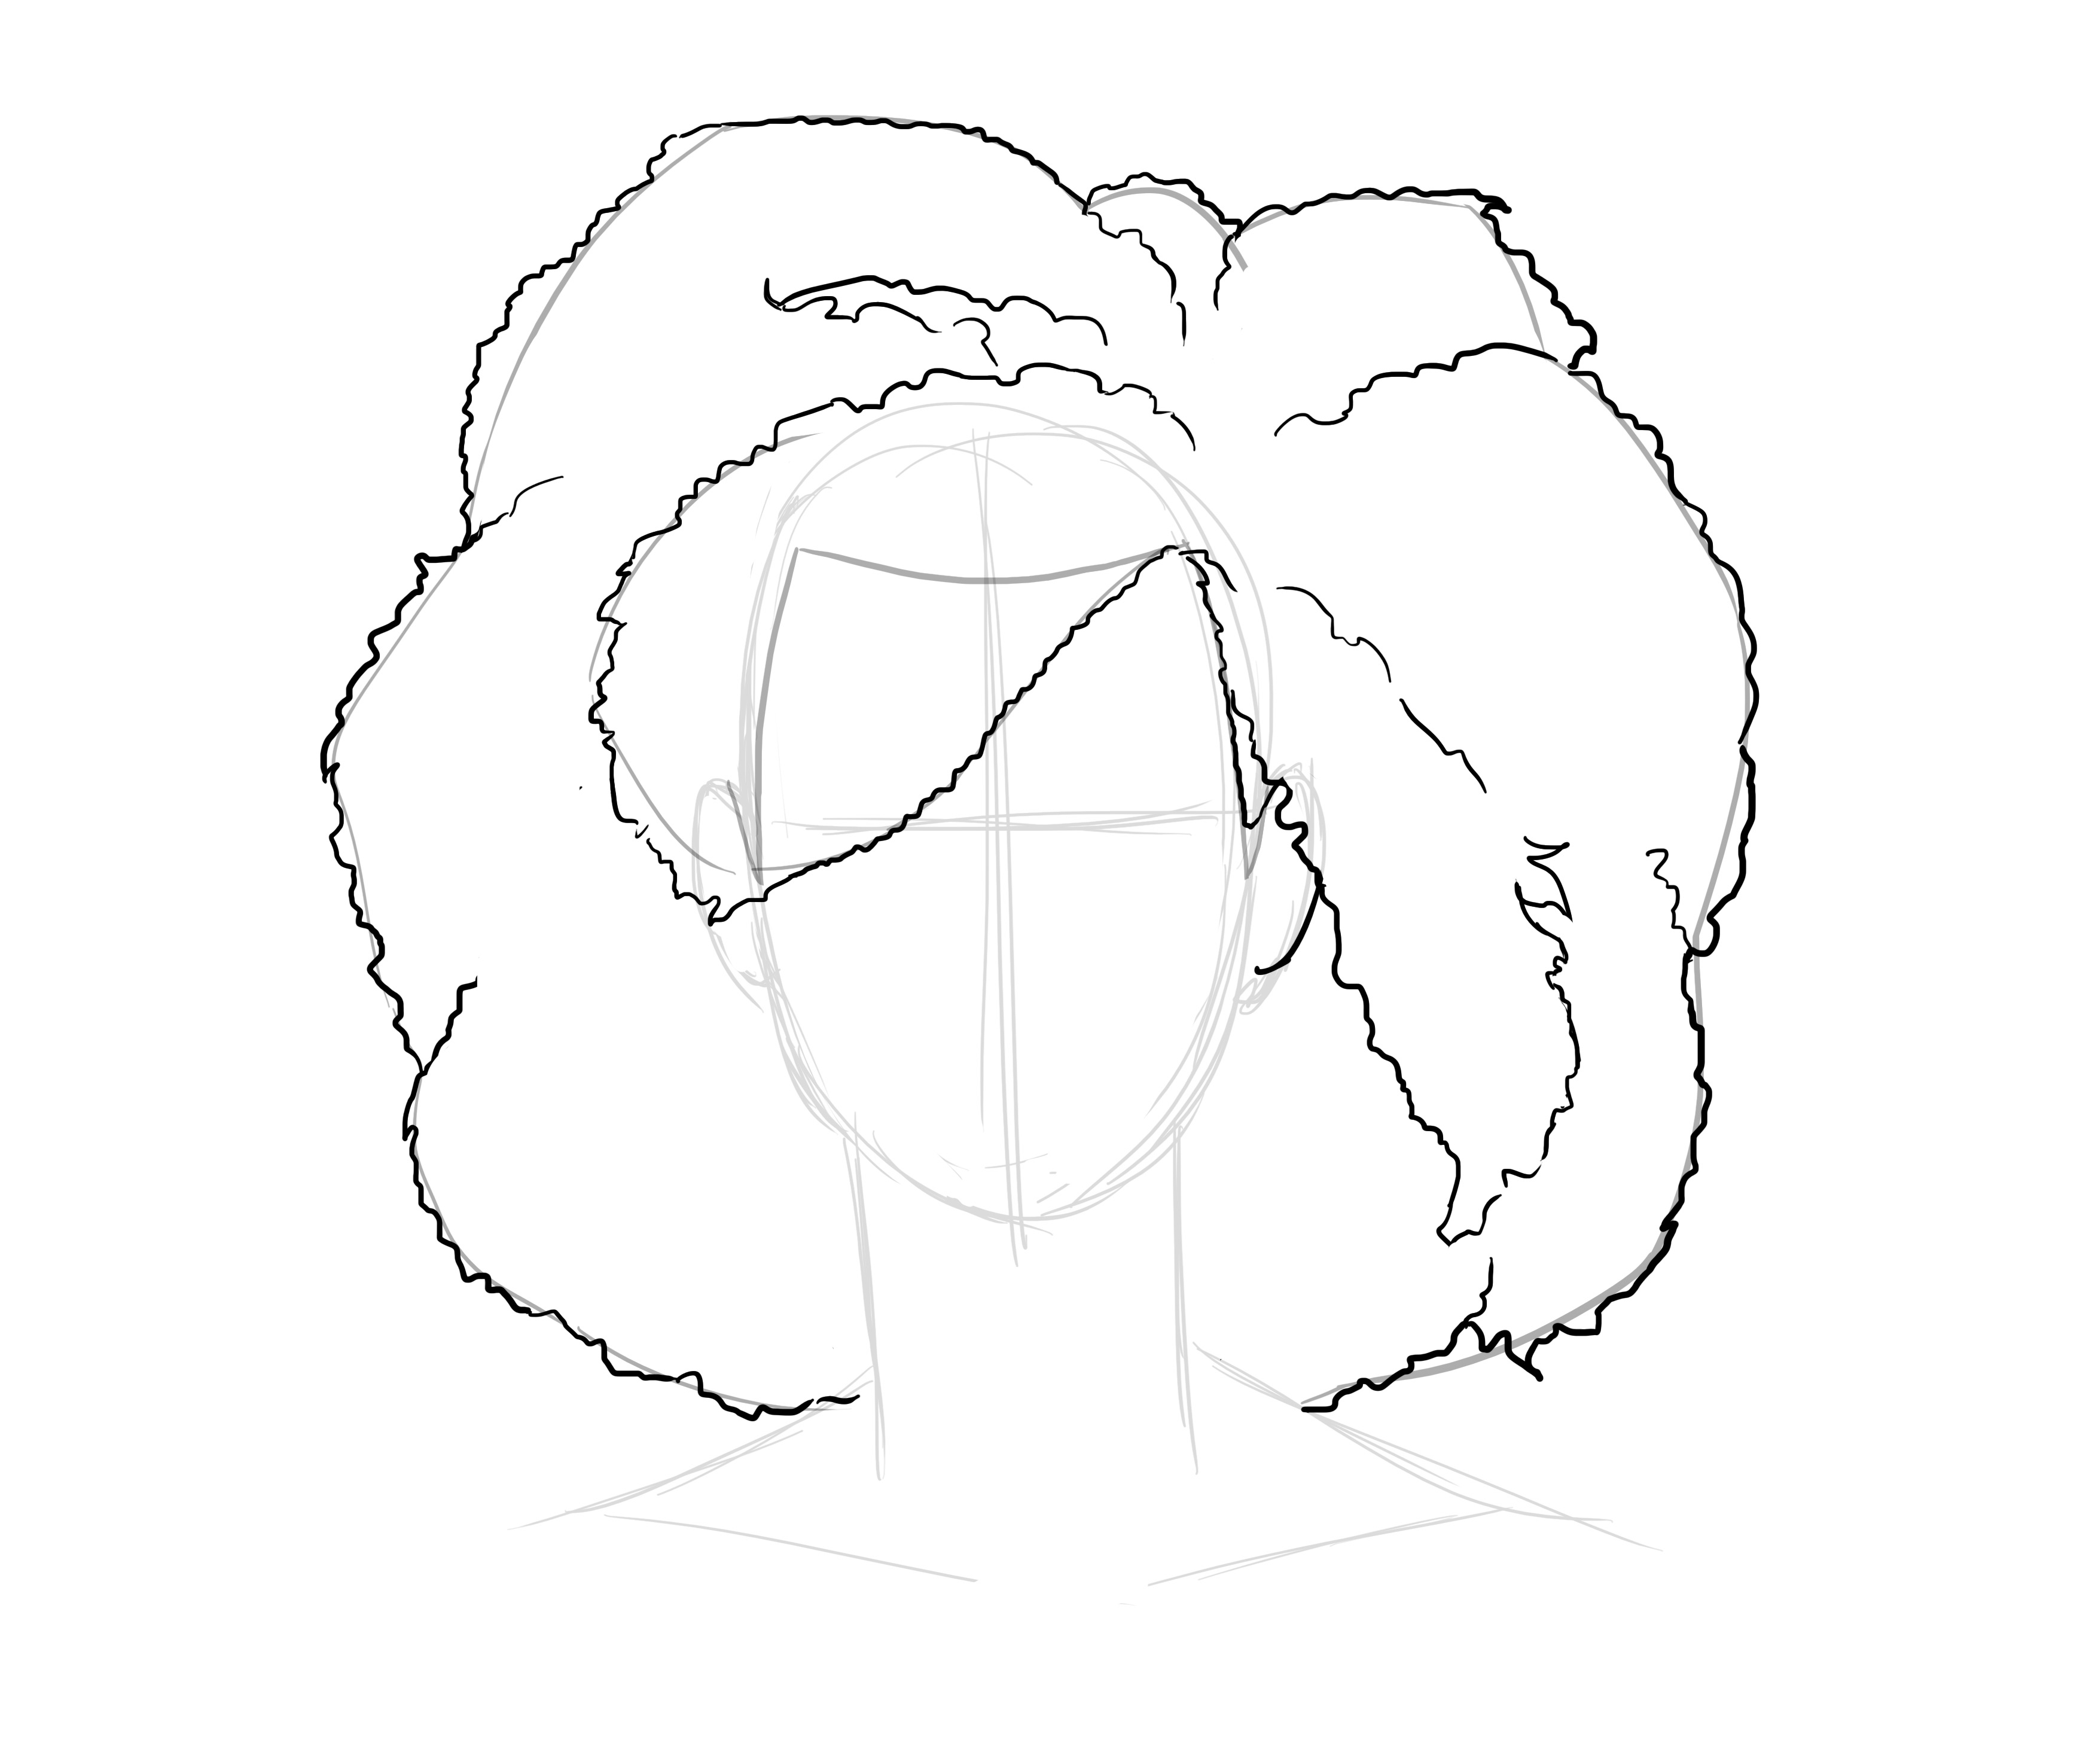
And there you have it! Don't forget that kinky hair is the curliest, therefore the most voluminous!
APPLYING COLOR TO HAIR
I will explain the basic principle and demonstrate it with the smooth style. The principle is more or less the same for the others, if you have any doubts, take pictures and observe ^^ You know that the first step is always observation anyway.
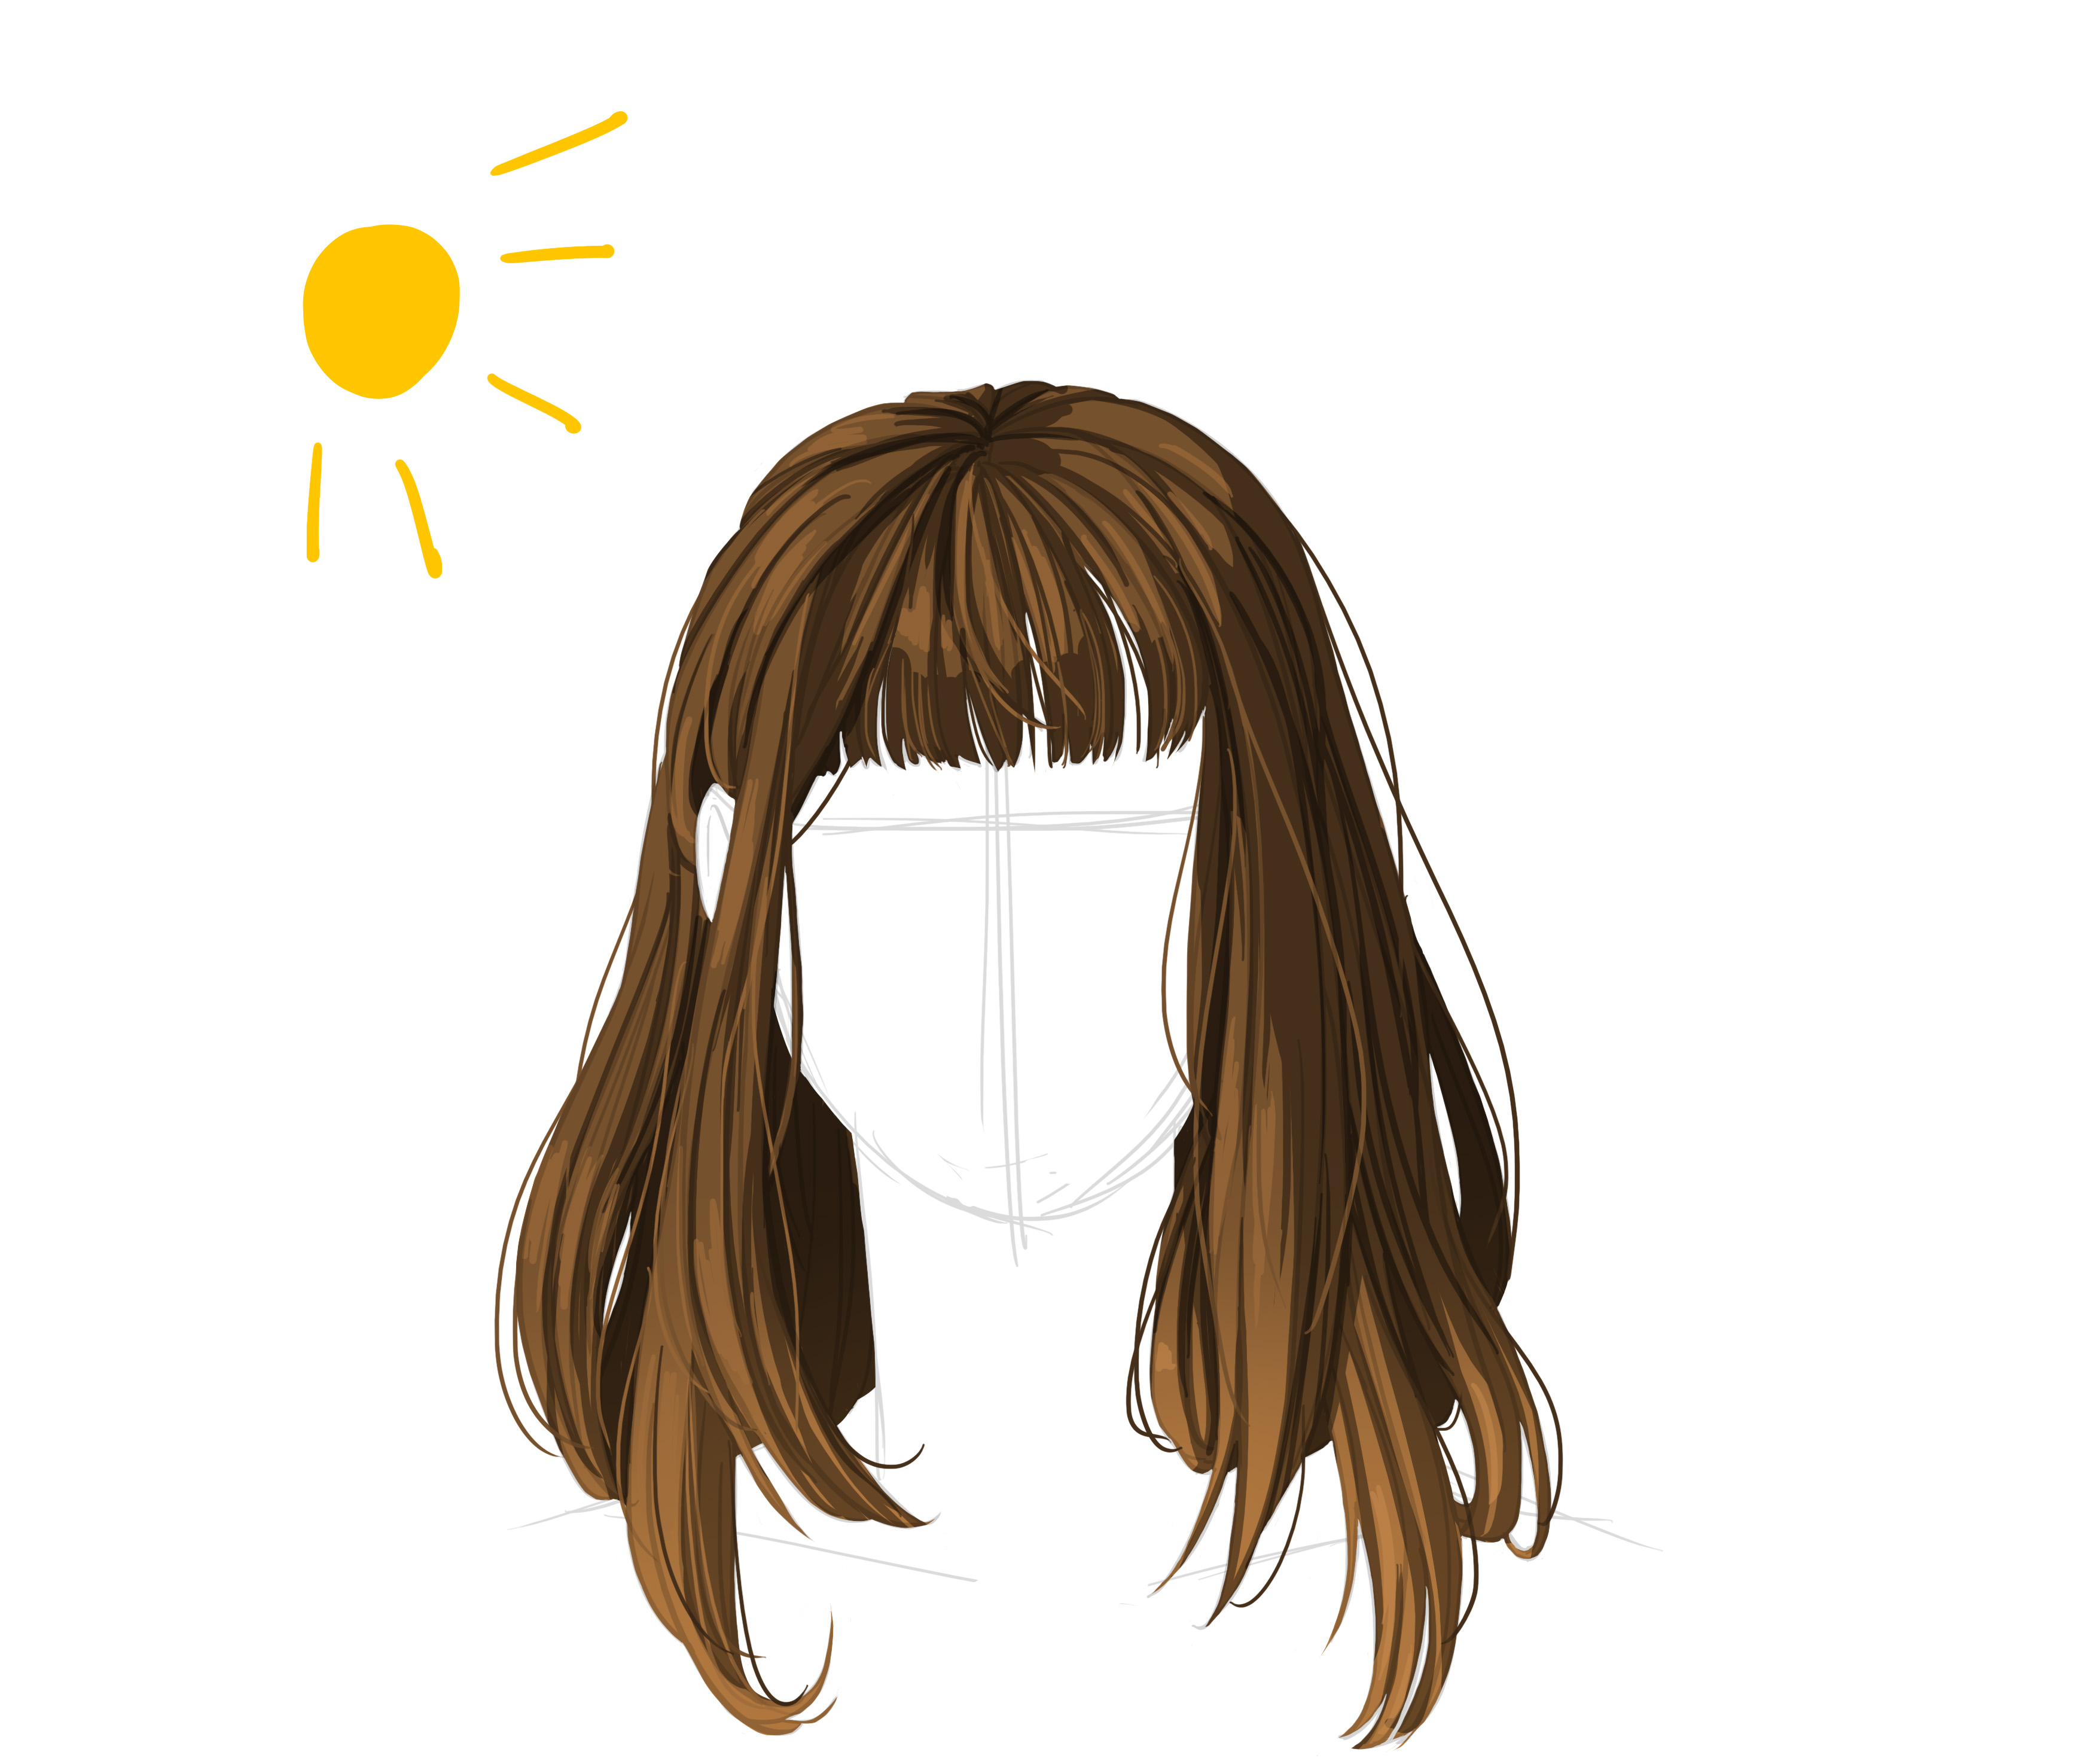
We'll start with the base color. I'm going to go with chestnut hair.
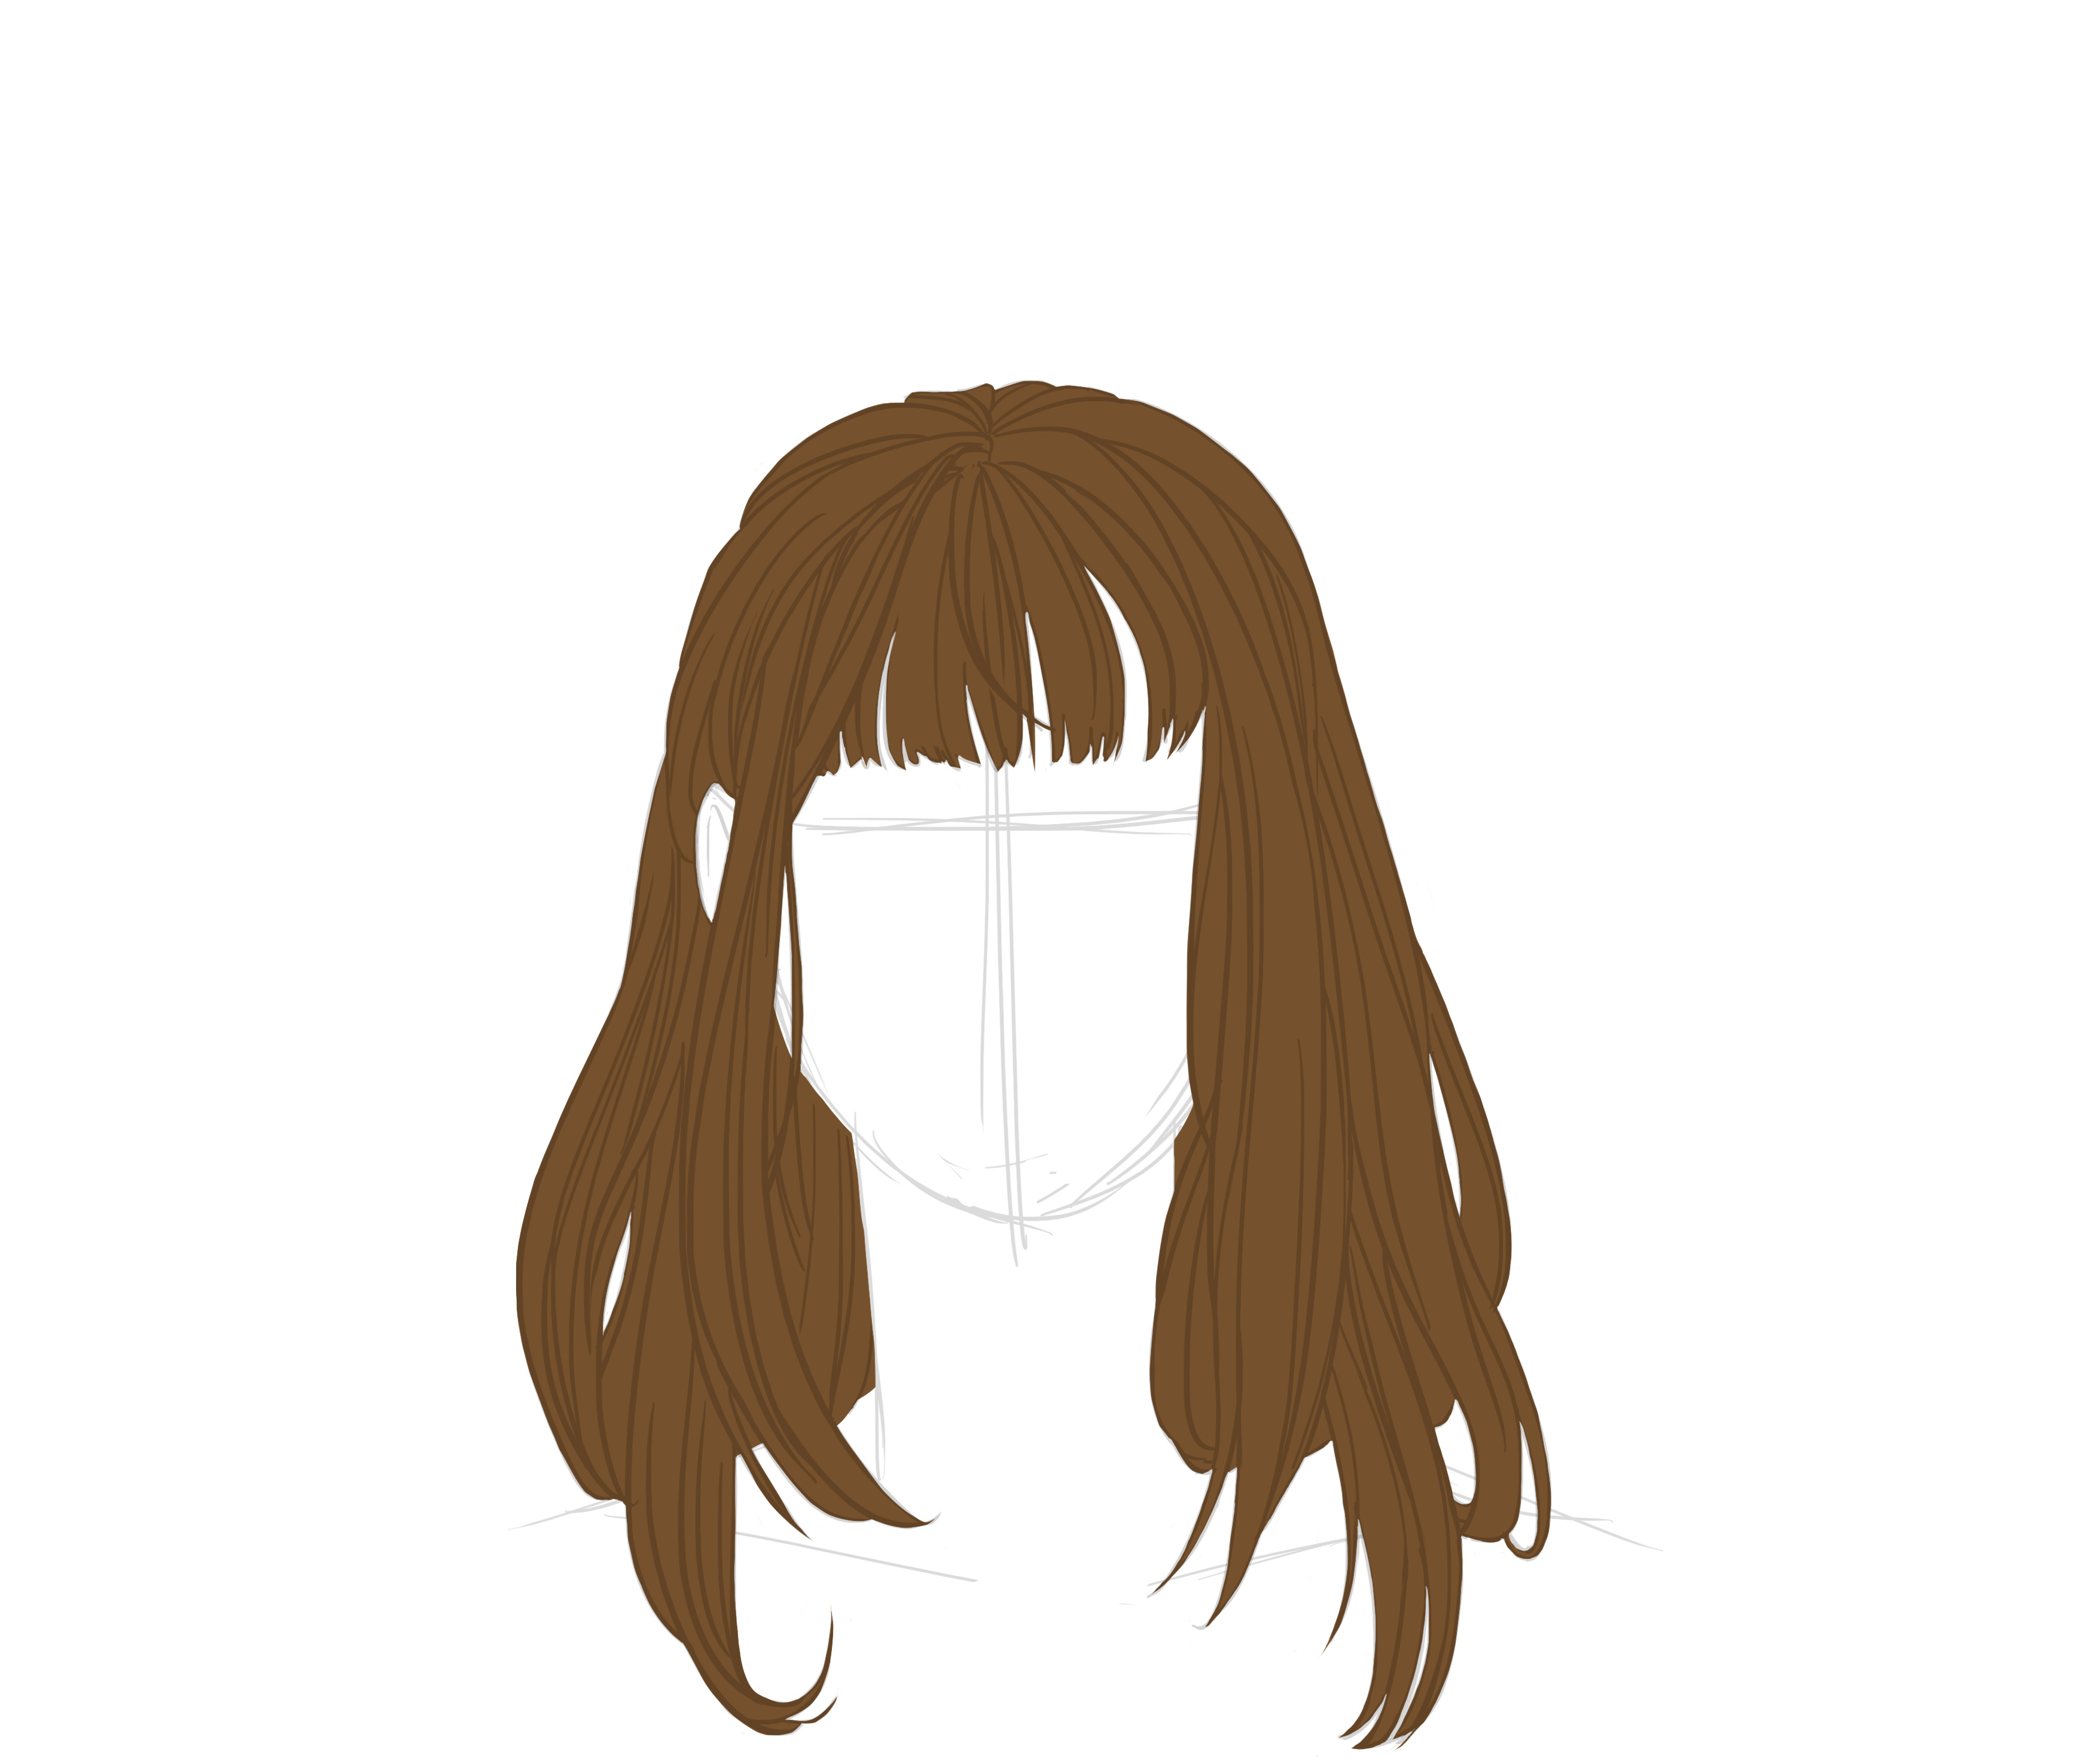
We can lighten the tips of the hair. You have probably noticed, but the tip of your hair is often lighter than the root. For very short hair, this is also true, but mainly because there is less volume compared to the base of the skull.
Then we choose the light source. Let's say top left.
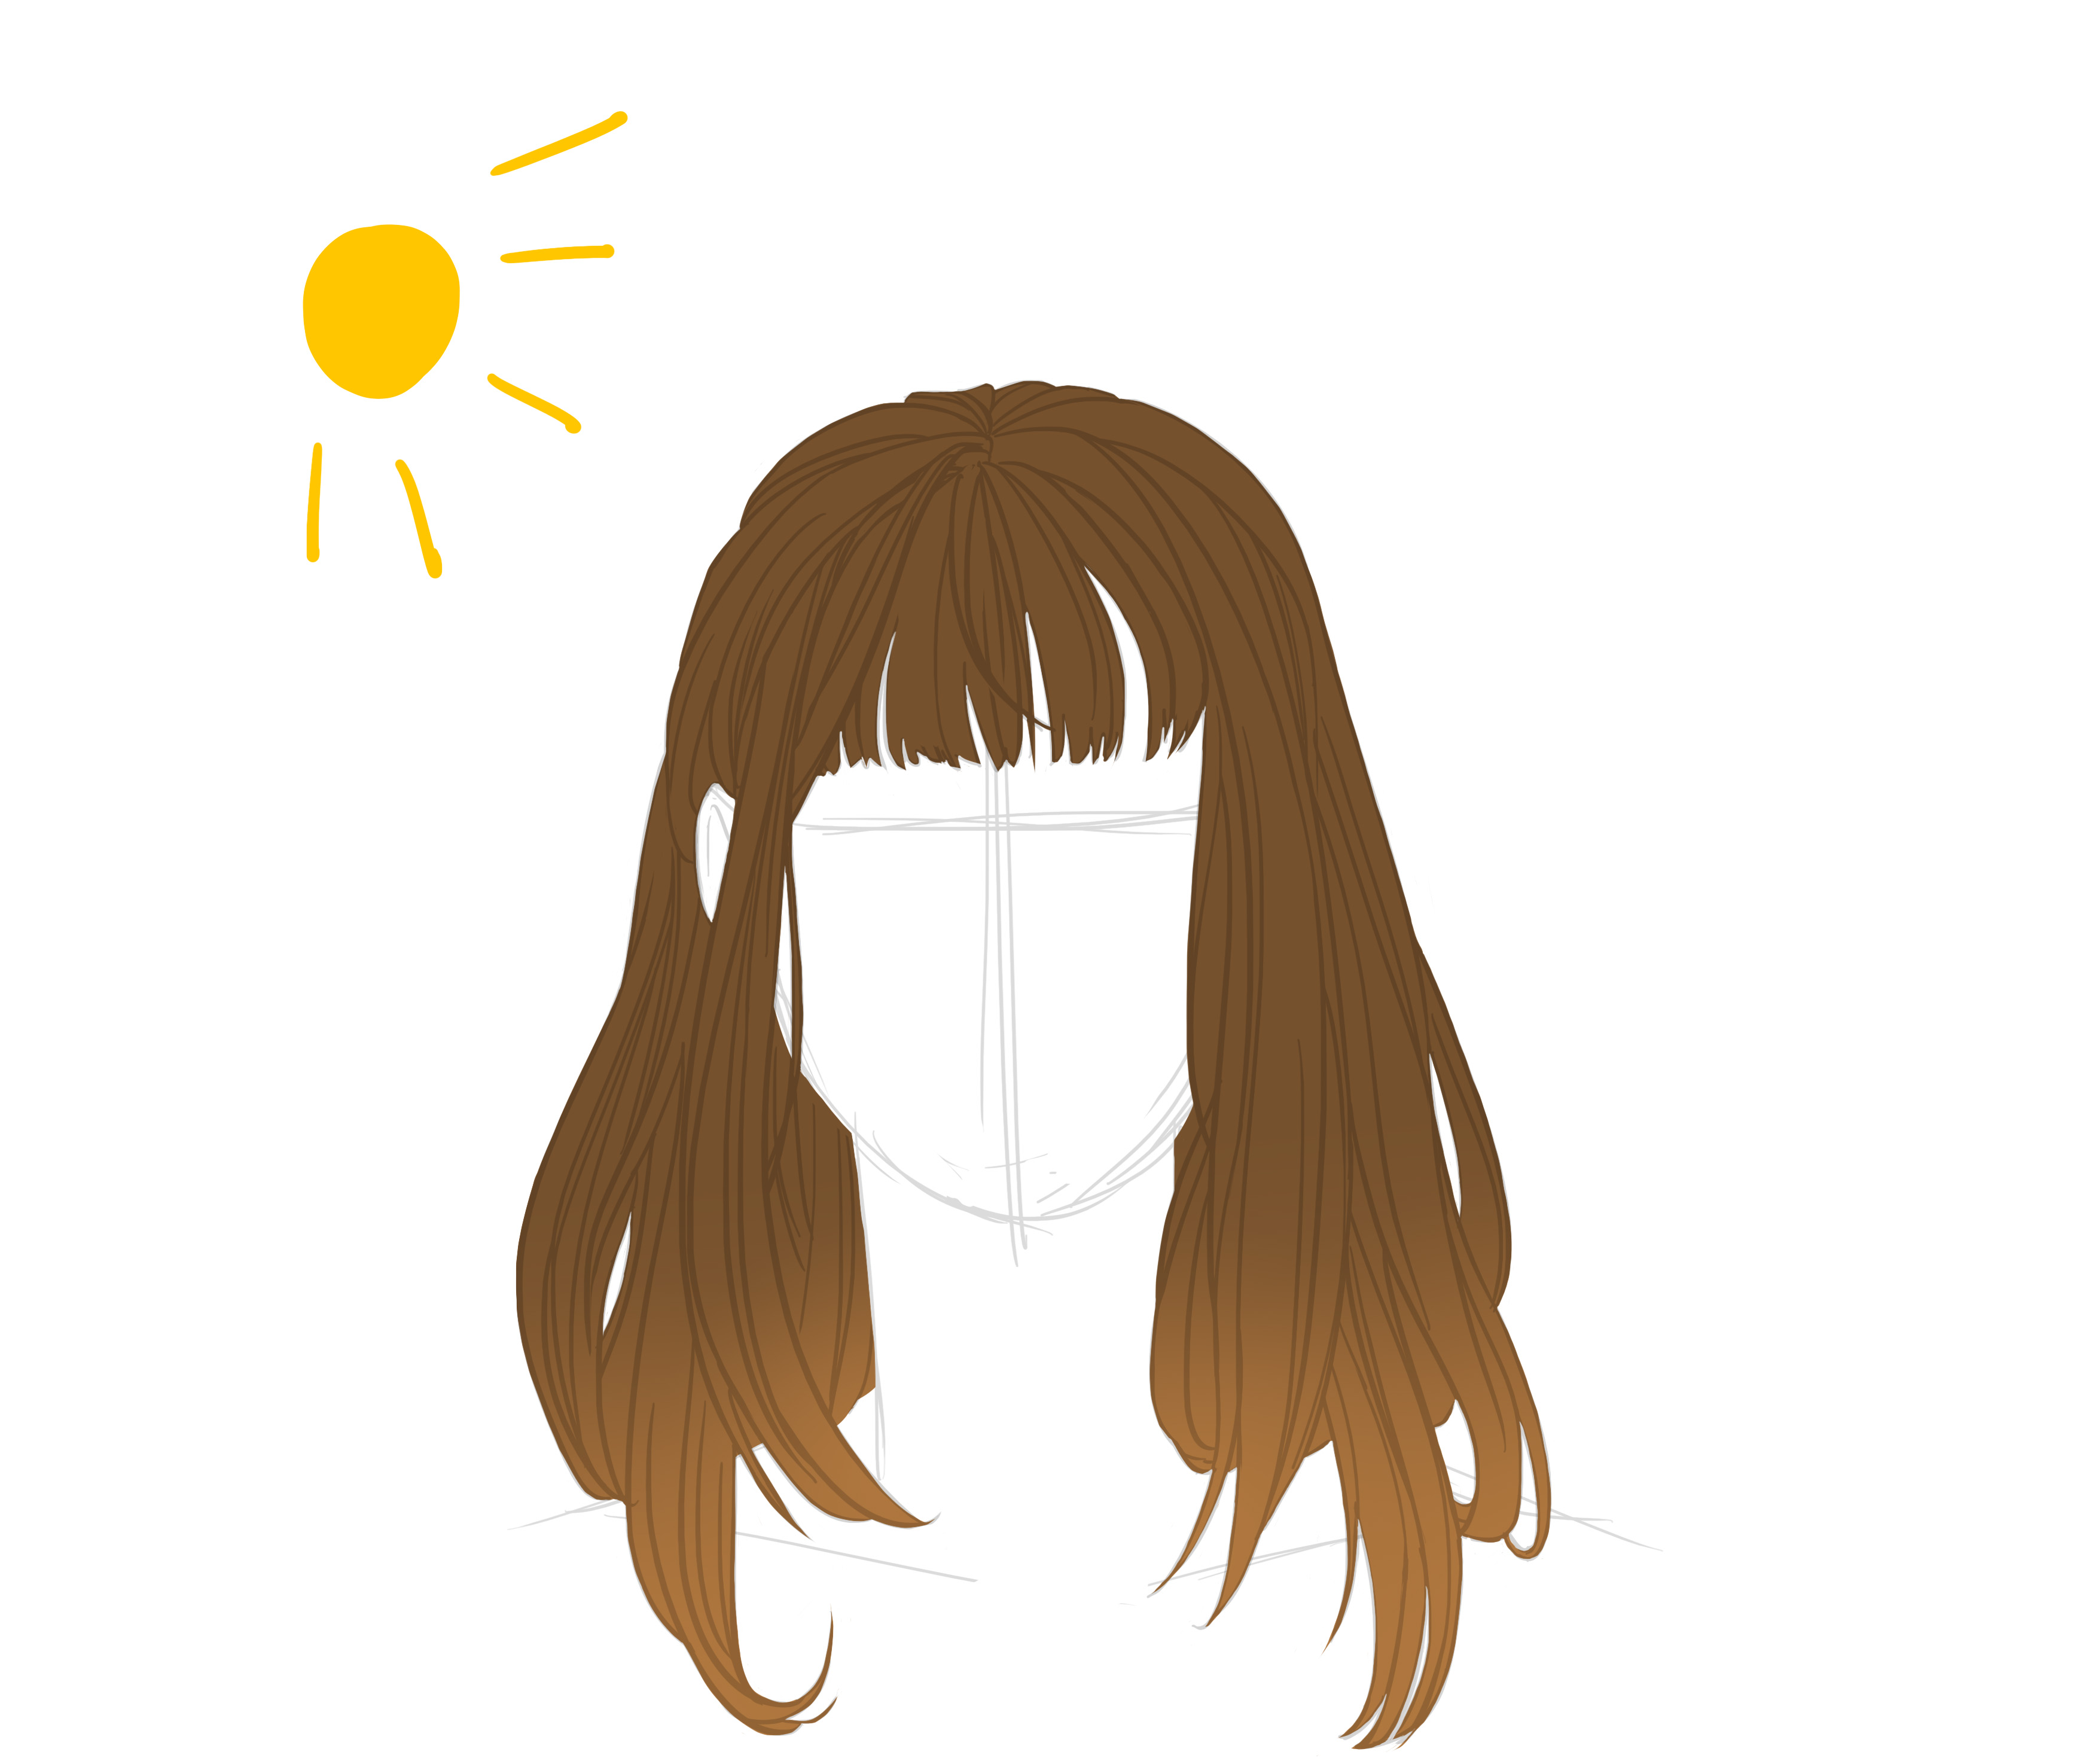
Then we use the brushes to add the shadows. We obviously choose a darker shade, do I need to specify that?
Shadows can also be placed at the base of the skull, especially when there is a parting and/or bangs like here.
You can also add stronger shadows in certain areas to give more volume.

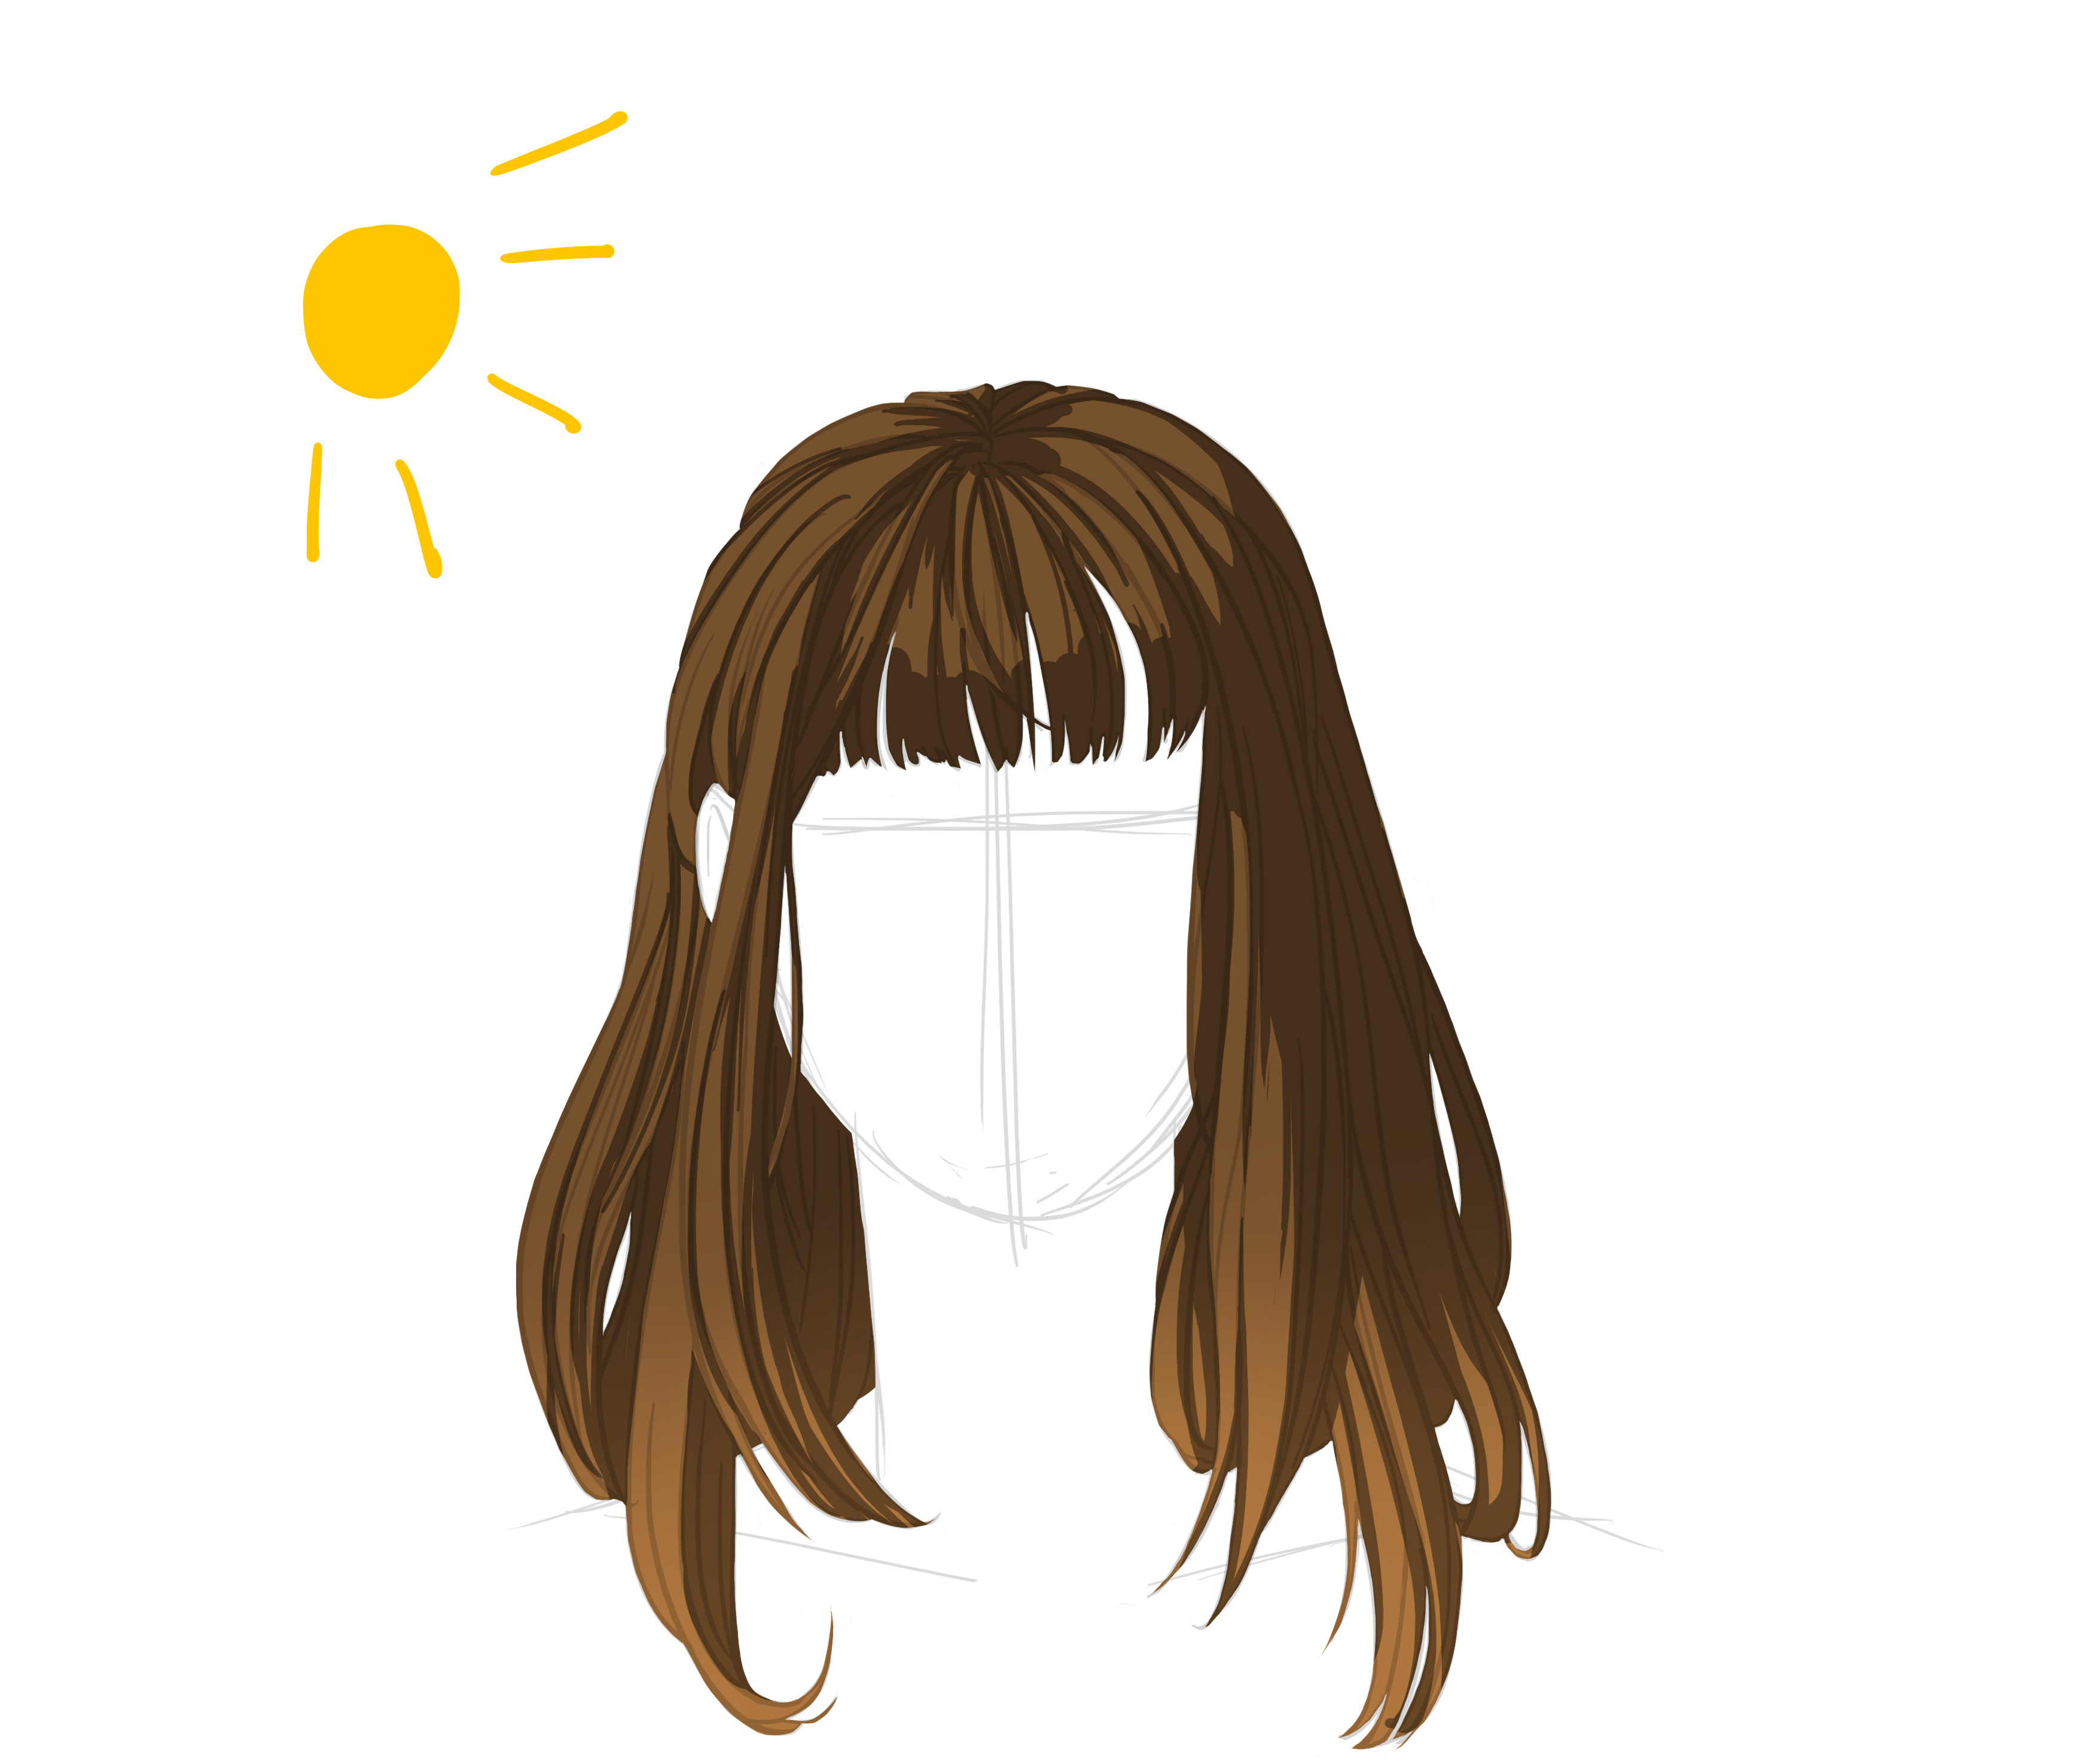
Then we can add highlights to create really shiny hair. It works like on a cylinder, the light will hit the most rounded area. And it will be stronger if it's very rounded.

Once we have that, we can either stop there or choose to detail further, in which case we take the previous colors and draw the hair one by one following the strands we made to begin with. Be careful not to be uniform, adding more dark shades towards the shadow areas and not in the light (let's be logical).
And at the end, we can add a few crazy strands for more realism.

And there you go ^^
Summary:
- We choose the hairline
- We choose the type of hair
- We choose the length
- We consider the presence of the parting, bangs, etc.
- We draw the strands according to these criteria
- The definition of the hair highlights depends on the nature of the hair
Discussion
11 comments