How to Draw with Alcohol Markers
There are several methods to colour your drawing, and one of the most popular is using alcohol markers. If you own some but don't know how to use them, this article is for you!
WHAT IS AN ALCOHOL MARKER?
Like all markers, alcohol markers are drawing instruments containing pigments and a solvent. Unlike normal felt-tip pens, in this case the solvent is not water but alcohol. The considerable advantage of alcohol over water is that it allows a more uniform adhesion to the paper and offers the possibility of mixing colours easily.
Like water-based markers, alcohol markers are very easy to use and do not require any special preparation. However, care must be taken with the alcohol vapours released during use, which have a rather strong odour. They disperse easily, but do not hesitate to ventilate the room if necessary!
DRAWING MATERIALS
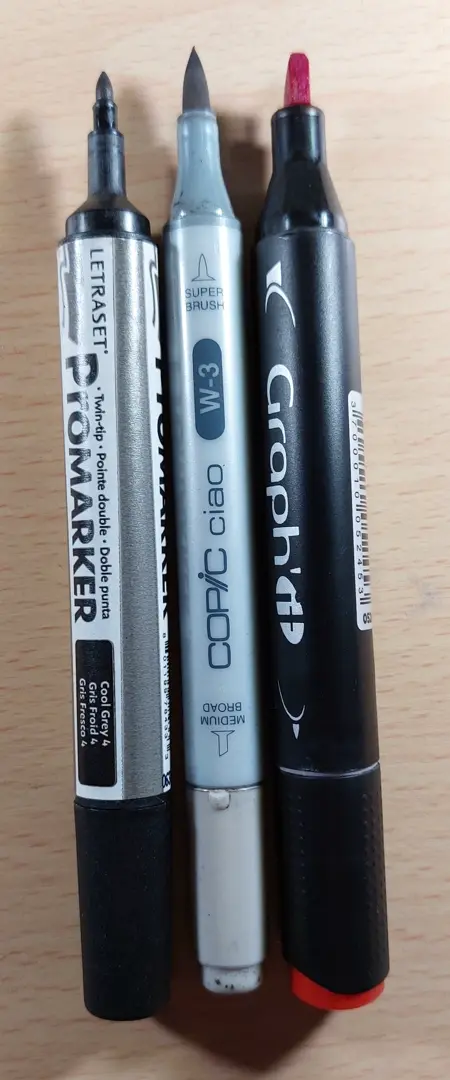
There are several brands of markers available across different price ranges. I do not recommend cheap markers, which usually have a low pigment content and a poor quality solvent: your drawings will fade quickly over time.
However, if you are looking for good cheap felt-tip pens to get started, turn to Graph'It. If you have a slightly higher budget, you can consider Promarker or Copic. The latter have the advantage of offering brush tips and being refillable, which amortises their cost over time.
As far as paper is concerned, the ideal is to use layout paper. This is a type of paper that has a smooth “classic” side and a “laminated” side, which favours the diffusion of alcohol through the paper. It is not necessarily easy for beginners to use because it is very thin and therefore quite fragile. If you want to use the layout paper, you have to make the sketch on another sheet of paper and transfer it to the layout paper with a light table or by transparency.
A cheaper and easier alternative is Bristol board. As smooth as layout paper, it diffuses alcohol quite well and is thick enough to draw on. Finally, you can opt for standard “multi-technical” paper, which works quite well and is very easy to find. However, this paper “drinks” a lot of alcohol from the markers, so it tends to wear them out more quickly. Since it absorbs a lot of alcohol, it is also more complicated to create shades on it.
Finally, alcohol markers are not usually used alone. In fact, waterproof markers must be used to ink the drawings. If you prefer a nib or brush, you can still do the preliminary inking with Indian ink. Remember to test the tools with alcohol markers on a test sheet first!
This will allow you to check that the ink from the liners does not smudge with the alcohol in the markers. Important: your test paper must be the same as the one used for your final illustration. Indeed, it is possible that the ink does not smudge on your multi-technique rough draft but does smudge when you apply your alcohol marker on your layout!
ALCOHOL MARKER DRAWING TECHNIQUES
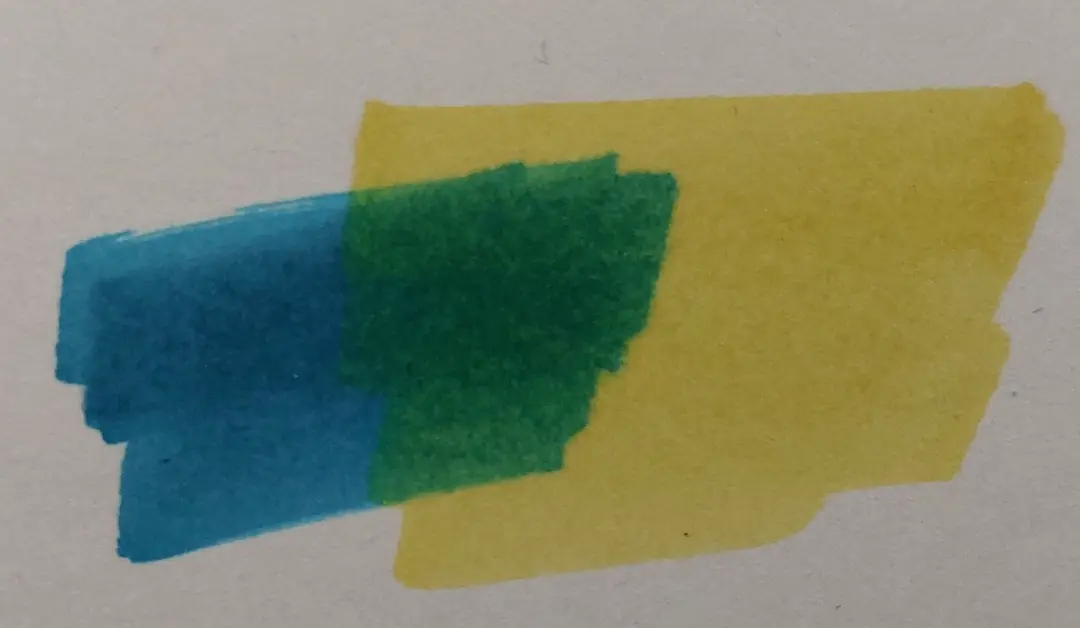
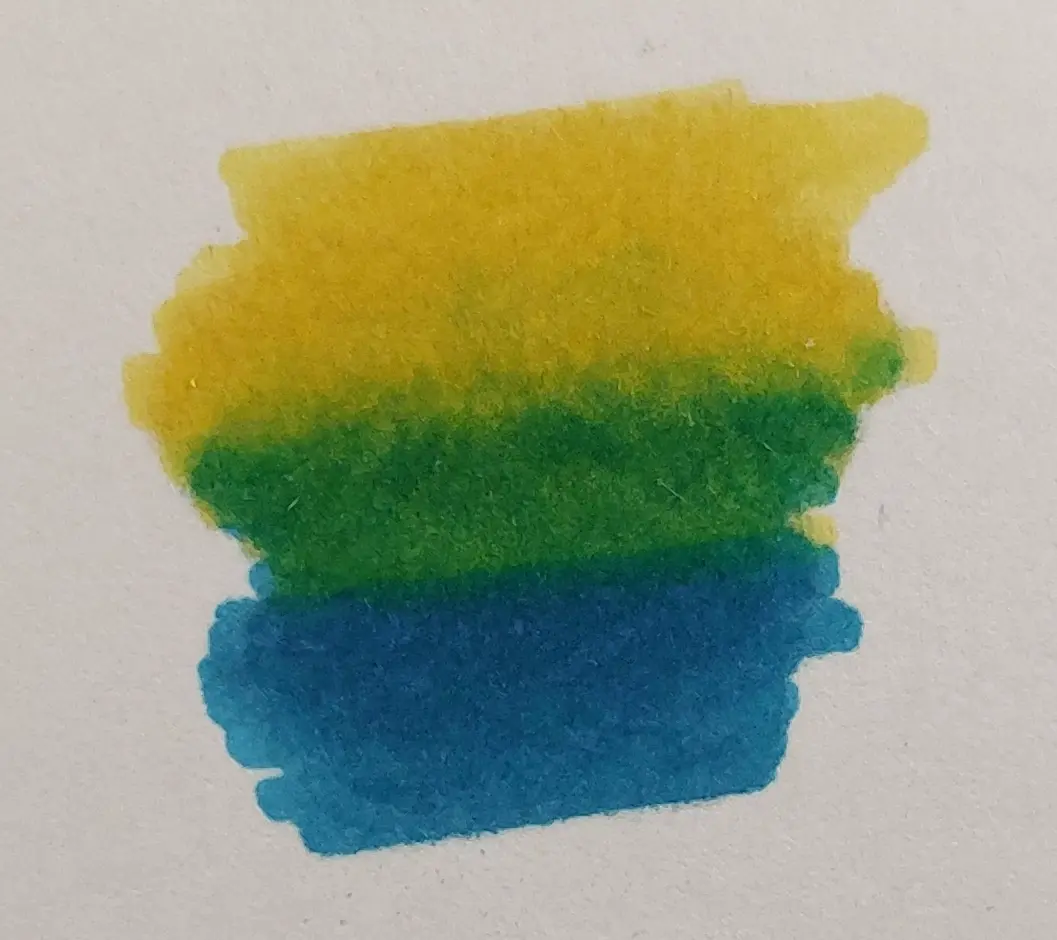
Alcohol markers fall into the category of translucent techniques, like watercolour for example. This means that a layer of marker is not opaque and allows the underlying layers to show through. Thus, layering the colors will darken your color, but also allows them to blend through transparency. By layering cyan and yellow, it is therefore possible to obtain green, for example.
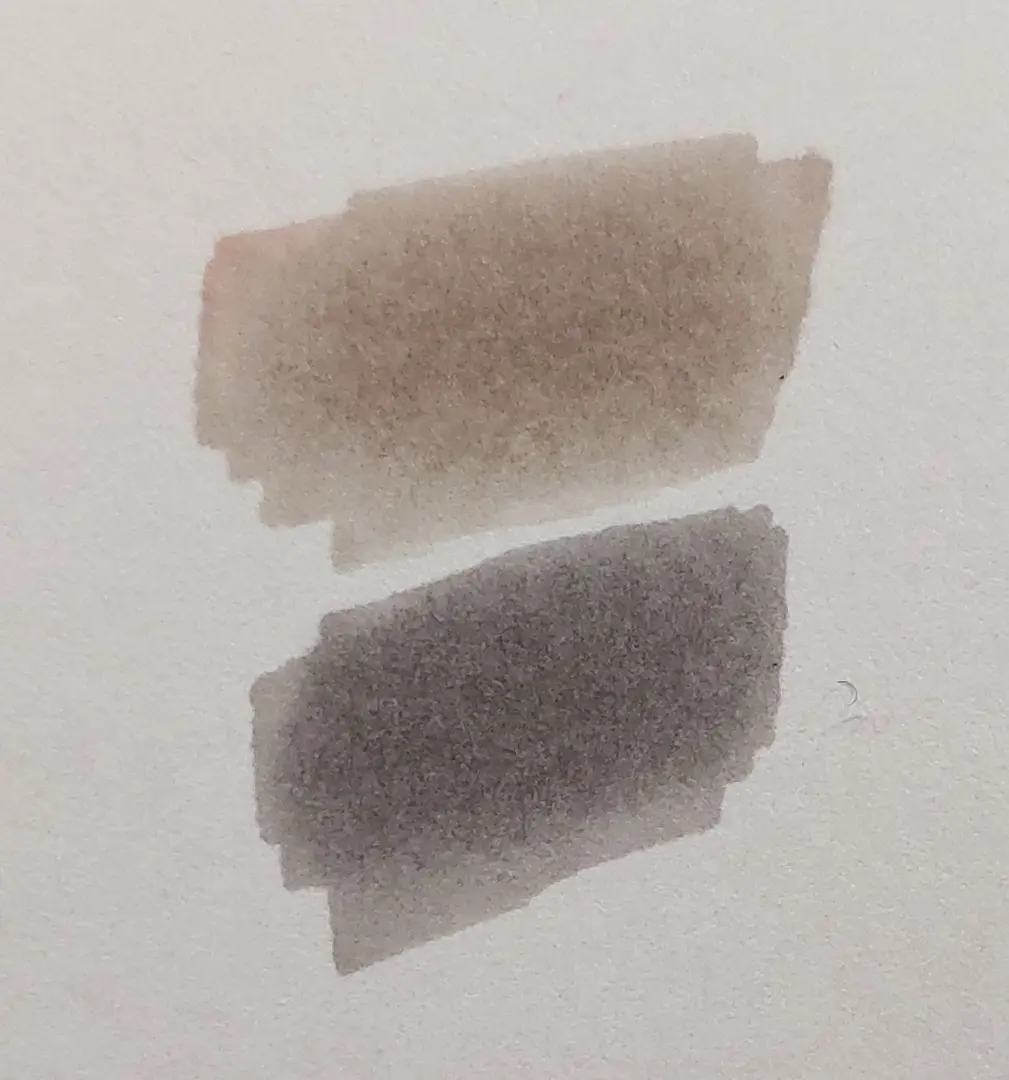
If you want to darken a particular shade but don't have a darker equivalent, don't hesitate to use gray markers! There are three families of grays: neutral grays, warm grays, and cool grays. While neutral grays are perfectly gray, warm grays have a yellowish or reddish hue, and cool grays have a bluish tint.
A warm grey is therefore perfect for darkening a yellow or red without losing intensity. Similarly, a cool grey can be used to darken a cyan or mauve, for example. Neutral greys are rarely used to darken and are generally used to colour grey subjects.
Finally, the last technique to master with alcohol markers is shading. With alcohol markers, it is possible to shade two colours to create a gradient from one to the other. The method consists of spreading a flat base of one colour on the paper and then applying the second colour next to it while the joint between the two areas is still wet.
In this way, the ink of the first colour will diffuse into the second. Do not hesitate to go over the junction to blend it as much as possible and to get a beautiful gradient. You can also use a blender to make the task easier. A blender is a marker that contains no pigment. It will therefore moisten your paper with pure alcohol and will allow you to more easily create your gradient.
The ideal marker palette for beginners therefore consists of our primary colours (cyan, magenta, and yellow) as well as warm and cool grays (ideally 3 markers each, one dark, medium, and light gray), a black marker, and, if necessary, a blender.
DRAWING WITH ALCOHOL MARKERS STEP BY STEP
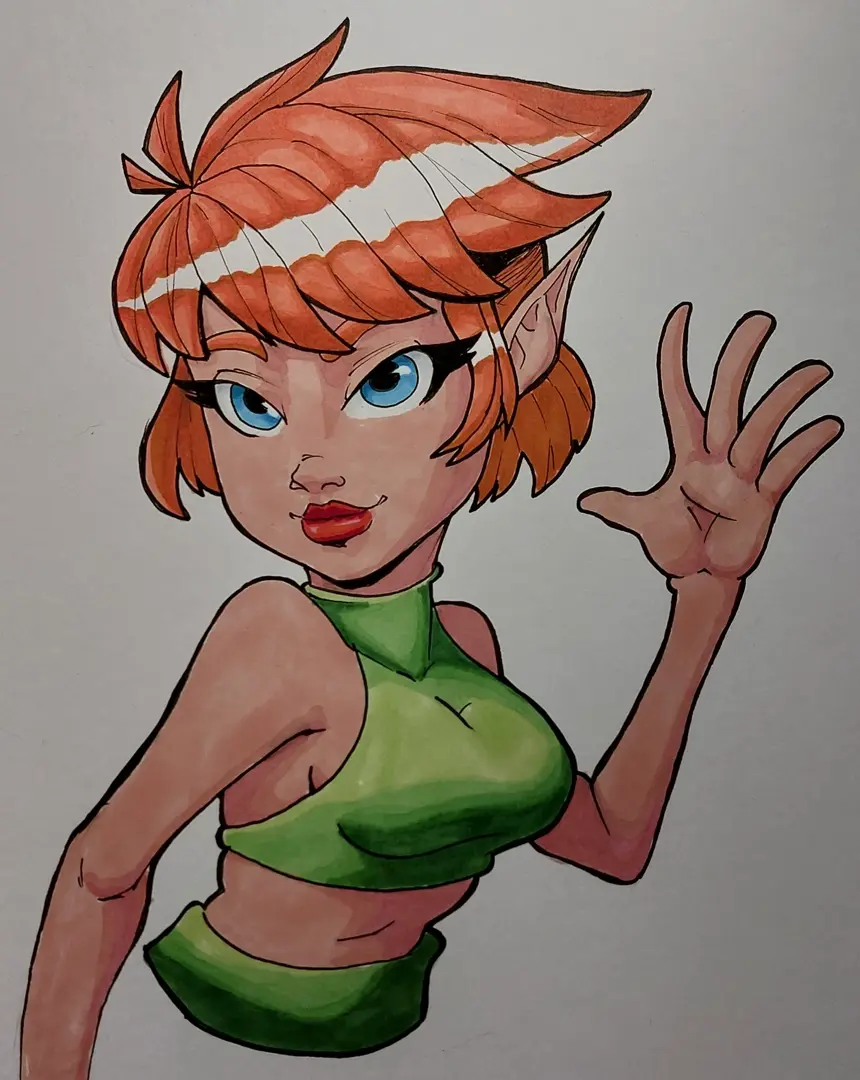
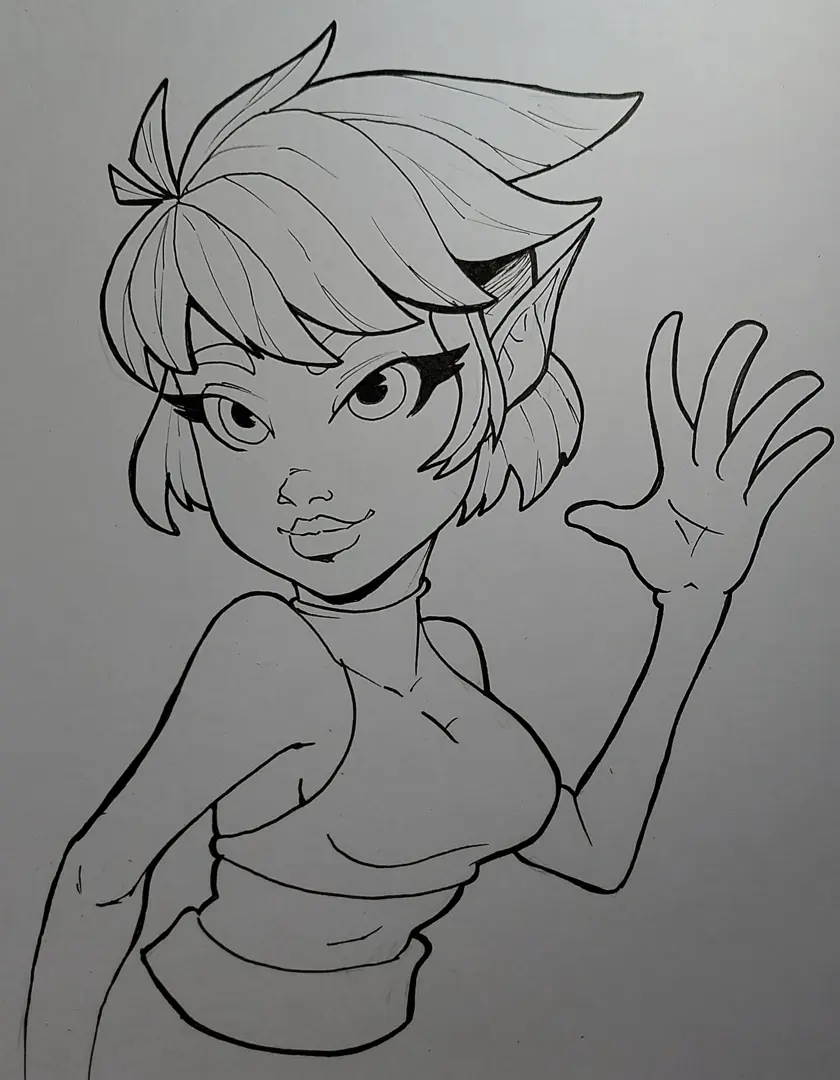
Now that I have introduced you to the different alcohol marker techniques, it's time to move on to practice! For this tutorial, I will start with a drawing inked with liners on bristol paper. I will not cover the different stages of constructing a drawing, but only the colouring part.
I start by applying the lighter shades. As with watercolour, I am careful to leave white what must remain white, because it is not possible to go back.
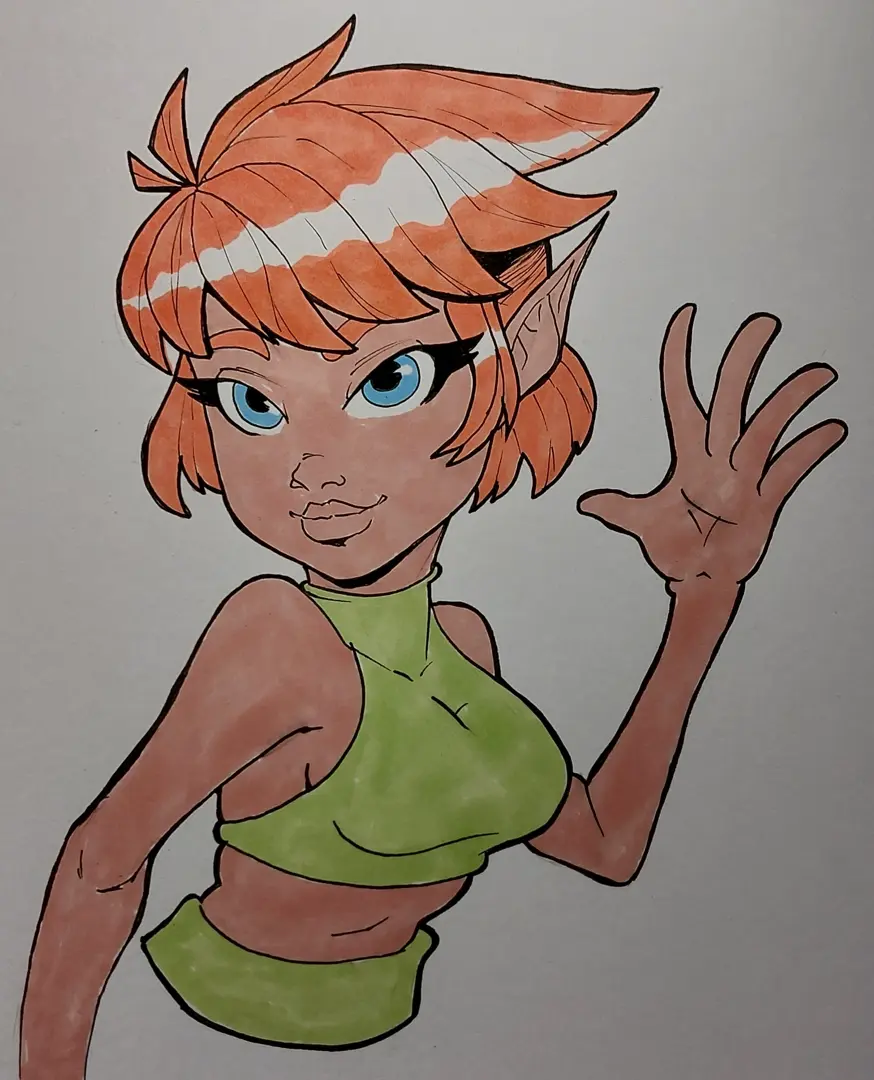
Next, I will place the halftones, which are my medium colours. If needed, I can already create gradients towards my light shades to soften some edges.
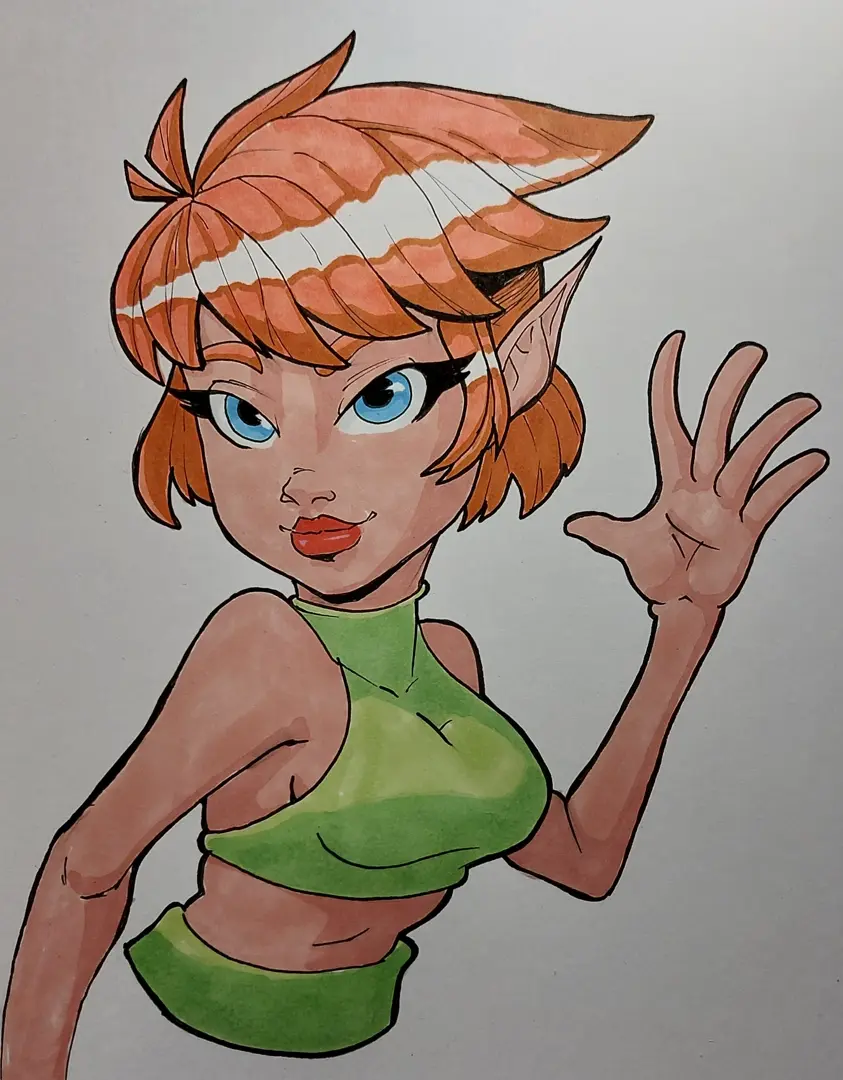
Now, I apply a first layer of shadows. For this, I mainly use darker shades and warm and cool grays of a value roughly equivalent to my mid-tones.
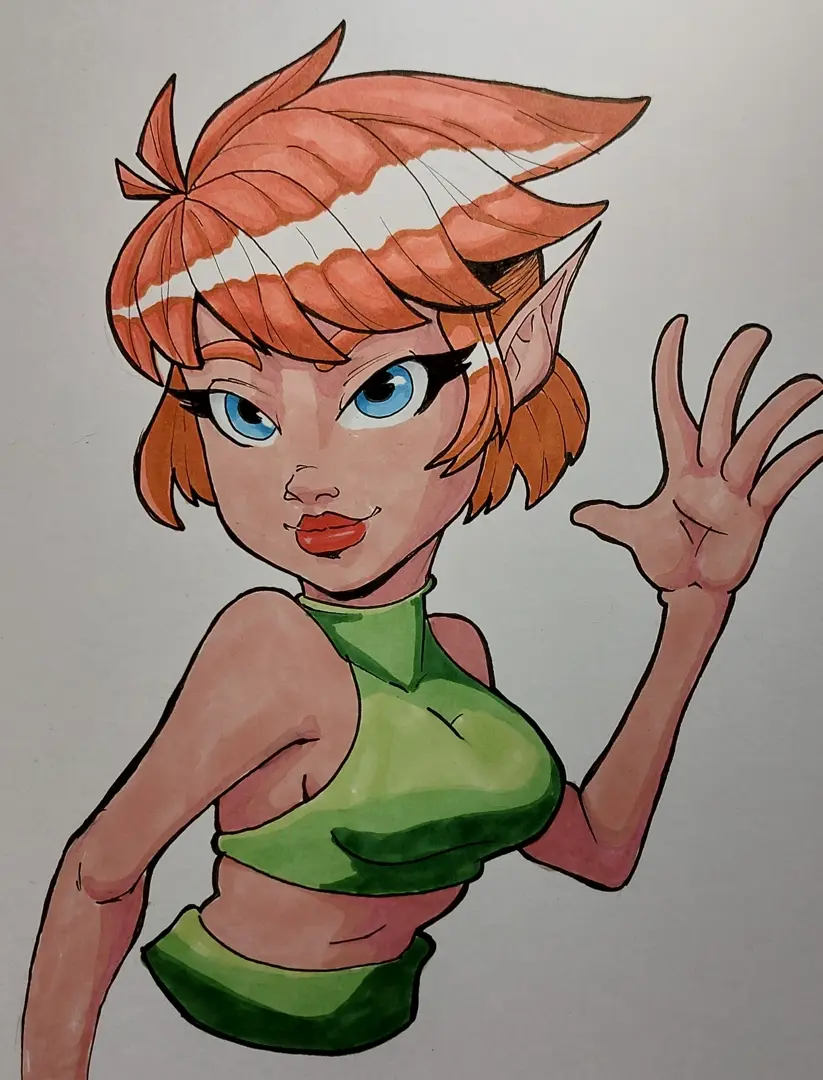
If needed, I can continue to darken with darker grays or refine my gradients.

My design is finished! Now it's up to you to try the experience by testing different markers and papers to find the best finish for you.
Writing and illustration: Louis Grieves
Popular Articles

Discussion
No comments yet.