How to Draw in Pen
Drawing with a pen is a practice that is often done regularly and is usually learned in art school. Indeed, with a pen, it is impossible to go back or erase, it is a tool that requires being meticulous and precise, you have to be confident. Therefore, it is very good training, and drawing regularly with a pen will make you more confident and self-assured, and the eraser will become a distant memory...
I recommend this exercise to people who already have at least some experience in drawing. Starting to draw directly with a pen will only frustrate you, as you have less experience and therefore less confidence, and so you are more likely to make more mistakes. In the case where you start to learn to draw, we have an article on our blog about that, if you're interested! ;)
If you are a beginner in drawing, I advise you to draw with a pen in a small notebook, everyday objects or people you come across on the street or on the train, small drawings of no importance that are done just for practice and not to be an "artwork". For beginners in drawing, there is an article to create 5 easy drawings, for those interested!
In this article, we will create two drawings with two different types of pens.
The first drawing will include shadows, while the second will be in flat black and white, in a "coloring" style.
Before we start, I will introduce you to the different pens I will use for my drawings.
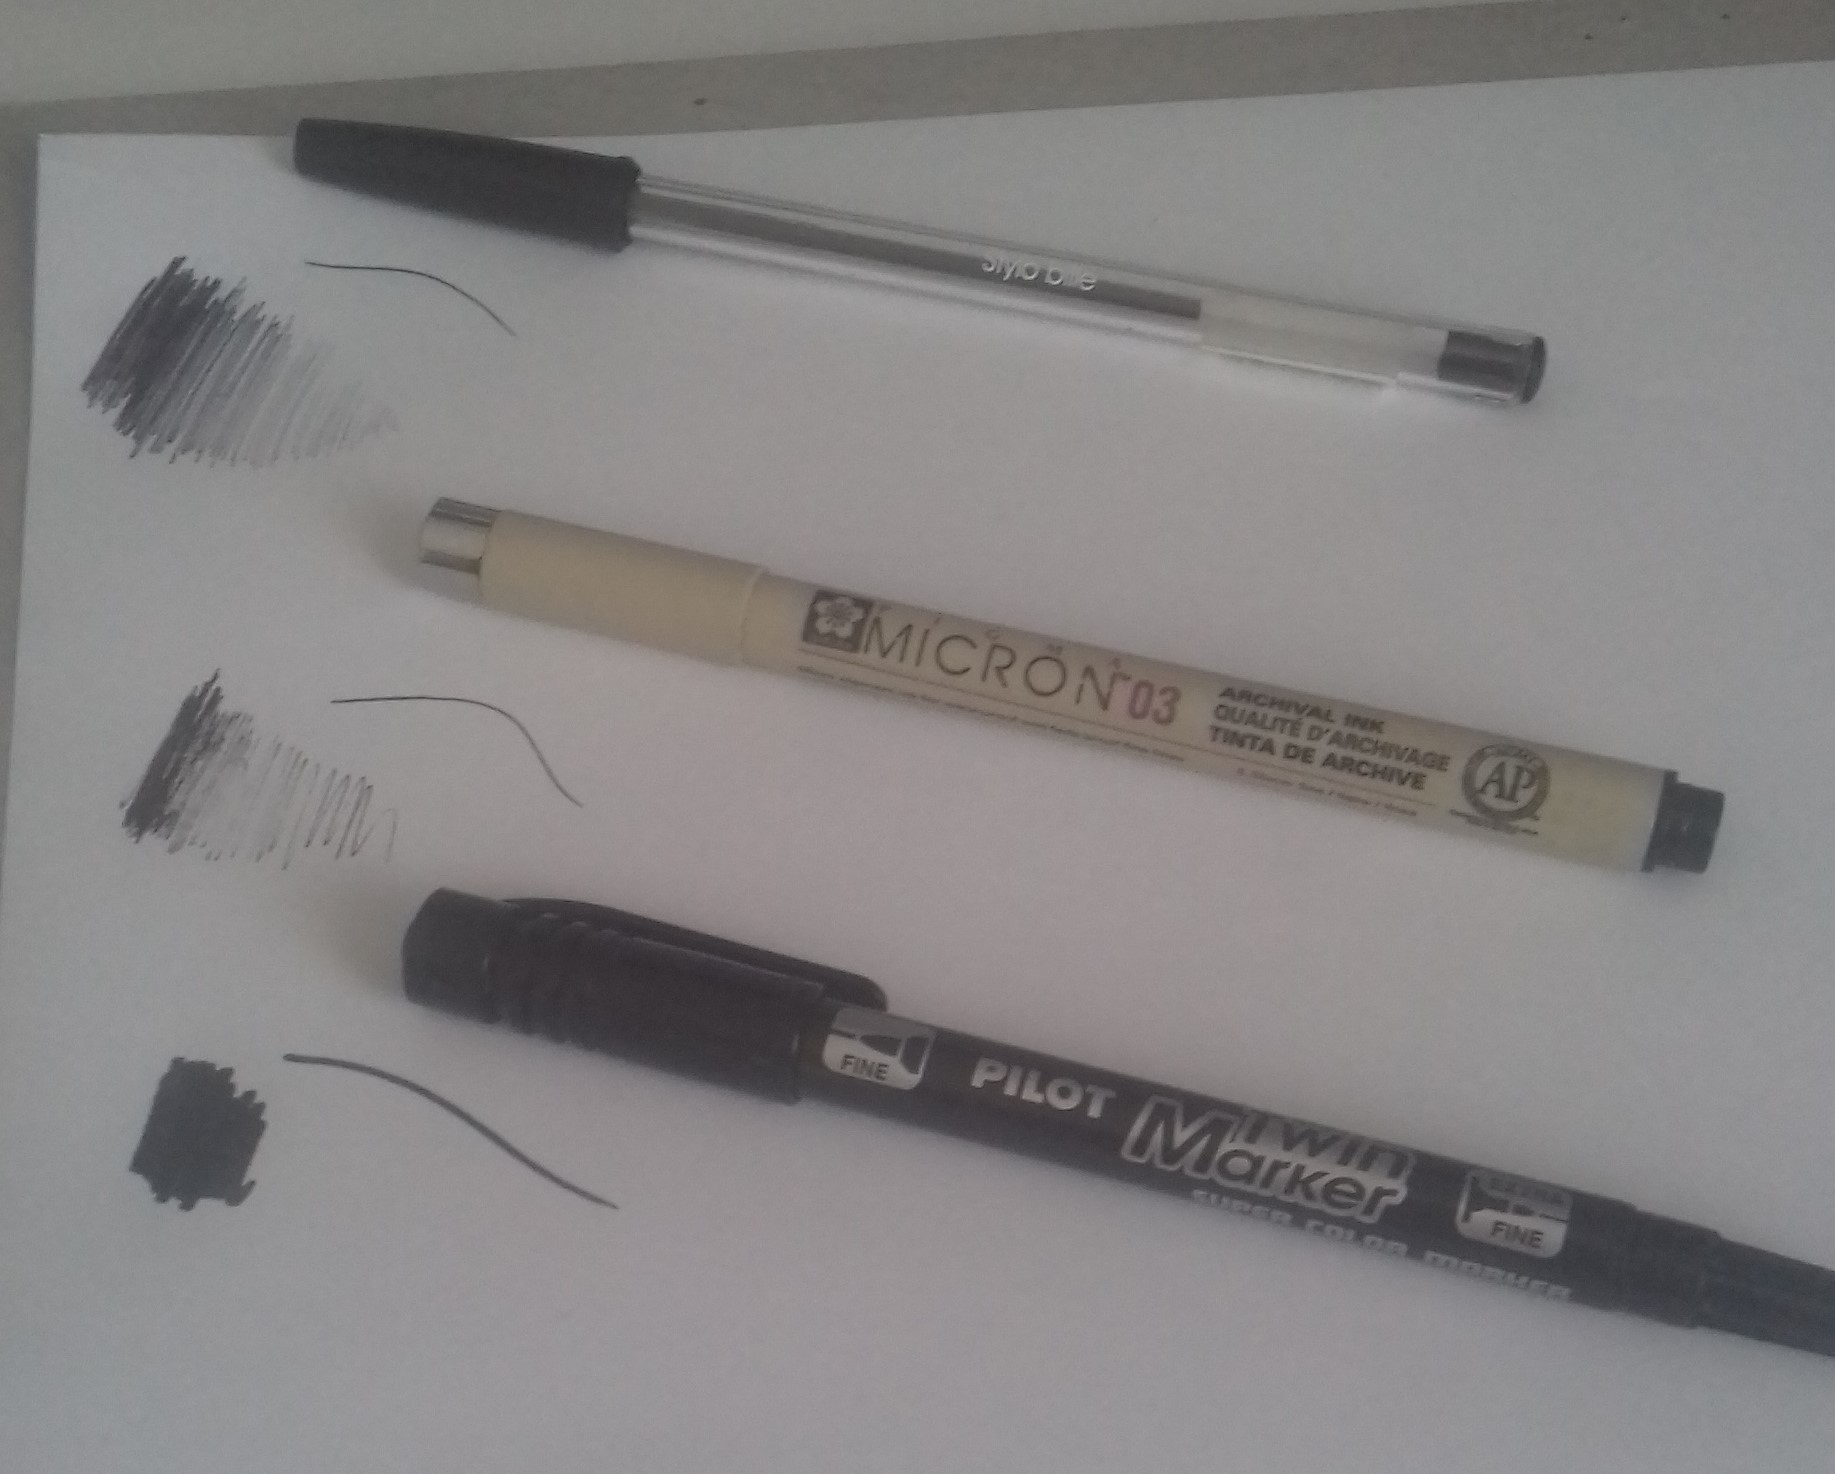
- The first drawing will be done with a simple black ballpoint pen, without any special markings.
With this pen, it is possible to achieve quite a few shades and create a smooth gradient from black to light gray easily.
- The second drawing will be done with two pens:
A Pigma Micron pen size 03 in black for outlining and a black Pilot Twin Marker for filling.
The Micron is often used by illustration/comic professionals for line work, as it is a deep black pen that doesn't smudge and is resistant to water and light.
This is the ideal pen for outlining. However, its ability to create color gradients is more limited than a regular pen.
The Twin Marker pen is perfect for filling in small or large areas. It has two tips, one thick and one finer. The only two drawbacks are that it takes a long time to dry so you need to be careful not to rub the colored area with your hand to avoid smearing it everywhere, and it tends to bleed if you use paper that is too thick. I recommend using special Marker paper when using this pen. For more advice on drawing materials, check out our dedicated article.
We are now going to start our drawings.
I advise you to draw objects or characters that you are proficient with in order to make as few mistakes as possible.
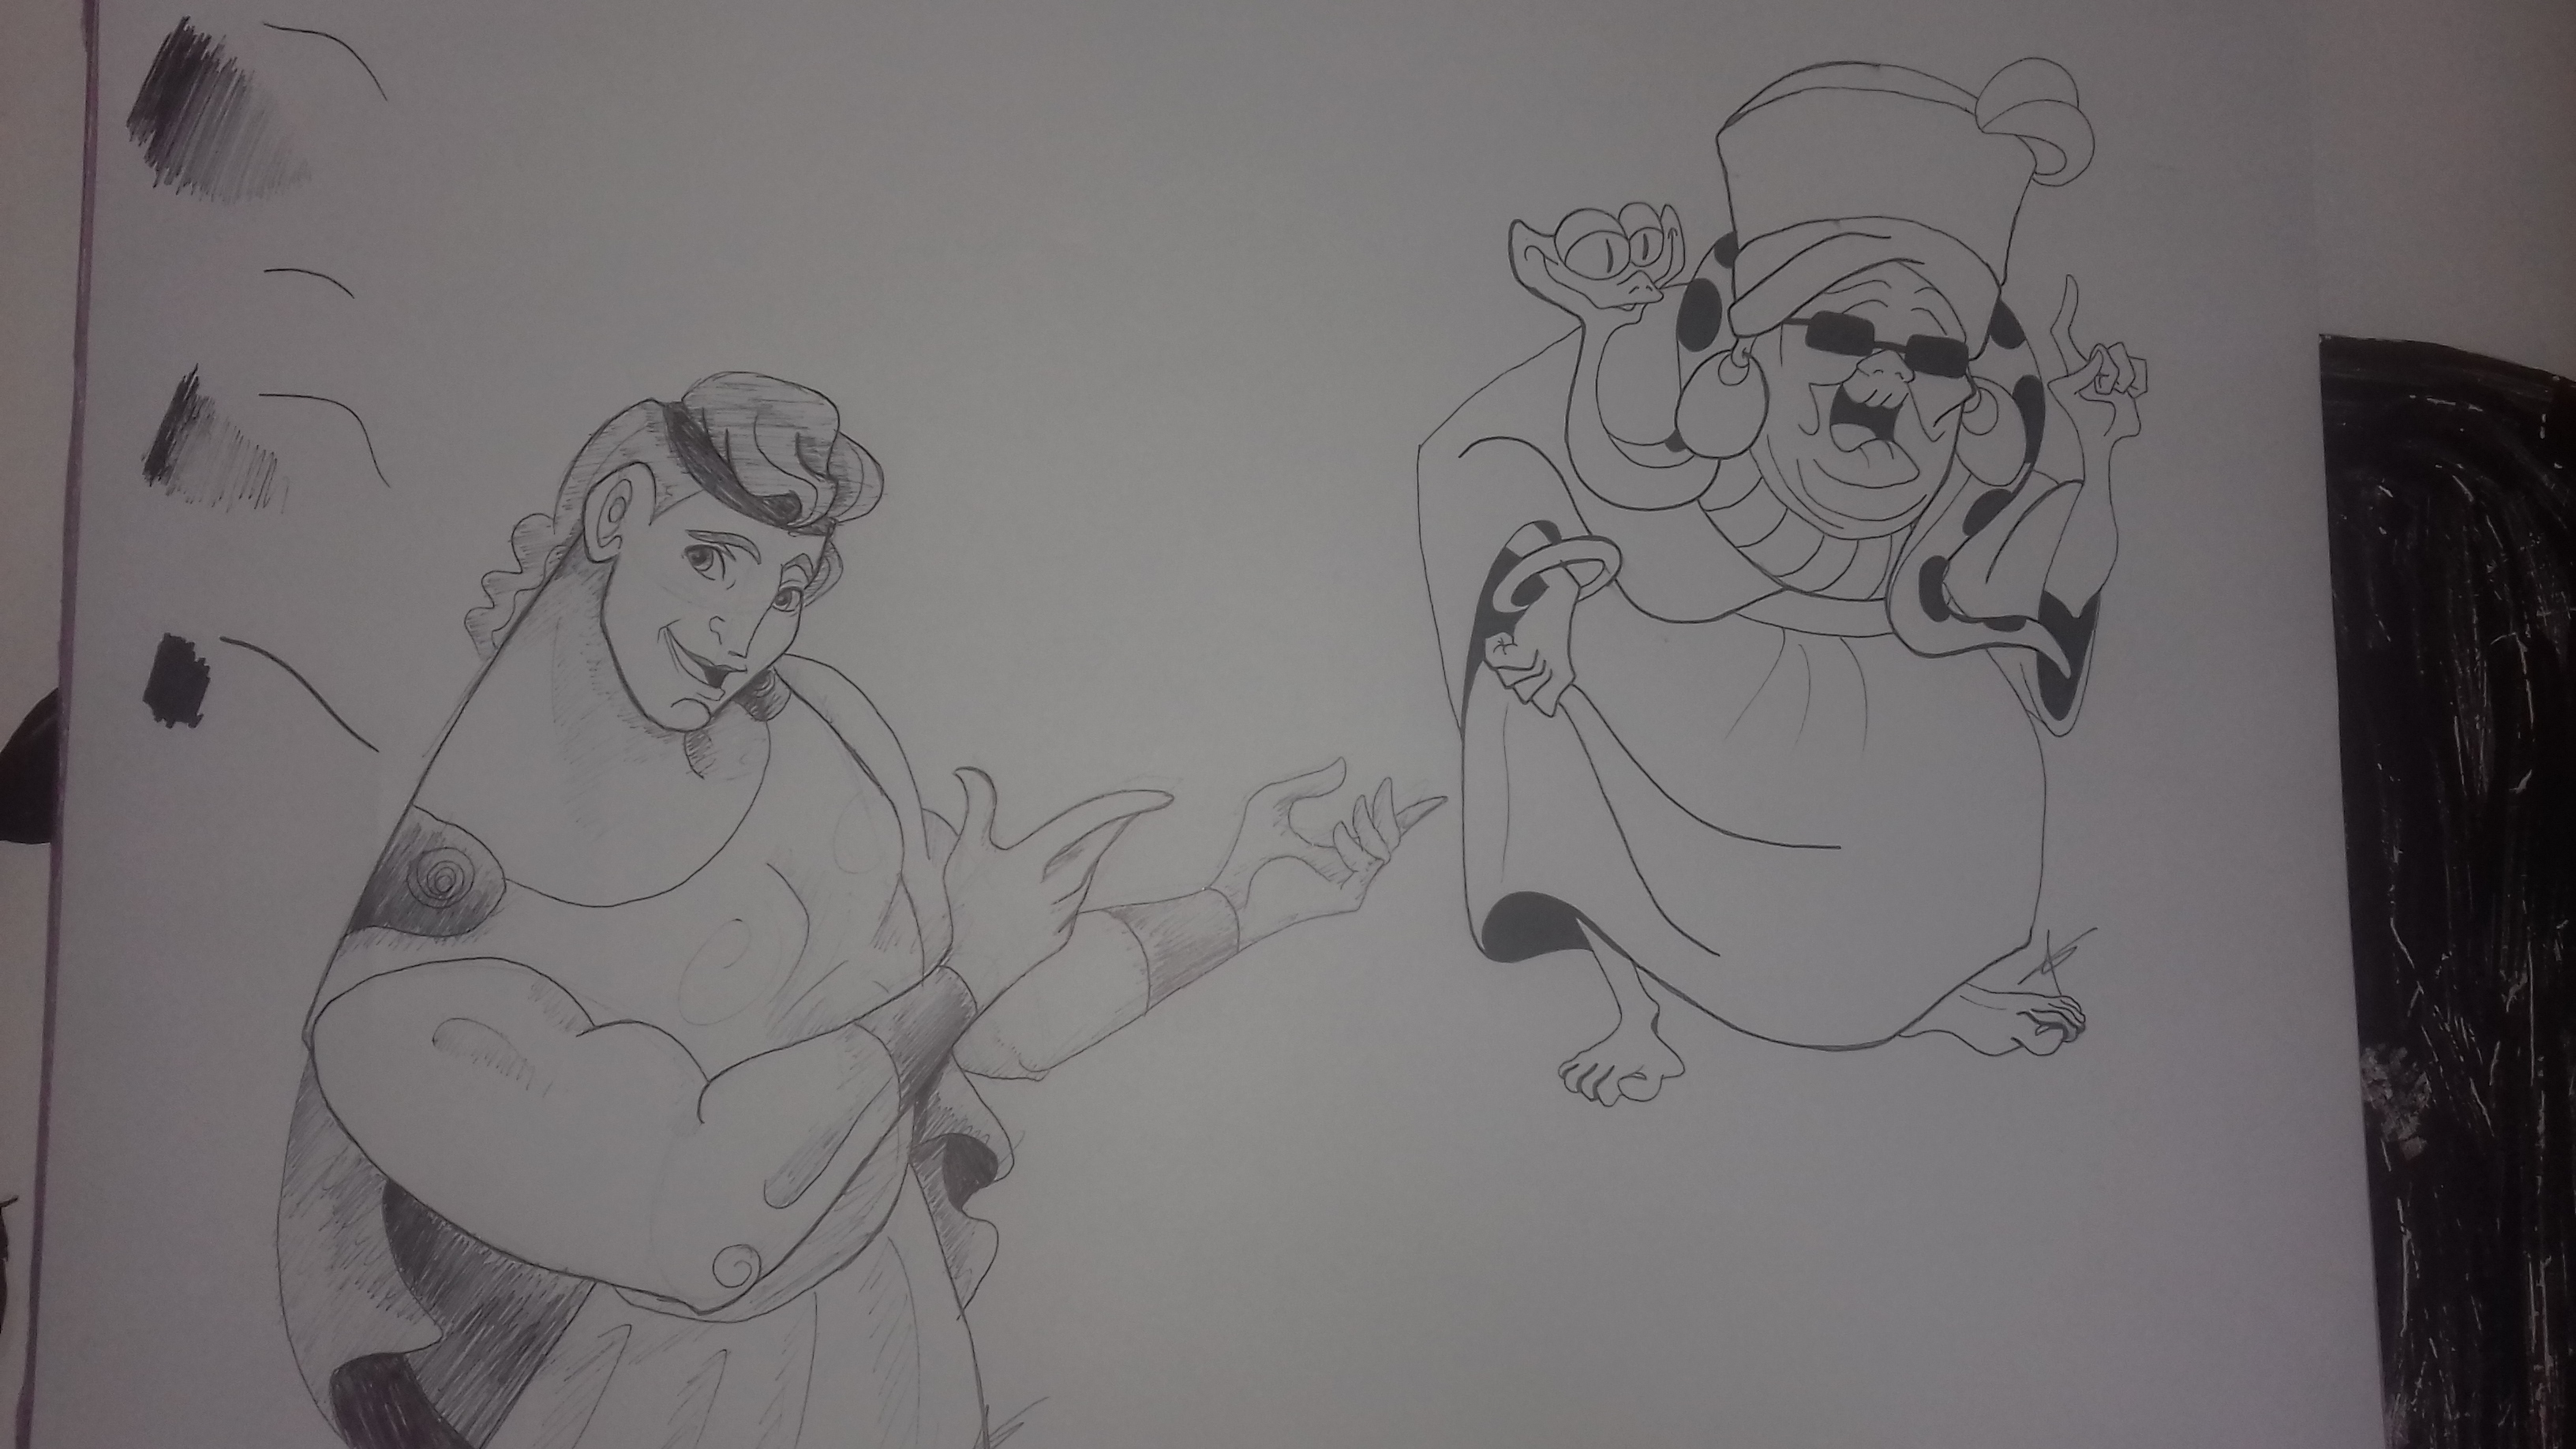
For my part, what I master the best are Disney characters.
I will therefore draw Hercules (Hercules) for the first drawing and Mama Odie (The Princess and the Frog) for the second.
CREATE A DRAWING IN CLASSIC BLACK BALLPOINT STYLE
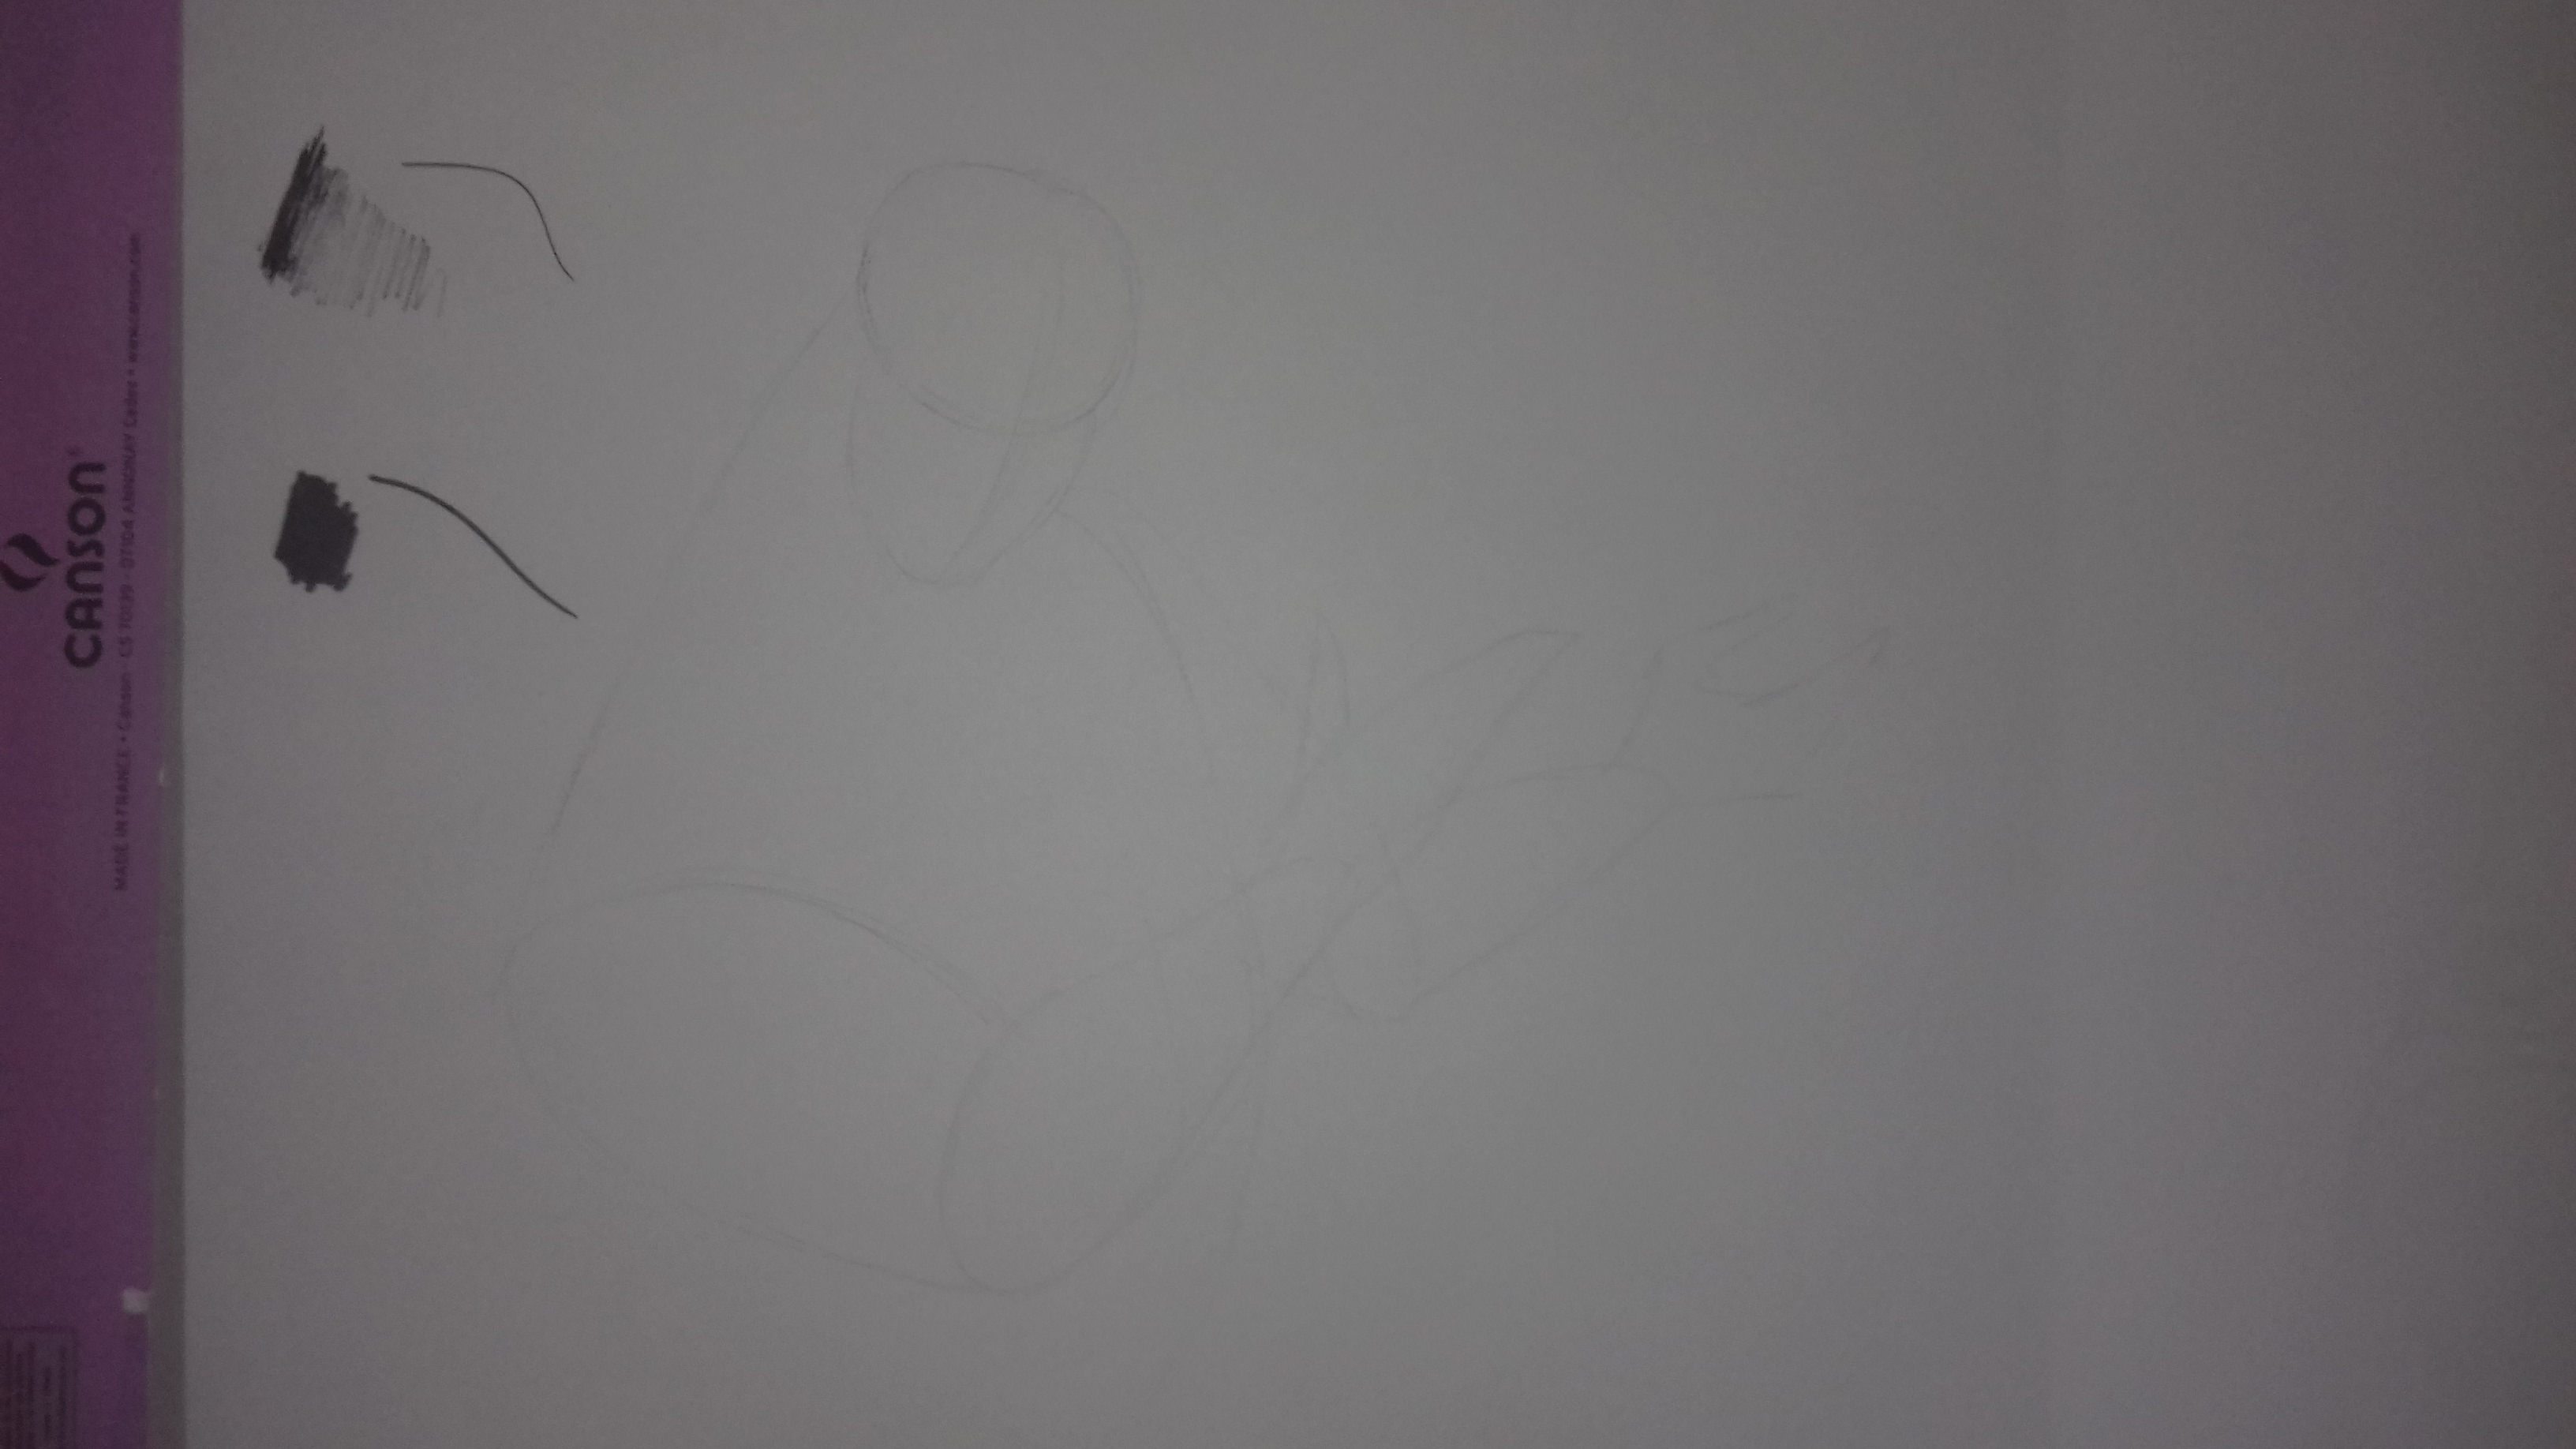
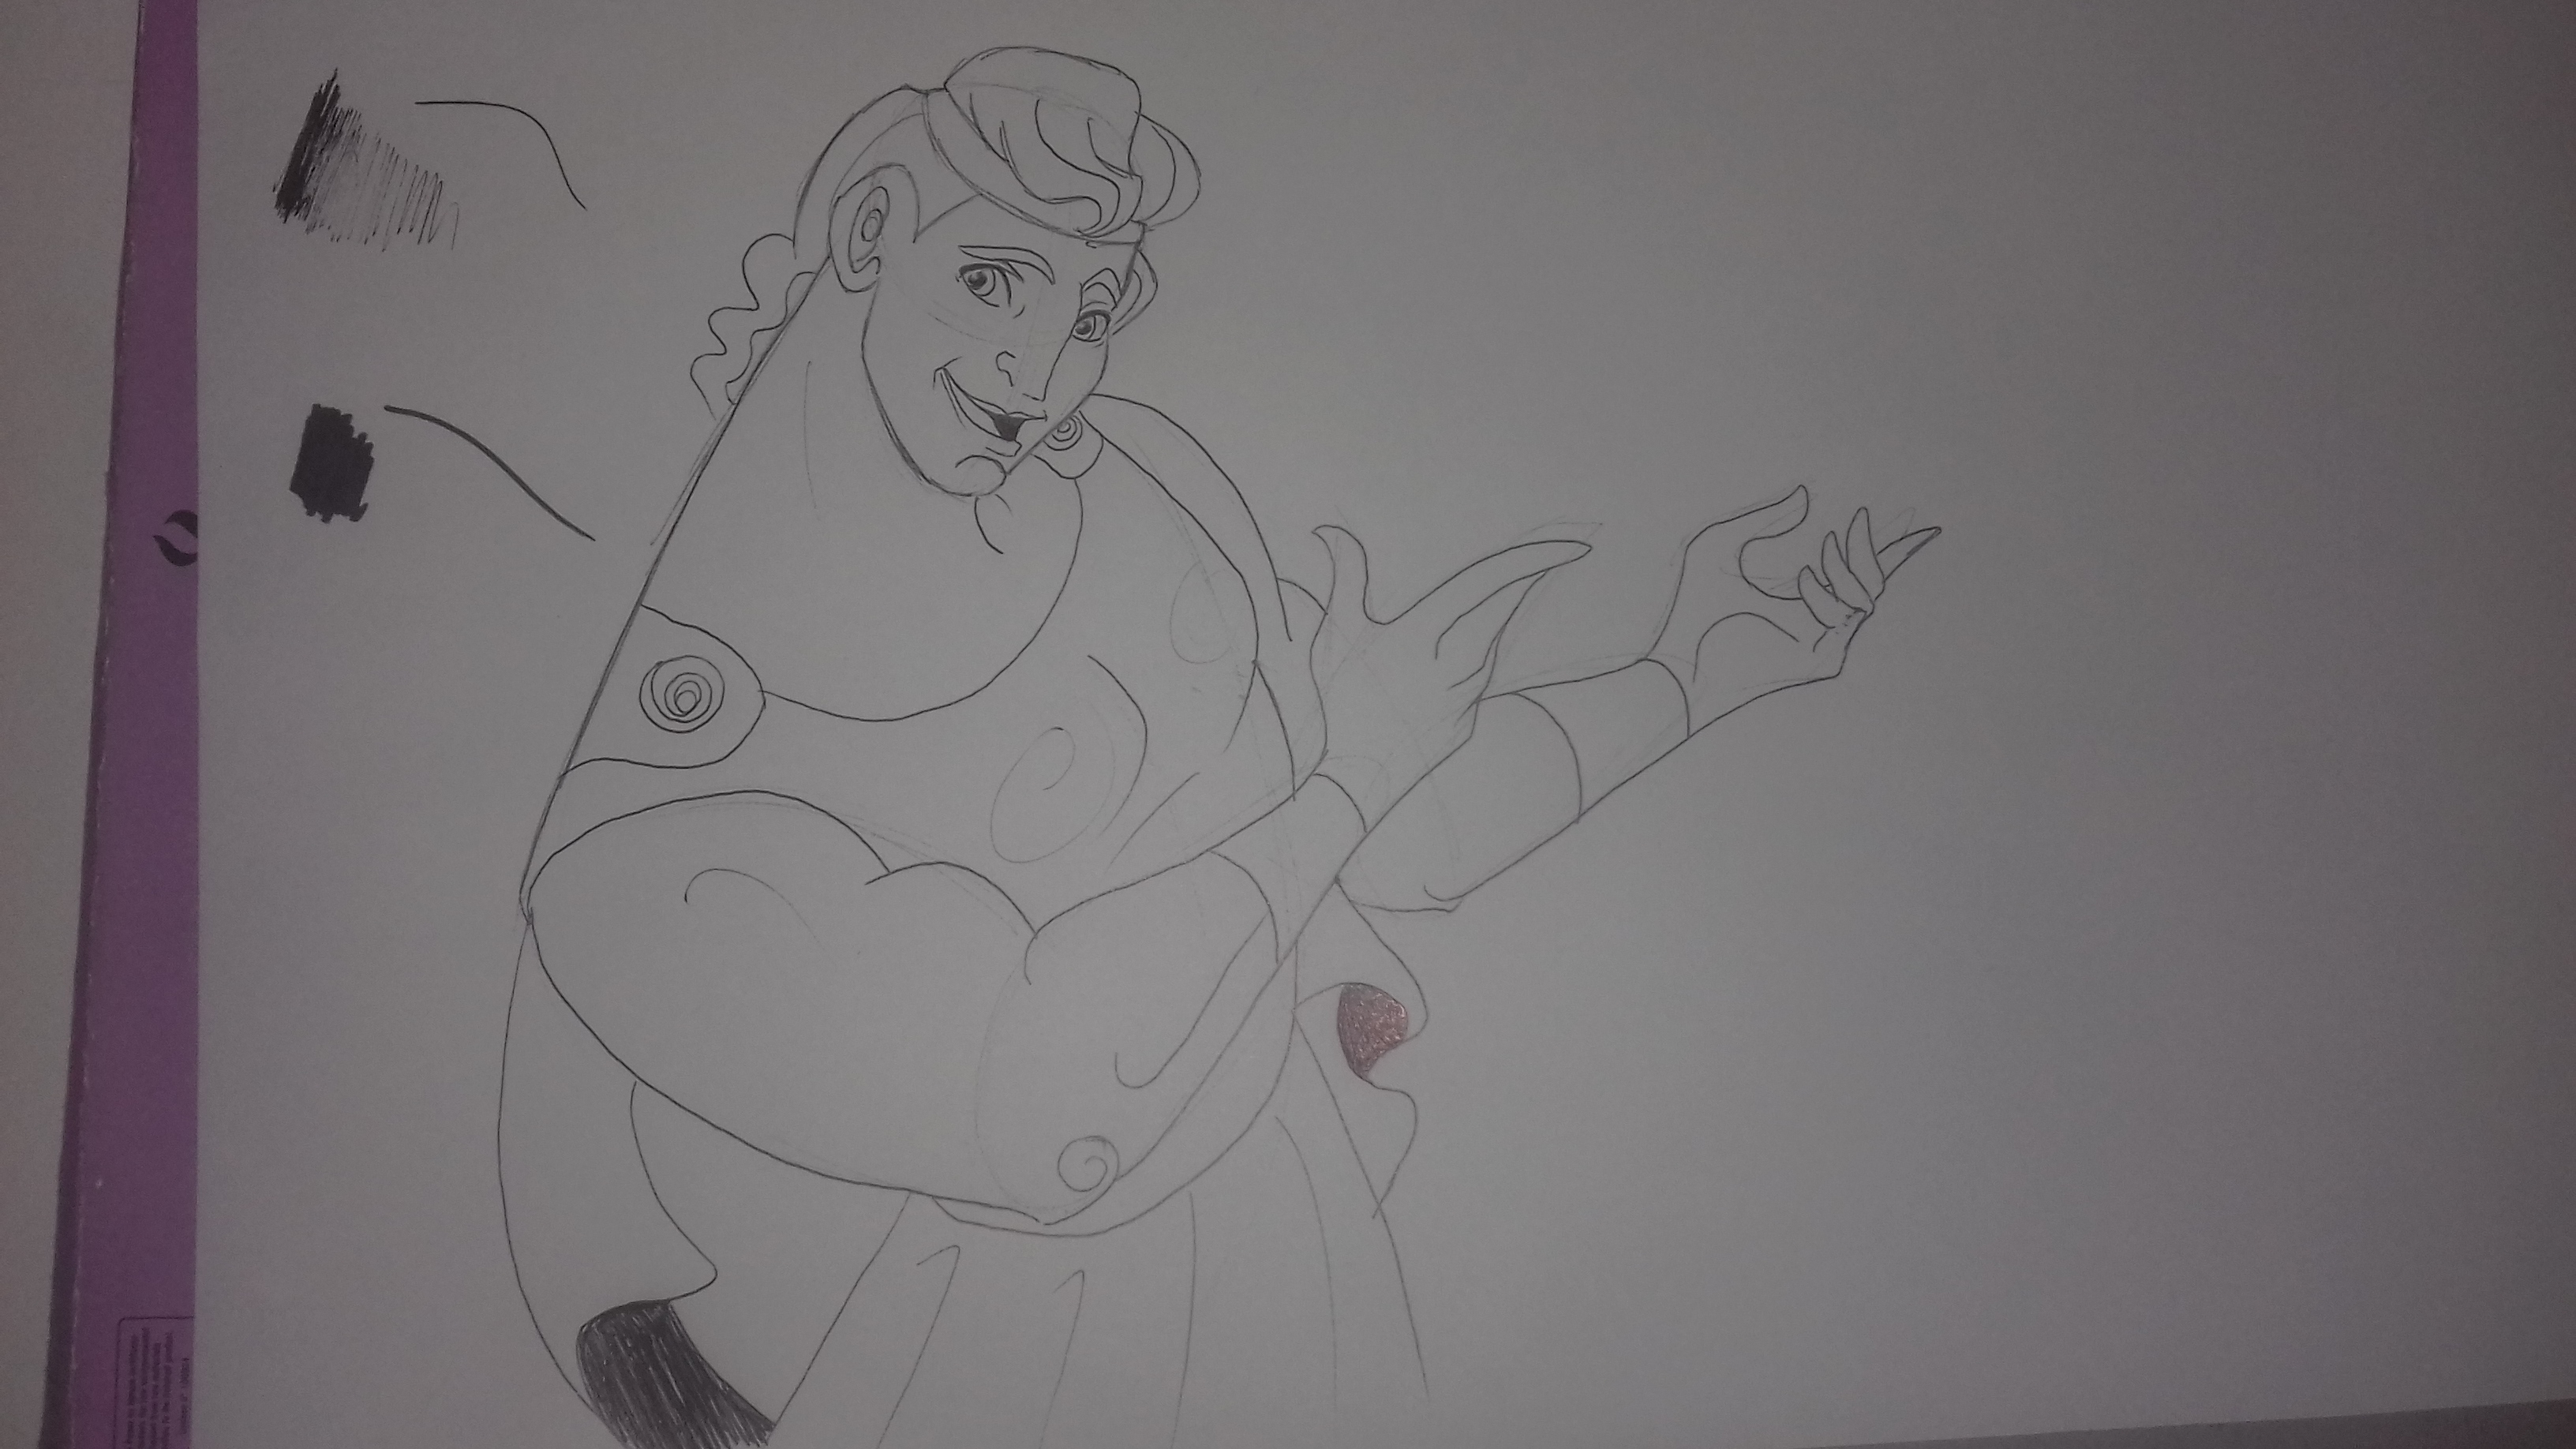
I will start by making a base without adding any details, just to get the pose of my character. With my pen, I will therefore draw my base lightly, letting the hand just glide over the paper.
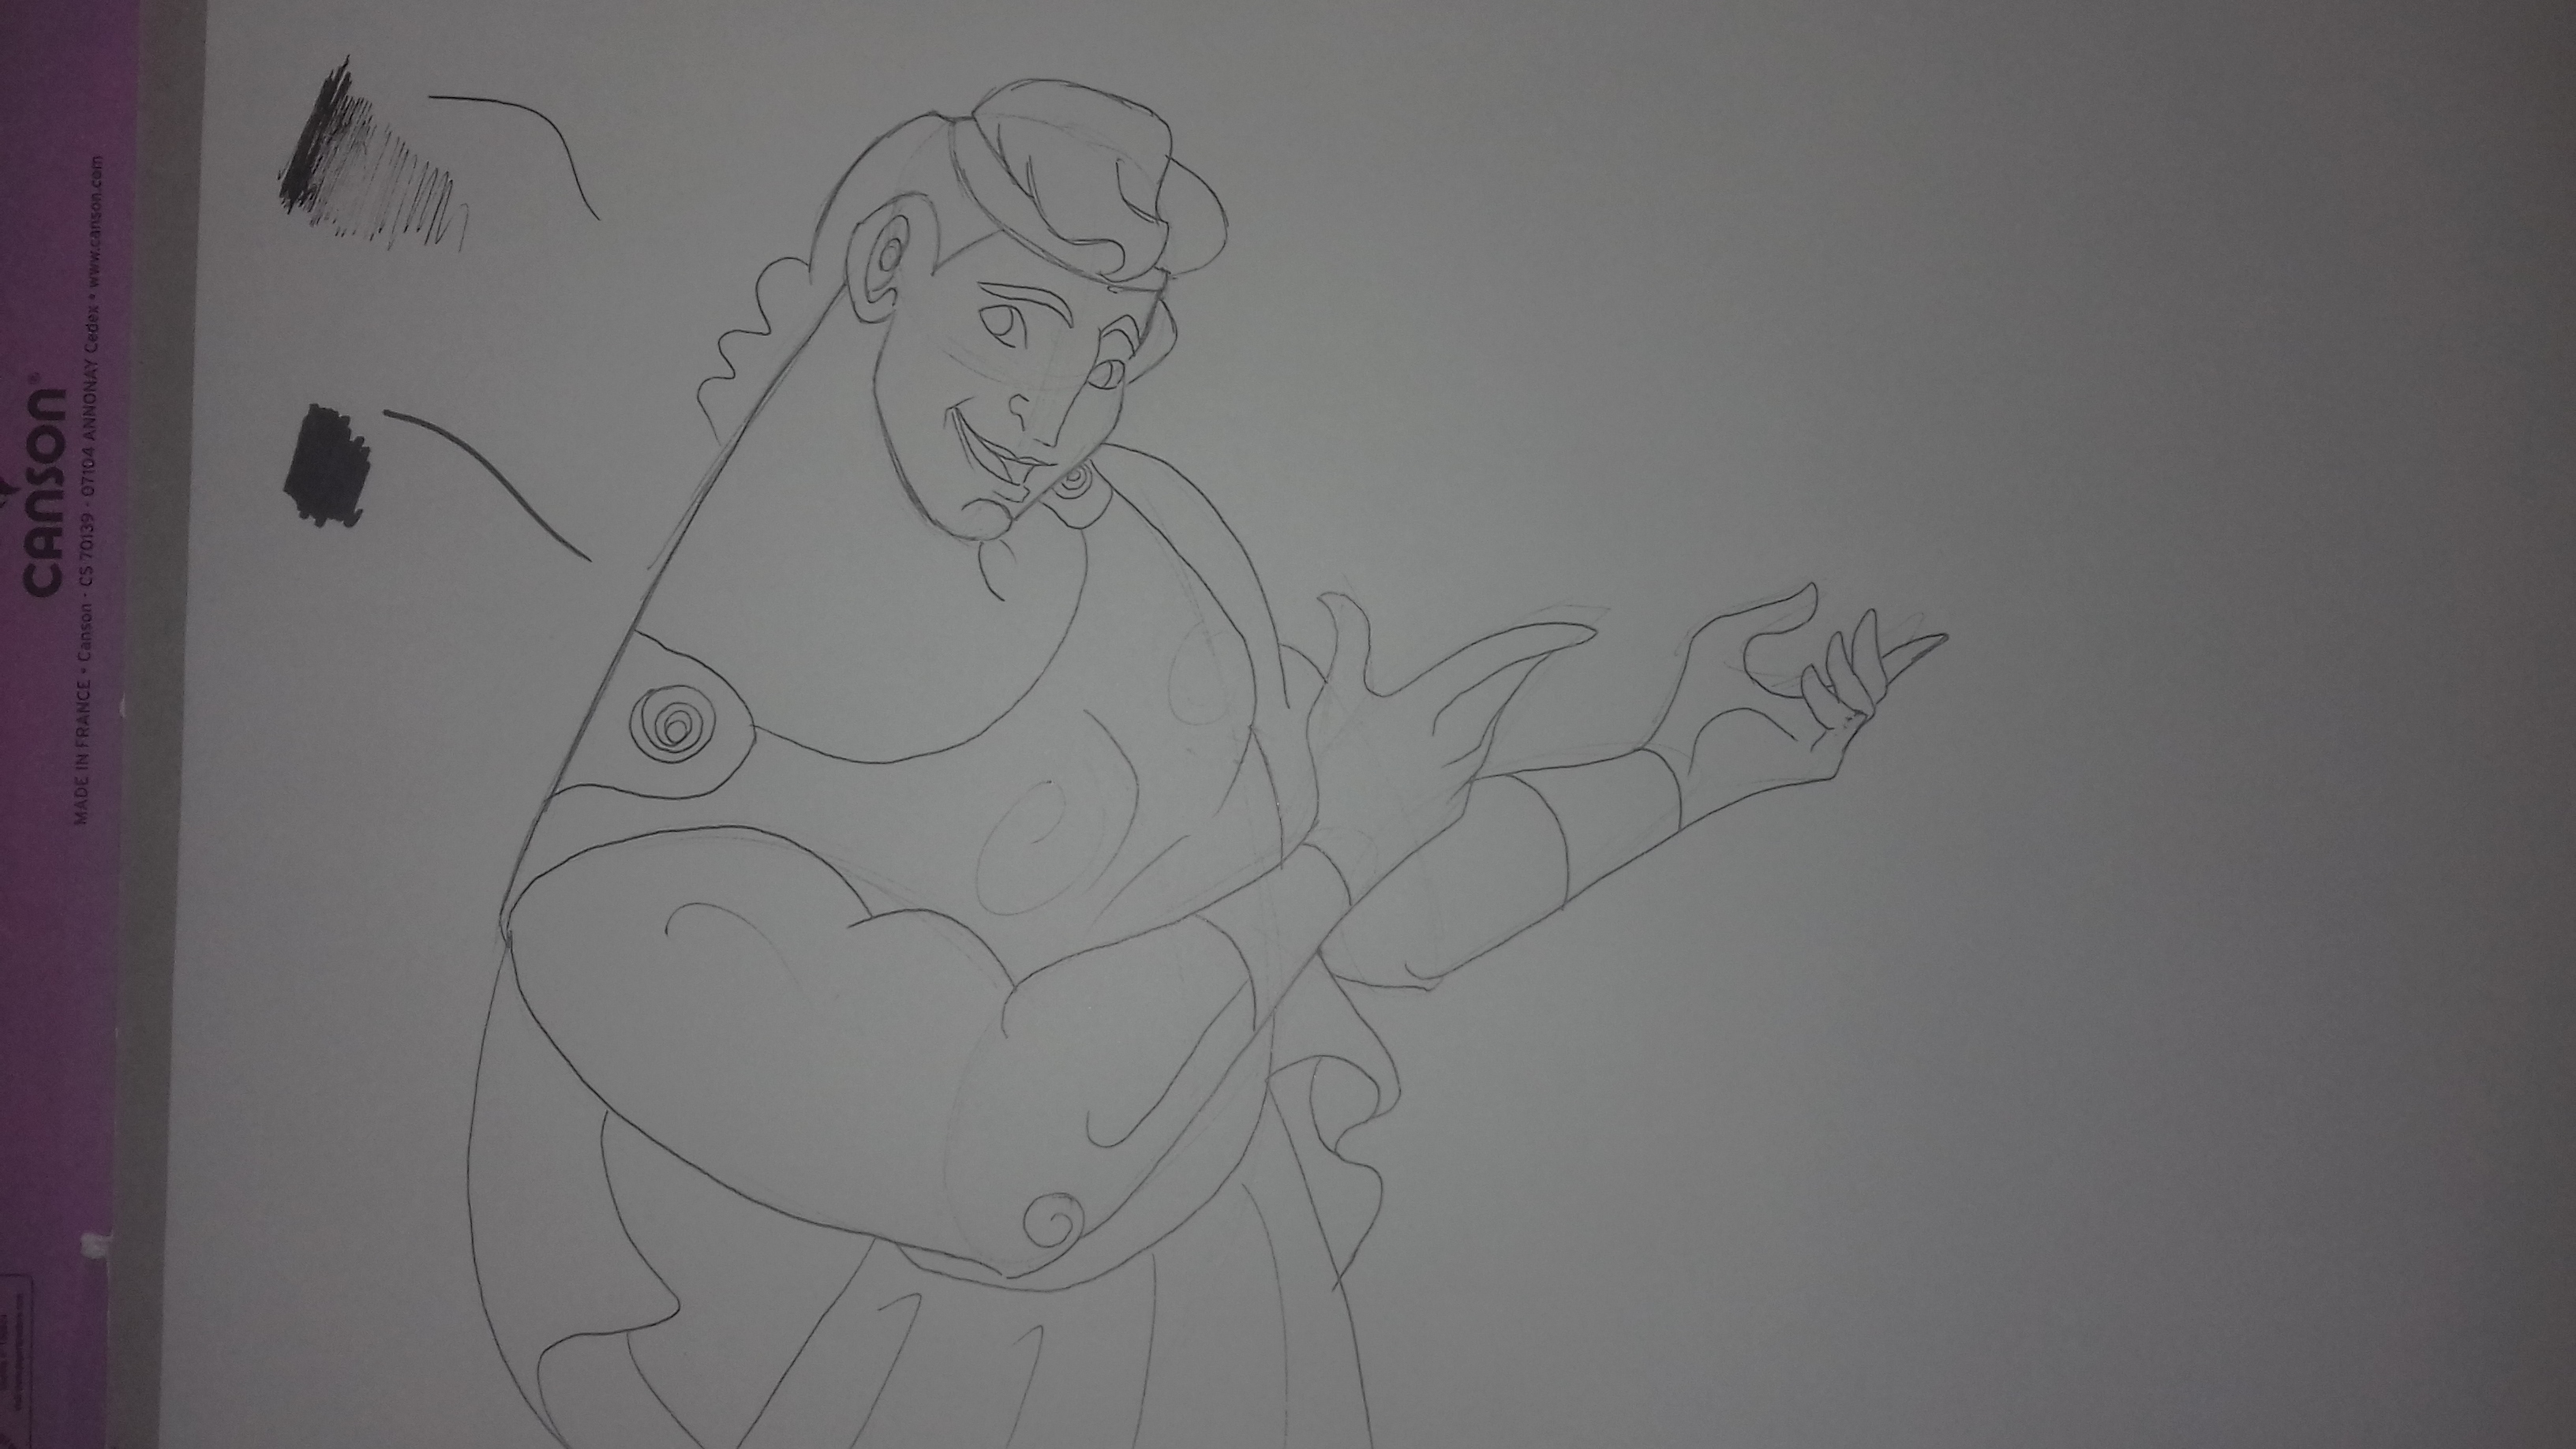
Once my base is done, I will draw my character by pressing a bit to make the features stand out.
I fill in the areas that are black. To do this, there are two solutions:
- Either I press on my pen to put as much ink as possible directly on my sheet. It's a radical solution, but it can be tiring to fill in a large area.
- Or I fill my area several times. By repeatedly layering the hatching, the color will become increasingly opaque and will eventually turn black. A longer solution, but one that uses less energy.
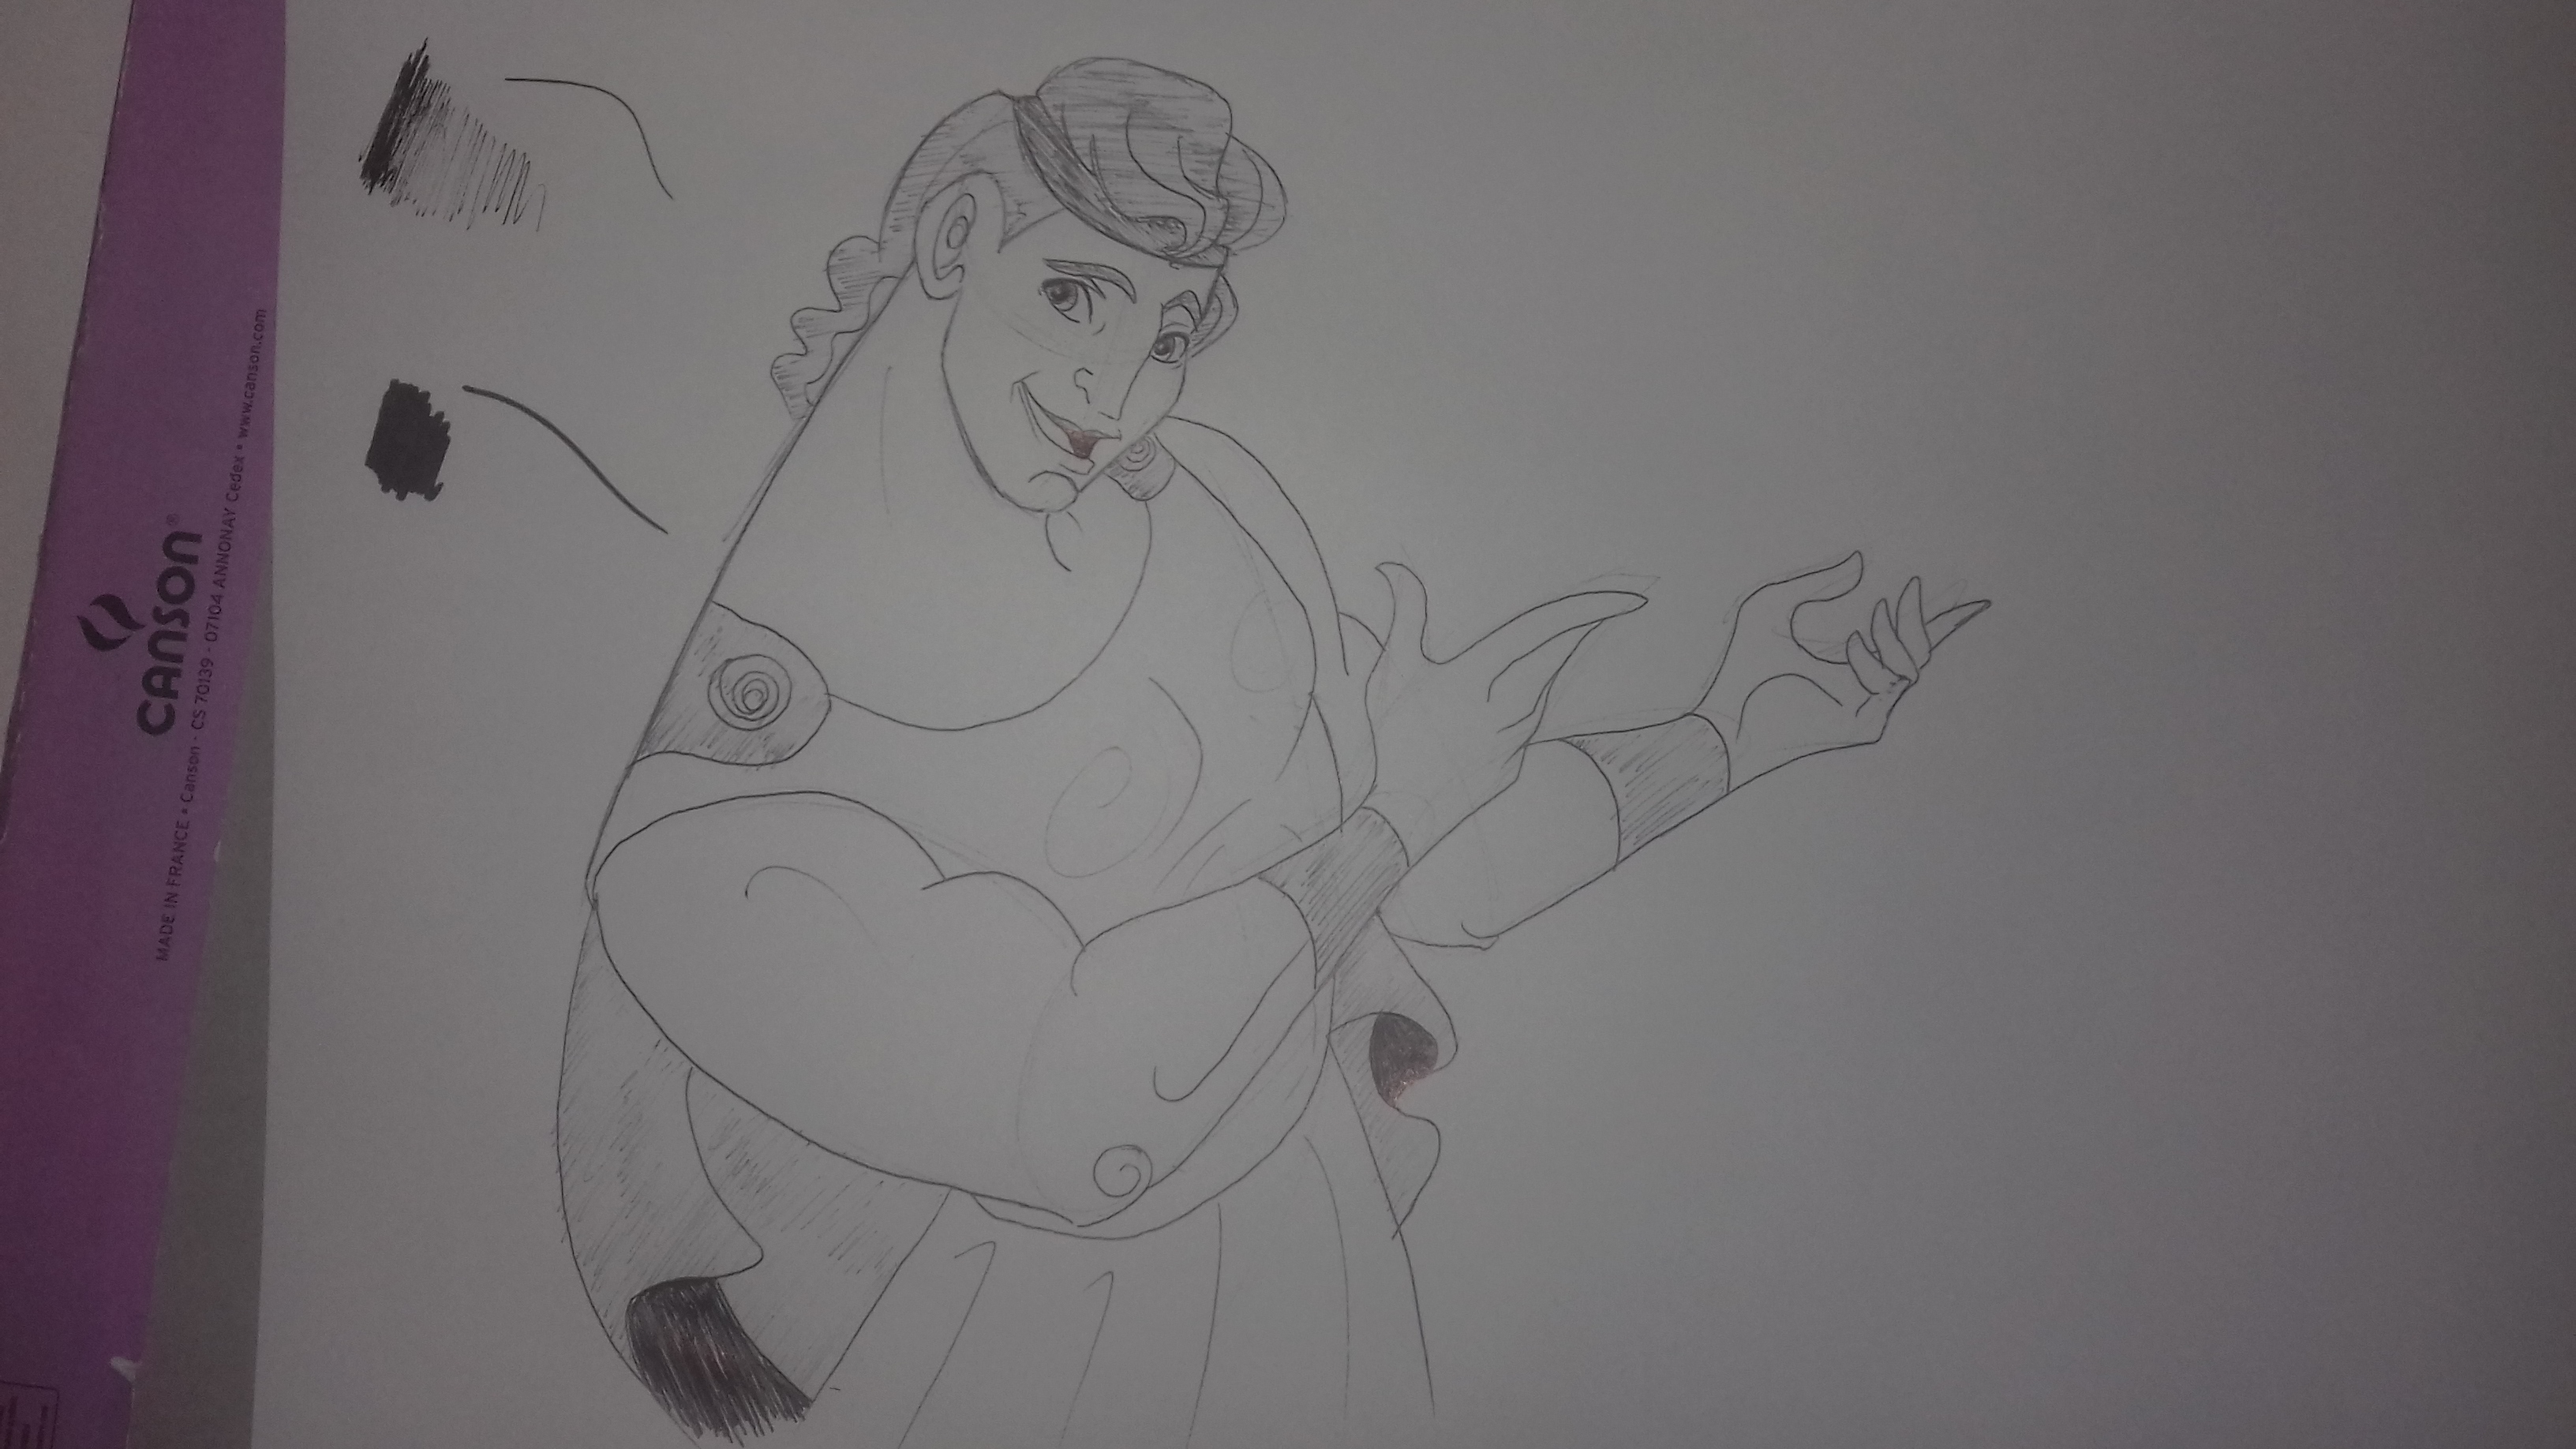
When my black areas are filled in, I move on to the gray areas. To fill them in, it's the same principle as before, except I press less on my pen.
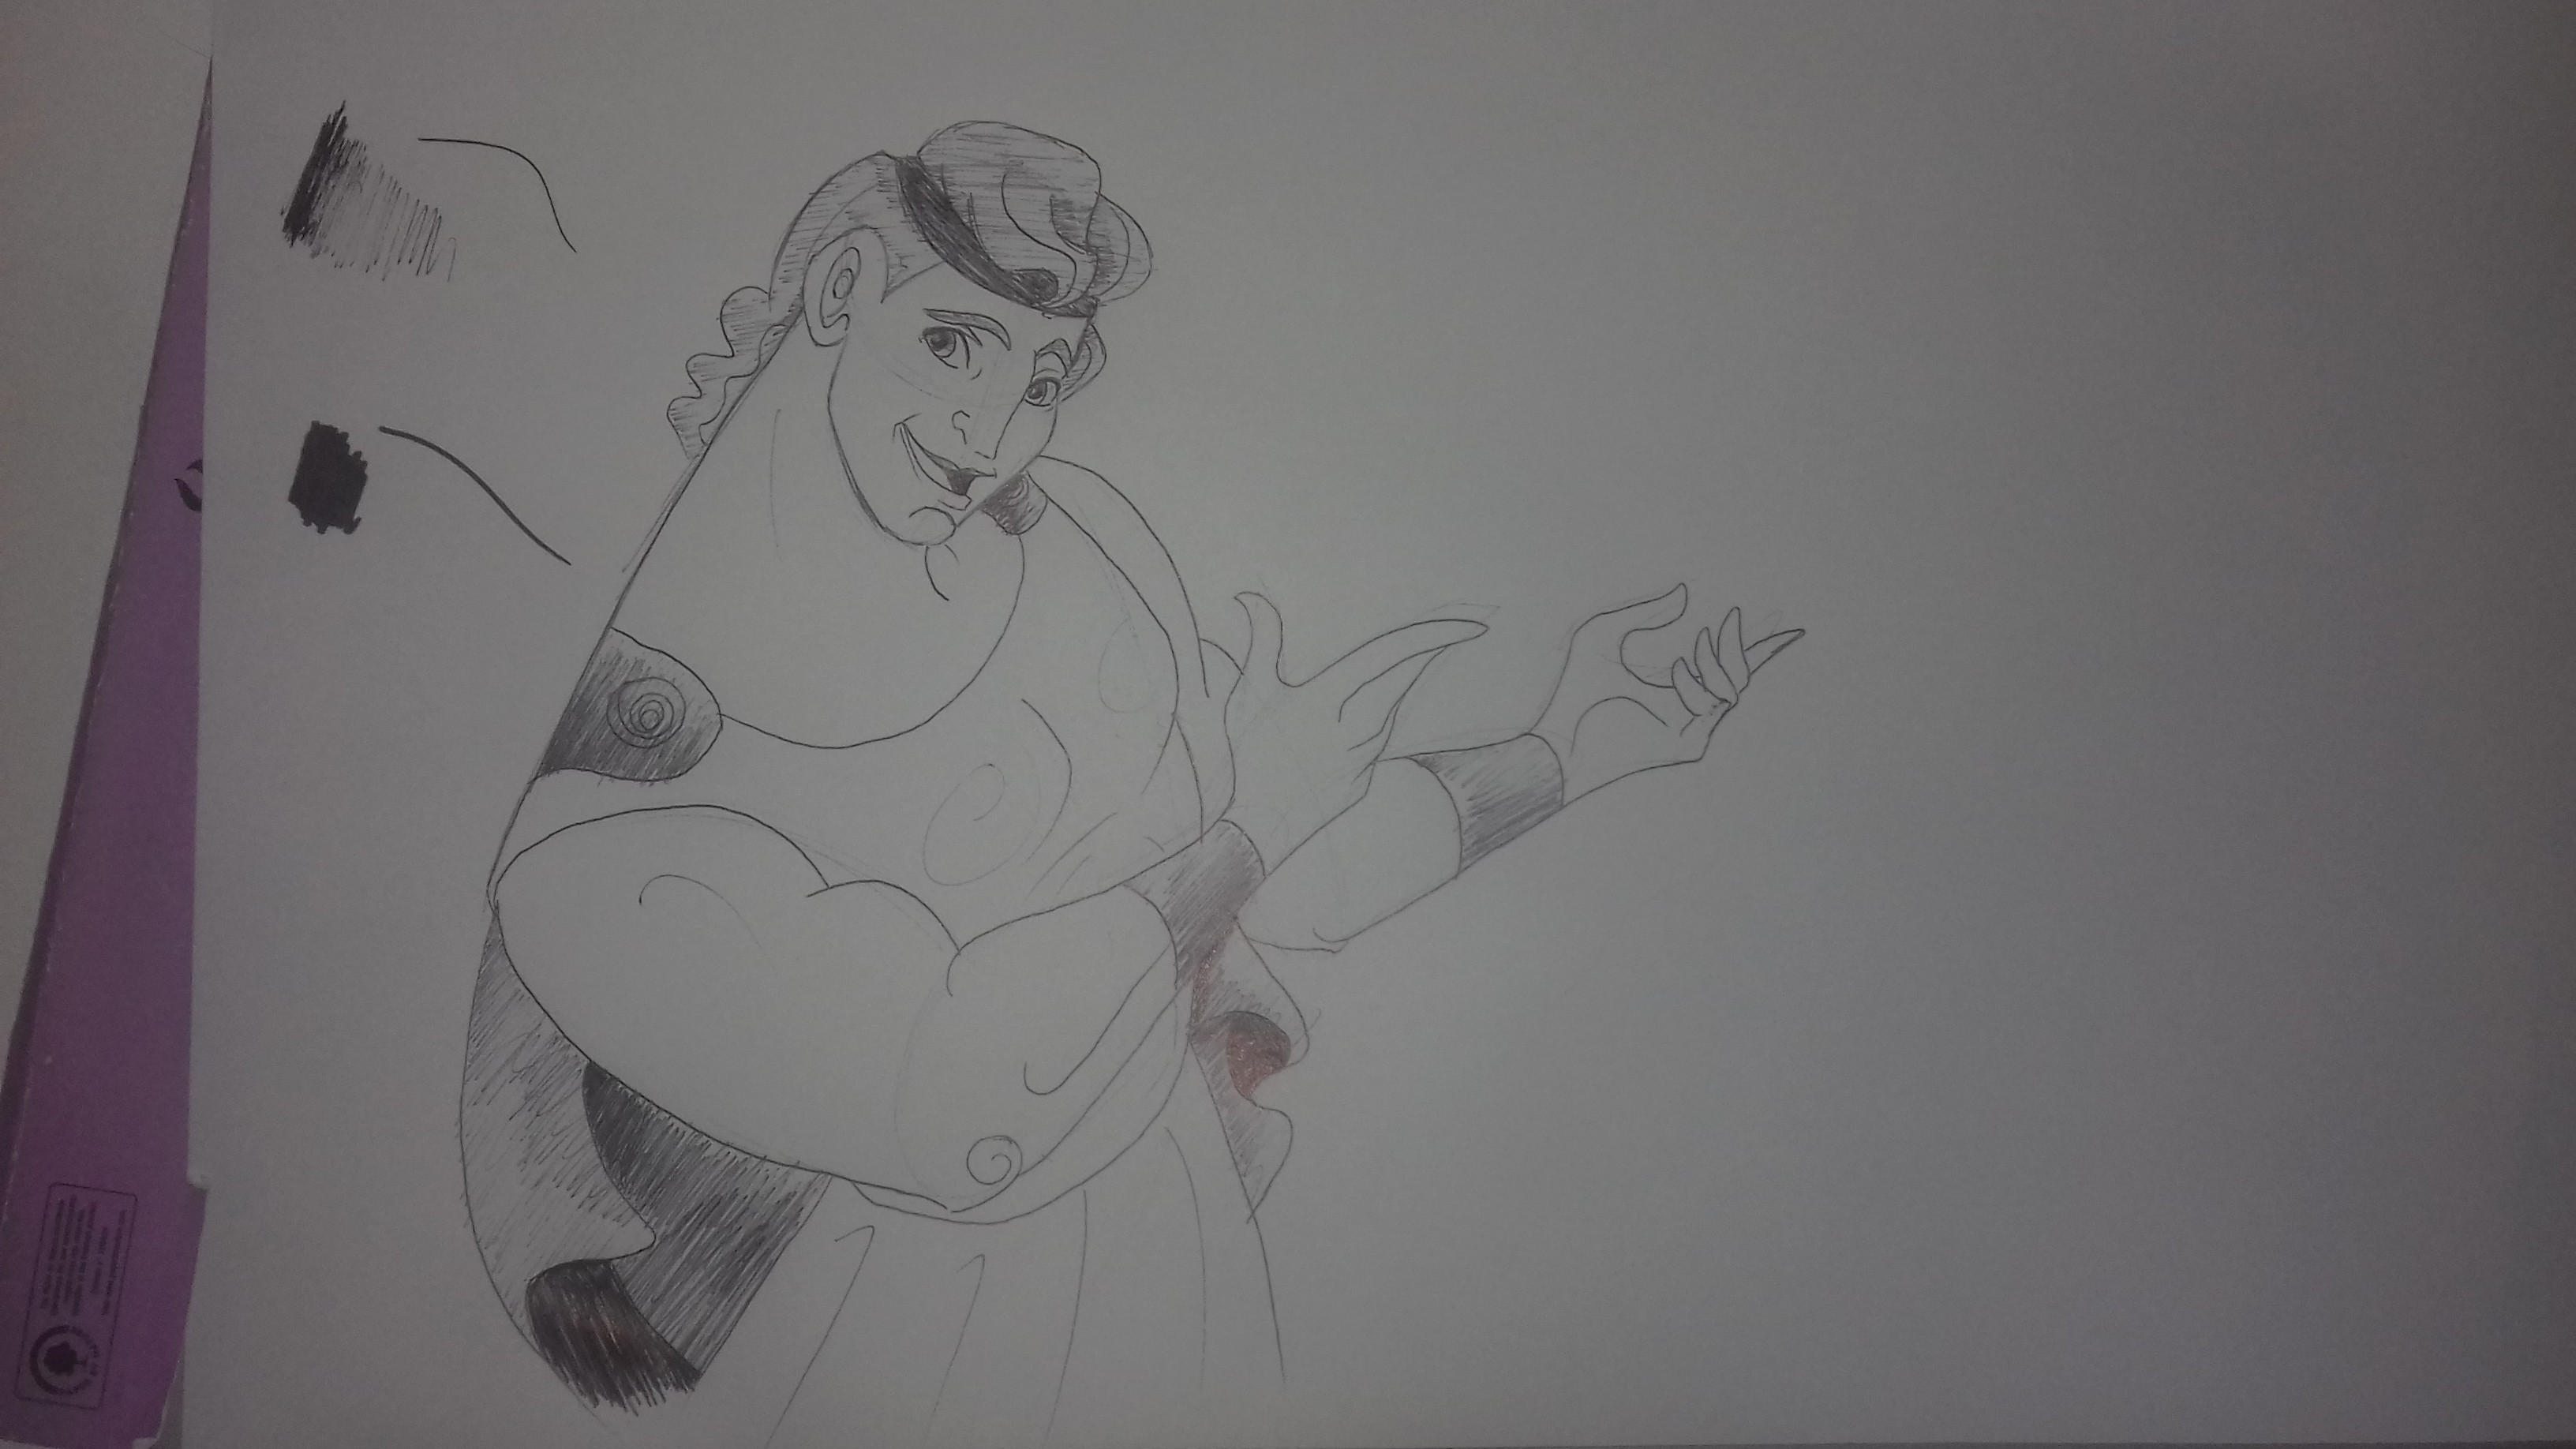
I give relief to my elements by accentuating the color in the shadowed areas and leaving them lighter in the areas touched by light.
I lightly shade the areas where there are hollows/shadows.
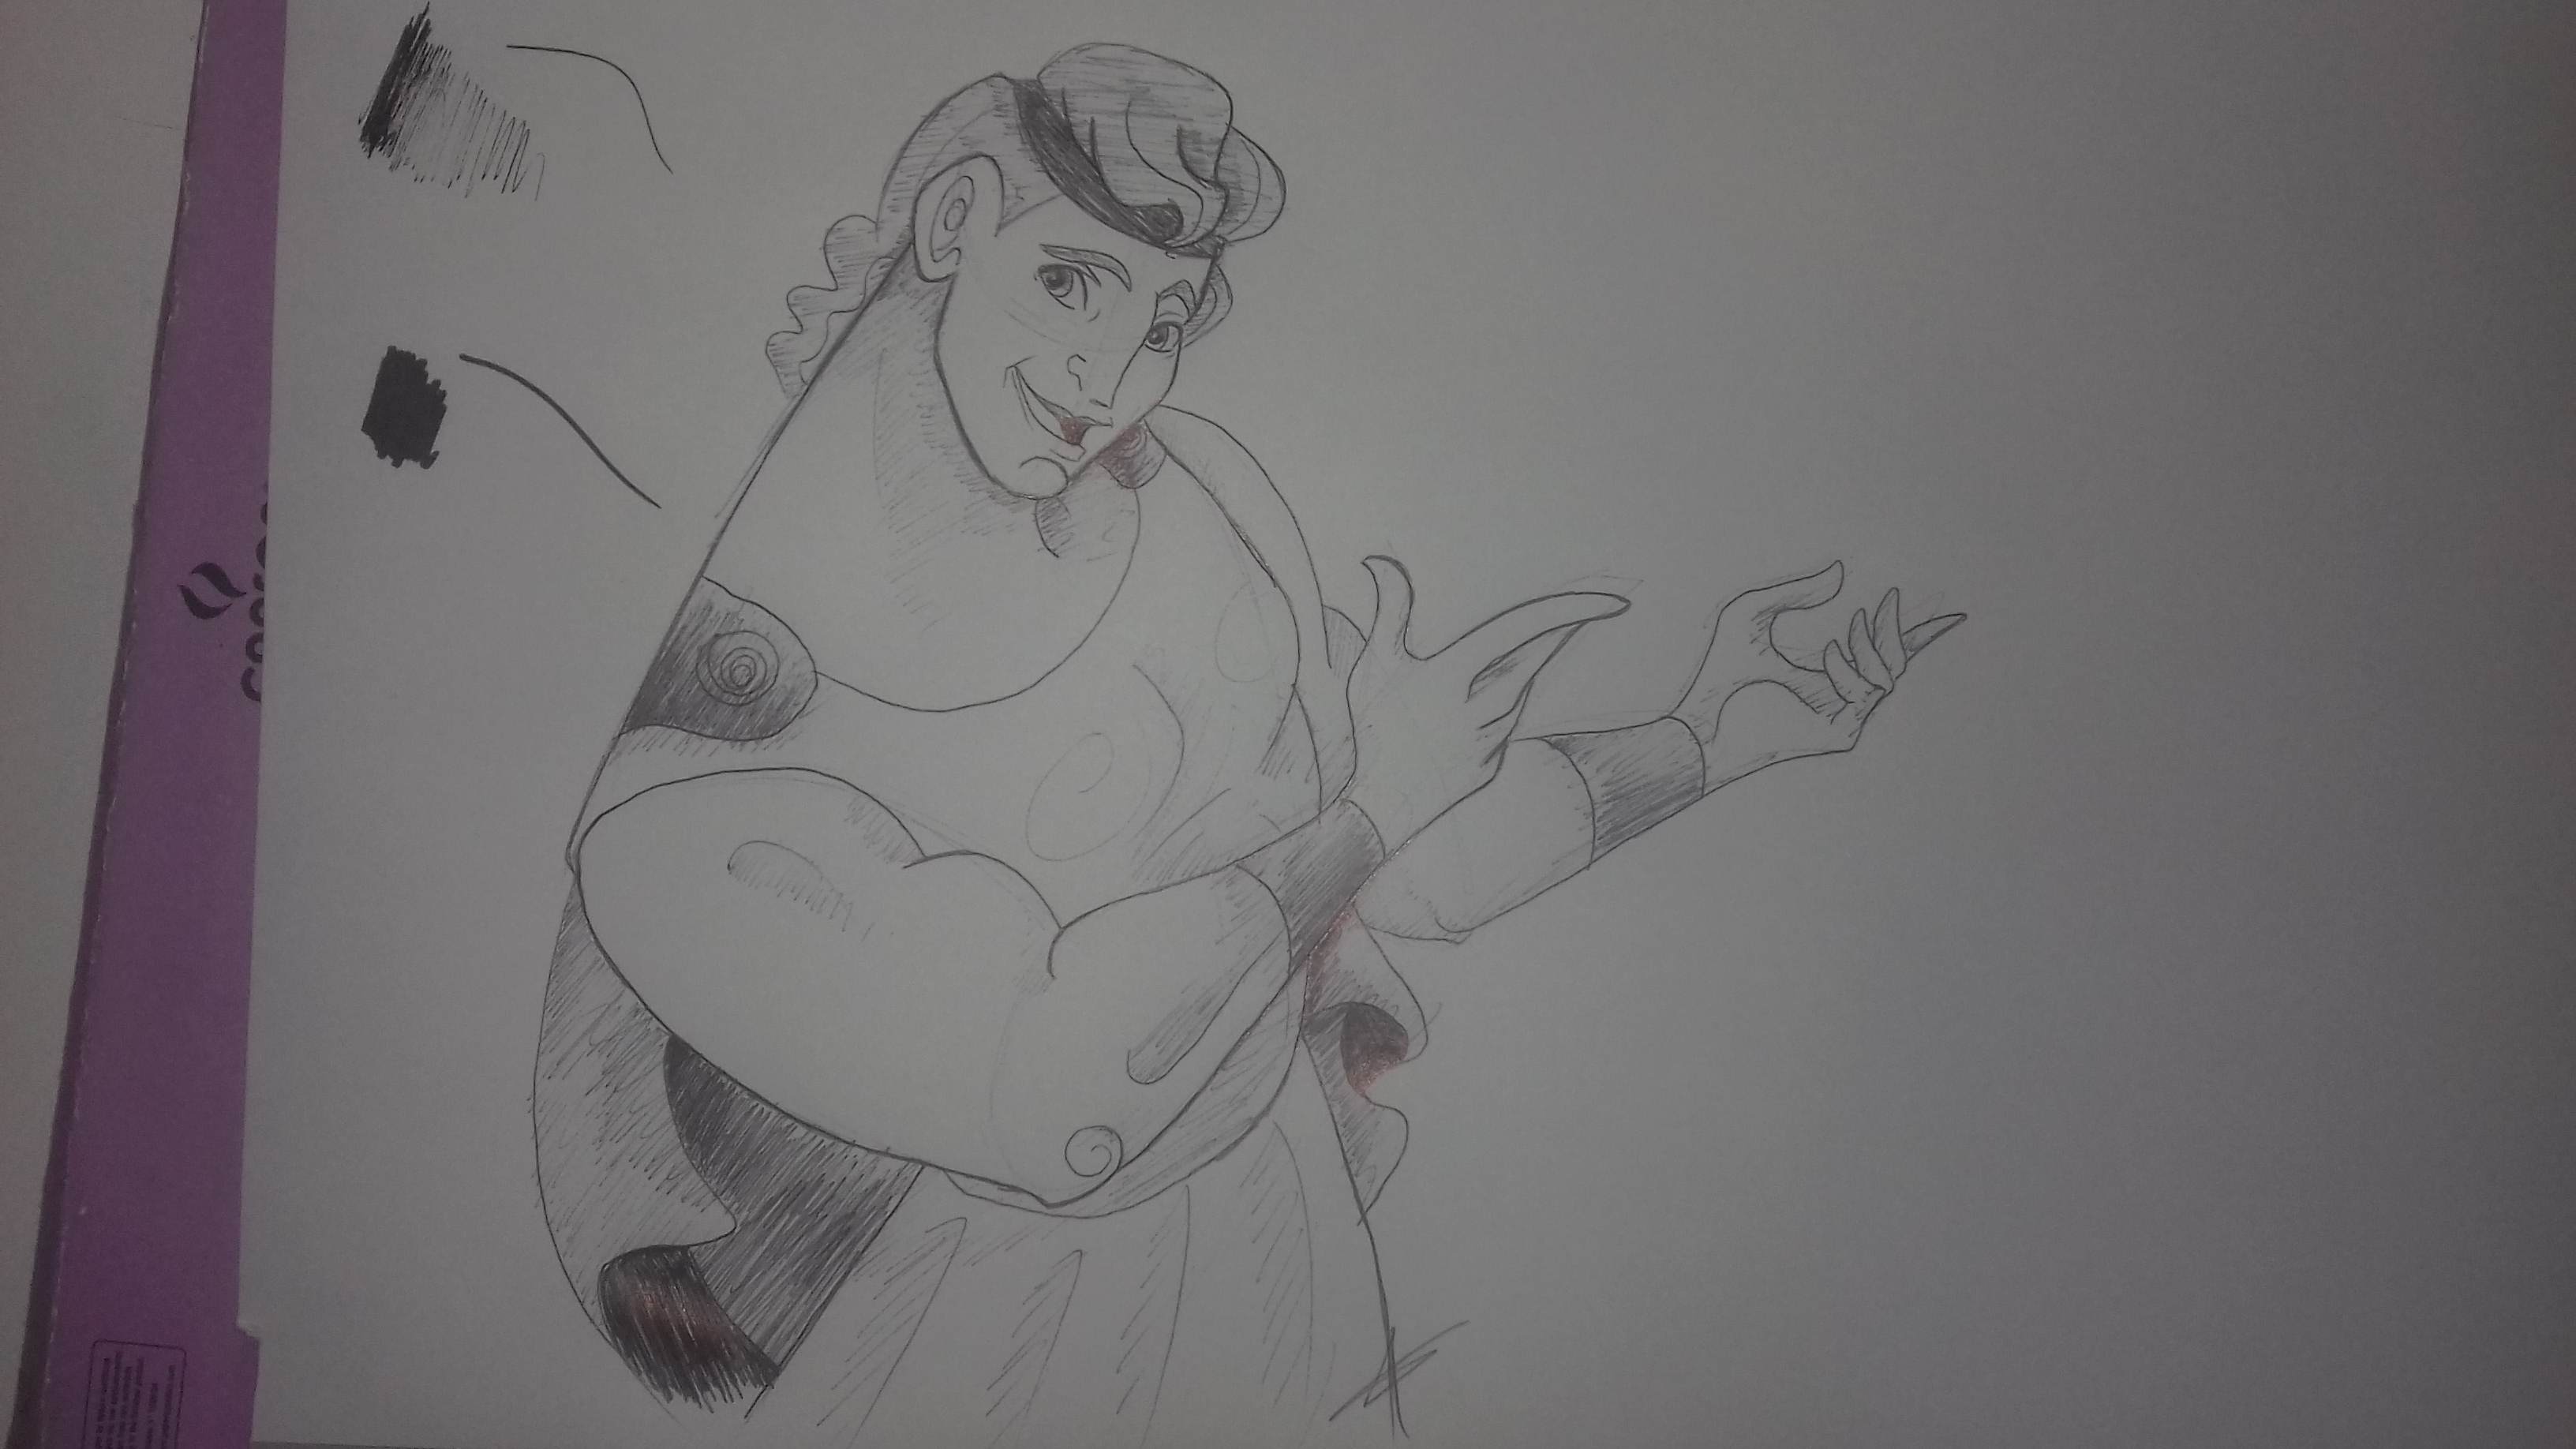
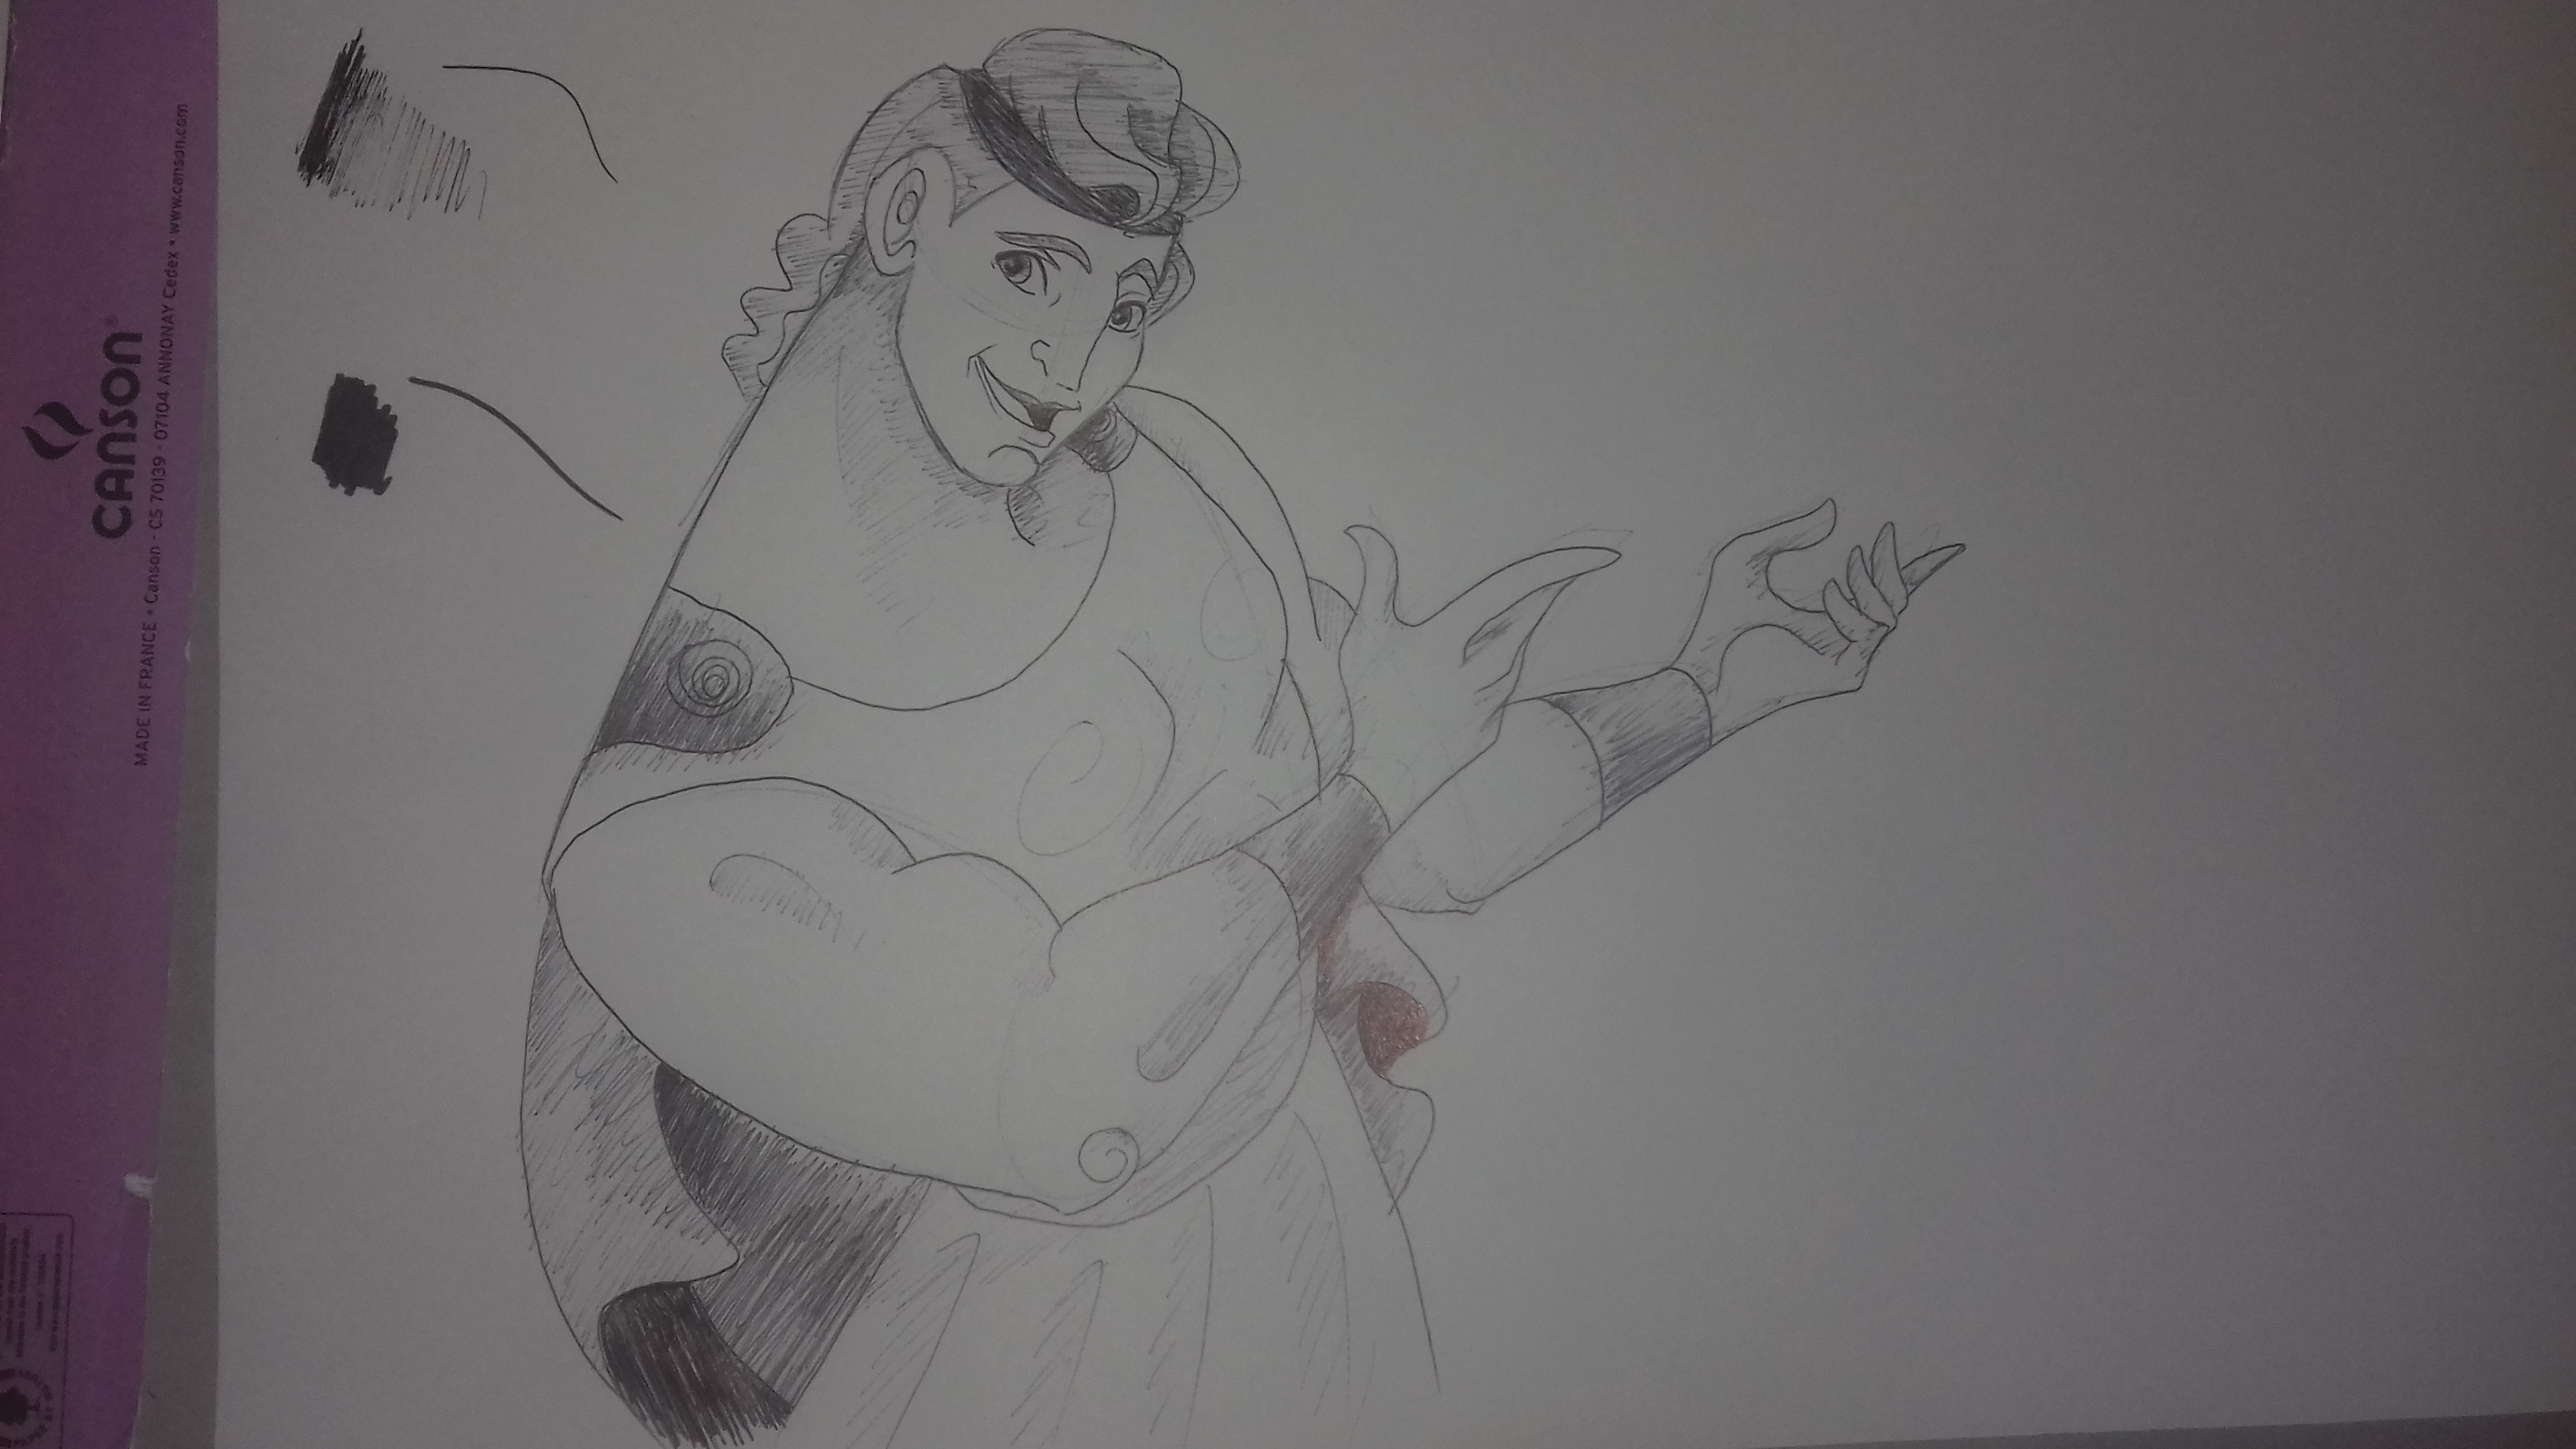
I thicken the lines that are in the foreground (the arm, the face, ...) to give relief and substance to my character.
My drawing is finished!
CREATE A DRAWING WITH PIGMA MICRON PEN AND TWIN MAKER PEN
For this drawing, you will not be able to create a base, as the micron is a highly pigmented pen, making it difficult to achieve a very light gray. Therefore, I suggest either using a pencil for the base which you can erase later, or going directly without a base, but in this case, choose a subject that you master perfectly!
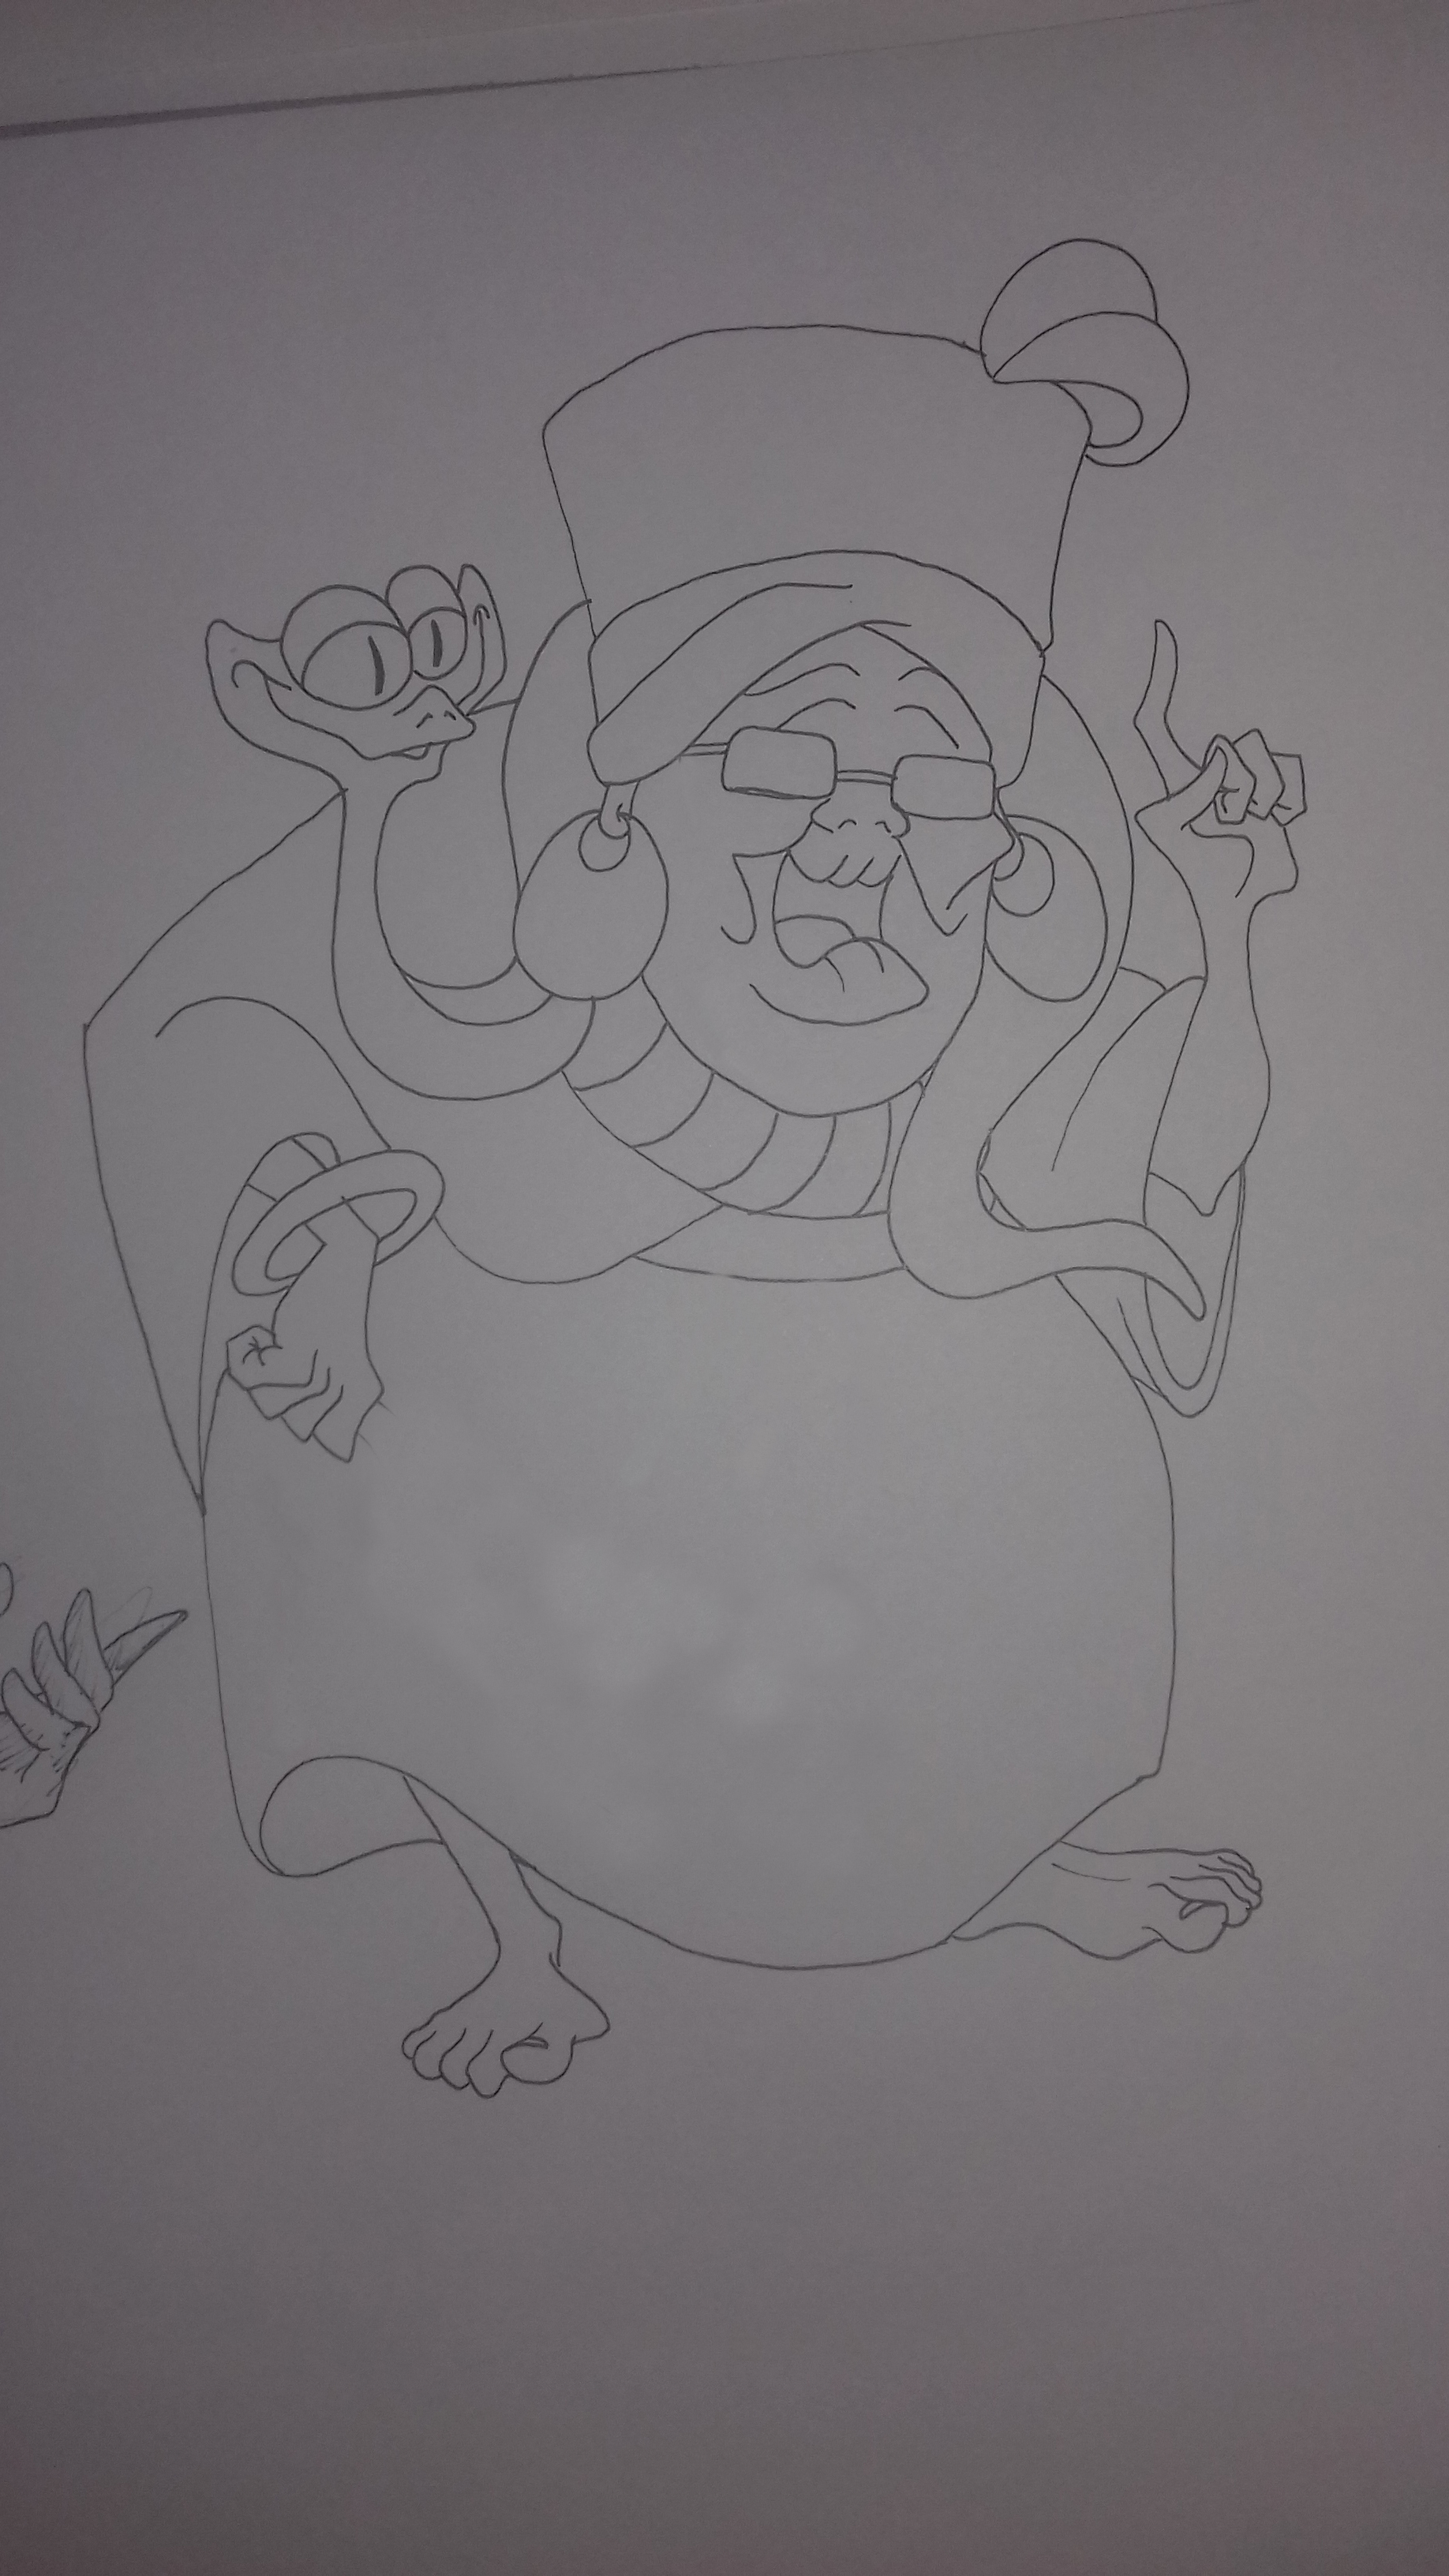
For this drawing, I chose Mama Odie. She's a character I've drawn so much (because she's cool!) that I could do it with my eyes closed.
I draw it directly with a pen without making a pencil draft.
With the Micron, start by drawing just the main lines.
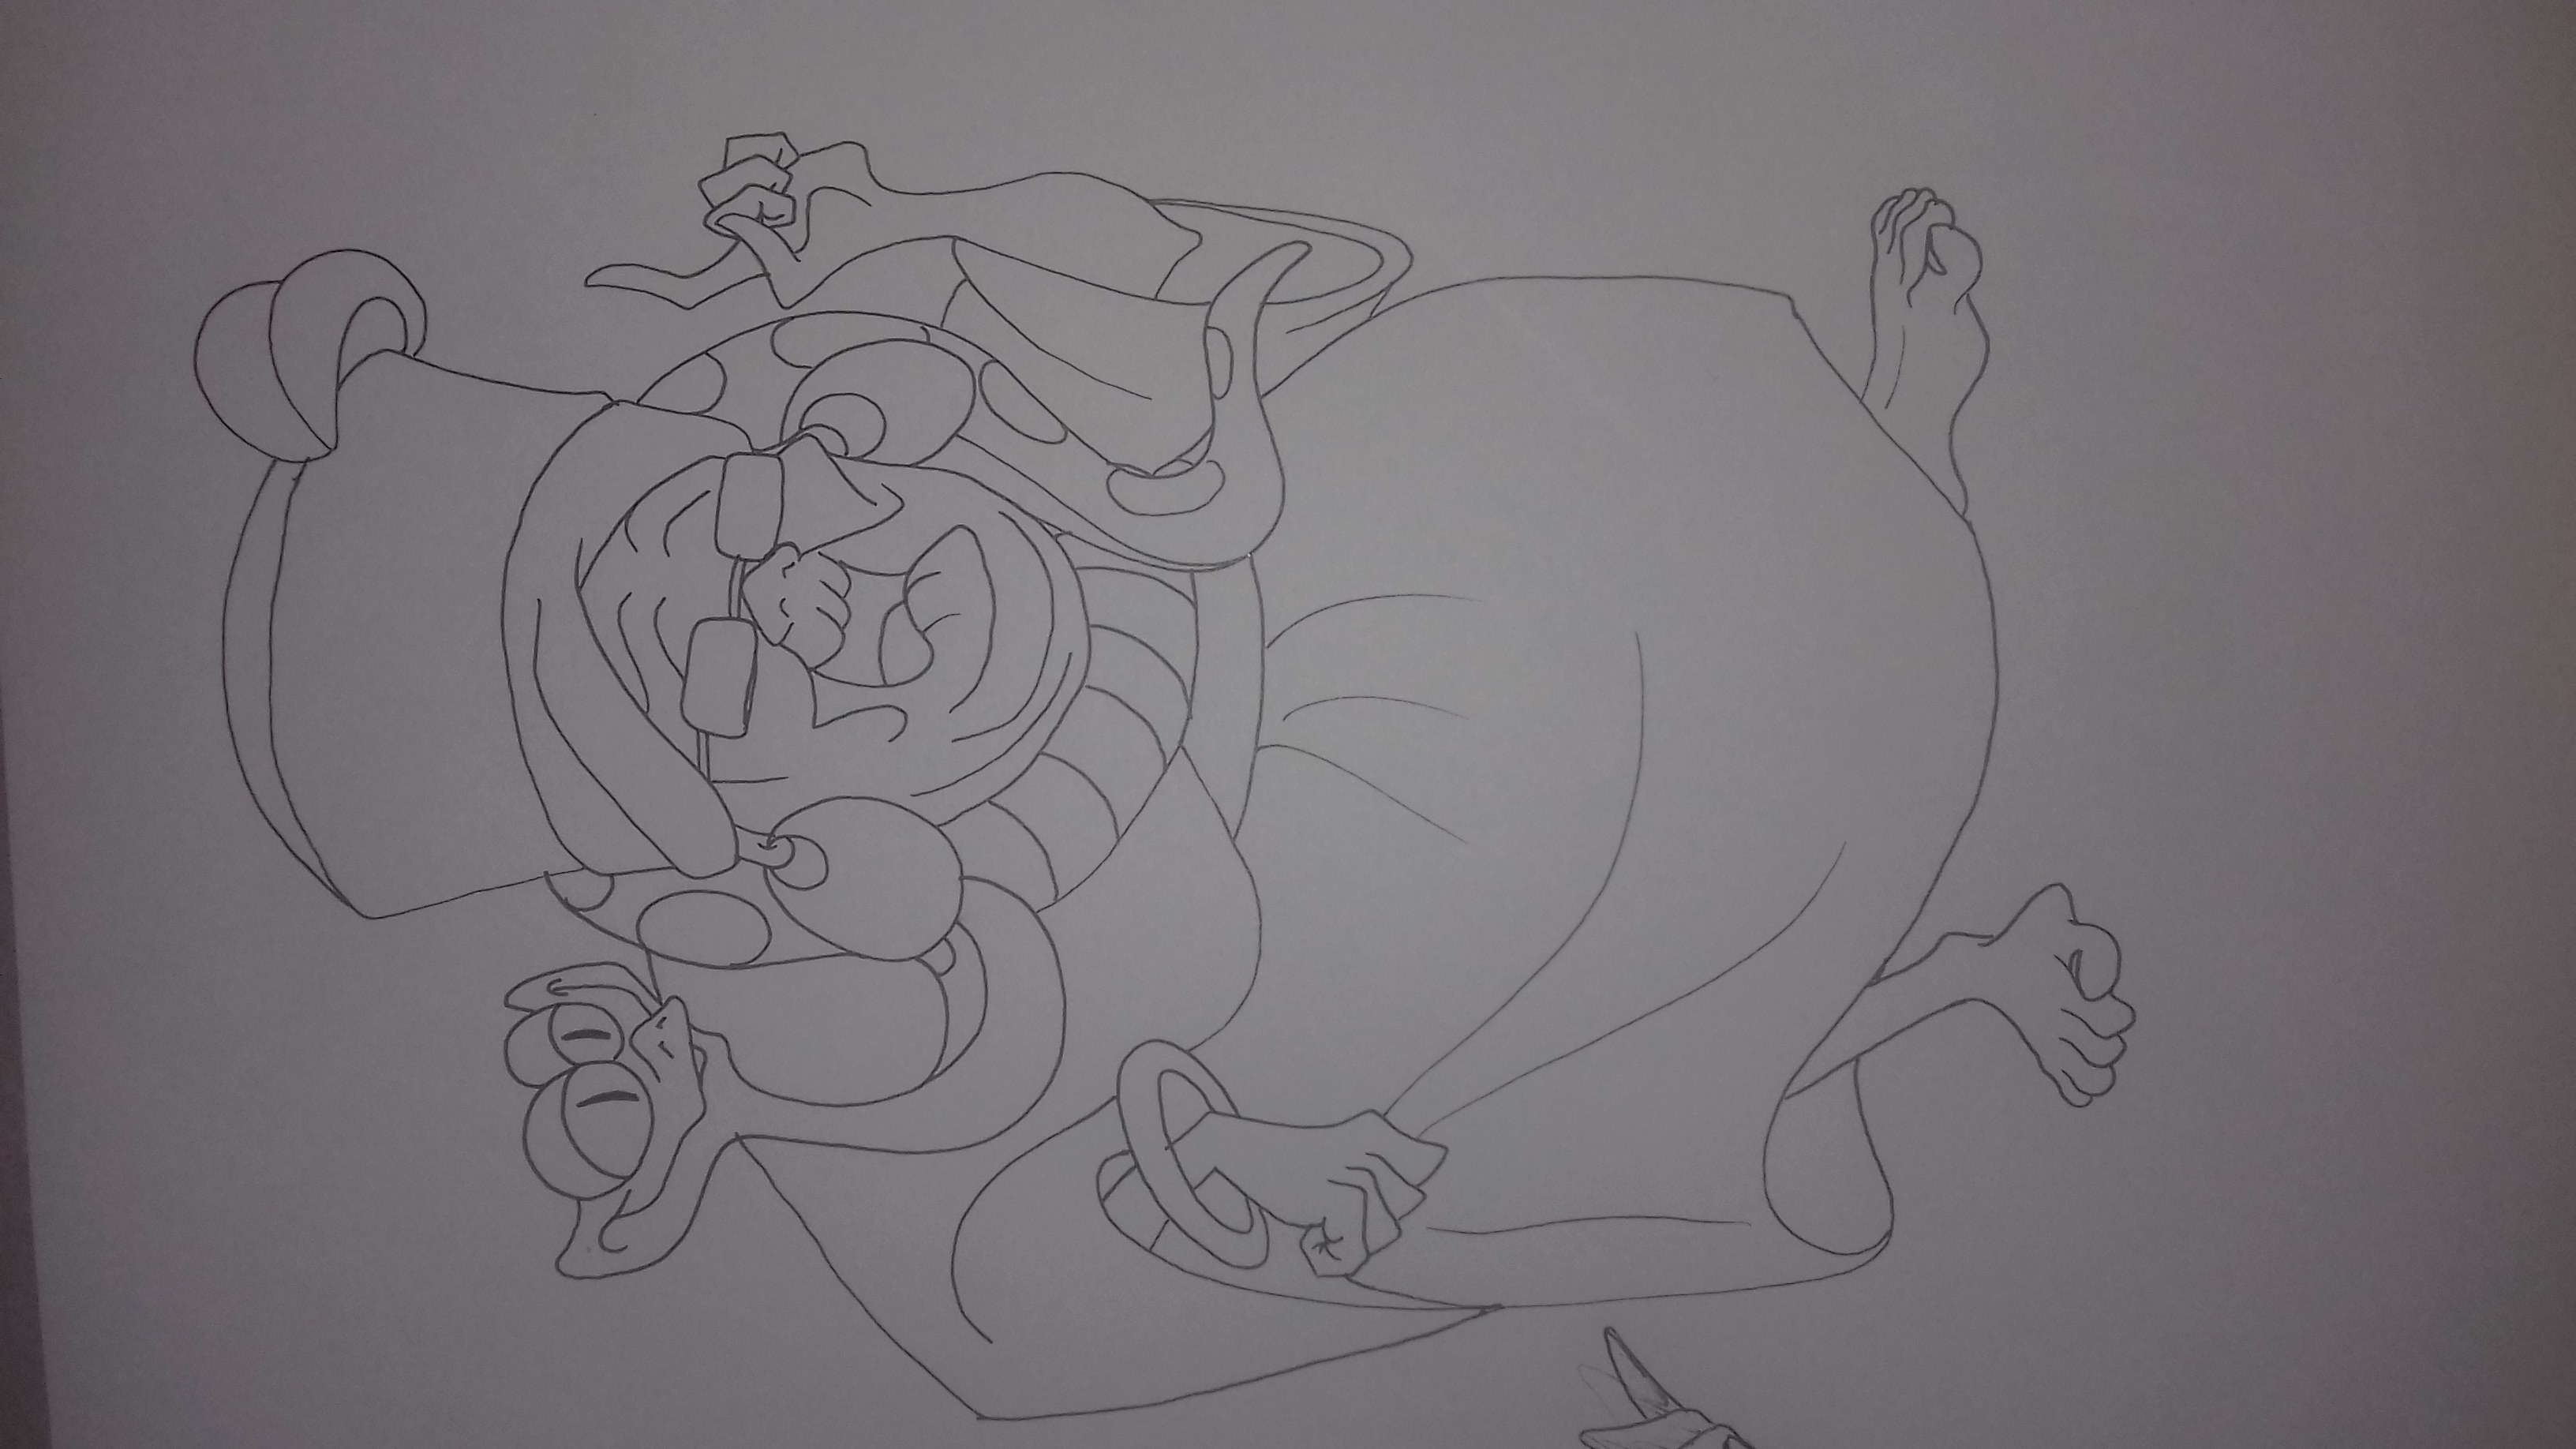
Once your outlines are done, add the missing details.
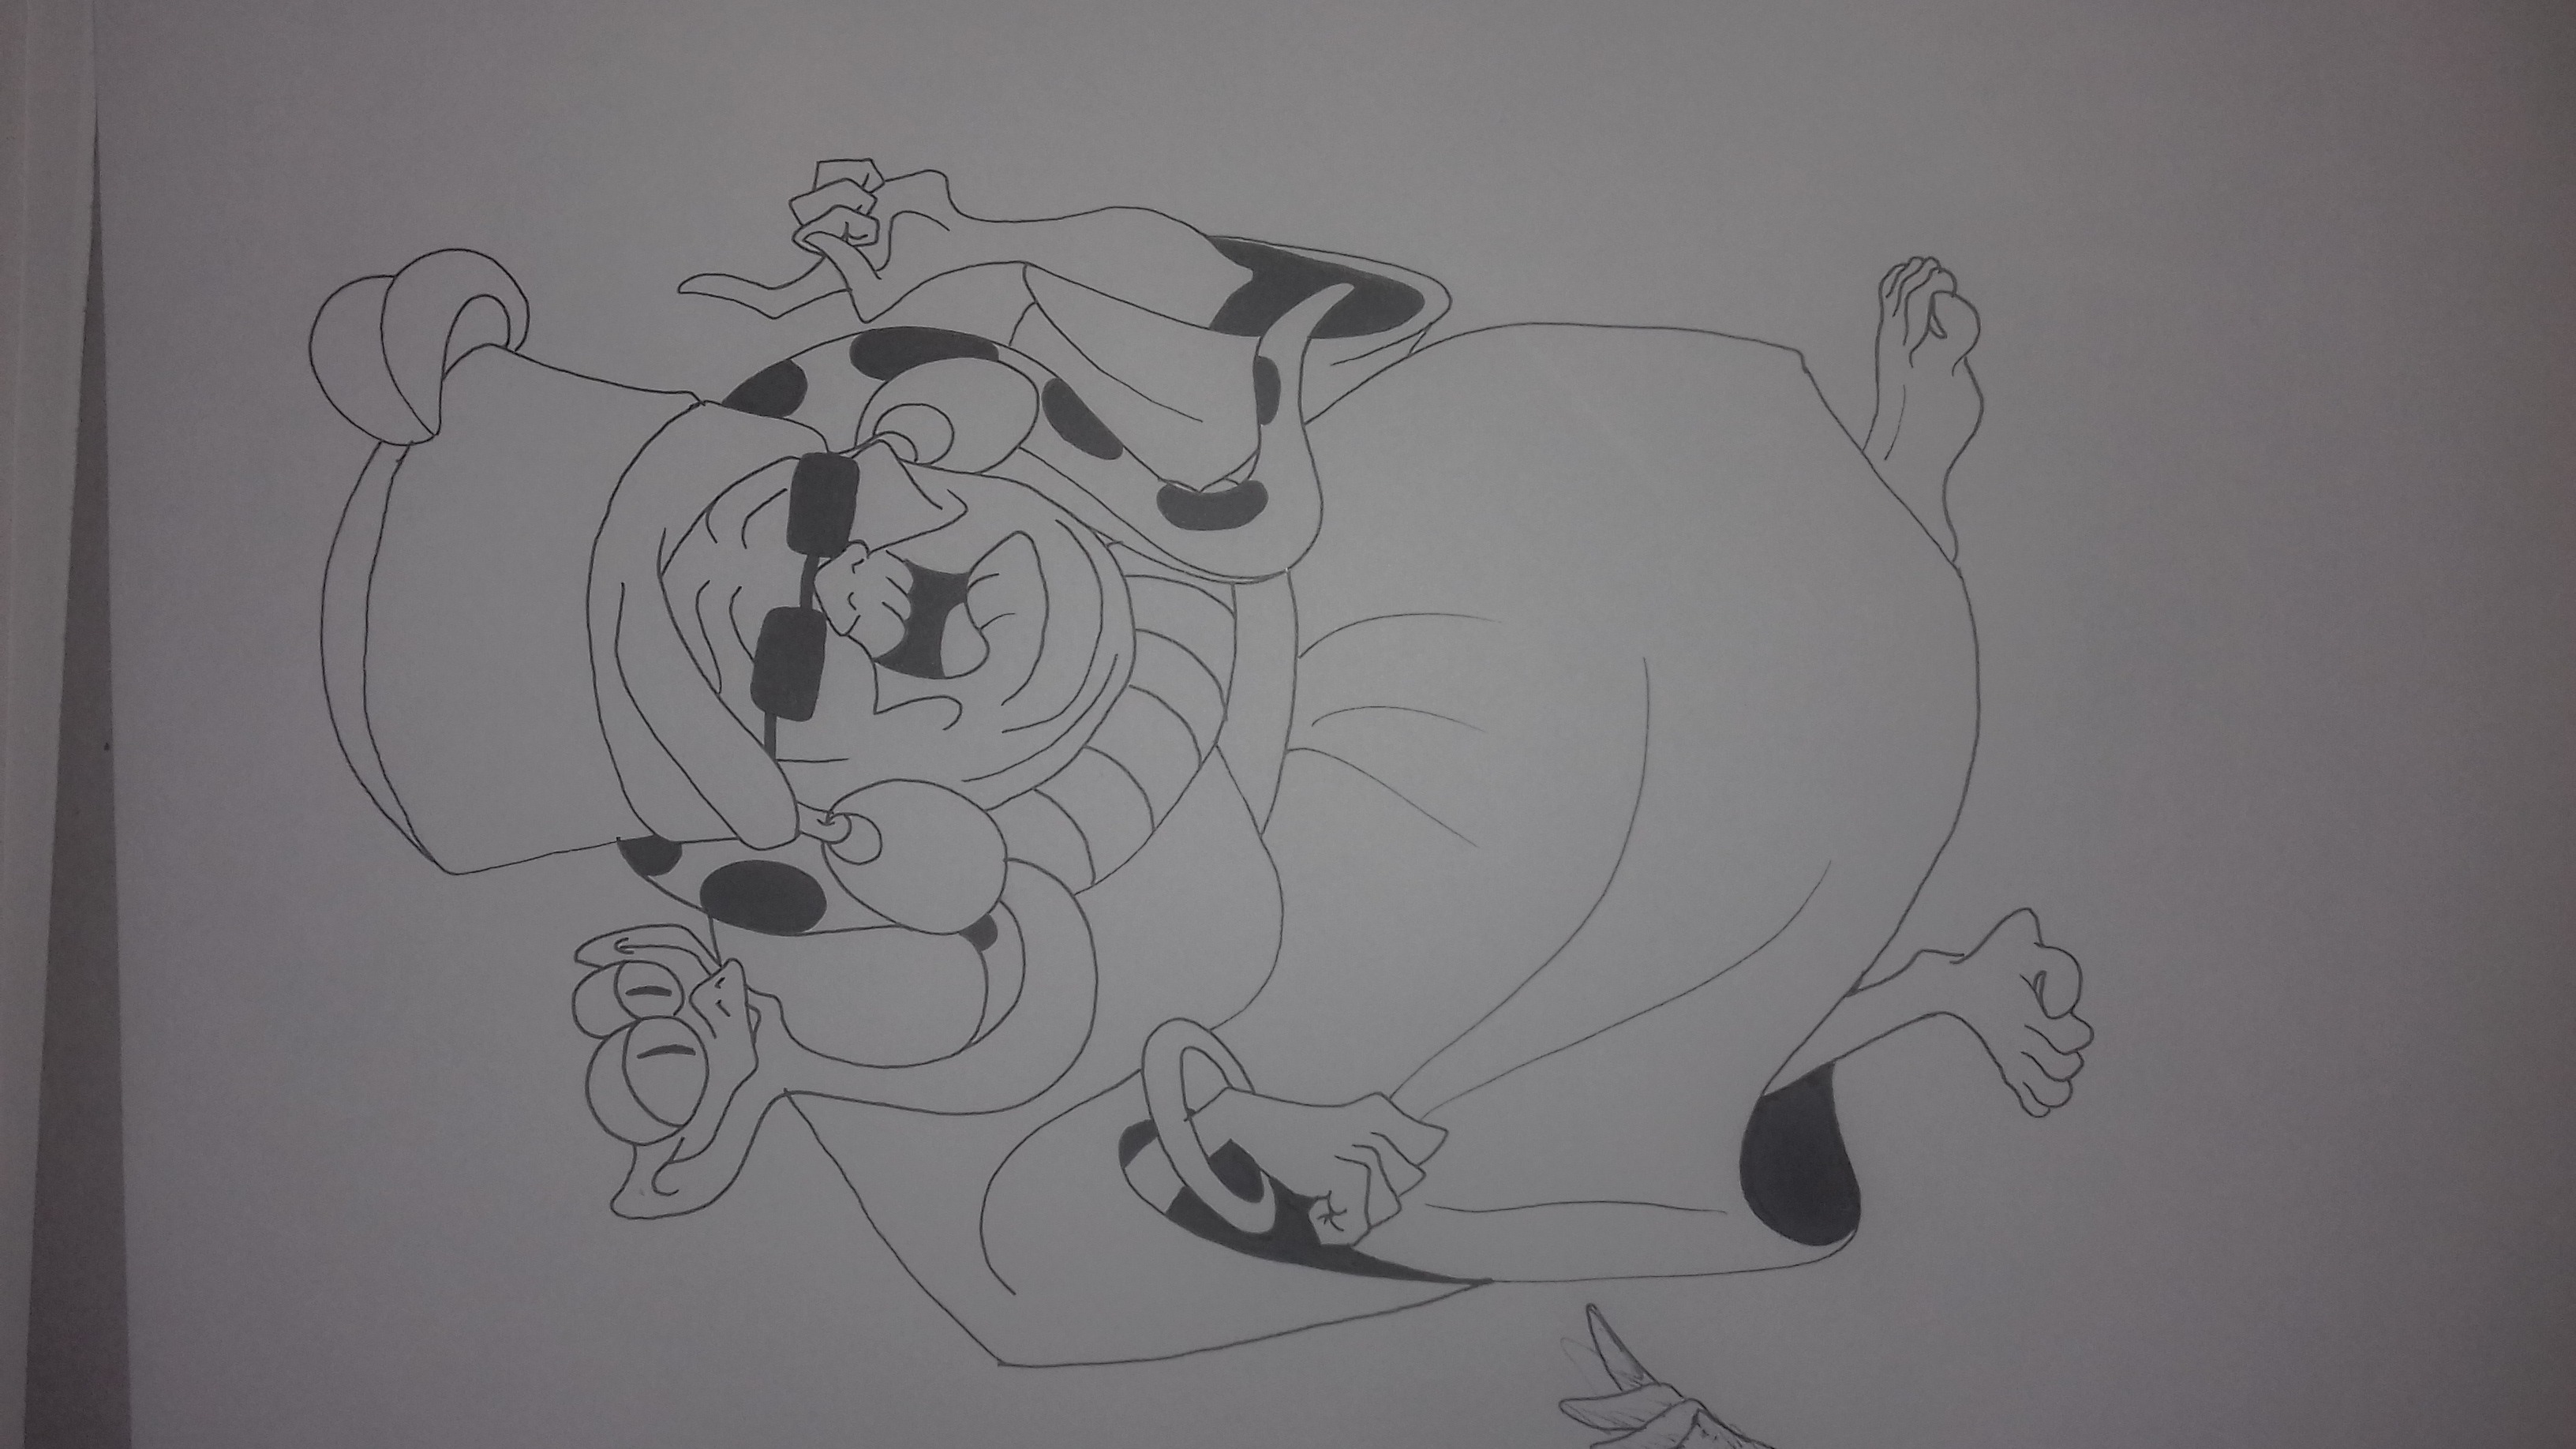
With the Twin Marker, fill in the dark or black areas.
Just like with Hercules, you will thicken the lines of the foreground elements to give depth to the character.
Your drawing is finished! :)

One of my drawing teachers always repeated that the eraser is a tool that should never have been invented. It gives too much confidence and allows the artist to make mistakes over and over again, indefinitely, which prevents them from truly progressing and gaining confidence.
If you really want to gain confidence in yourself and be assured in drawing, forget the eraser if you are drawing with a pencil, or draw regularly with a pen.
Your lines will be sharper and your tracing more accurate.
You will no longer hesitate and you will spend less time making mistakes. And most importantly, you will look more closely at your model which will allow you to faithfully reproduce what you see rather than interpreting it.
So grab a notebook, a pen and take advantage of the sun to go out and draw what you see :)


Discussion
9 comments