What Materials Do You Need for Pencil Drawing?
Pencil drawing is undoubtedly the most widespread technique, accessible to everyone and affordable, it often allows one to step into the world of drawing. While technique is paramount, once you reach a certain level, the right materials can also help improve the quality of your drawings.
In this article, we will look at all the equipment that could be useful to you if you want to create a small pencil drawing kit.
Which pencils to choose?

This is obviously the first tool you will need. While inexpensive pencils can do the job at first, you will quickly notice that higher quality pencils, like those from brands such asFaber-CastellorStaedtler, allow for better application and a more pleasant finish.
Their leads are generally more solid, with better pigments, which allows the pencil to glide over the paper without scratching it, and when erasing, to leave no trace.
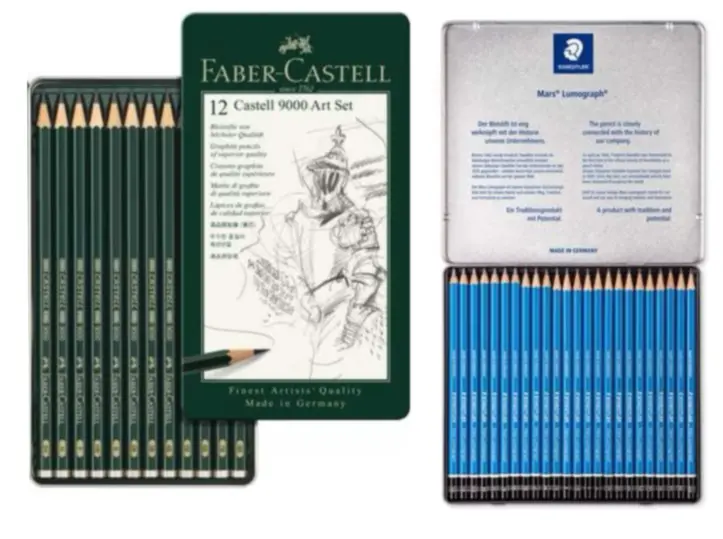
You can choose to buy pencils individually, which will allow you to select the ones you prefer and build a collection that reflects you. Alternatively, if you are just starting out and do not yet know your preferences, you can opt for pre-made assortments.
Once again, I recommend theFaber-Castell crayonsor Staedtler. Having a range of pencils will allow you a wider range of shades and thus more subtle and intense results.
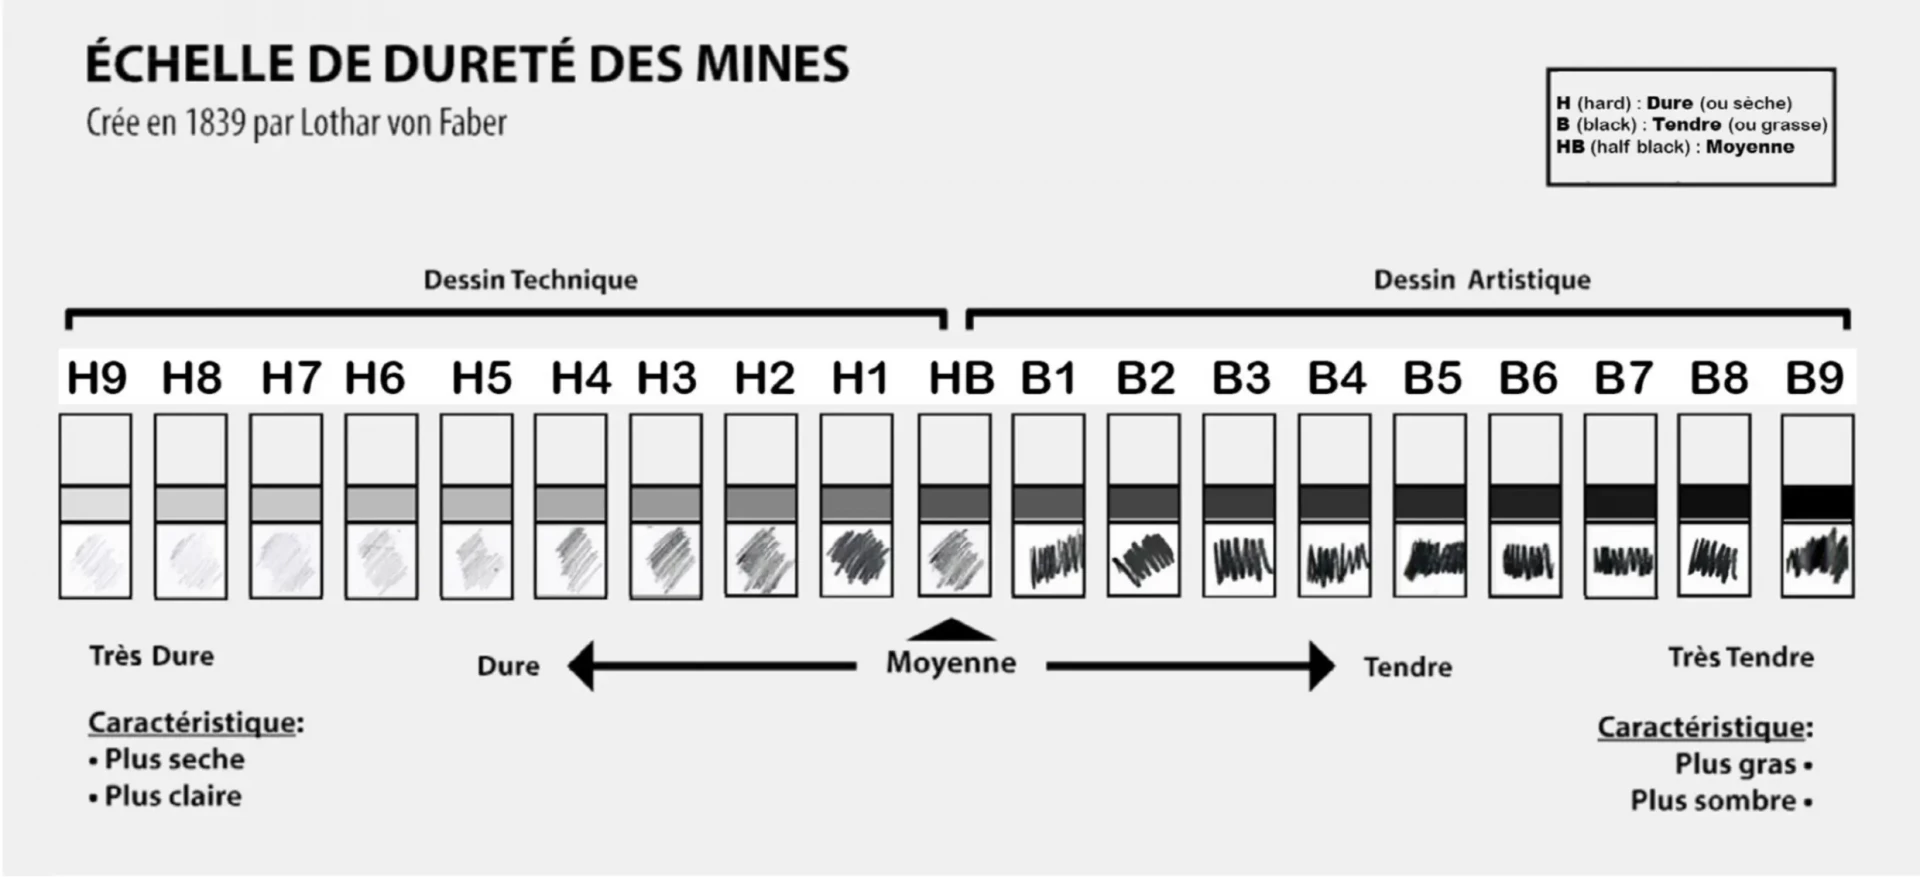
But then, why have multiple pencils? You may have noticed, but on the end of your pencils there are letters, often HB, which correspond to the hardness of the lead. Pencils typically range from 9H (very hard) to 9B (very soft). The higher the number, the softer and darker the pencil.
The choice of pencil will depend on the effect you want to achieve. A harder pencil (like the H) leaves a lighter and more precise line, while a softer pencil (like the B) produces deeper and softer shadows.
This is why it is advised to have a range of pencils. If you do not wish to invest in a complete set, I would recommend opting for three hardness levels: HB, a classic ideal for sketches; 4B, perfect for transition shades; and 8B for more intense shadows.
The paper
After the pencil, paper is the second essential, often forgotten. Yet, the choice of paper is crucial for achieving a good rendering of your drawings. The type of paper you choose will greatly influence the texture of the line and the rendering of the pigments. If you want to learn more about how to choose the right paper for your drawing needs, I refer you to this article:https://dessindigo.com/blog/advice/which-drawing-paper.
For pencil drawing, it's important to know that paper is forgiving, unlike with wet techniques.
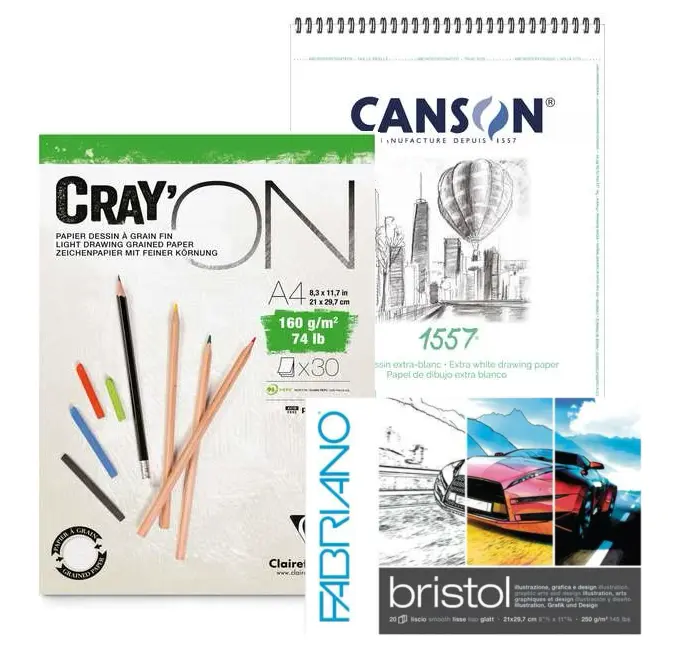
However, if you want to get a good finish, be able to erase multiple times without damaging the paper, and have pigments that glide well, the ideal is a white, smooth, and thick paper, such as theCanson 1557, theClairefontaine Cray'on or still theBristol.
The erasers
After pencils and paper, the eraser completes the winning trio. Contrary to popular belief, the eraser not only allows for correcting mistakes; it can also be used to mold shadows more precisely or to smudge a sketch in order to rework in more detail on top. Here are the different categories that exist:
The white eraser

The white eraser (which isn't always white) is the most common and the softest. It is ideal for erasing light marks without damaging the paper. It works well for fine drawings and delicate adjustments. You will generally find it in a rectangular shape, but it can also come in more ergonomic shapes. For me, however, theStaedtler eraserremains unrivaled.
Precision eraser or eraser pen
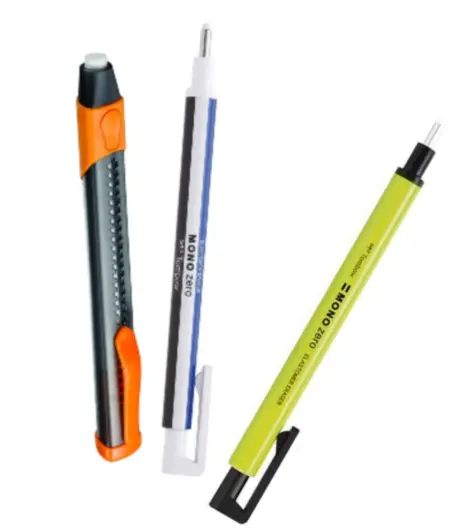
The eraser pen will be your best ally if you are looking for a very precise eraser. It works on the same principle as a mechanical pencil, but with erasers instead of leads. This means that you can find them with different eraser sizes, you just have to see which one best meets your needs.
The electric eraser
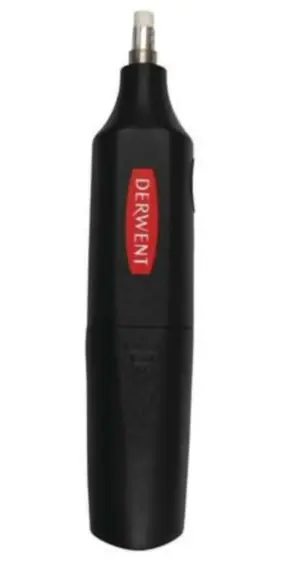
Imagine that a drill and an eraser had a child, it would be the electric eraser. Obviously, it doesn't make holes, think of it more as the Rolls-Royce of eraser pens. In a split second, your page is blank again, without any pencil marks (even the boldest ones!).
To start with, it's a bit of a gadget, but if one day you think about investing a bit more time or money, it's still very handy.
Bread eraser
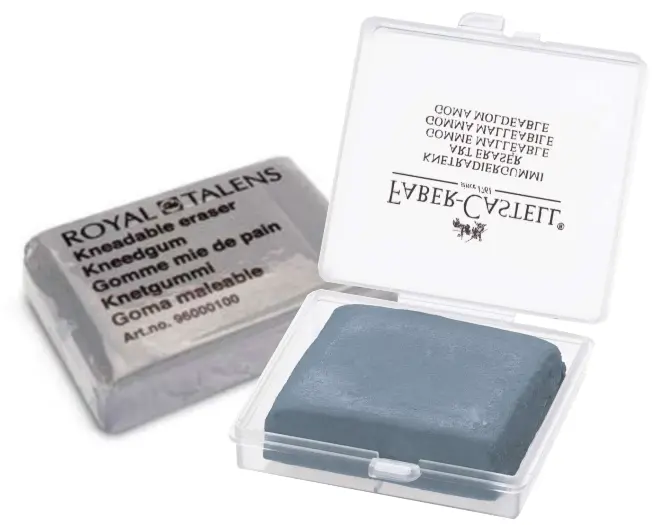
Finally, the last one, the kneaded eraser. Do not see it as a traditional eraser for erasing, but rather as a tool for smudging. It is very flexible and malleable, ideal for softening or blending shadows, particularly on rough papers.
She does not damage the paper and is useful for lightening an area of your drawing without completely erasing it. She is also perfect for creating light effects. I recommend theFaber-Castell kneaded eraser
Pencil sharpeners
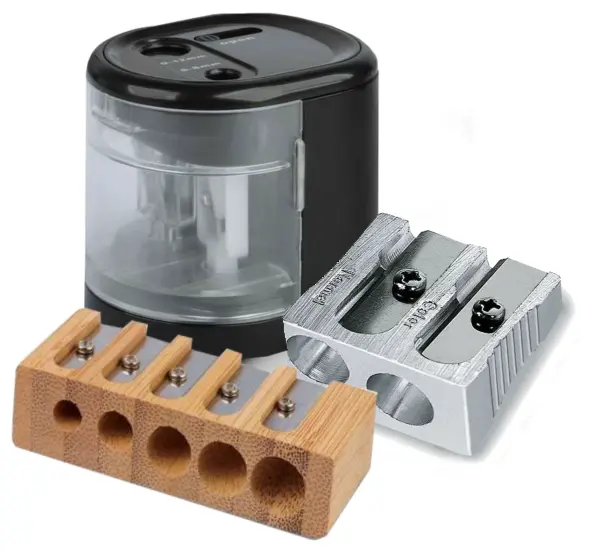
An essential for keeping your pencils well-sharpened, you will find them in all types and honestly, although there are differences, it is not the tool where this will be the most significant. You will find them with different openings, with or without a container… However, make sure that the blades of your sharpener are sharp, otherwise you risk damaging the tips of your pencils.
If you're looking to invest, you can still treat yourself to a good electric pencil sharpener, your pencil will be perfectly sharpened in just a few seconds and without any effort, it's always pleasant.
The smudges
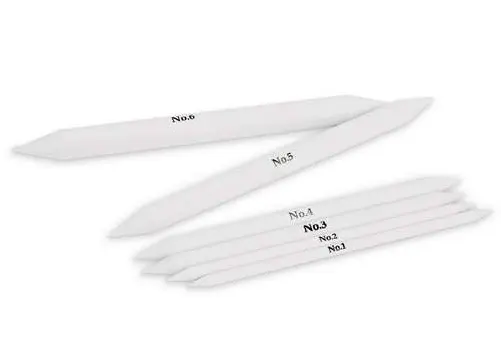
Here is a rather controversial tool: blending stumps, which, as their name suggests, are used to blend. They are available in different forms: rolled paper, wooden stick, or rubber. Some appreciate them because they allow for easier shading. Personally, I do not like them at all; I find that very often, the result is "blurry" in the bad sense of the word.
I therefore advise you to learn to make your gradients using only pencils and the pressure applied. The result will be more precise and more subtle. However, keep in mind that blenders exist, and who knows, maybe you'll love using them. I recommend thisassortment of stumpsHello! How can I assist you today?
The fixatives
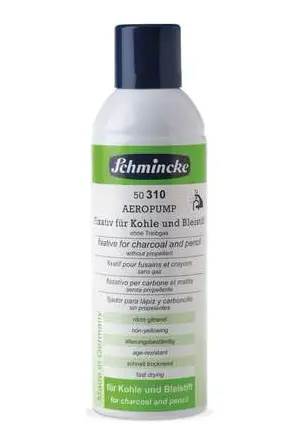
The last one on the list, often the one we forget. It must be said that it is not exactly essential, but it is still handy. Fixatives come in the form of aerosol spray that you apply to your drawing once it is finished. They have the advantage of allowing the pigment to permanently set on the paper, thus preserving well over time. It's useful only if you plan to keep your drawings for the long term, especially if they are on loose sheets and not in sketchbooks.
And there you have it! We've just reviewed all the equipment that could be useful for putting together a good starter kit for pencil drawing. Remember, if you need to invest, prioritize pencils and paper, as the rest won't make a significant difference compared to those two.
If you already have your materials and want to start applying your skills by learning to draw shadows and lights with a pencil, I suggest watching the following video:
or with thestylized drawing of a womanor with arealistic woman portrait.
I hope you enjoyed this article, and most importantly, have fun! 😊
Editor: Chloé Pouteau