Draw a Car
In this article, we will look at how to draw a car.
The construction steps I'm going to show you are the same for all cars. Using these basic principles, you will be able to draw any style of car, you just need to modify the sizes and proportions.
THE BASIS OF DRAWING A CAR
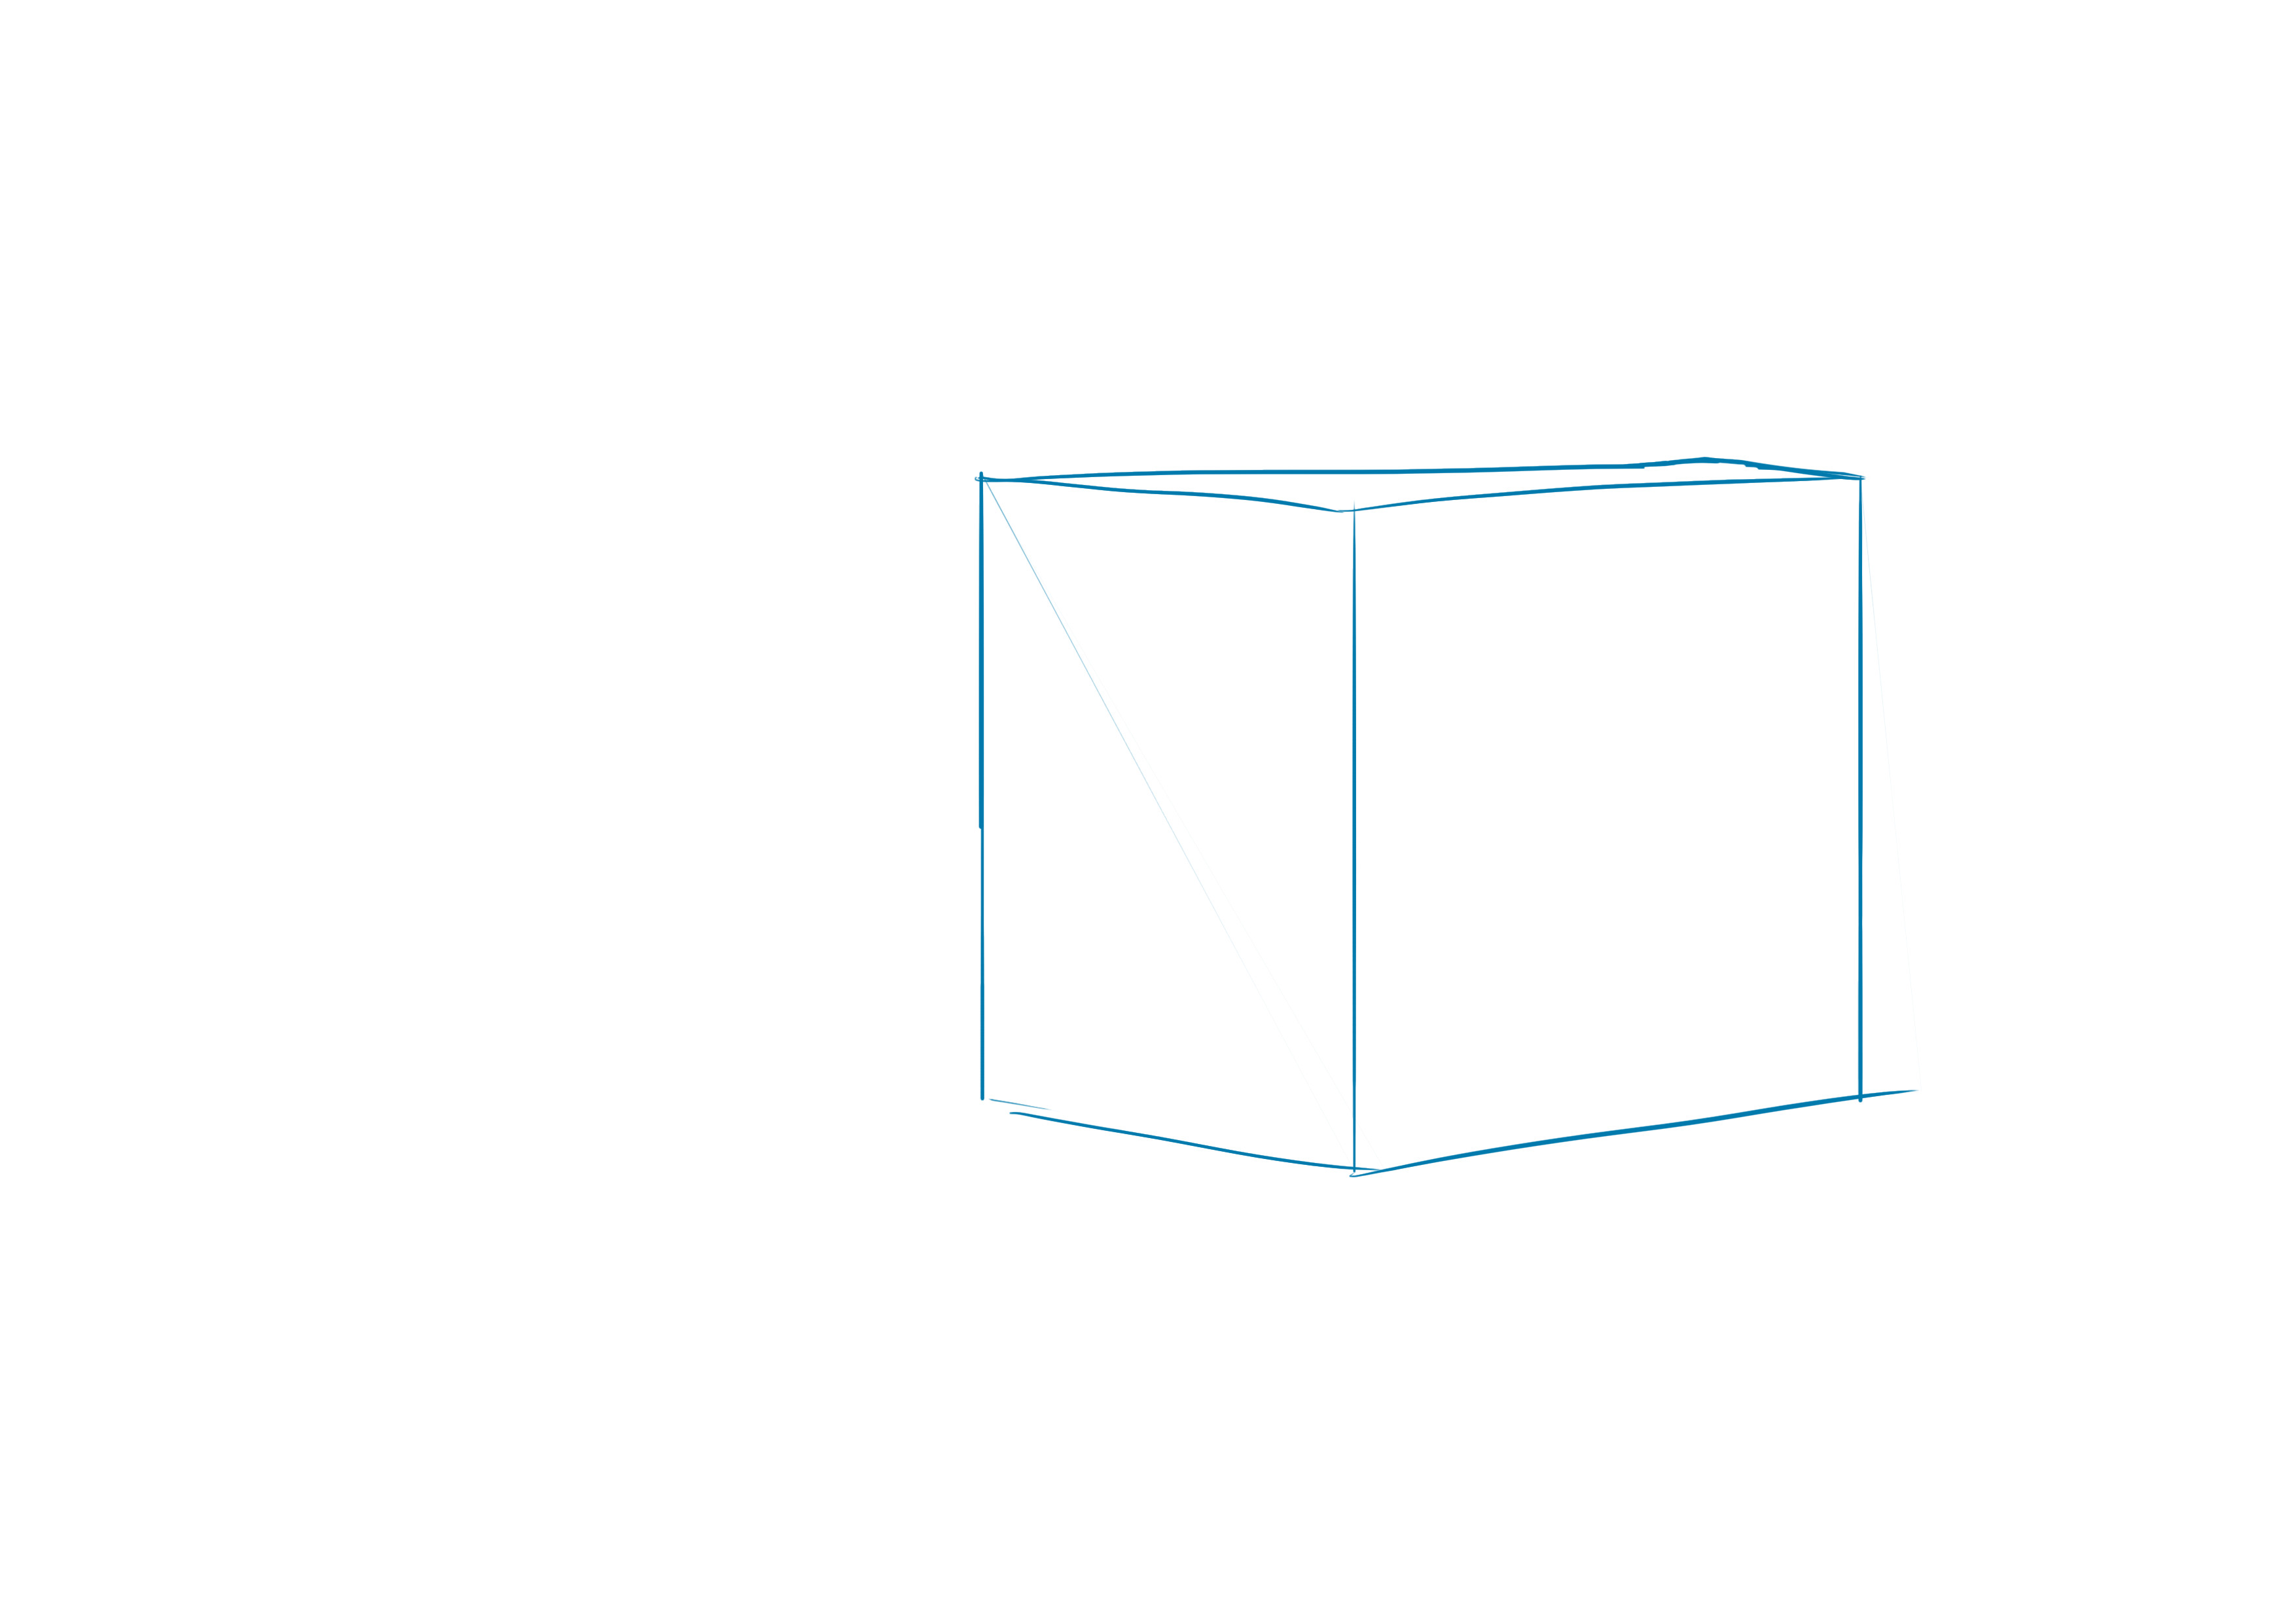
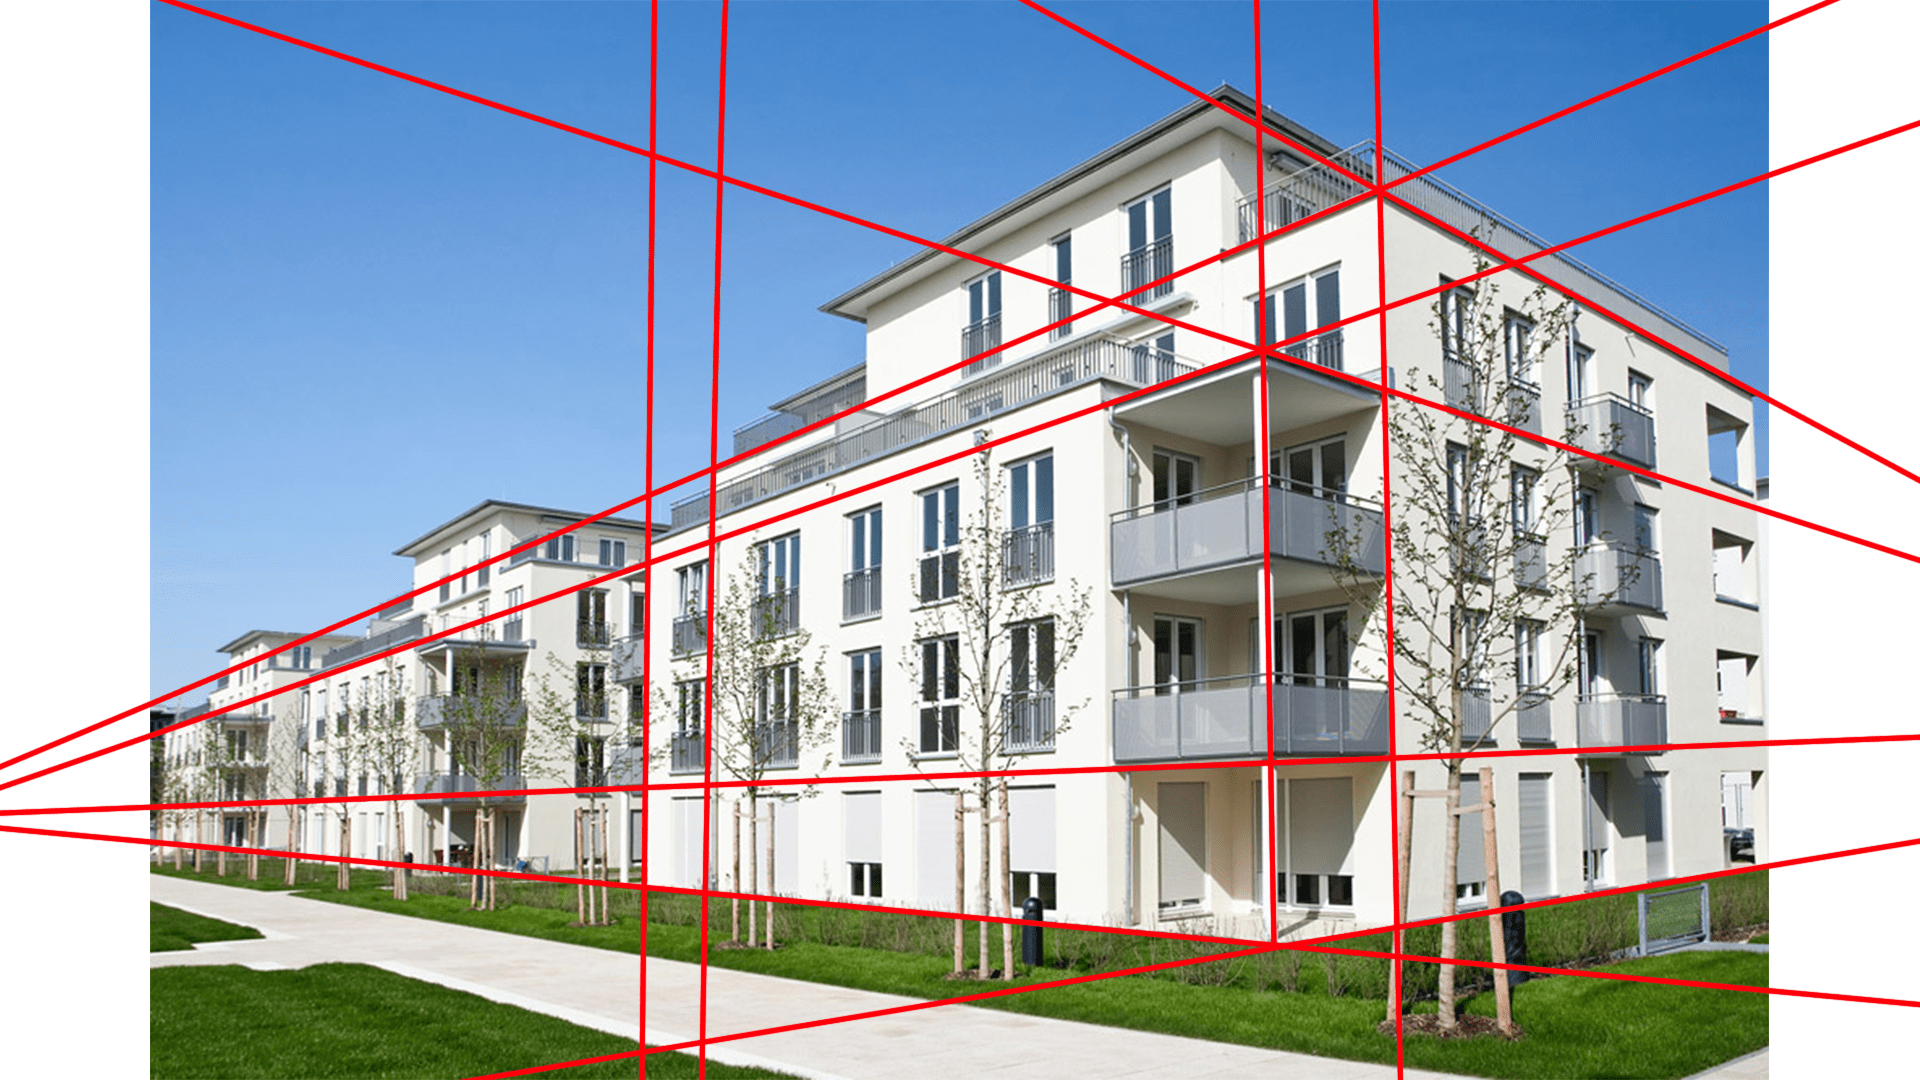
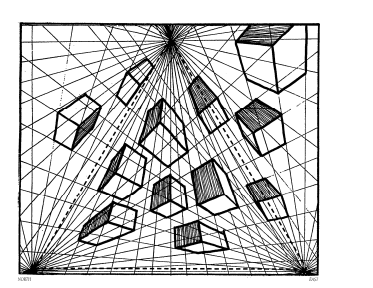
You will start by drawing a cube in perspective, seen very slightly from above. If you would like to learn more about the rules of perspective drawing, I invite you to check out our article available on our blog.
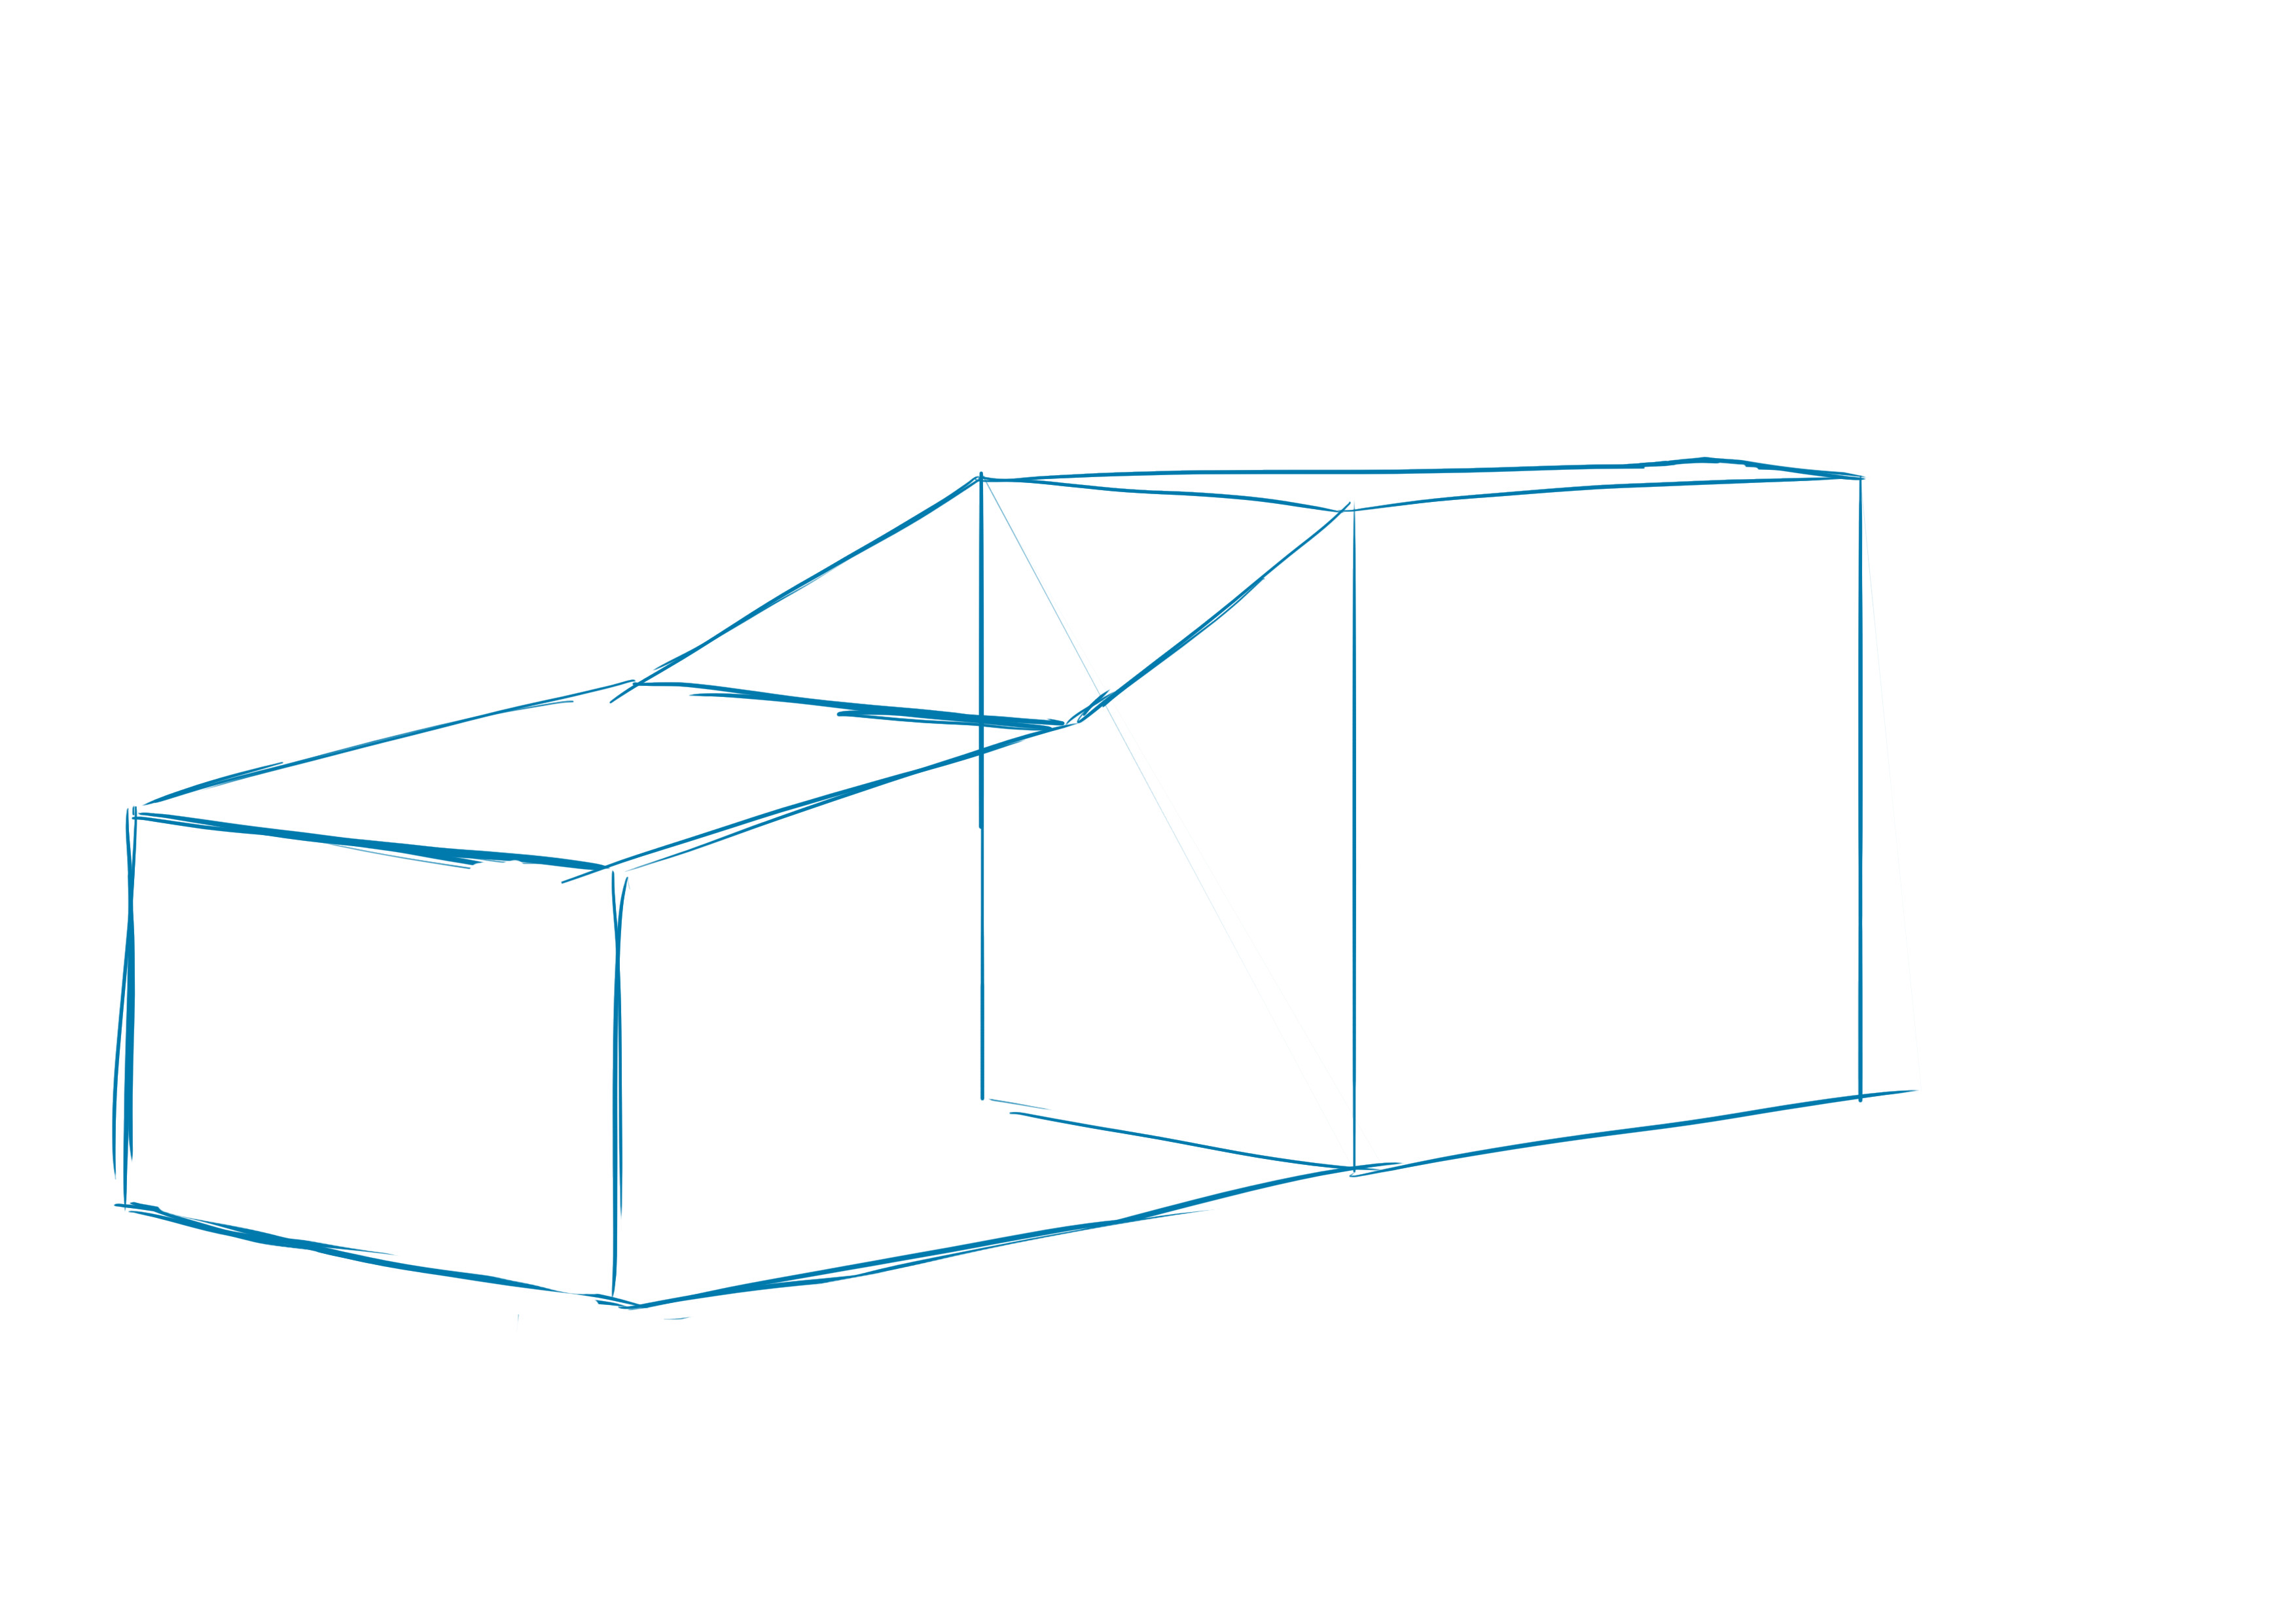
Then draw another one that is more rectangular at the bottom left.
Connect the two cubes. You now have the front windshield and the front of the car.
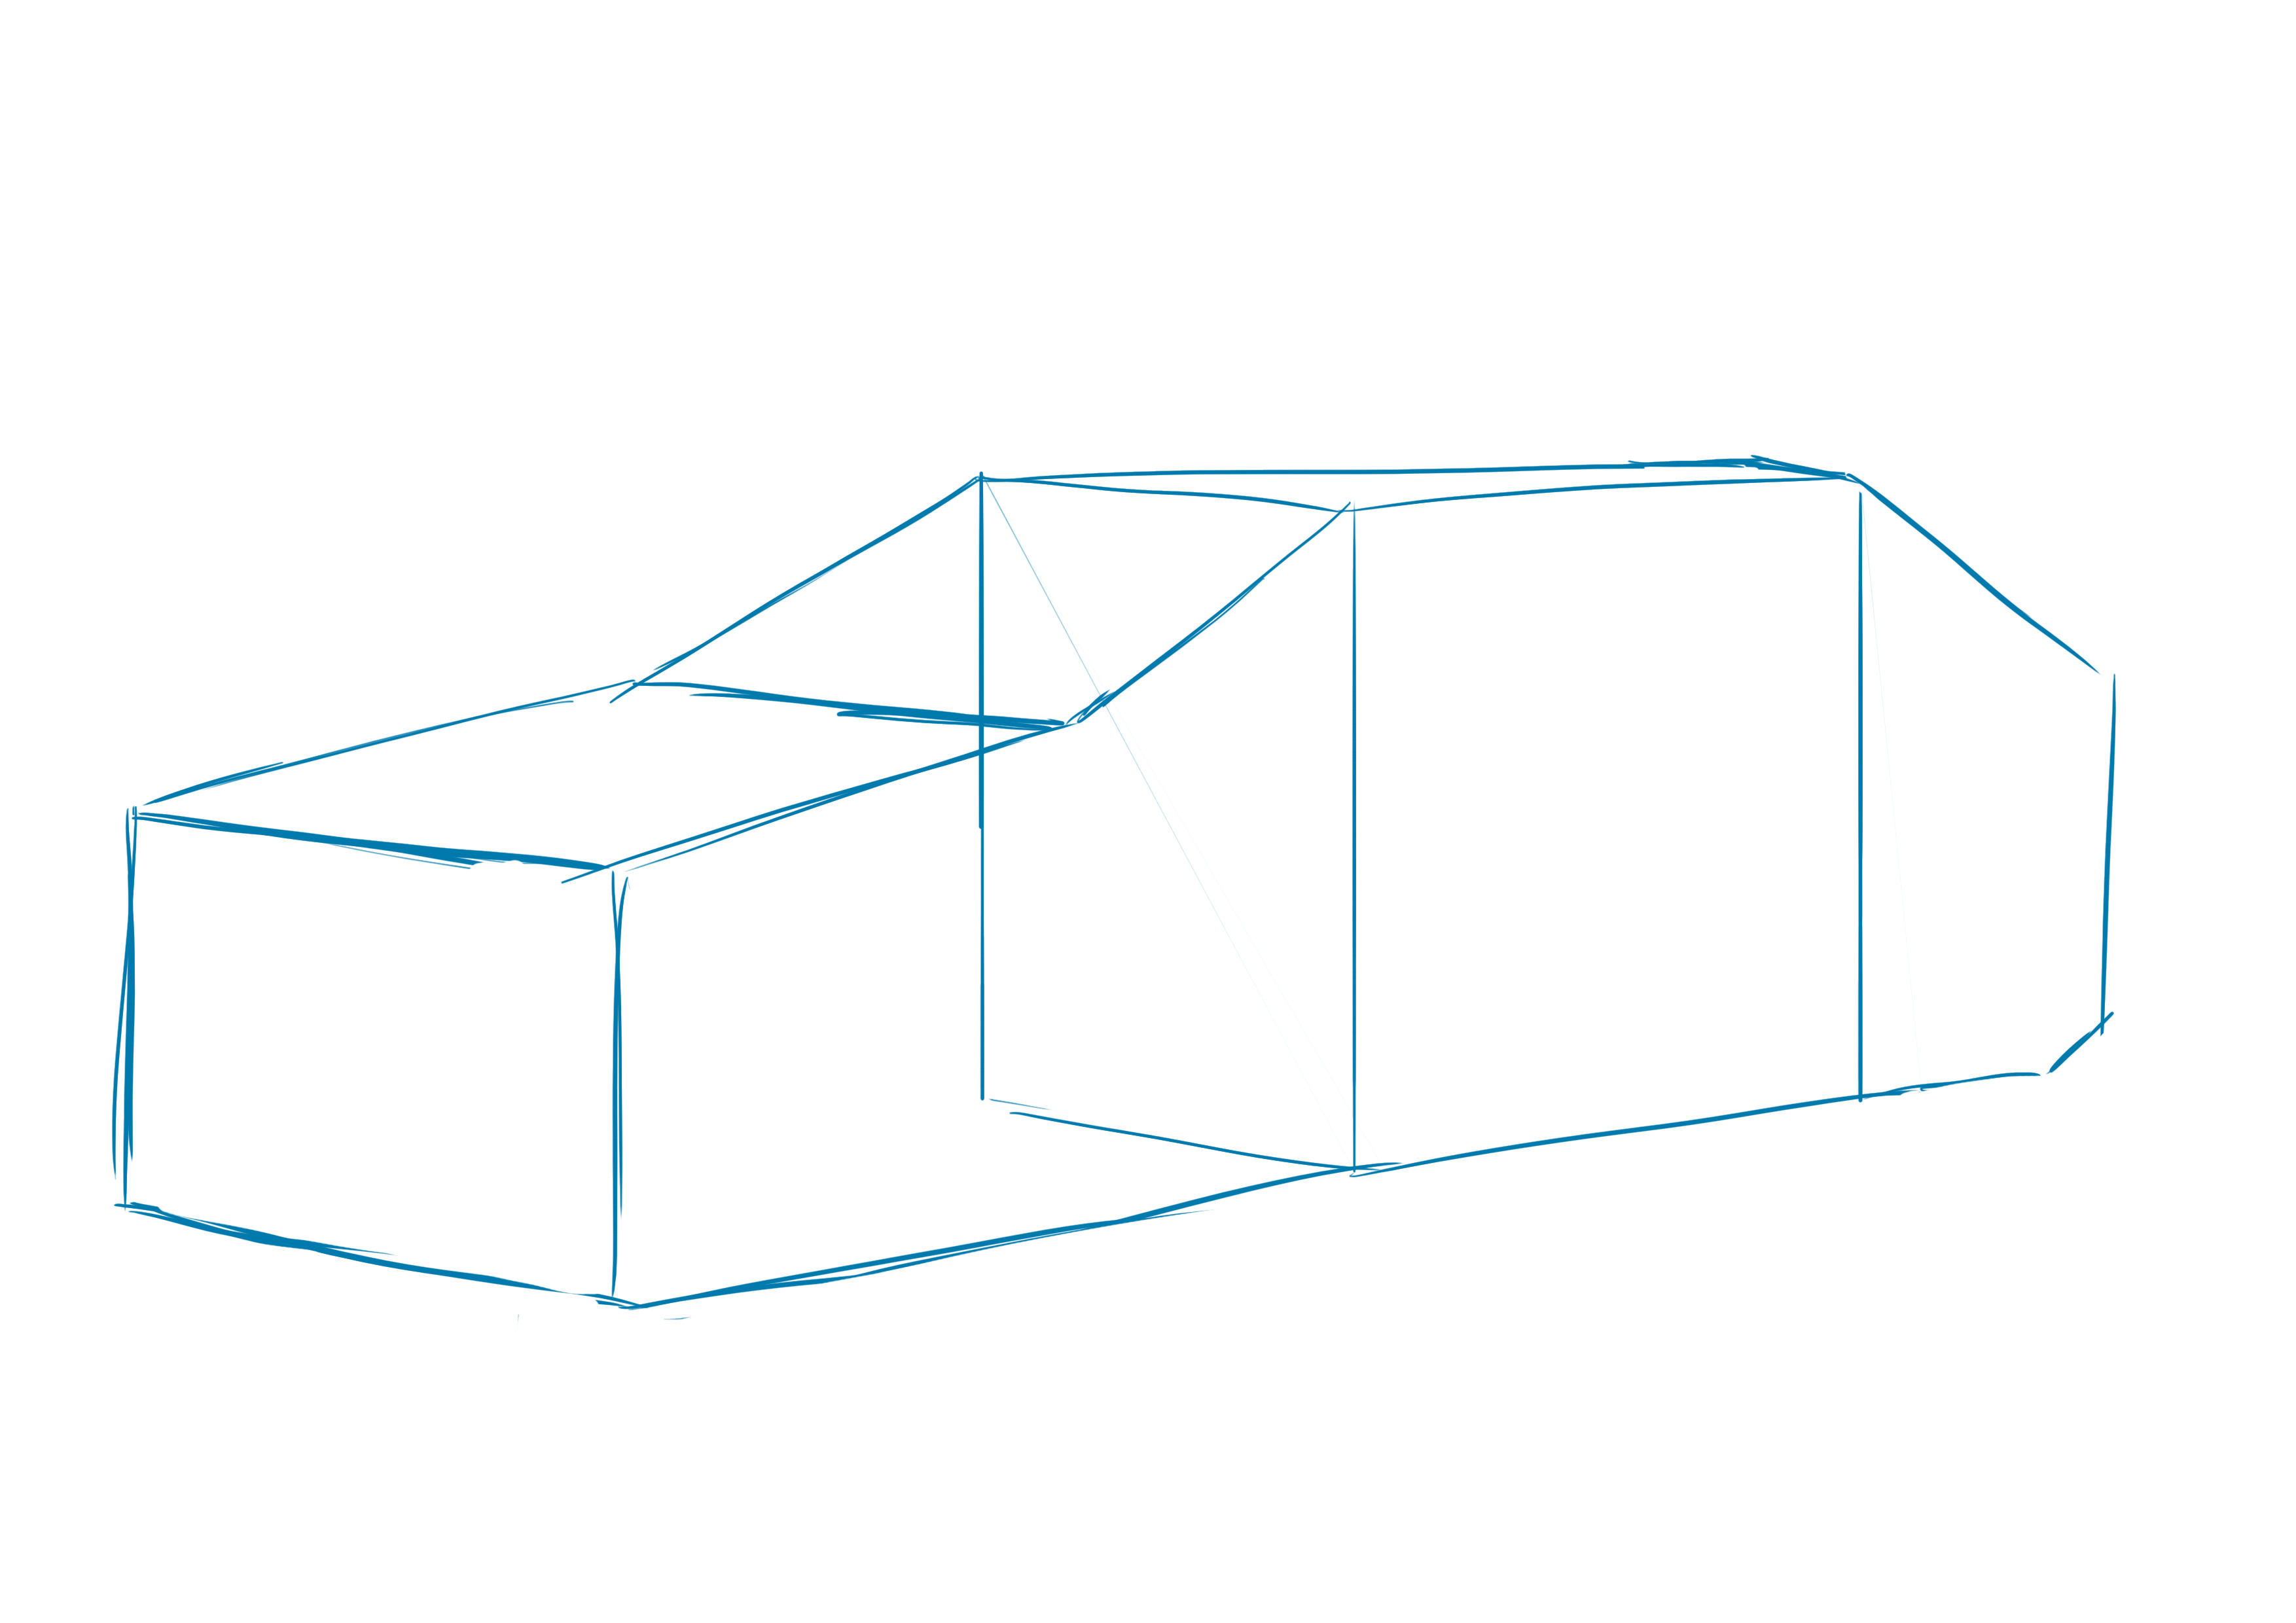
To make the rear part of the car, draw a trapezoid.
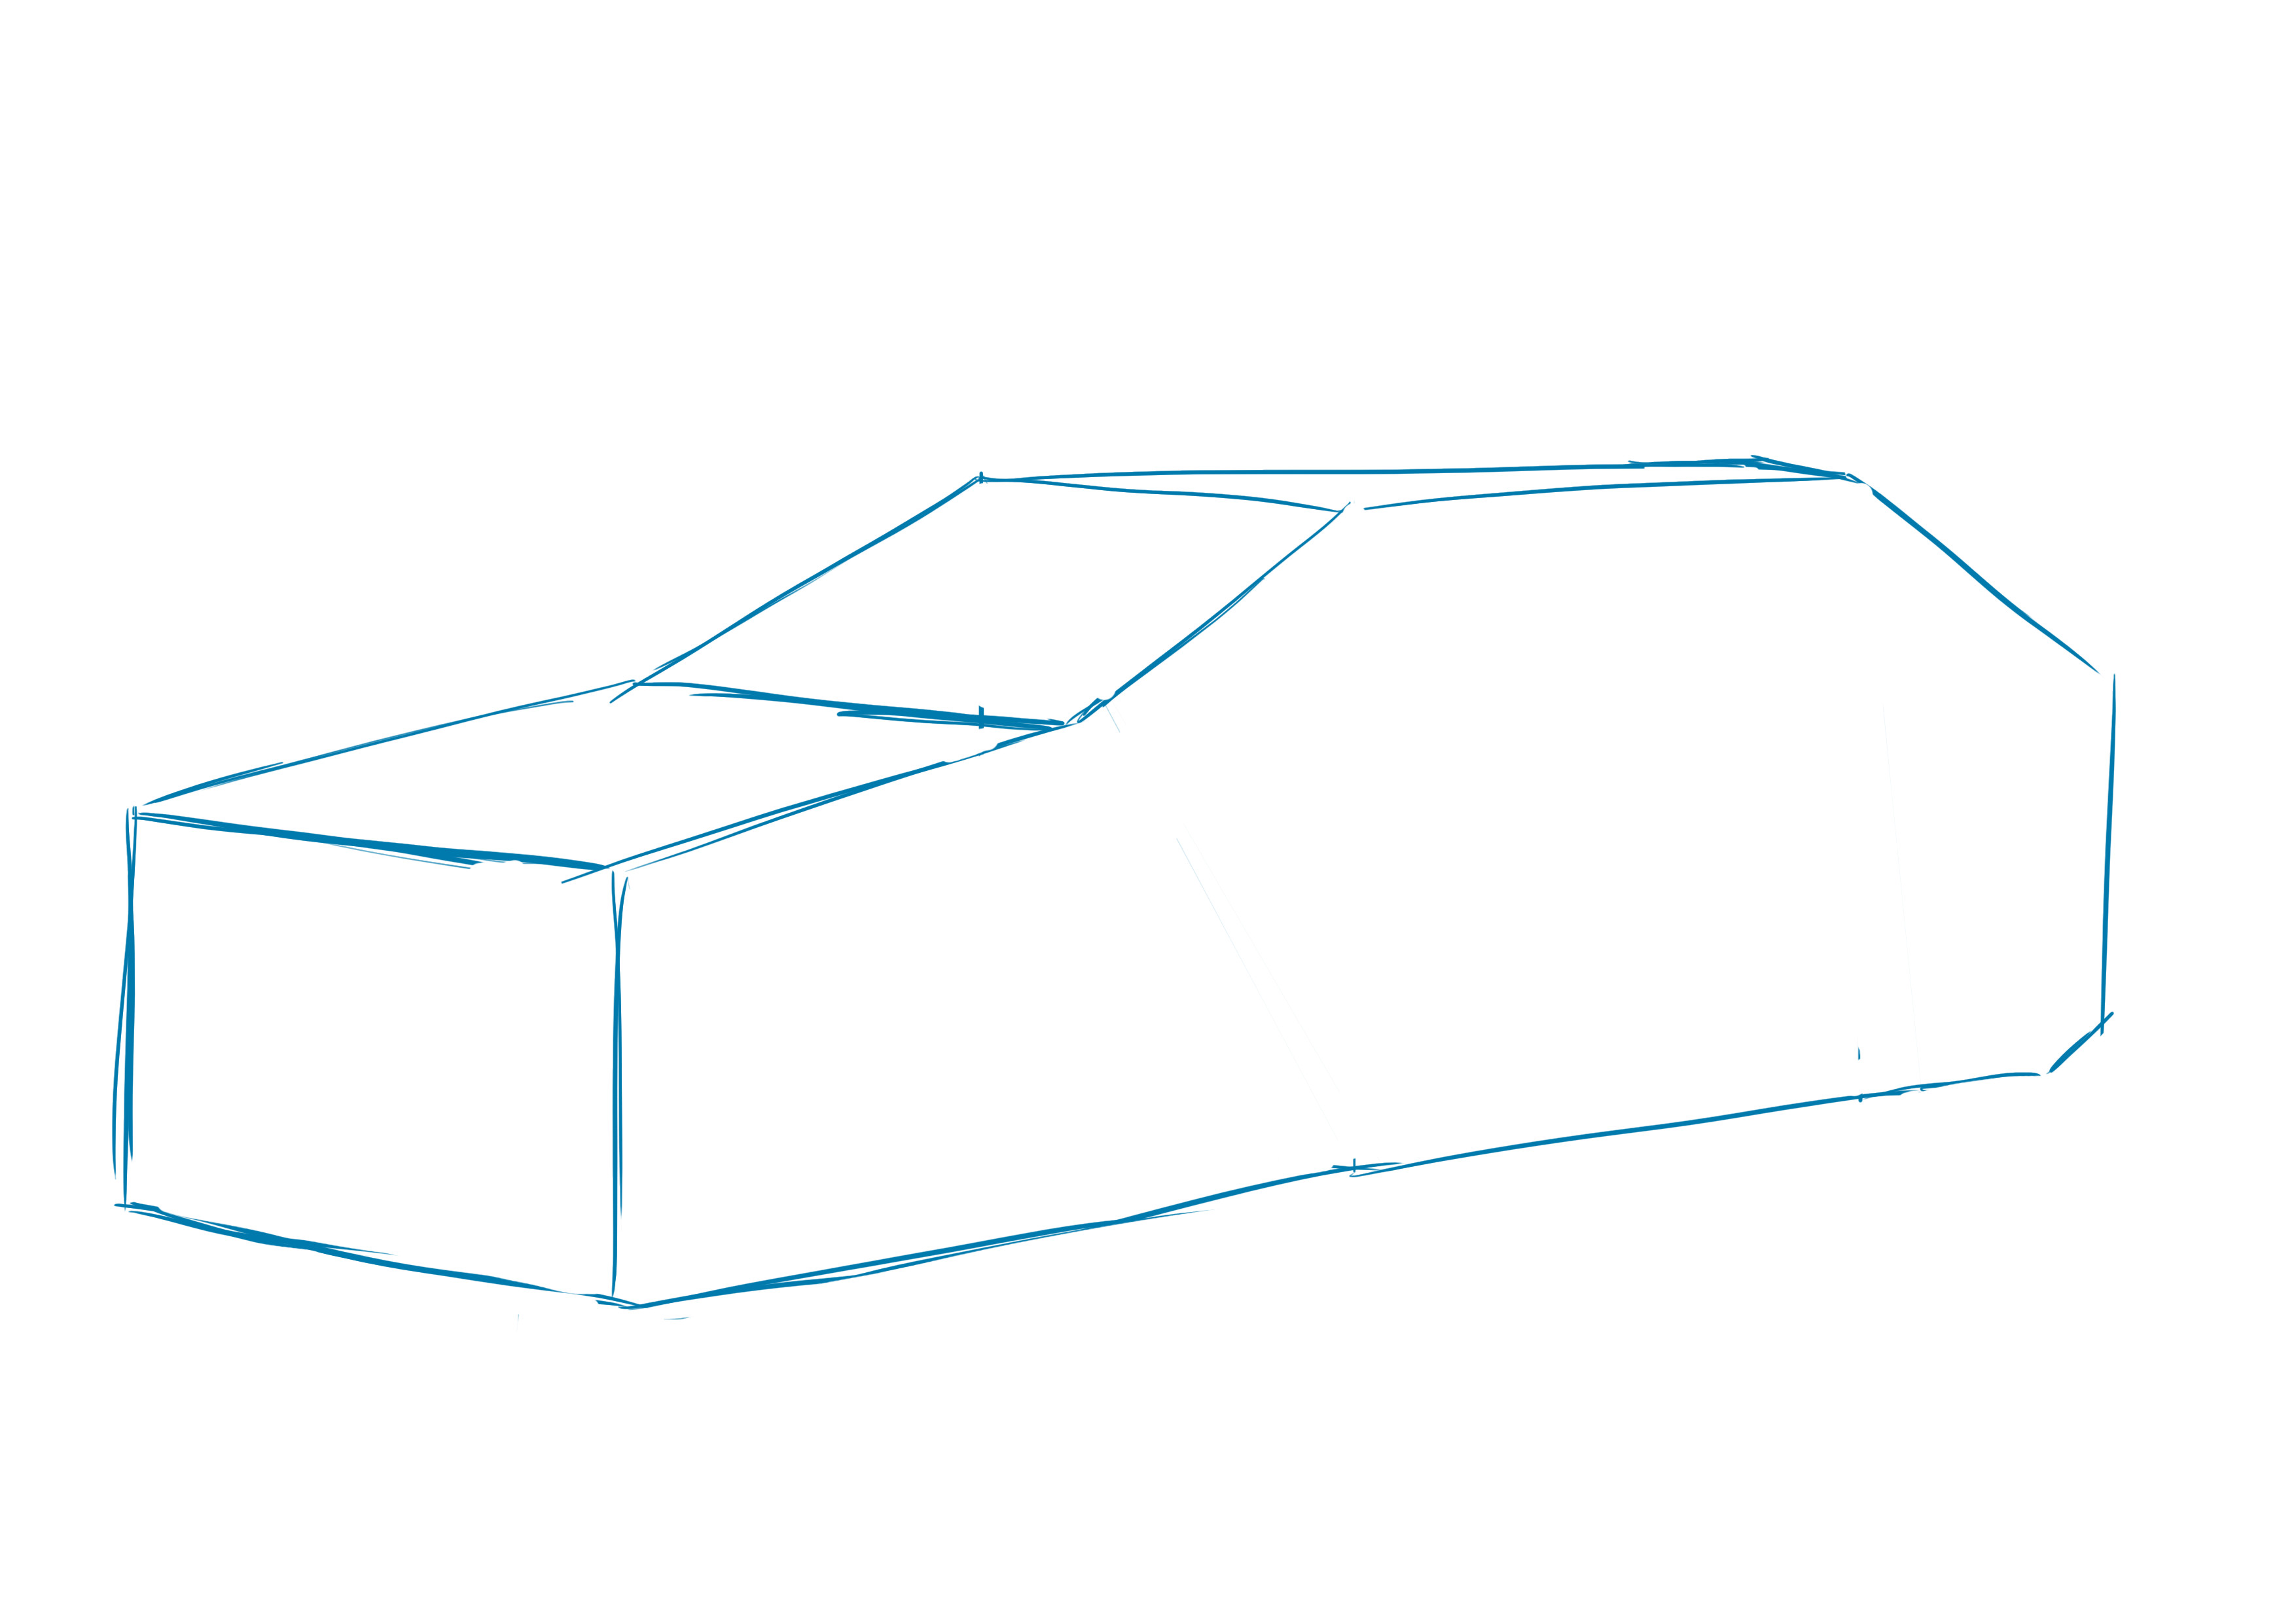
Erase any unnecessary construction lines to clean up your drawing and make it more readable.

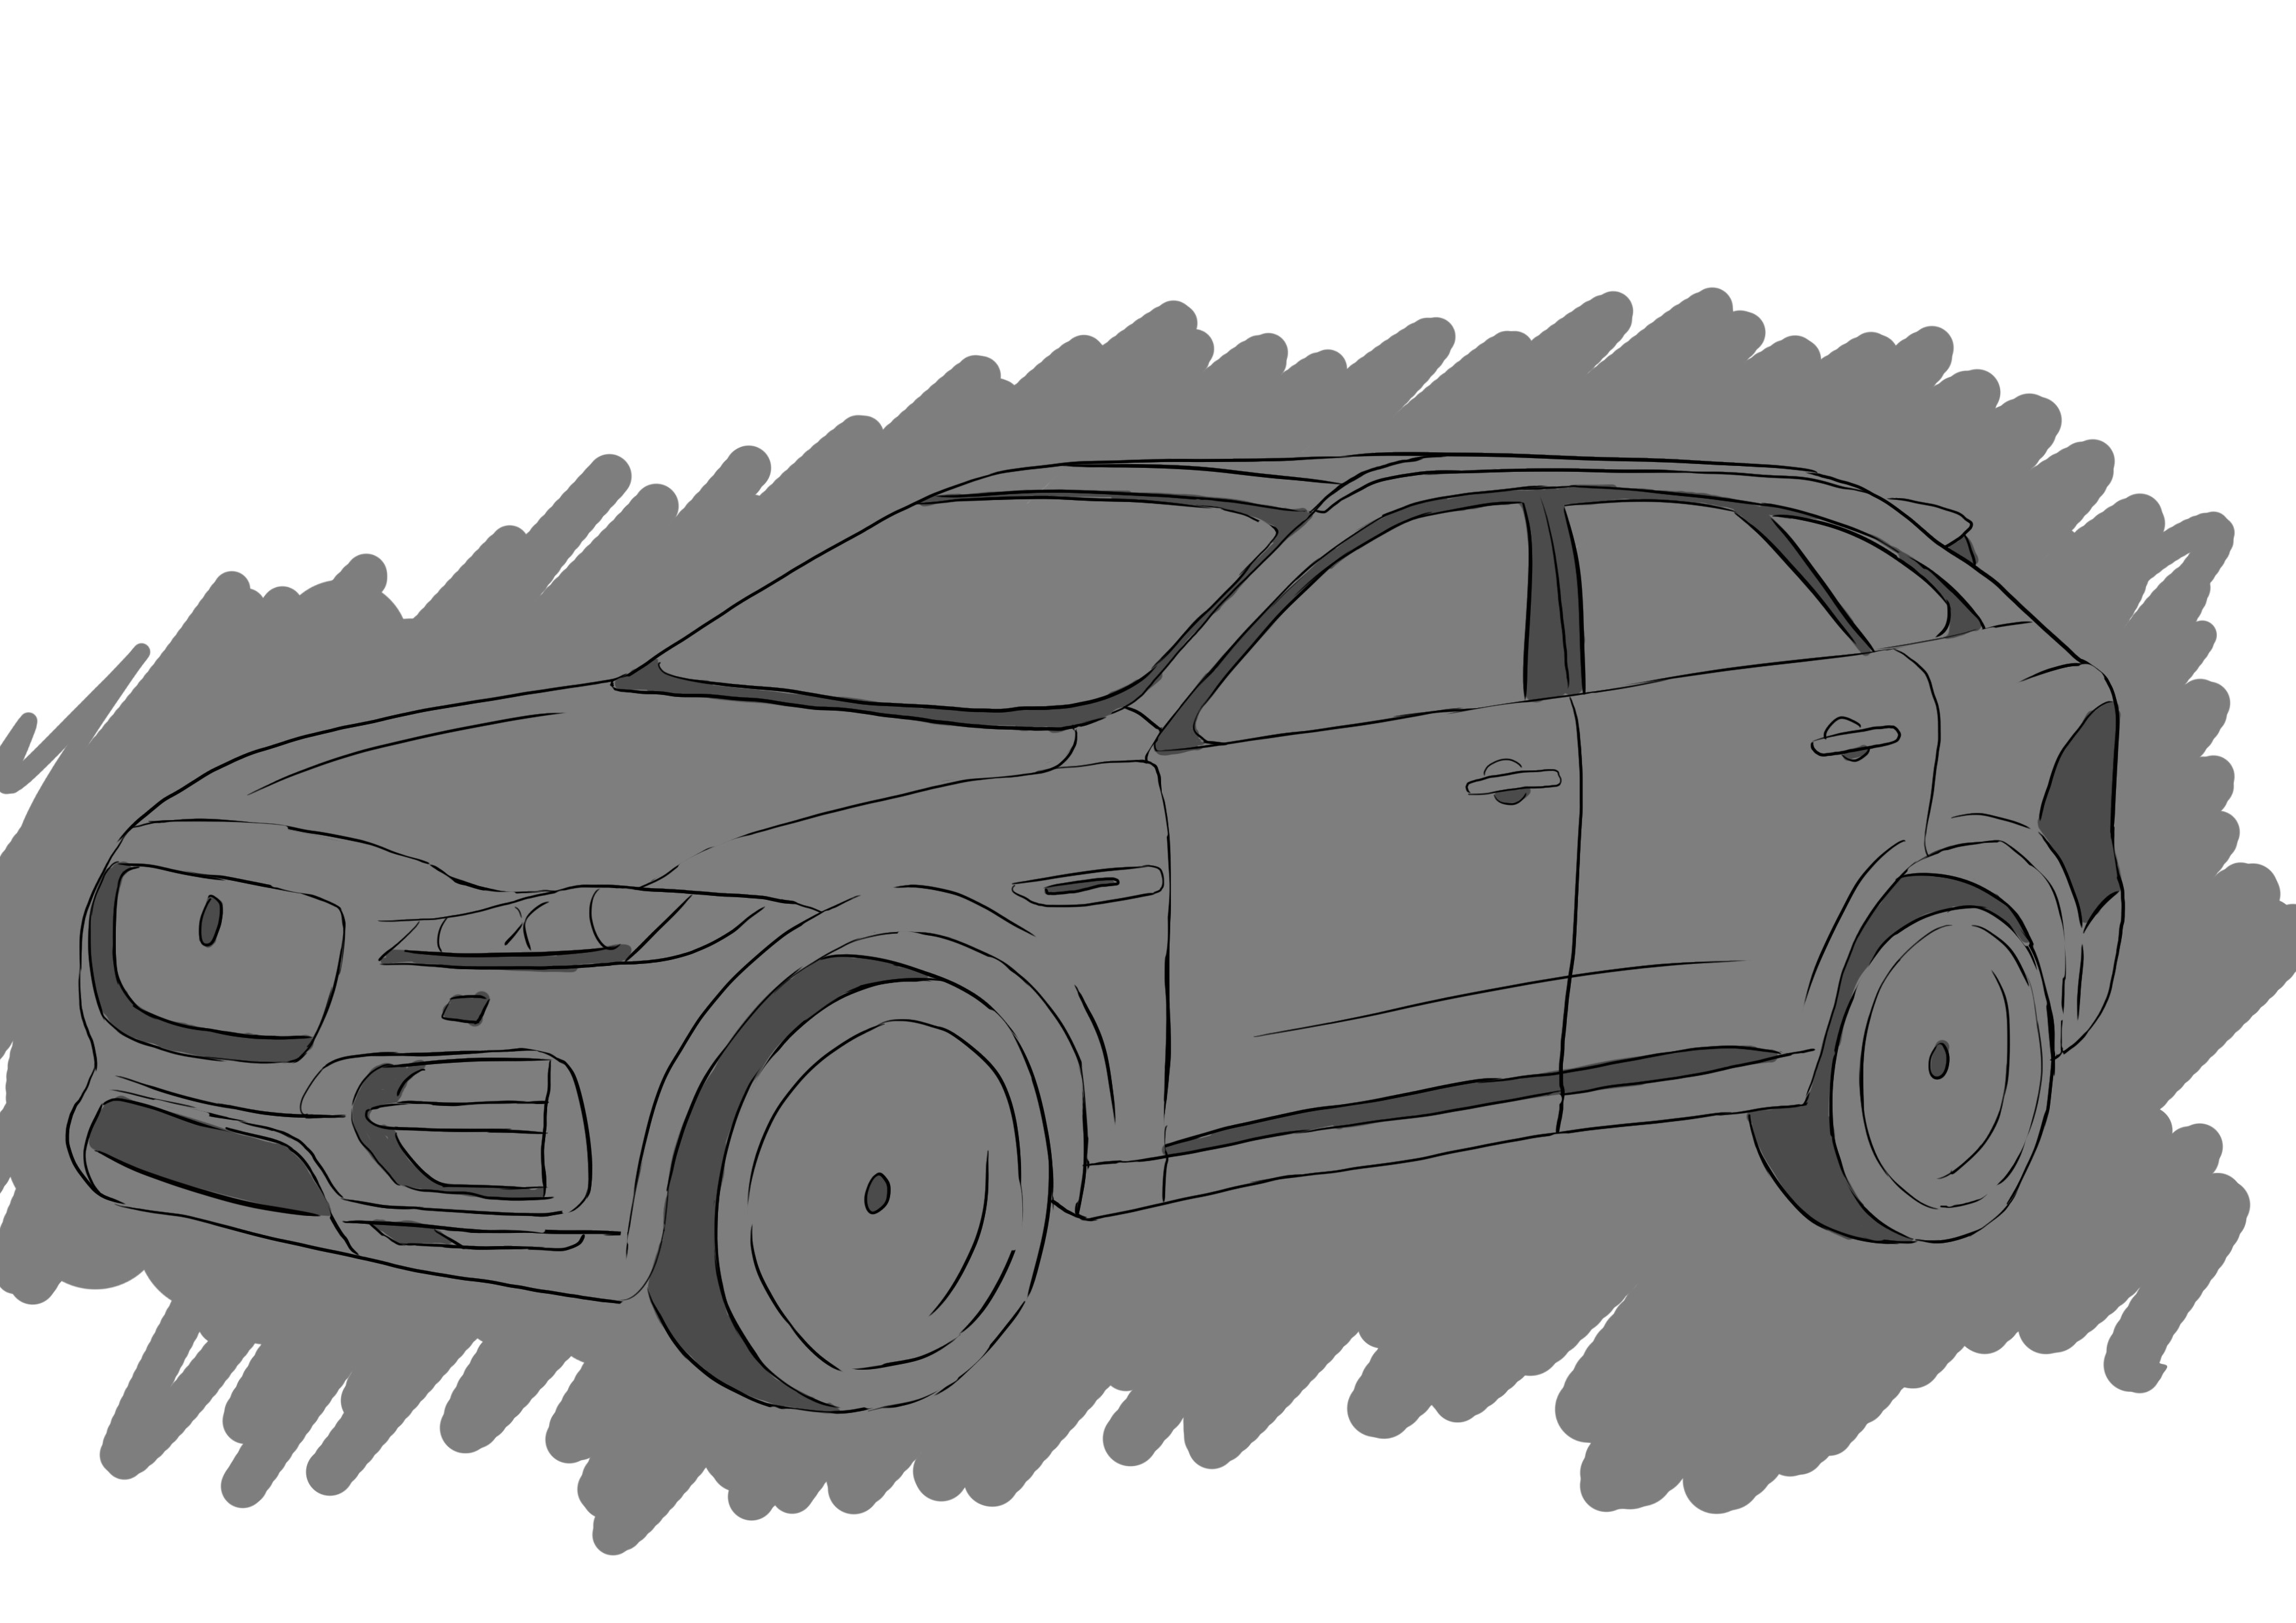
We are going to move on to the bodywork step. We will draw the overall shape of the car using the cubes we previously drew.
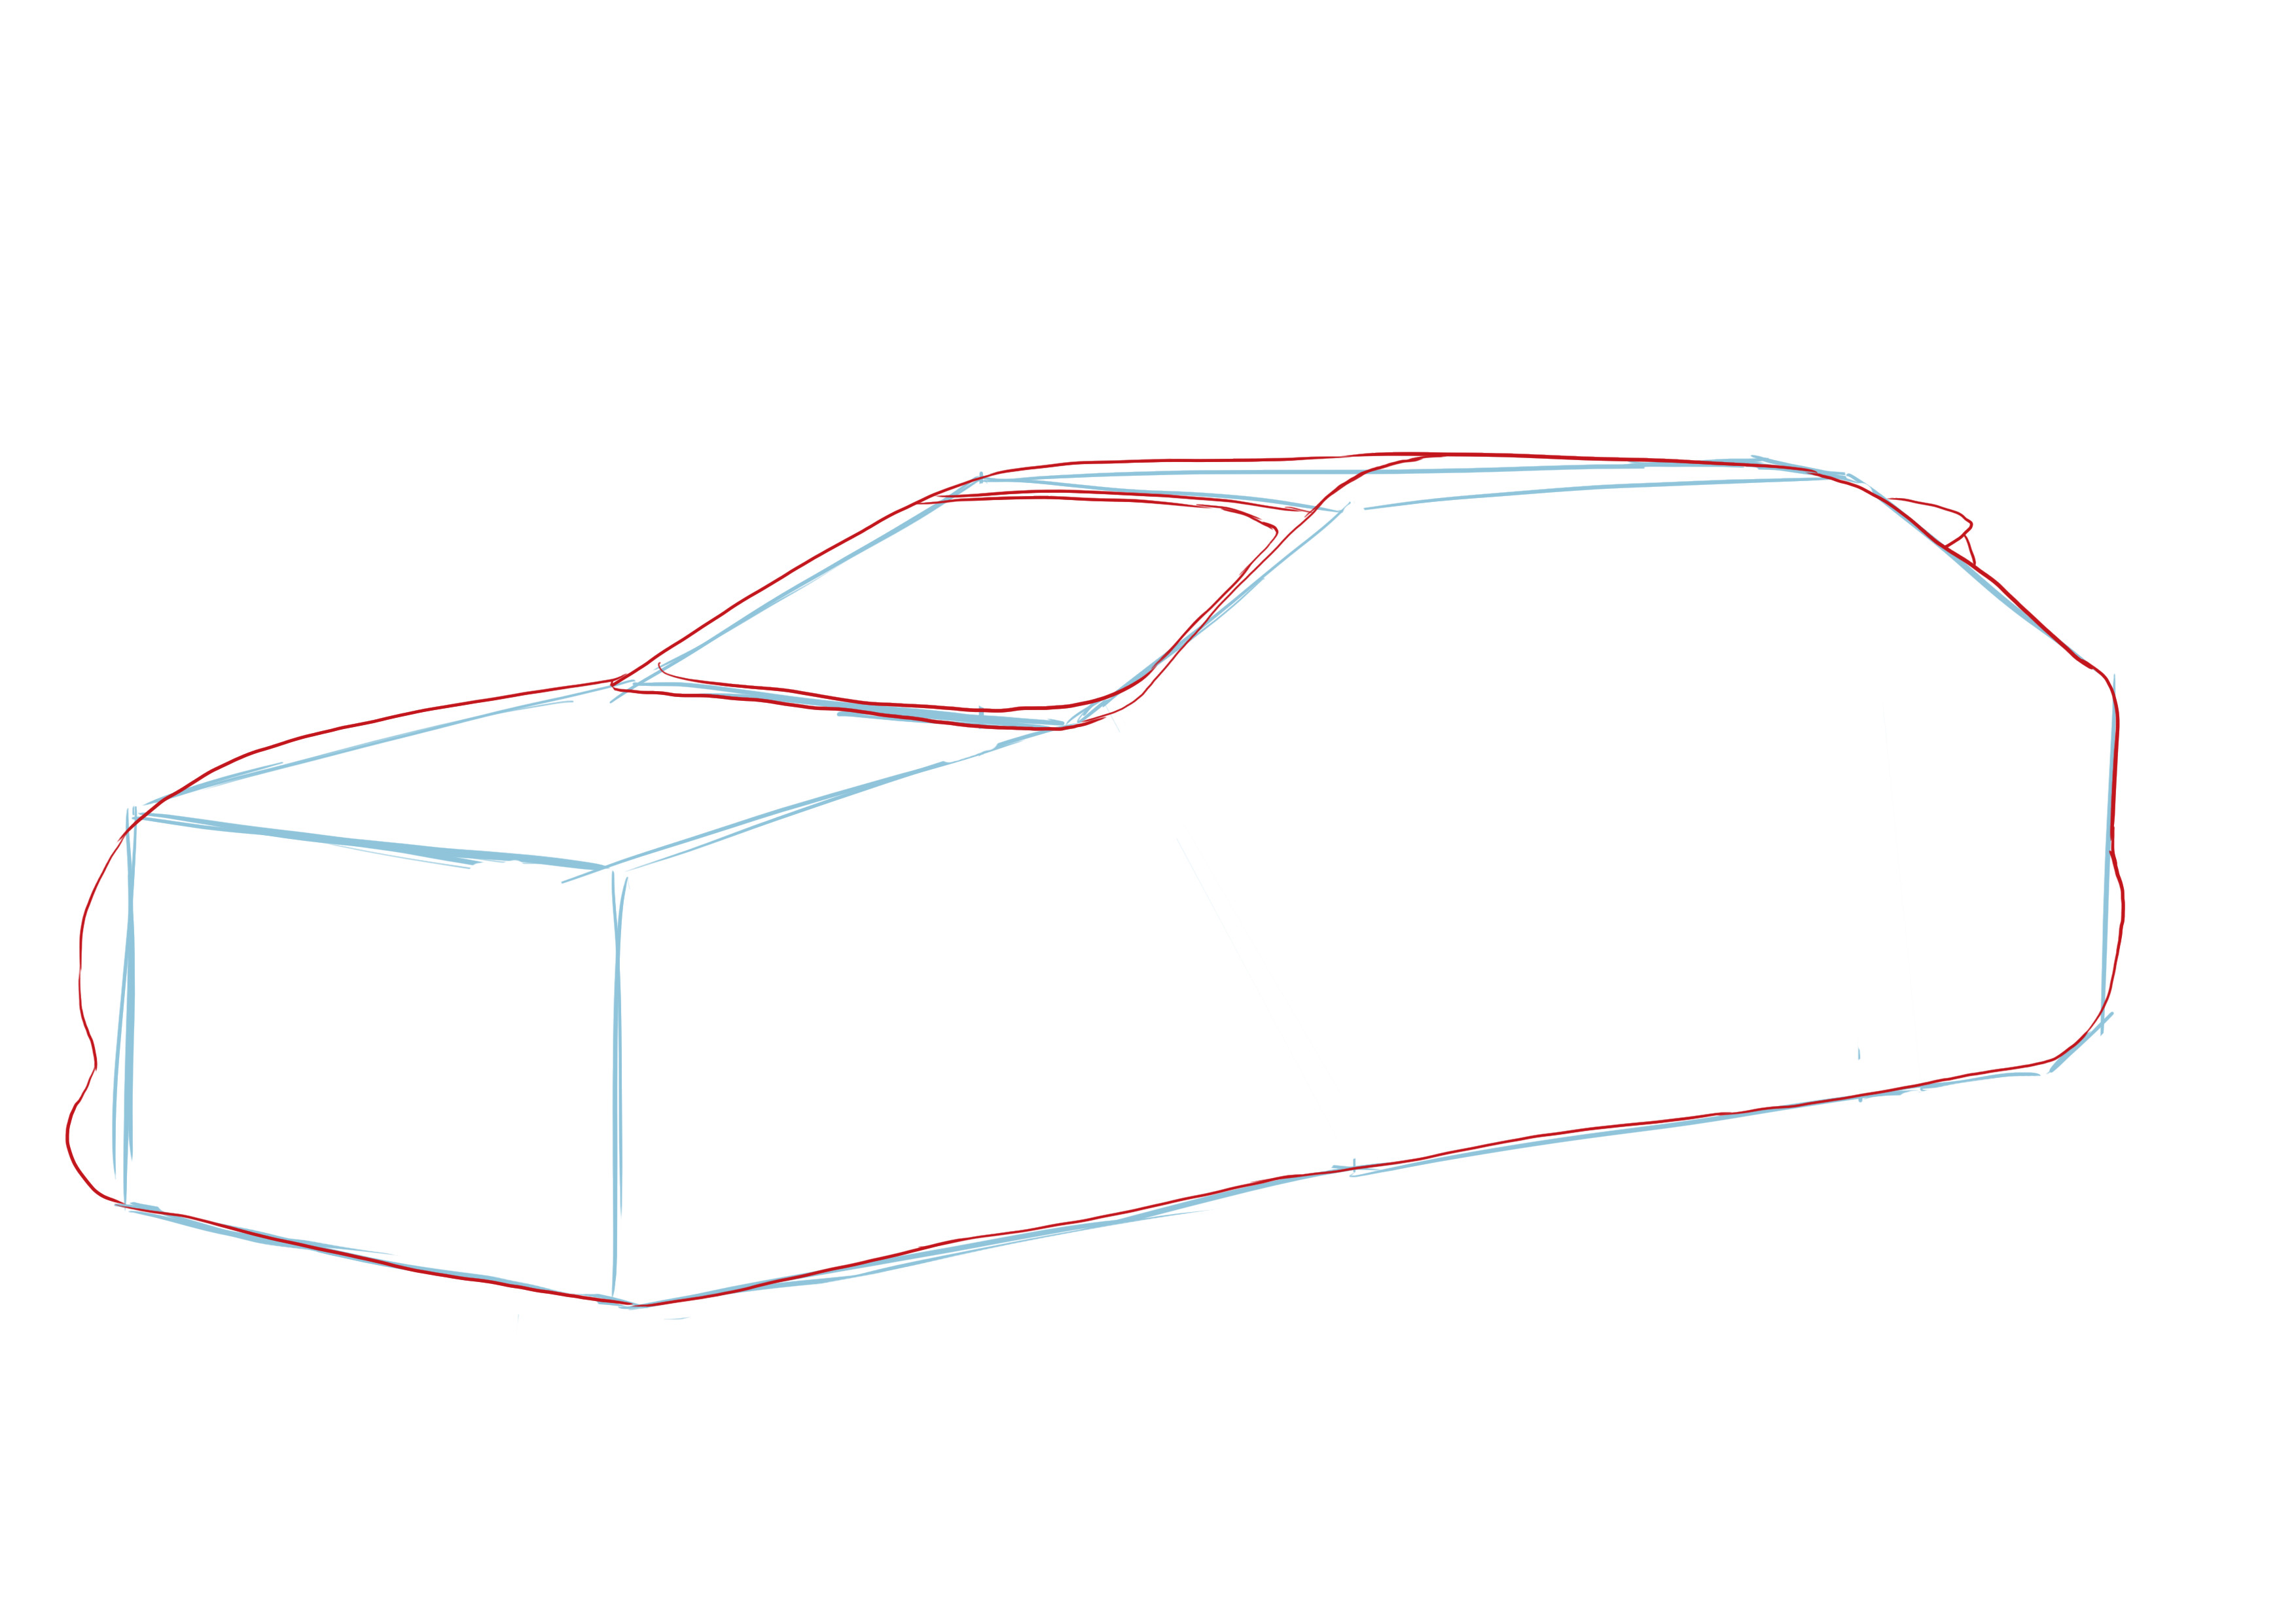
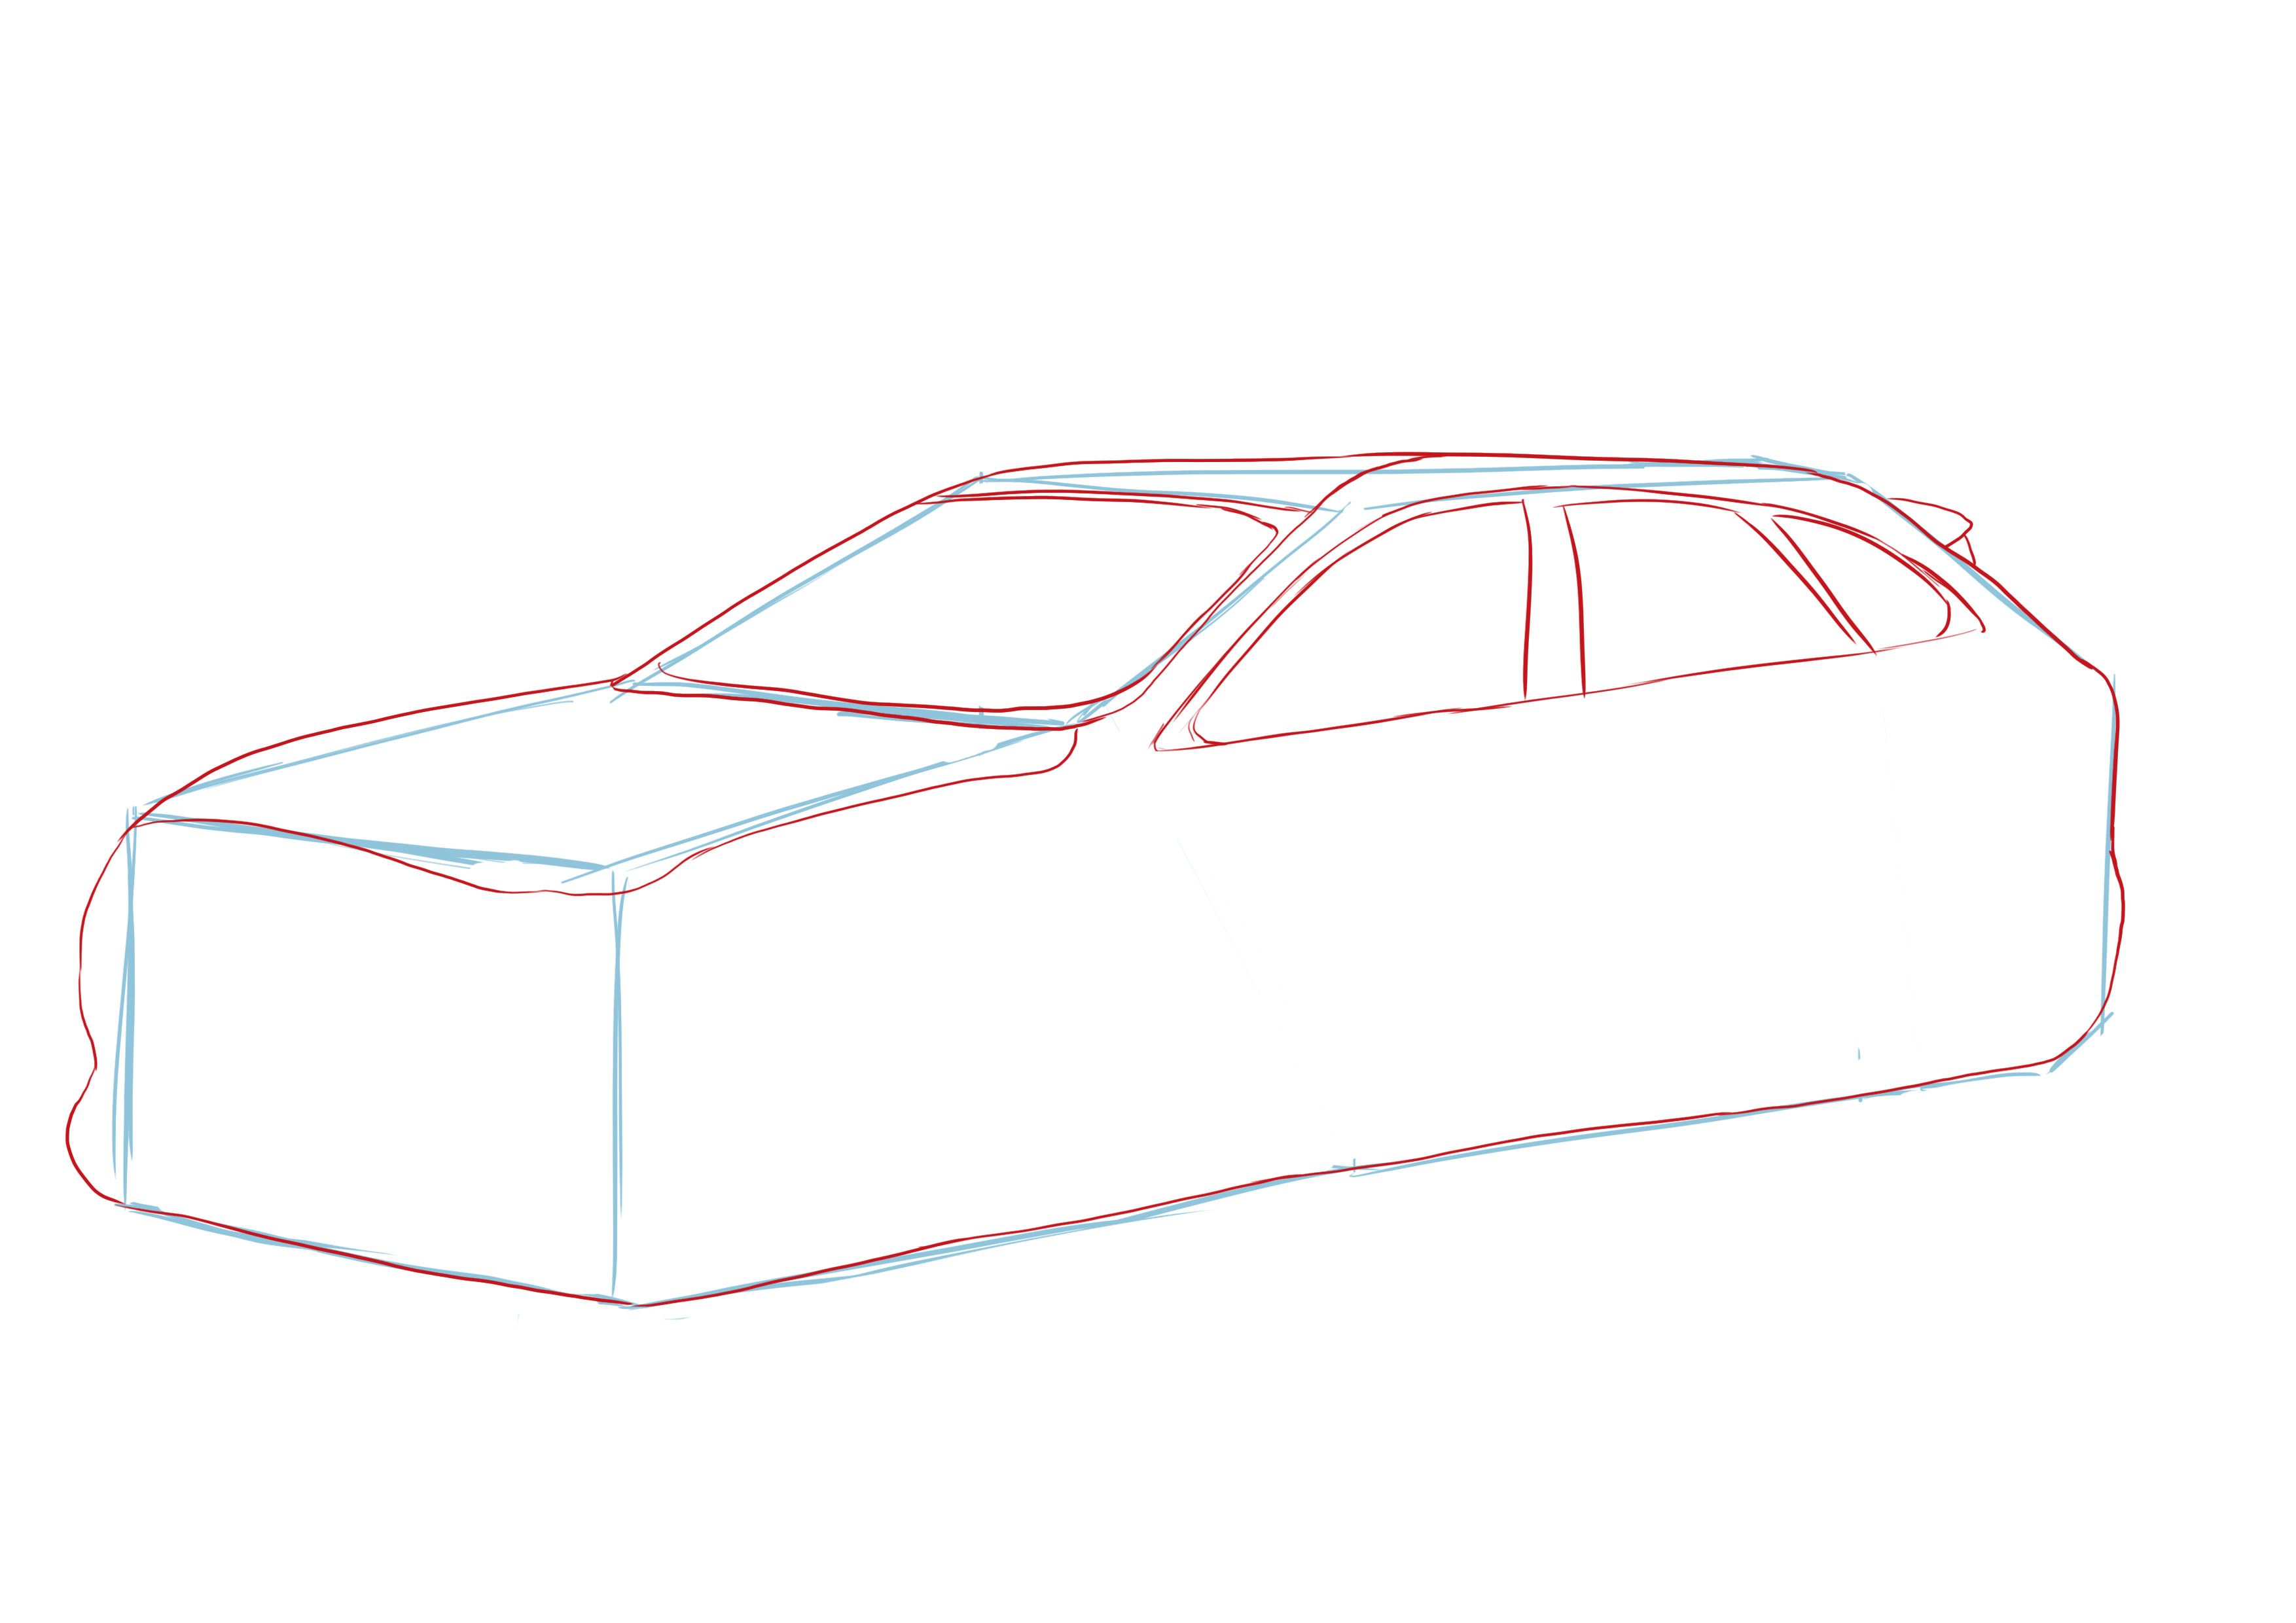
Add the front windshield, windows, and some details such as the car's grooves.
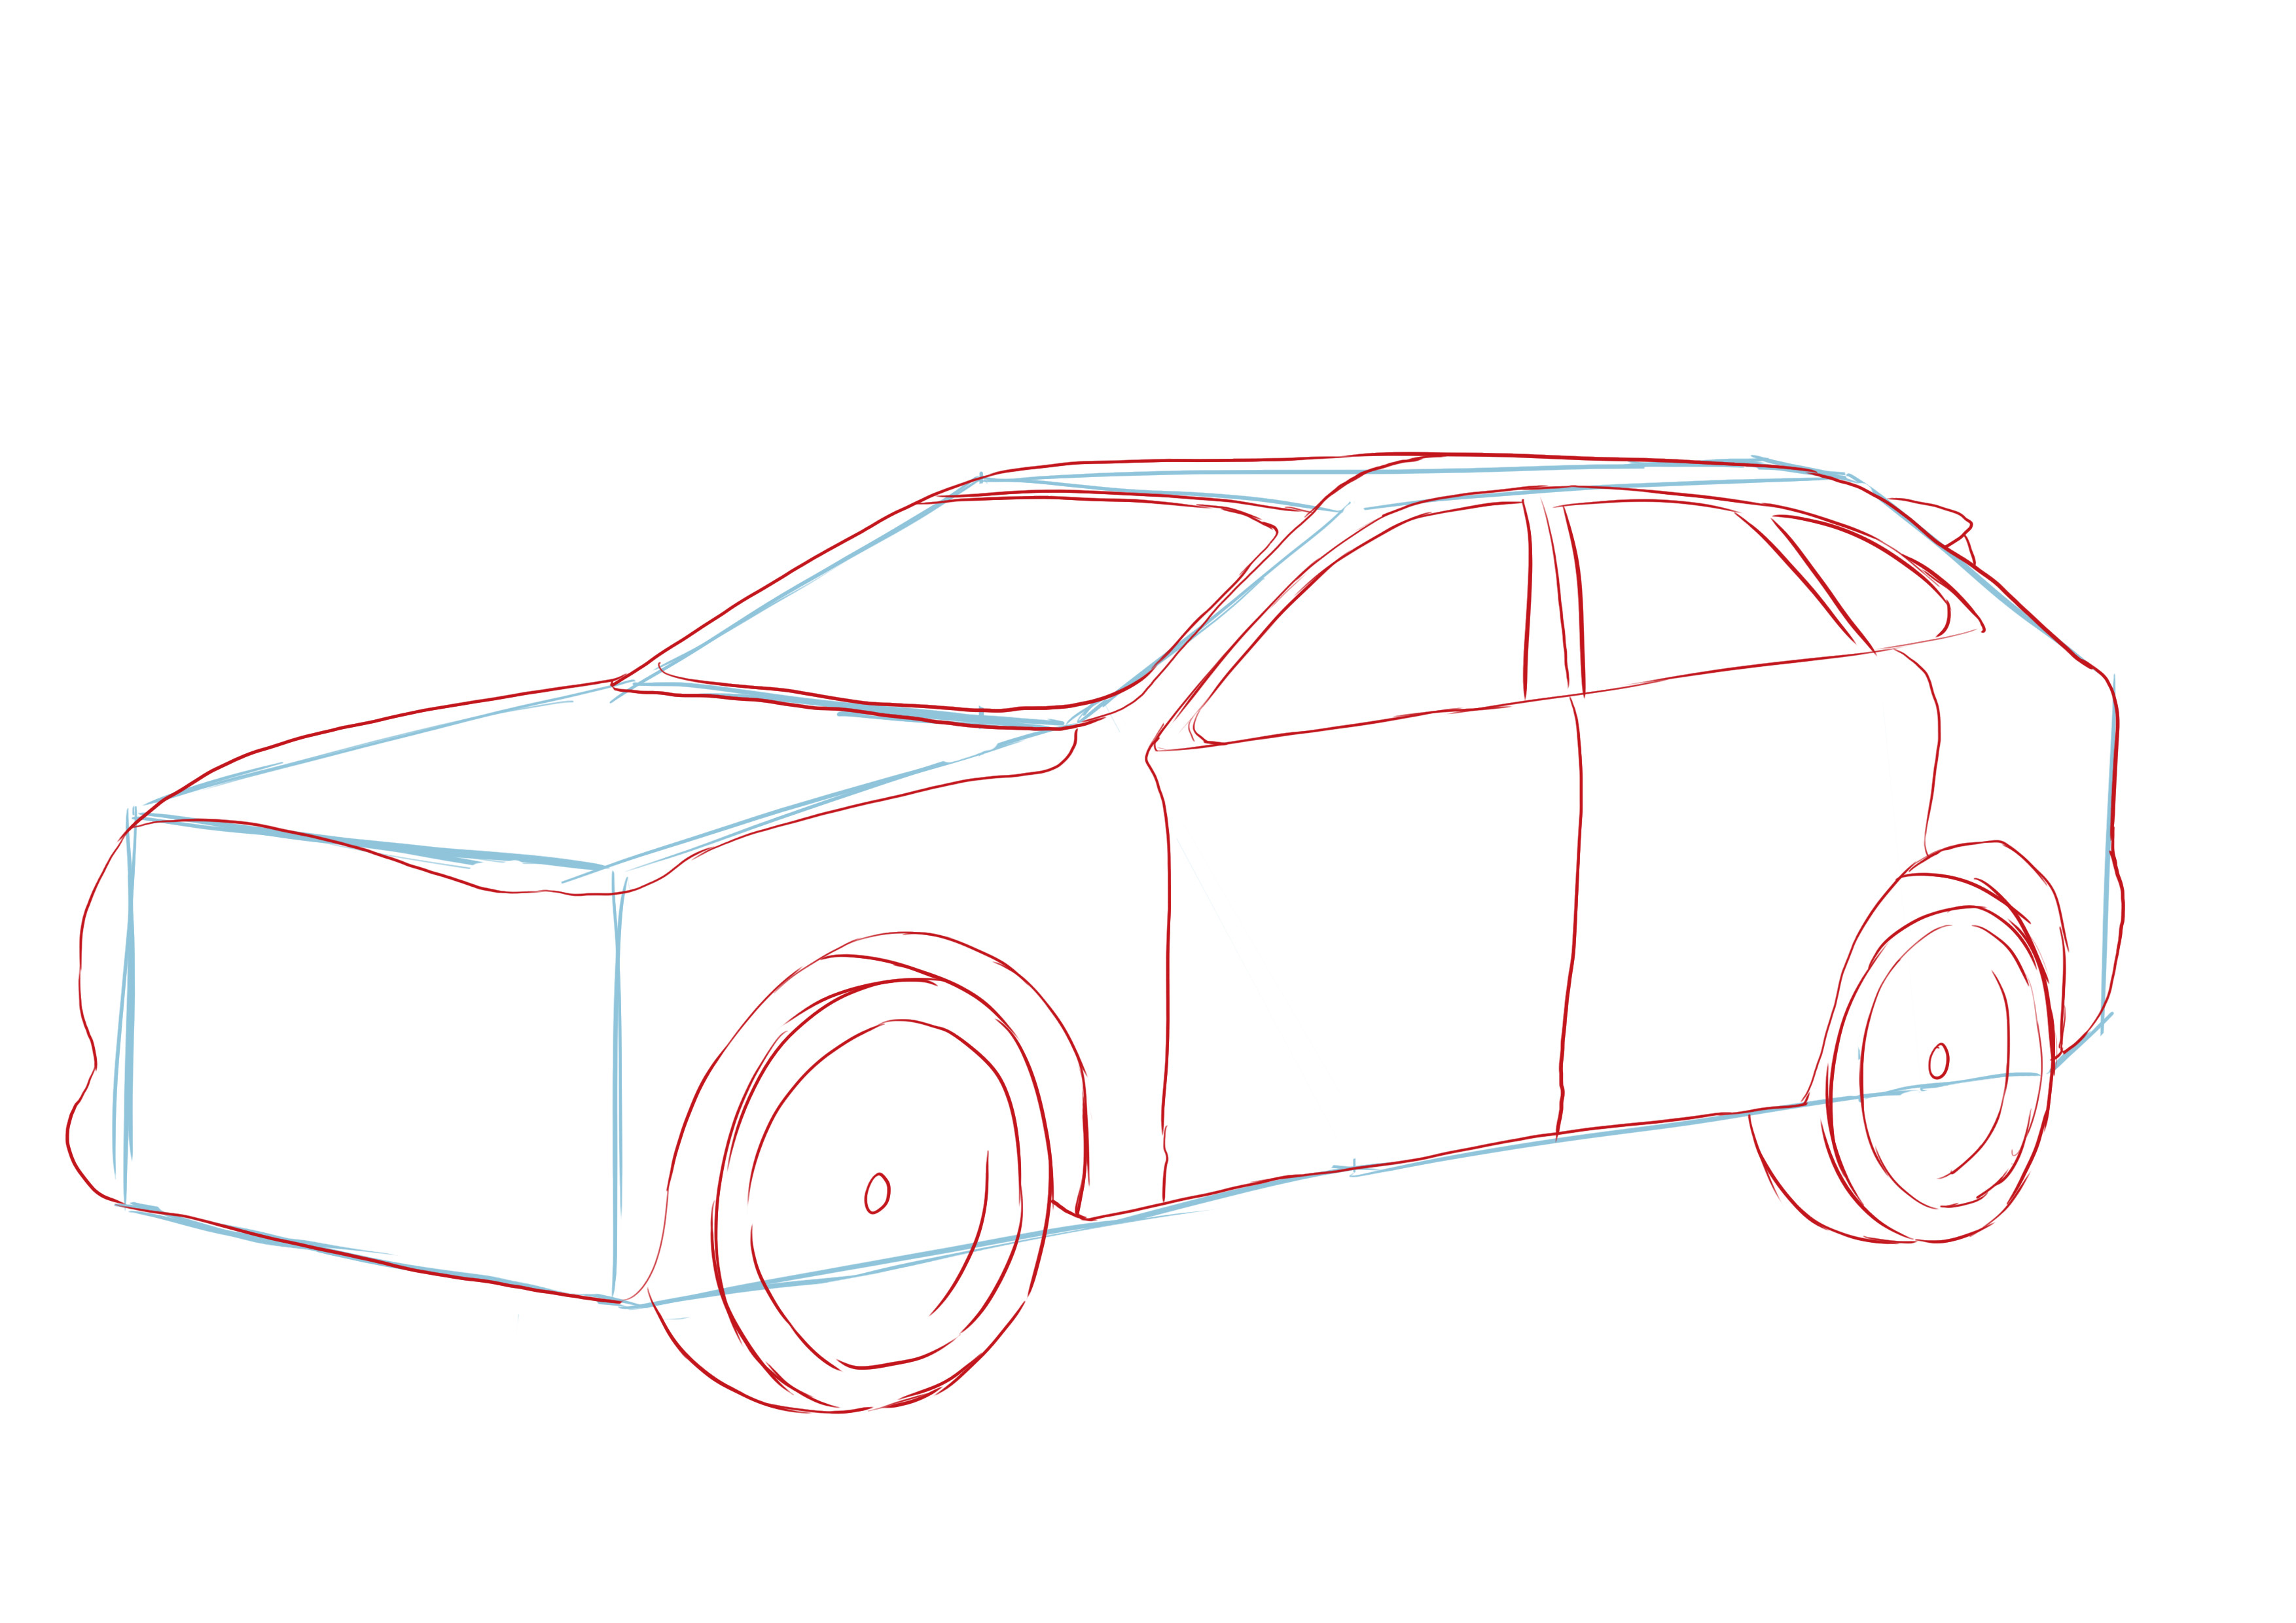
Once you've drawn the main grooves, draw two half-circles for the tire placement. Since the car is viewed from above, only two tires will be visible.
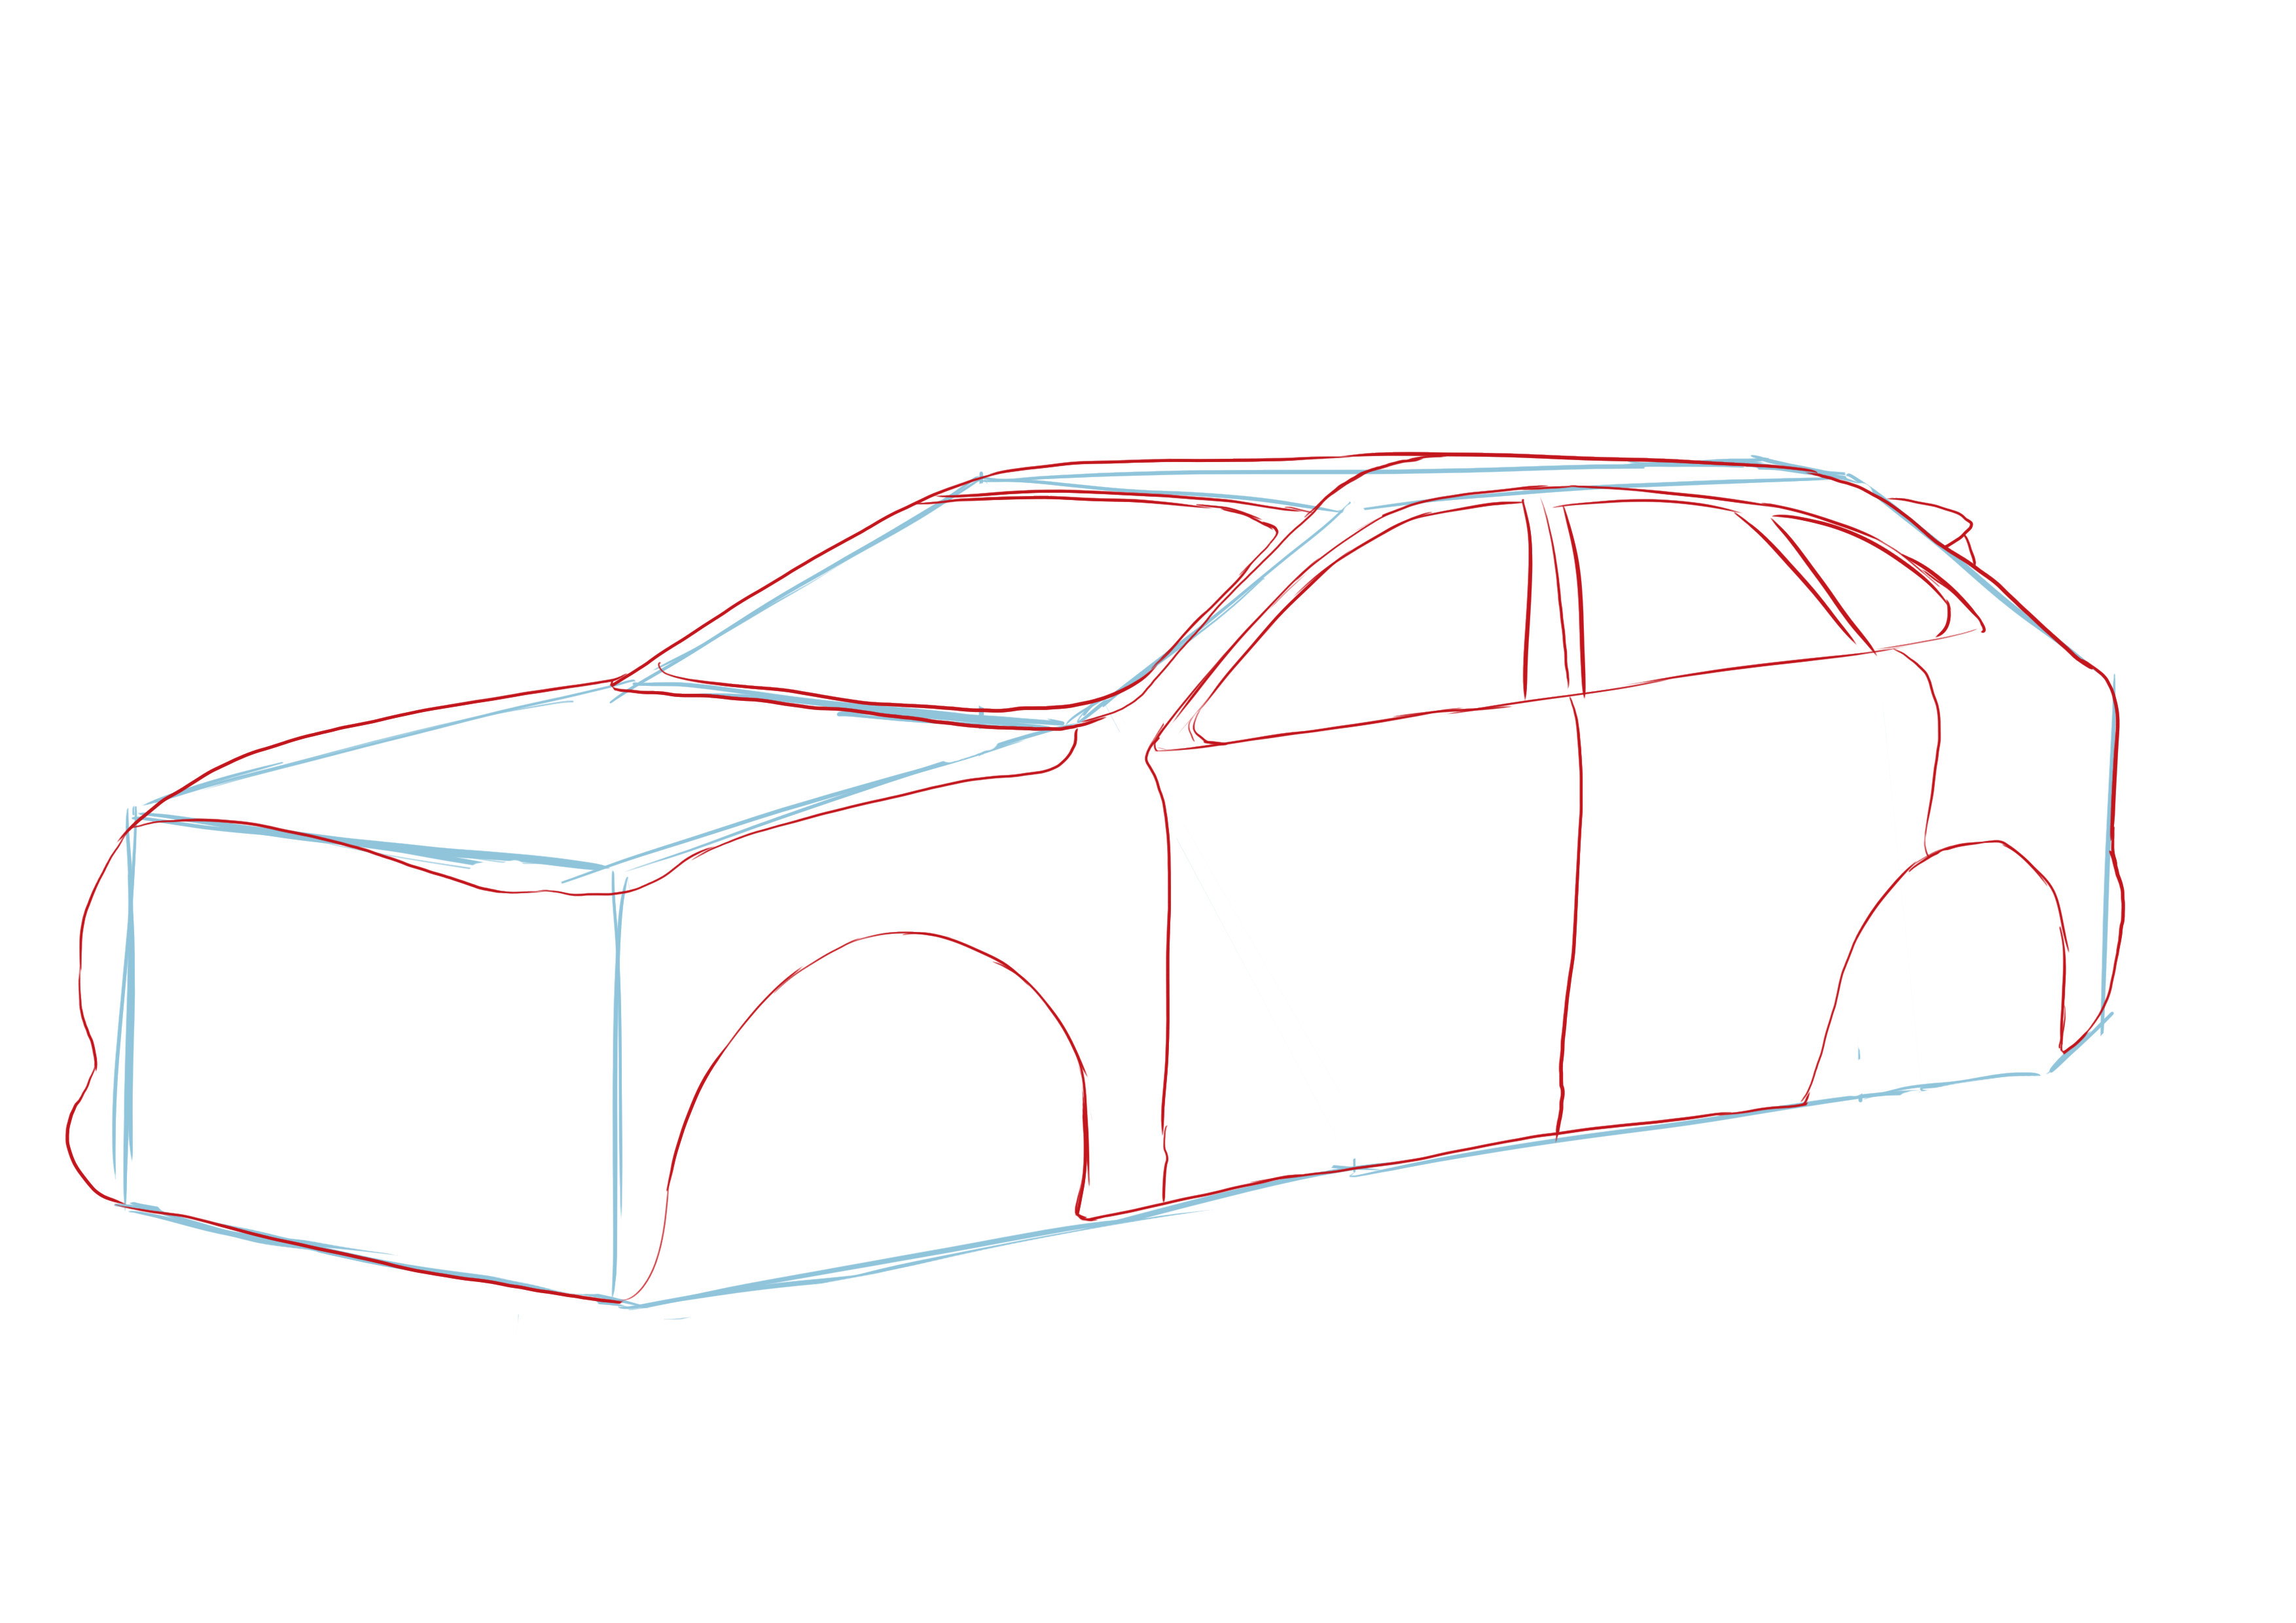
ADDING DETAILS TO THE CAR DRAWING
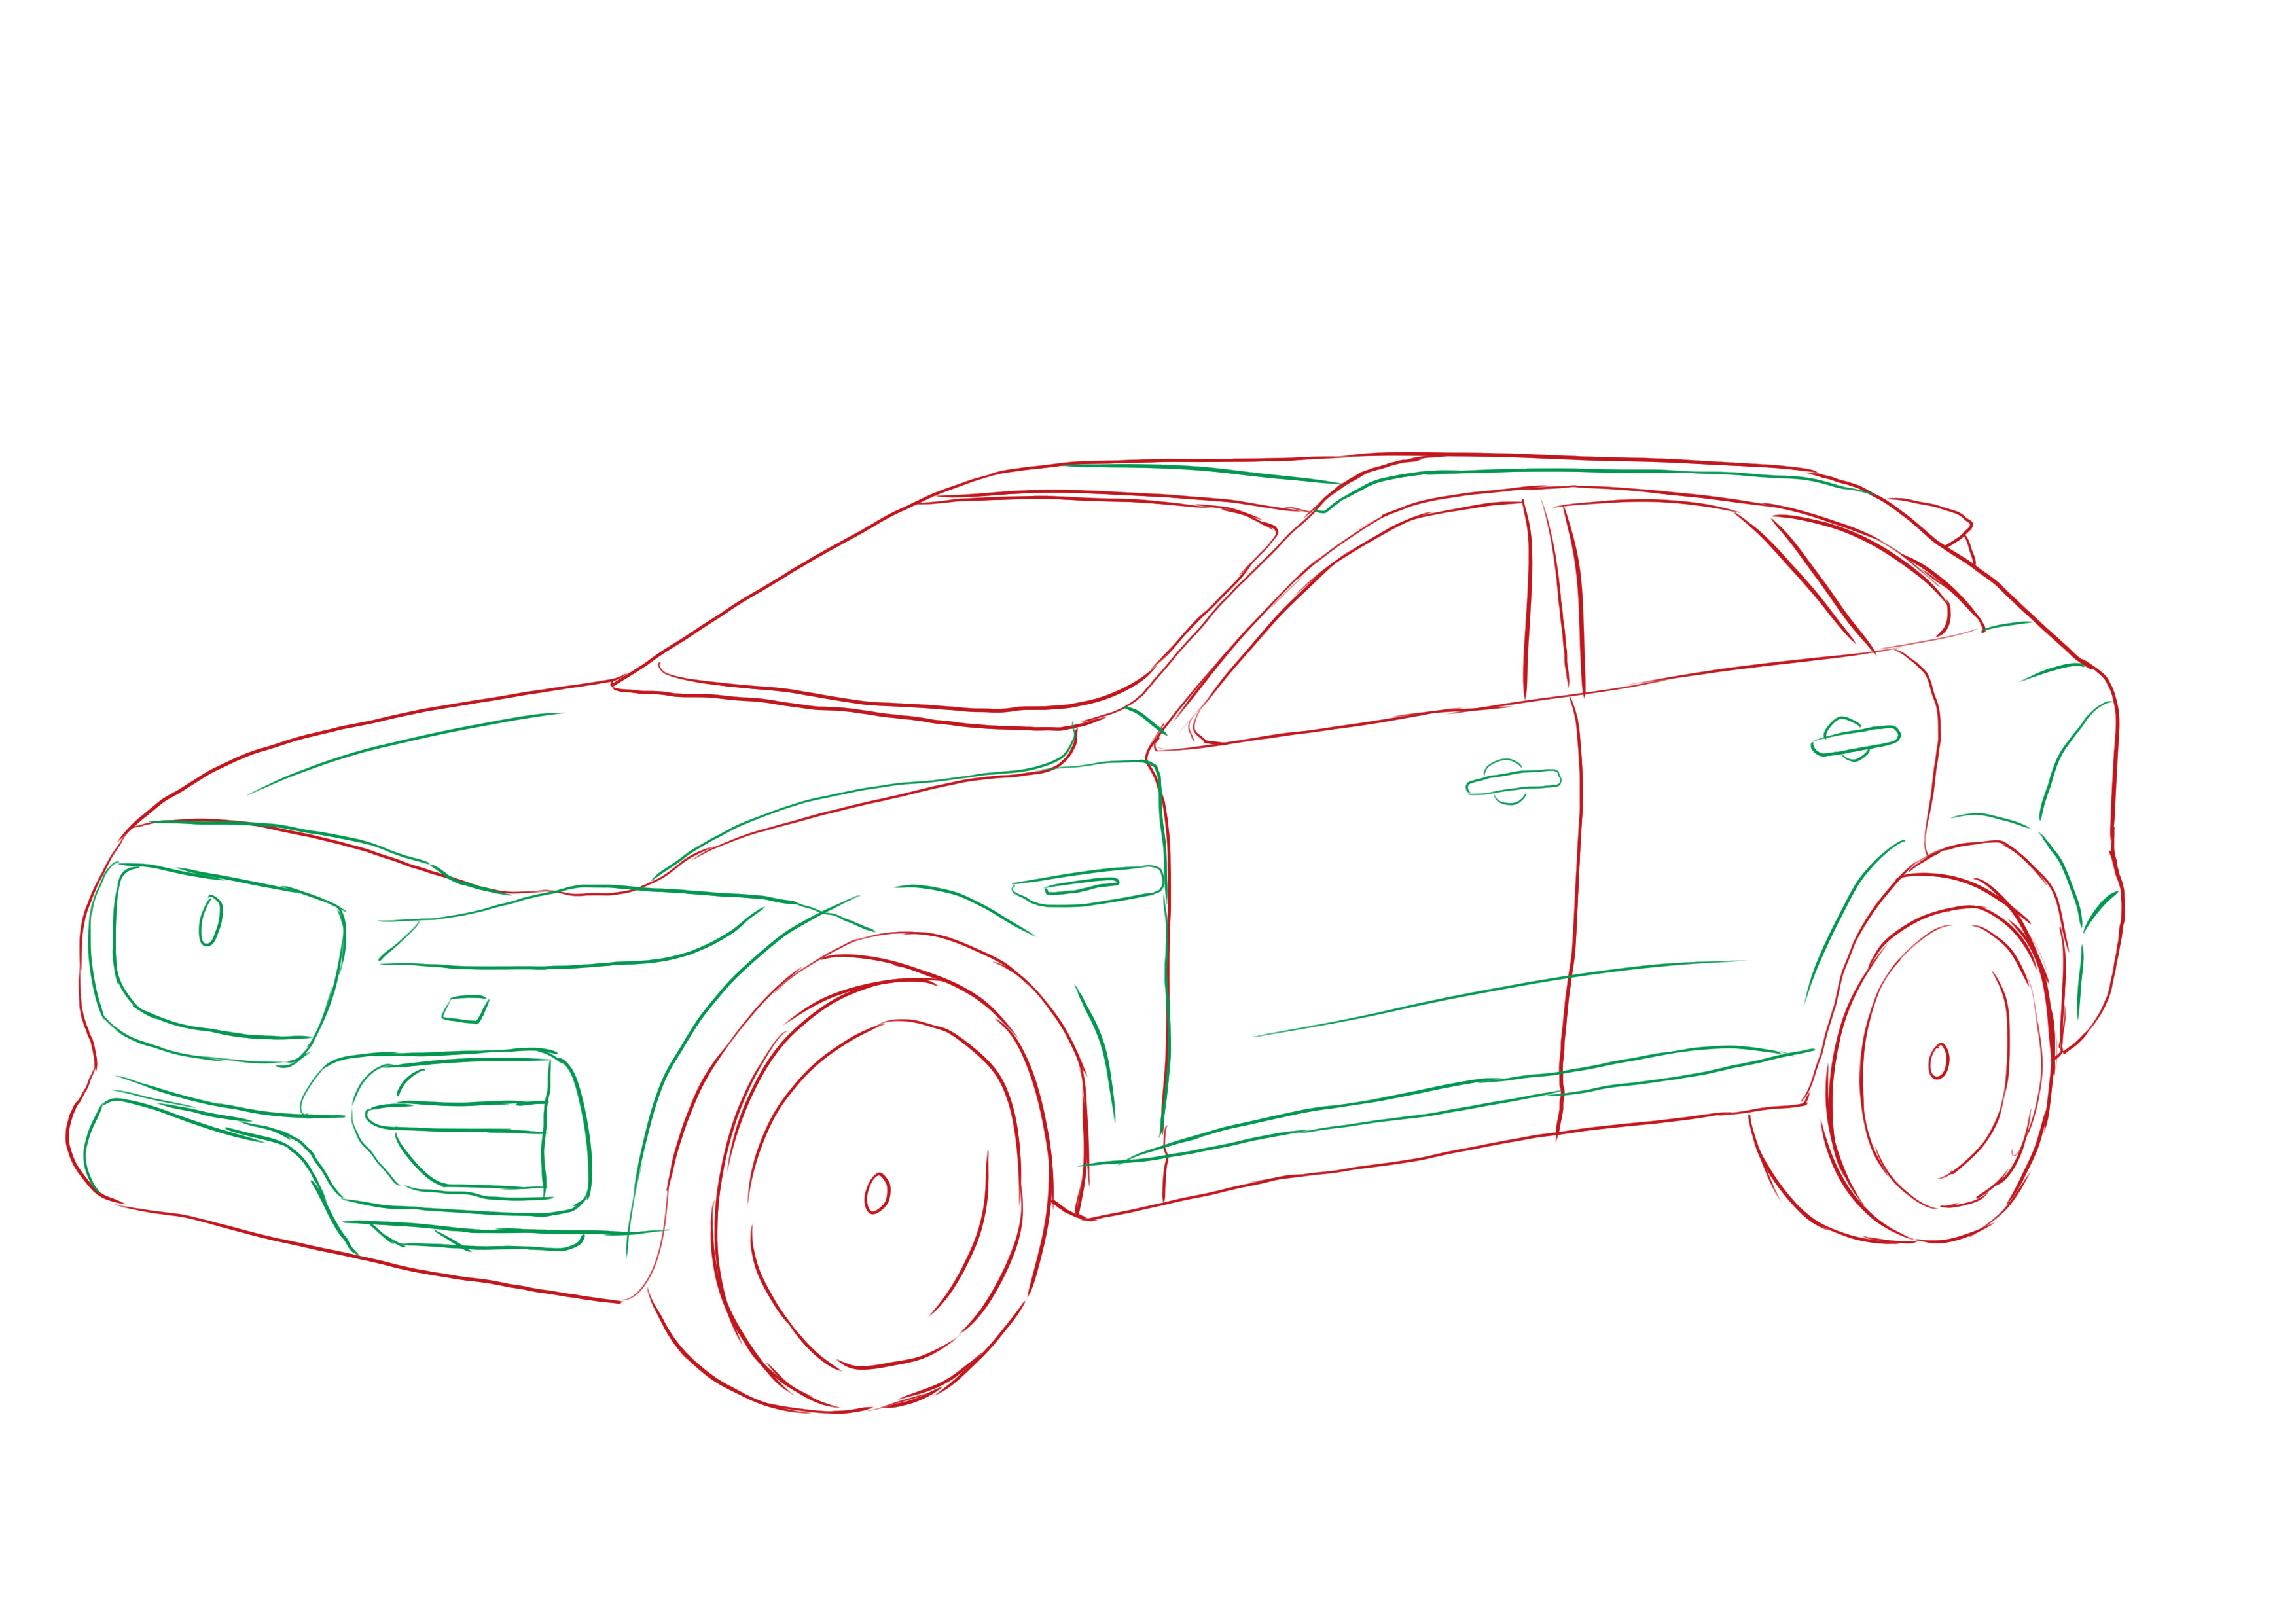
Now that the base is finished, you can add all the little details: door handles, headlights, logo...
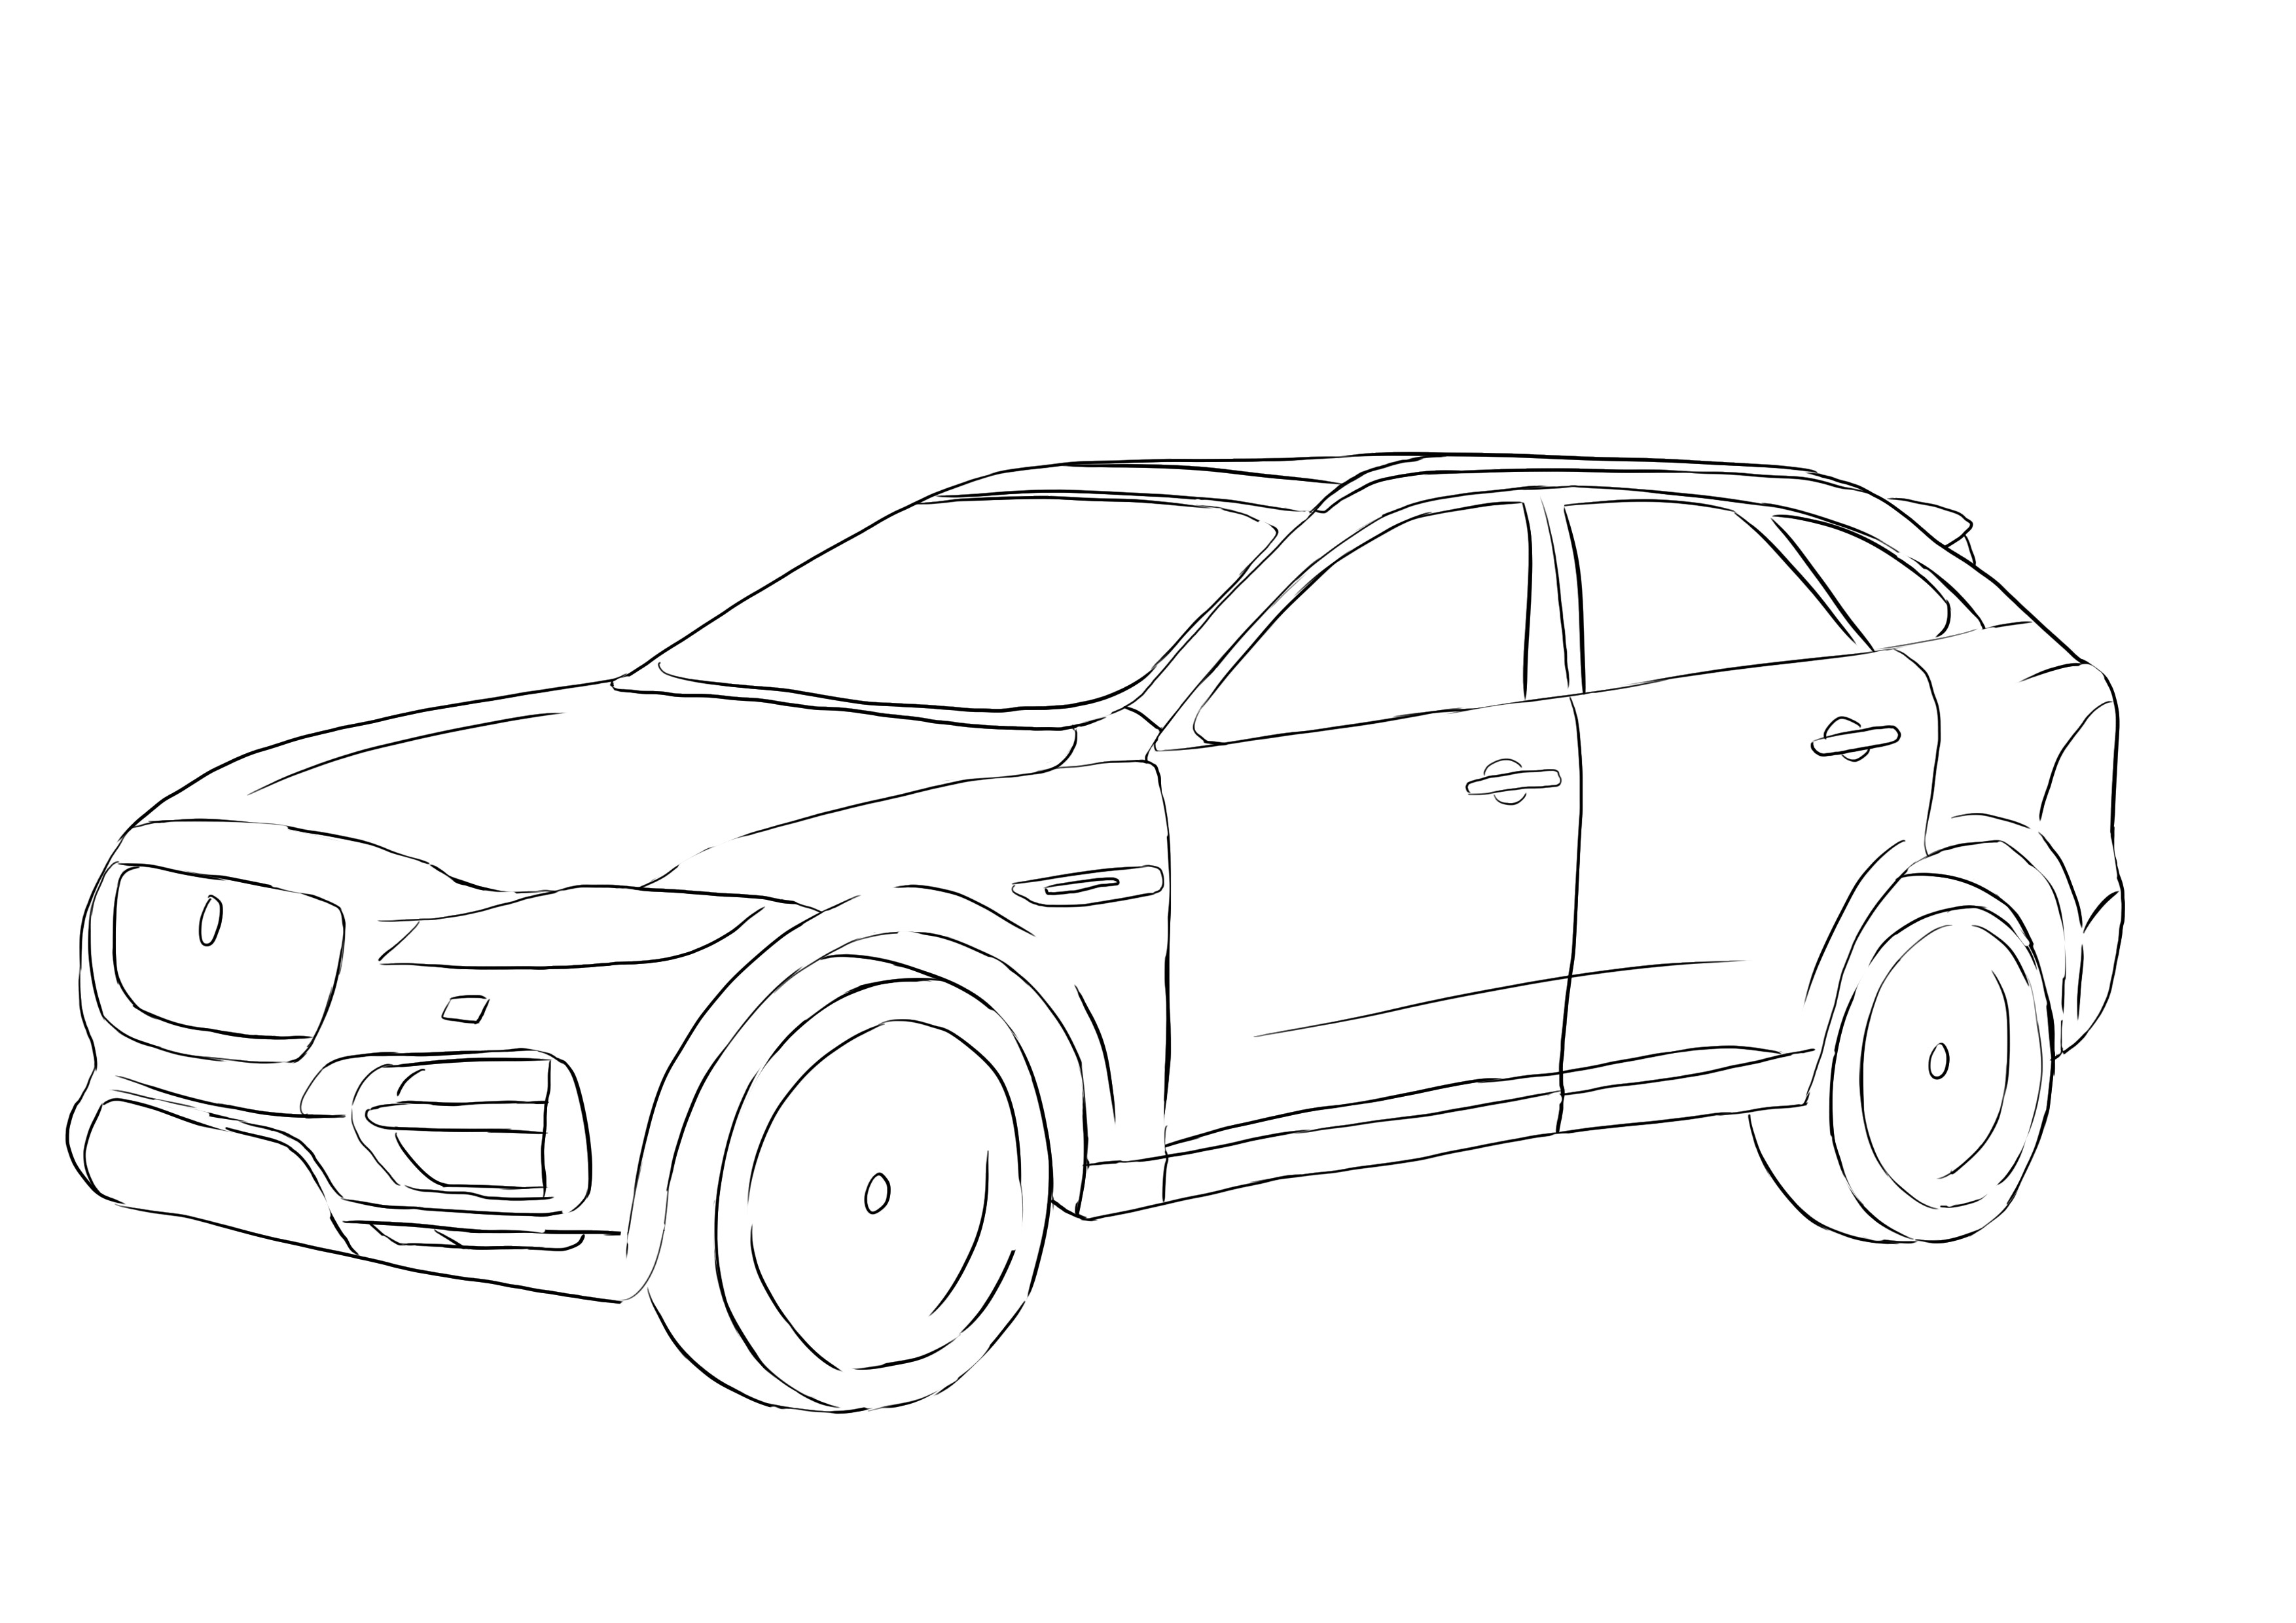
Once everything is in place, neatly go over your lines and take the opportunity to remove the construction lines.
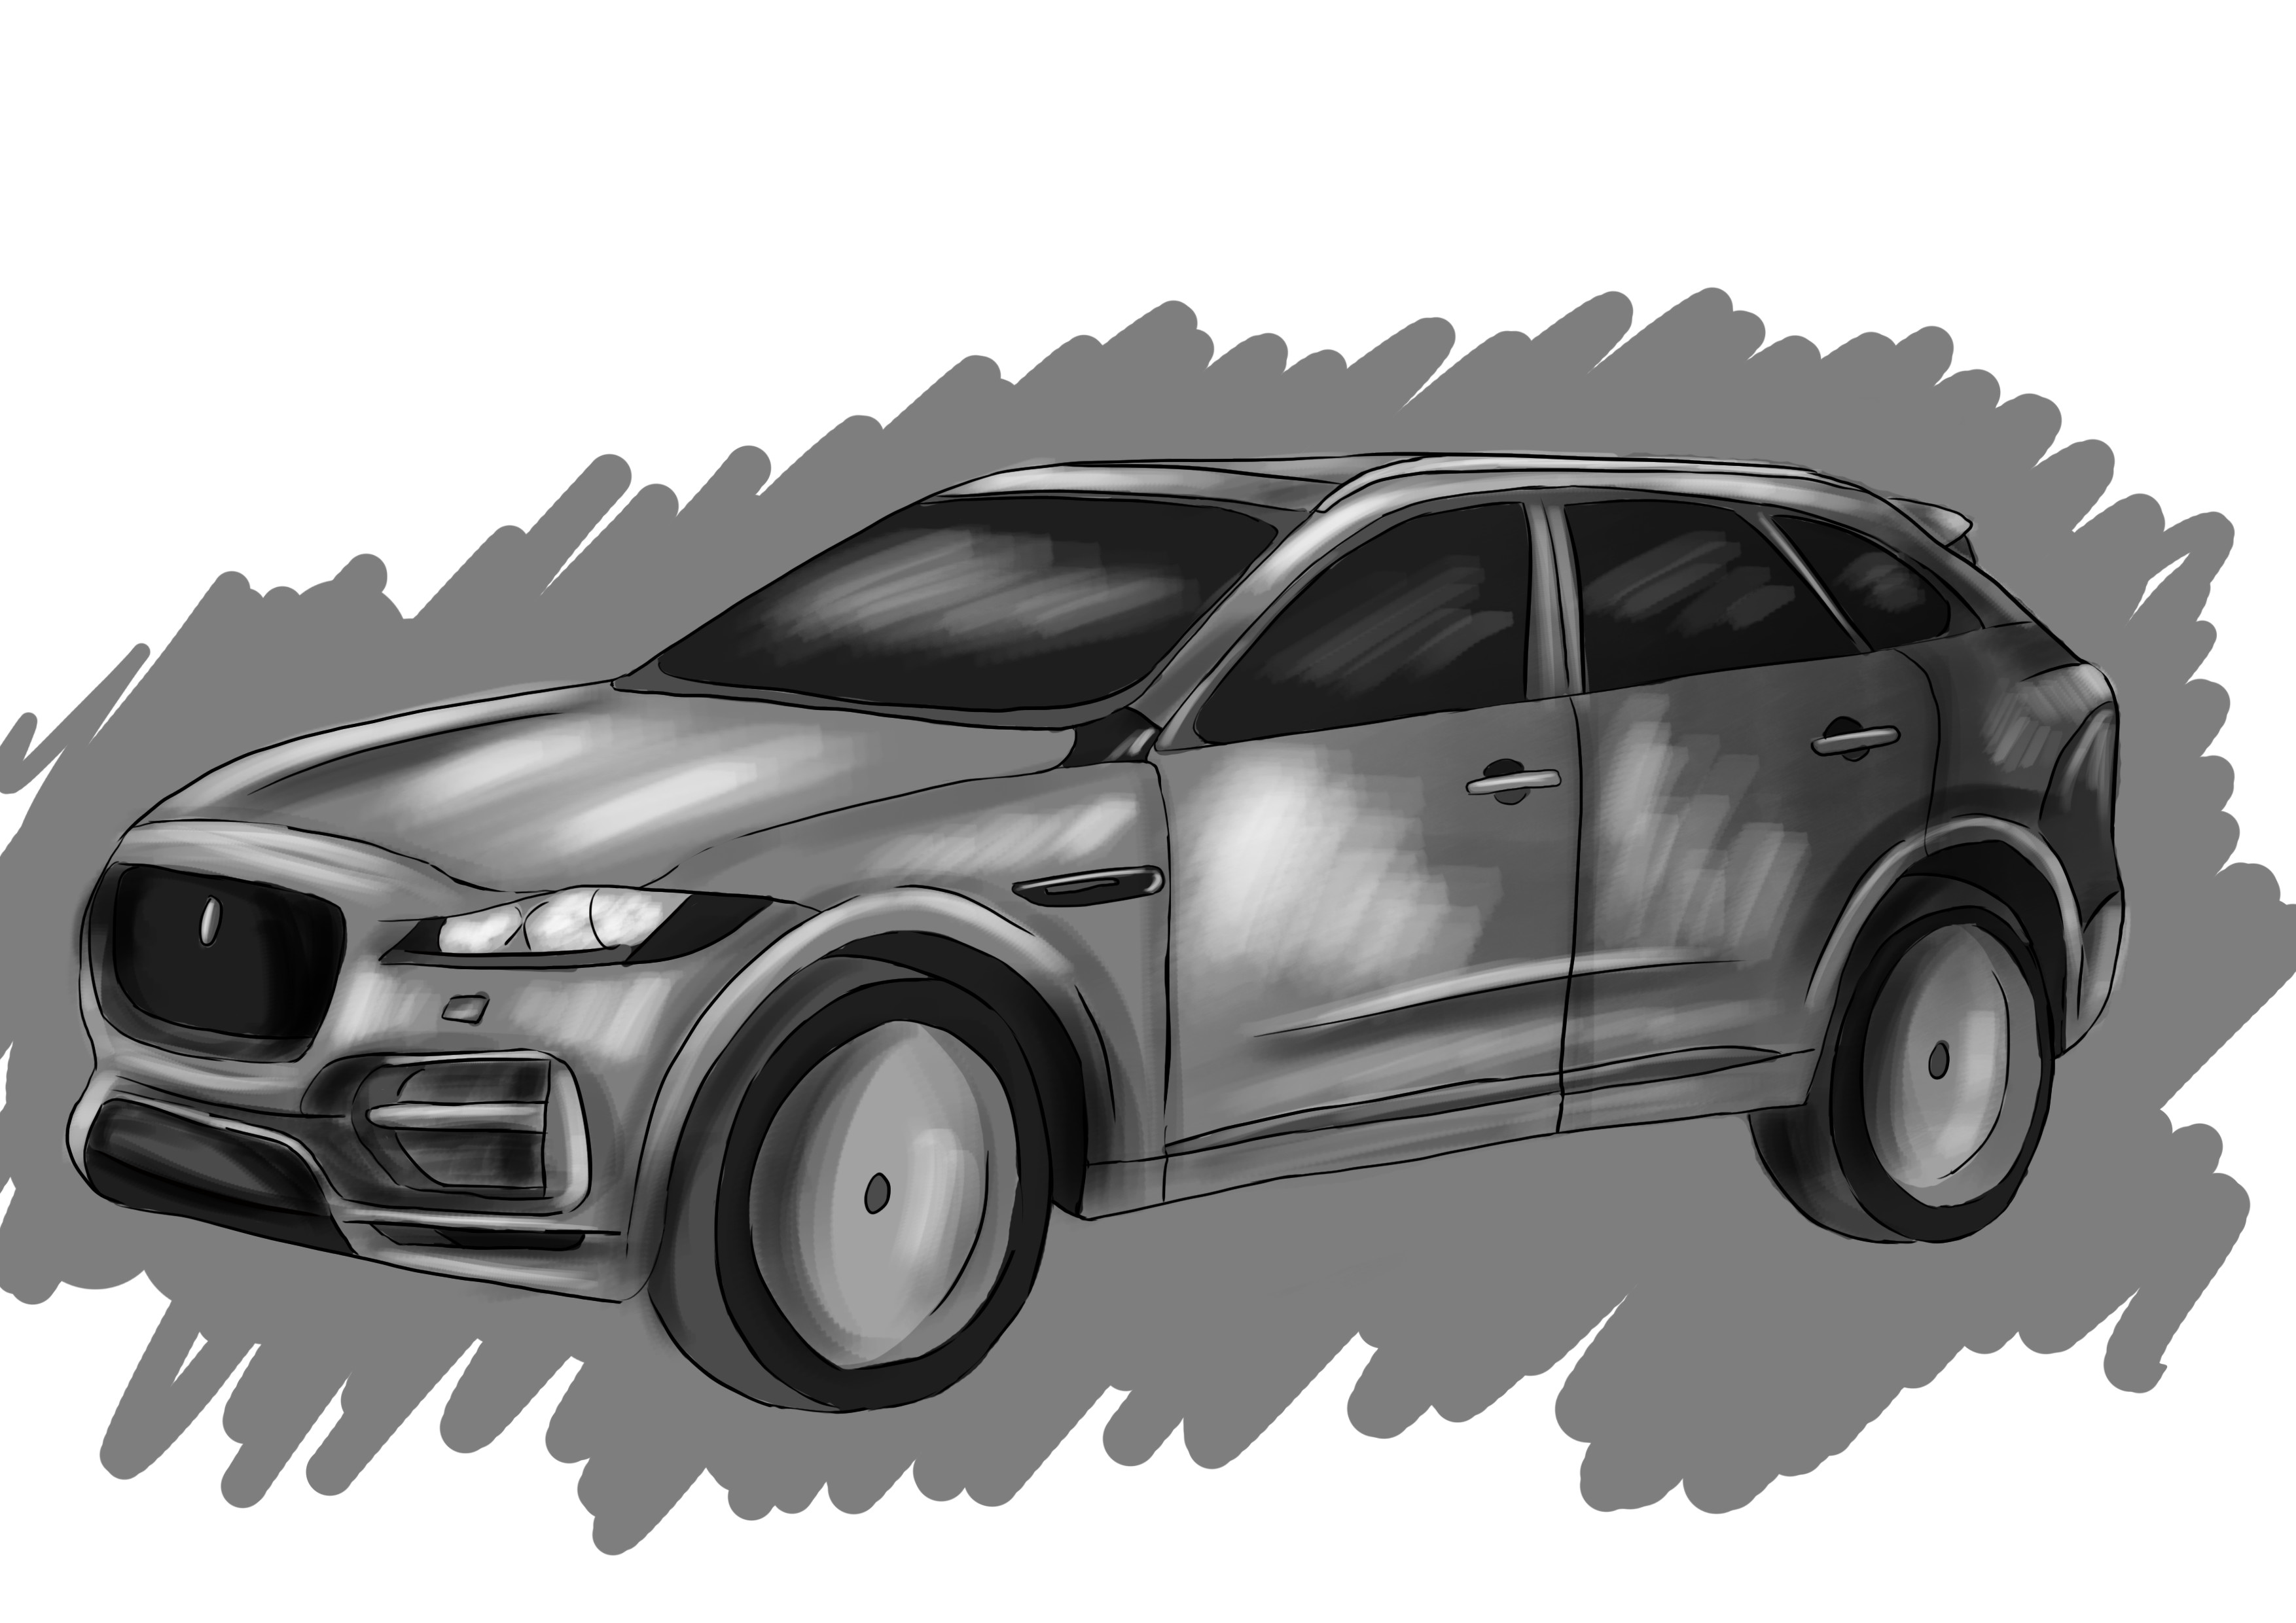
ADDING COLOR TO THE CAR DRAWING
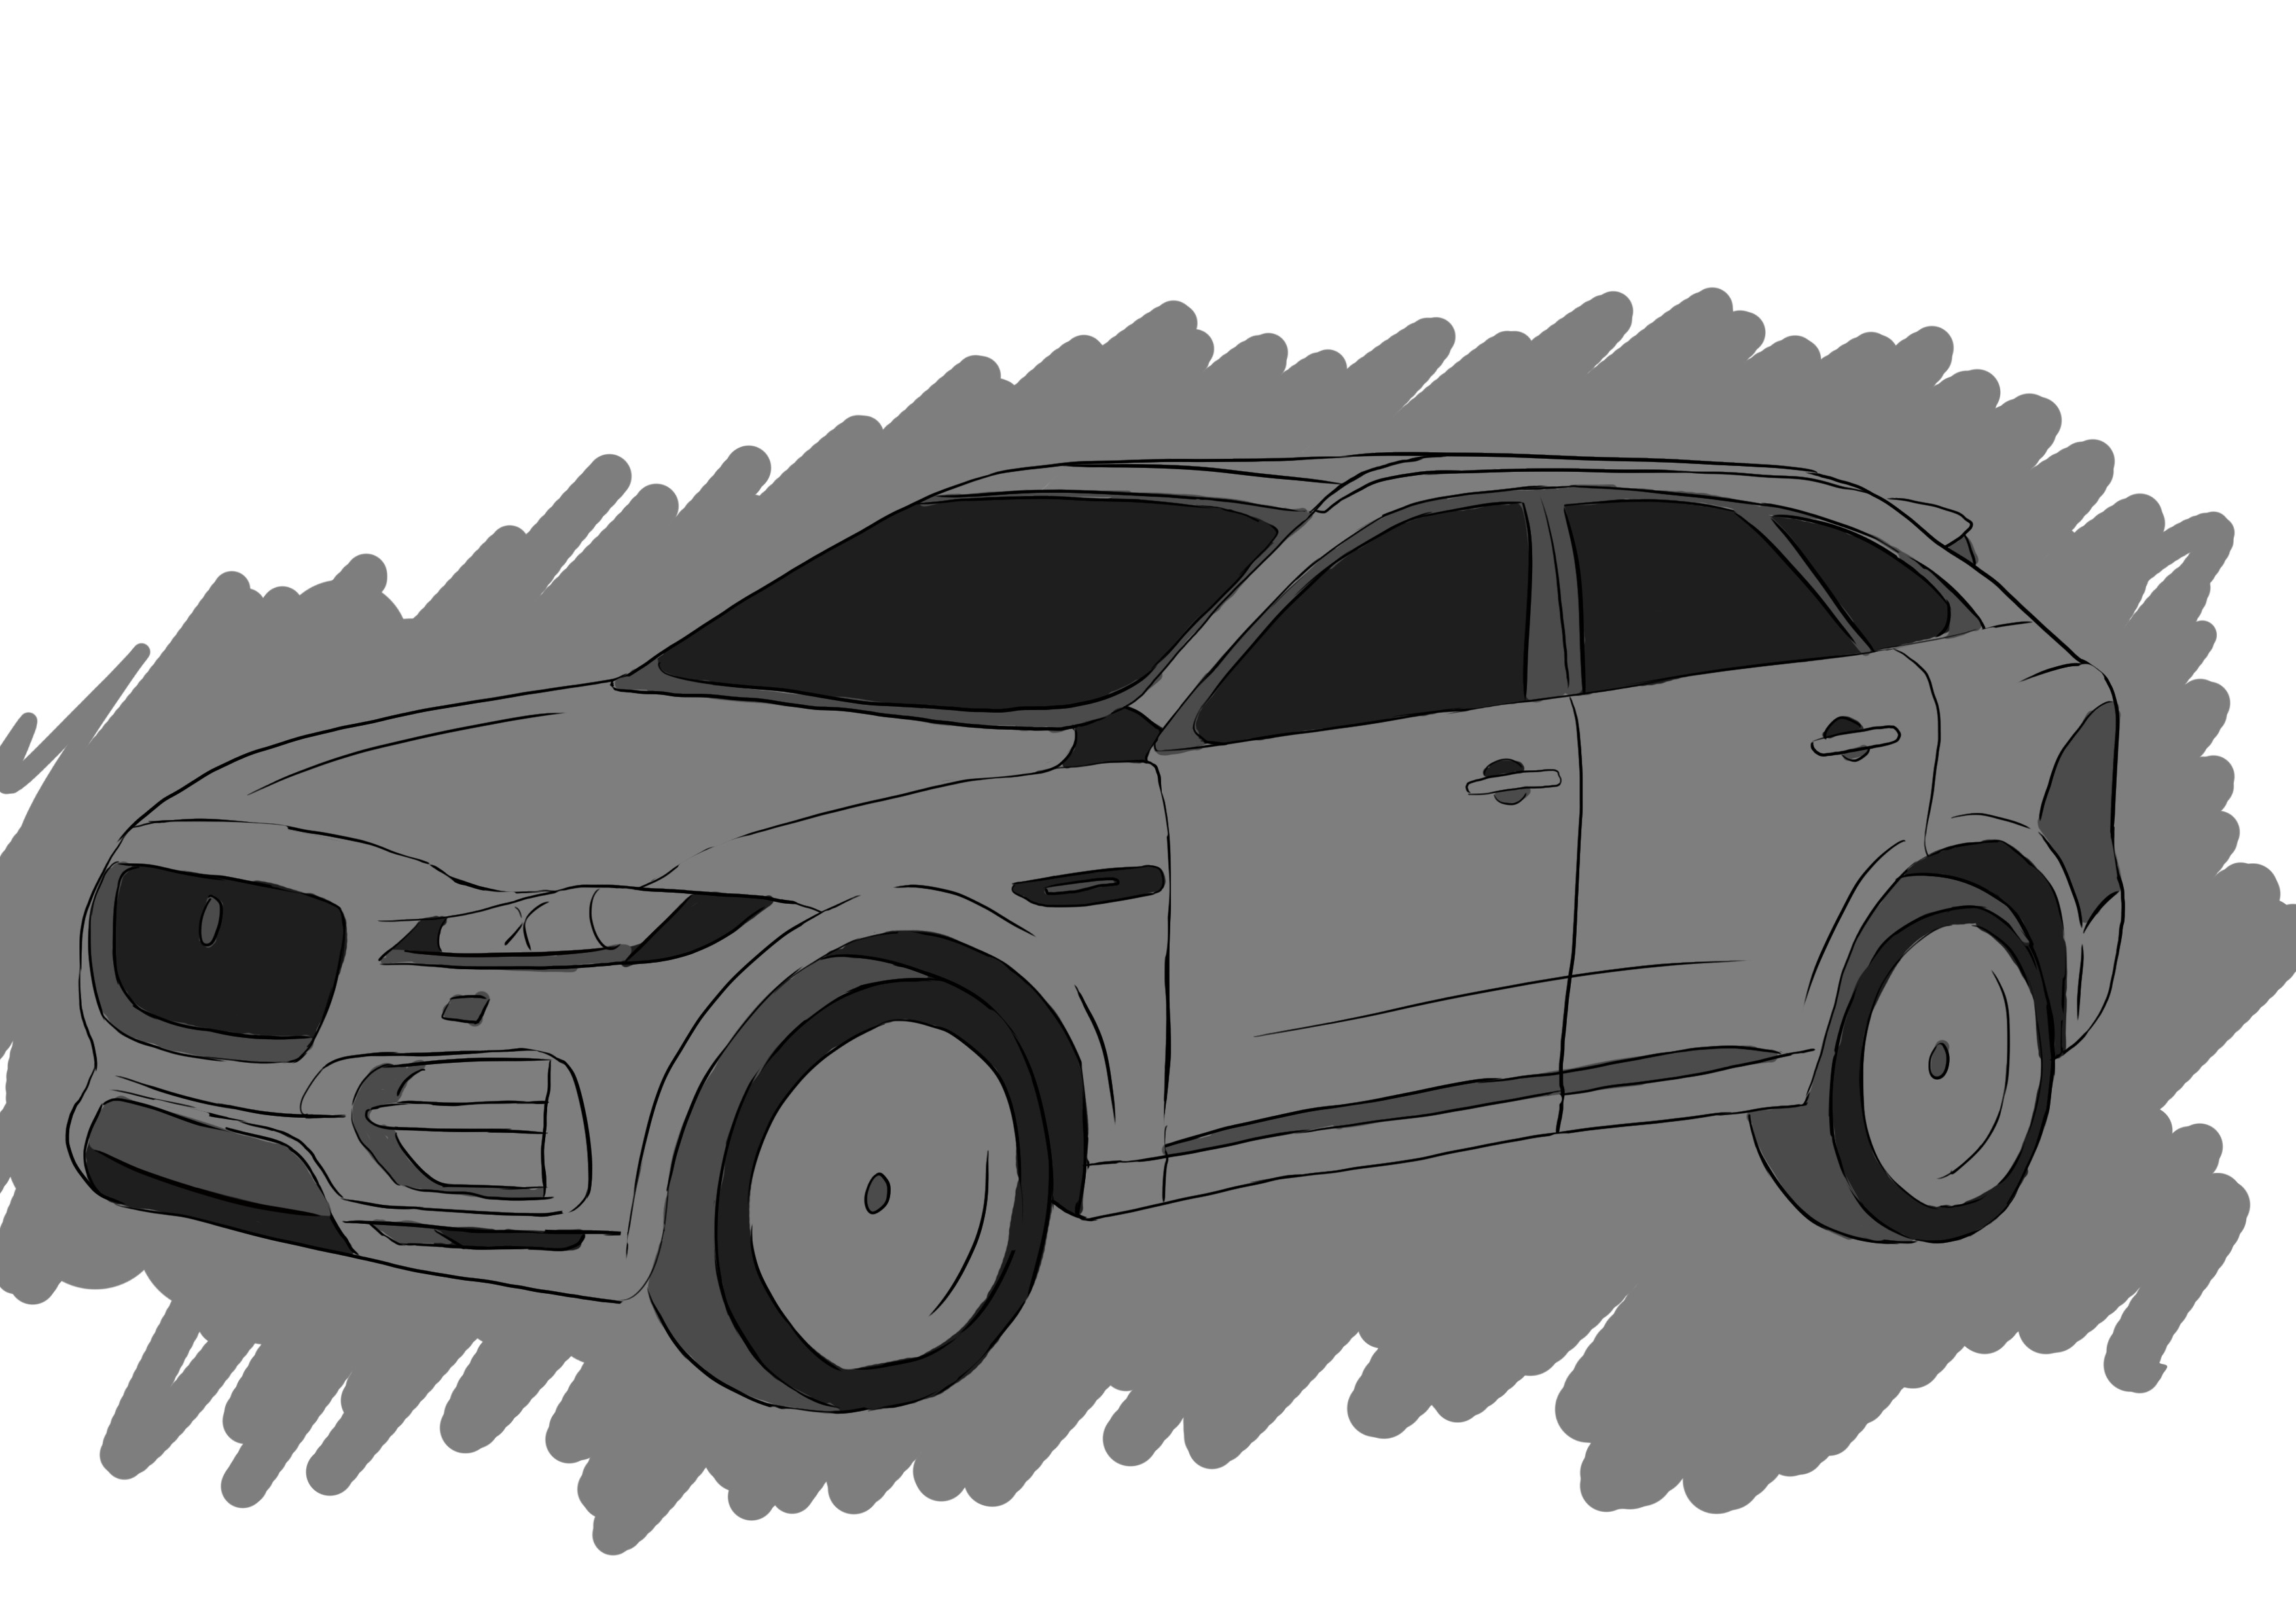
Once your lines are done, and all your elements are drawn, you can move on to color.
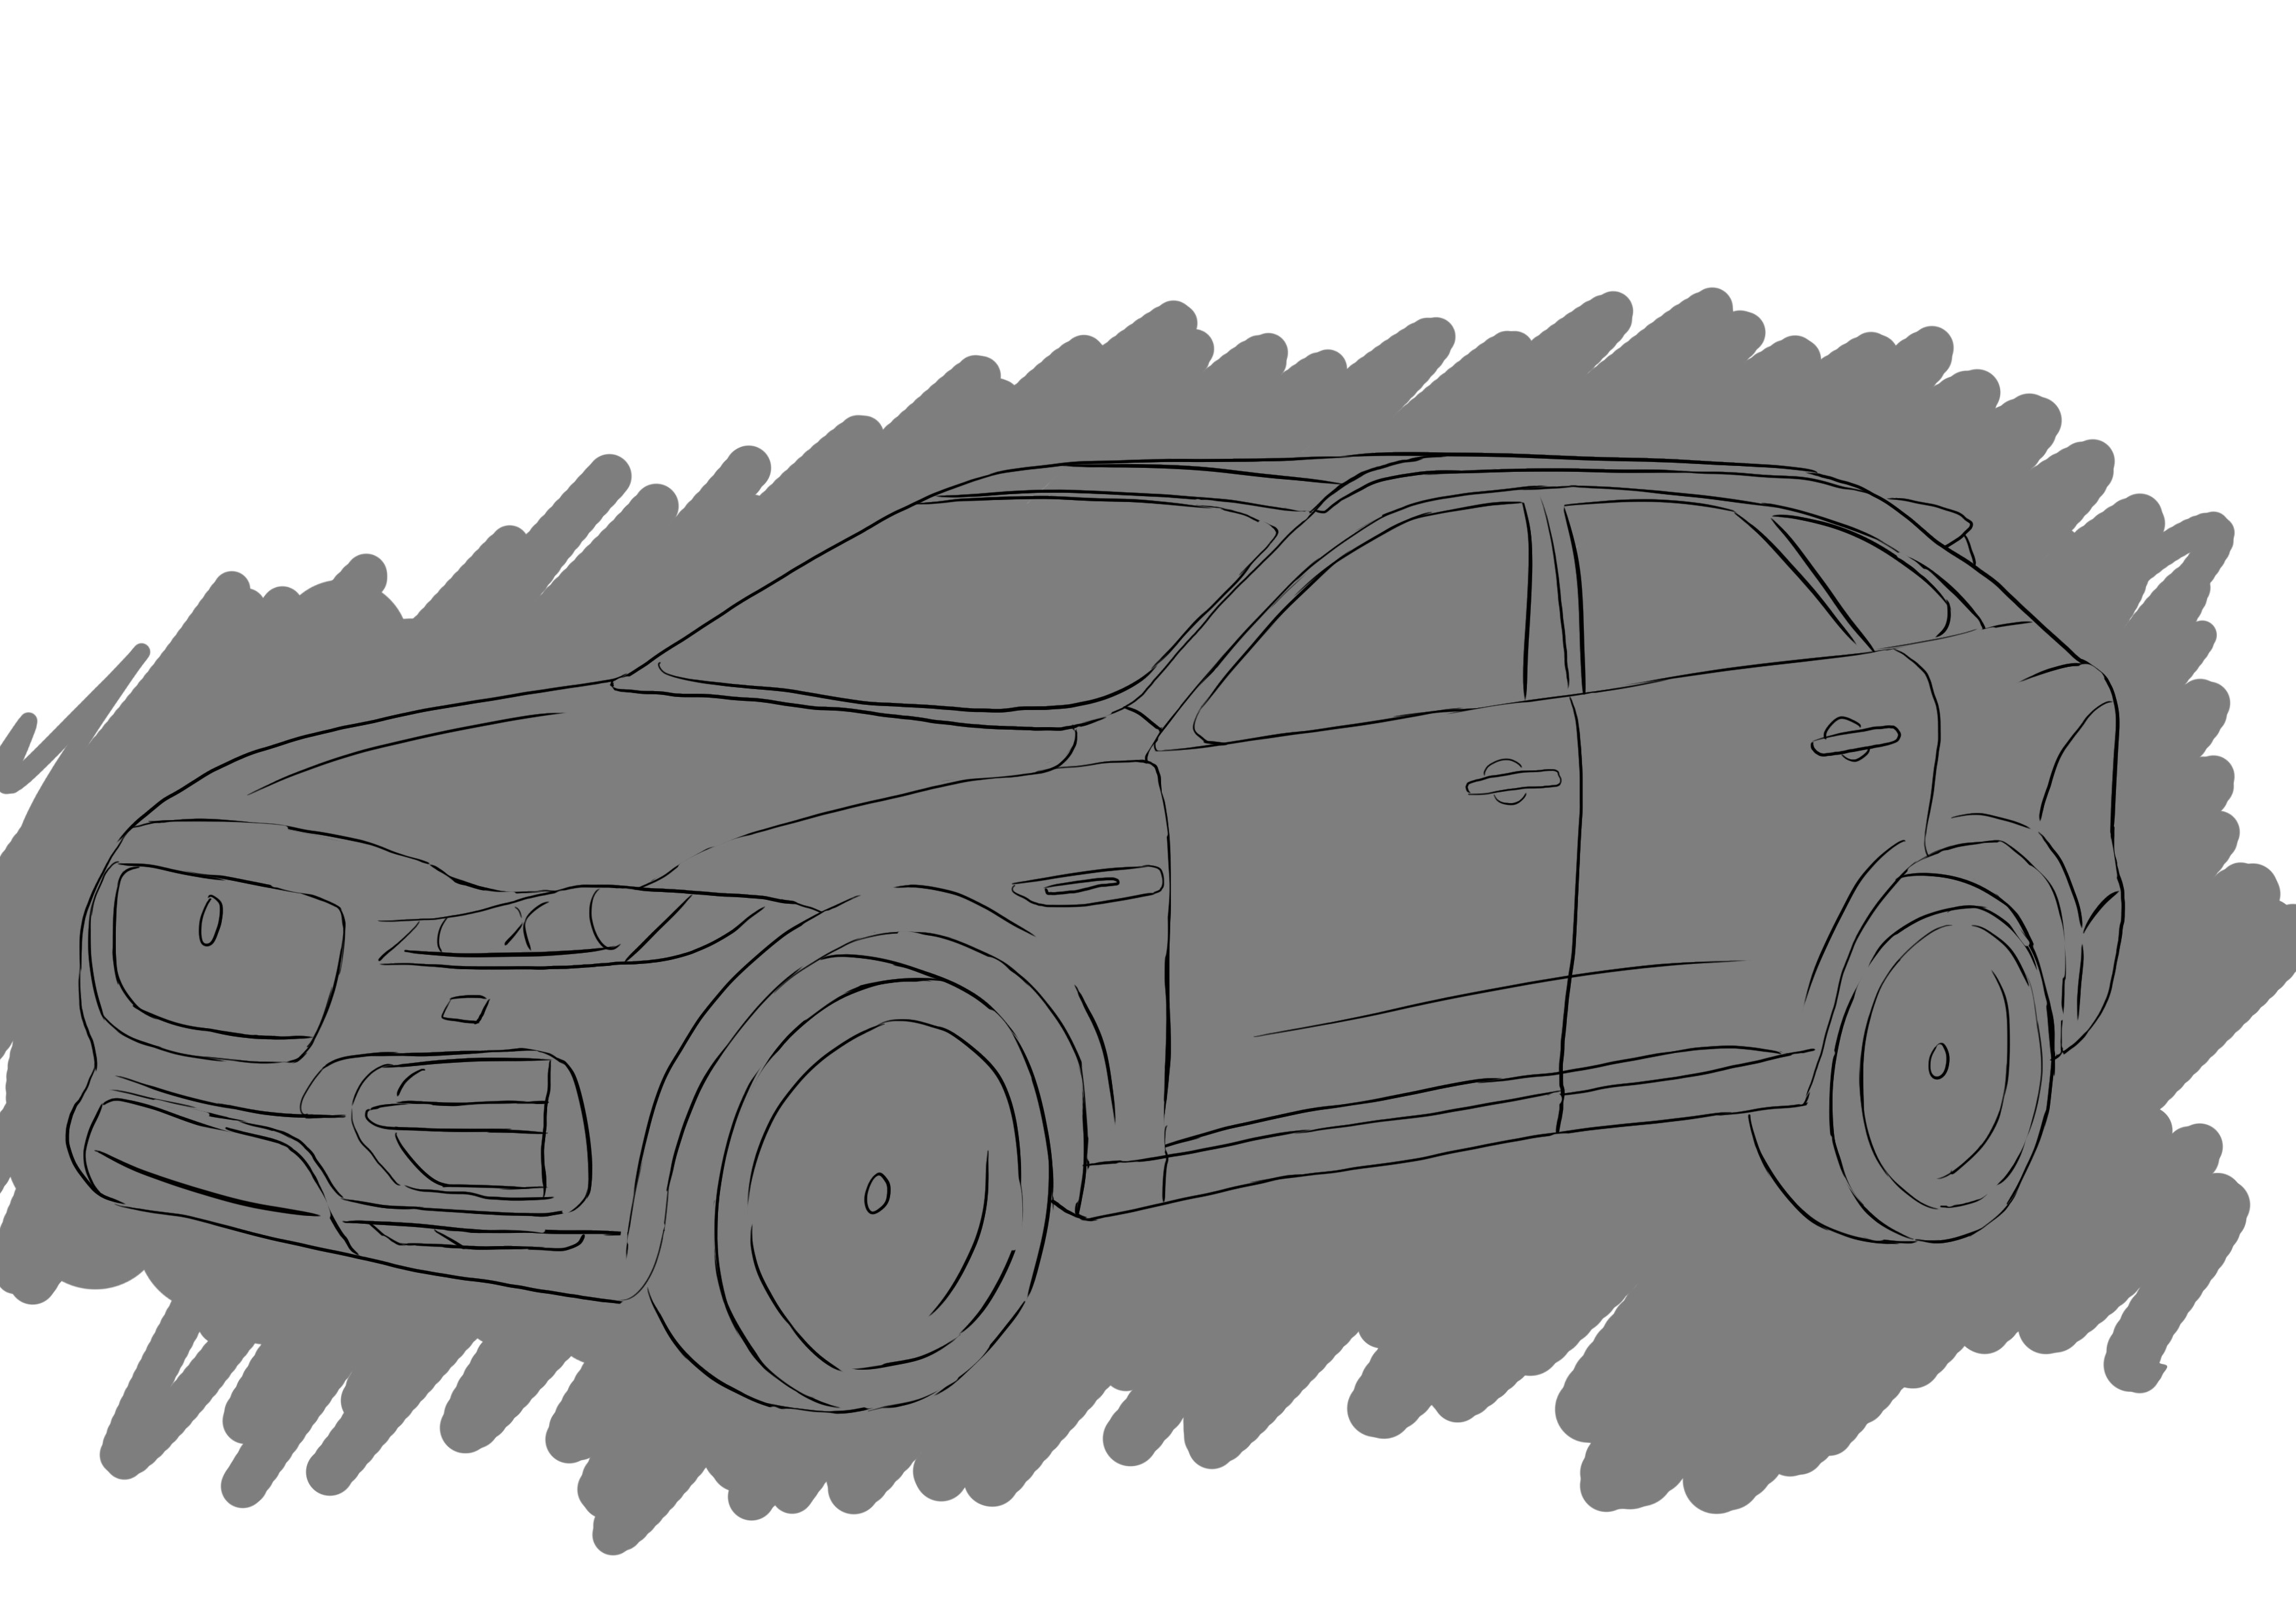
Start by applying a medium shade over the entire surface of your drawing.
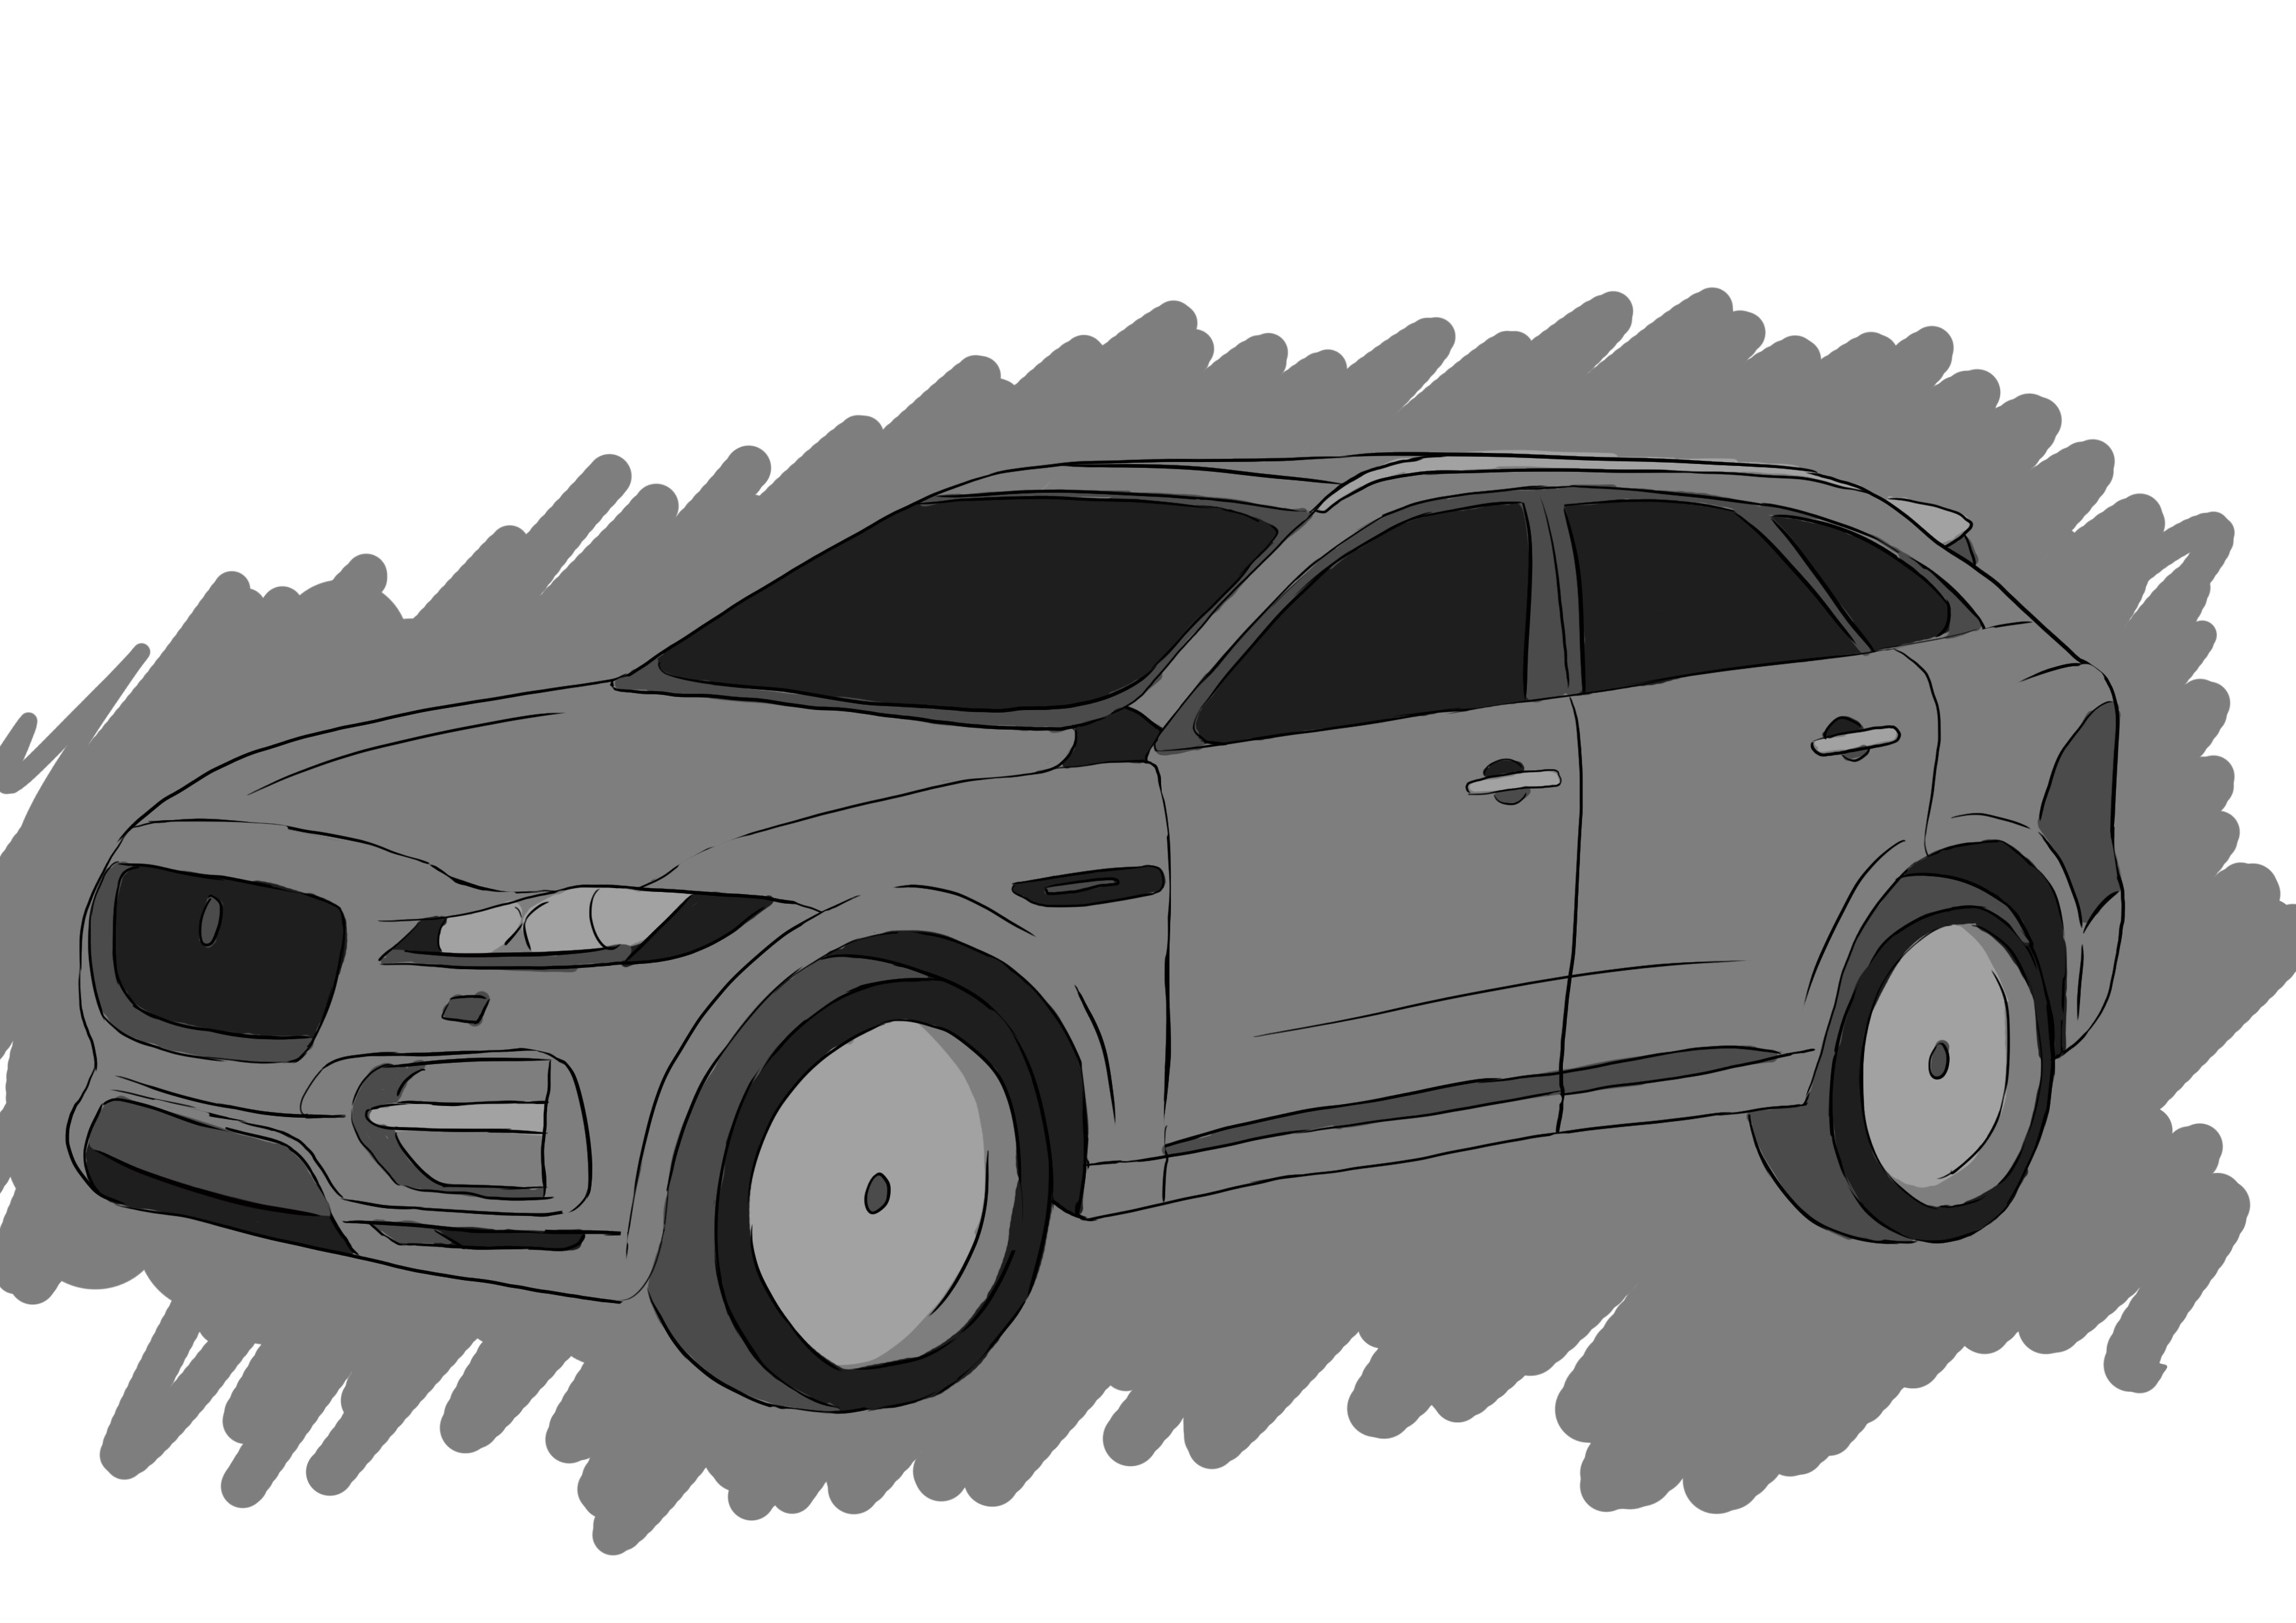
With a slightly darker shade, color both the elements that are in shadows and that are dark in color.
With a very dark or almost black hue, color the windows and elements that are completely in shadows to give contrast and relief.
Using a lighter shade, bring a light touch of brightness to the drawing by coloring the elements that are light-colored, such as reliefs and highlights.
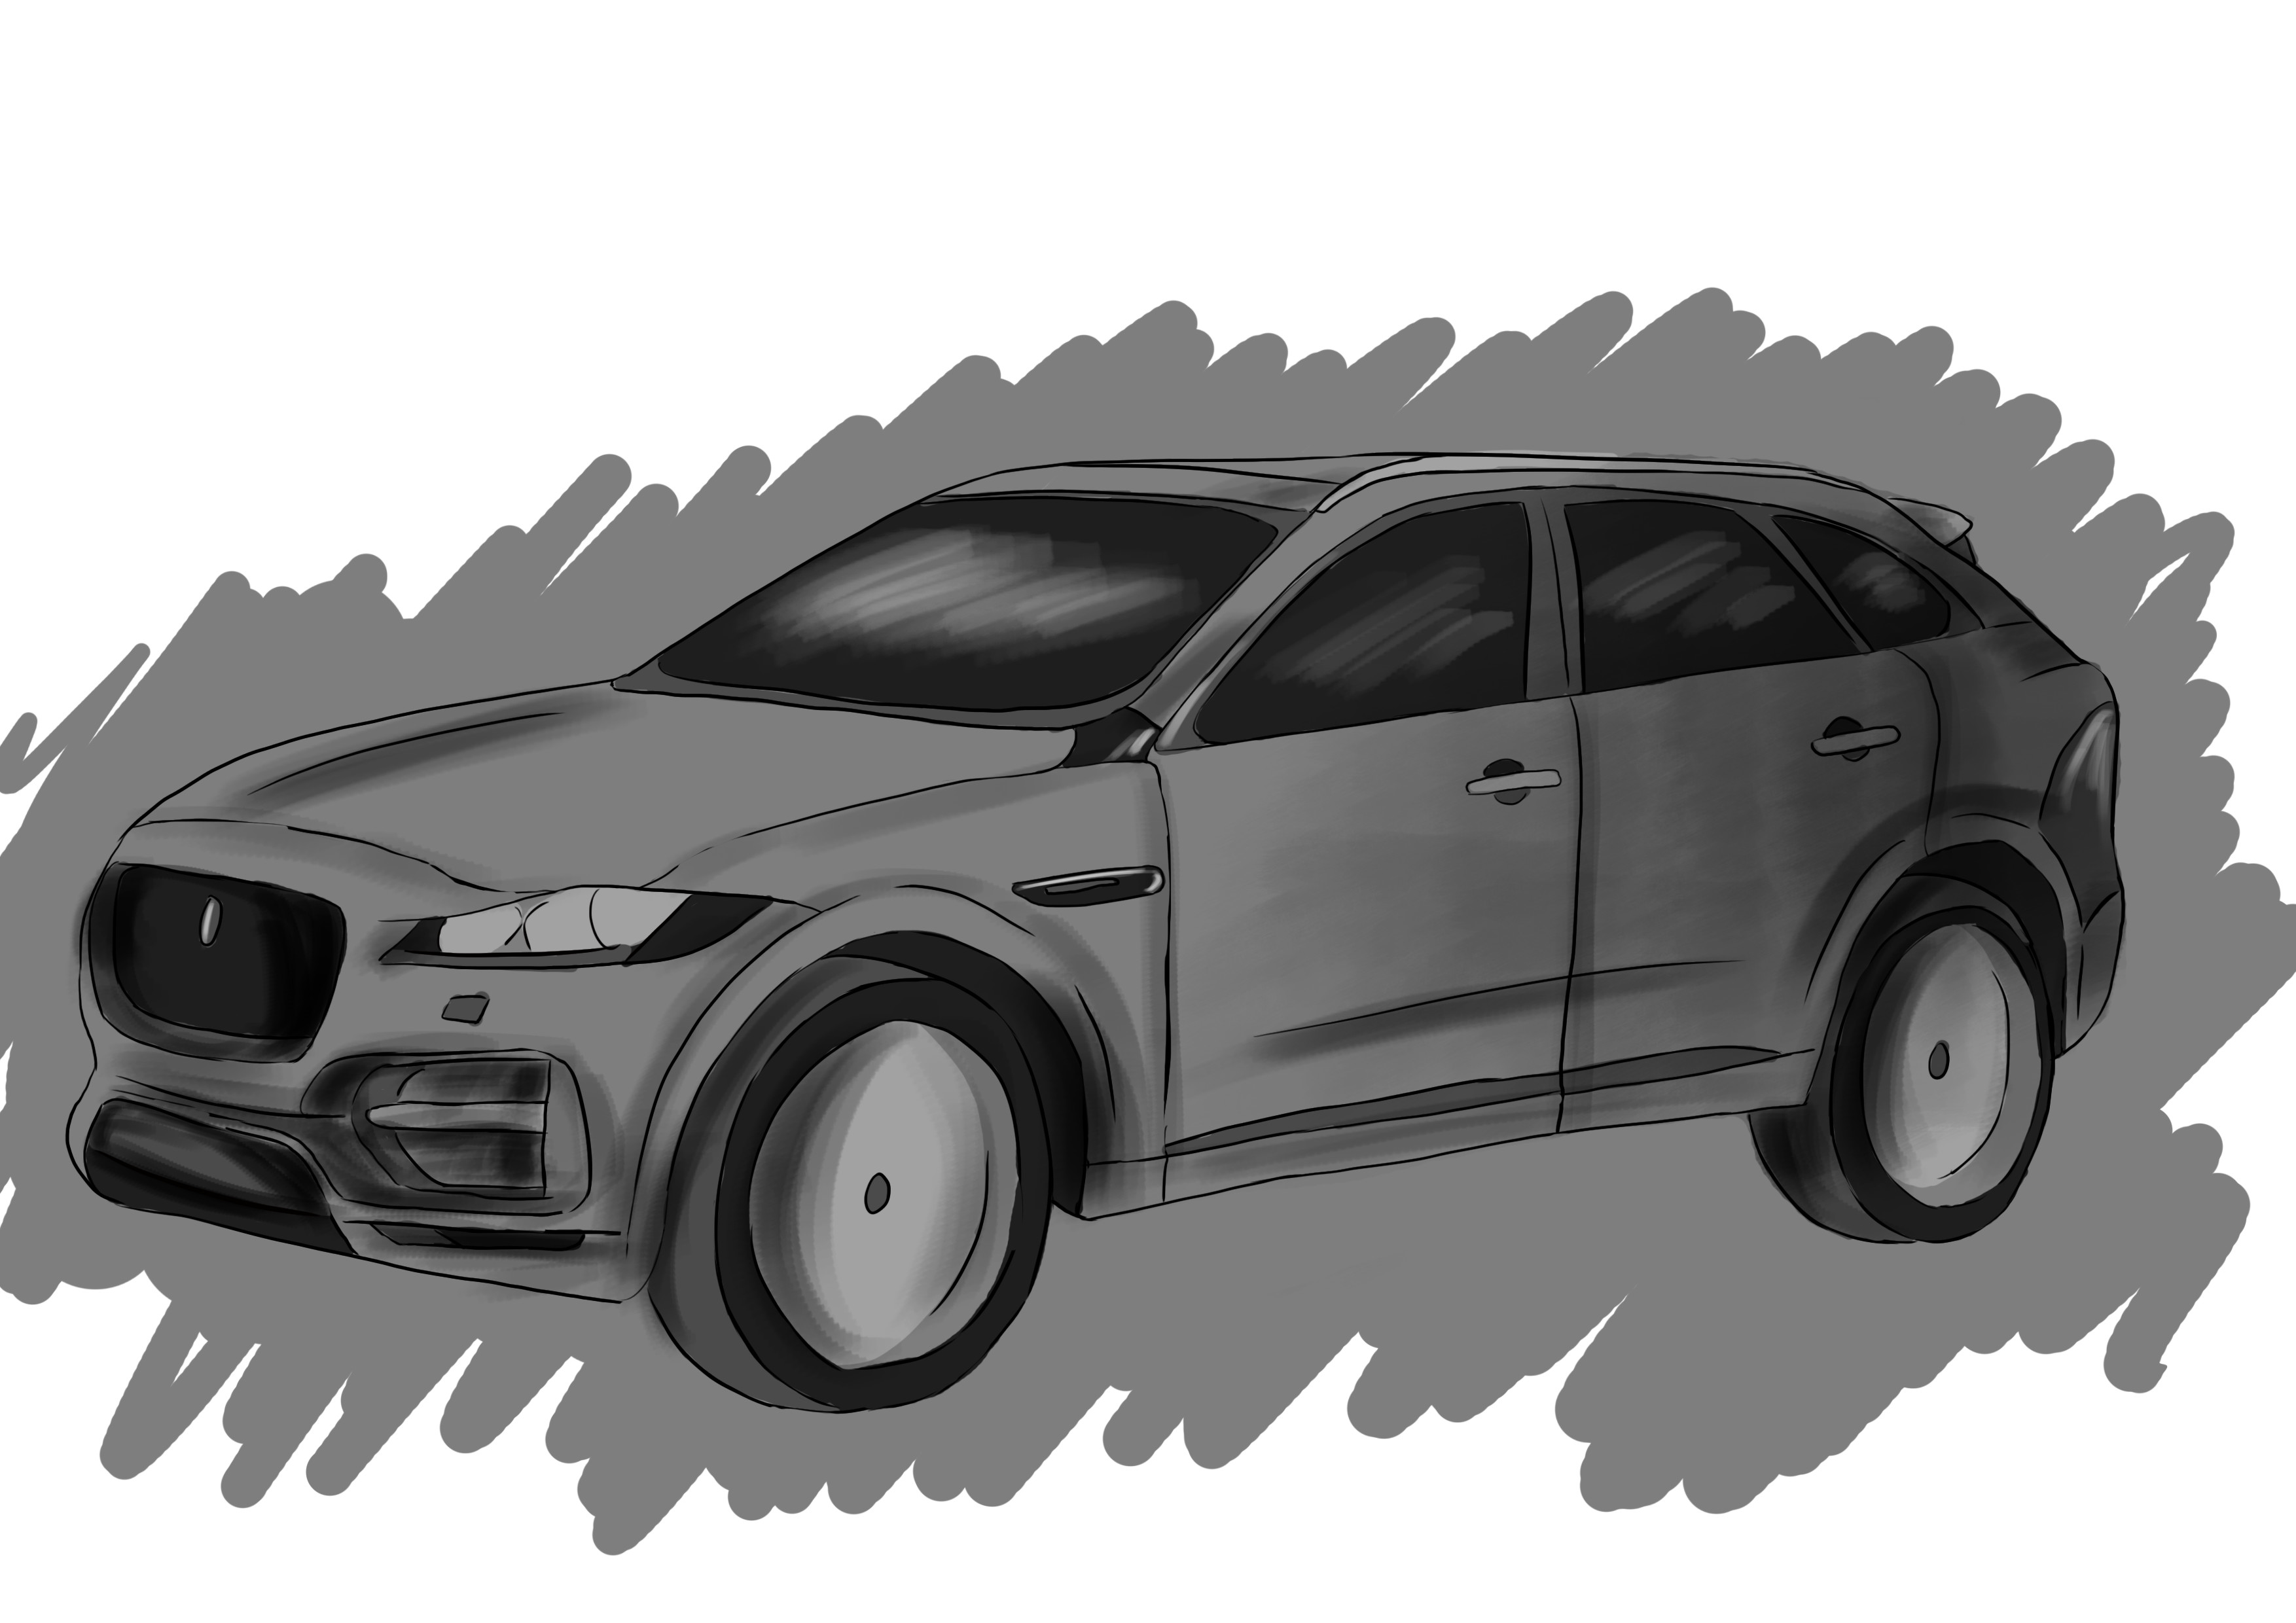
Add shadow and light, and blend to enhance the contrast.

Finally, add touches of more accentuated light with a very light, almost white shade. Apply it to the areas that catch the light, such as reliefs and headlights.
Your car is now finished!
By using the beginning of the tutorial, the part with the cubes, you can create a different car base and adapt this tutorial indefinitely according to your desires and imagination.
To do this, you just need to change the sizes of the cubes, and why not the shapes to create a unique car that does not exist?
Illustrator and writer: Coralie
Discussion
5 comments