Draw a Character
In this article, we are going to show you how to create and draw a character. In the professional world, this is called Character Design.
Character Design involves creating a character from scratch for a film, a game, a comic book, etc. It is necessary to define the character's personality, give them an identity, and then determine their physical appearance.
What I am going to teach you in this article is applicable to any type of character (adult, teenager, child, youth, elderly person, skinny, fat, etc.); the steps remain the same. So, you can follow this article while creating your own character, which I encourage you to do. In the end, you will be even prouder to have created and drawn a character from your imagination.
CREATING THE CHARACTER'S IDENTITY
To be able to visualize and then create a character, you must first create an identity for them, which means giving them a backstory, a first name, an age, etc.
To begin, we need to determine if it will be a girl or a boy.
For my part, I will create a girl because that's what I prefer to draw. Then, it's necessary to define the universe in which this character evolves: realistic, futuristic, medieval, fantasy, horror, etc.
For this example, I will choose a realistic universe, our world. I want to create a very simple girl, with no powers, nothing special, just an ordinary girl.
Now let's move on to identity. To do this, we need to gather all the words we think of, without filter, without thinking.
"Girl - high school - pretty - calm - family - almond - math - car - European - dynamic - chestnut - popular"
From this simple list, we can create a character. It's simply about illustrating our thoughts.
Based on what I've noted, I will draw a rather young girl, a teenager who is in high school. She is of European descent, with almond-shaped eyes and chestnut hair.
She's a popular and confident girl.
She is naturally calm and kind and is very family-oriented. She is naturally pretty and she hates math.
She is slightly tomboyish and despite her pretty girl looks, she is not afraid to get dirty and get her hands greasy. She is passionate about mechanics.
Now that I've chosen her personality, she needs a name to give her a soul and make her more alive. So I will call her Pauline.
CHOOSING MODELS FOR YOUR DESIGN
Once you've thought about their identity, we can move on to the physical part.
For this, we will create moodboards. For those who do not know what a moodboard is, it is a document that gathers several images, drawings, objects, or words, which is used as inspiration to create a project, an idea (here, a character design).
You might think that it's an uninteresting step, but the moodboard is a tool that helps tremendously and allows for effective management of references. It's used daily in major productions. (Disney/Pixar, etc.)
It is very important to work from references, because everything is created from things that already exist.
To be well organized, I've decided to create a moodboard for each category:
Body type, eyes, nose, mouth, hair, and clothing.
I drew all the mood boards, except for the one for hair and clothes, where I took images from the internet.
THE BULKINESS OF THE CHARACTER
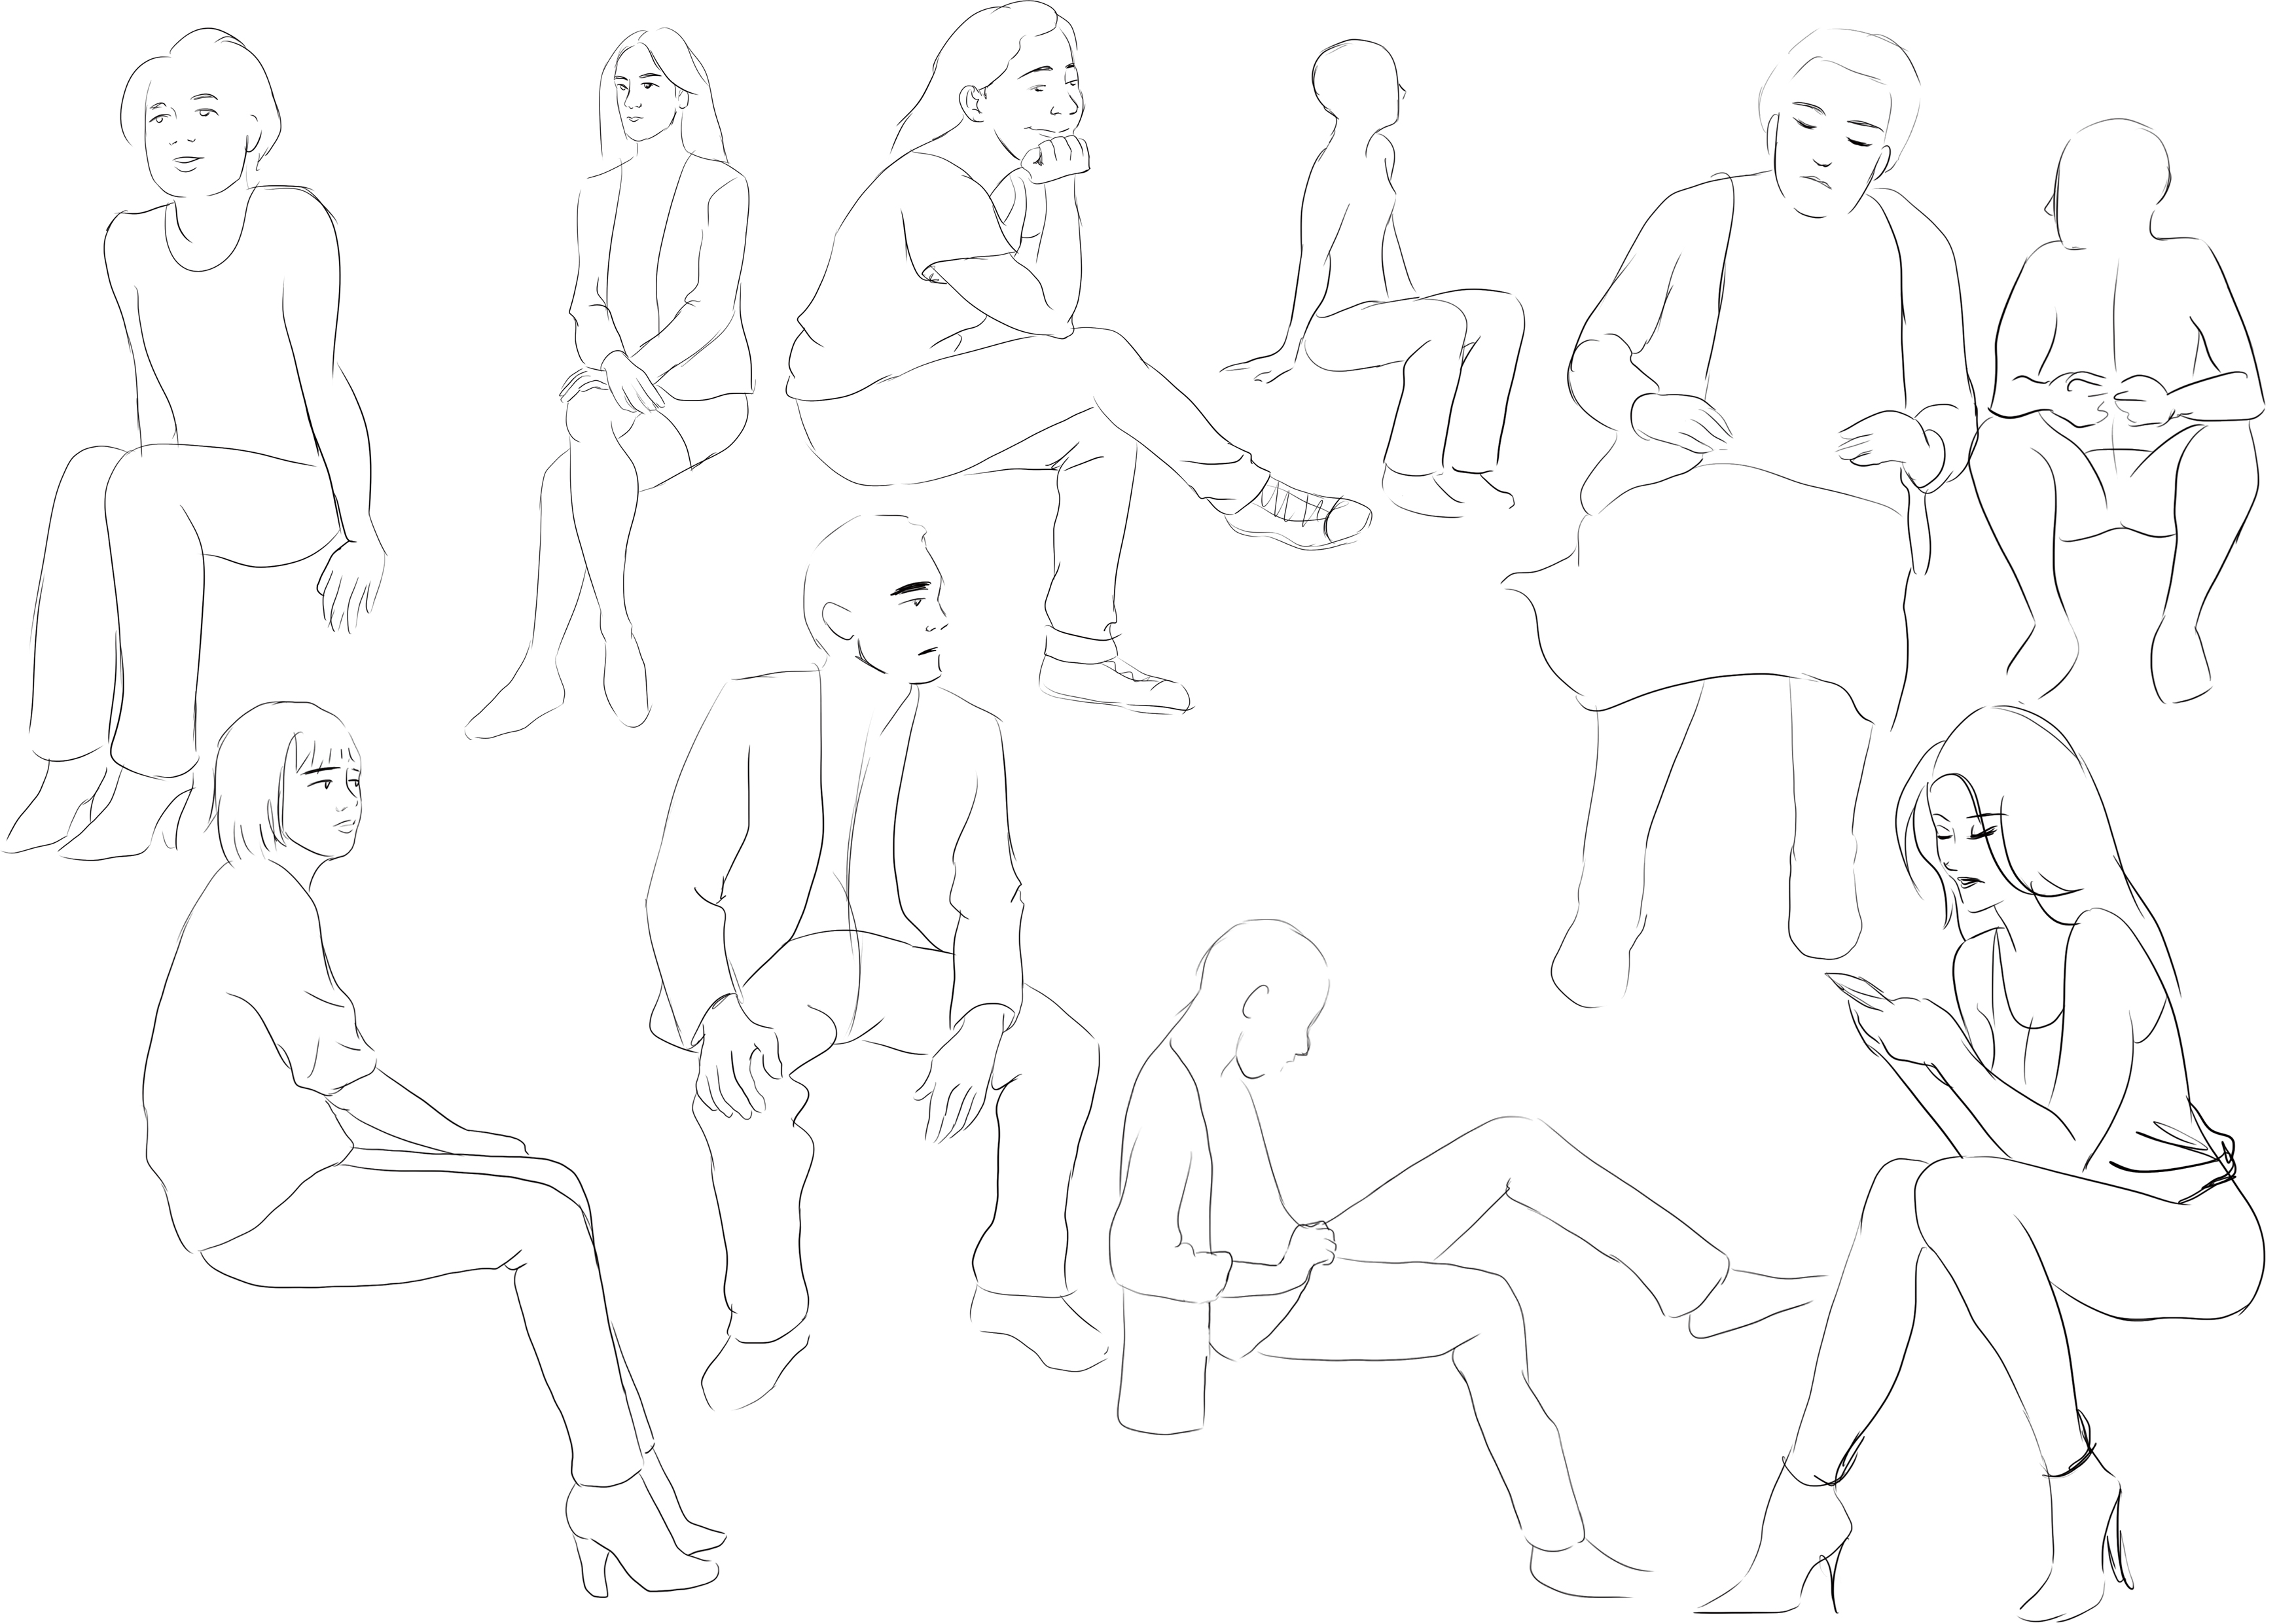
For the body type moodboard, I made one for both a woman and a man (this way you will have some references if you choose to do a man).
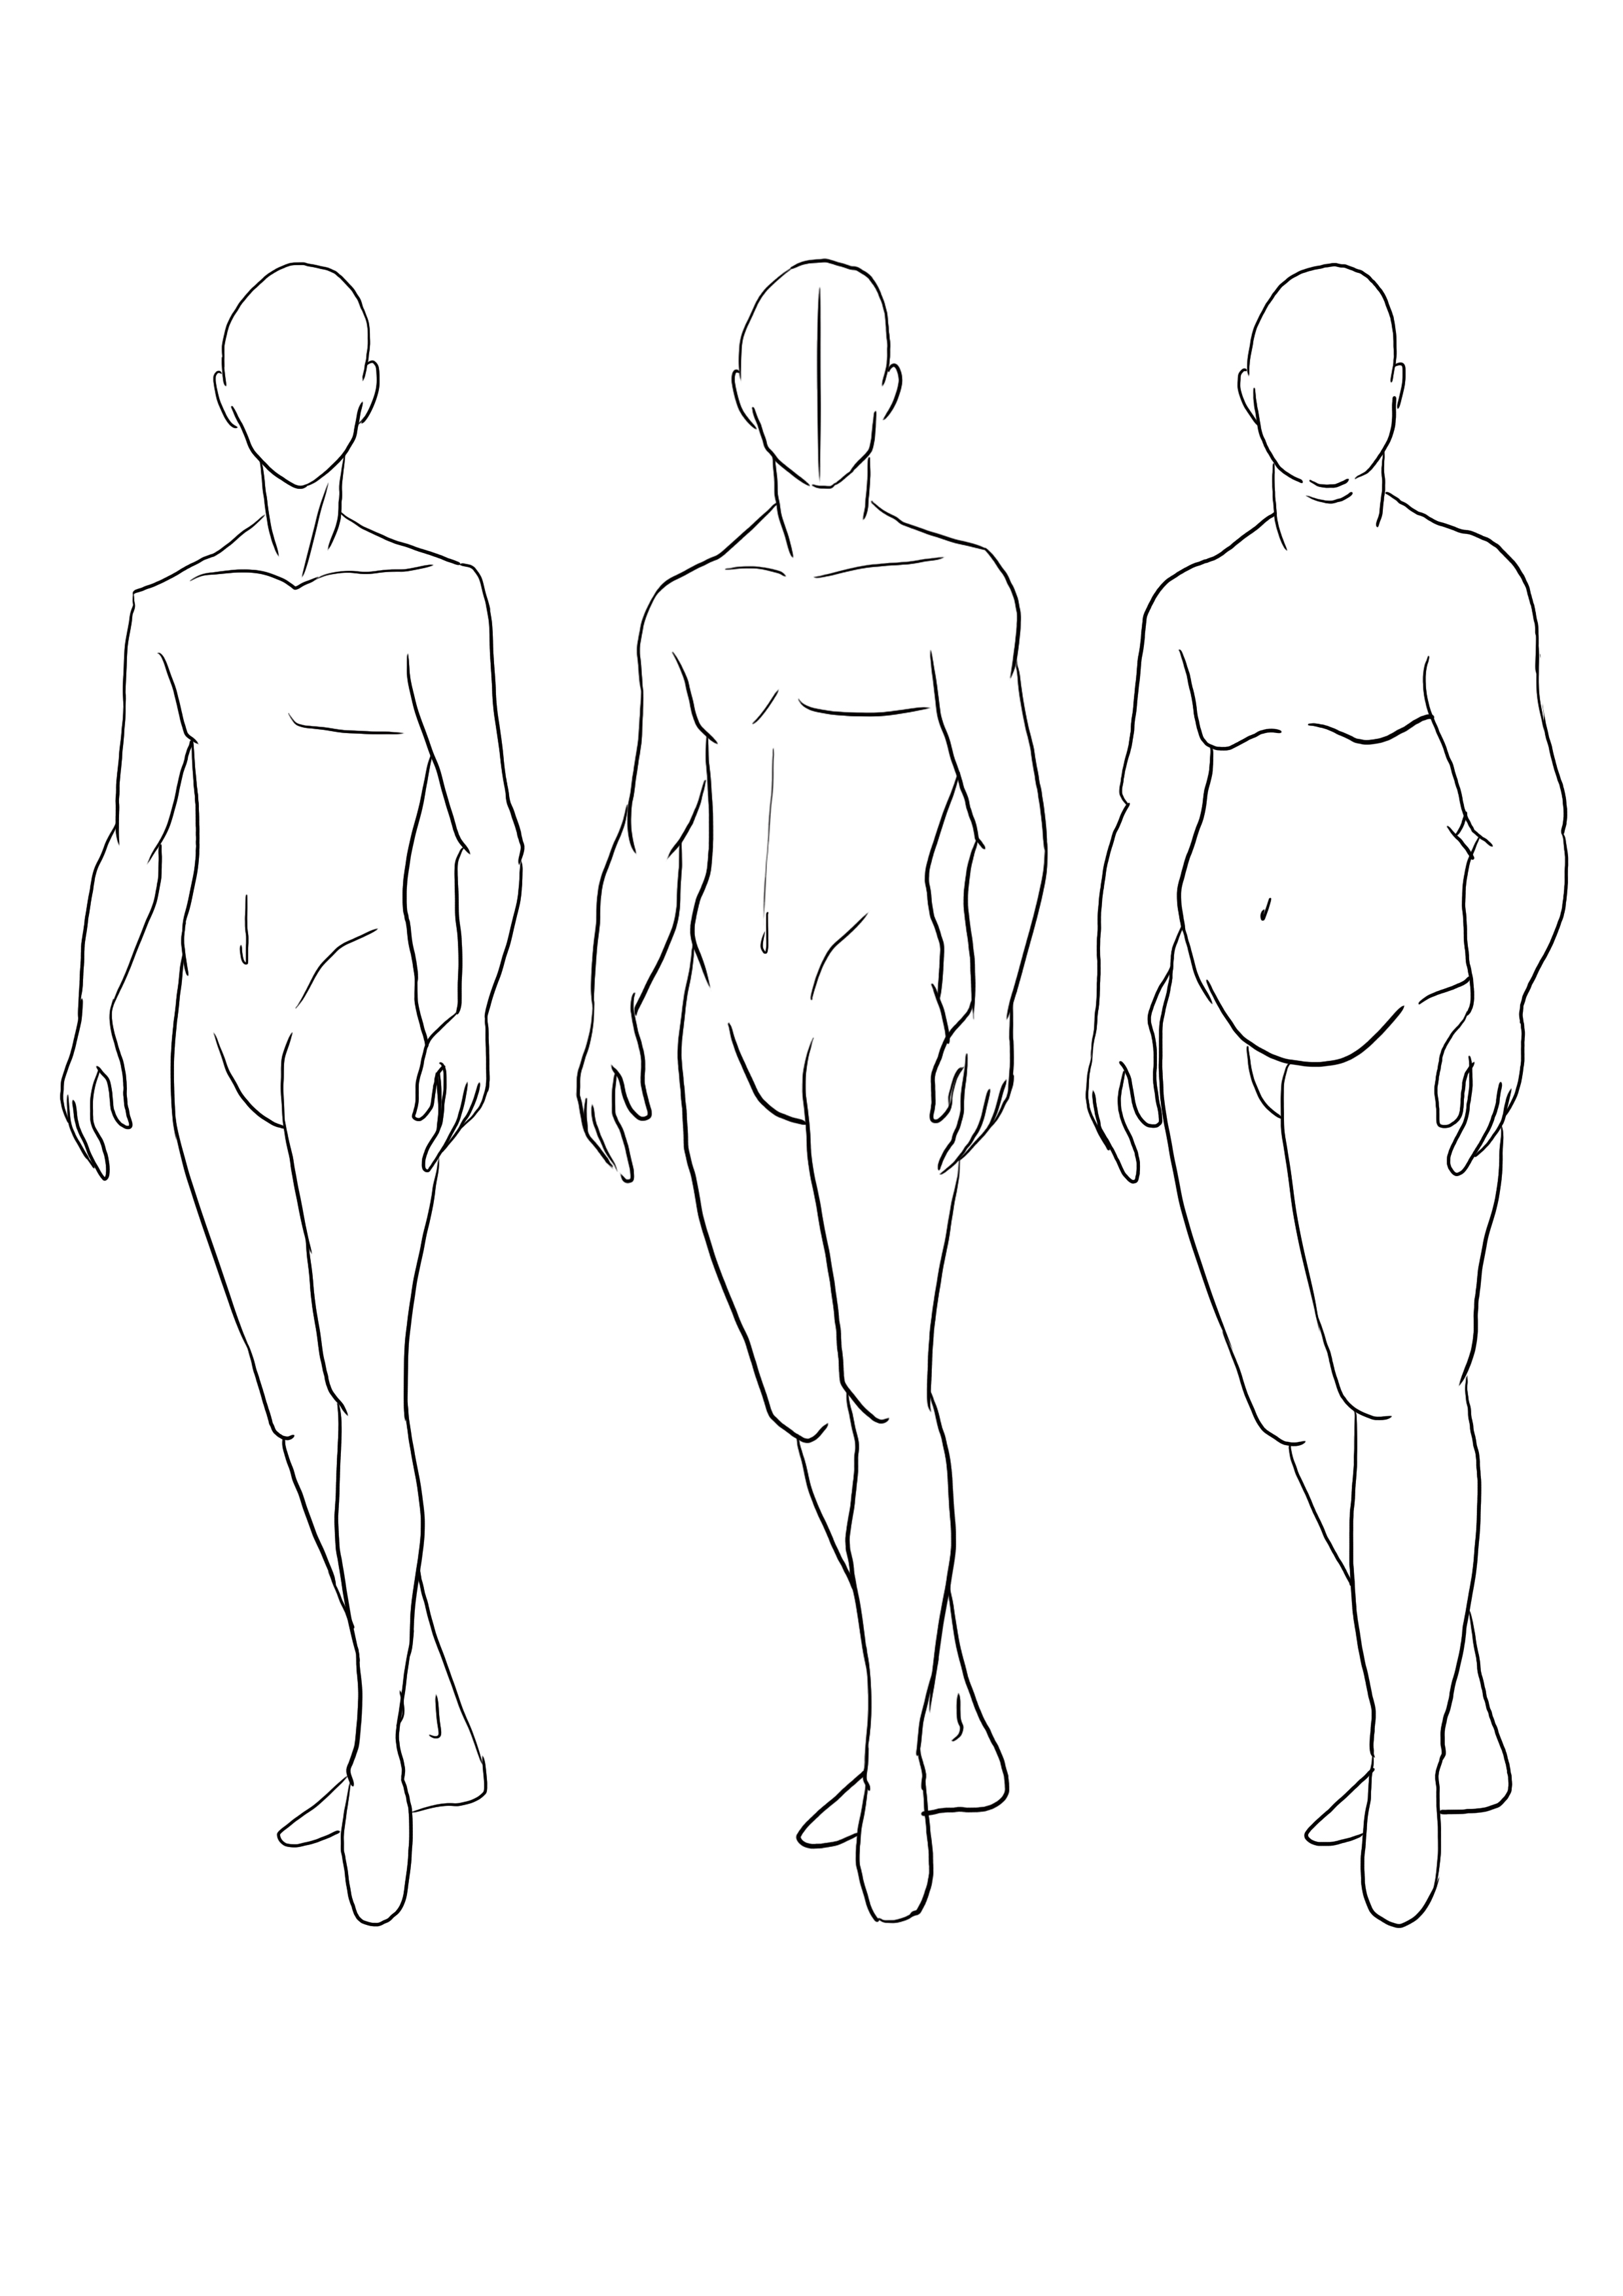
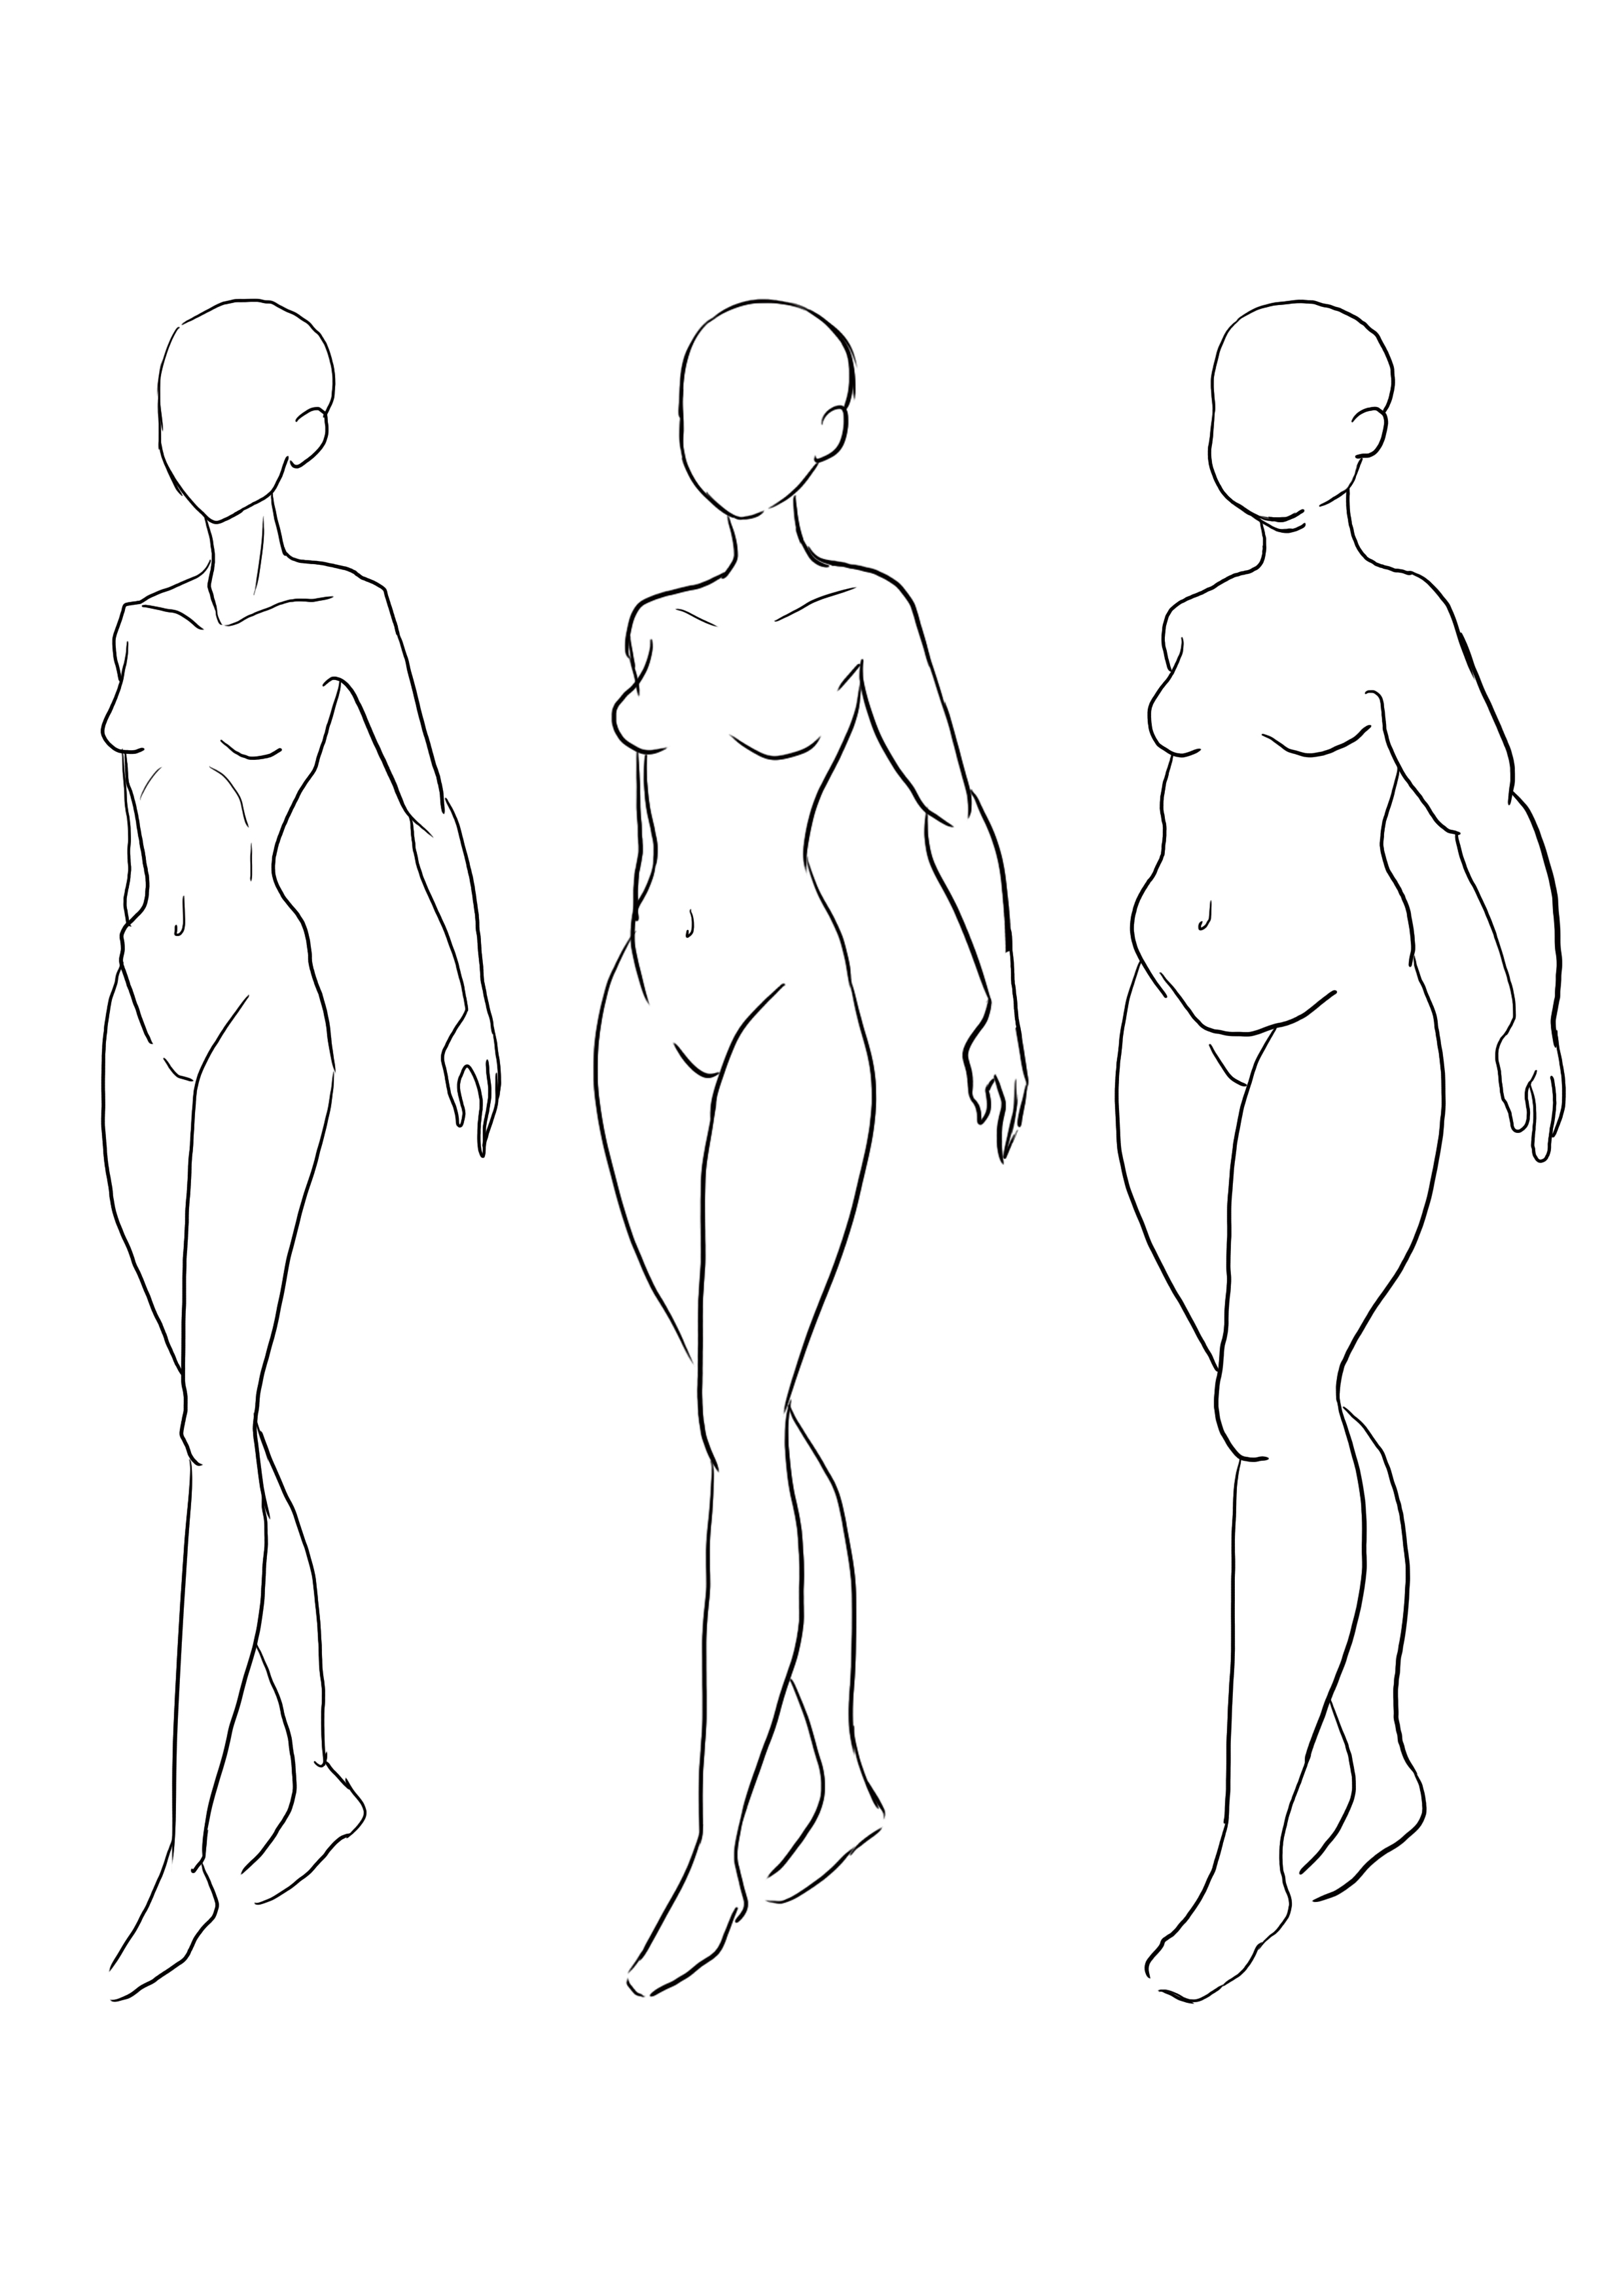
It's up to you to choose the build of the character you want to create.
In Character Design, there is a "rule" that is often applied: the personality is the opposite of the physical appearance.
This rule is primarily applied in cartoons, but it is found in the majority of productions, which helps to give a strong identity to the character.
E.g.: in Monsters Inc., Bob is very small and skinny and has a nervous and assertive character.
On the contrary, Sully is tall and burly, but calm and thoughtful.
To create a character, you have the choice: either you fully embrace the cliché, or you do the complete opposite, but whatever you do, you need to go to extremes to avoid having a flat and lifeless character.
For example, my character has a pleasant and groomed appearance, but she has a strong personality and loves car mechanics.
Physically fragile ----> strong character = Opposites
DRAWING THE EYES, NOSE AND MOUTH
Here are the moodboards I made for the eyes, nose, and mouth:
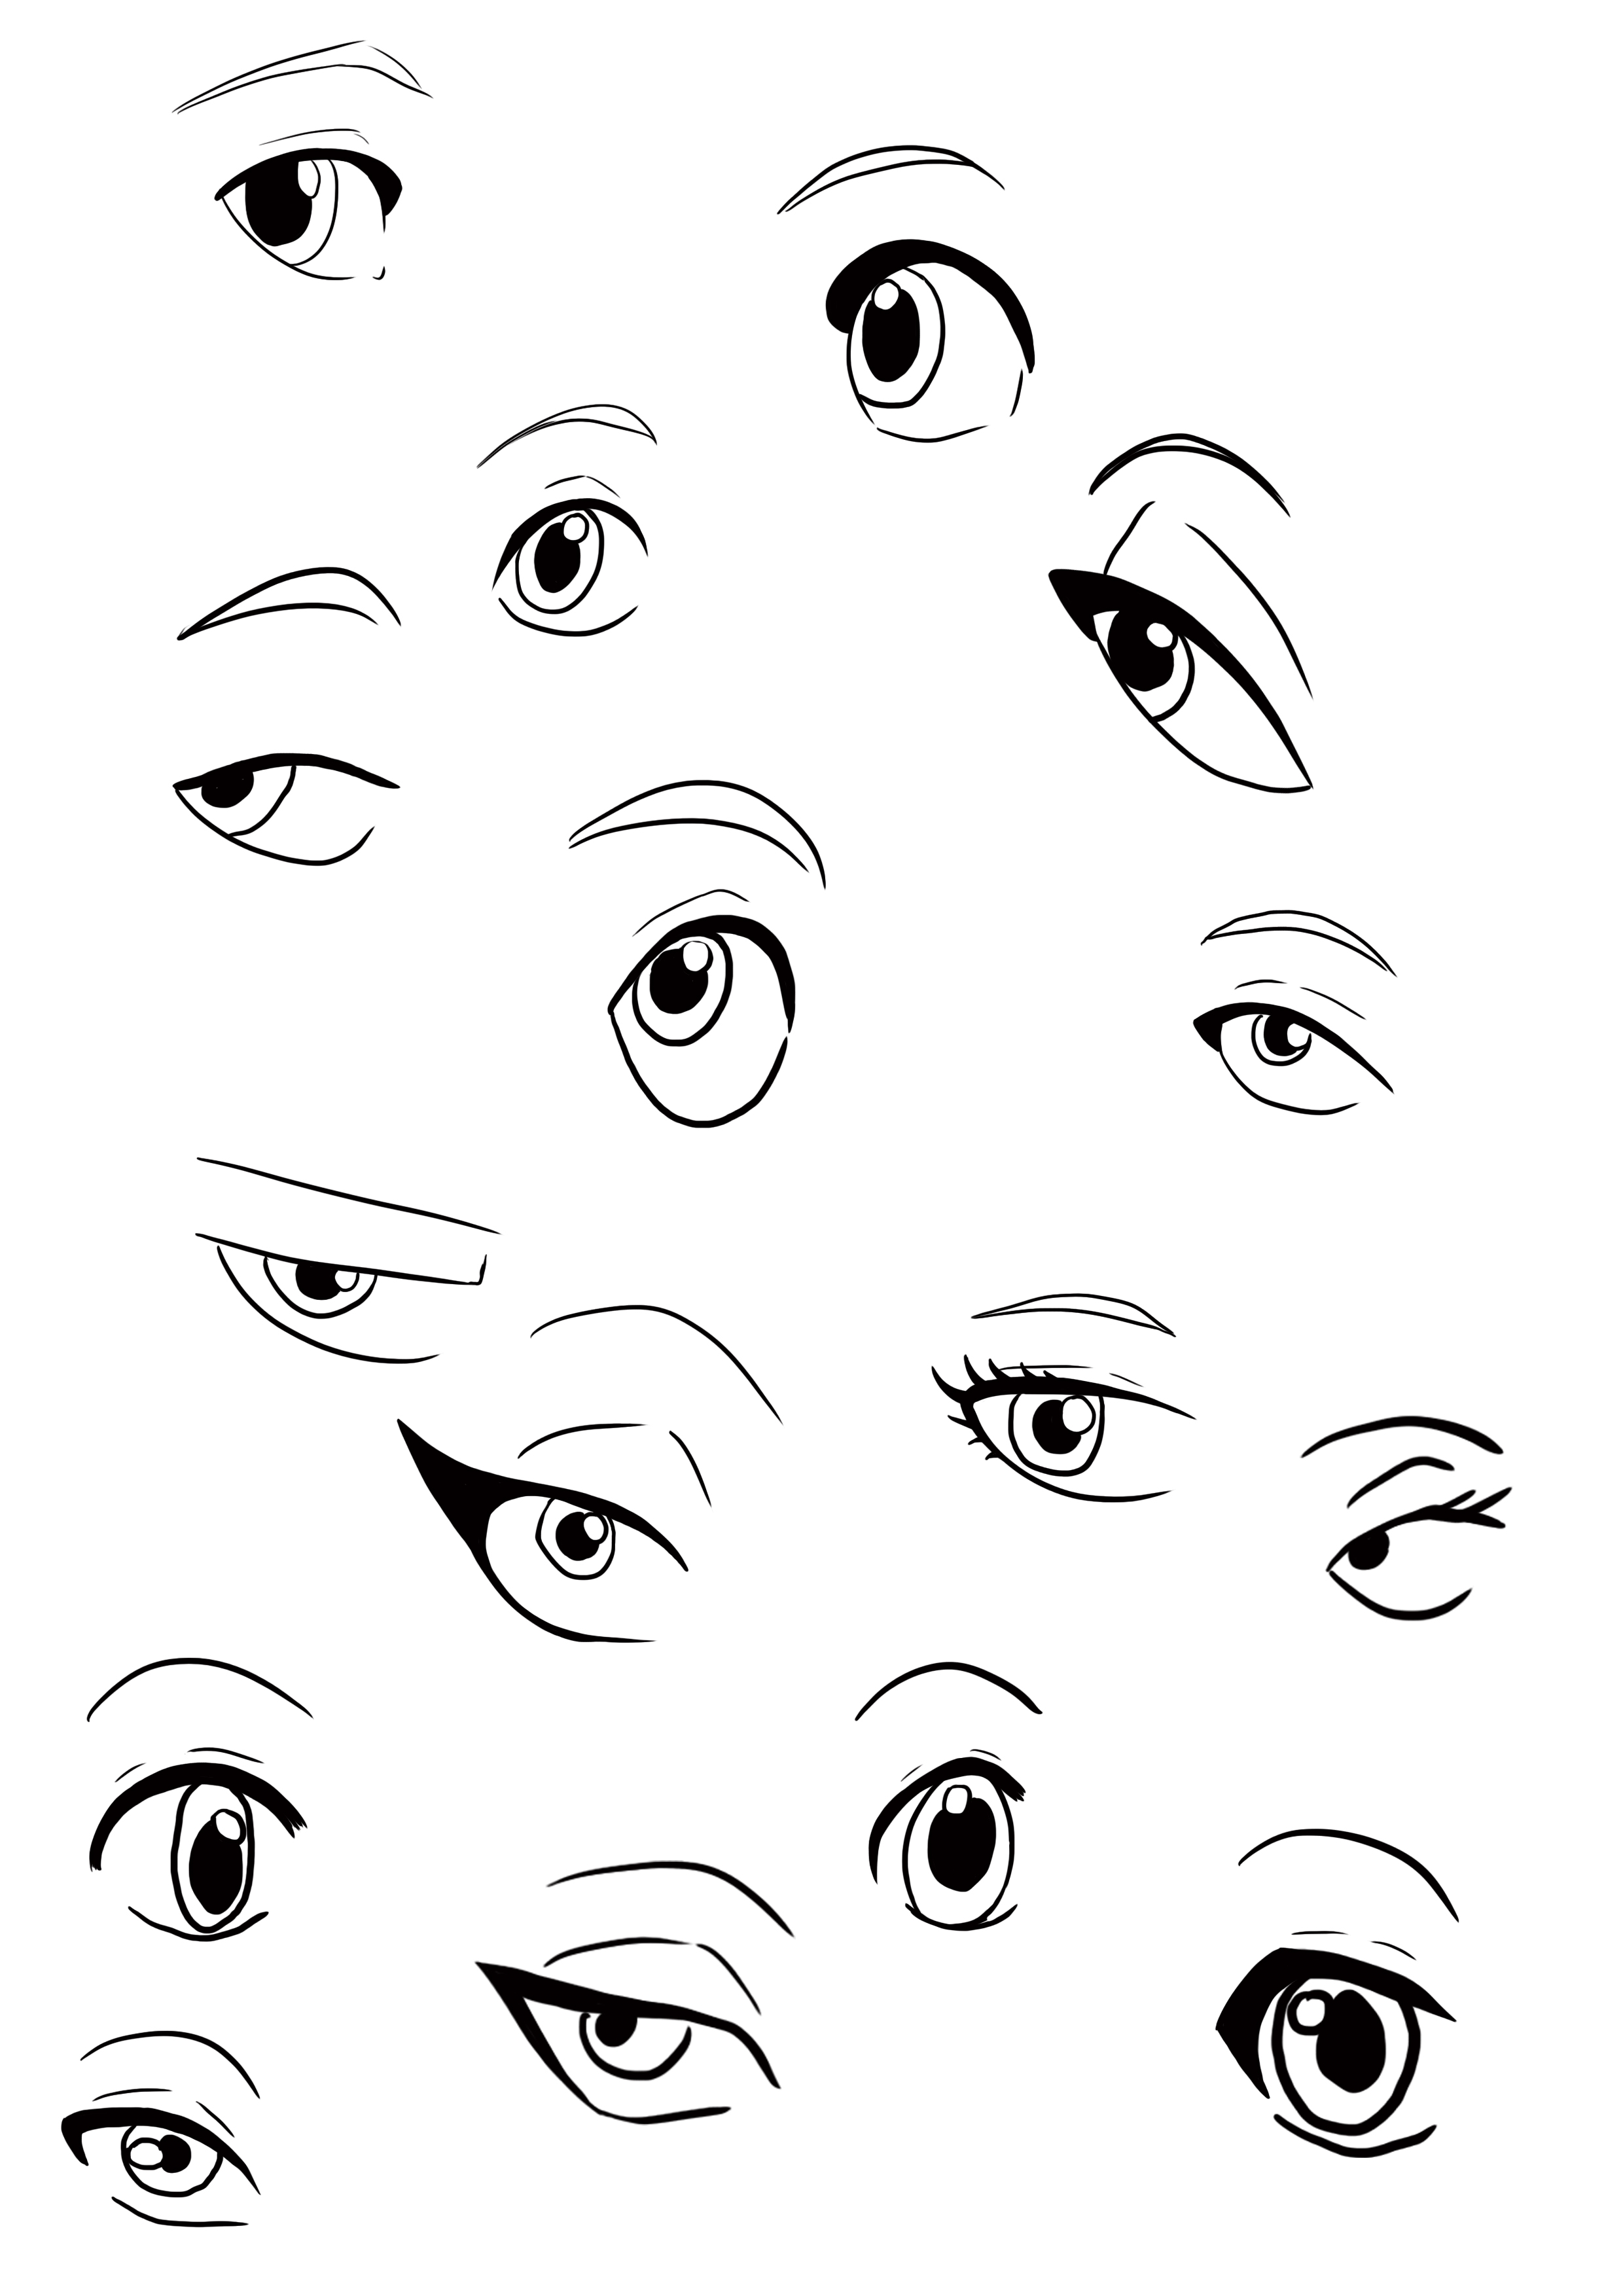
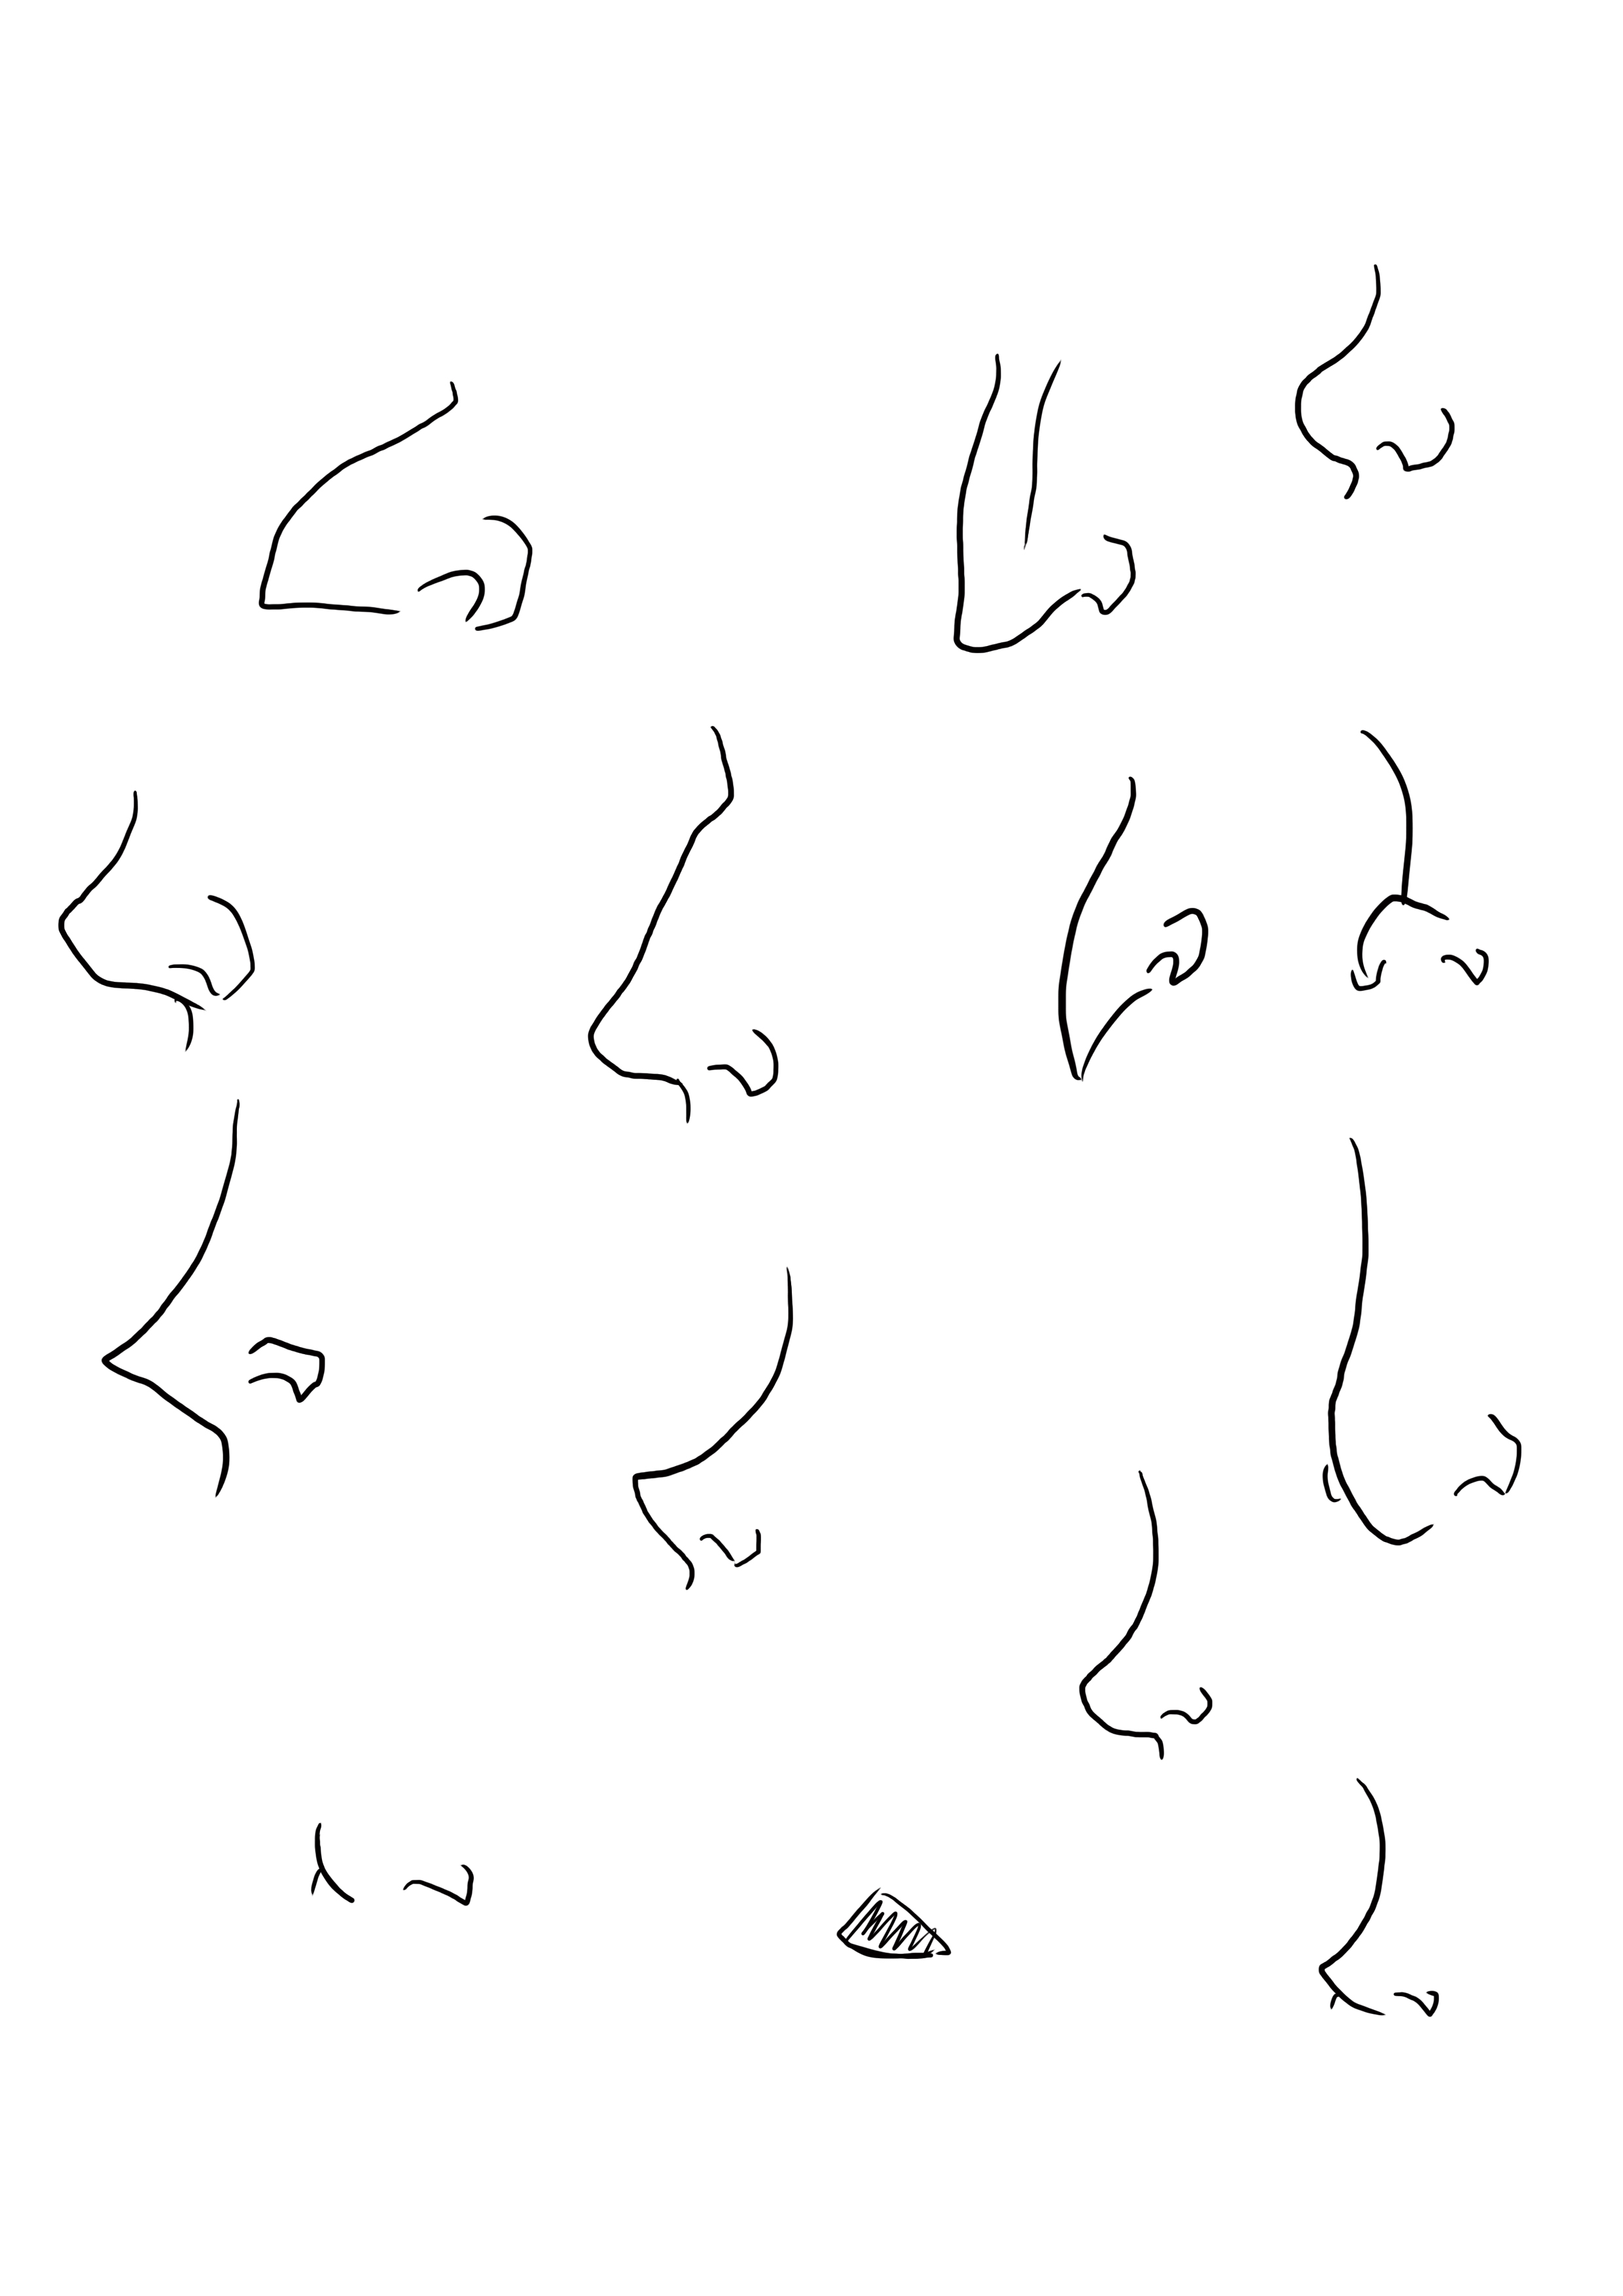
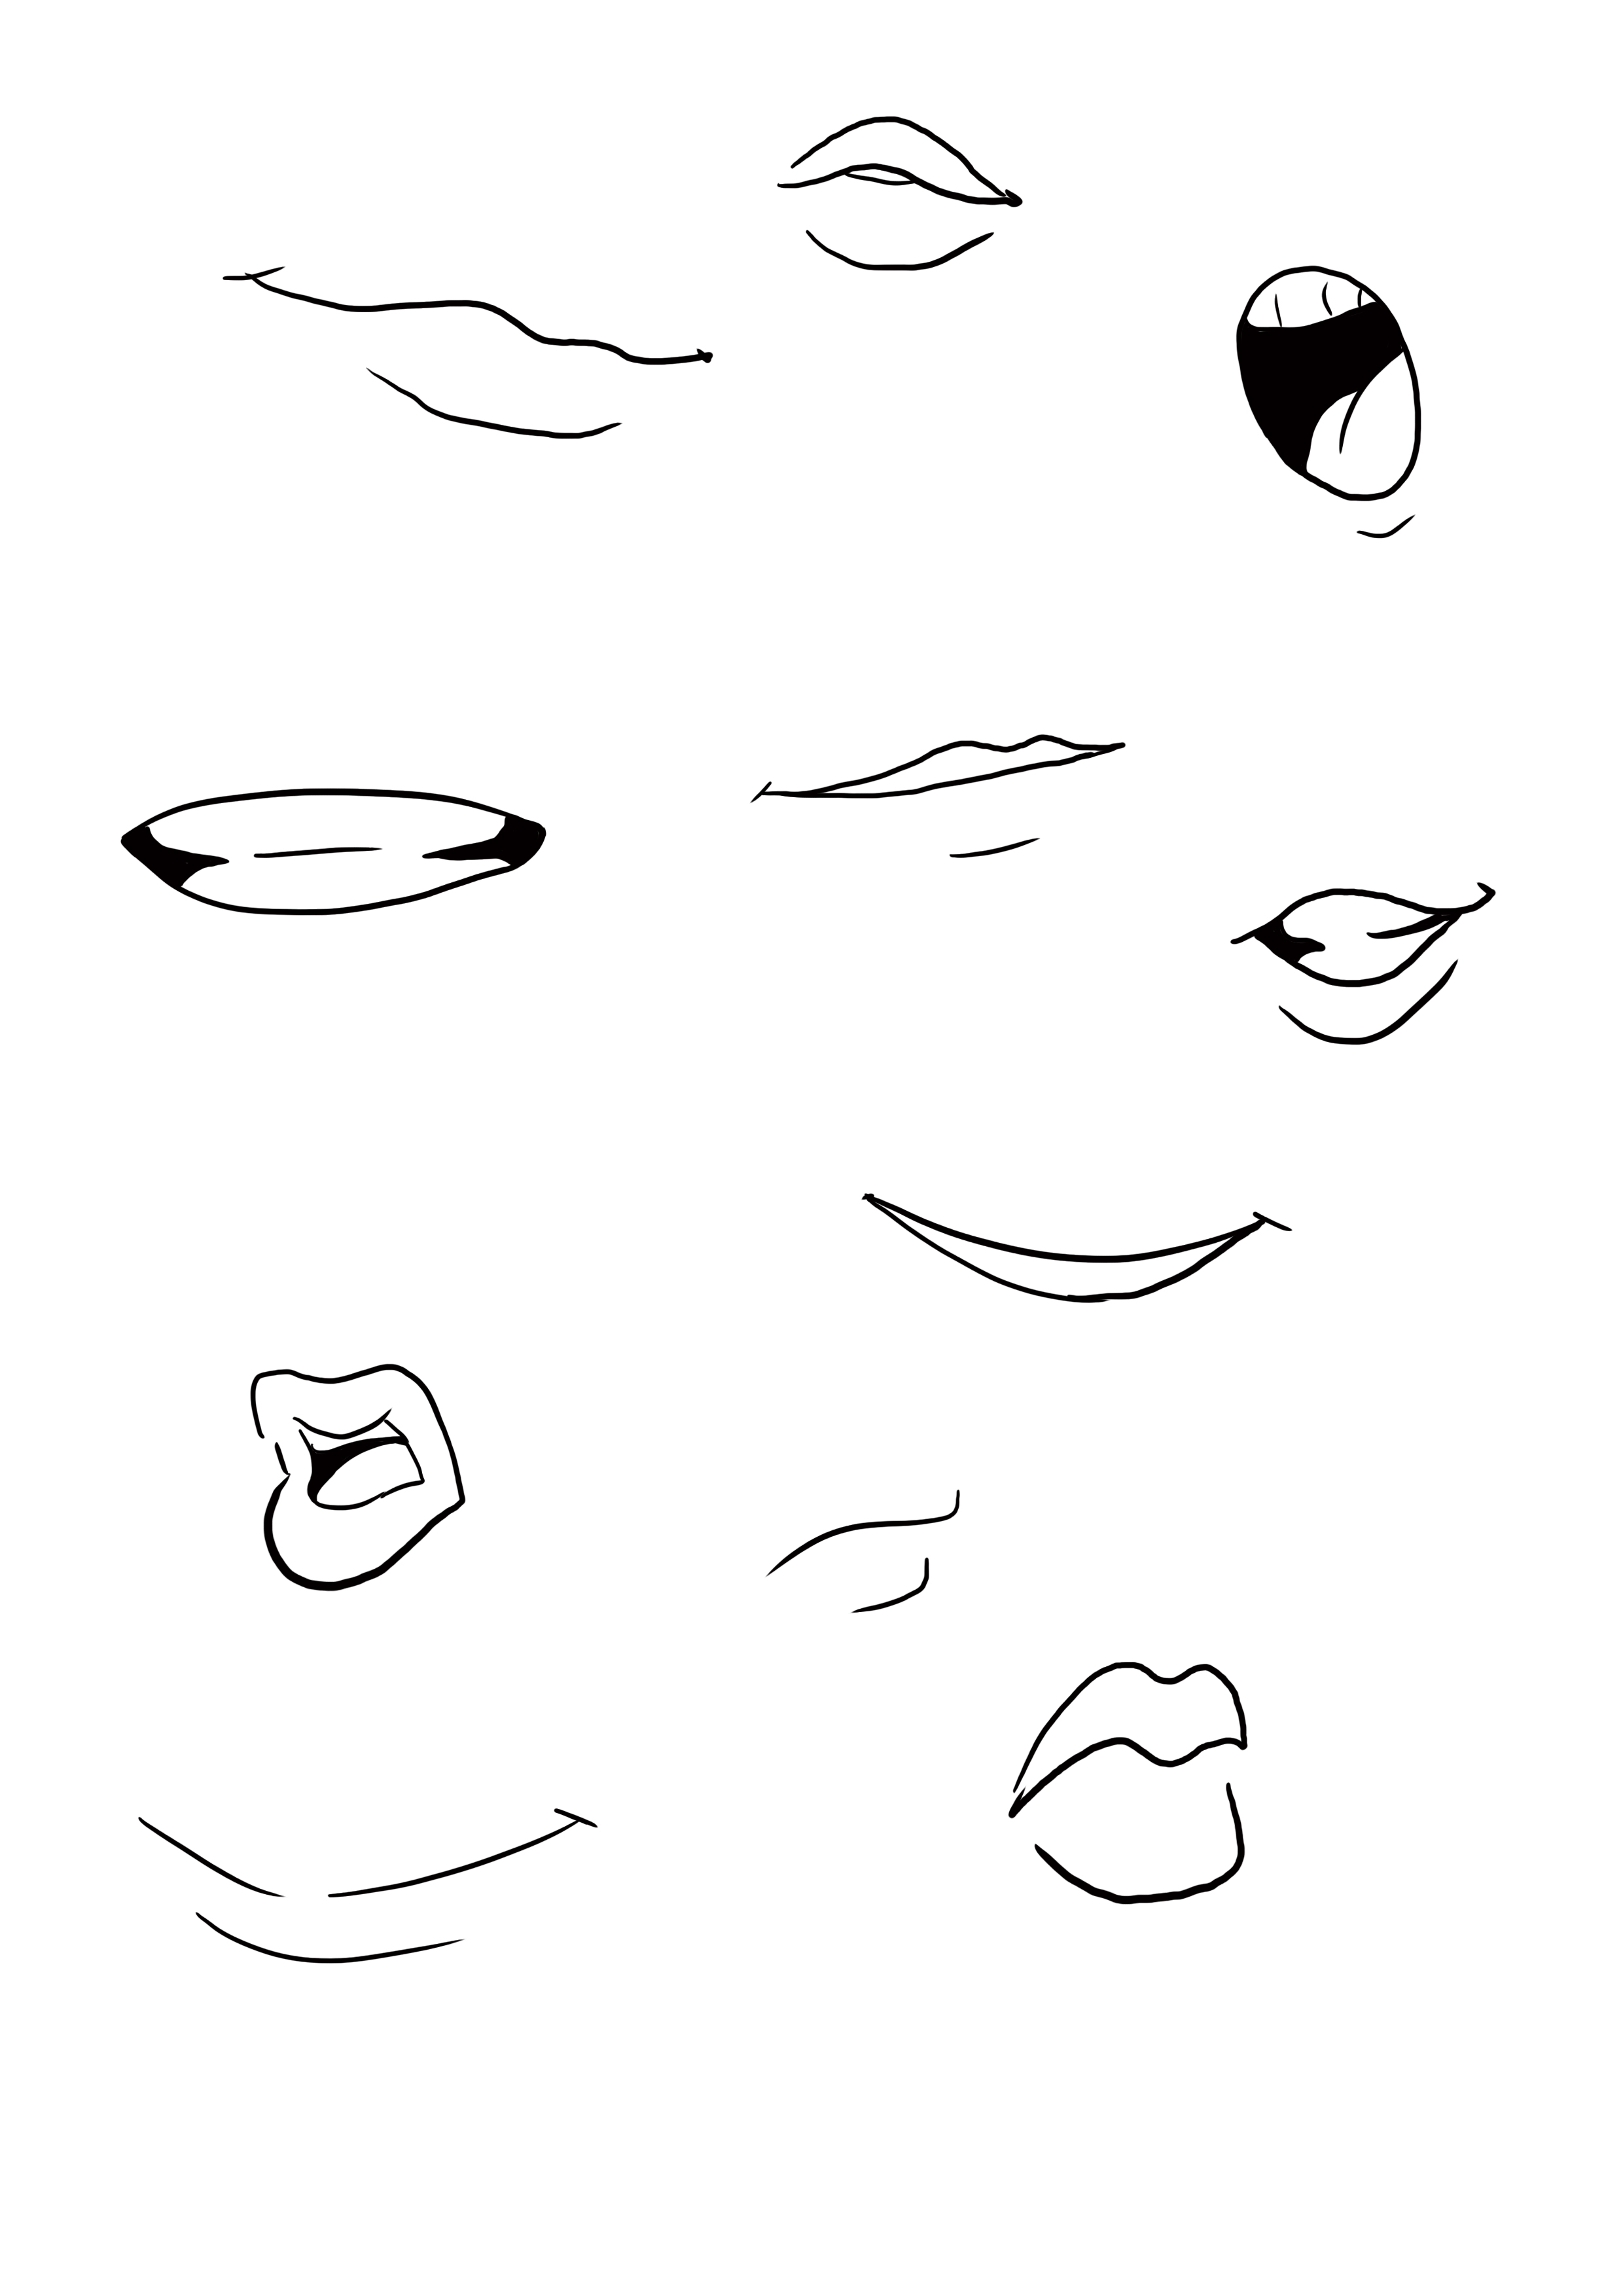
You must carefully choose these elements, as they are the ones that will give all the expression to your character.
Small eyes with a pointy nose and a thin mouth will not have the same effect as big eyes, a small round nose, and a large mouth.
So choose carefully and, if necessary, do several tests, but don't forget that an expression makes all the difference in a character!
HAIR
For the last two moodboards (hair and clothing), I took images from the internet to have references for things that actually exist.
The eyes, noses, and mouths being cartoonized, I redrew elements that I saw in various animated films to serve as references.
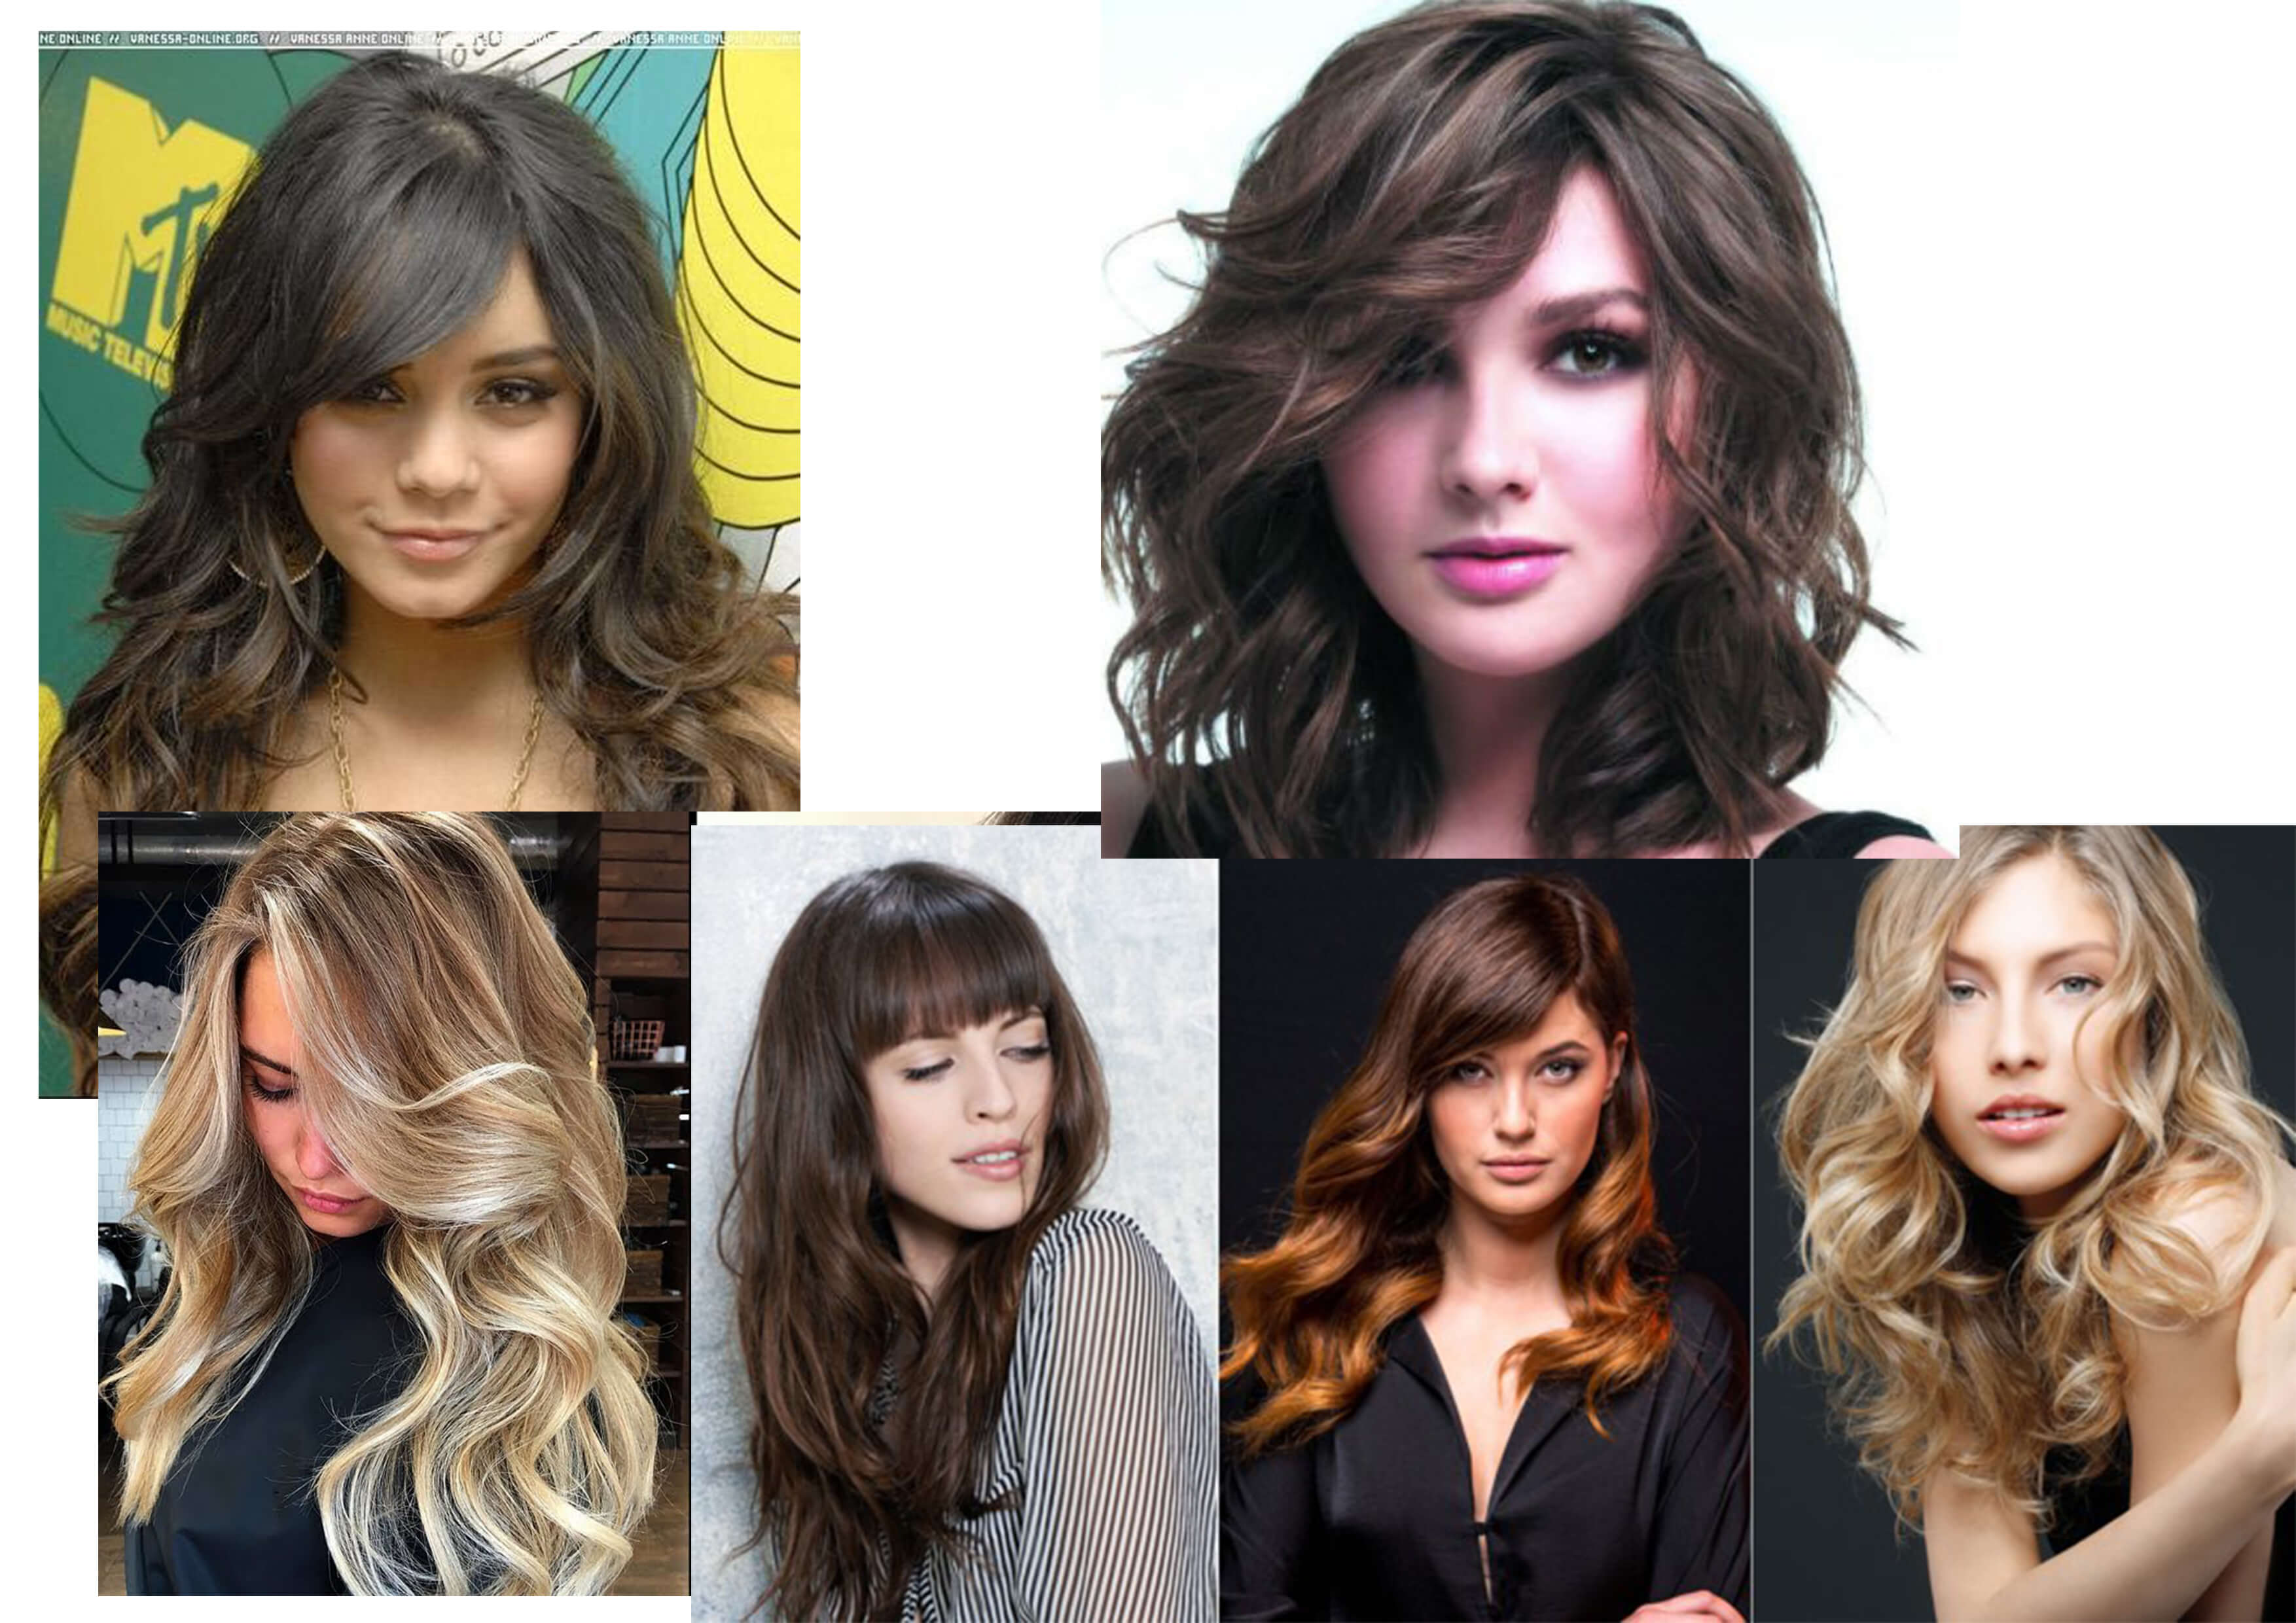
I knew in advance that I wanted to create a character with wavy hair and bangs, so I collected images that matched my ideas.
THE CHARACTER'S CLOTHING
Finally, the clothing moodboard.
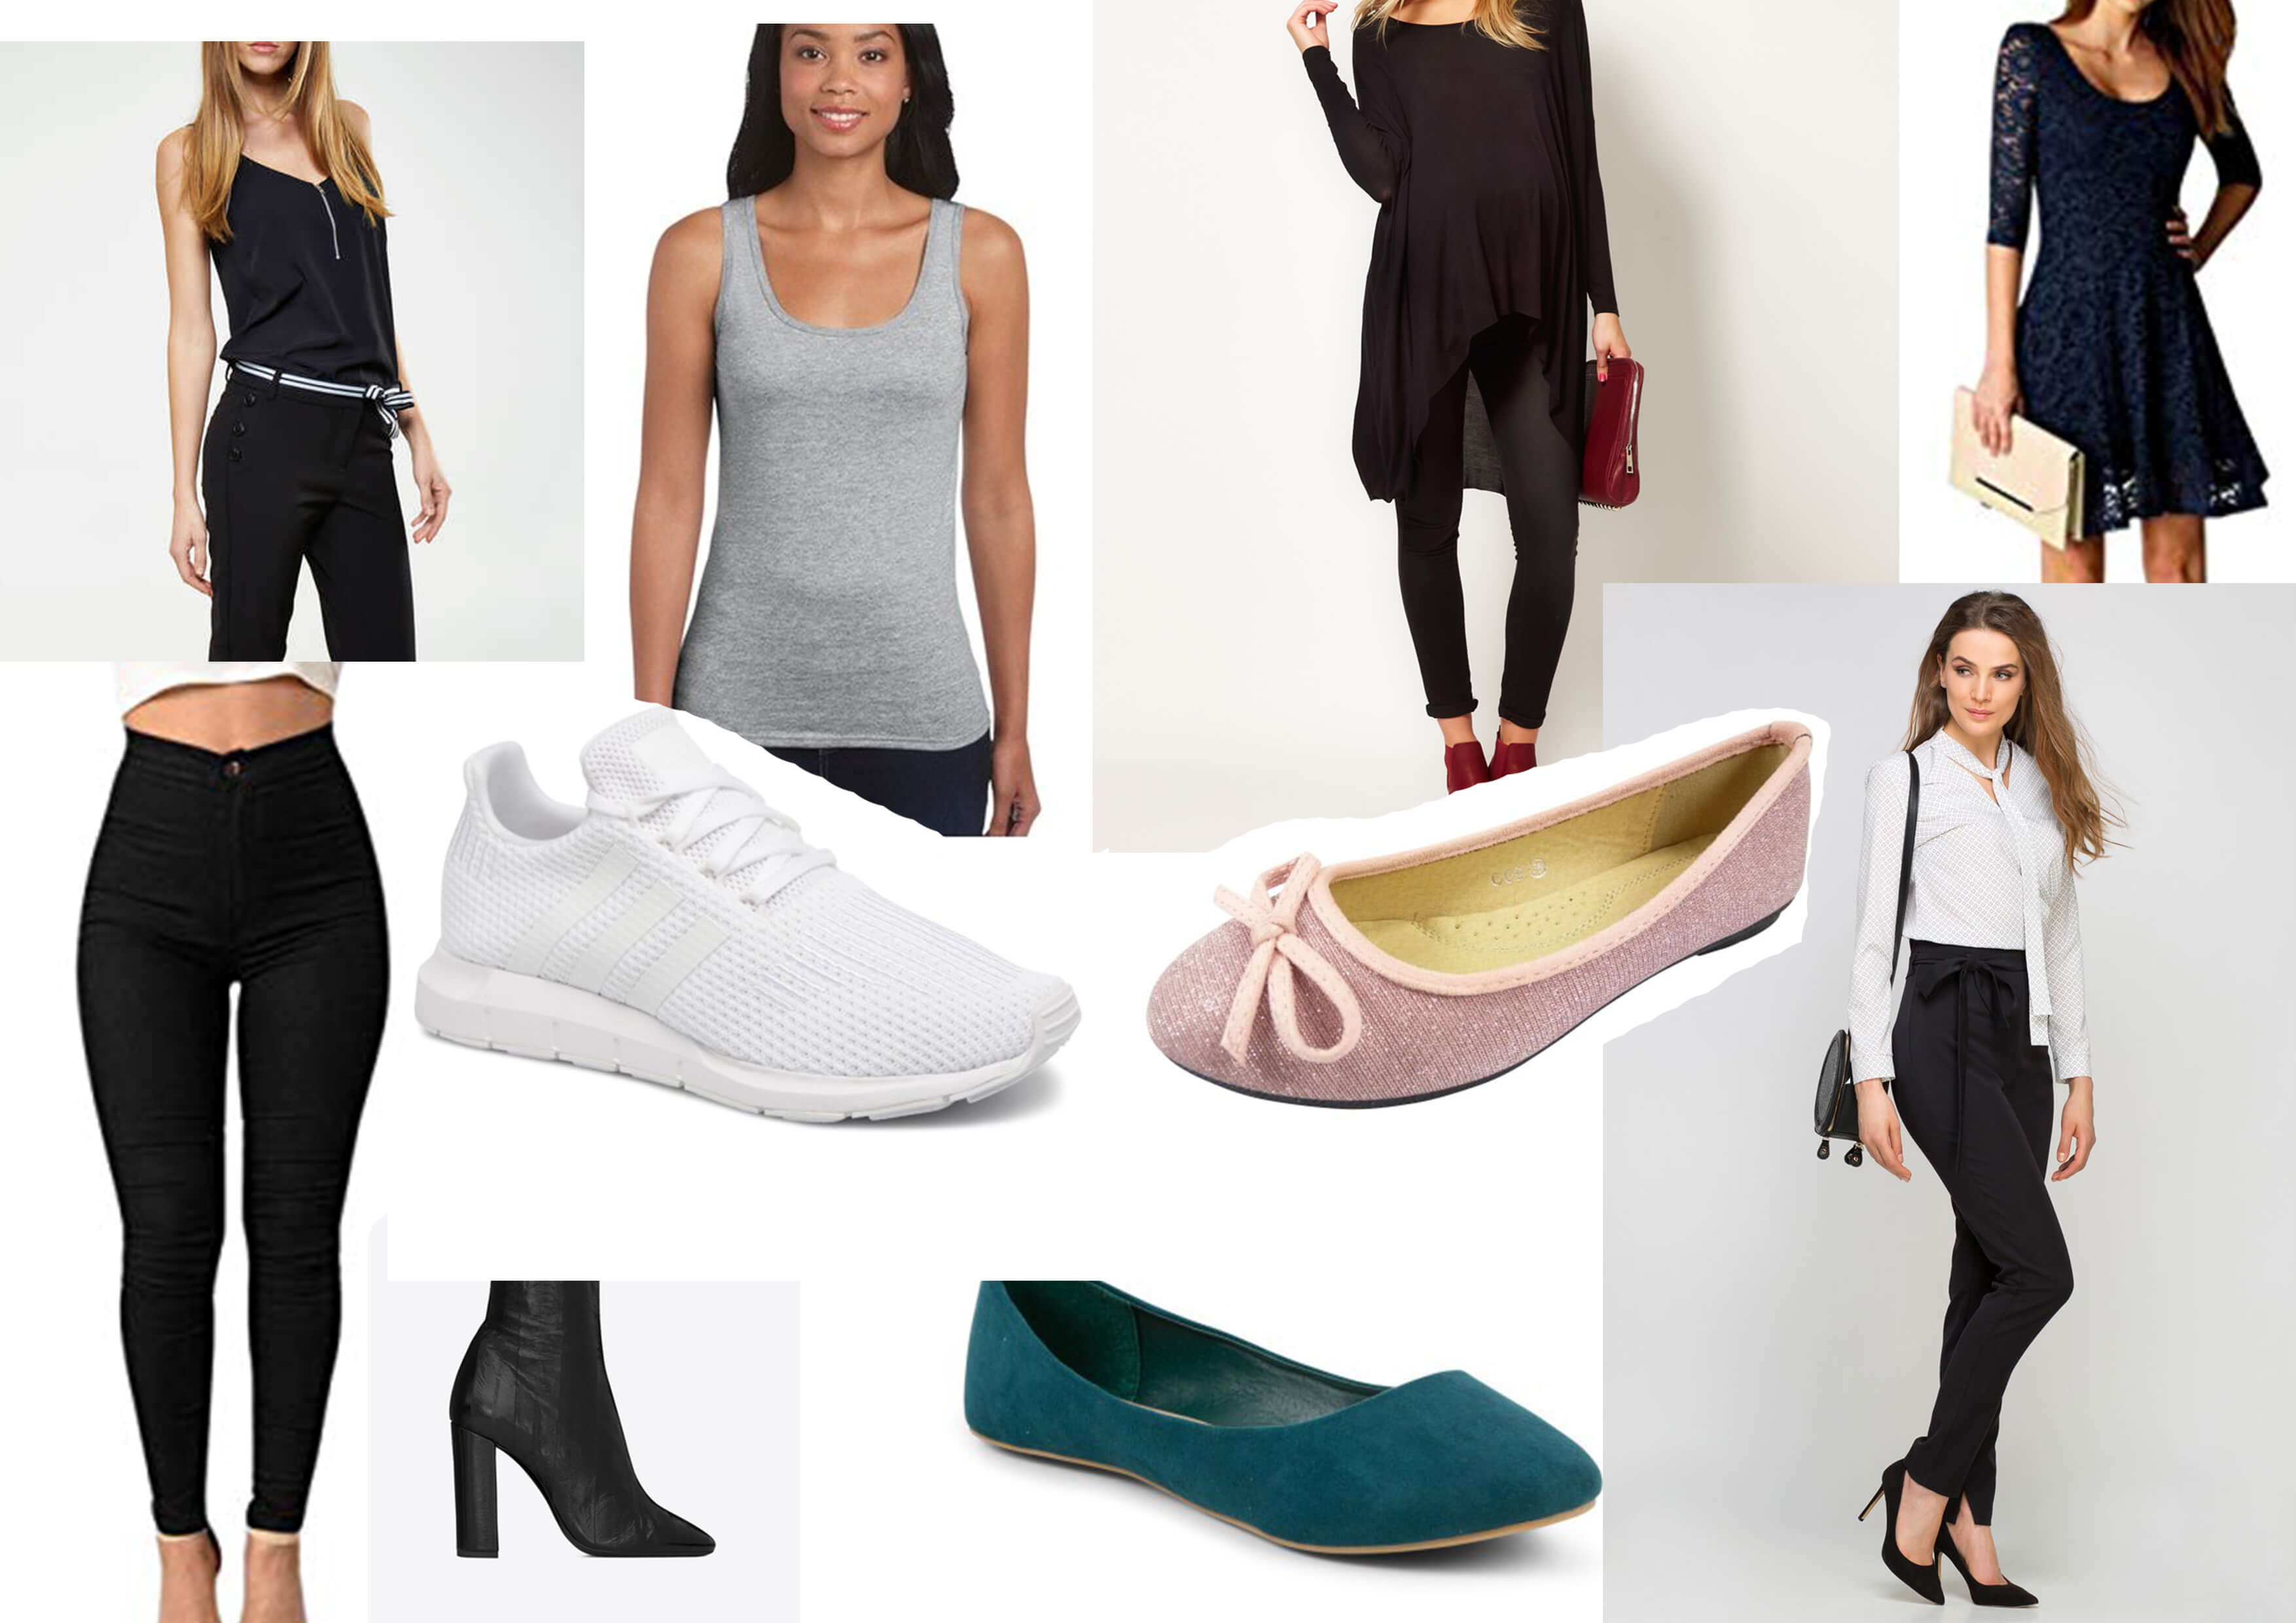
I wanted my character to have a relatively simple style, nothing exuberant or too flashy. She also has a very feminine style to contrast with her personality.
I have therefore selected simple, elegant, and sleek clothing.
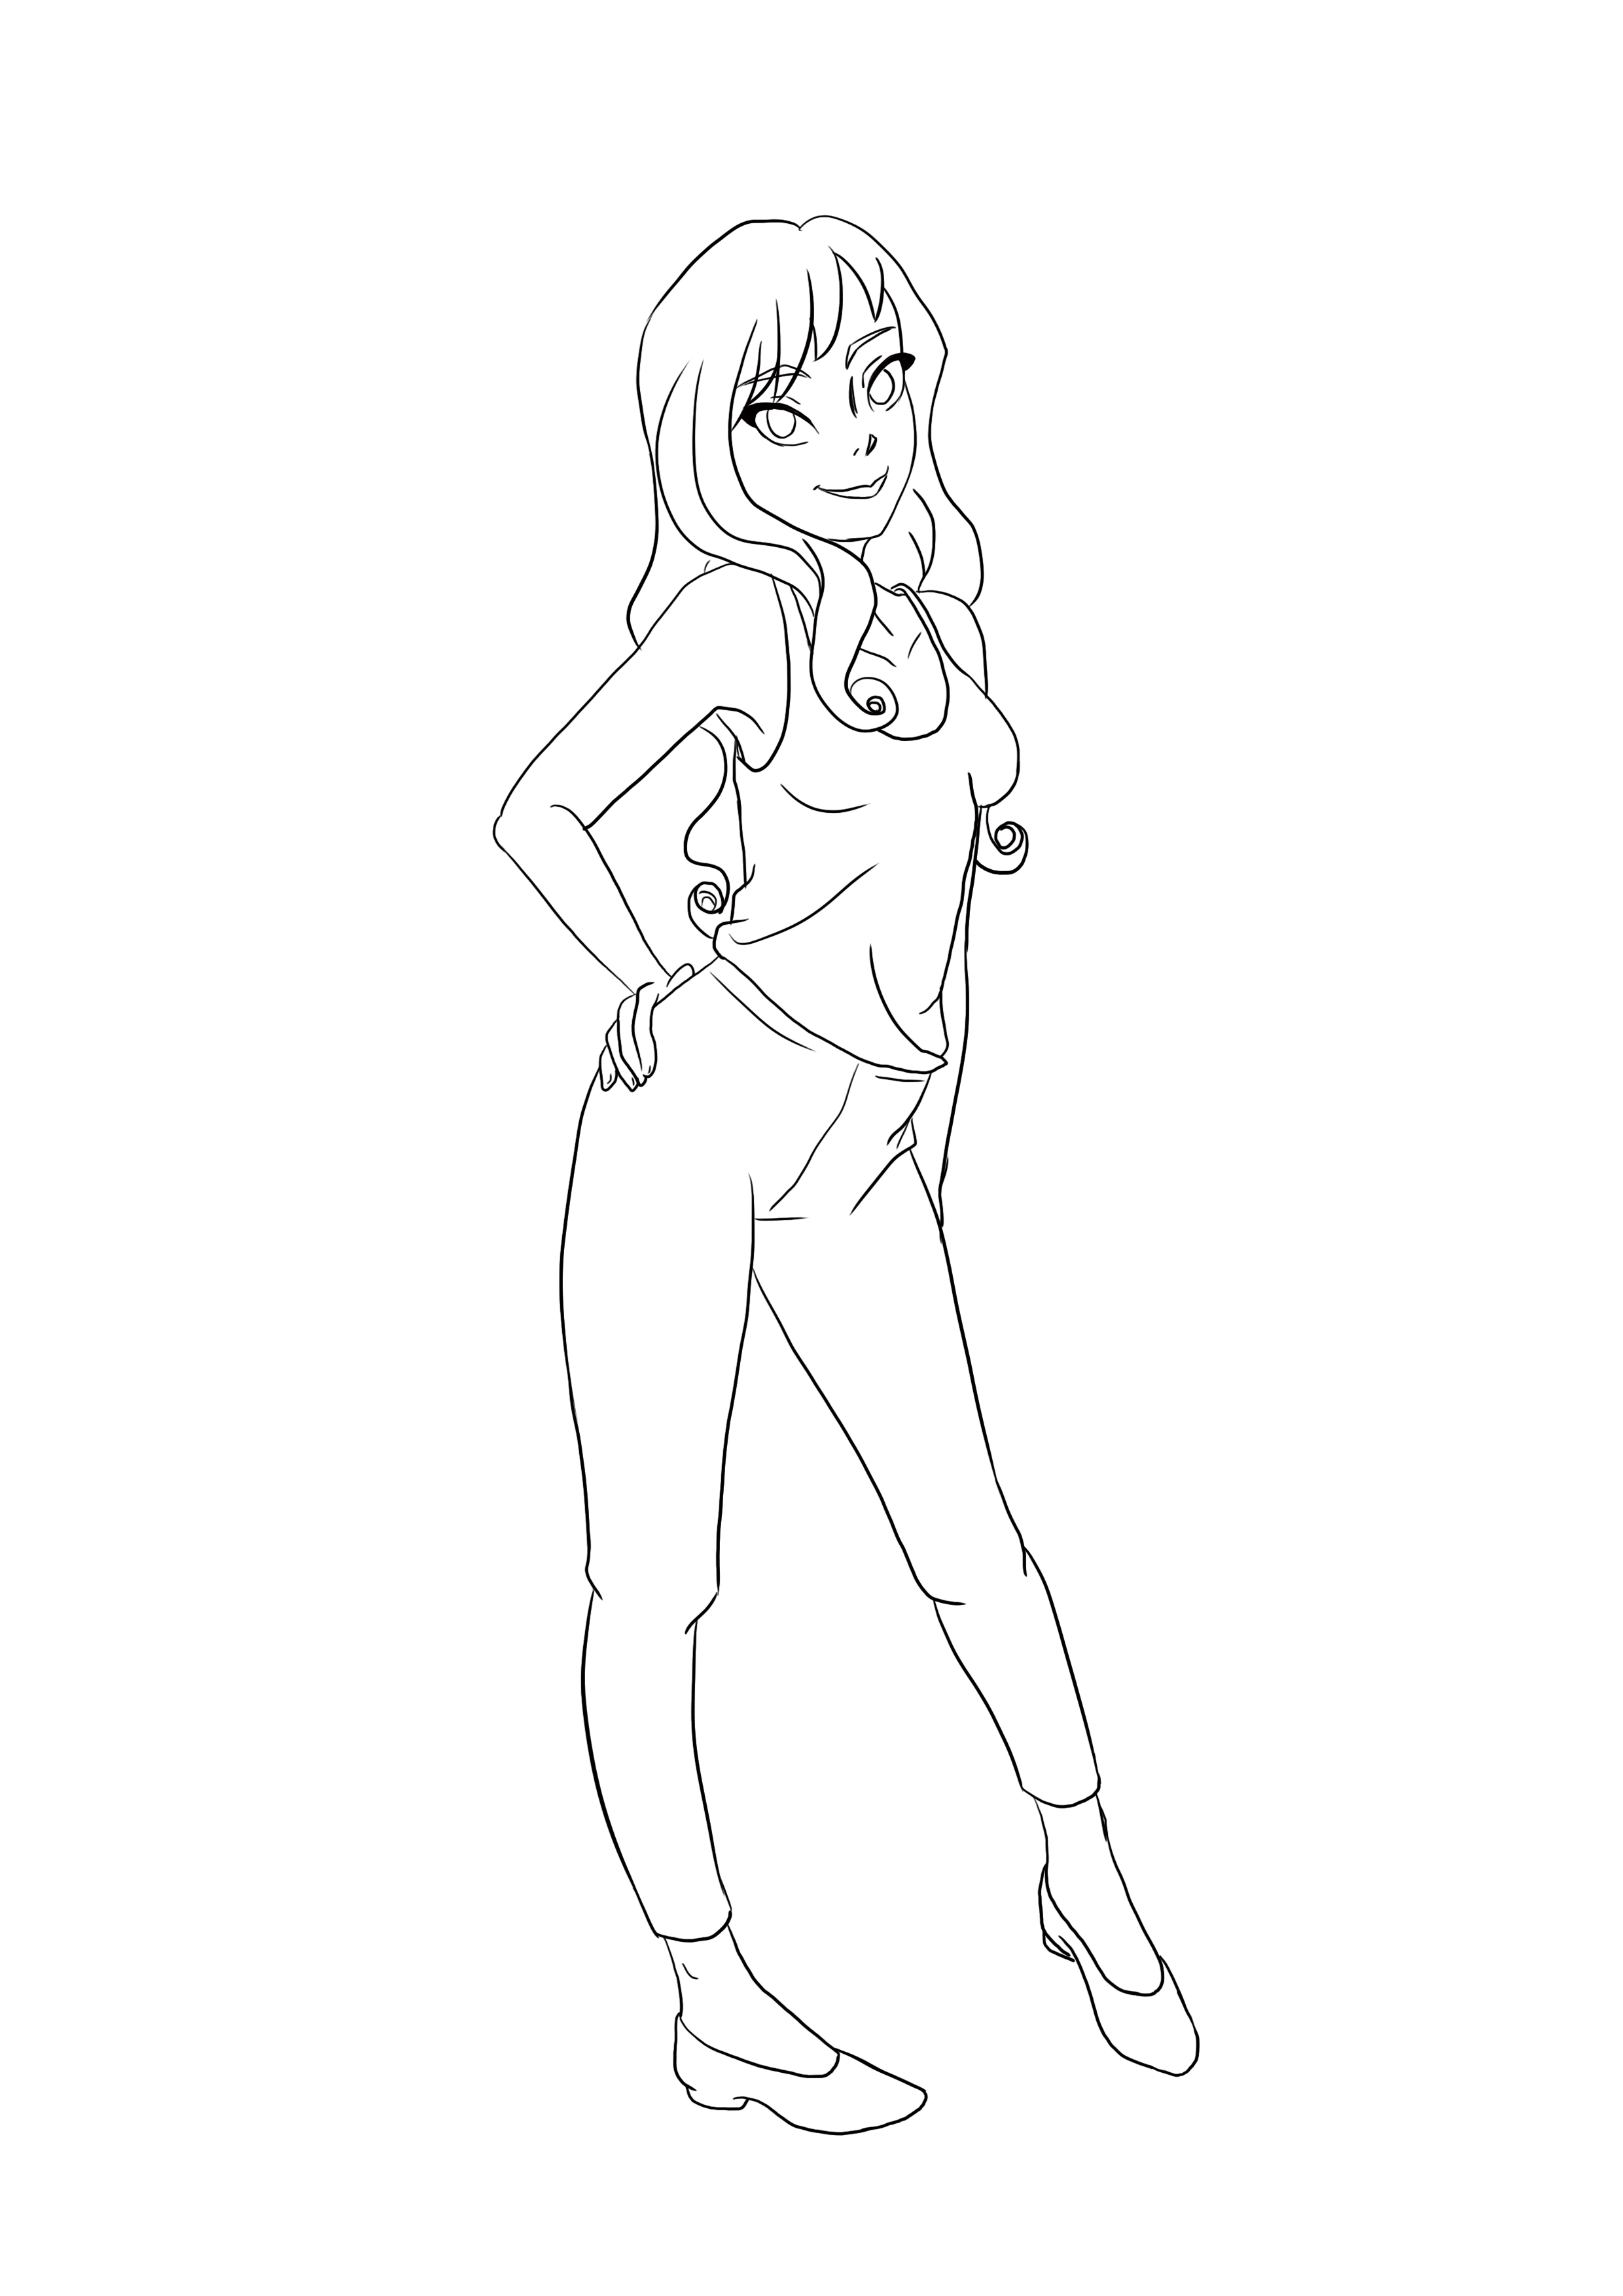
DRAWING A FEMALE CHARACTER STEP BY STEP
We're getting to the part that certainly interests you the most: drawing.
We will finally put all our research and thoughts on paper.
To begin, we will define the character's pose.
Will they have a dynamic, moving pose or a simpler, gentler one?
It depends on the character trait you want to highlight.
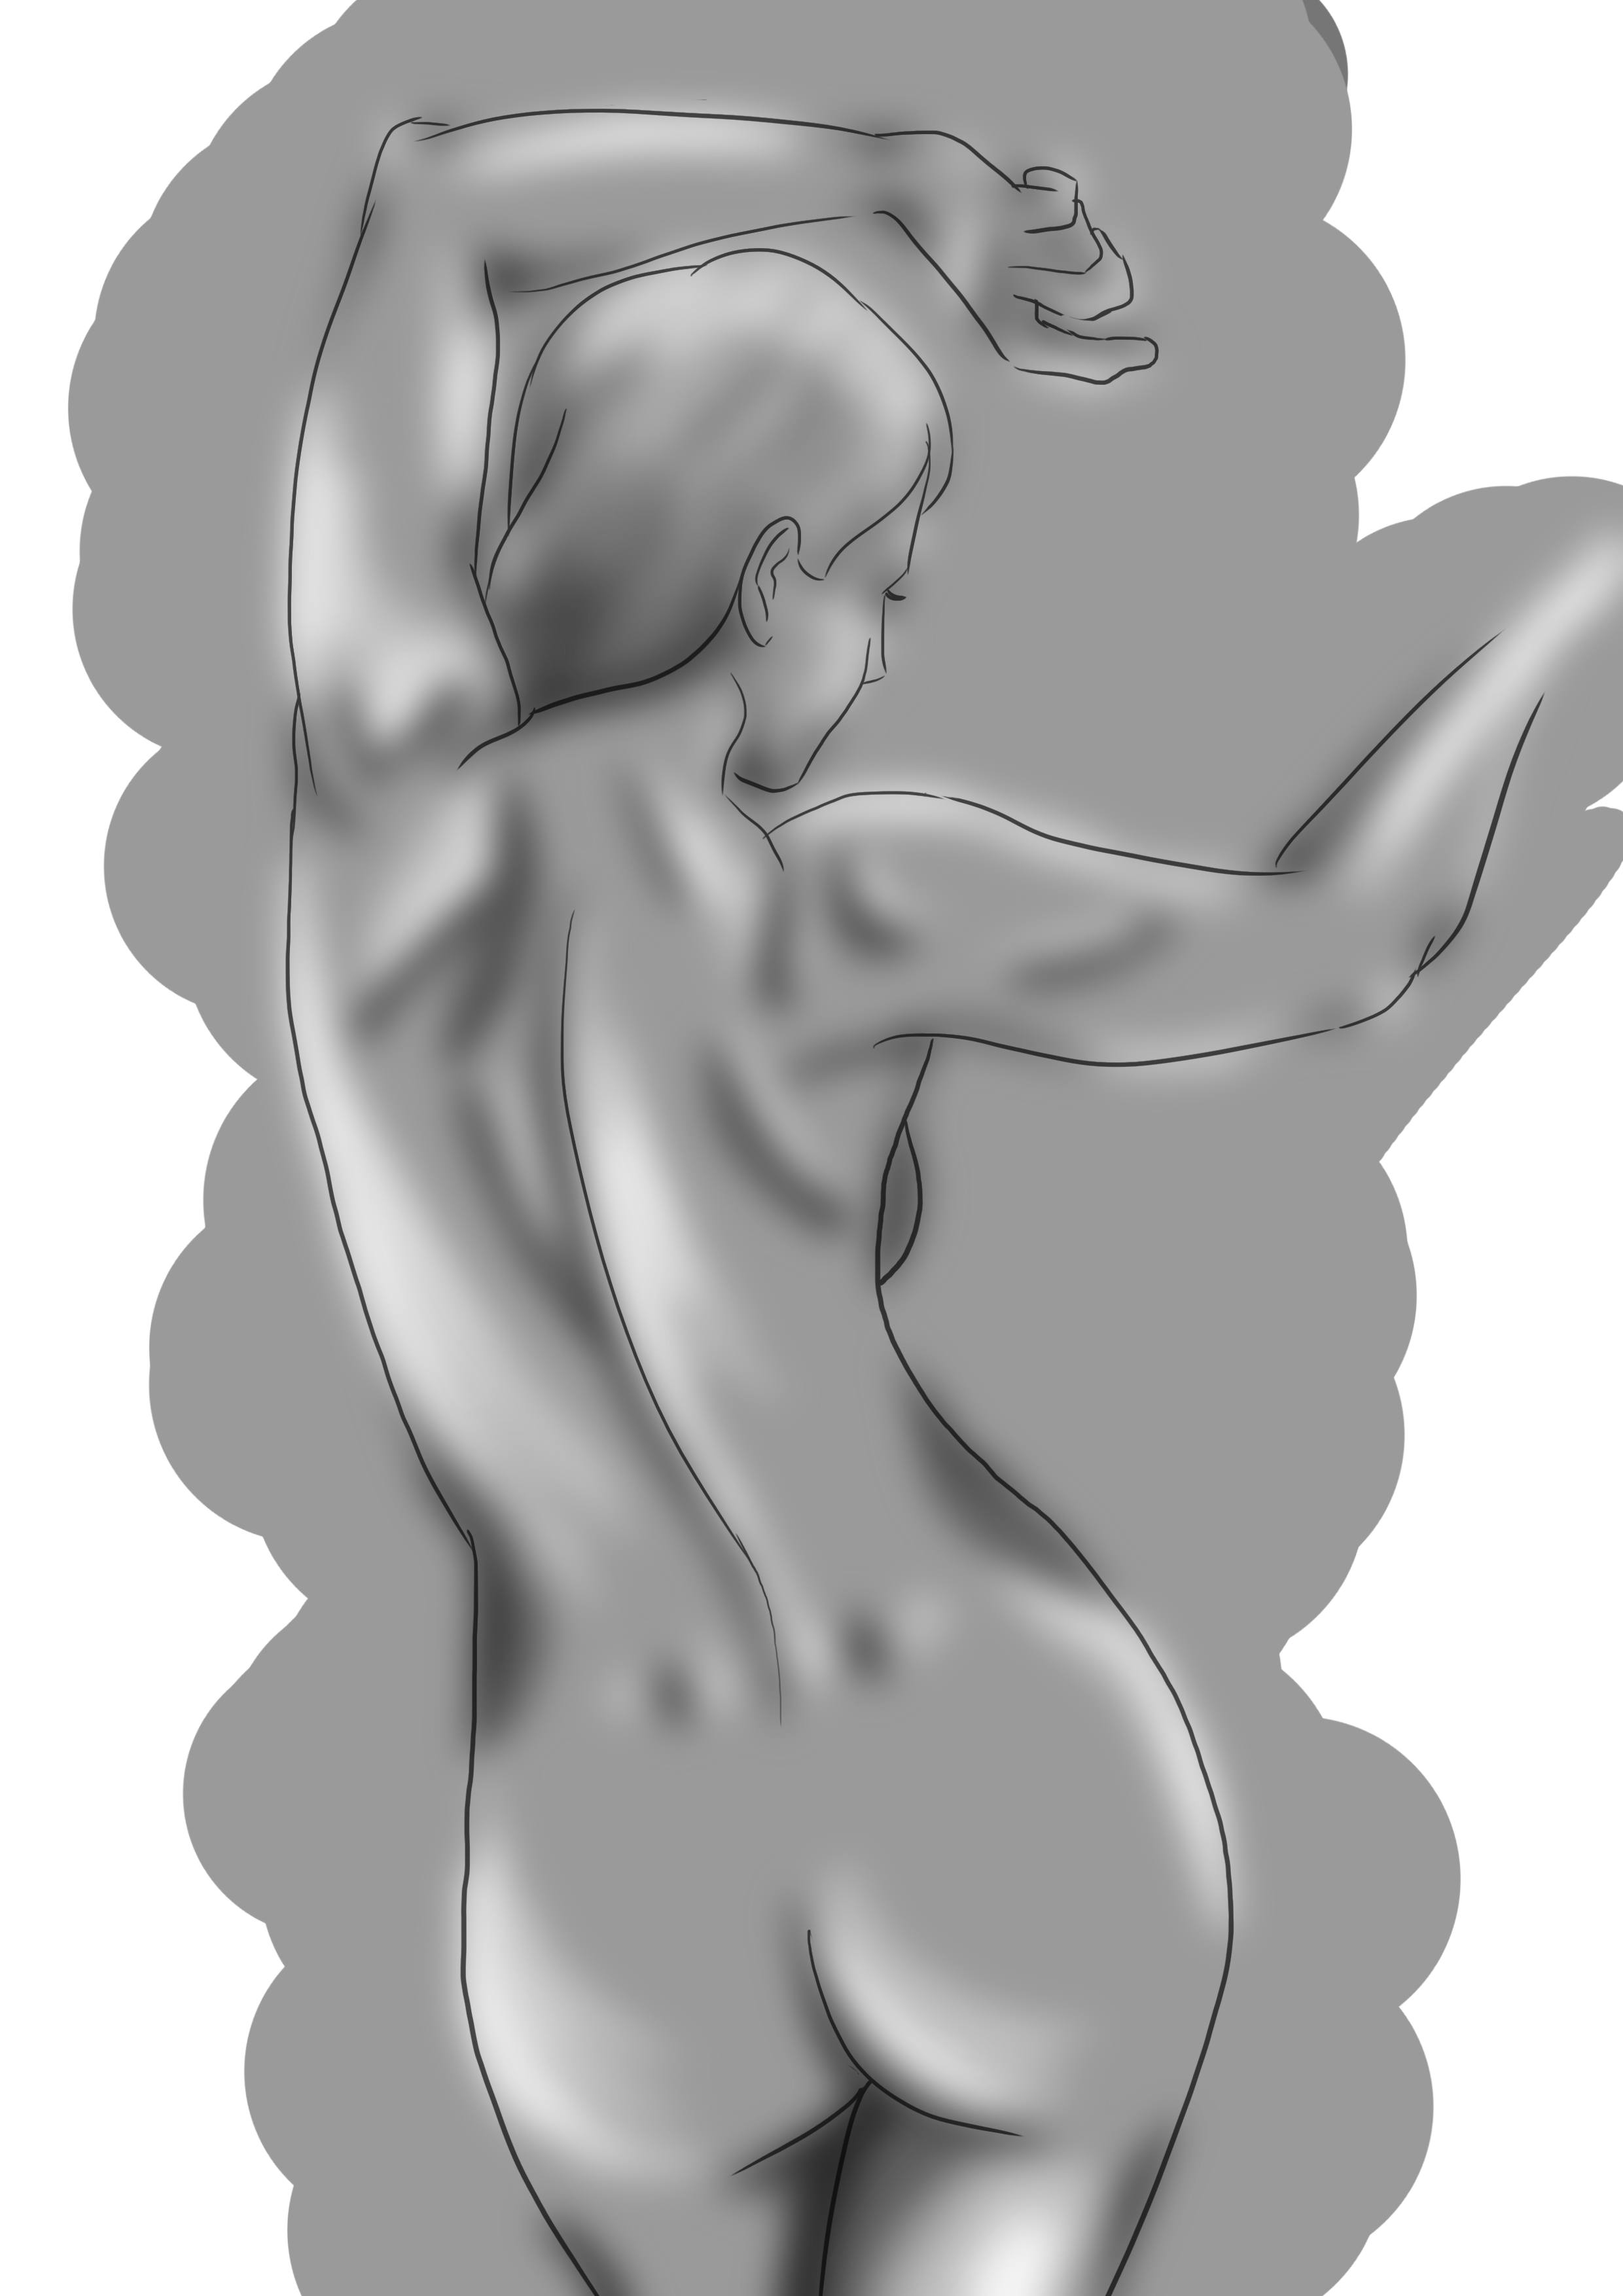
As for me, I've decided to draw Pauline with a simple and gentle pose; her back will be slightly arched with one hand on her hip.
It's a very feminine pose that highlights her.
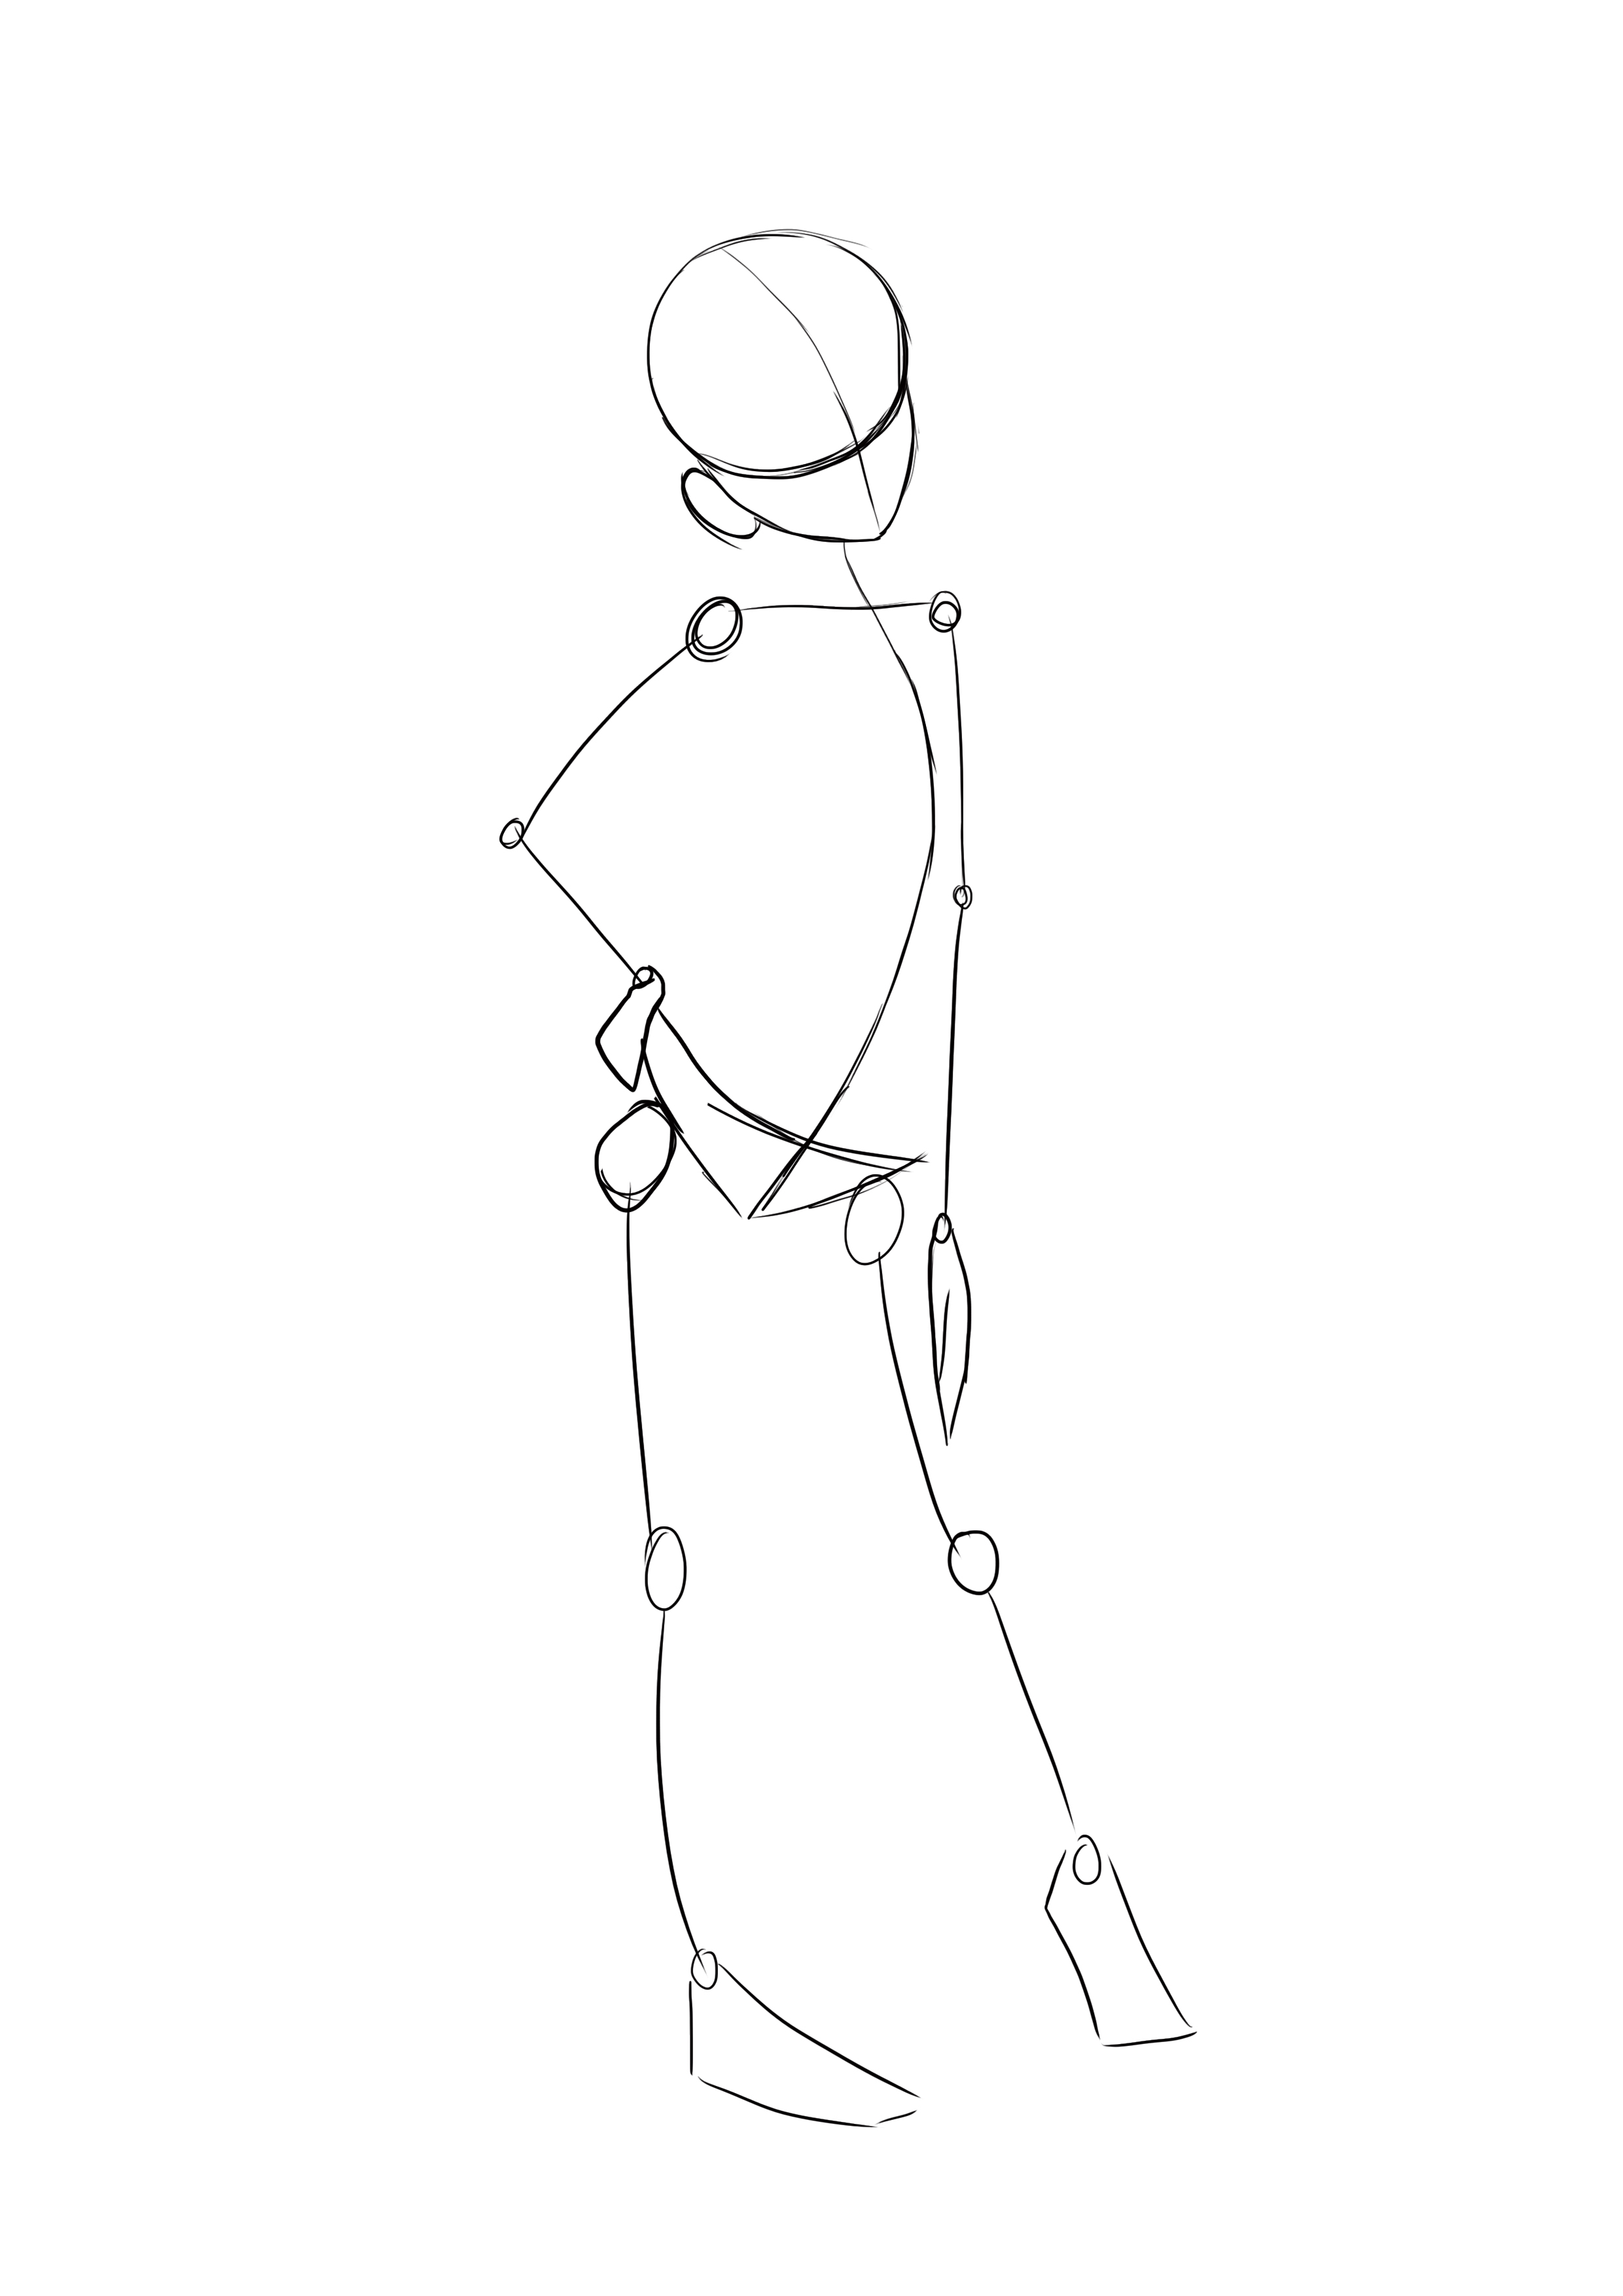
You will define your pose by drawing it with a basic skeleton, using a line to represent the bones and a circle for the joints.
Feel free to sketch several poses to see which one suits you best. Drawing a skeleton is quick and easy so it is better to be undecided at this stage rather than when you are working on the details.
THE BODY:
Now that the skeleton is drawn, you can move on to drawing the body.
To do this, you simply have to follow the movements of your skeleton and draw a body more or less large, depending on what you have decided thanks to the moodboard.
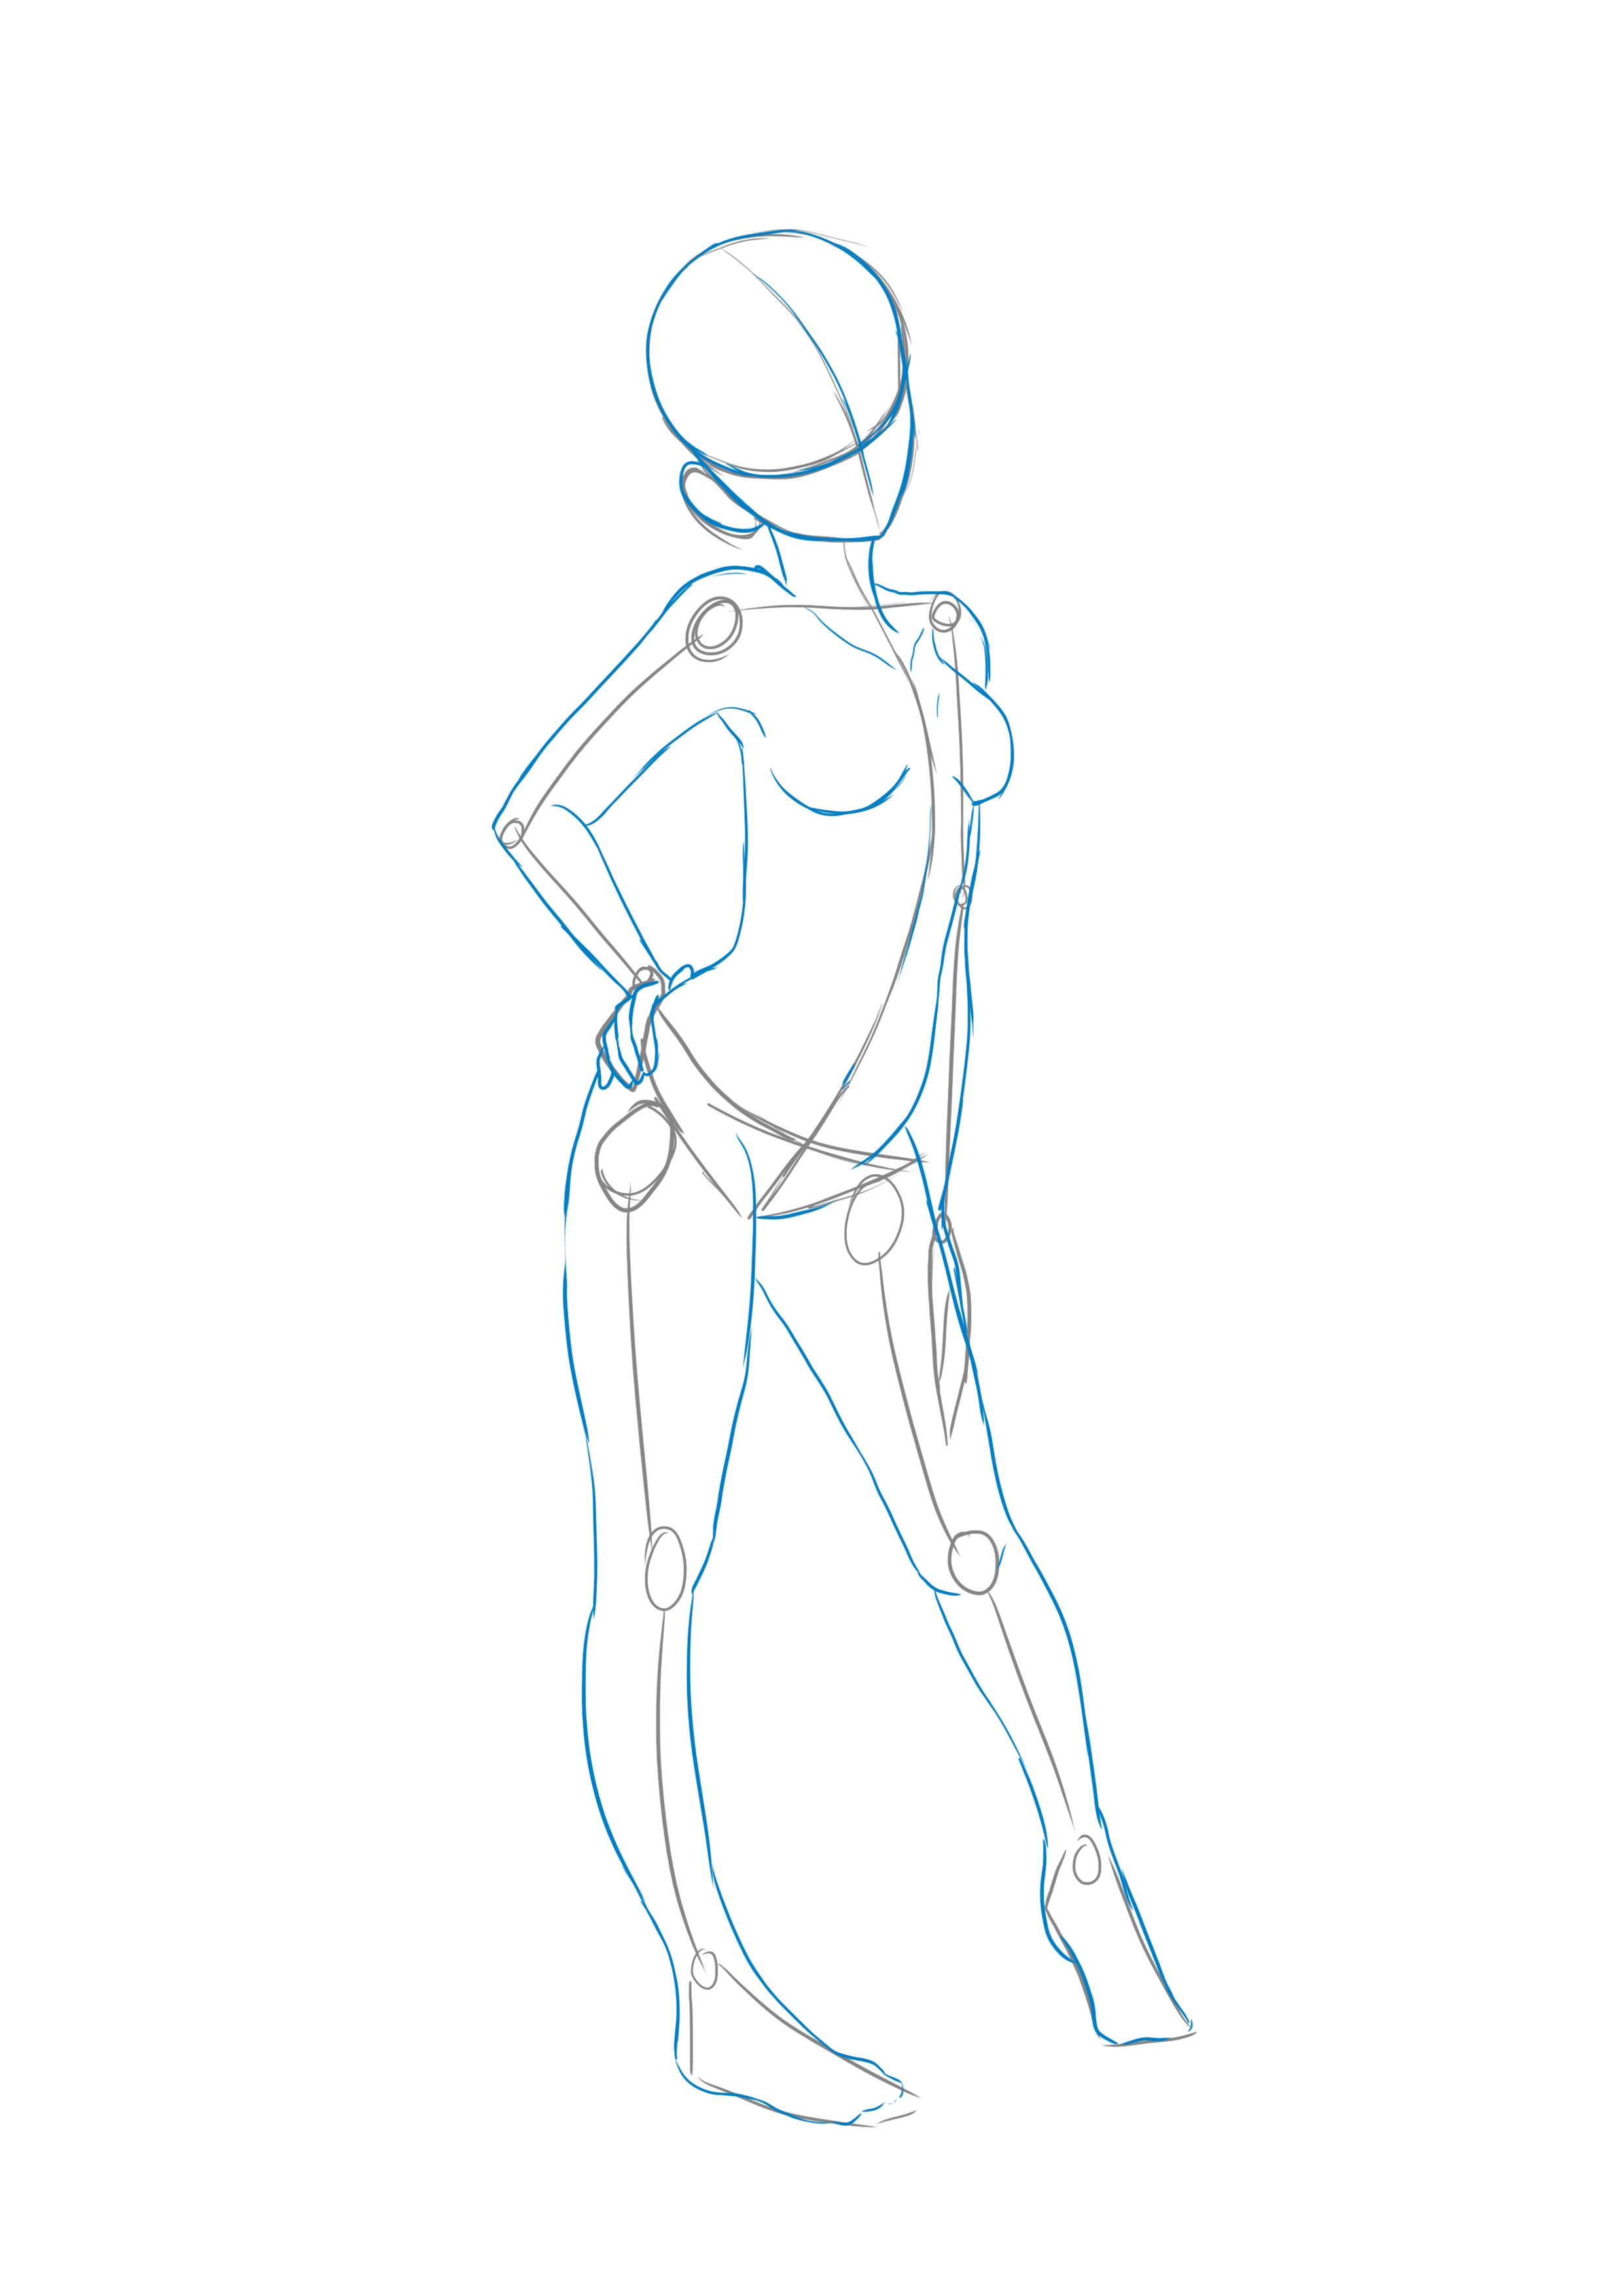
By drawing the body, you will finalize the pose as well as the build of your character.
Once again, take the time to draw properly. It's less frustrating to have to start over at this stage than to wait until you've added all the details to realize that the pose or the body isn't right.
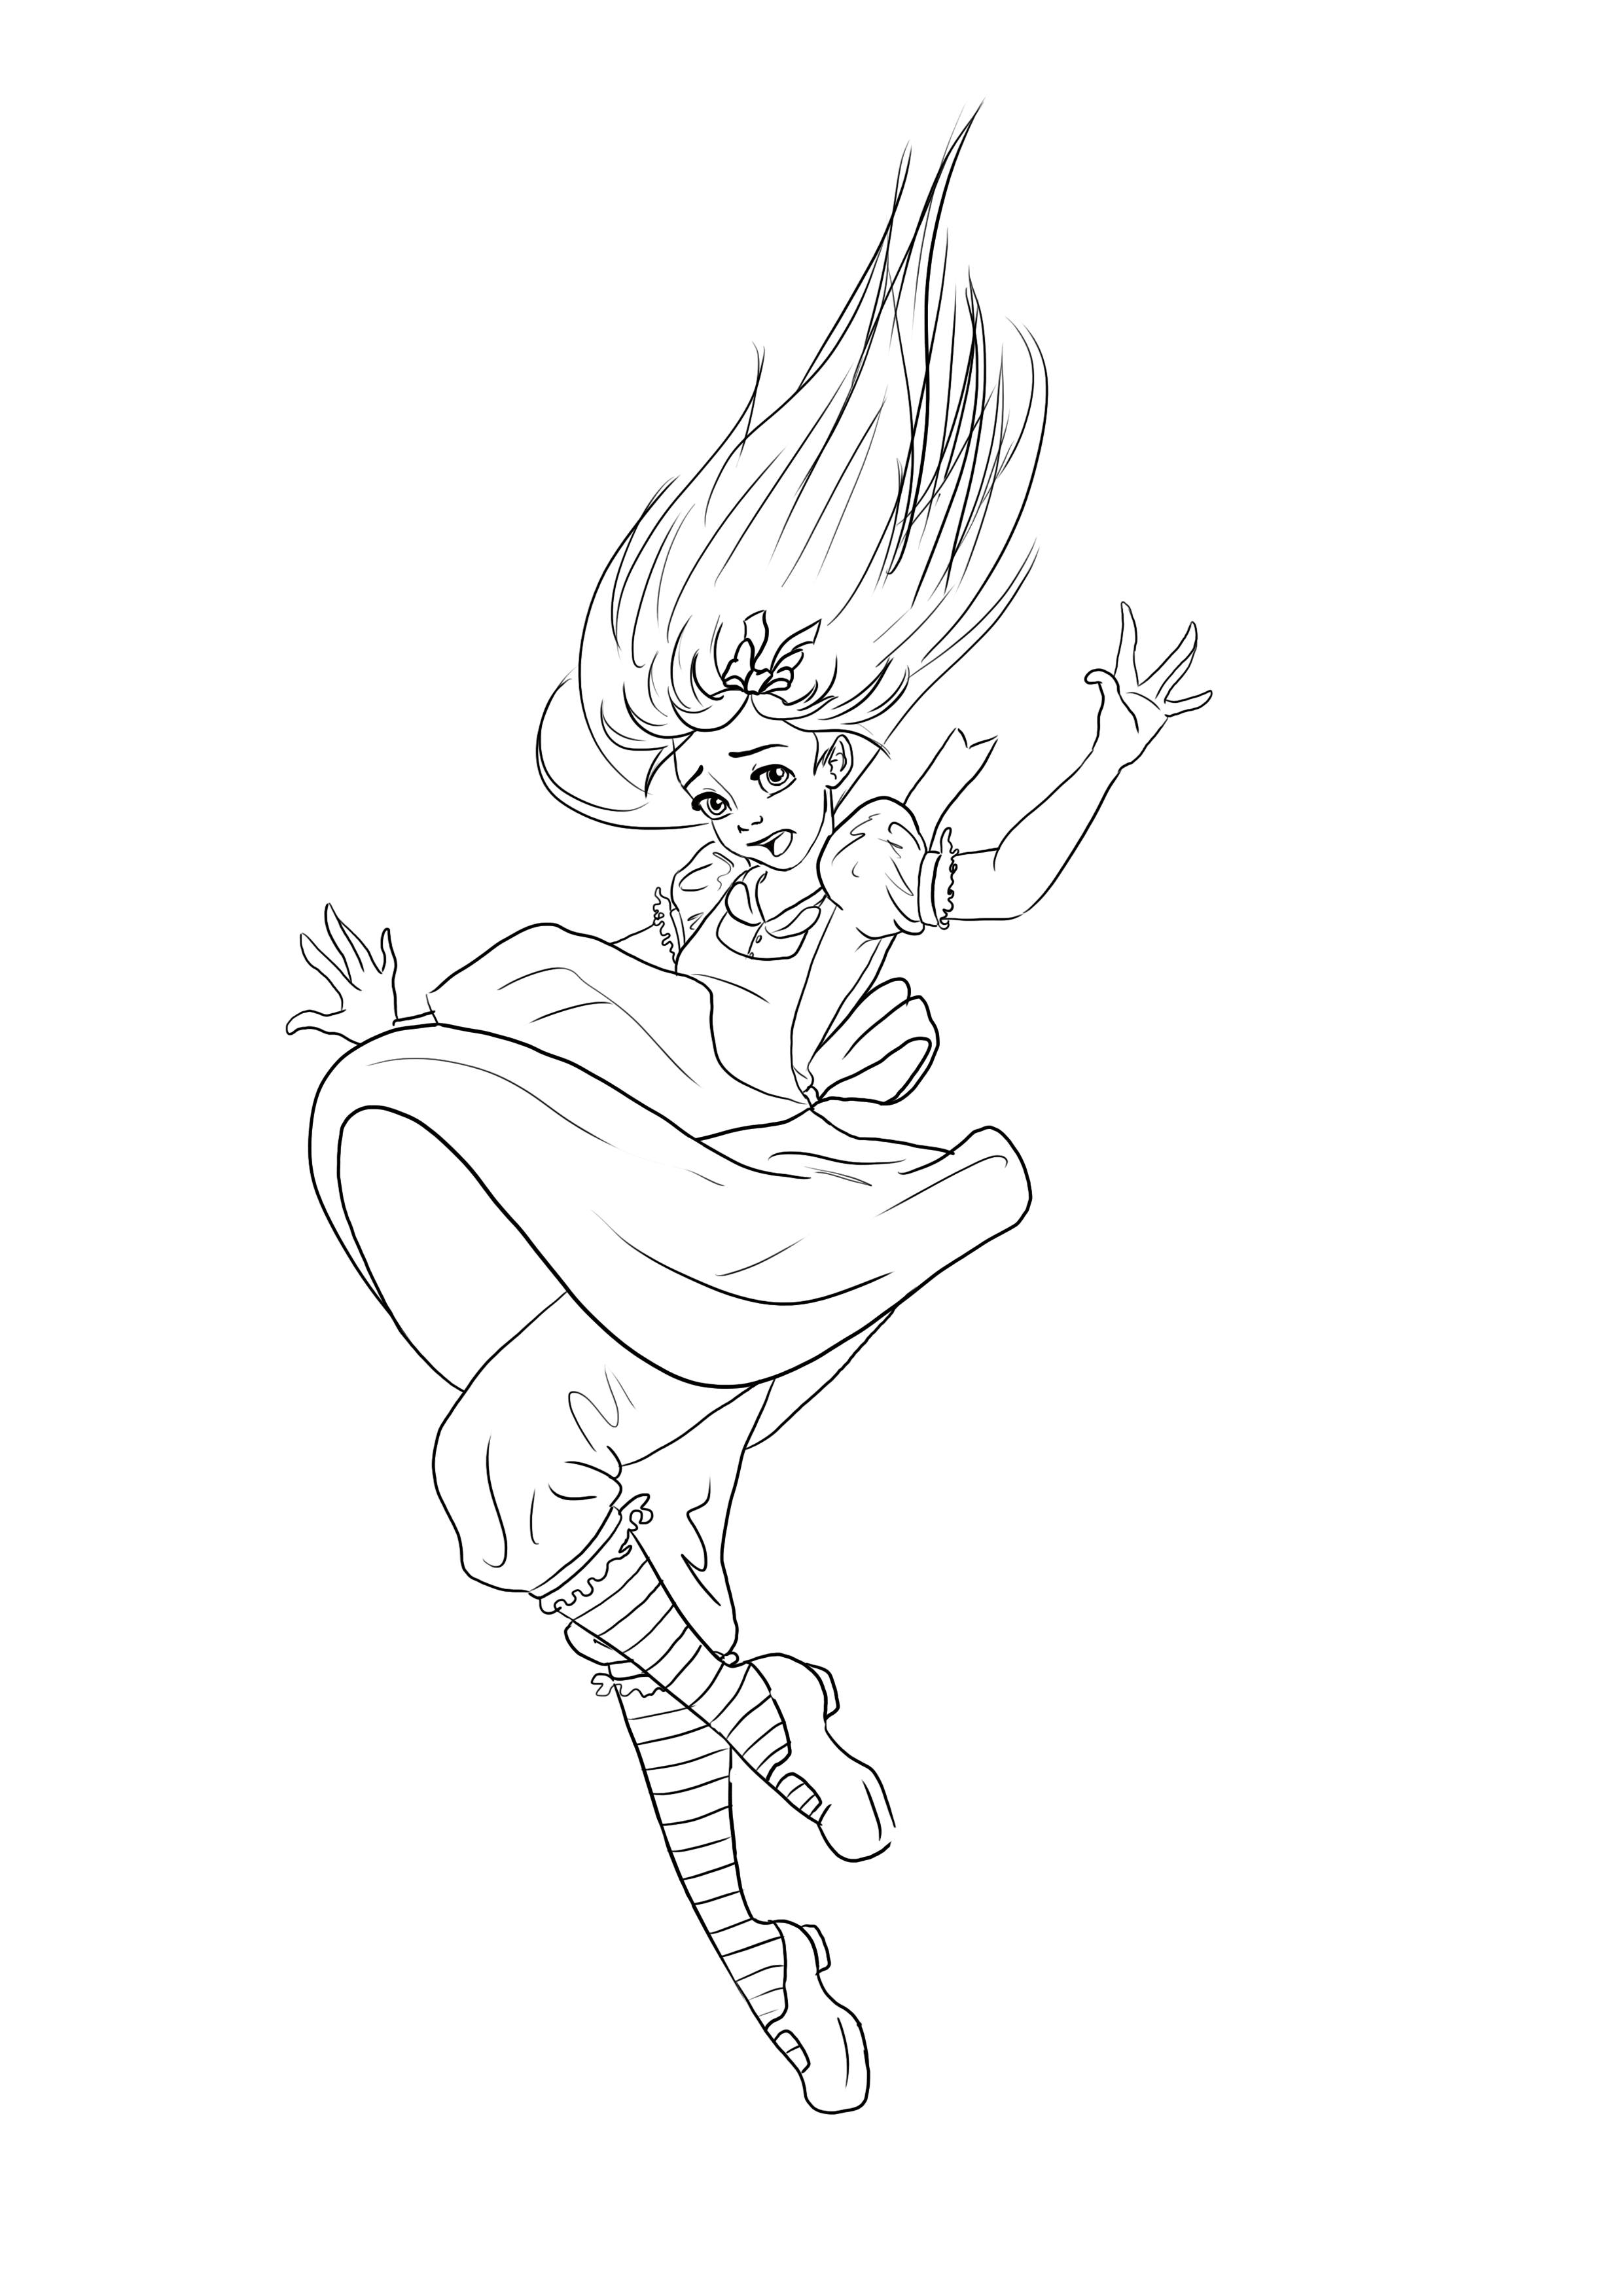
THE CLOTHING:
Again using the moodboard, draw the clothes.
Among those I added to the moodboard, I chose the simple grey tank top, the high-waisted black pants, and the pair of ballet flats.
The other clothes, upon reflection, seemed too "mature" considering my character is a high school student.

THE HAIR AND FACE:
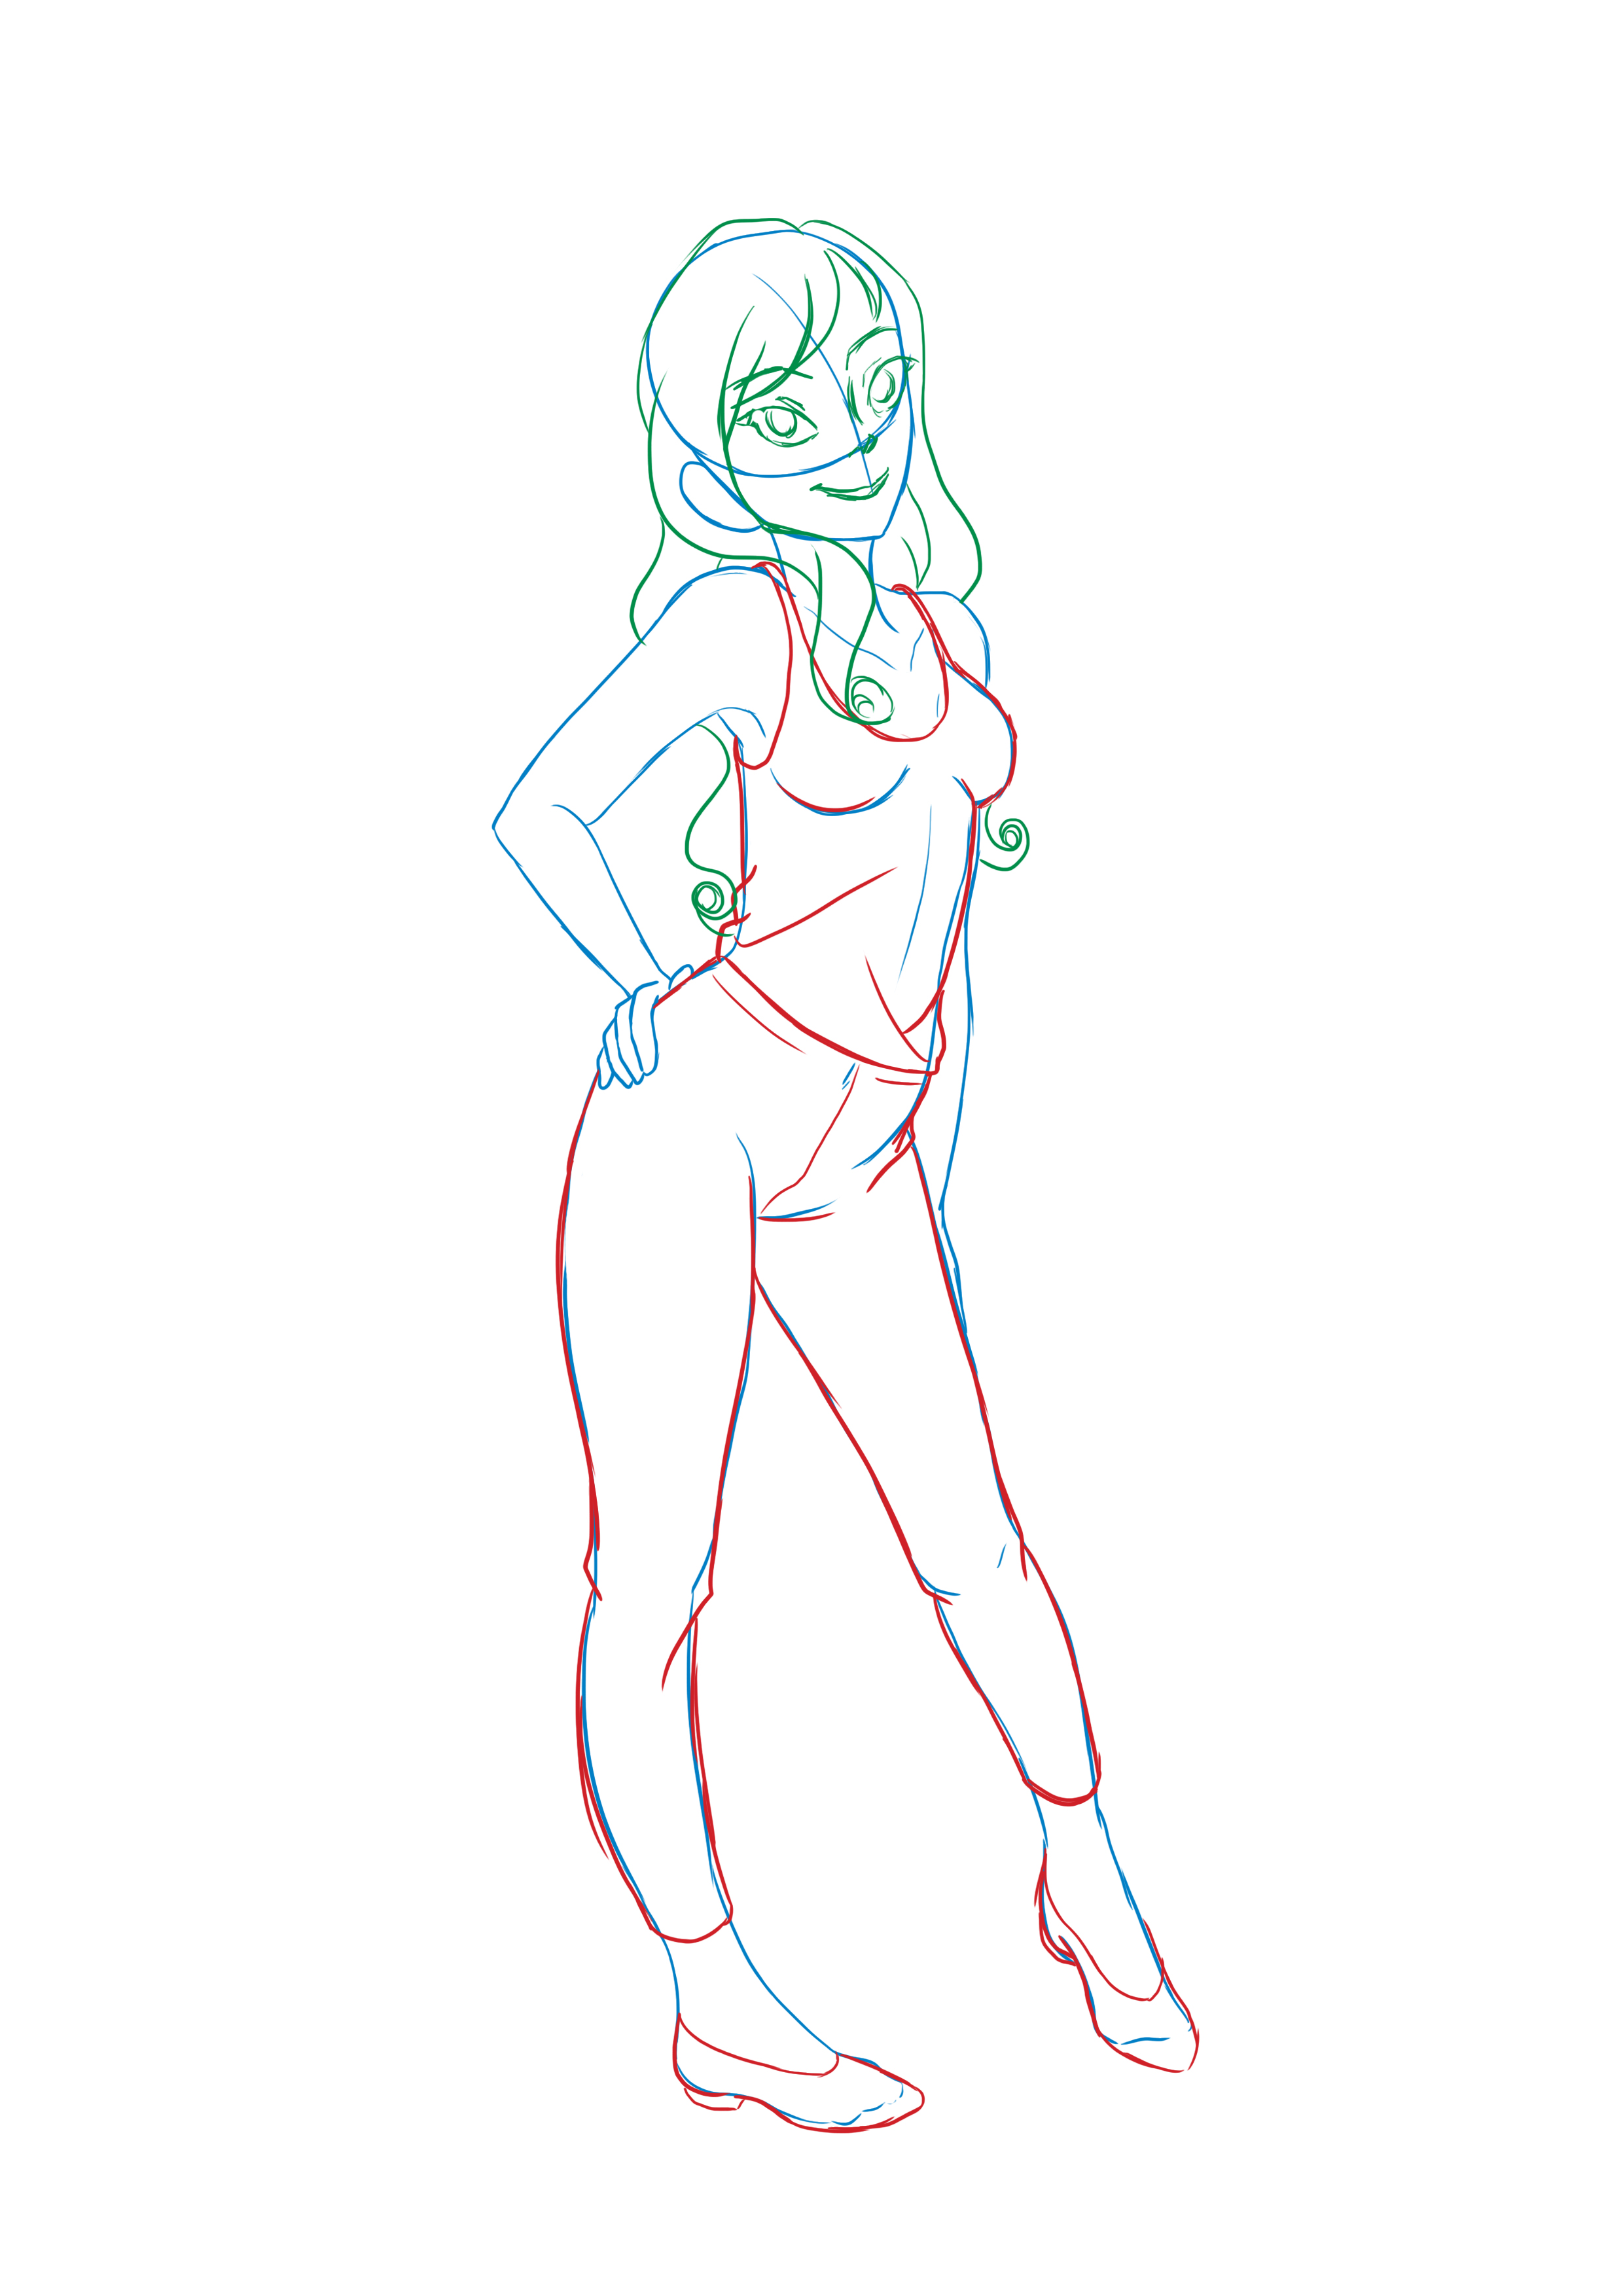
For the hair, as mentioned previously, I wanted something wavy or even curly.
I decided to mix the different styles from the moodboard because I liked a few small elements from all of them.
For the face, I drew her almond-shaped eyes that I had decided on during the identity phase. I chose to draw her in a way that she looks at us, with a rather thin mouth and a slight smile.
SWITCHING TO INK

We are at the final stage: inking.
This is the last step where you can change a few elements (although it's better and highly recommended to do it earlier).
If you are using paper, you do not have the right to make a mistake, because ink does not erase.
On the other hand, if you're on a graphics tablet, you're the luckiest, because you can make mistakes as many times as you want!
Go over your lines and take the opportunity to add some details such as the folds of the clothes and decorations. In short, add all the little details that you did not draw in the previous steps.
Once the inking is done, you can add color if you wish, but I left it as is.
WELL DONE! You have created your own character!
However, if you want to be a Chara Designer, bear in mind that you will only have the drawing part to do. You will be given a full character description + specifications (+ moodboard in rare cases), and you will have to draw what is requested of you.
It is very rare for companies to give complete freedom to the Chara Designer; the identity and physical description part is done during the development of the project and the Chara Designer is rarely invited.
Despite everything, nothing stops you from creating your own characters, whether it's just for an illustration, or a project like a comic book, short film, etc.
Feel free to create several when you have the time. That way, you can just pick from your list of characters whenever you need one.
Popular Articles
Discussion
It's awesome how you explain!
keep it up, it's on this kind of site that you immediately notice the quality of learning! 😄
Hello,
This tutorial seems great. It's simple yet detailed, it's really clear. I'm excited to put it into practice