How to Draw a Backpack
Today, it's back to the playground for drawing a backpack. This methodology also applies to anything like a satchel, general school bag, or shoulder bag, so it's very useful for those who like to draw manga taking place in high schools for example ^^ If you are also interested in learning how to draw manga, feel free to check out our training on this topic! :D
How to represent a schoolbag?
Even though we are dealing with a manufactured object, which implies a certain rigor in terms of symmetry and construction, our object is made of fabric and therefore much simpler to draw at this level. No need for perfect curves or impeccable angles, we can afford some liberties.
We're going to tackle a classic schoolbag that is often found in elementary schools. For me, it's the first shape that comes to mind when someone mentions a schoolbag.
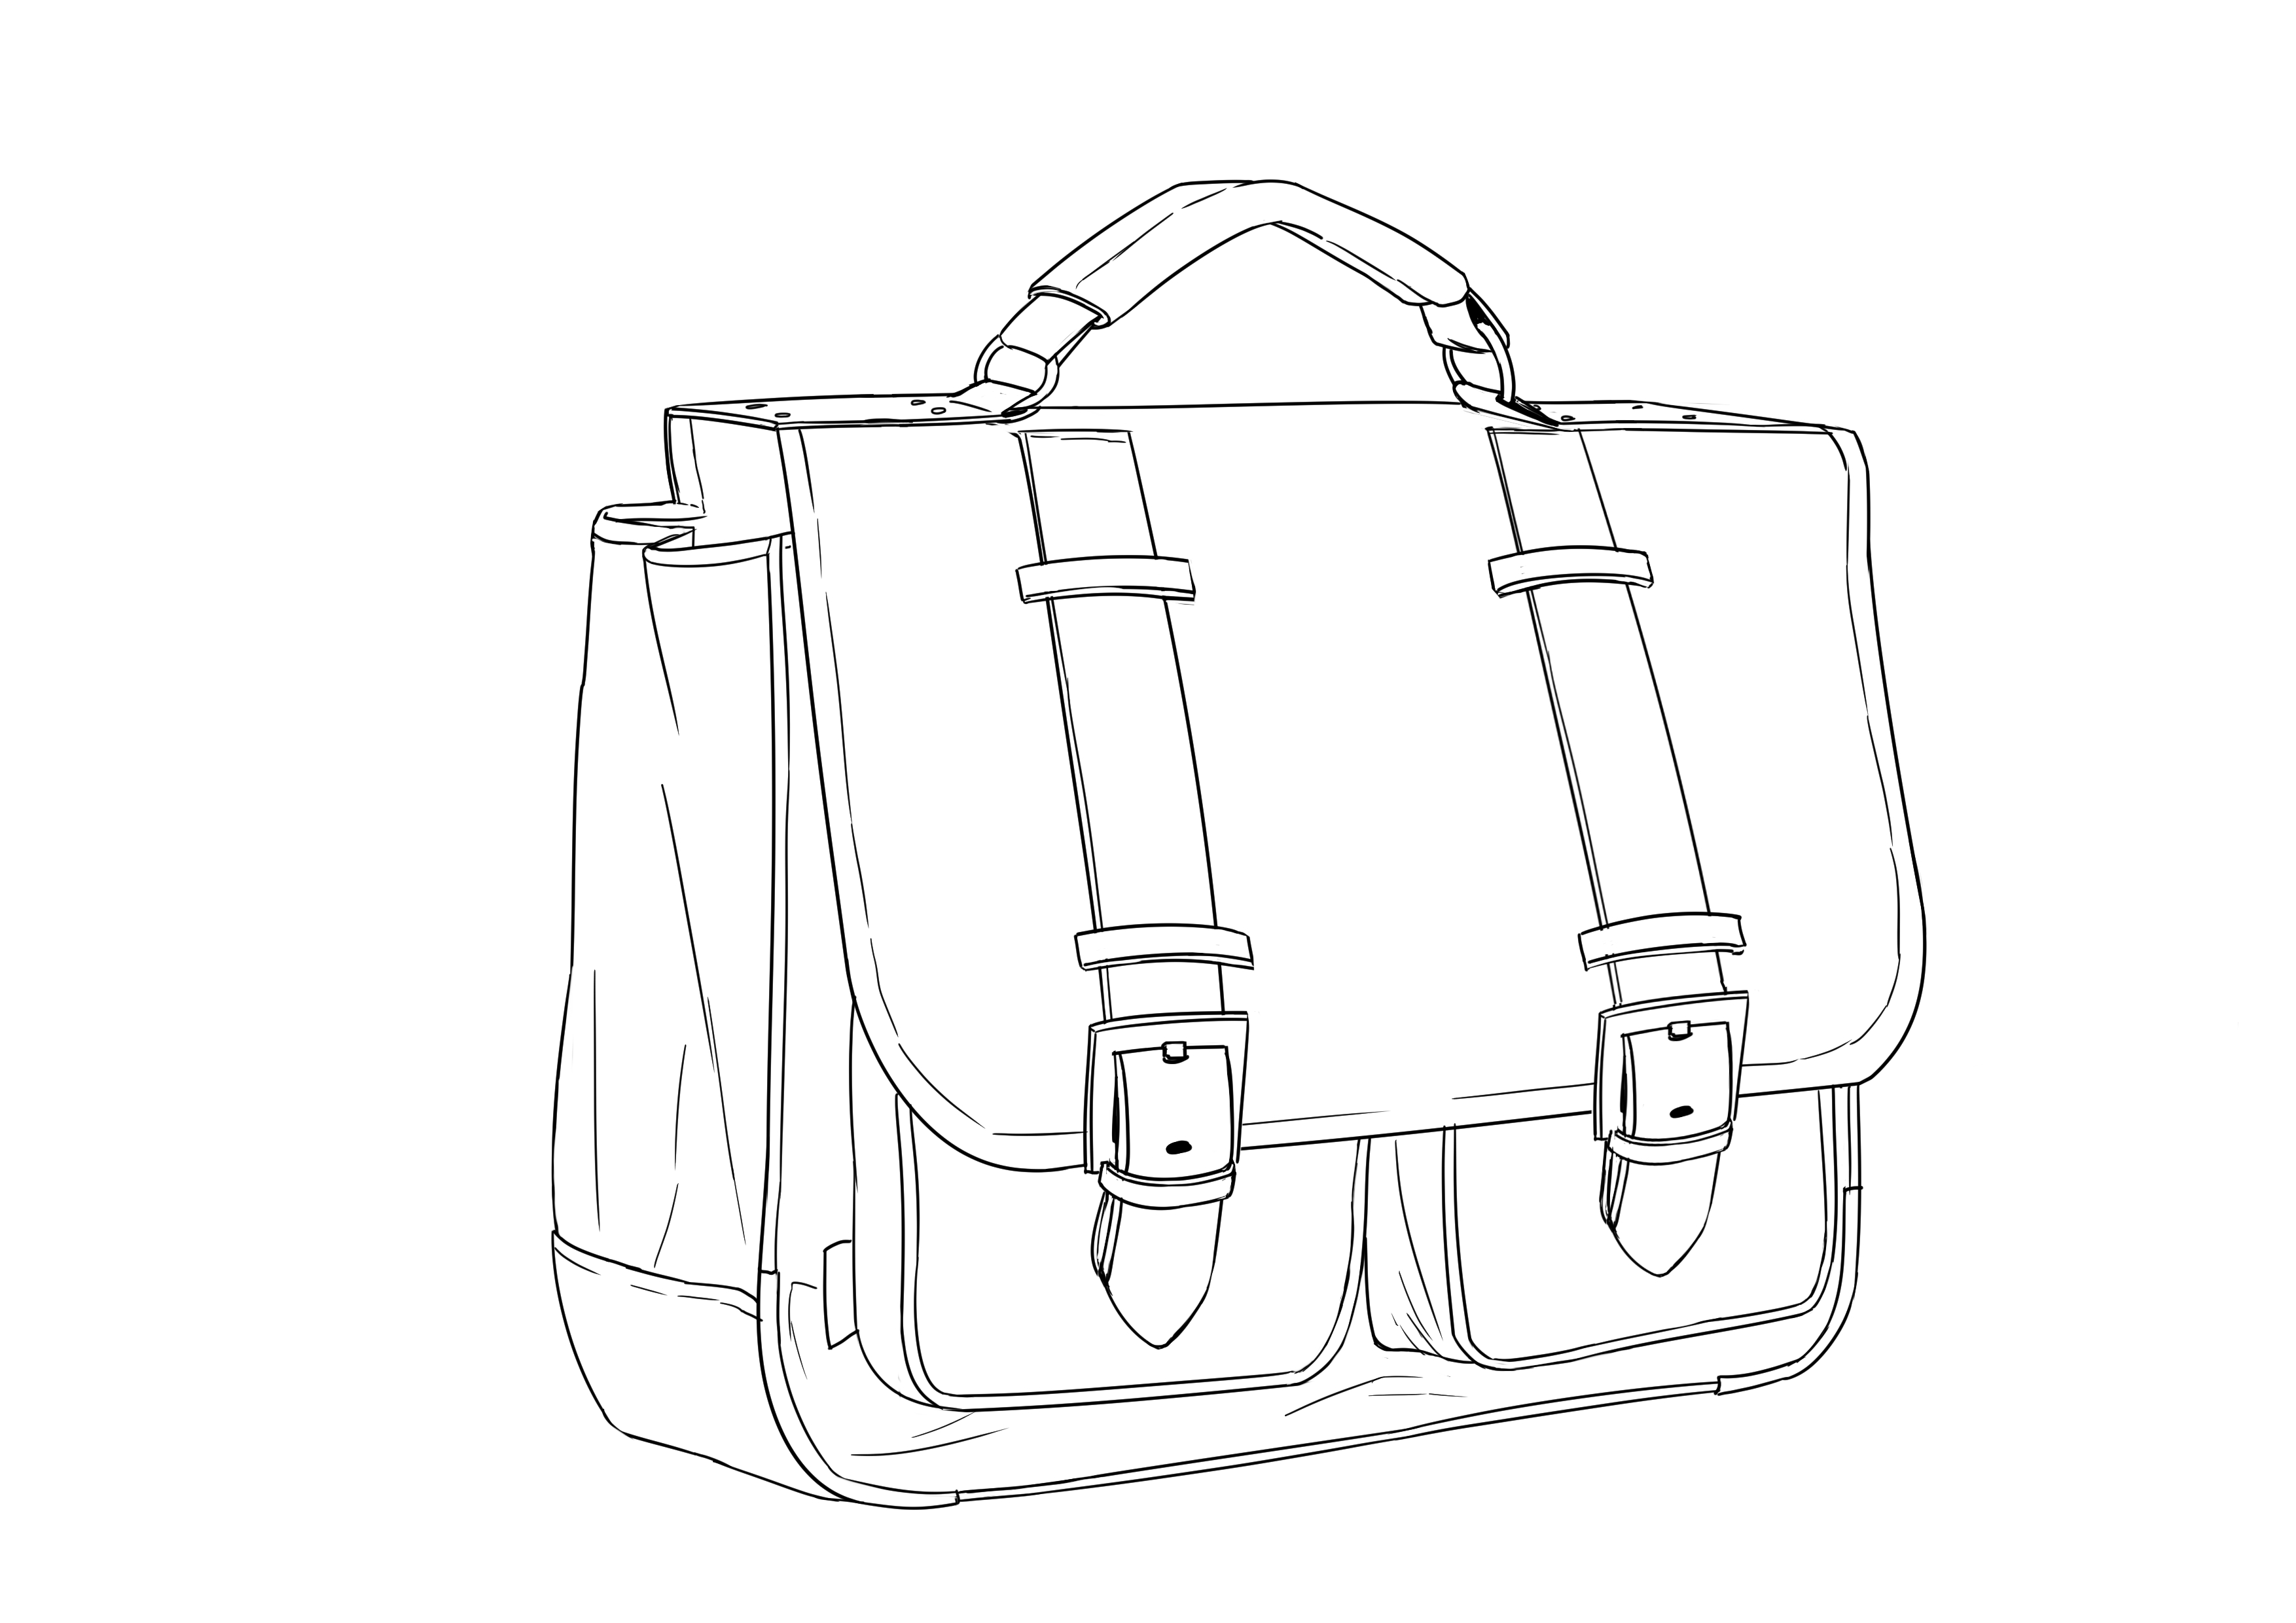
It is generally rectangular in shape, with straps to close it, front pockets, and a large flap to close it, not to mention the handle on top.
Drawing a Backpack Step by Step
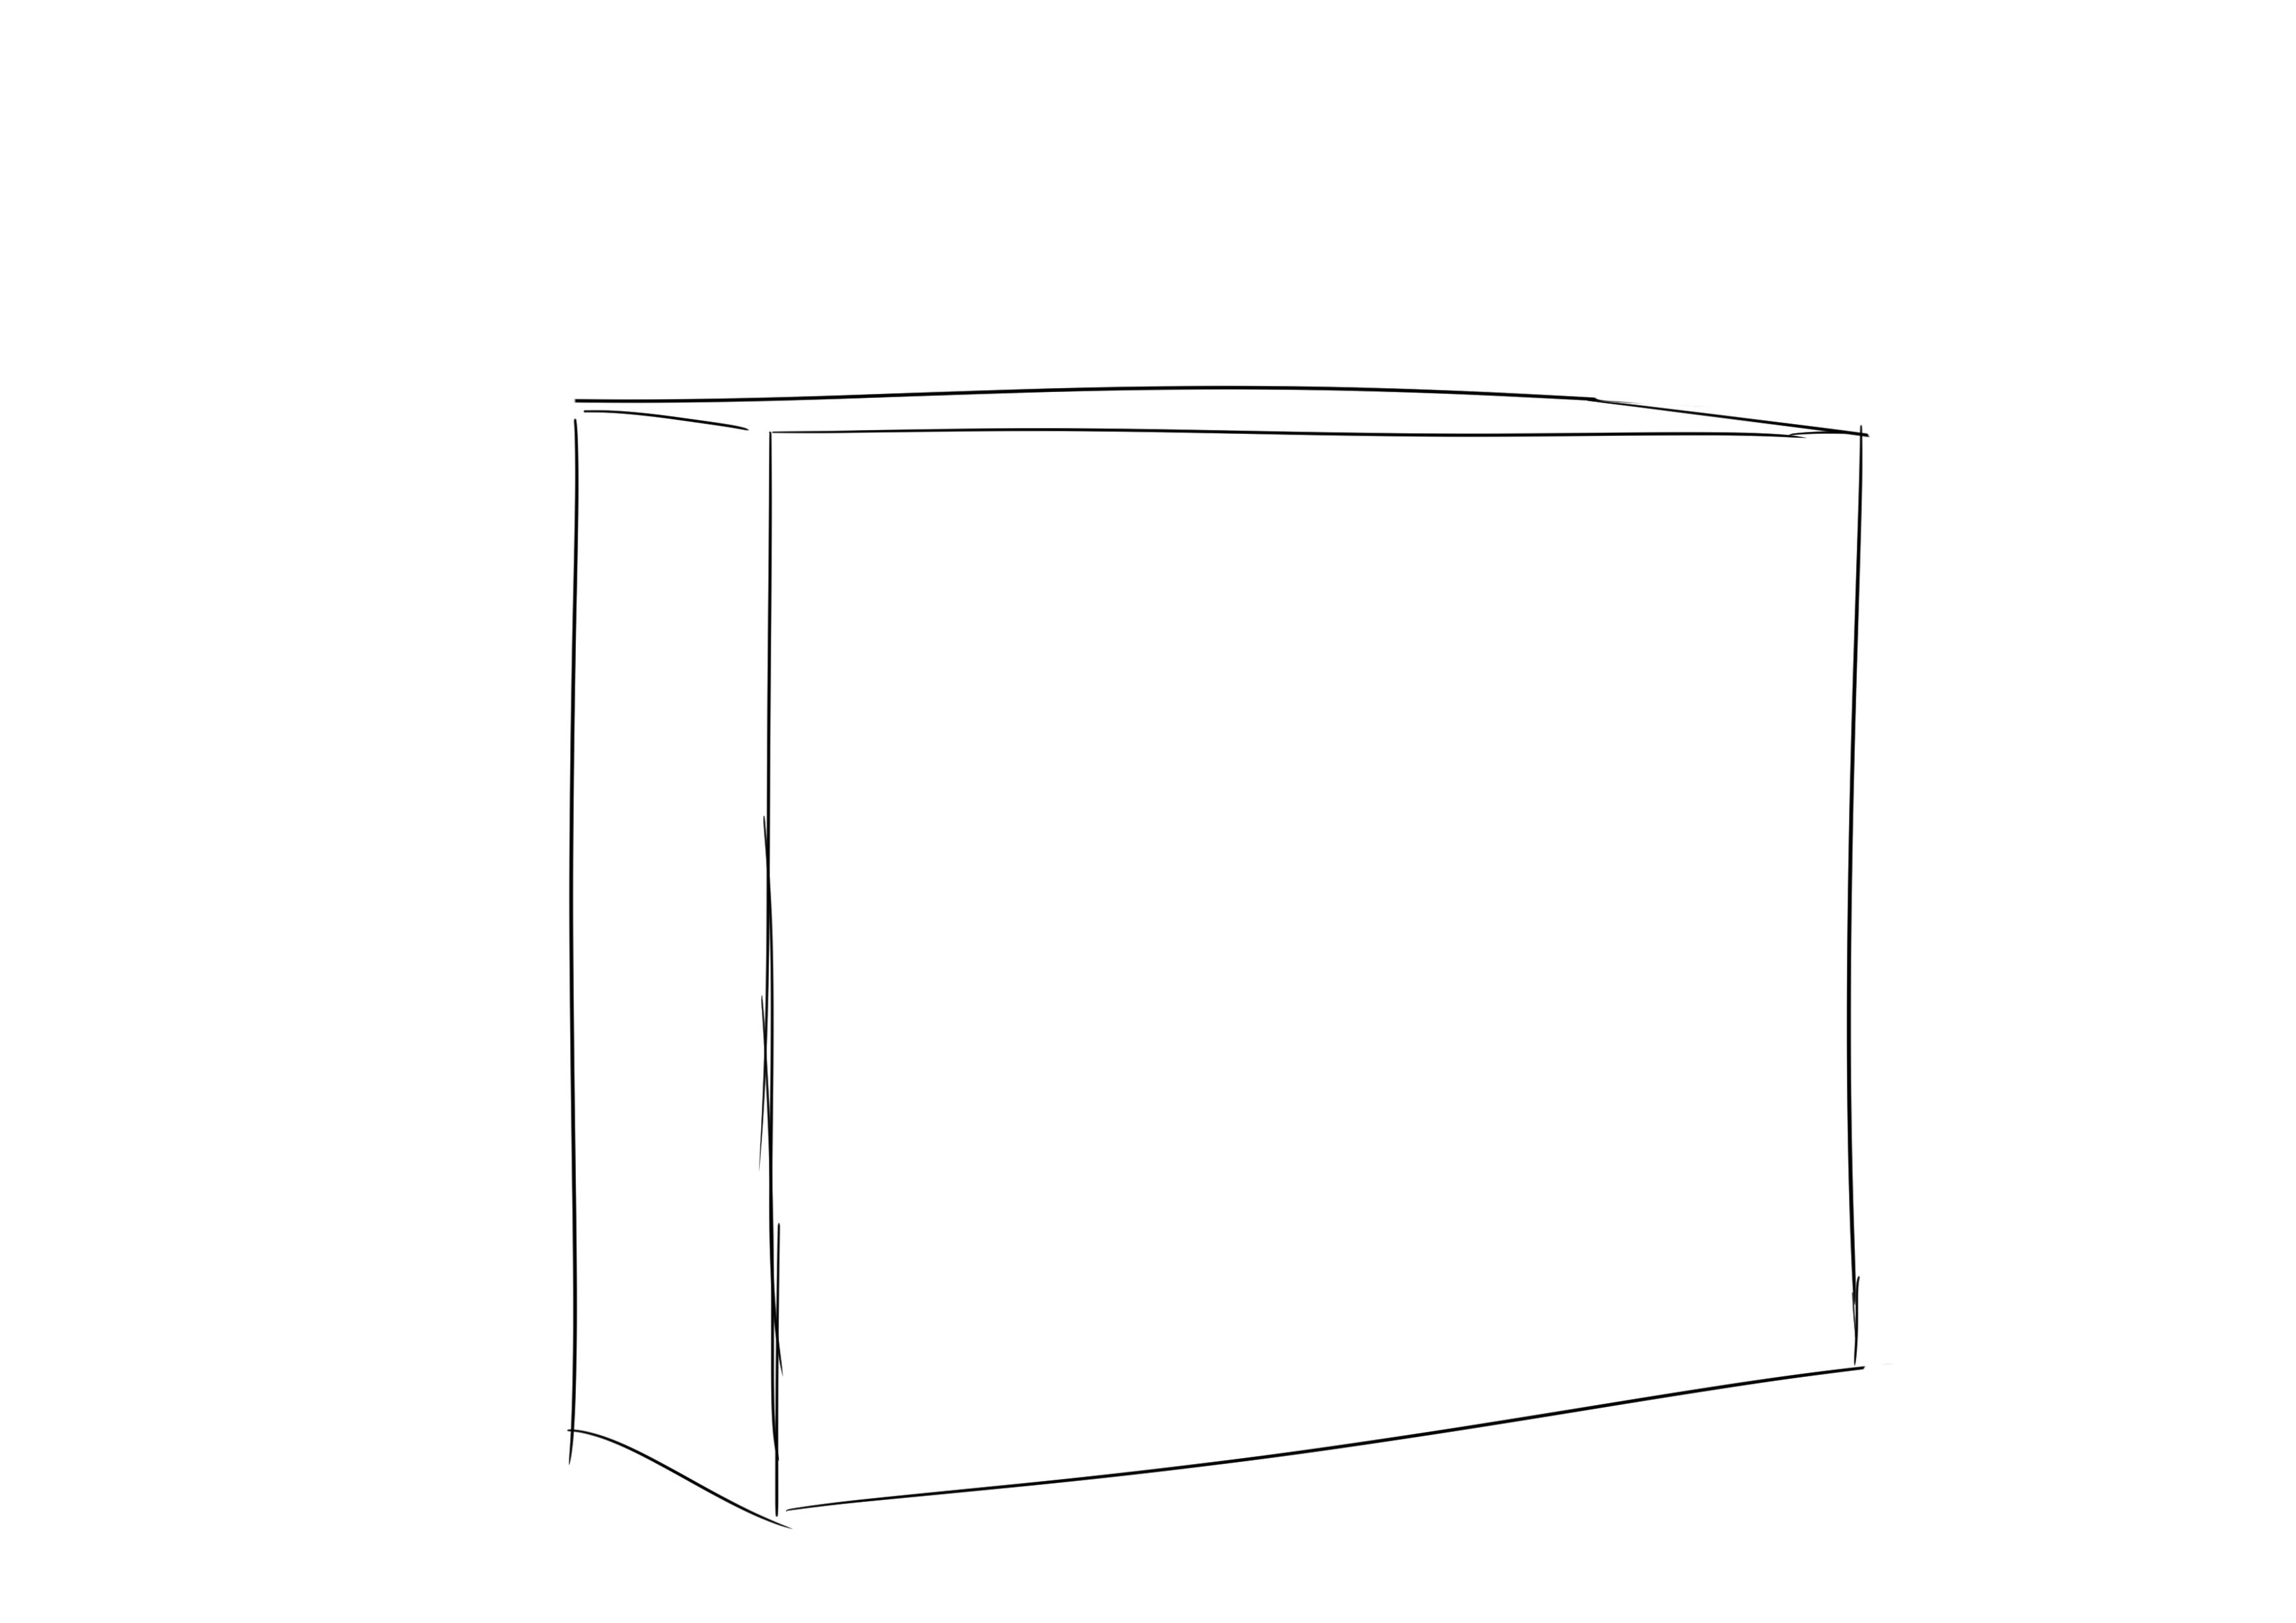
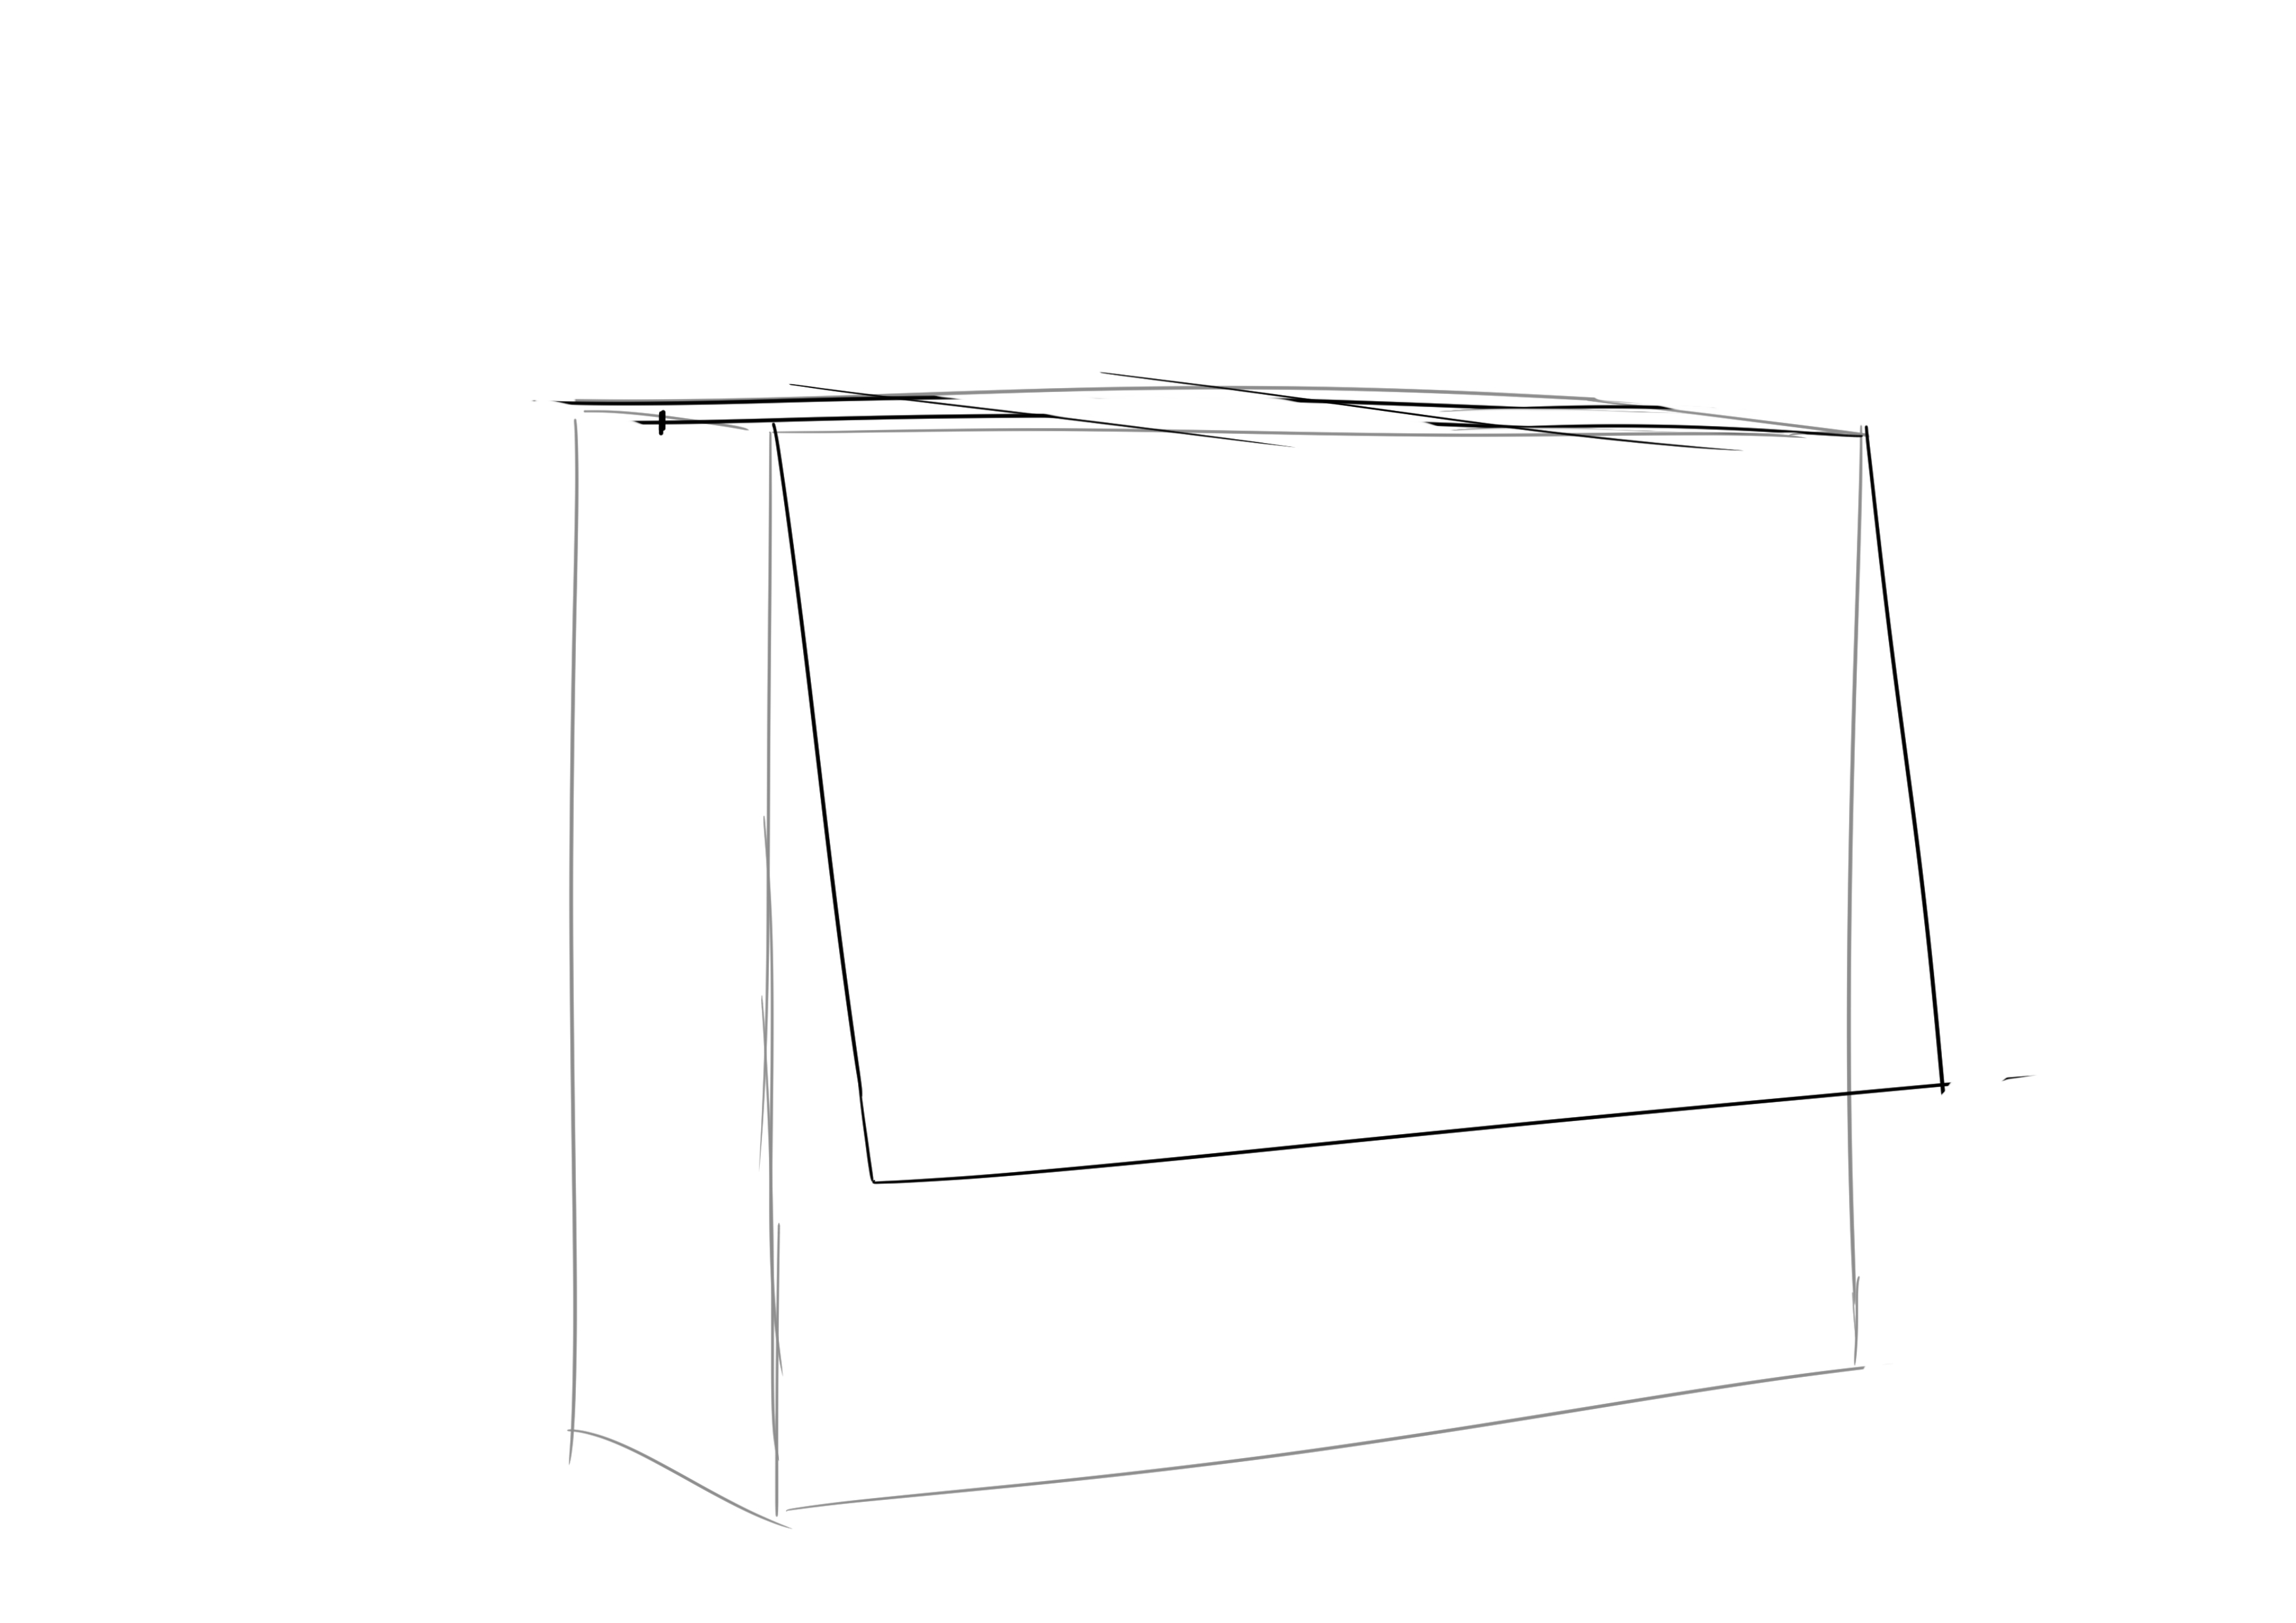
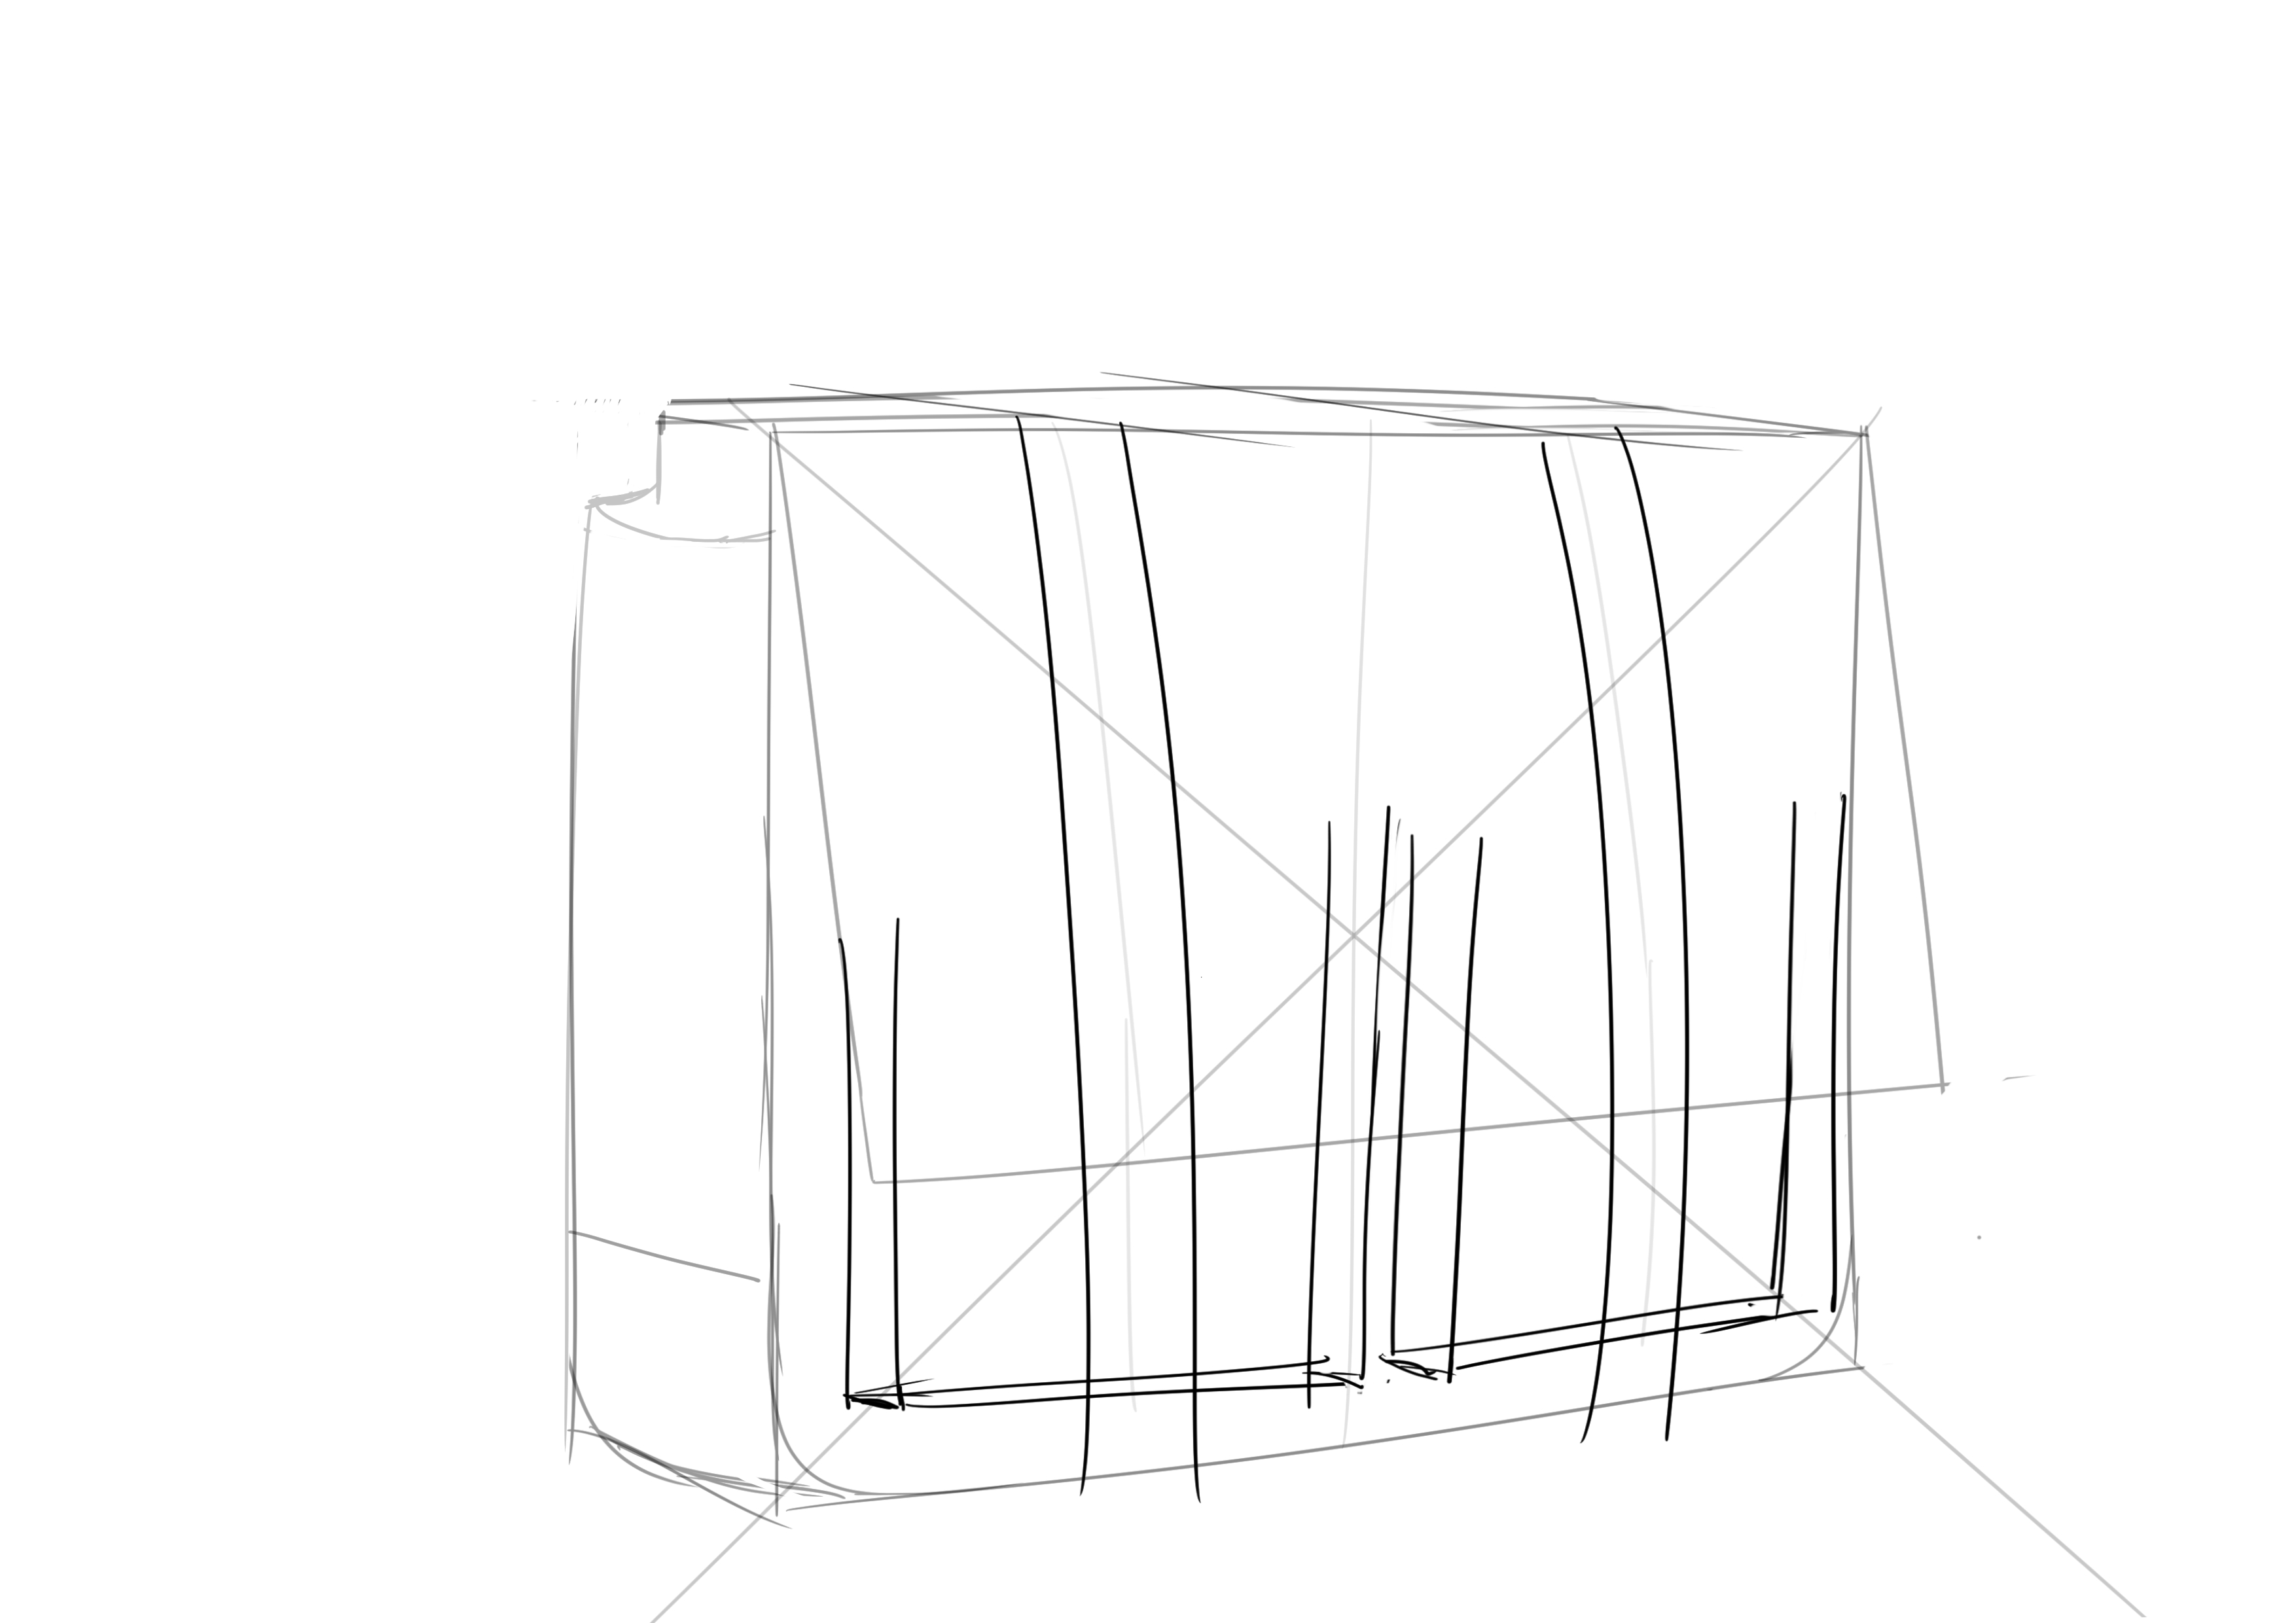
I think you've got it; we're going to draw a parallelepiped to give us a bit of framework. And this one is a bit wider than it is tall. Its thickness can fit four and a half times into the height. We're adding a slight perspective to it (this time I'm eyeballing it, but if you're not yet comfortable, don't hesitate to set vanishing points and do things by the book ^^). If you're not comfortable with perspective, I invite you to check out the article on perspective and vanishing points available on our blog.
For this tutorial, I will be doing everything freehand, but feel free to use a ruler and the rules of classic perspective if you need them, of course.
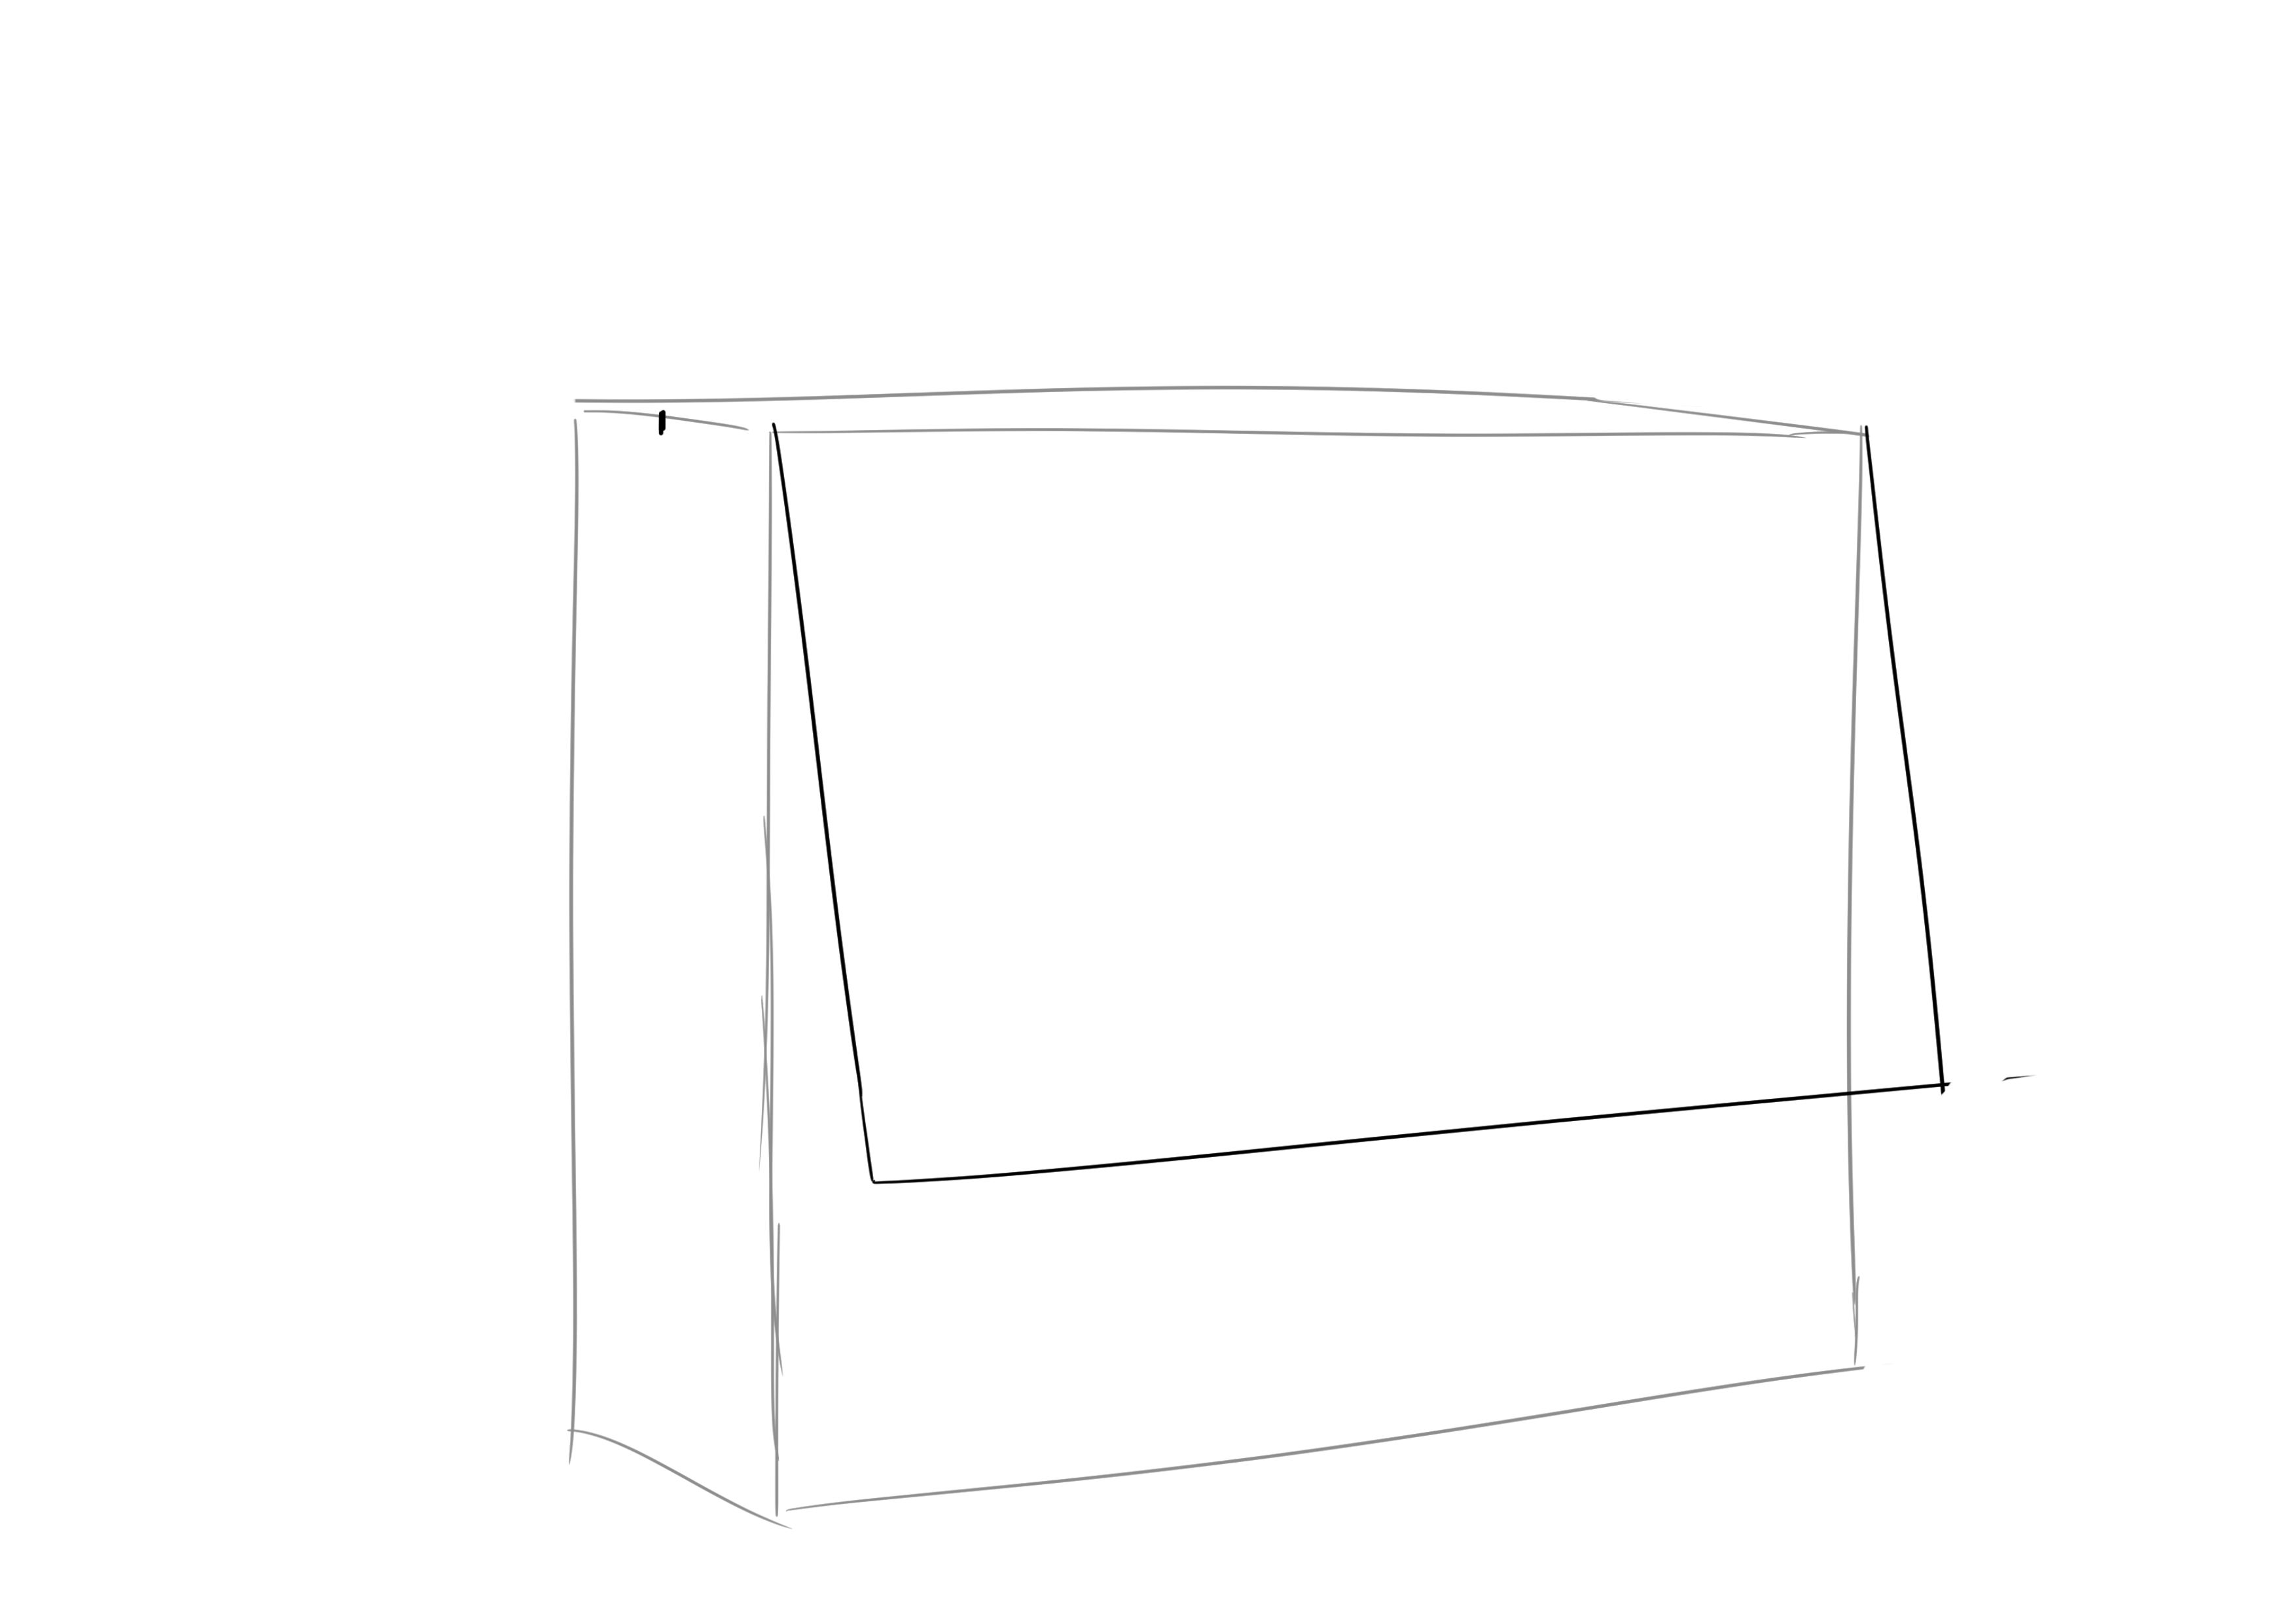
The large tab that closes the bag starts at half the thickness.
It follows the top line that we've already drawn up to the large face of the parallelepiped. Then it veers slightly diagonally to the right and descends almost to the 3/4 mark.
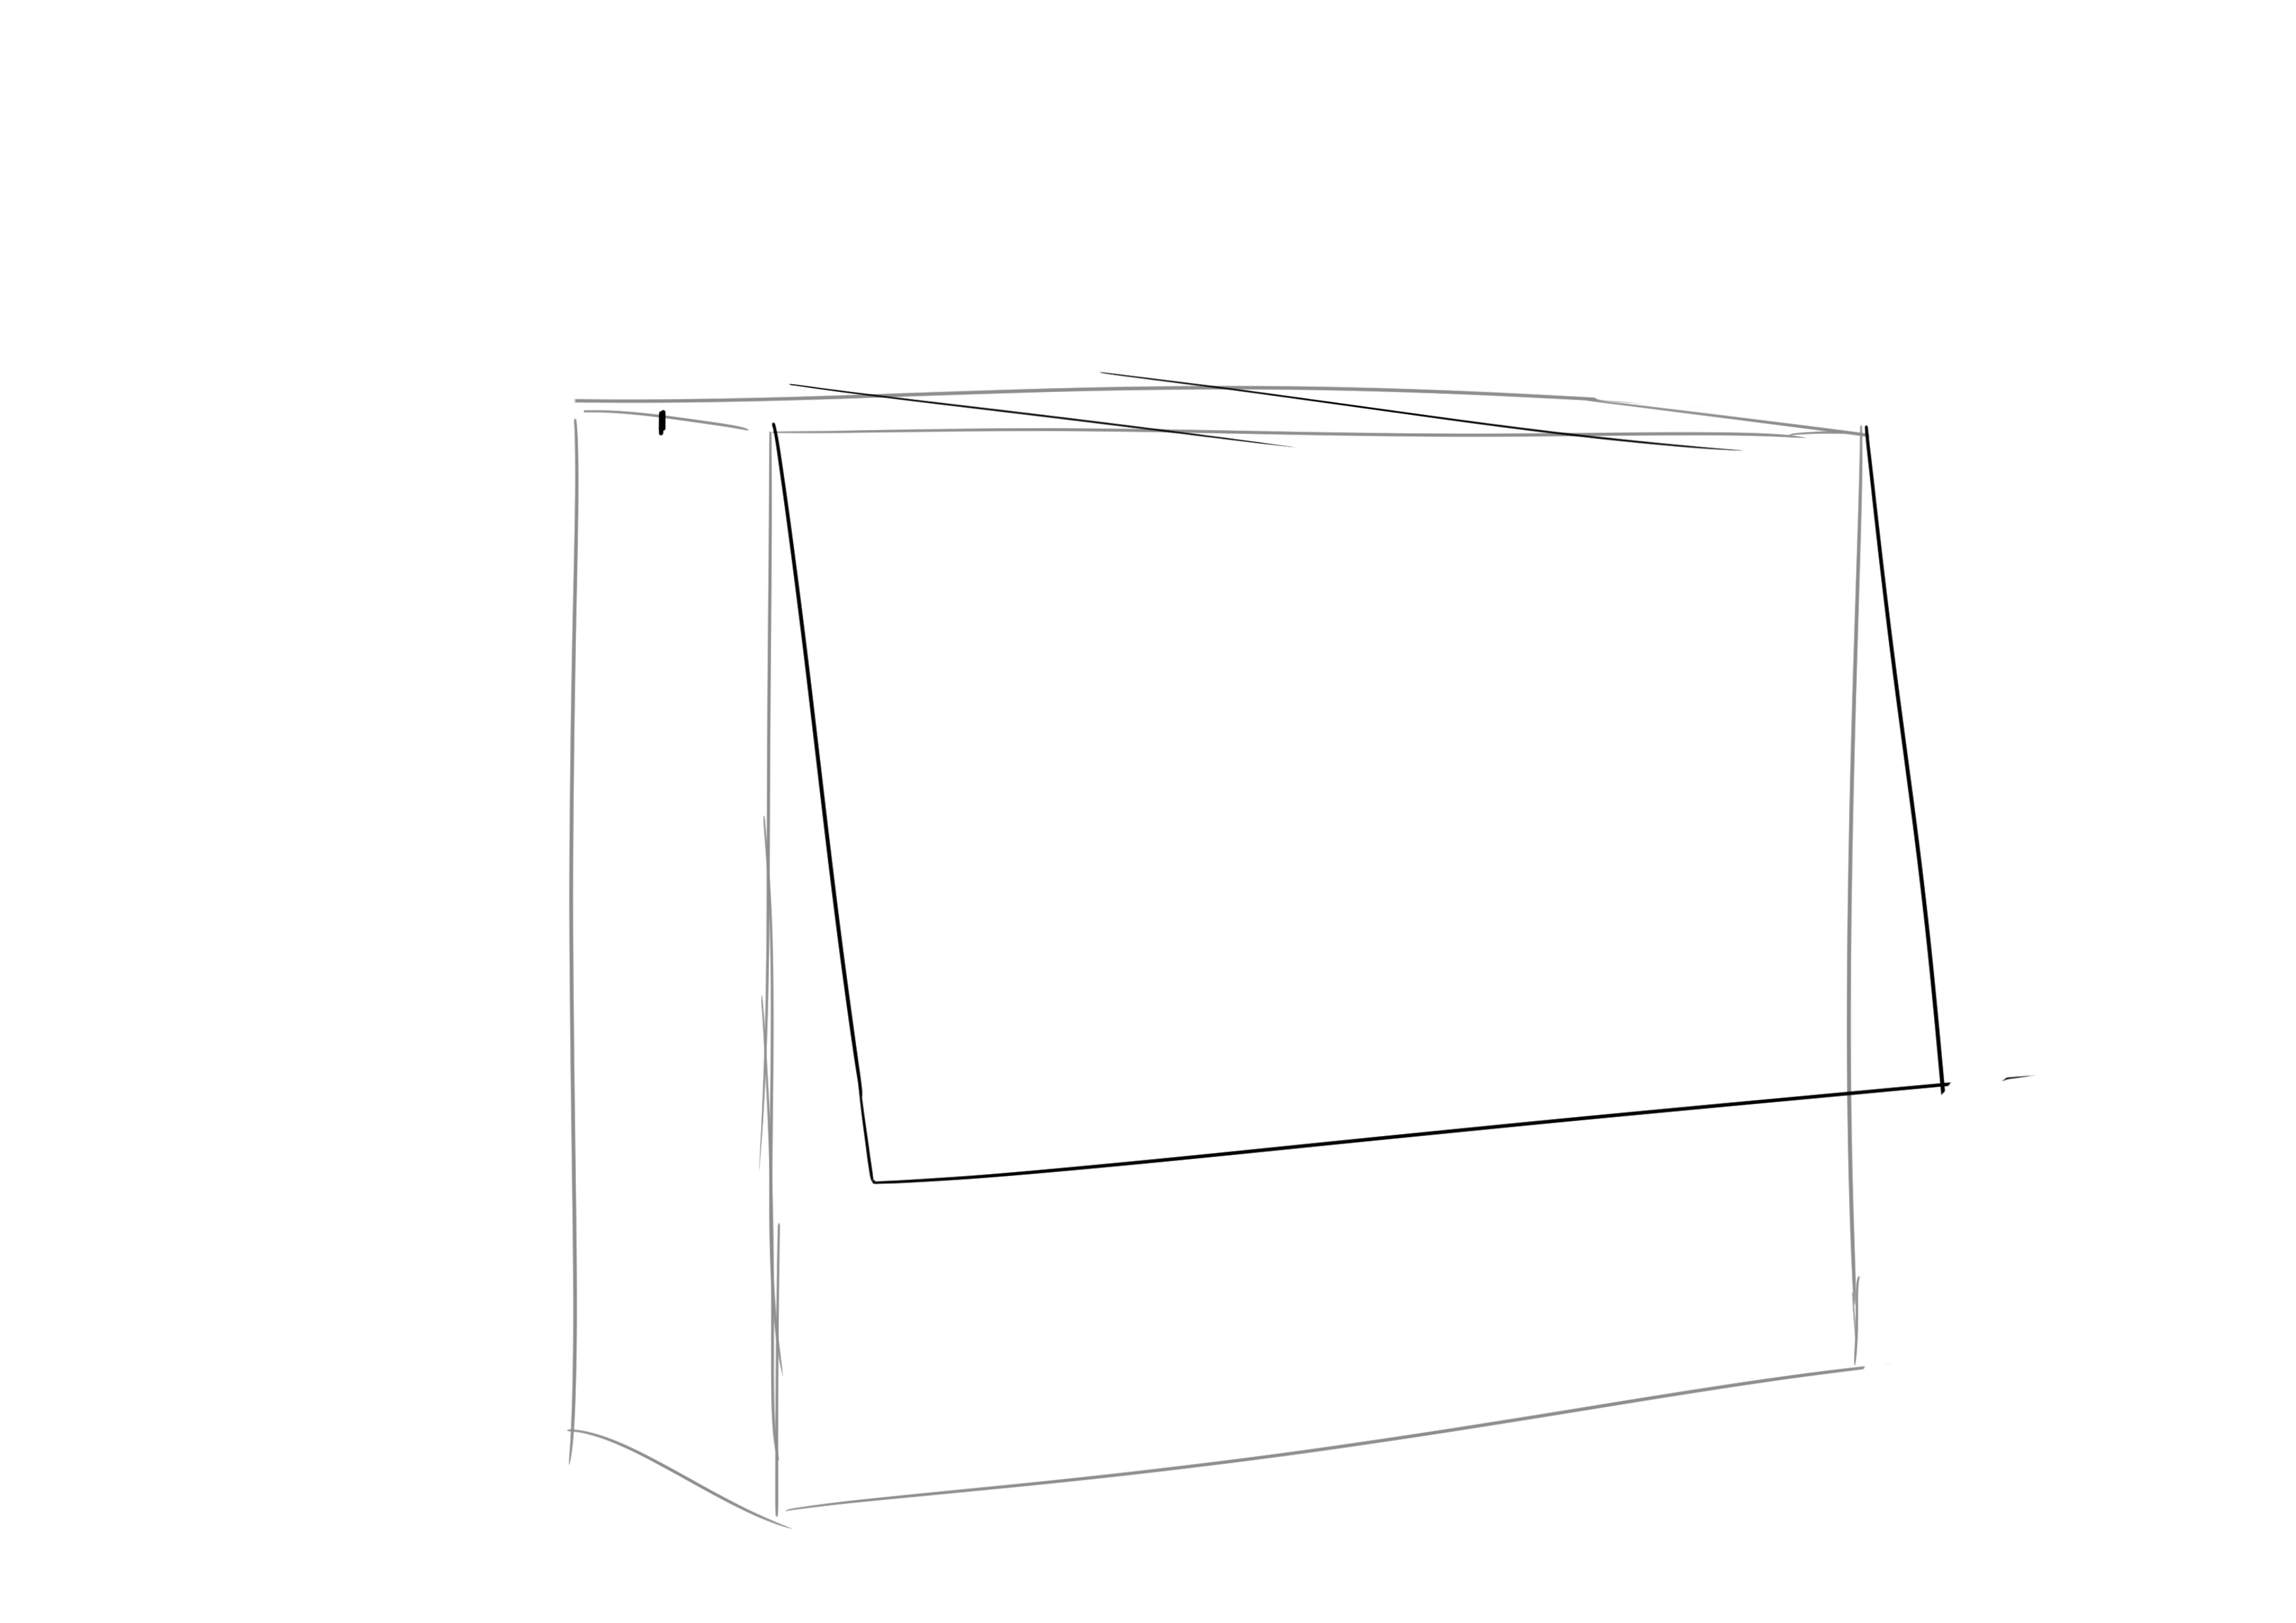
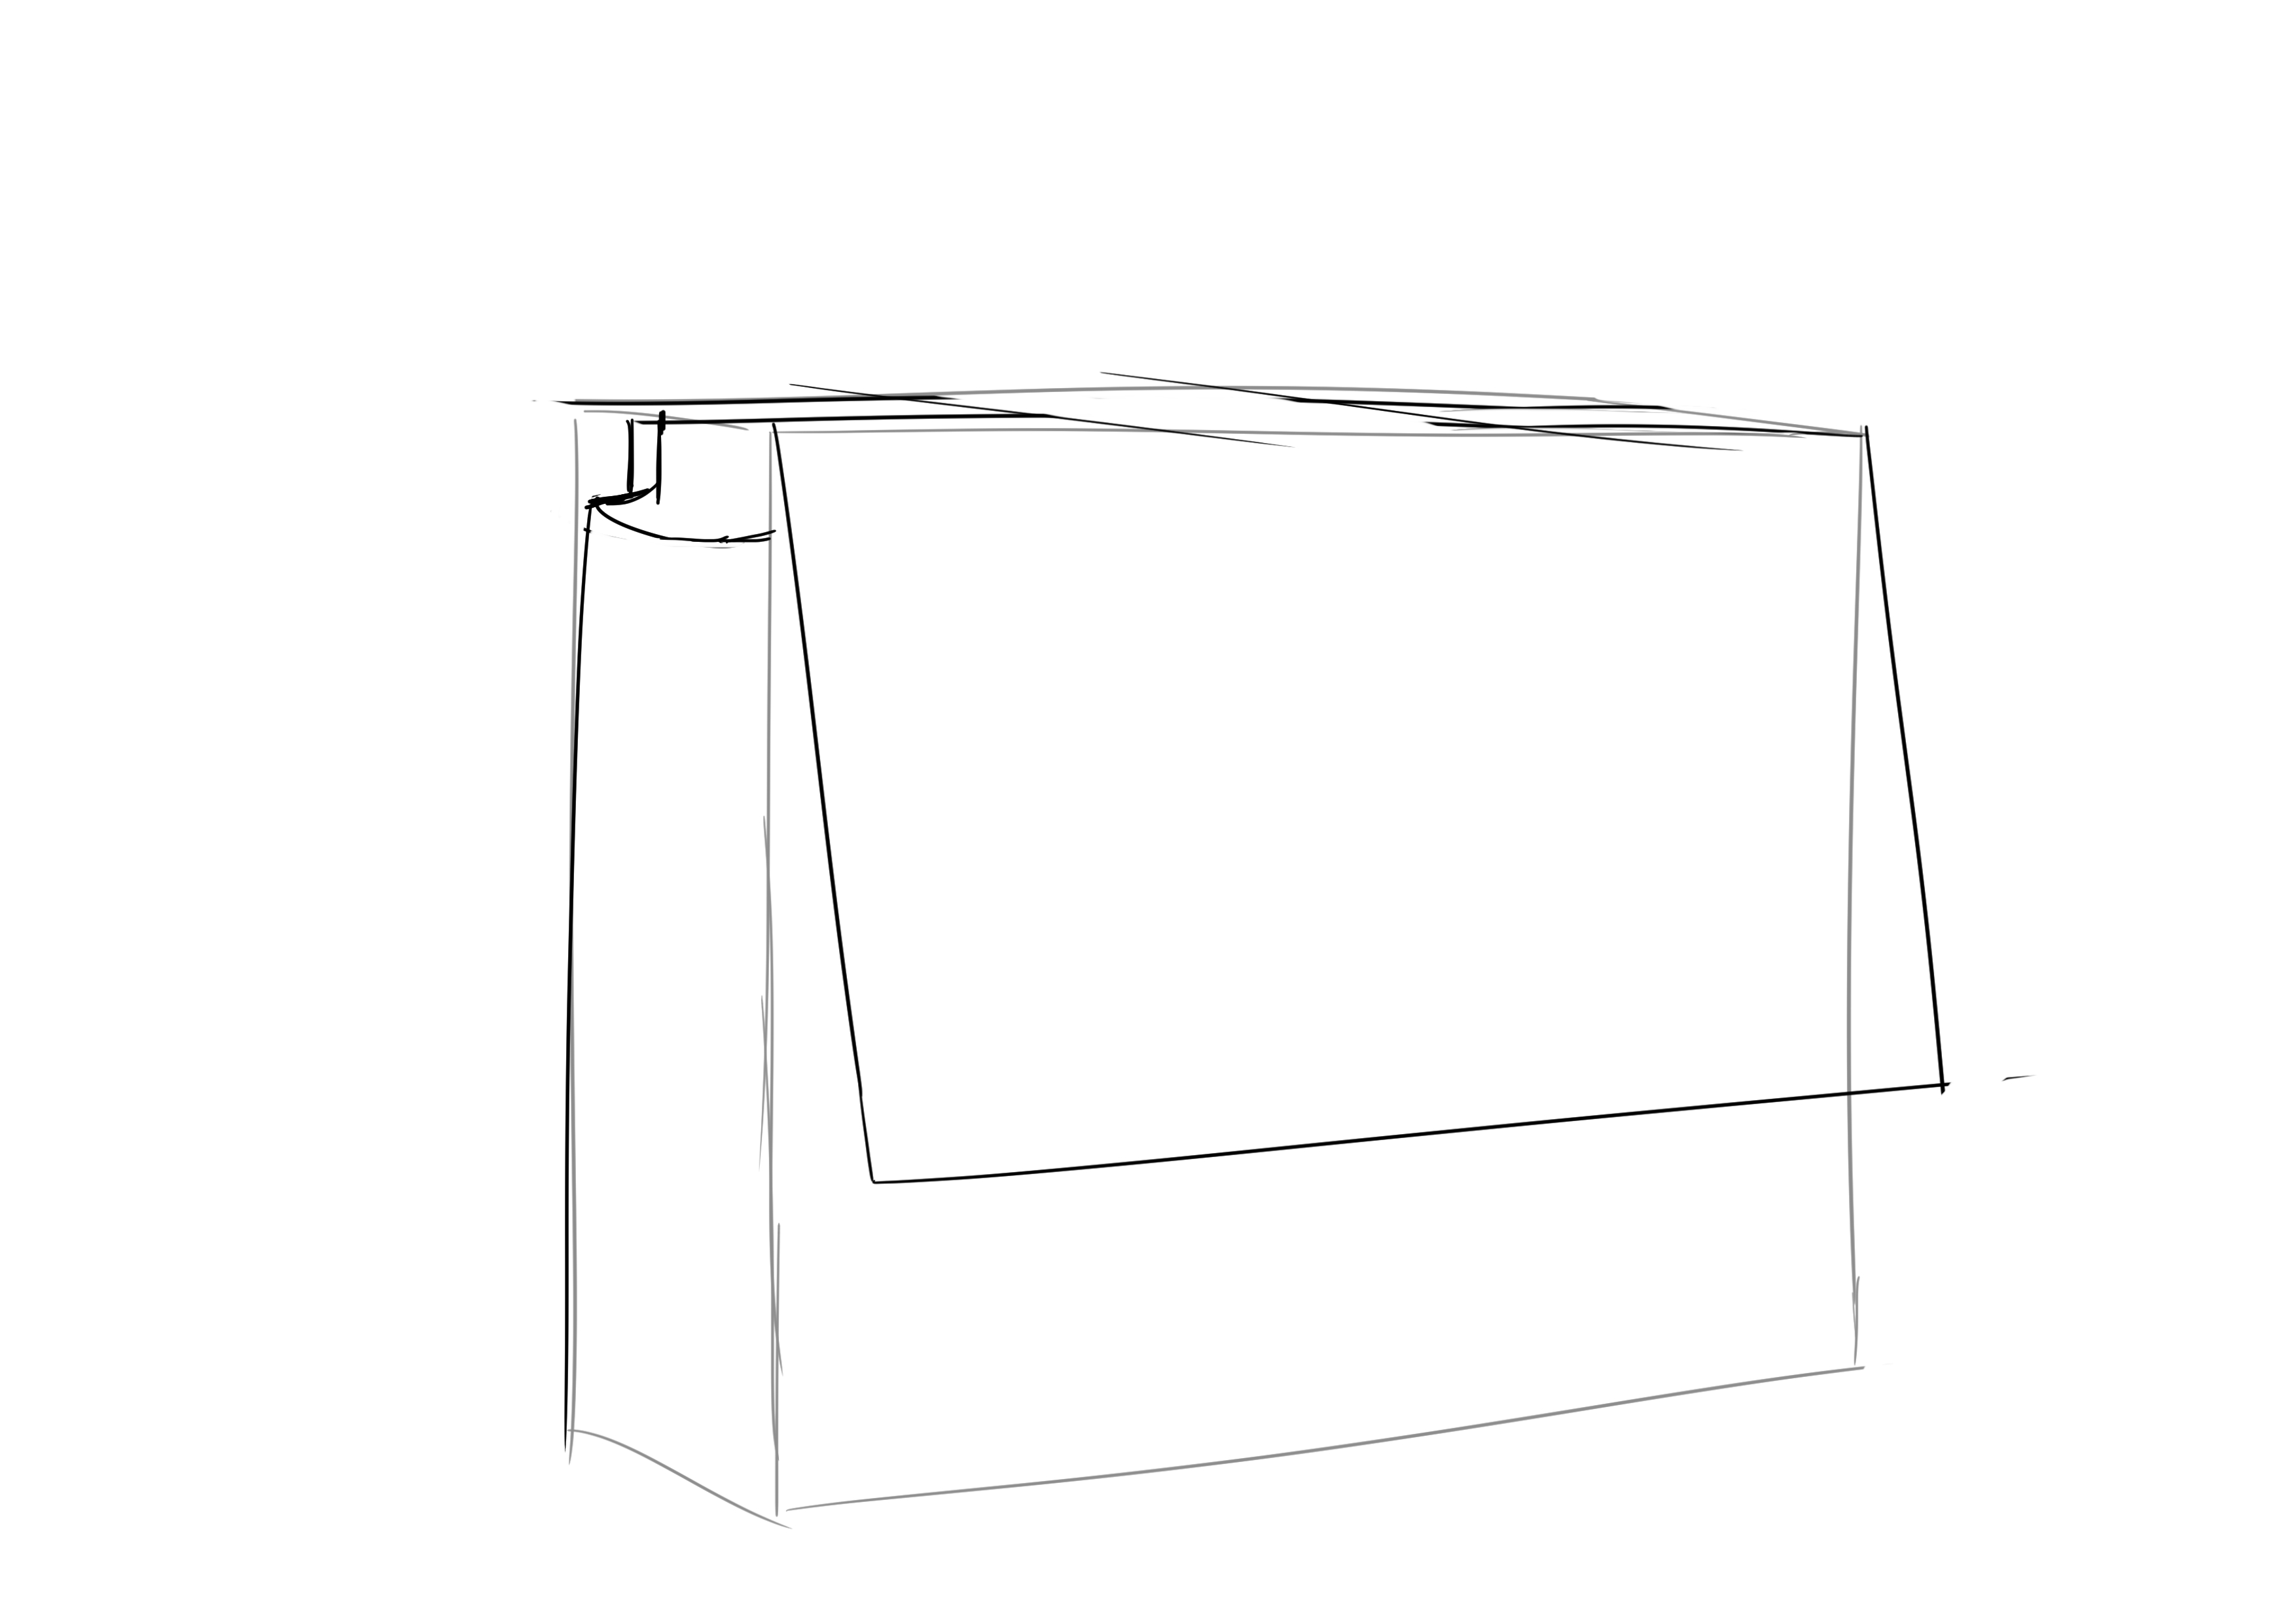
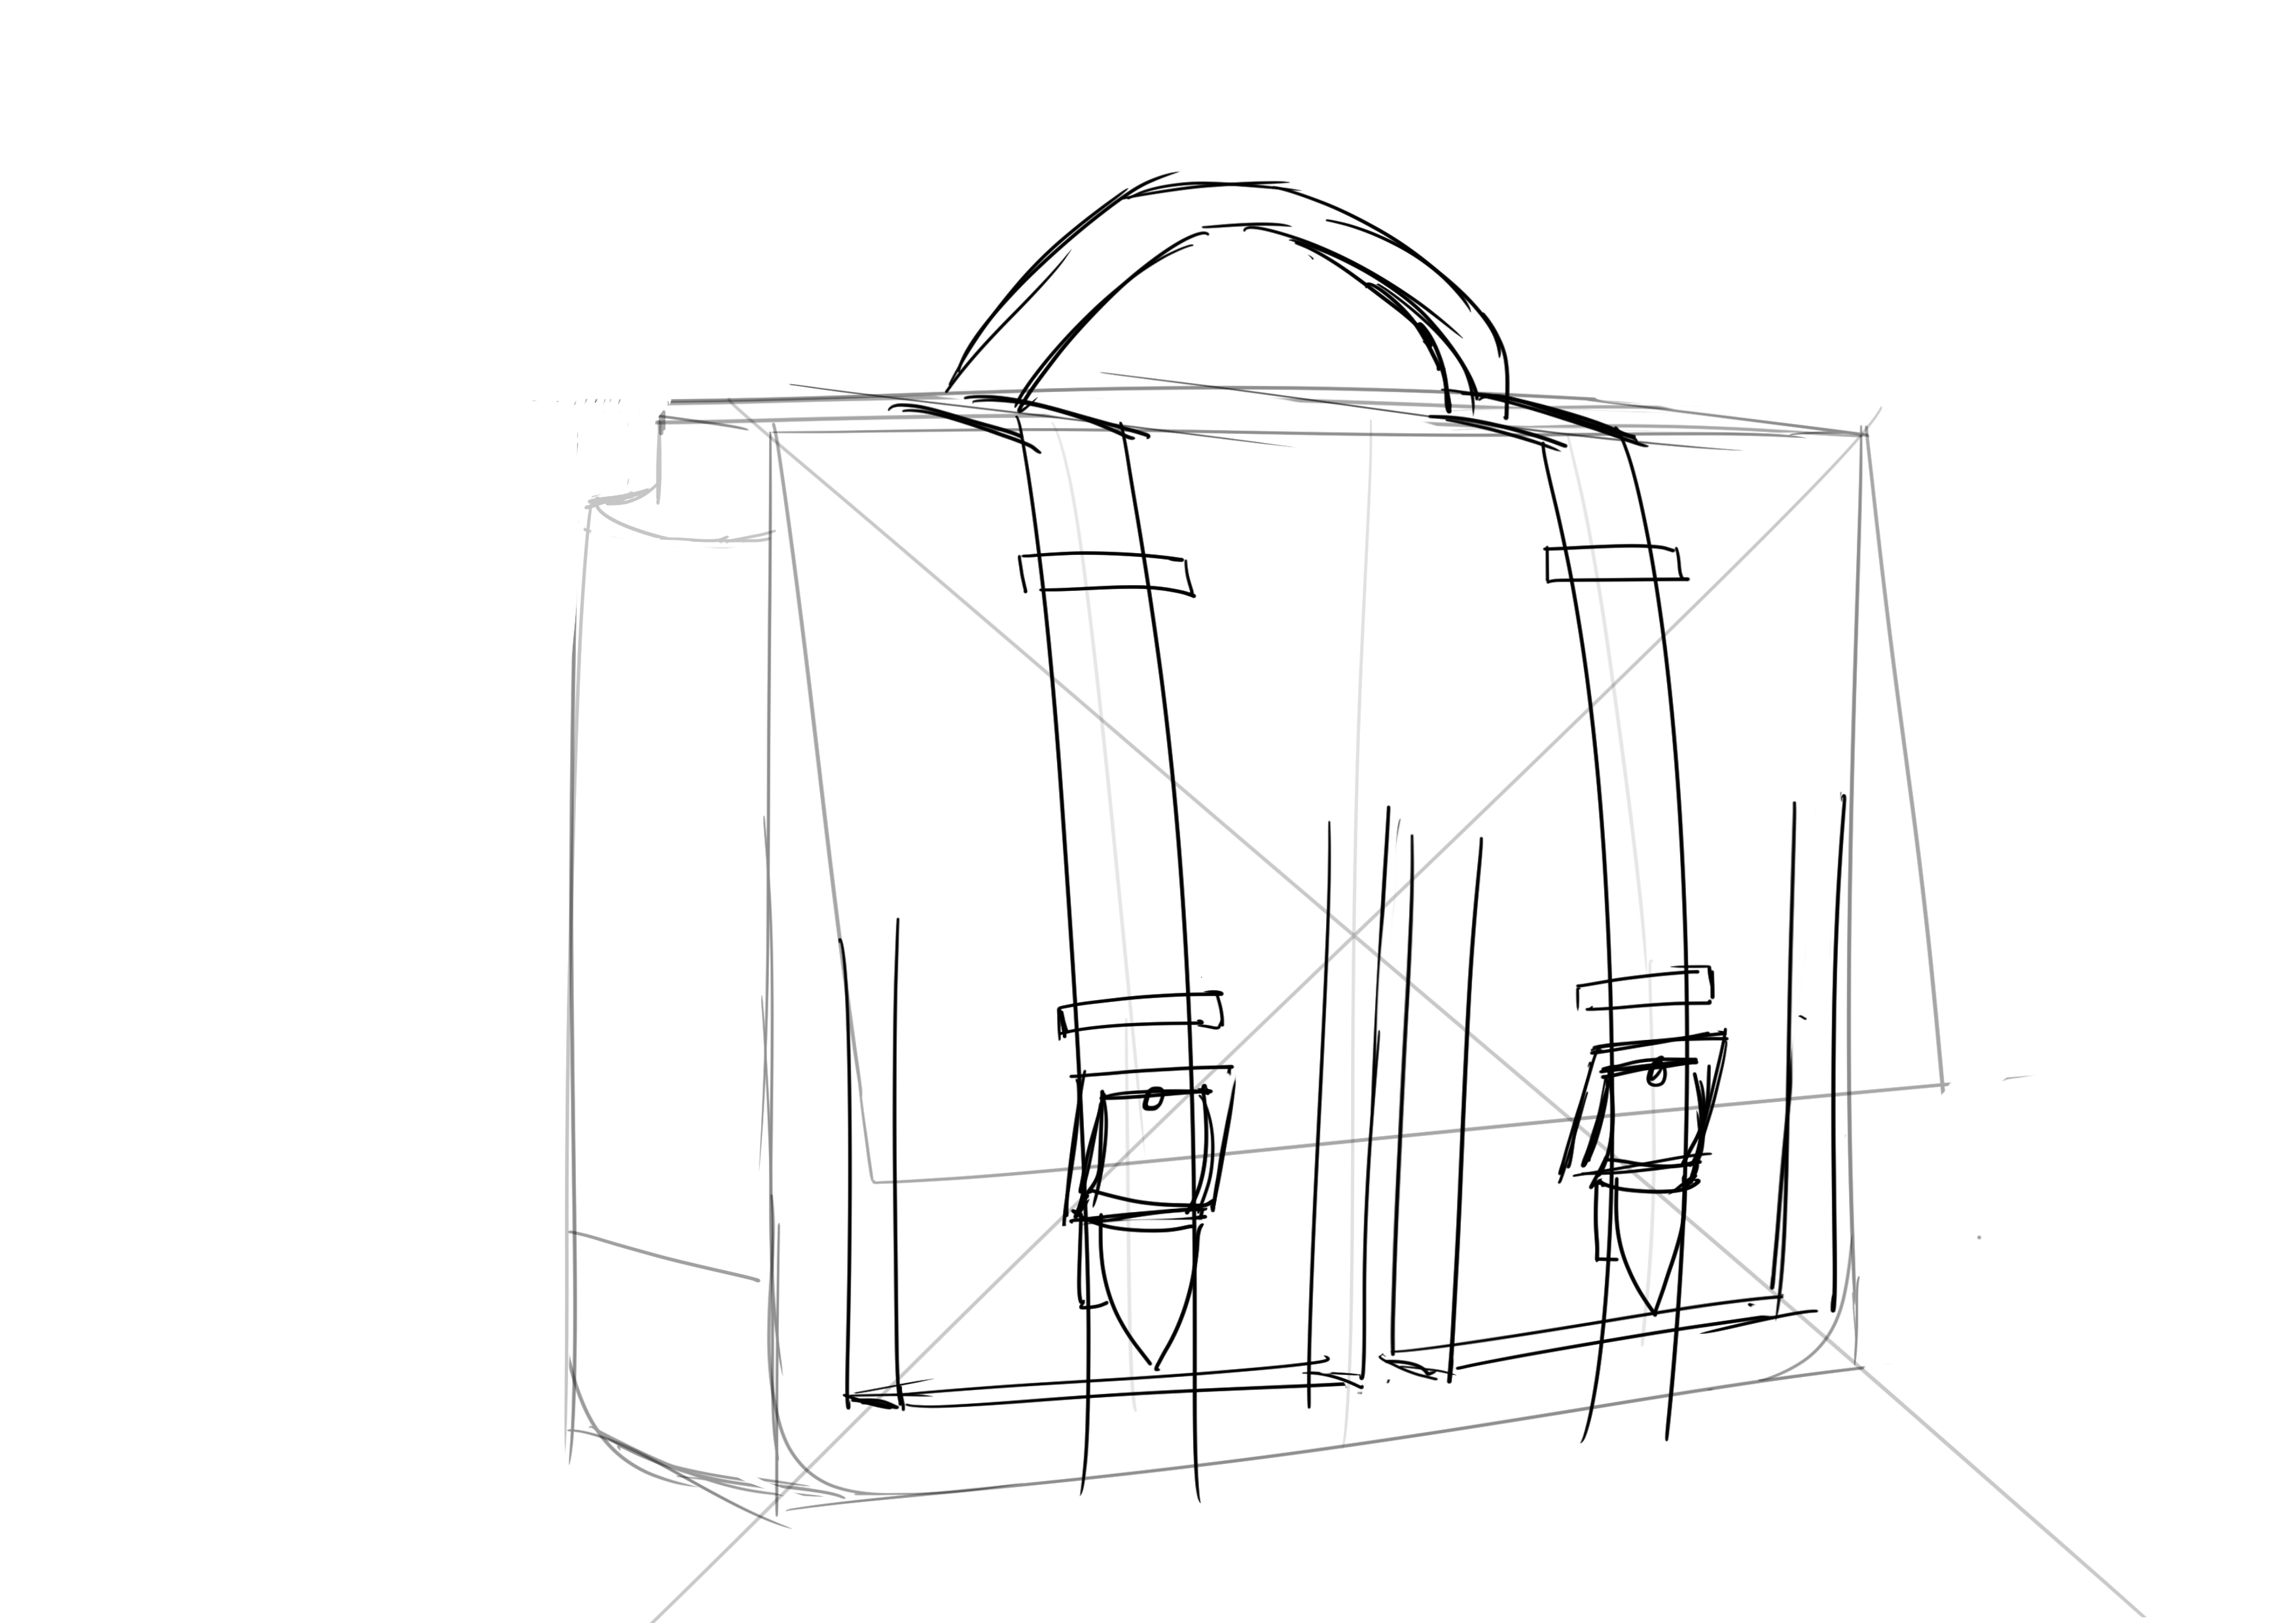
We will also place the base of the handle on top of the tab. To do this, draw a long, fairly thin strip at the very top. Divide this area into three equal parts. You can erase the middle one.
We're going to adjust the thickness of our schoolbag. There is a space between the top of the bag itself and the flap that closes everything, so we're going to mark that. The gap isn't very large, but it varies from one model to another.
We can erase the lines that are no longer useful to us. Now we're going to round the bottom of the bag. No miracle method here, and no complex construction, we're going into yolo mode, all by eye!
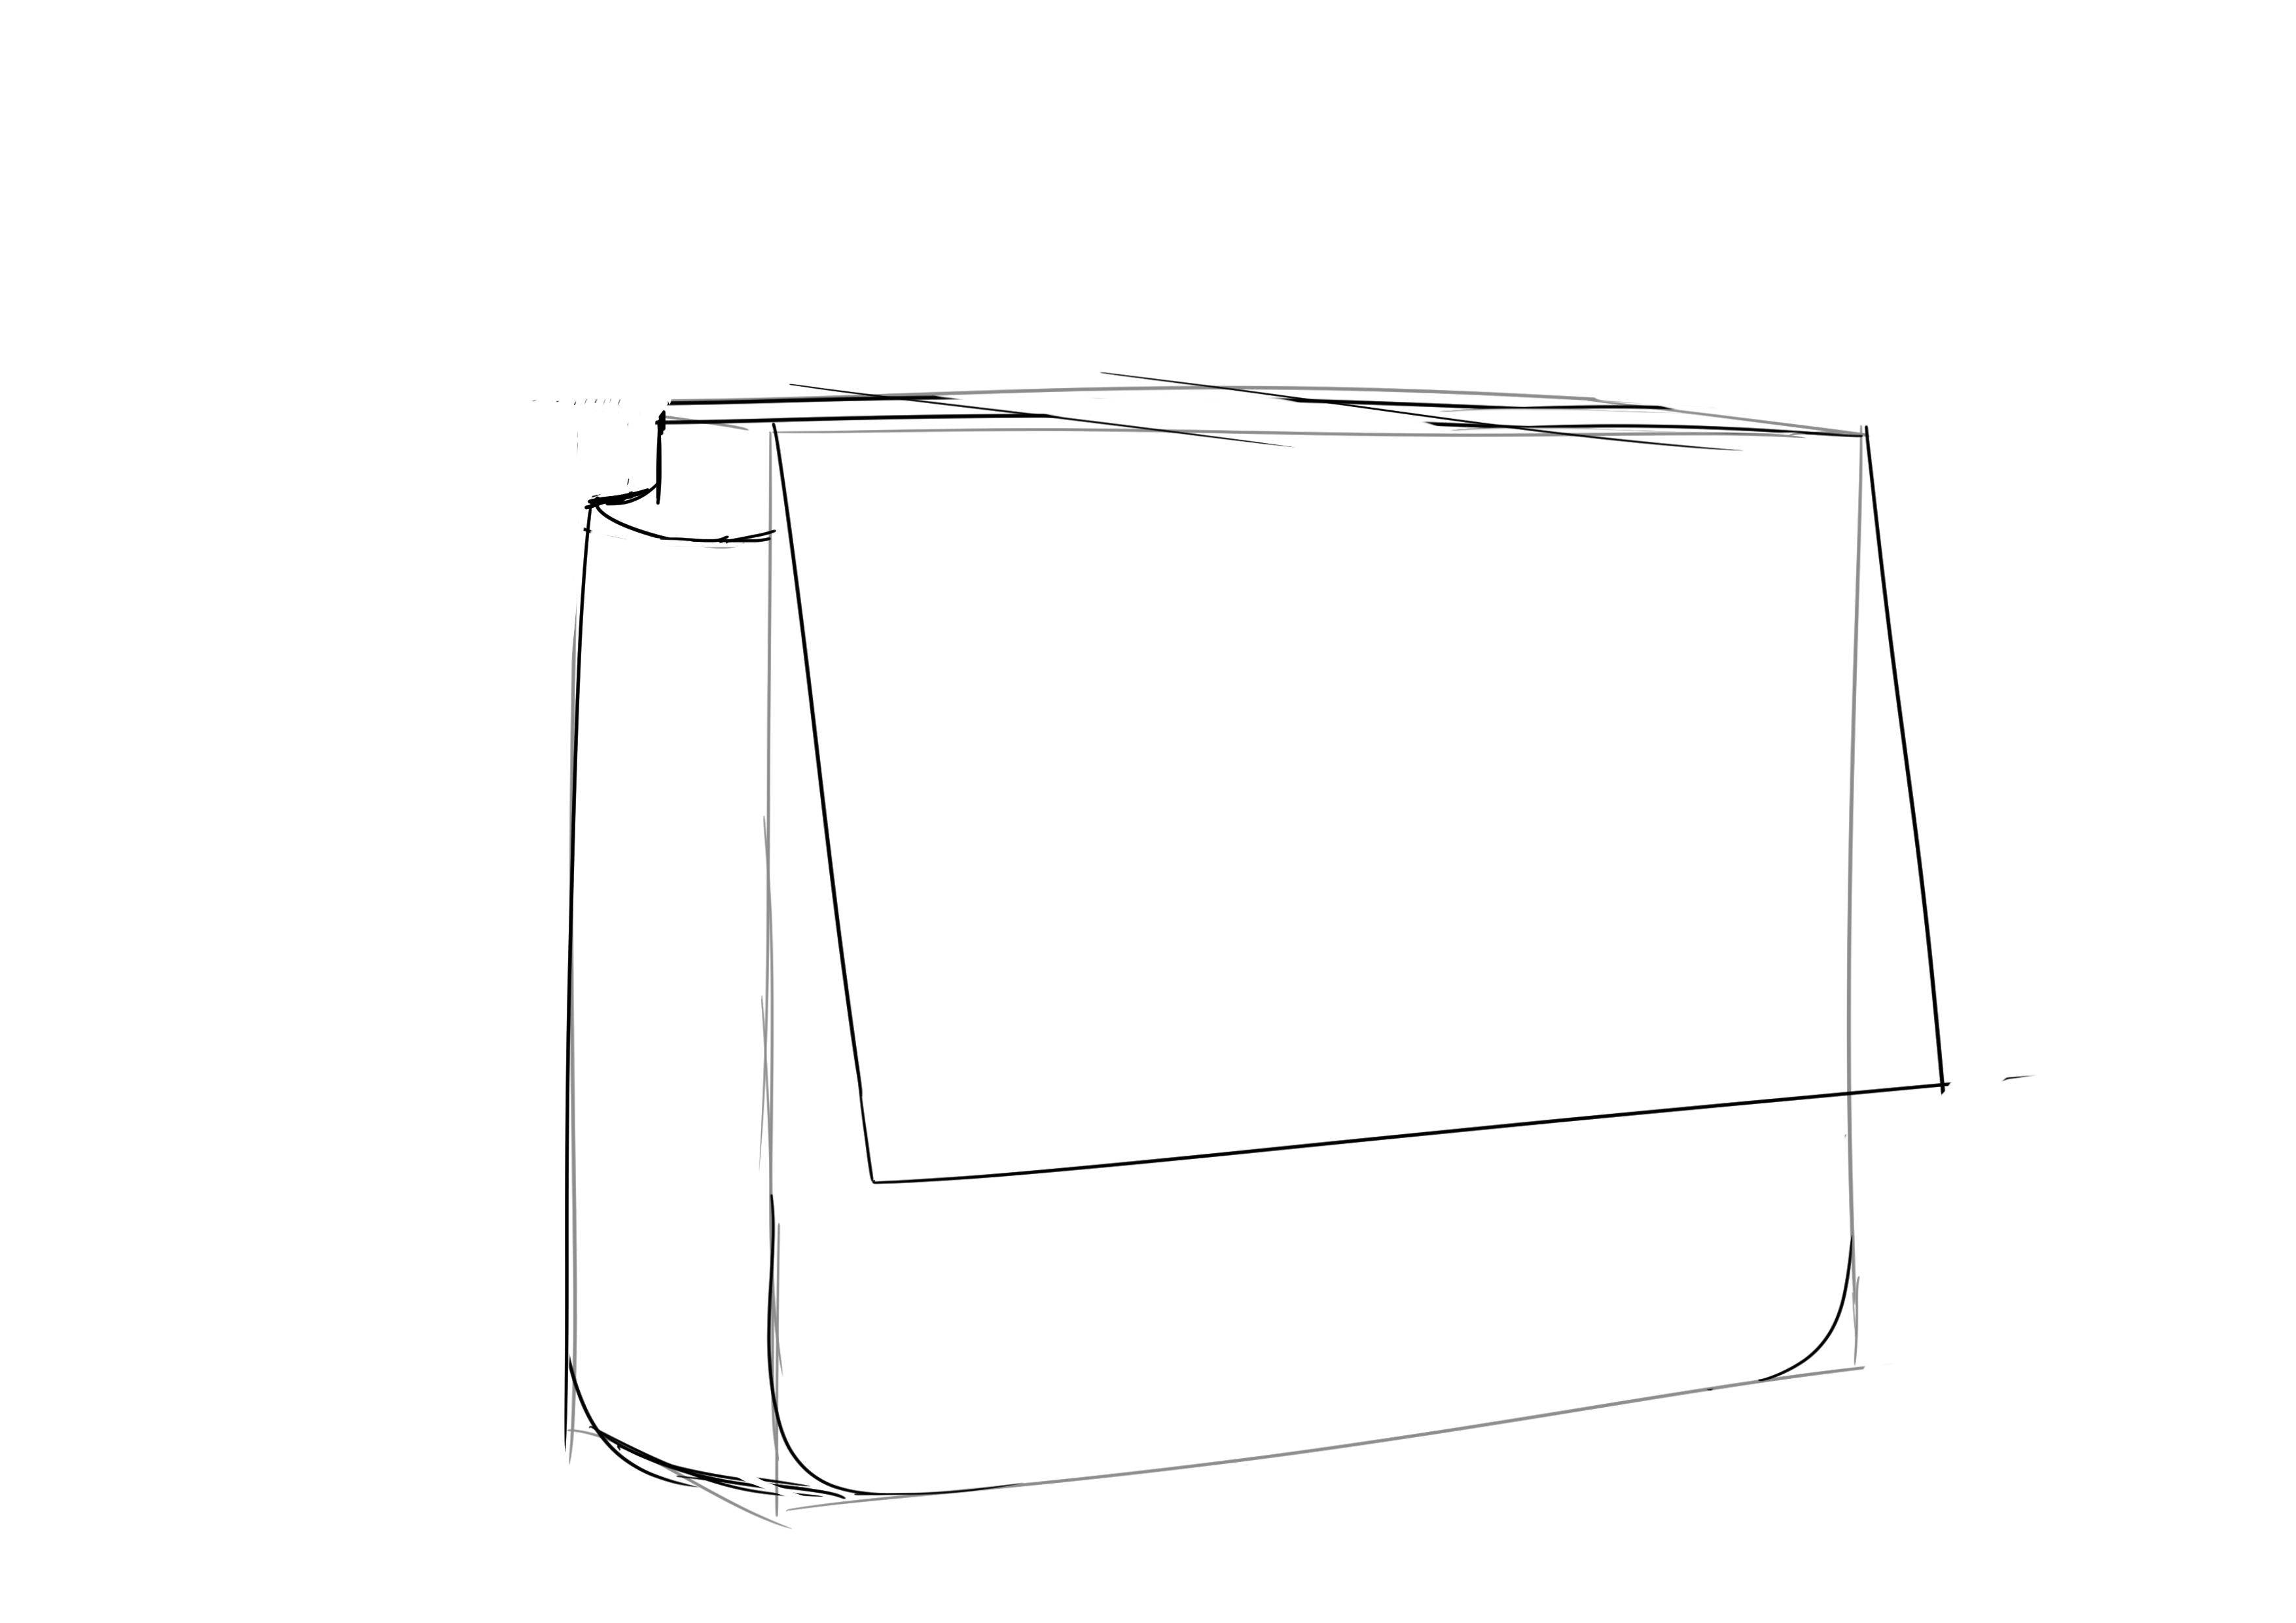
It doesn't need to be perfect. As we are dealing with fabric, it tends to sag a bit, although not symmetrically, and the distortion varies depending on the contents of the bag. So don't worry too much ^^
Generally, the bottom of satchels and backpacks is reinforced, either with leather or with a thicker, laminated fabric because it is often on the ground and frequently subjected to shocks, not to mention the weight of the contents it has to support. Therefore, we will place the demarcation for this area on the bottom of the bag. I would say that we can estimate this distance at 1/5th from the height.

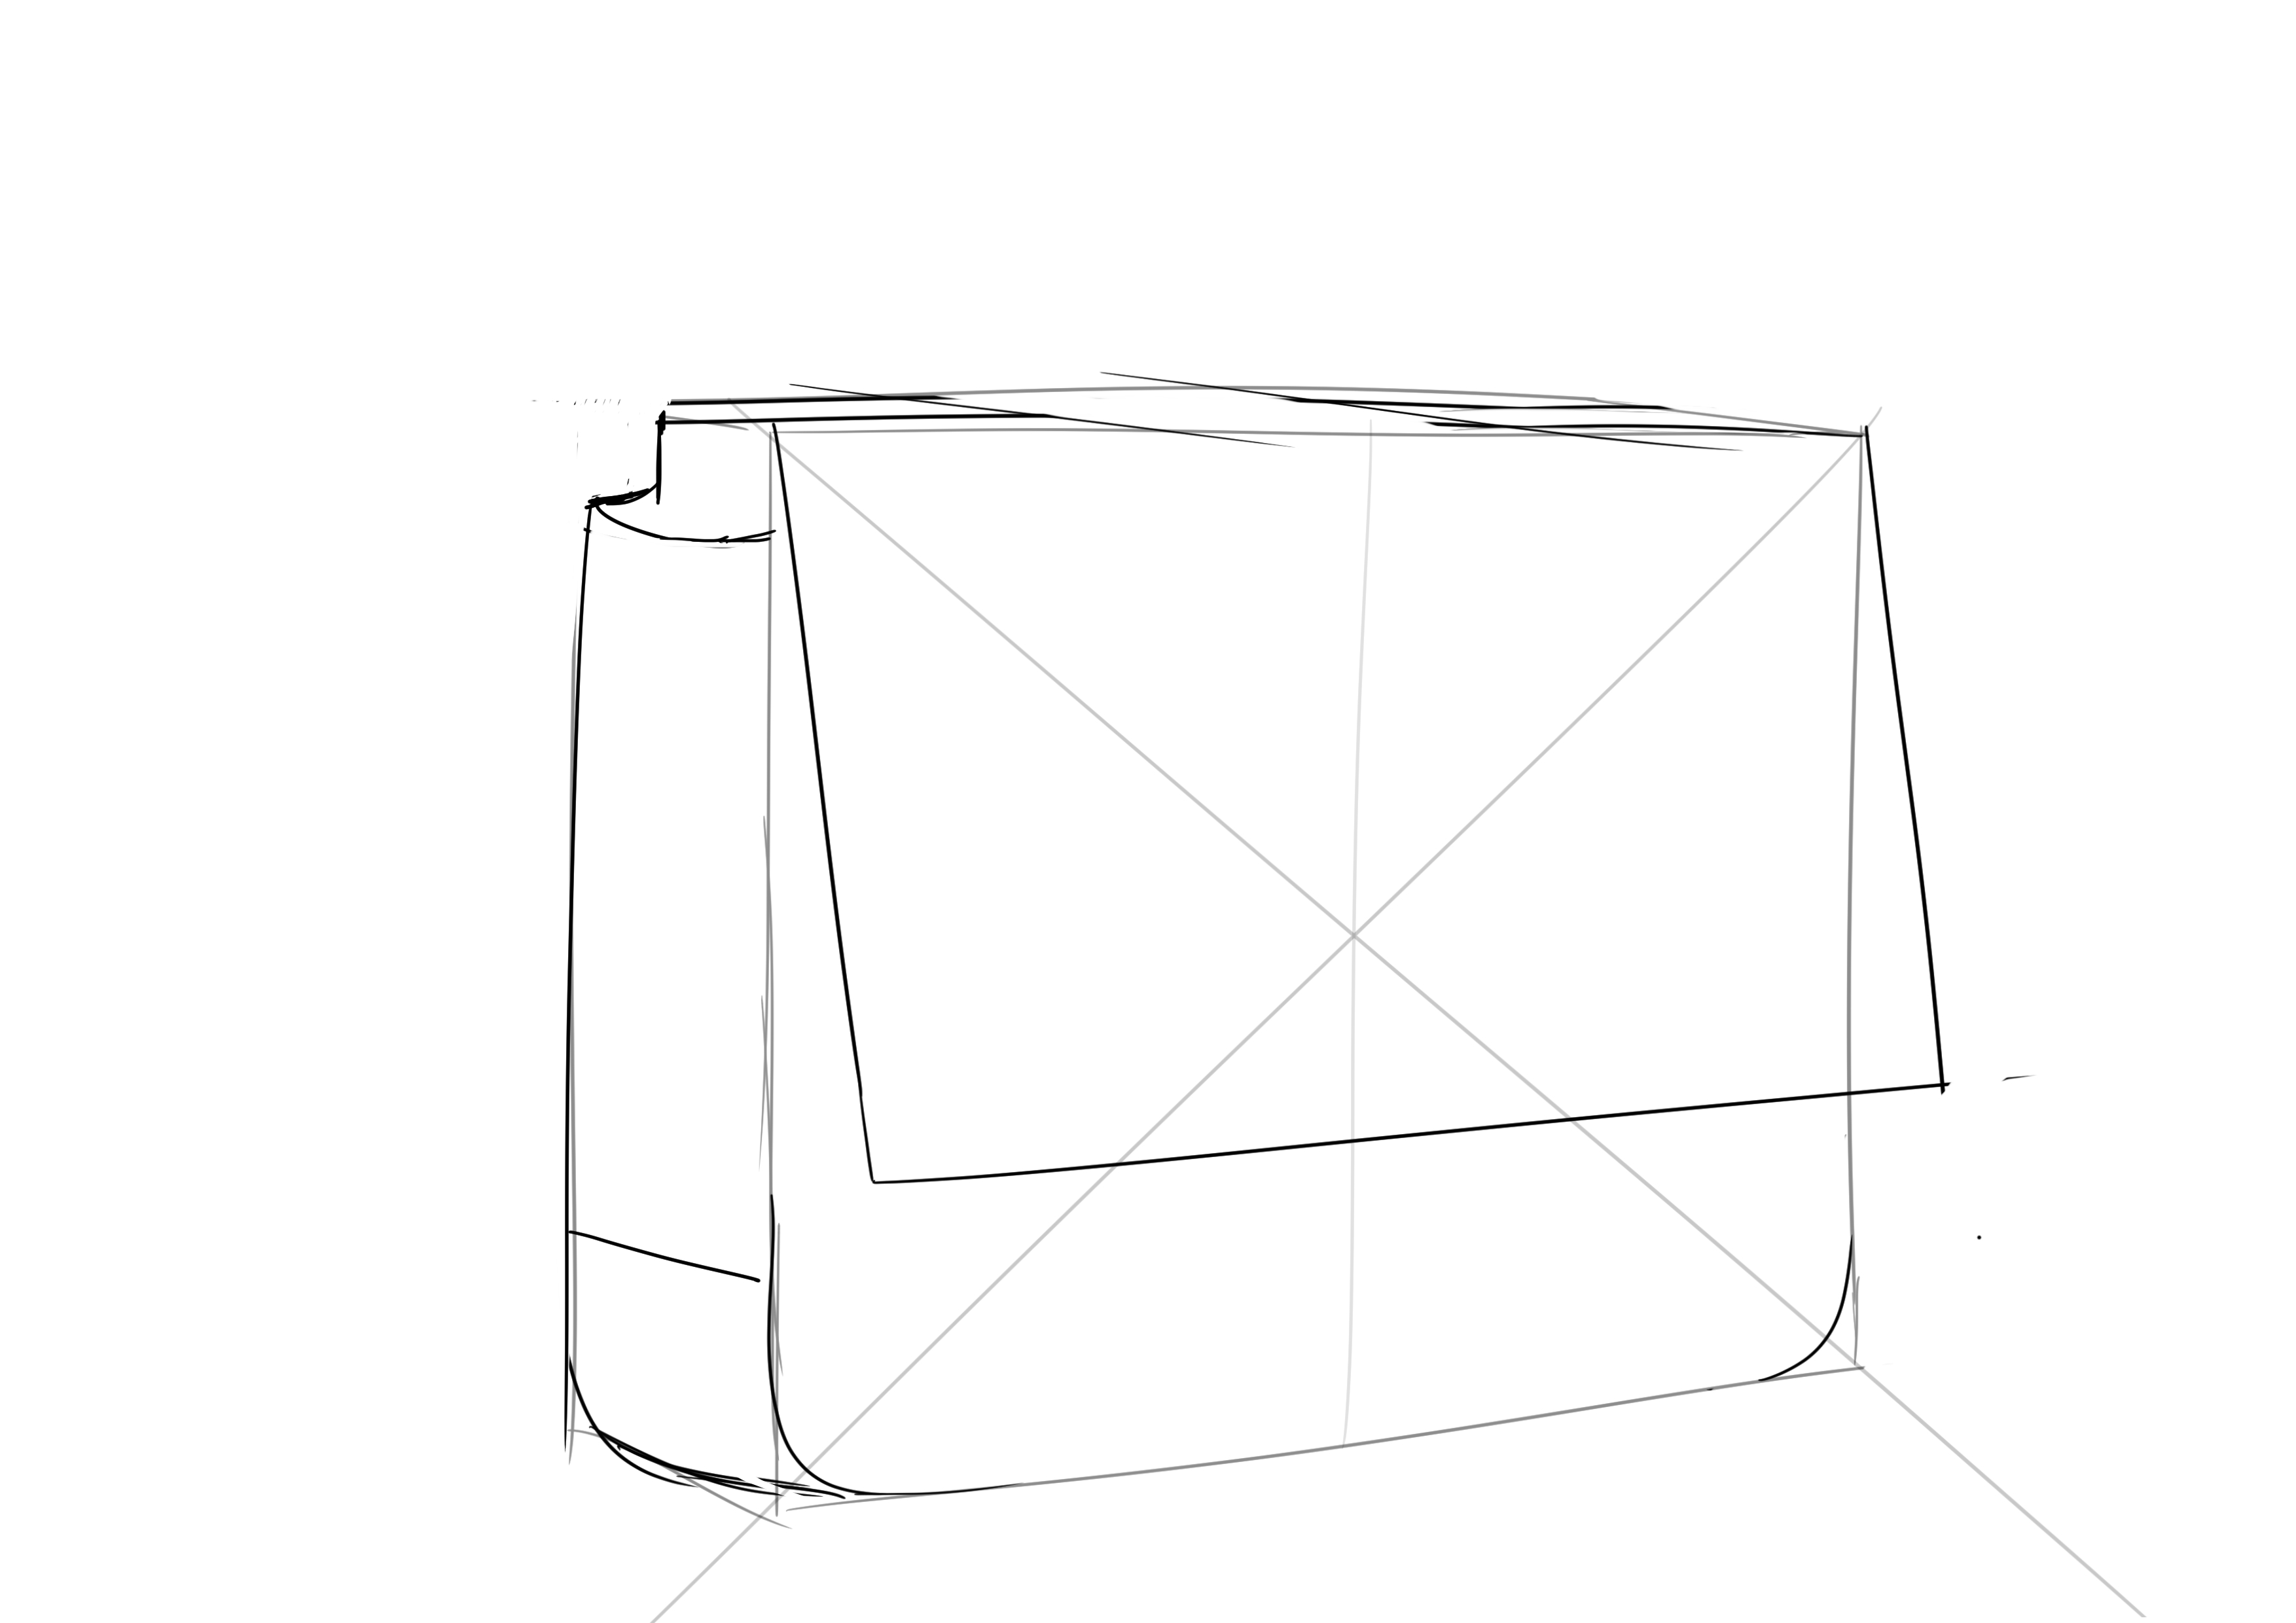
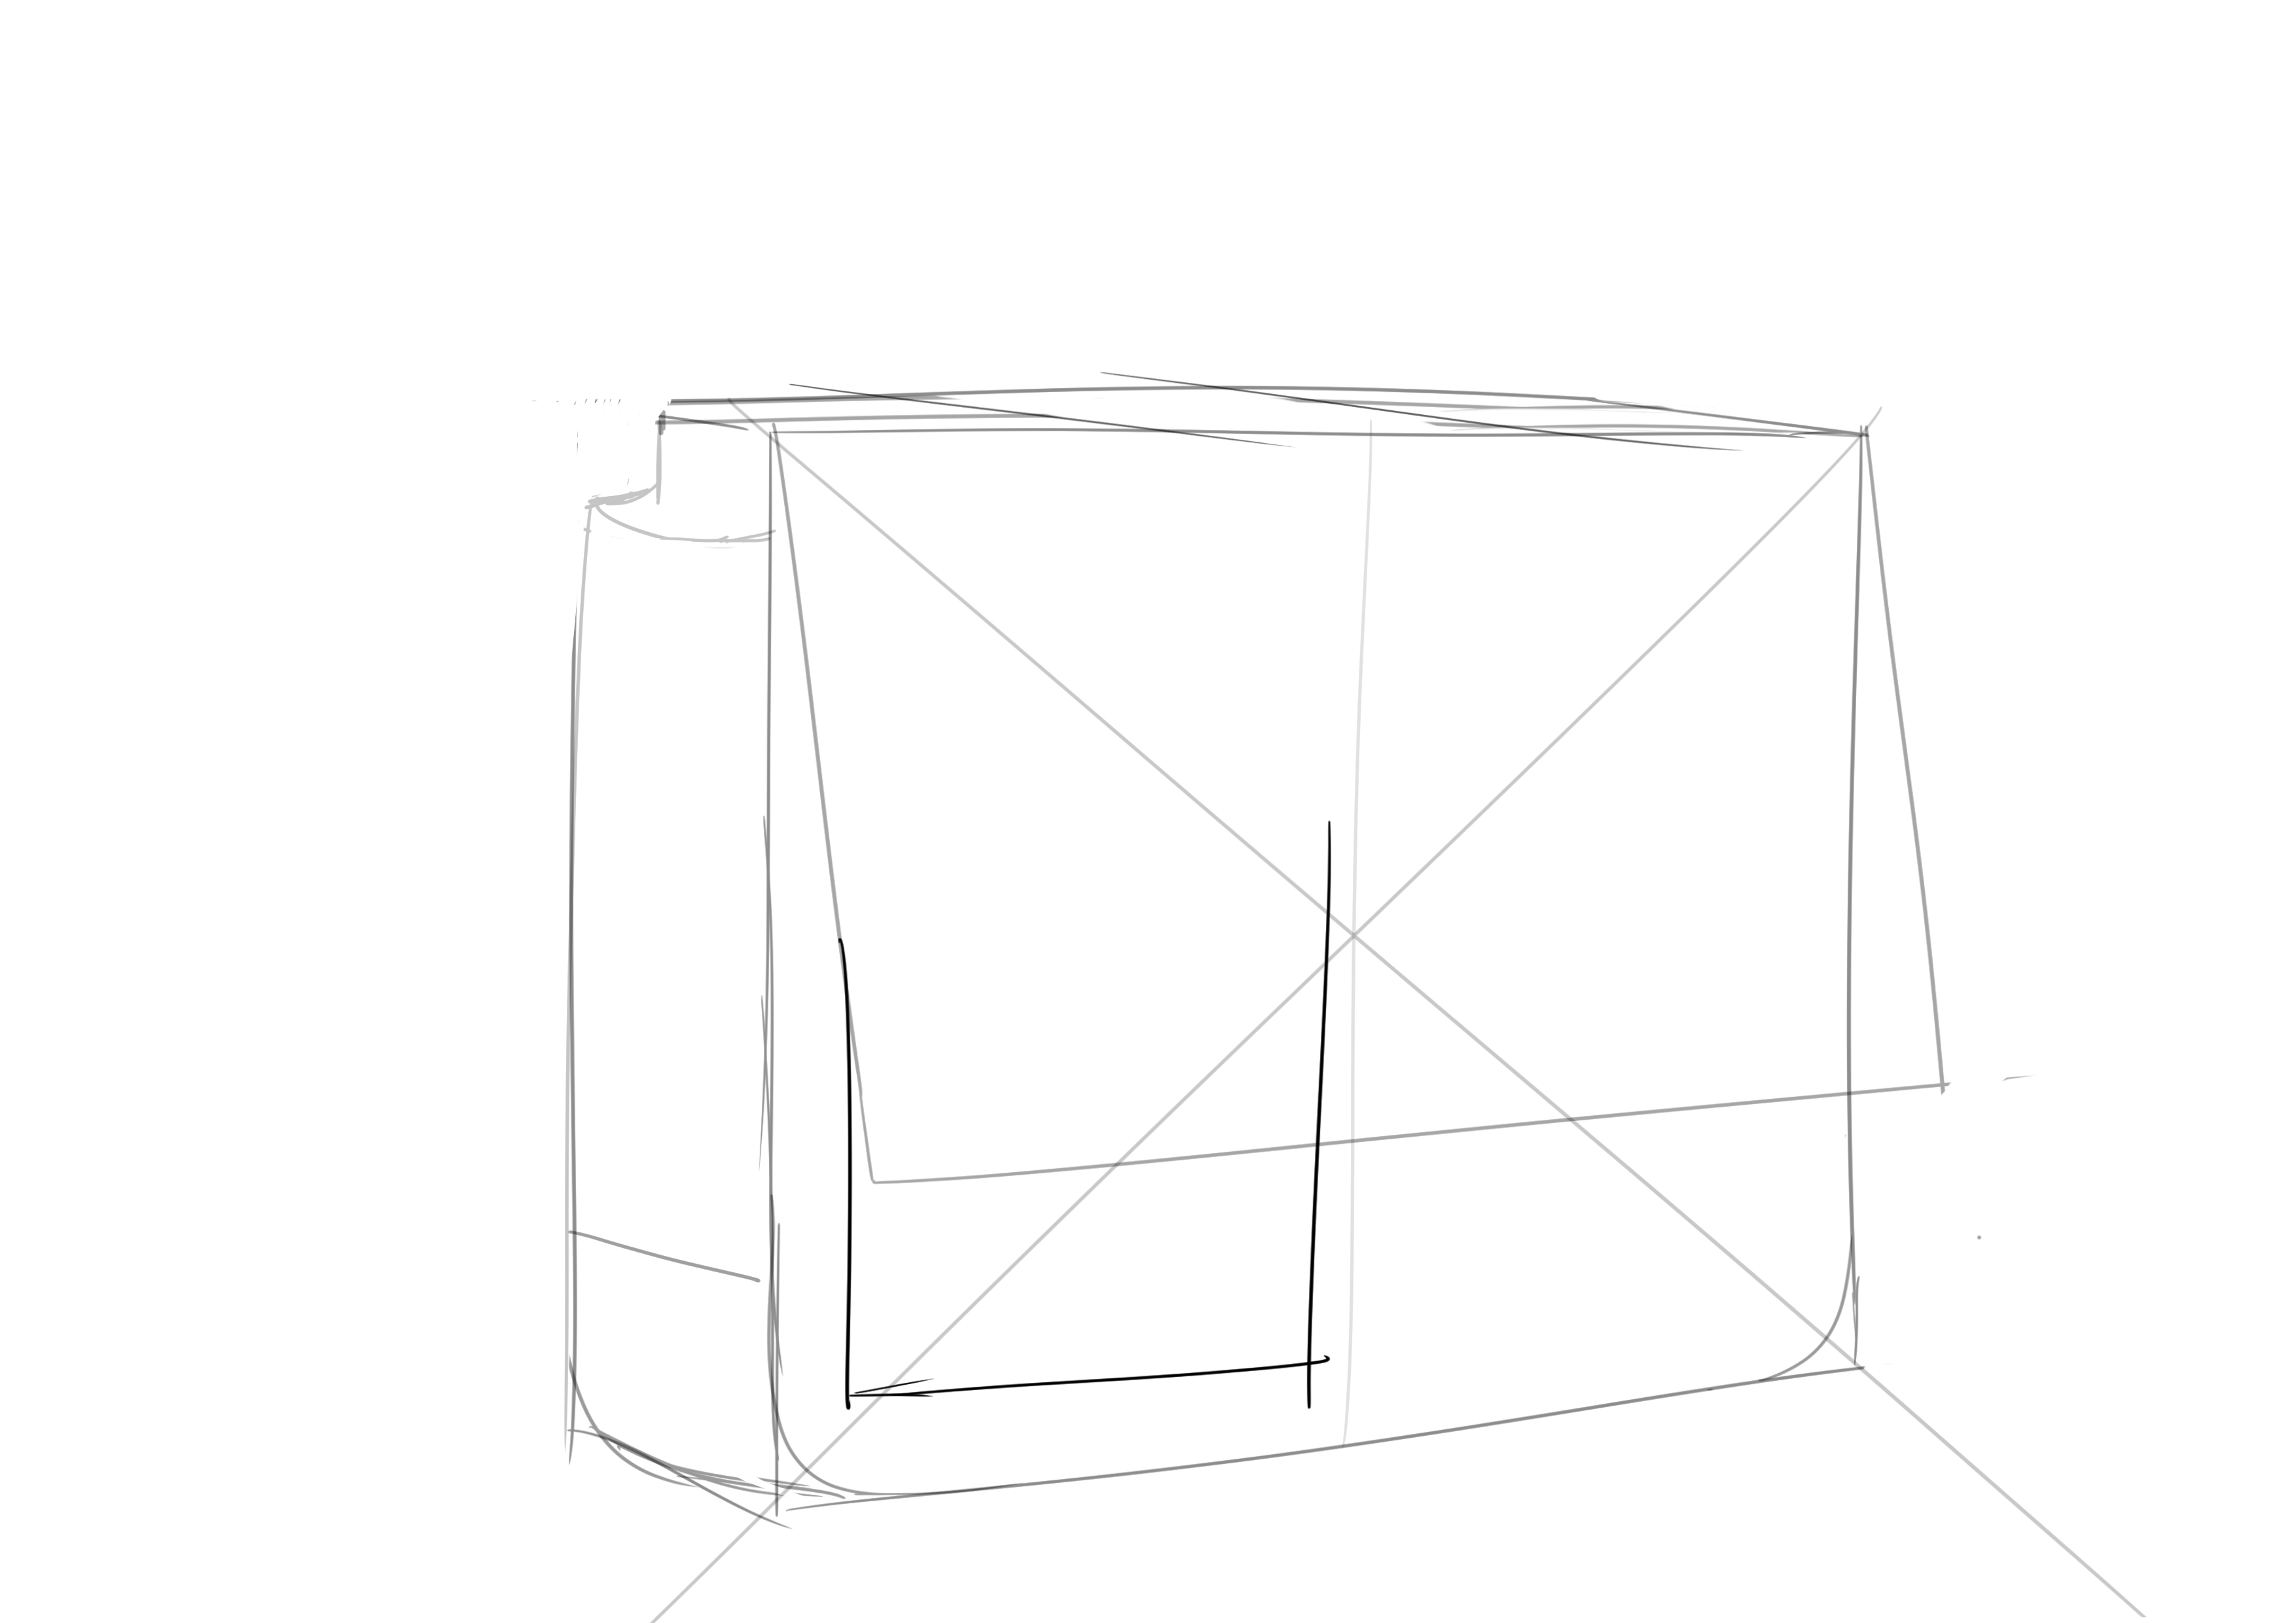
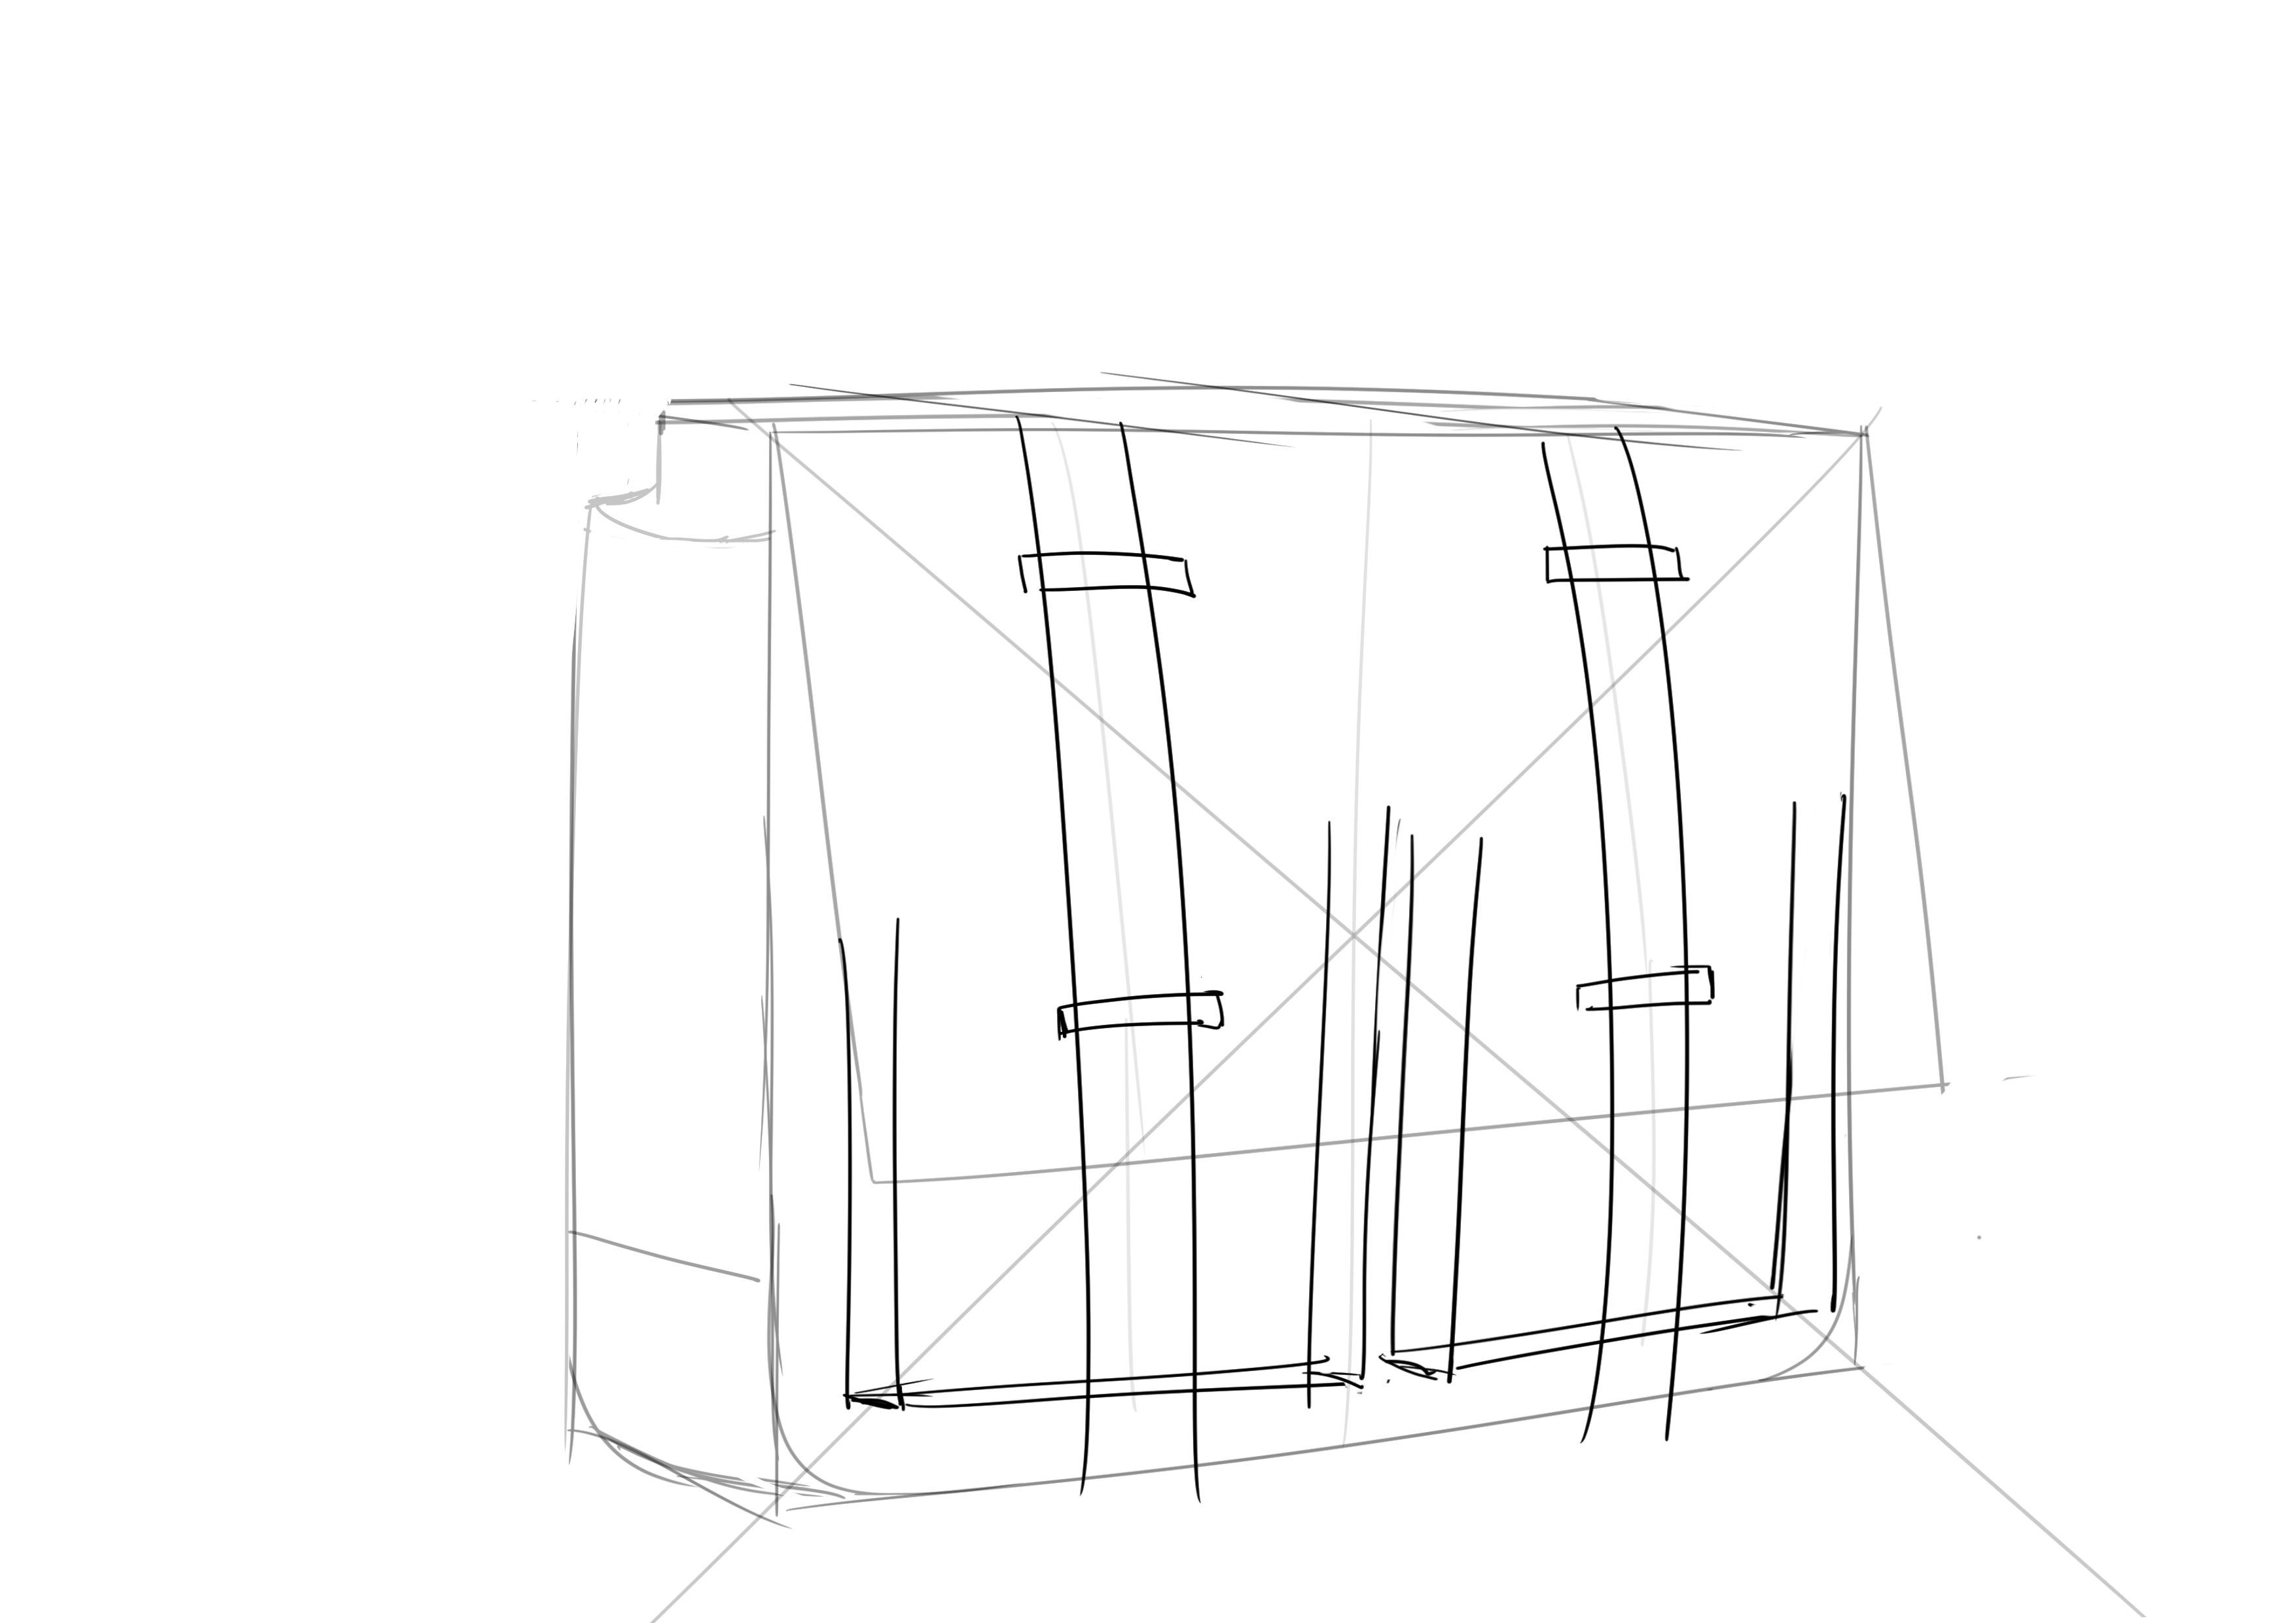
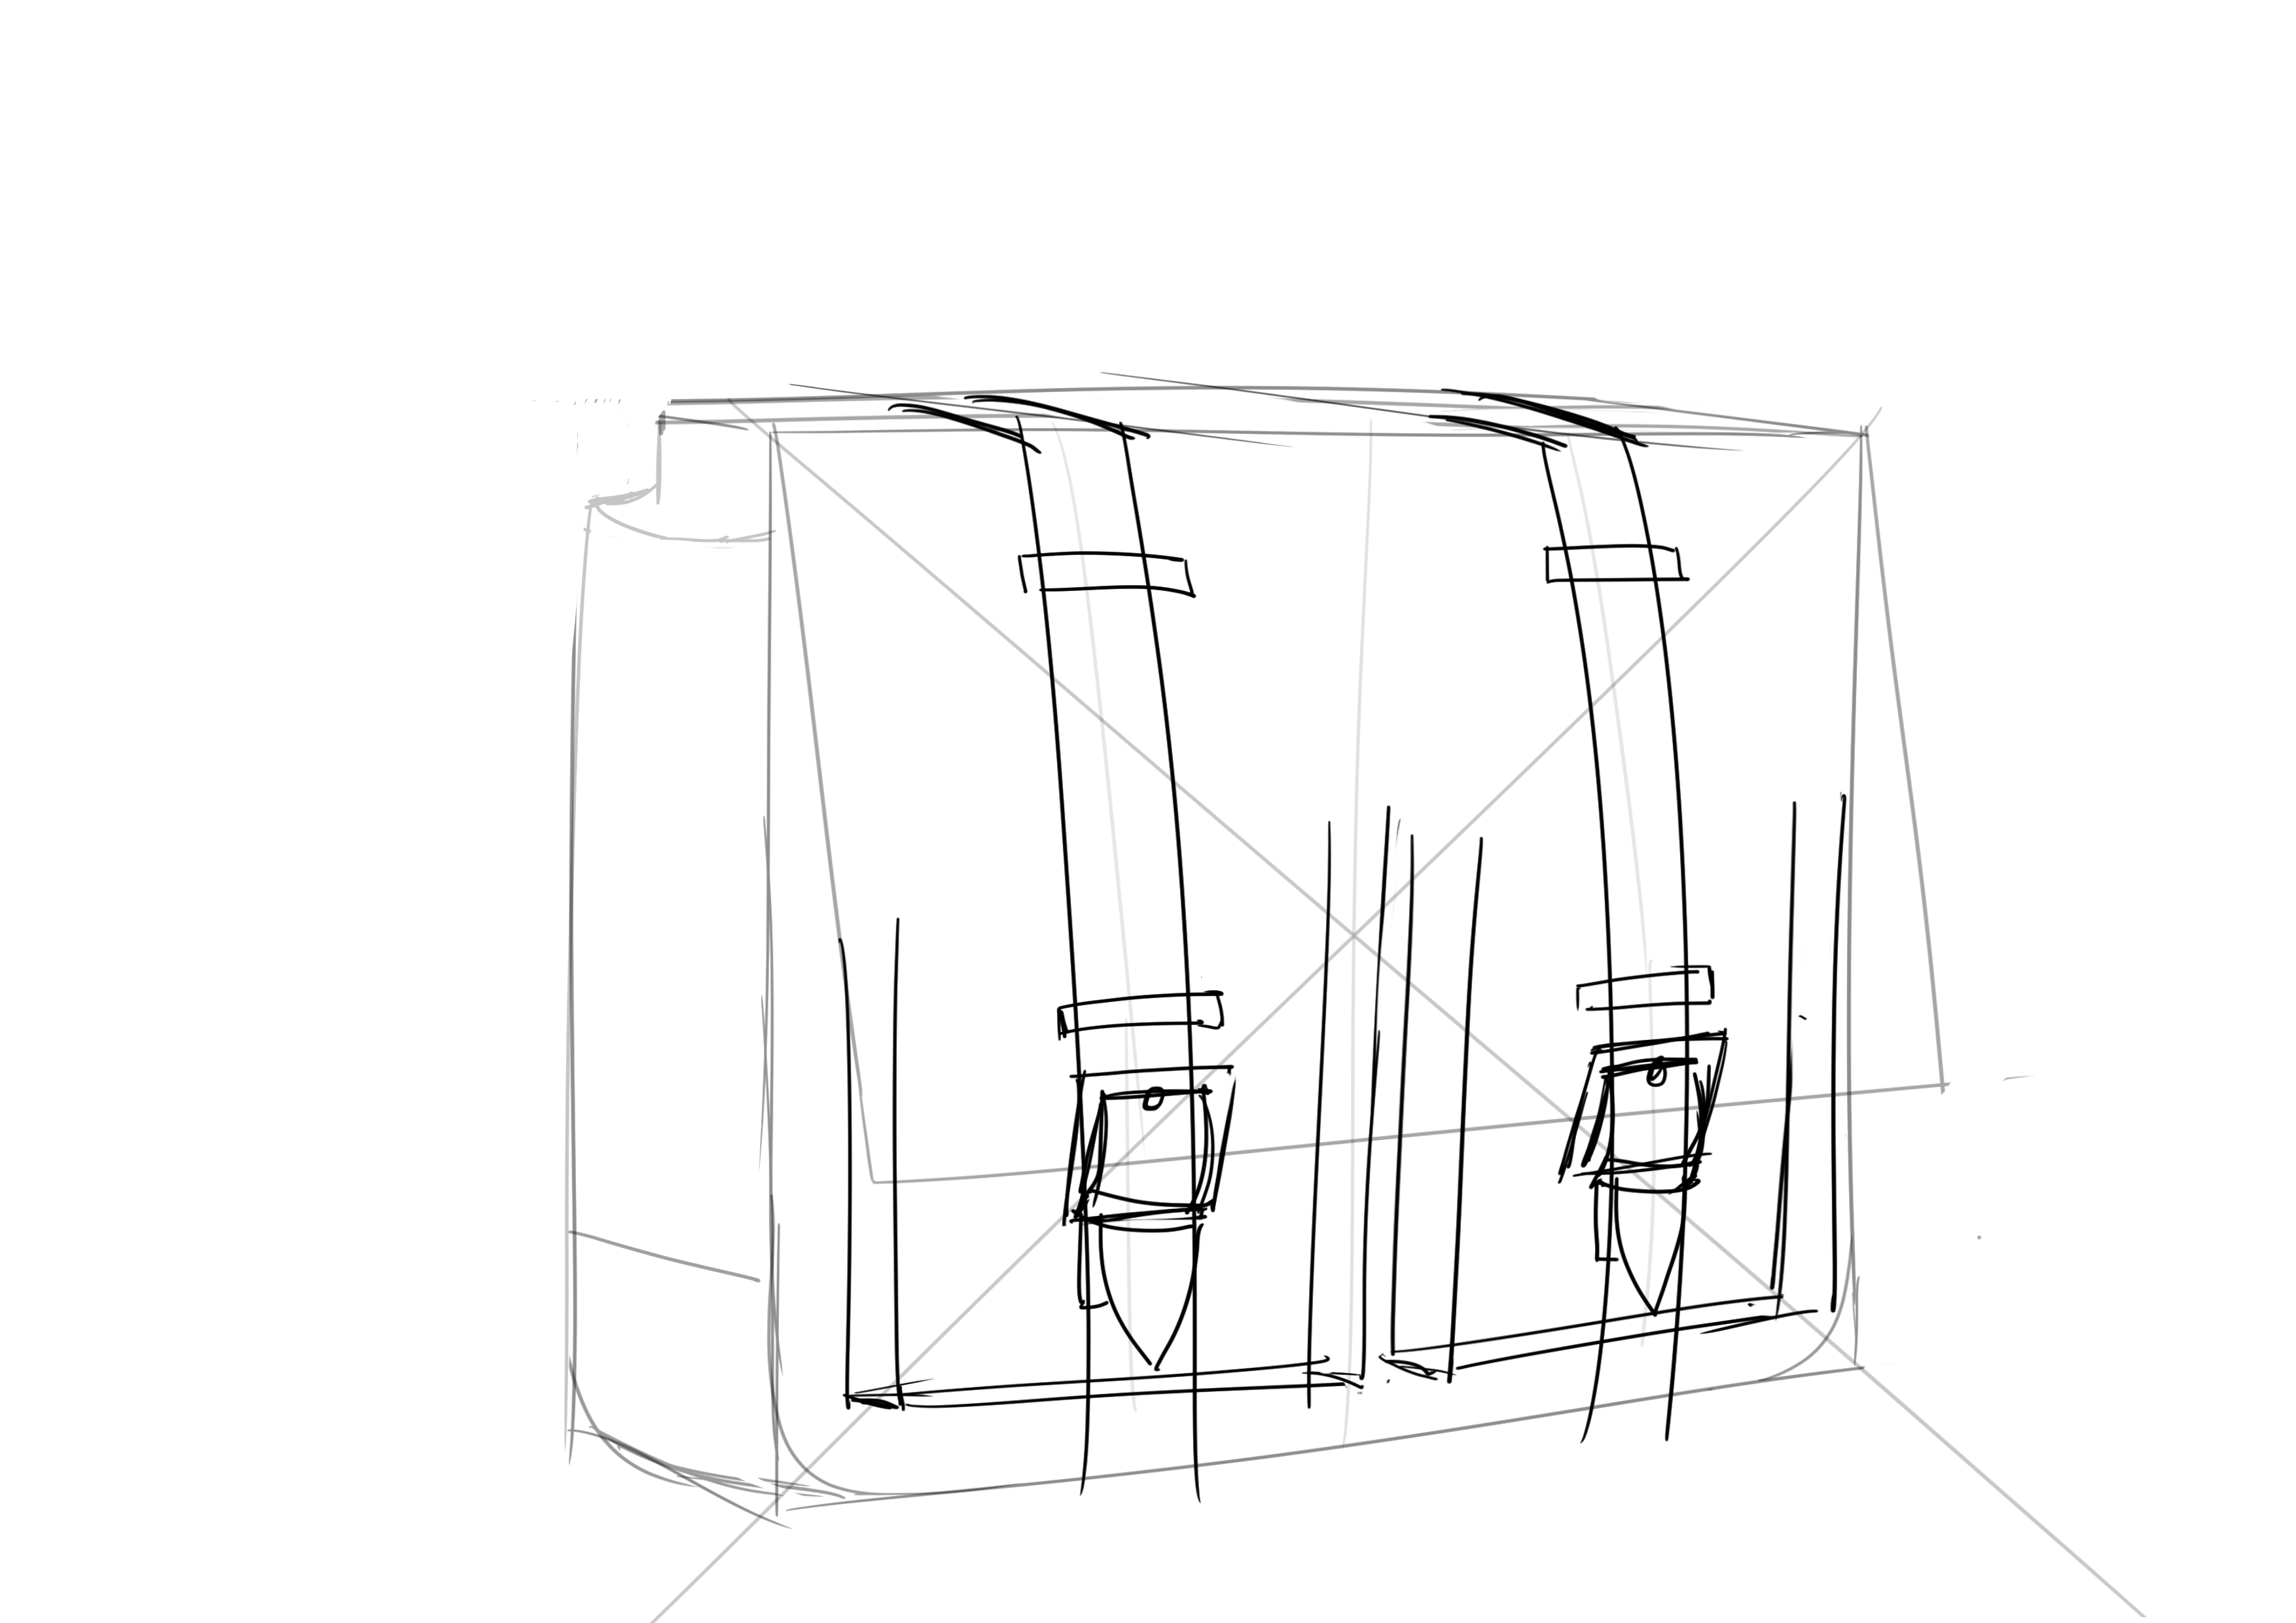
We will now add two front pockets. It's not necessarily conventional, but I like the look of these satchels. First, we need to find the center of the front face of the satchel. So, draw an X connecting the four corners of the face and mark the center by drawing a vertical line through this point.
The two pockets are symmetrical with respect to one another. We will first outline the first pocket. Pockets of this kind of school bag are generally very wide. You can assume that you have a fairly small gap with the edge of the bag. The bottom of the pocket can be positioned more or less high depending on the model. The top of the pocket is, of course, hidden by the flap.
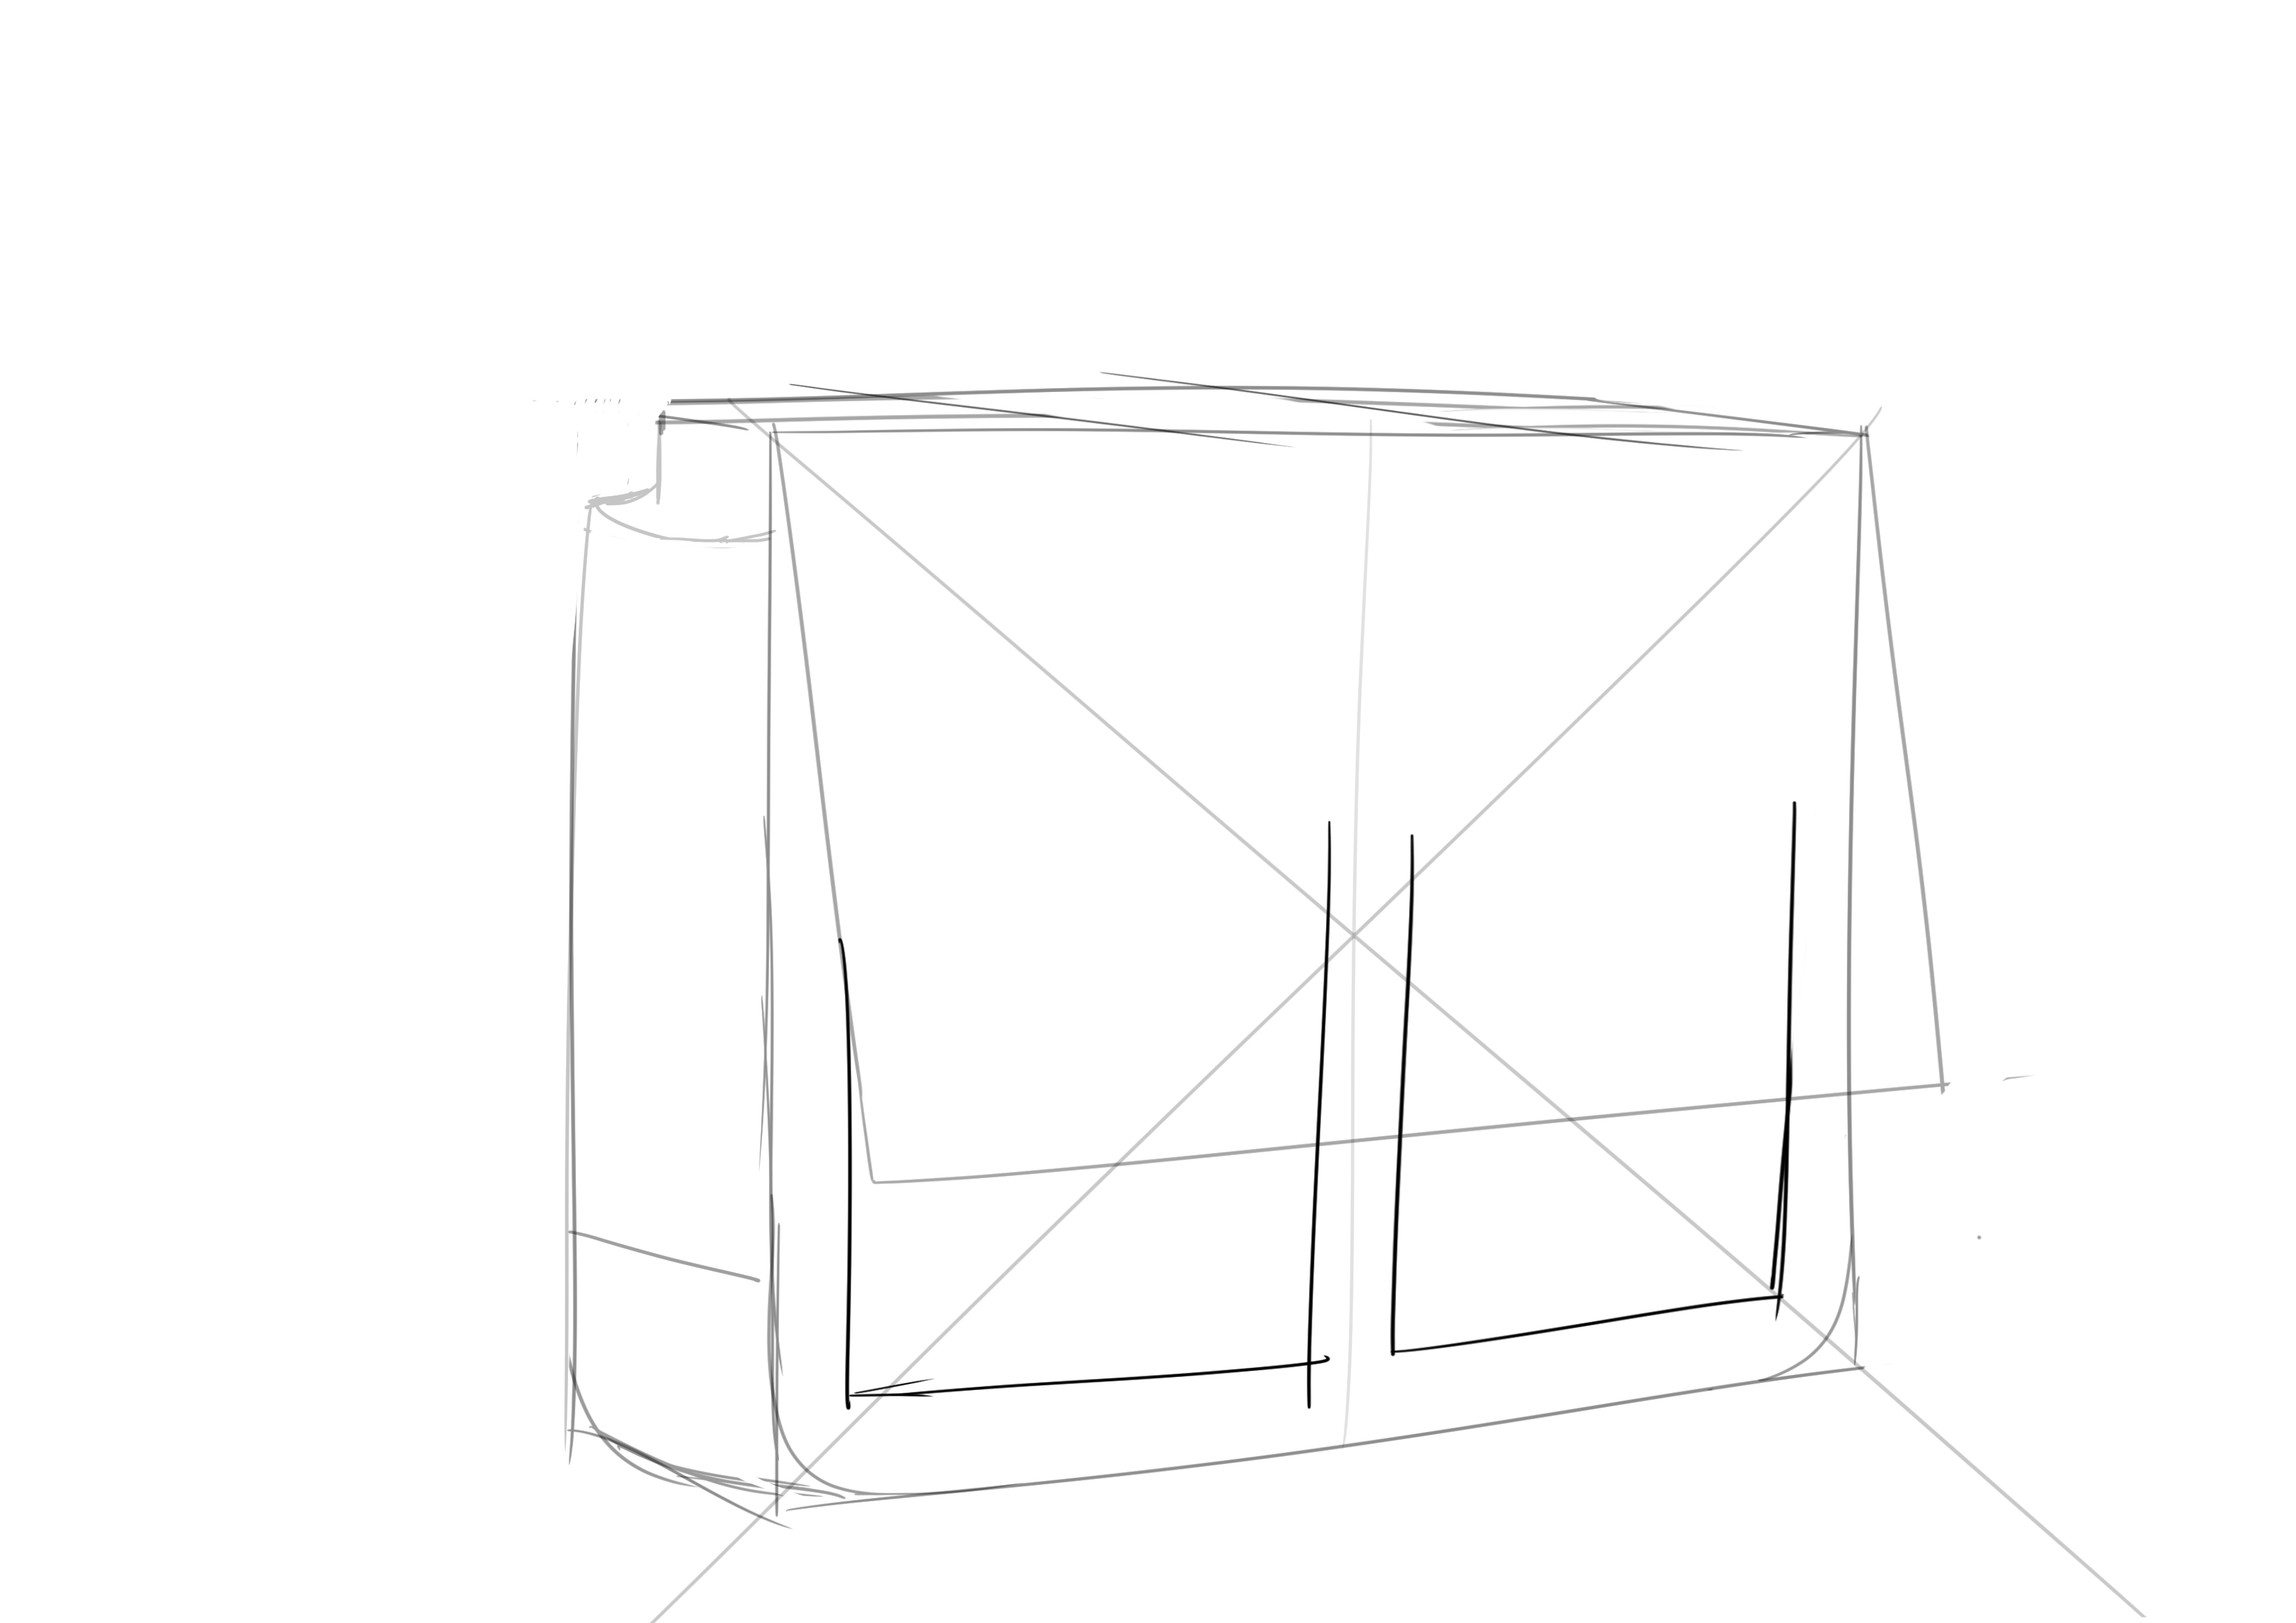
All that’s left is to repeat this for the second pocket. Once again, I’m doing it by eye. Because perspective is good and all, but when you have a complex set to create, don't bother to do everything in perspective. After a while, you'll start drawing things instinctively ^^ Here, a mistake will be more easily forgiven since we are dealing with a non-rigid object, so take advantage of it!
Be logical, look closely at the gaps and the size of the pocket. The one farther away is smaller than the other due to perspective (even if it’s slight).
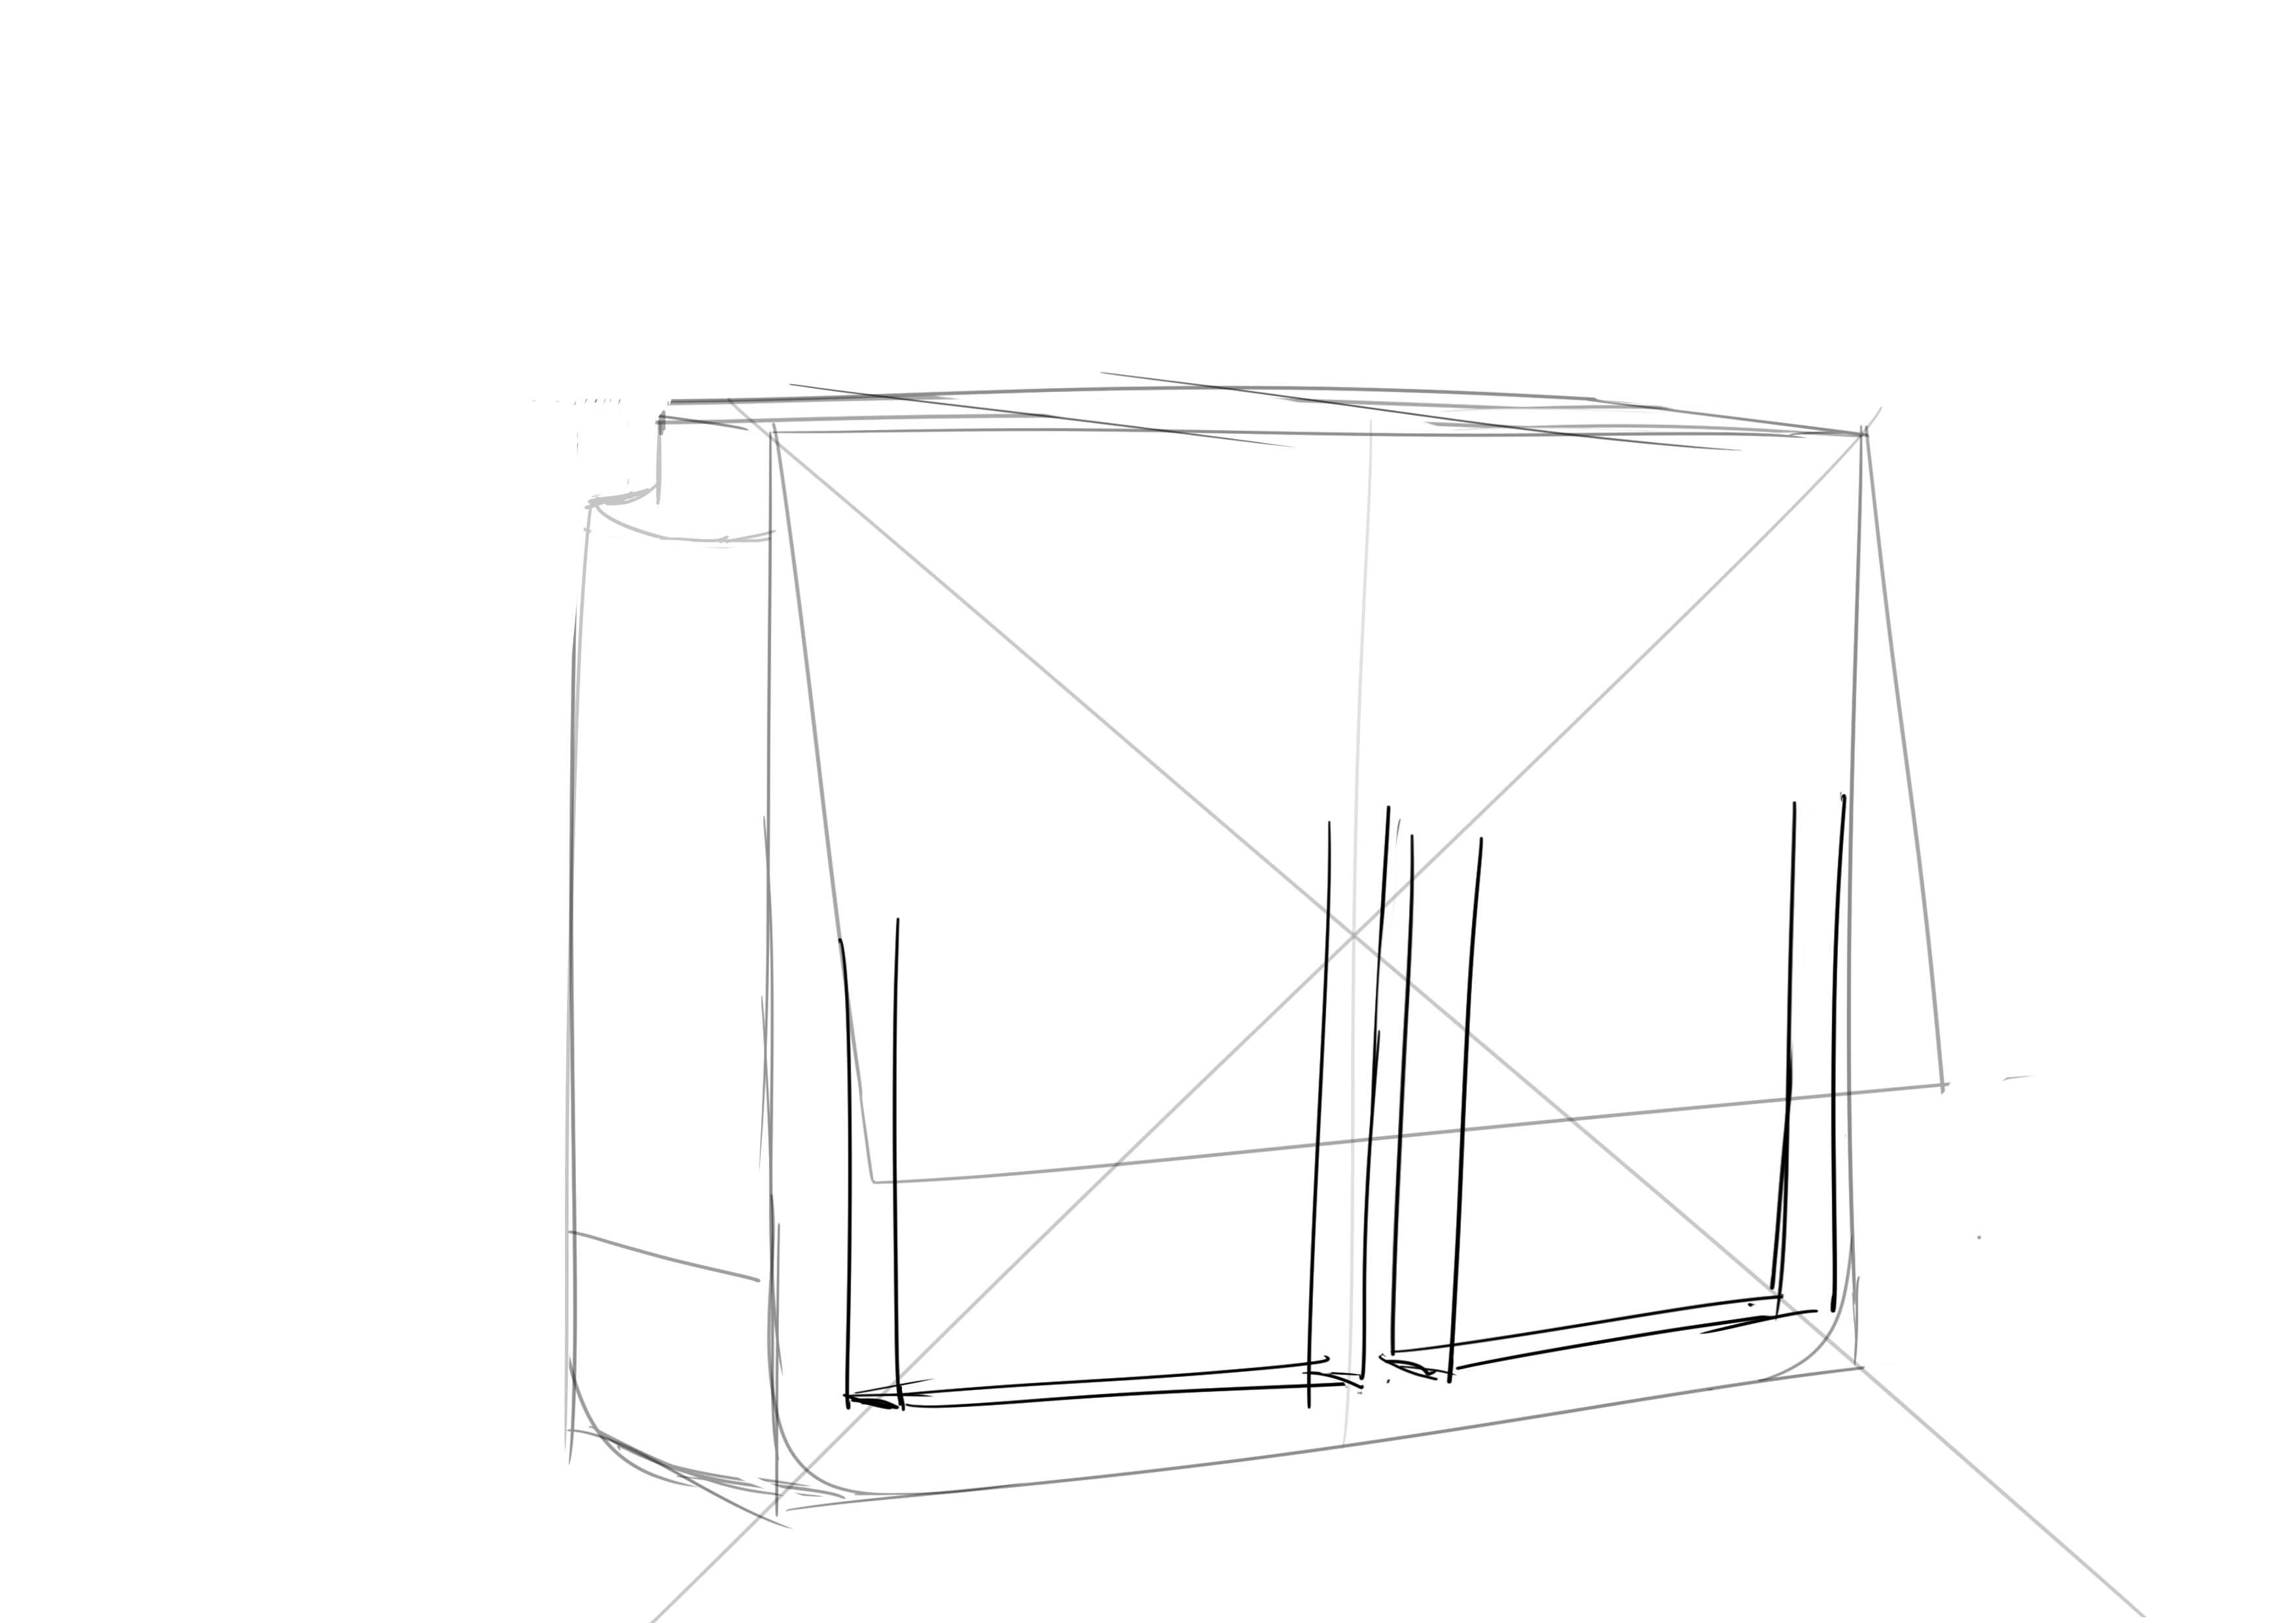
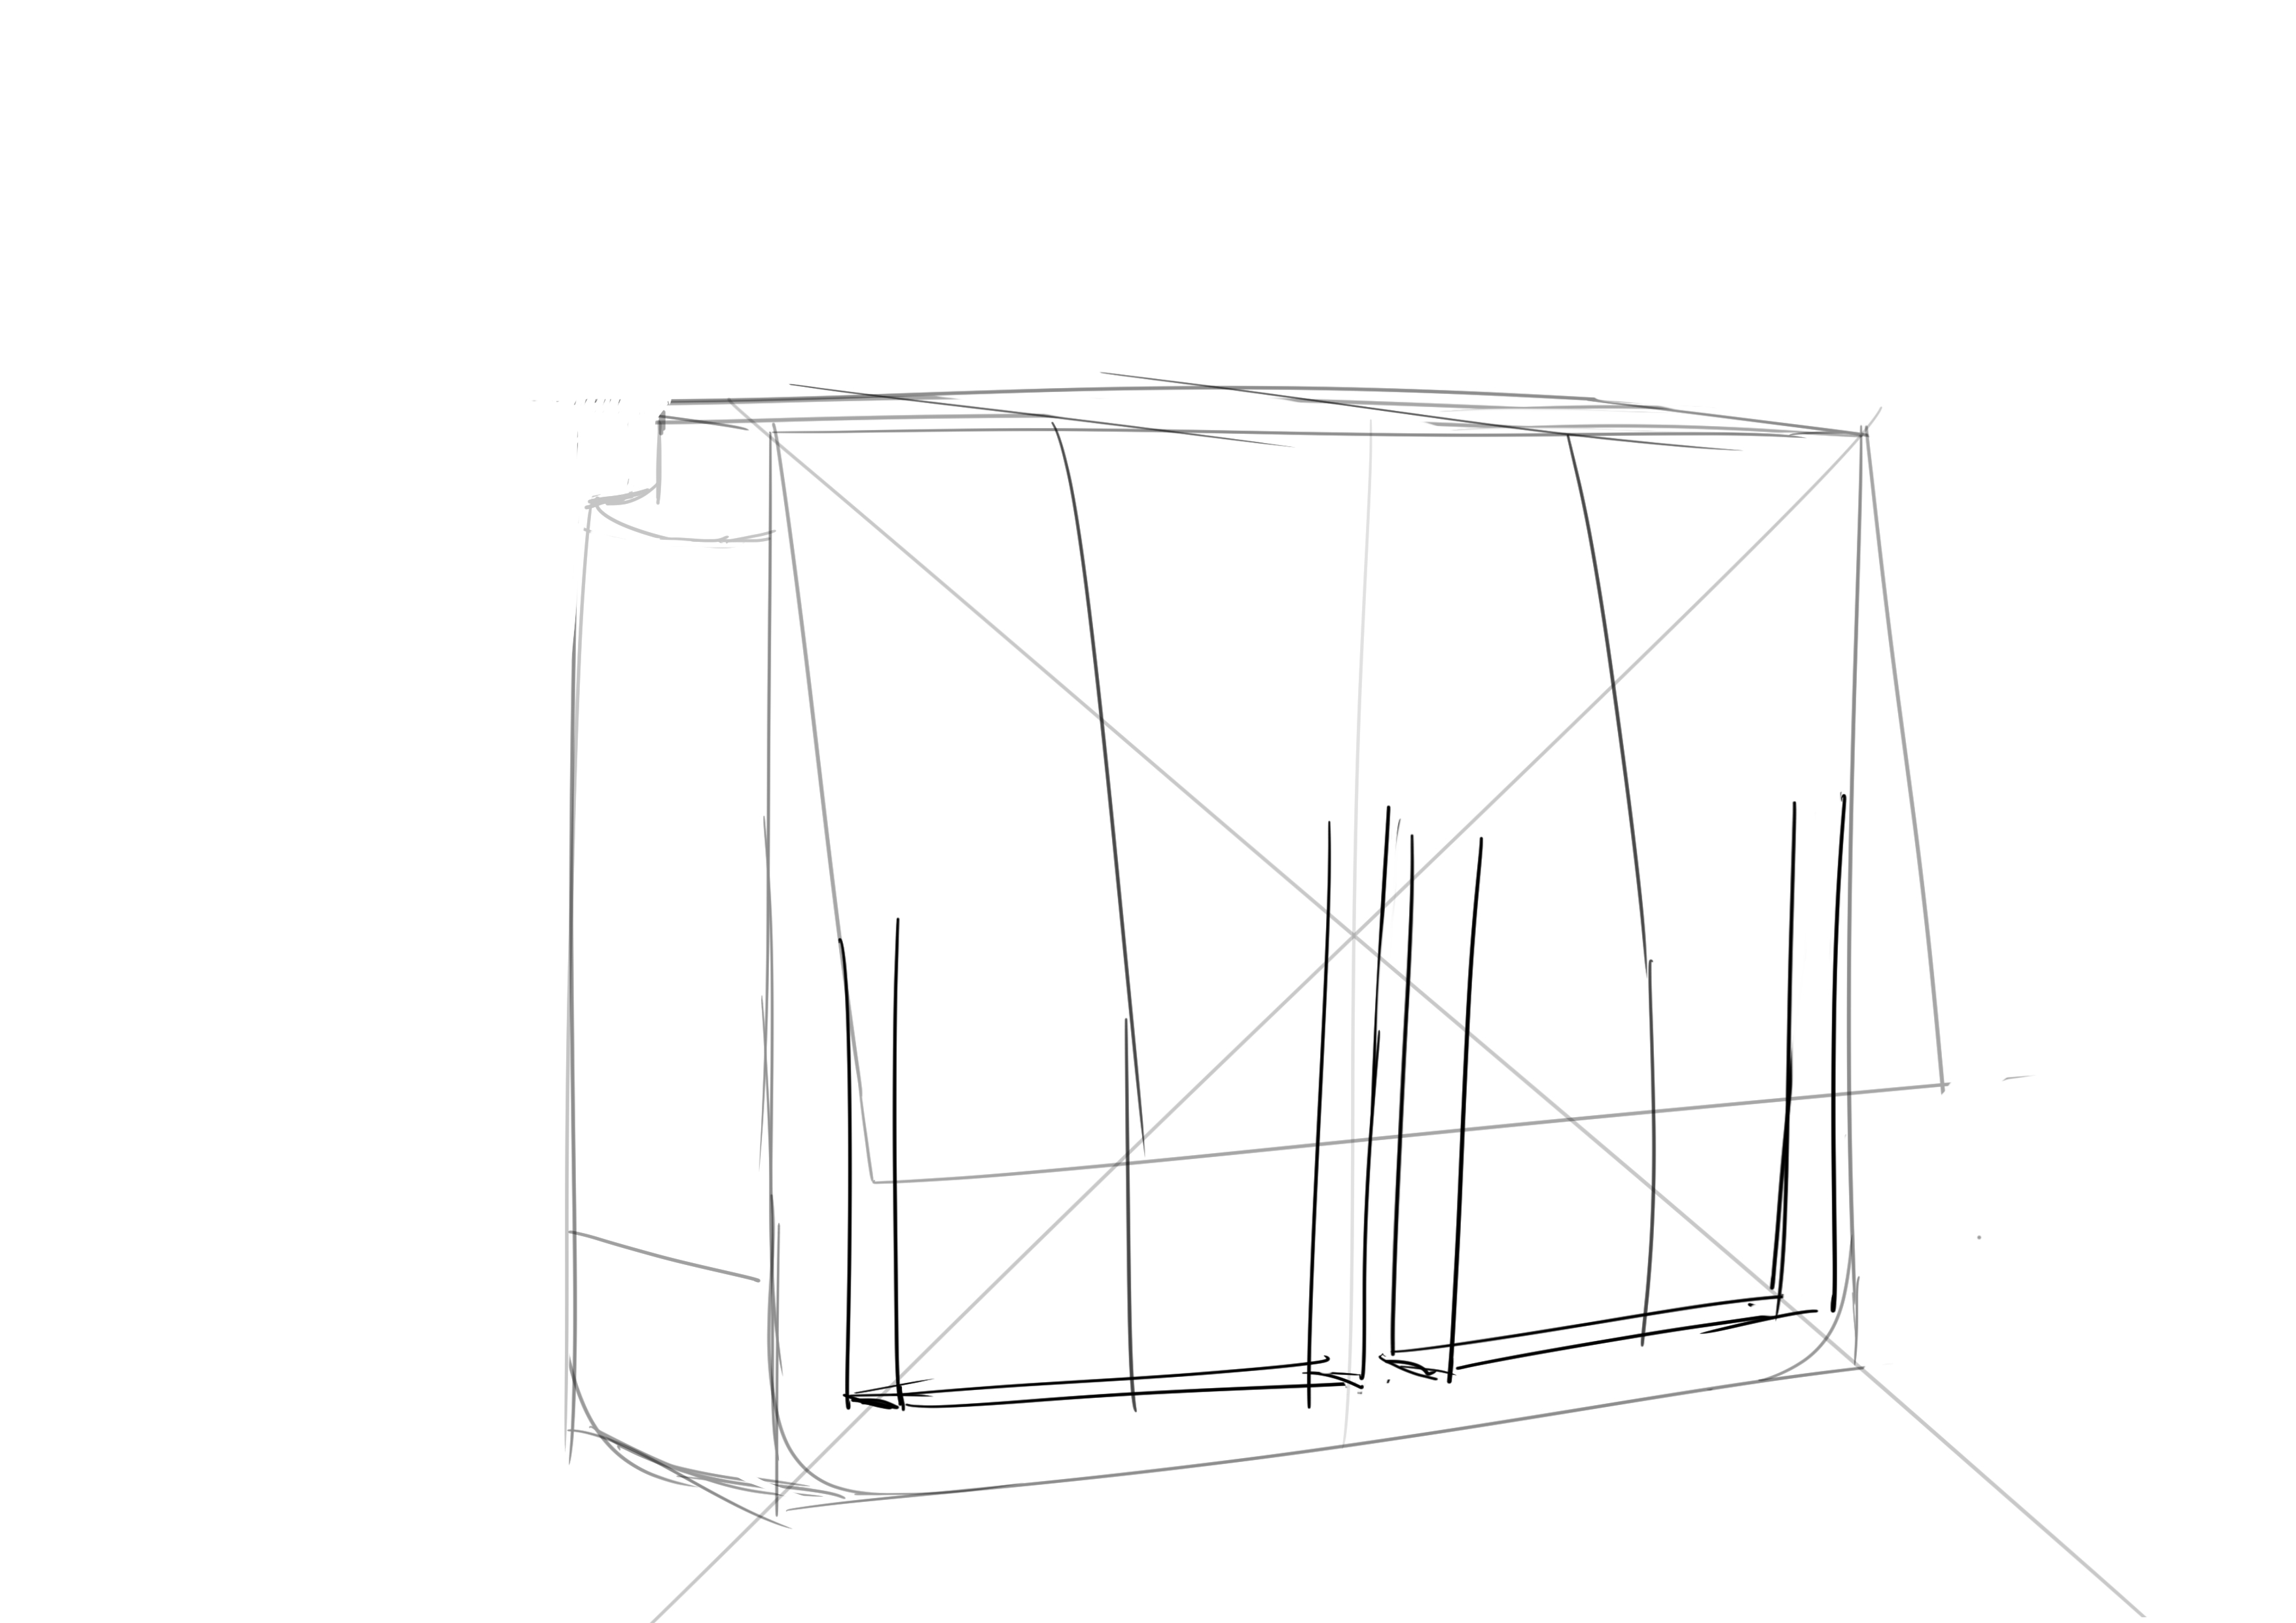
Now, onto the thickness of the pocket. Generally, this type of pocket, when empty, is quite flattened and is rarely very thick to begin with. All we need to do is slightly shift our base rectangle for each pocket to the right.
I'll adjust my first line as I see fit.
I'll connect them following my perspective (tilt similar to the thickness of my backpack).
All that remains are the straps and the handle. The straps are each located at 1/3 of the width of the tab and, as a rule, should reach the middle of your pockets (since they attach there).
They have horizontal hooks so that they do not move. These are located at ¼ and ¾ of the height.
The metal loops are just above the edge of the tab.
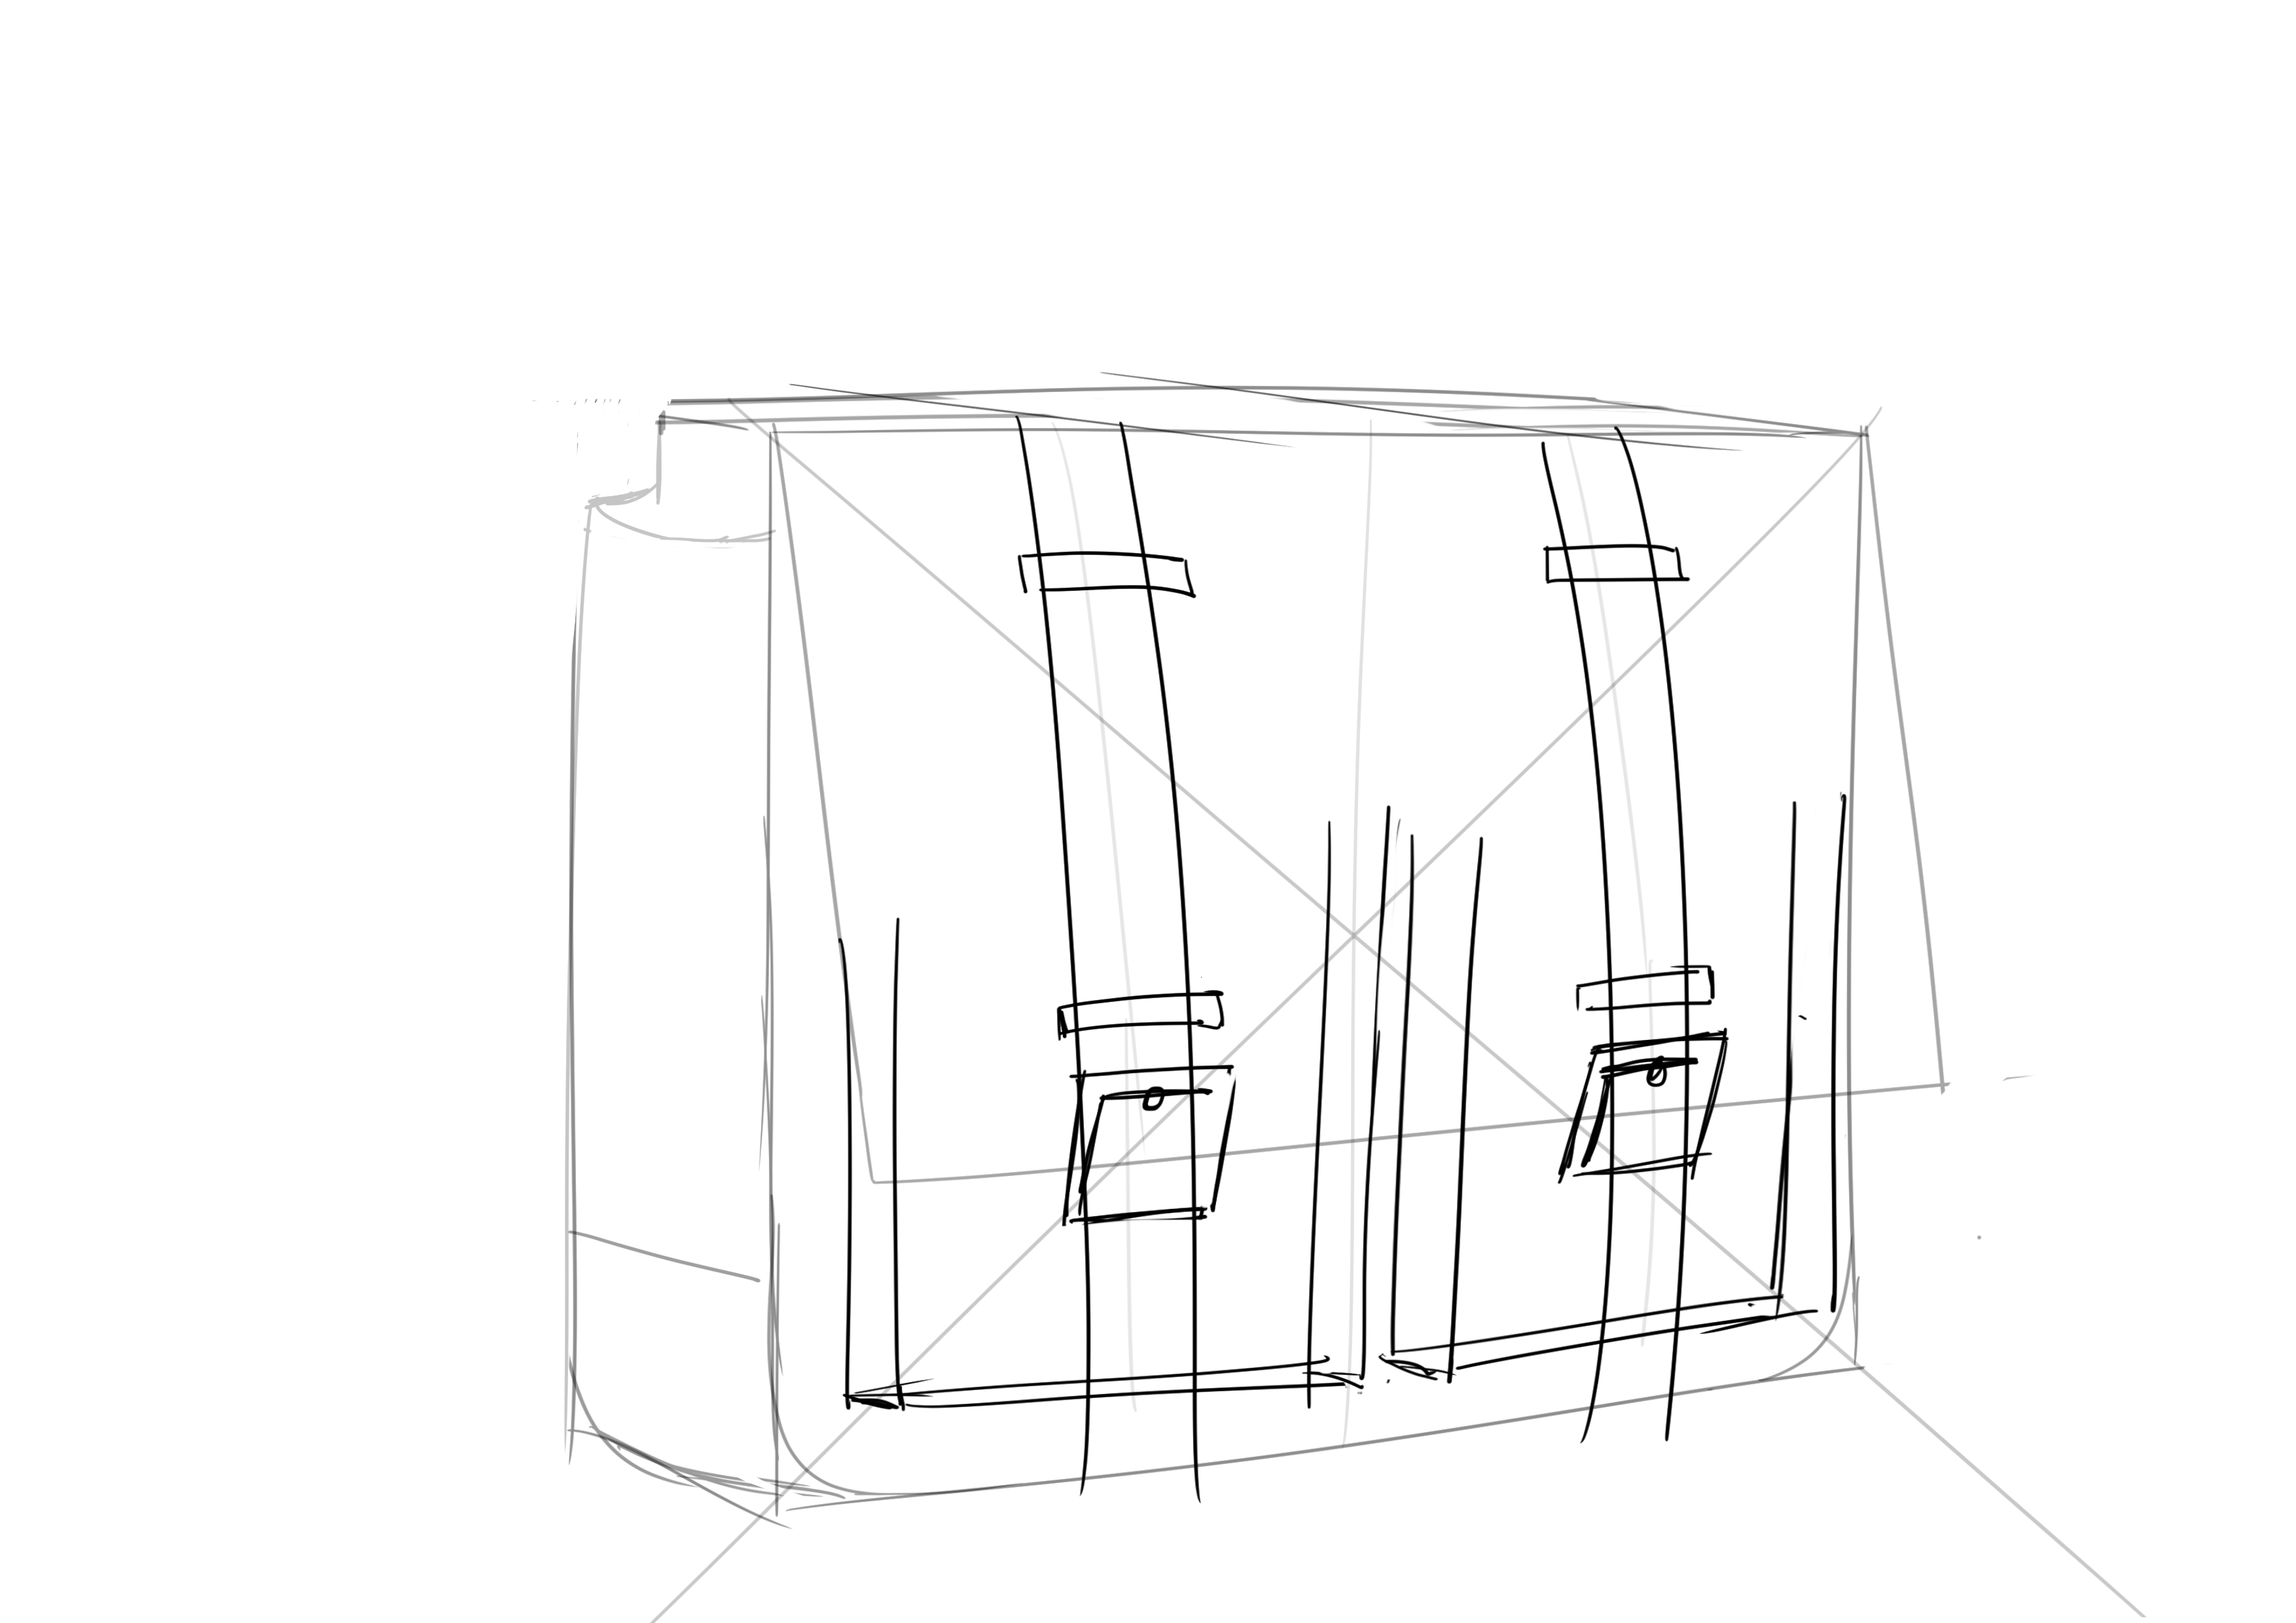
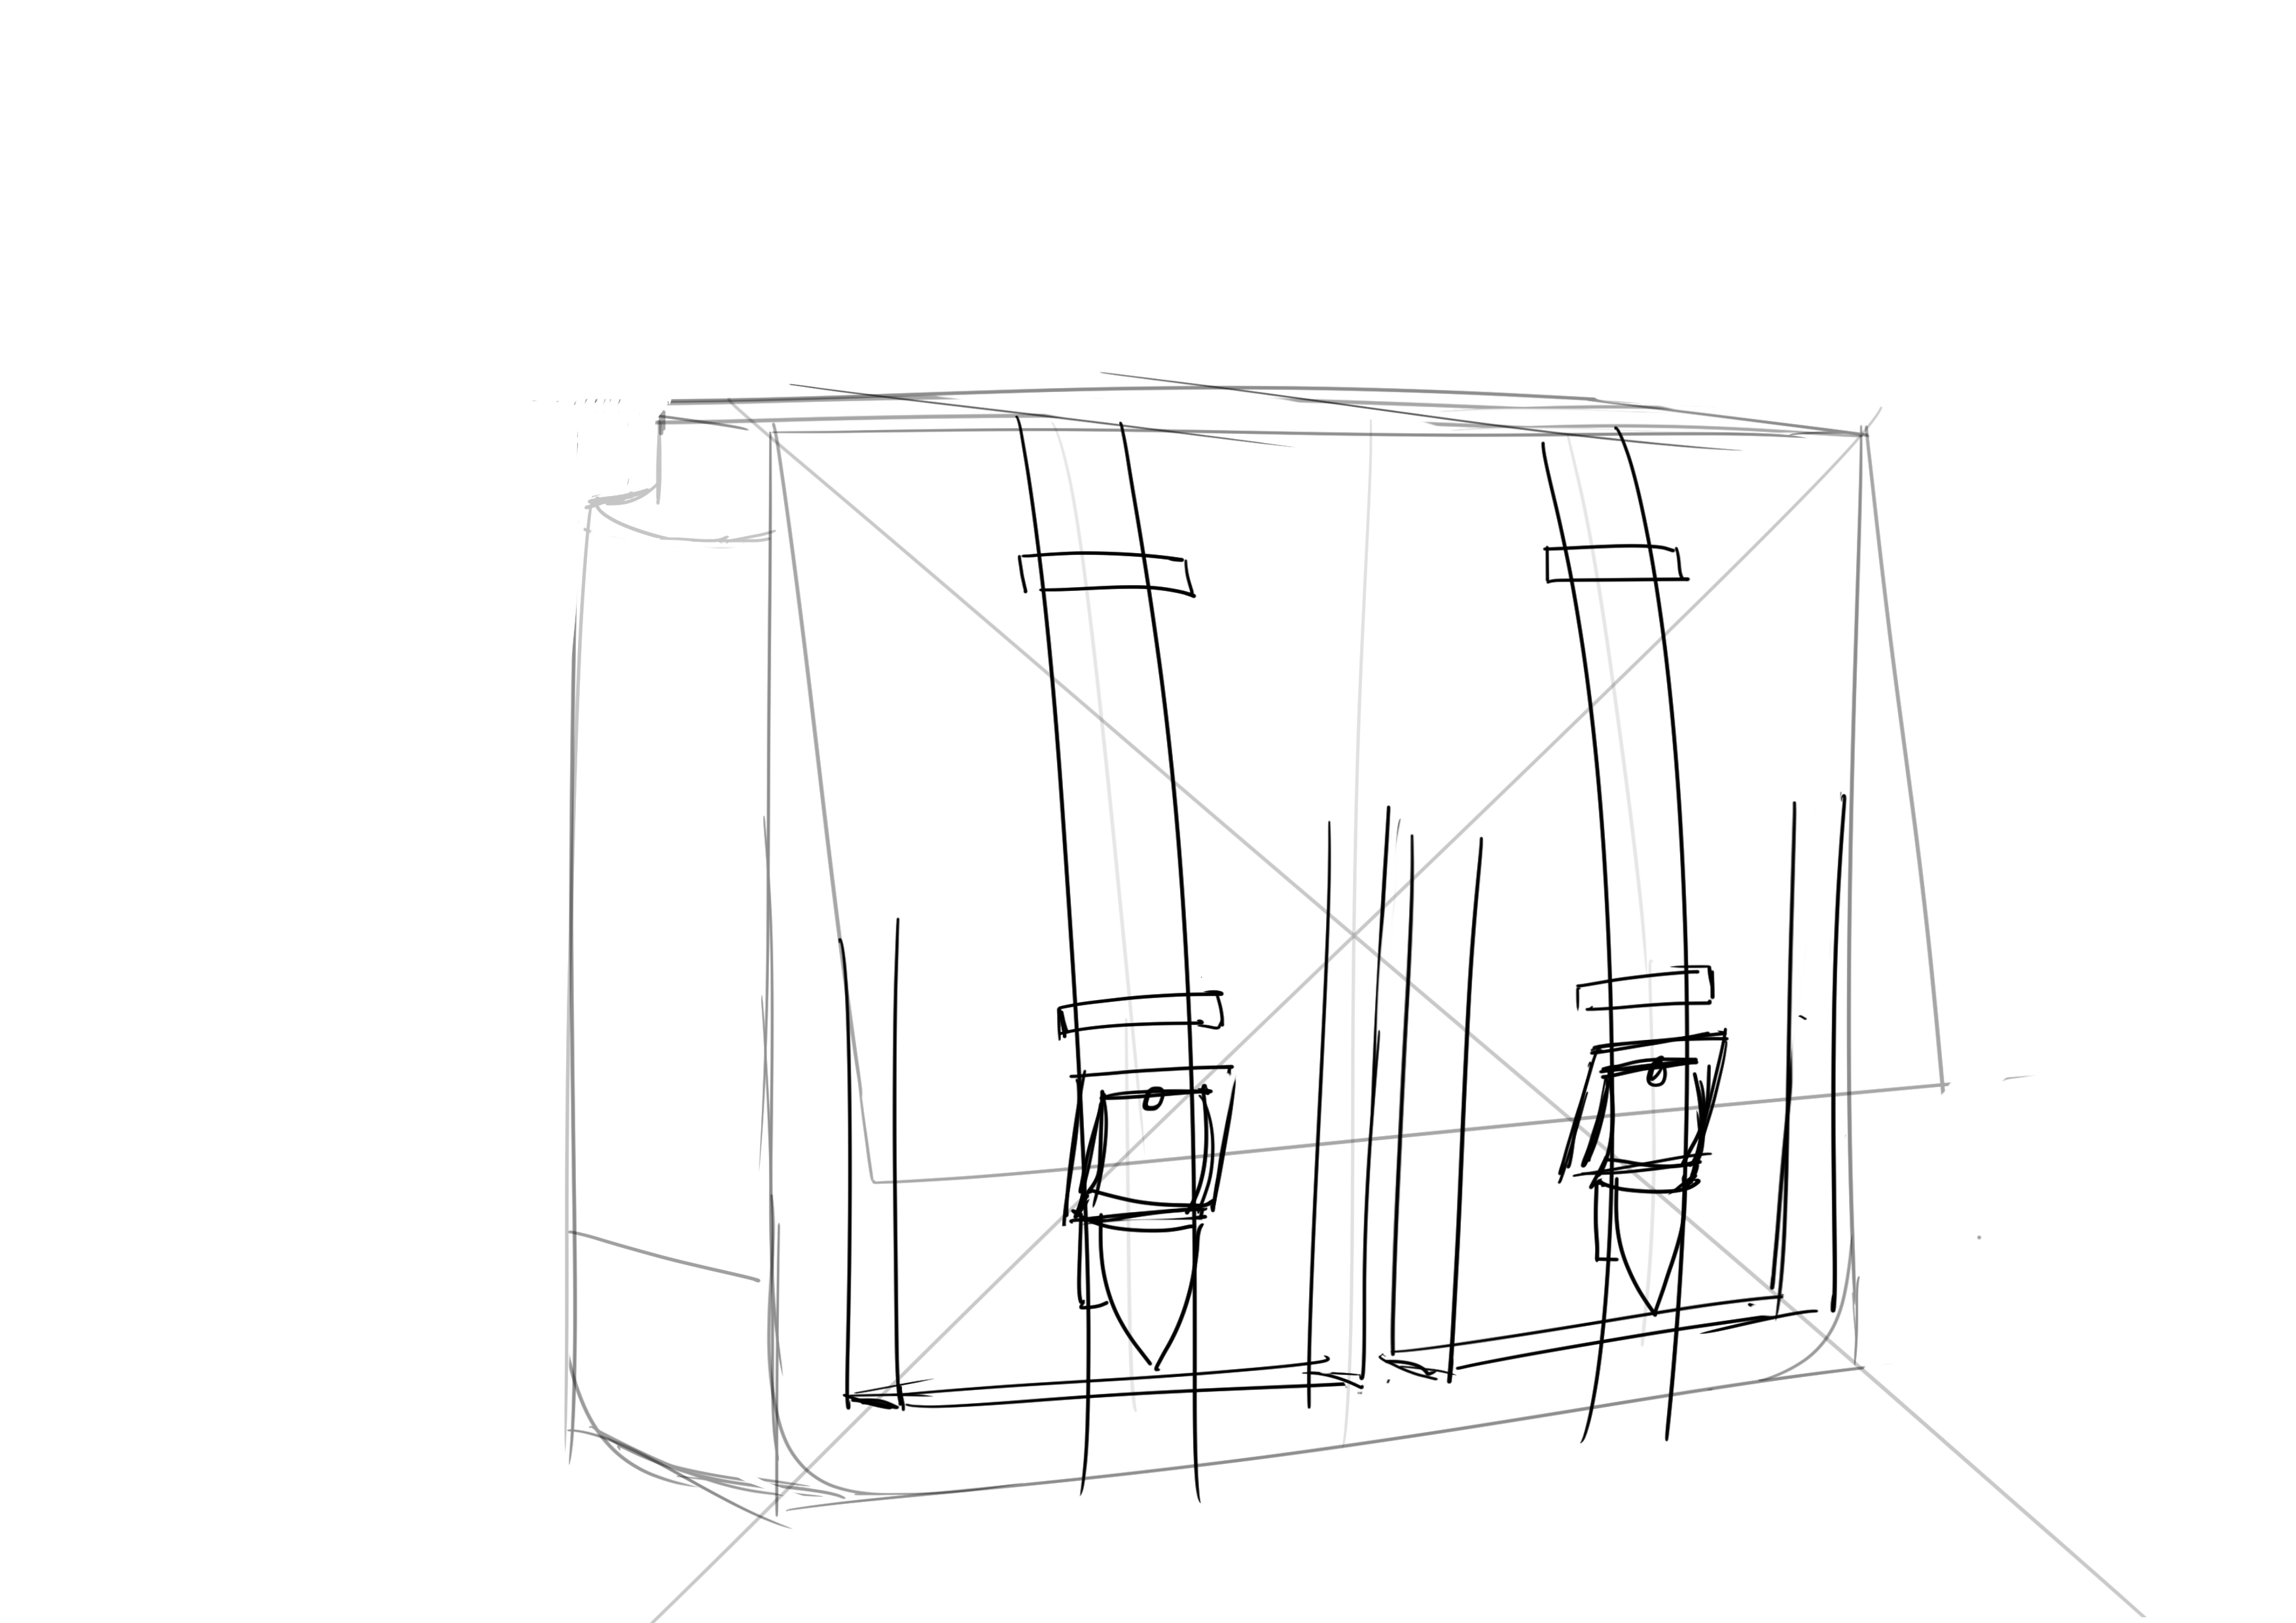
You can add the base of the straps and draw the piece of leather that closes the strap on each side. The length is variable once again. You can go down to the bottom of the pockets or have it a little shorter.
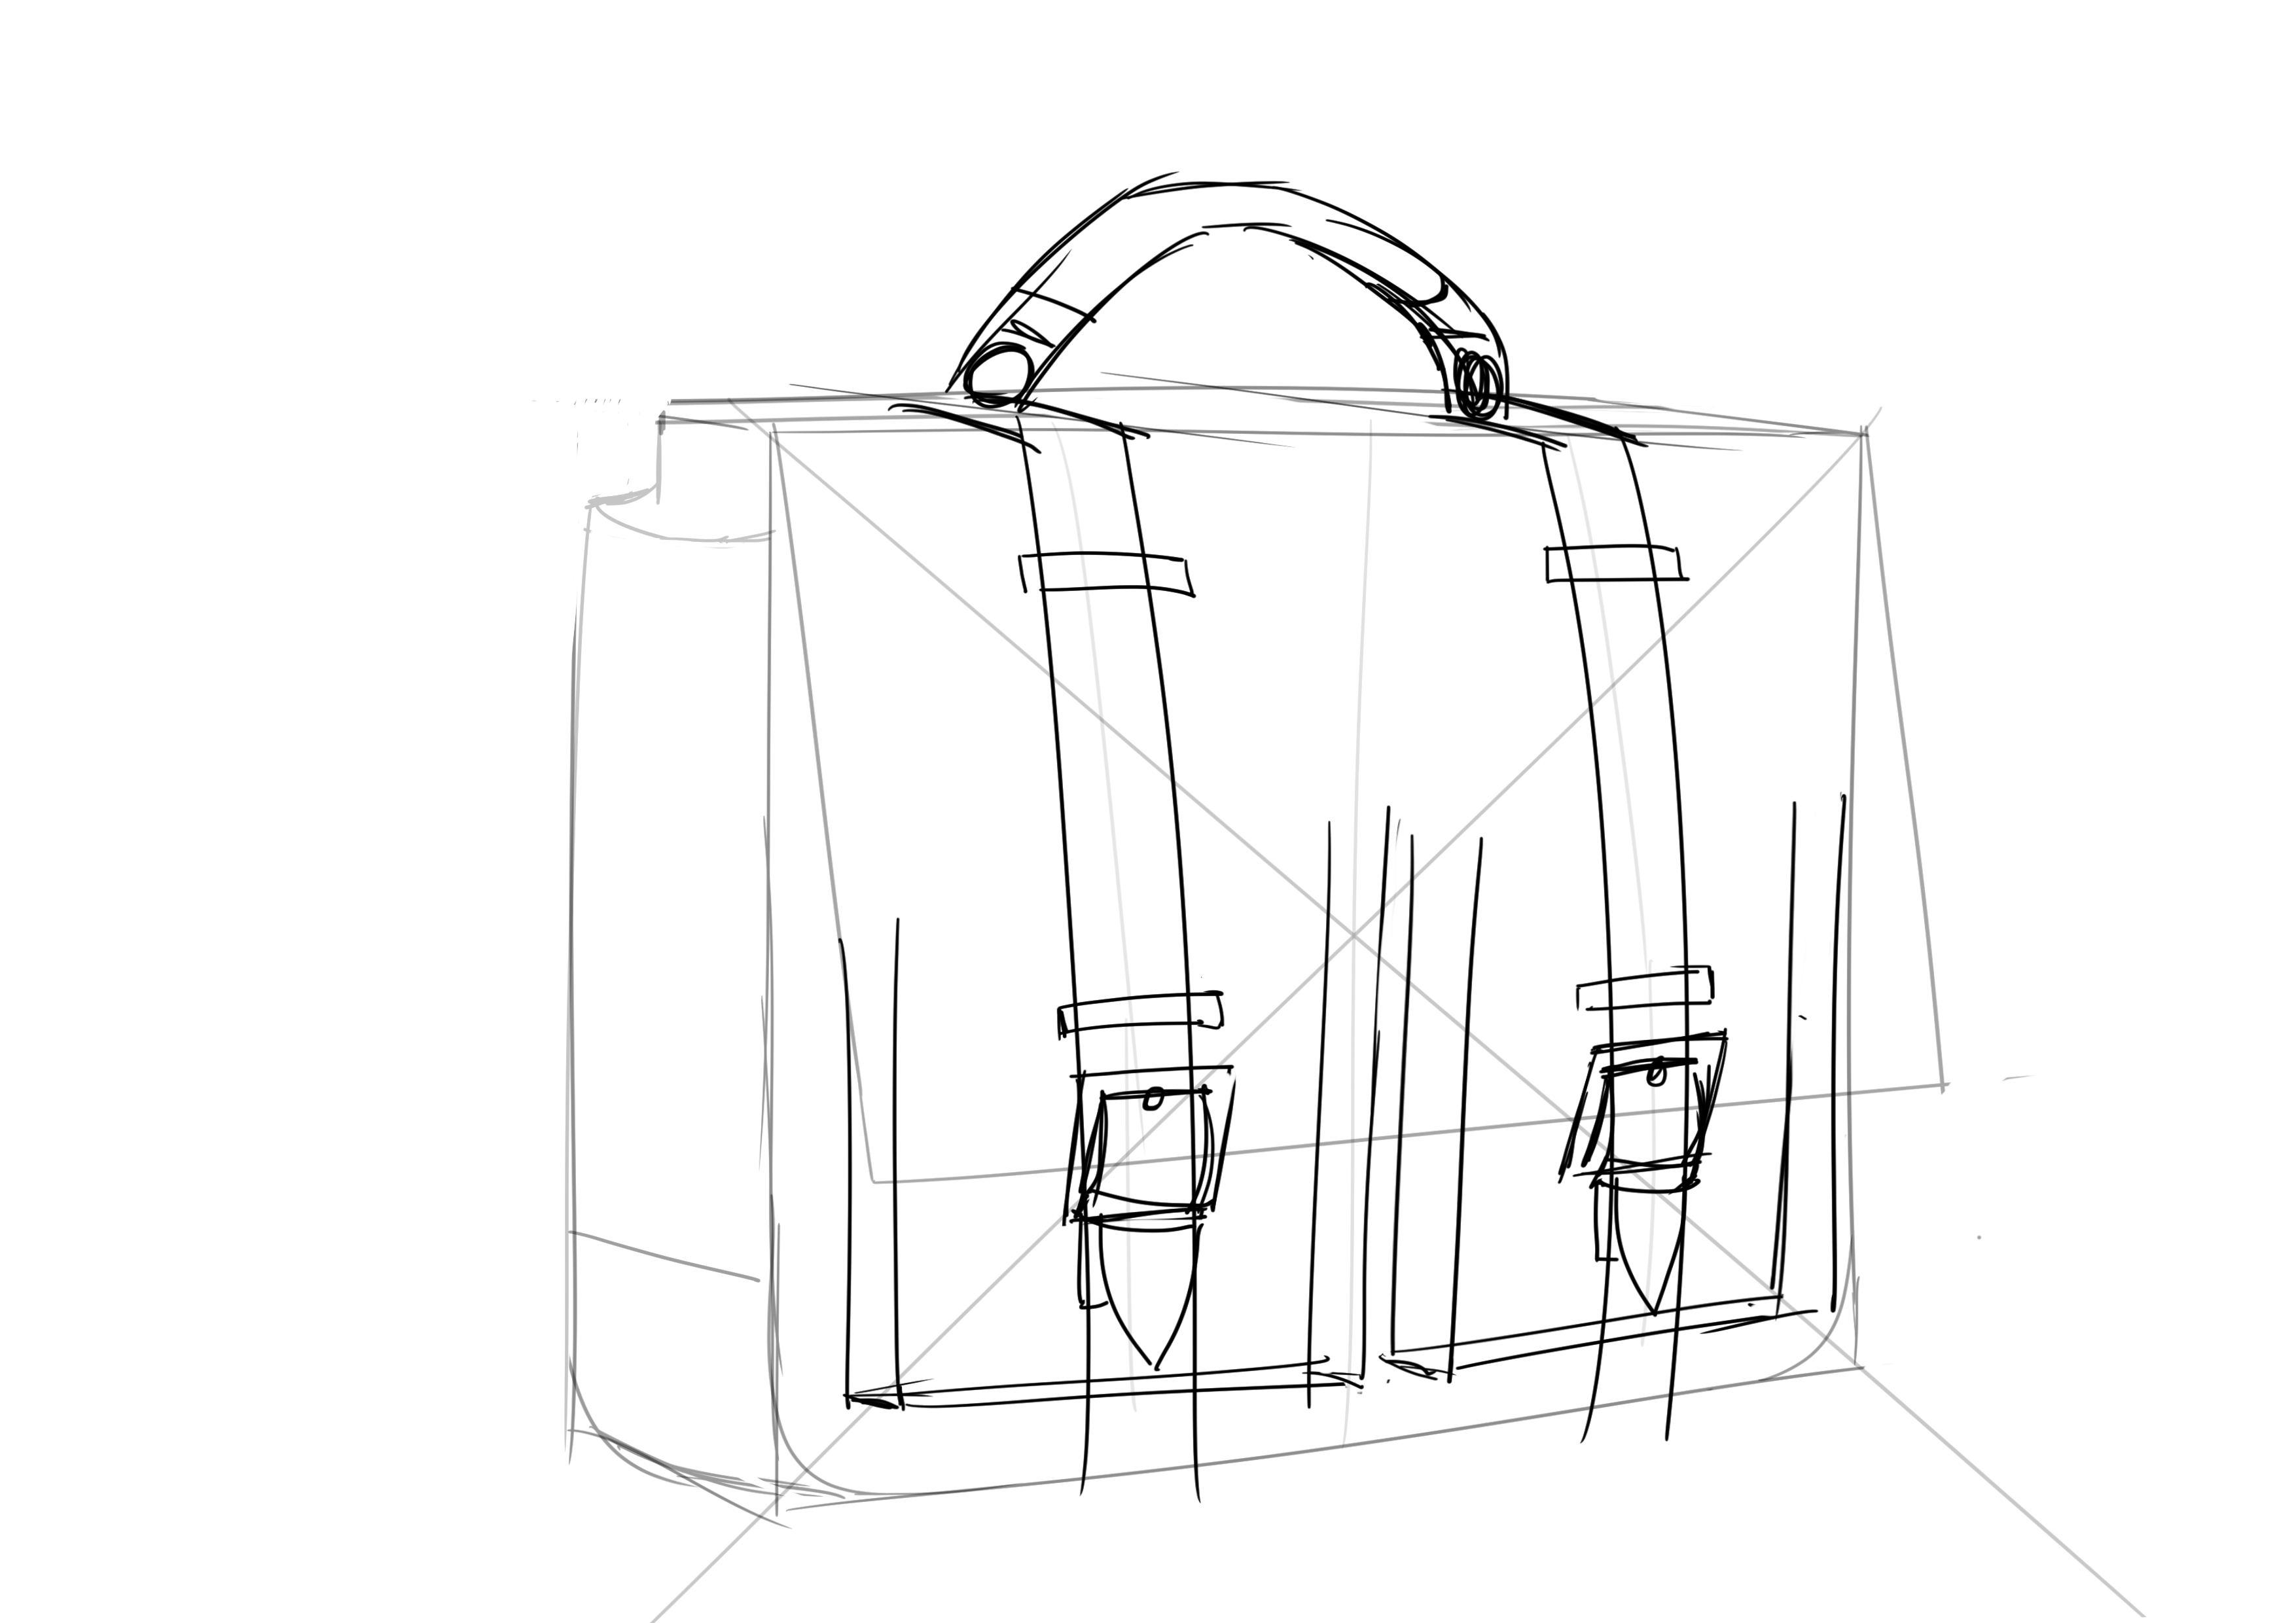
Drawing the handle of the satchel
And for the handle, you are still quite free depending on whether it is rigid or not. Generally, there are two rings on the sides, fixed to the base that you drew earlier. And then the handle itself.
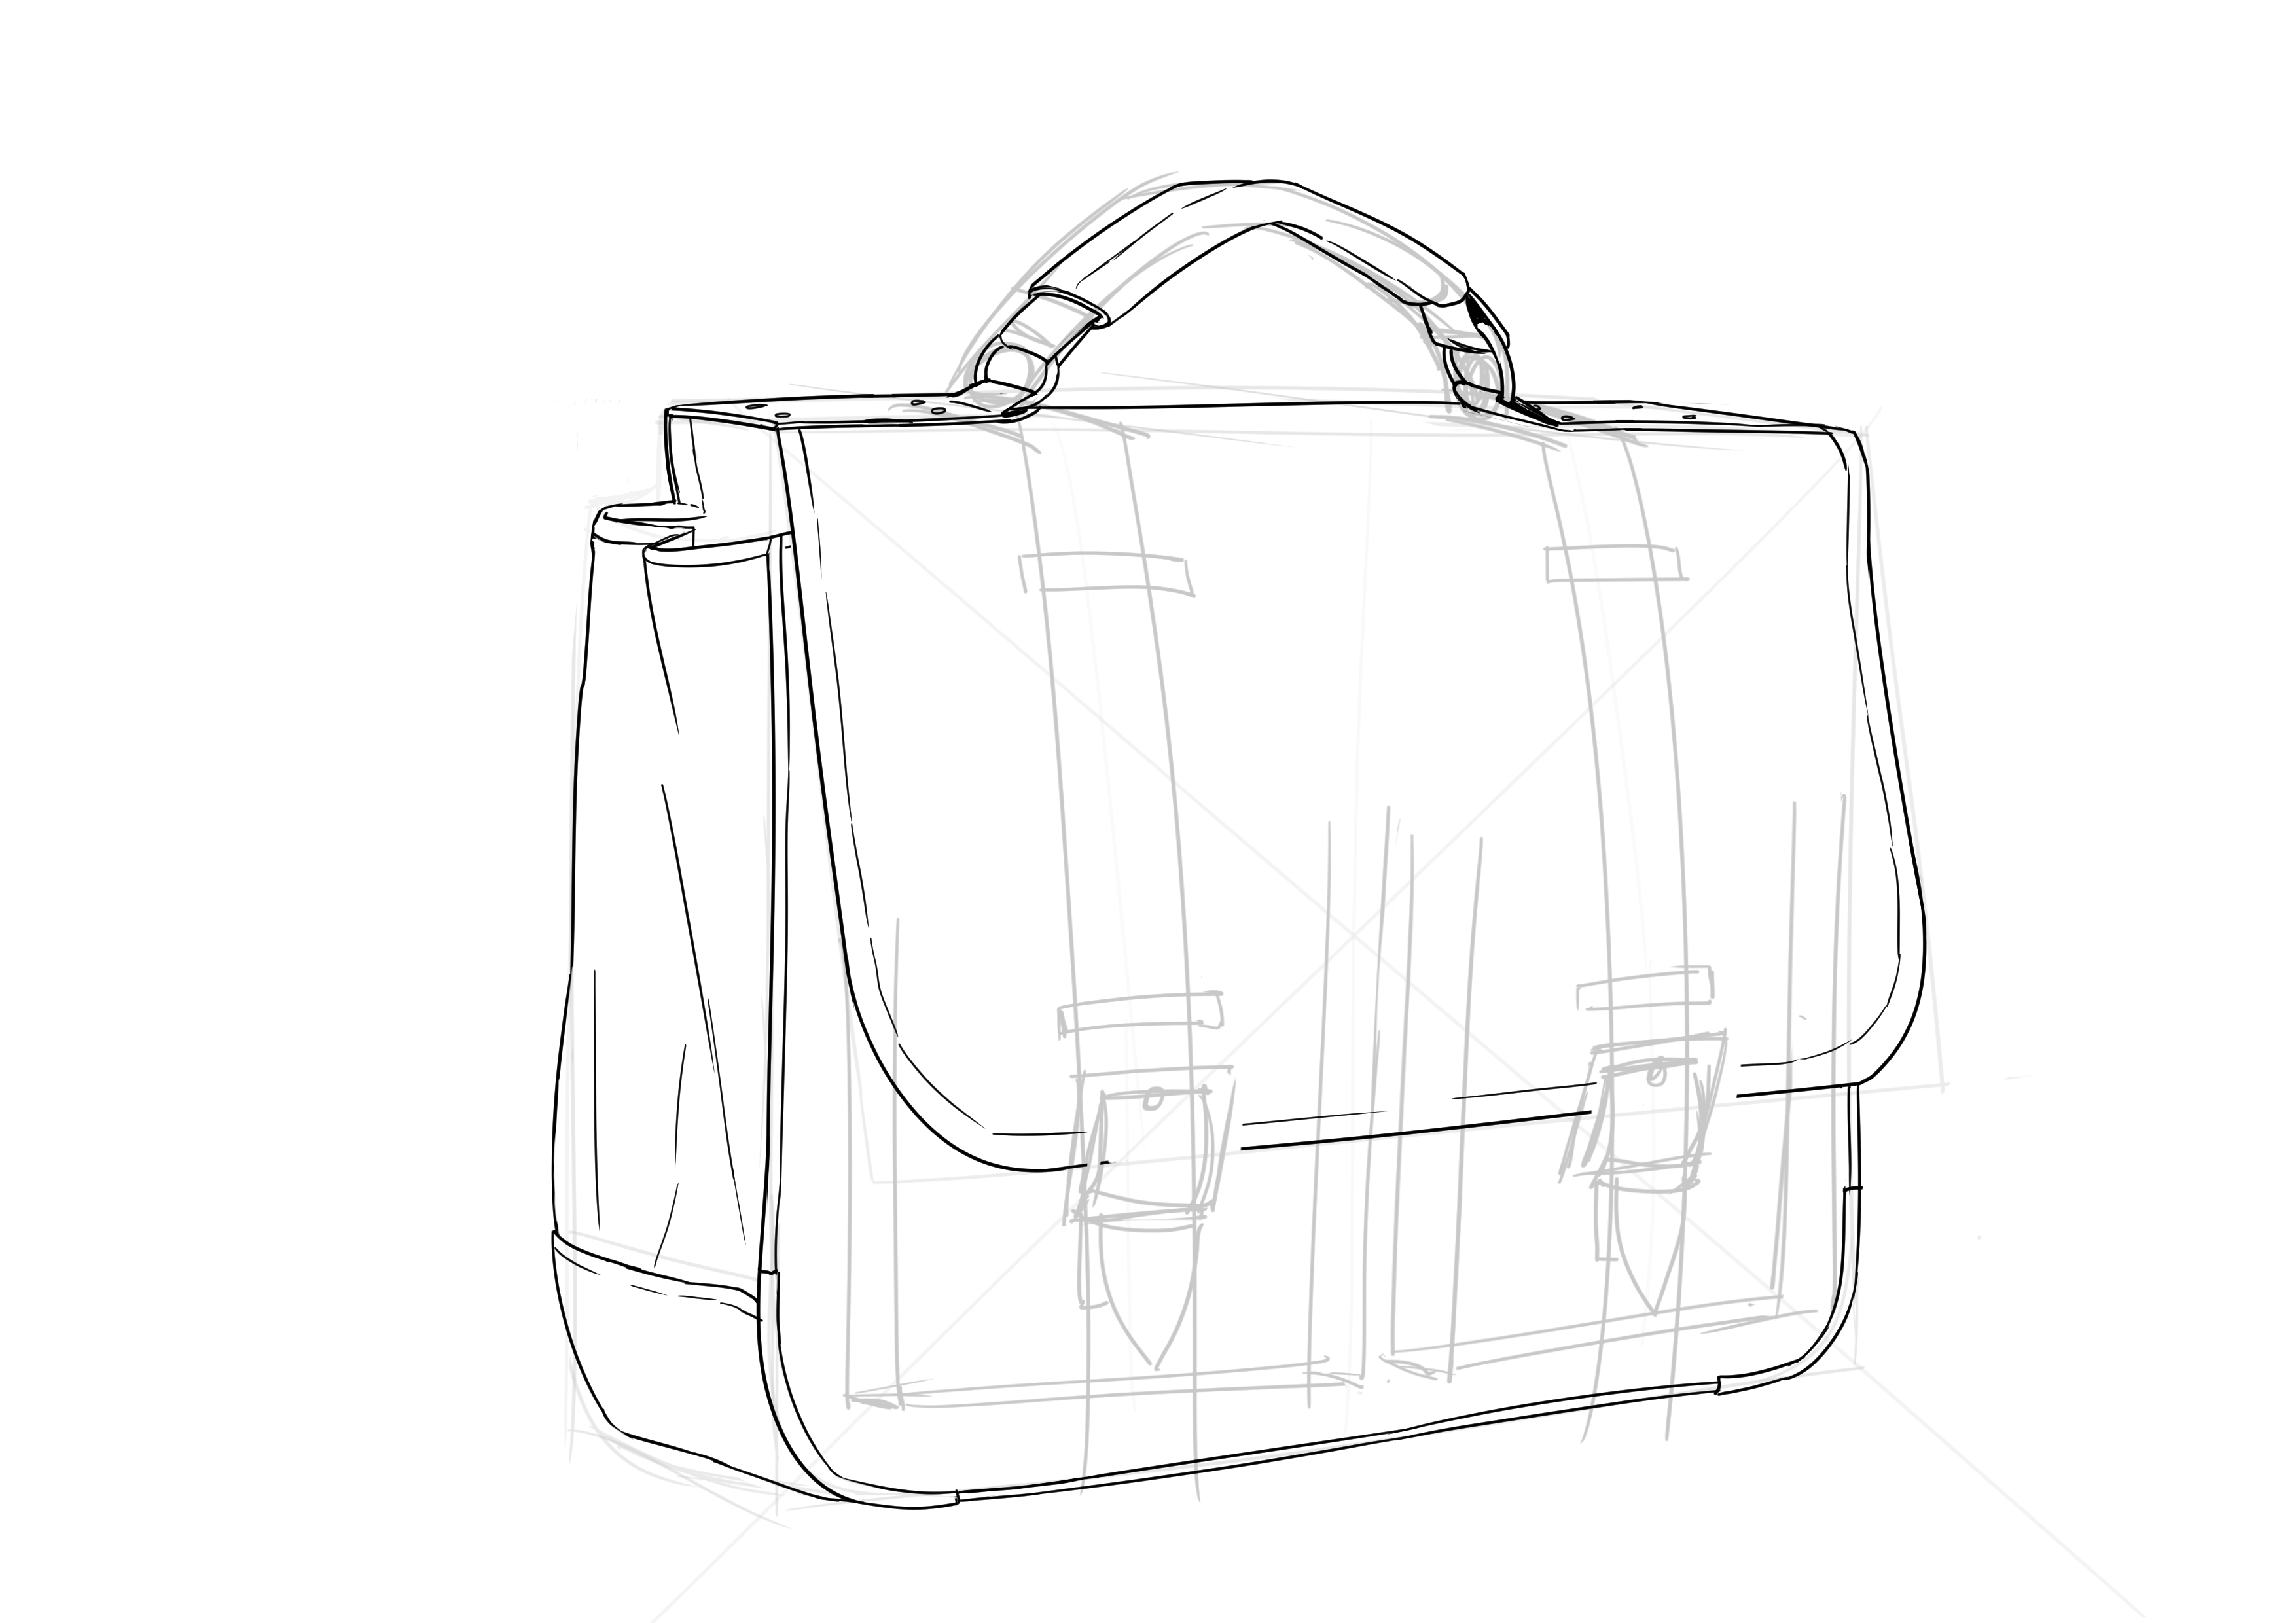
You can add or remove quite a few things, like zippers, place straps under the tab or just on the bottom, add a logo or pockets on the sides, etc.
Anyway, when you clean all this up, you should get something that looks like this. Don't forget, we're dealing with fabric, so the lines are rarely perfectly straight :3

Summary:
- Although perspective still applies, we can afford not to adhere to it academically, particularly for fabric objects.
- Always keep the classic rules in mind, you just have to imagine the horizon line and the vanishing points in your head :)
Discussion
4 comments