Draw an Arabesque
Originating from Muslim Art and popularized by Art Nouveau, arabesques are now very prevalent in the fields of graphic design and illustration. In this new tutorial, we will learn to draw elegant curves that will perfectly decorate your drawings.
WHAT IS AN ARABESQUE?
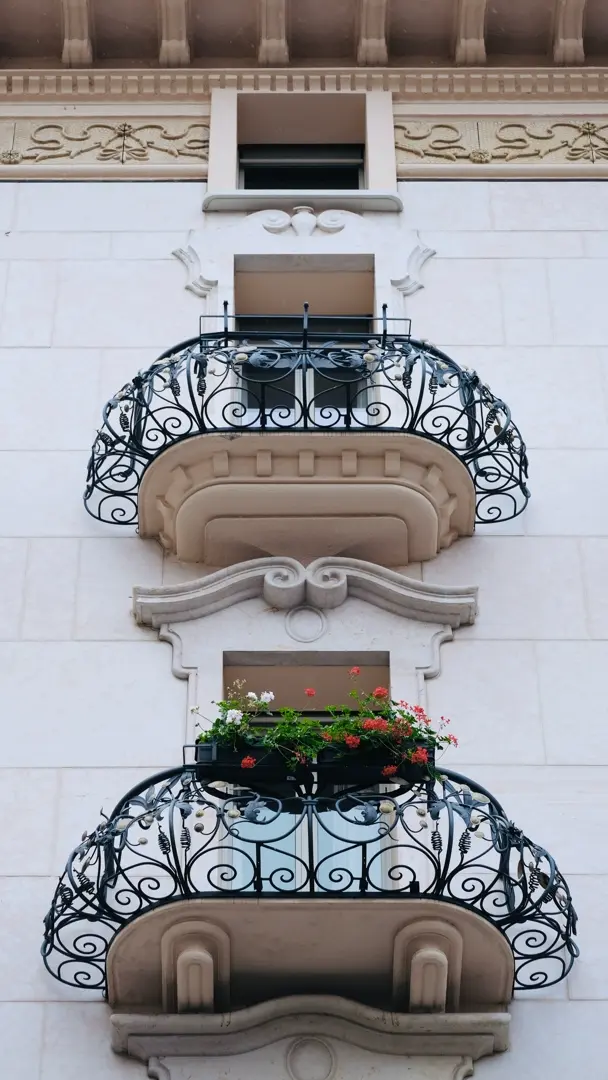
An arabesque is a set of fluid curves. It is found in decoration or as a pattern in various graphic arts (graphic design, tattooing, but also sculpture or ironwork!).
Arabesques can be either totally abstract or inspired by nature. Many arabesques incorporate floral motifs or are reminiscent of plants.
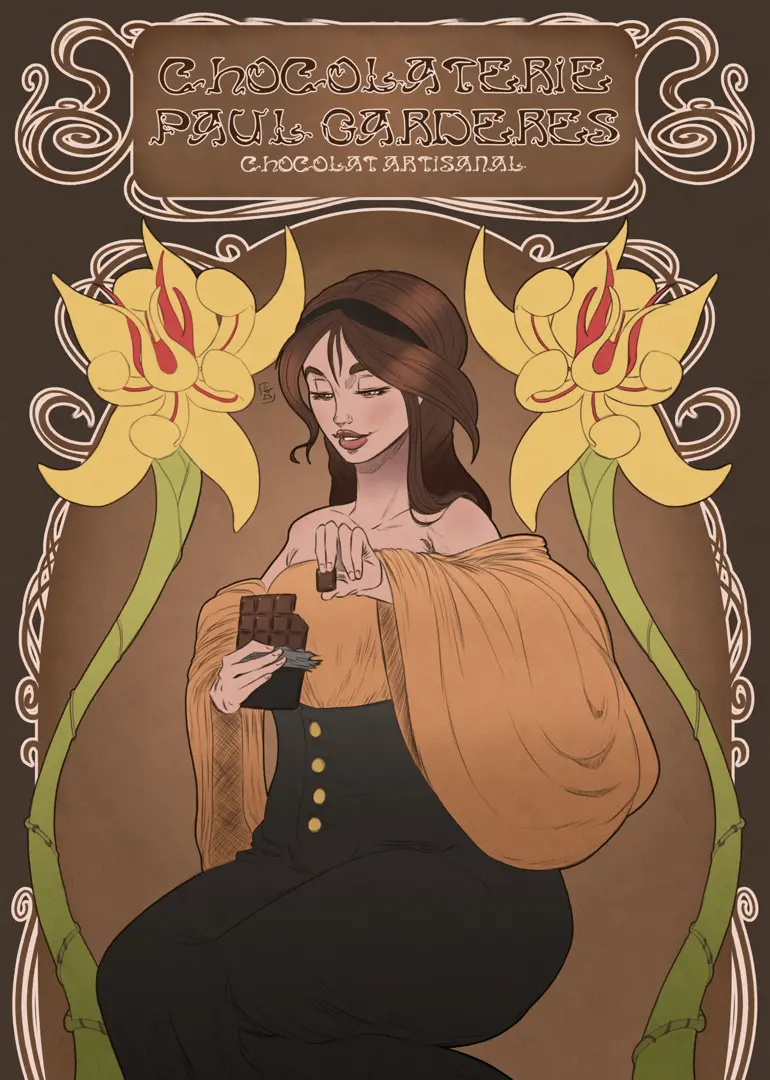
Finally, it is also possible to have arabesques that merge with the subject of the design. This is often the case in the works of Alphonse Mucha, where women's hair is gradually transformed into arabesques.

DRAWING AN ARABESQUE STEP BY STEP
As we saw earlier, arabesques are found in various artistic disciplines. Therefore, you can very well draw them in pencil, ink, or paint, or even on a digital medium.
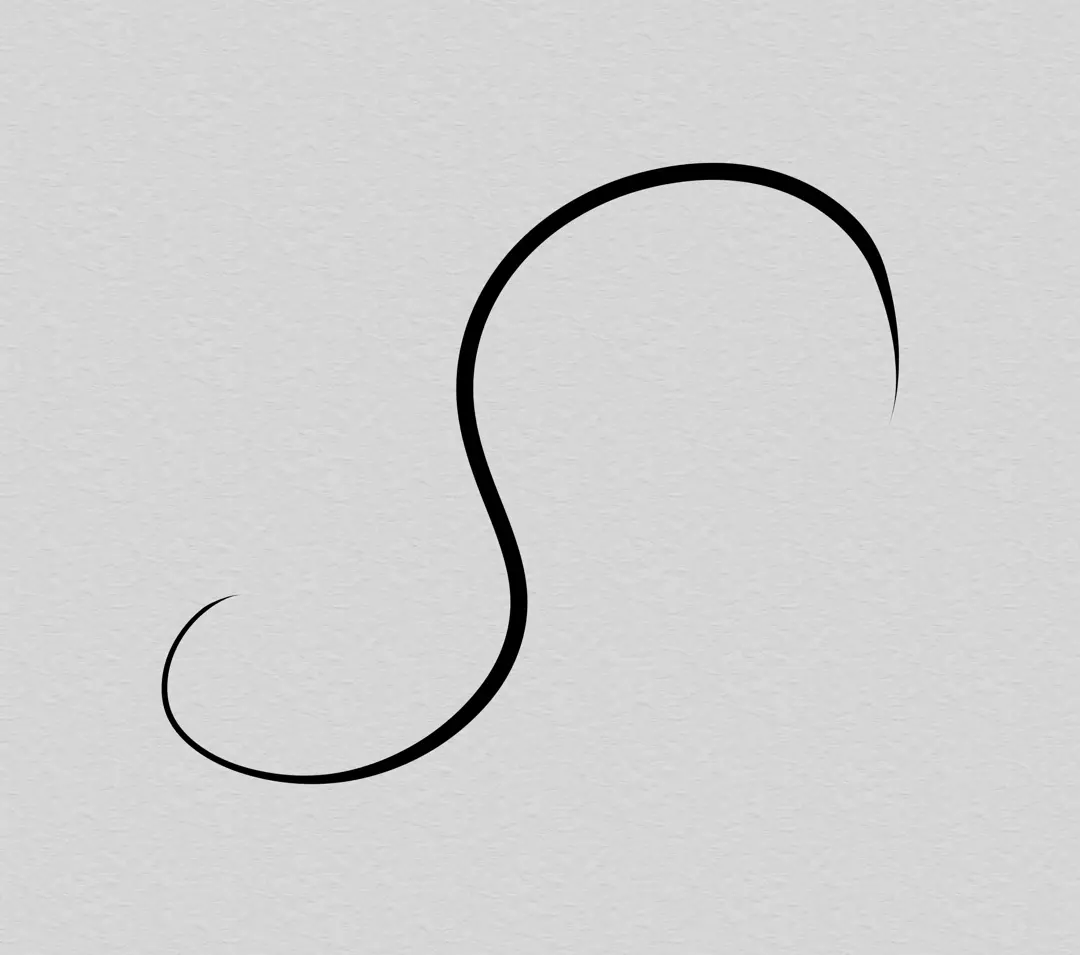
An arabesque consists of different curves that will follow a main one. So I start by drawing this main curve. It can be shaped like a “C” or an “S”, but avoid making it too complex: the following curves will complete our arabesque.
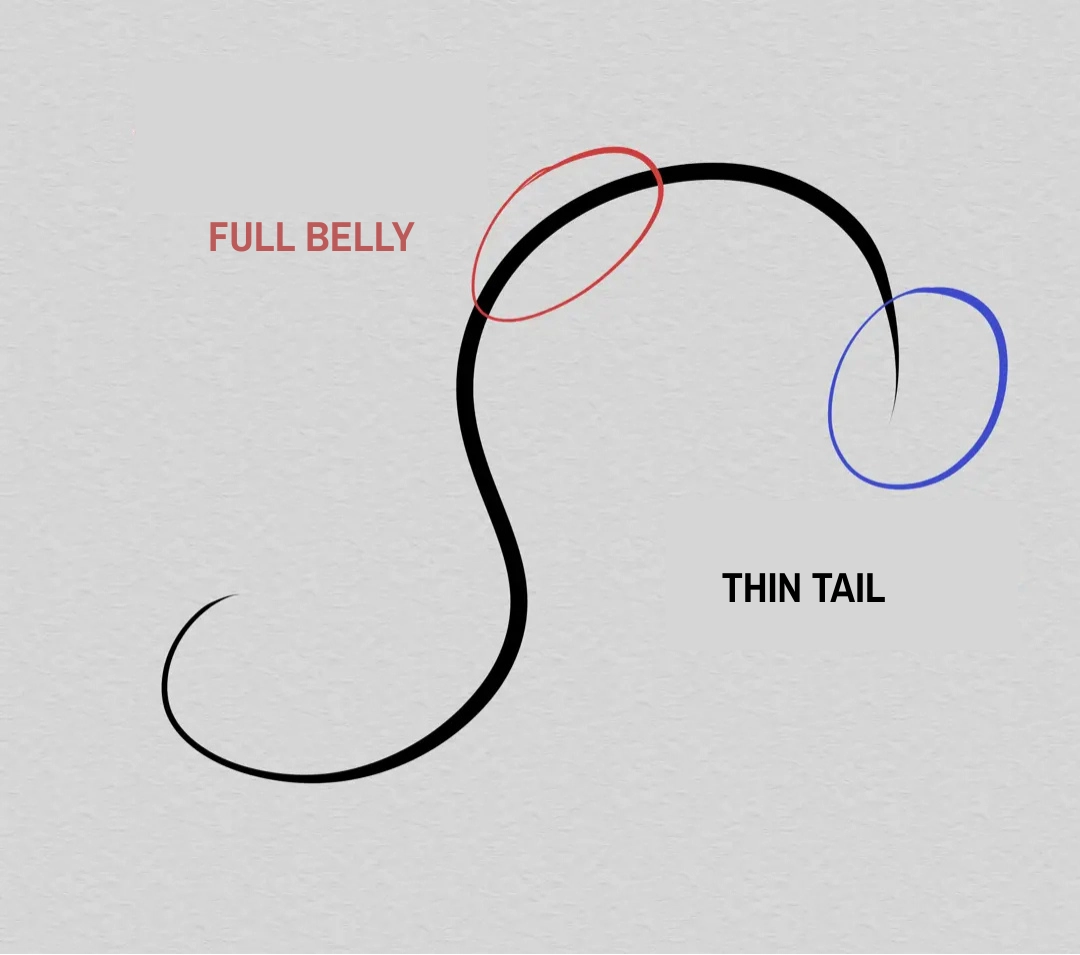
As you may have noticed, I varied the thickness of the curve as it was drawn. This is what is known as the creation of thickness and thinness. Thickness is the thickest part of the curve, while thin is the thinnest part. I try to have the thicknesses in the middle part of the curve, i.e. the most curved parts, and the thicknesses at the ends, i.e. the tails.
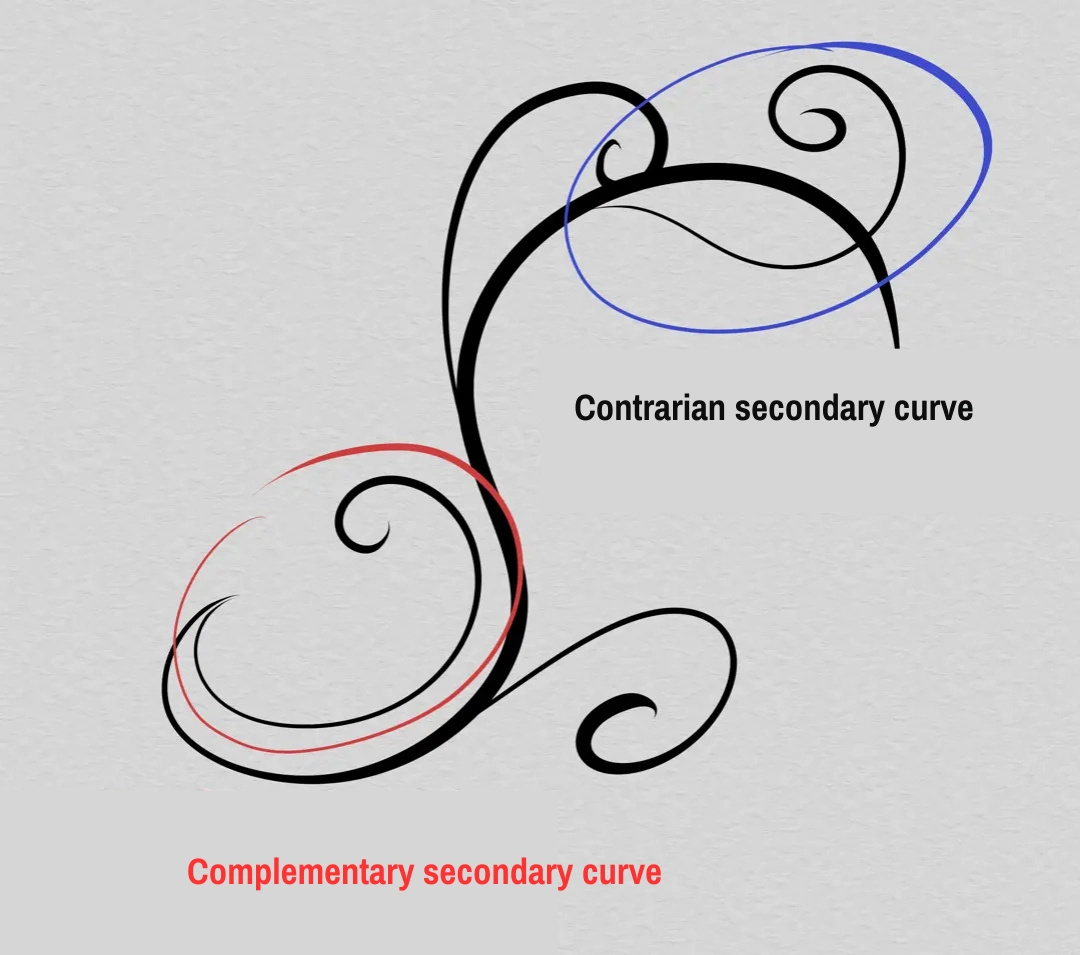
Now that I have my main curve, I will add a series of secondary curves. These curves are thinner and smaller than the main curve. They can originate in the tail of the curve or in its body. Finally, the secondary curves can follow the curvature of the main curve or counteract it. For the former we will say that they complement the main curve, for the latter that they contradict it.
Do not overload your arabesque with too many secondary curves to keep it readable. Also, remember to maintain a flexible gesture to have elegant curves. Finally, apply the same method of thick and thin strokes to your secondary curves as your main curve.
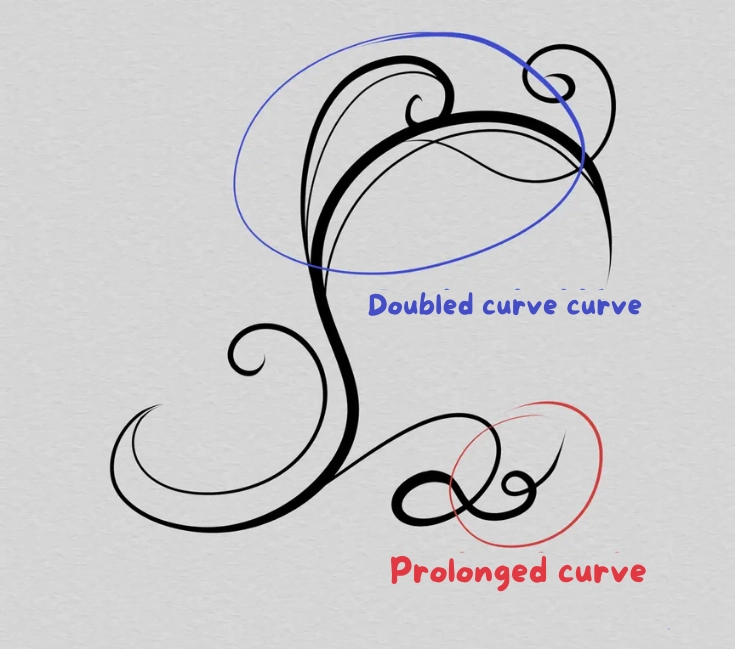
Now that we have our set of curves, we can start decorating our arabesque. Here we can have fun adding additional motifs or small curves. These small curves can act as an extension or doubling of some curves.
As for the patterns, you have a choice: floral inspiration, abstract, mosaic... For my part, I chose to decorate my arabesque with small leaves to keep a natural aspect. I also finish some curves with dots to add thickness to certain ends.
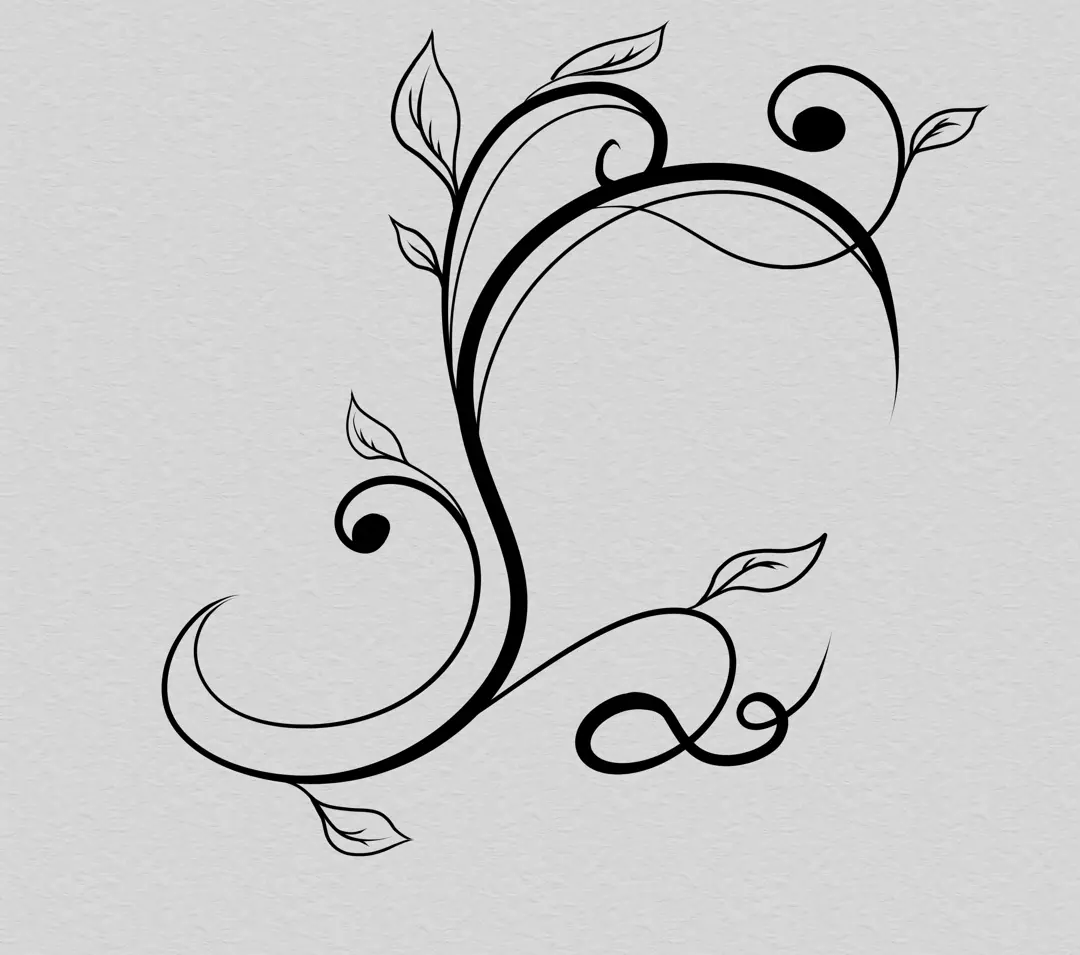
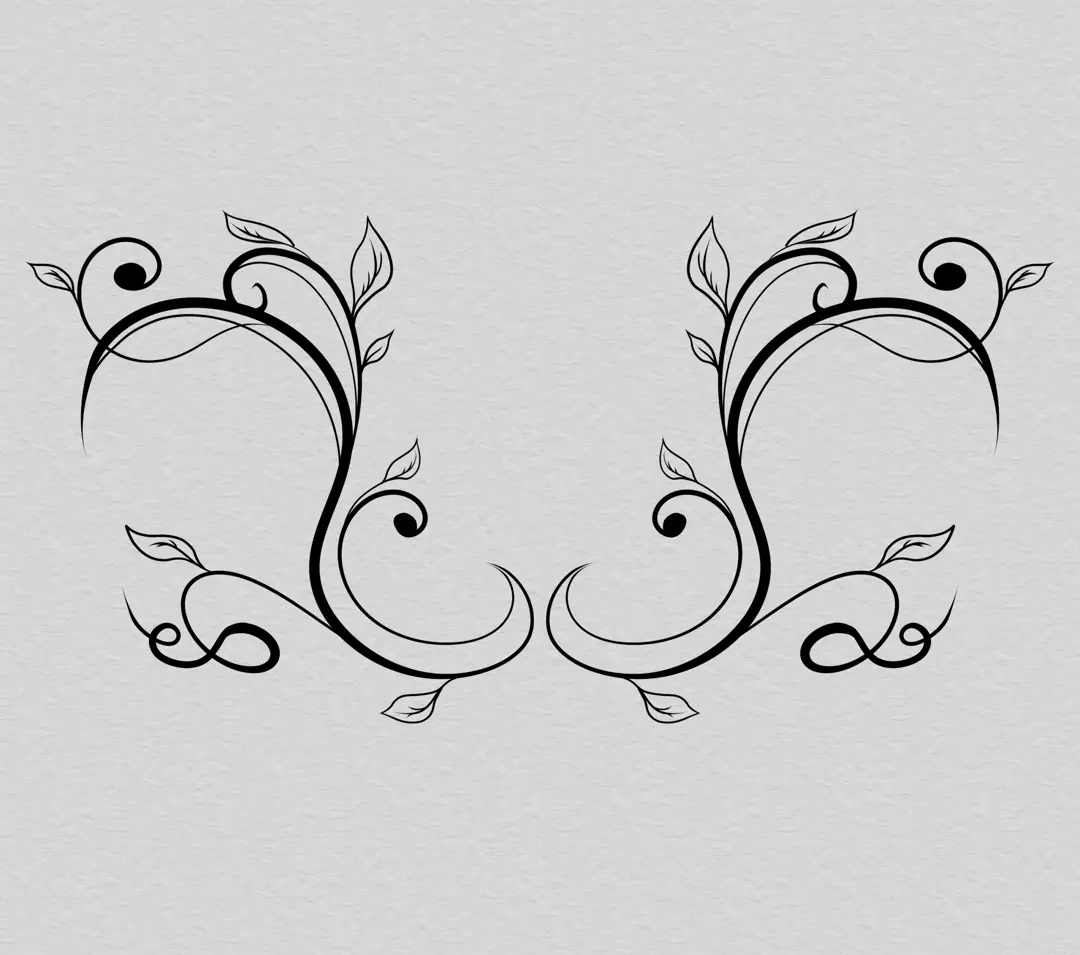
And there you have it, our arabesque is finished! You can leave it as is or reproduce it symmetrically to start creating a pattern.
DRAWING AN ARABESQUE IN ROSETTE
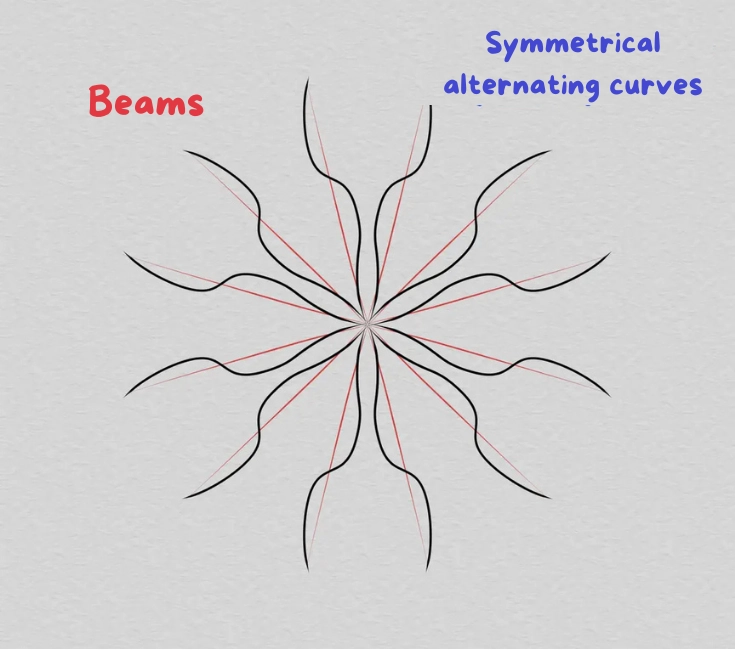
It is also possible to create arabesques in rosettes. Following the same model, I first draw a main curve that I repeat along a radius. At each change of radius, I reproduce the symmetrical version of my curve. If necessary, do not hesitate to draw a circle as a guide.
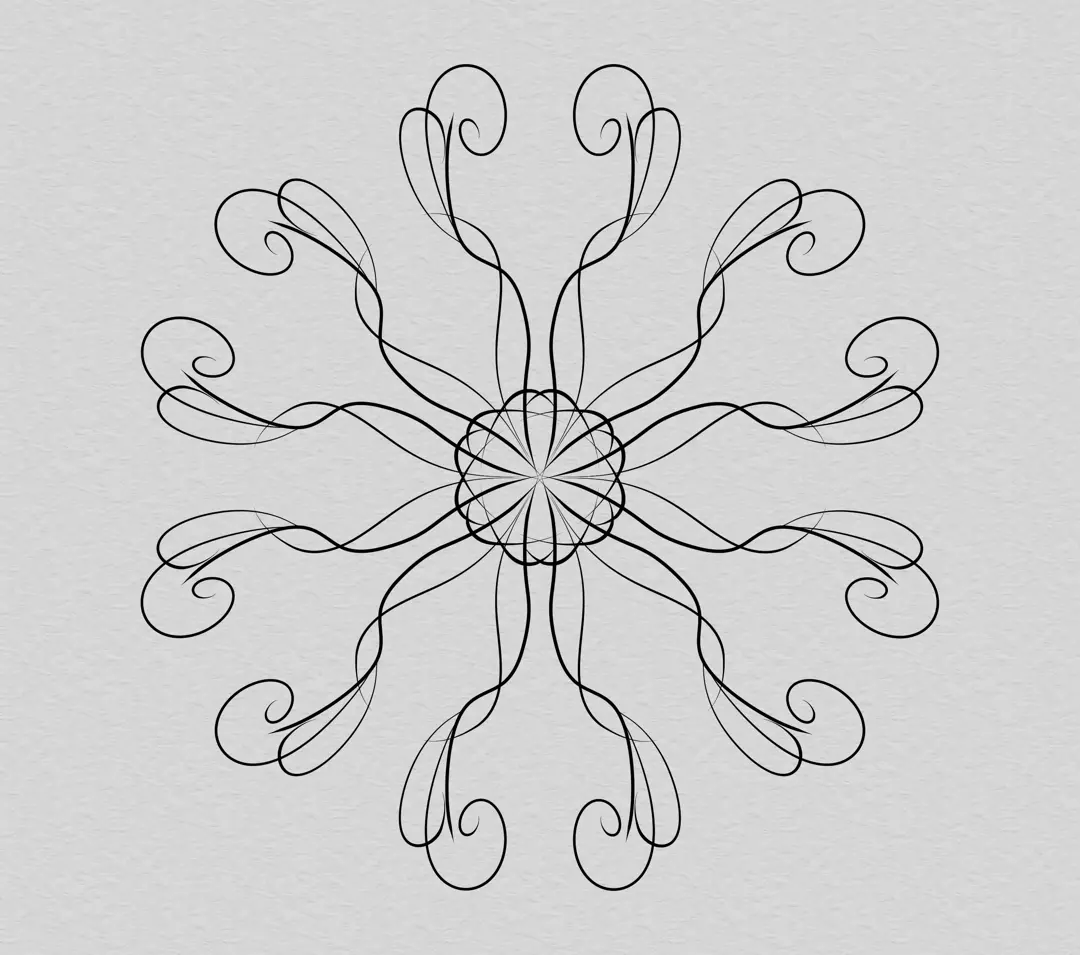
I then add my secondary curves.
And some motifs to embellish my rosette.
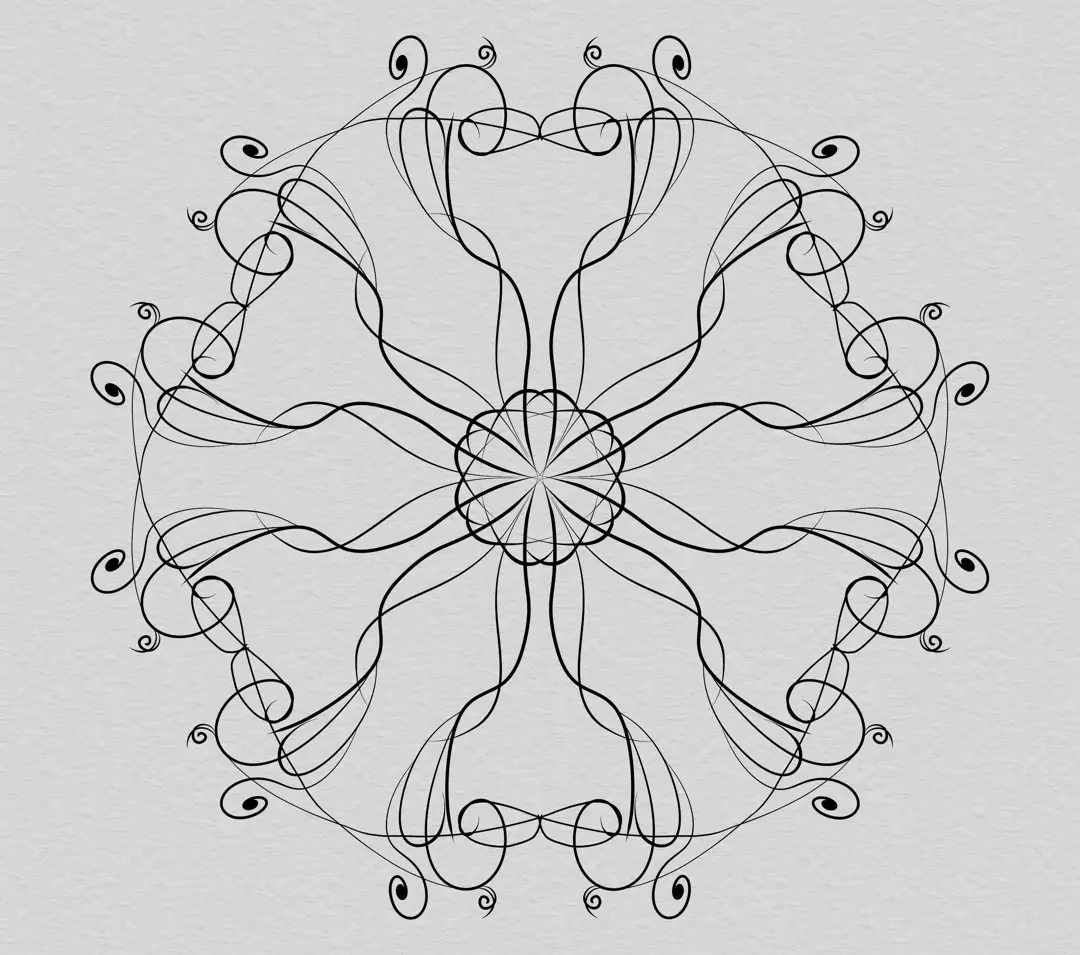
Don't forget to repeat the steps for each radius to obtain a well-regulated rosette!
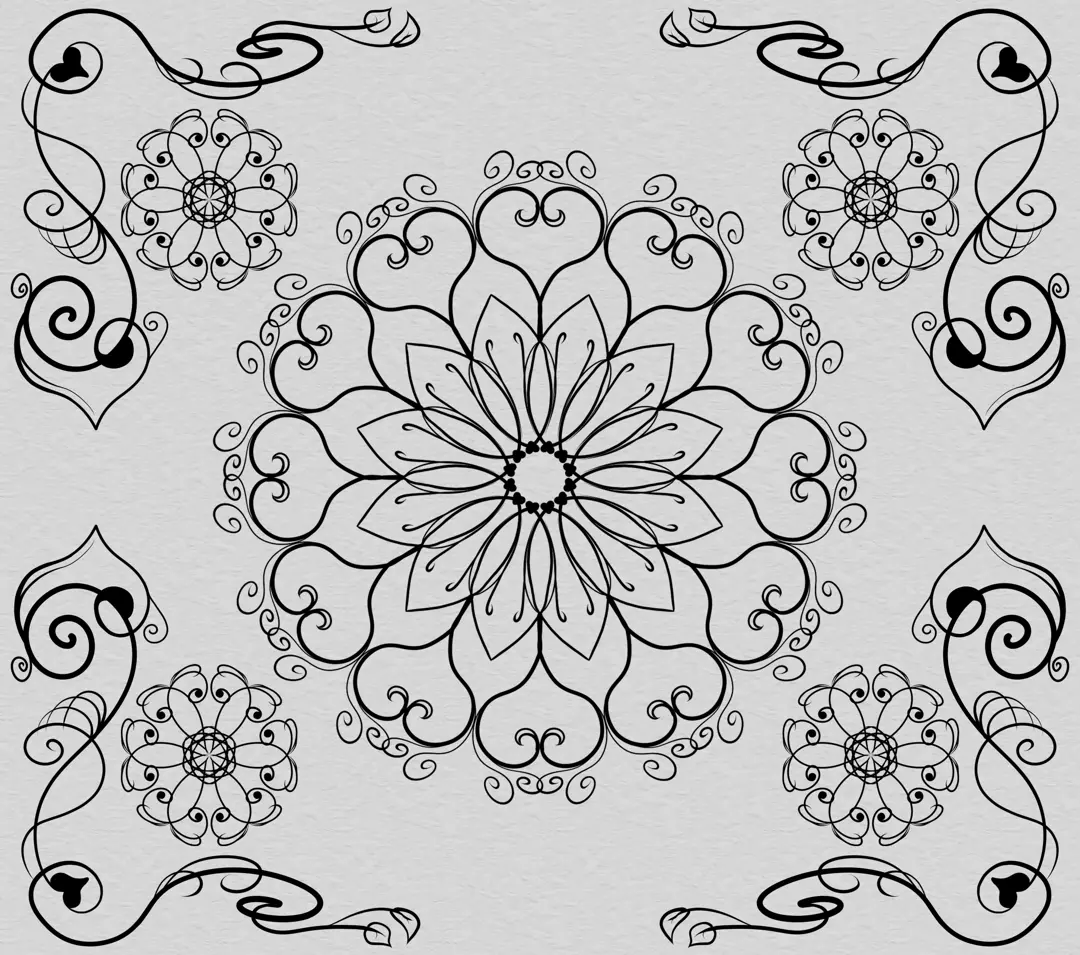
Here are some more examples of arabesques made using the same method. Do not hesitate to vary the shapes and patterns to obtain original results!
GOING FURTHER IN CREATING YOUR DRAWING
Now that you know how to make arabesques, have fun creating frames by reproducing the arabesque in the four corners of the sheet. You can also try creating arabesques by mixing curves and straight lines to give an Art Deco feel to your illustrations. Finally, try incorporating arabesques into your drawings in Mucha's style. In any case, remember that an arabesque must be fluid and elegant!

Popular Articles


Discussion
No comments yet.