How to Draw a Rose
Aaah, today, we are going to look at a very cherished flower: the rose. I remember that when I was younger, I was also very eager to learn how to draw it. It must be said that my favorite story is Beauty and the Beast and that the rose carries a whole range of very interesting symbolism. Associated with fairy tales, beauty, spells, love and romance, or for some antagonists with the mafia as a murder signature.
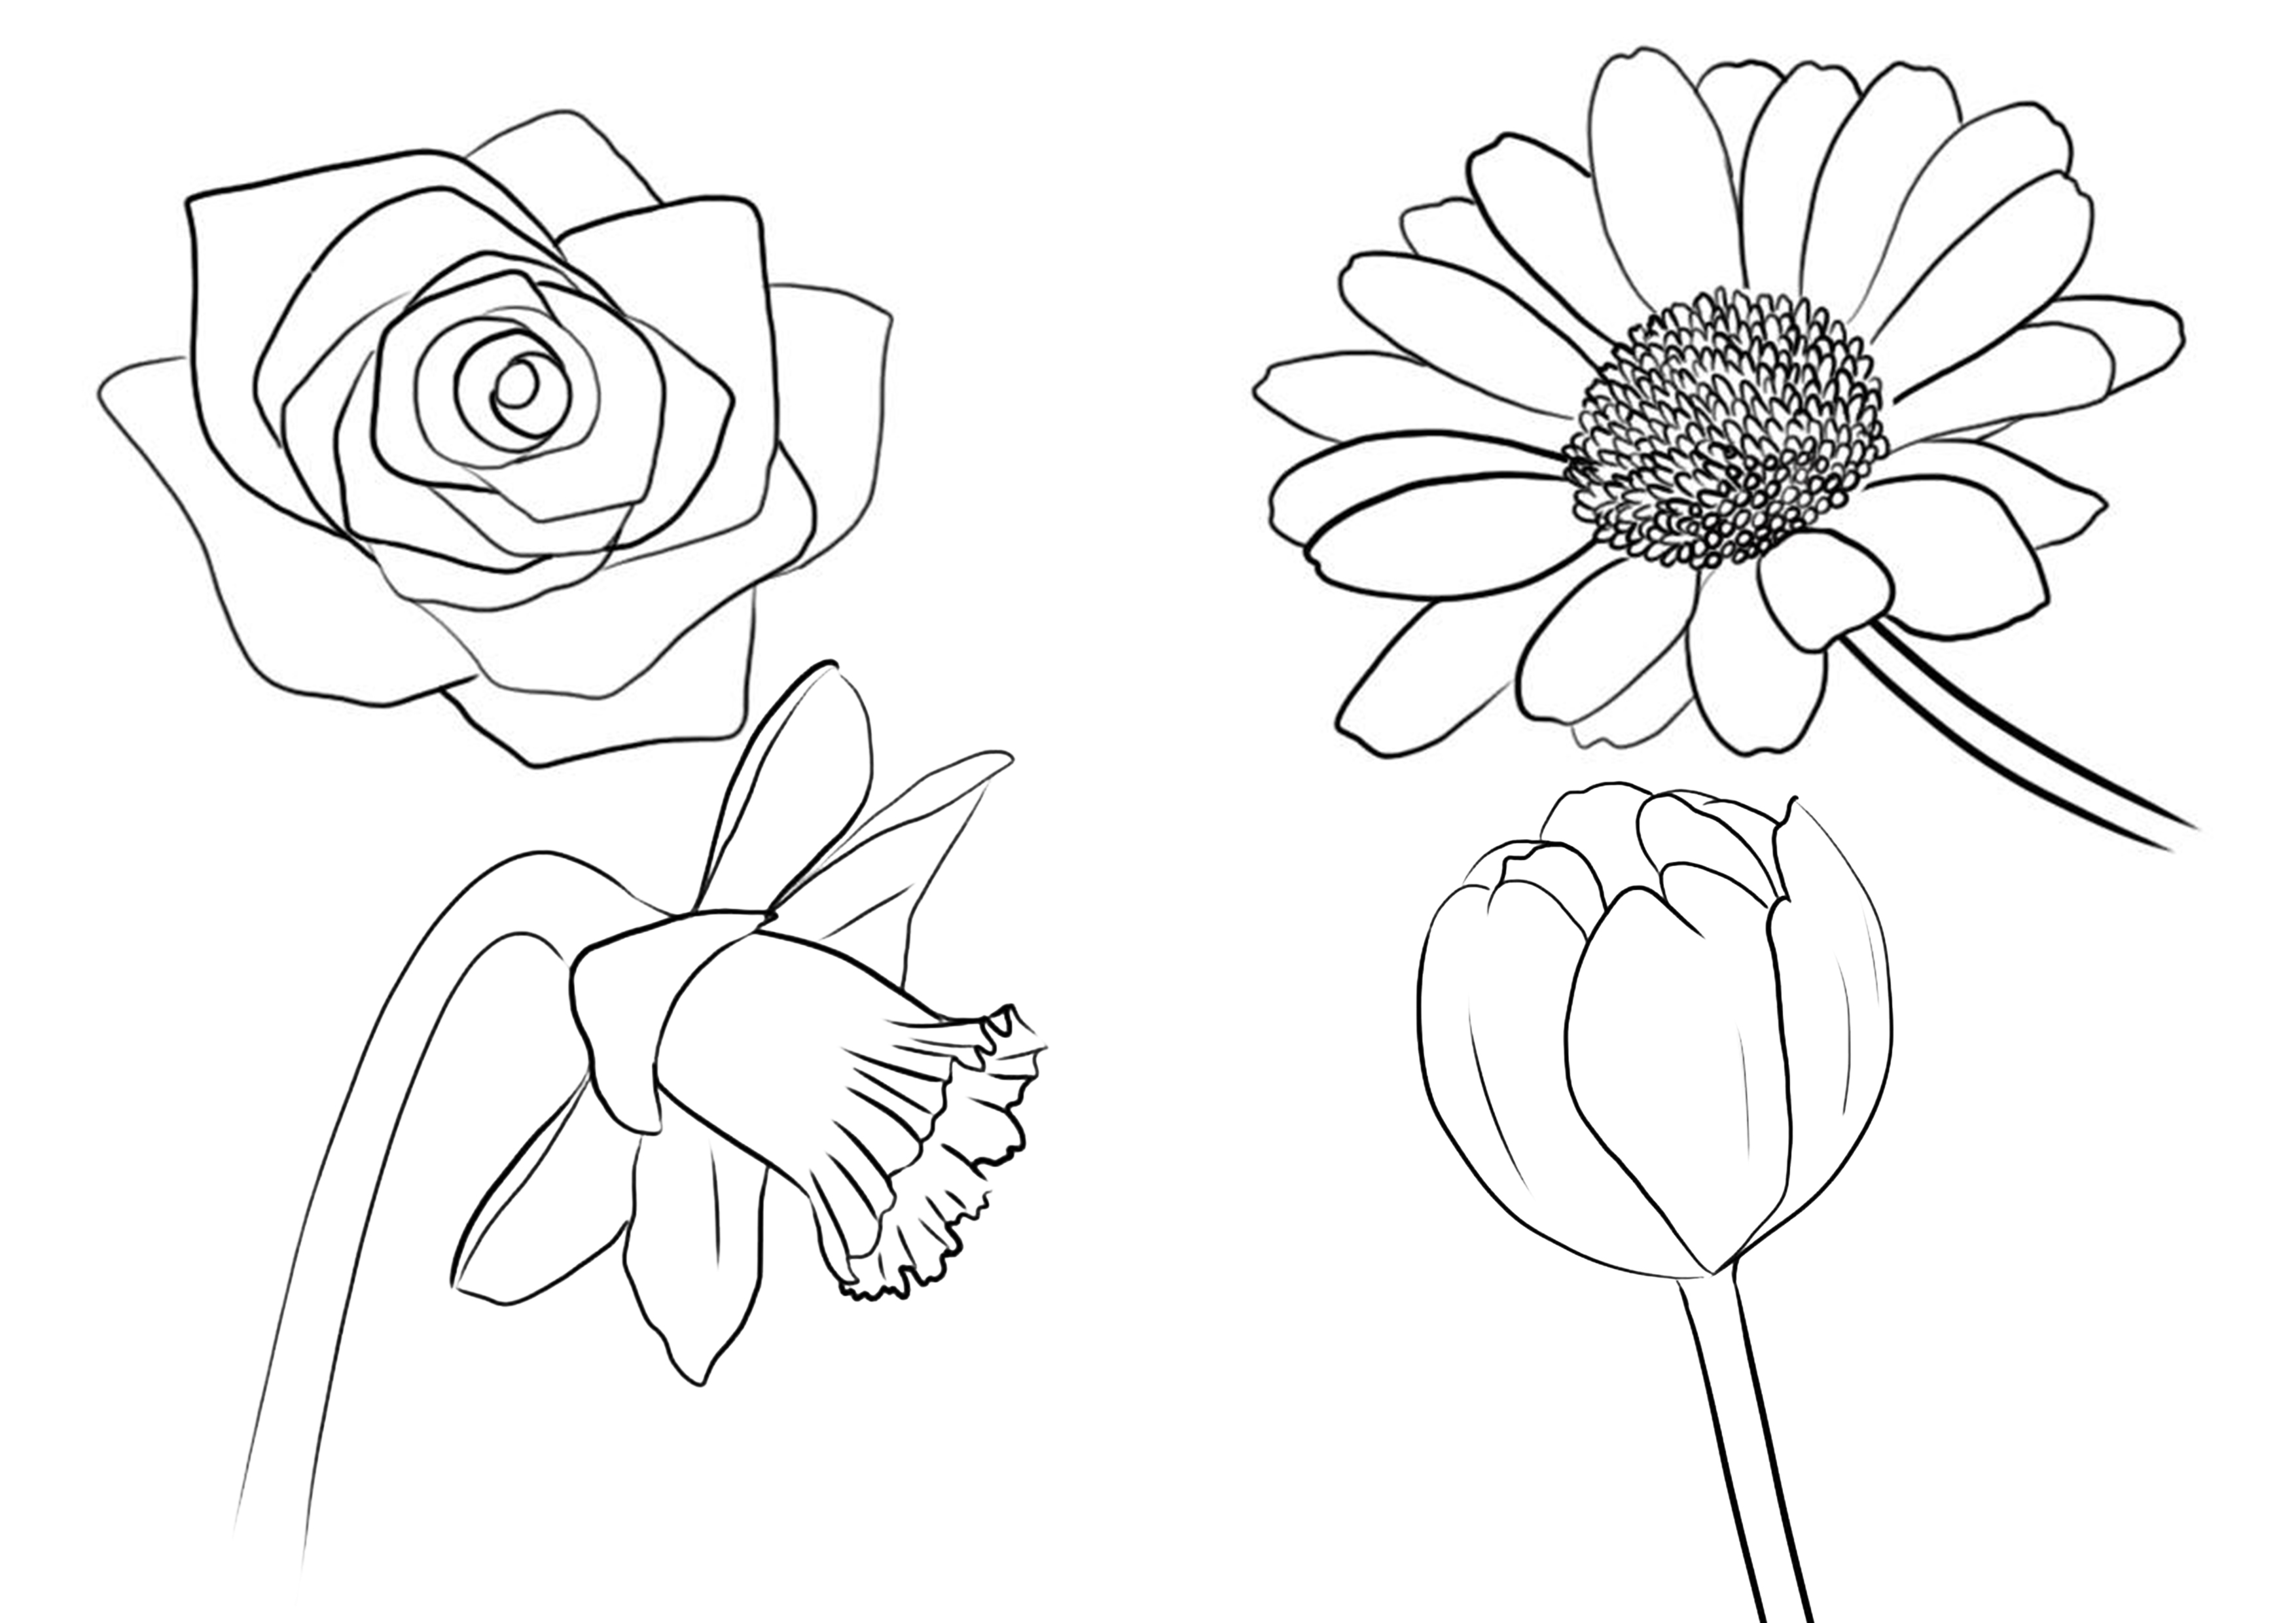
So today, I'm going to teach you how to draw one. If you wish to learn how todraw a flowerother than the rose for example, I invite you to check out the article on our blog.
OBSERVATION
First, let's take some time to carefully observe this flower. If it's the season and you're lucky enough to have some nearby, or simply if you have the chance to visit a florist, don't hesitate to take multiple photos of them from different angles.
Roses are flowers characterized by the following elements:
- A relatively thick stem, sometimes bristling with thorns.
- Small pointed and triangular leaves at the base
- A corolla of petals, larger on the outside, smaller towards the inside, and which seem to be arranged more or less in a spiral
- The tips of the petals curl outward
- The petals have a shape close to a circle, pointed towards their base. (Kind of like a heart shape actually)
DRAW THE PETALS
I have made here a small drawing of a petal from different angles so that you understand well how things happen.
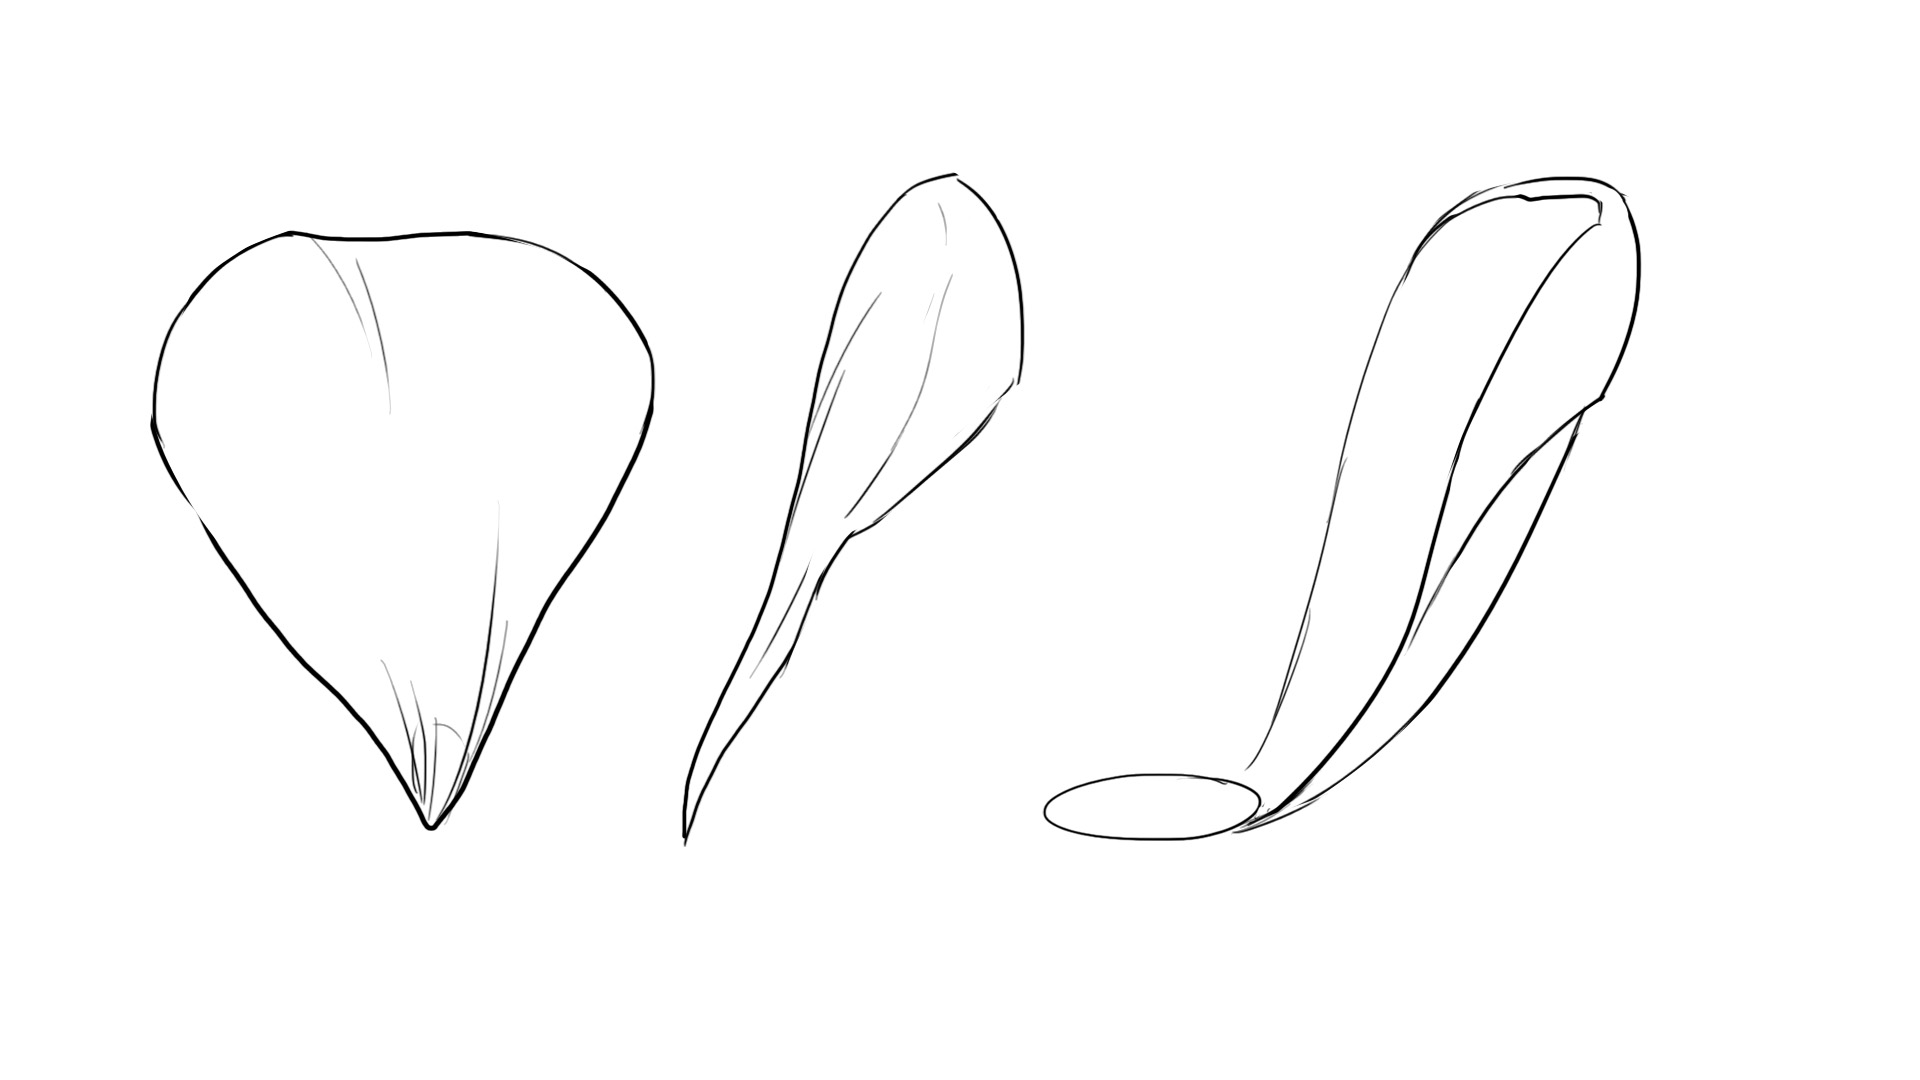
What you actually need to understand is that the petals of the rose are arranged one after the other and overlap.And they always overlap in the same direction! Remember that, because if you don't pay attention, your rose will not work!That is to say, if it is the right edge of the petal that always overlaps the next one, this must be the case for all the petals of your rose!
Let's get to practice!
DRAWING STEP BY STEP
I'm going to admit something to you: making a rose is not that complicated. As always, once we understand the structure of our model, everything becomes simpler.
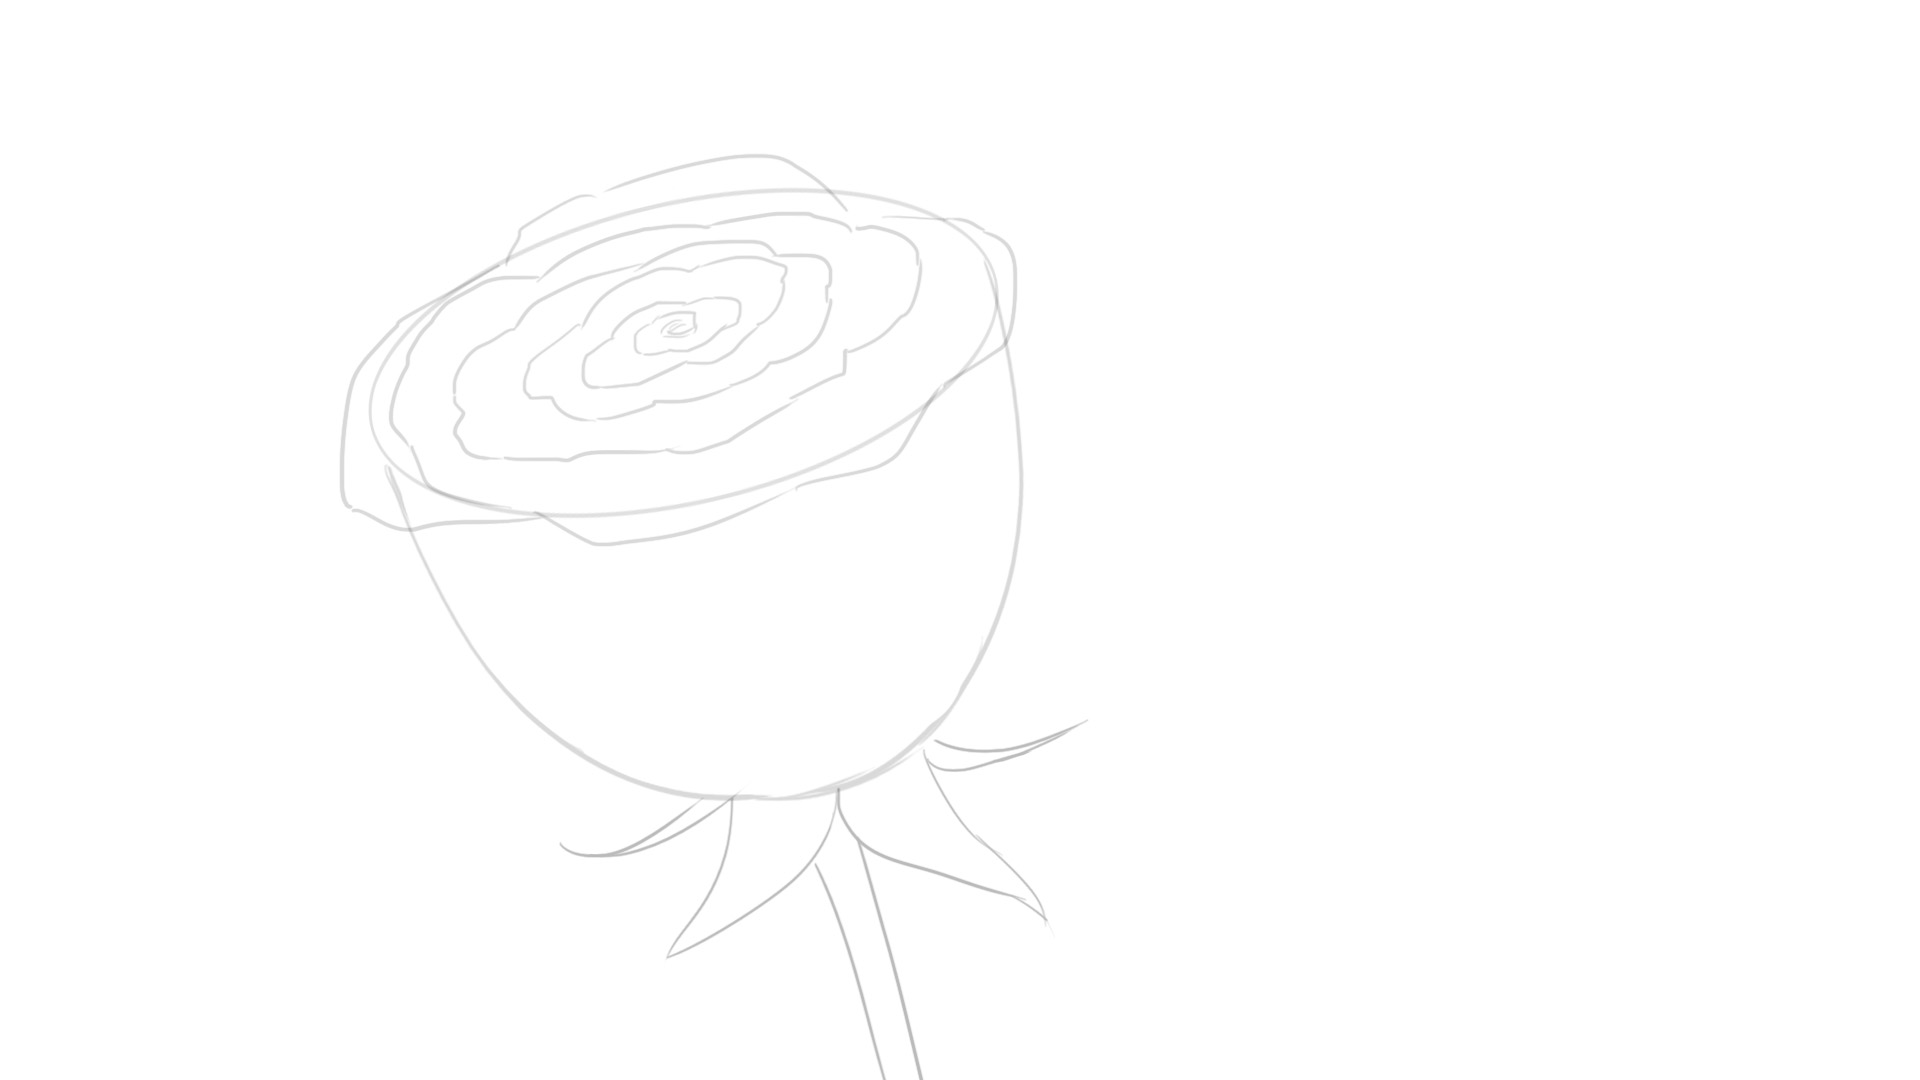
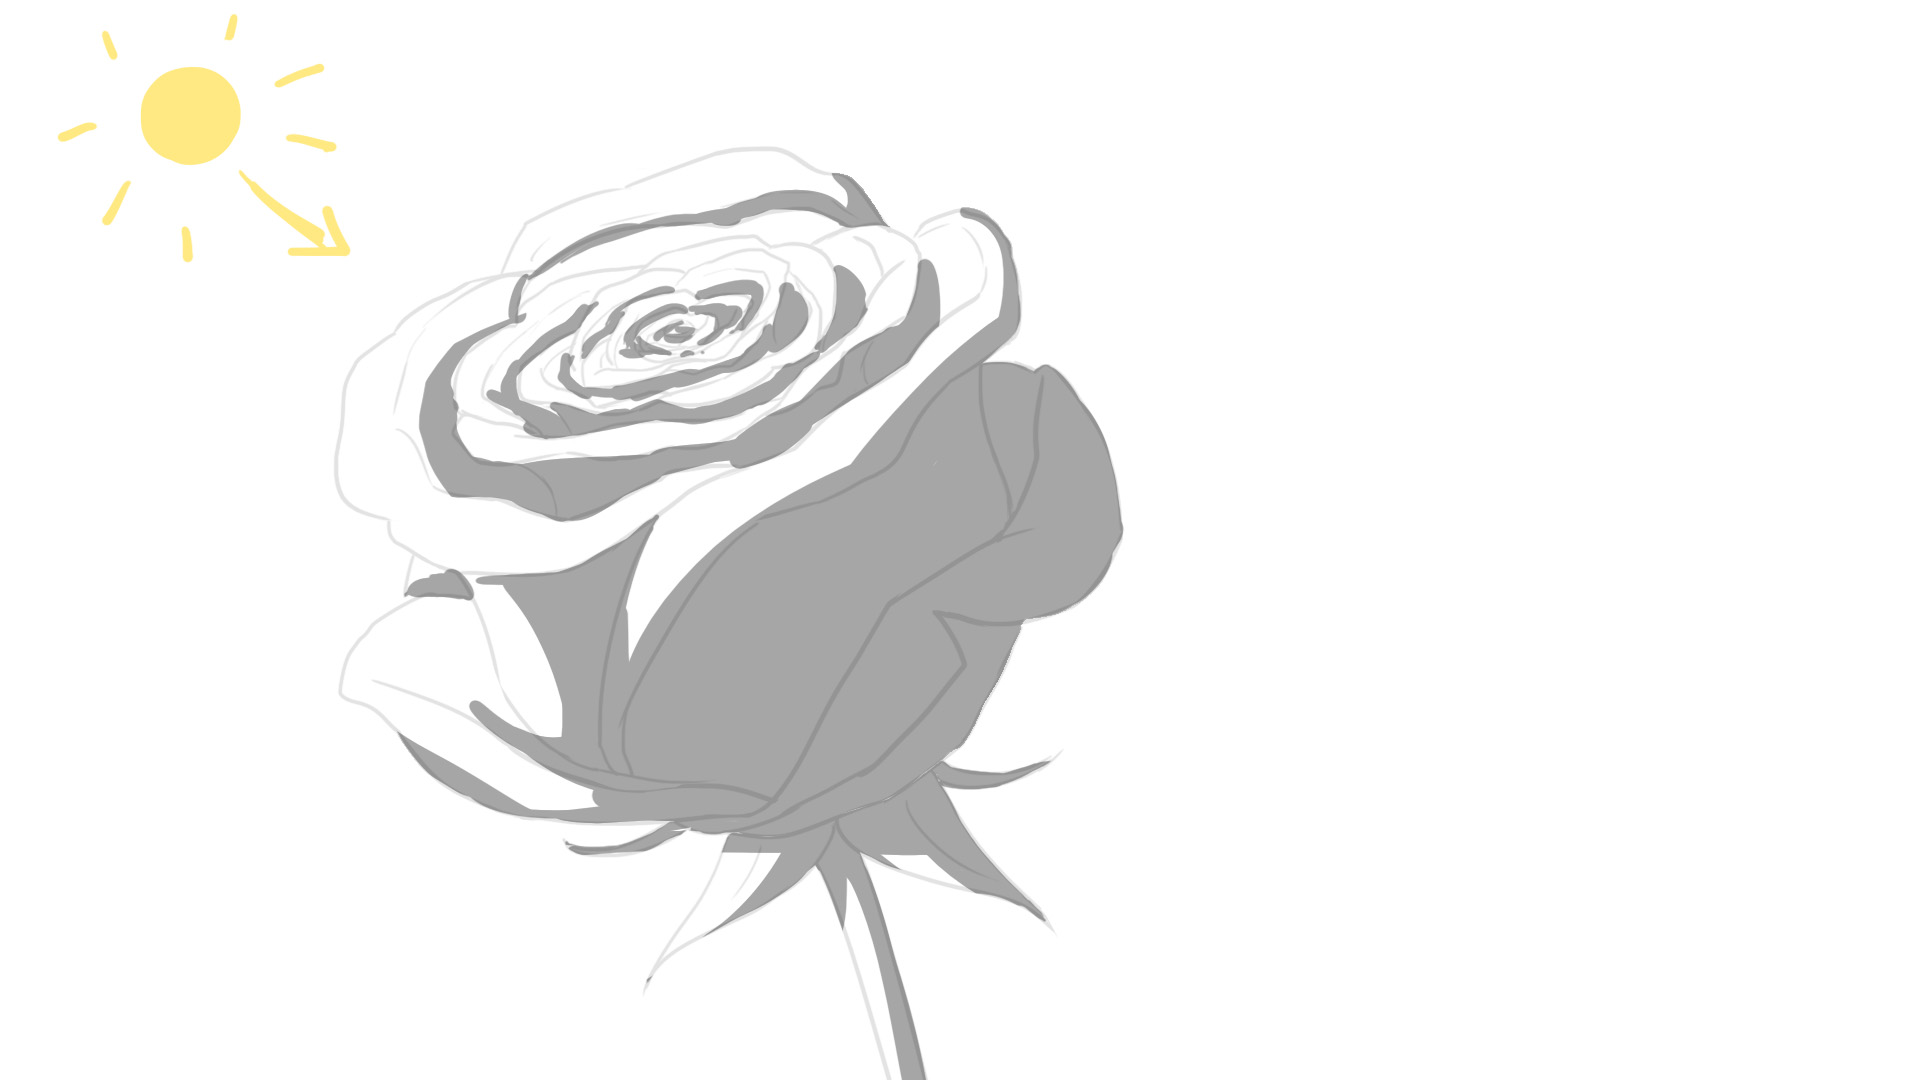
To simplify things for you, I will draw a basic circle which will be our rose, and inside it, a spiral, not necessarily perfectly round by the way. We are dealing with a plant, so irregularity is not a problem.
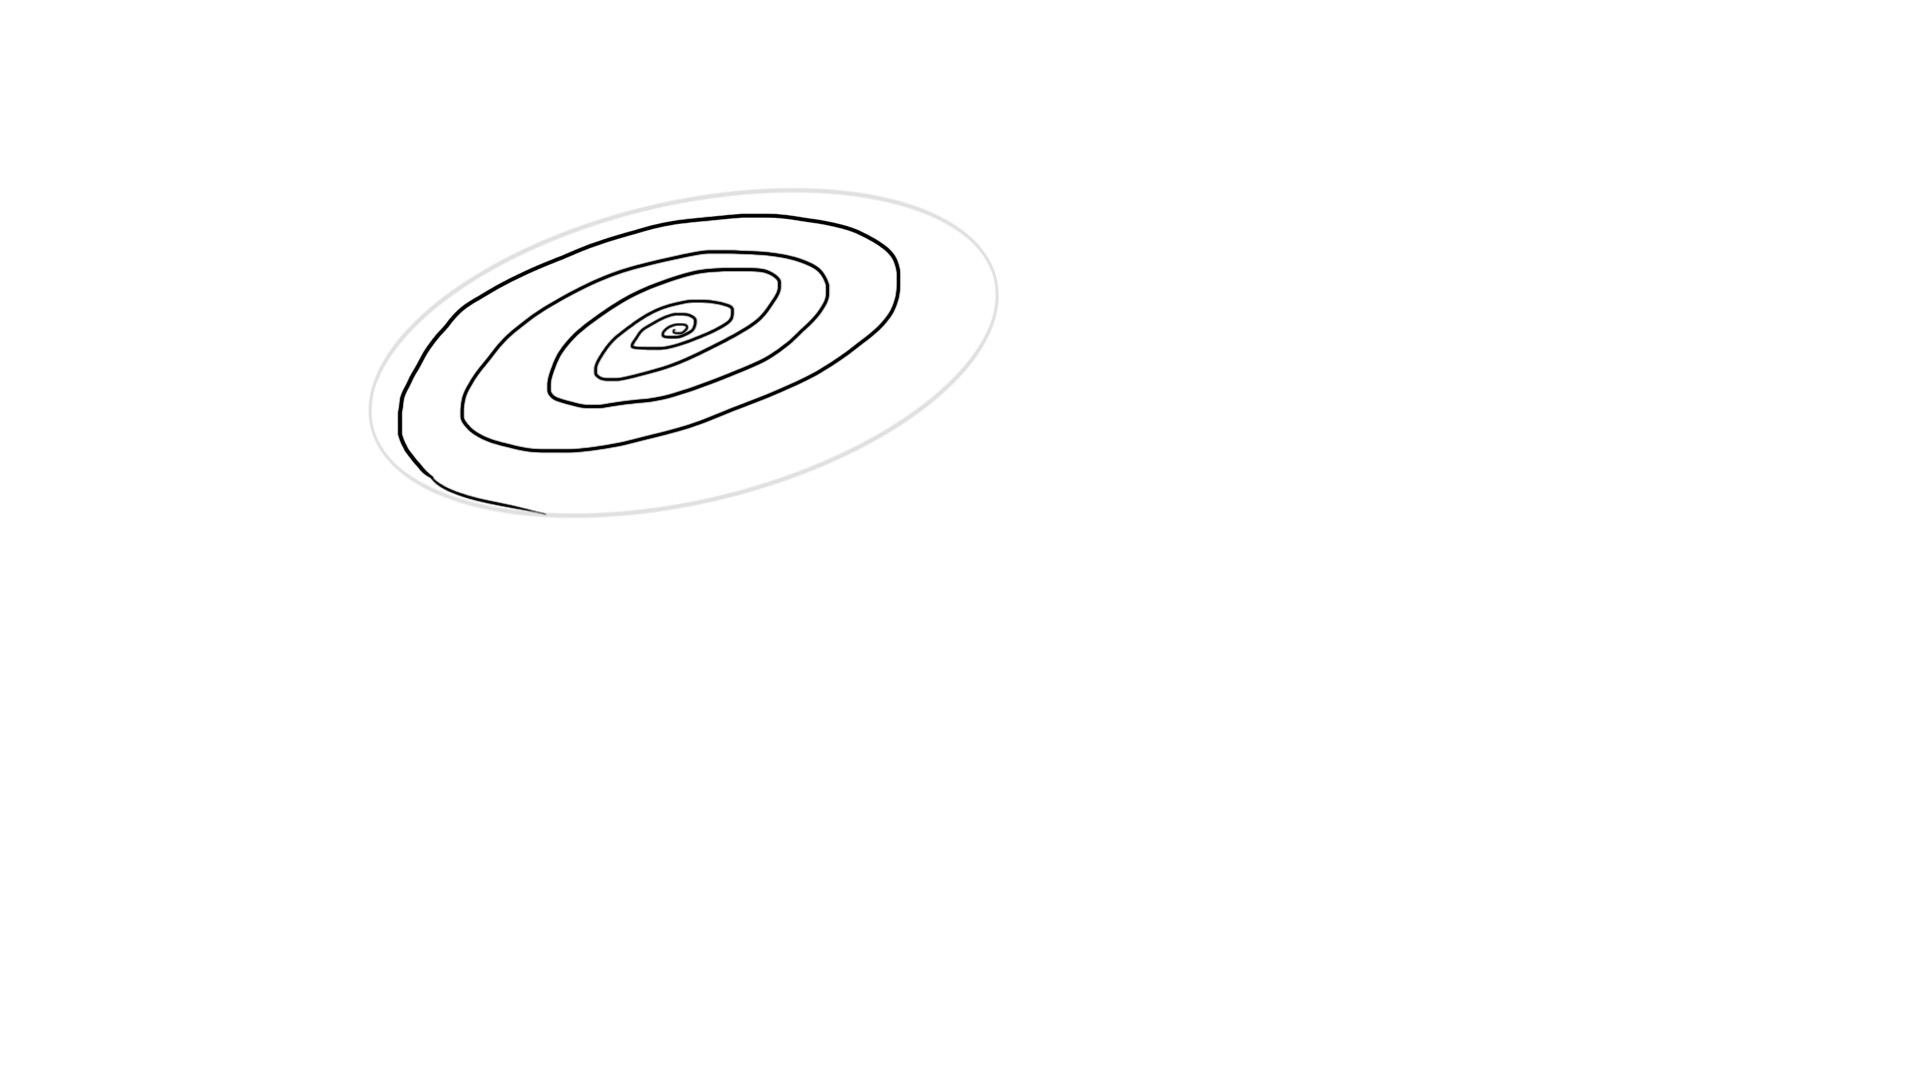
I then quickly draw the "body" of the flower. Nothing too complicated for now :)
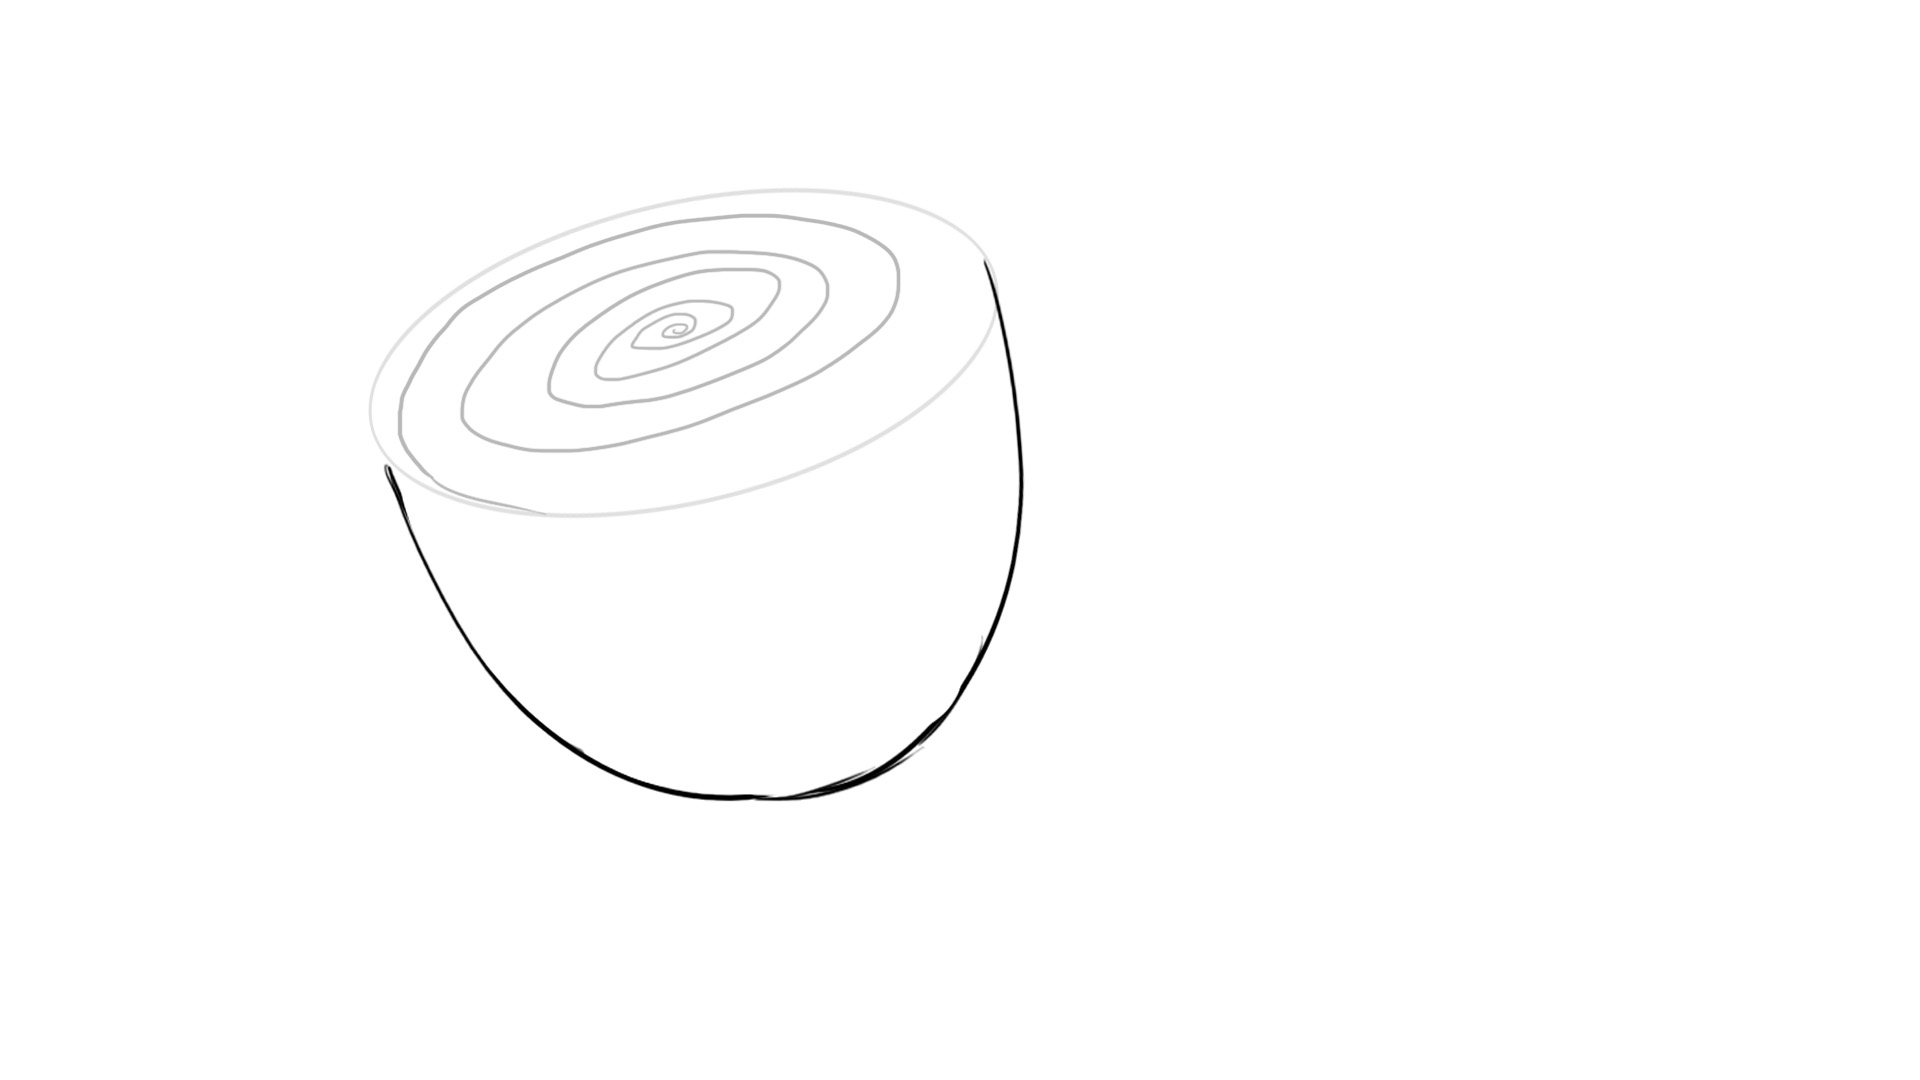
I take this opportunity to quickly place the stem and the small collar of leaves. At this stage, our flower looks a bit like the ones you might see in Fantasia, don't you think?
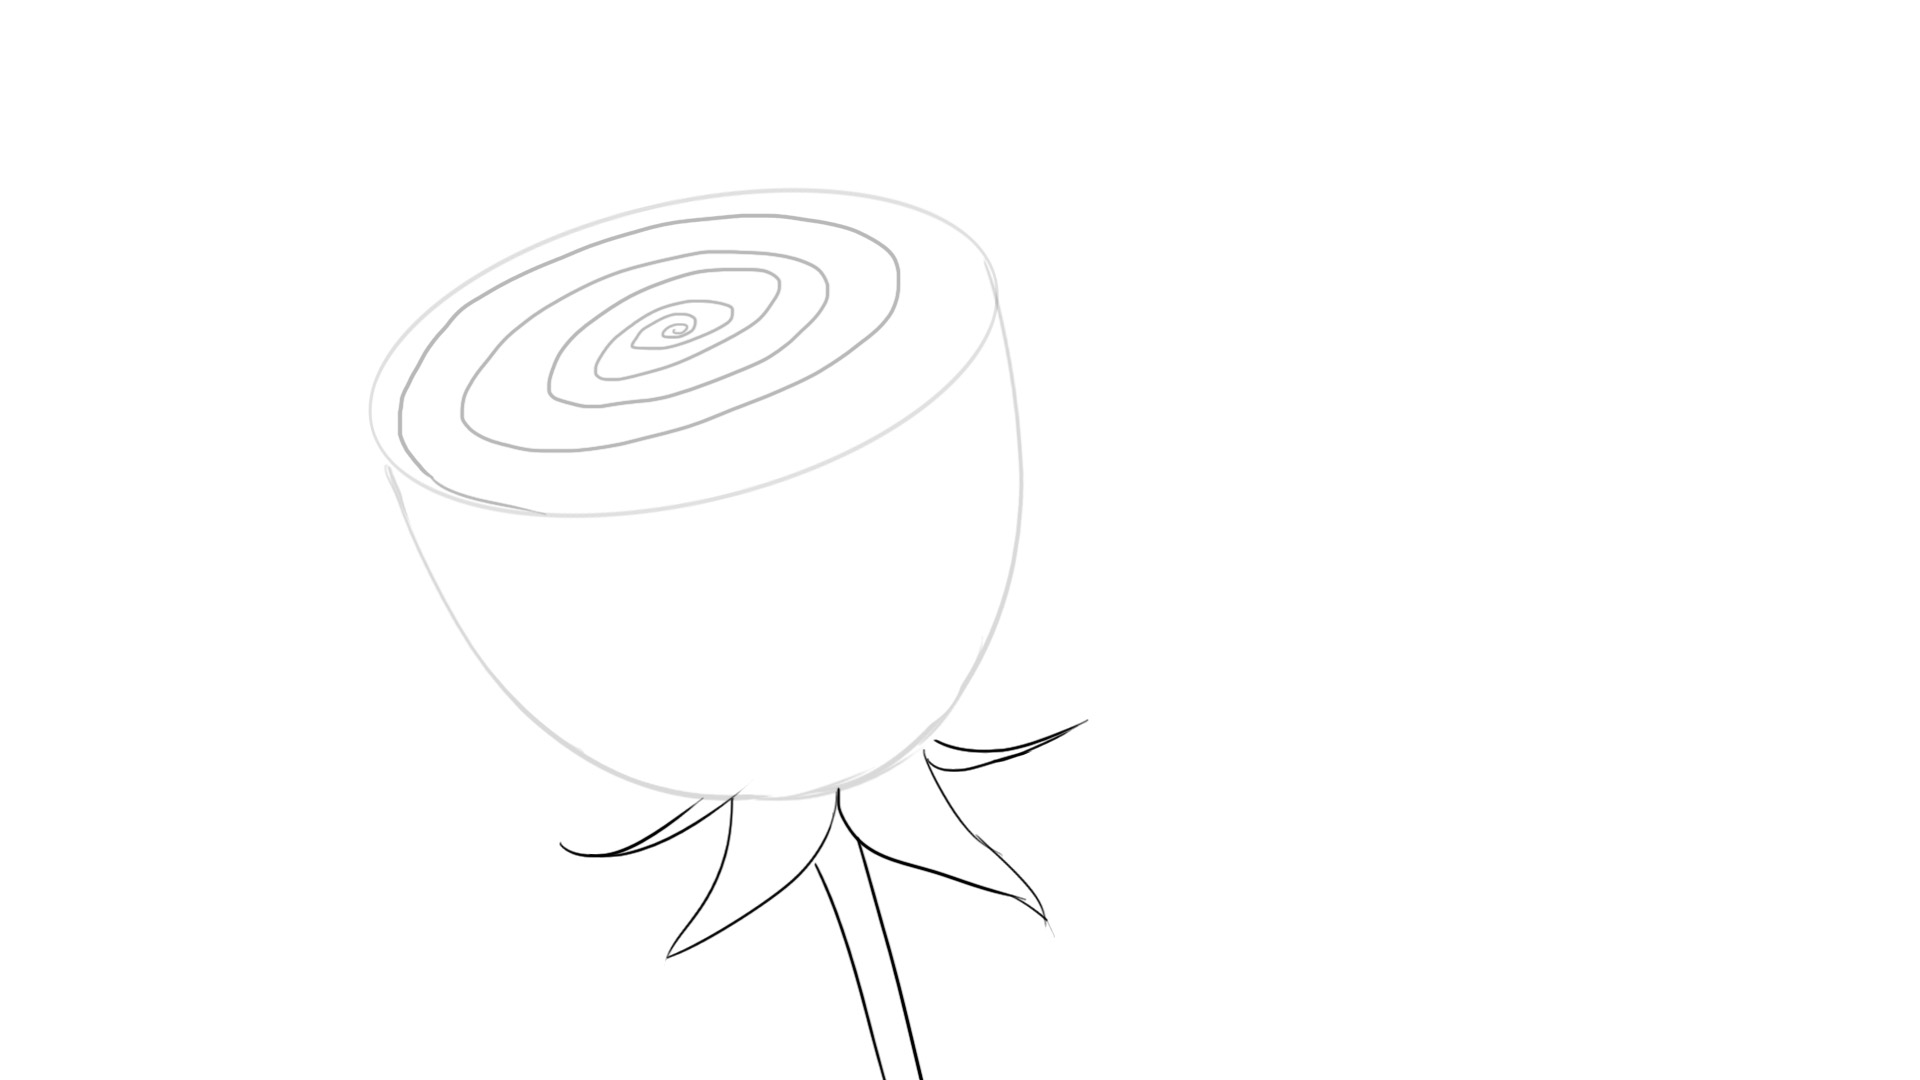
And now we can get to the heart of the matter. I draw, without thinking too much and following my spiral, the outer edge of my petals. That is, the edge curved backwards. There's no need for pretty lines or curves, you can make notches, folds, it's actually better that way.
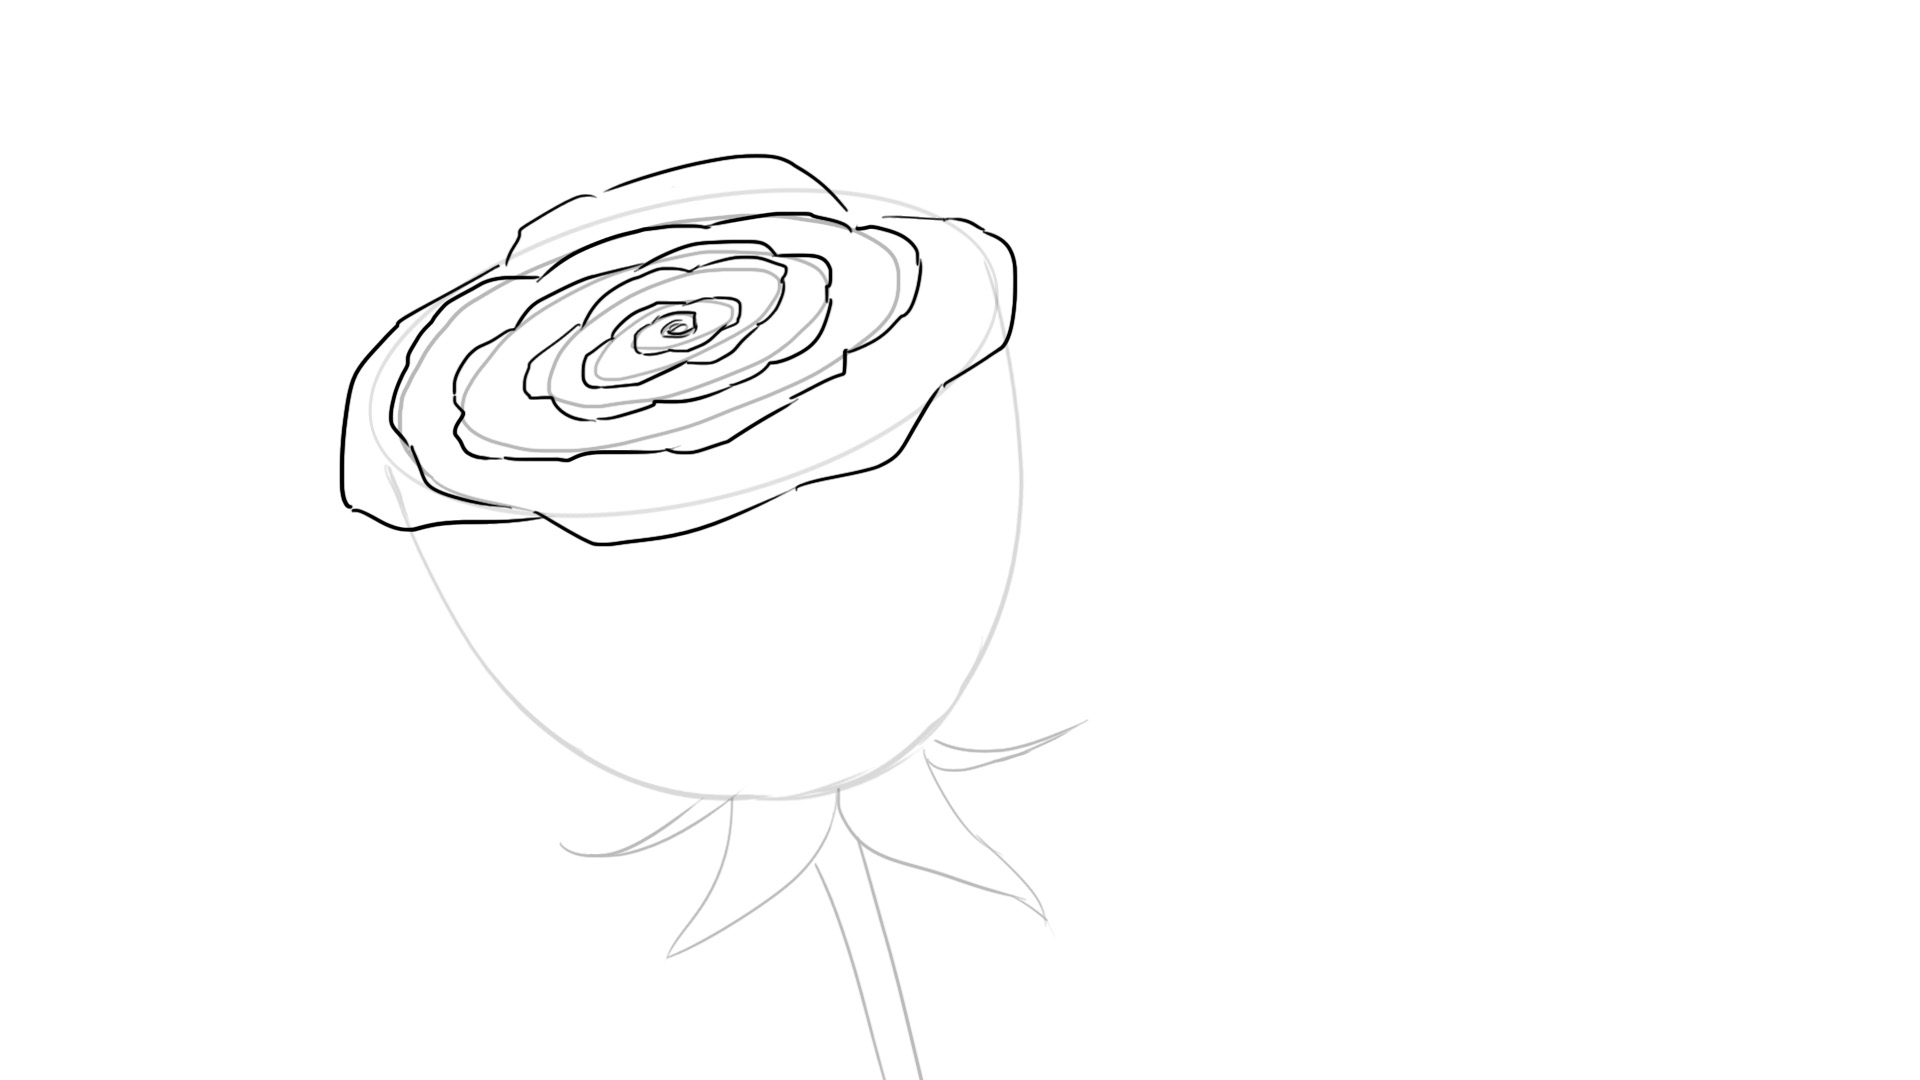
Now I will detail the edges of the petals a bit. Remember: always respect the orientation of your petals! If you don’t, it will look like a rose for a while and towards the end you won’t understand why it doesn’t work. The outer petals have a wider edge than the inner ones, still fresh and young and not yet "opened".
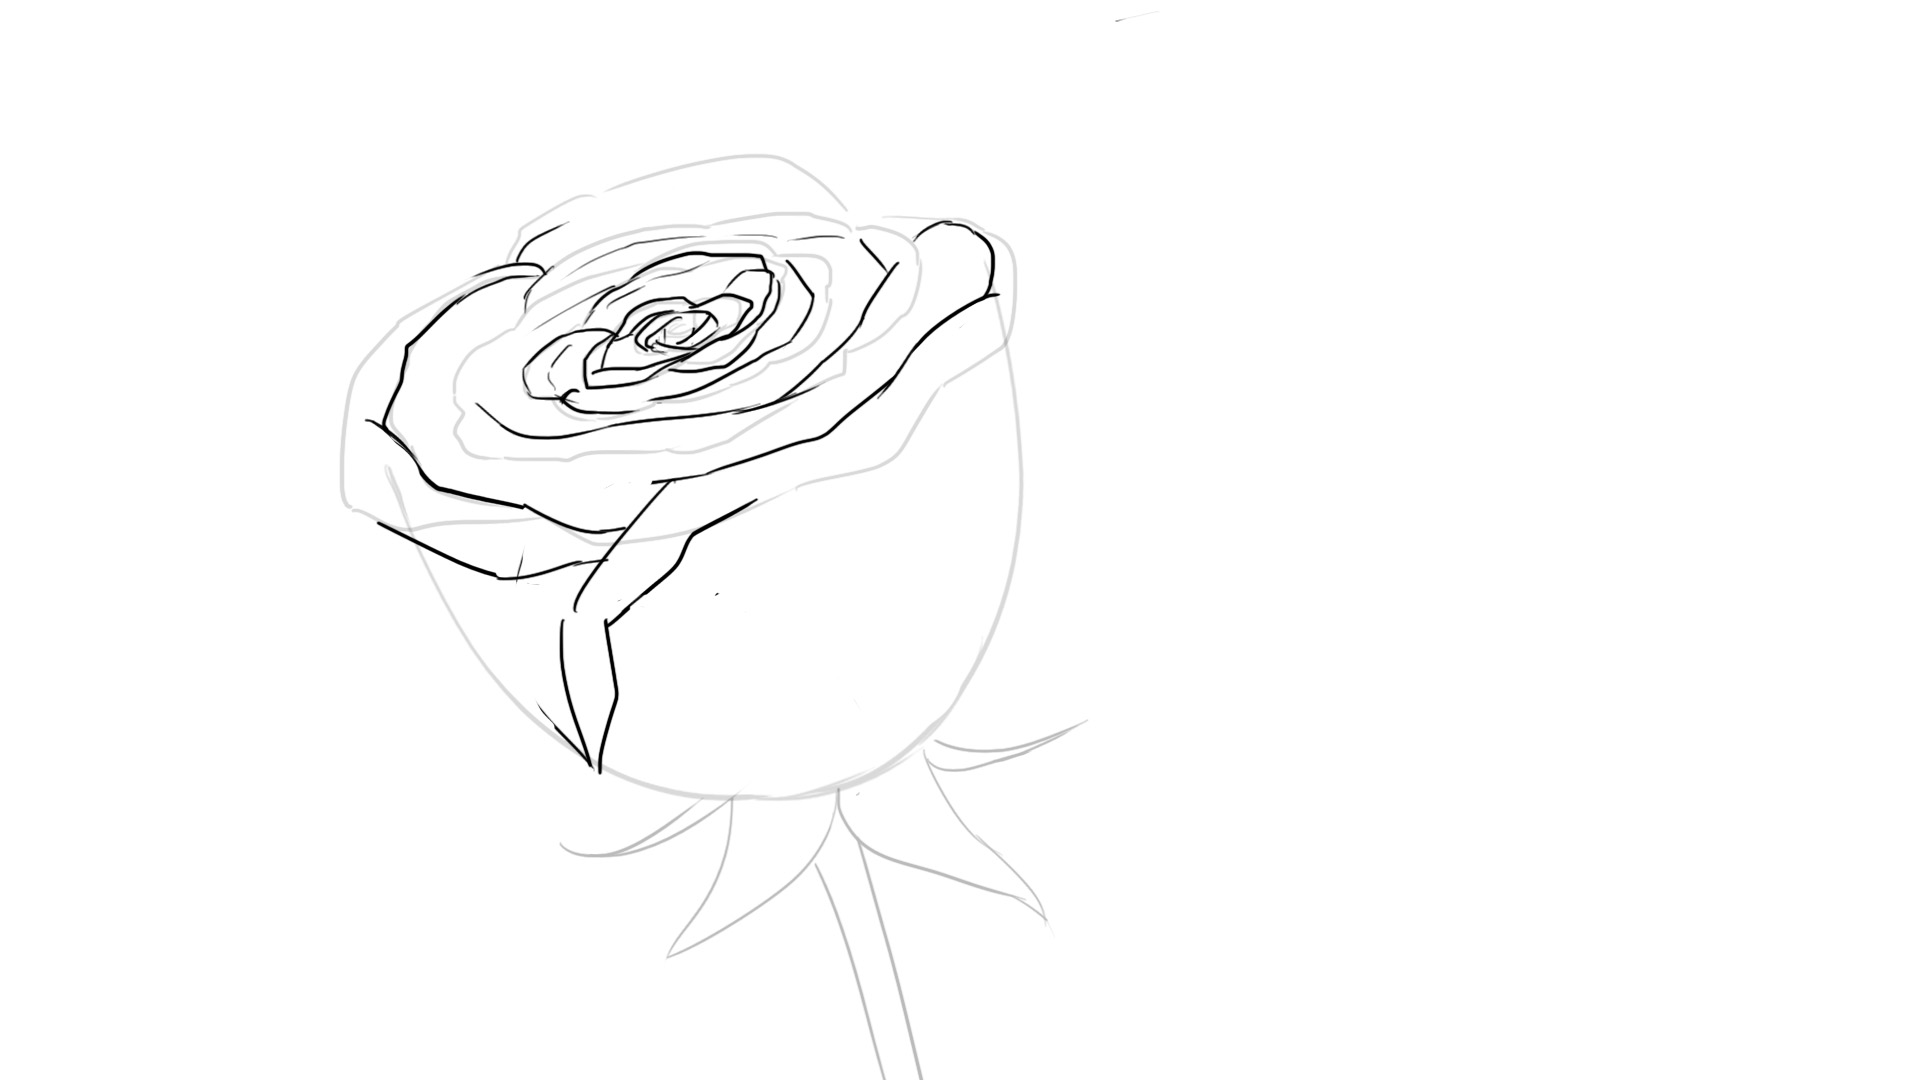
It's starting to take shape! You can go by feel for the center of the flower, without thinking too much, it will work out fine ^^ But to really give the impression of a rose, we're going to add large petals at the bottom. These will fall soon, they are much more curved backwards and they always follow the same direction of placement (it's always the right petal that goes over the left petal in my case).
Don't forget the diagram I showed you above to demonstrate the positioning of the petals according to their angle, particularly useful when you get to the perimeter of the flower.

We can iron all this out nicely and here we are with a beautiful rose drawing!
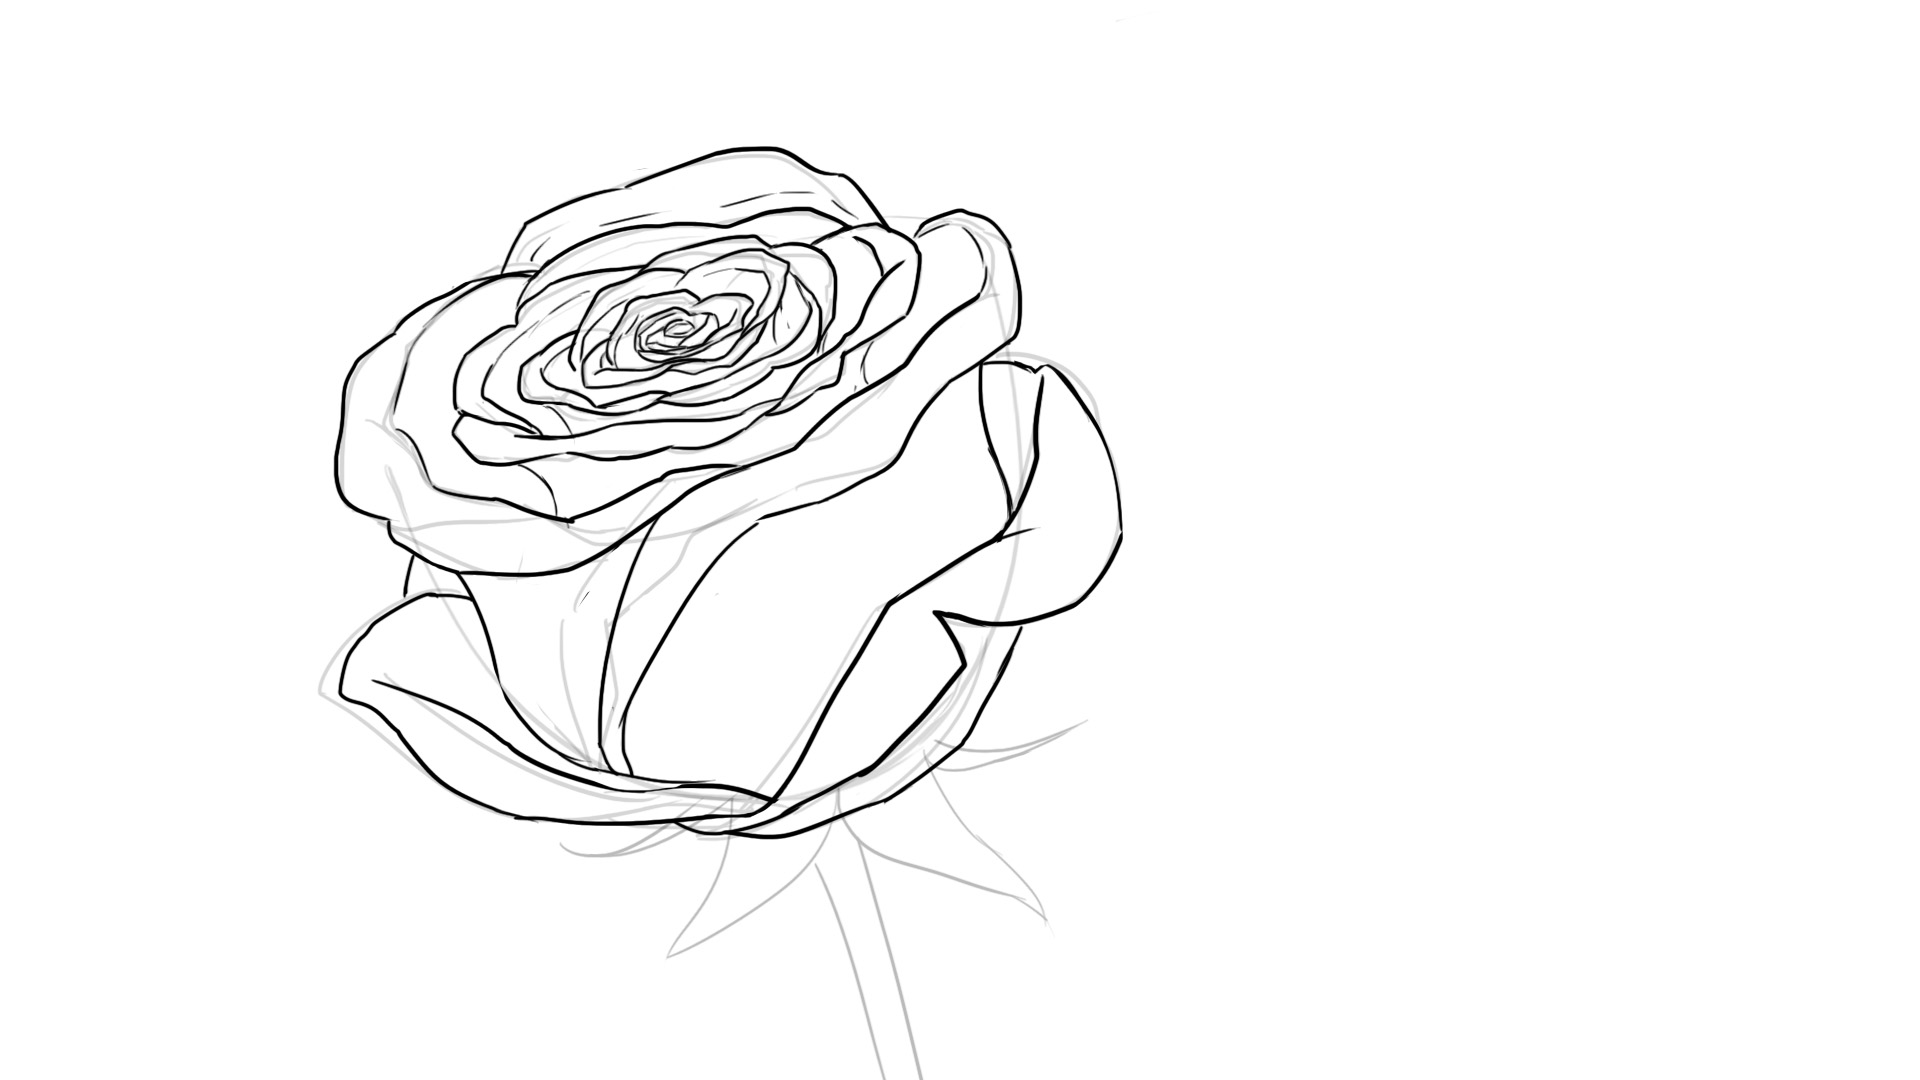
Simple, isn't it? :)
Take your time to patiently fill out each of these steps and to understand how a rose "works". Observing is crucial. Go look for as many references on the internet - or even in nearby gardens if it's the season - to familiarize yourself with the rose, this beautiful flower. It definitely deserves our attention.
Come on, let's move on to coloring now.
THE COLOR OF THE ROSE
The color is quite simple too. Yes, it doesn't seem like it. It's not always the most complicated models that are really the hardest to draw. For example, a plate or a spoon are terribly harder to draw than a rose, even if it seems very simple at first glance. That's where the trickery lies :D
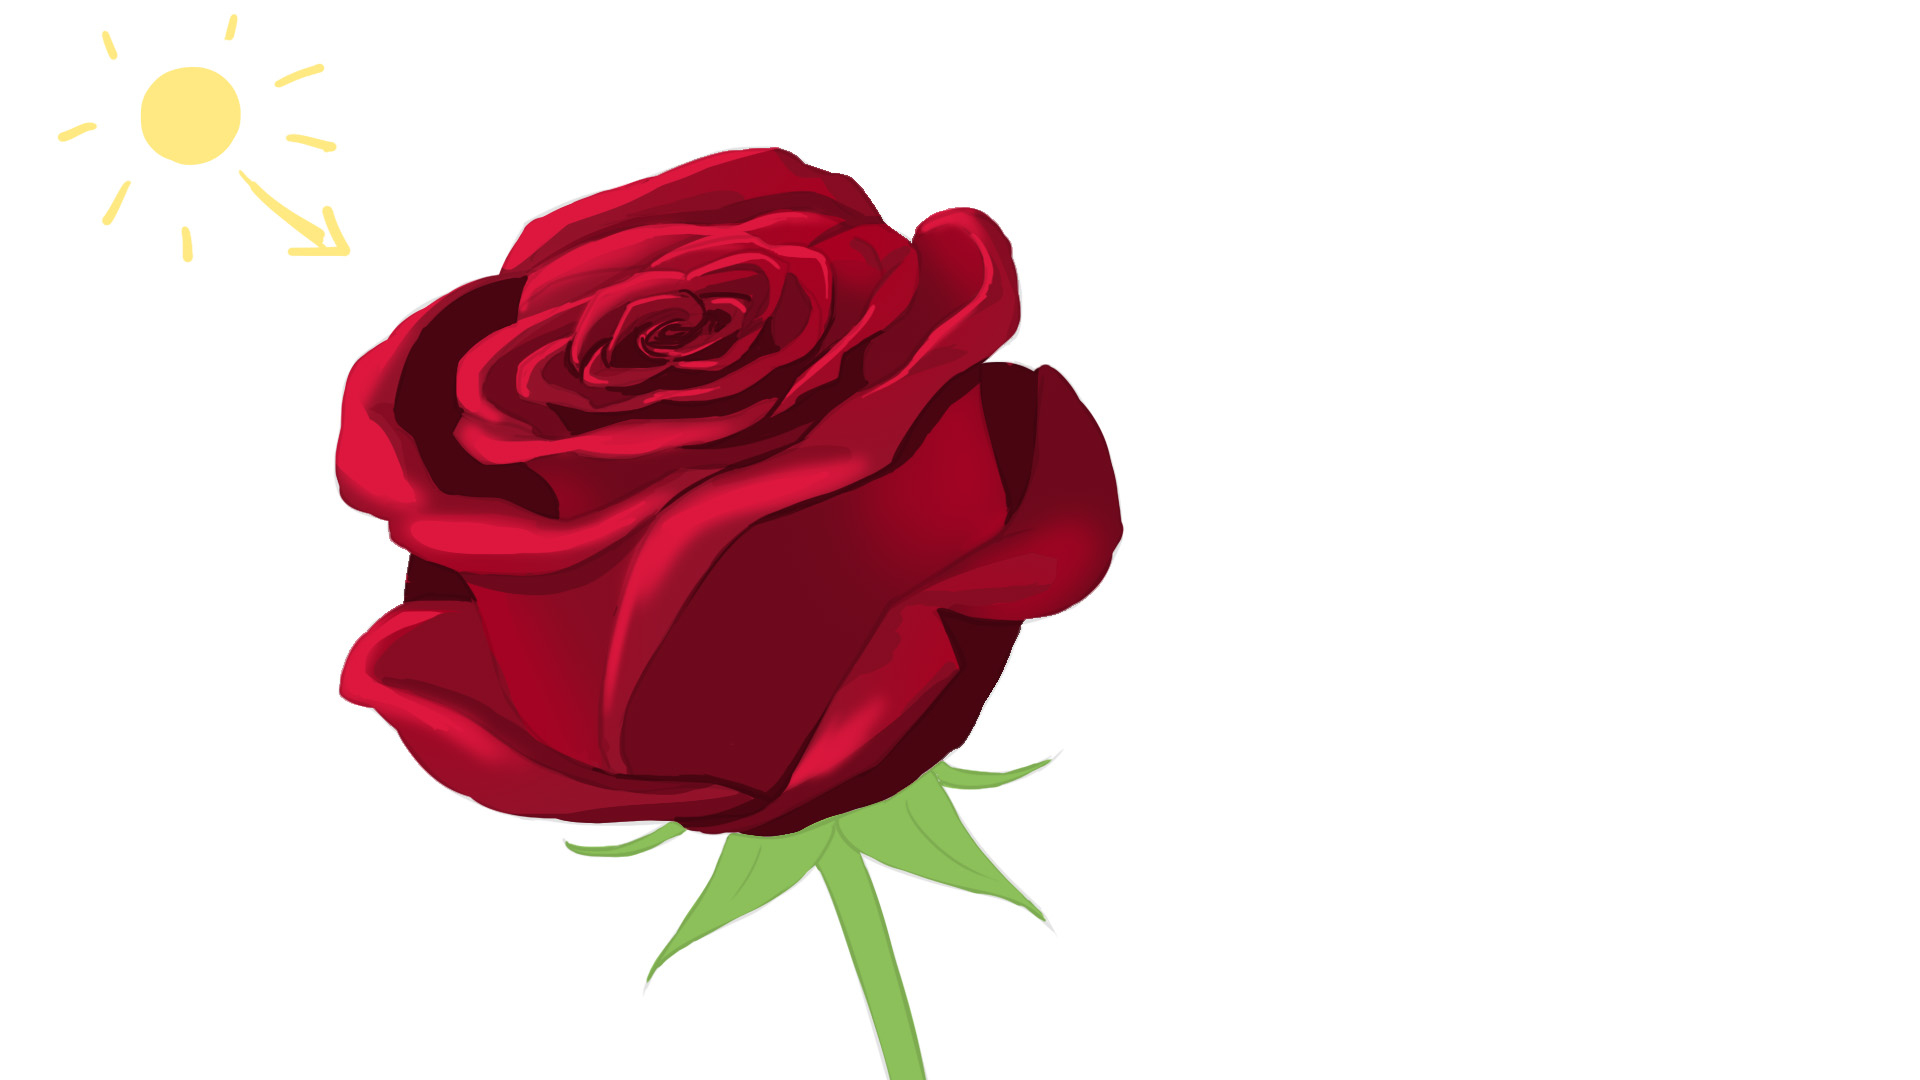
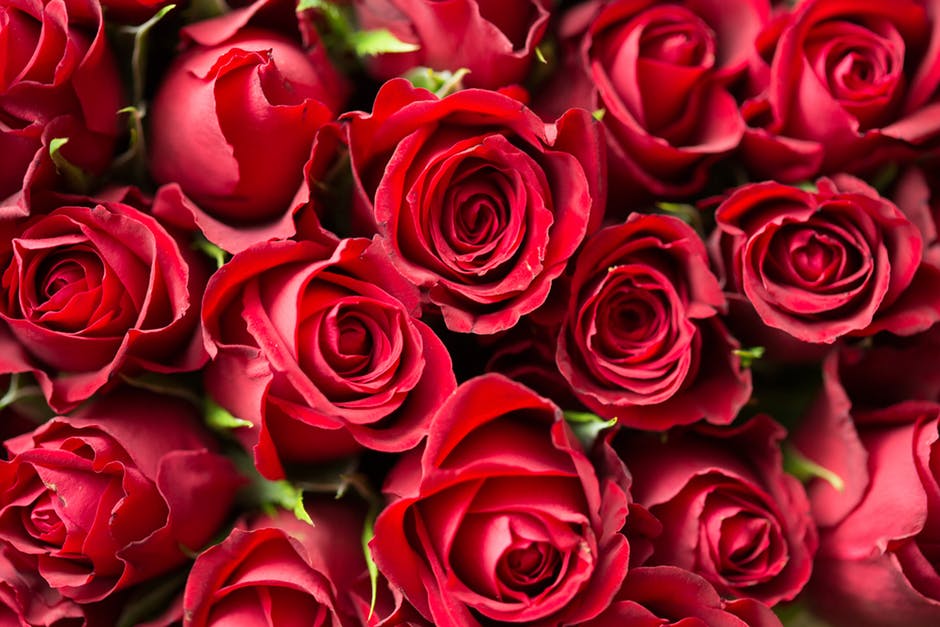
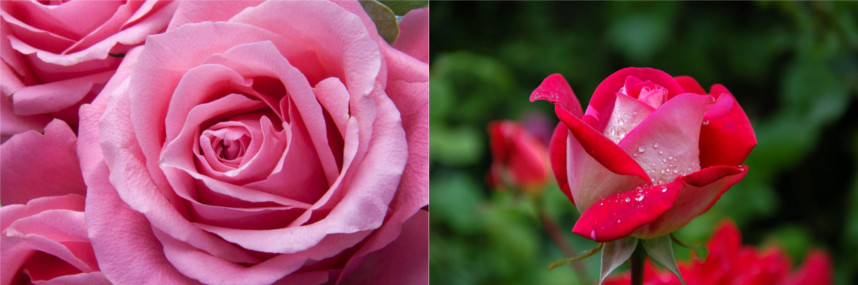
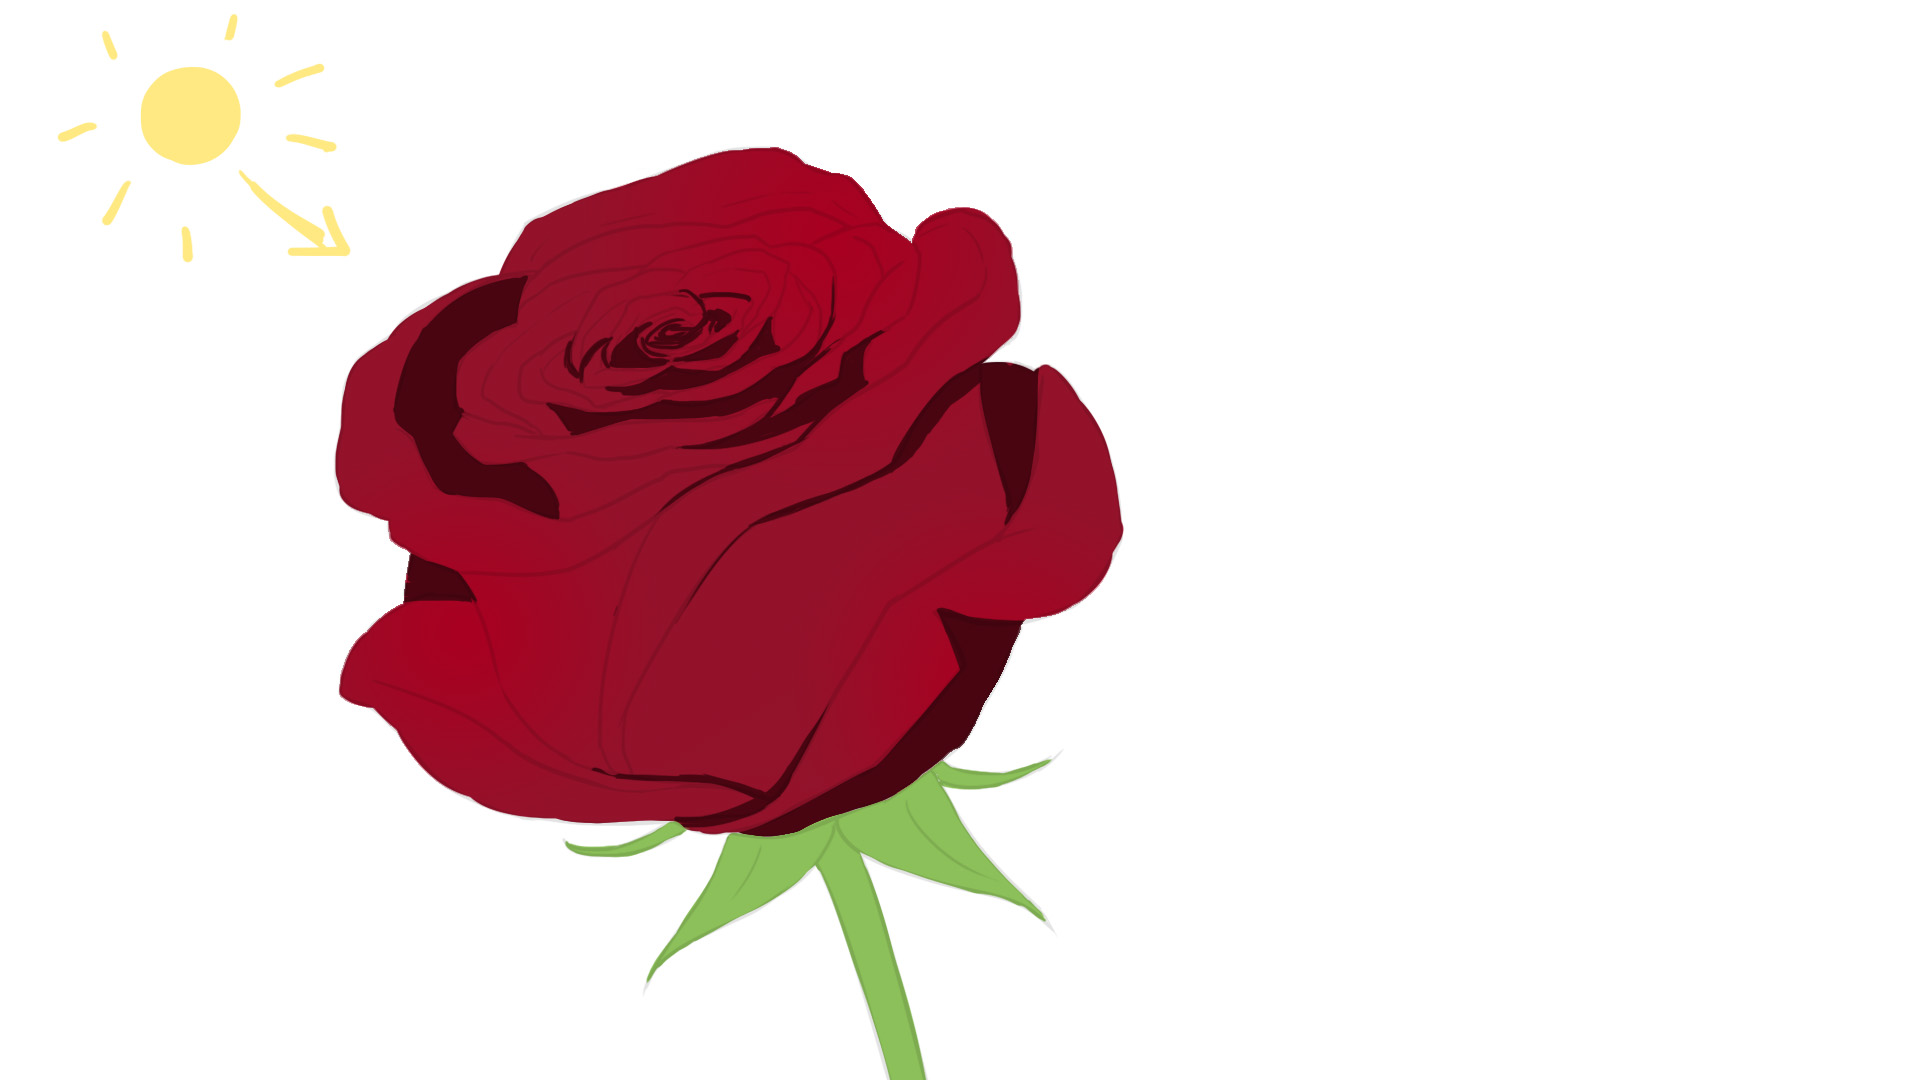
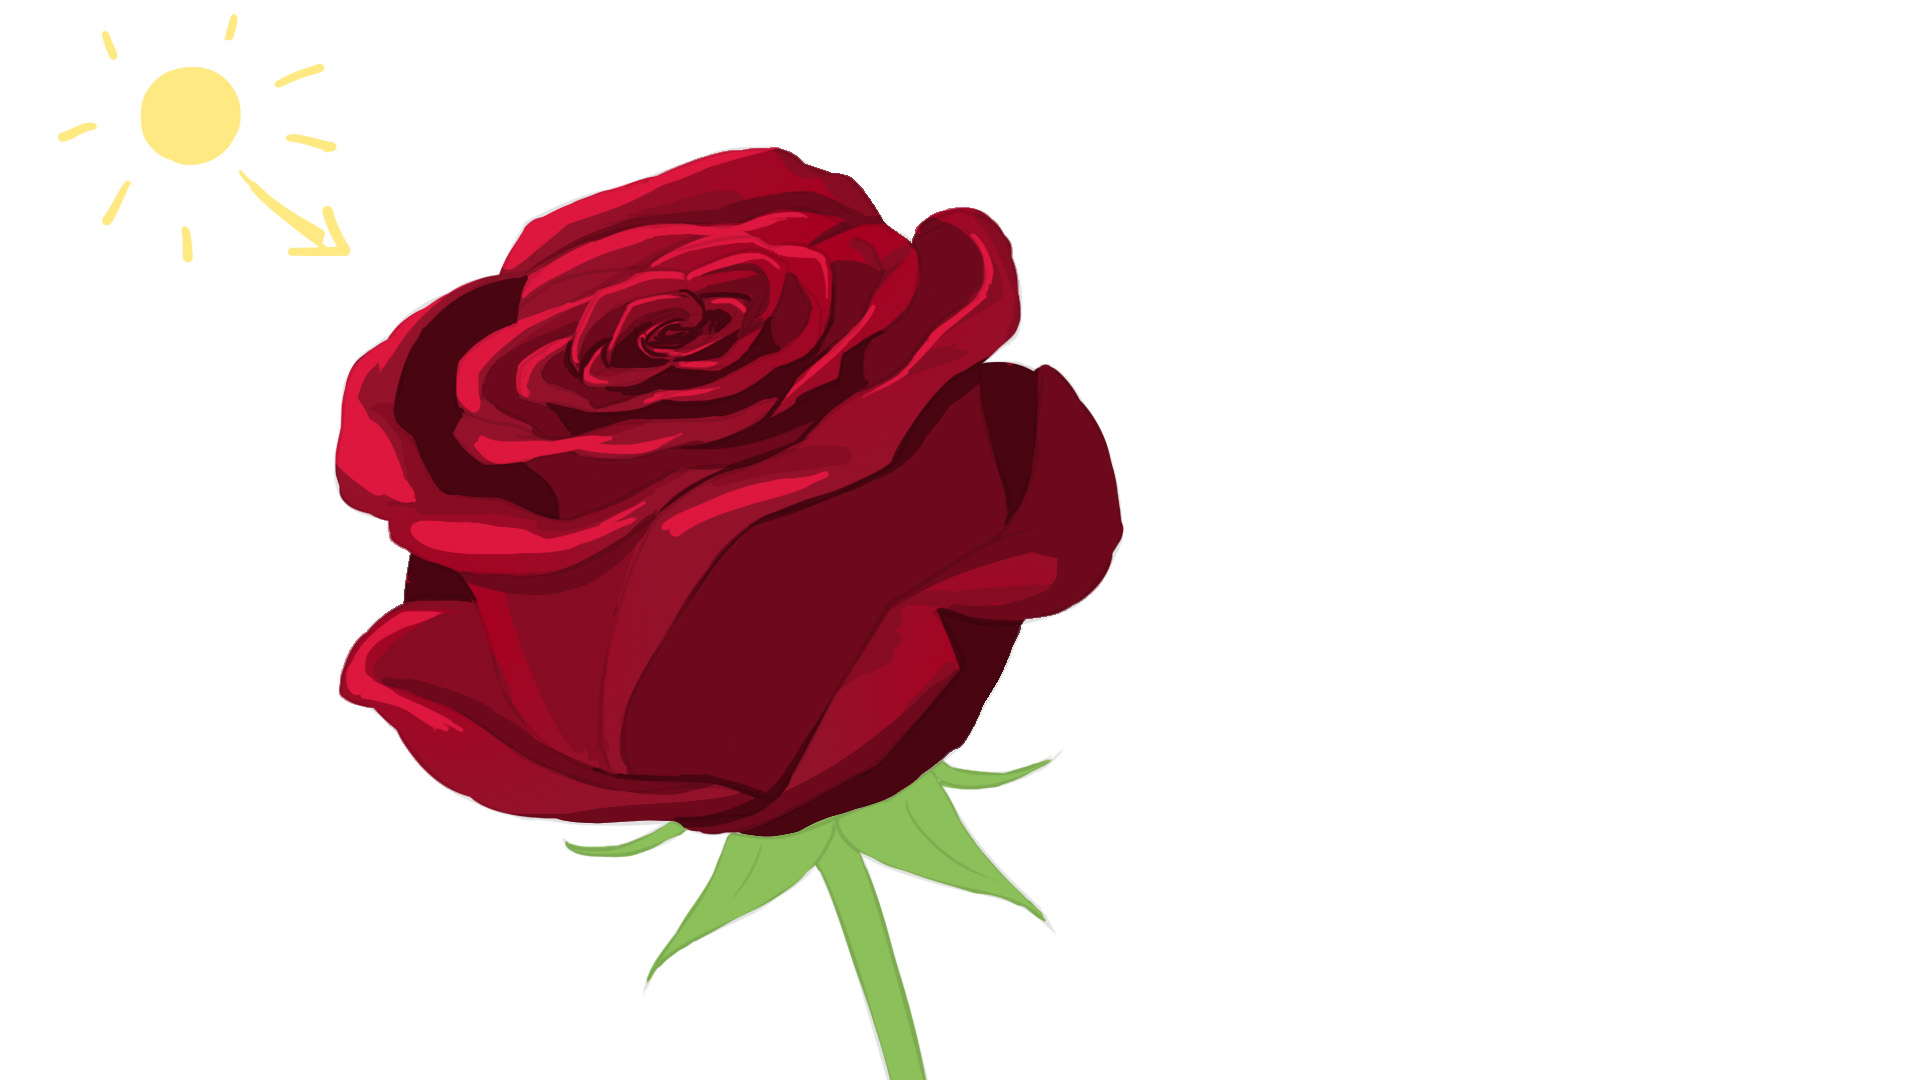
In short, we are going to make a beautiful red rose. Let's look at our models again. The red roses are perfectly uniform in color but not very intense. Not like a poppy. It's more of a burgundy color, somewhat dull in comparison. Personally, I find the red in this photo slightly leaning towards pink.
As we can see, the tips of the petals (the curved parts) are generally lighter than the rest (the color is uniform, it's the light that makes this area light). The center is very dark, almost black, and all the spaces between the petals as well. While the bright areas are either a deeper red or an extremely light pink.
The stem and leaves are a rather deep green.
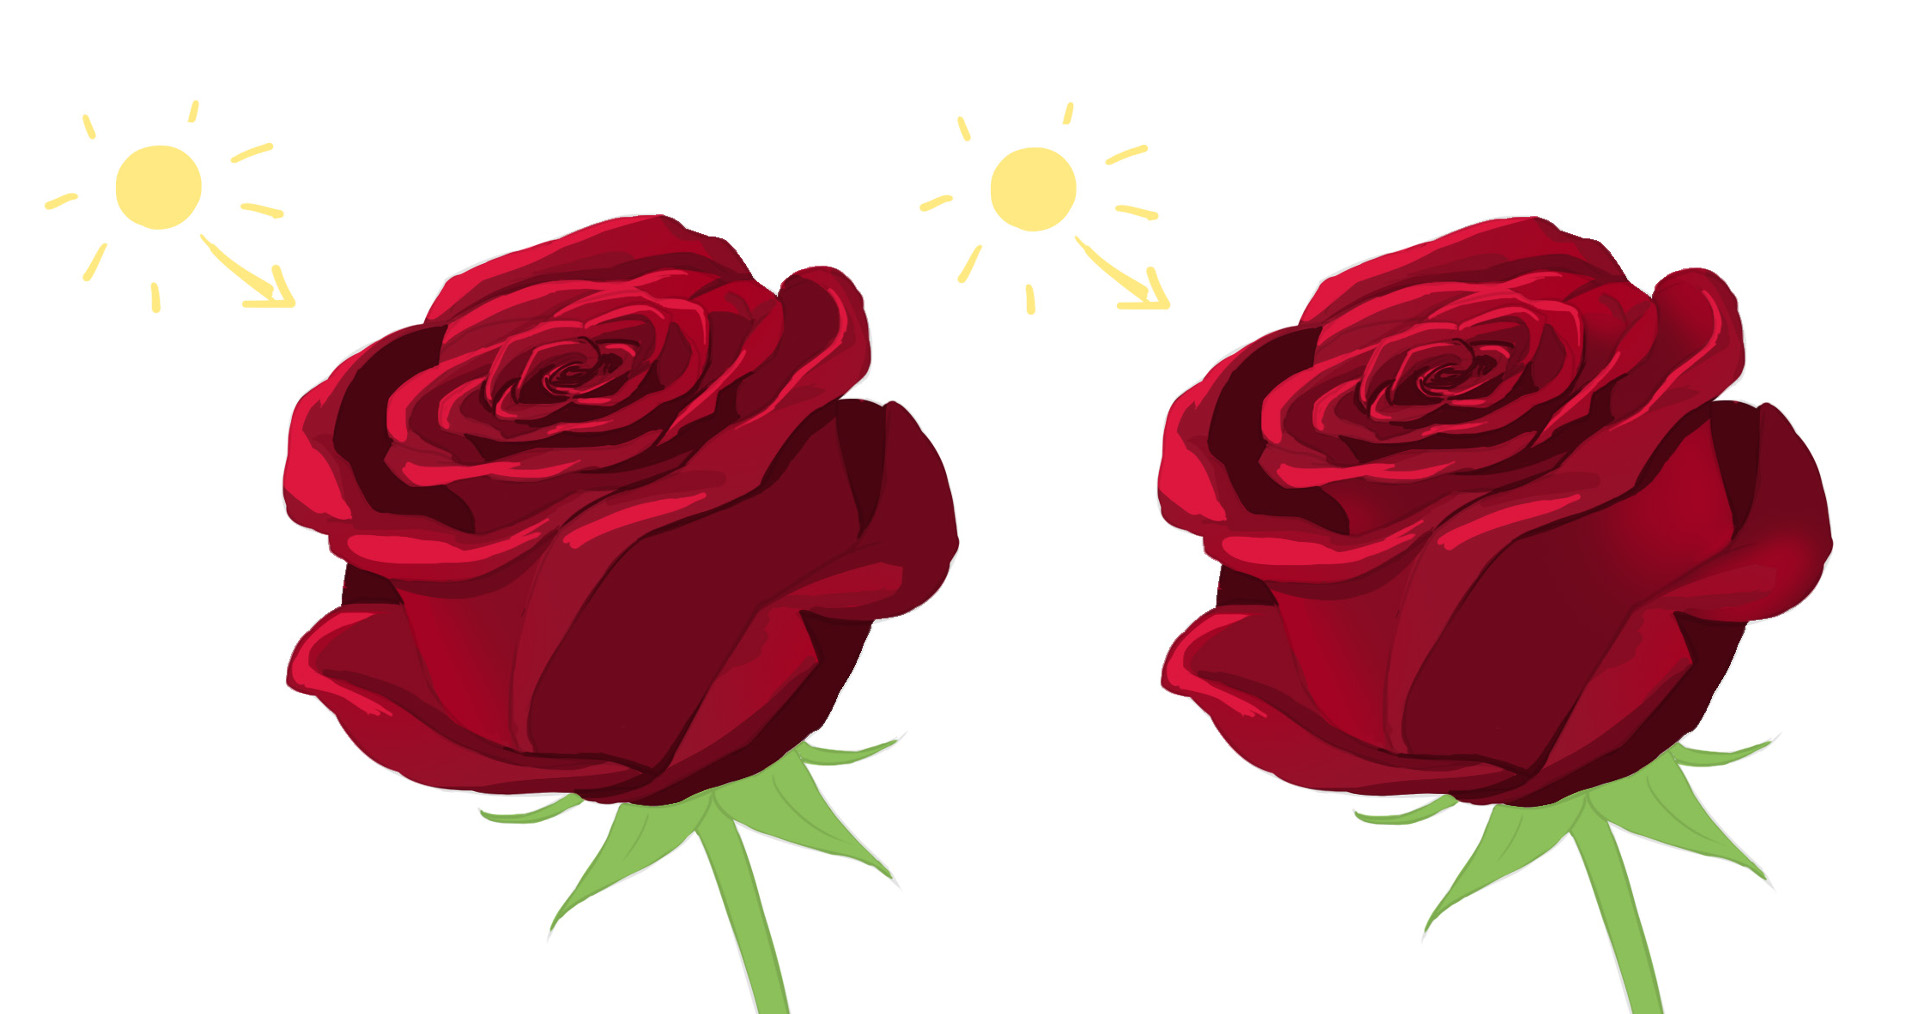
So let's start with our base colors. Lower the opacity of your line if you wish to remove it at the end (for a realistic rendering, again if you wish). Today I'm going for a more illustrative look, just to change things up a bit.
I choose, as always, my middle shade, a relatively deep and dark red, leaning slightly towards pink. And a fairly deep green for the stem. I will lightly stain my petals with a stronger red in a rather random manner. It must remain subtle.
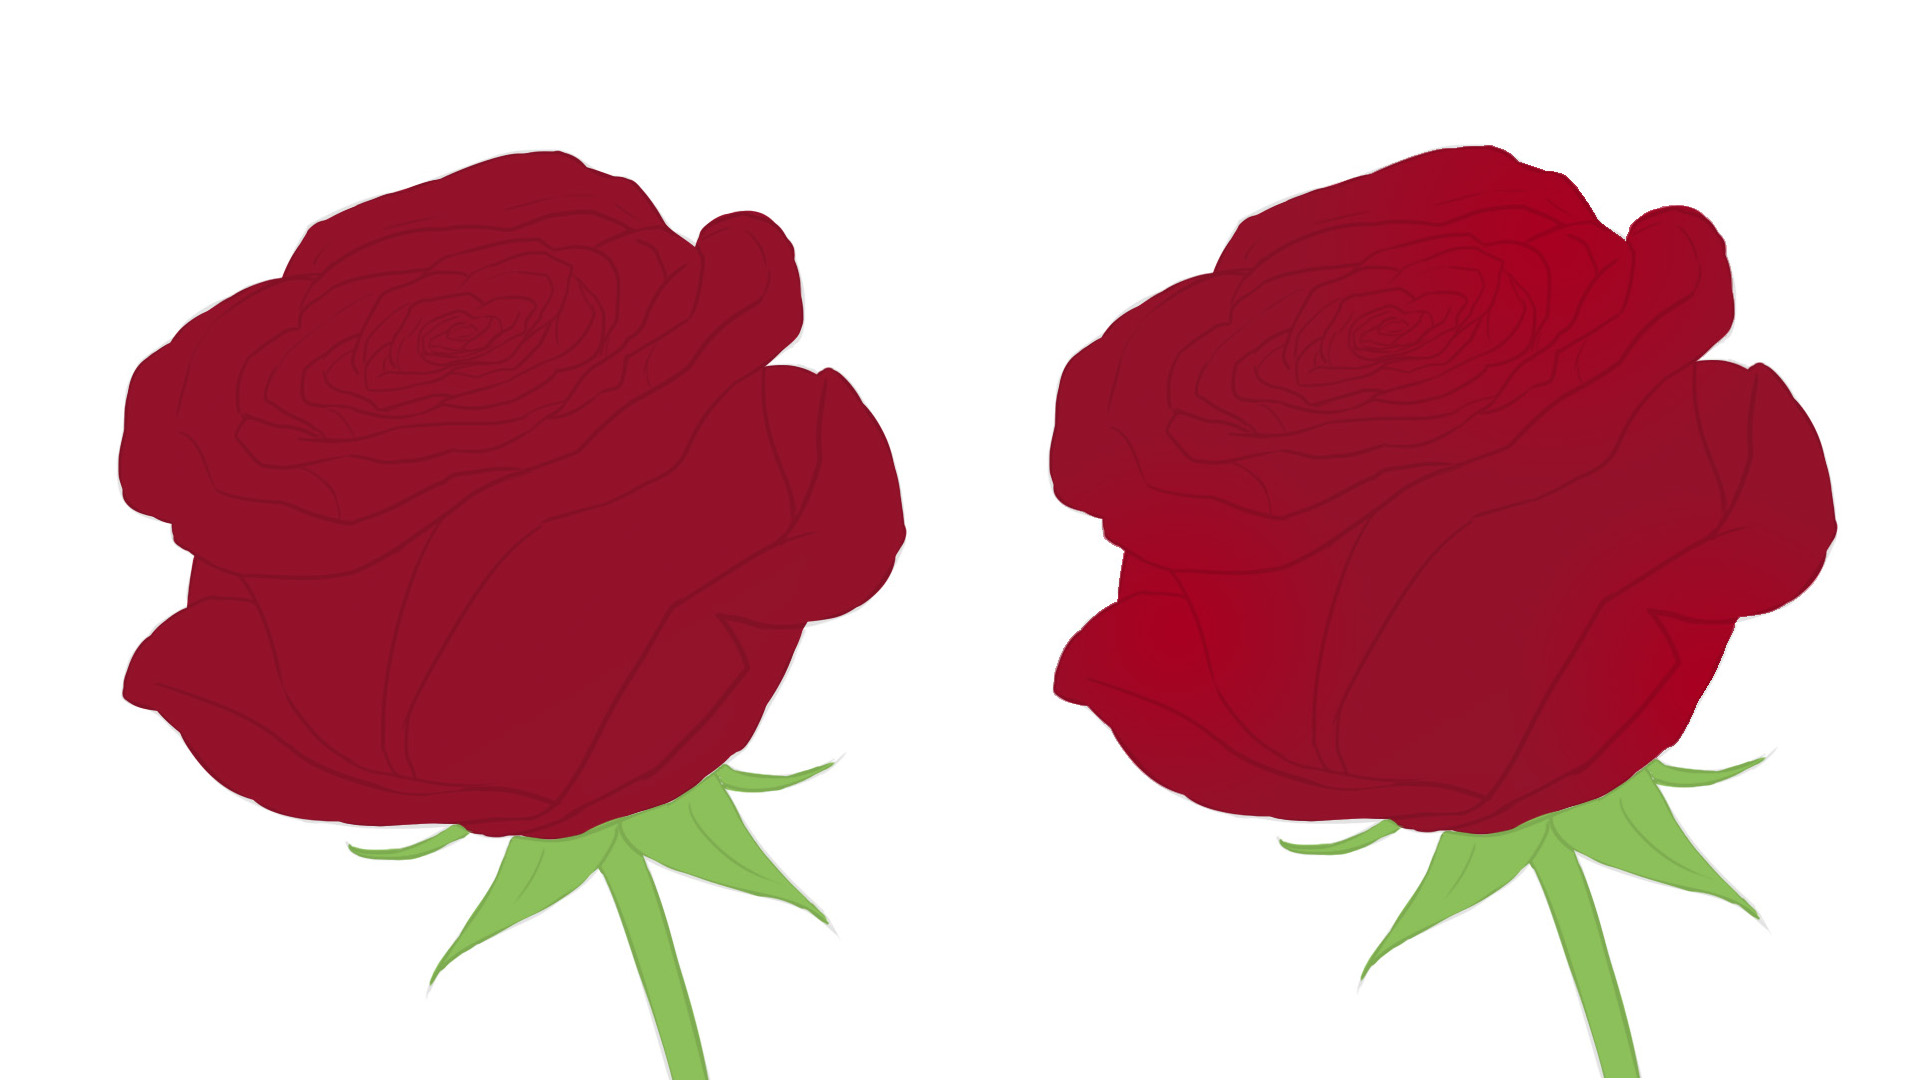
I choose to position my light to the left and towards the back. I will show you schematically how the shadows will fall on the flower as a result. Obviously, these shadows vary depending on the position of your light, its intensity, etc.
THE SHADES
Next, we will apply our shadows. We choose a very dark burgundy, almost black. We will place it between our petals. Do not hesitate to apply it boldly at the center of the flower and more delicately as the petals become larger and open more space between them and the others.
Once that's done, we'll take a slightly lighter shade to place slightly lighter shadows.
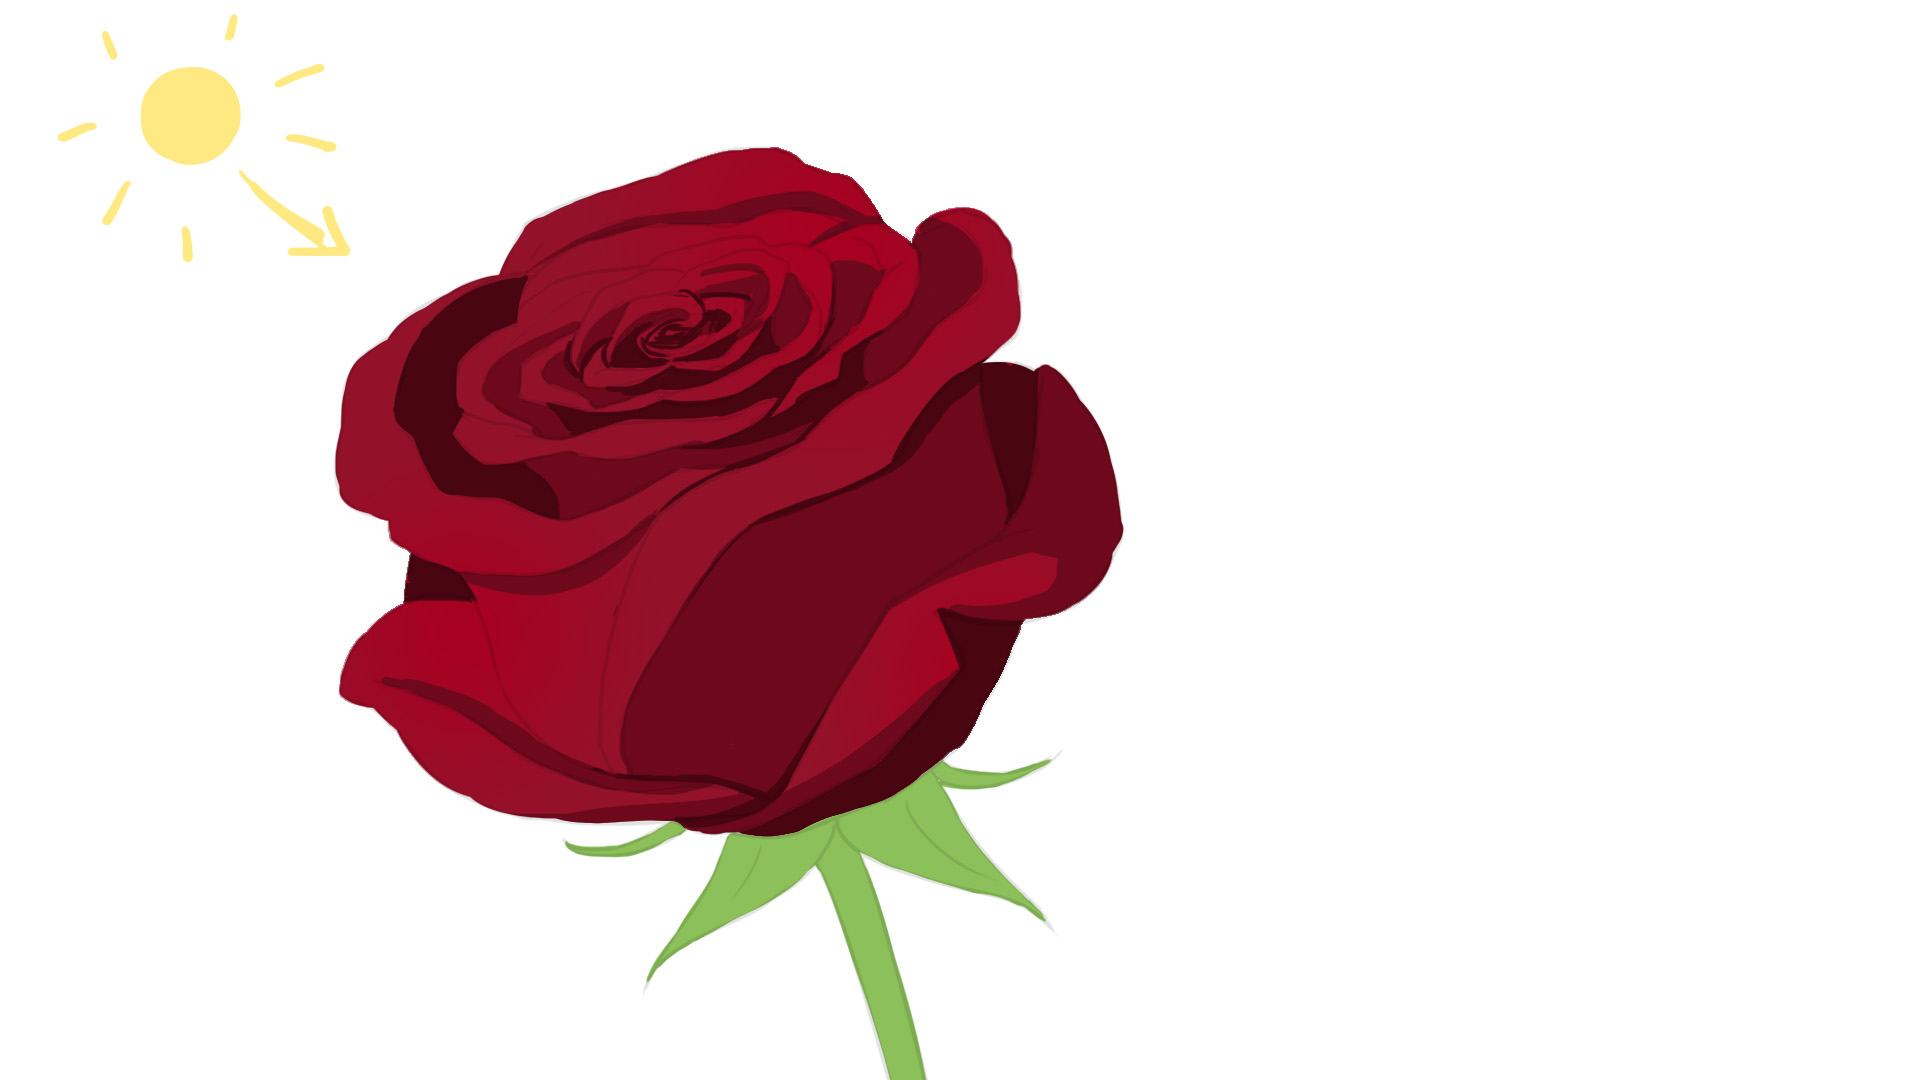
It's already starting to be pretty good. And yet, we haven't degraded anything. Generally, there's no need to degrade your colors if your shadows are correct, it will work even with very sharp shadows. And using sharp shadows is actually an excellent way to learn how to properly position shadows and lights.
We repeat the operation with an even lighter shade for even more detailed shadows.
We now choose our lightest shade and work on the tips of our petals and the areas that directly catch the light.
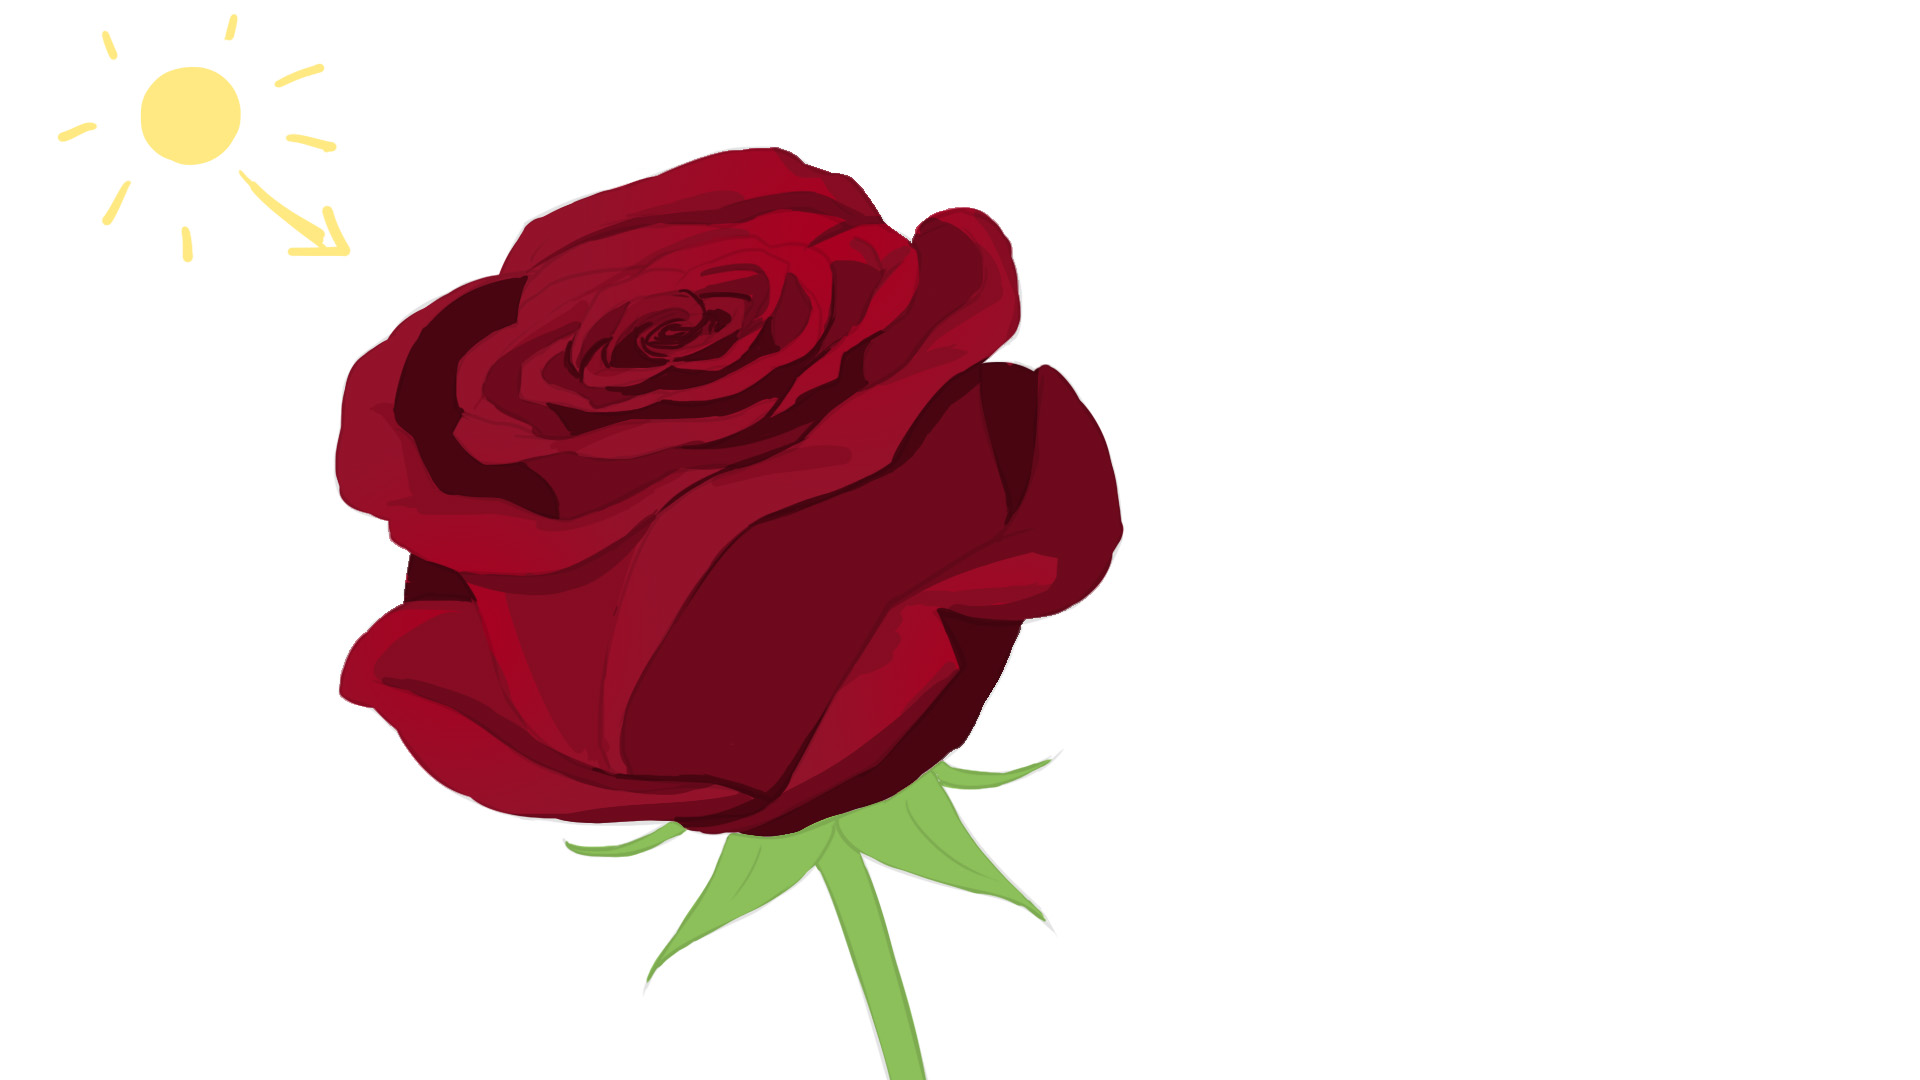
It already looks quite a bit like a rose! We could leave it as is, it has a pretty nice style. For those who want to go further, you just need to blend your colors. Roses have soft petals, so you can blend it all smoothly. I'll show you color by color:
We degrade the base shade and the second level of shadows:
Now the lights!

And now the strongest shadows.
We then move on to the leaves. I am going to choose a darker green, tending towards gray, and detail the leaves exposed to light. Don't forget the small central groove. I think you all know what a leaf looks like.
And there you have it, we're done! You see, it's quite simple after all. You just need to be patient :)
Here is the step-by-step video we made for you:
CONCLUSION
I will therefore remind you of the steps:
- We analyze our model as usual
- We then draw a circle and a spiral to guide us in positioning the petals.
- We start from the center and gradually expand following the spiral
- We mark the edges of the petals and trace the curved part by ALWAYS following the same direction of insertion.
- For the colors, I leave that up to your discretion, there are roses of nearly every color (red, yellow, white, orange, and even black!) but keep in mind that the curved part of the petals is generally lighter and the folds between the petals, the darkest parts ;)
It's your turn now! Happy drawing everyone!
Illustrator: Rakjah
Popular Articles
Discussion
thank you for this tutorial now I can send it to my cousin for his birthday🎂
there's nothing better for learning thank you