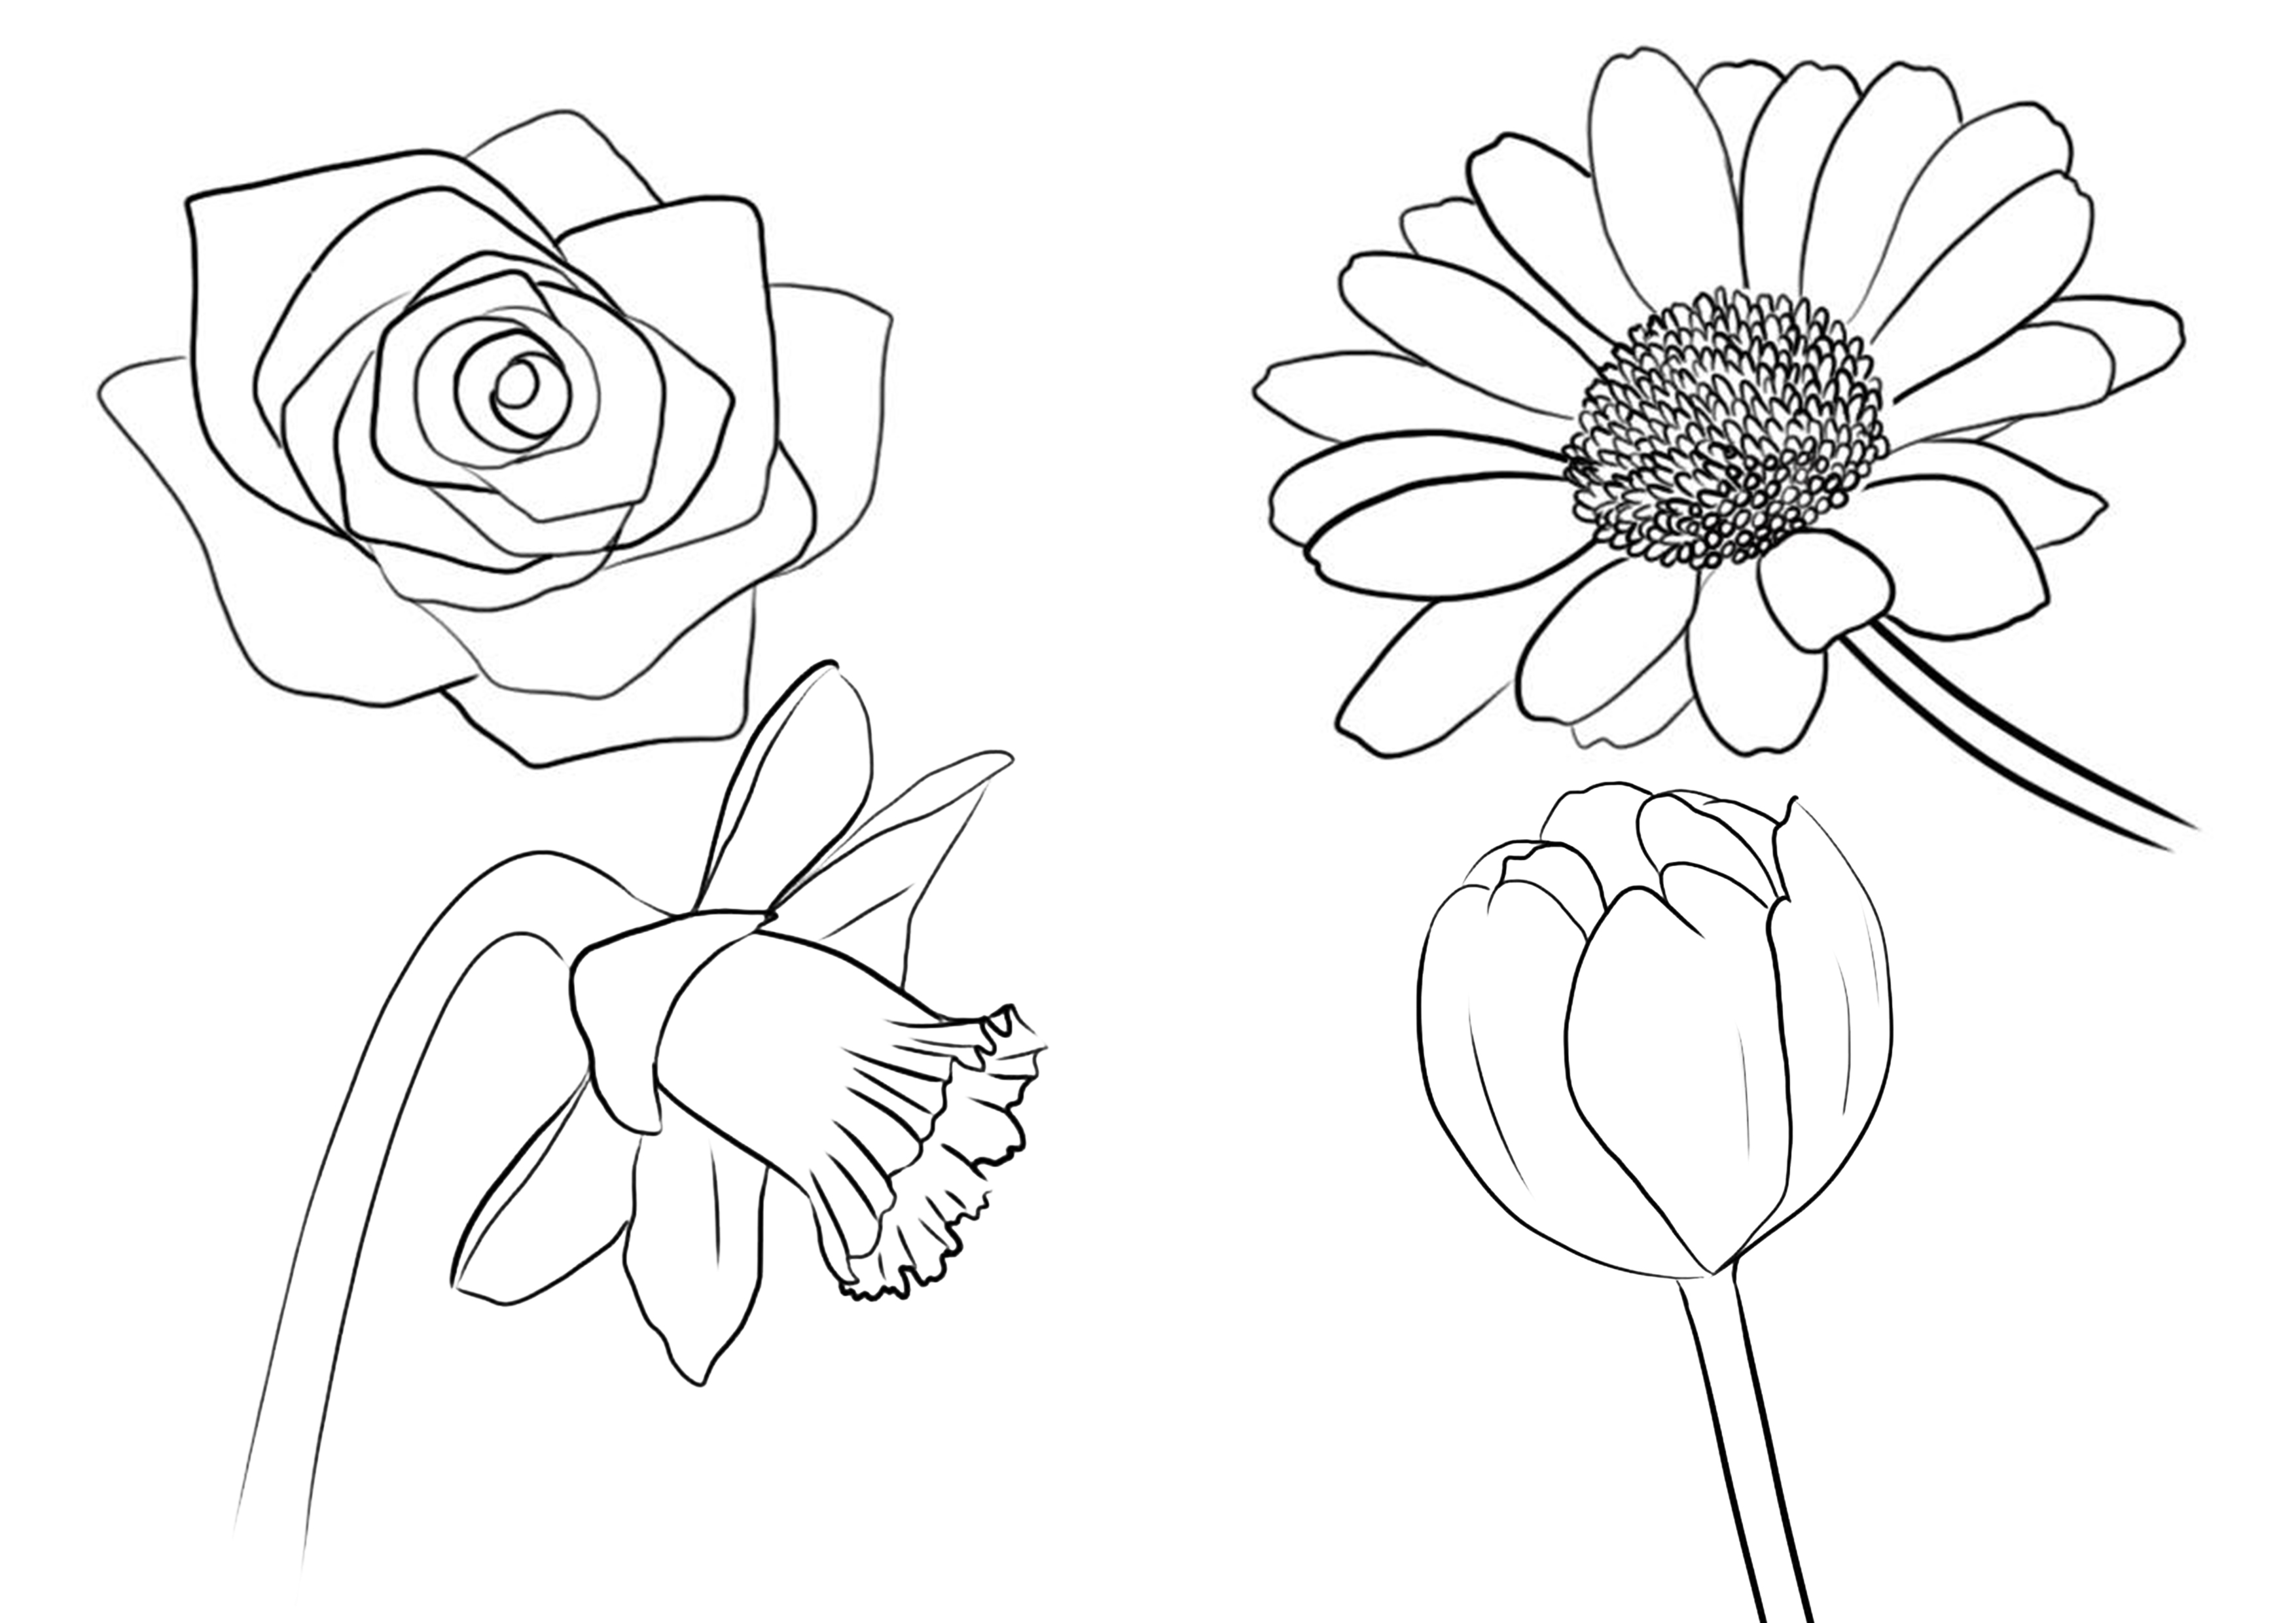
How to Draw a Flower
Drawing an environment with plants is not an easy task, especially when you need to vary the species to avoid creating a design that is too repetitive.
In this article, I'm going to teach you how to easily draw various types of flowers so that you have a foundation to follow for future drawings. You'll see that all flowers are drawn the same way and that they are not so complicated to draw once you know them well :)
We will show you how to draw a rose, a daffodil (also called narcissus), a daisy, and finally a tulip.
DRAWING A ROSE

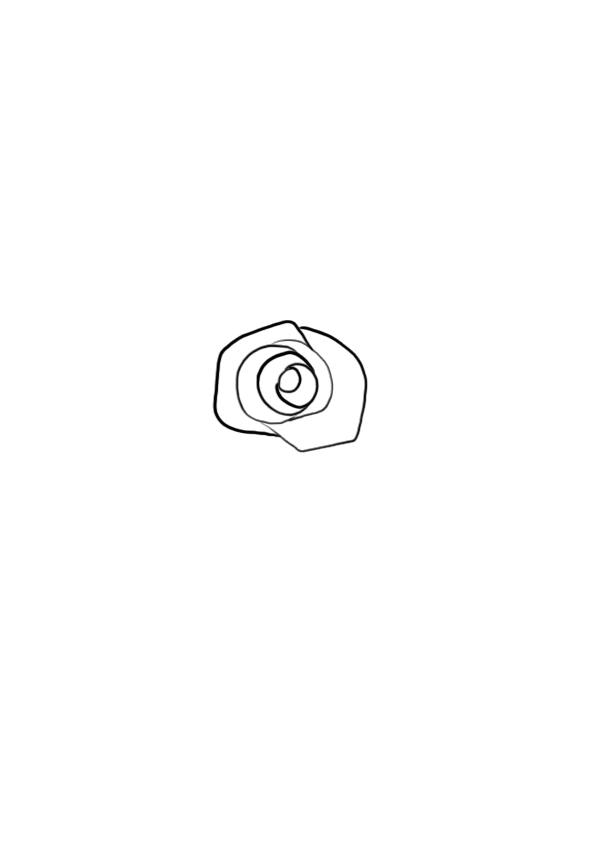
To start, you're going to make a small circle in the middle of your paper.

This circle will be the center of the rose. Starting from the circle, draw a crescent.

Then you will go all the way around the center in this manner, making them thicker or thinner, varying the sizes, but making sure to keep to rounded shapes.
After doing about two rows, draw larger, less rounded petals.
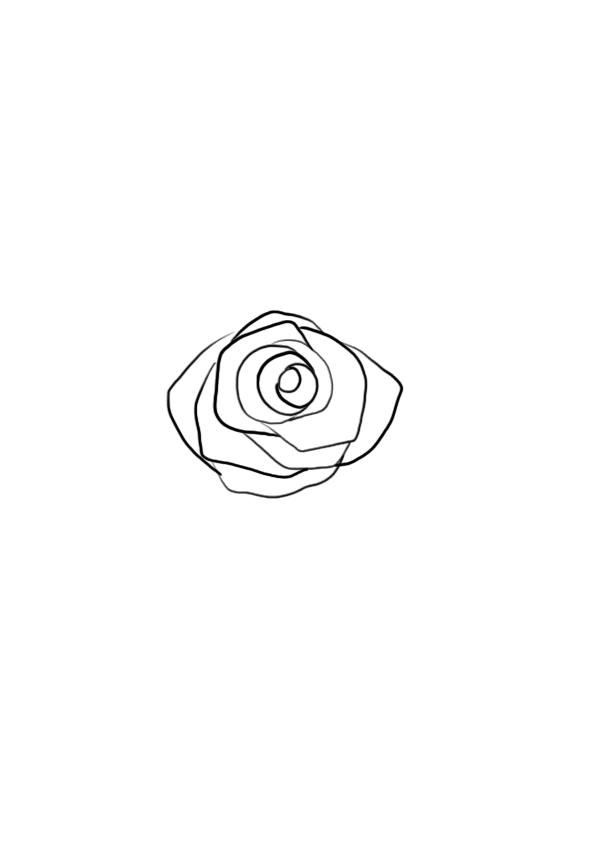
Continue until you have drawn about 3-4 rows.
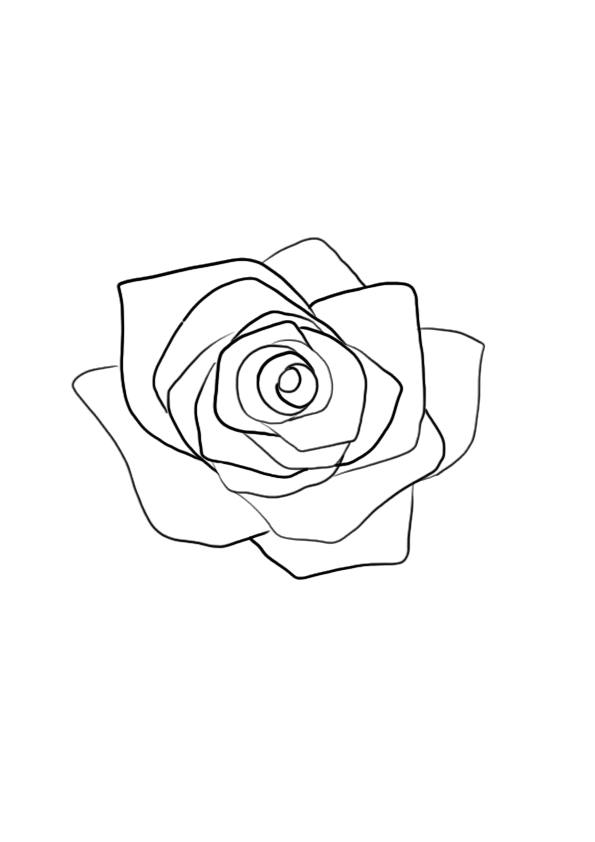
To finish, add even bigger petals with an almost triangular shape.
Once you have a rose size that you like, you can stop, and your rose is finished! :)
I'm only showing you the top-down view of the rose. If you would like to learn how to draw a colored rose, check out this article: learn to draw a rose.
DRAWING A FLOWER: THE DAFFODIL
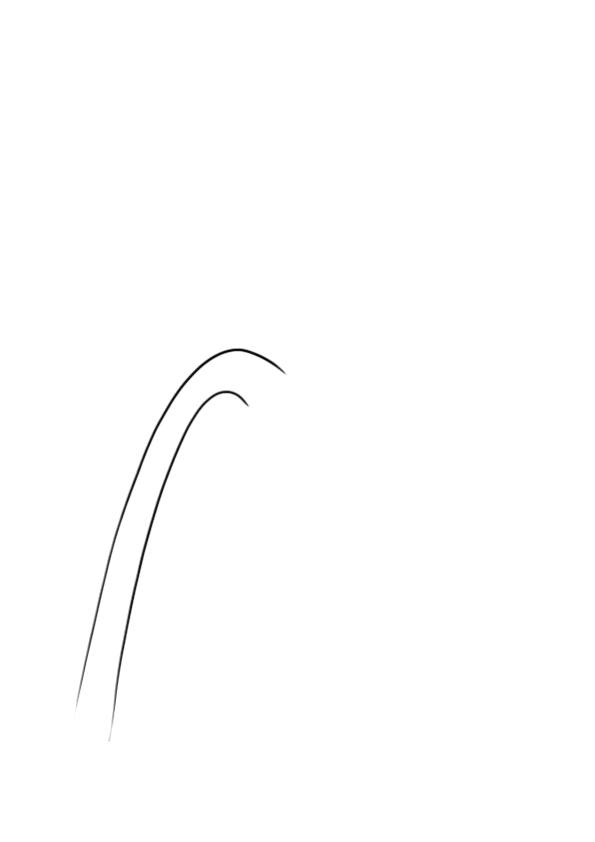
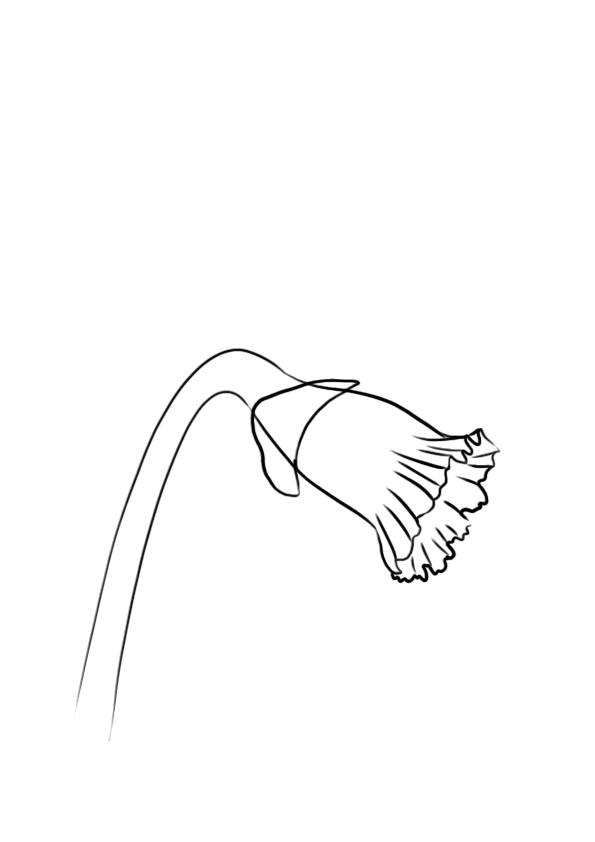
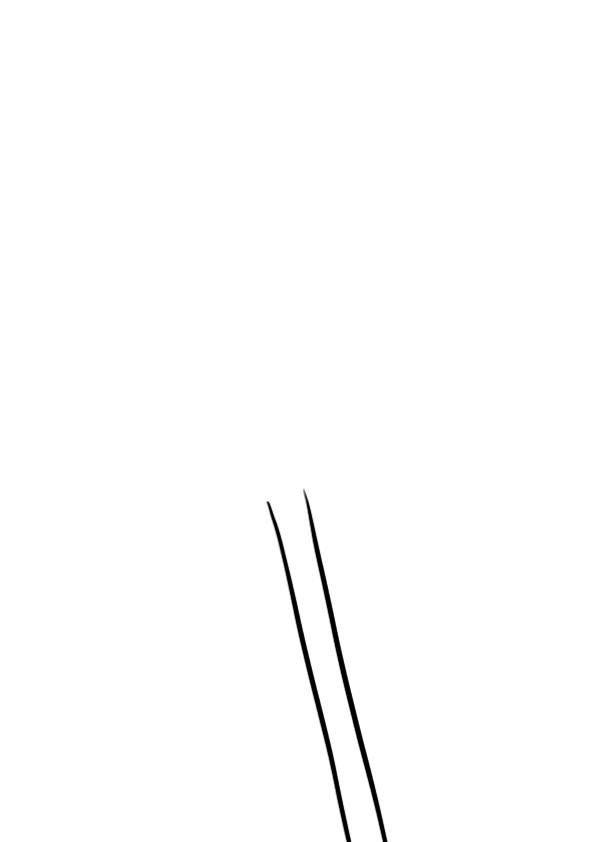
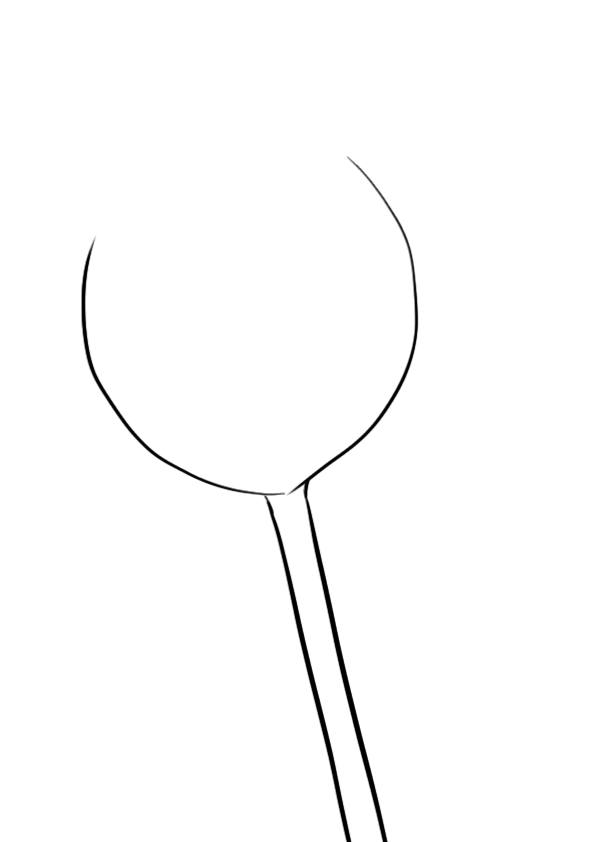
To make the daffodil, start by drawing the stem. The flower itself is quite long and heavy, causing the stem to lean forward. Draw it slightly tilted toward the flower end and drooping.
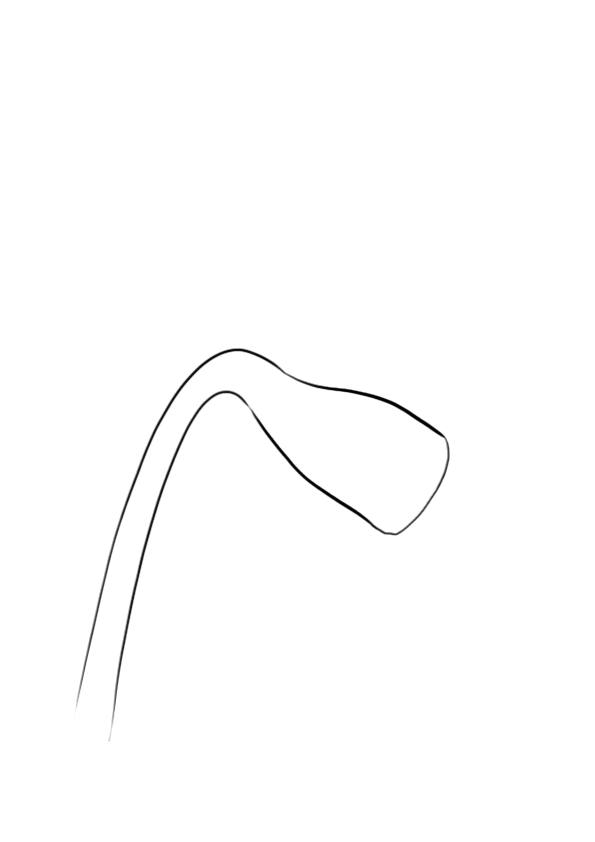
Once the stem is drawn, finish it with a slightly rounded shape.
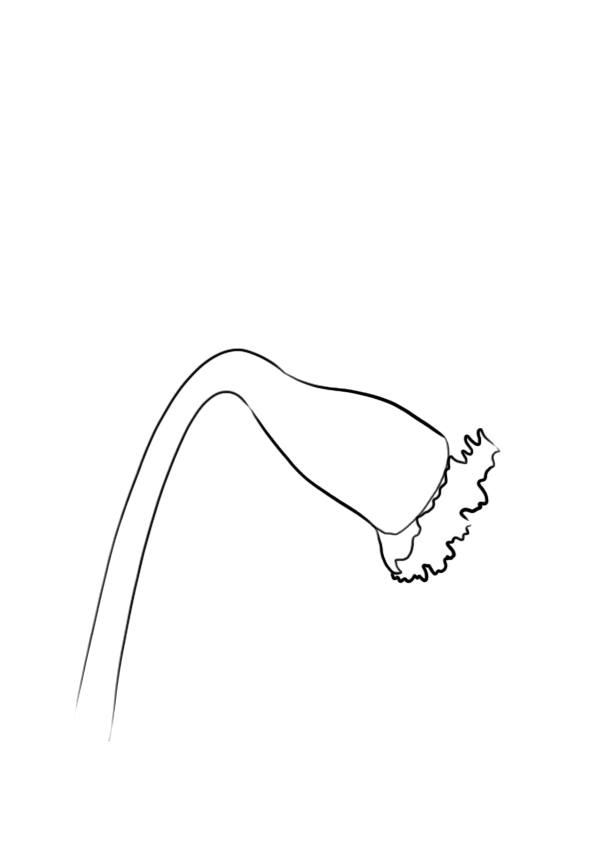
Draw small wavelets of various sizes.
Connect the waves to the stem, erasing the unnecessary lines and adding lines to simulate the folds.
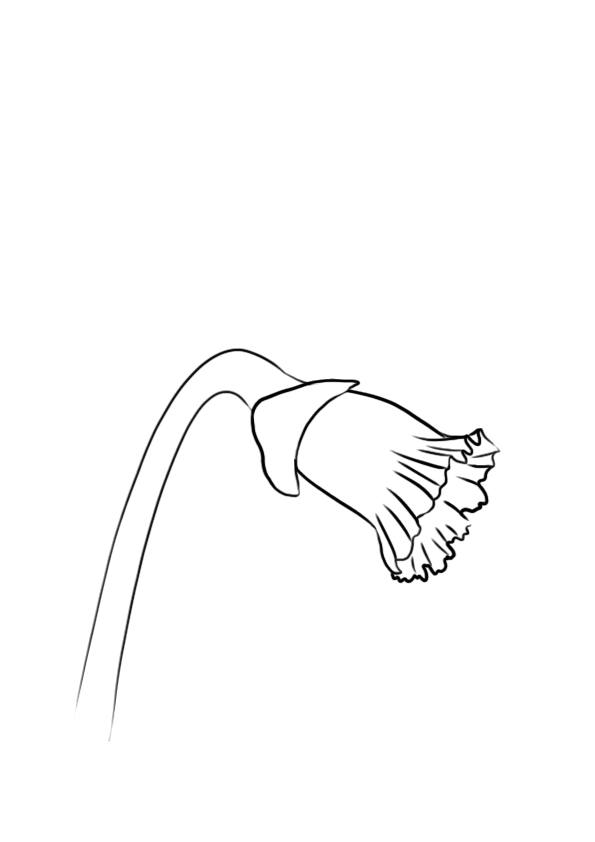
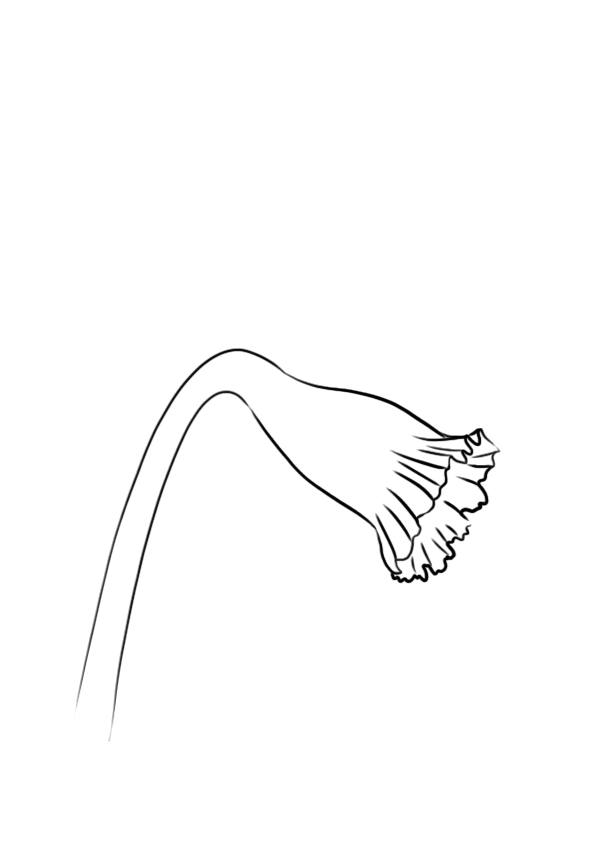
Draw the first petal that goes in front of the stem and erase the parts of the stem that are no longer visible.
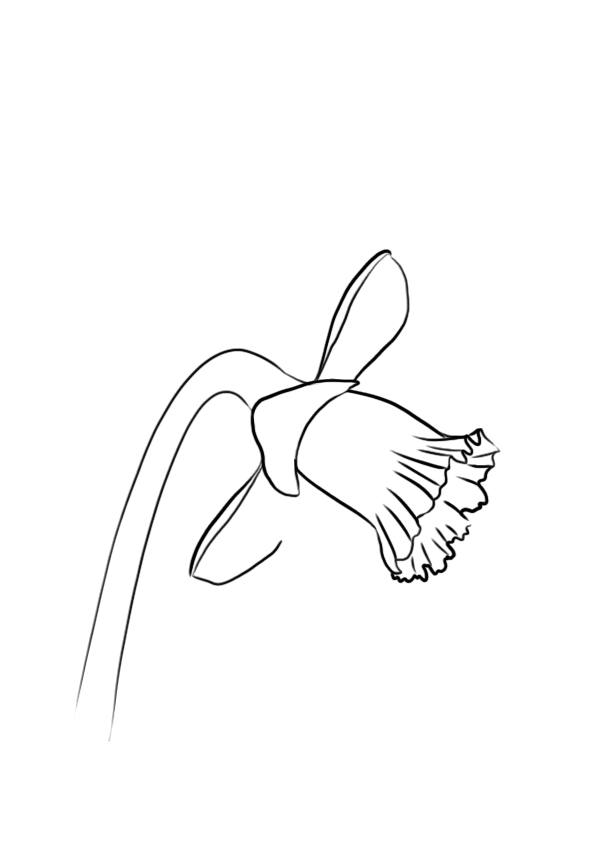
Add the two outer petals
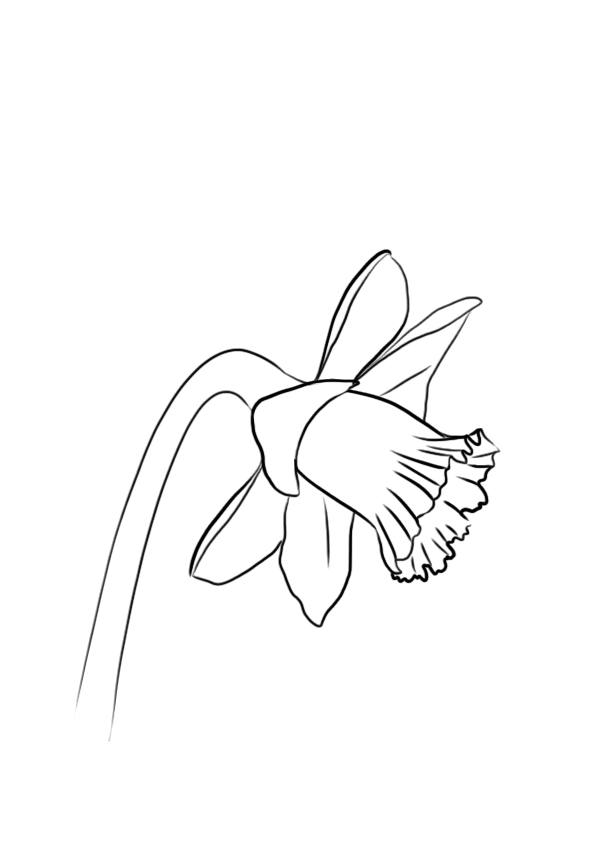
Finish with the last two petals and you have your daffodil!
DRAWING A DAISY
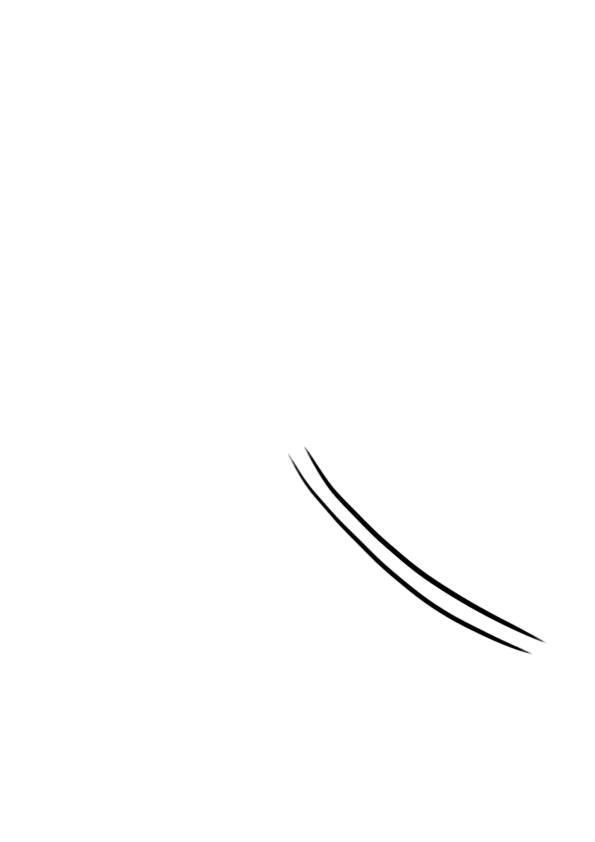
Like the previous flower, start by drawing the stem. Daisies often stretch upwards, seeking the sun, so their stem should be drawn going towards the top of the paper.
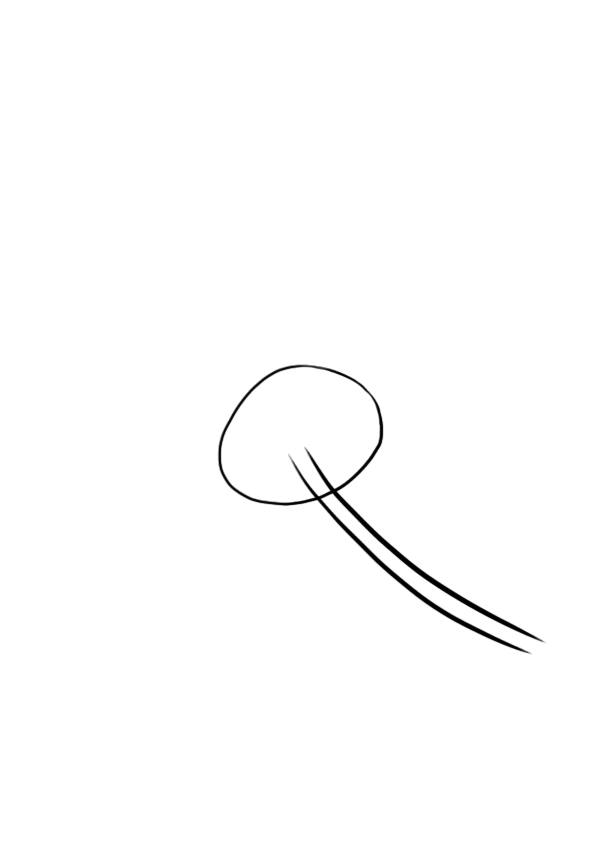
Draw a circle at the end of the stem. You will fill it in later; for now, it will serve as the base for the center of the flower.
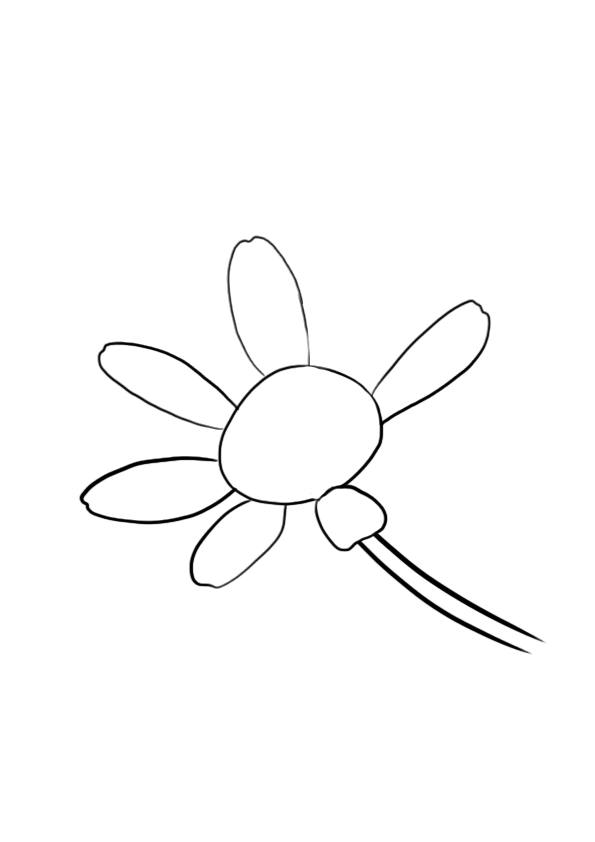
Draw the petals that are in the foreground, following the center of the flower.
Now add the petals that are slightly behind the first row of petals...

...and finally, draw the petals that are in the background.
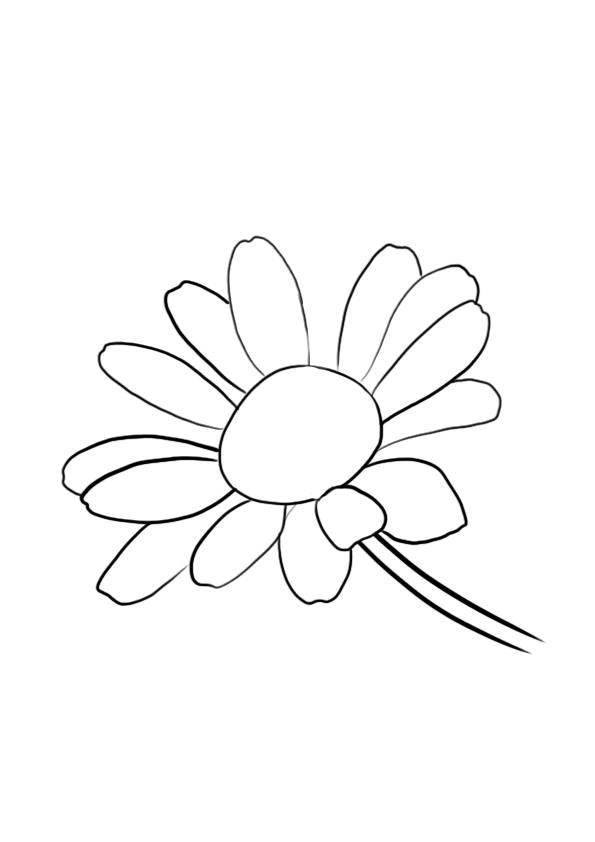
The center of a daisy is filled with pollen, which is quite visible compared to some flowers. So you will need to fill the center of the flower with little pollen dots... It doesn't take too long ;)
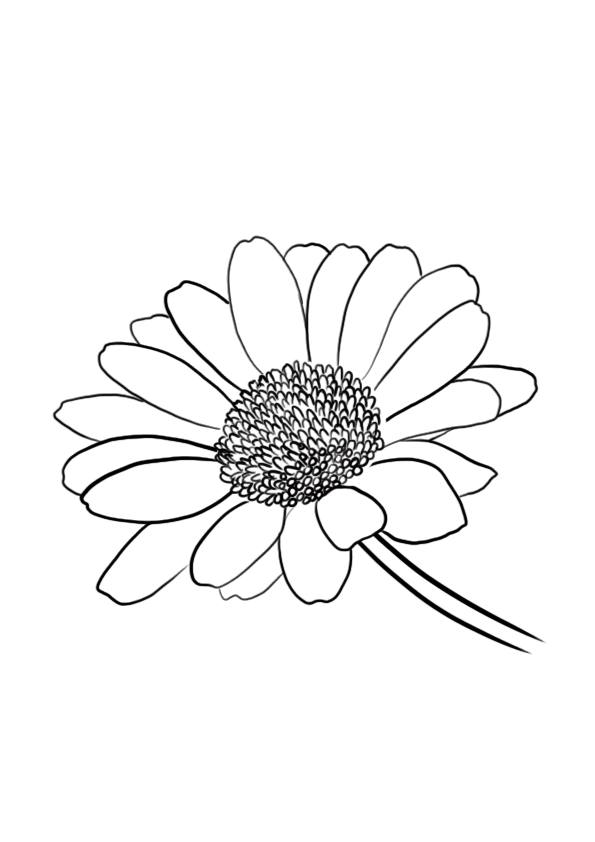
Finally, erase your baseline and it's done!
DRAWING A TULIP
We are now moving on to the last flower, the tulip, which is one of the simplest and quickest to draw.
Tulips are like daisies, they hold themselves up, but they also have a thicker stem that allows them to stand upright, so no bent stem this time!
Starting from the end of the stem, draw a half-circle on each side of the flower.
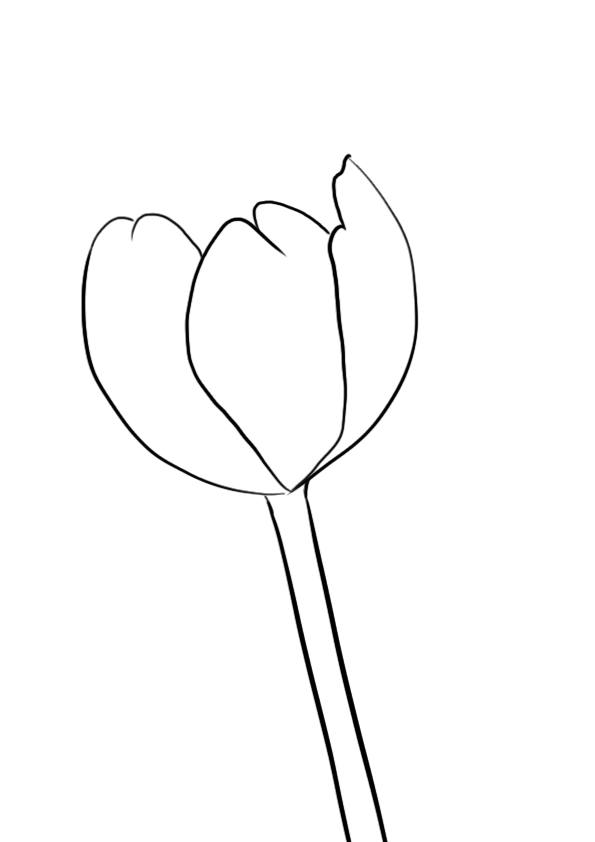
From the half circles, draw the outer petals and then add a petal in the middle.
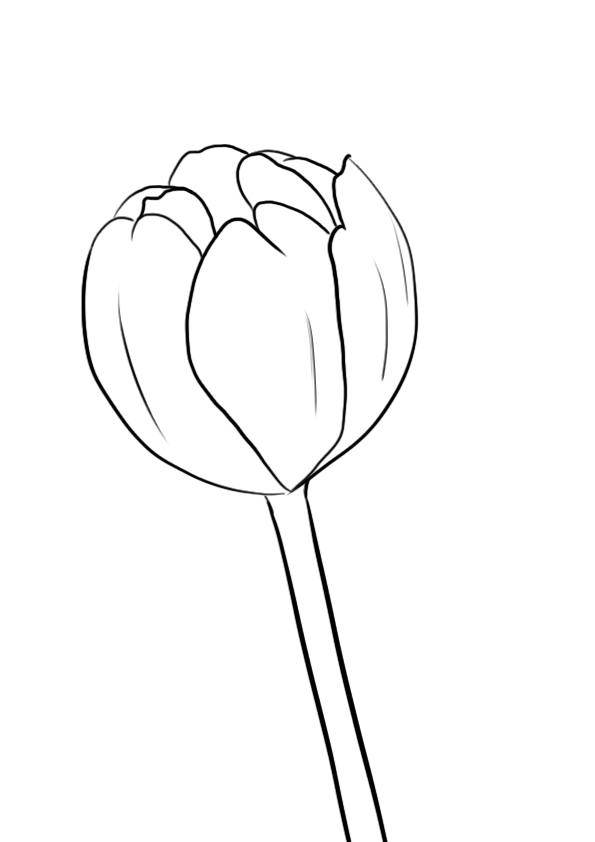
Draw the petals in the background and your tulip is finished!

Plants may seem complicated to draw, but in reality, that's not the case.
When you have an element that seems too complicated to draw, simplify it as much as possible and add details gradually as you practice until you feel confident enough to draw the element in the finest detail :)

Discussion
12 comments