
How to Draw a Fleur-de-Lis
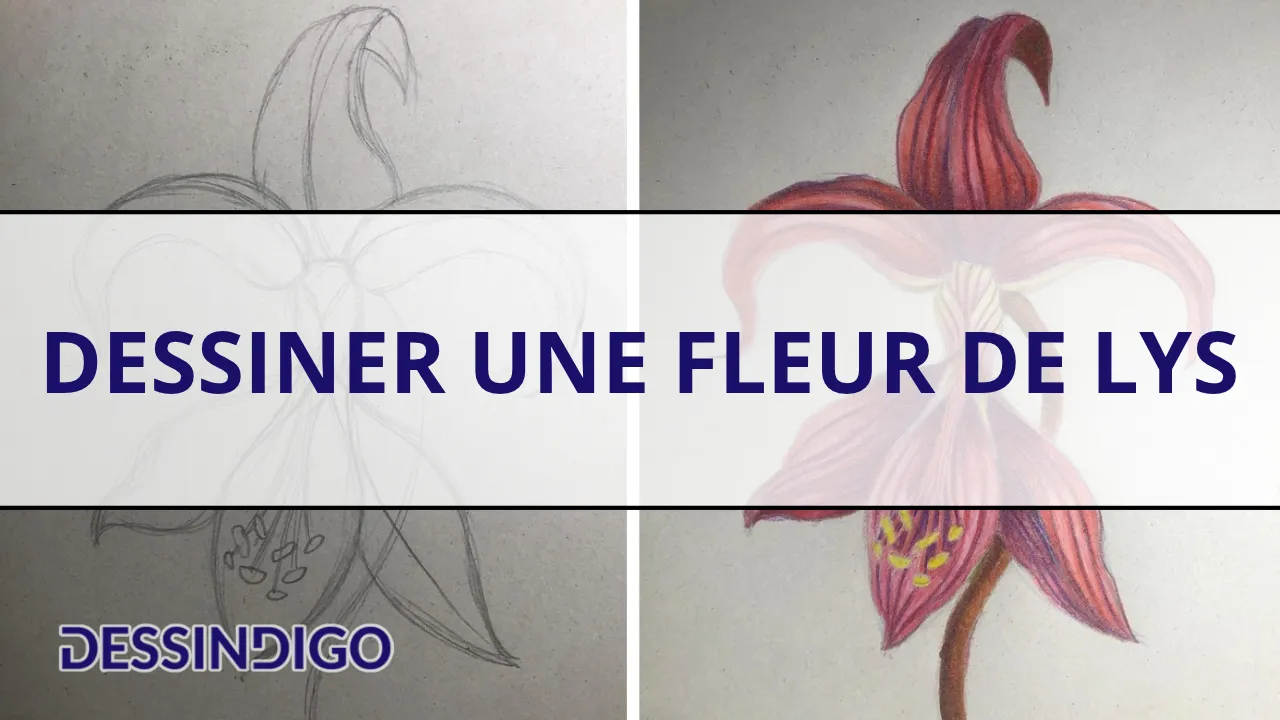
Here we are for a new episode of our series on drawing flowers. We have been learning to draw very different flowers since the beginning, and today, we are focusing on a unique flower: the fleur-de-lis.
You will have heard of it because it has become an emblem associated with nobility and honor. However, it is simply a stylized version of the lily, and that is what we are going to draw together, with a little artistic touch.
Characteristics of the fleur-de-lis
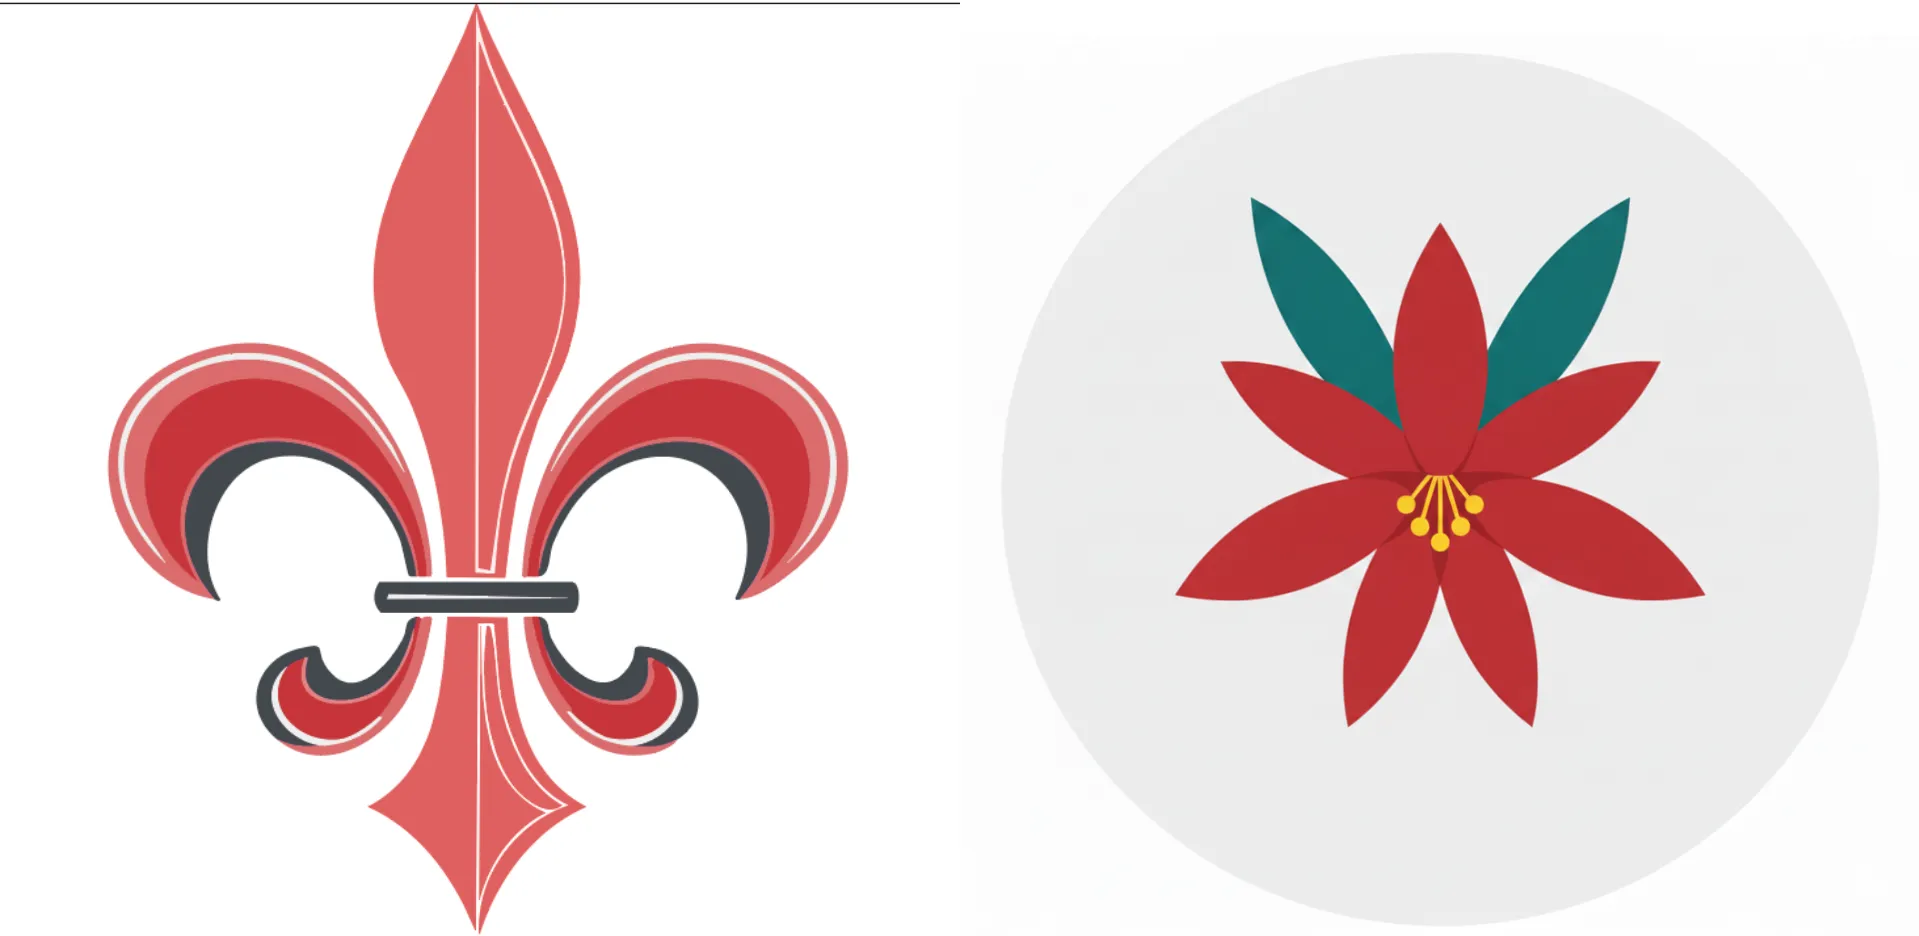
You have undoubtedly come across this emblem somewhere: on the coats of arms of noble families, on the crests of various institutions, but also on old maps or in medieval manuscripts.
Personally, I never would have guessed at first glance that it represented a flower. And yet, that’s exactly what it is!
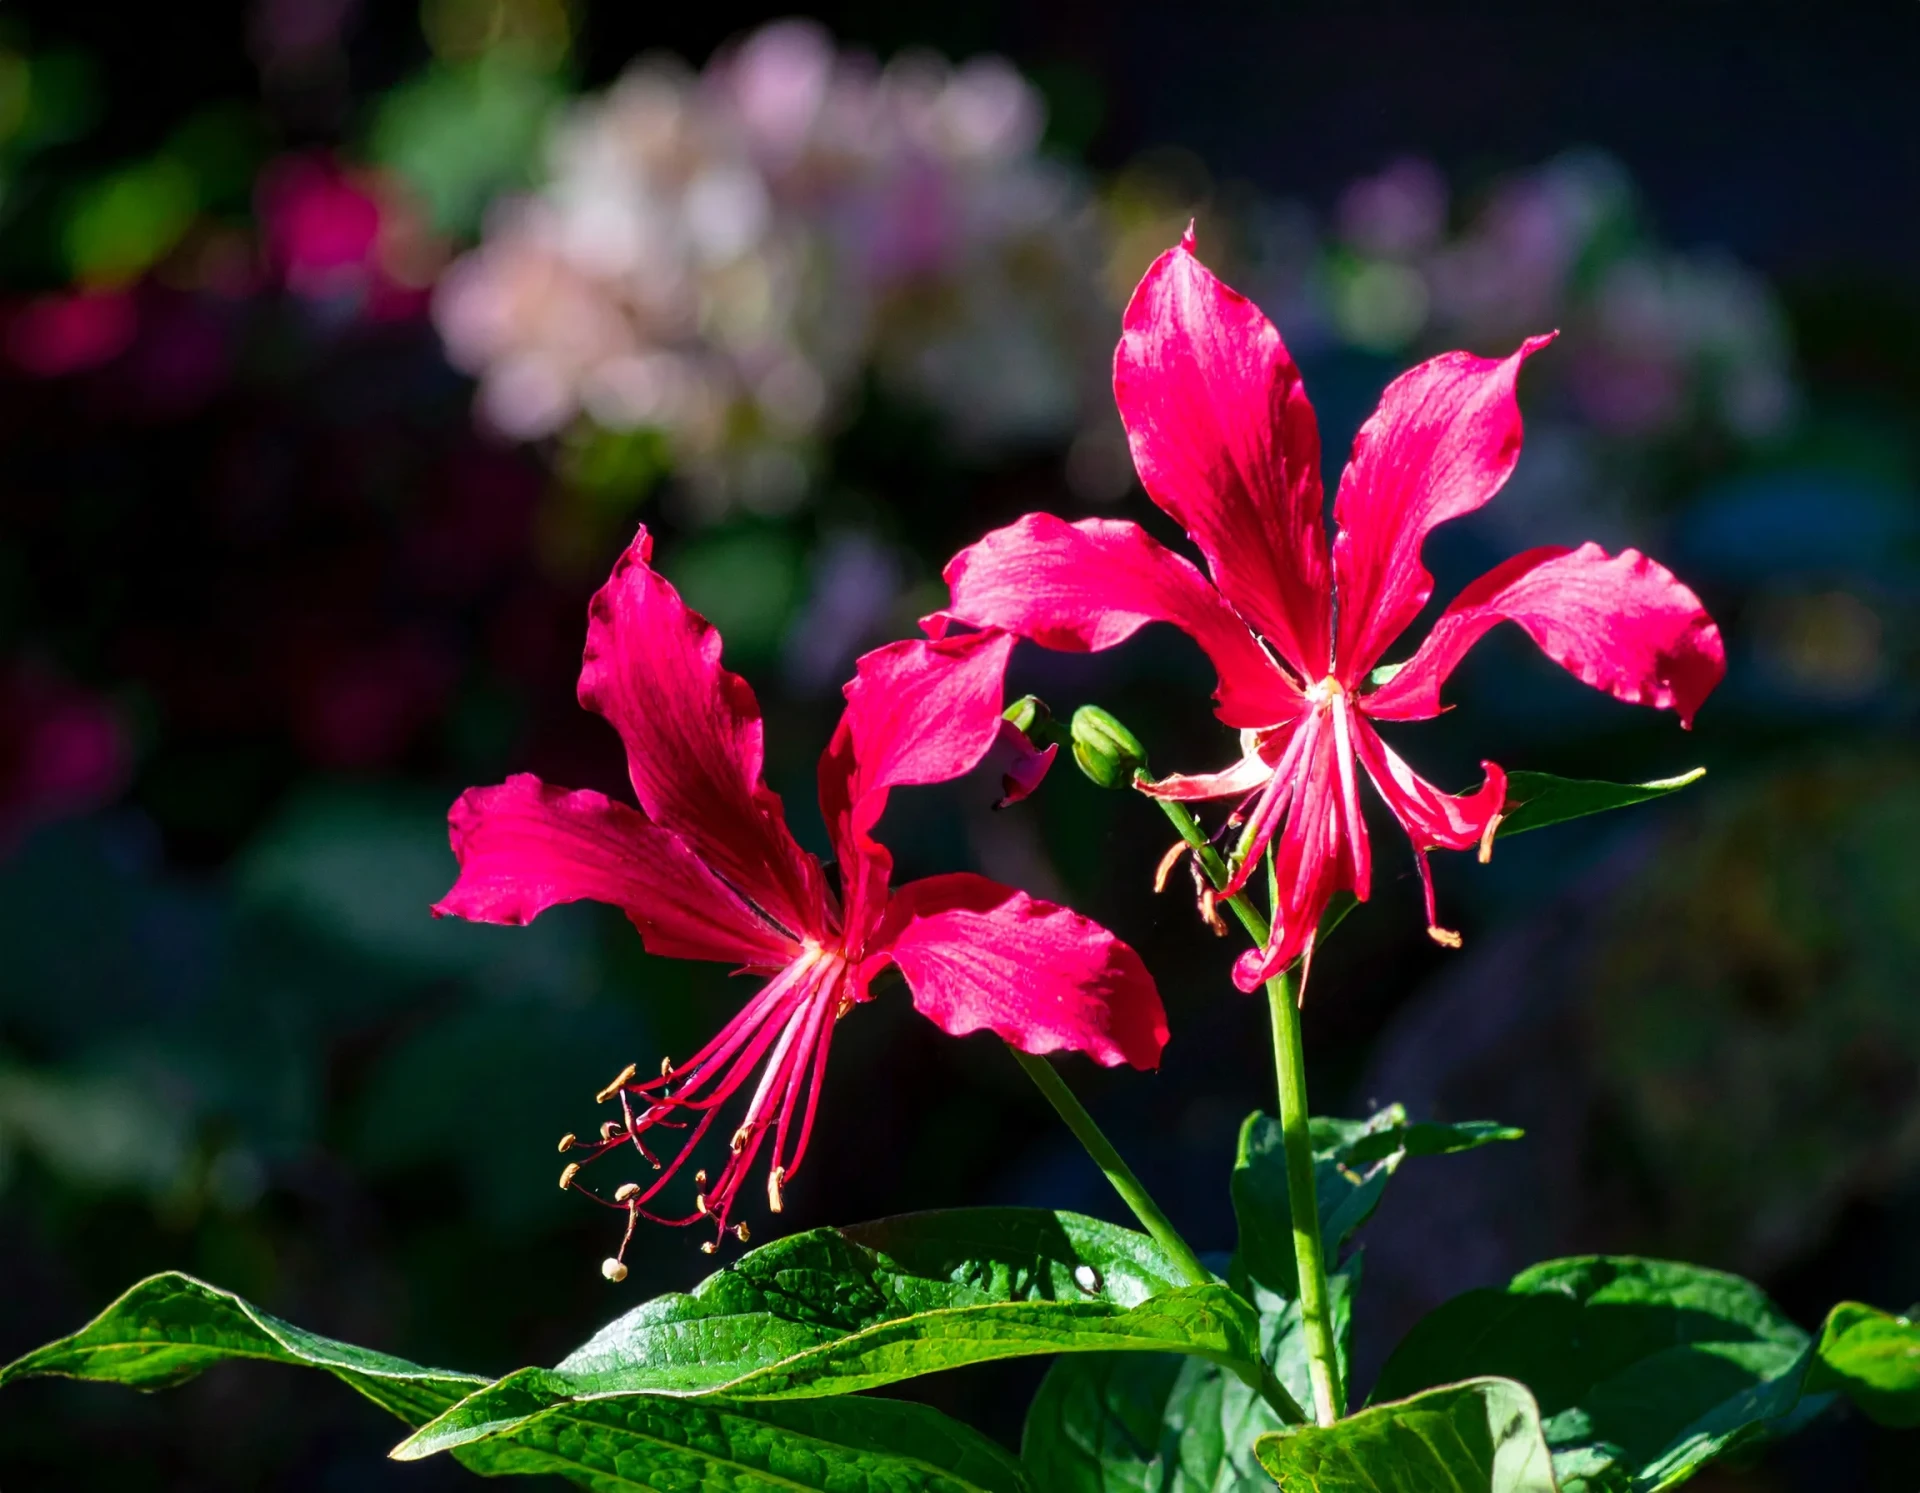
As we have seen, the fleur-de-lis has long been adopted by important figures and institutions. But if we look back at its origins, we discover a flower with very distinctive characteristics: very elongated petals that end in a point, and golden stamens that emerge from its center.
How to draw a fleur-de-lis step by step
Prepare your materials and set up a comfortable, well-lit, and spacious area. I'm using colored pencils, but choose the materials with which you are most comfortable.
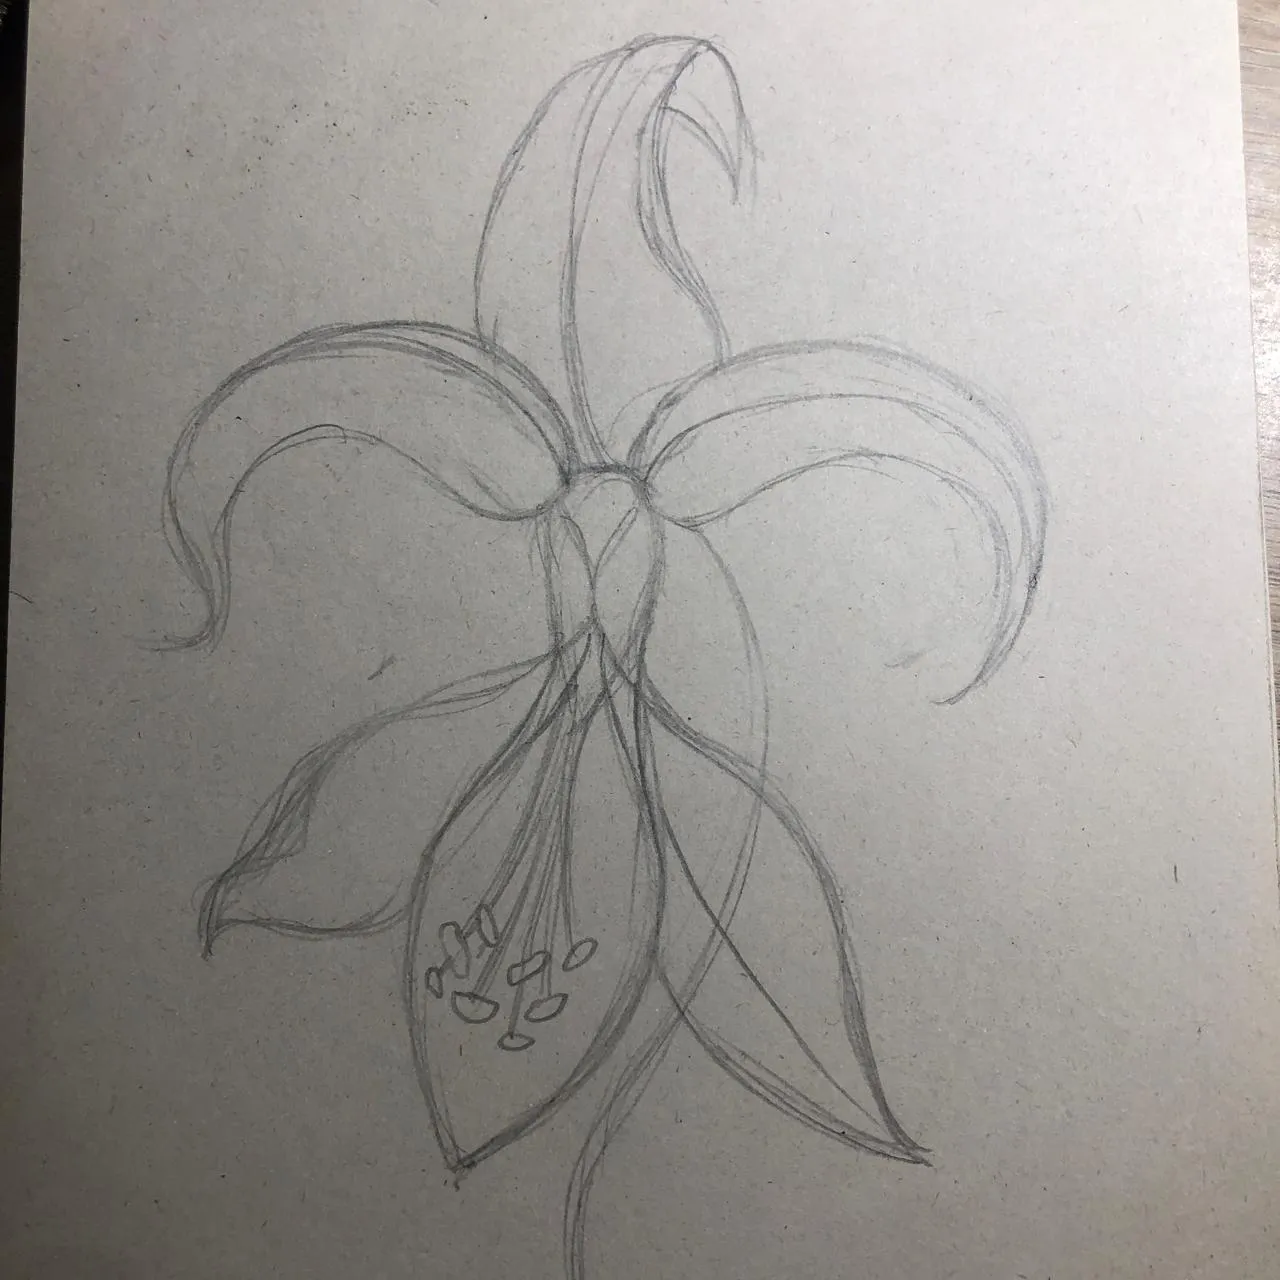
Start by drawing an inverted teardrop: this is the starting point for all the petals. The stem will start from its upper part and descend, forming a long, elegant curve.
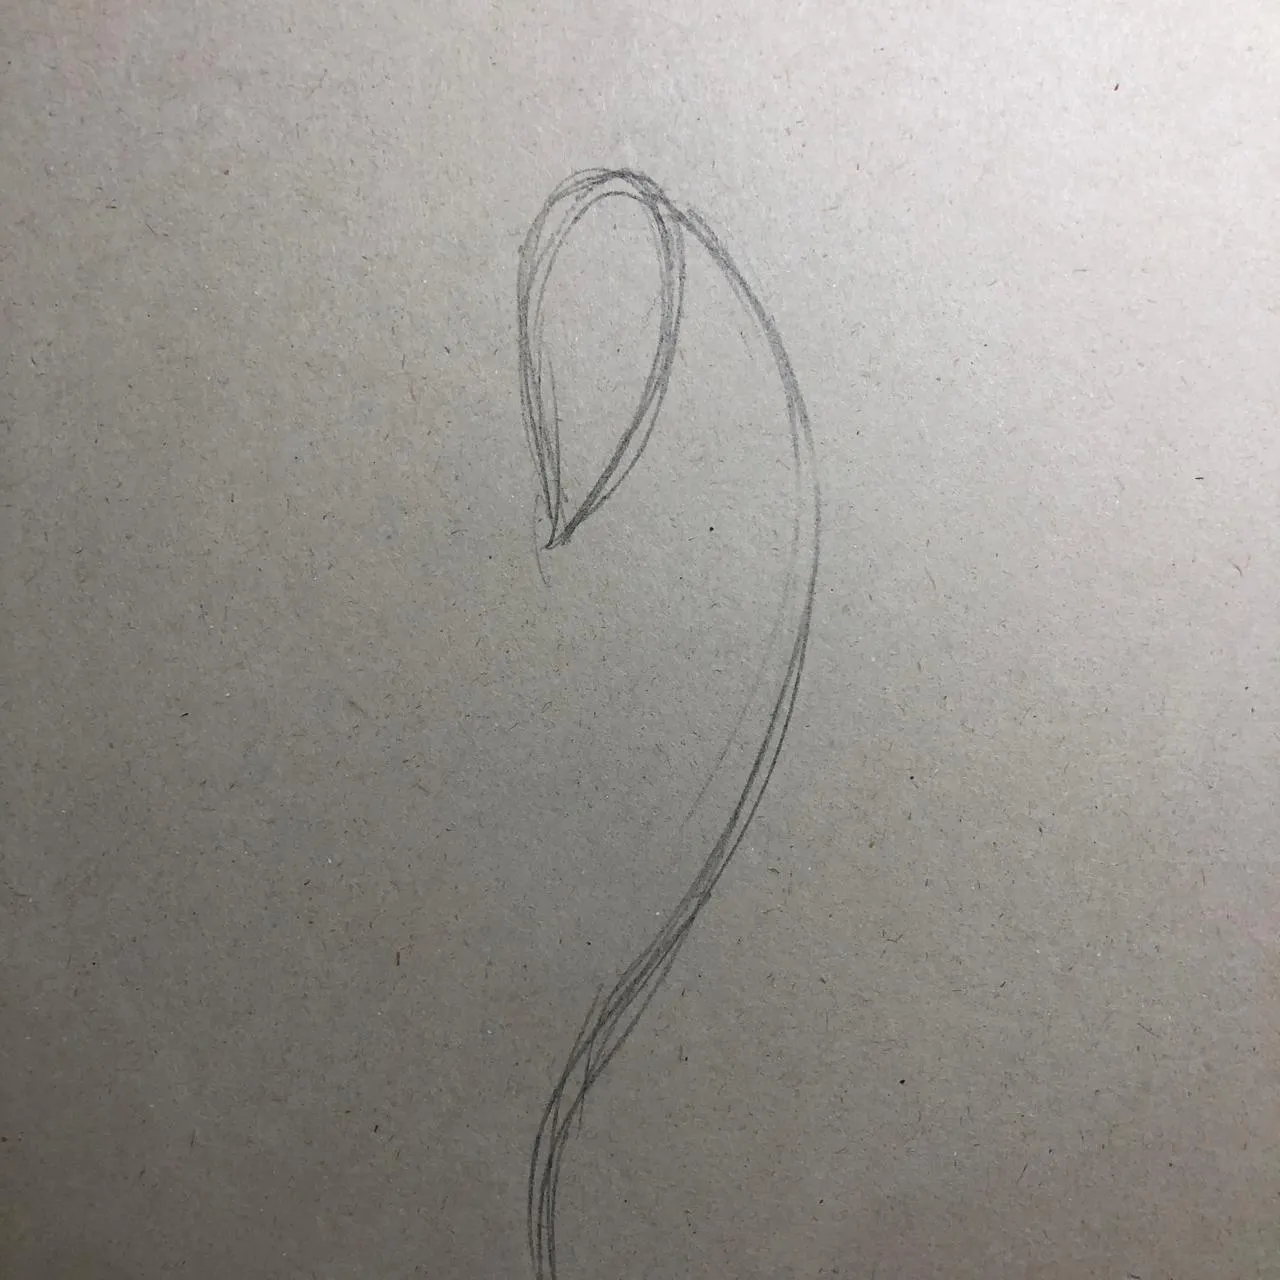
The first petal rises upwards. Draw a new slightly larger teardrop, then add a fold near its end, with a point that goes down.
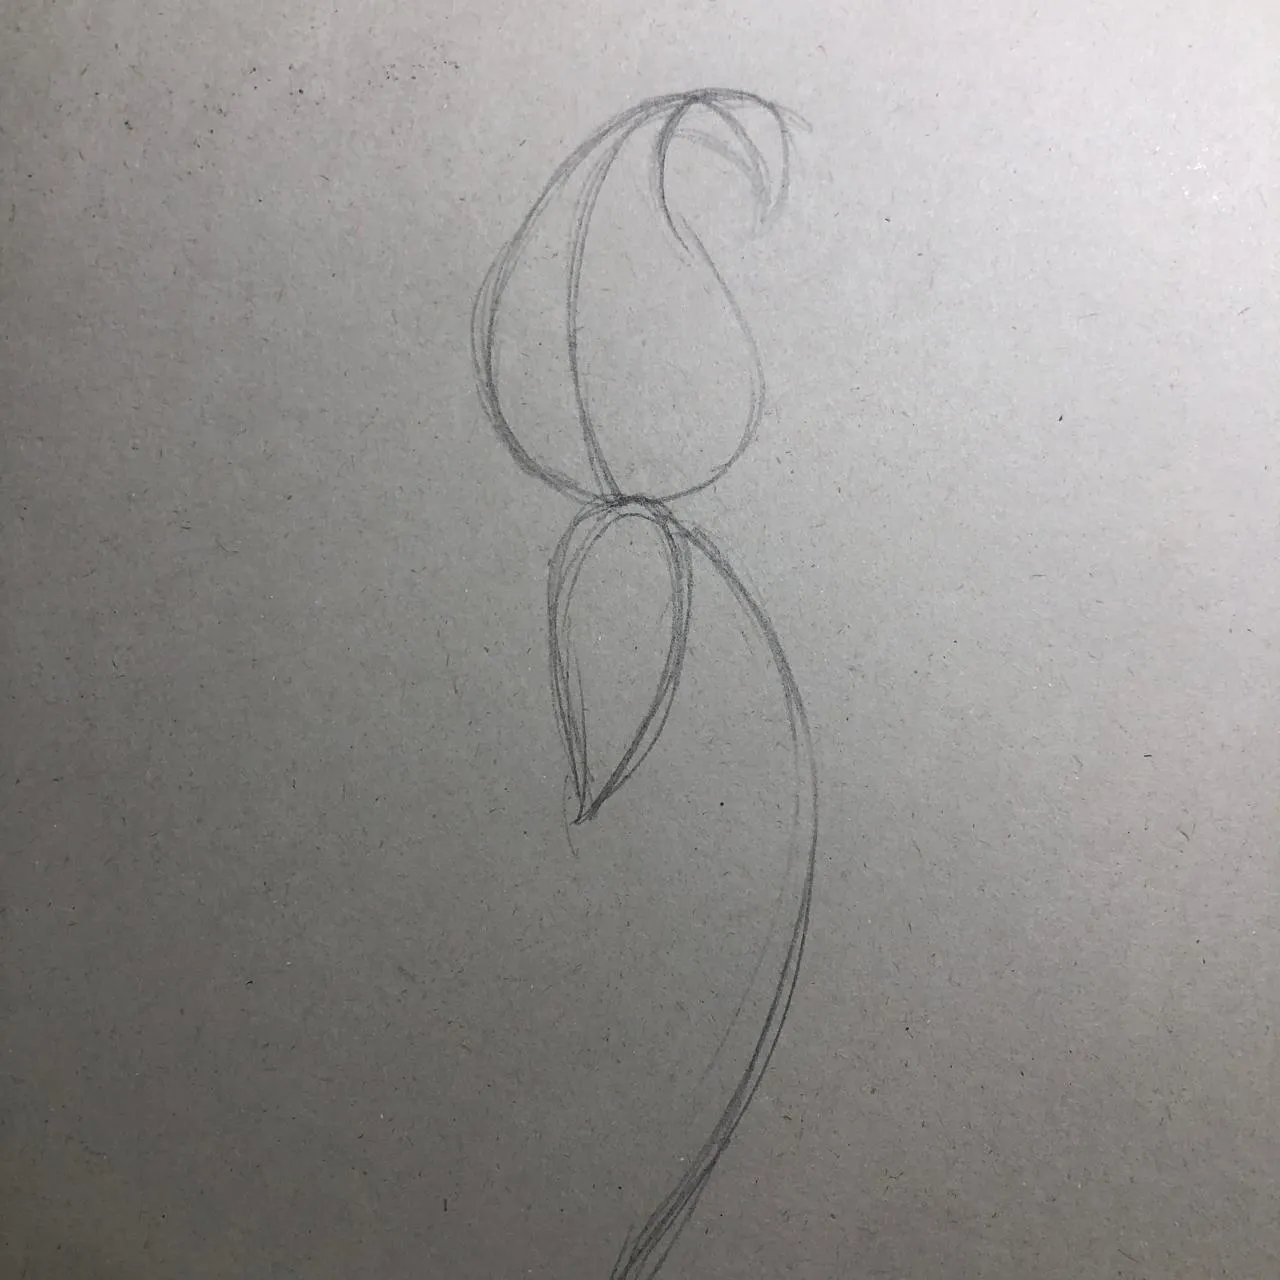
Draw the petals
Let’s move on to the upper lateral petals. Imagine two thin, curved tentacles: that’s how you should draw this pair of petals, which look quite different from the first one.
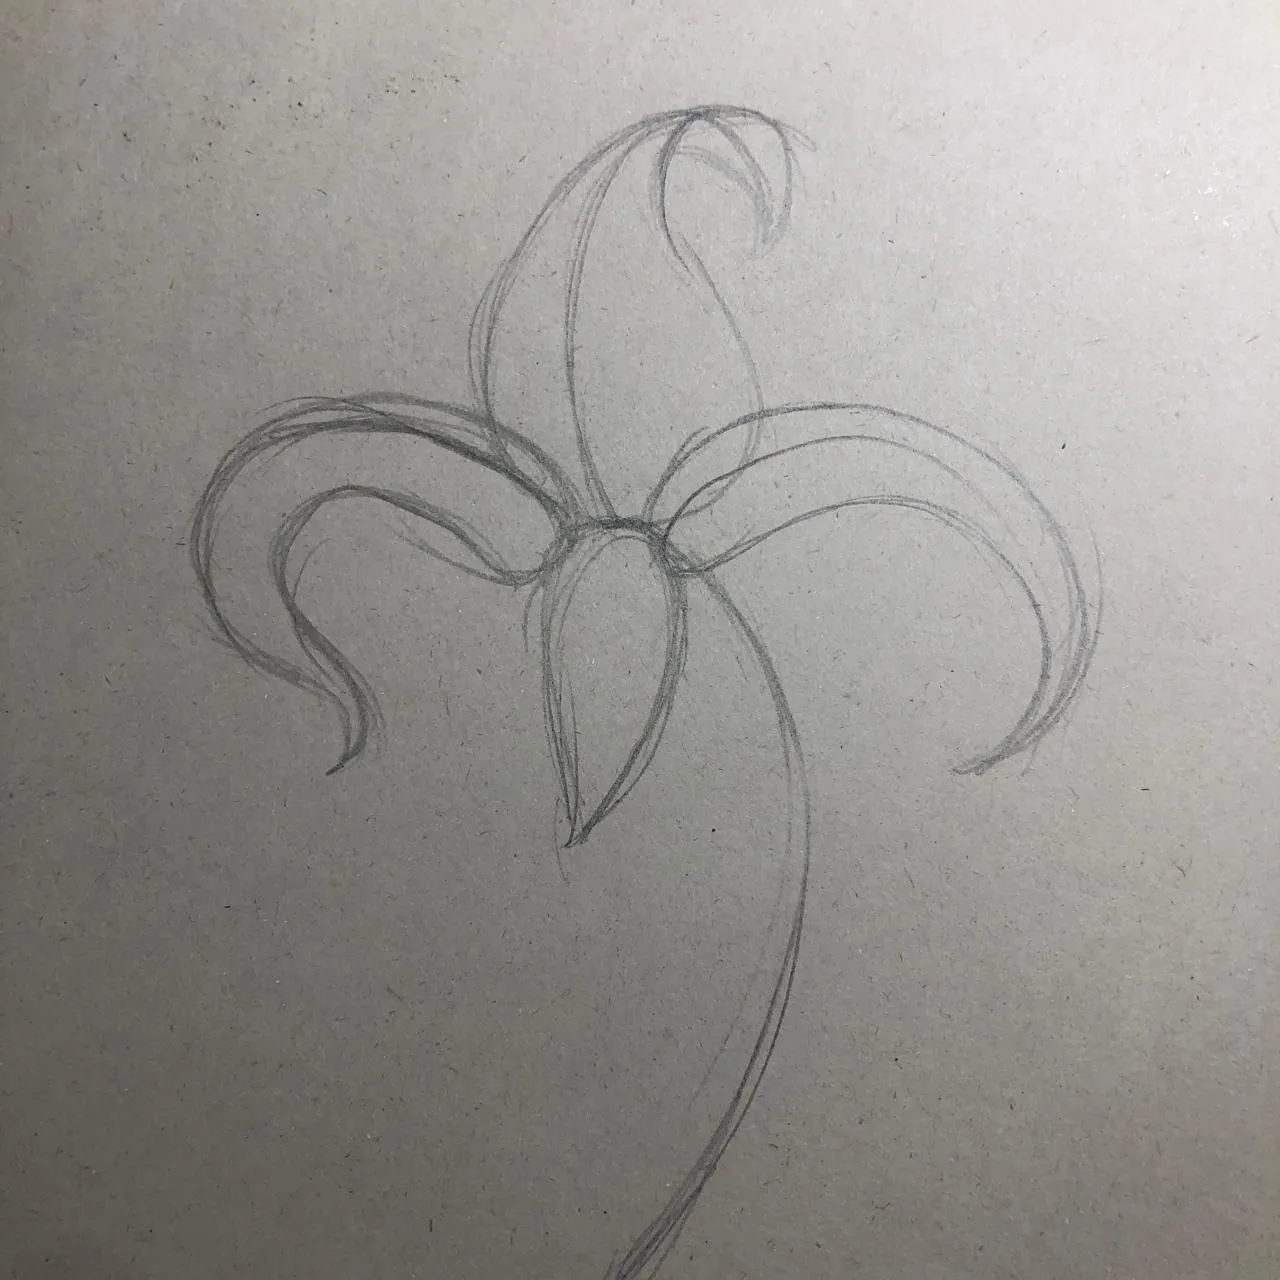
For the next petal, move towards the lower part of the initial teardrop. From this point, draw an elongated, tongue-like shape: the edges closest to the teardrop fold over to cover it, while the outer part opens completely.
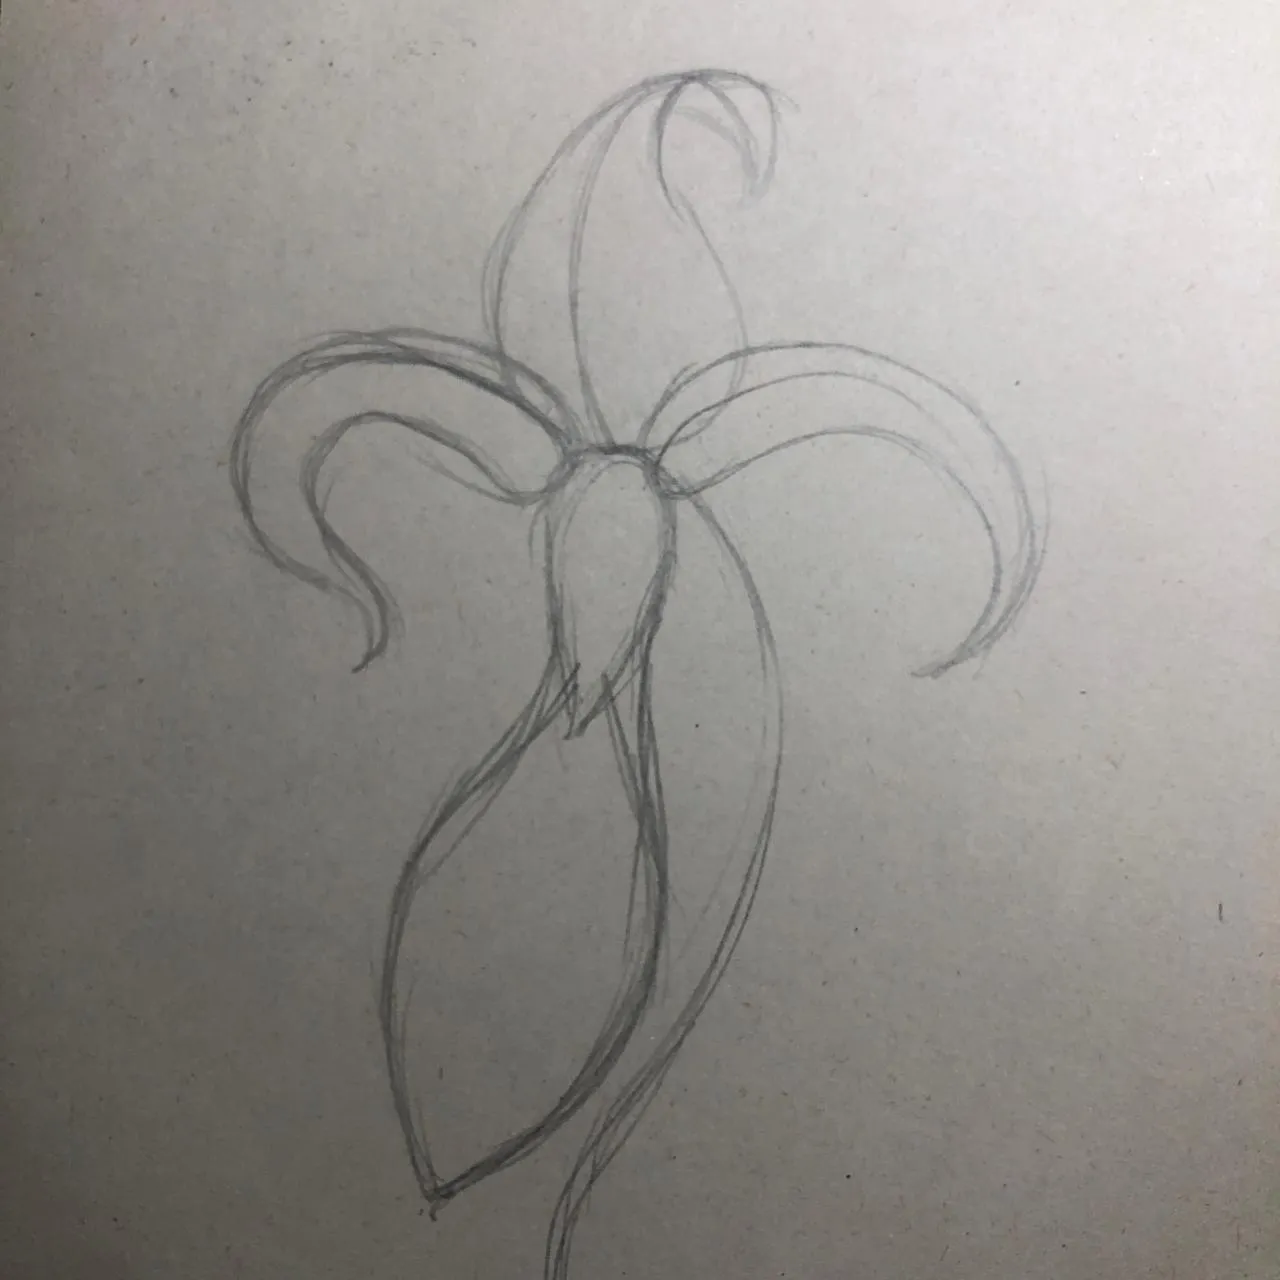
Do the same for the next step, but this time with two petals that open at an angle of approximately 45°. Ideally, they should have the same dimensions and a shape similar to that of the central petal.
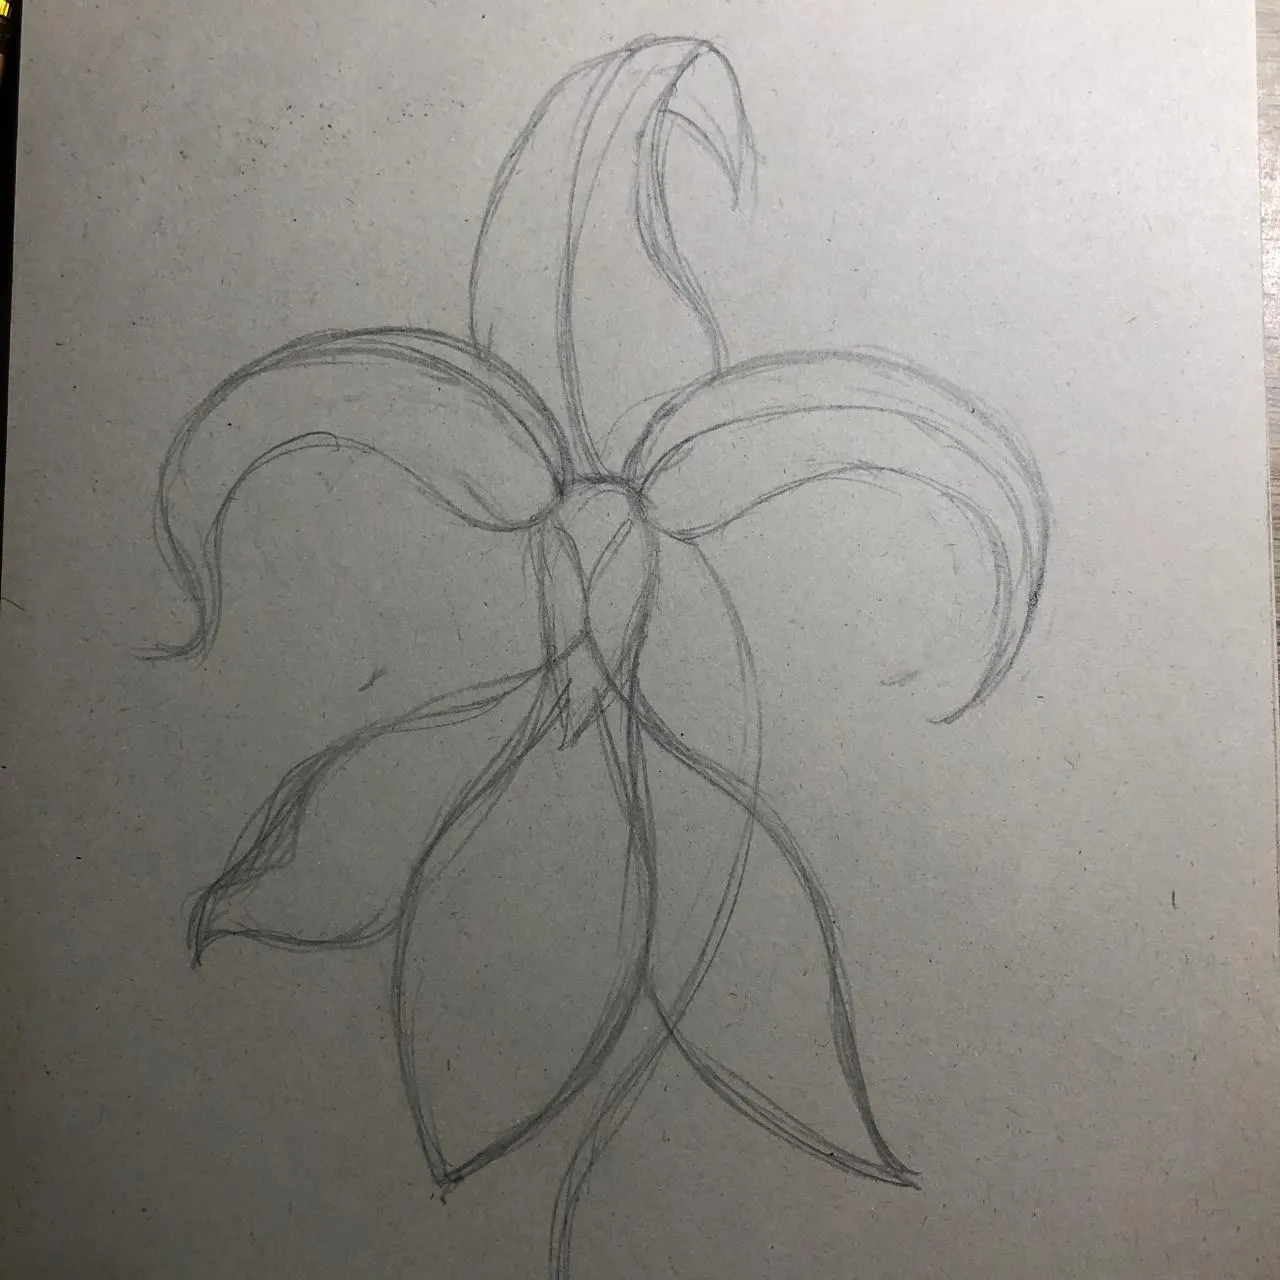
Let’s move on to the center, from which long stamens extend, ending in rounded, flattened, and irregular shapes.
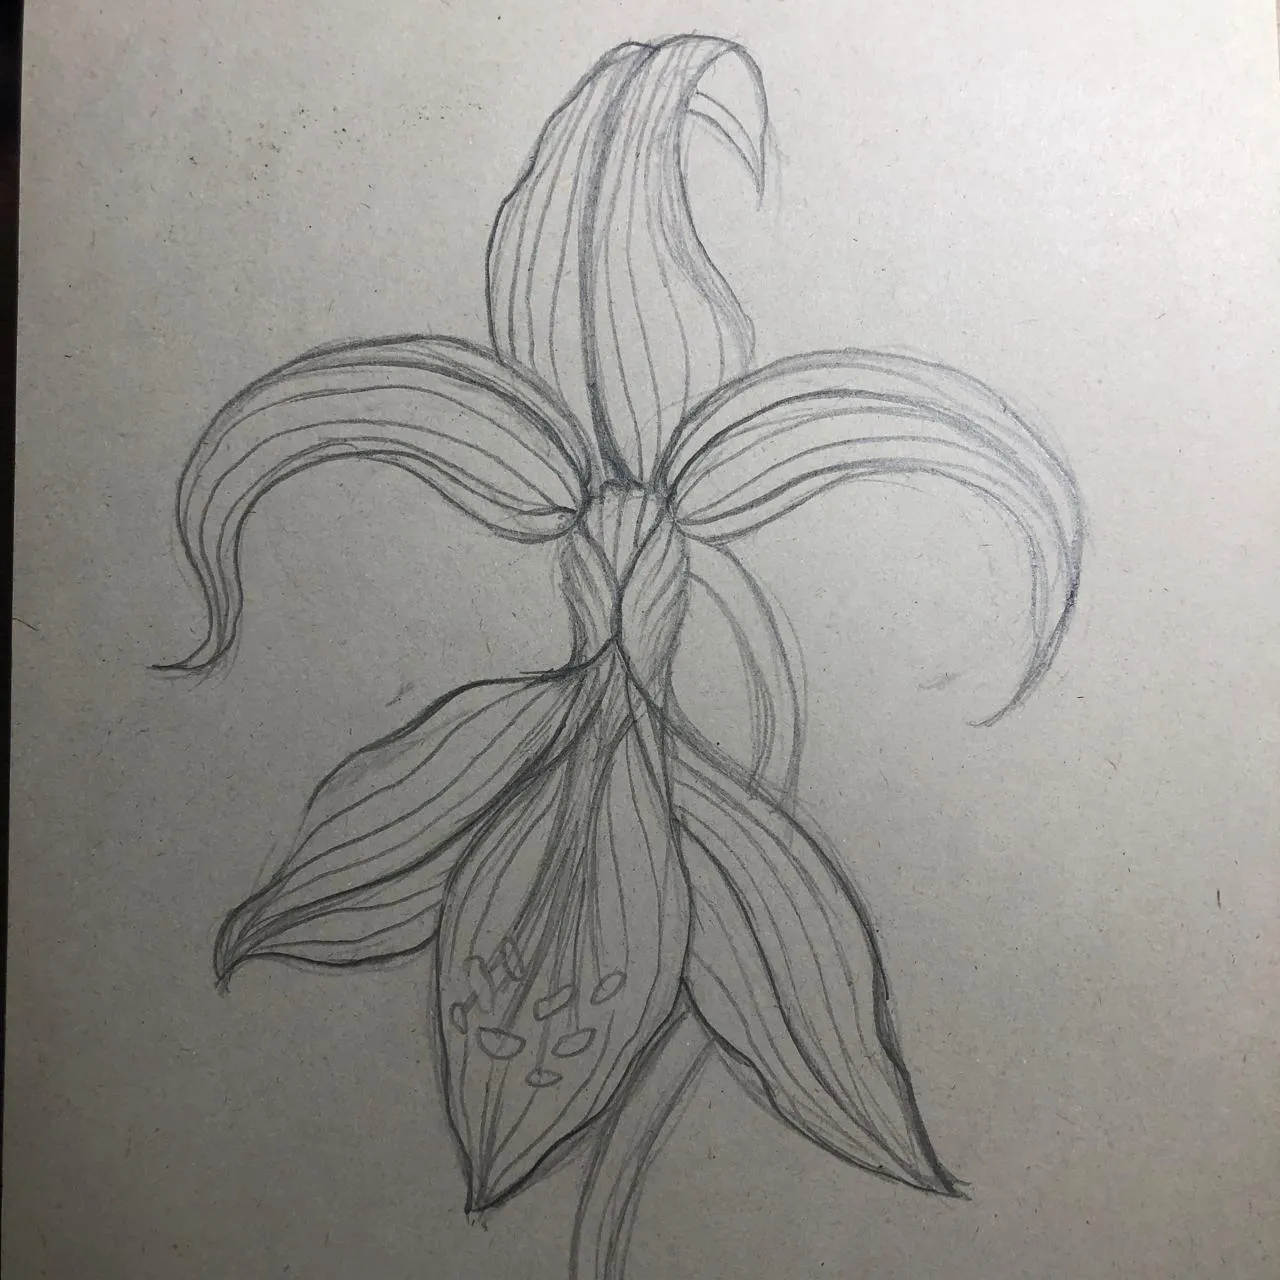
It’s time to finalize the sketch. Draw the outlines of the petals with wavy lines, varying the thickness of the line to distinguish the folds and the joins between the petals. Finish by adding a texture of parallel lines that follow the shape of each petal.
Add color to the drawing
Take your colored pencils, or the materials you have chosen, and keep in mind the following principle: always start with the lightest color and work your way to the darkest.
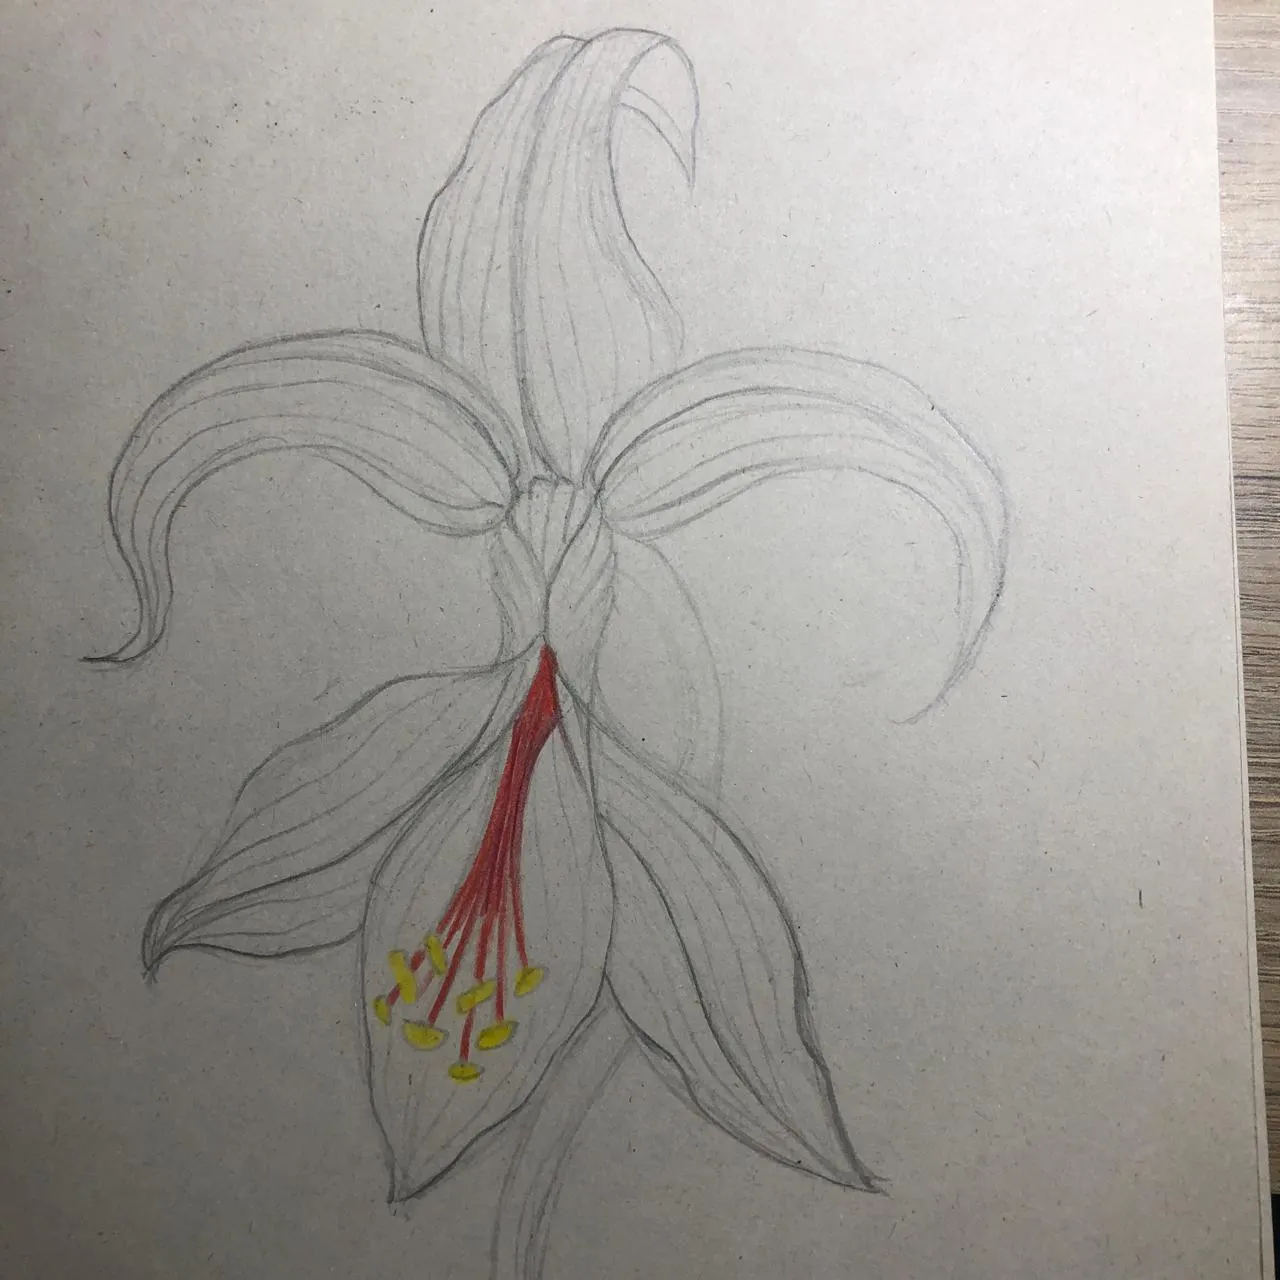
Start by using yellow to color the anthers, those small, rounded shapes located at the end of the stamens. Then, draw the rest of the stamens with a medium-toned red.
For the petals, use violet as the base color. It provides more depth than red alone, and this way you avoid using black, resulting in a brighter look and more harmonious colors.
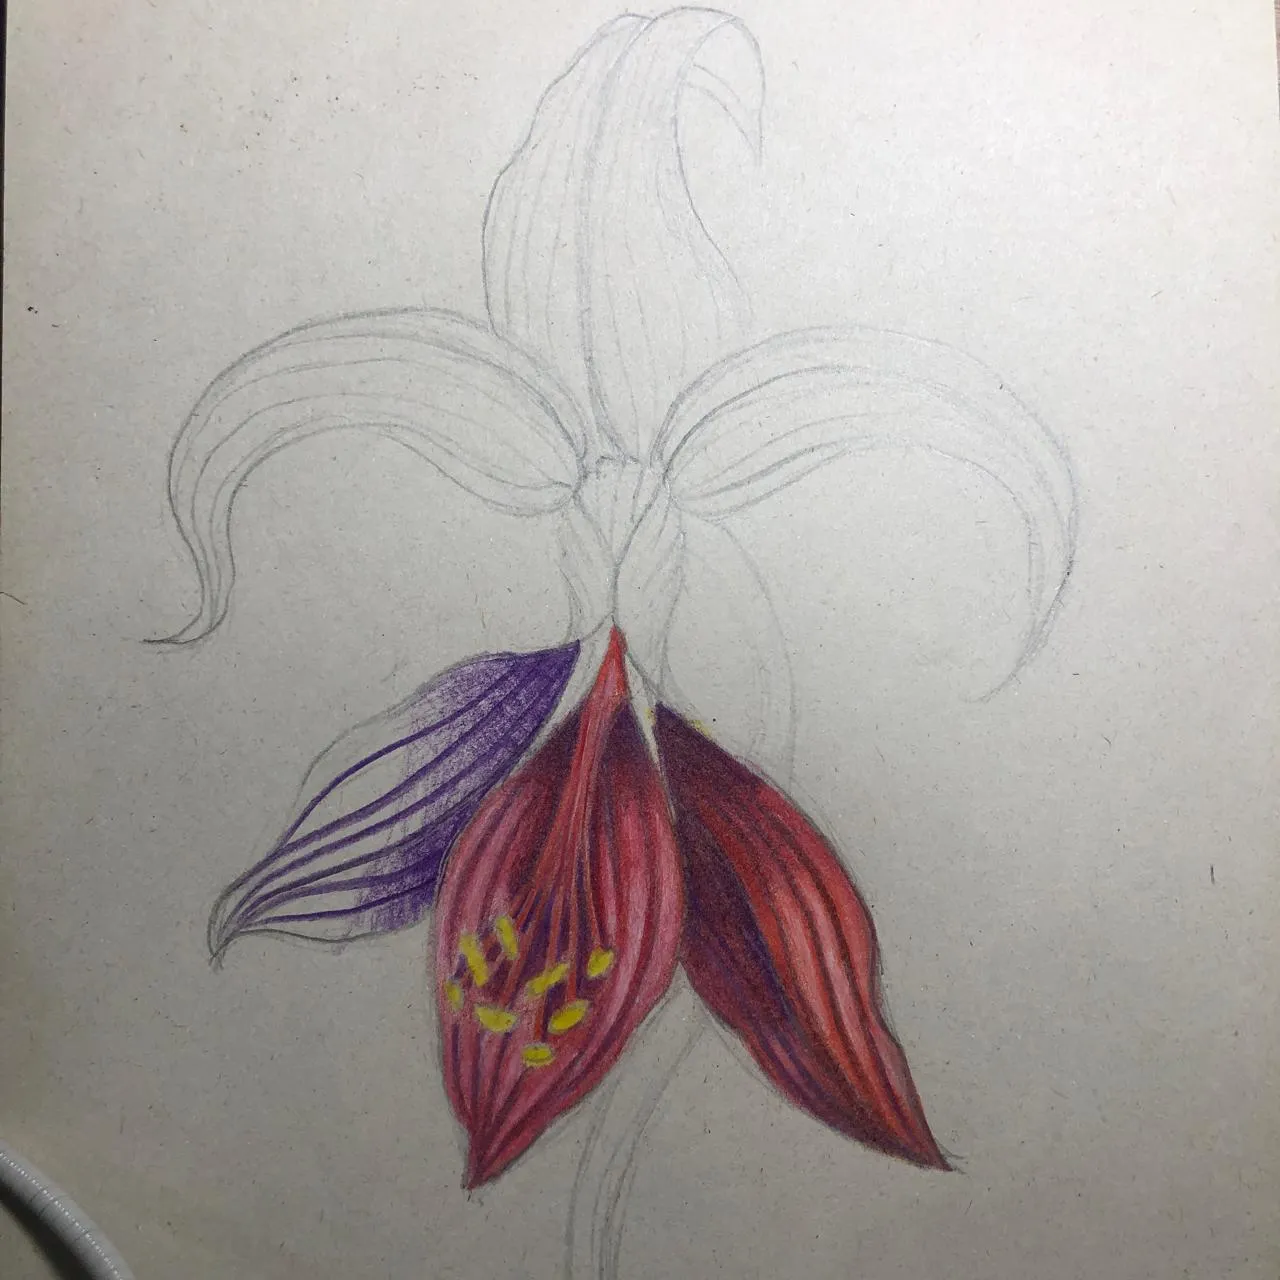
On this violet base, apply your darkest red, going over the lines and defining the darkest areas. Avoid covering the lightest parts: color them with a pink or lighter red, and enhance some highlights with a little white.
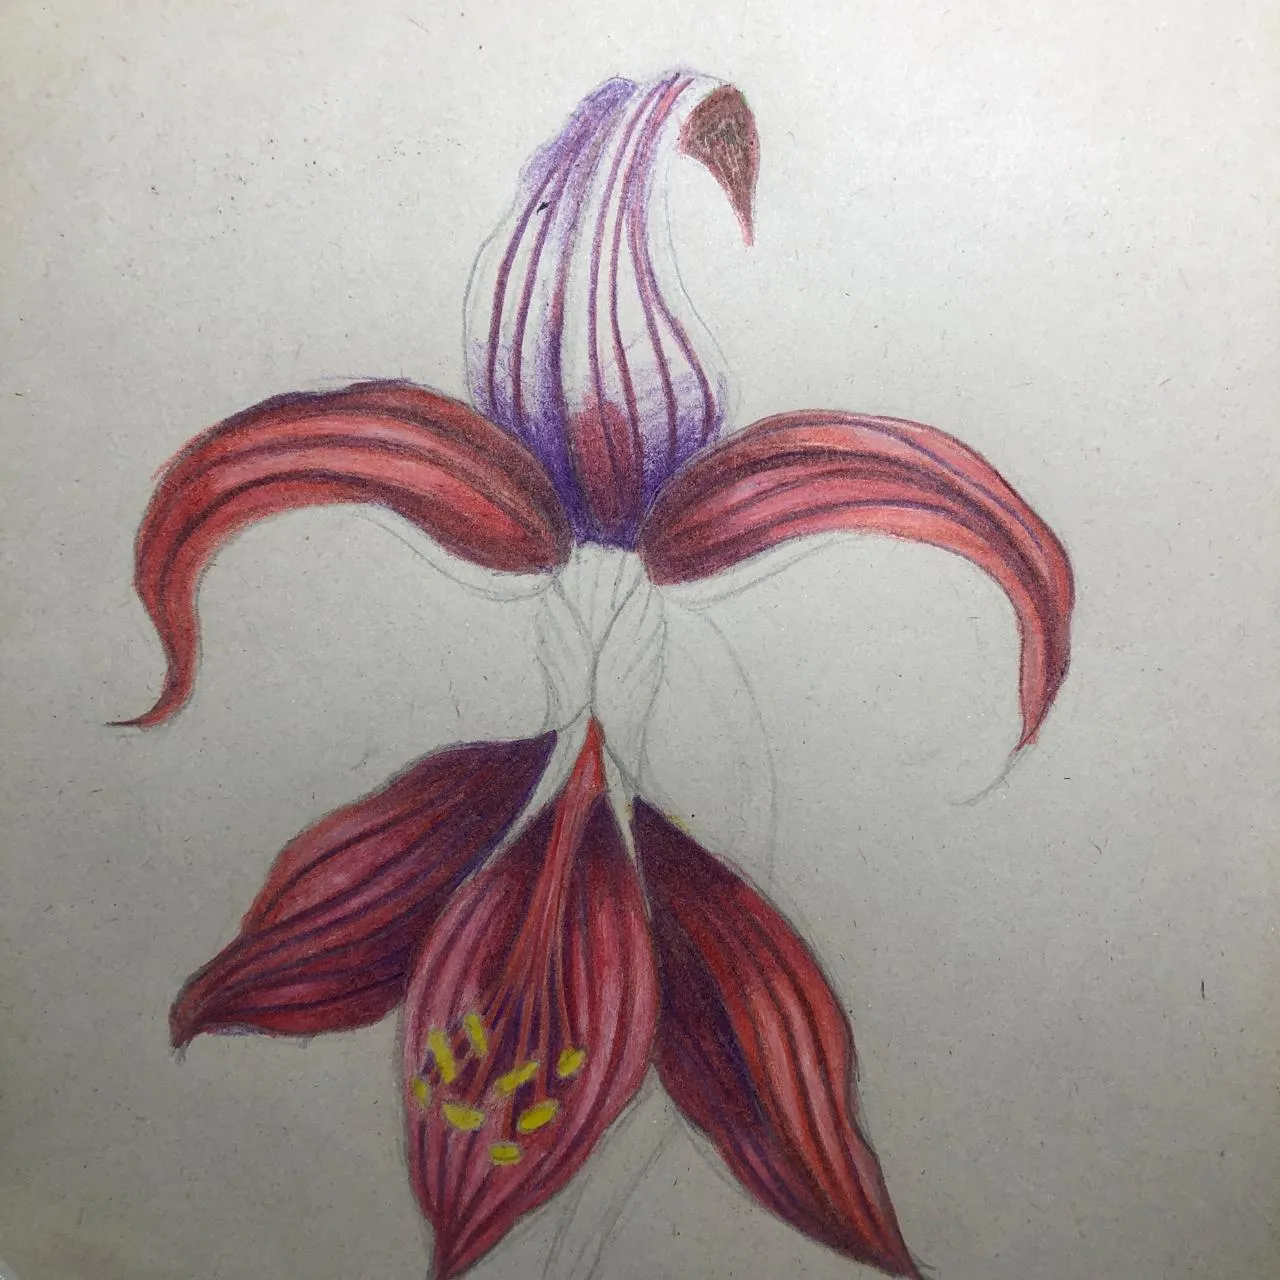
Once the petals are finished, let’s move on to their outer surfaces and the center of the flower. Apply a first layer of yellow, draw the outlines with a dark red, then finish with a gradient in each section.
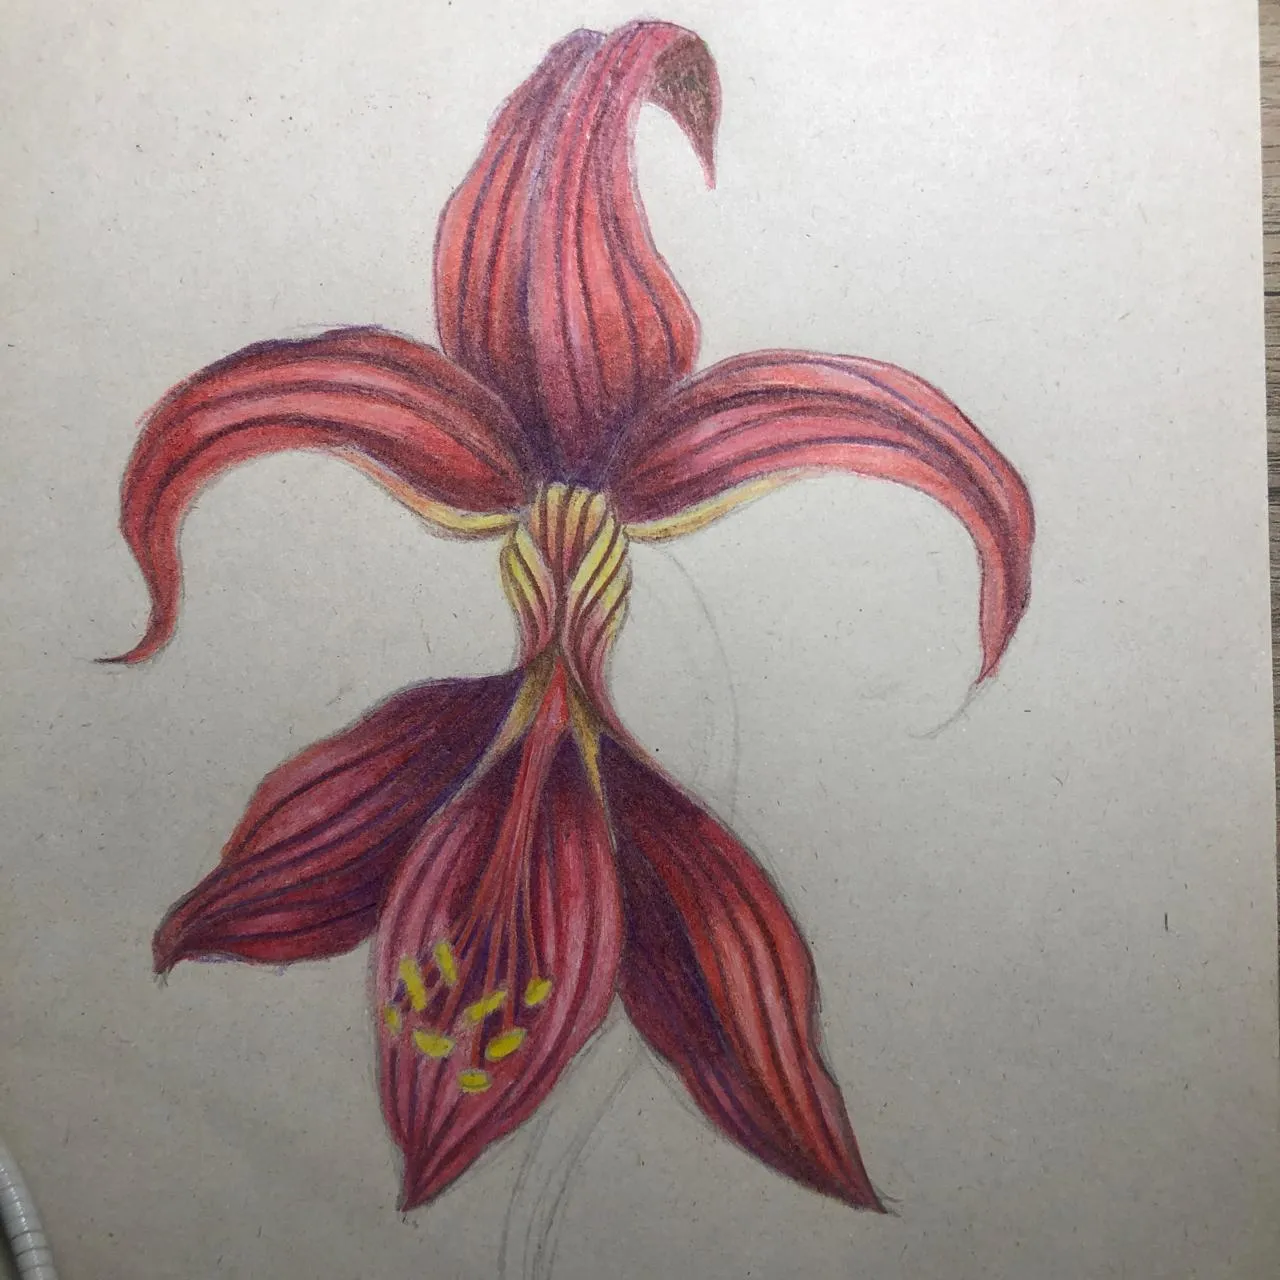
Only the stem remains. Contrary to what one might think, it is not green here, but rather reddish. Start with a brown base, then use red for the shadows, with a touch of green to darken them using the principle of complementary colors. For the illuminated parts, add orange and yellow.
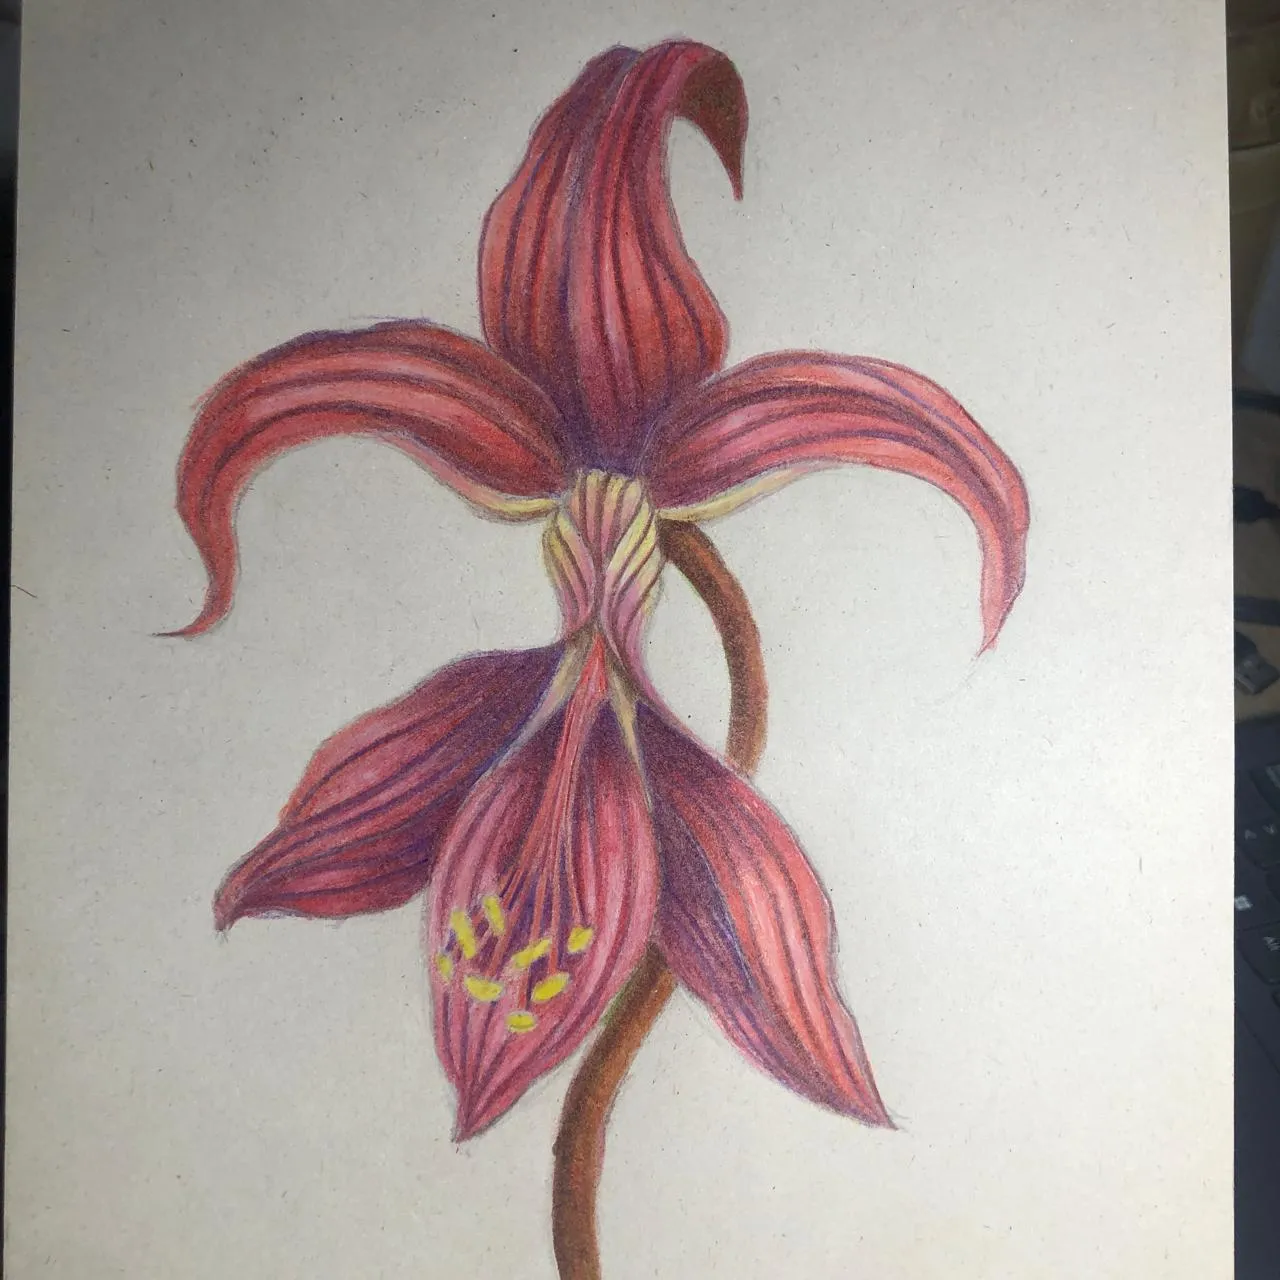
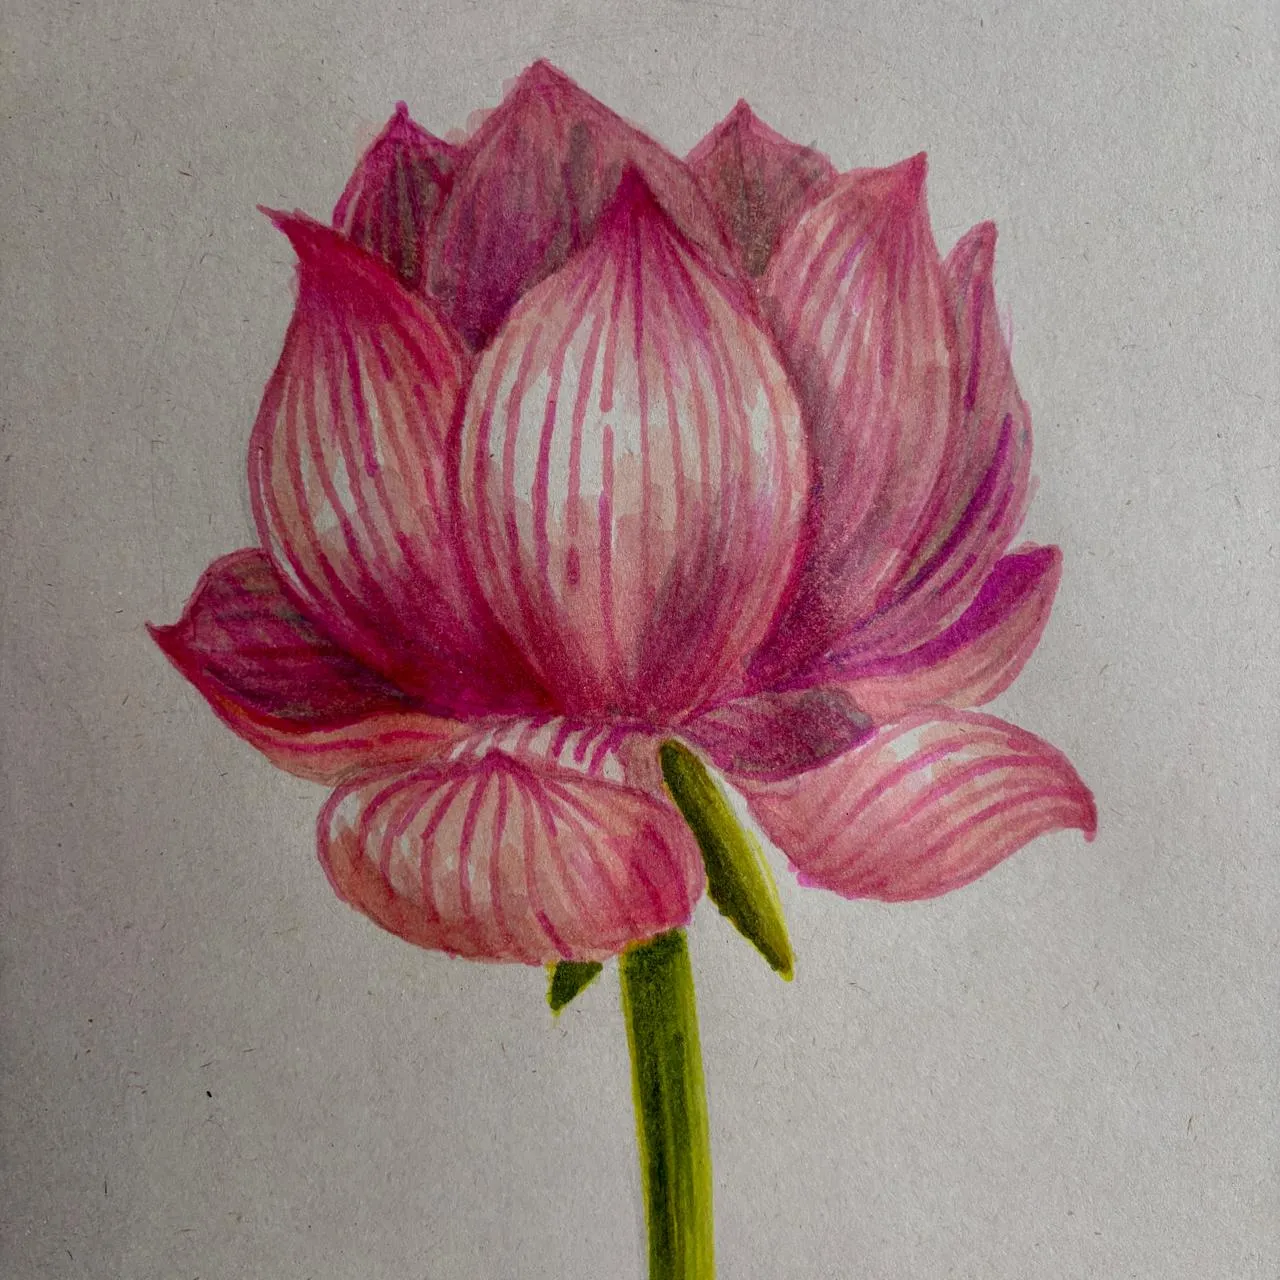
And here is the final result! This flower with its unique composition was a bit of a challenge, but I have no doubt that you will like the result. Now it’s your turn to create your own version: see you in the next episode of this series!
Popular Articles

Discussion
No comments yet.