
How to Draw a Windmill

Escape to coastal landscapes and capture a windmill in a light and balanced setting: that is the goal of this exercise. This step-by-step tutorial guides you to create a windmill, work on the values, contrasts, and colors, and obtain a coherent and vibrant pictorial composition.
A few references before we begin
Today, we're going to explore how to draw a windmill set in a coastal landscape. The approach emphasizes the planning of the structure, the determination of values, and the management of color schemes in order to achieve a realistic depiction. This can be done in both traditional and digital media: the key is to follow the technical sequence (drawing, blocking in the main forms, building up color, details, and final adjustments).
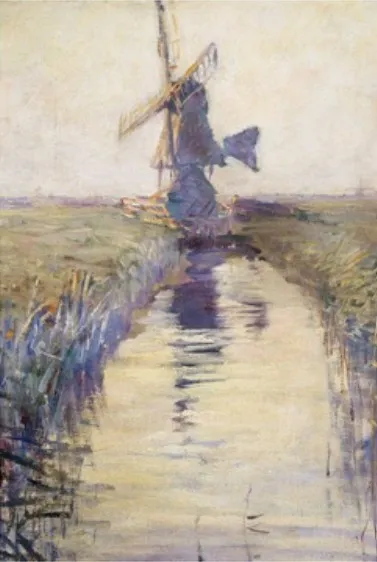
Anna Huntington Stanley, in Dutch Windmill (20th century), illustrates the relationship between scale and architecture in coastal settings: the proportions of the windmill’s body in relation to the horizon, the position of the sails, and the integration of the building’s silhouette into a panoramic view of the landscape.
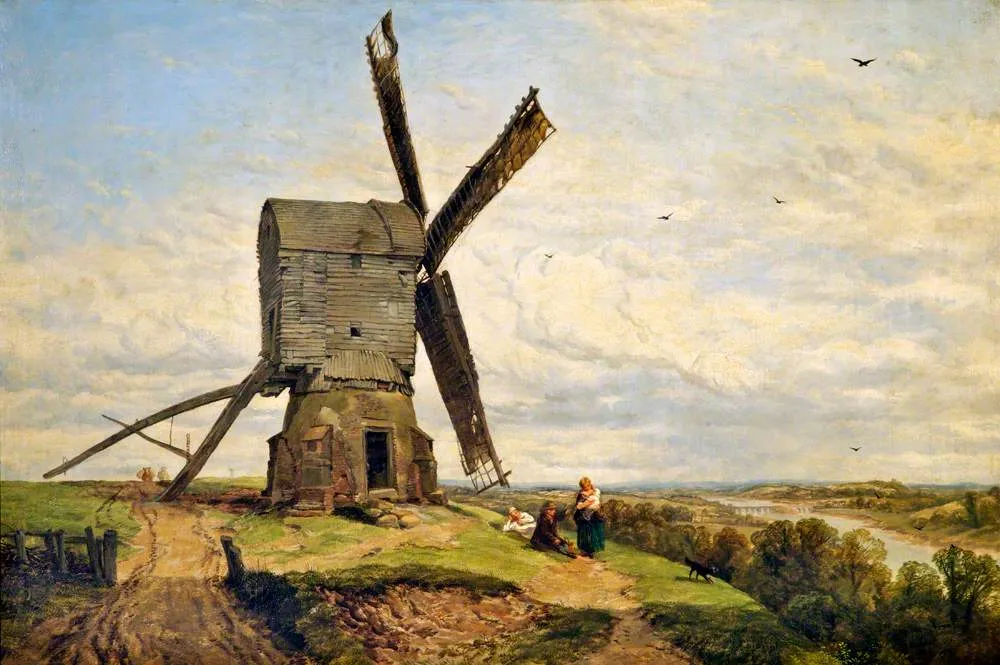
Thomas Creswick, with The Windmill (19th century), demonstrates strategies for balancing architectural mass with vast fields and skies, and for deciding which areas require detail and which should remain out of focus.
How to draw a windmill step by step
We start by outlining the main proportions of the windmill using simple geometric shapes: squares for the base, triangles for the roof, and a central circle to indicate the position of the sails. This basic outline helps to organize the composition and ensure visual balance before any color is applied.
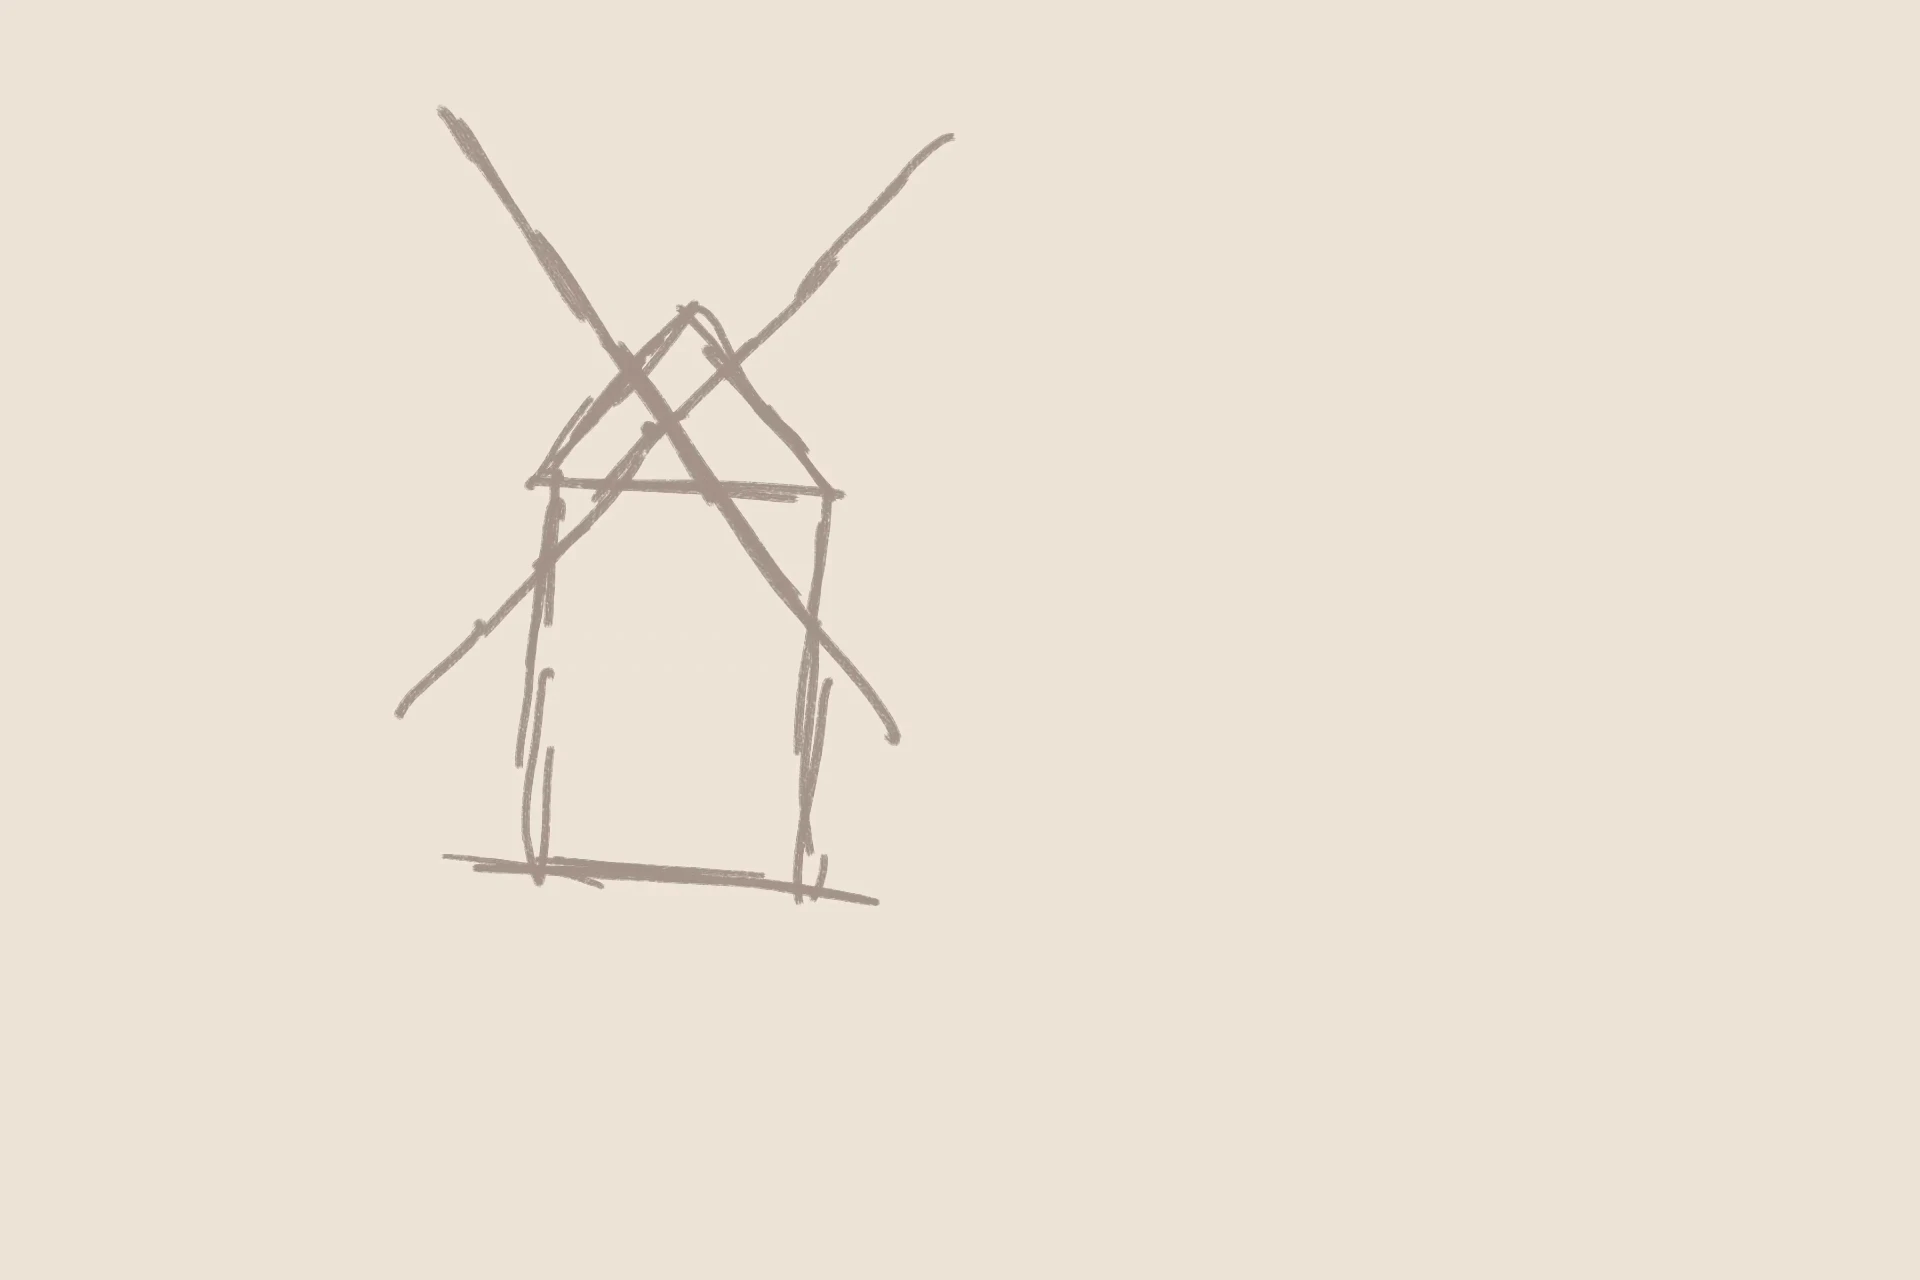
We add a guide circle to define the approximate position and size of the sails. This is not about mathematical precision, but maintaining an expressive and dynamic outline, avoiding rigidity in order to preserve the pictorial quality of the scene.
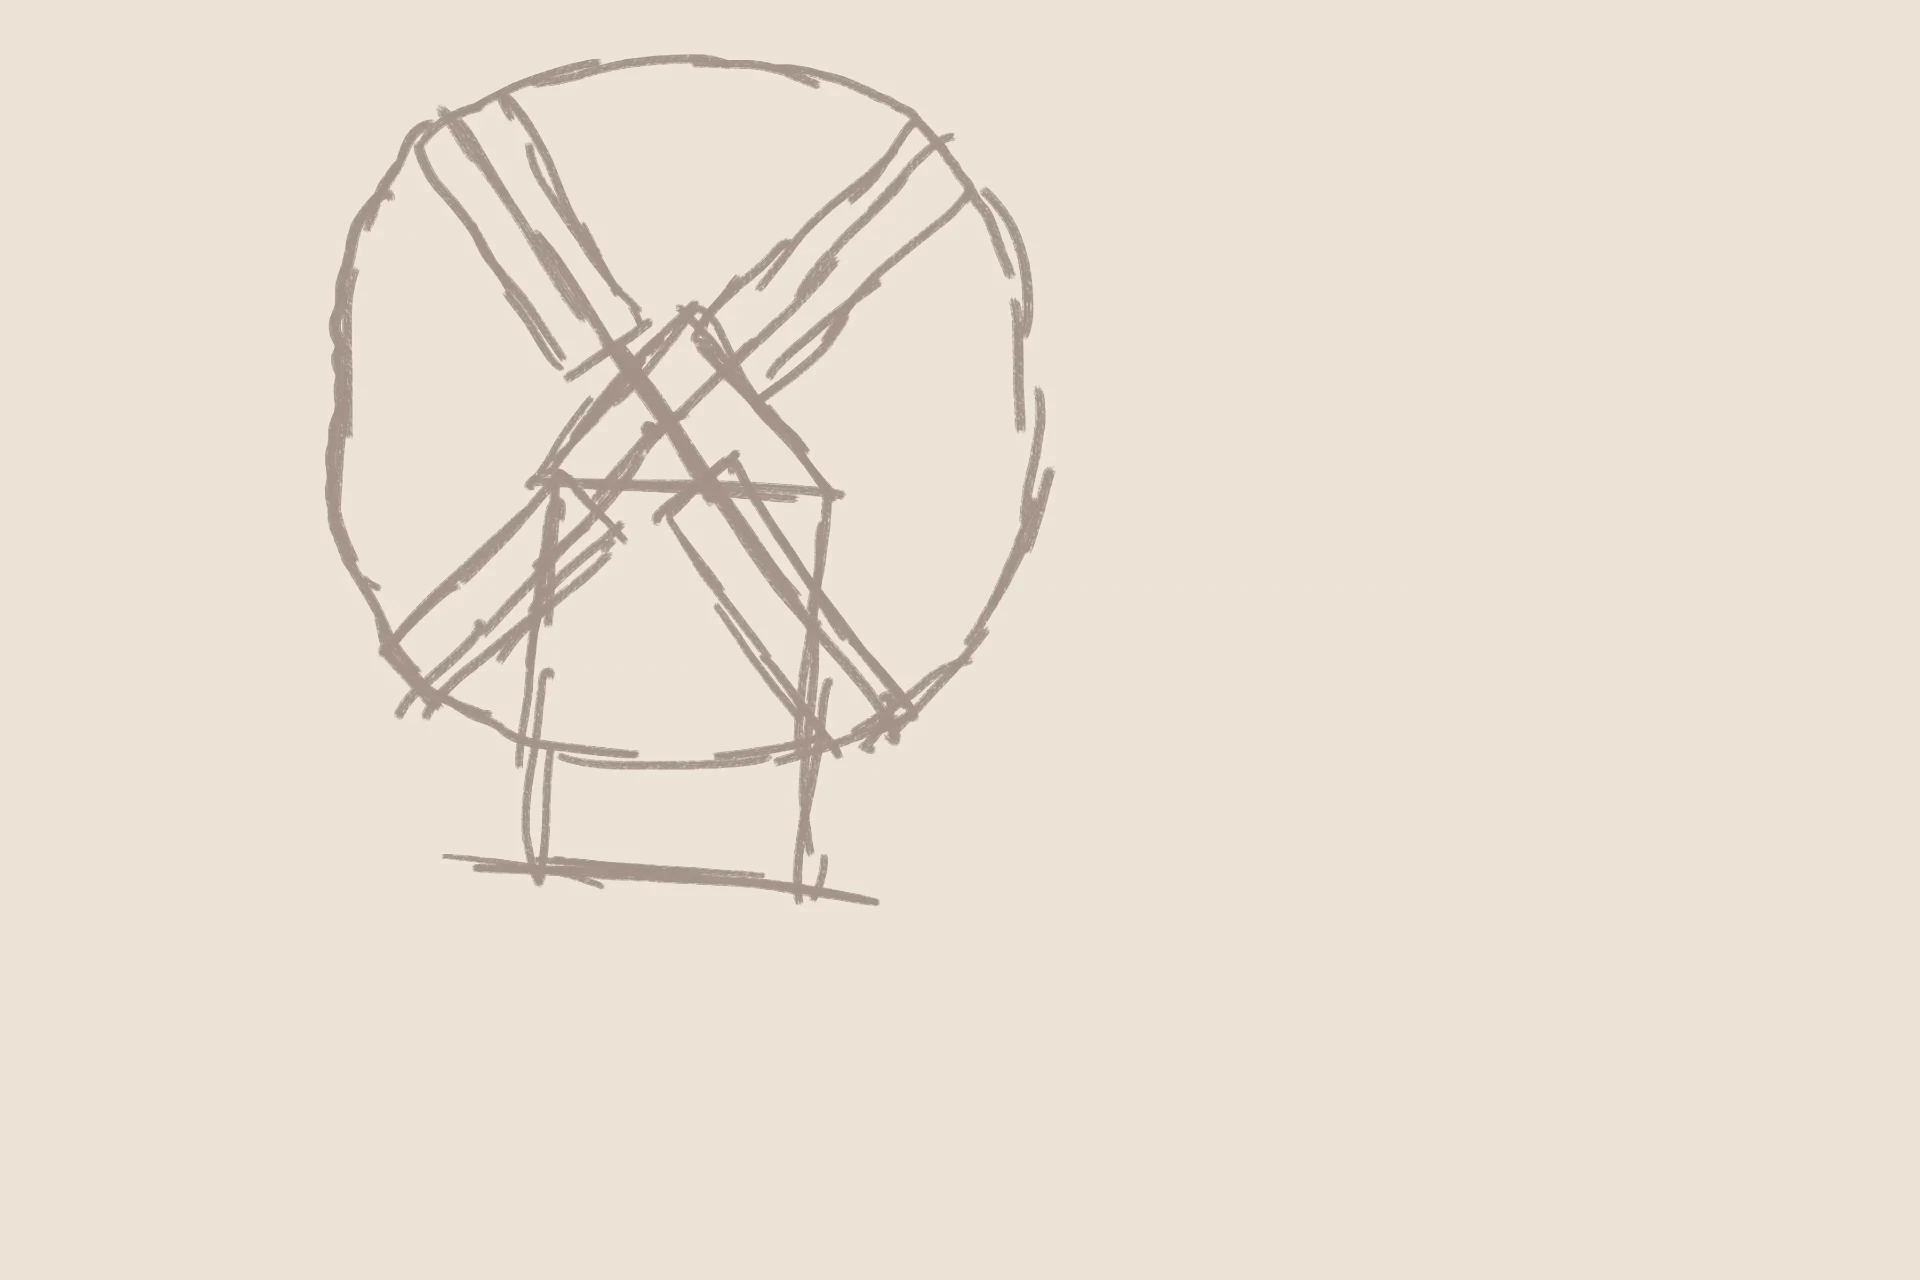
We finalize the sketch of the mill and outline the definitive lines of the main structure. From these simple shapes, we obtain a solid base on which we can build the environment and apply color in the next steps.
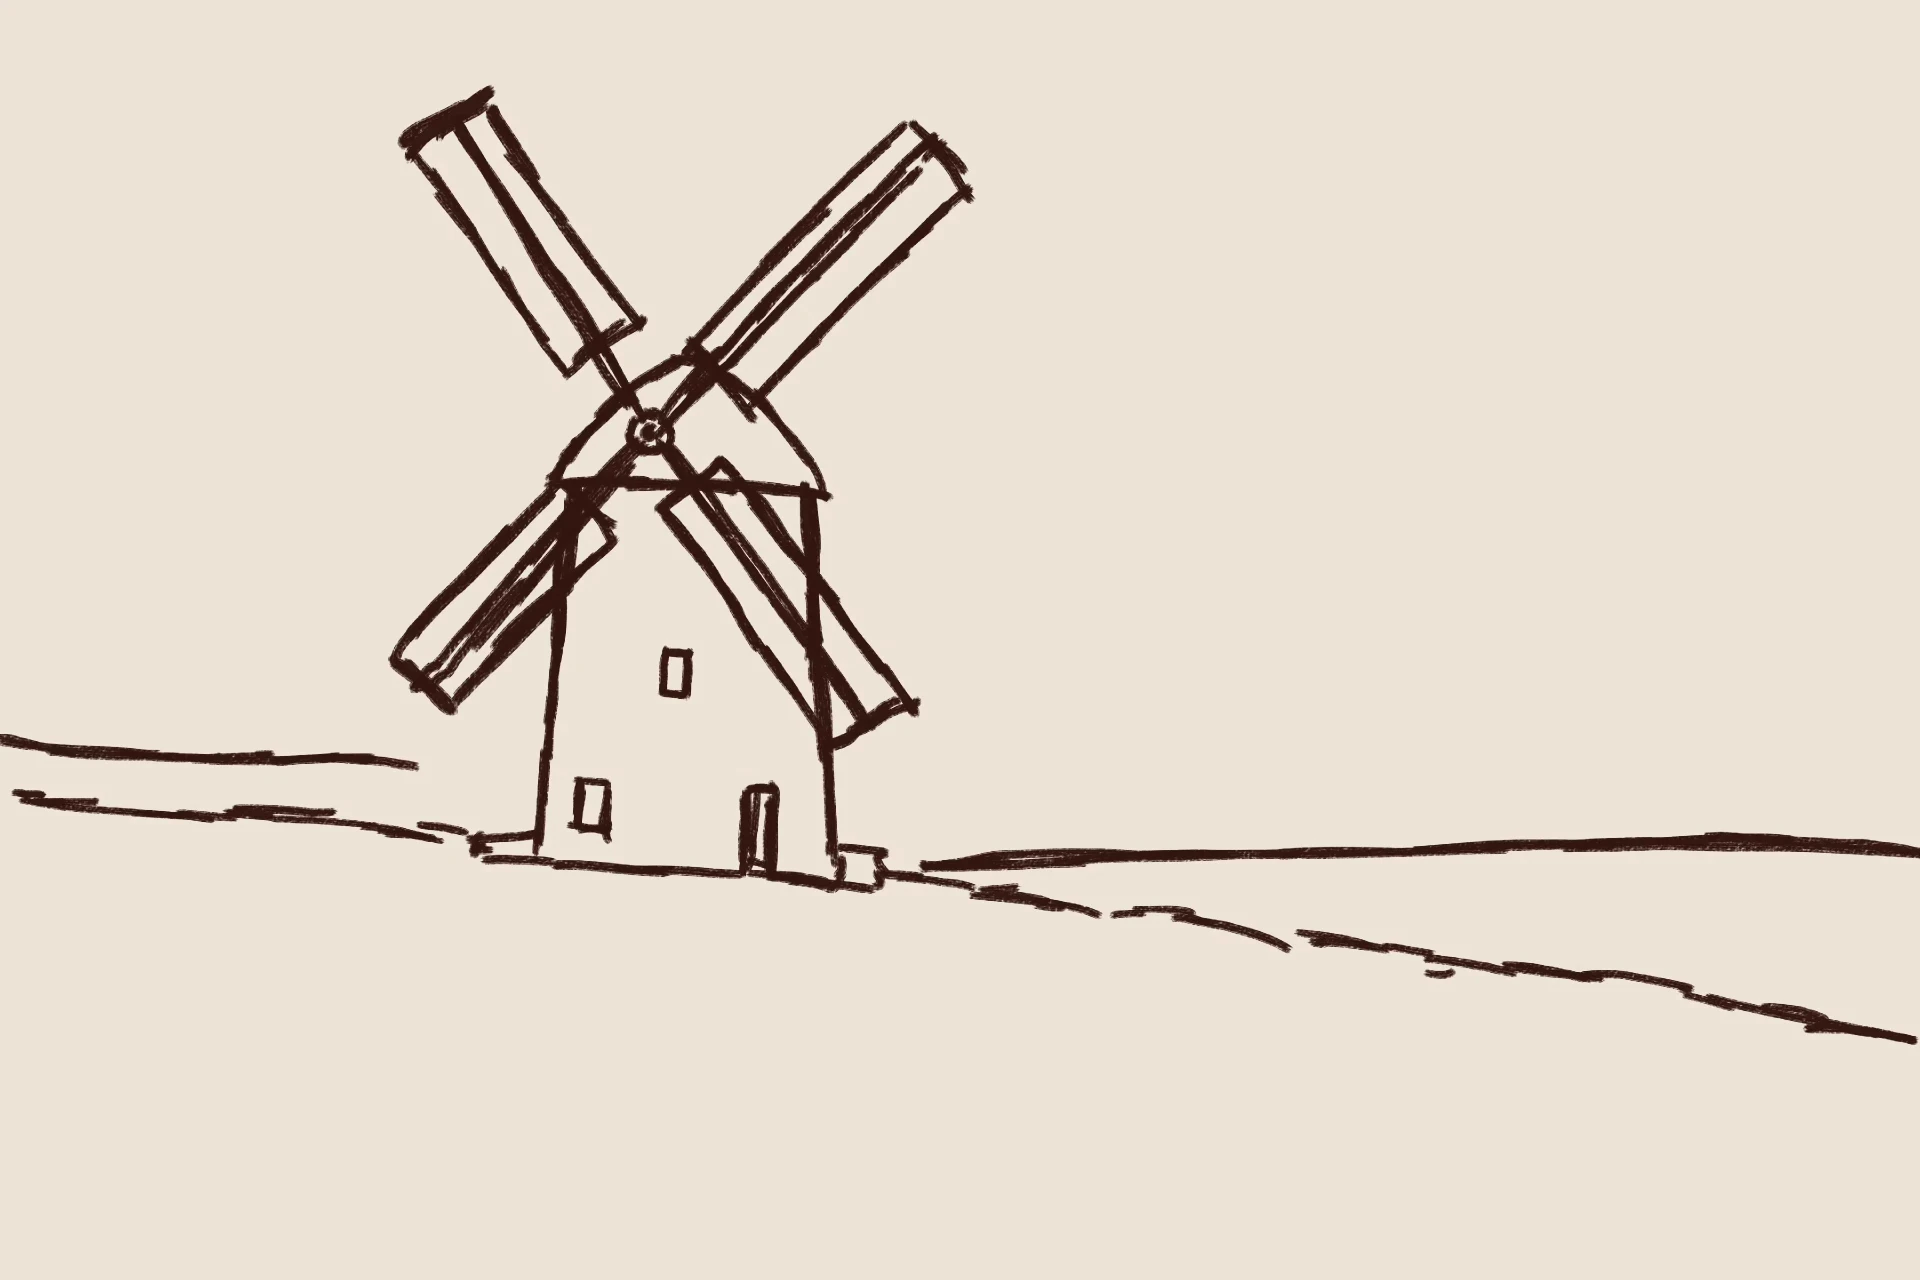
We add the elements of the landscape that complete the composition: hills, vegetated areas, and the location of the sea. Even though the mill is the protagonist, the environment acts as a visual framework, enhancing its presence and creating spatial depth.
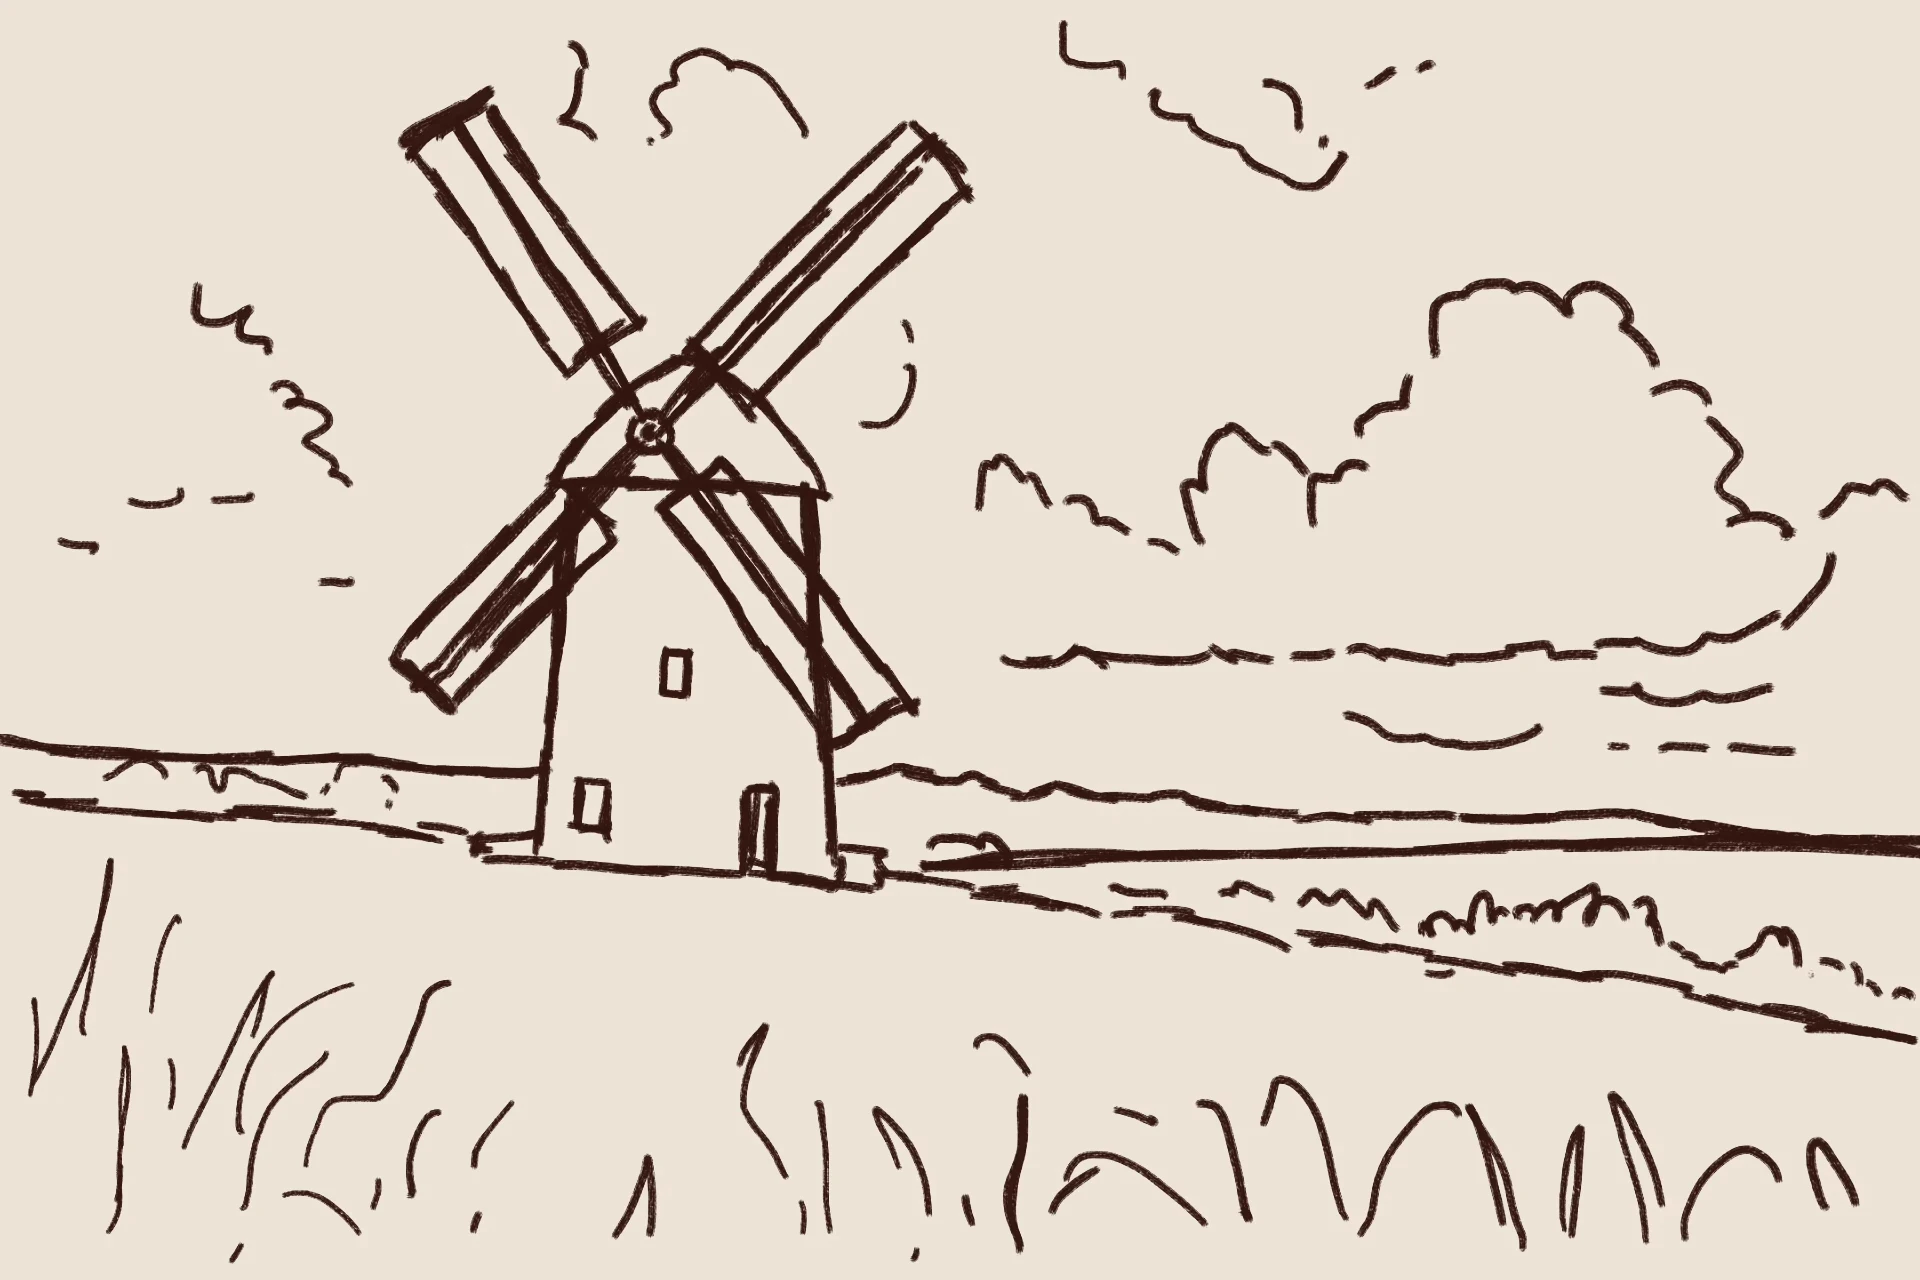
Add color to the drawing
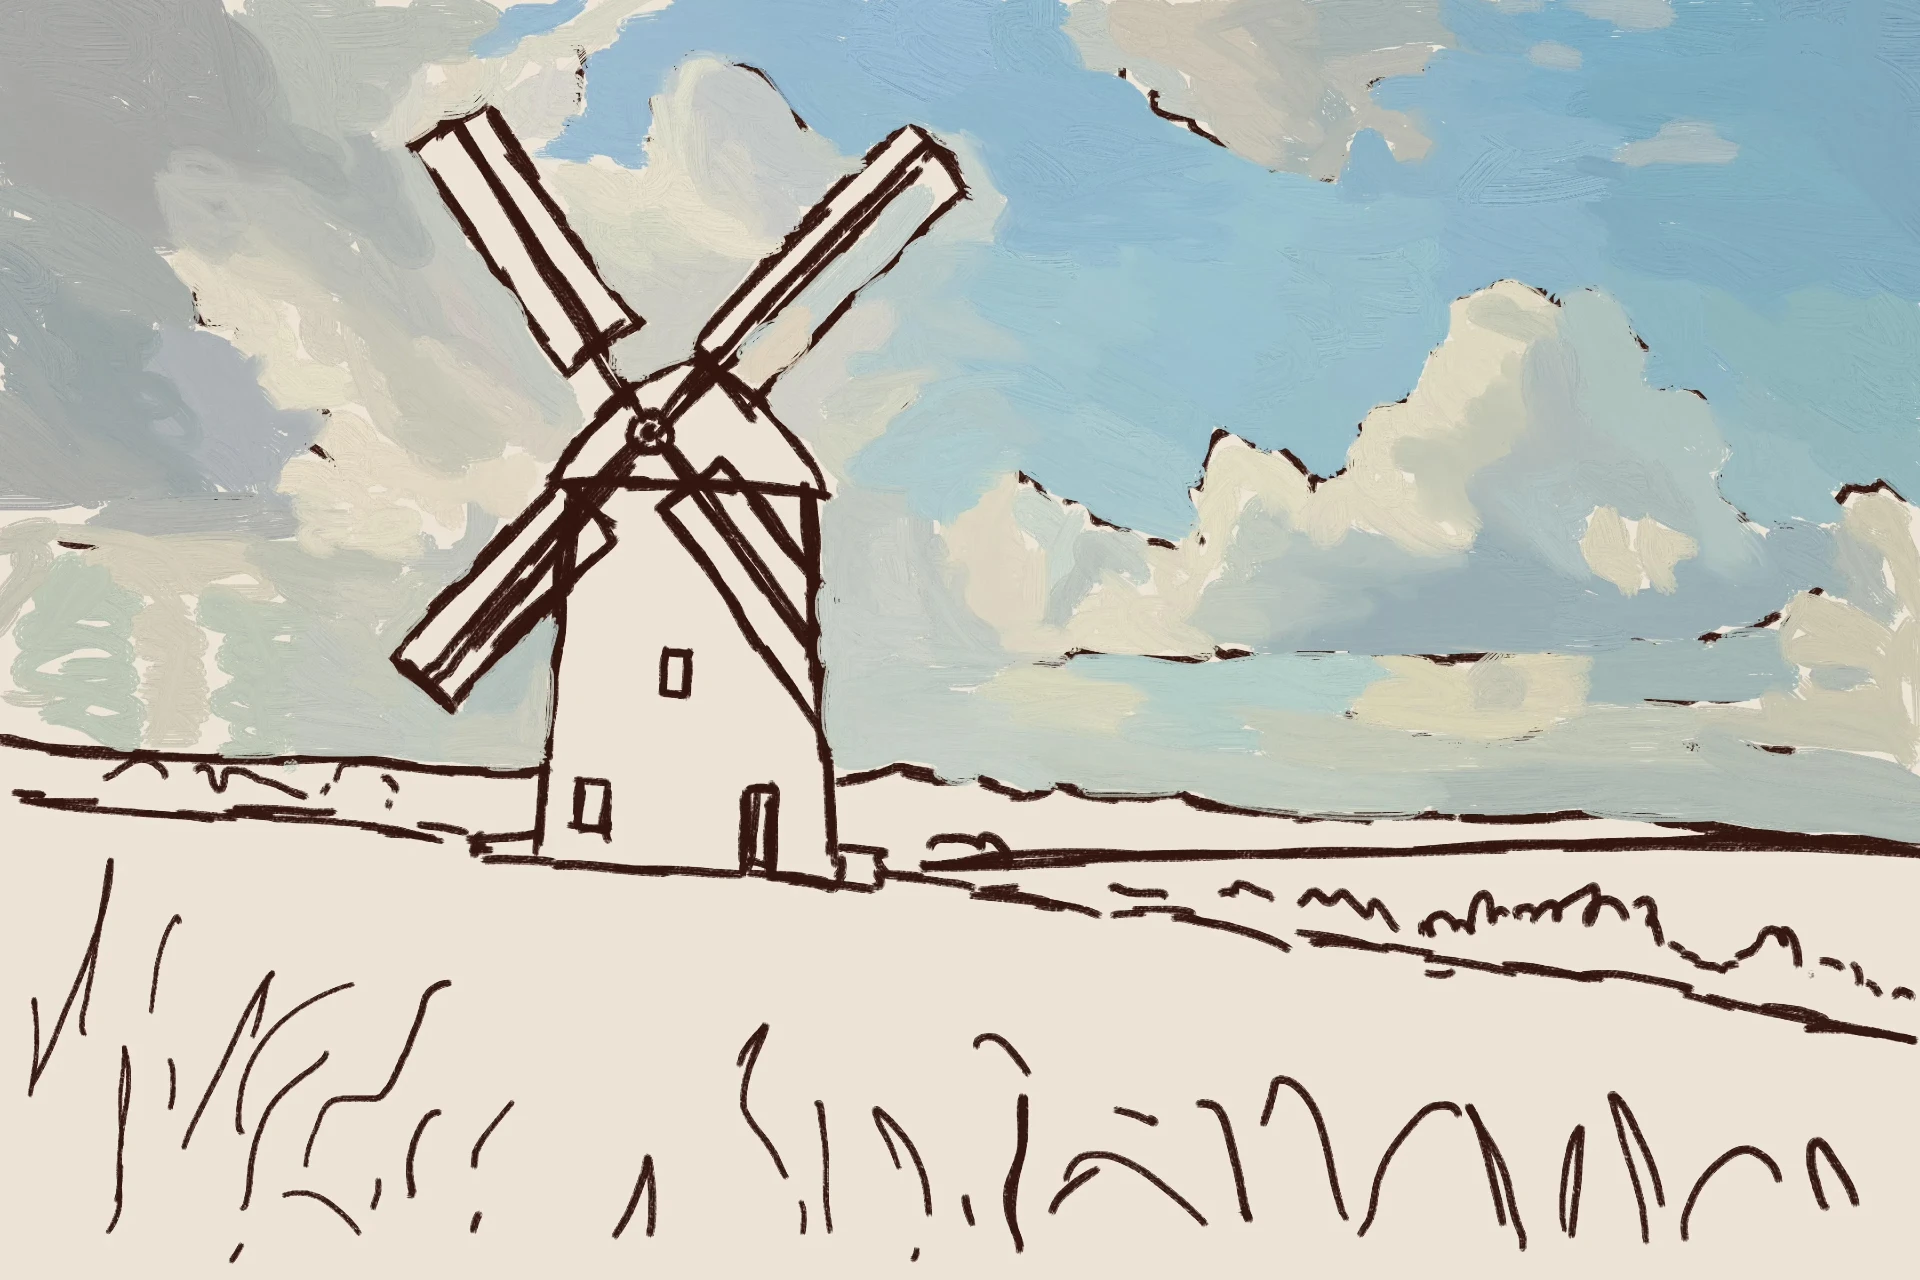
We intensify the sky with a vibrant blue that evokes the freshness of a sunny day. This tone establishes the luminous atmosphere of the scene and creates the main contrast between the sky and the earthly elements.
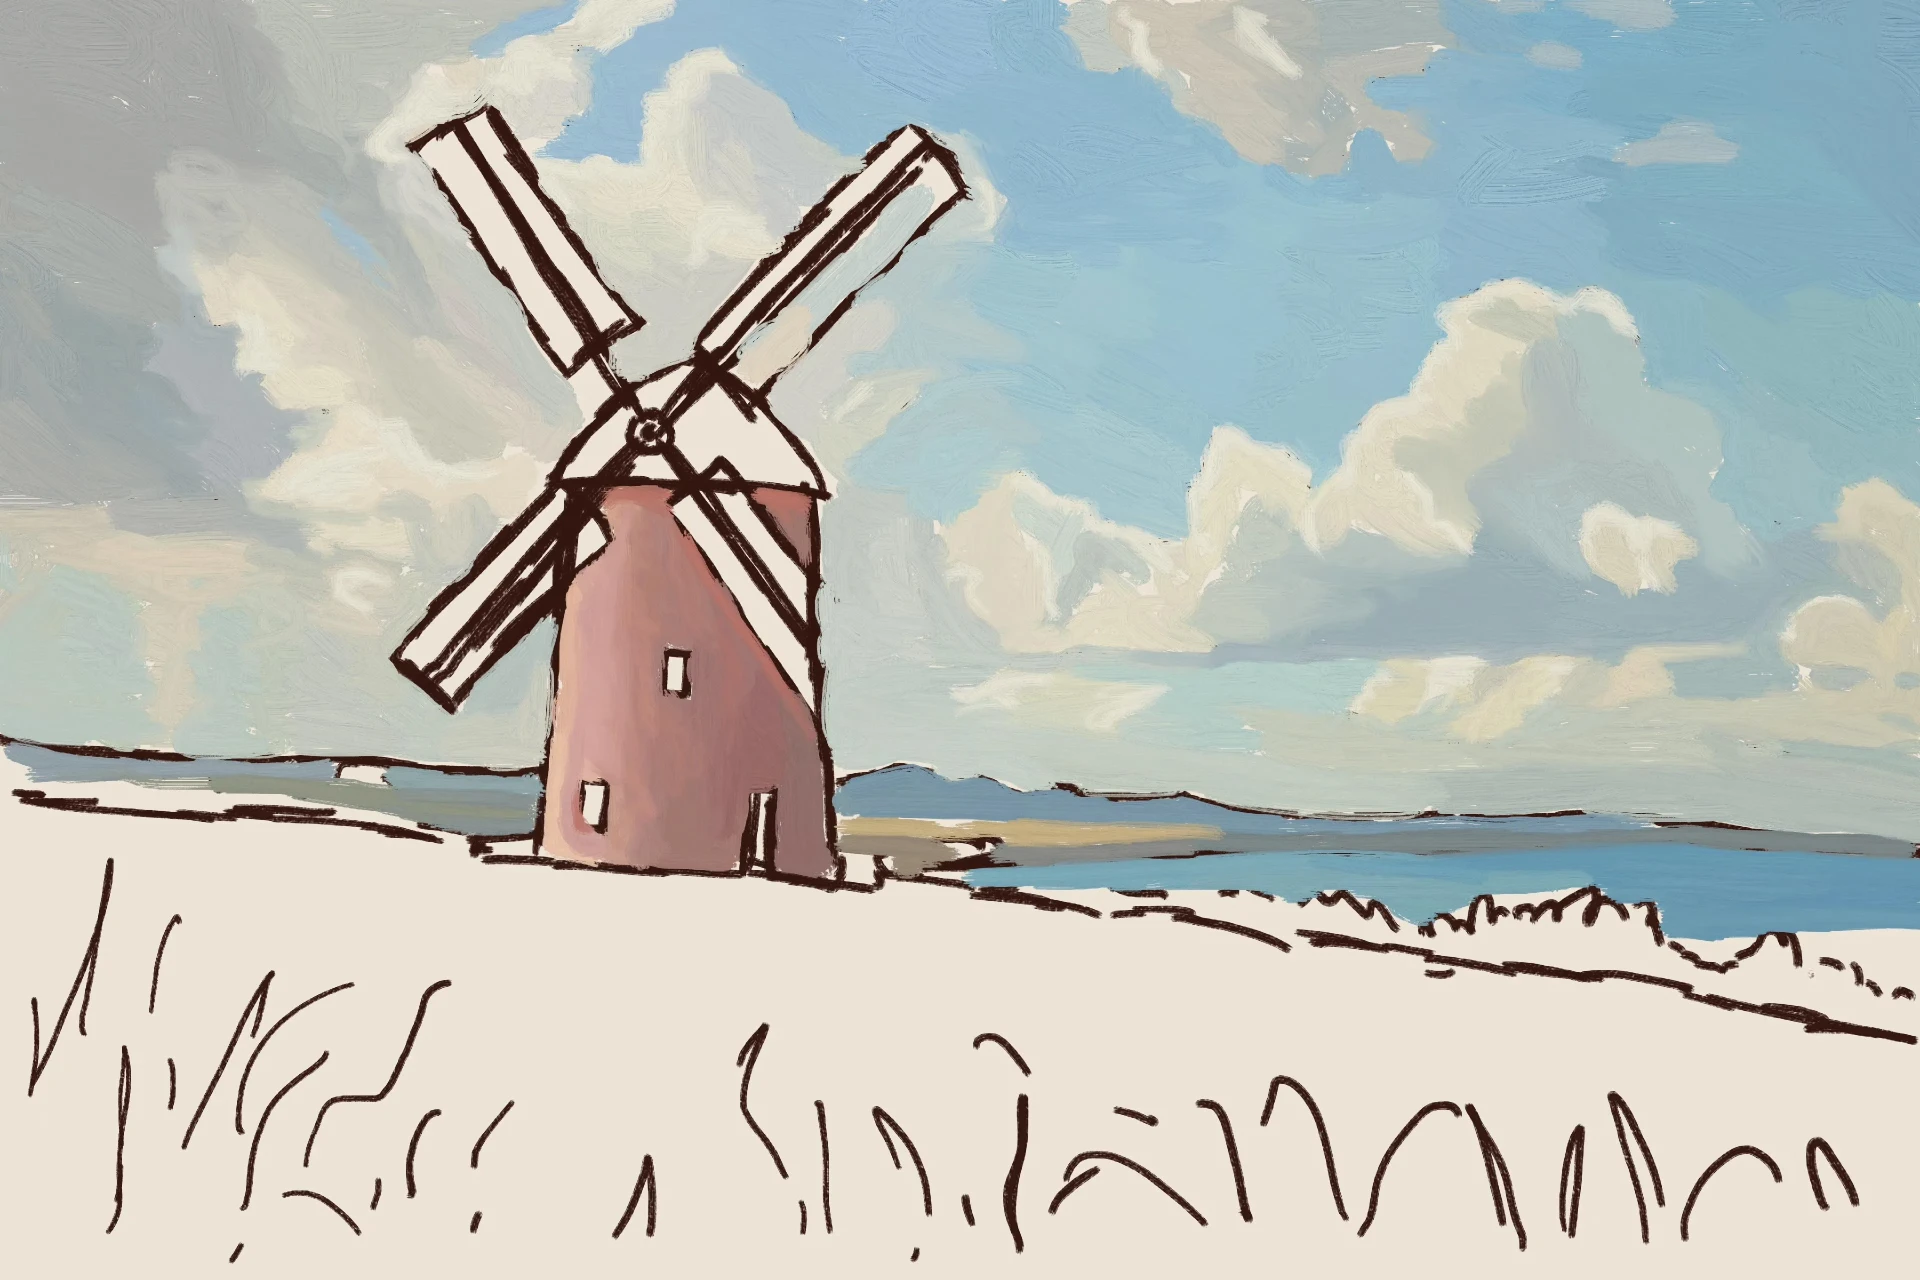
We now start to apply color to the windmill. We carefully distinguish between the illuminated and shaded areas in order to add volume. This first layer of color establishes the foundation for the overall color integration.
We add intense greens to the nearby vegetation and a grayish green to the mill’s roof, creating a balanced contrast. This interplay of complementary colors reinforces the unity between the windmill and its natural environment.
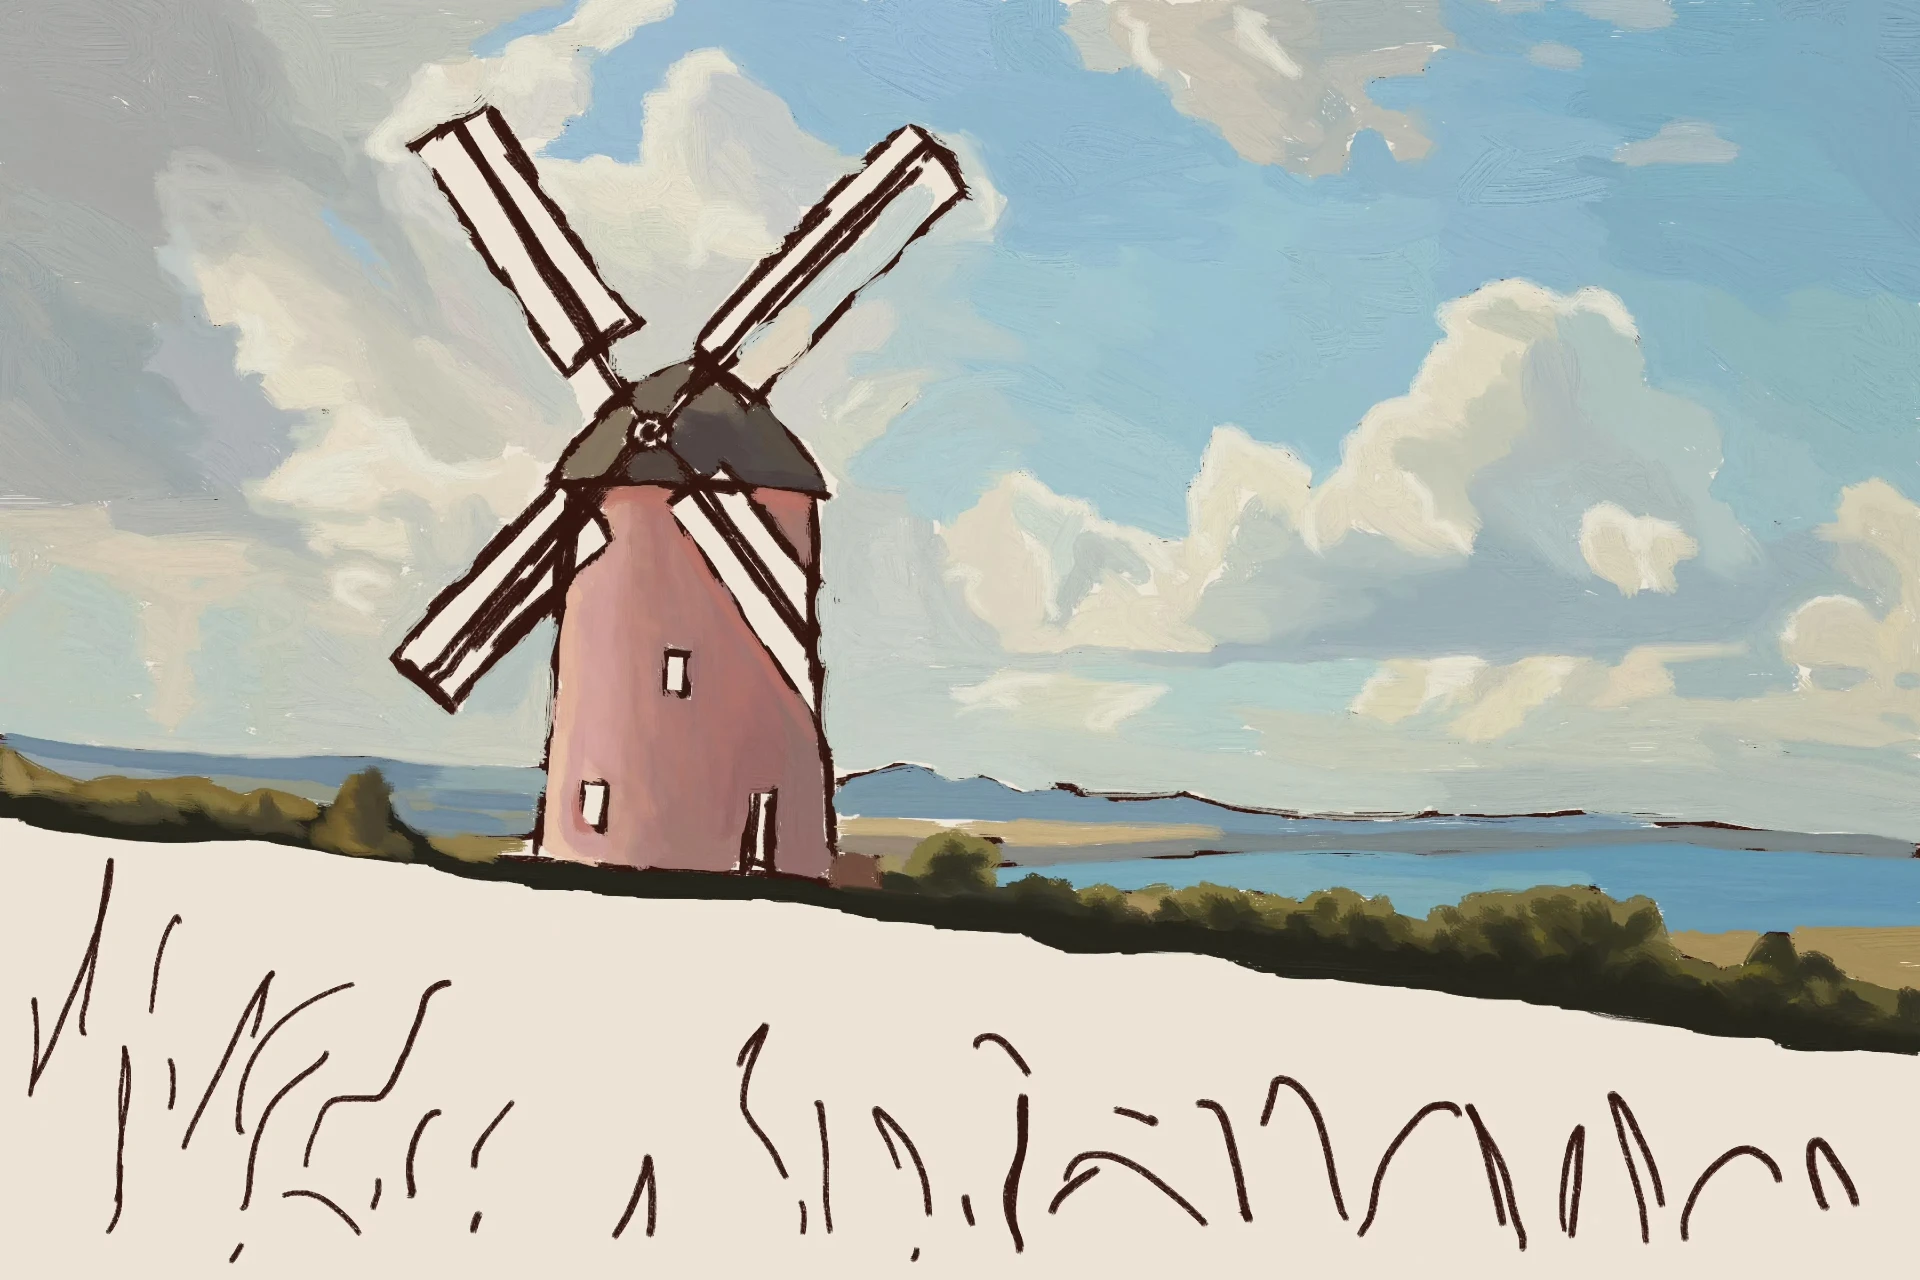
Now, let’s draw the base of the wheat field with dark tones, and then we’ll apply lighter touches on top. This layering technique helps to define the direction and texture, creating a solid base for the light effects.
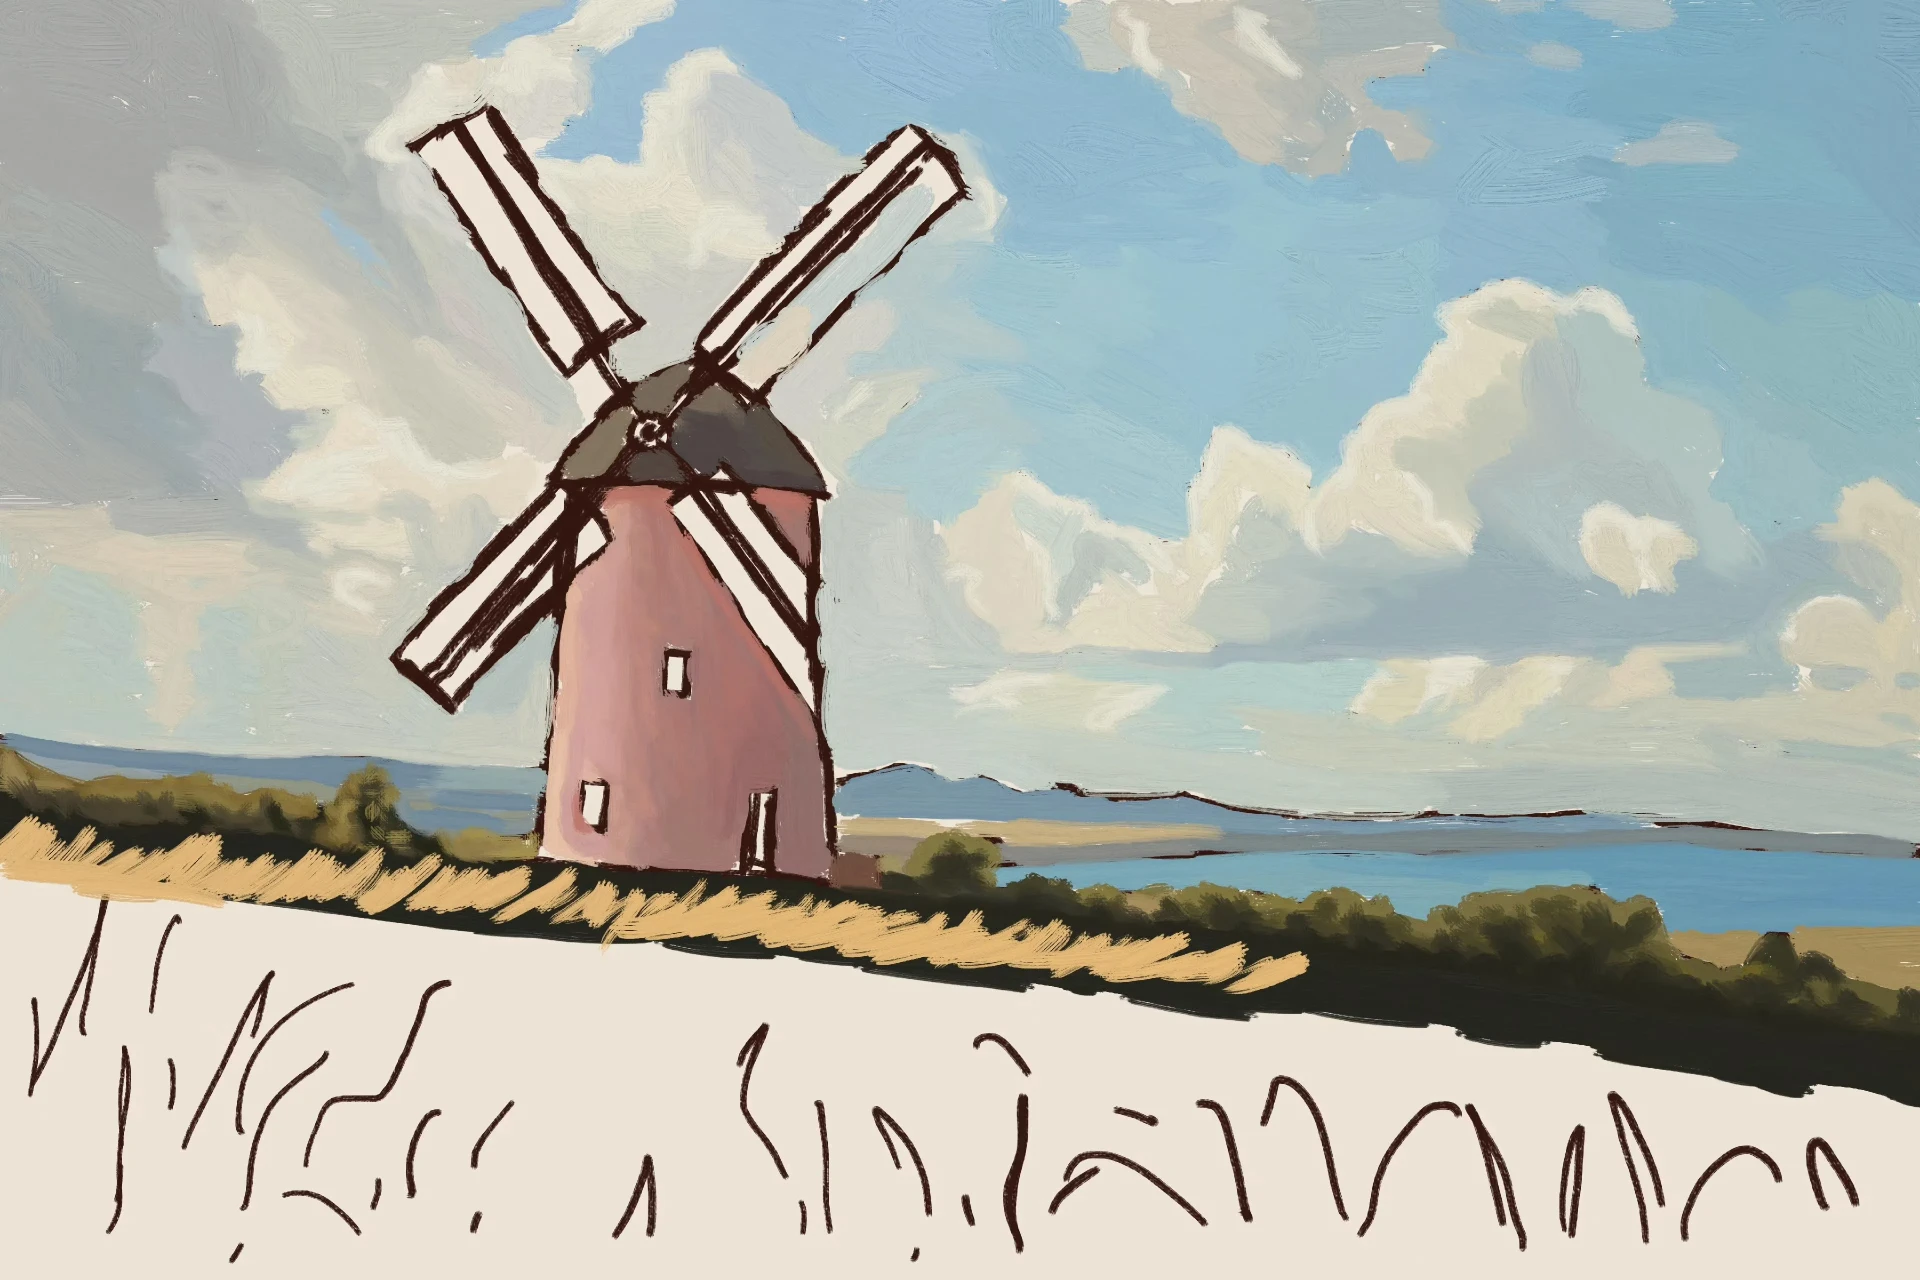
We cover the scene with warm mustard tones, taking advantage of their complementary relationship with the blue of the sky. This chromatic decision brings warmth, balance, and vitality to the scene, unifying the different planes of the composition.
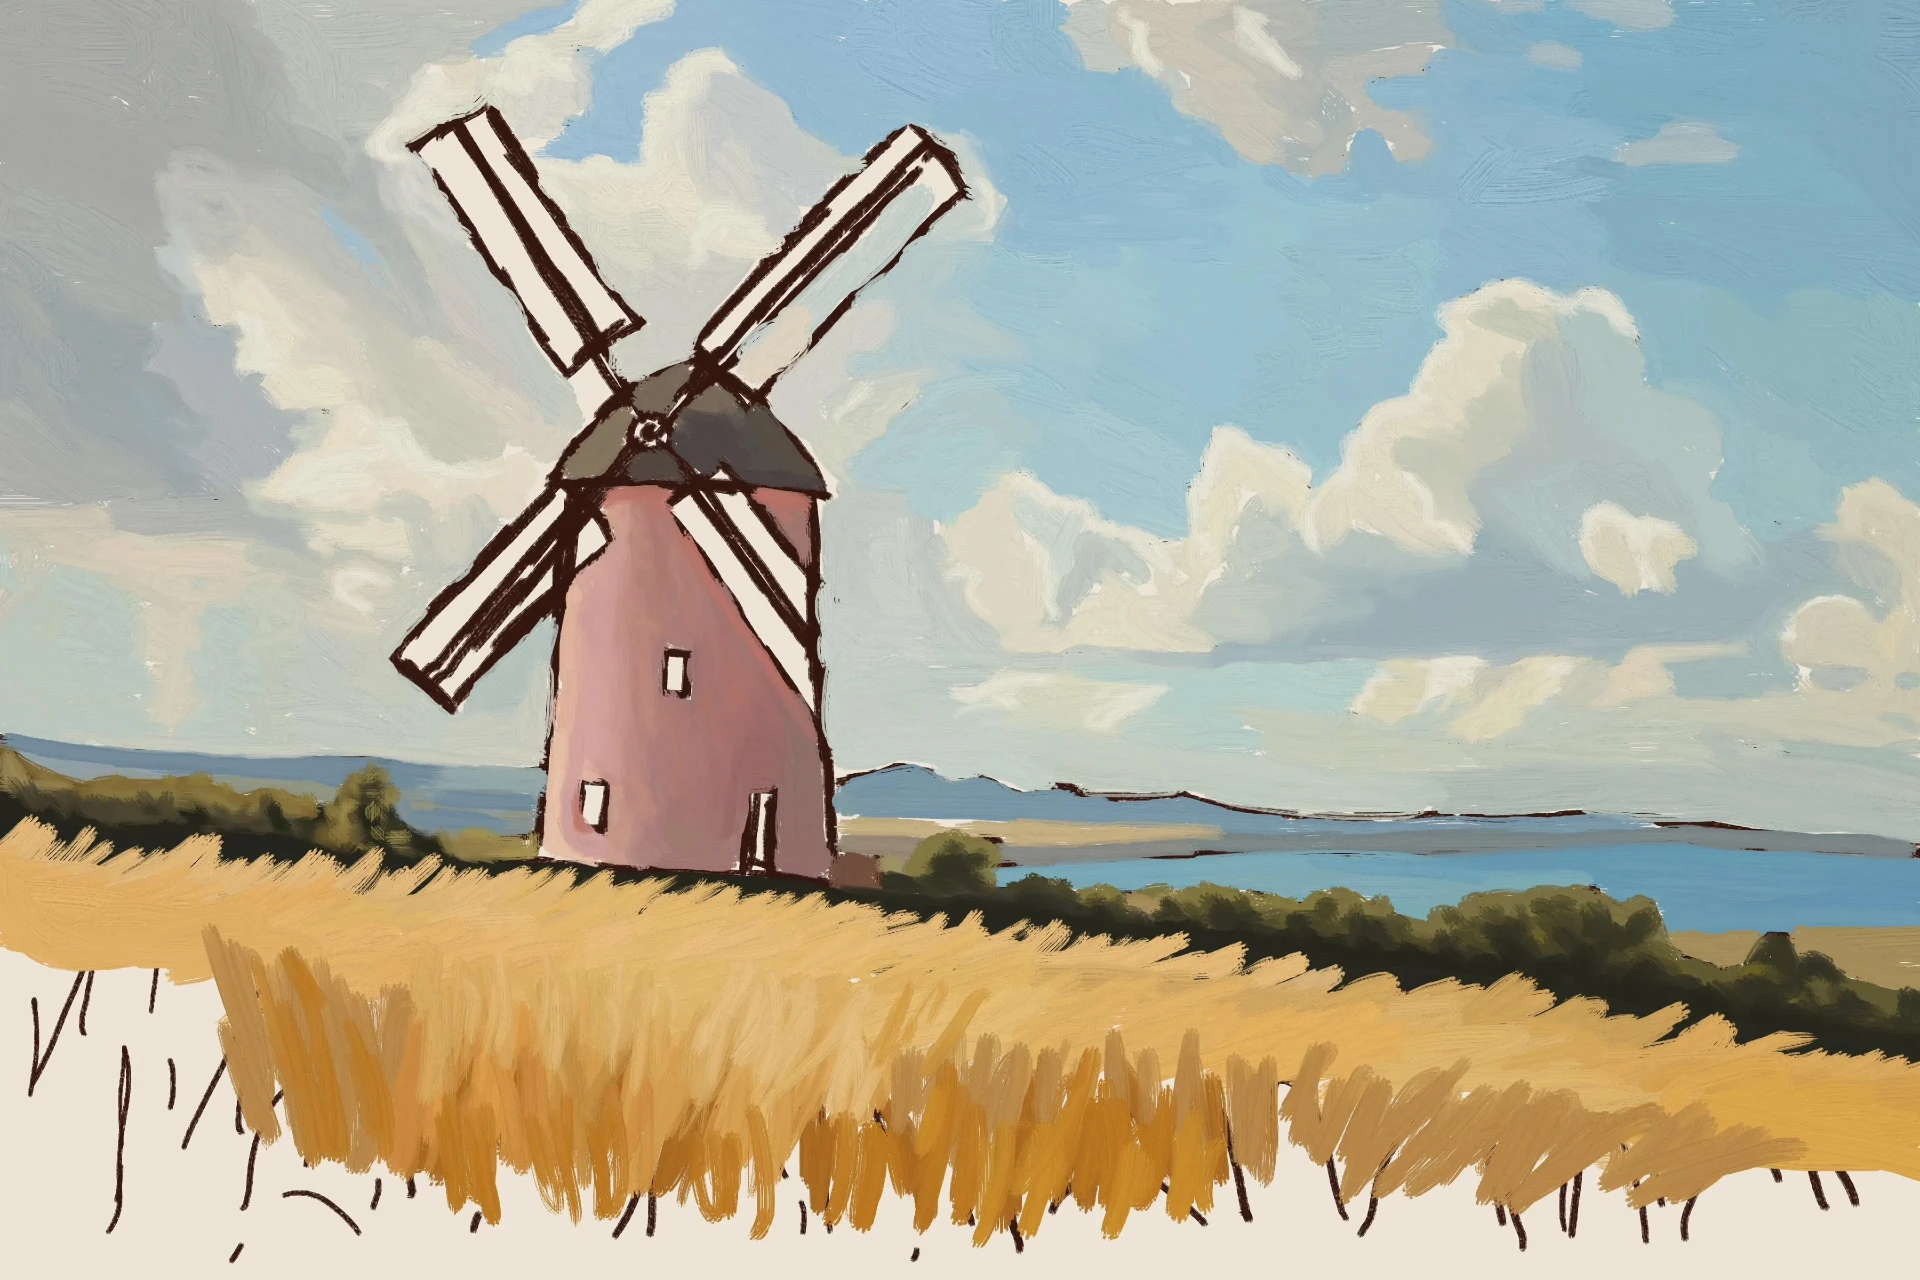
We darken the lower area of the frame to create visual depth and guide the eye toward the mill. This contrast emphasizes the main element and reinforces the atmospheric perspective of the scene.
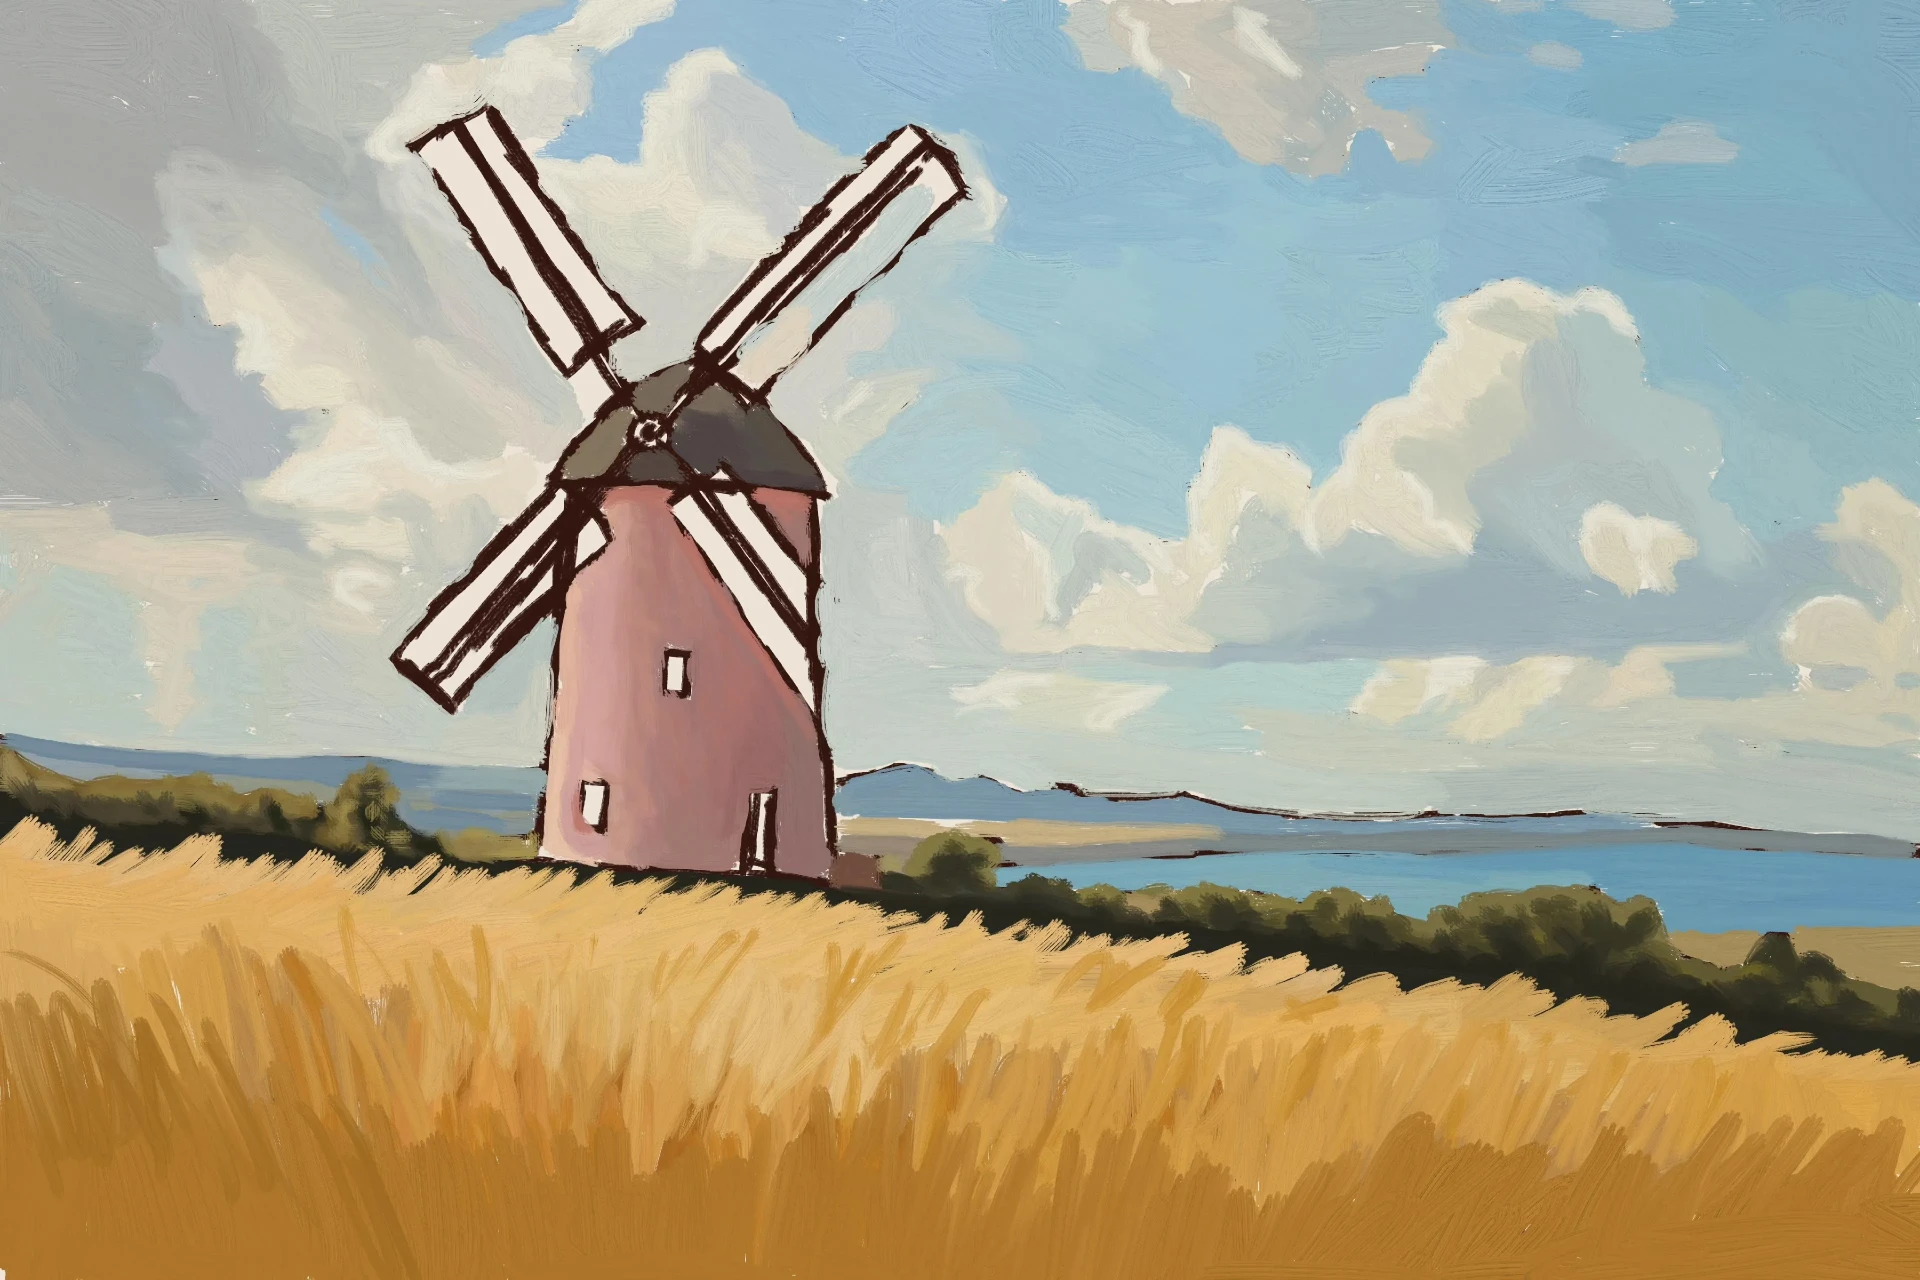
Next, we detail the wheat to give it texture and realism. The direction of the lines simulates the wind in the ears of wheat, reinforcing the impression of life in the vegetation.
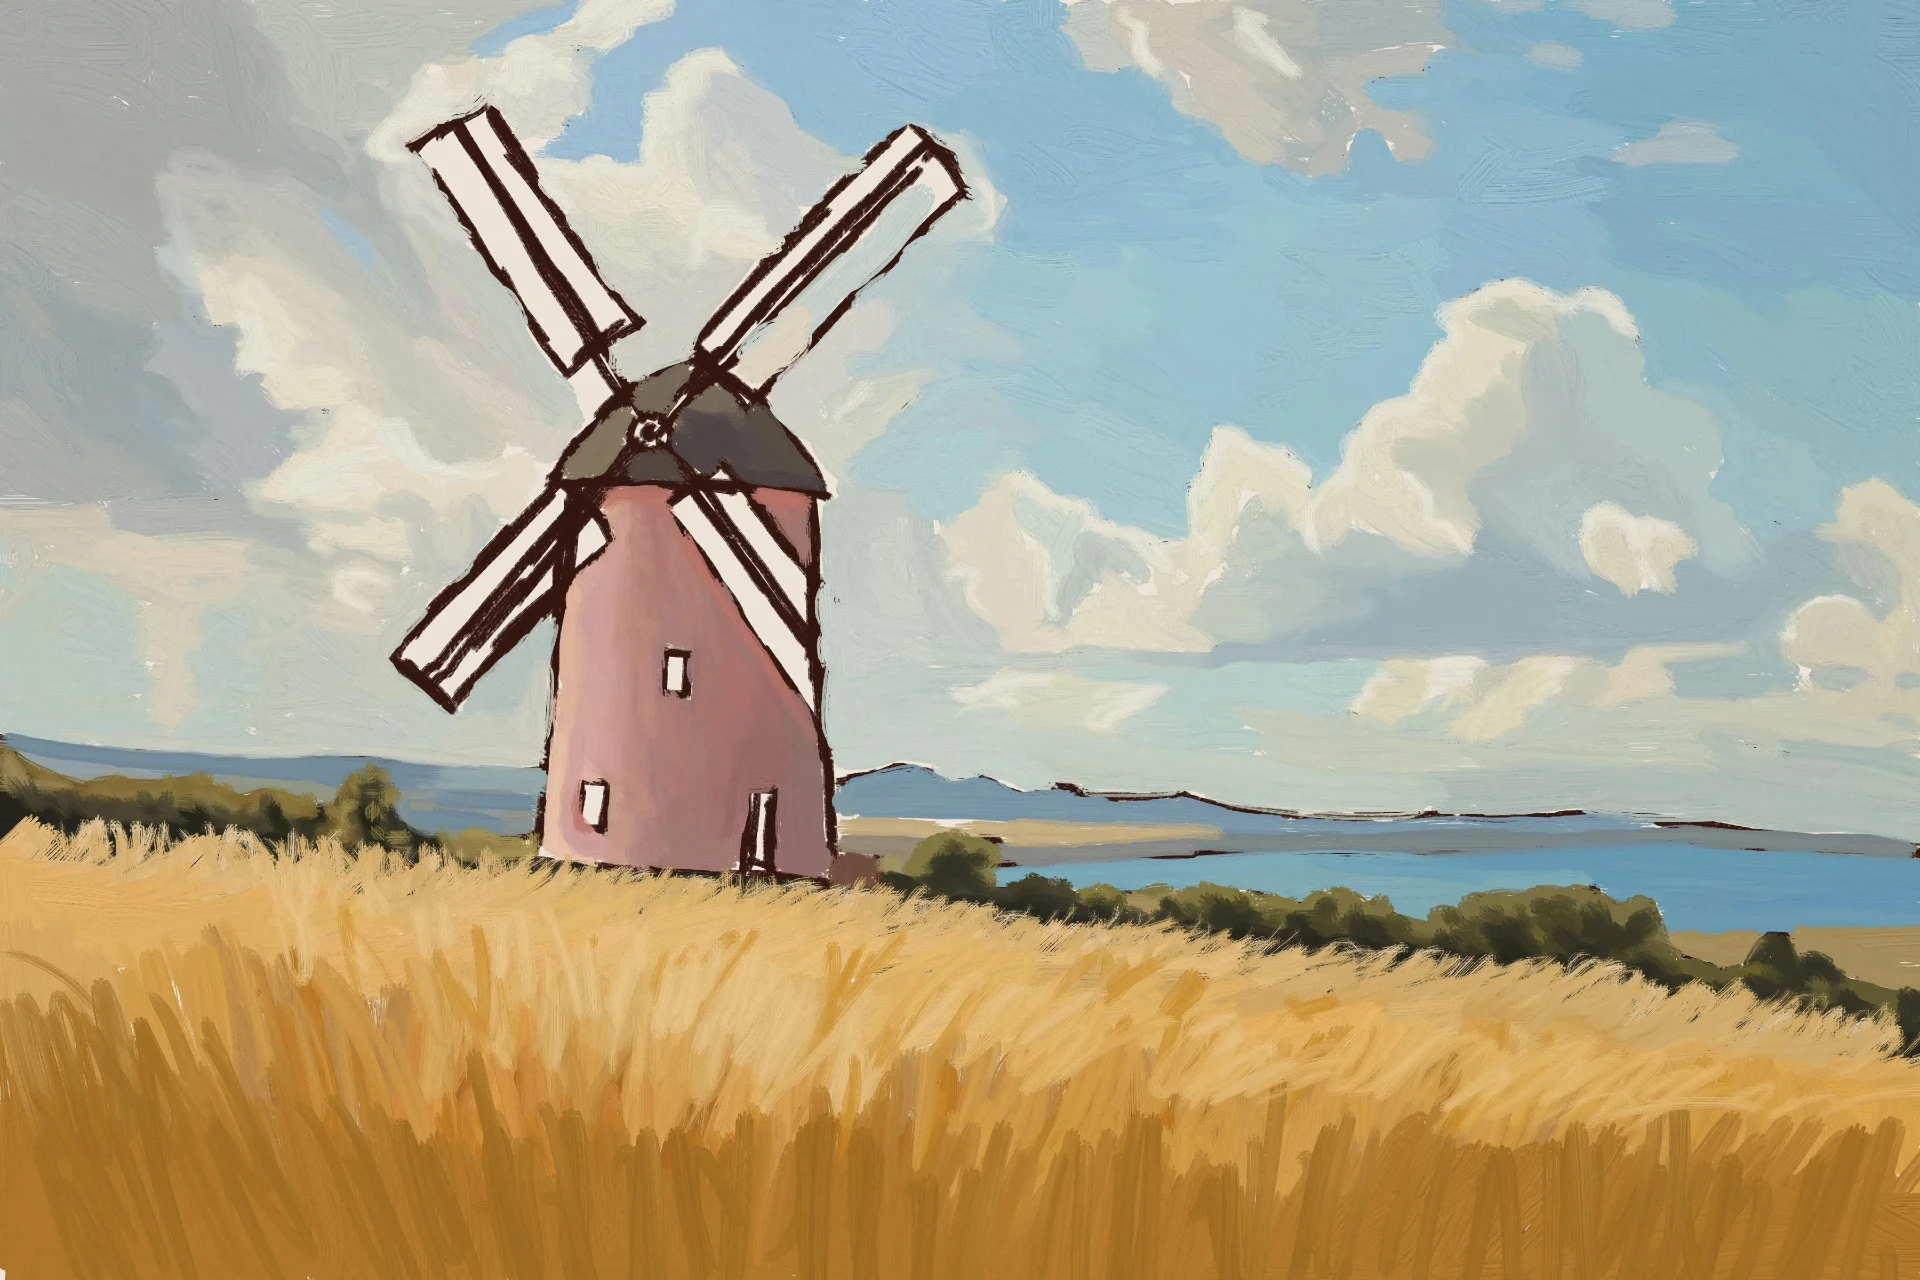
Draw the vegetation and light effects
We apply intermediate shades of green to the dark base, creating smooth transitions between shadow and light. This layered work enhances the natural quality of the vegetation and its three-dimensional presence.
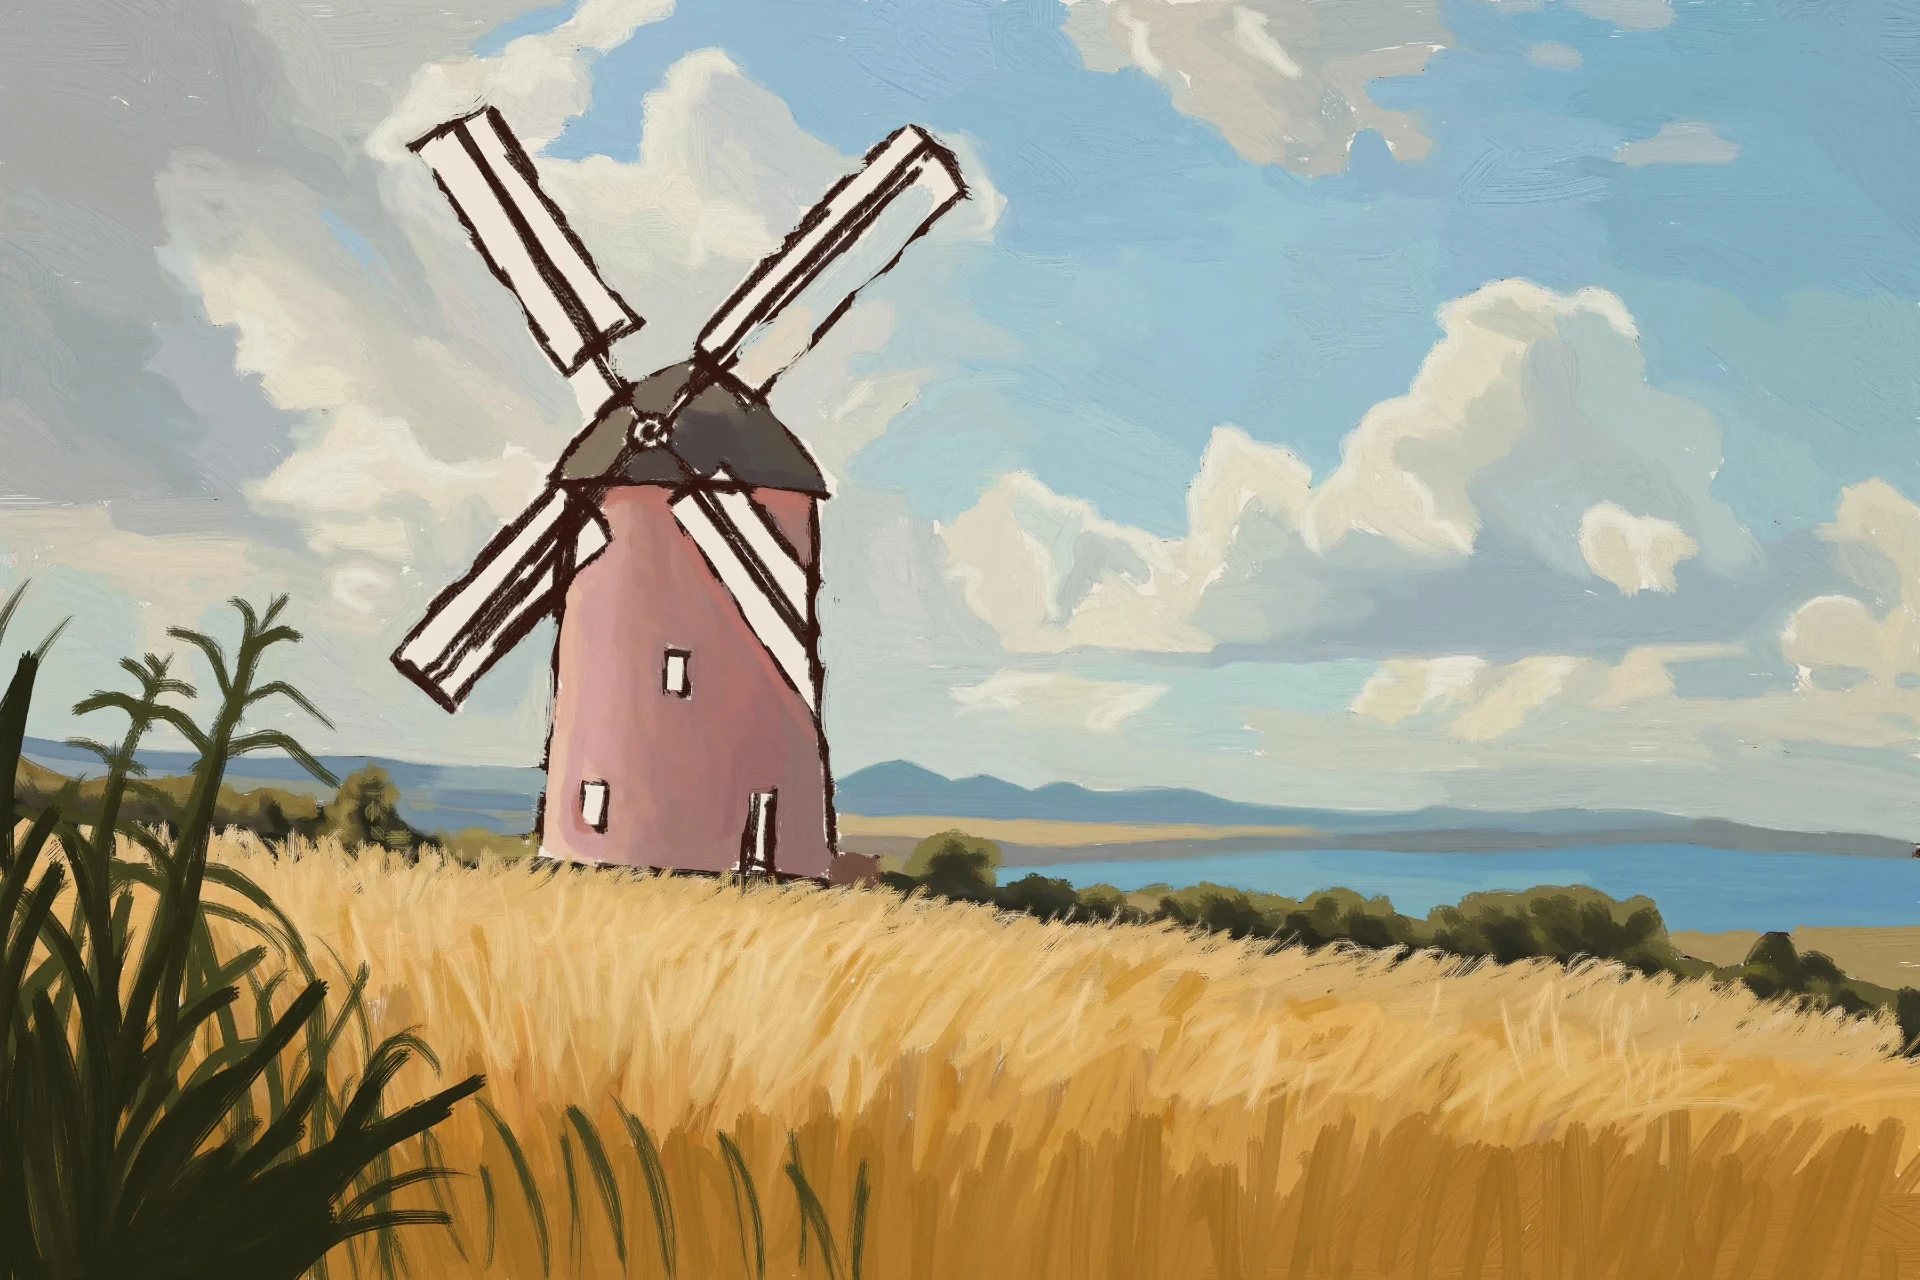
We add light greens to the upper areas to simulate direct sunlight. These specific areas of light emphasize the contours and shapes, making the foreground more dynamic and increasing the overall realism.
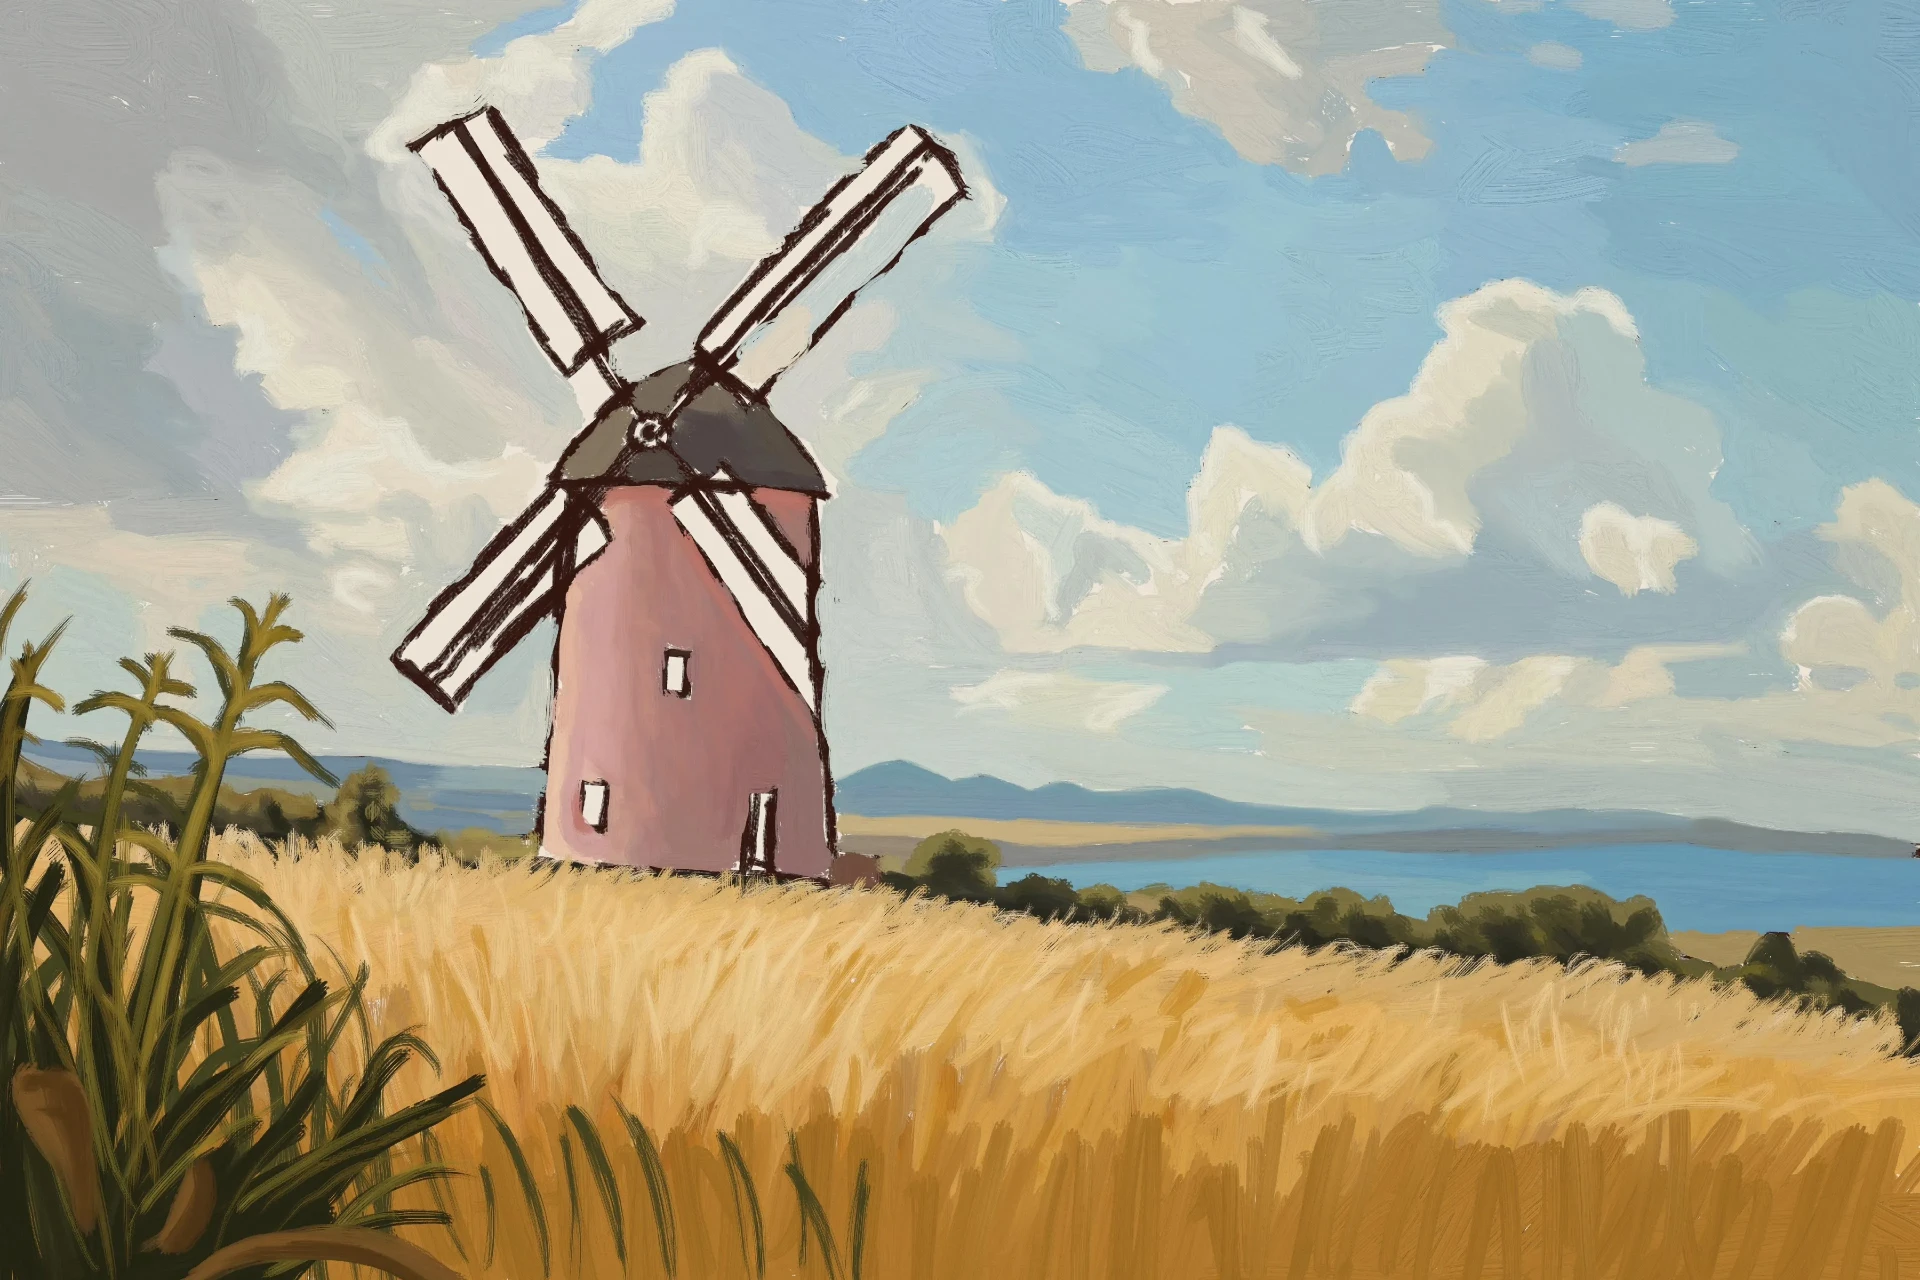
We enhance the shadows under the vegetation to intensify the contrasts and add drama. In these areas, we add bright highlights that simulate the refraction of light, adding texture and volume to each plant.
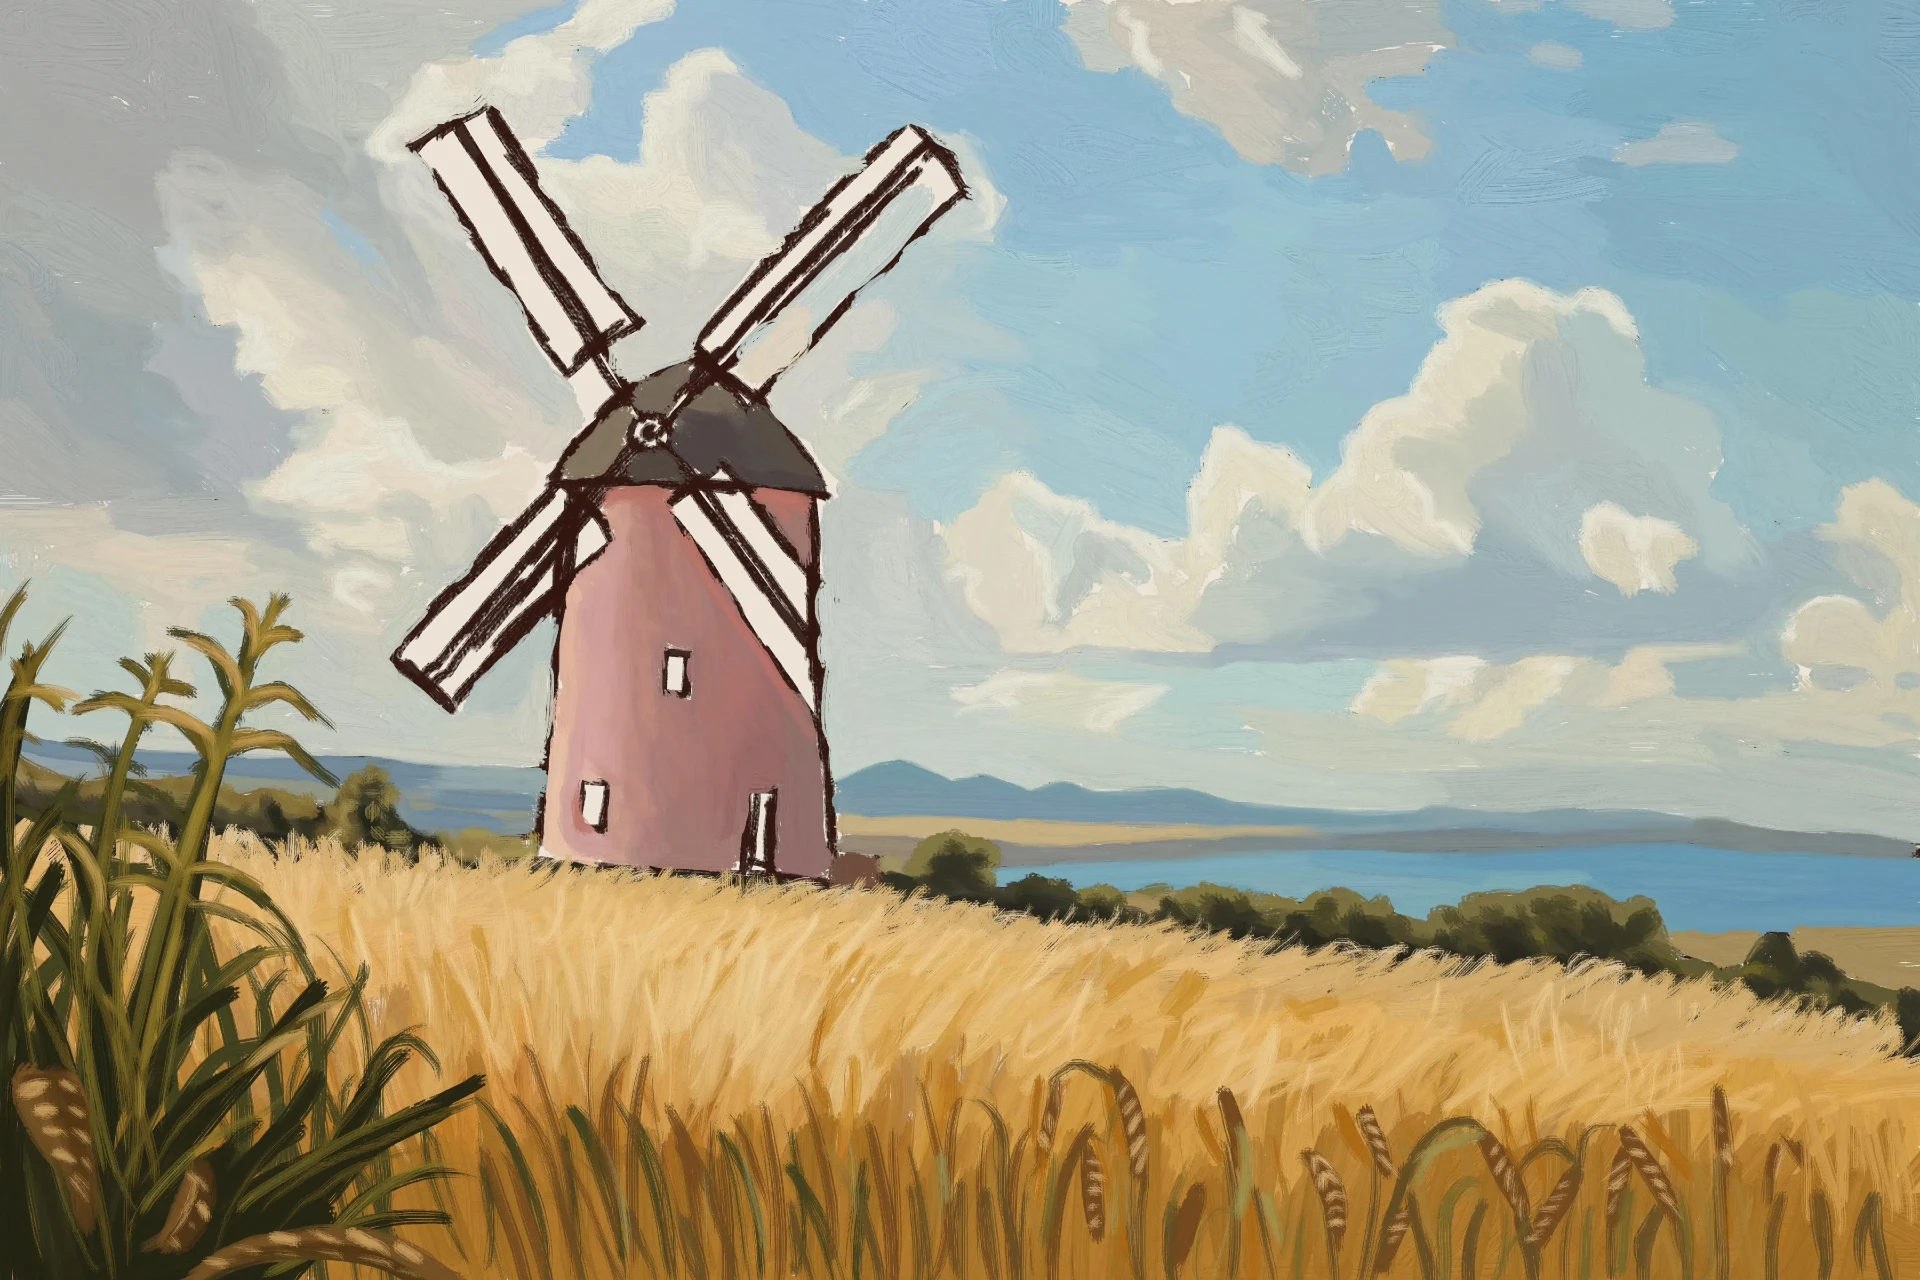
Add details to the drawing
We return to the windmill and intensify the pink tones of its walls, to enhance the saturation and harmony with the surrounding palette. This adjustment makes the main element stand out without clashing with the overall composition.
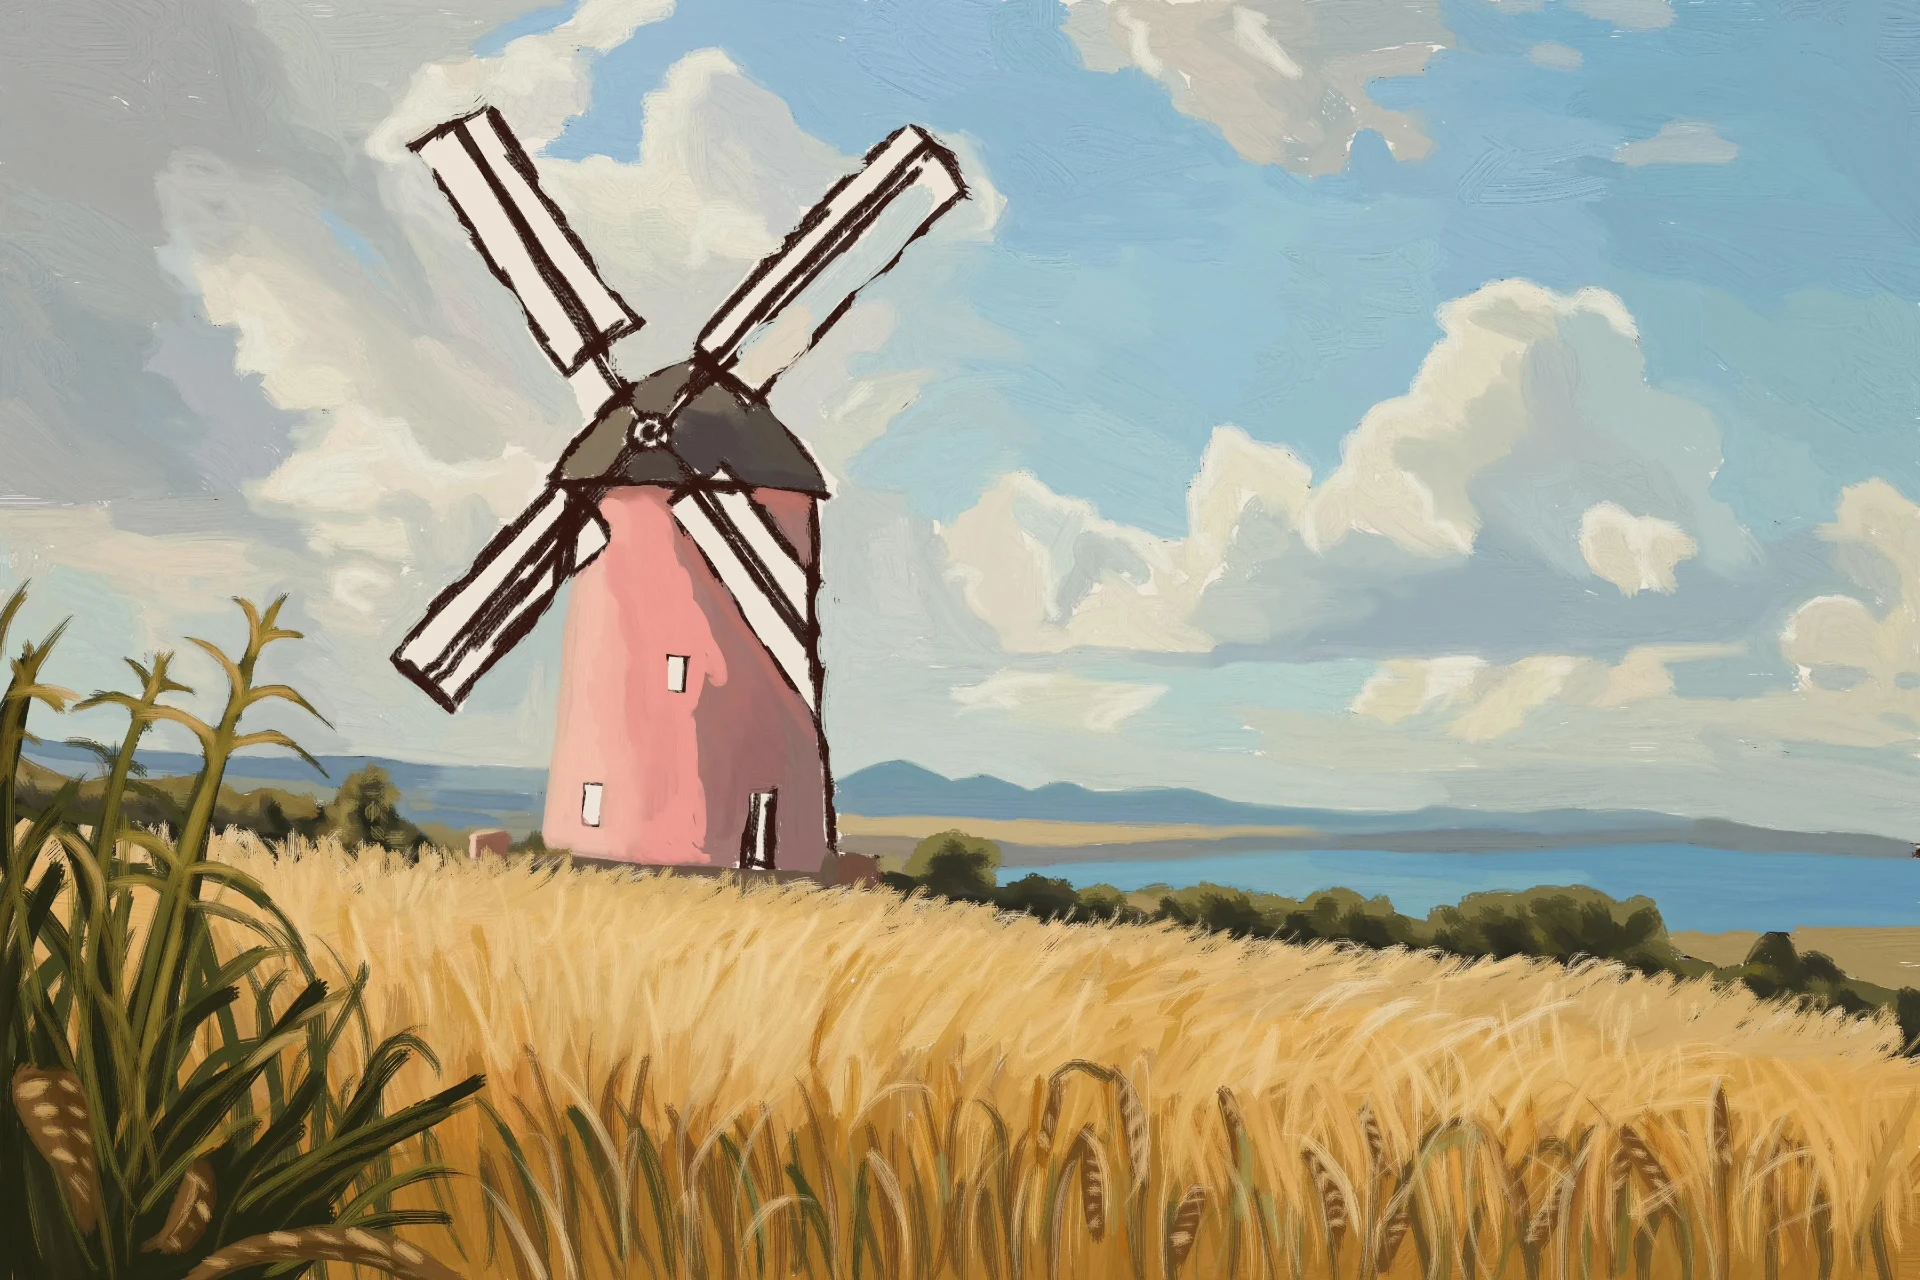
We draw the windmill’s sails using a dark red as the base, then add fine, light lines to define the structure and prevent them from looking too heavy. This creates a balance between form and movement.
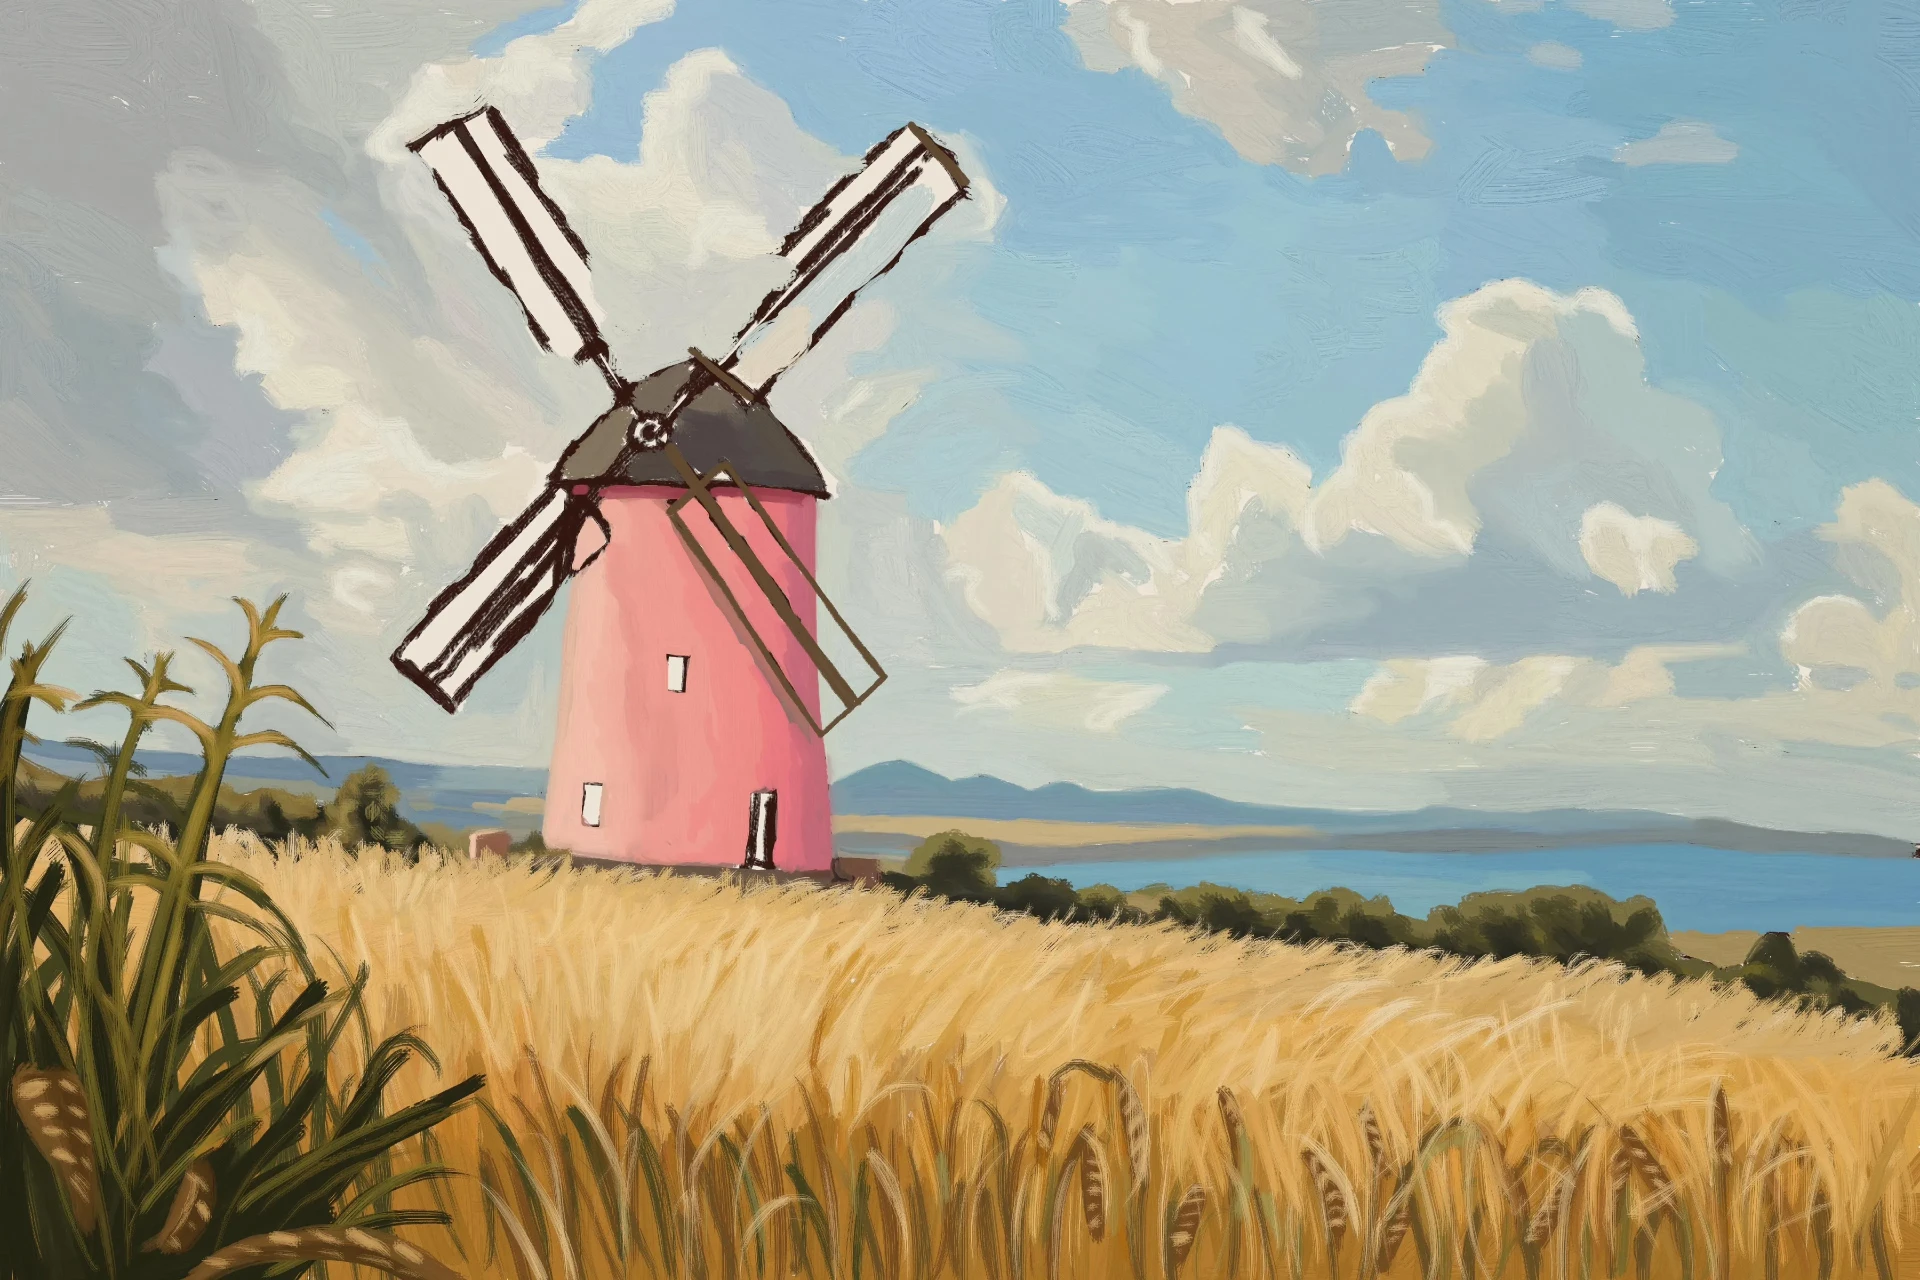
We integrate subtle reflections on the sails, simulating the incident sunlight. This refinement enhances the depth and atmospheric coherence of the overall scene.
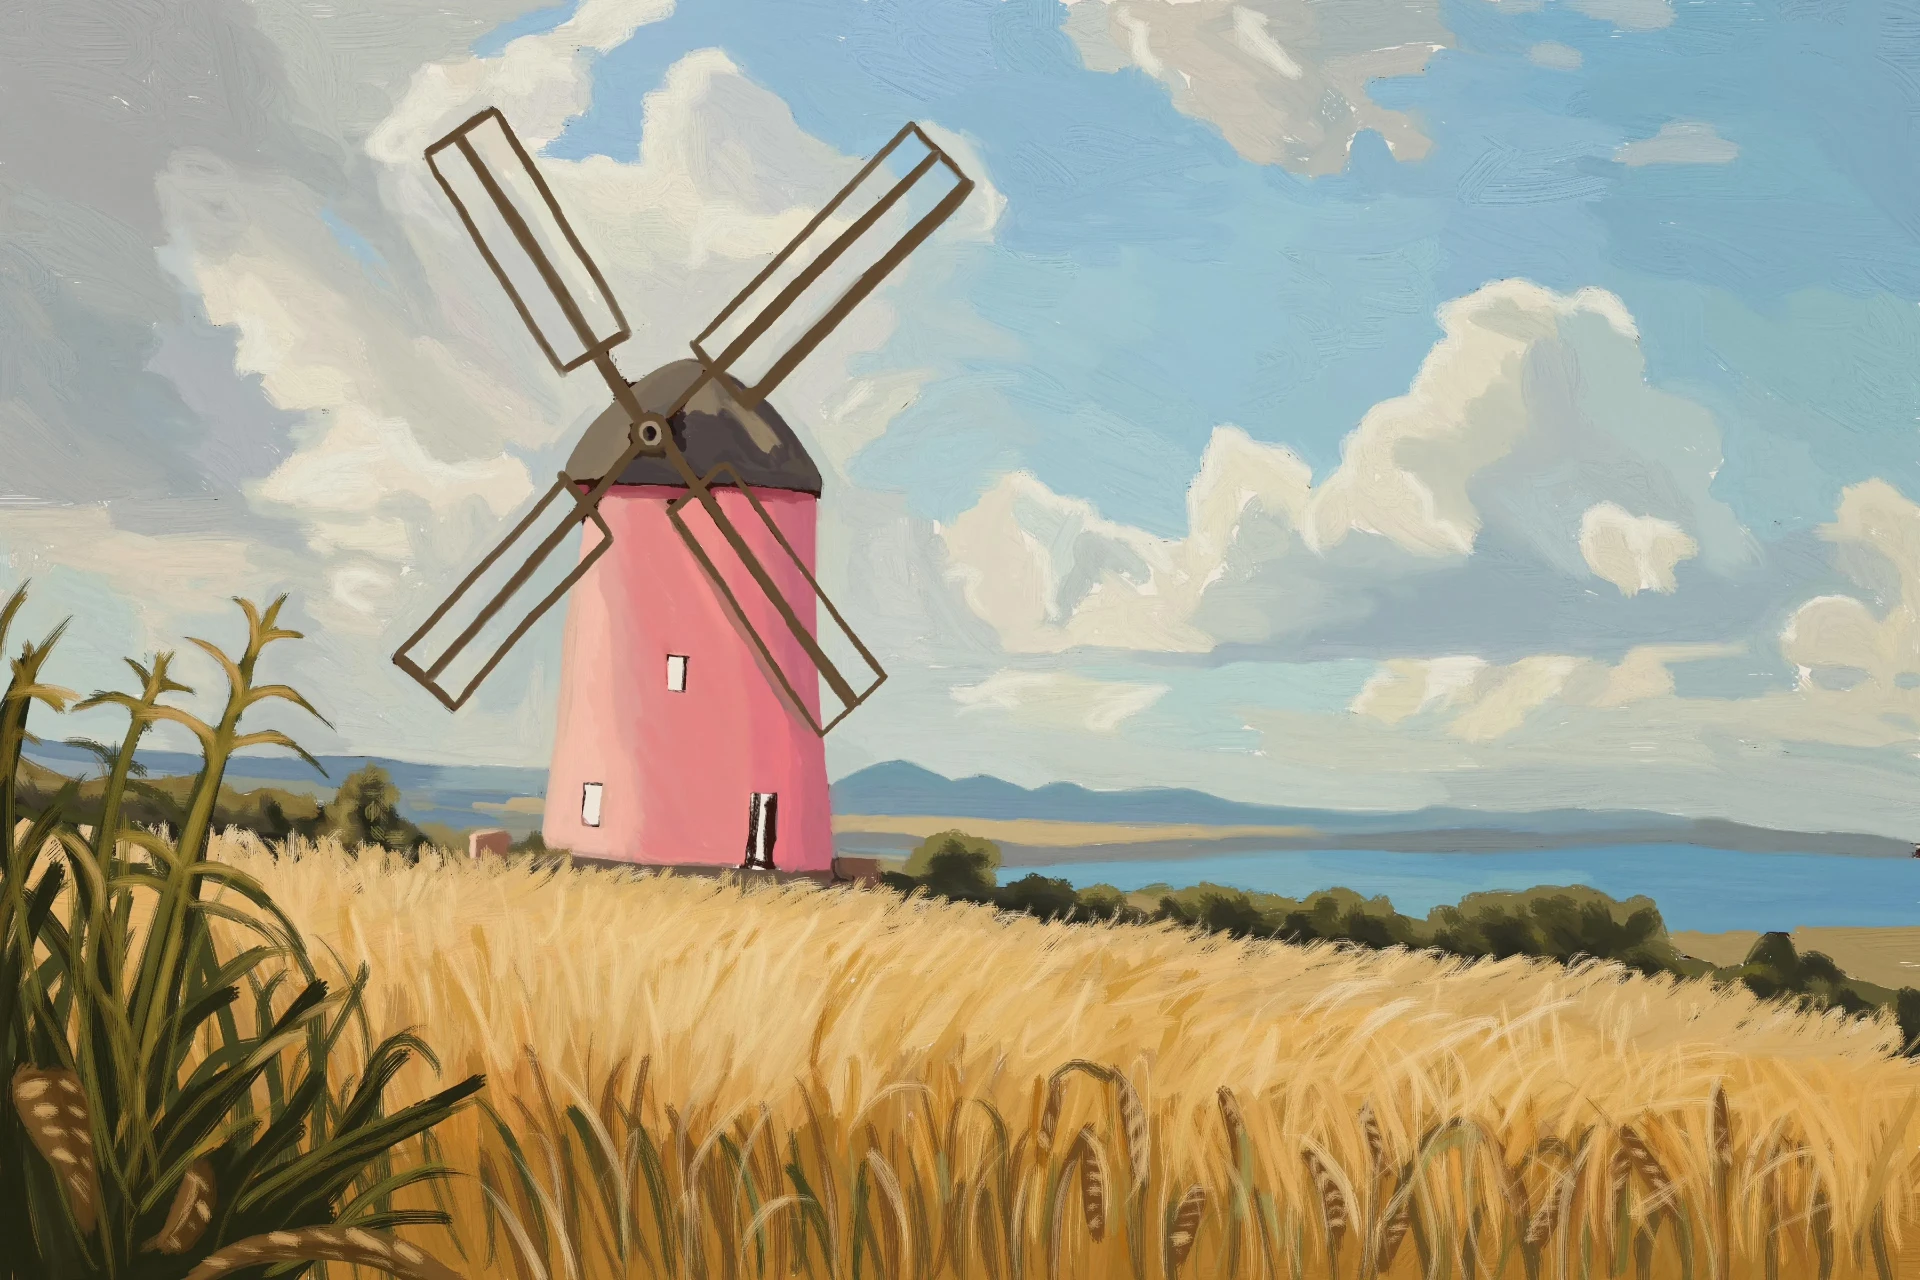
We detail the small windows of the mill, adding the reflections of the sky. This effect creates a sense of transparency and enhances the integration between the architecture and its surroundings. We also adjust the entrance to the windmill, emphasizing the shadows to give it more depth.
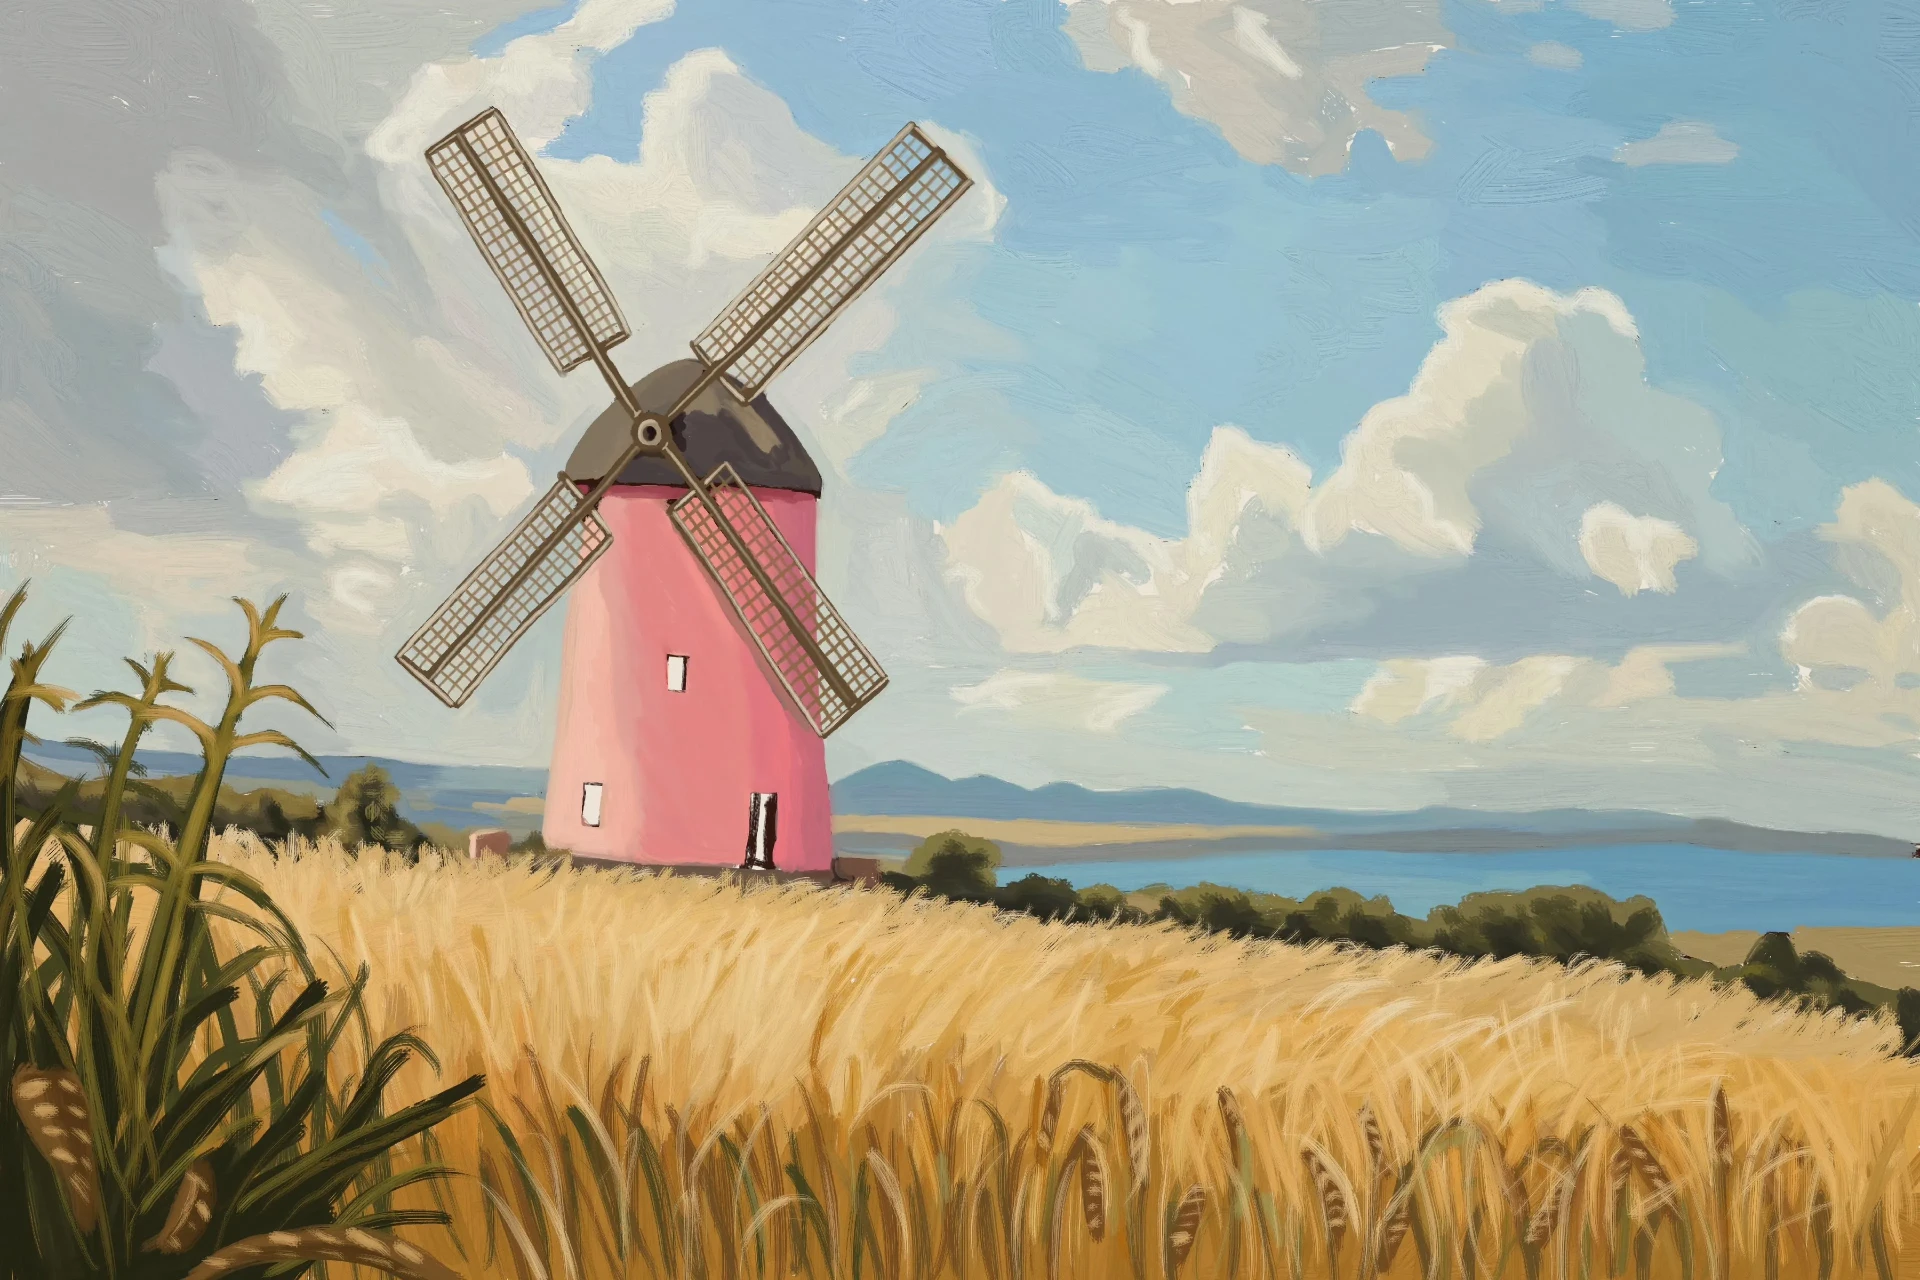
In conclusion, we soften the light on the edges of the clouds, creating a realistic transition. The result is a harmonious scene where each element interacts with the others, integrating the windmill into its setting in a balanced way.
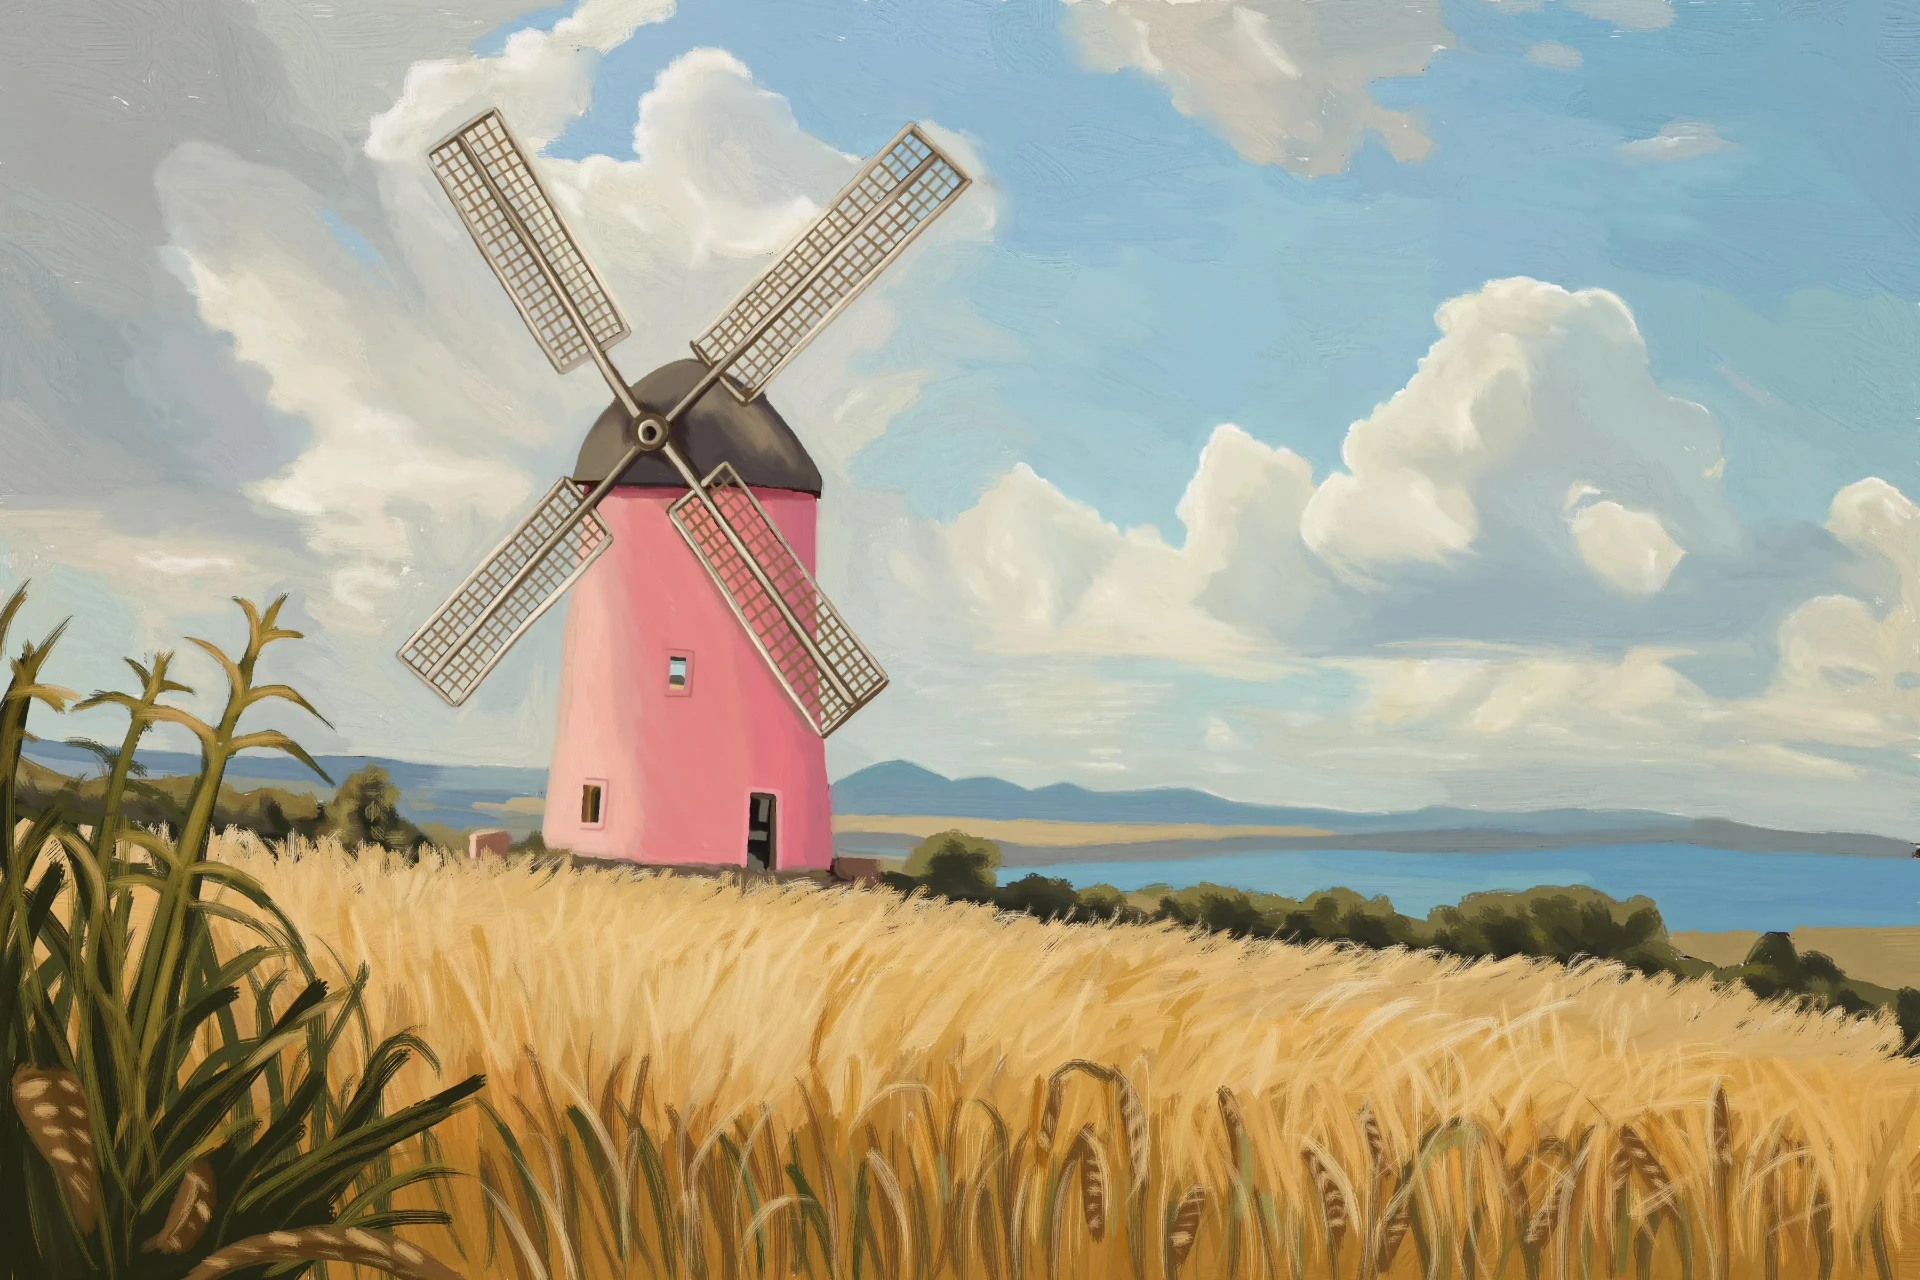
Here is our drawing of a windmill, which is now finished!
Popular Articles





Discussion
No comments yet.