How to Draw a Soldier
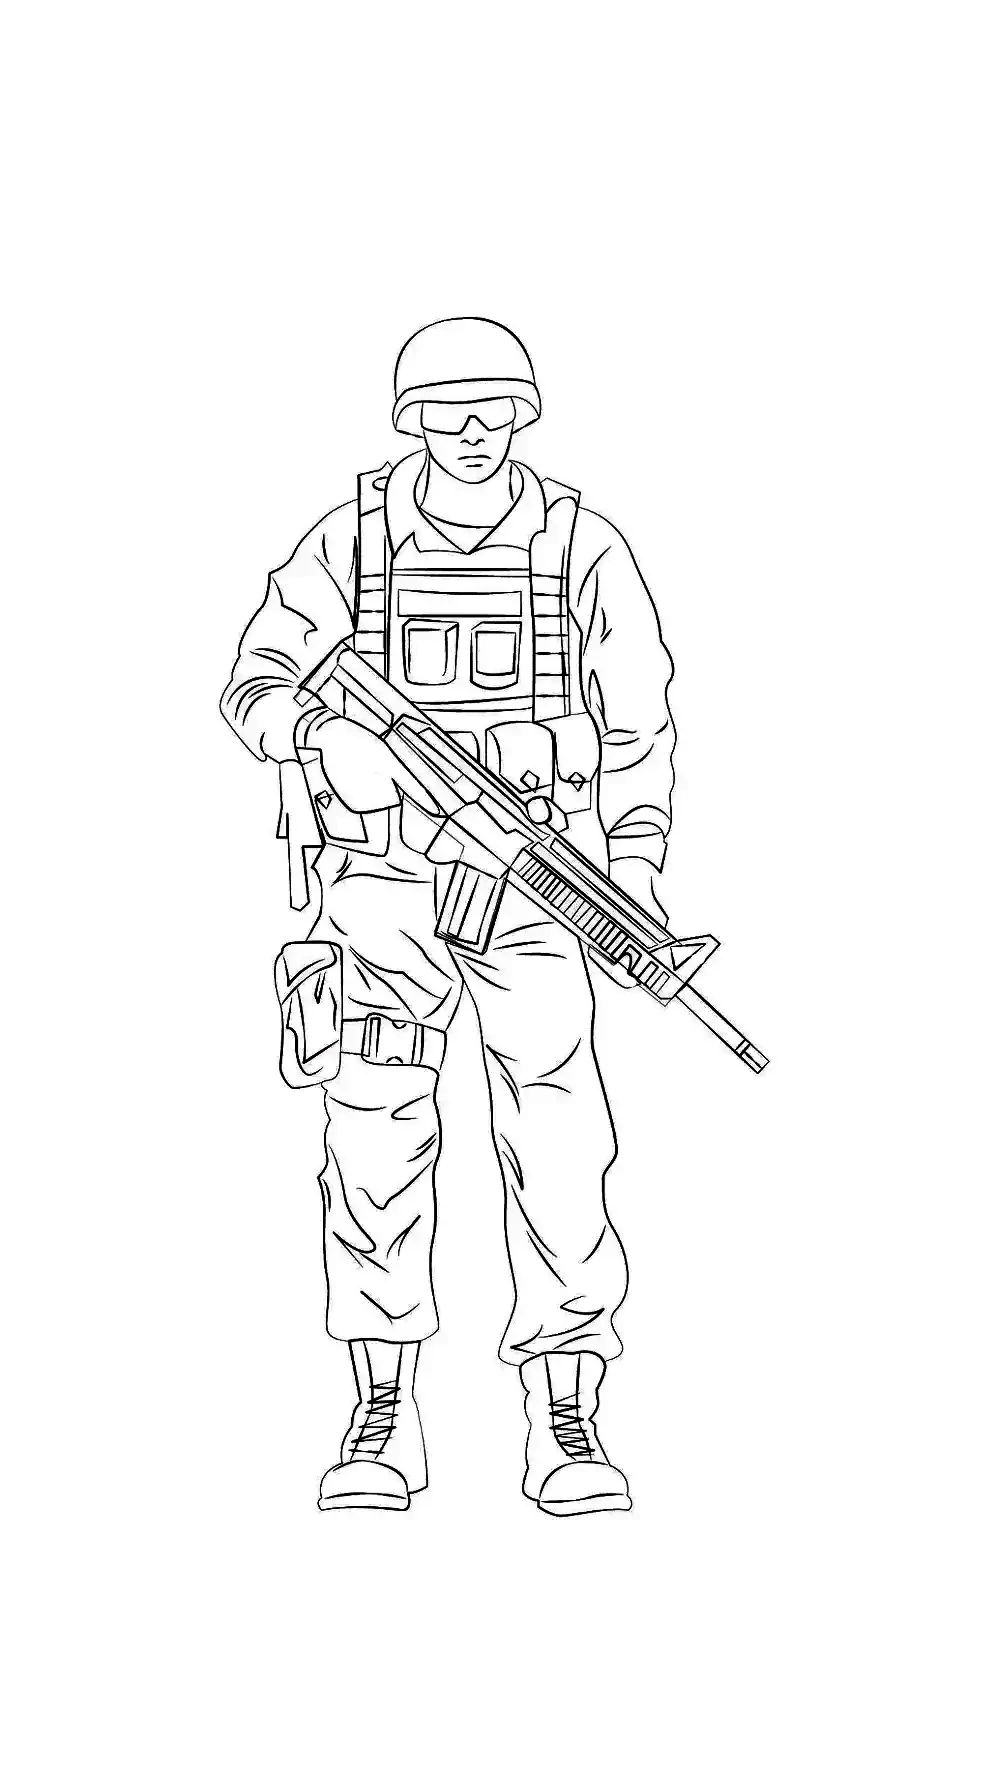
Drawing is a skill that requires practice and attention to detail. In this article we will explore step by step how to draw a soldier.
WHAT ARE THE BASICS OF DRAWING A SOLDIER?
● The silhouette: Draw a rough silhouette to give your soldier a dynamic and realistic posture. Make sure to properly proportion the head, body, arms, and legs.
● The details: Once you have drawn the silhouette, start adding details. Think about the soldier's uniform, equipment, and weapons.
● Shadows and lights: Add depth and dimension to your drawing by using shadows and lights. This gives realism to your drawing.
● Facial expression: The eyes and face of a soldier can tell a lot about their feelings and state of mind. Try to include these elements to make your drawing more lively and expressive.
Learning to draw a soldier can be a difficult, but rewarding task. By following these steps and practising regularly, you will gradually improve your technique and your ability to capture the essence of a soldier on paper. Remember that the most important thing is to have fun and explore your creativity.
You will need:
- A sheet of paper;
- A pencil;
- An eraser.
DRAWING A SOLDIER STEP BY STEP
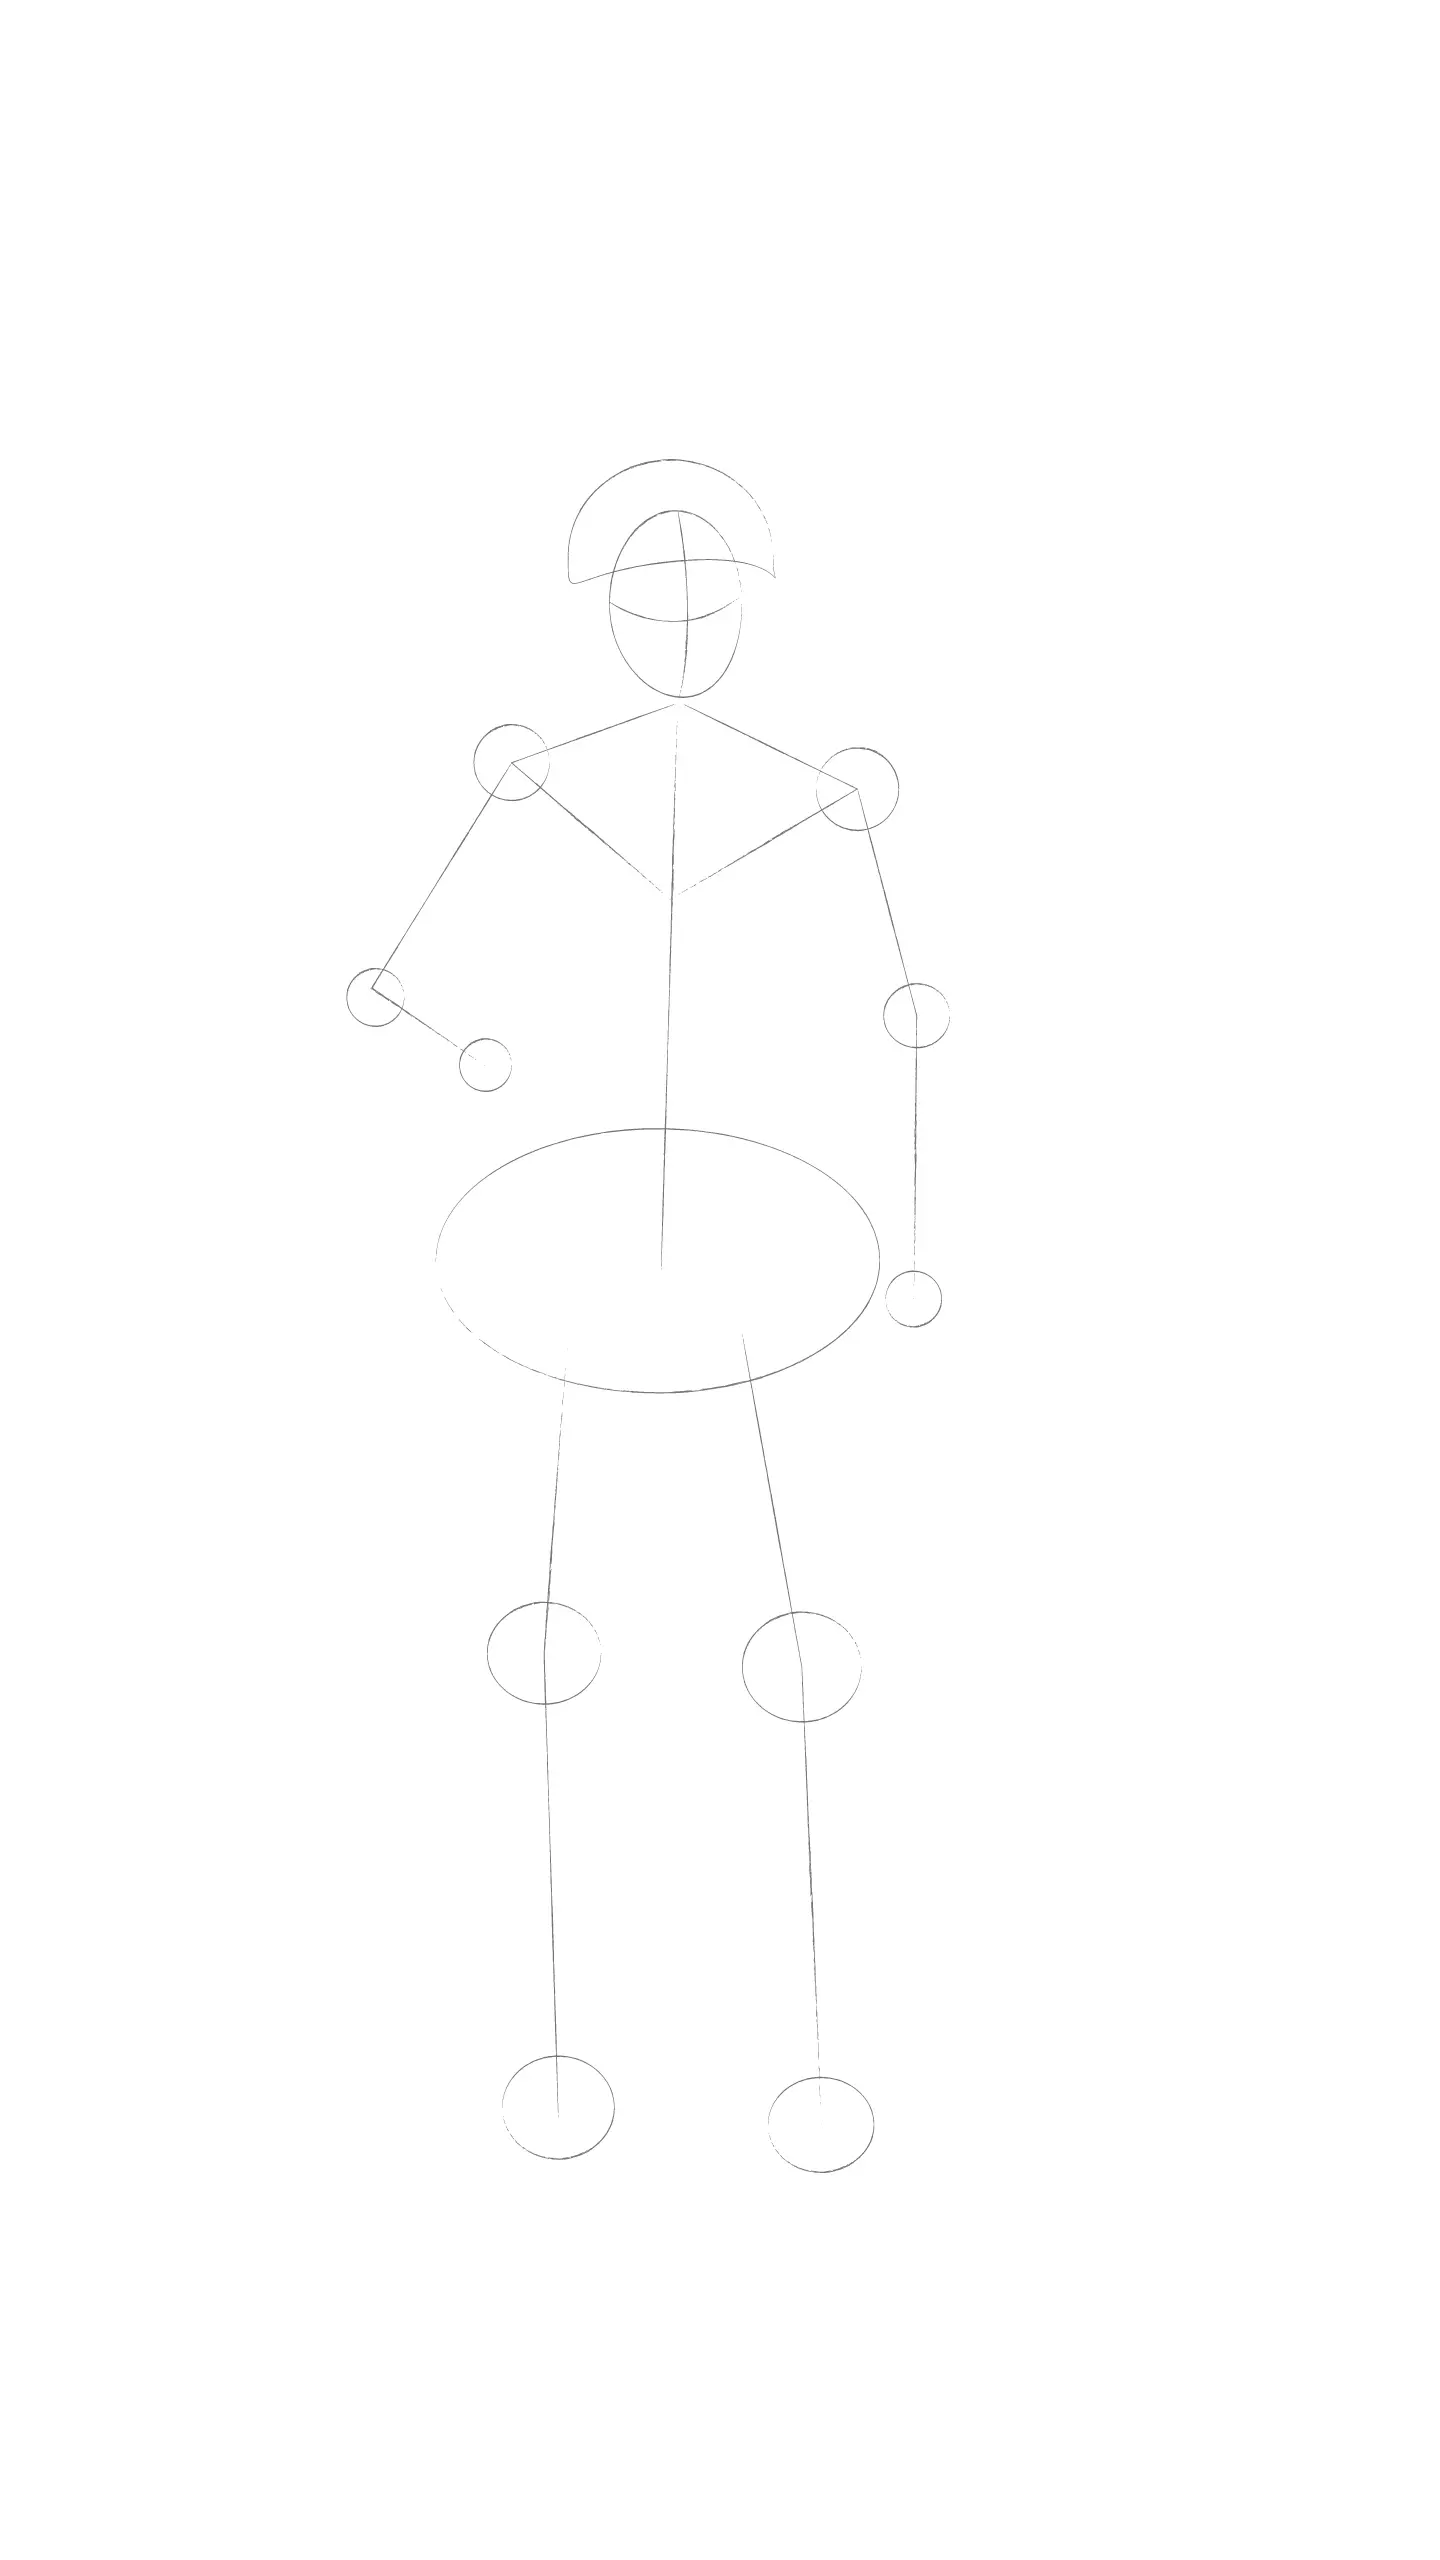
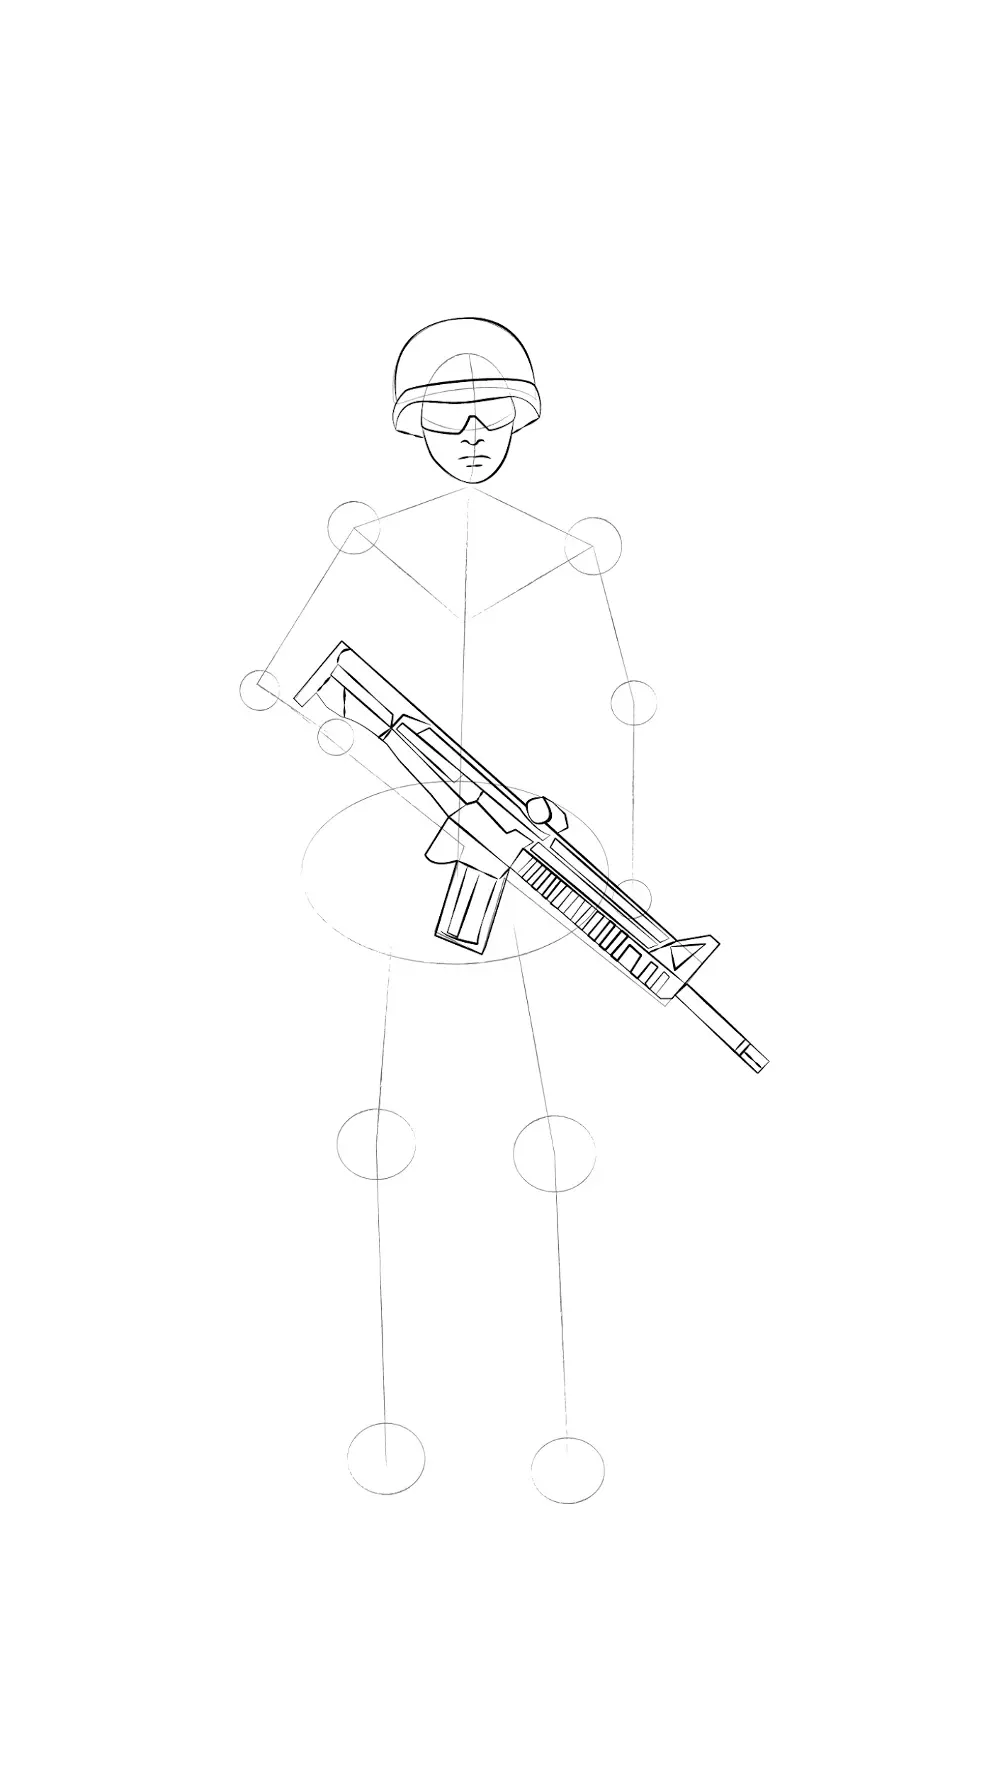
Step 1:
To draw easily, start by drawing reference points. They will help you throughout the drawing.
The head is represented as an oval. Then draw a crescent above the oval shape to form the helmet.

Step 2:
Then add round markers starting with the shoulders, upper and lower limbs and a circle for the pelvis.
For the body contours, draw lines following the markers, giving the body the correct curves at the shoulders, arms and two curved lines for the legs and feet.
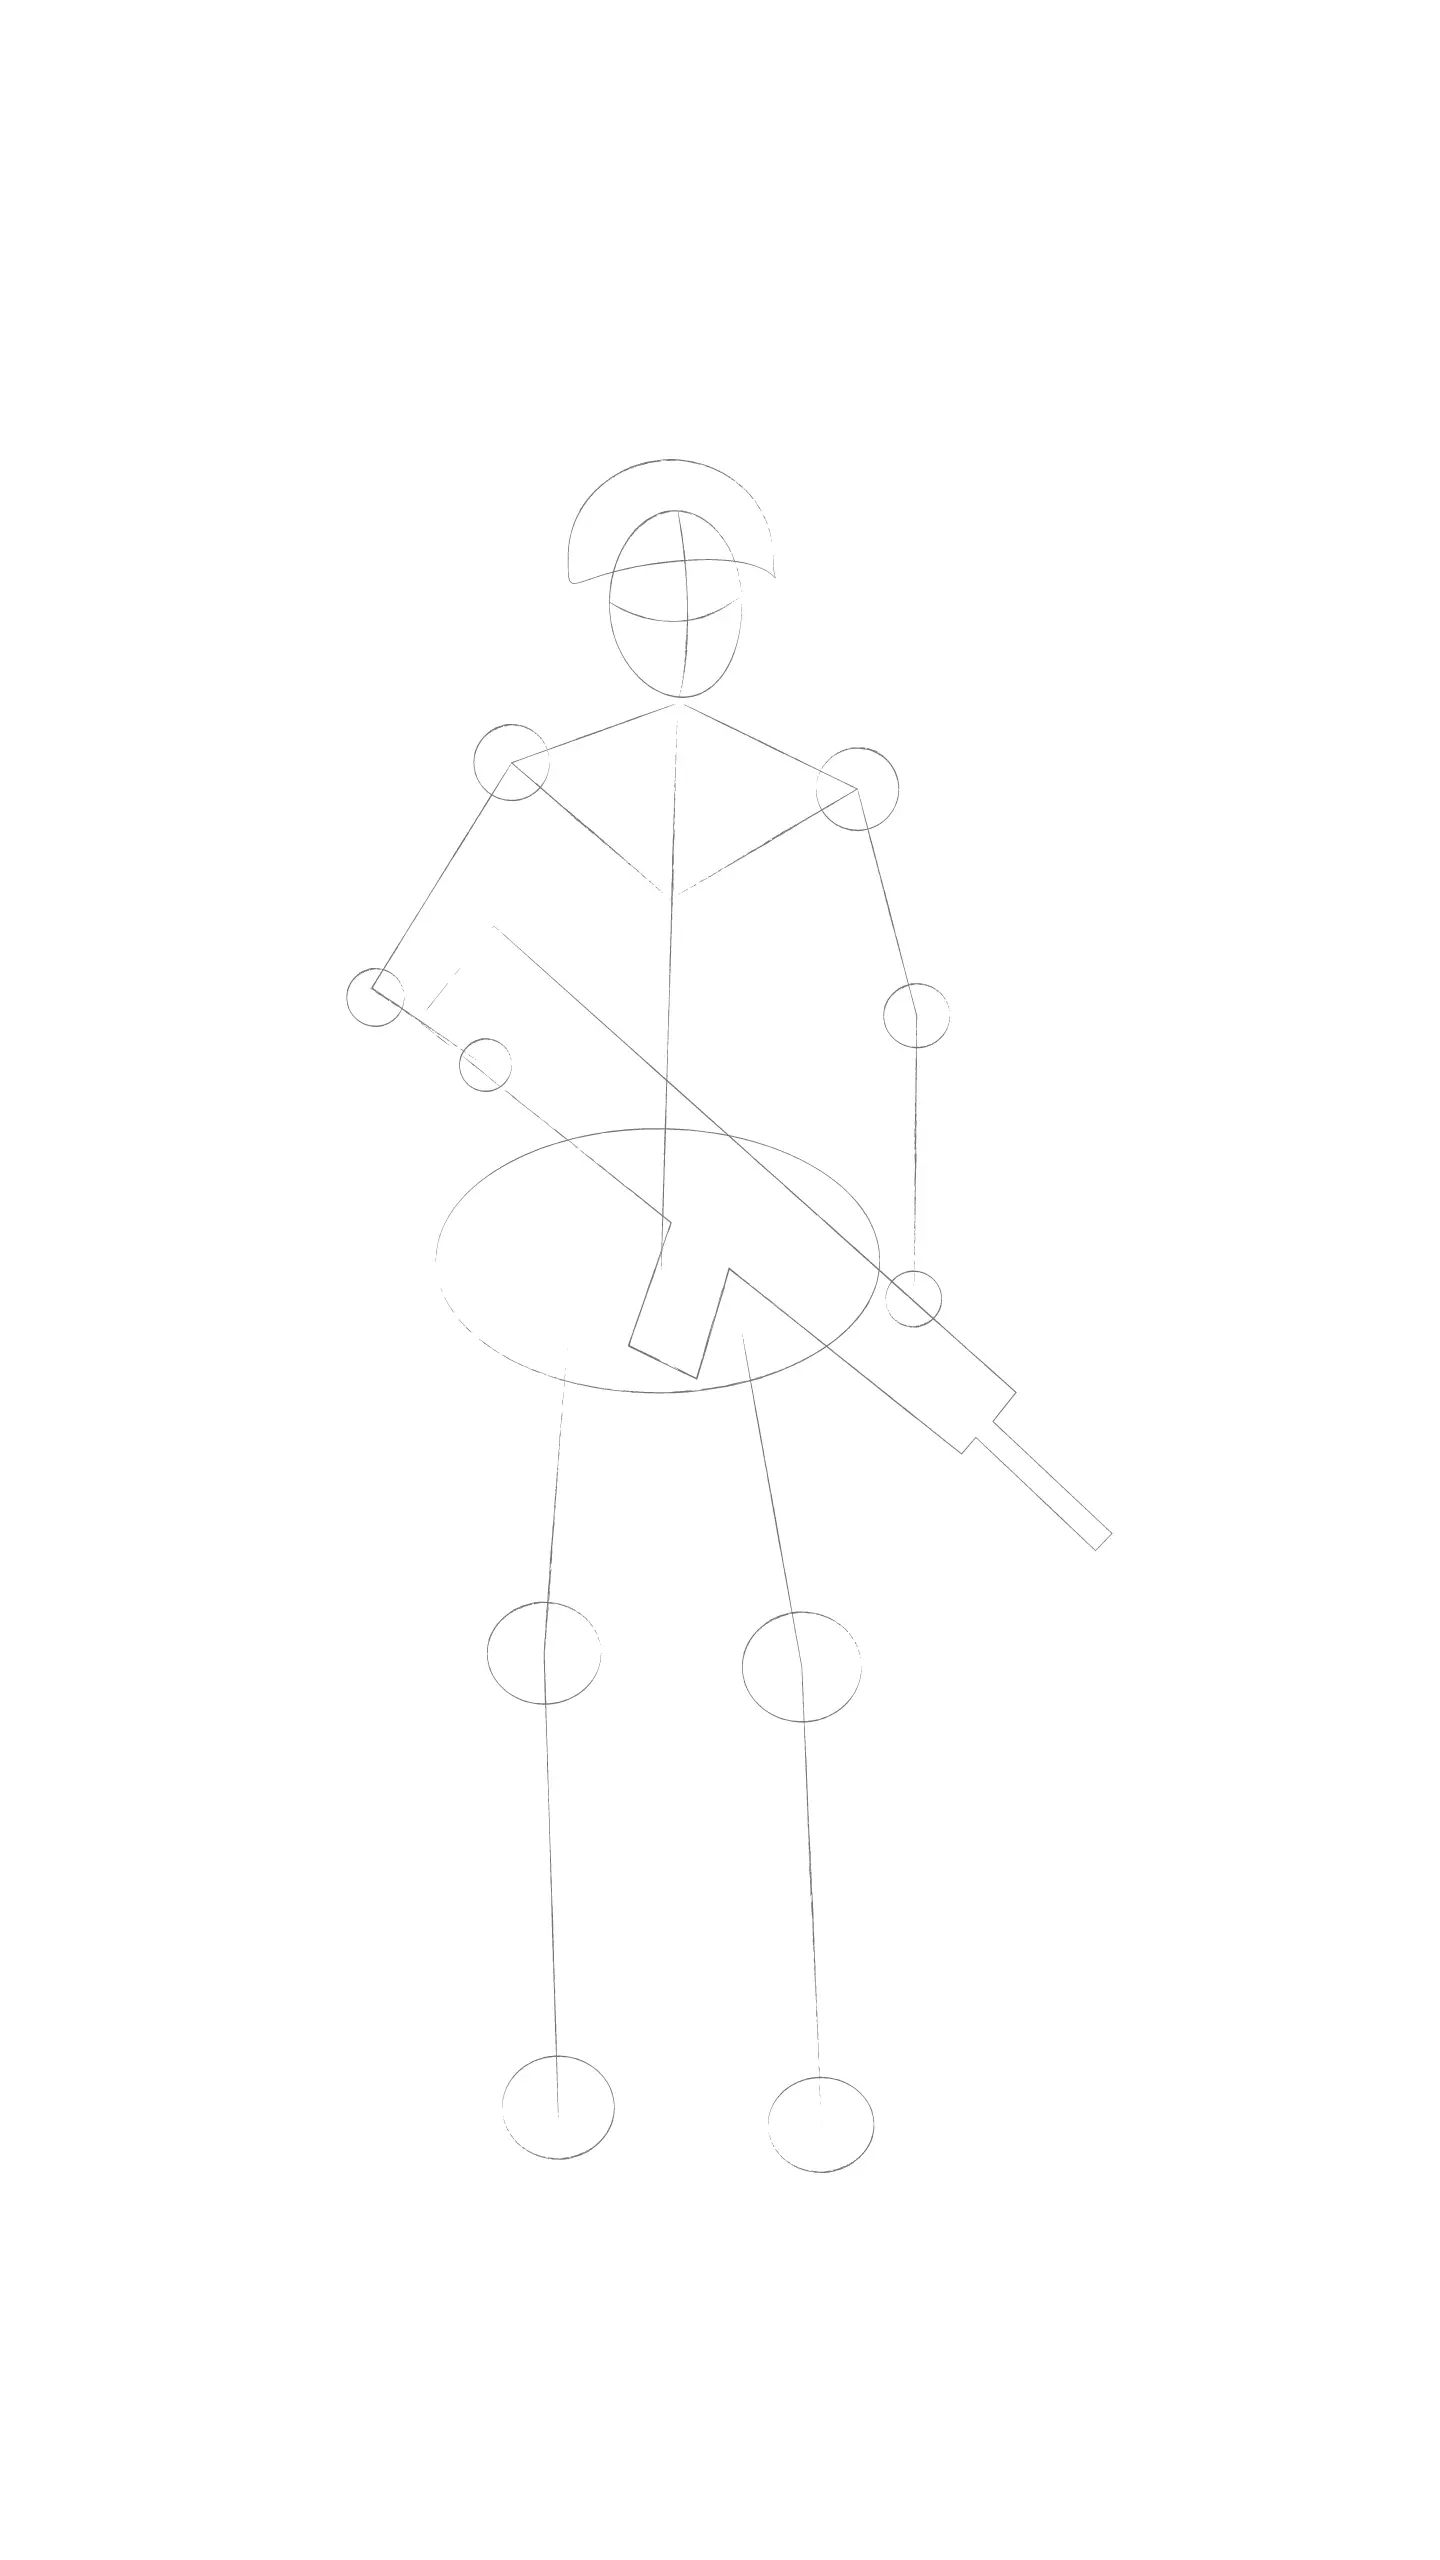
Step 3:
The weapon is an essential element of the soldier: draw two parallel lines and two shorter ones at the end.
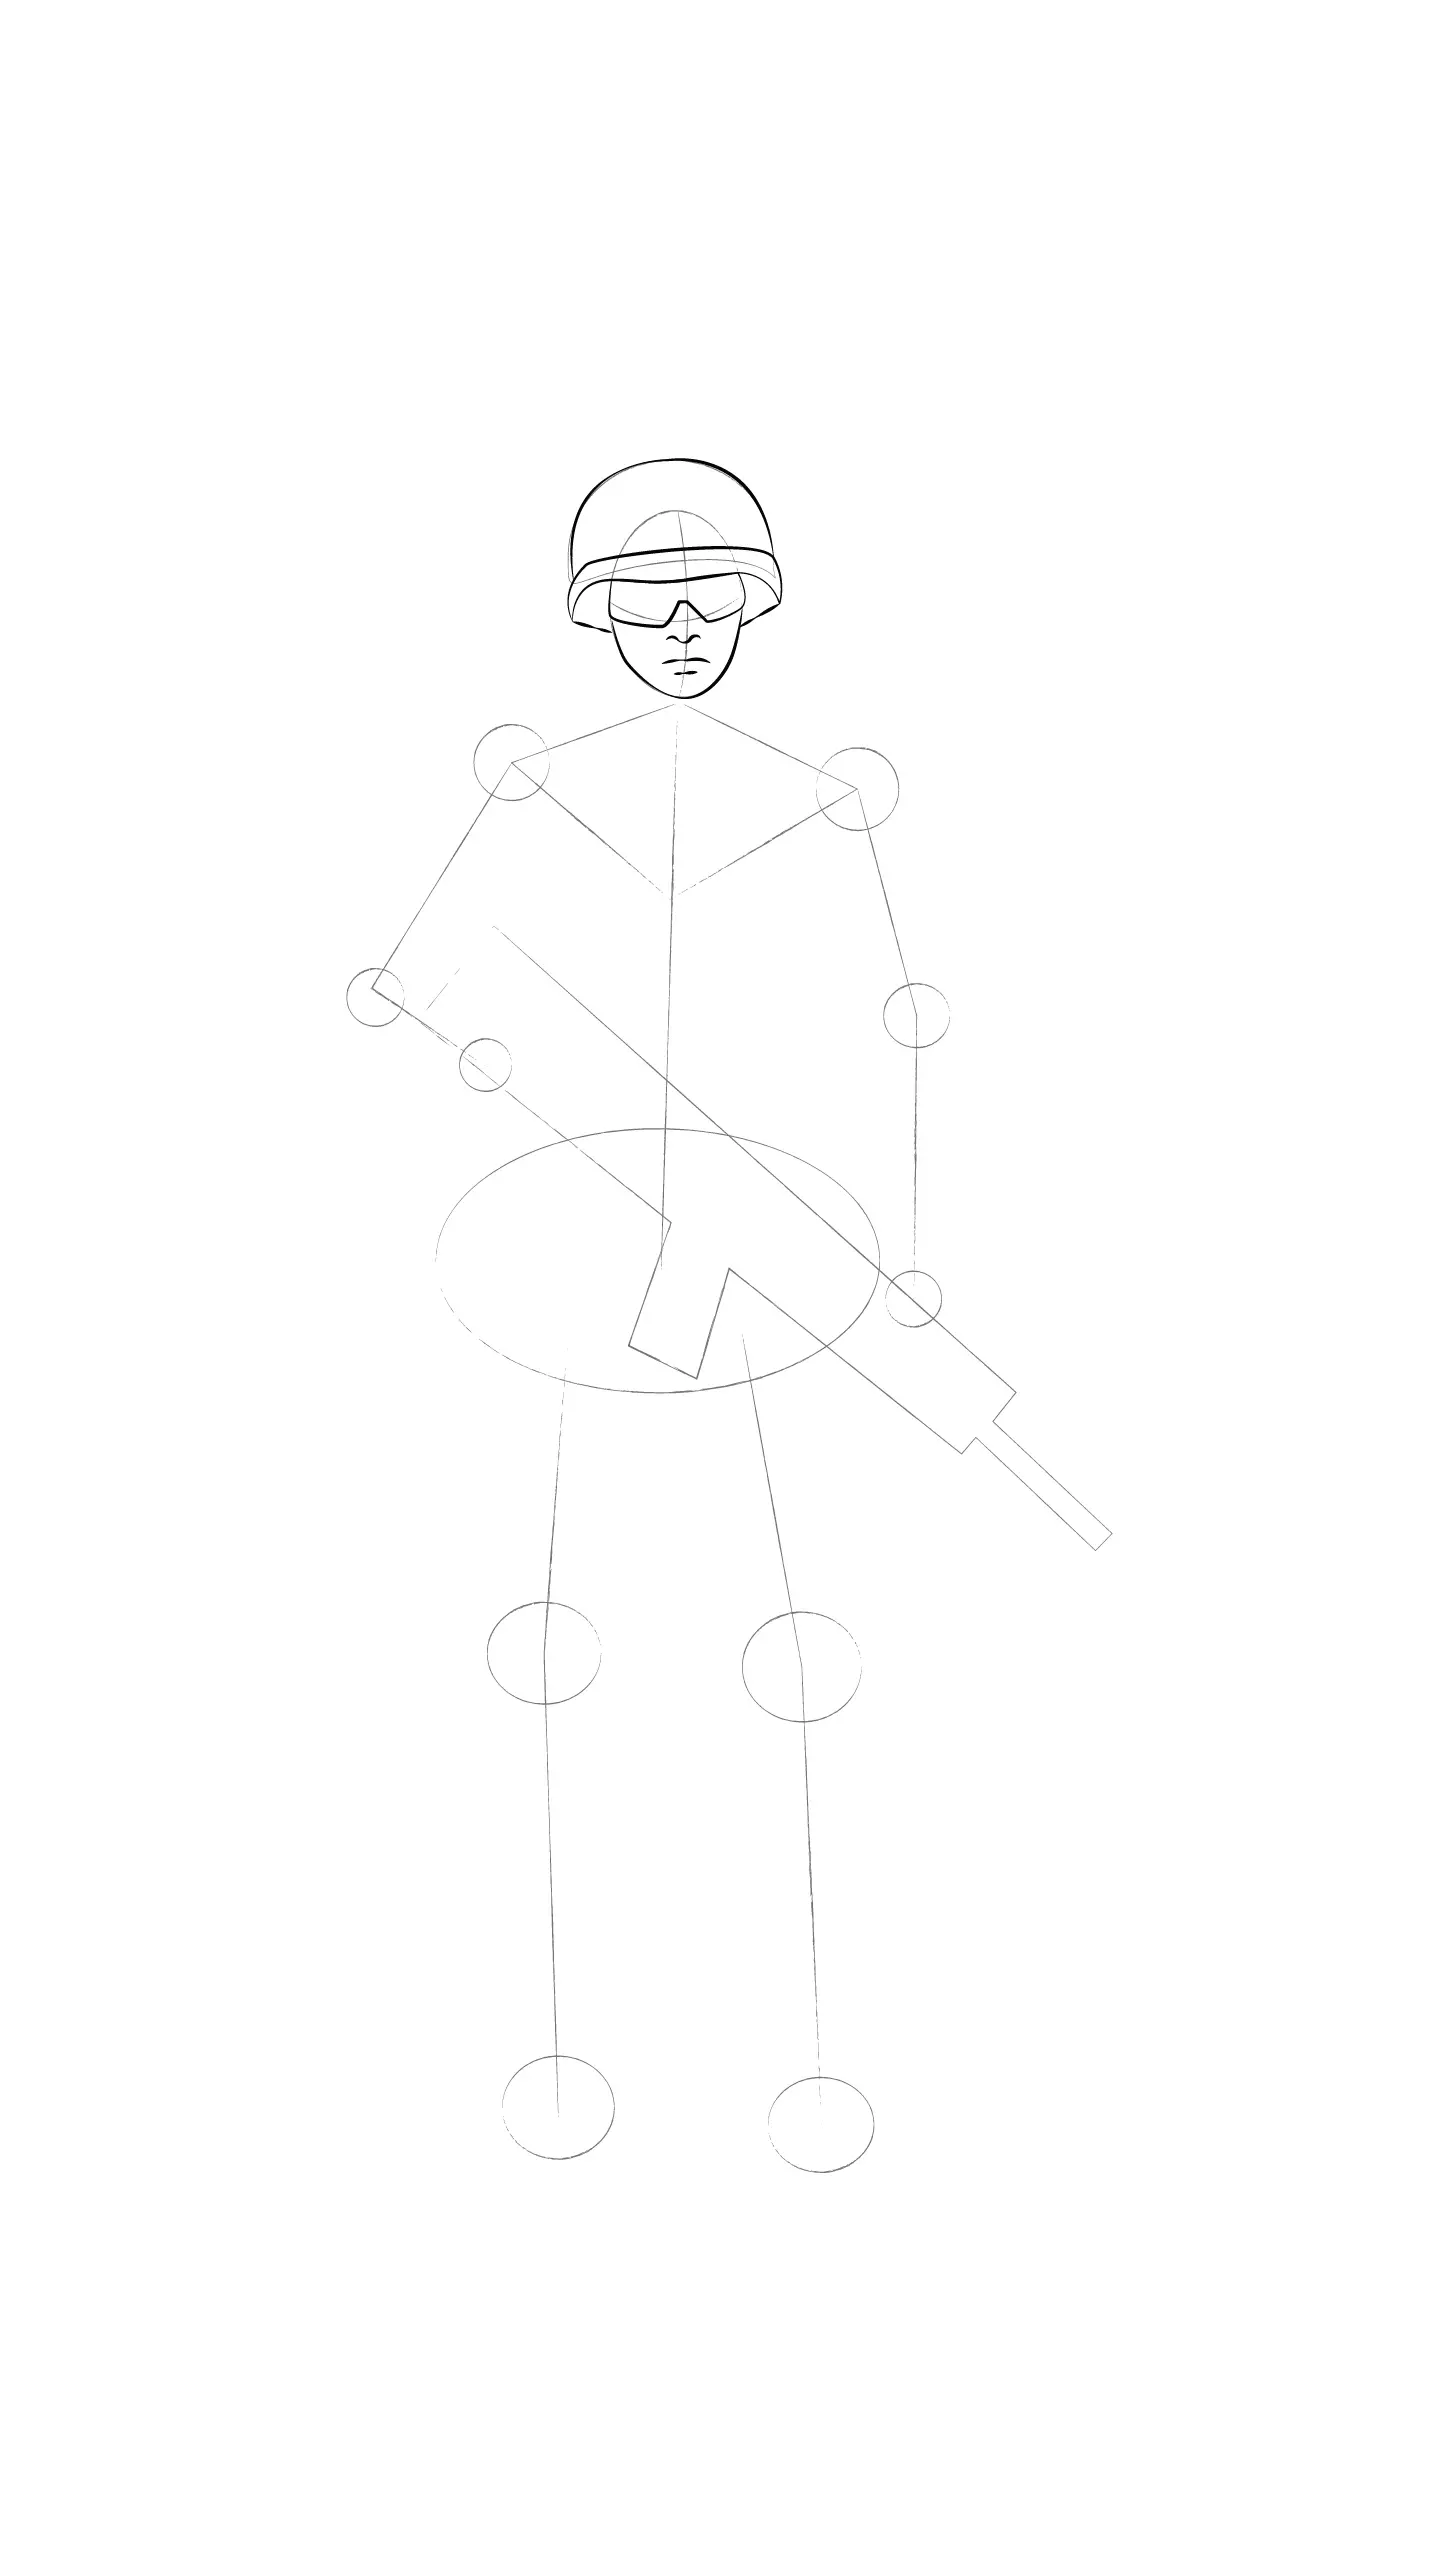
Step 4:
Follow the head reference points and start shaping your head, nose, glasses, mouth and helmet. Use simple shapes.
Step 5:
We draw a soldier with a weapon in his hands. Draw all the details of the weapon using the parallel lines drawn previously as a base and accentuate the lines, add shadows to make it more realistic.
Step 6:
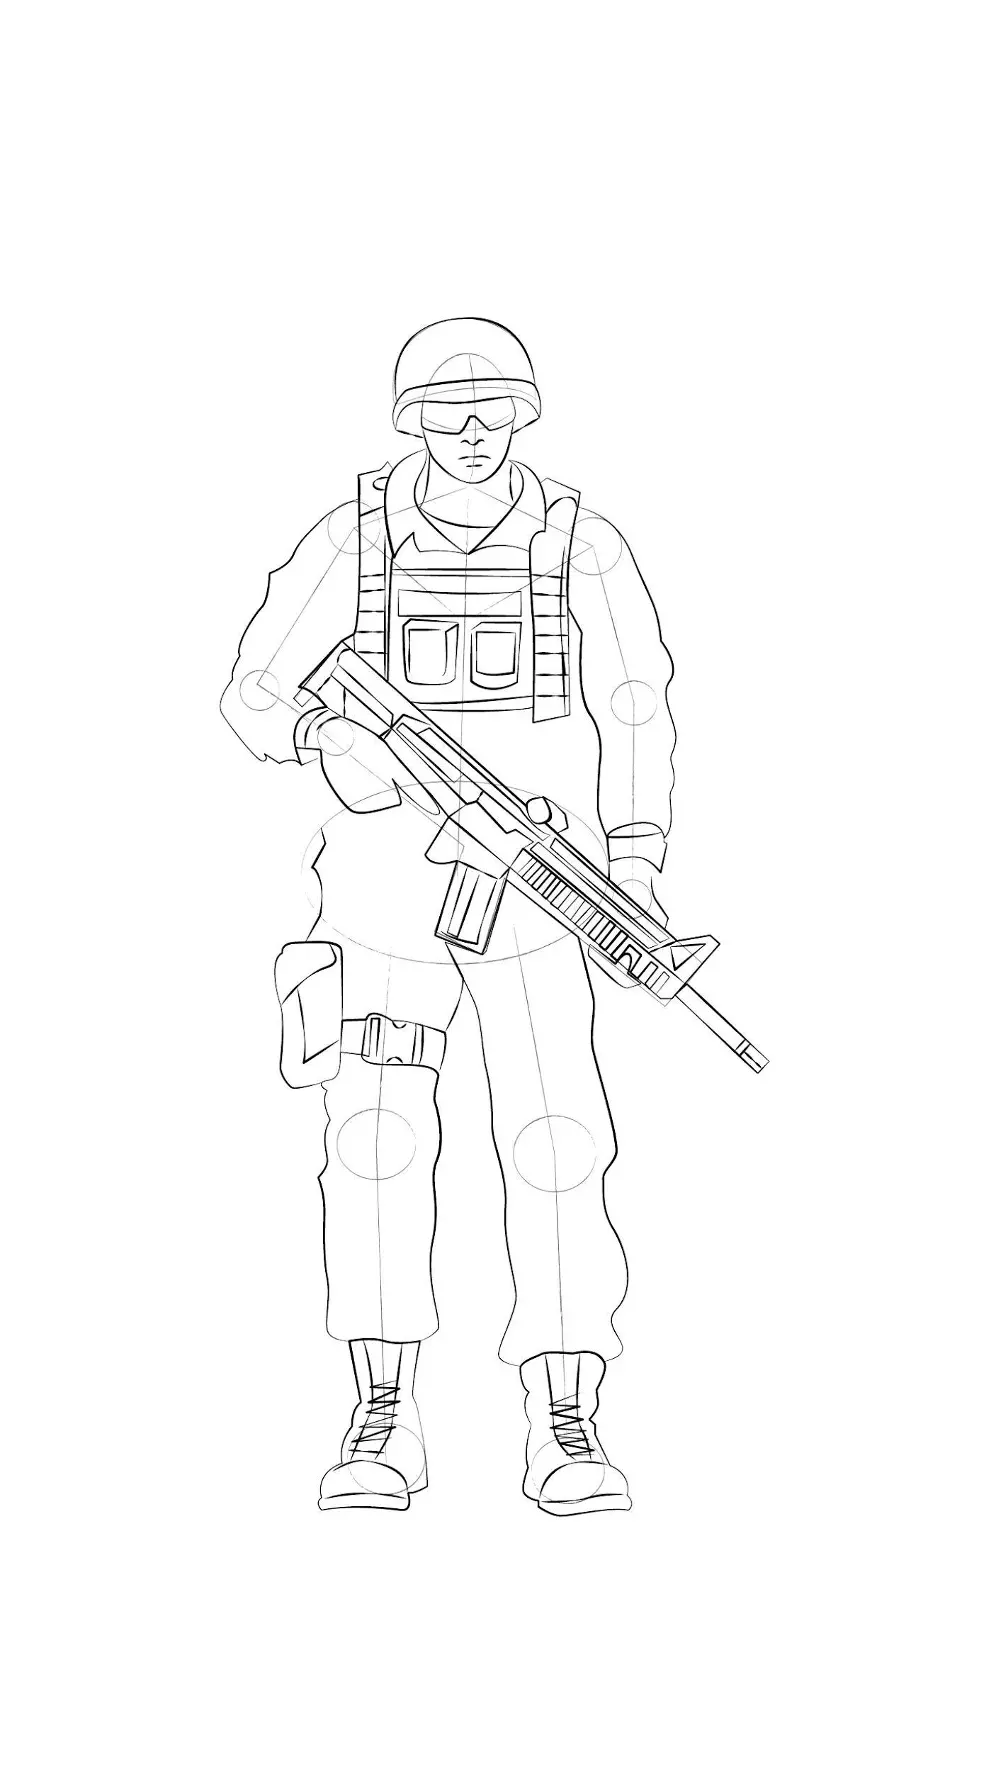
Continue with the soldier's arms. Draw the outlines of the soldier's body following the guidelines. Then, add padded parts at his elbow, his arm as shown in the image.
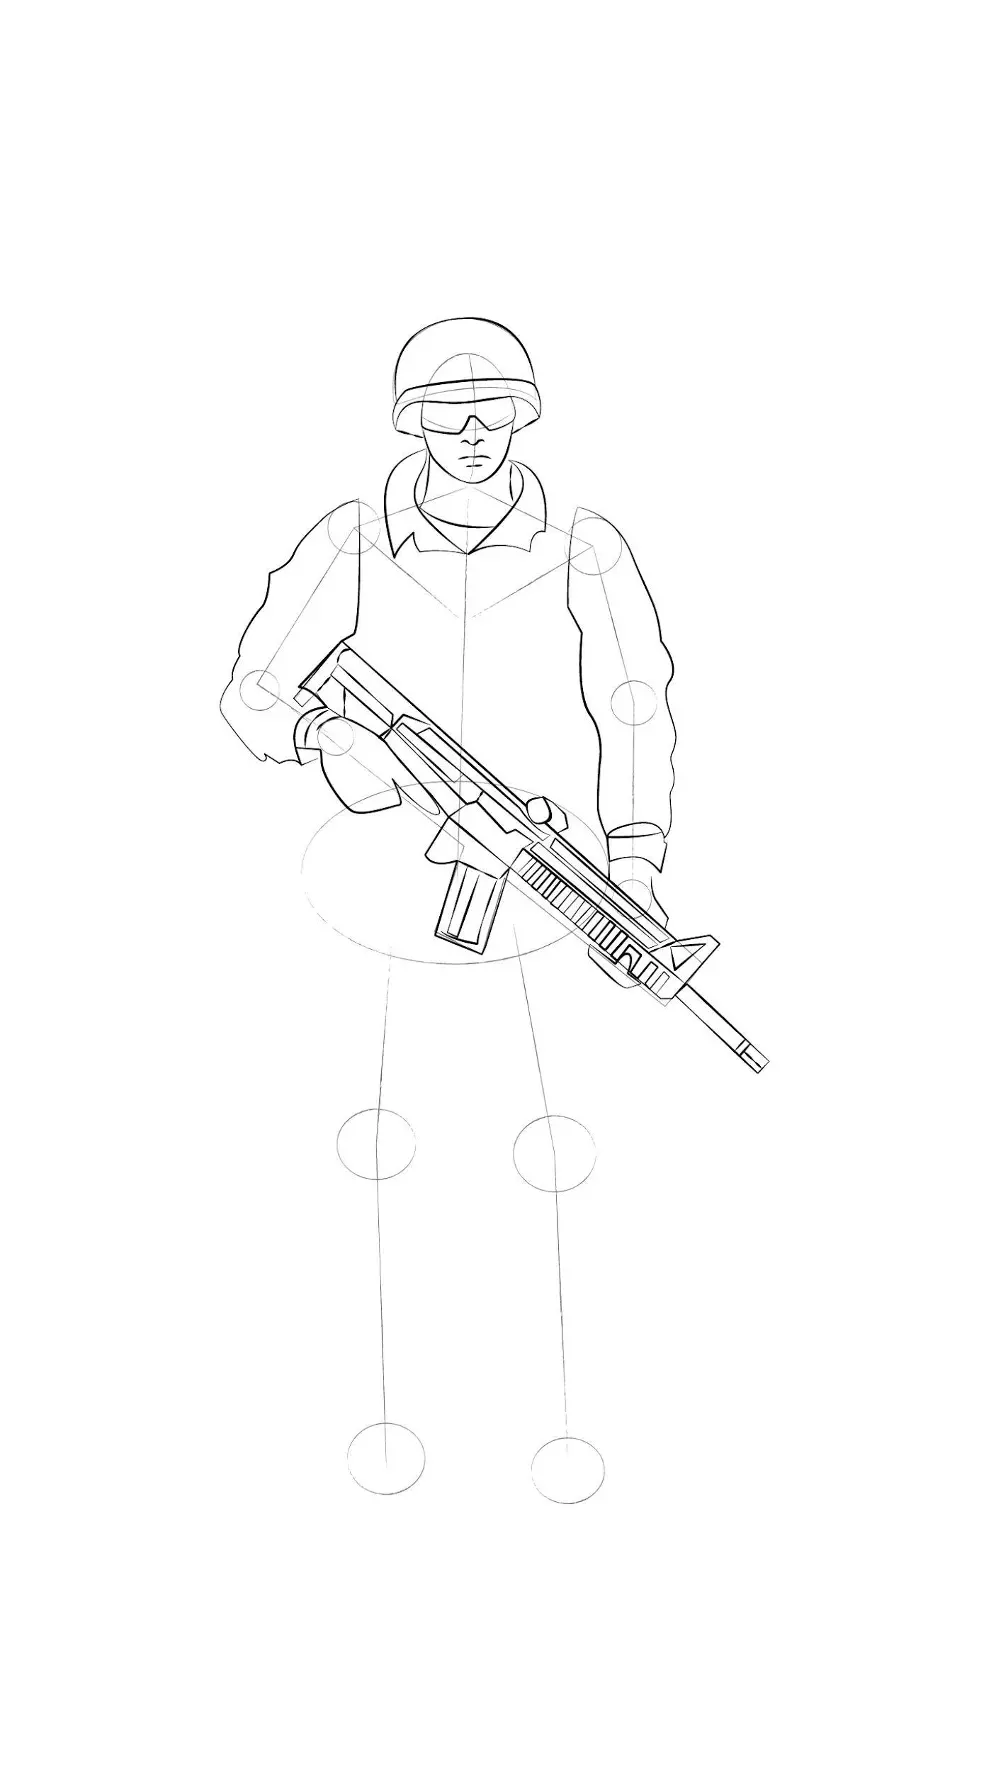
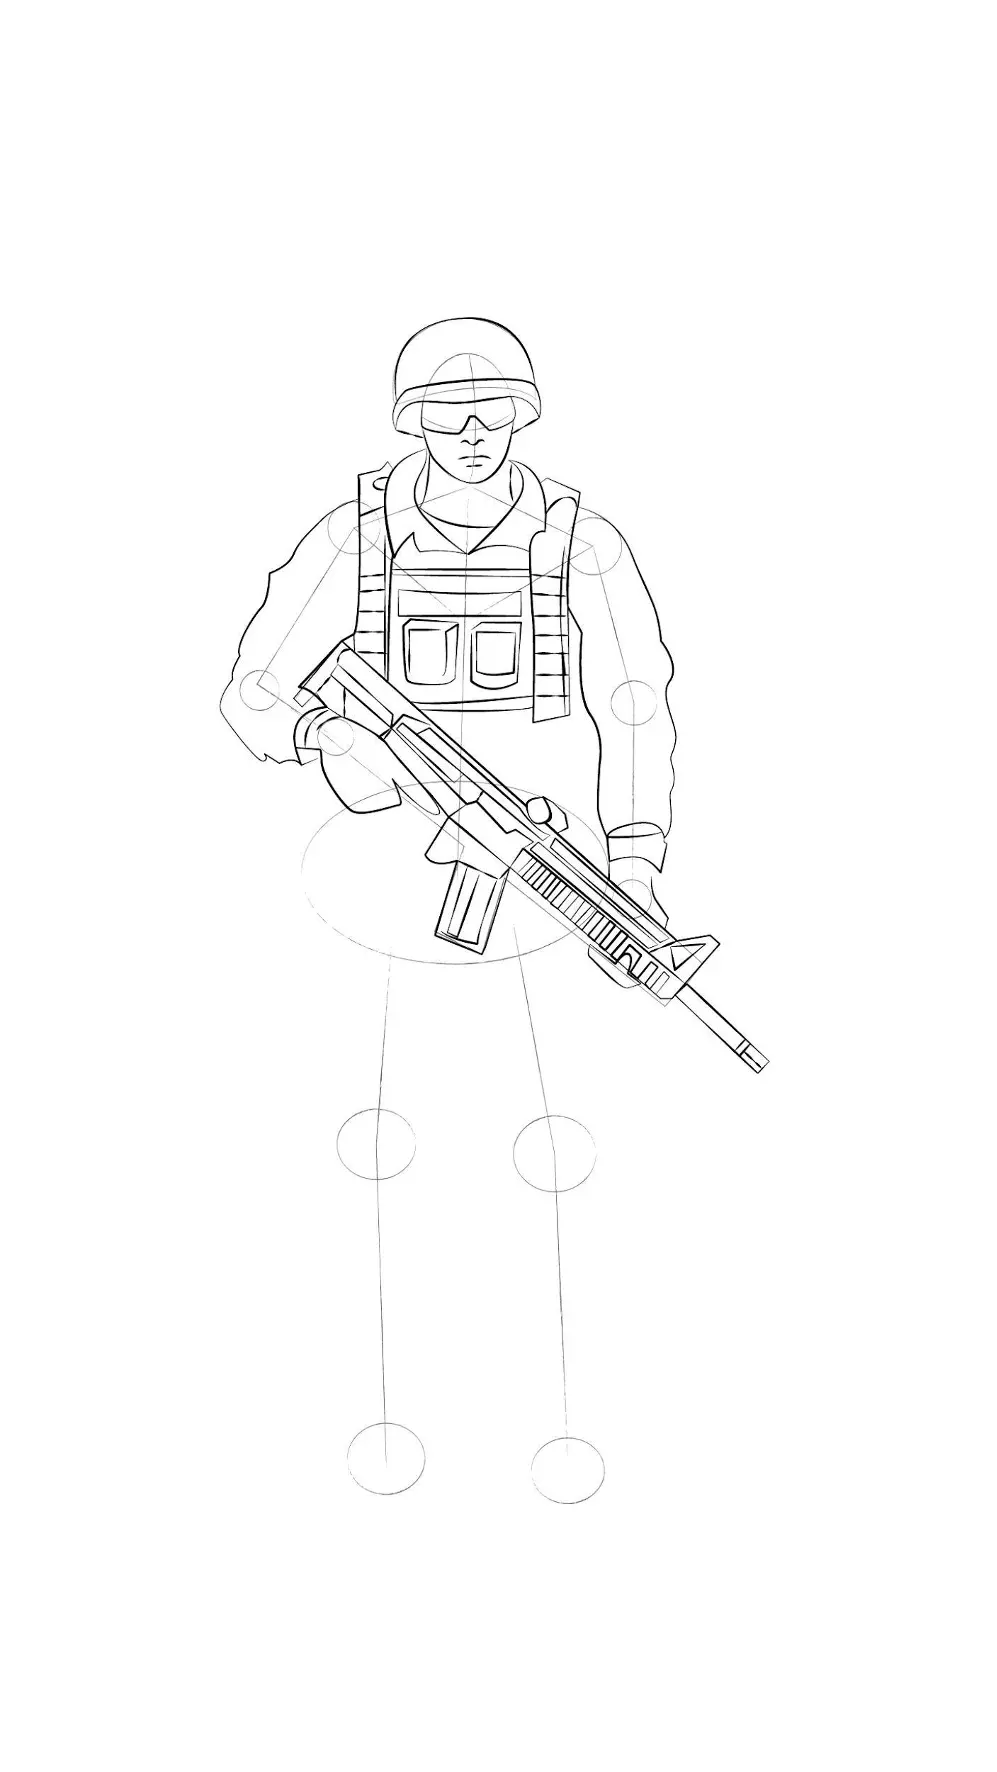
Step 7:
We move on to the soldier's vest. Details, such as the soldier's muscles and equipment, are very important.
Draw the waistcoat following the guidelines as in the picture. Emphasise the lines to make it a bit more realistic.
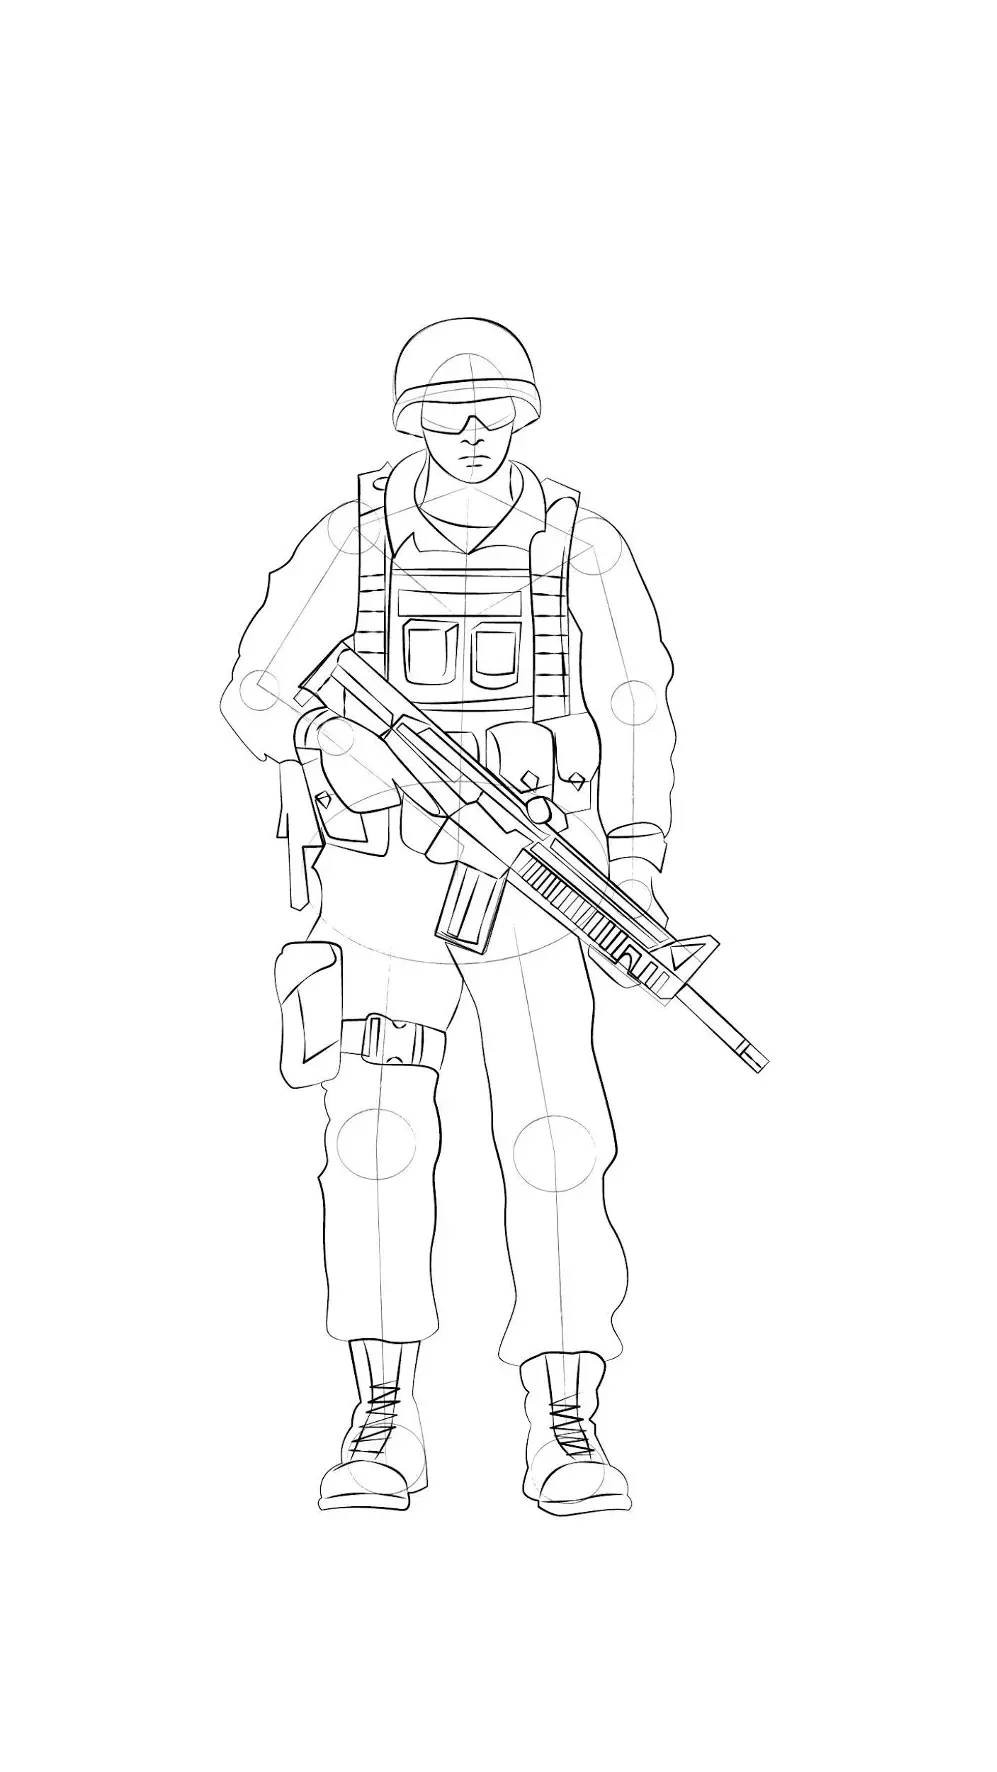
Step 8:
Starting from the circle initially drawn on the pelvis, draw the lower parts of the soldier. Following the guides, draw the pants.
Then emphasize the features. On the right thigh, add a tactical bag.
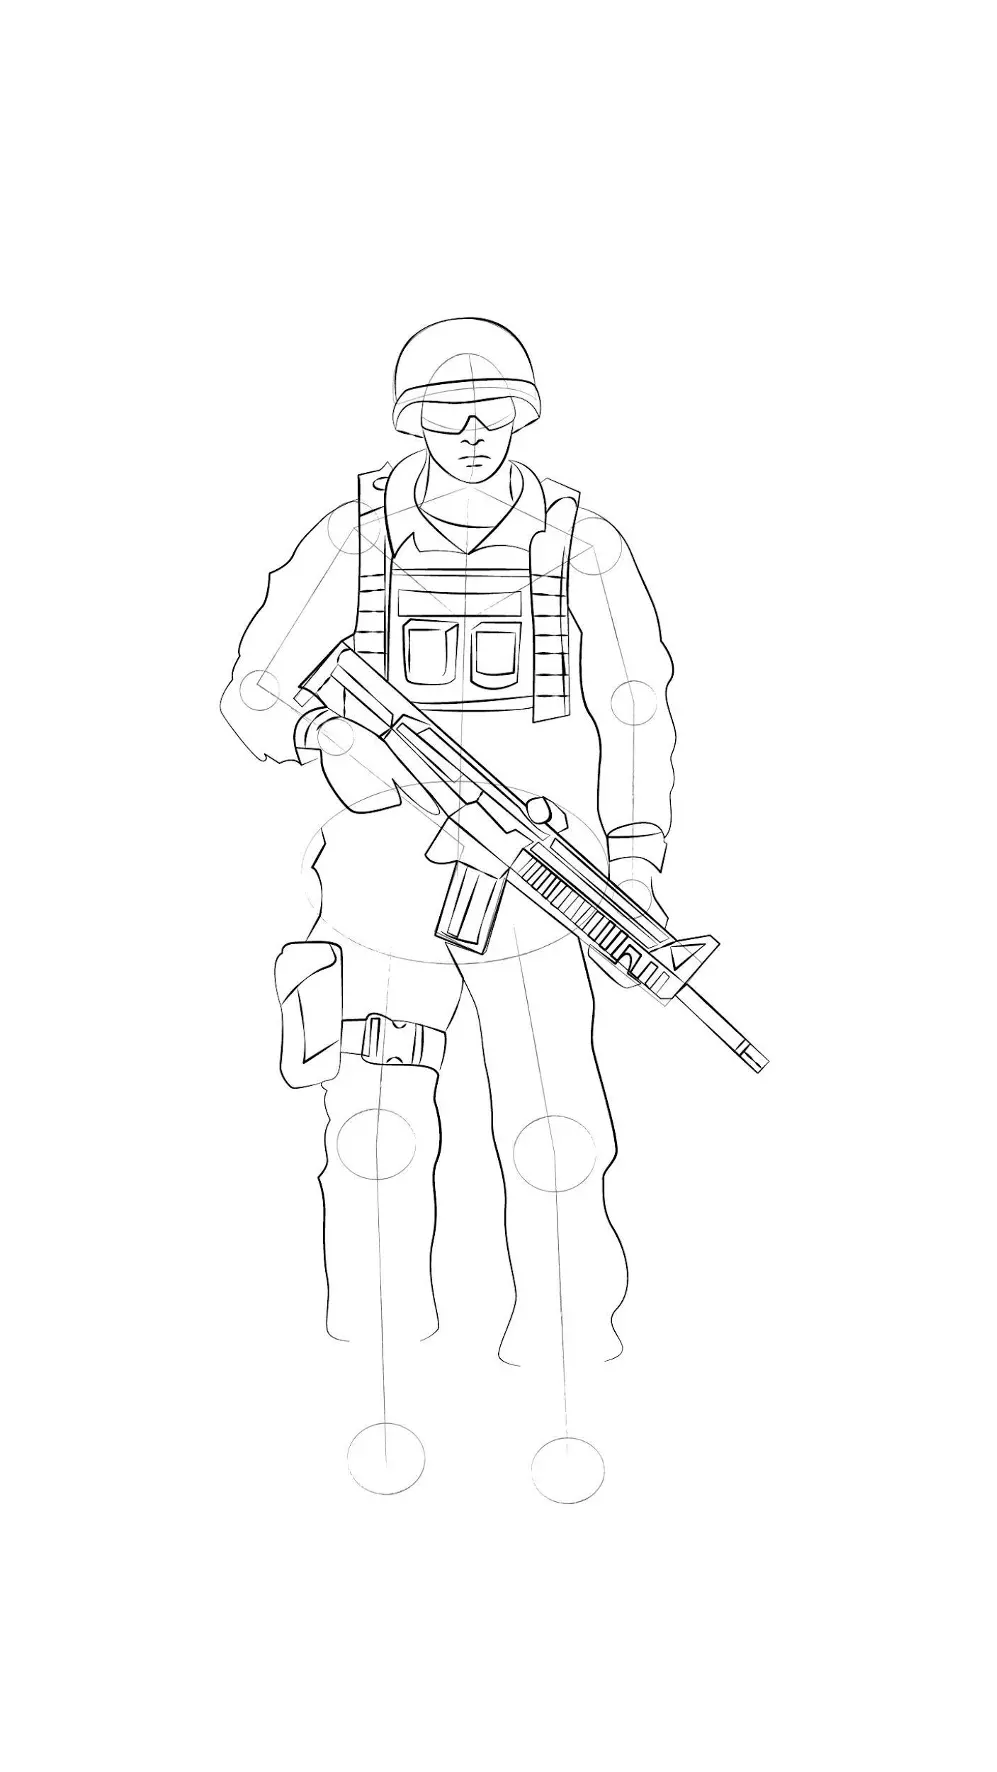
Step 9:
Then, shape his feet and draw his boots, paying attention to the details.
Step 10:
We will now design the soldier's pockets by drawing rectangular shapes with a lid. And a small diamond to form the buttons.
Step 11
To add depth to our drawing, we can draw shadows, but here, we opted for folds represented by small curved lines. We draw the folds at the armpits, elbows, hips, and the lower part of the body.
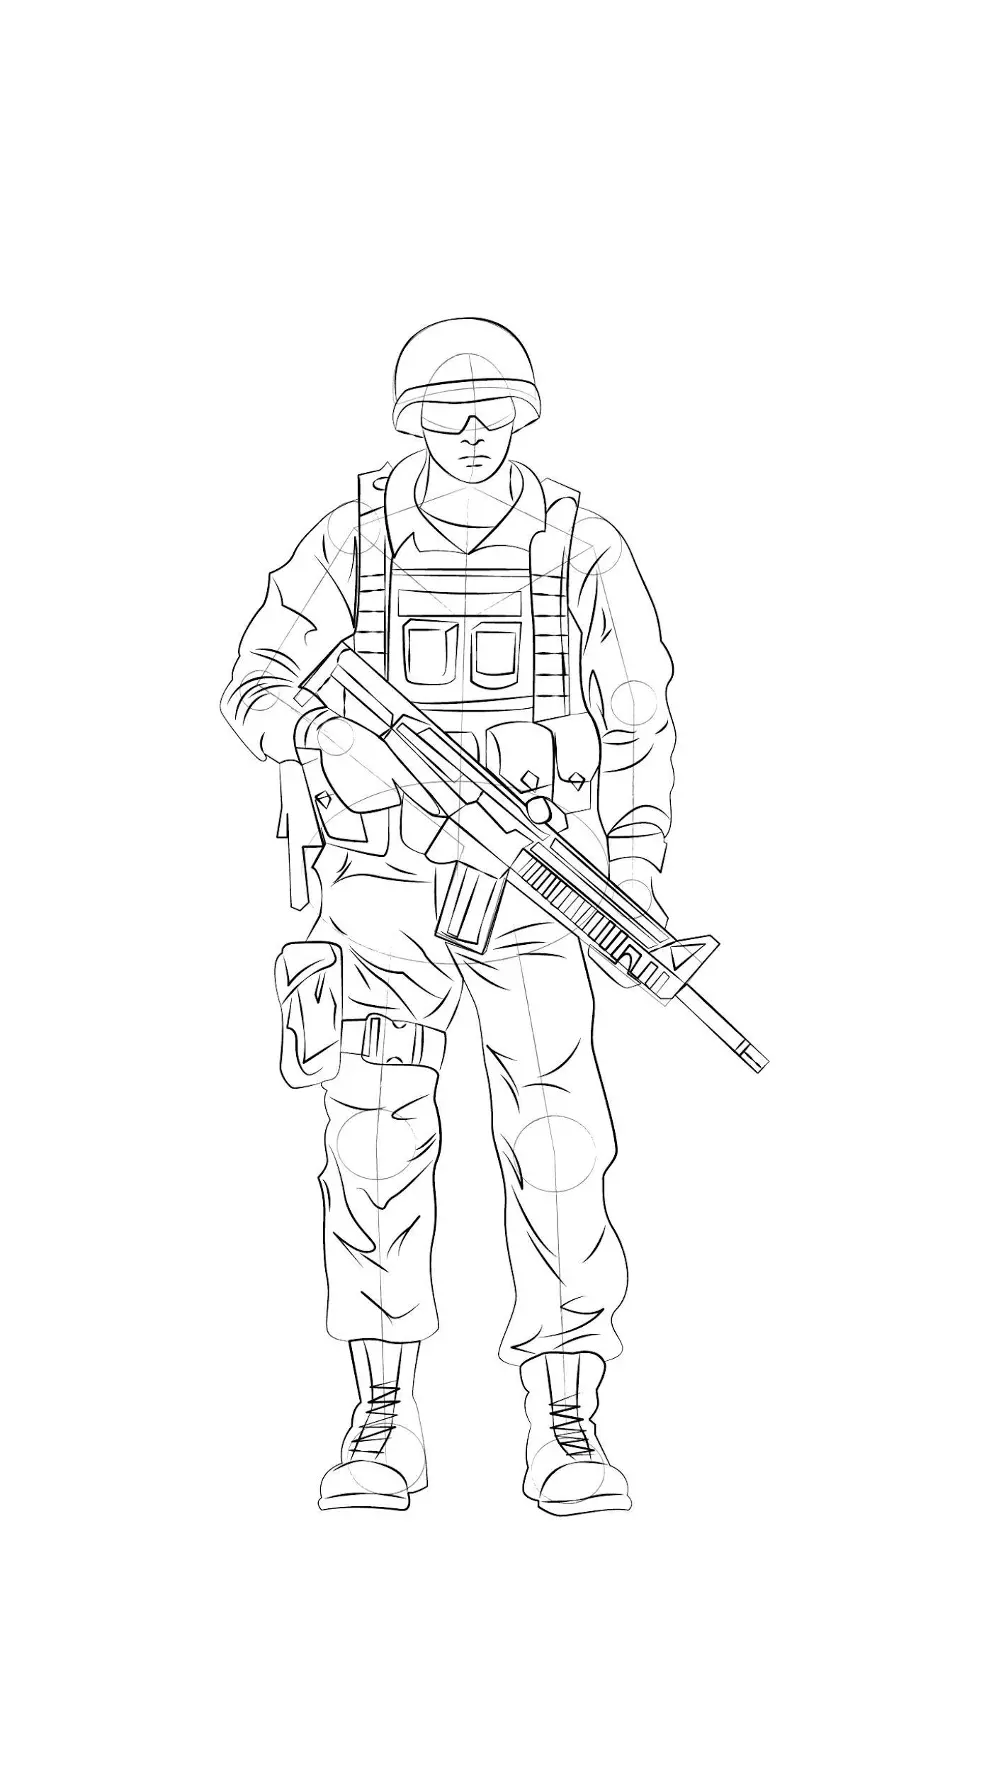
Step 12:
For the final step, we'll just erase the marks drawn previously. And we get our final image.

Illustrator and writer: Nathan
Popular Articles
Discussion
No comments yet.