How to Draw a Whale
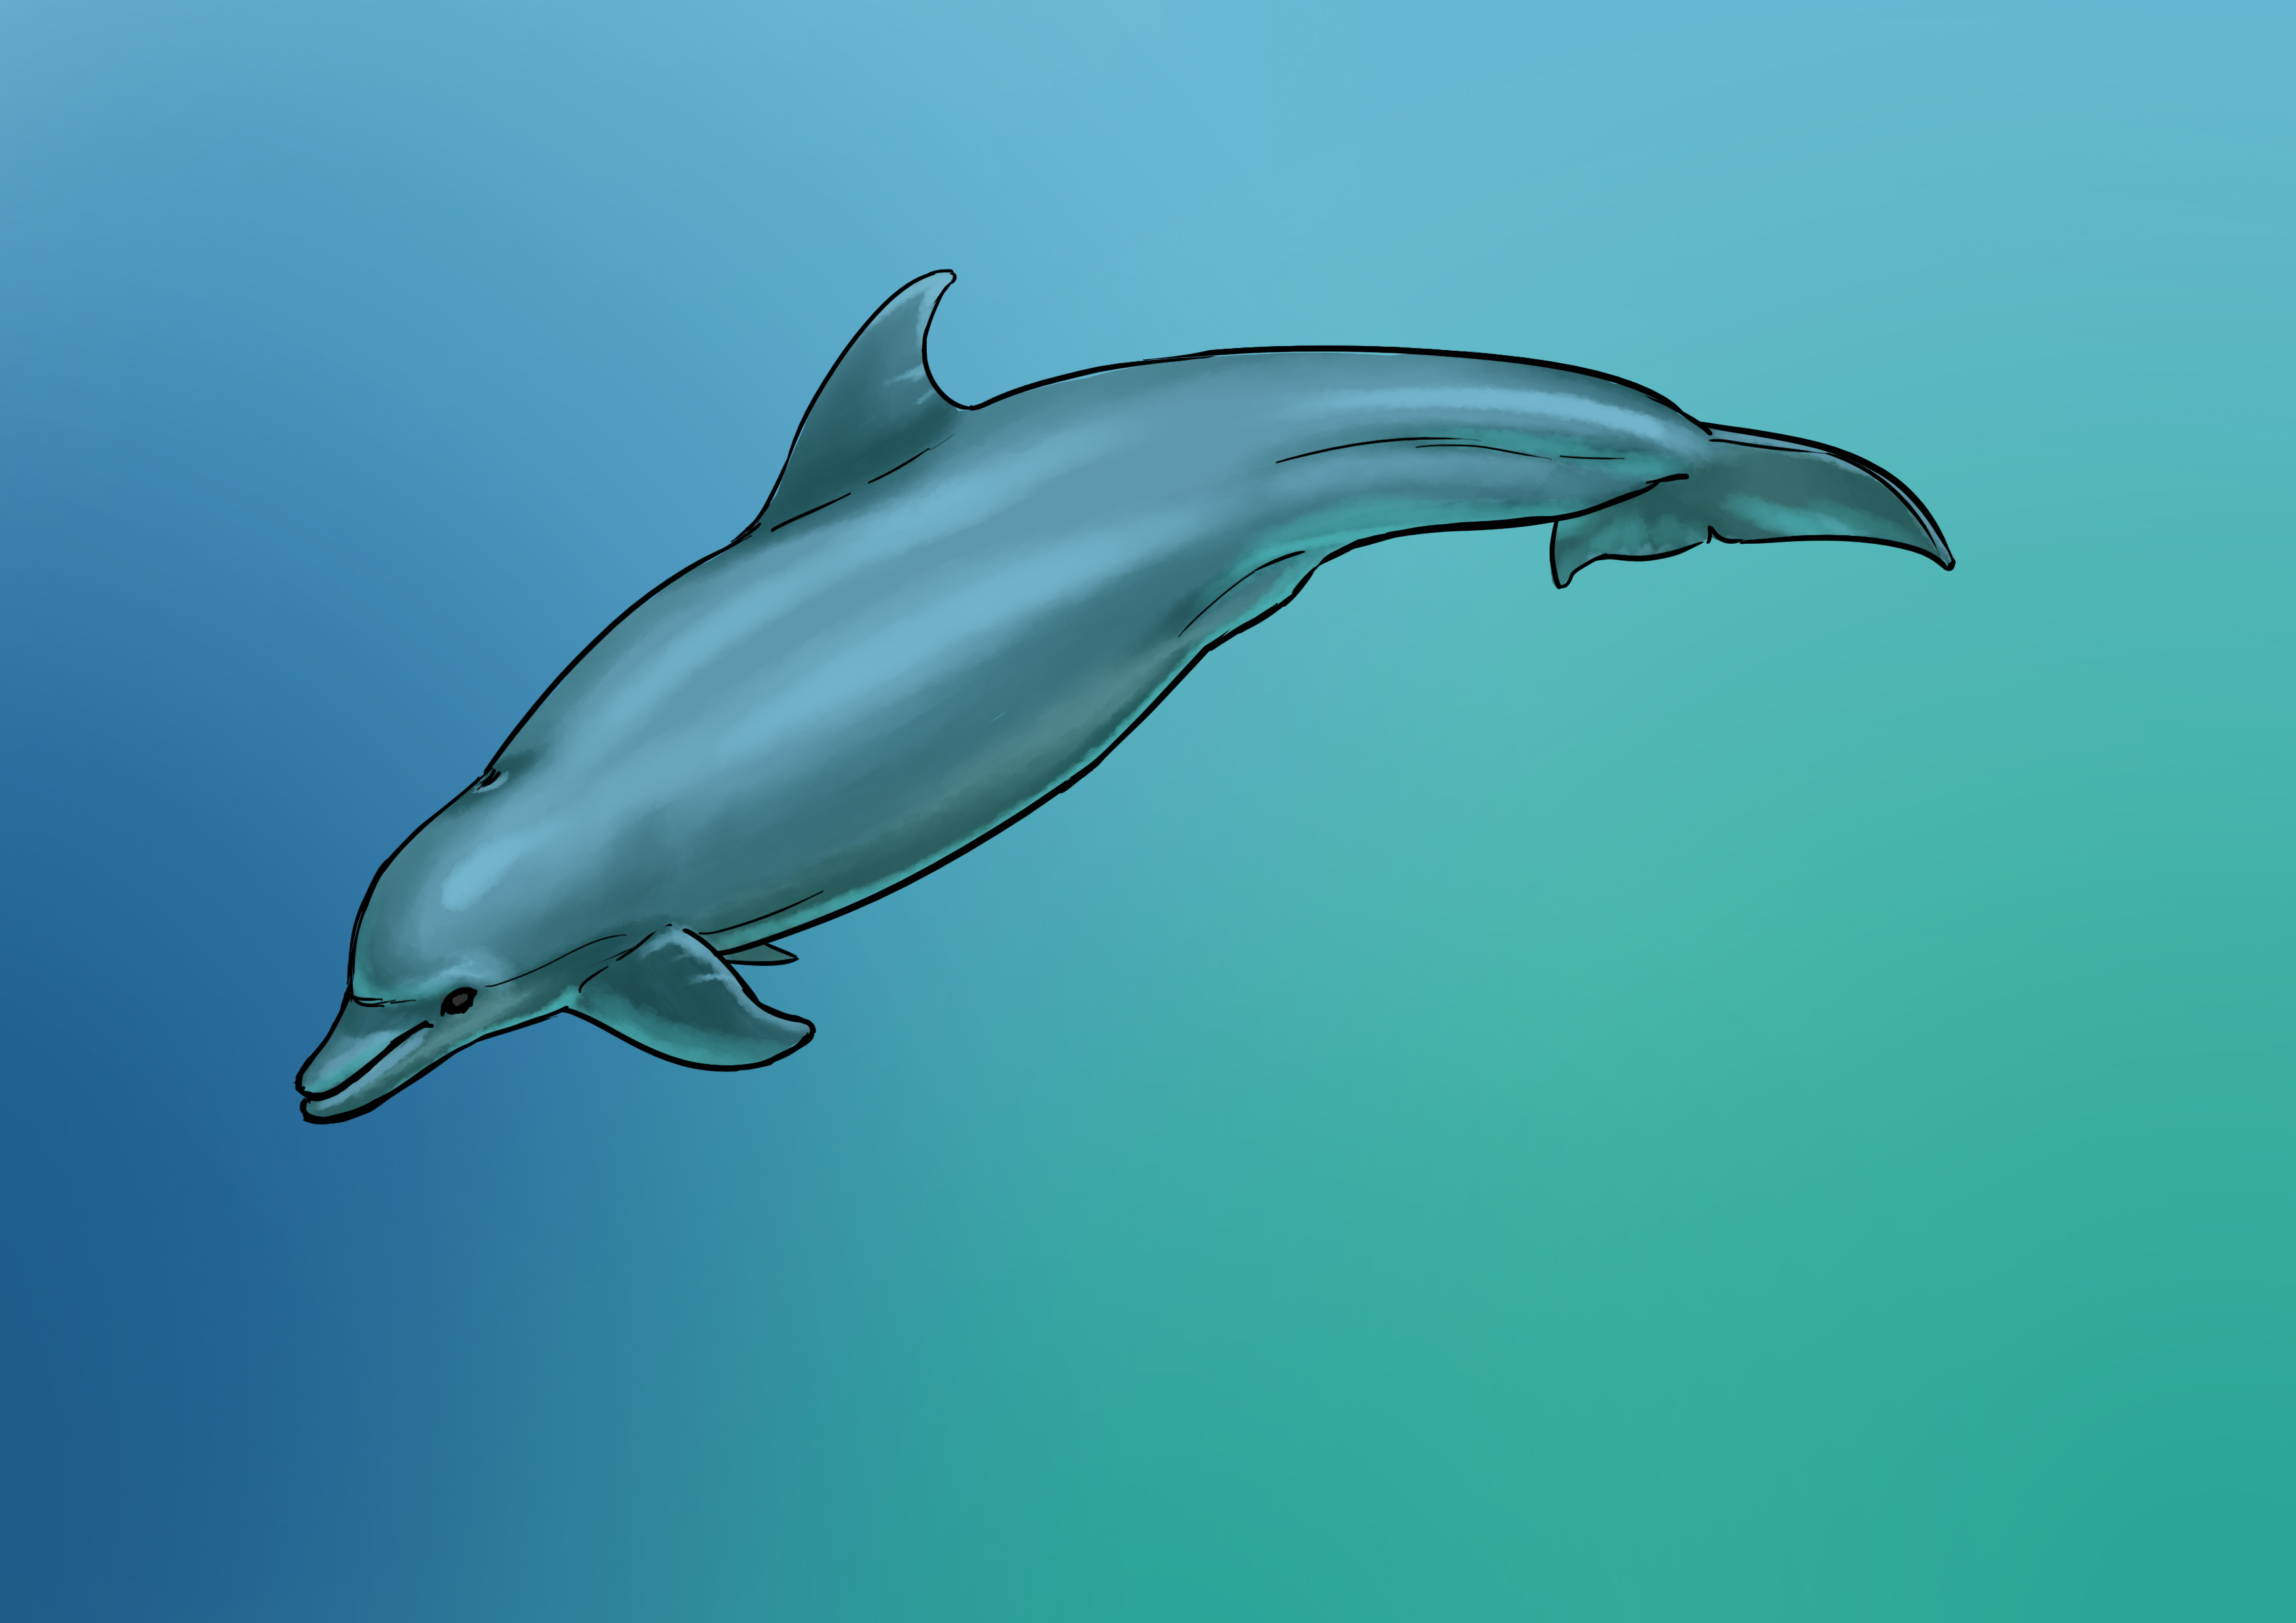
We're tackling something big today! What am I saying, a marine mastodon! A whale, no less! Like most marine mammals, there aren't many details, so it's relatively simple to draw. In the same series, there is already an article to learn to draw a dolphin.
WHALE WATCHING FOR DRAWING
Well, everything is gigantic! The body of this blue whale is extremely long, see what it looks like from above:
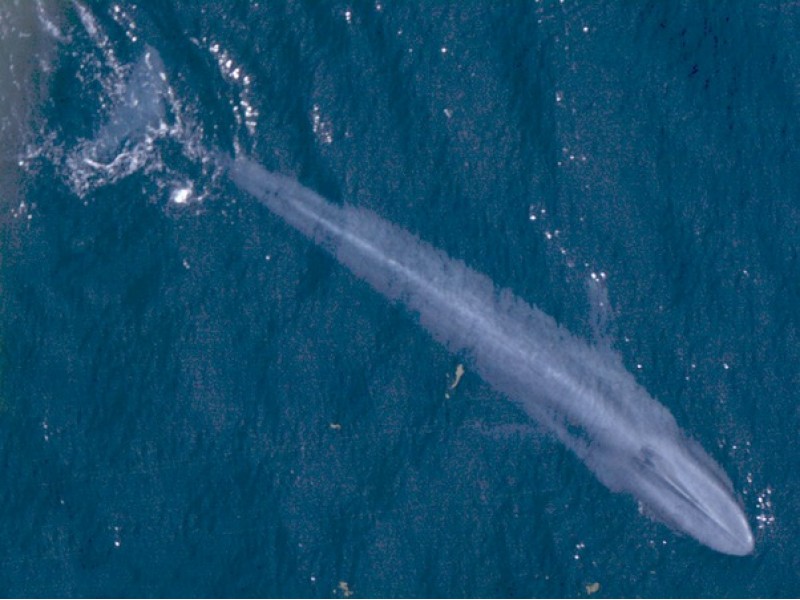
The mouth is also very long and the caudal fin is of a similar size. Ultimately, all of this is very flat. We must not forget the fins and the small fin on the back.
At the same time, I chose the biggest species, so obviously :D
Most features are similar to those of the dolphin (such as the back being wide when viewed from the side but thin from the top). The area where the blowhole is located is more hollow. The eyes are at the widest point (this can be seen from the top view).
DRAWING A WHALE STEP BY STEP
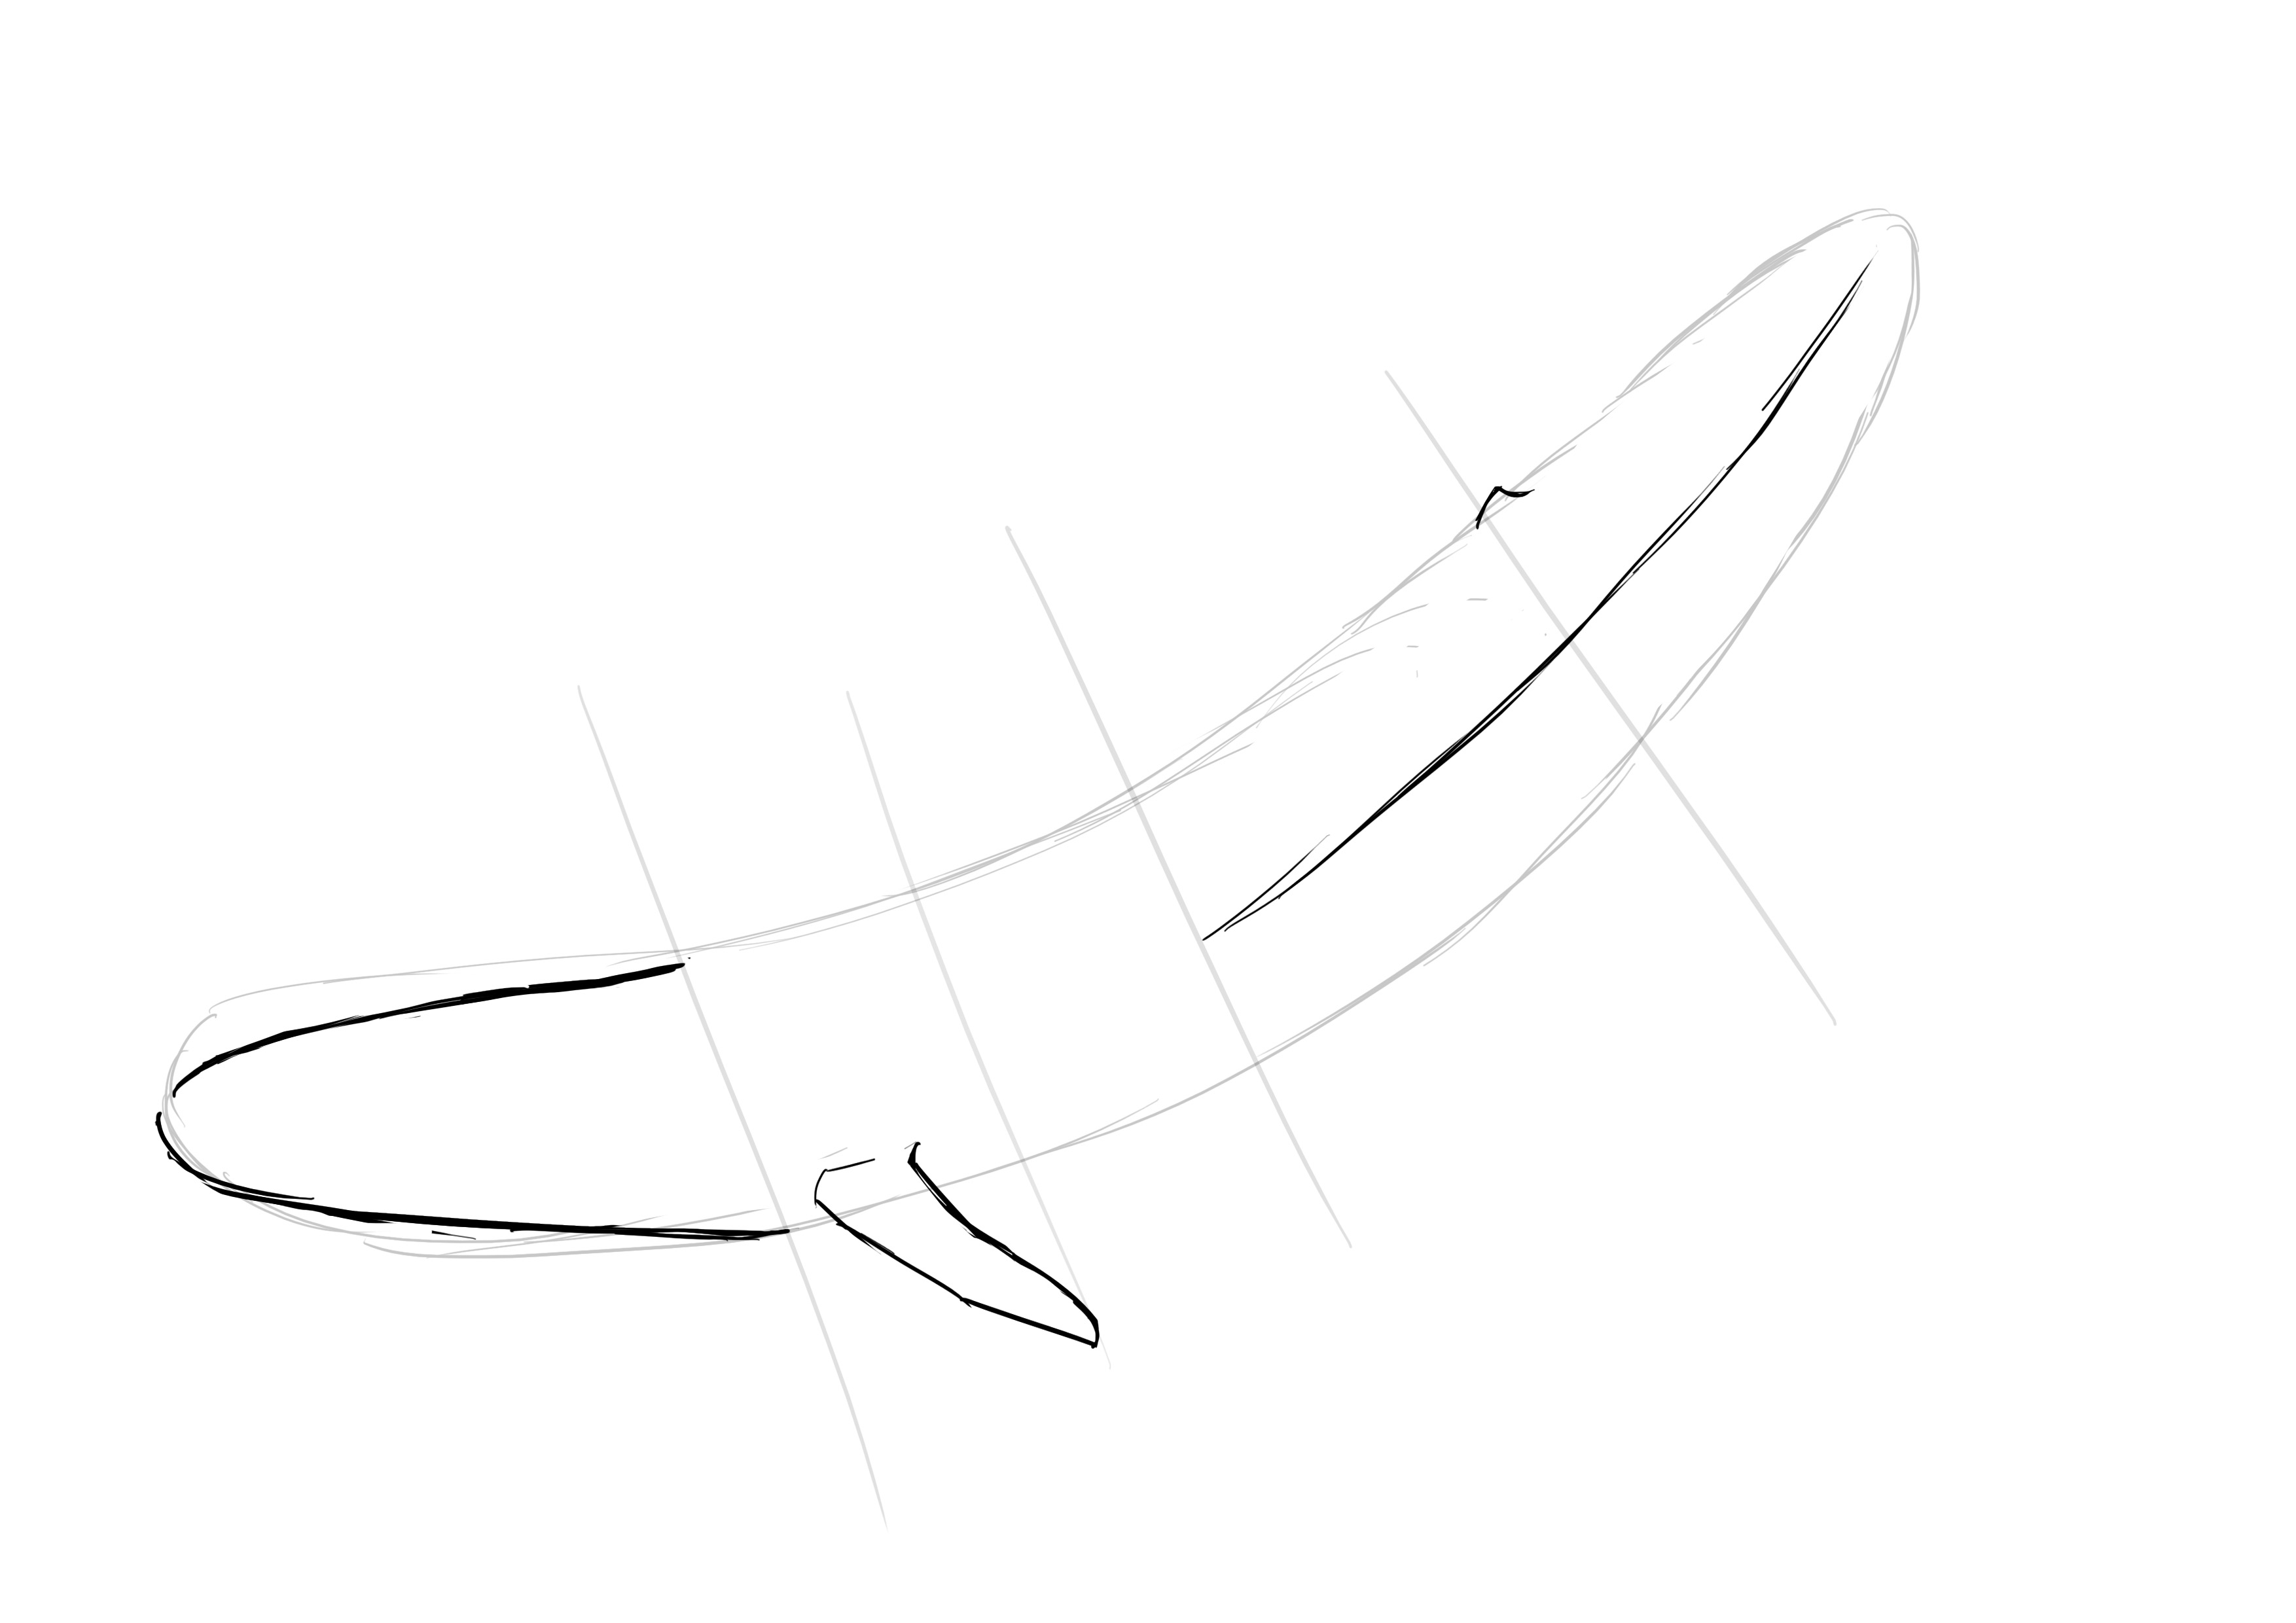
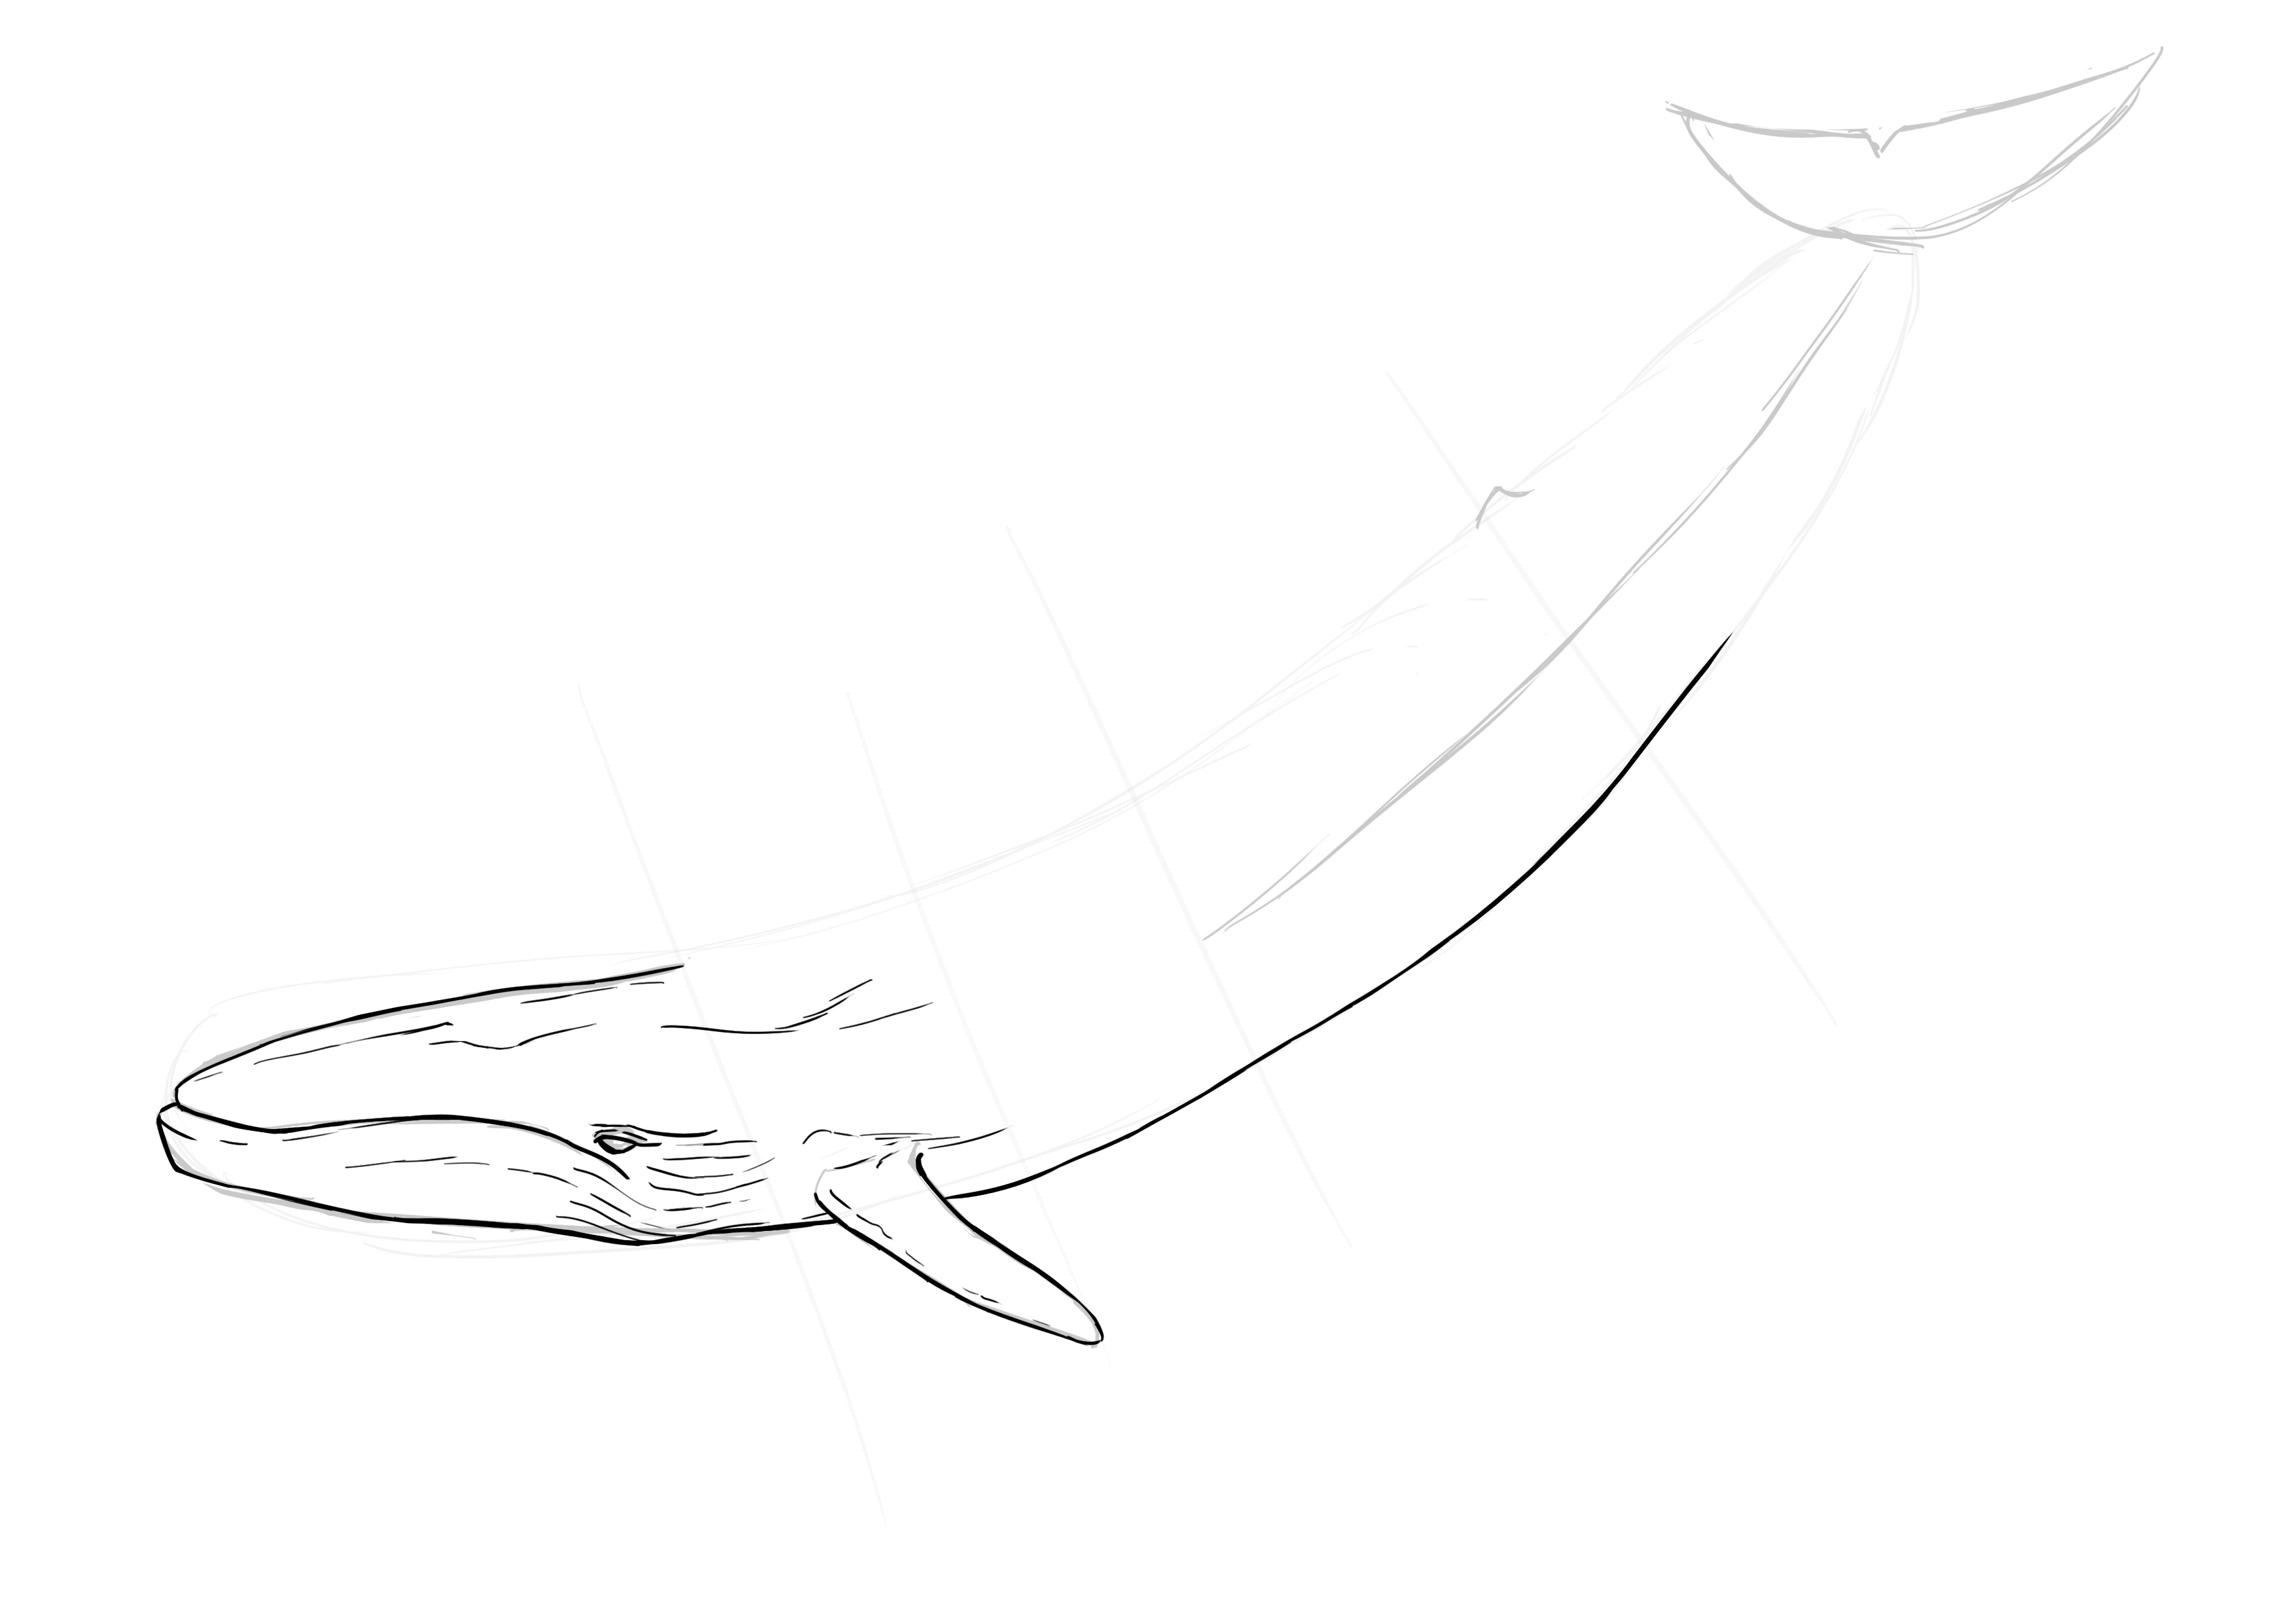
Well, if you followed the article on the dolphin, it was one of the rare times where I didn't start with the animal's head. This time, we're going to do the same thing.
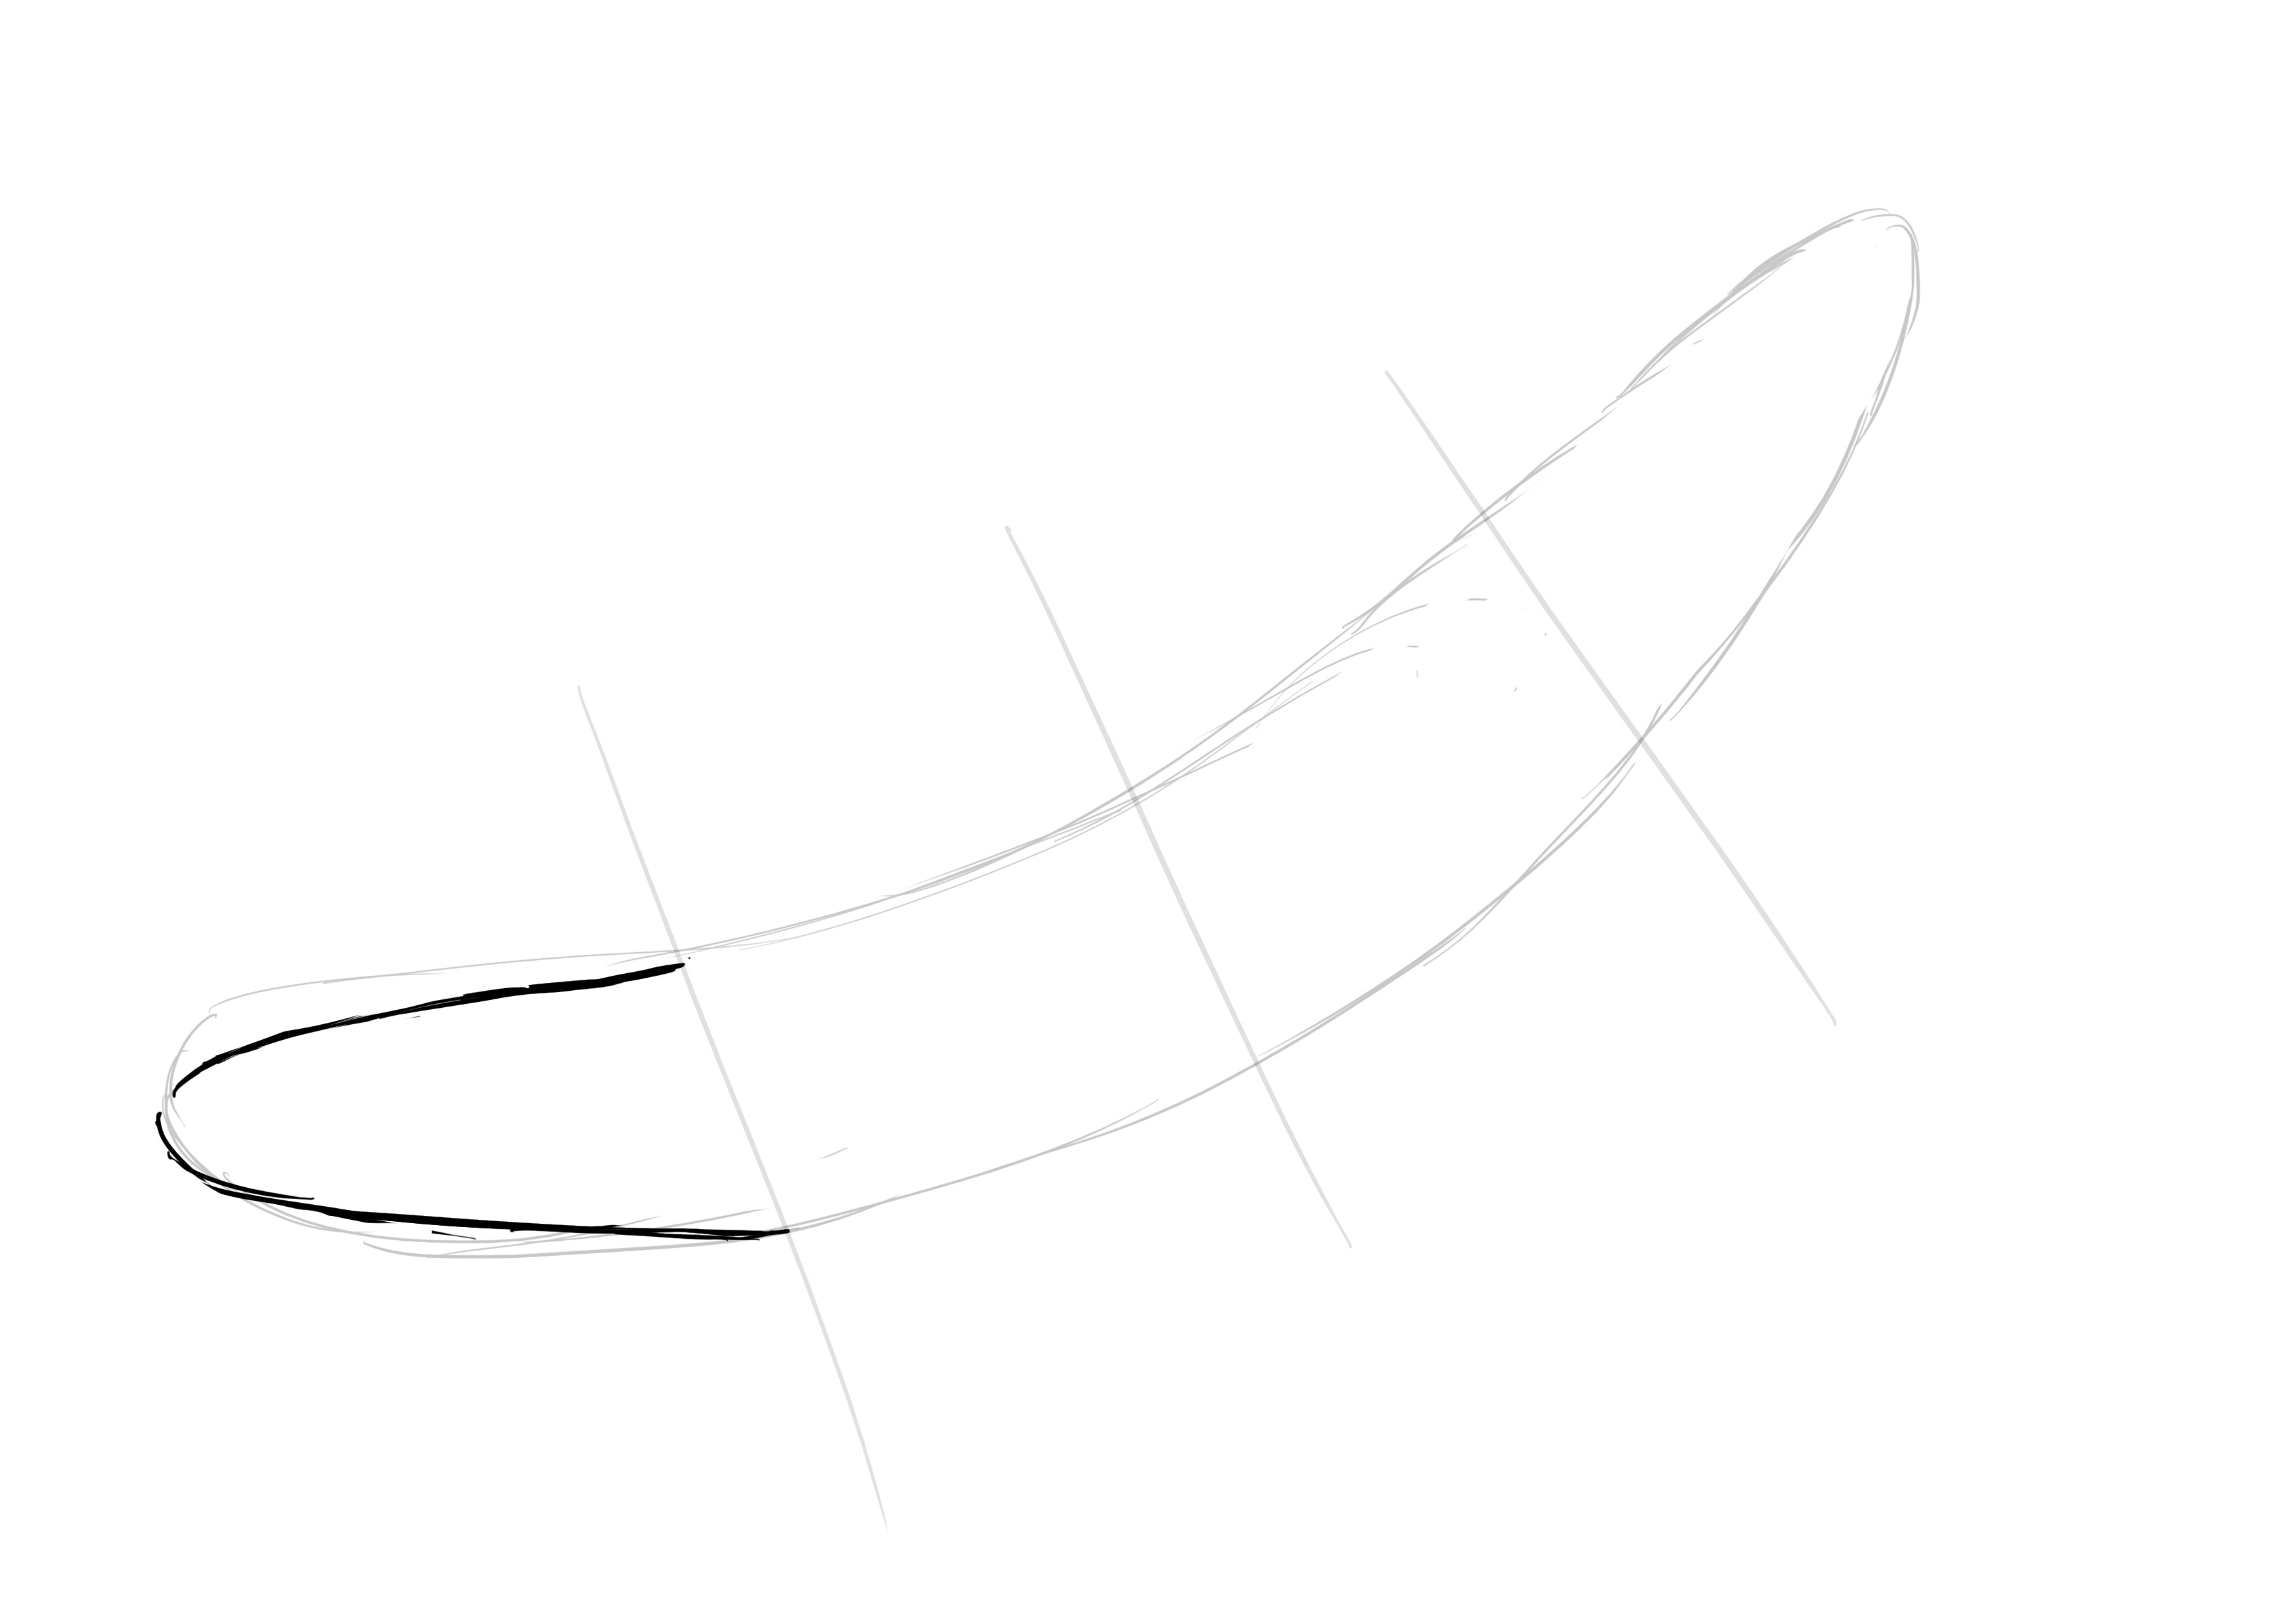
We will draw a large oval and curved shape (kind of like a banana if you will). We can fit the width into the length of this shape about six and a half times.
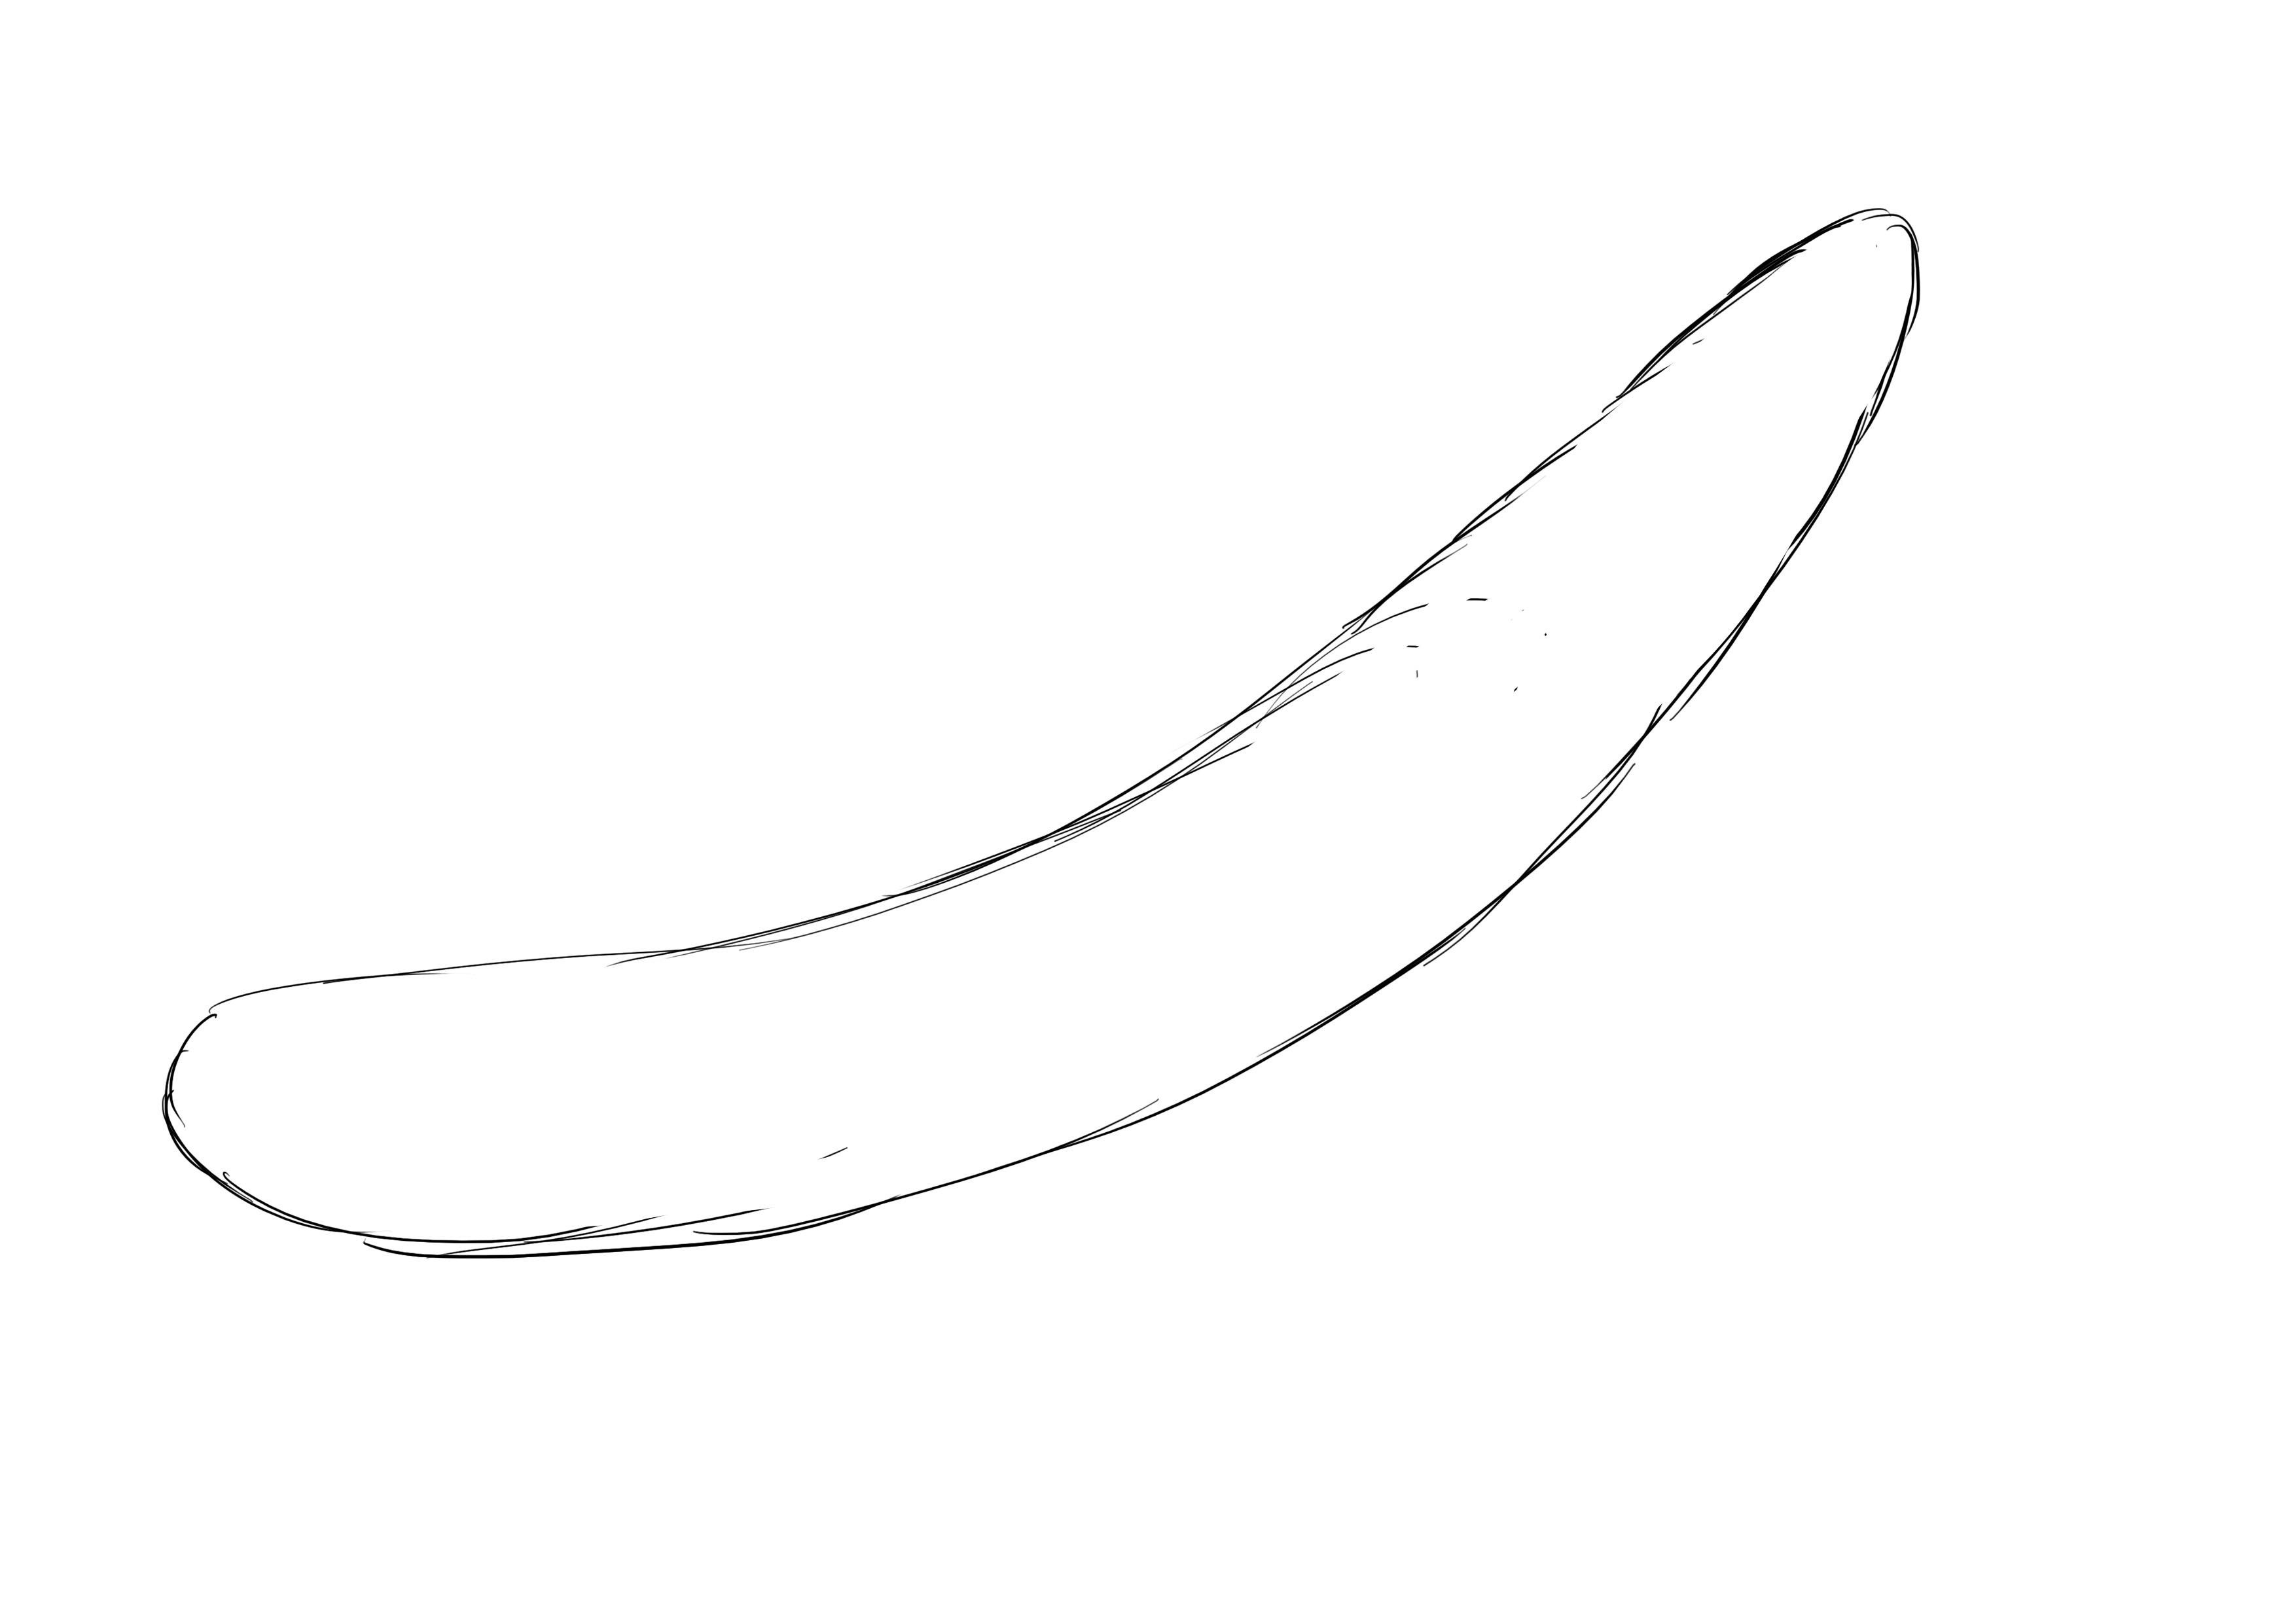
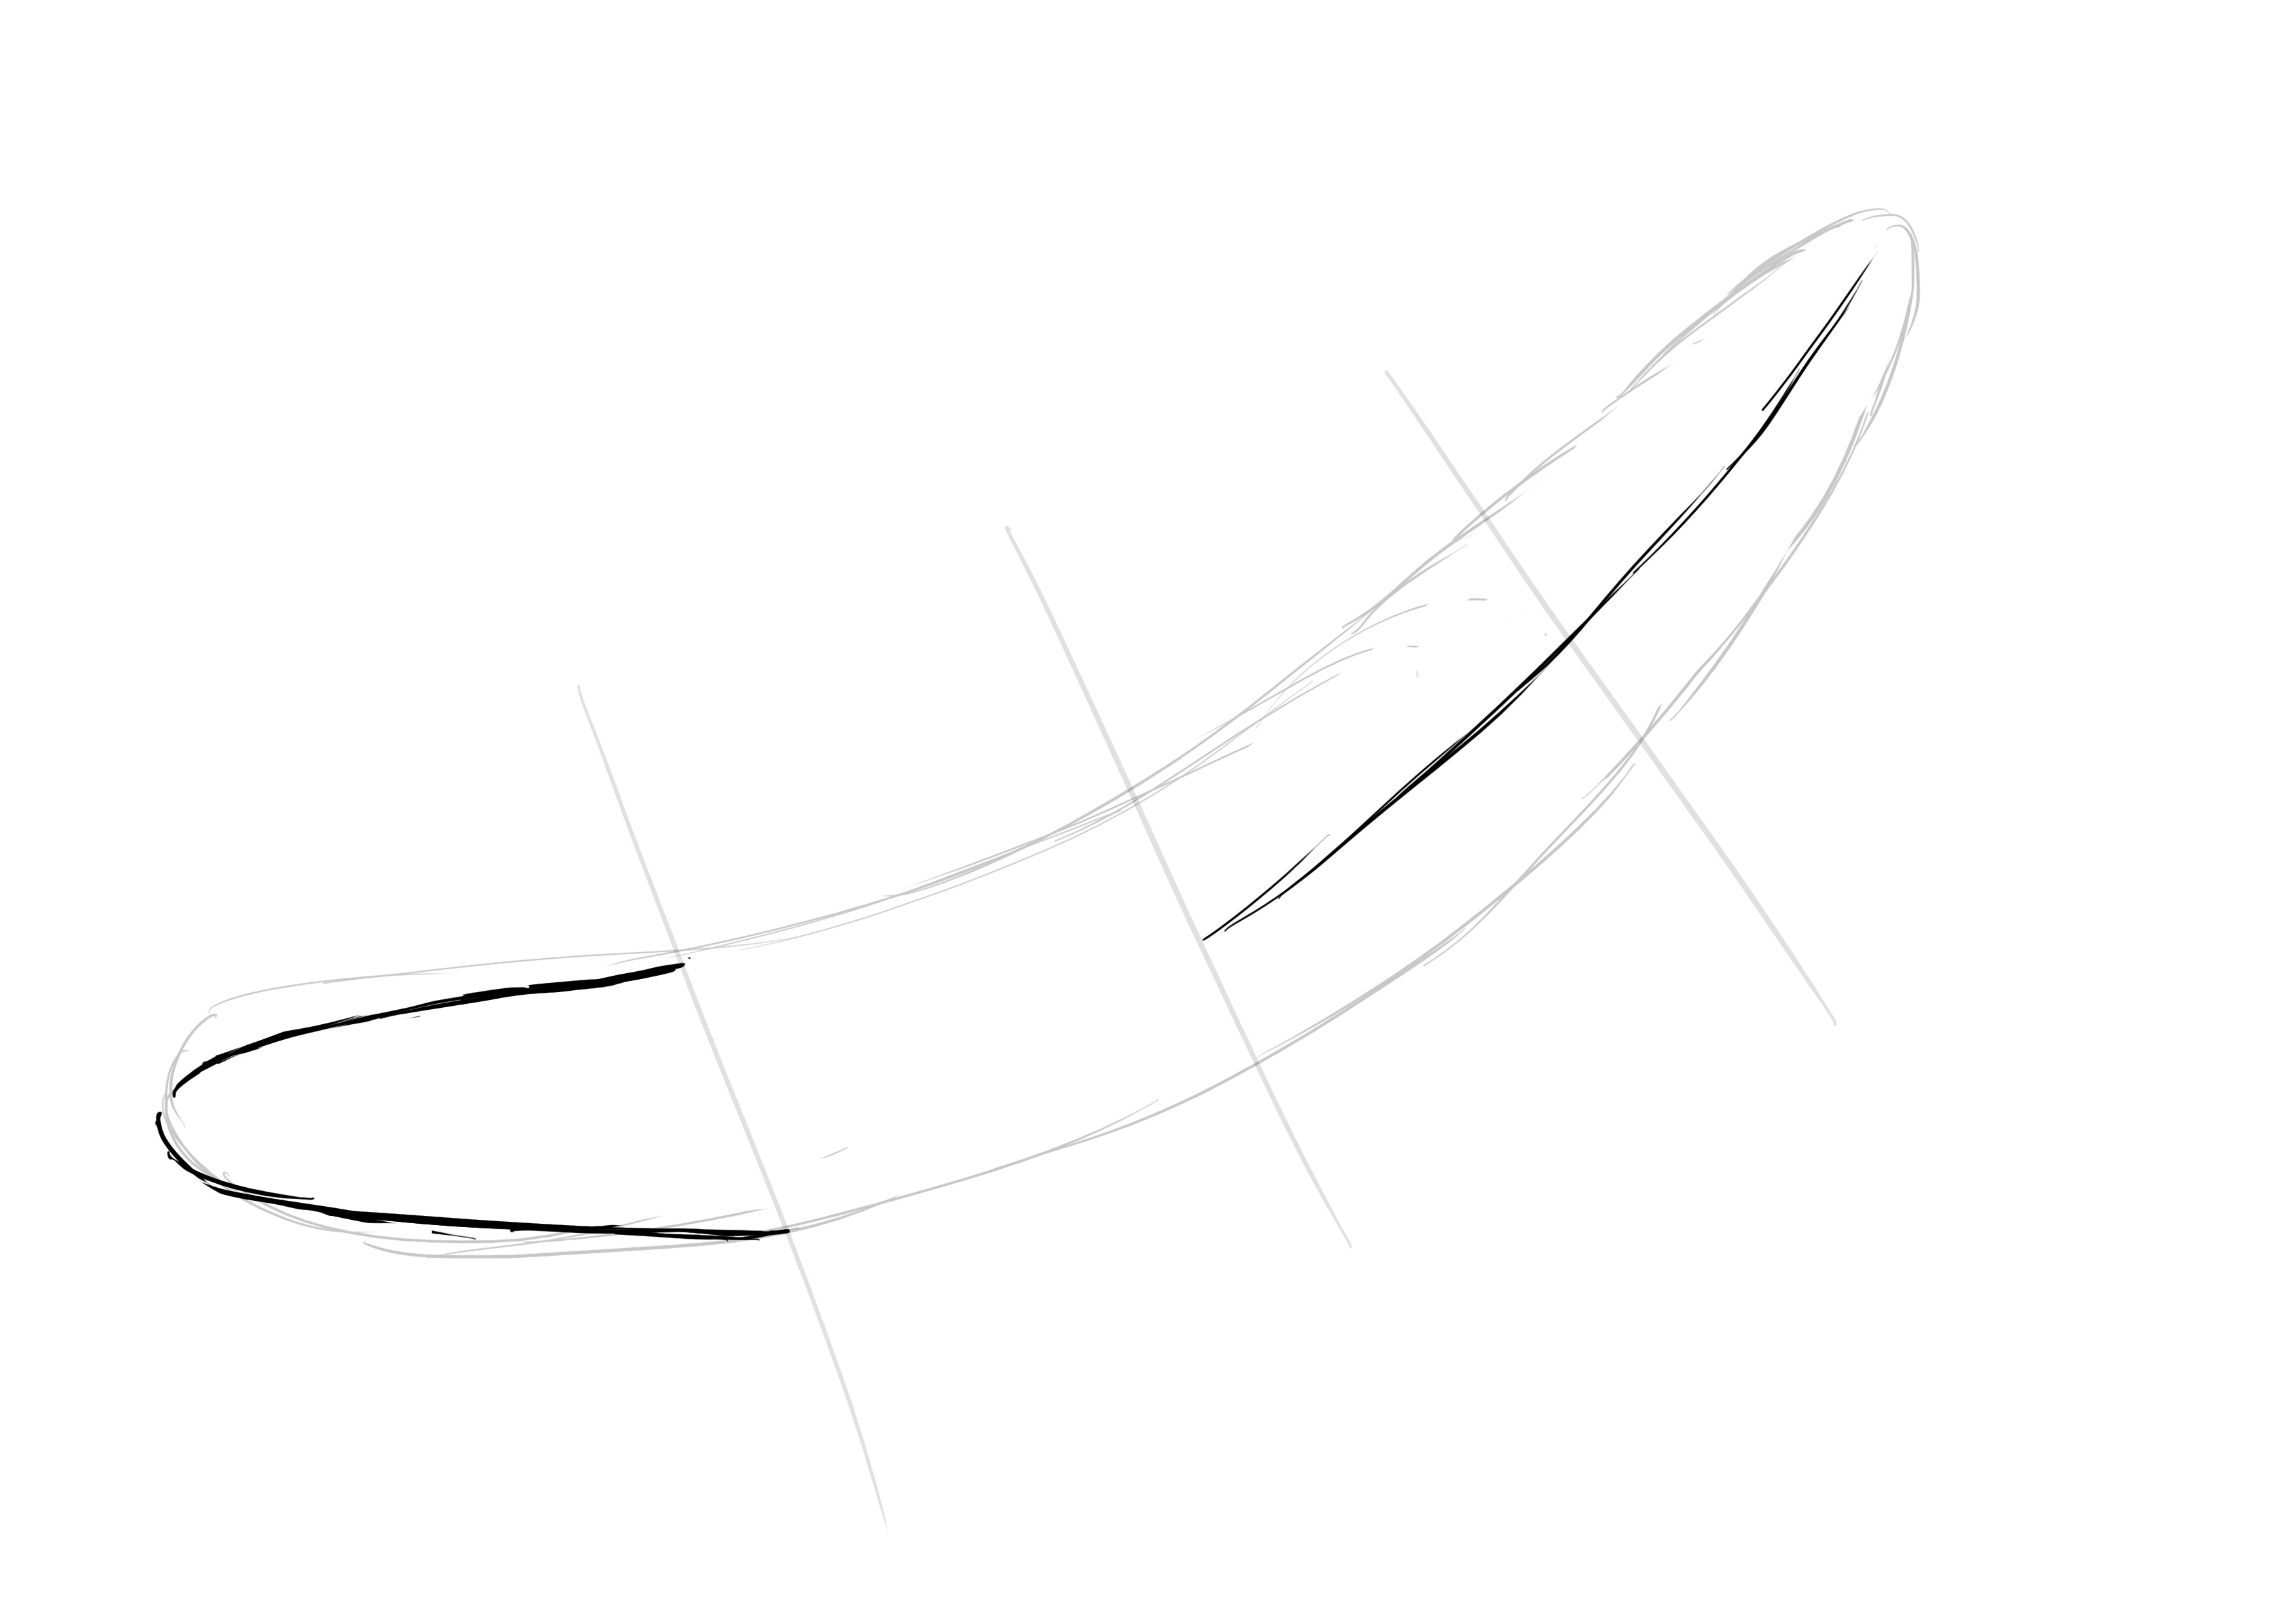
The head will be located on the left. As you've seen, it's broad when viewed from above, but slender and "pointed" from the side. It also has a very slight downward curve. The head takes up about a quarter of the body (a bit more). I include in the head all of the mouth and the brow ridges. So it stops just before the front fins.
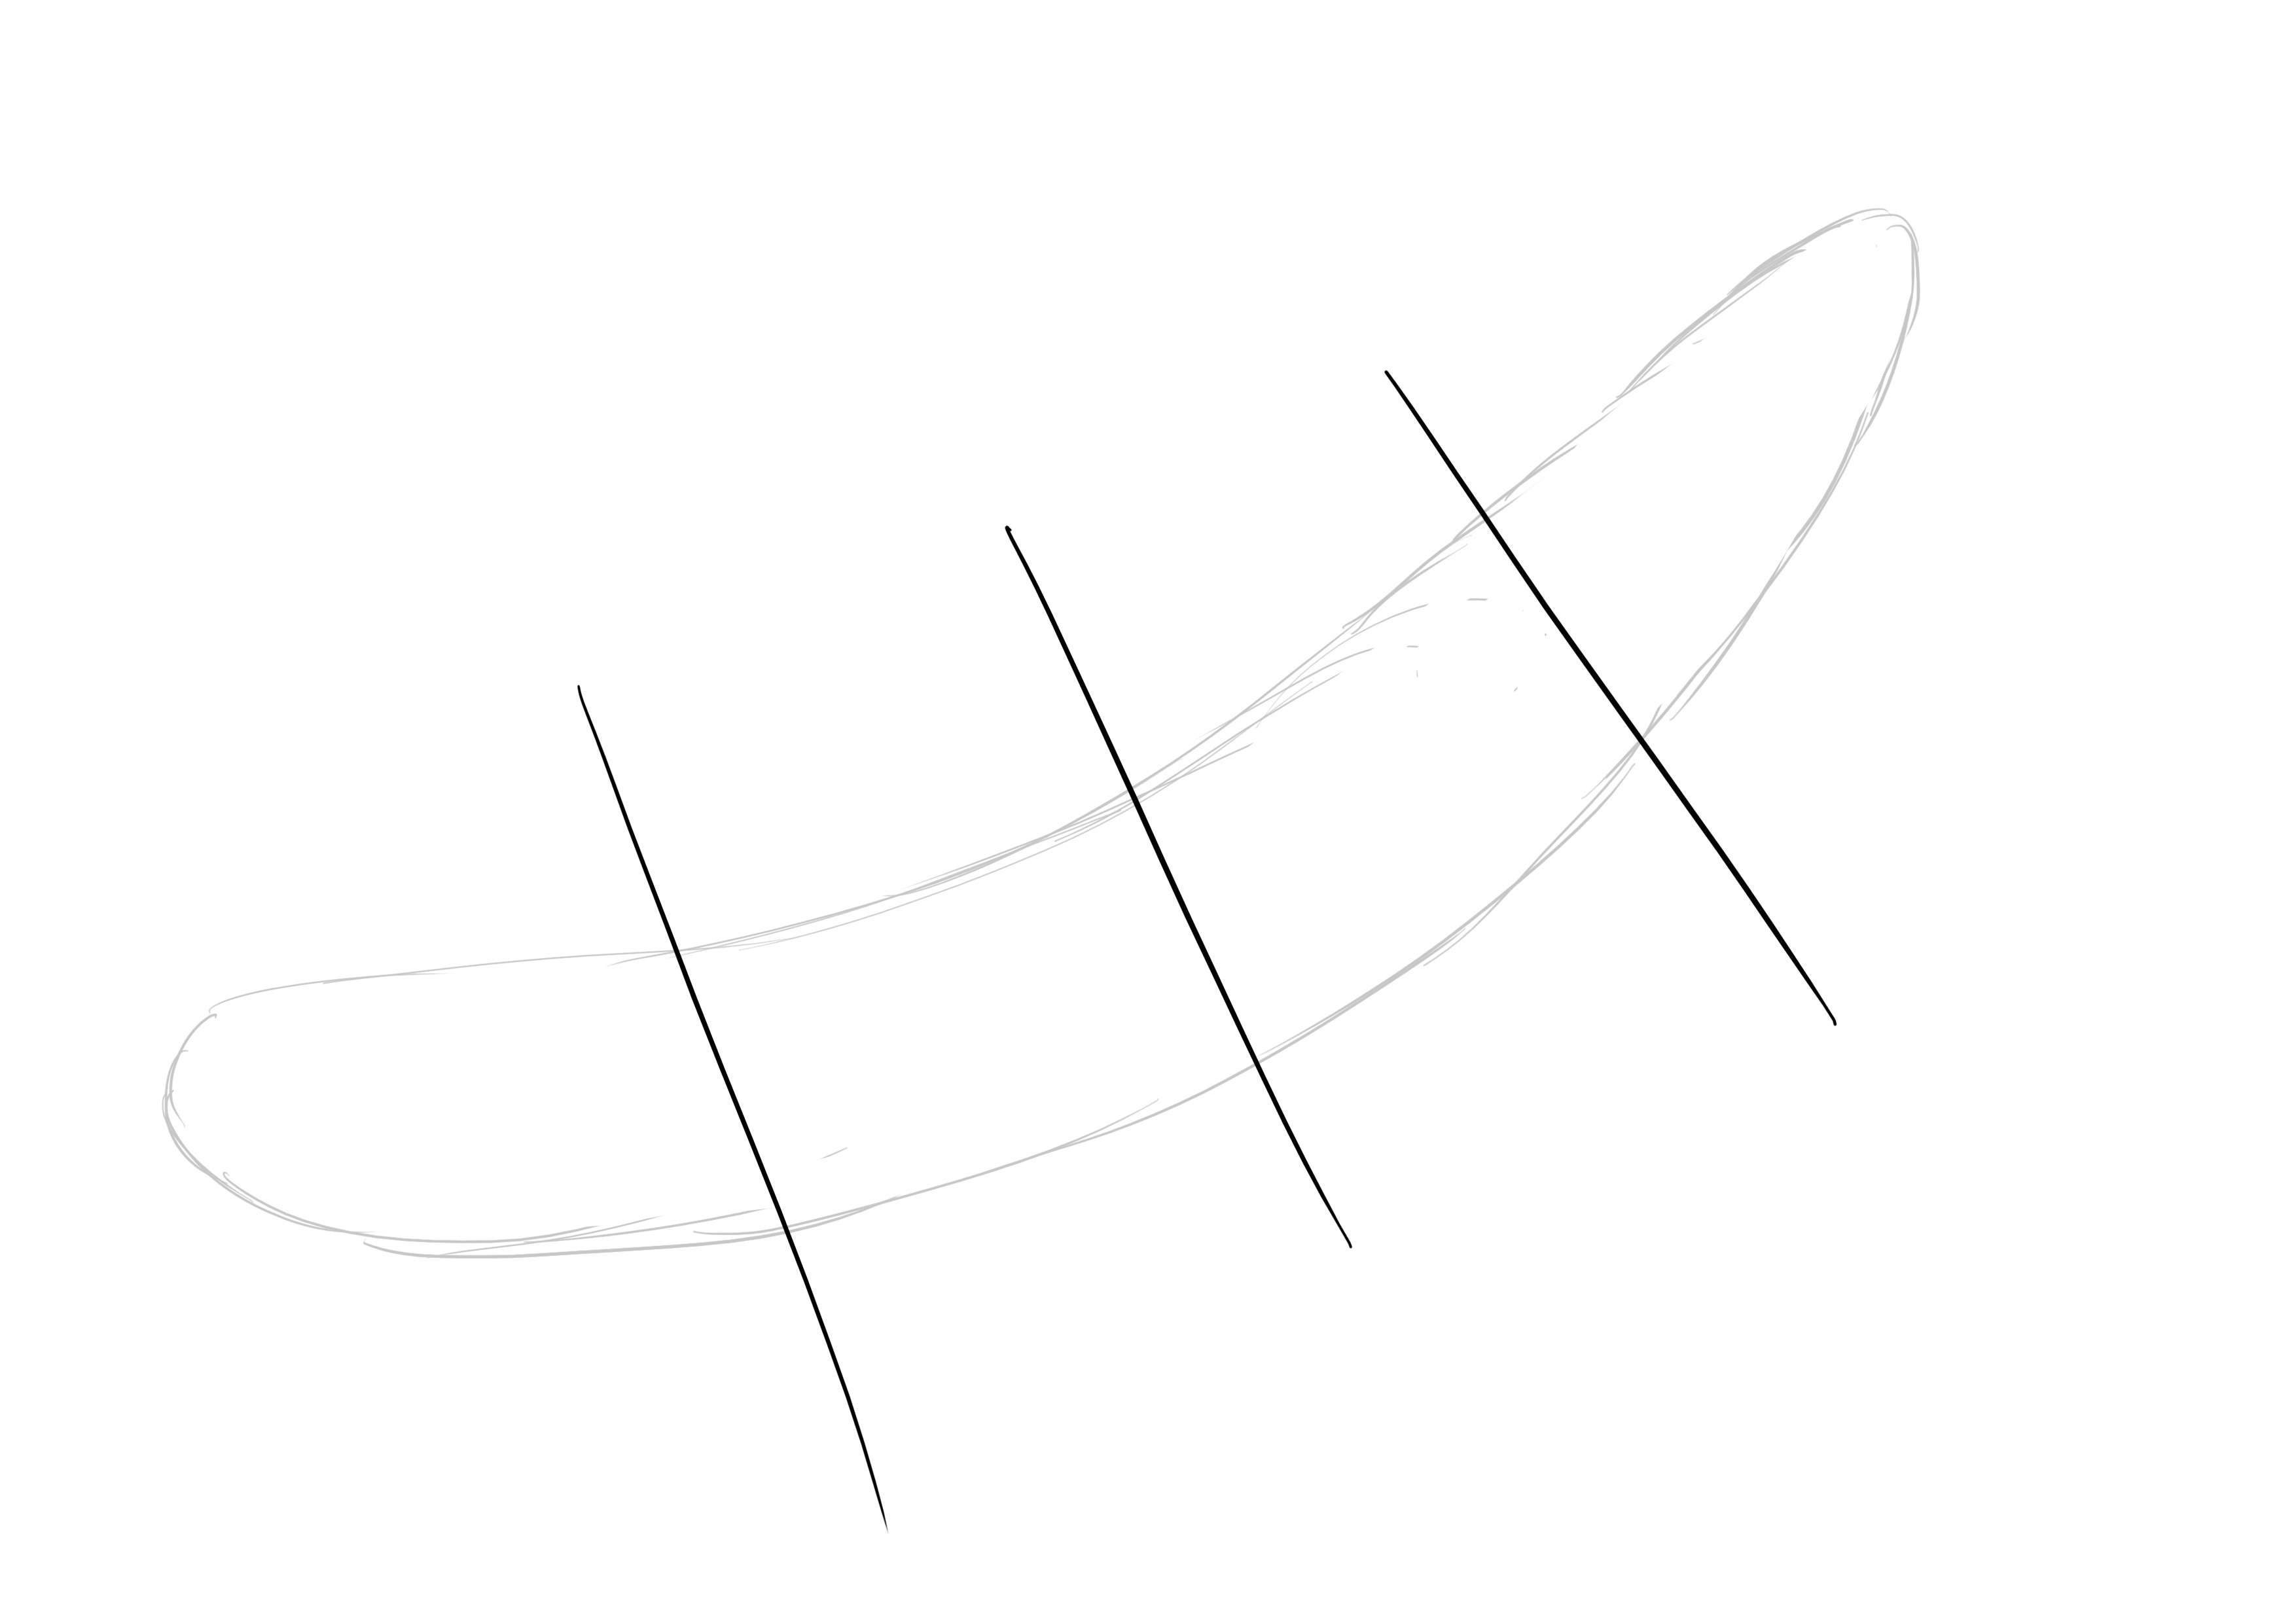
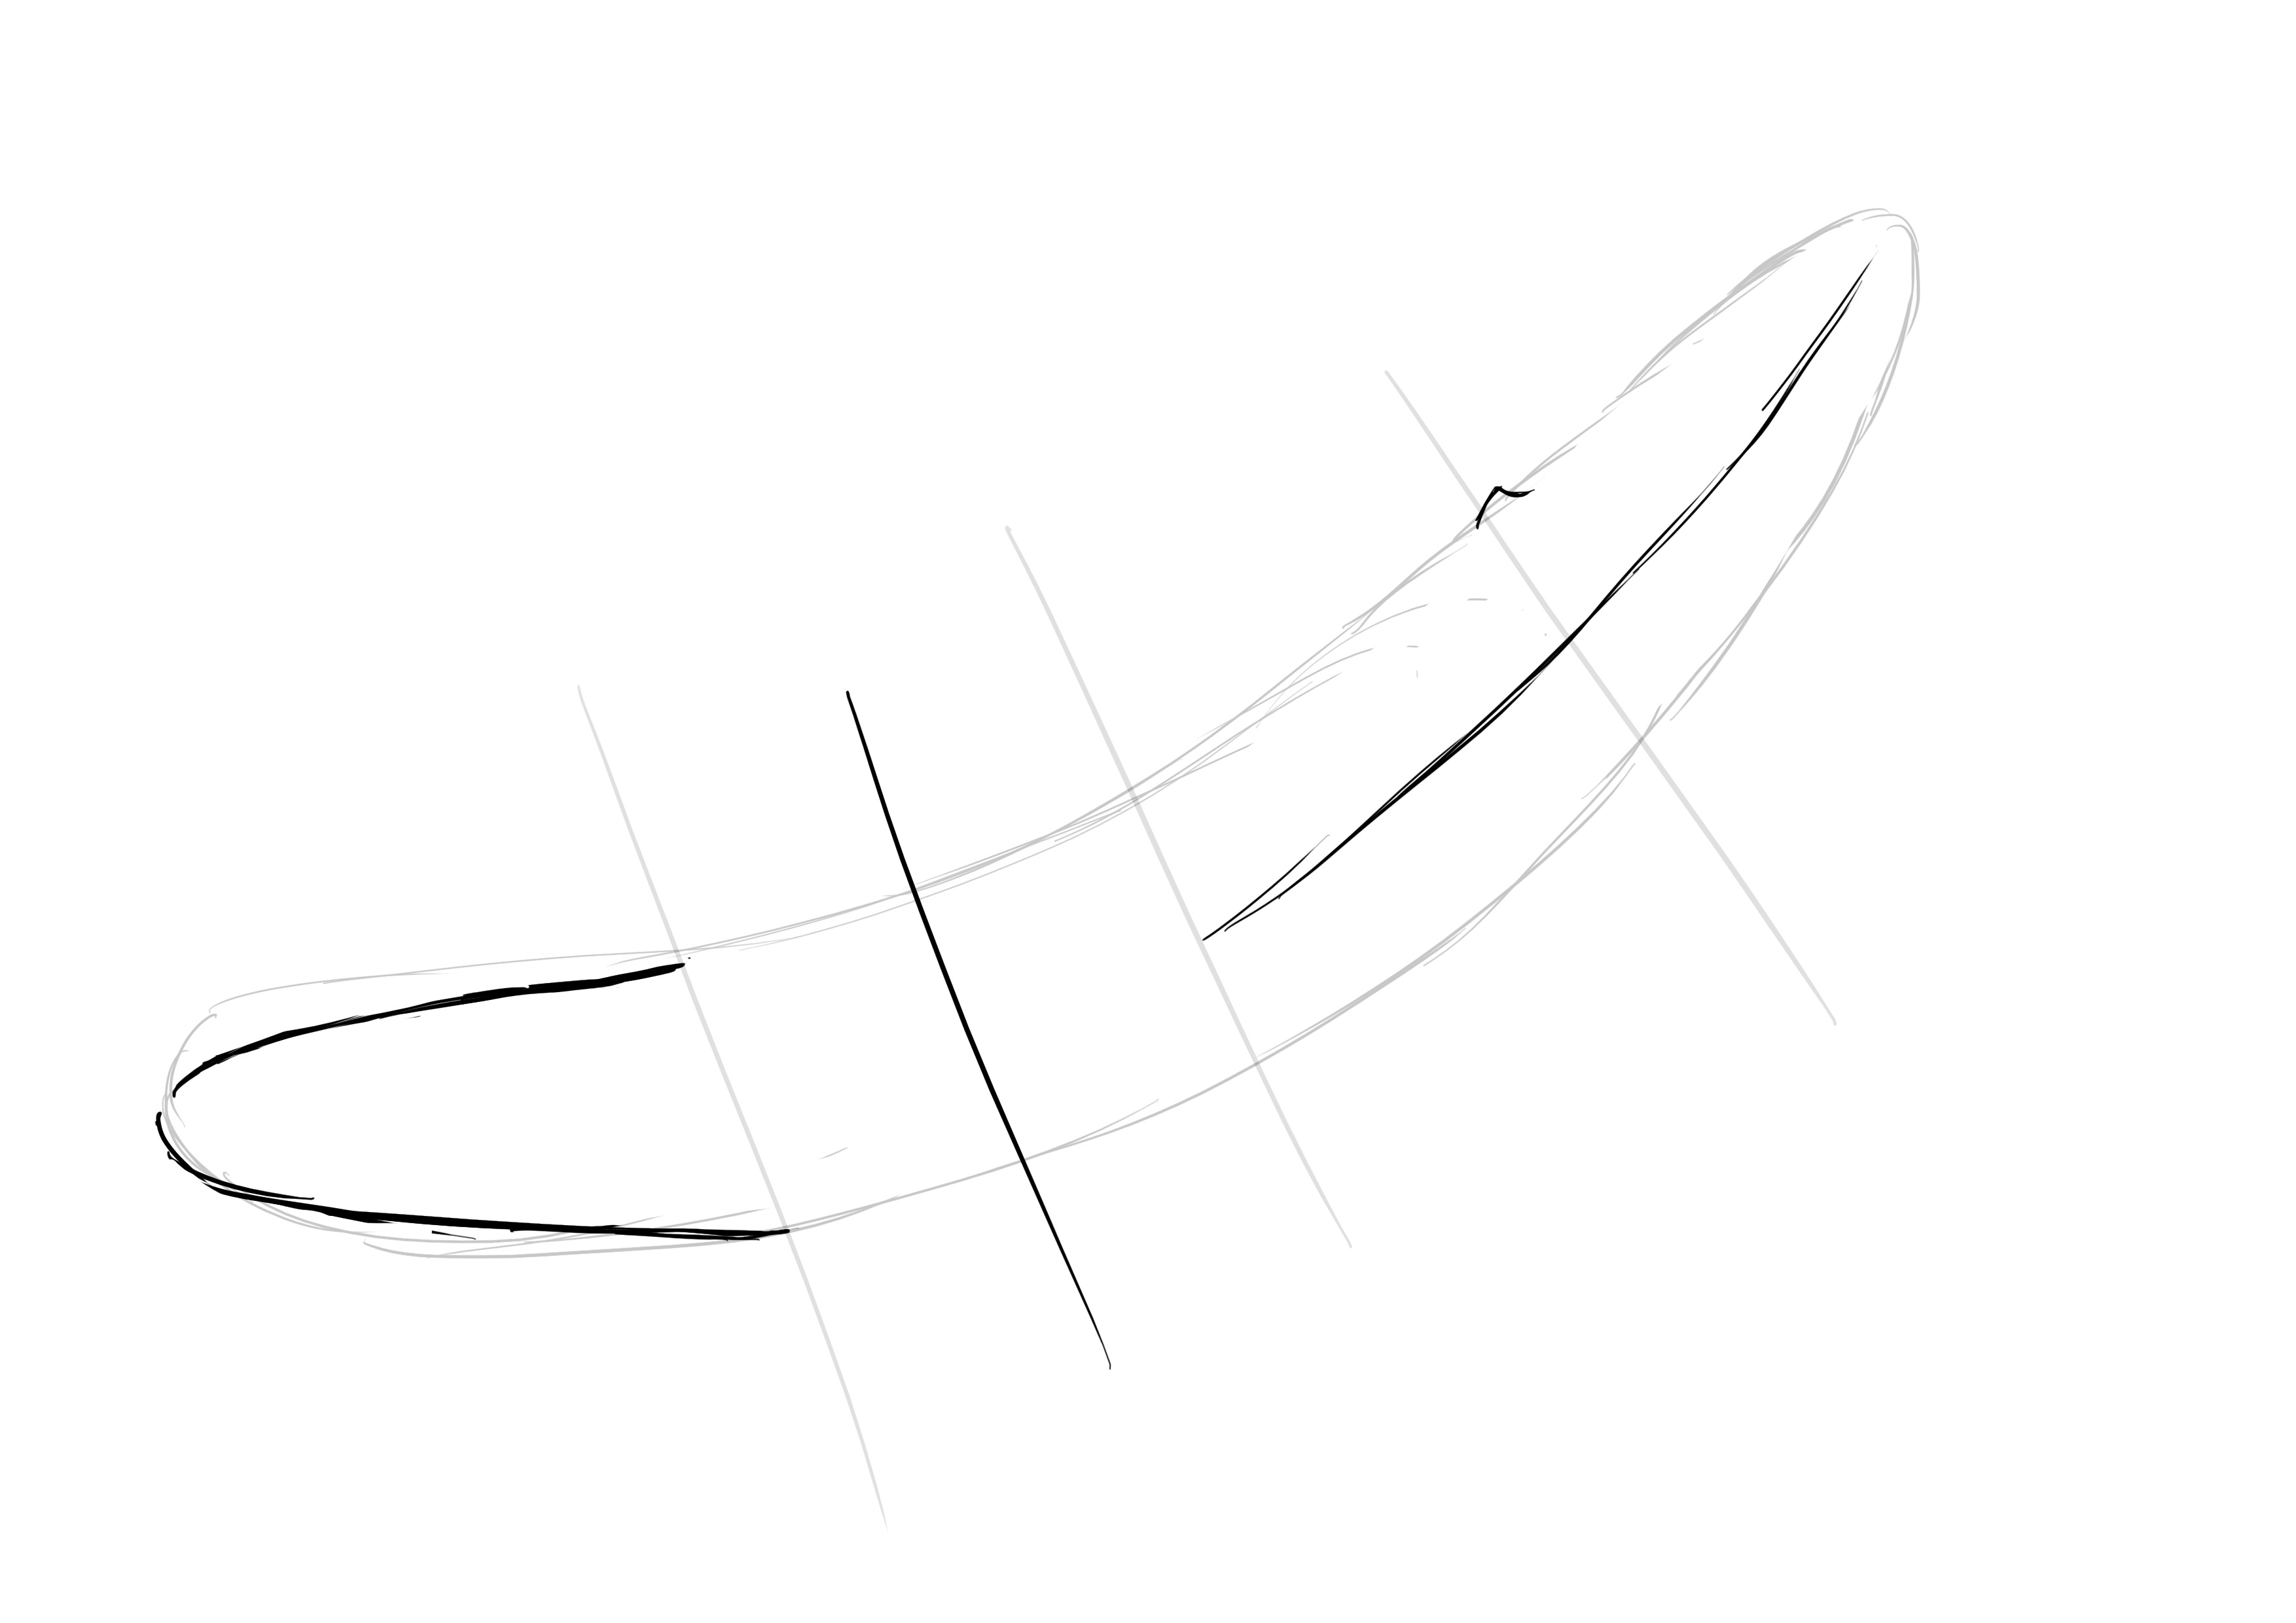
Like the dolphin, the whale is very muscular; it has a kind of muscle line running along its length. We will draw a line roughly in the middle of the body lengthwise.
The fin is located at about the last quarter of the body.

The front fins are a bit after the first quarter and stop at the half of the second. They are quite short. They are also three times longer than they are wide.
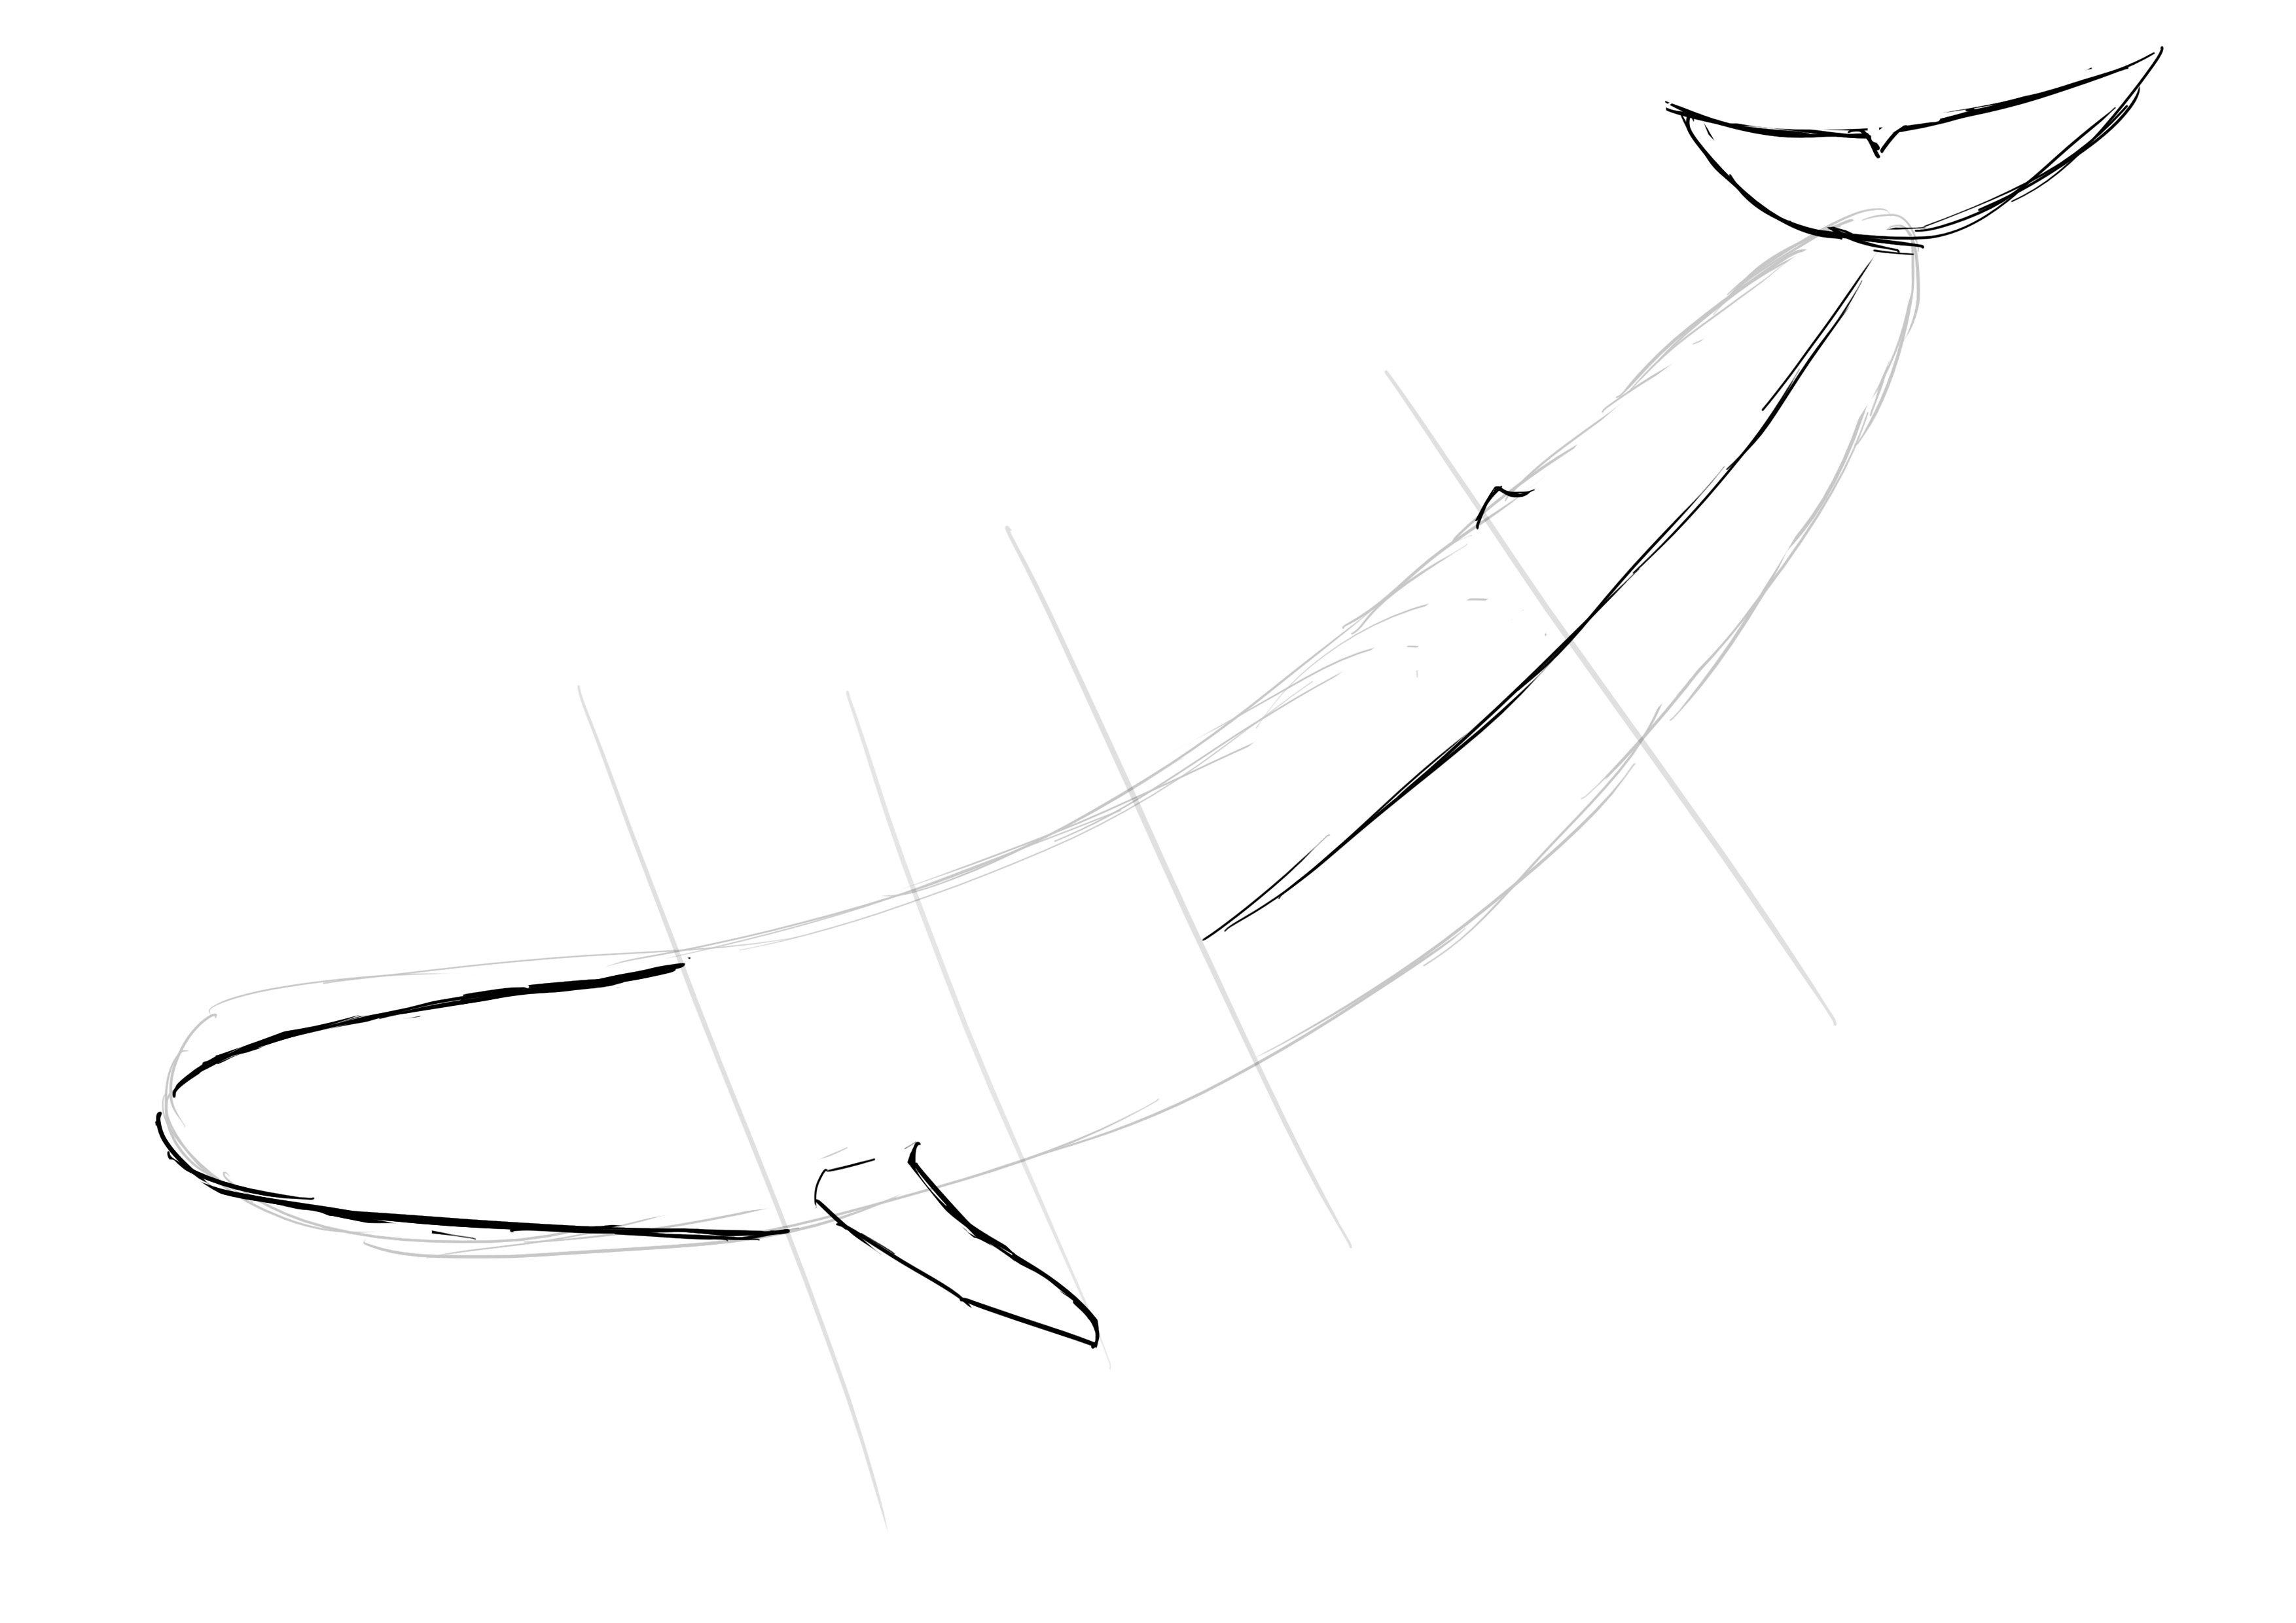
The tail fin is much larger and very flat like that of a dolphin. It is as wide as the head is long, however, our point of view will change that, so it will be shorter. That's the advantage with aquatic animals, they are always more or less in perspective. We hardly ever see them completely from the front or side, so even small errors in proportions usually won't cause problems.
The eye is located almost at the end of the head area and between a third and half in terms of the width of the head.
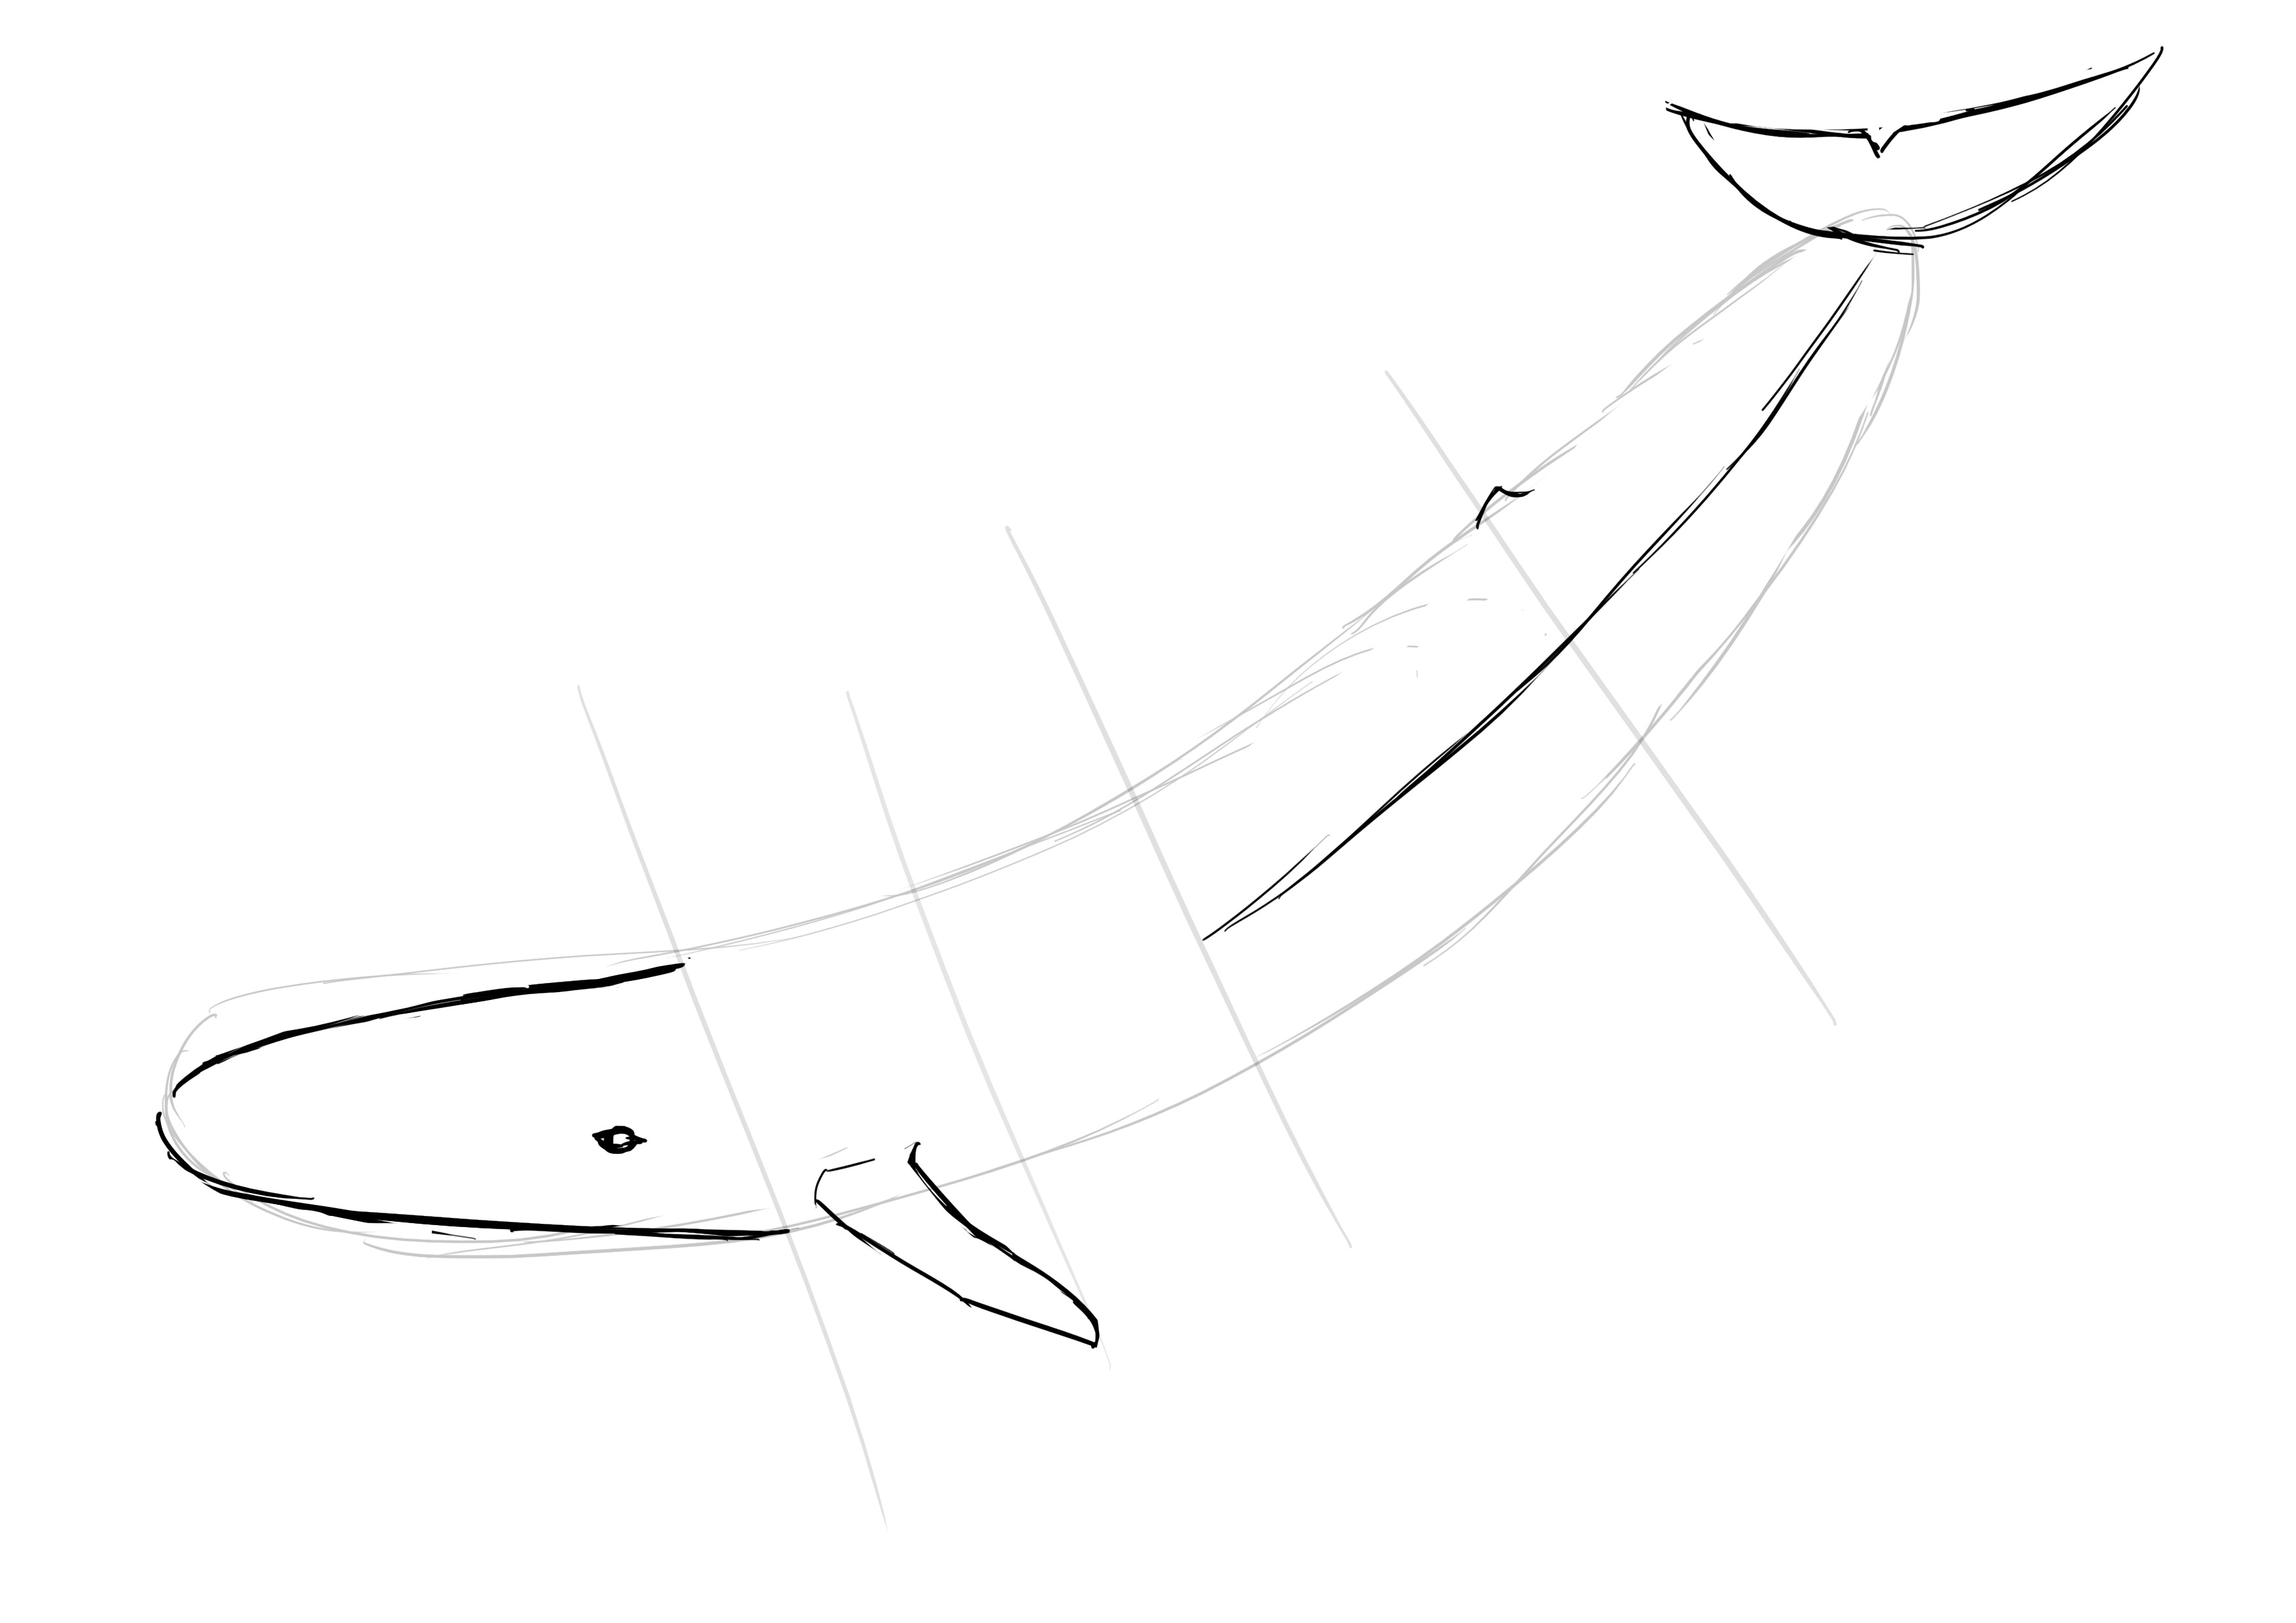
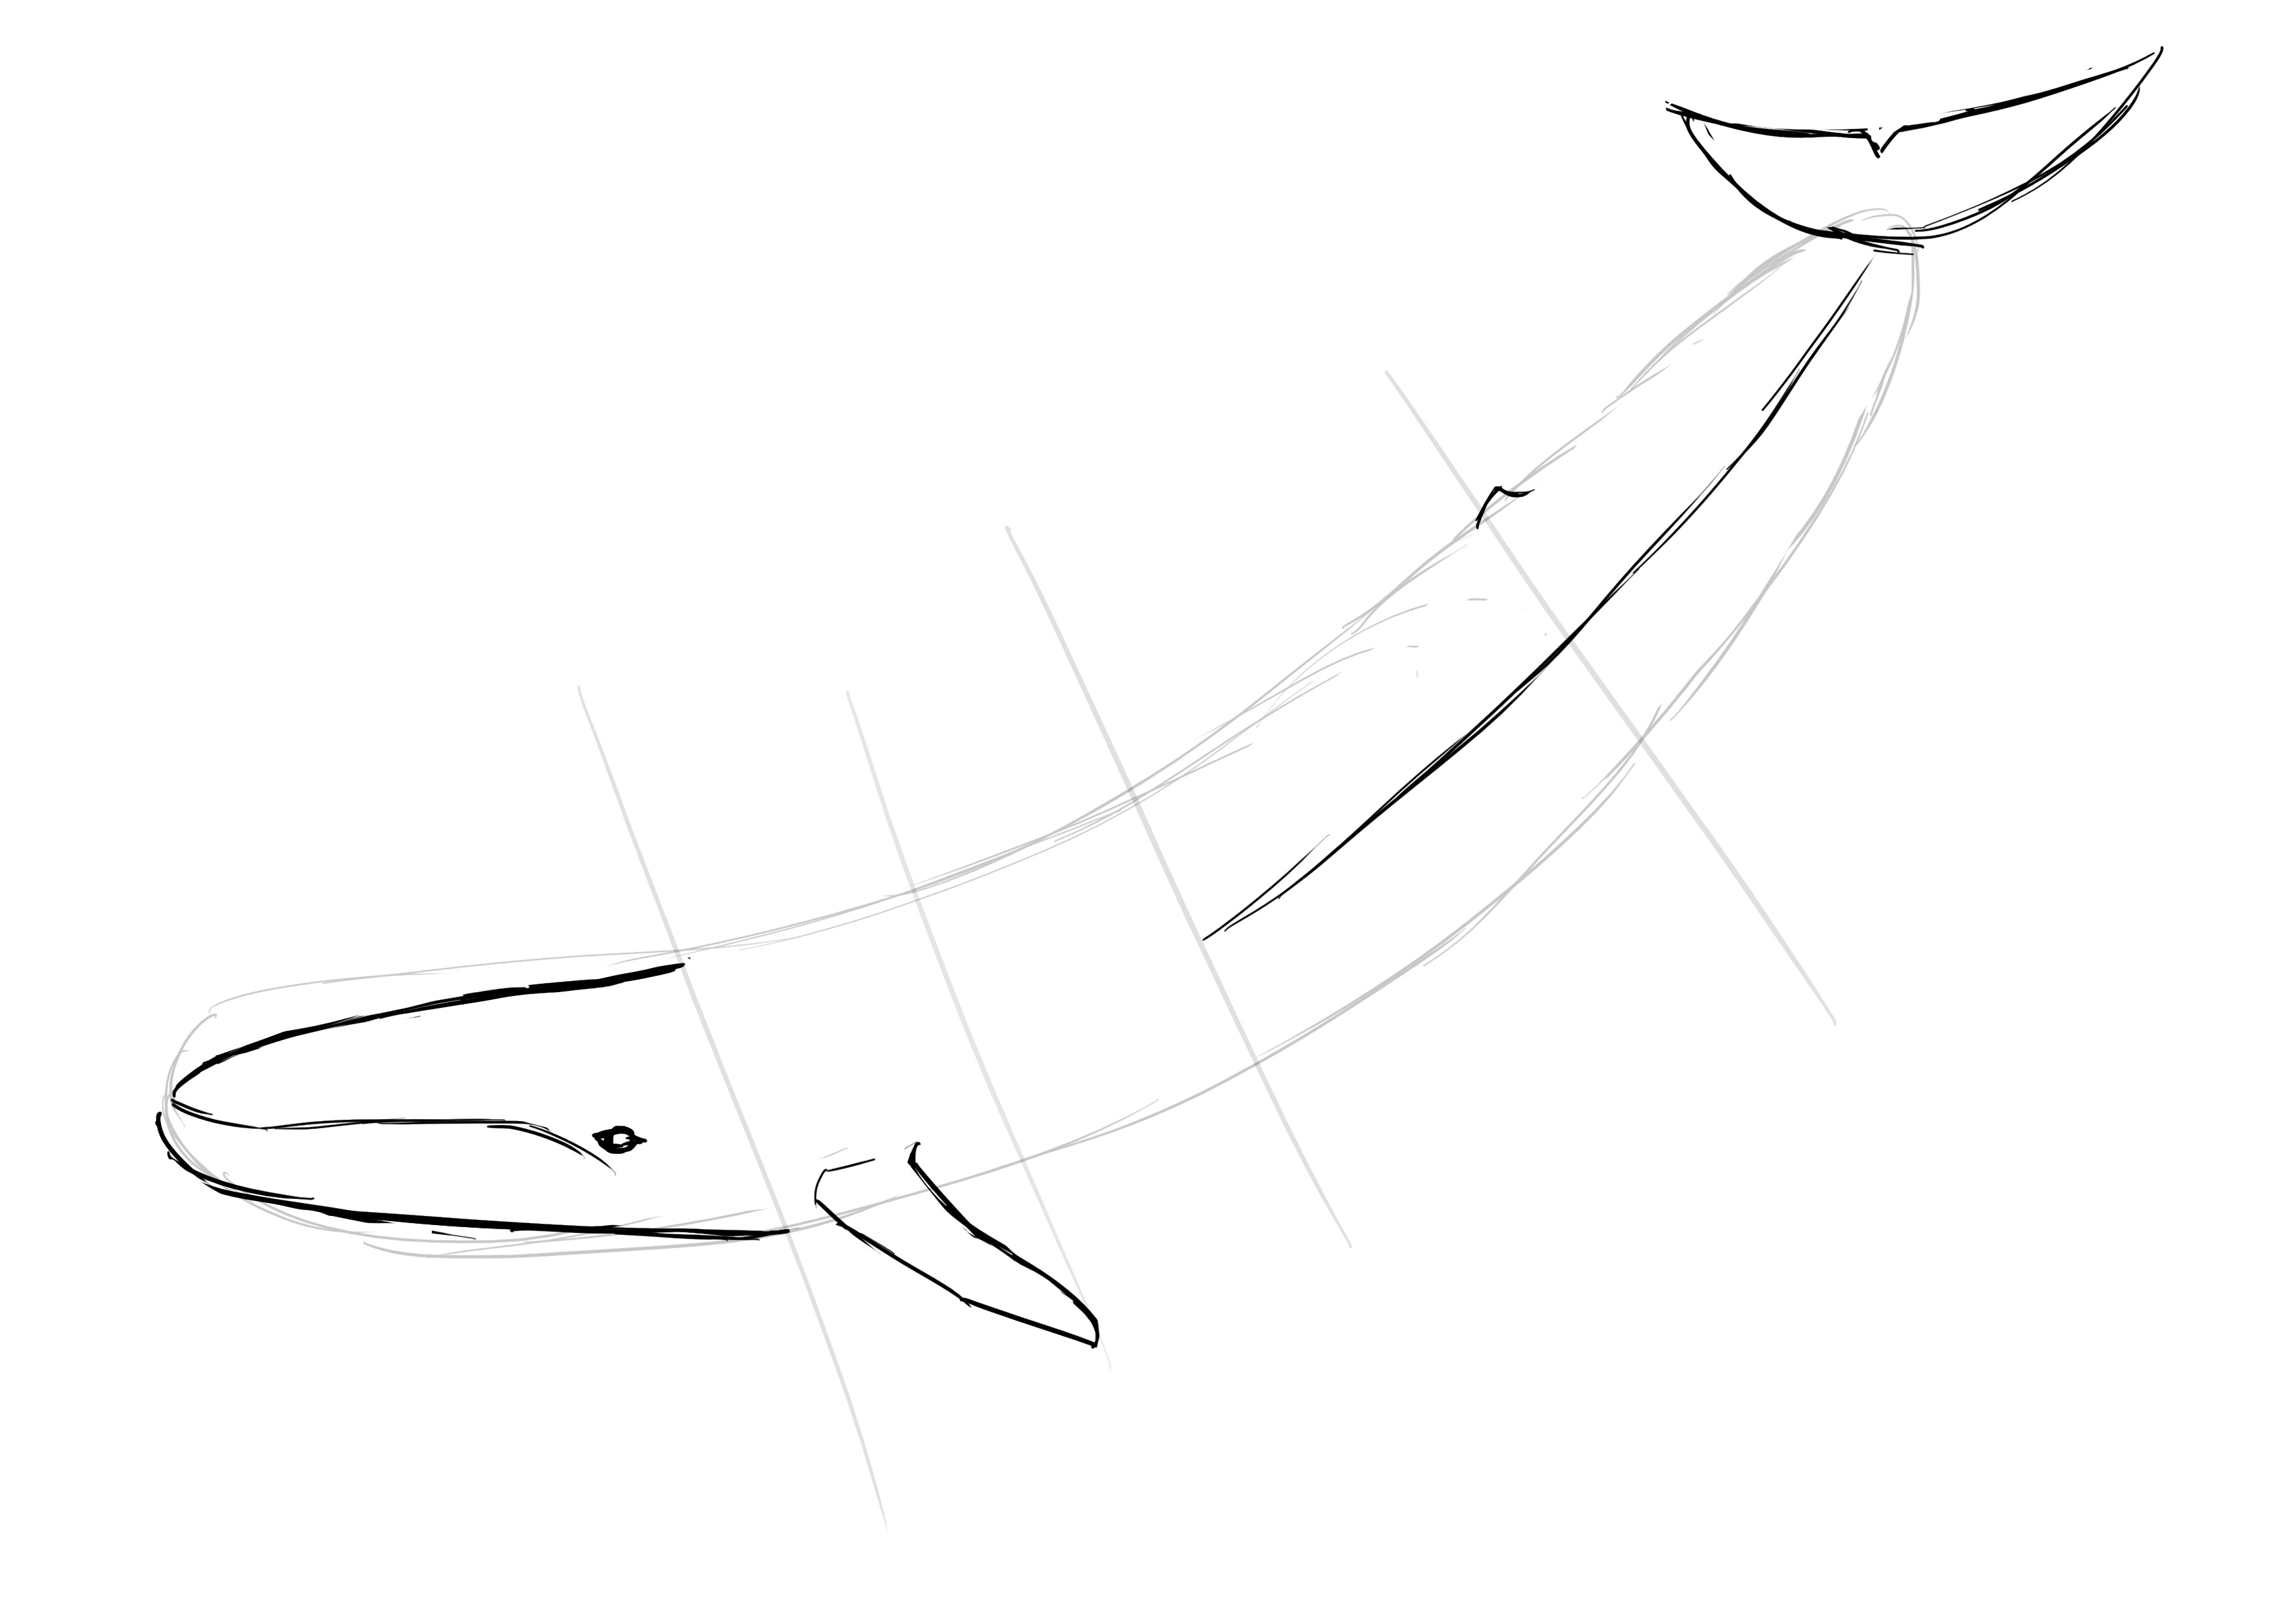
The mouth of the whale is quite atypical. The upper part is much thinner than the lower part. This is quite rare in the animal kingdom. Therefore, the line of the mouth is placed a little above the halfway point along a slight slope that goes up to the top of the eye. There, a counter curve is made that stops vertically in line with the beginning of the eye.
DRAWING THE DETAILS OF THE WHALE
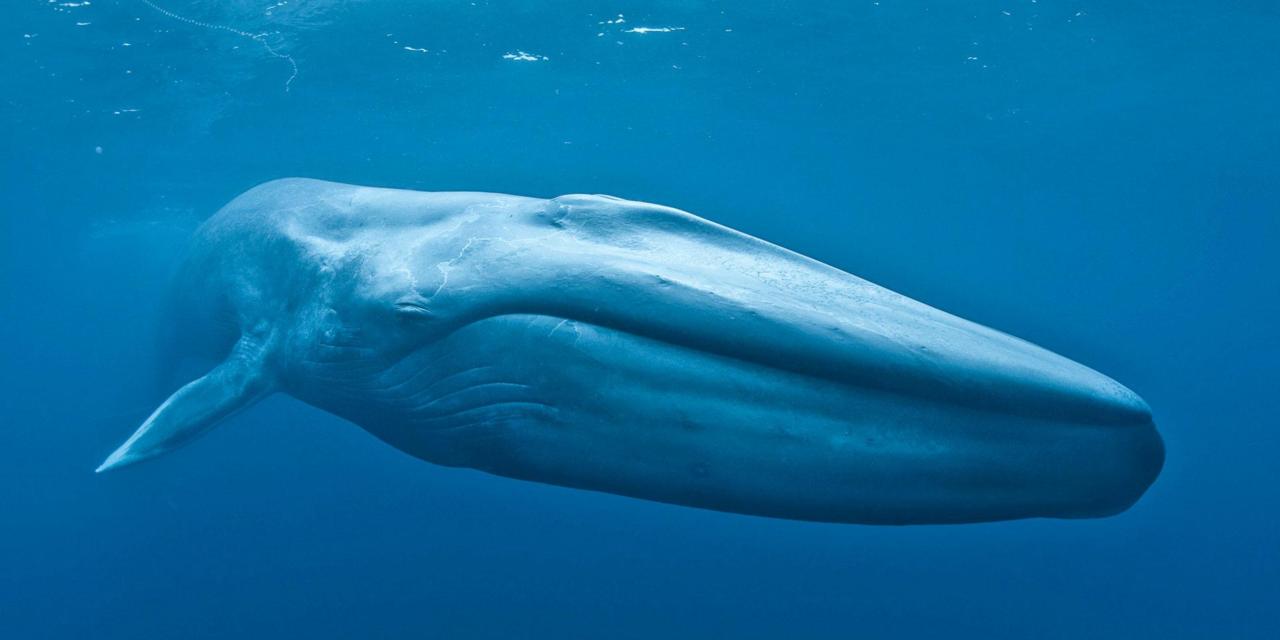
Well, all that went relatively quickly. Now comes the very important step of refining and detailing. As always, refer to one or more reference photos to avoid any mistakes. Here, I will specifically mark some slight bumps and indentations on the body, particularly on the head, abdomen, and mouth.
I also recommend that you look at what a whale skull looks like. If you have never seen one (in a natural history museum for example), it will help you a lot to understand the volumes of the head.
Add details to the eyes which are tilted forward giving the creature a unique look.
The small veins that can be seen just beyond the eyes, notably.
I'll give you a little step-by-step of all that:
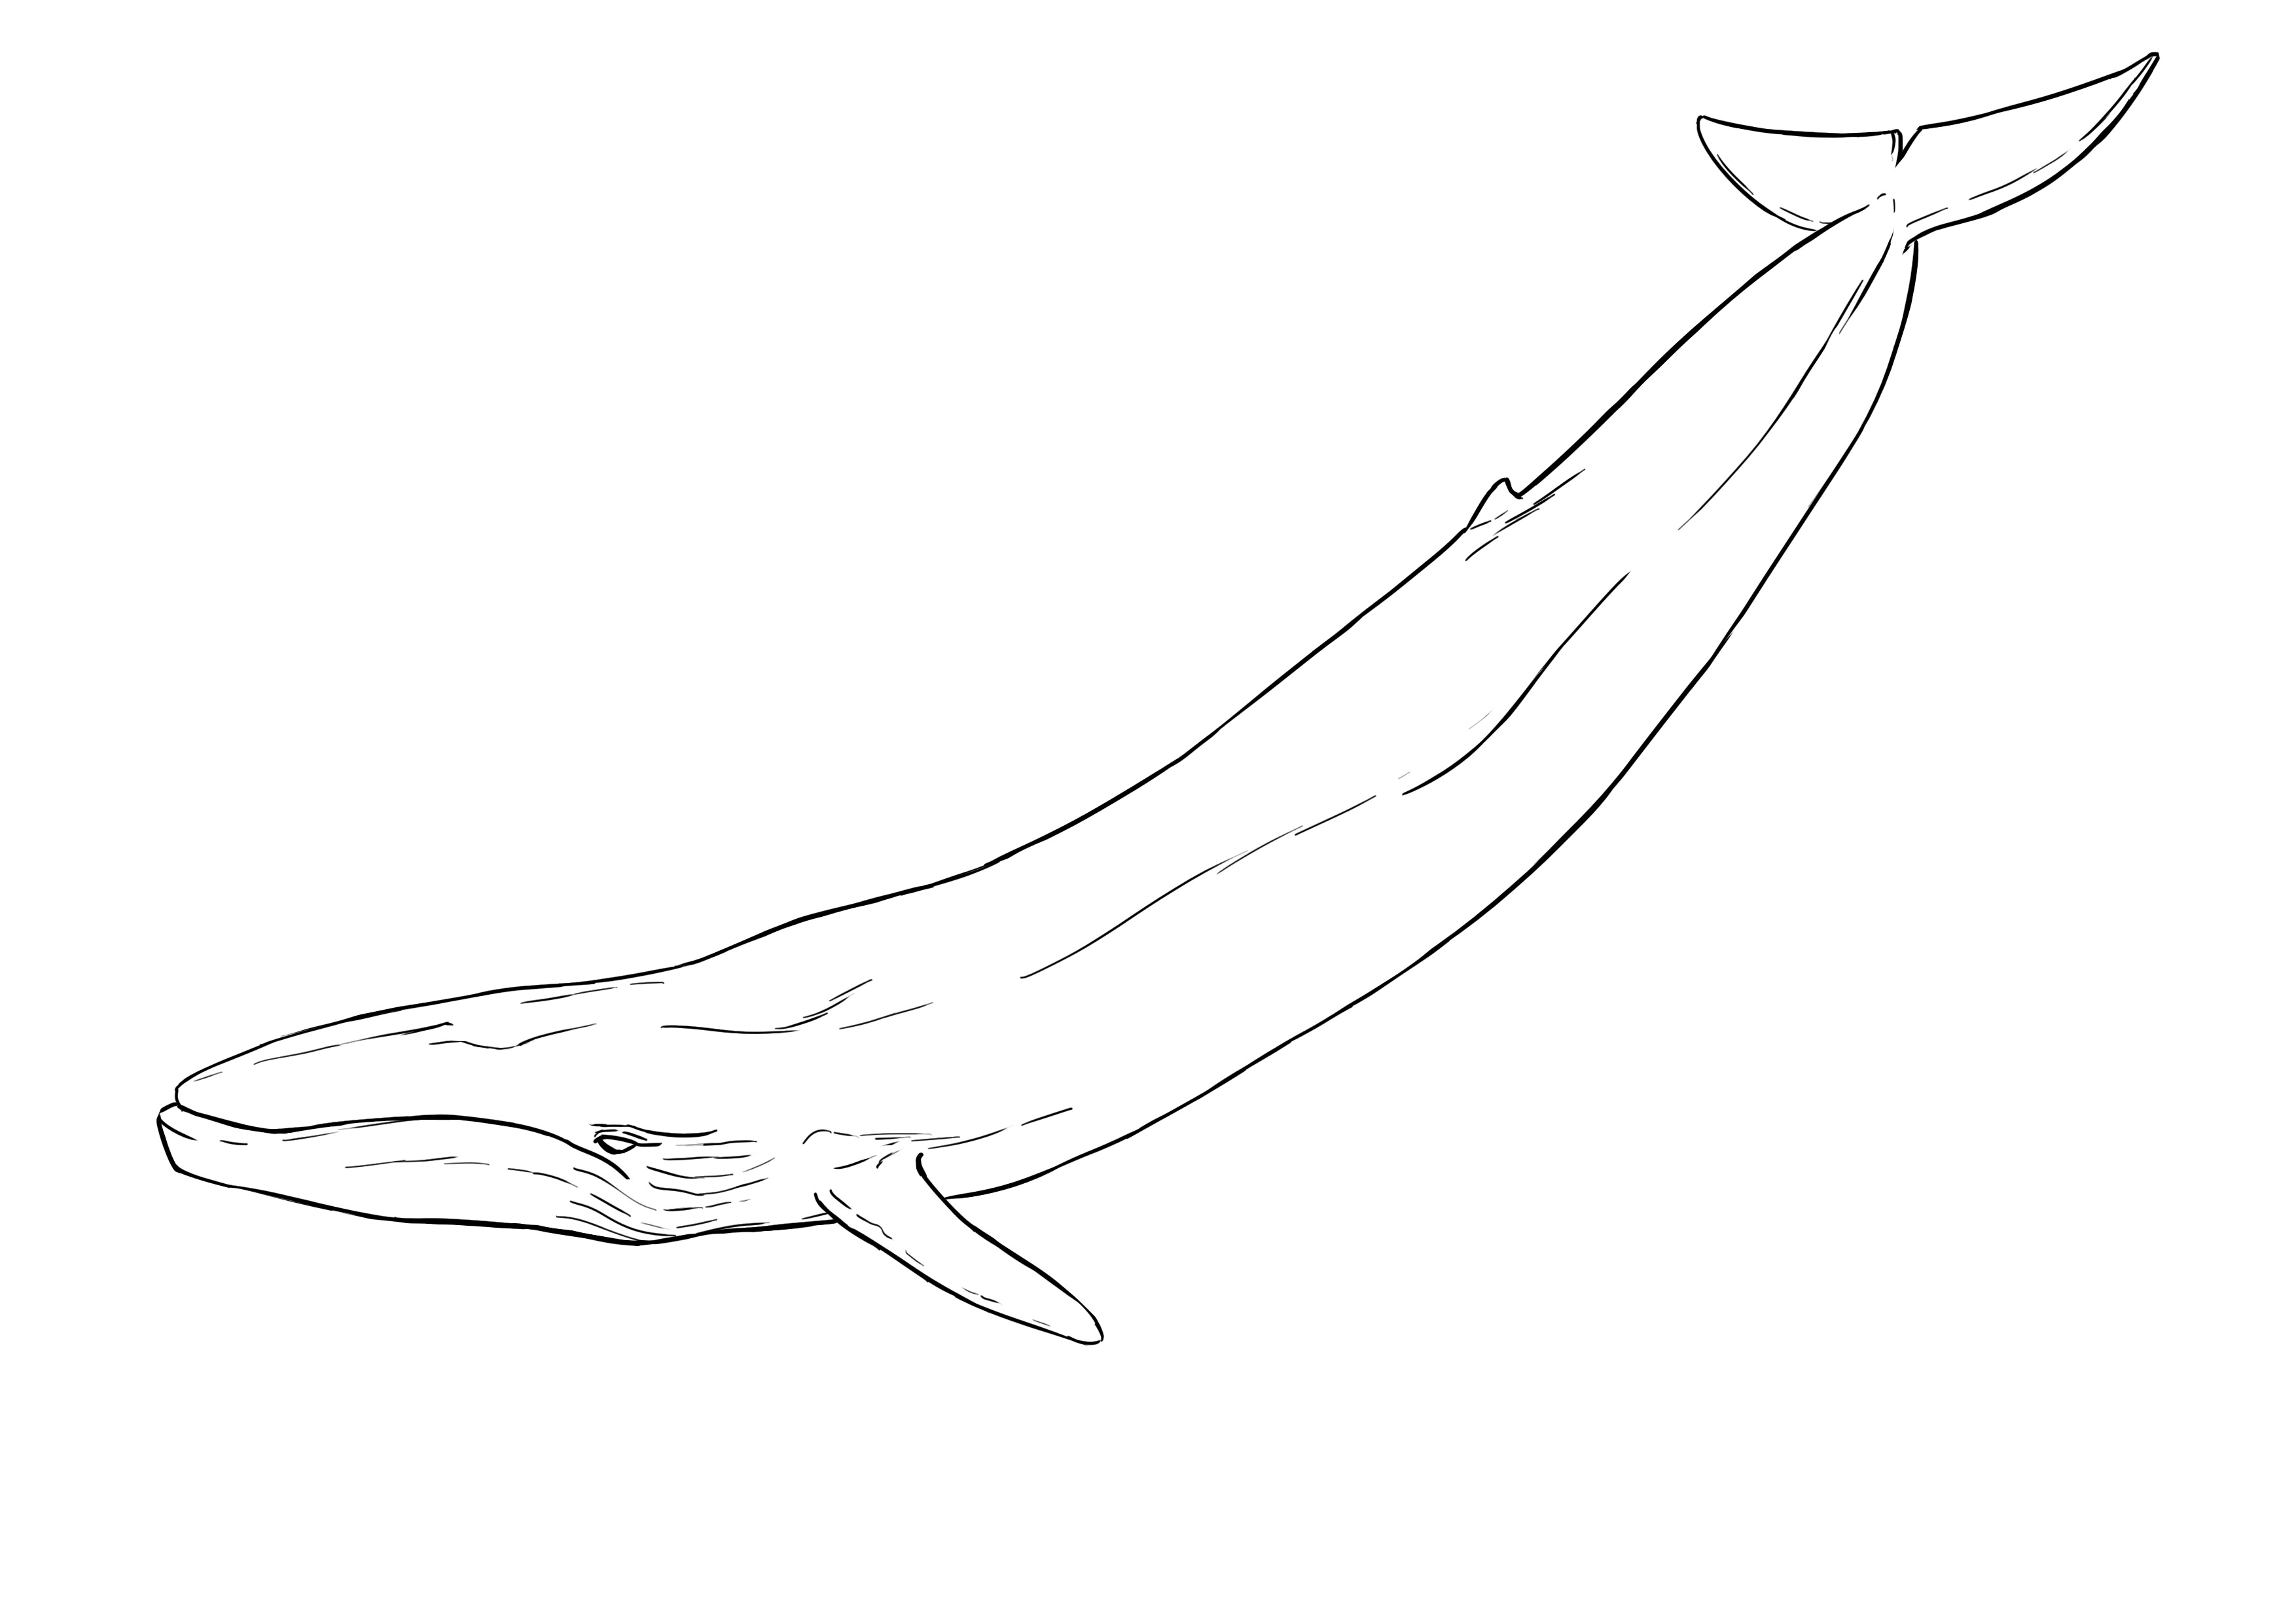
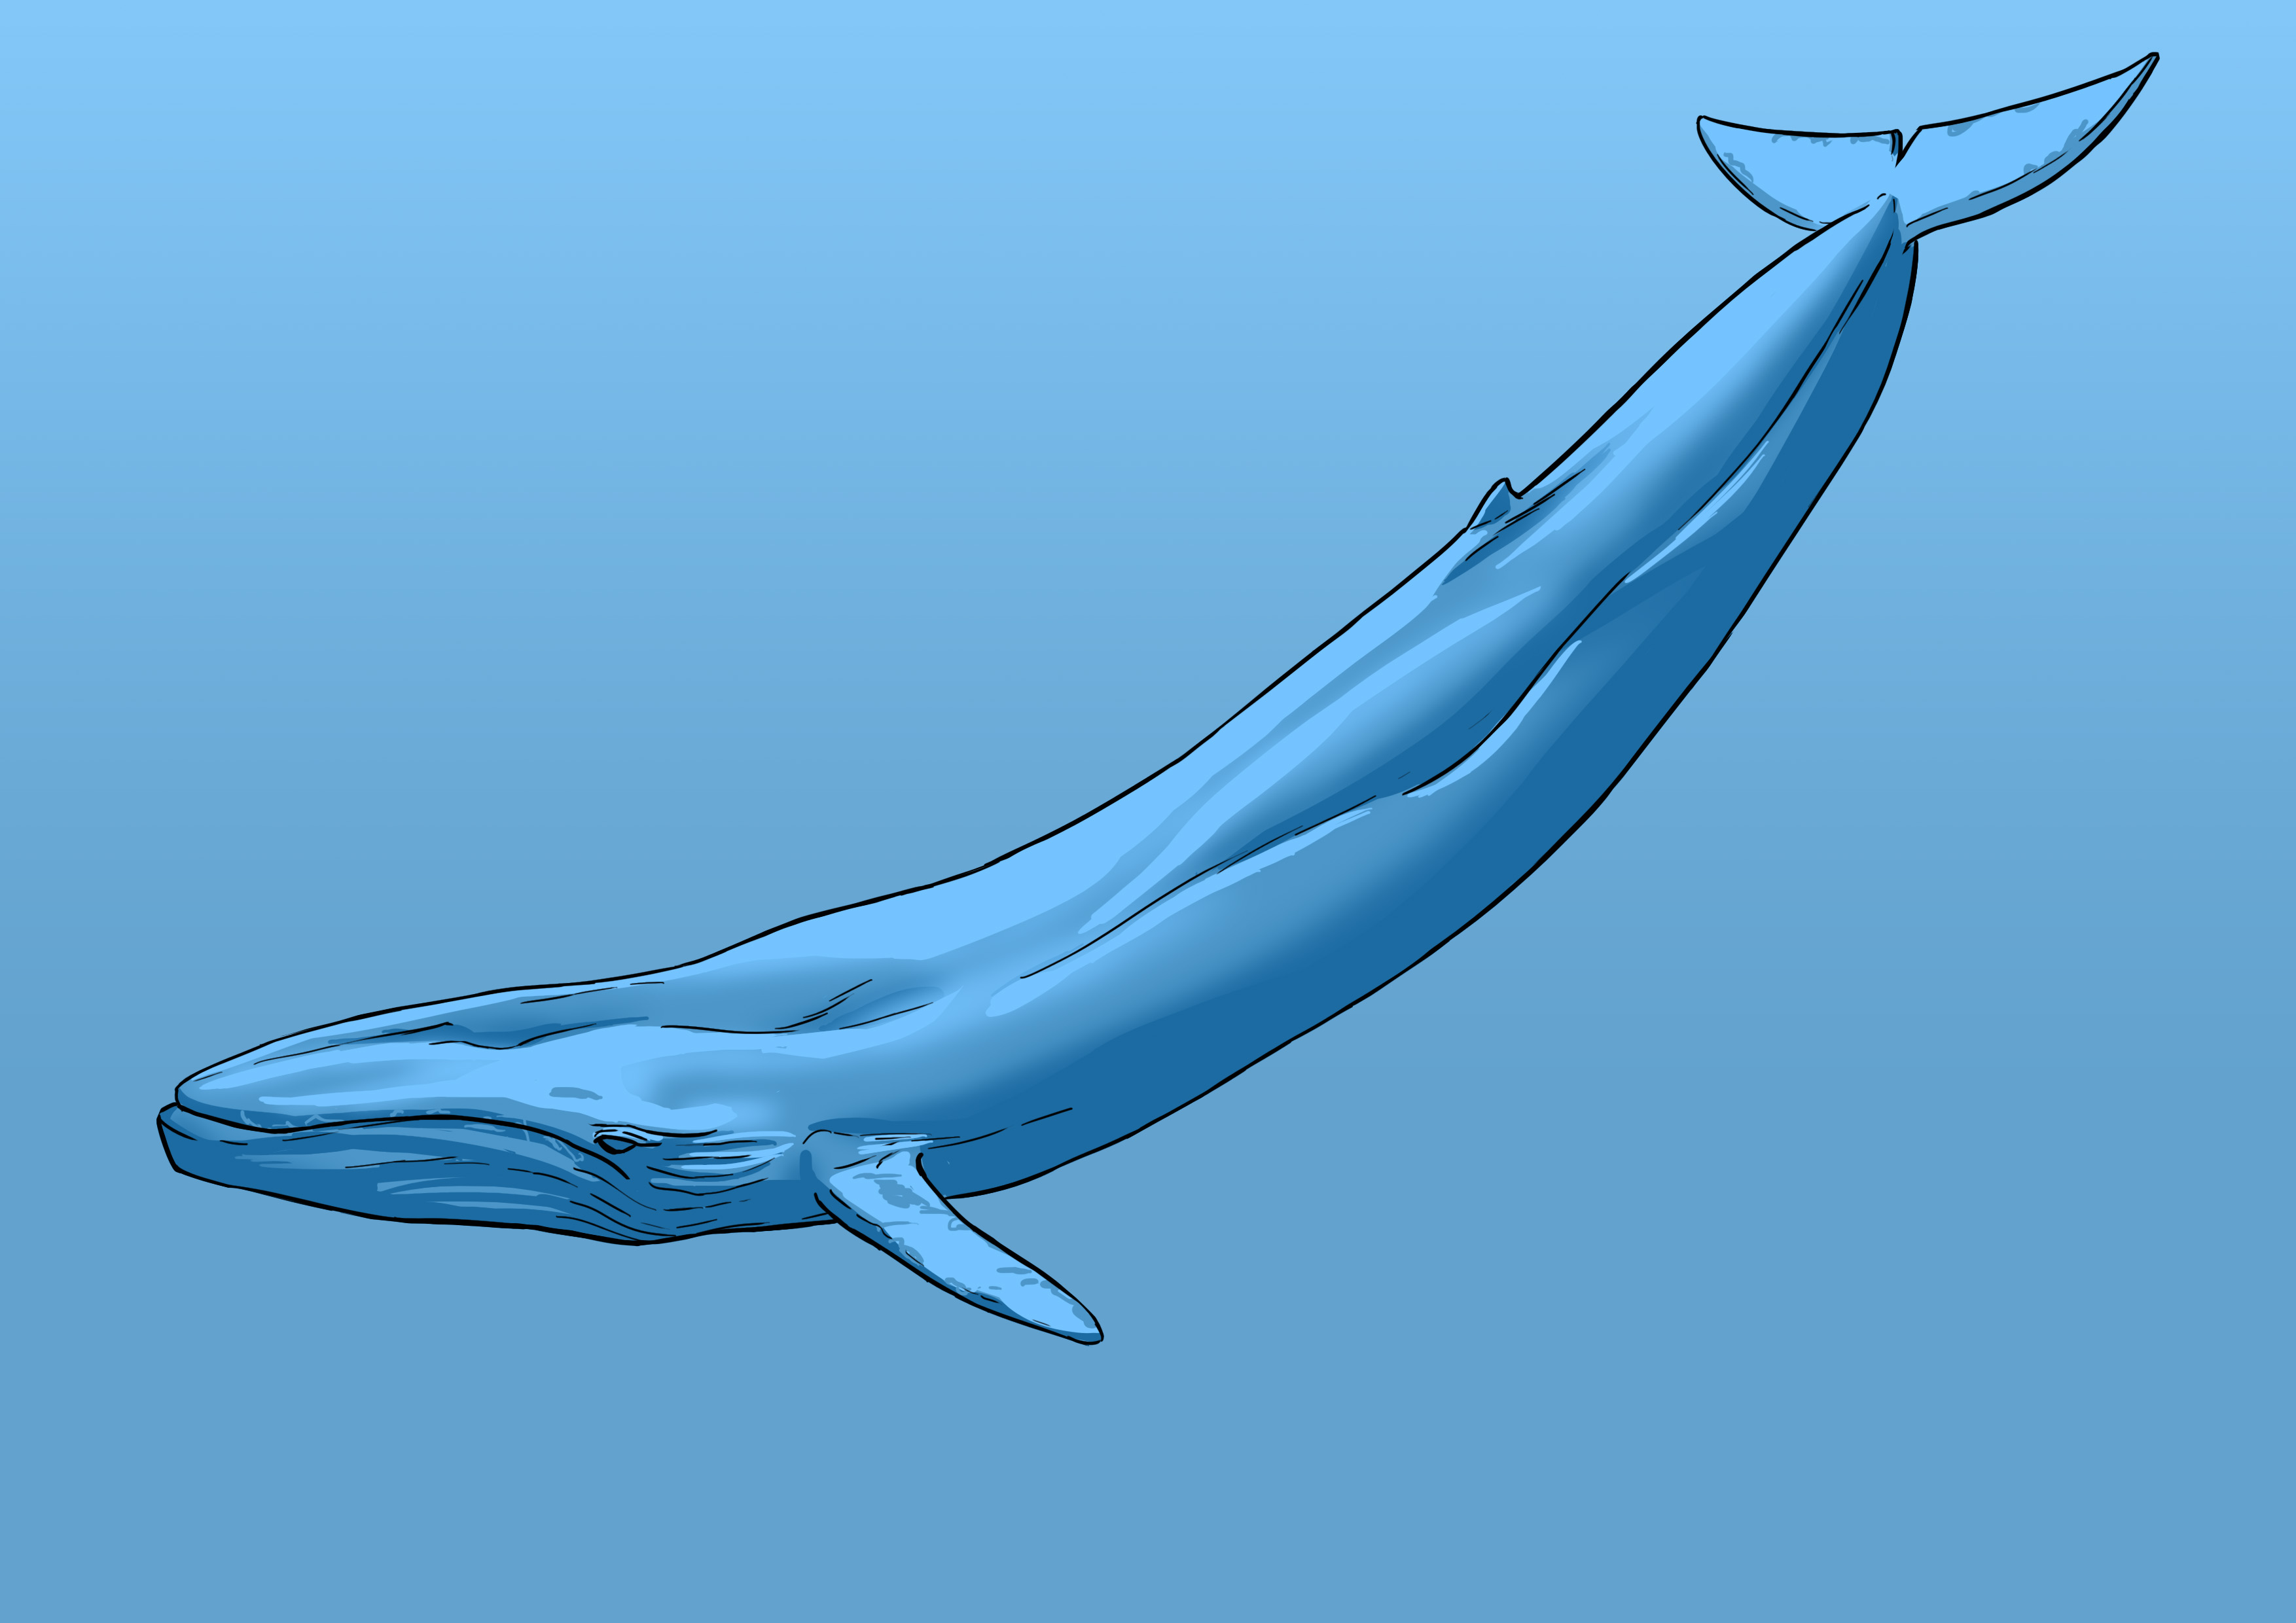
So we have our finished drawing!
And since we still have time, we can talk about color too. Here, it's going to be very simple, there is essentially only one color.
APPLYING COLOR TO THE BLUE WHALE DRAWING
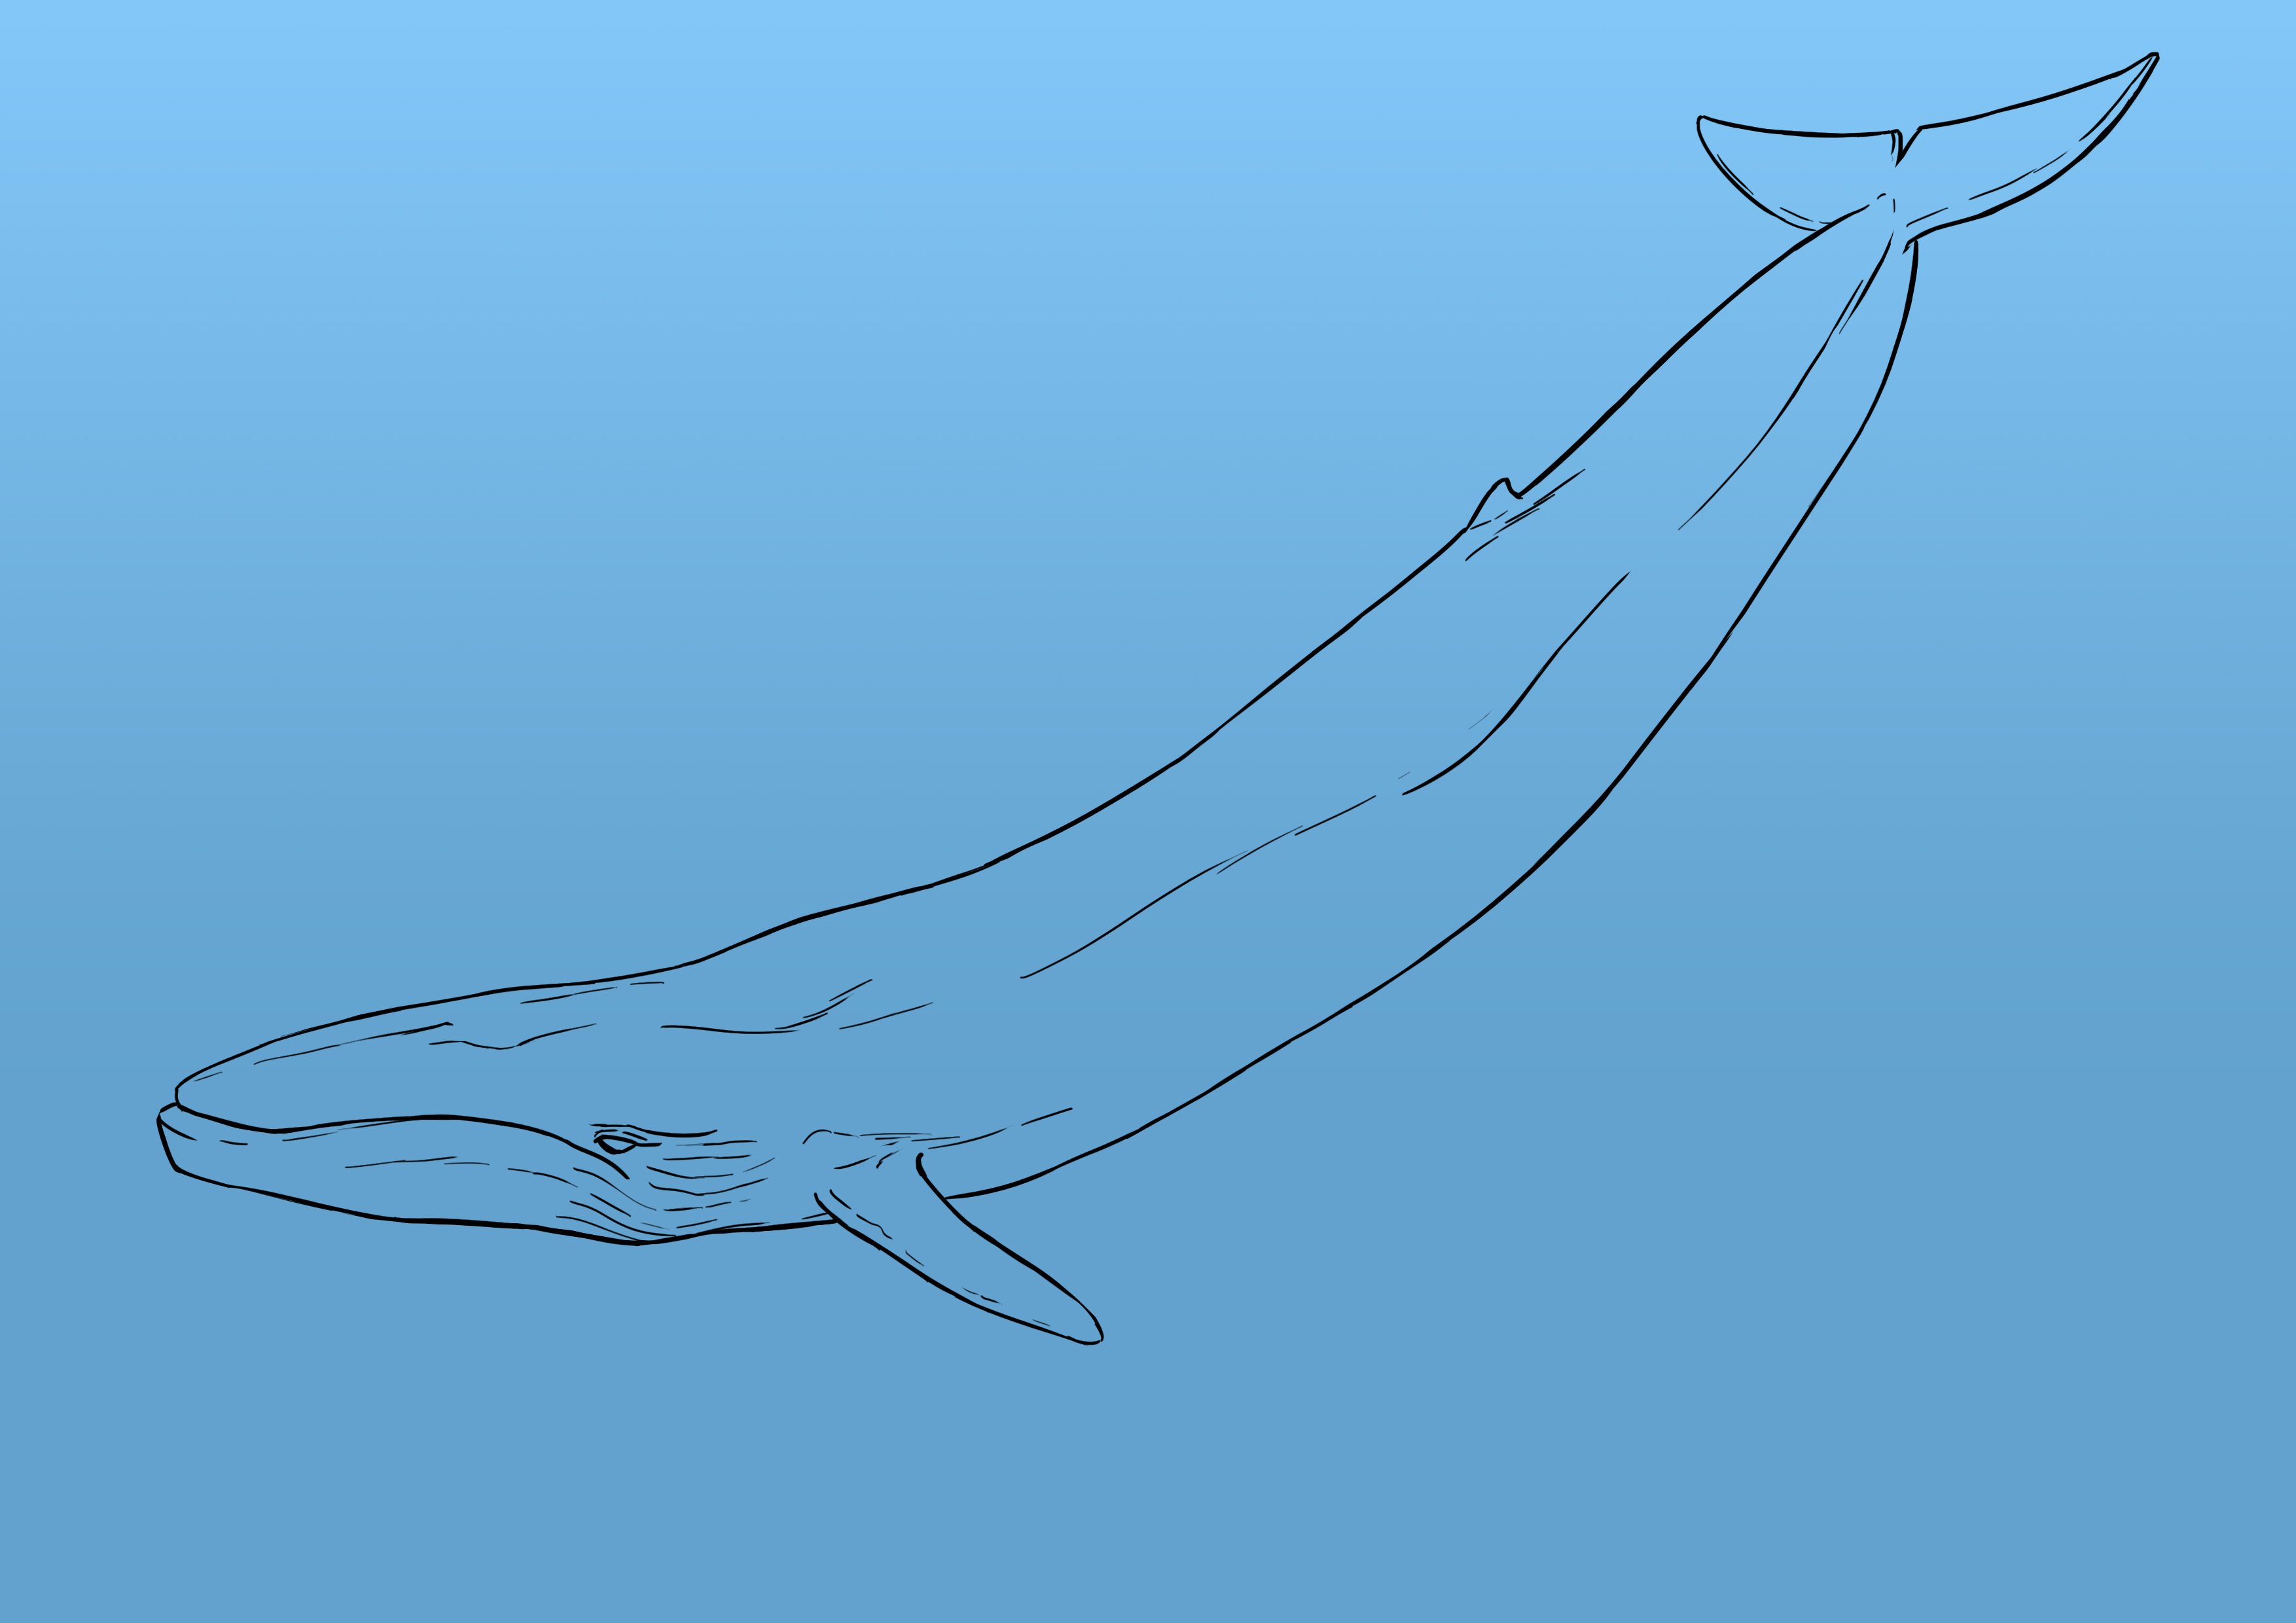
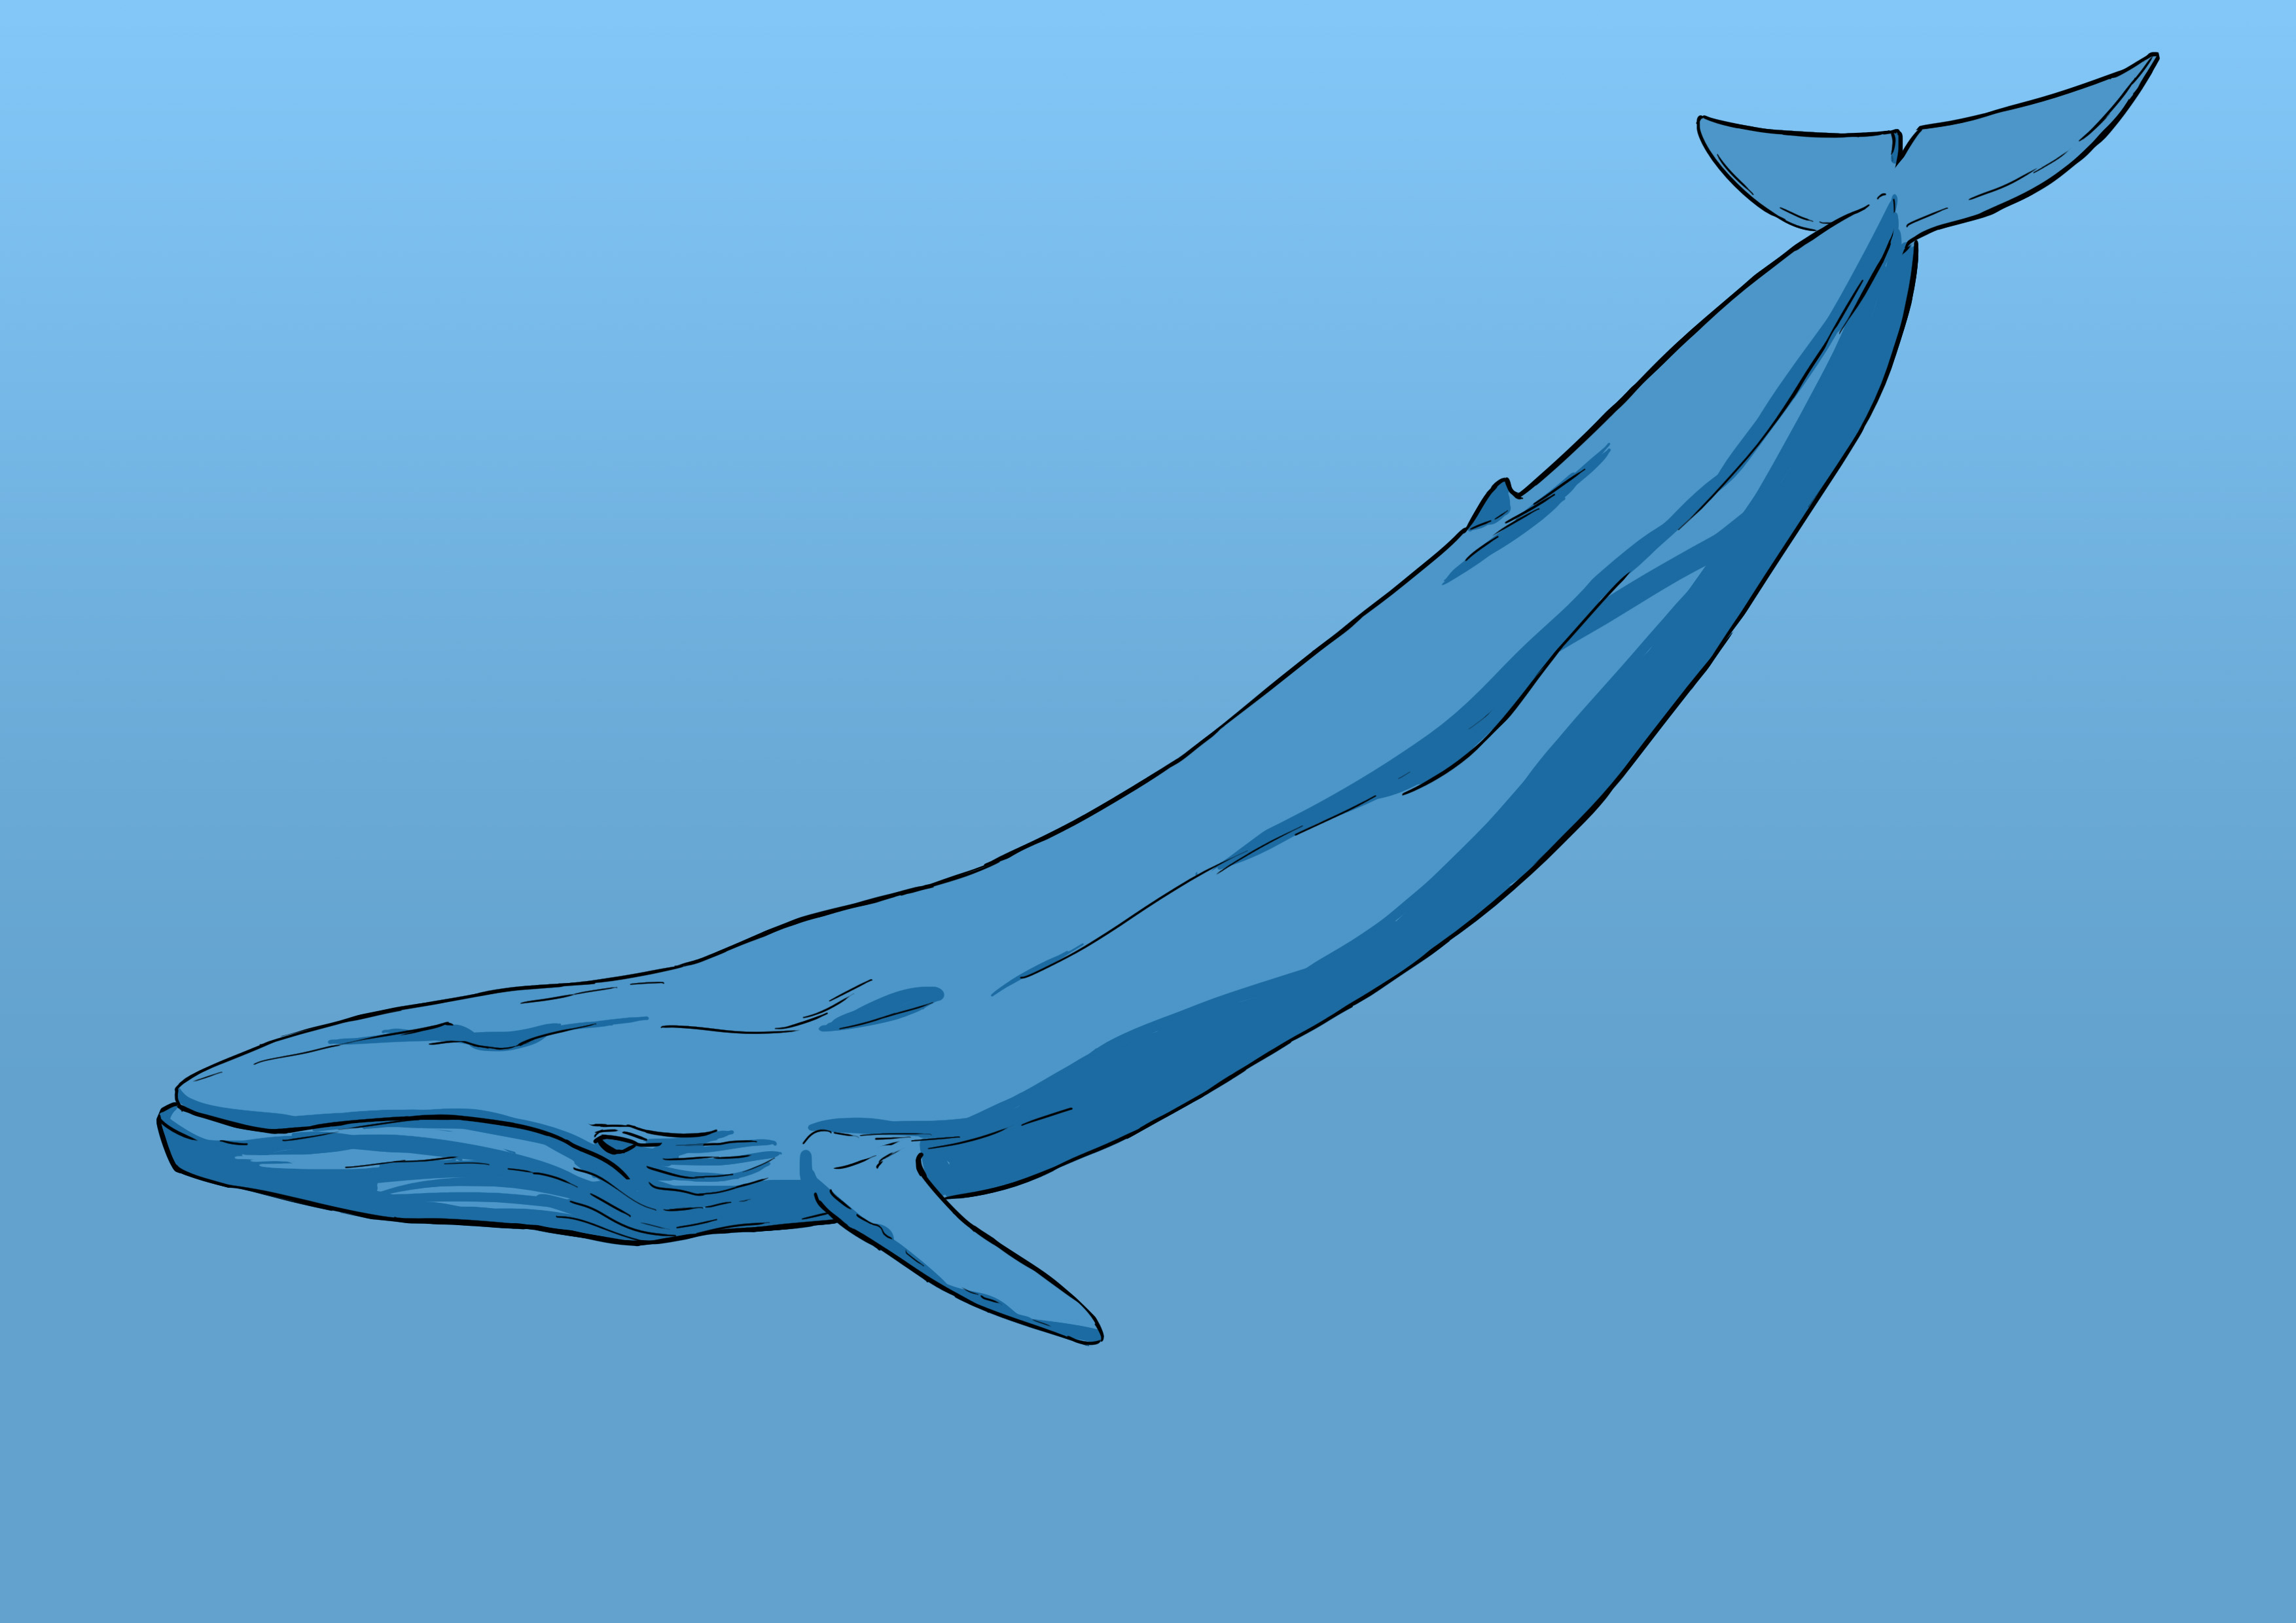
As is often the case with aquatic animals, I find it better to place them on a background color suited to their environment. So, we are going with blue with a slight gradient lighter towards the top and darker towards the bottom.
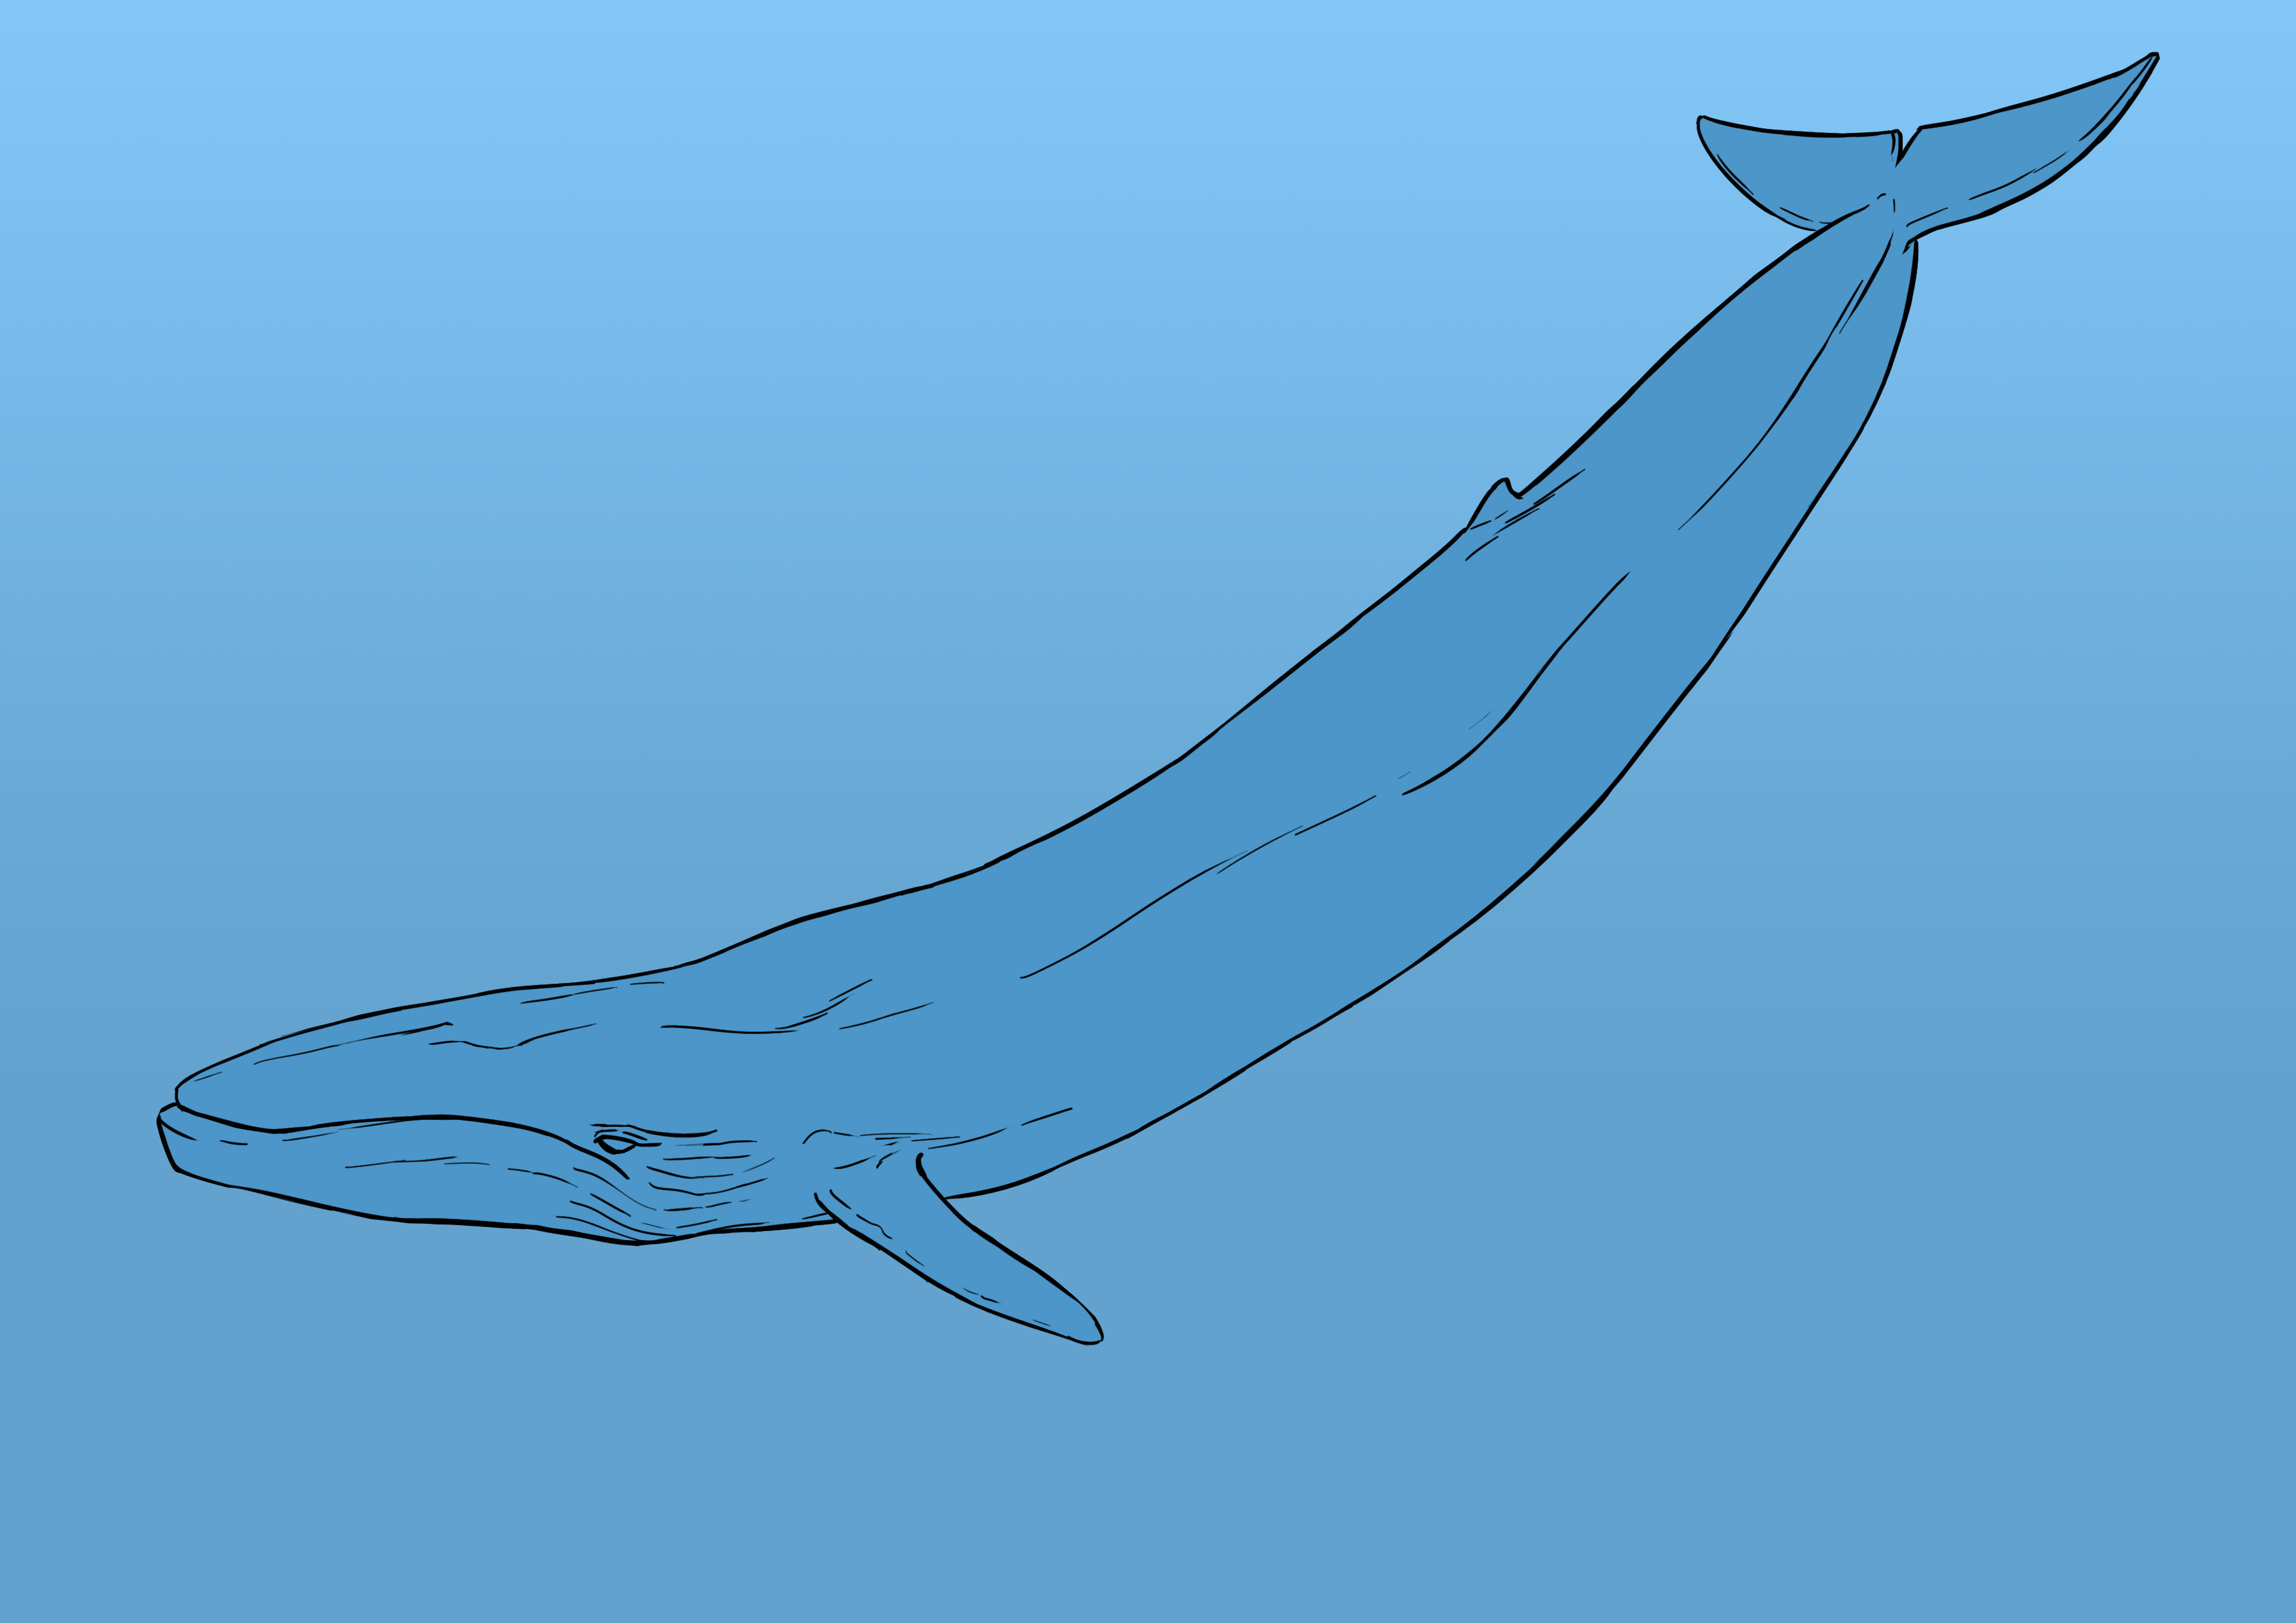
We choose a slightly darker blue for the body.
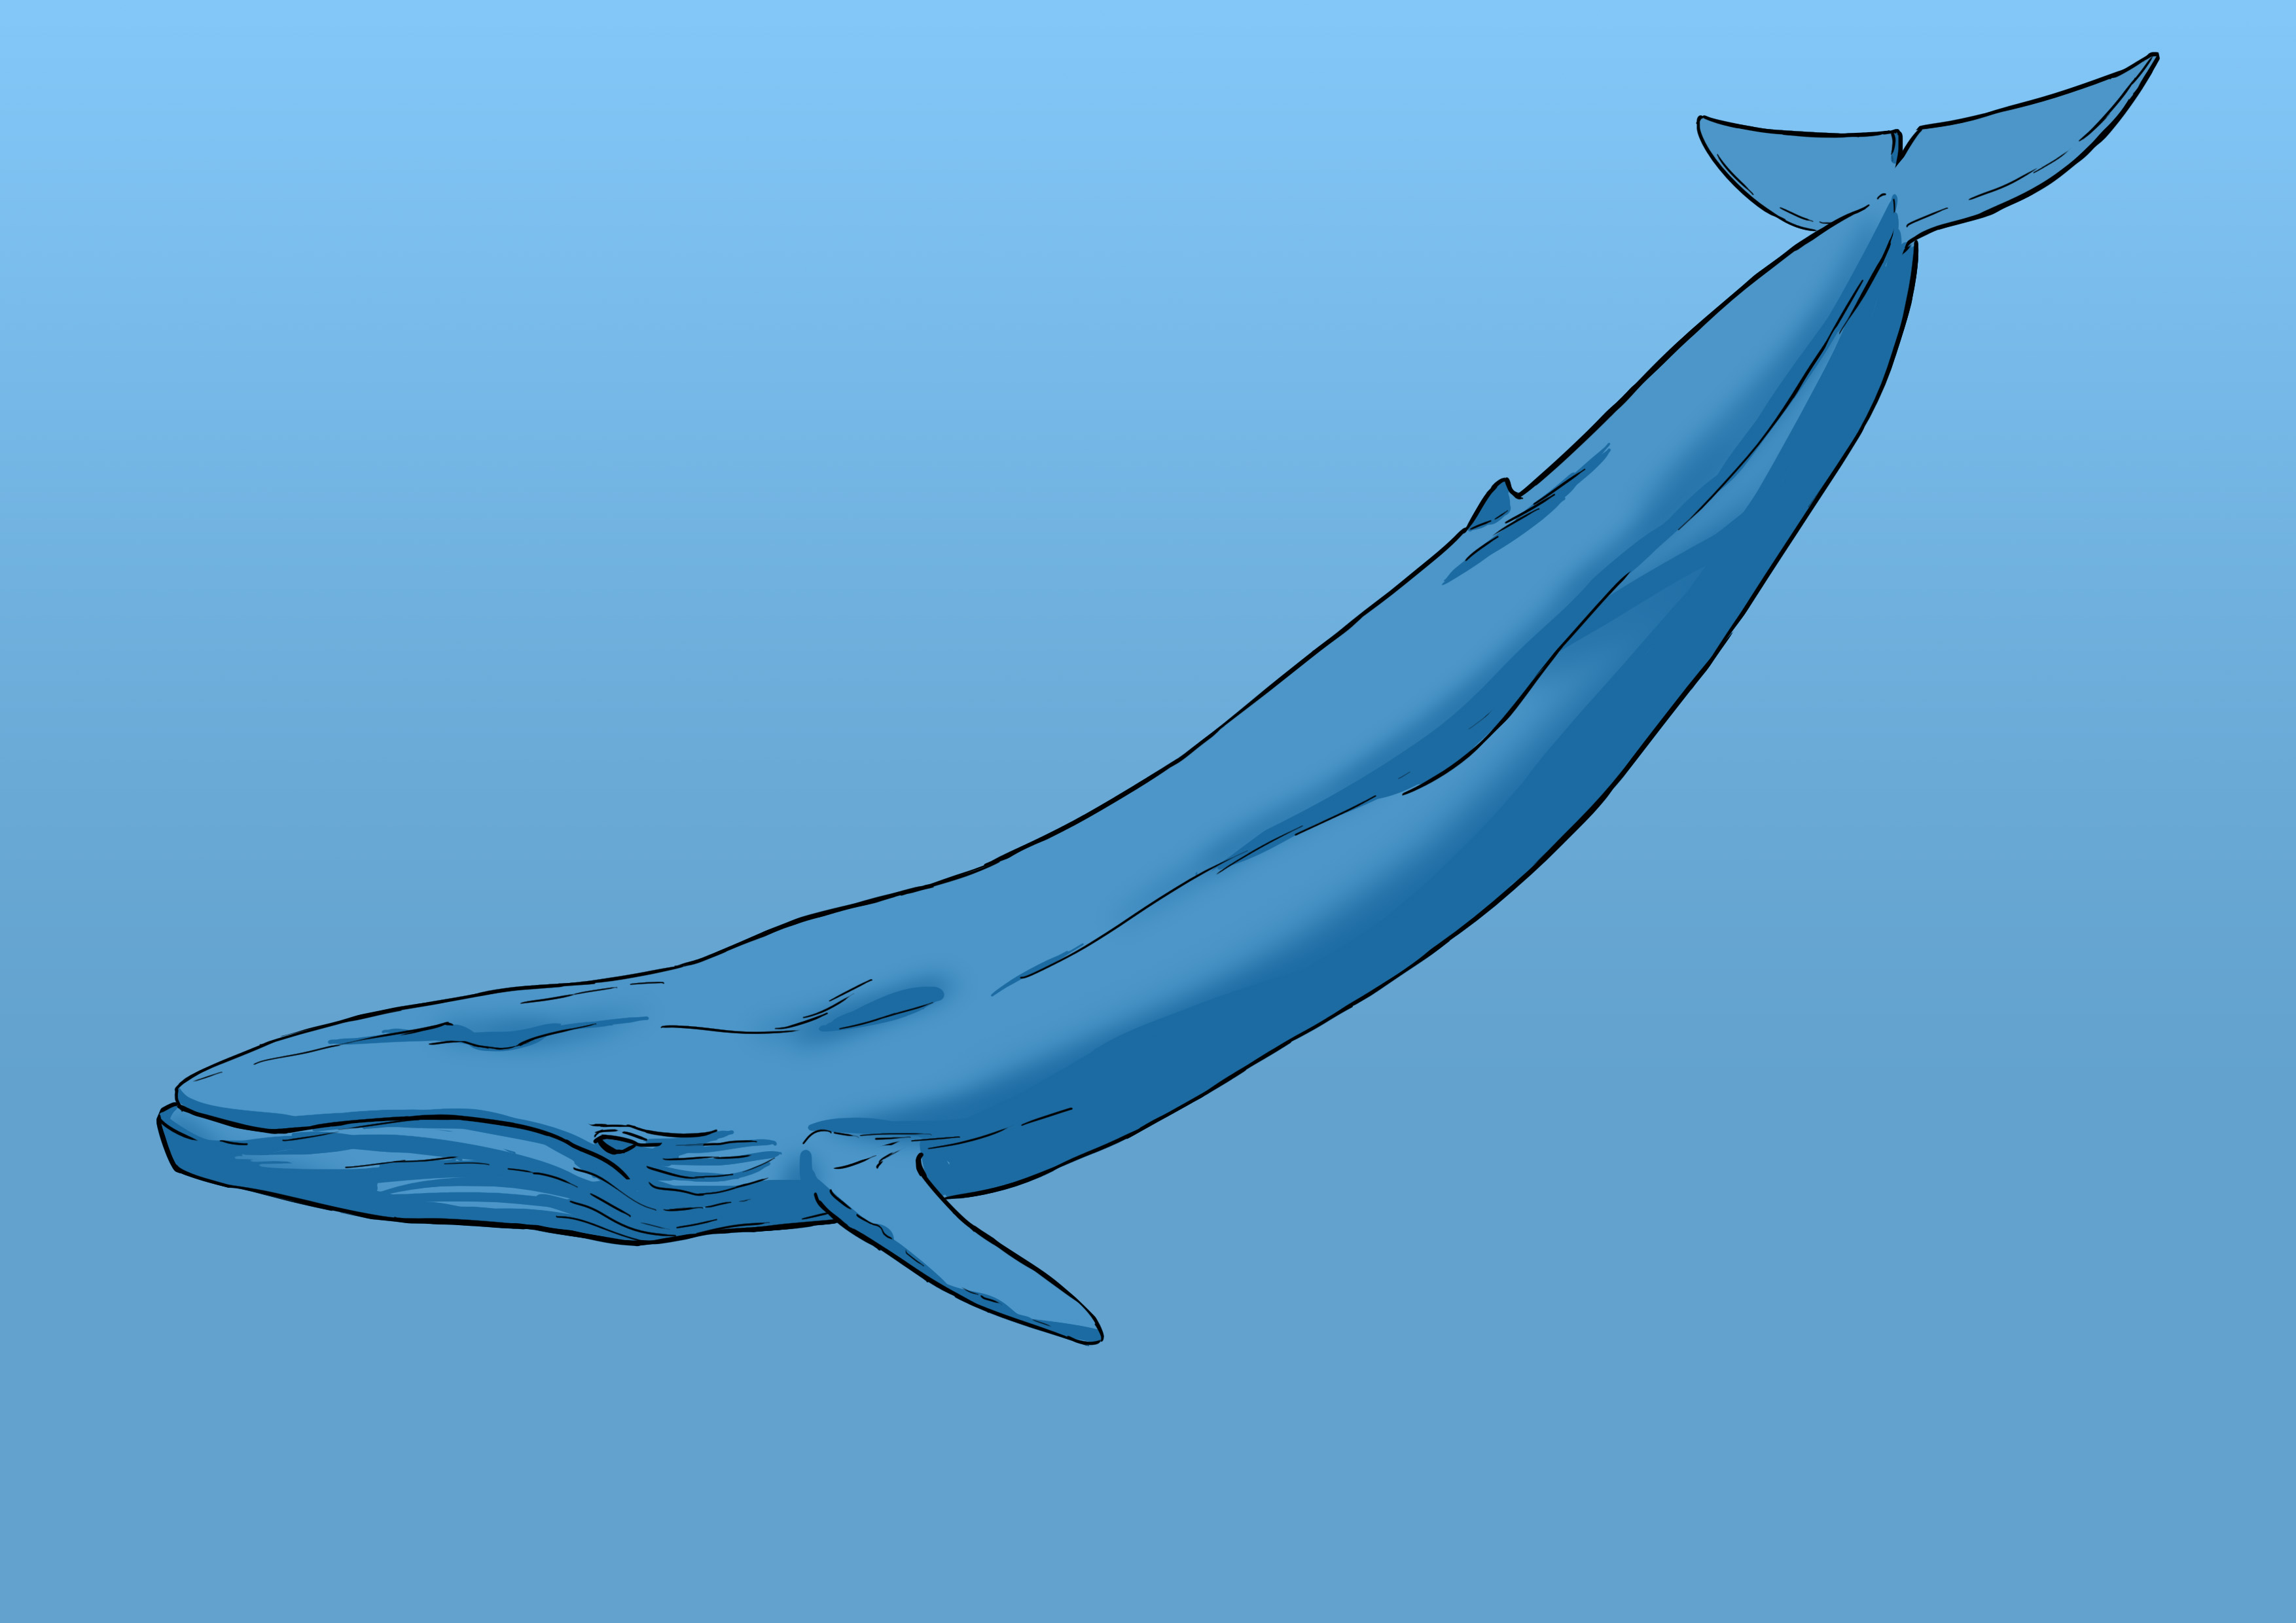
Then an even darker blue for the shadows. As always in a marine environment, the light comes from above, from the surface of the water. Keep this in mind when you place the shadows. We will therefore mark the entire underside of the body, the line of the mouth, the underside of the fins, the volume of the fin, that of the eye and the eyebrow, the muscle line and the lighter volumes on top of the head (choose an intermediate shade if you wish).
I should mention that today, I am not trying to achieve an ultra-realistic look, but rather a stylized one with extremely simple and clean shapes that I will then blend together.
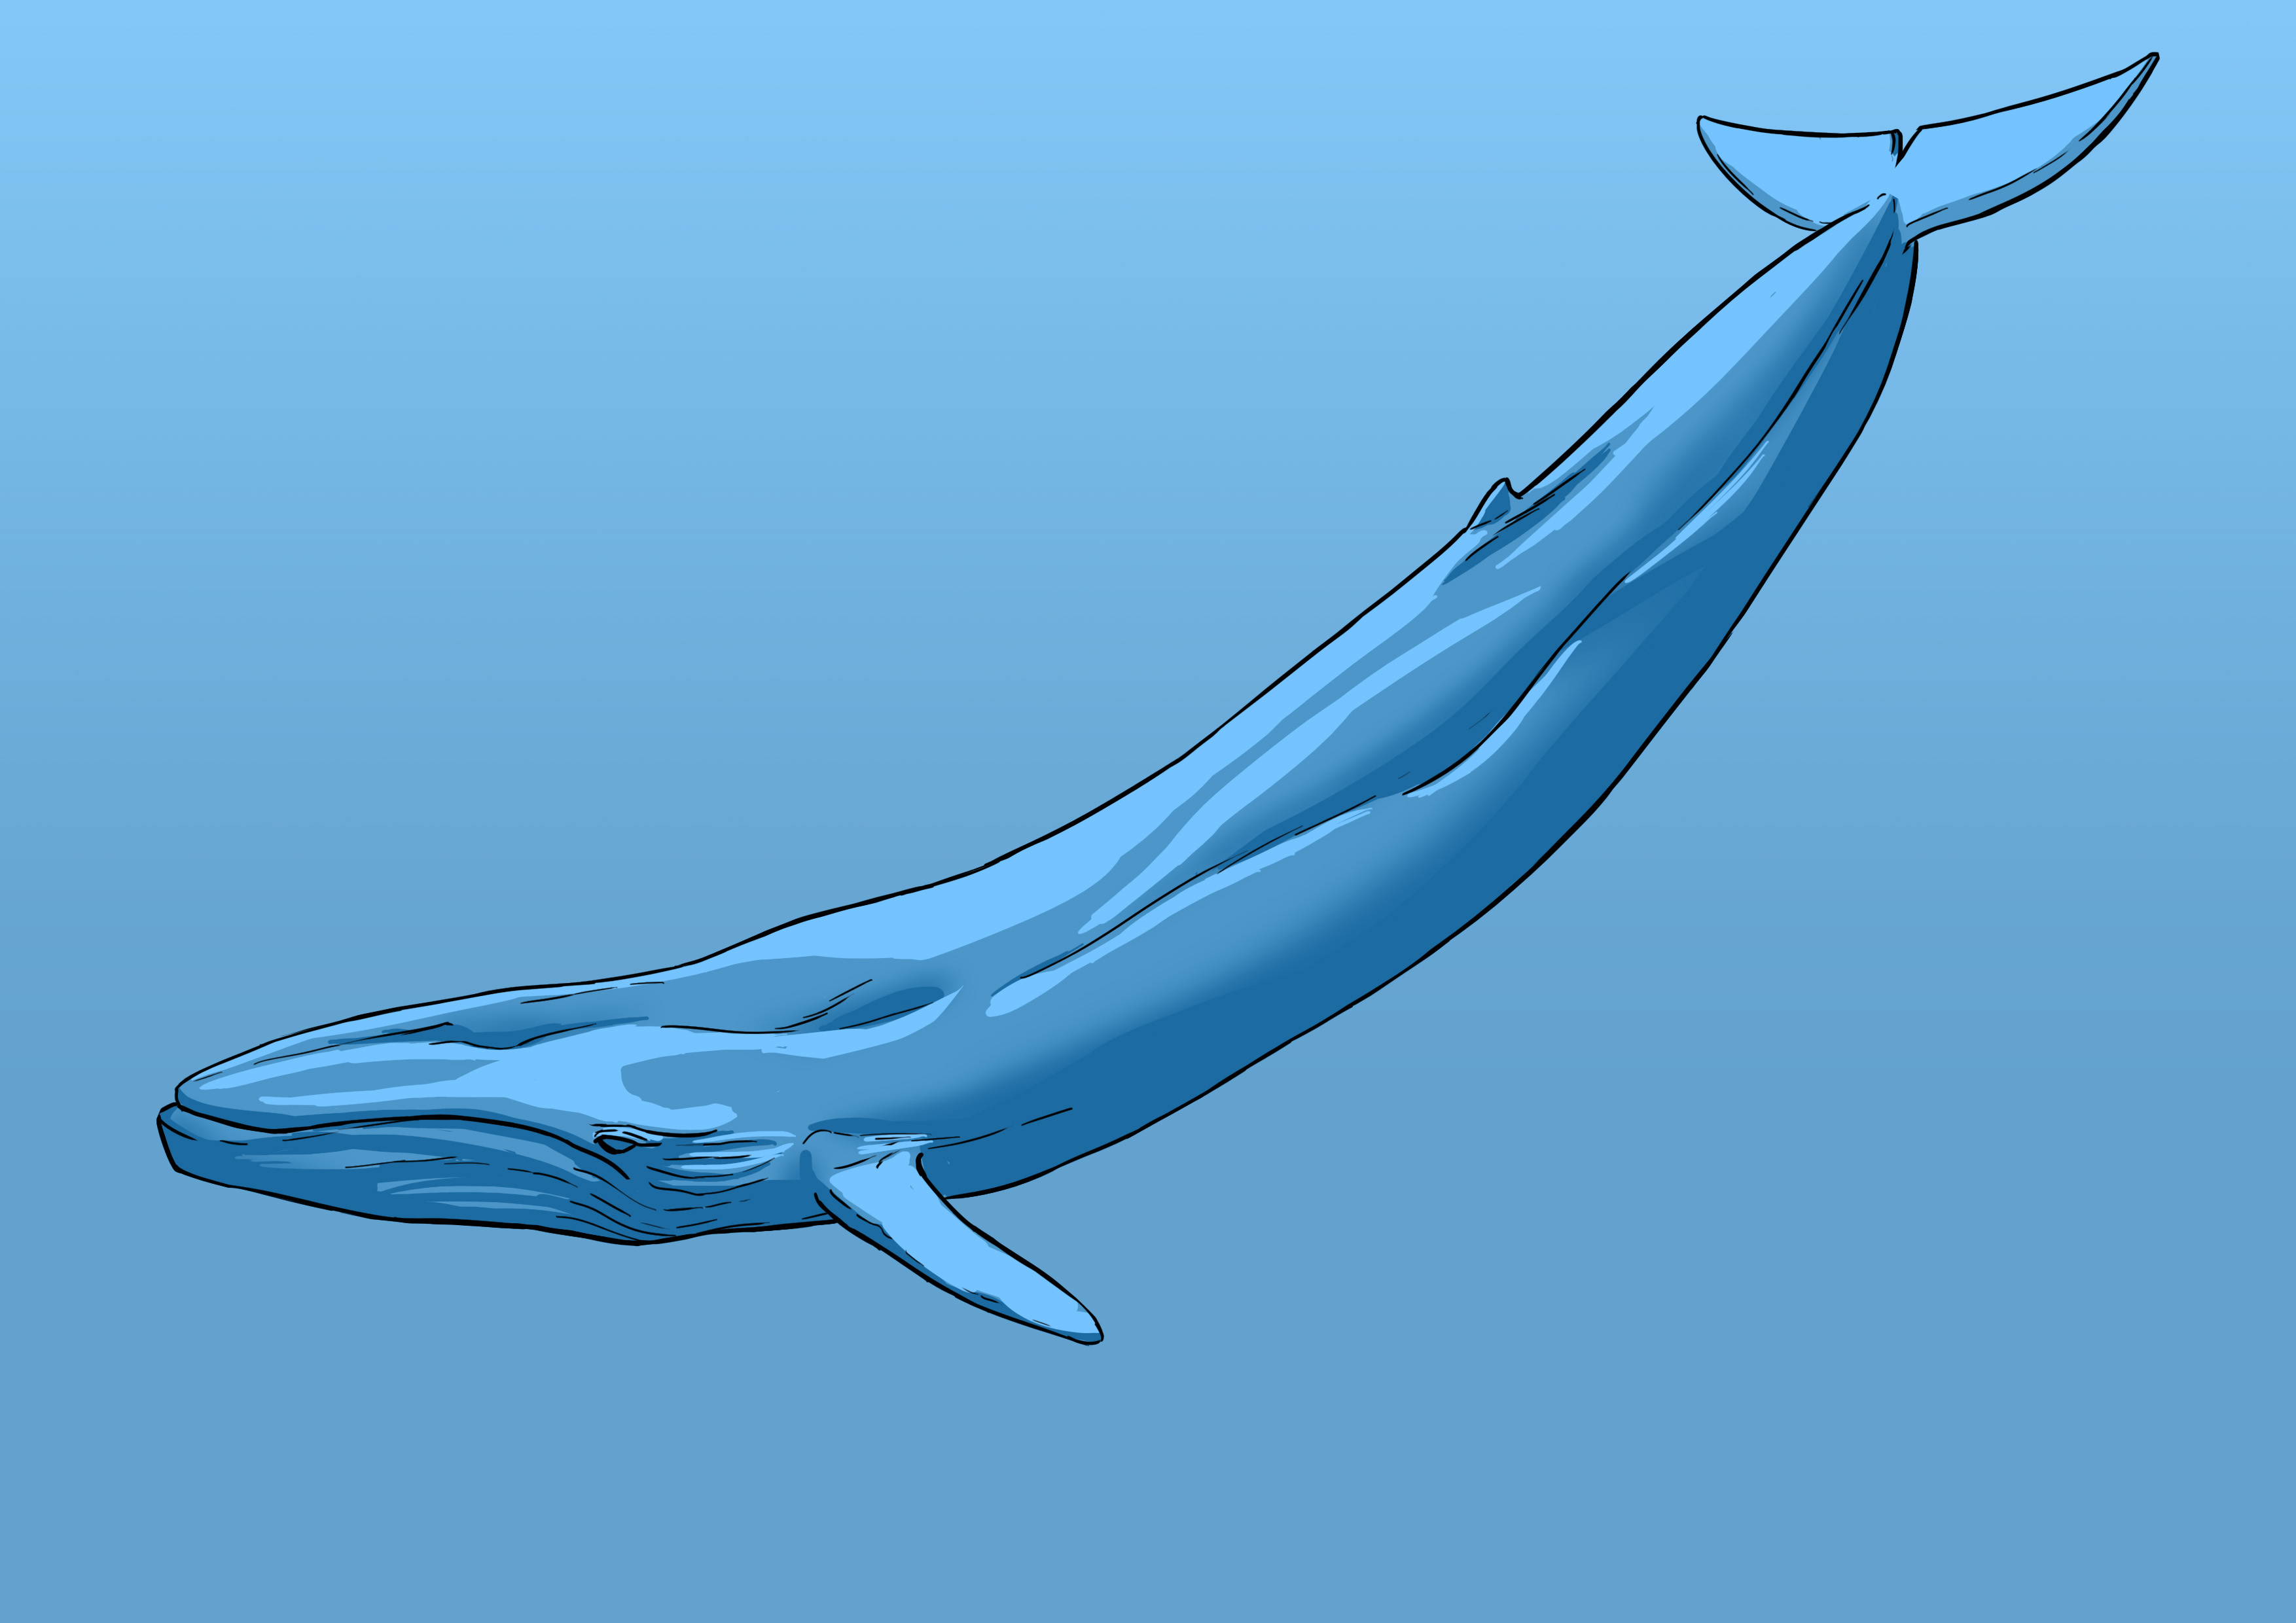
I'm going to blend this slightly:
Note that I leave some areas very clear. Generally, it is rare that all the shadows of an element are "blurry". Look closely and understand why some areas are blurry and others are very clear ^^
Once we have that, we can enhance the contrasts by applying a tint of light that will come on top to create gradients. This is particularly useful for the head, the top of the fins, and a bit the eye and the lower jaw.
Again, I blend all of this:
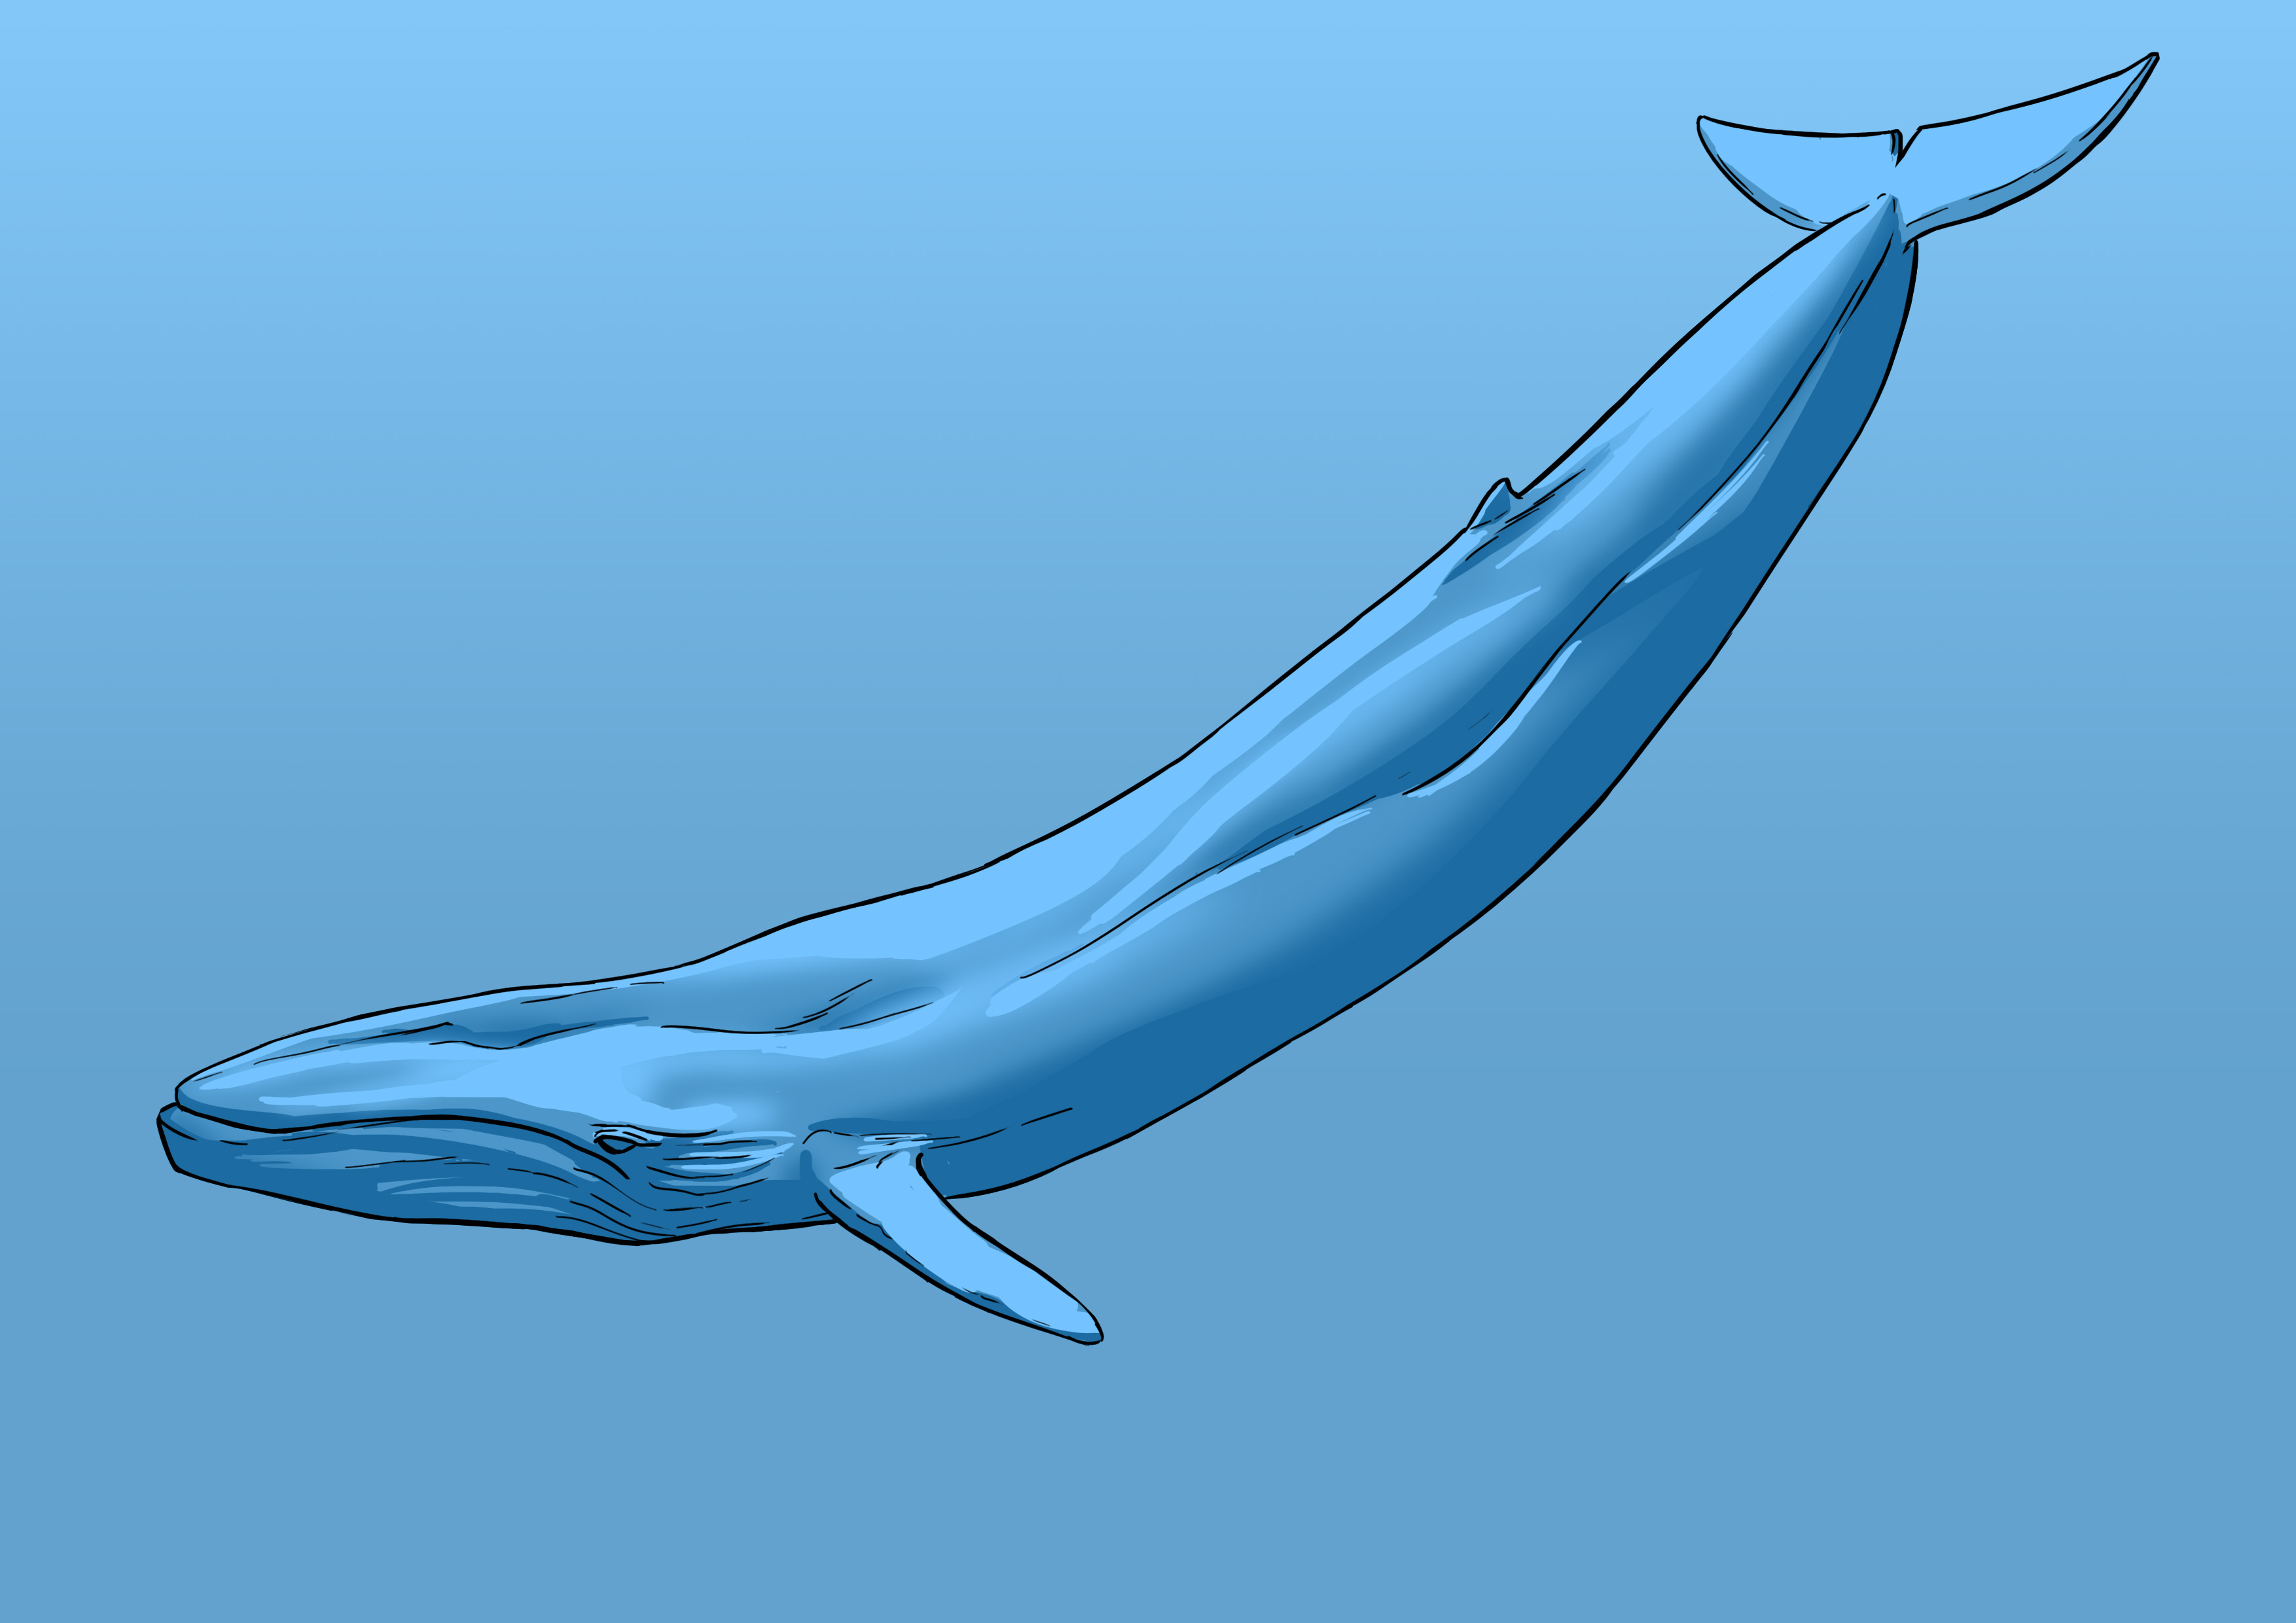
Next is the last step: the details. As often, animals get injured during their life; they have all sorts of small marks, scars, etc. So choose a shade slightly lighter or darker (it depends on the area, in my case I generally took back my base shade) than the area you are working on and add these little details. We often see them around the fins and a bit around the mouth in the specific case of the whale.

Once that's done, we're finished!
Summary:
- Analyze the shape properly, just because it looks simple (or complicated) to draw doesn't necessarily mean it will be.
- Make sure you use several references, even look at the animal's skeleton to understand how it is structured.
- Be careful not to make it too smooth, there are contours and muscles, we need to feel them.
- In the marine environment, light almost always comes solely from the surface of the water, therefore from above.
Discussion
2 comments