How to Draw a Fish
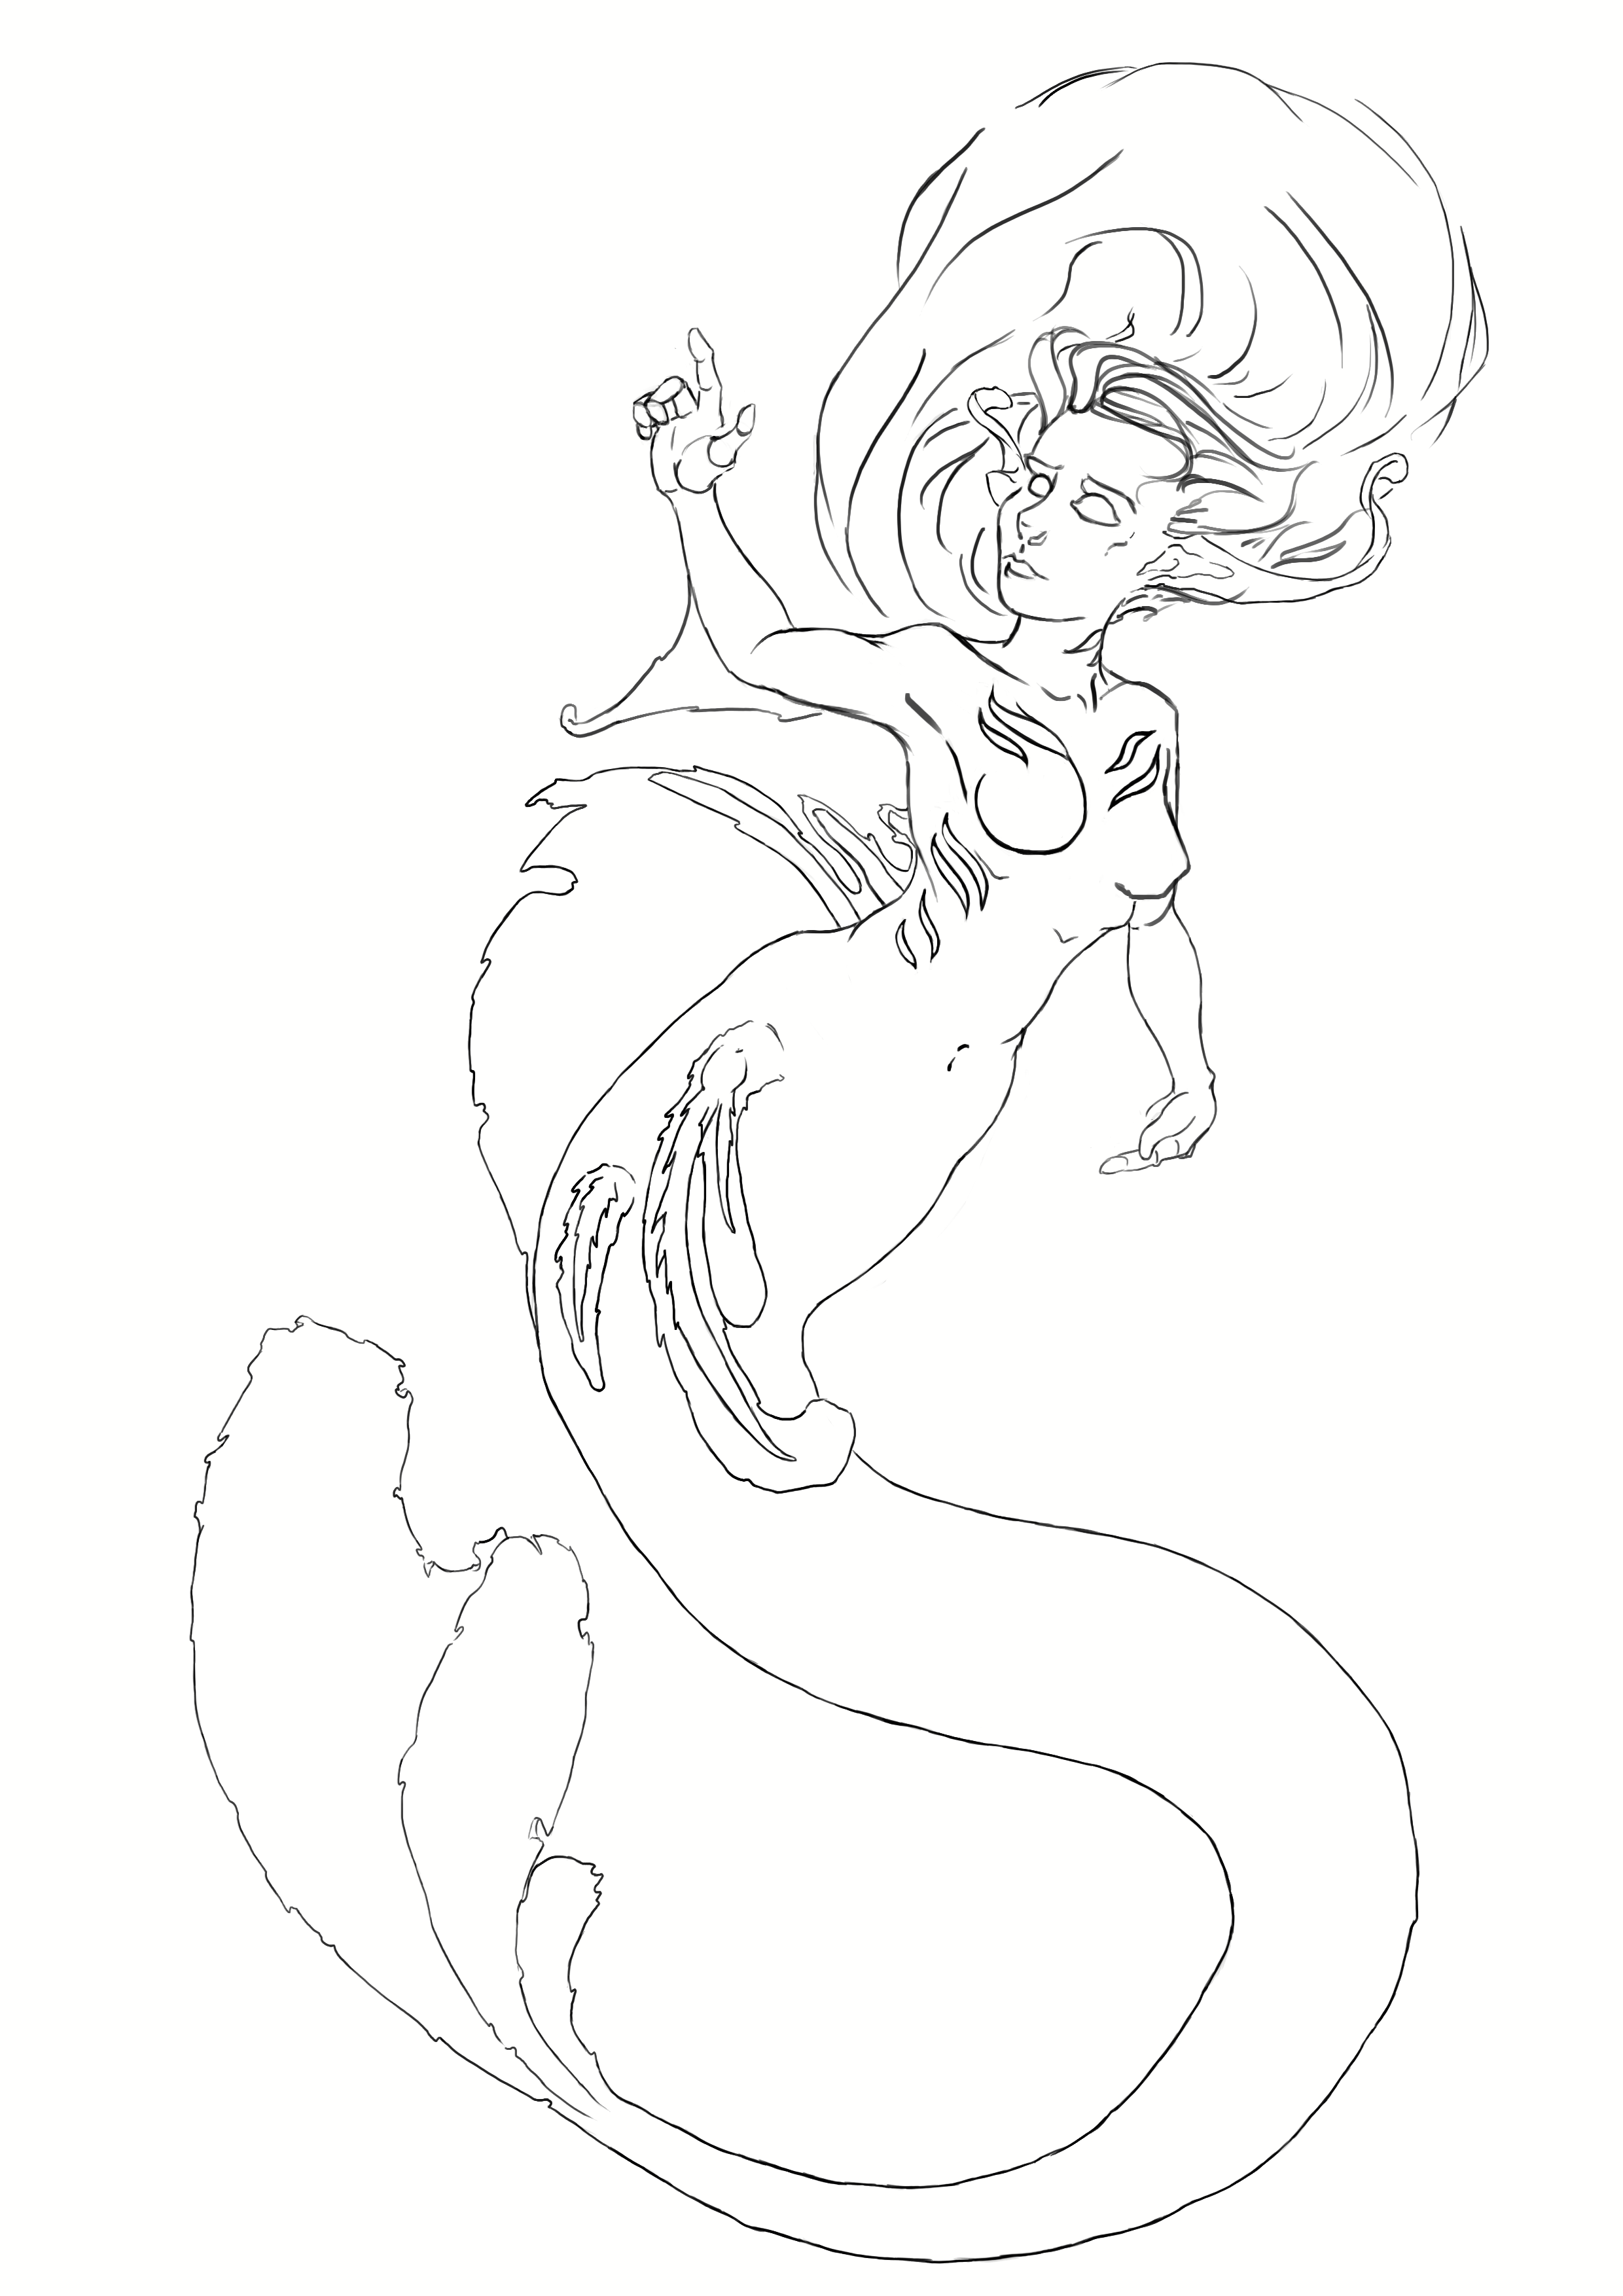
Do you like underwater environments? The Little Mermaid, 20,000 Leagues Under the Sea, and all that? I must admit it's quite cool, but there's often a need to add a bit of life under the ocean. So today, we're going to see how to draw three very different species of fish.
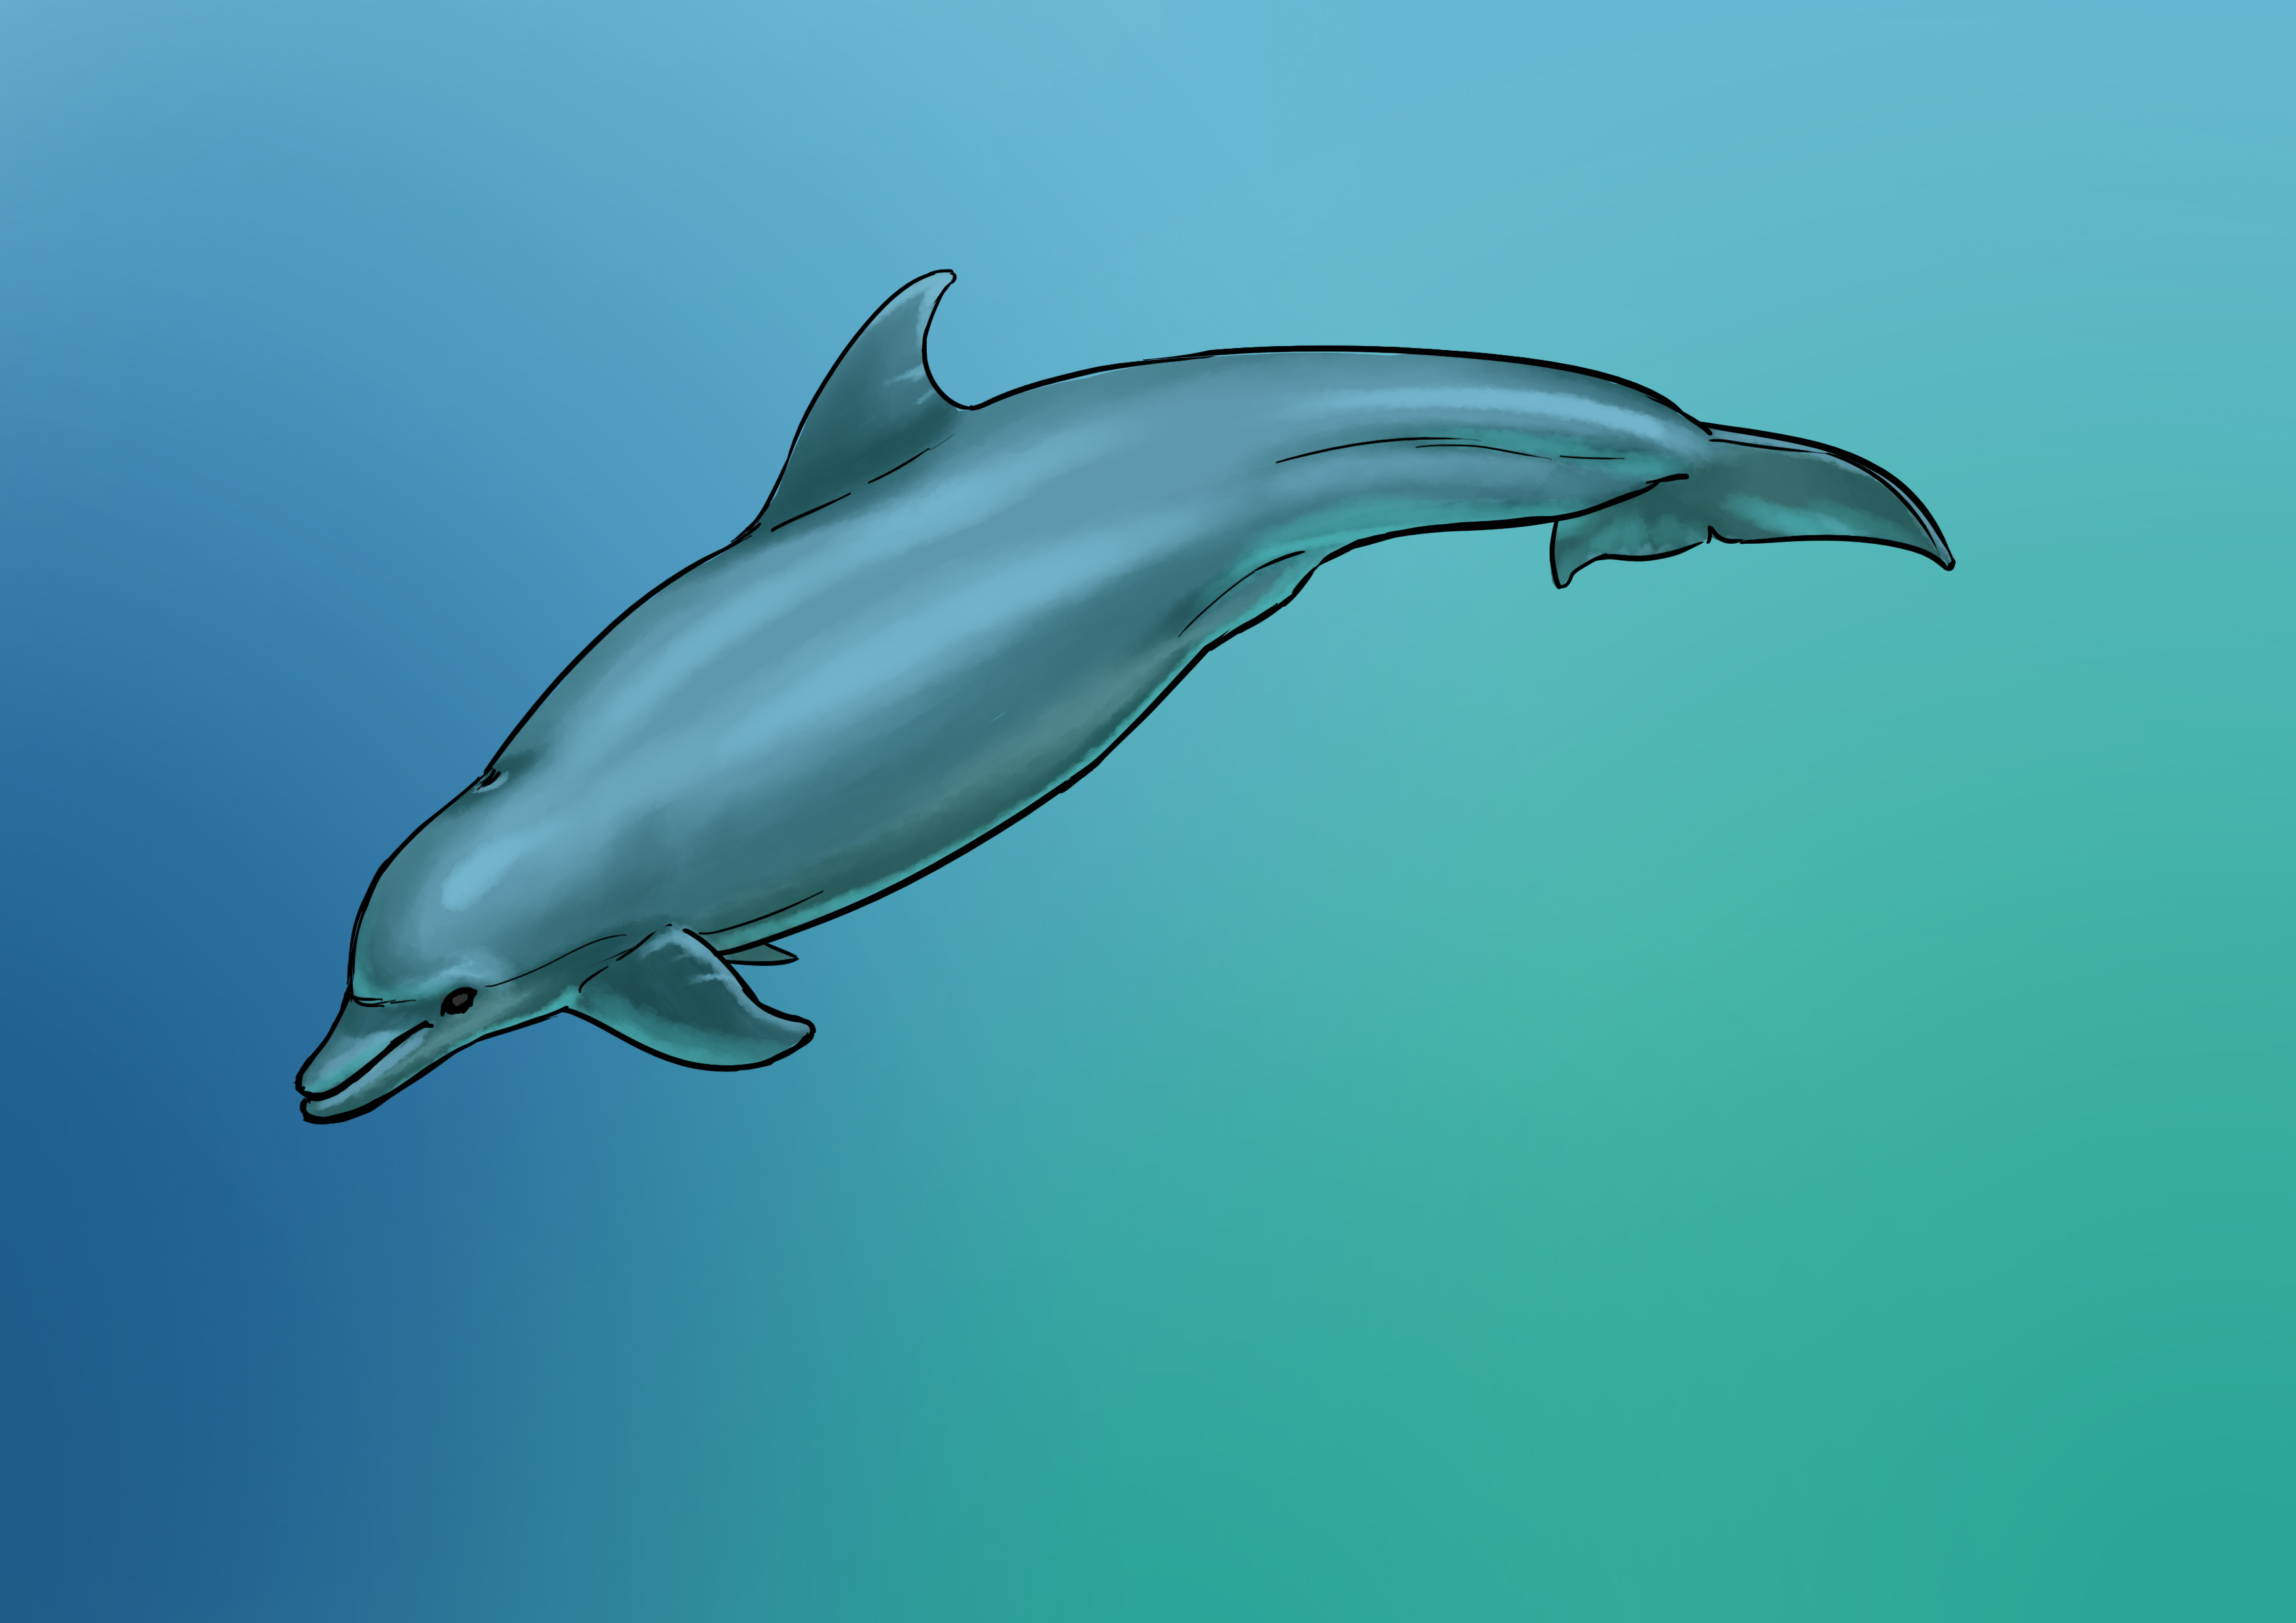
Just like with dolphins, most of the time, marine animals are quite simple to draw because they generally have simple shapes. Feel free to check out our blog to learn more on how to draw a dolphin :)
Today we're going to tackle three models: the goldfish (a classic), the moray eel and the stingray.
<Â>
DRAWING A GOLDFISH
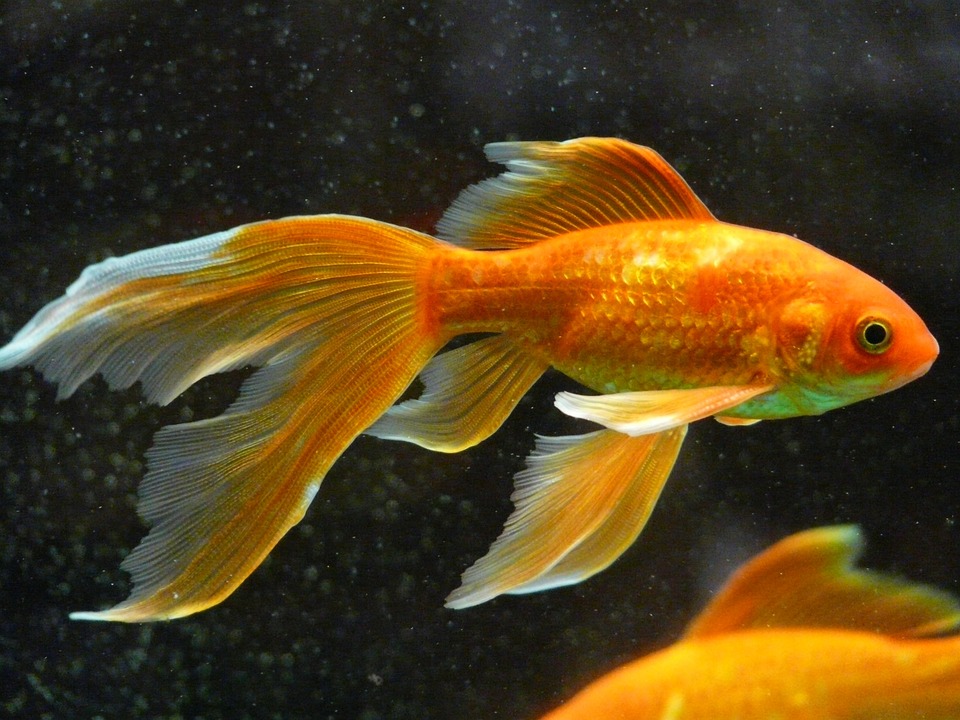
At first glance, you all see what it looks like, it's a fairly common fish with all round shapes.
Note the number of fins it has: the dorsal fin, the caudal fin, the two fins at the front of the body, two fins underneath in the middle of the body, and one fin at the back in the middle of the body as well.
It should be noted that, again, fish generally have eyes located on the sides (like birds).
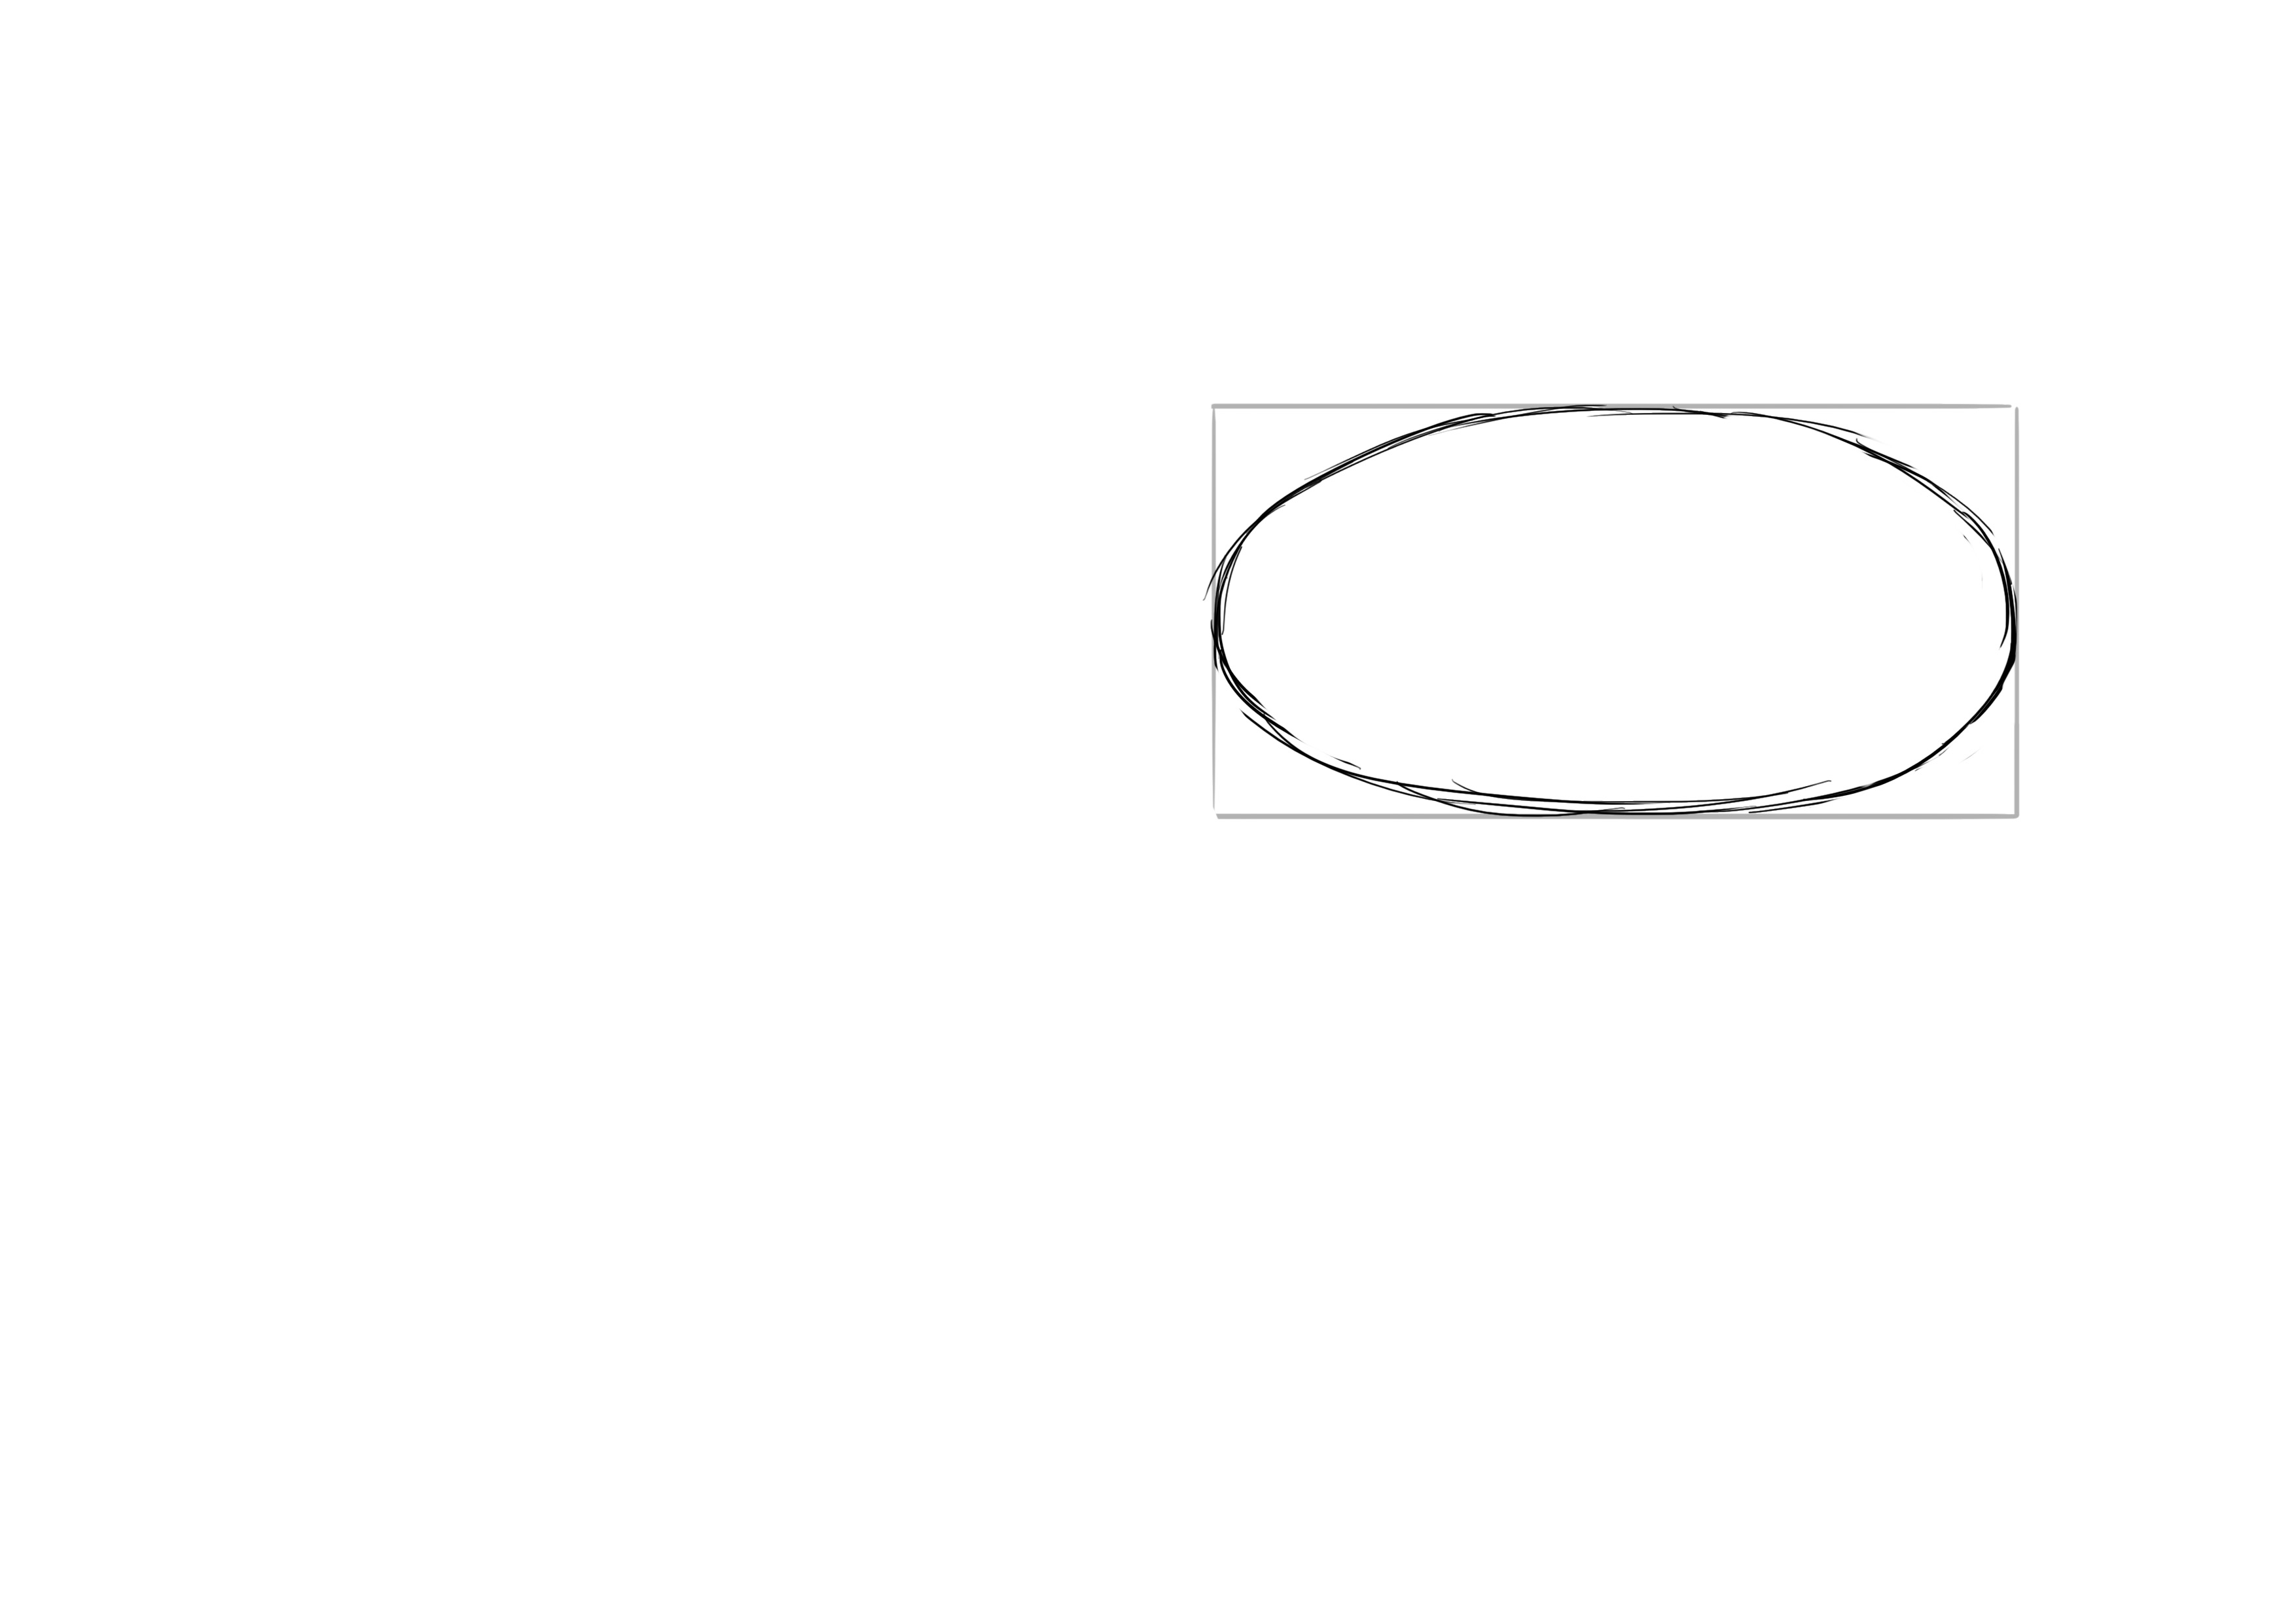
DRAWING THE GOLDFISH STEP BY STEP
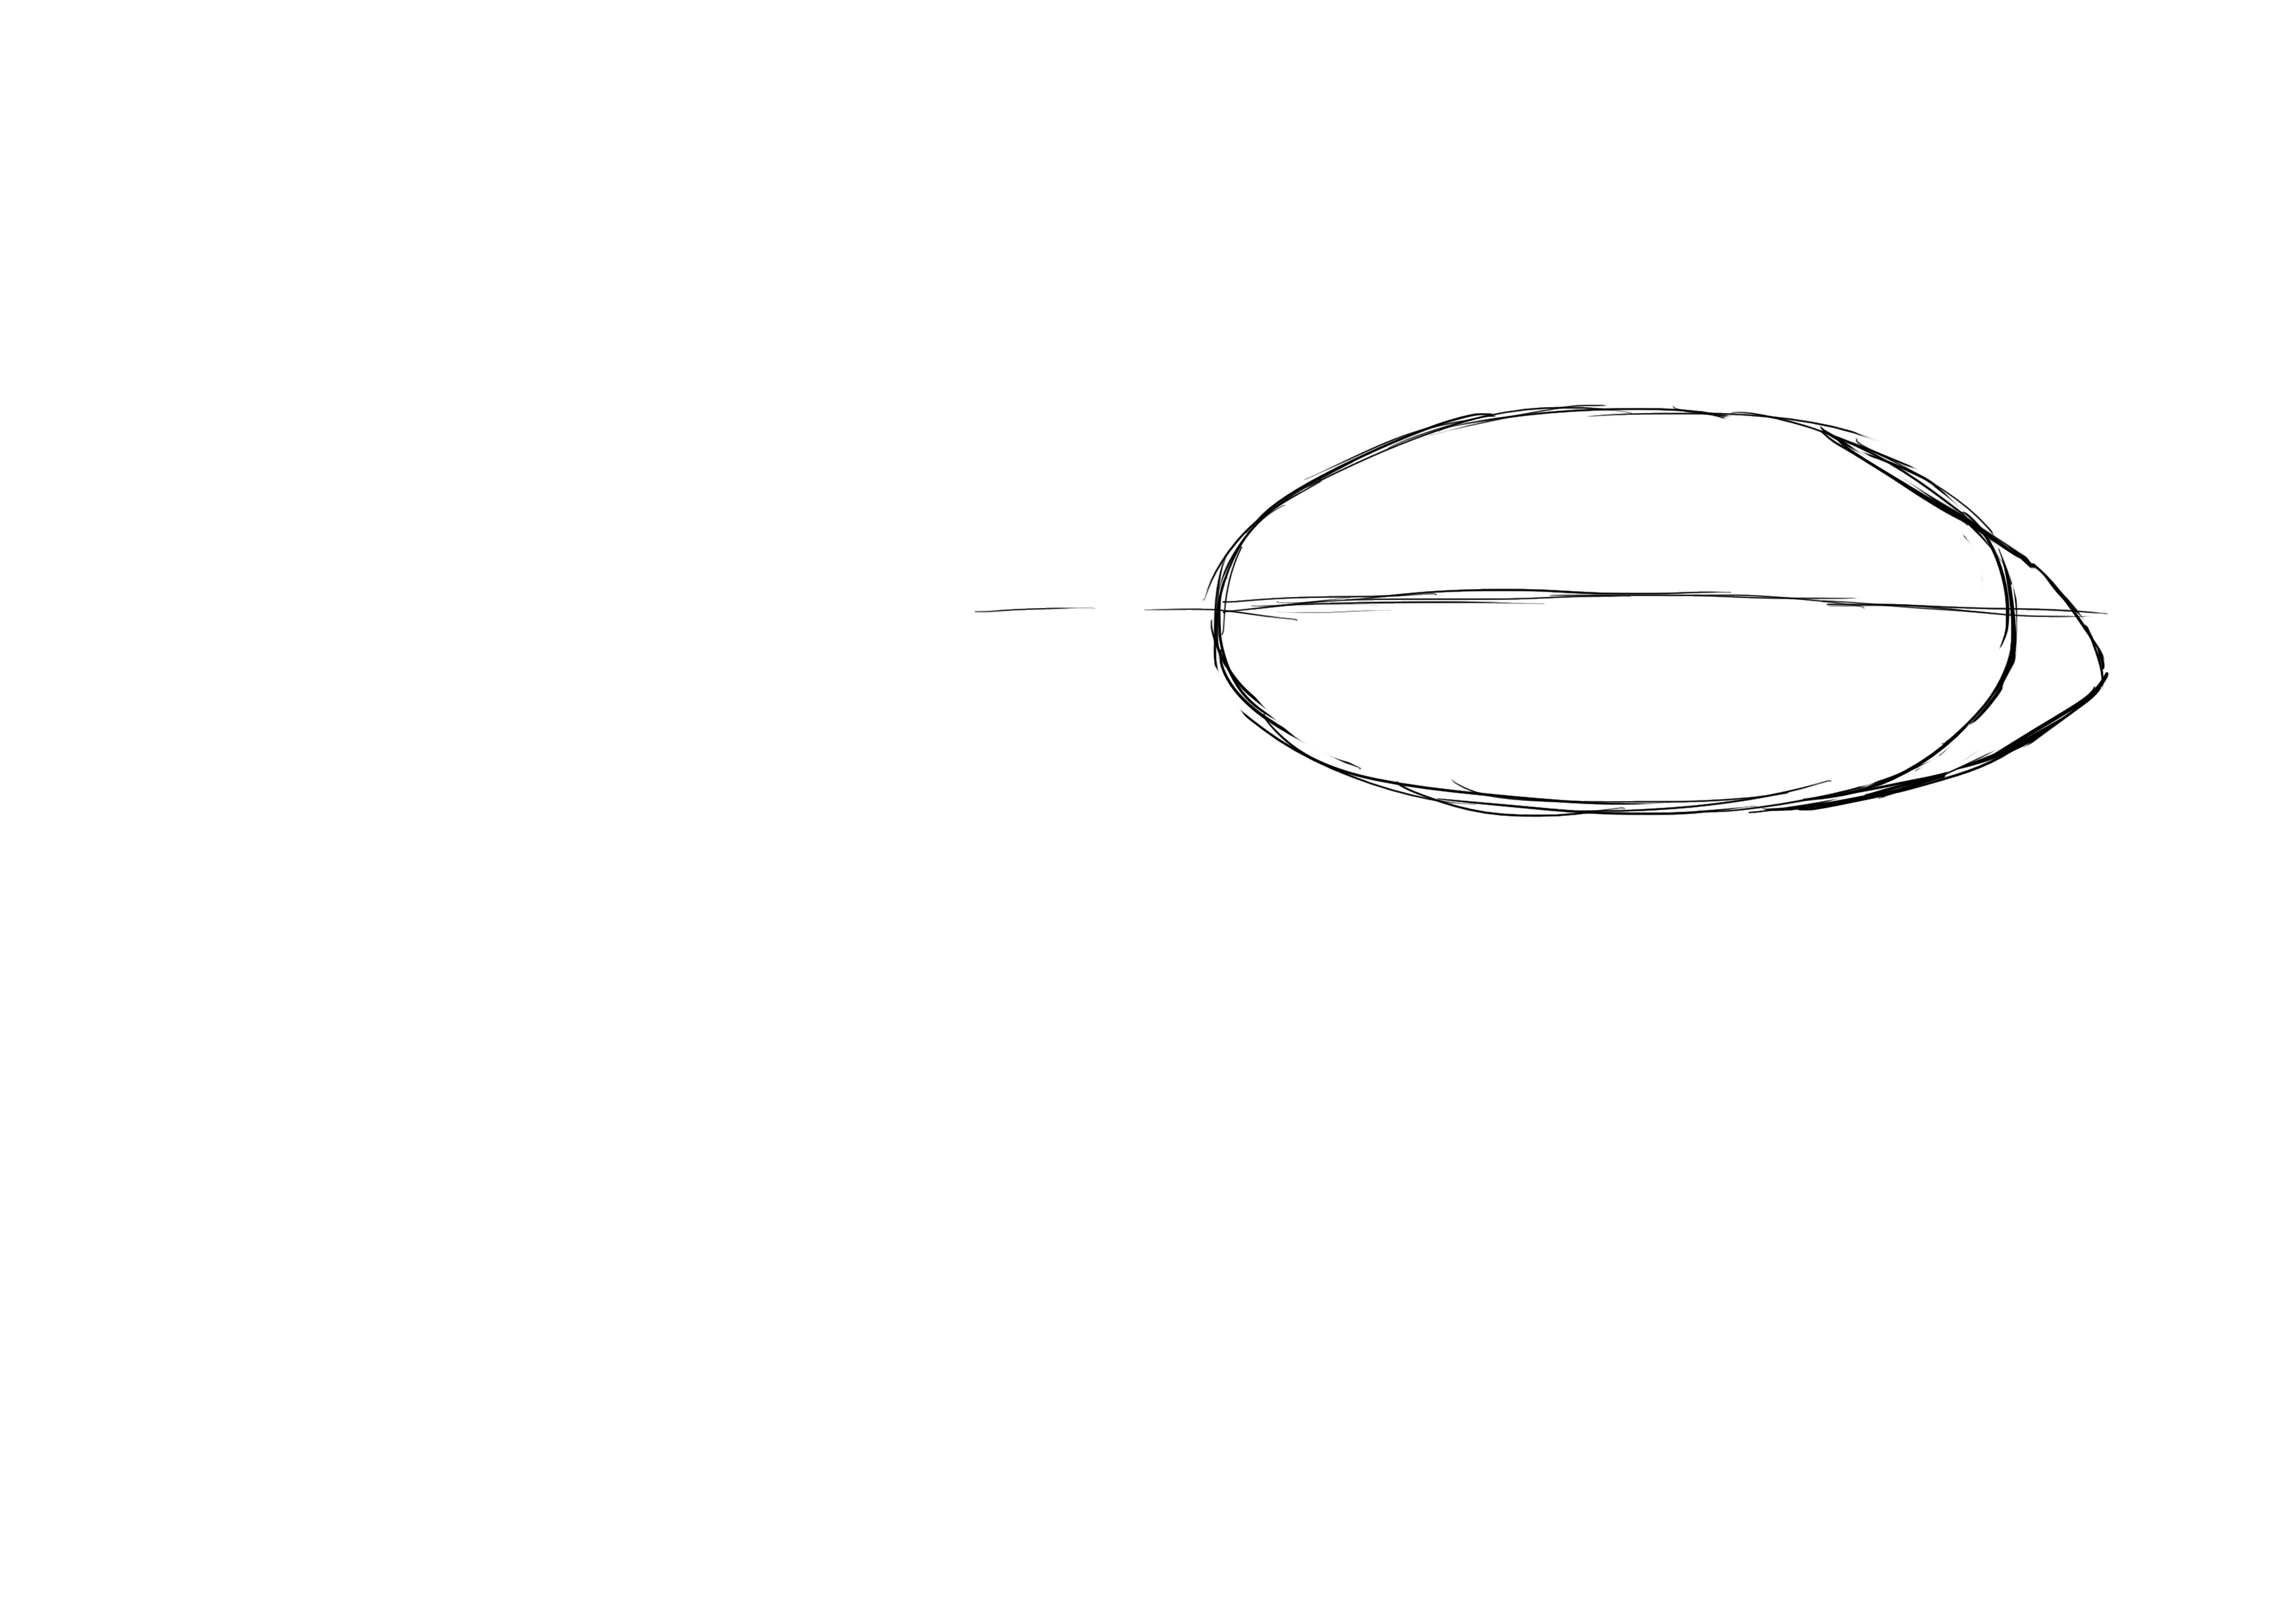
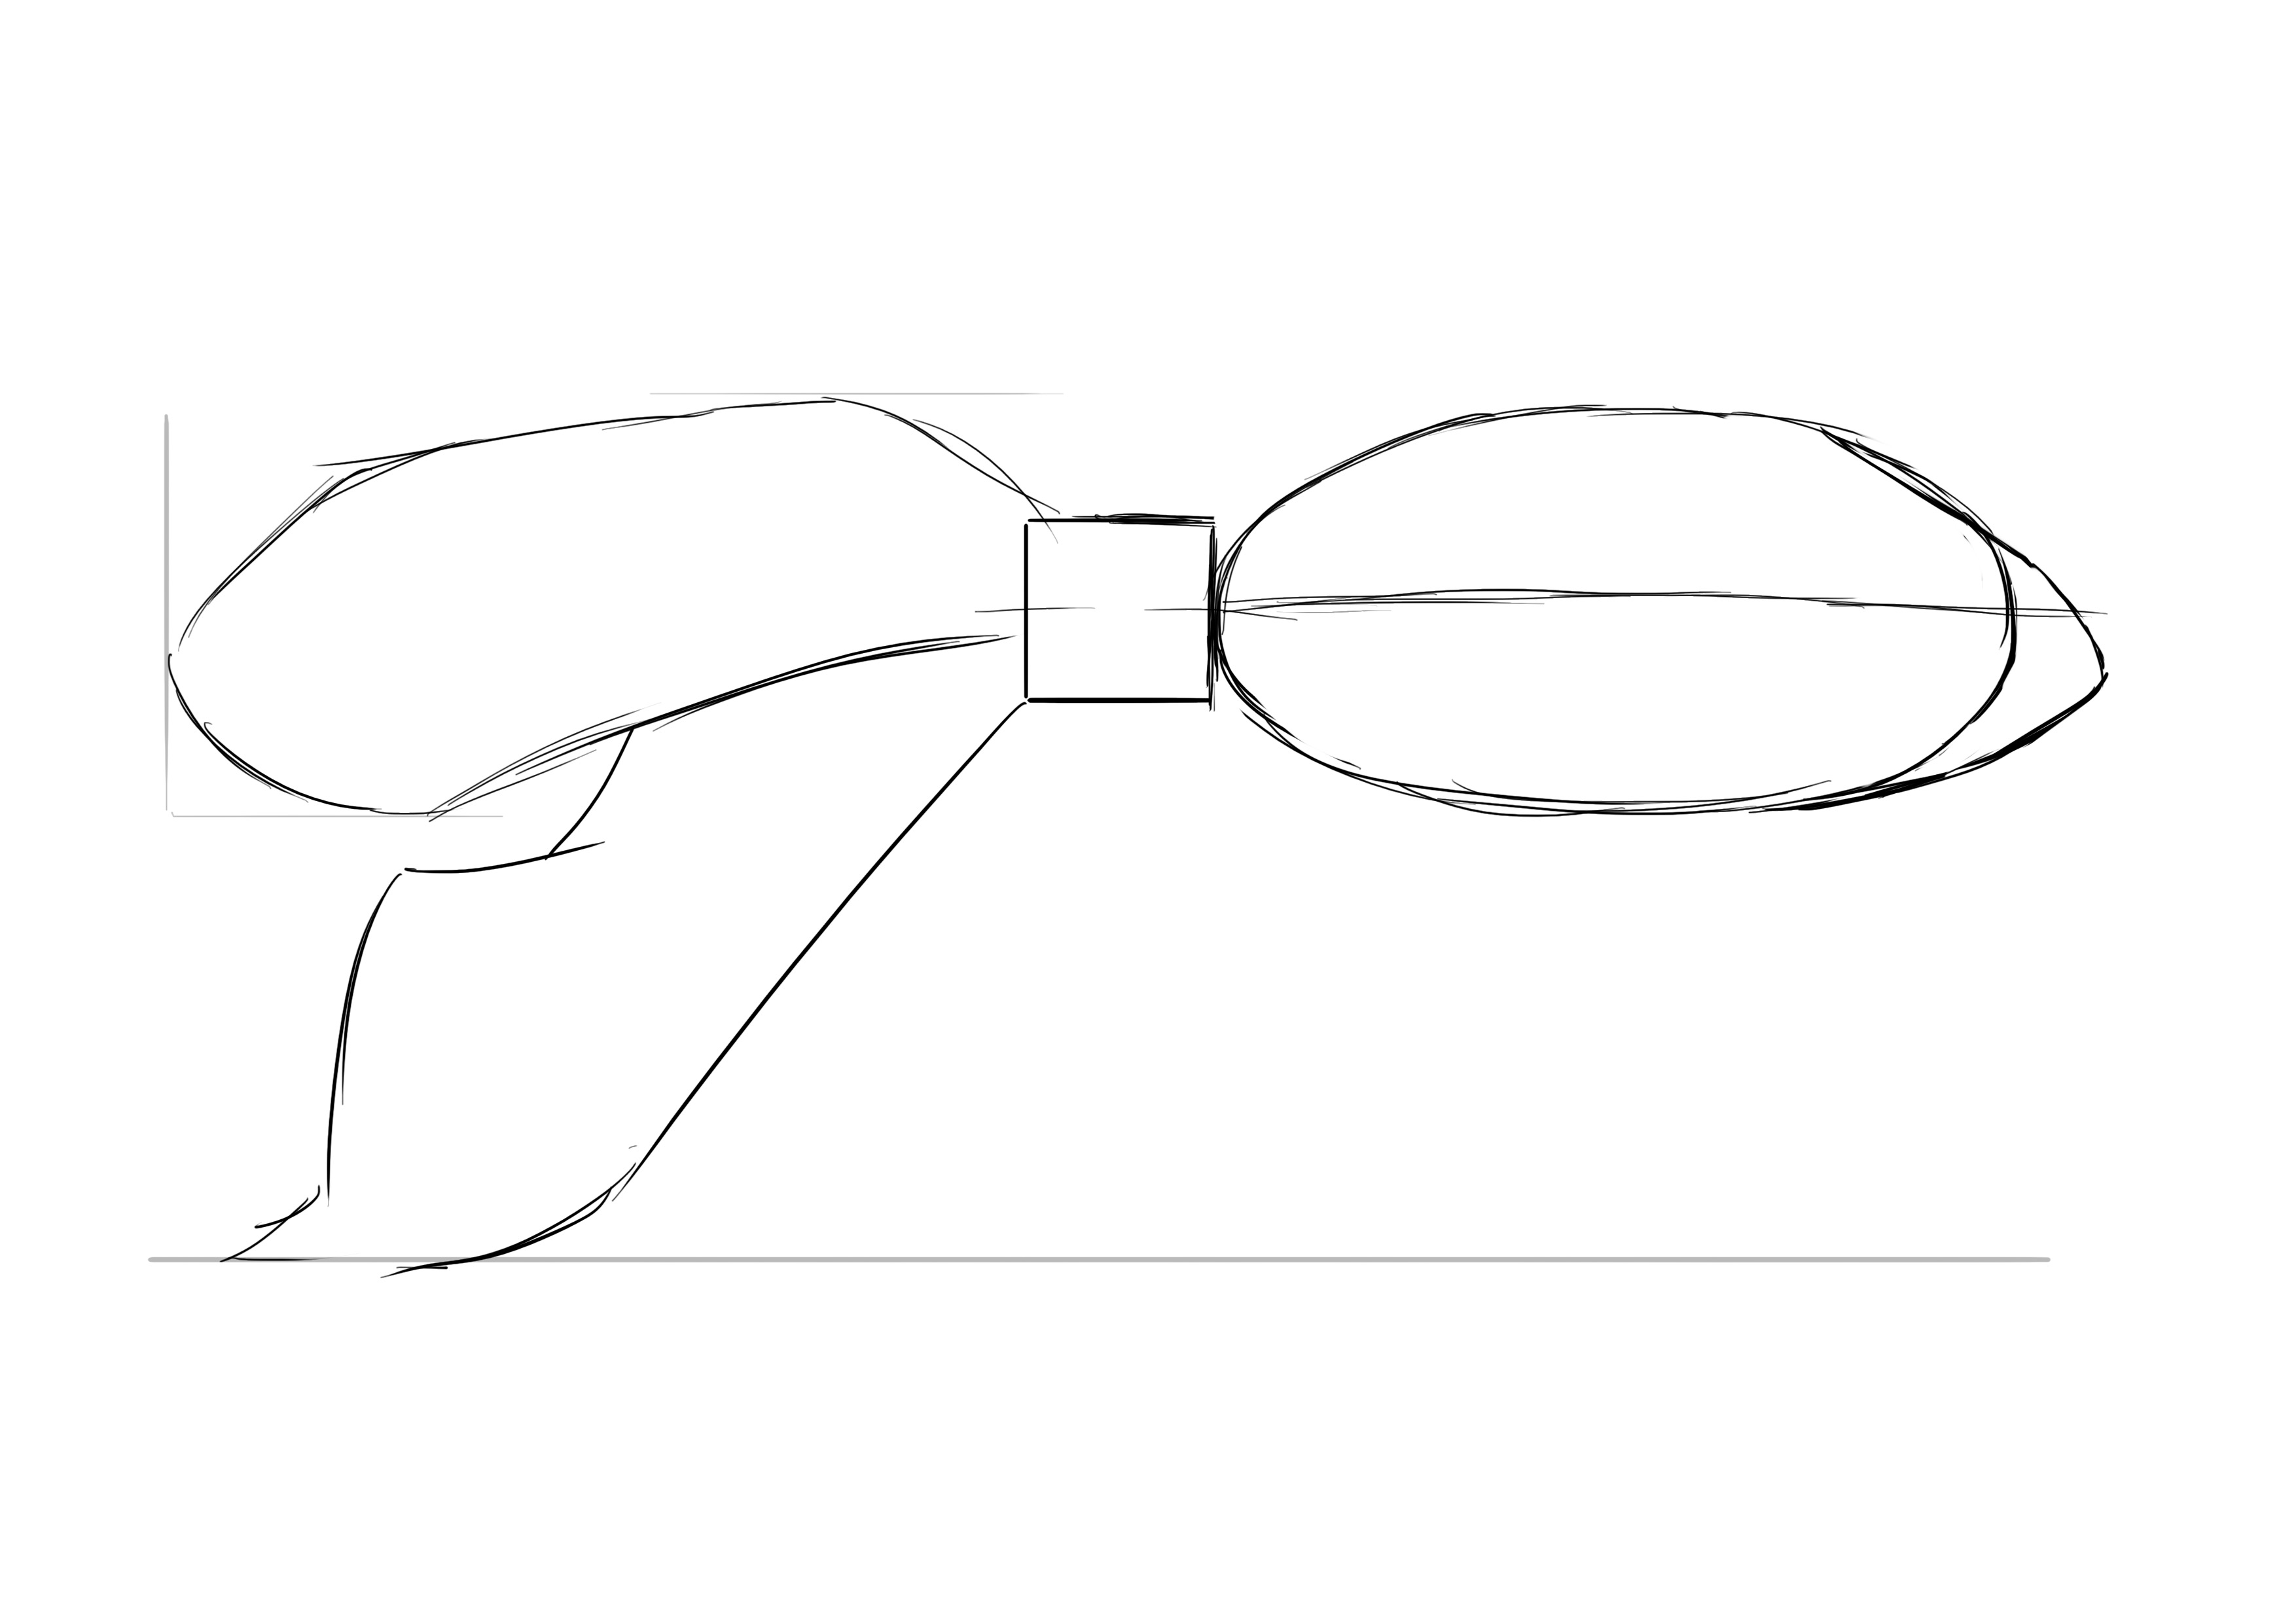
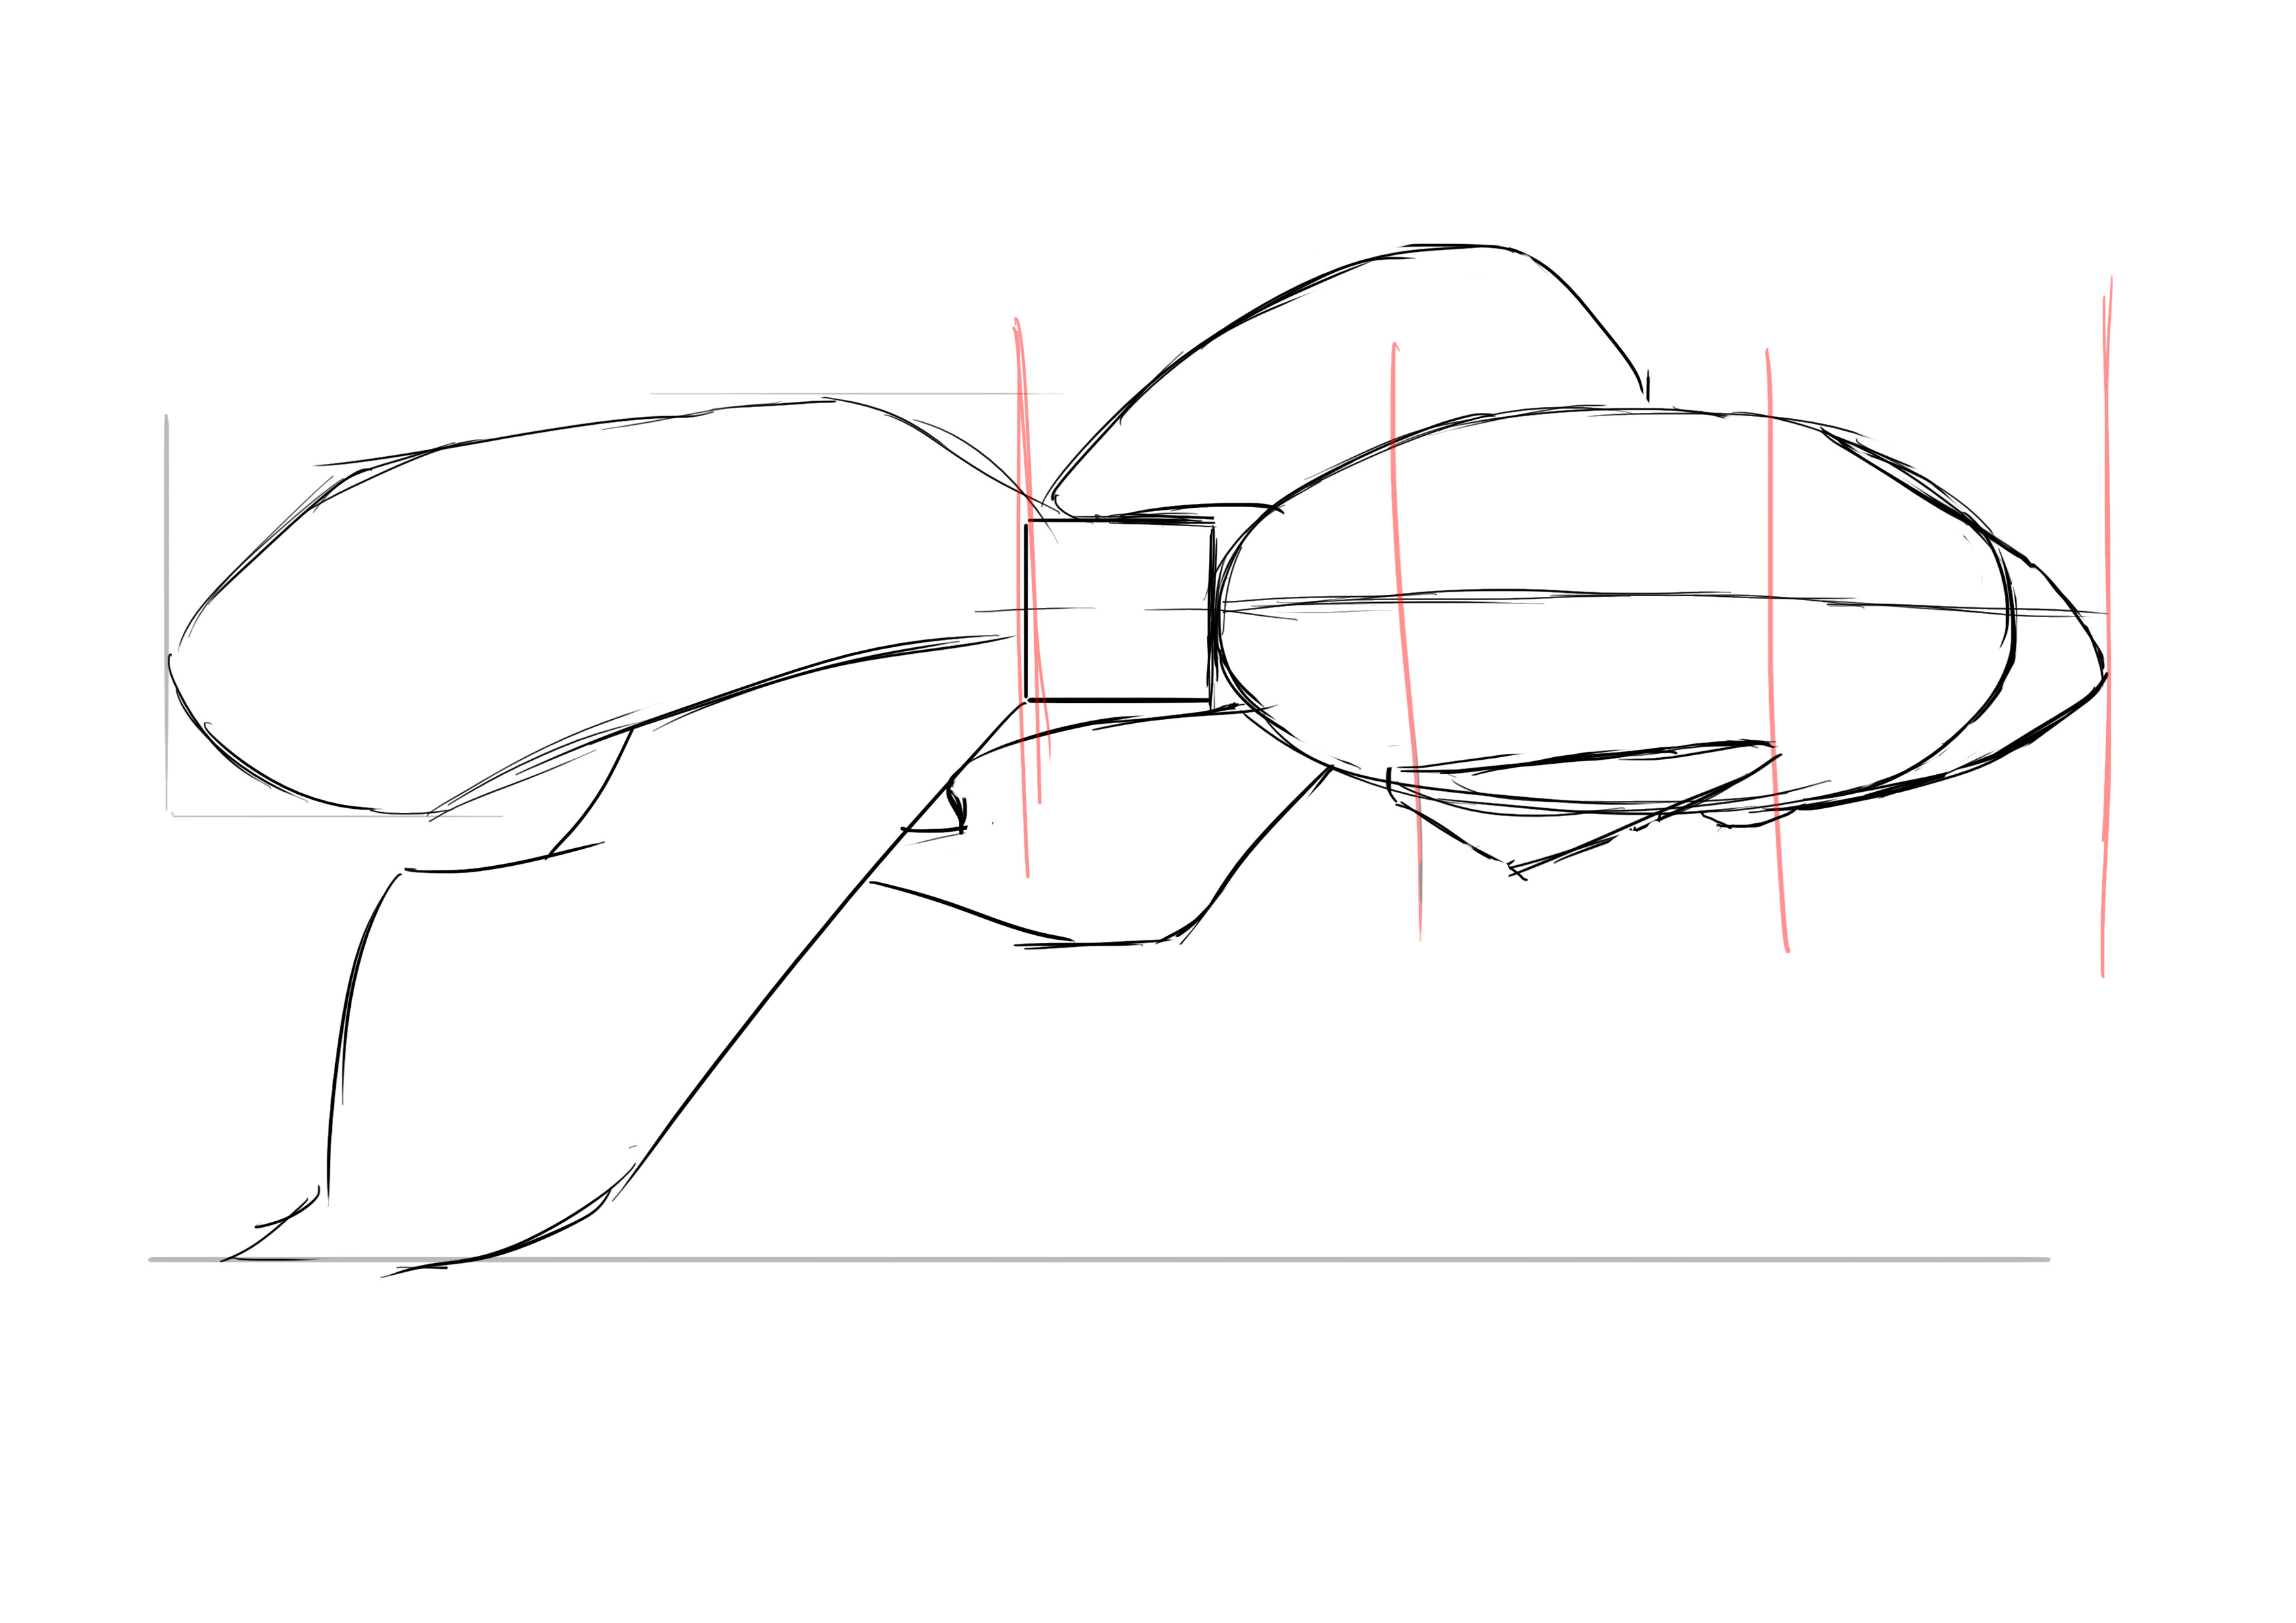
Without further ado, let's move on to the practical work. Just like when I drew the dolphin, I start with the body this time. It's simply a matter of preference. So, we draw an oval about twice as long as it is wide. To make it easier for you, you can draw a rectangle first and then just the ellipse inside it. That way, you'll know you have the right proportions.

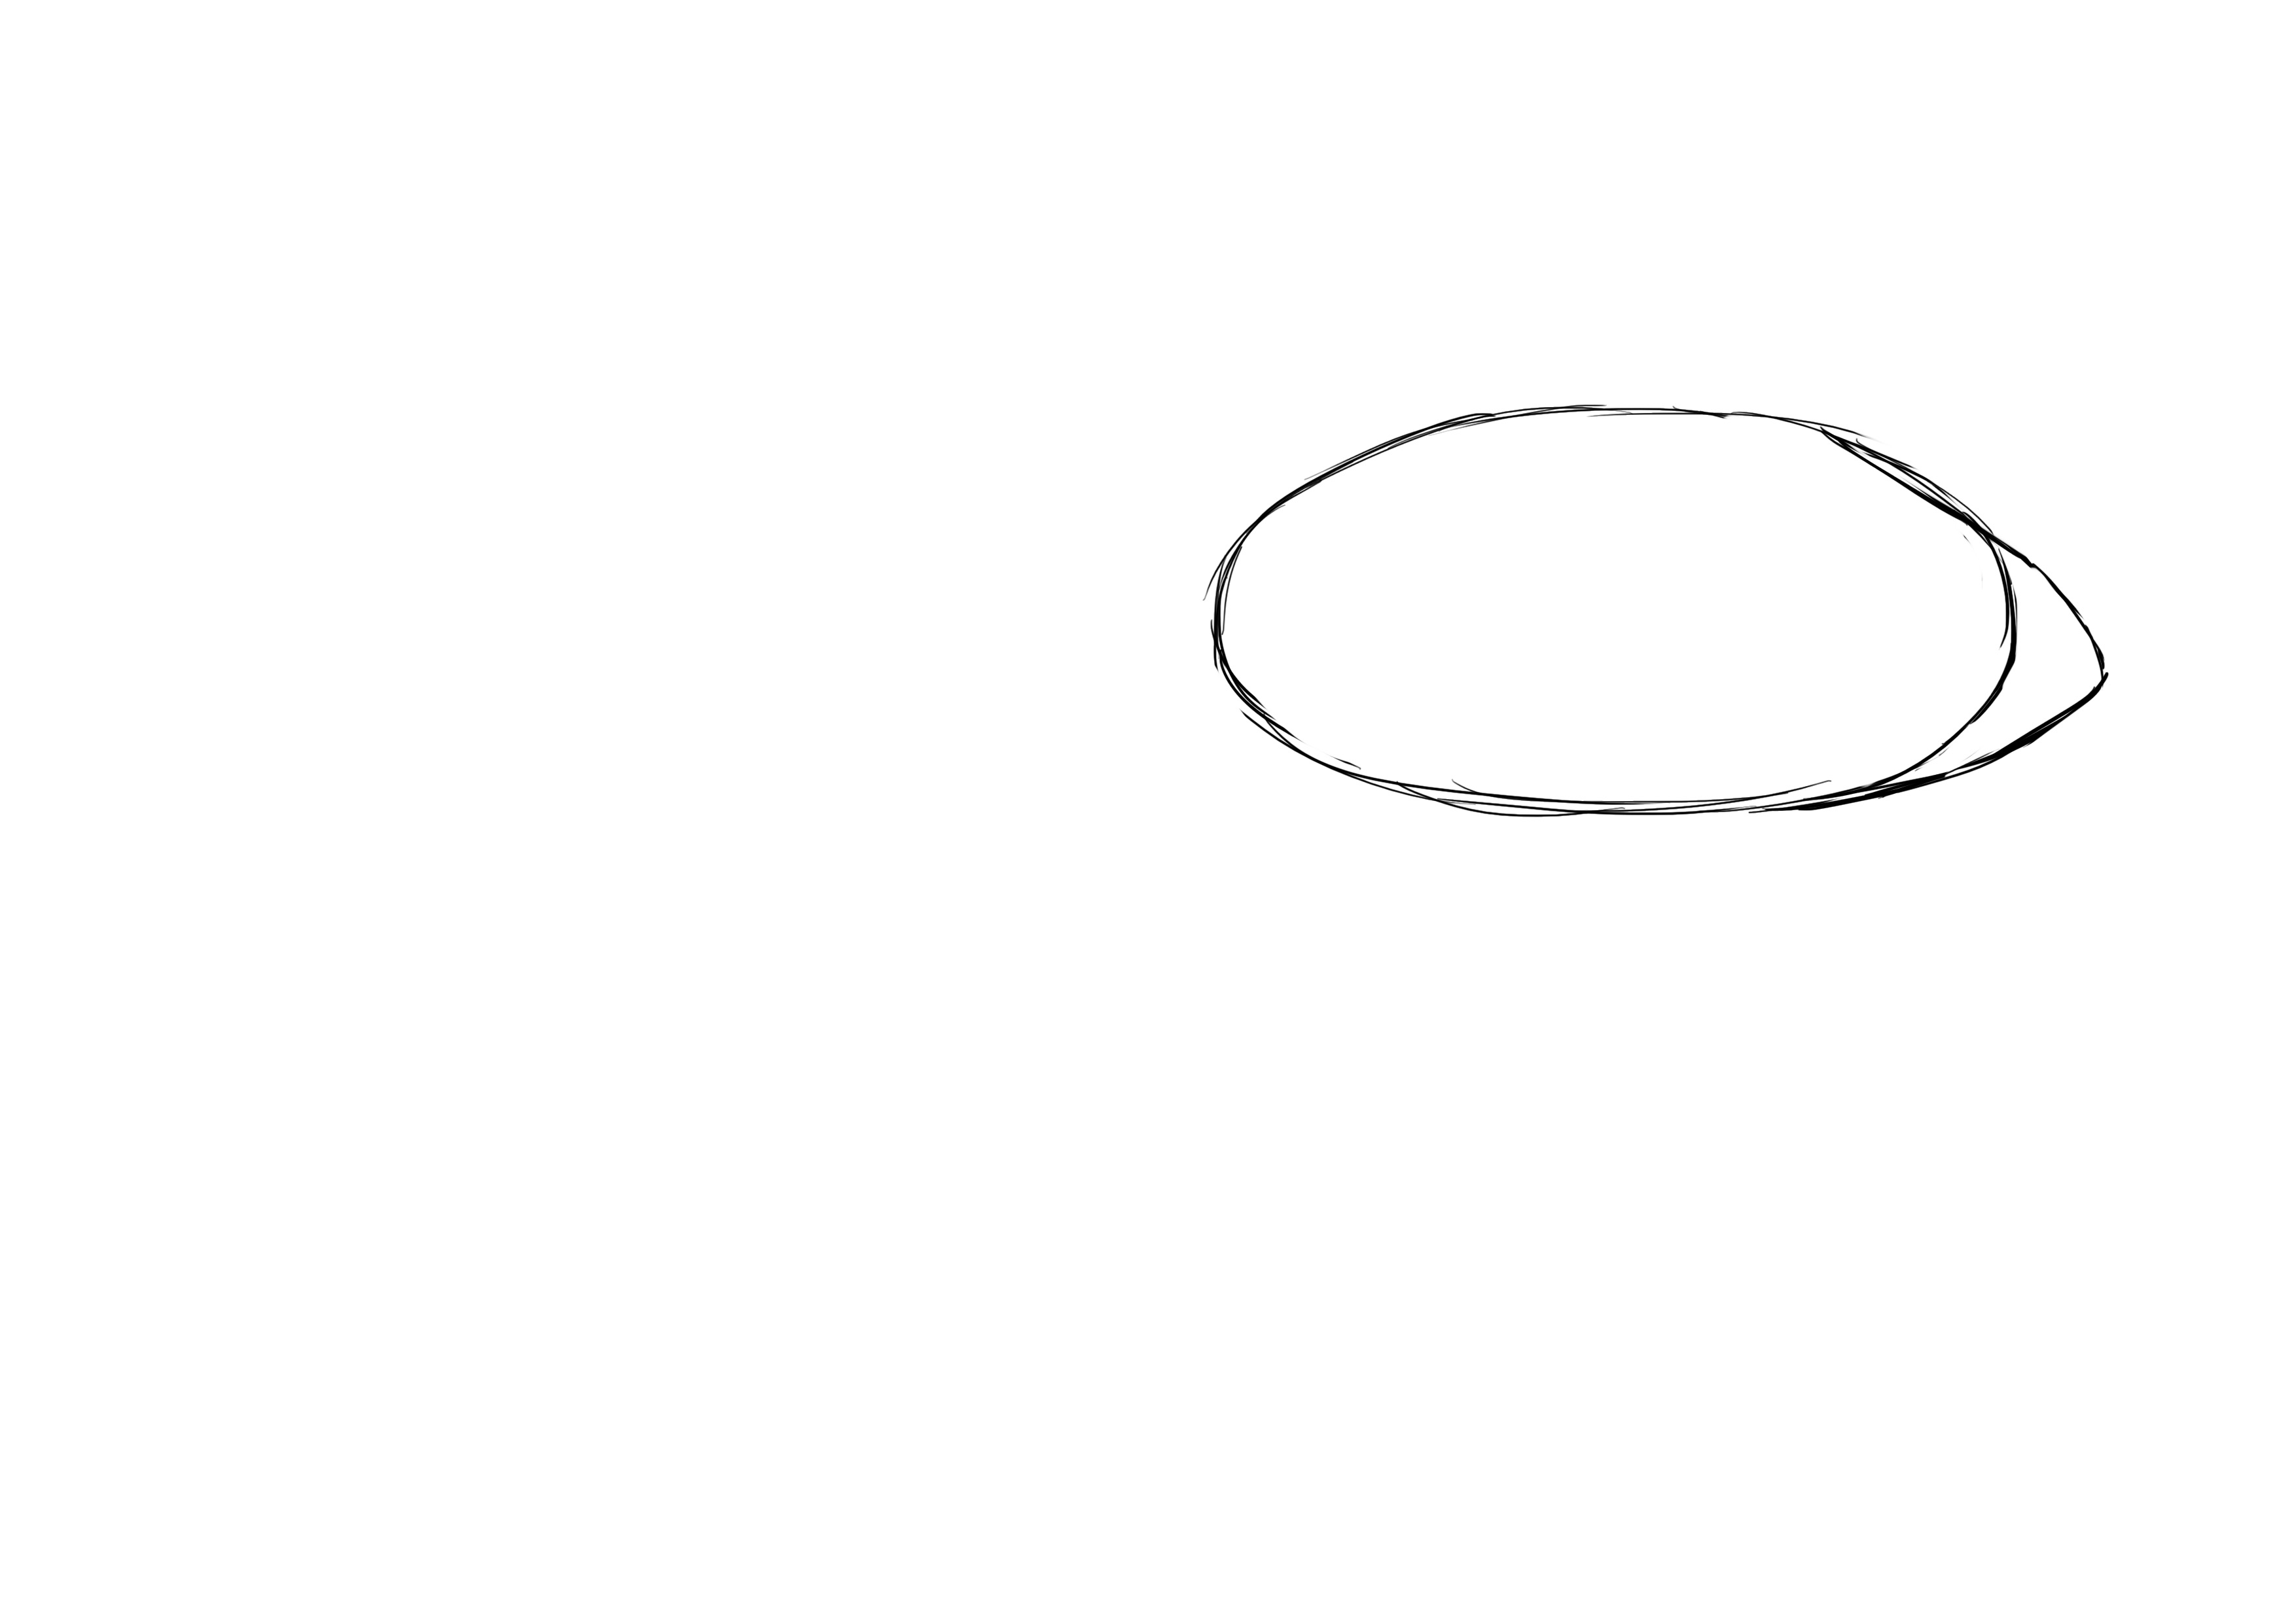
We add the head: a small triangular shape.
I am not sure if you see it, but it seems that the scale pattern traces a straight line on the body of our goldfish. It falls roughly in the middle of its body.
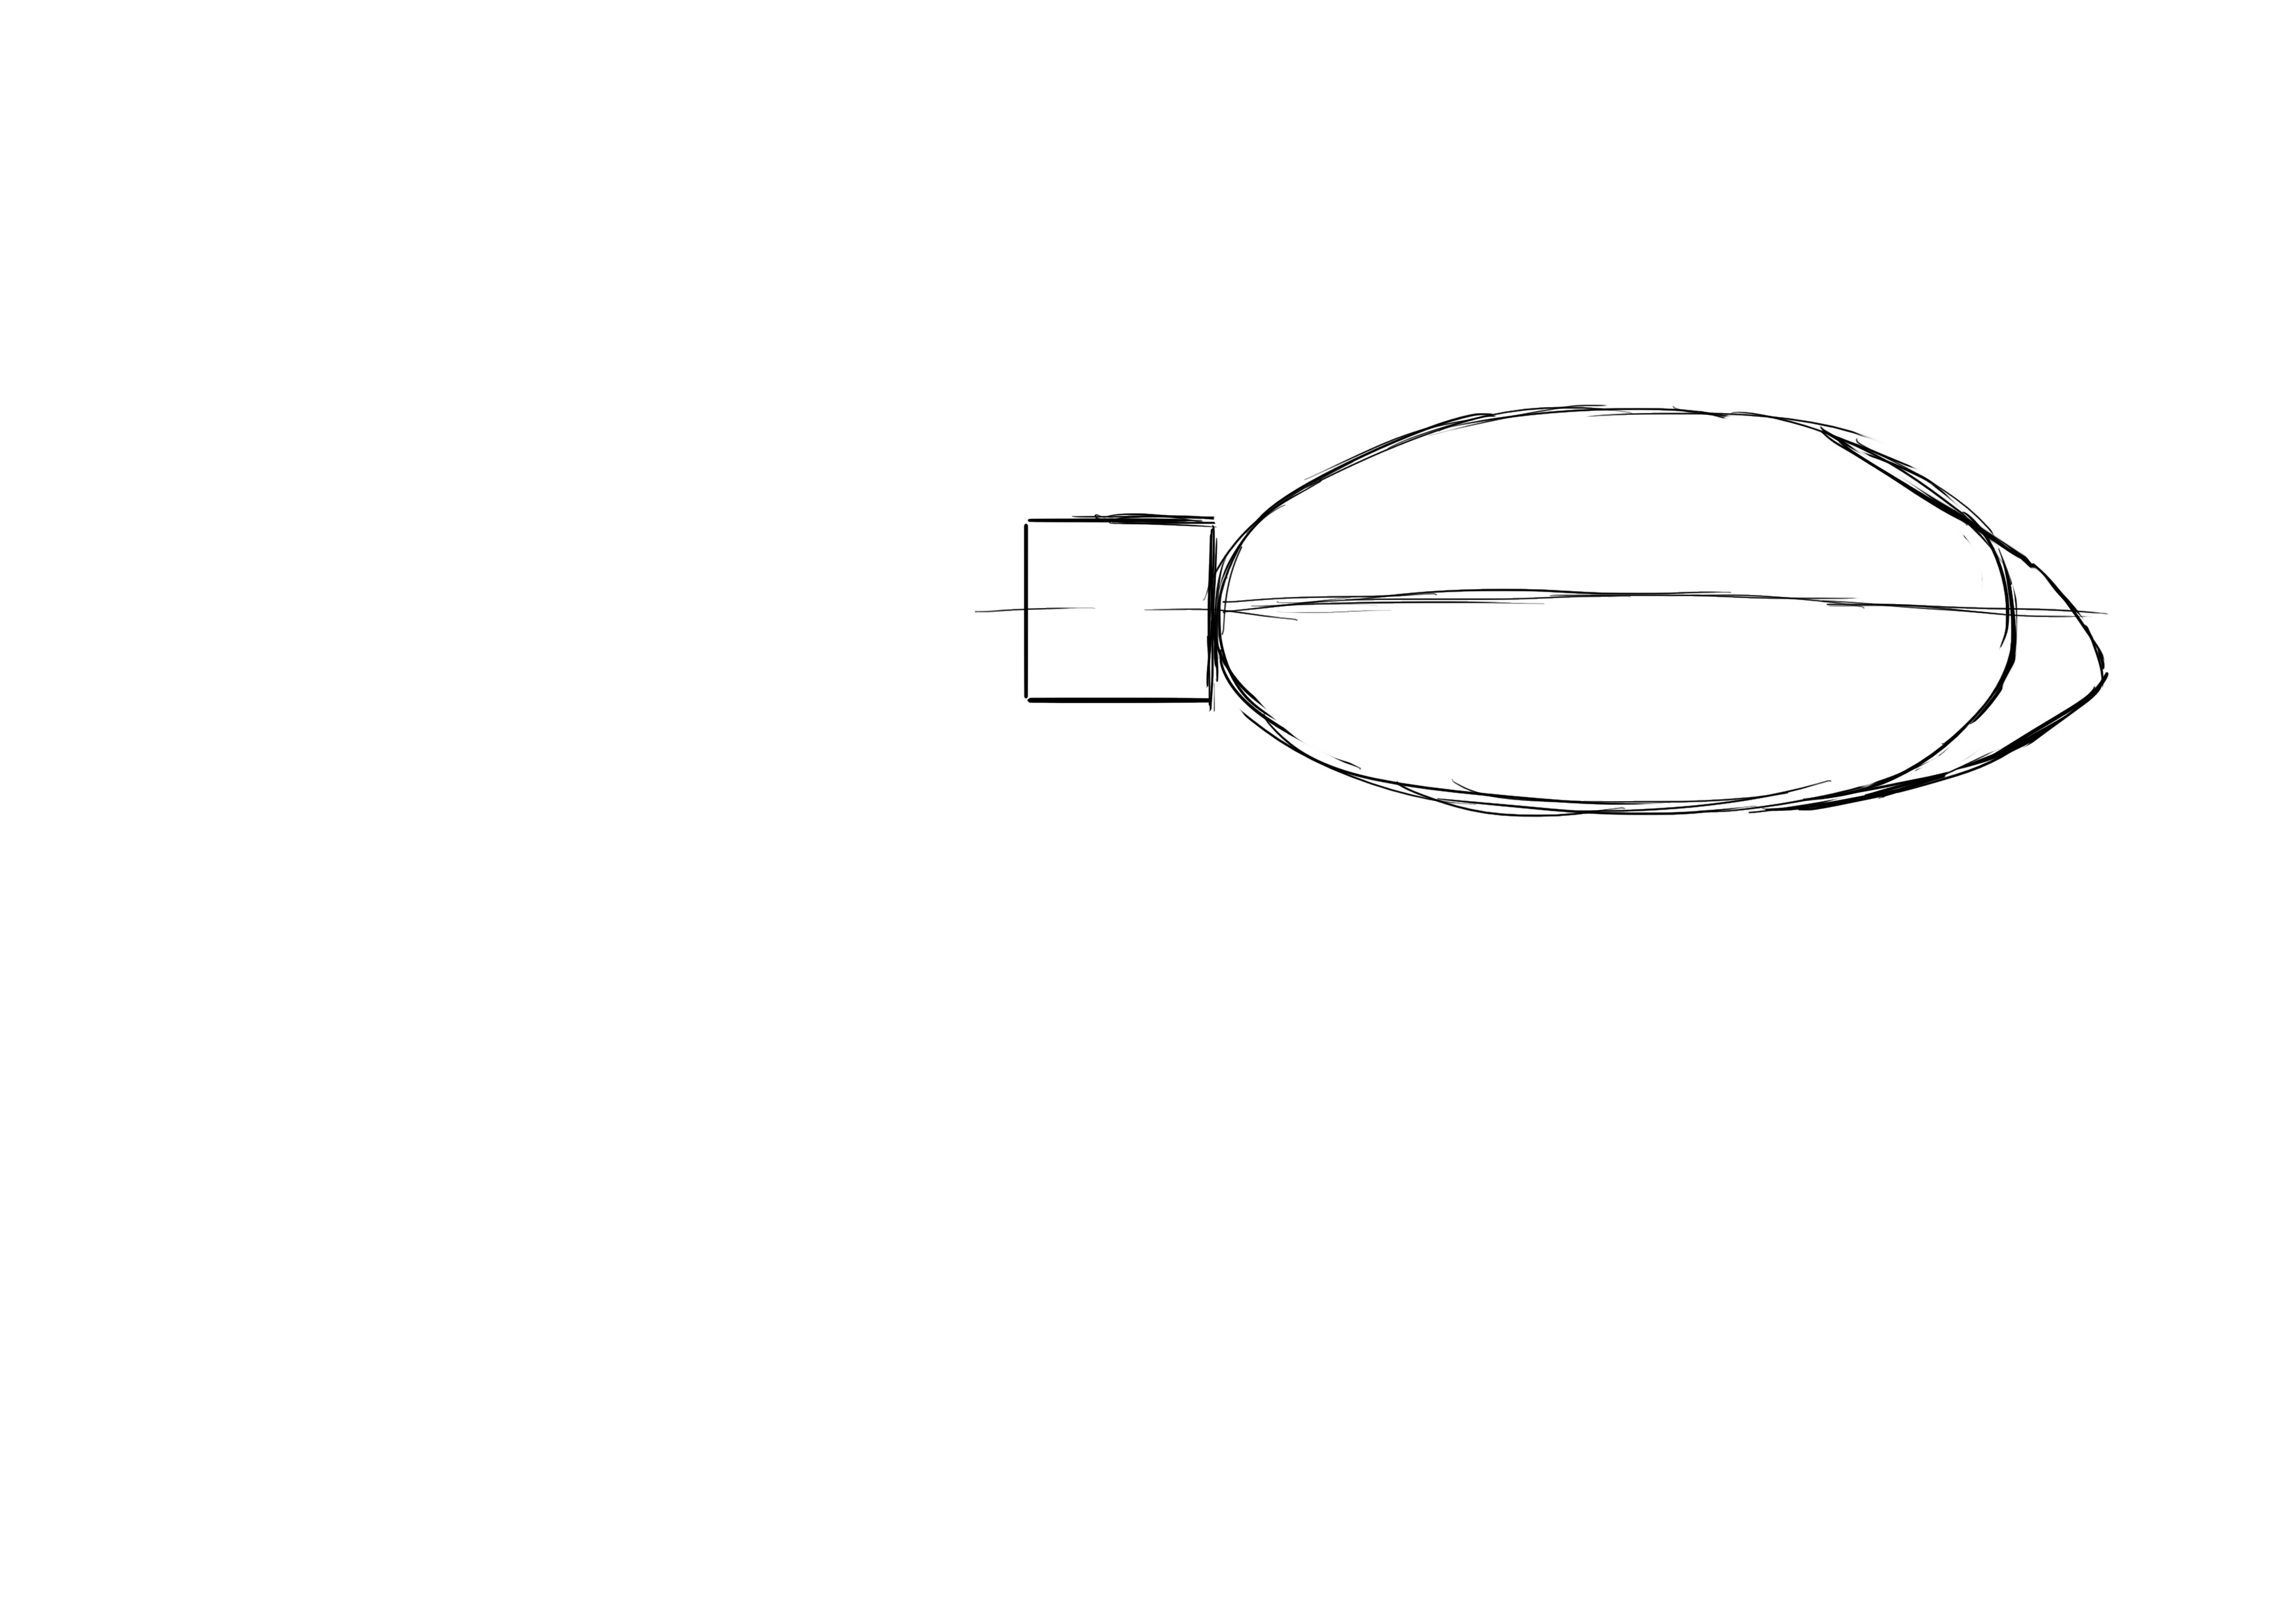
We draw a small square for the tail, making sure that the line we drew is right in the middle.
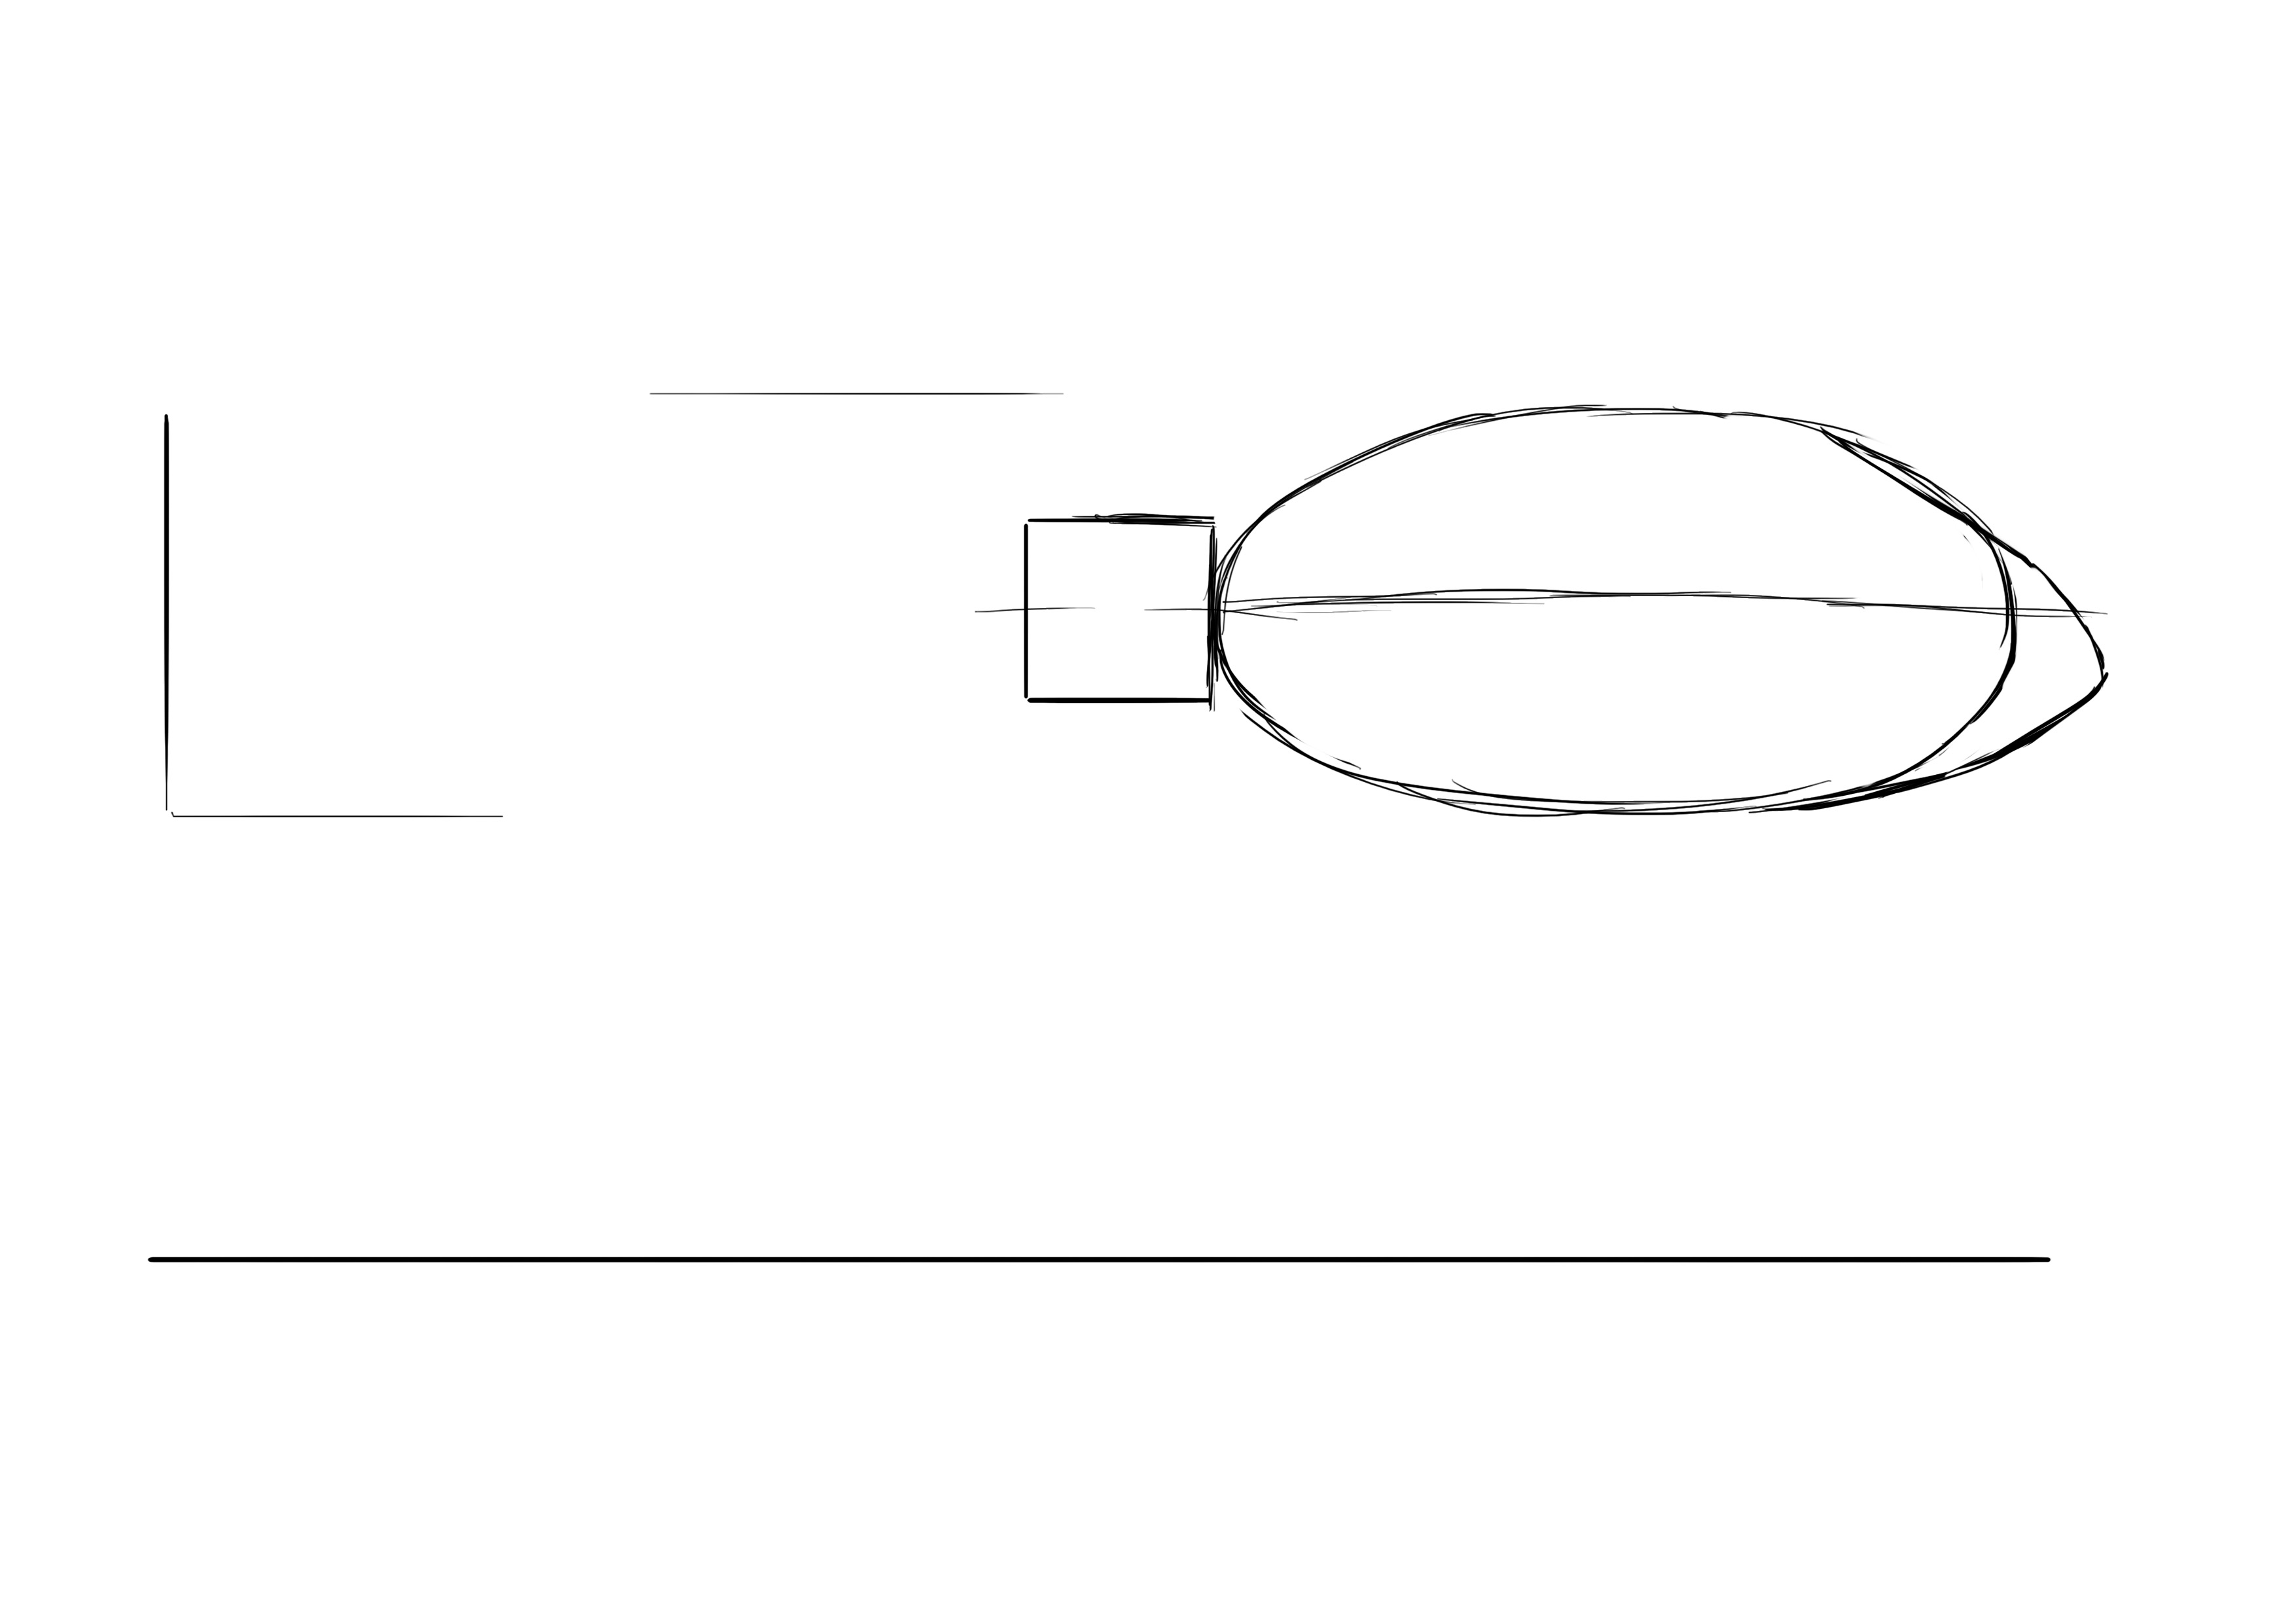
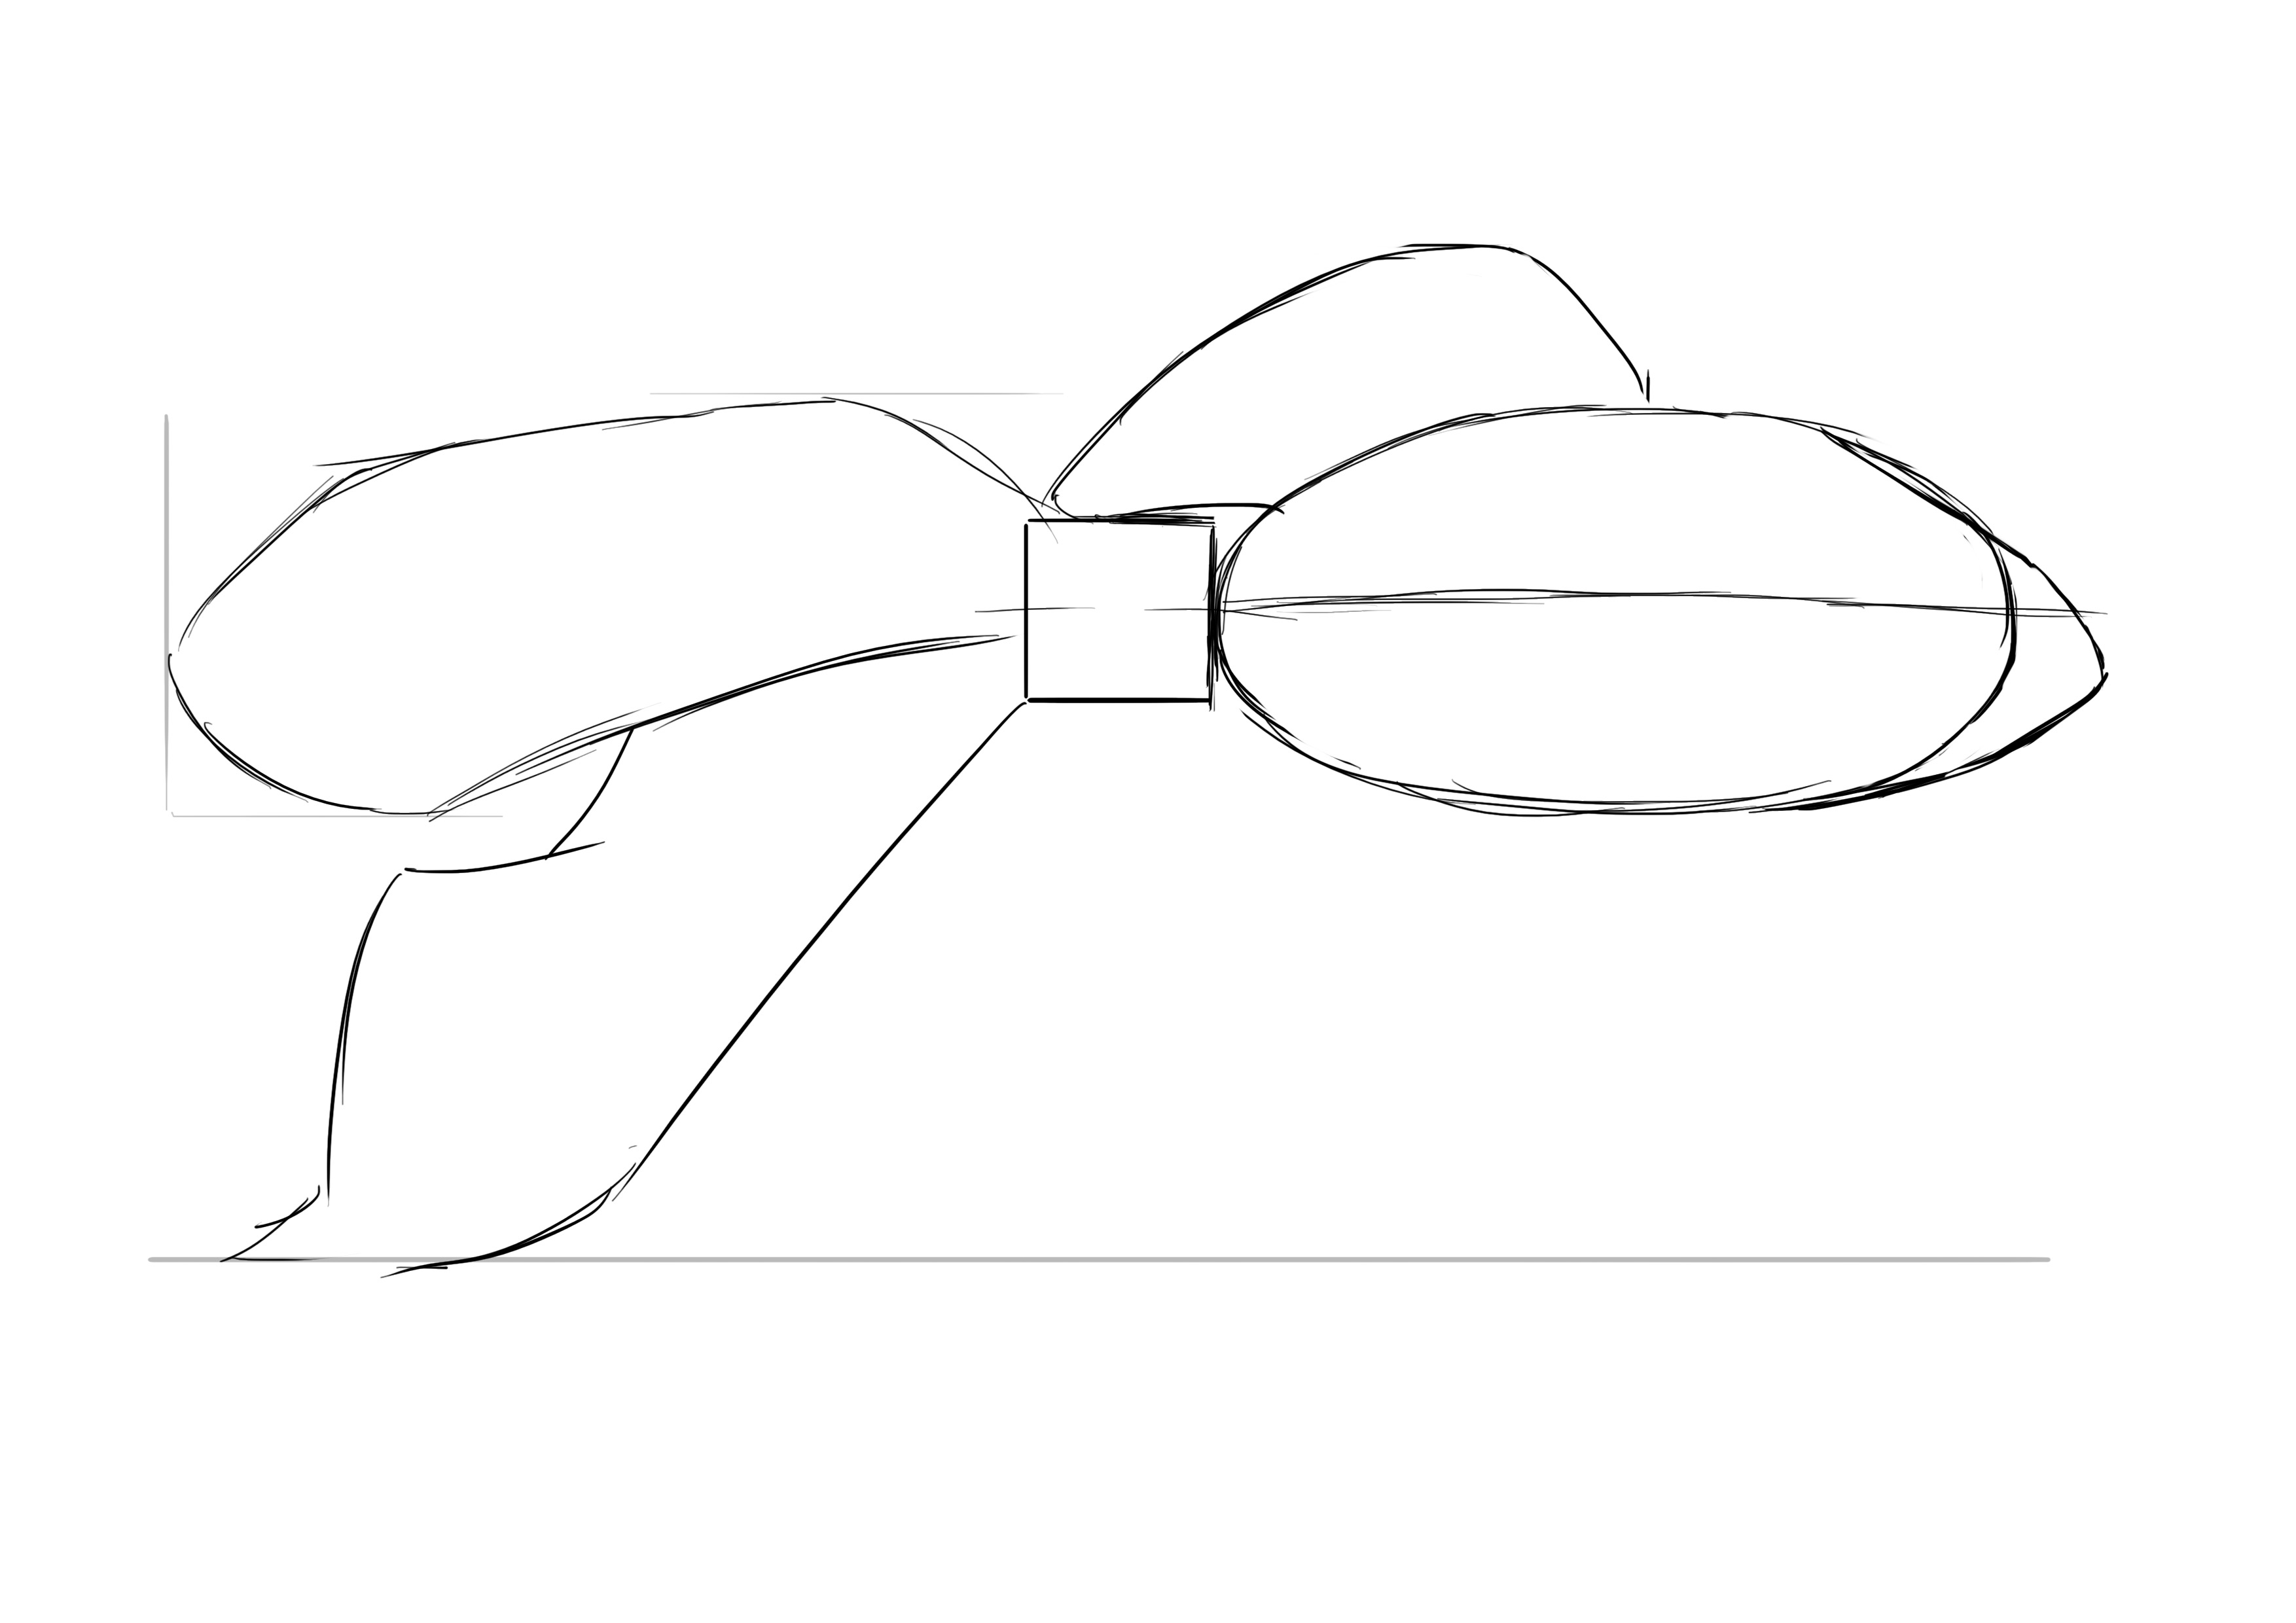
We then draw the caudal fin. In height, it does not really exceed the roundest part of our goldfish's body, however, it can go quite low. Here, it would be as if we could place a second body below the first and draw a line to find the bottom of the fin.
As for the length, it is similar to that of the body, again.
We then outline the two main areas of this fin.
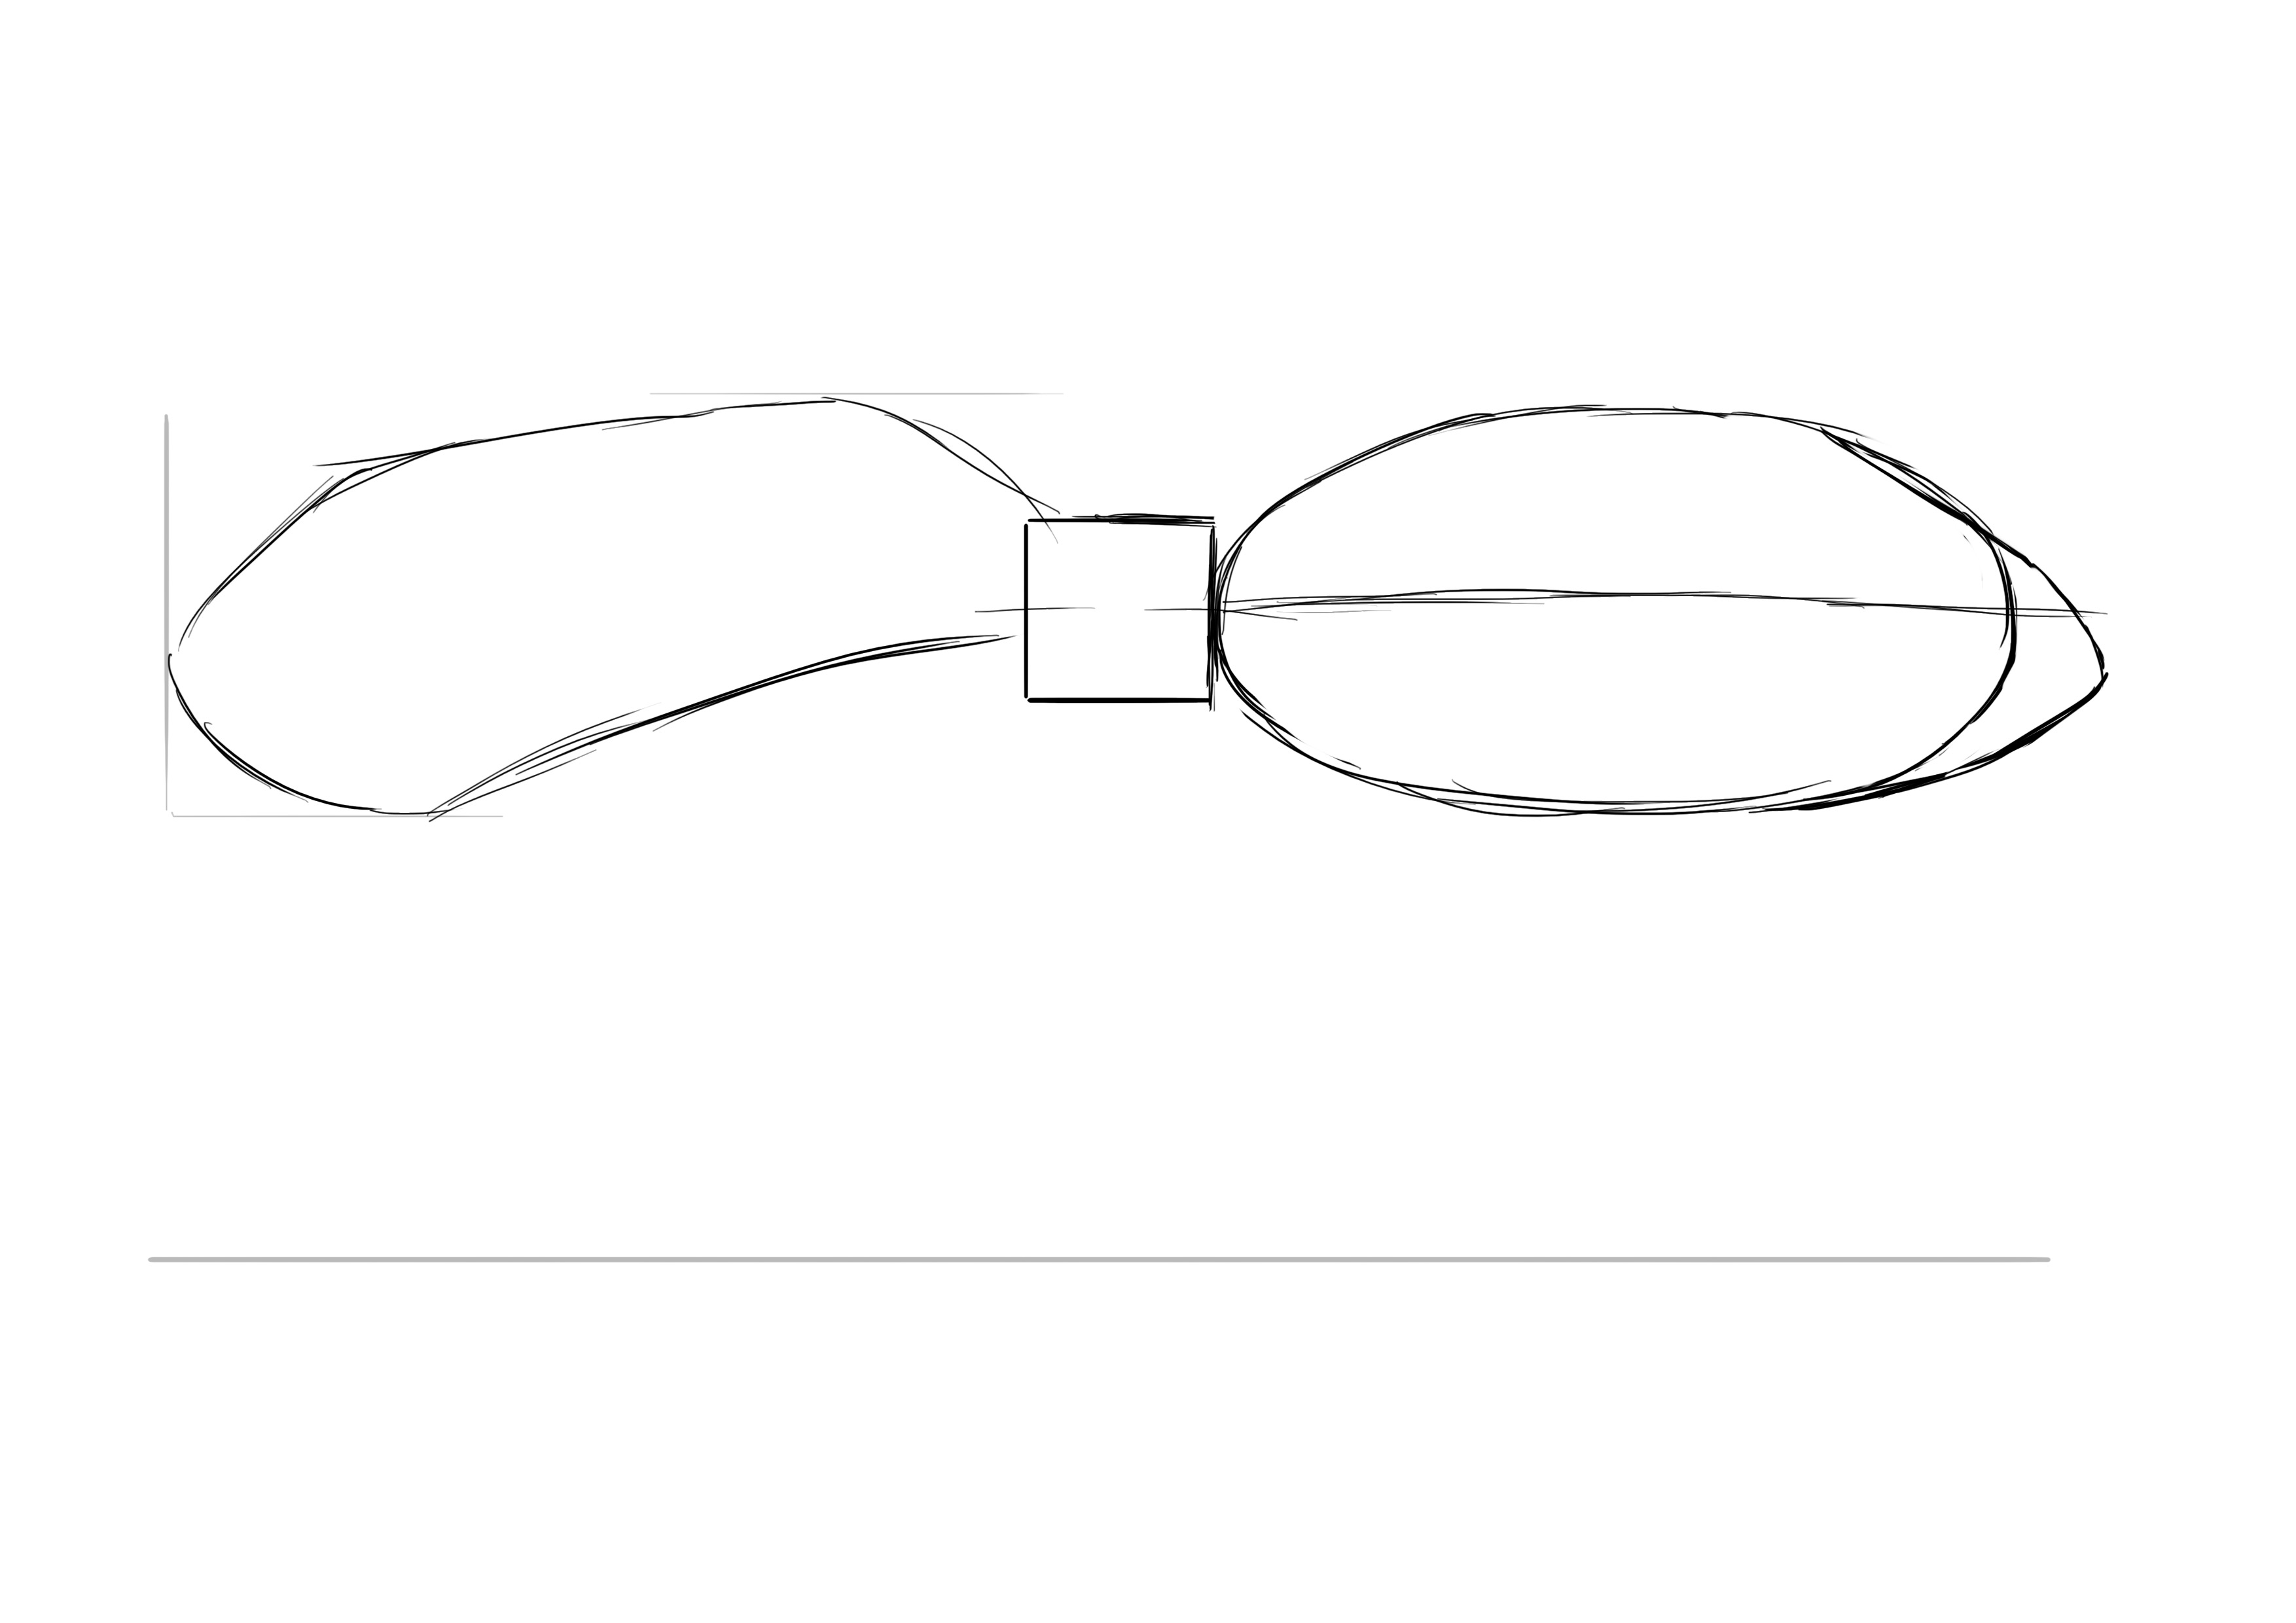
The edges are not even, don't worry, we will go over all of that again in detail later.
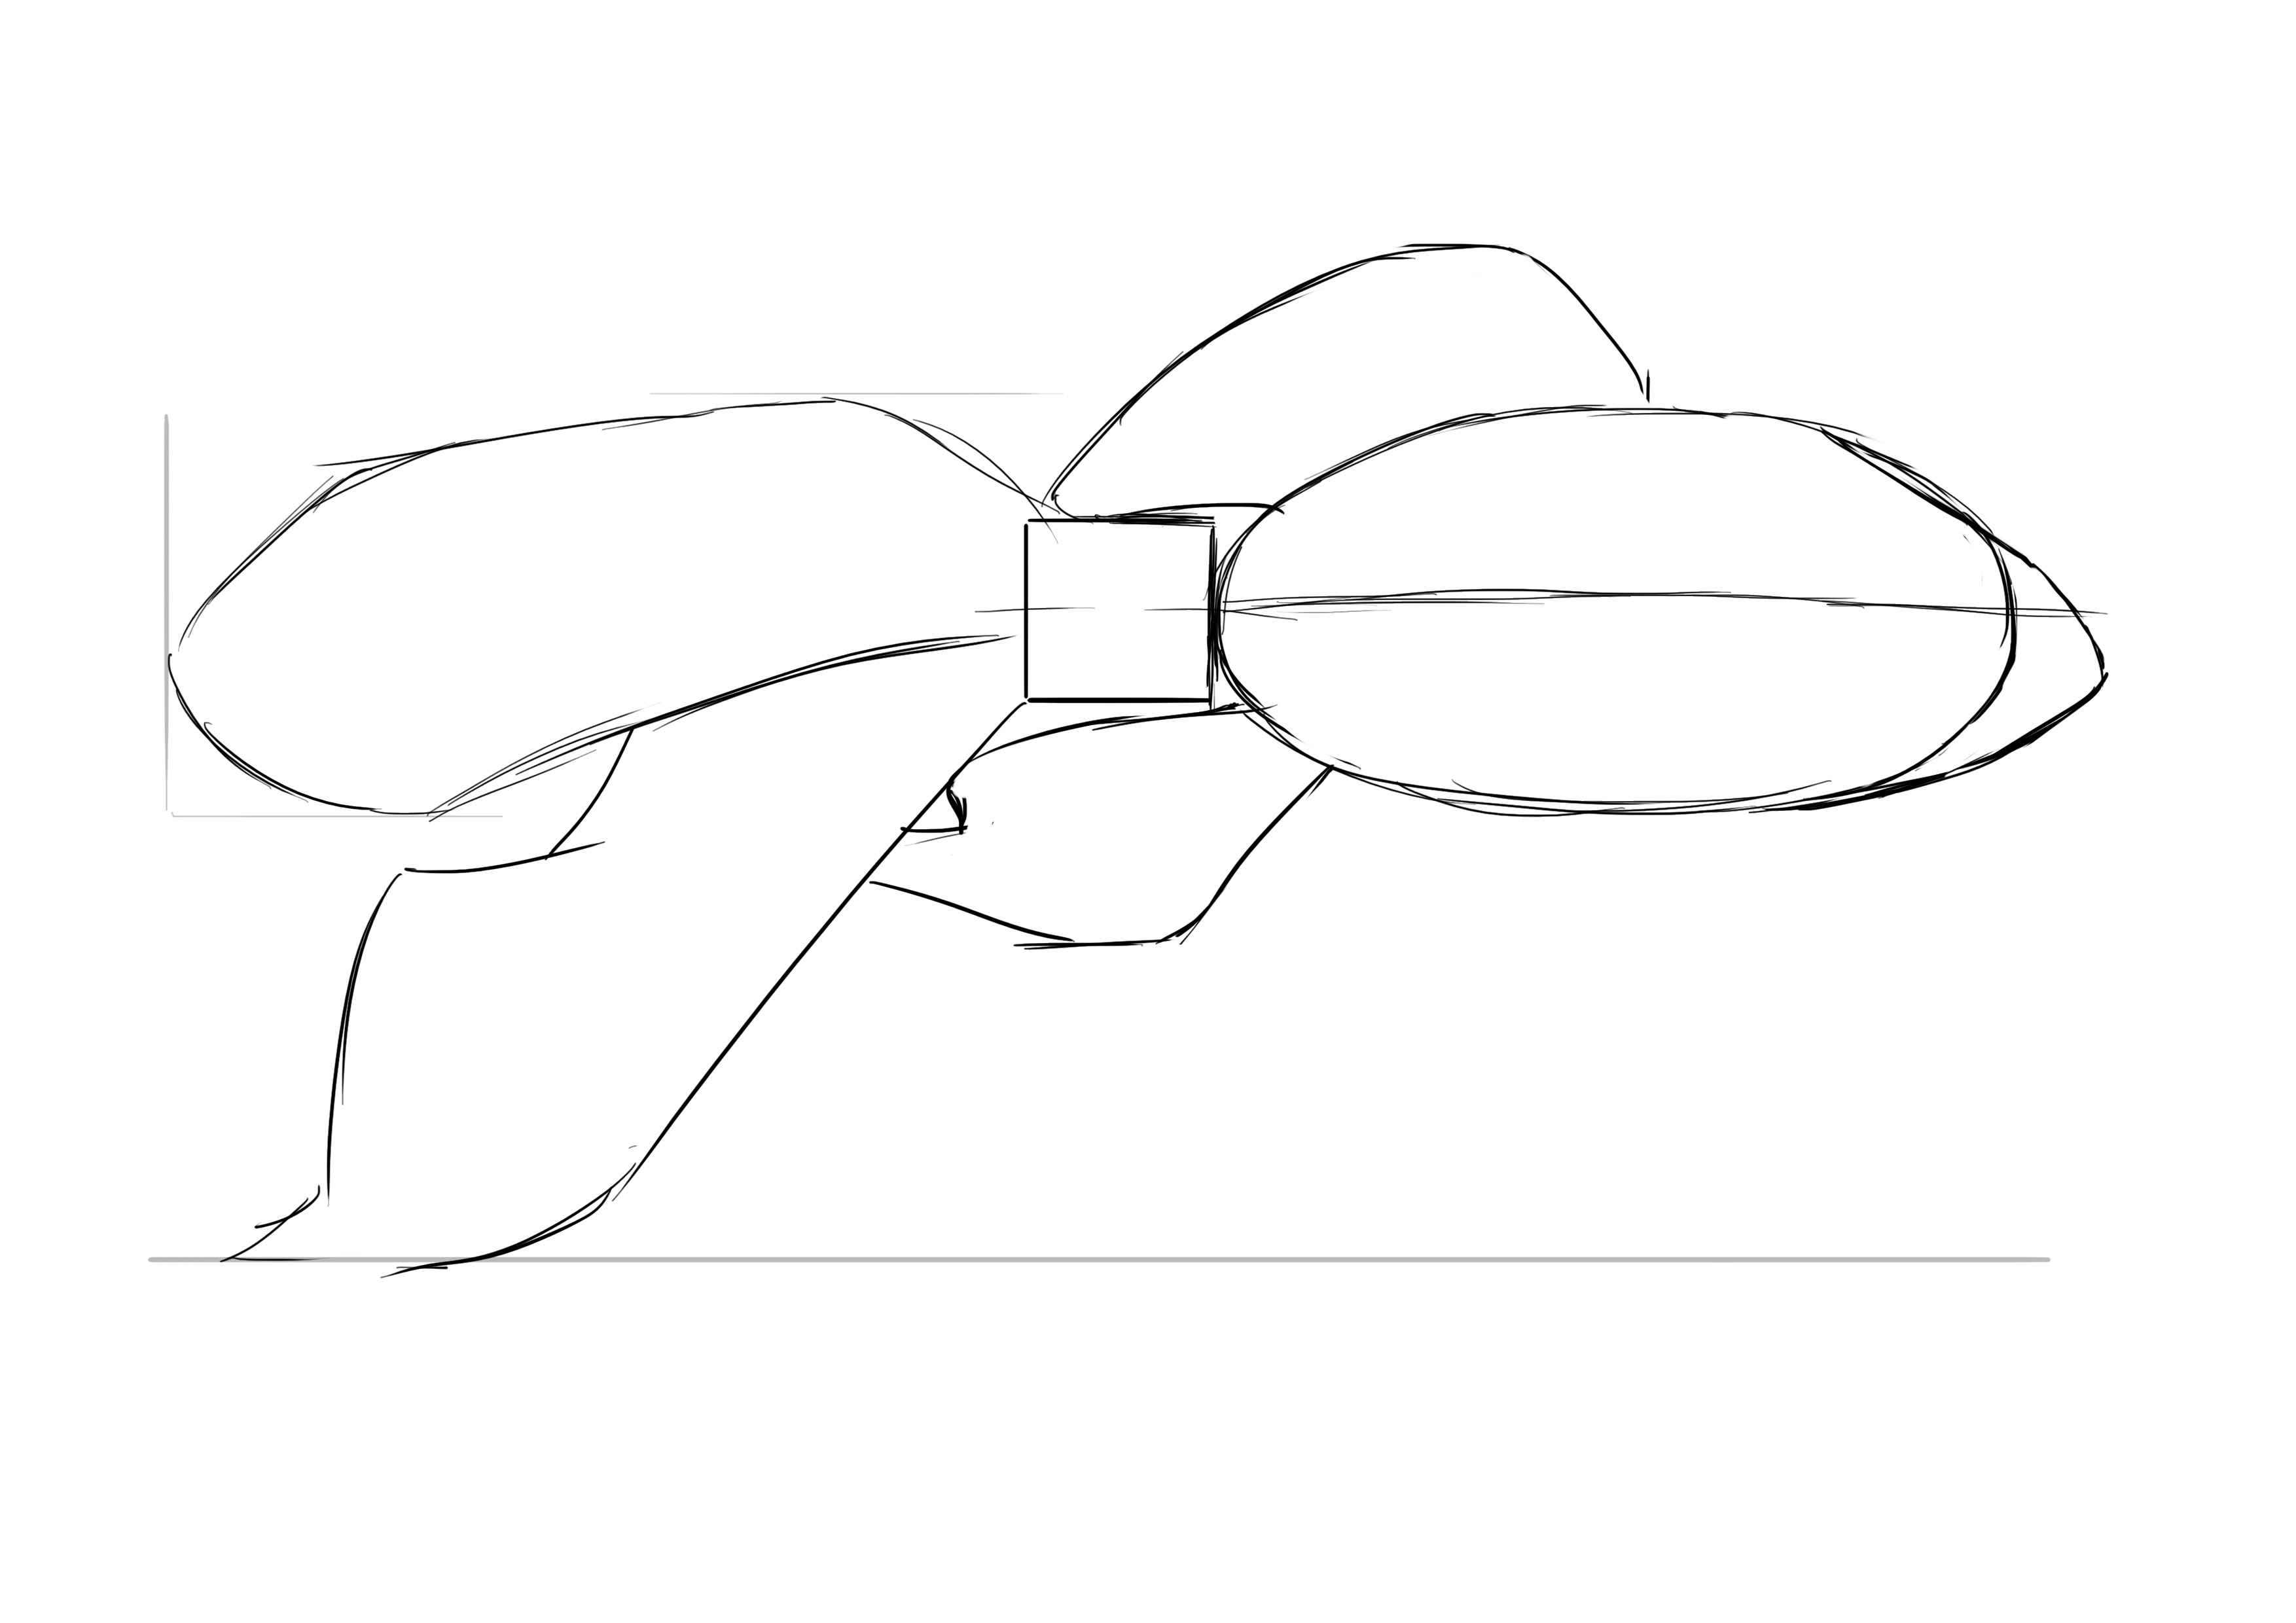
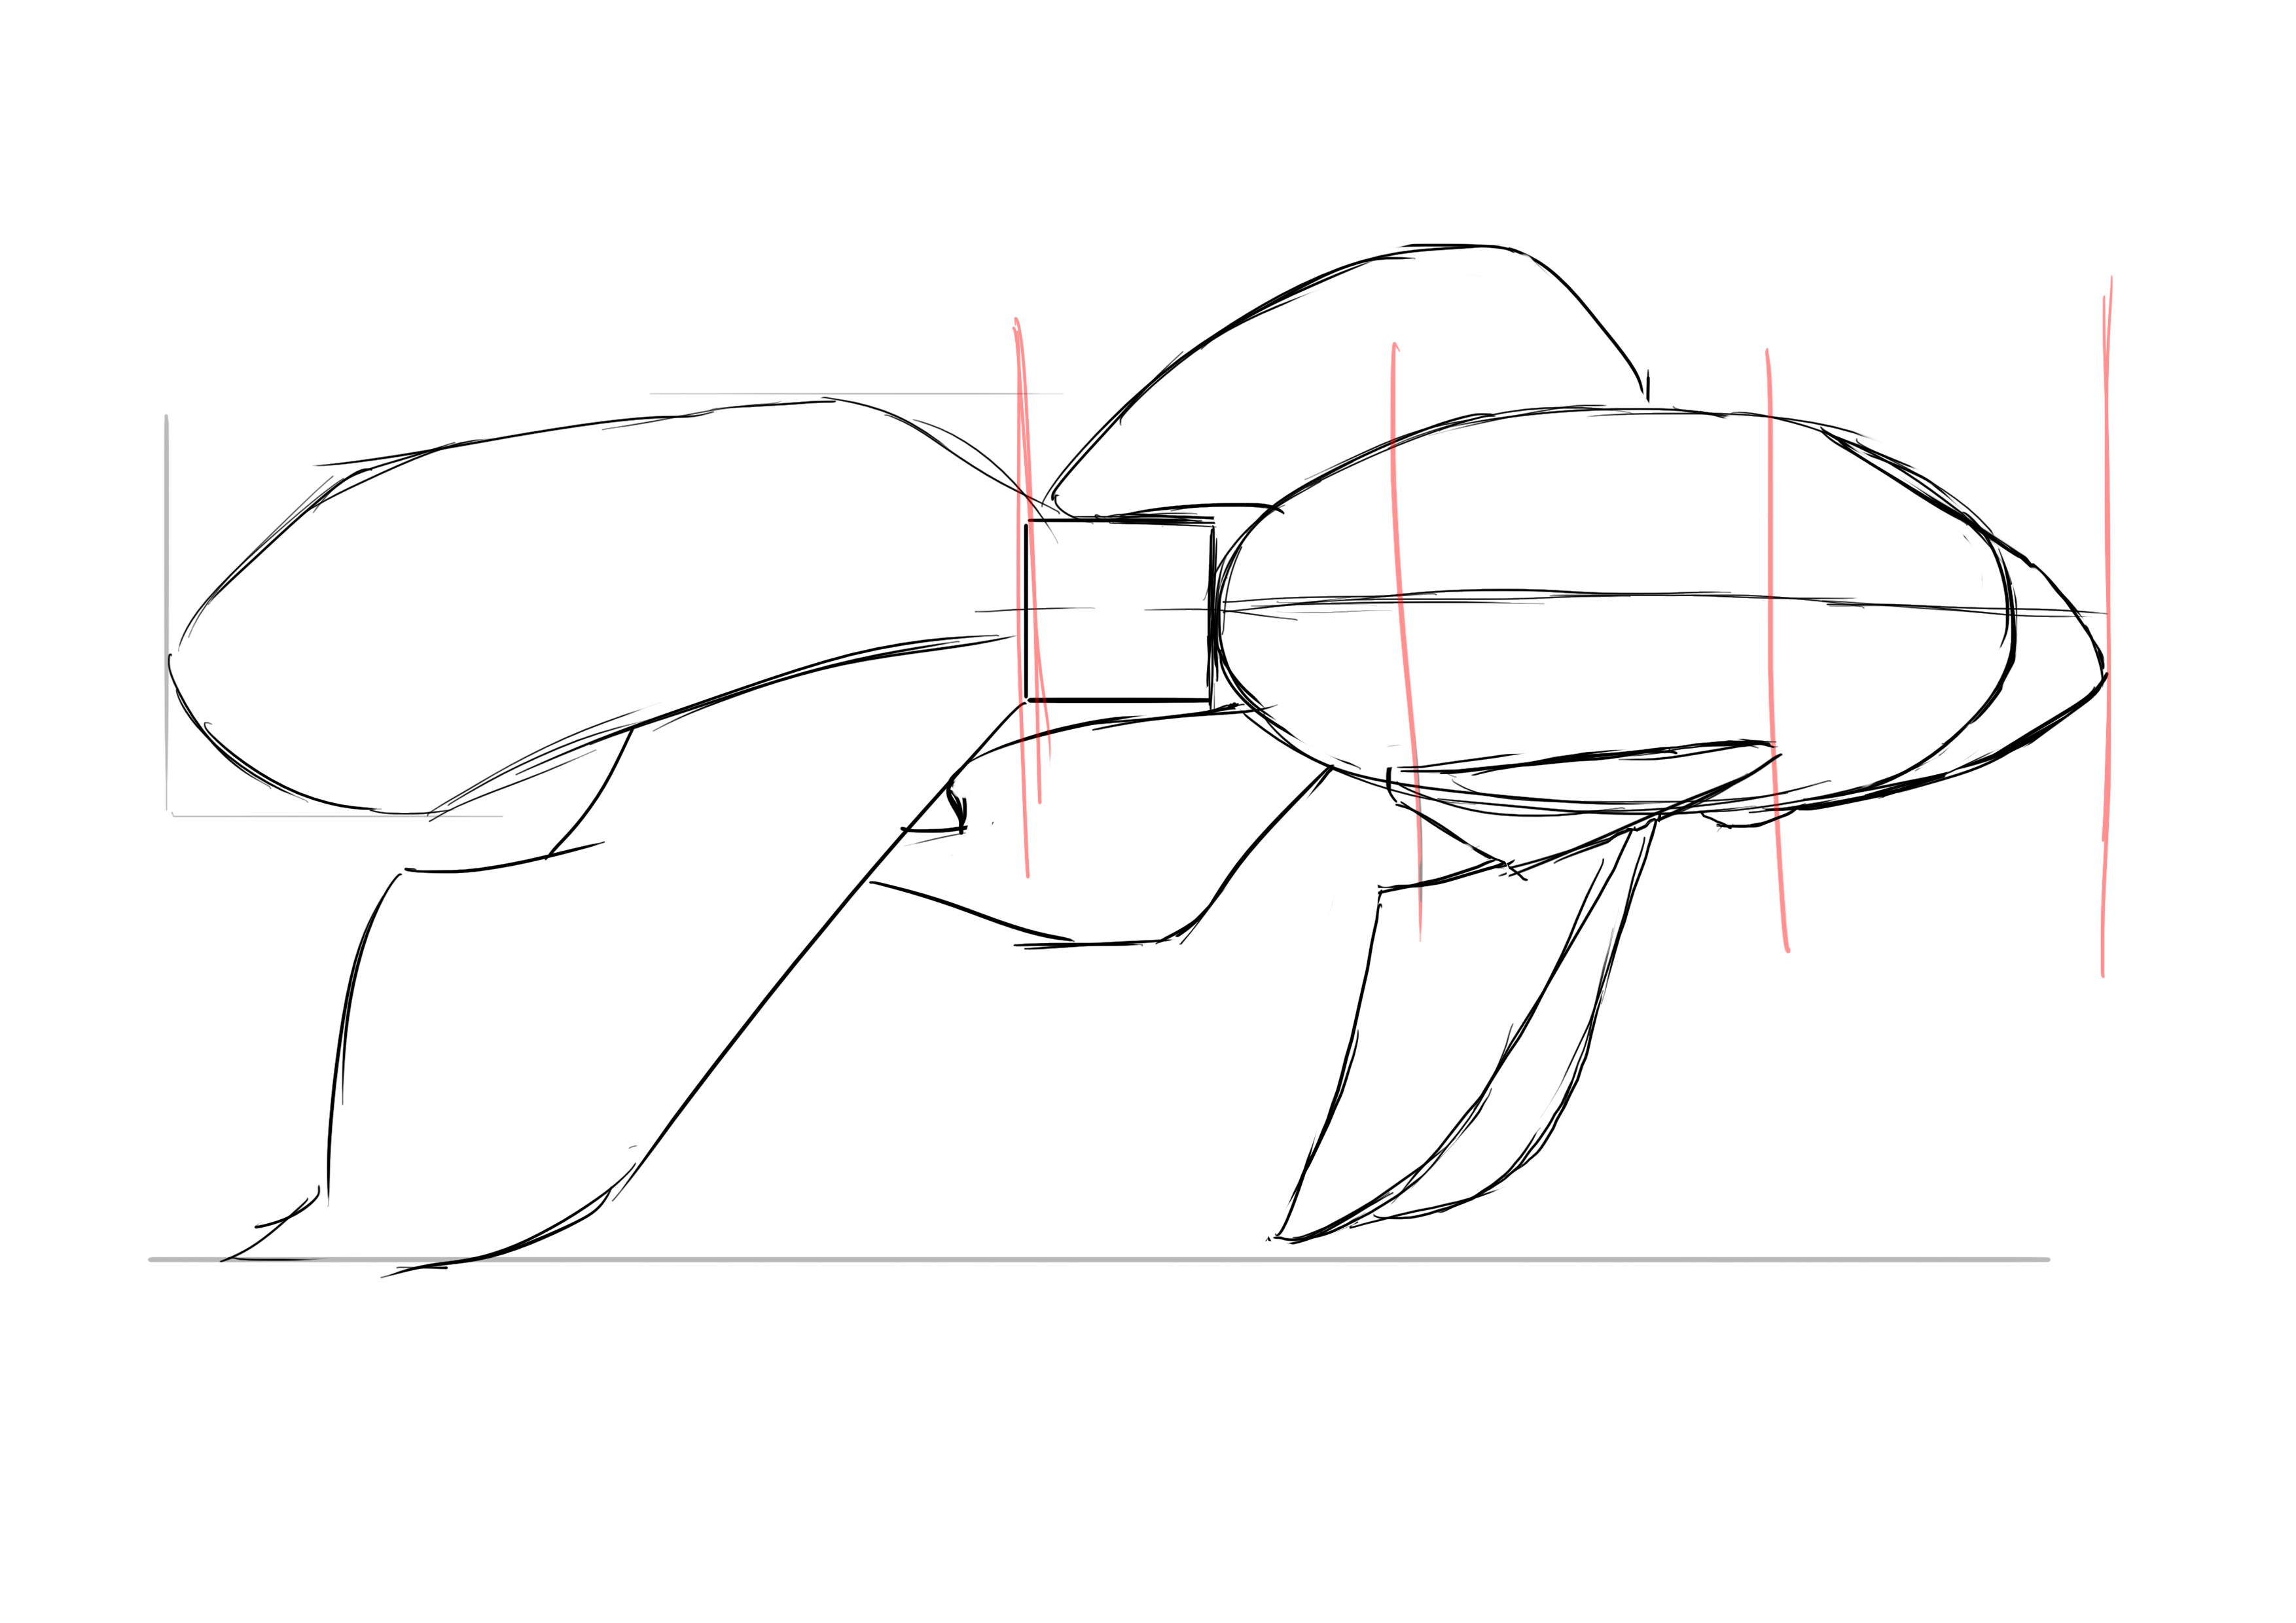
We move on to the dorsal fin. It starts in the middle of the body and has a length similar to the width of the body. Again, the same principle: stripes, an irregular edge, and a shape mixing curve and counter-curve. For now, we will settle for a simpler shape.
The small rear fin begins slightly before the dorsal fin ends and ends at the start of the tail square. It is a little longer than it is wide.
We move on to the front fins, they start at 1/3 of the body and end at 2/3. It's a nice example of a shortcut, actually, because they probably have a shape similar to the other fins but are located higher and are more raised, so this simplifies things a lot for us. We'll therefore draw a kind of triangle.
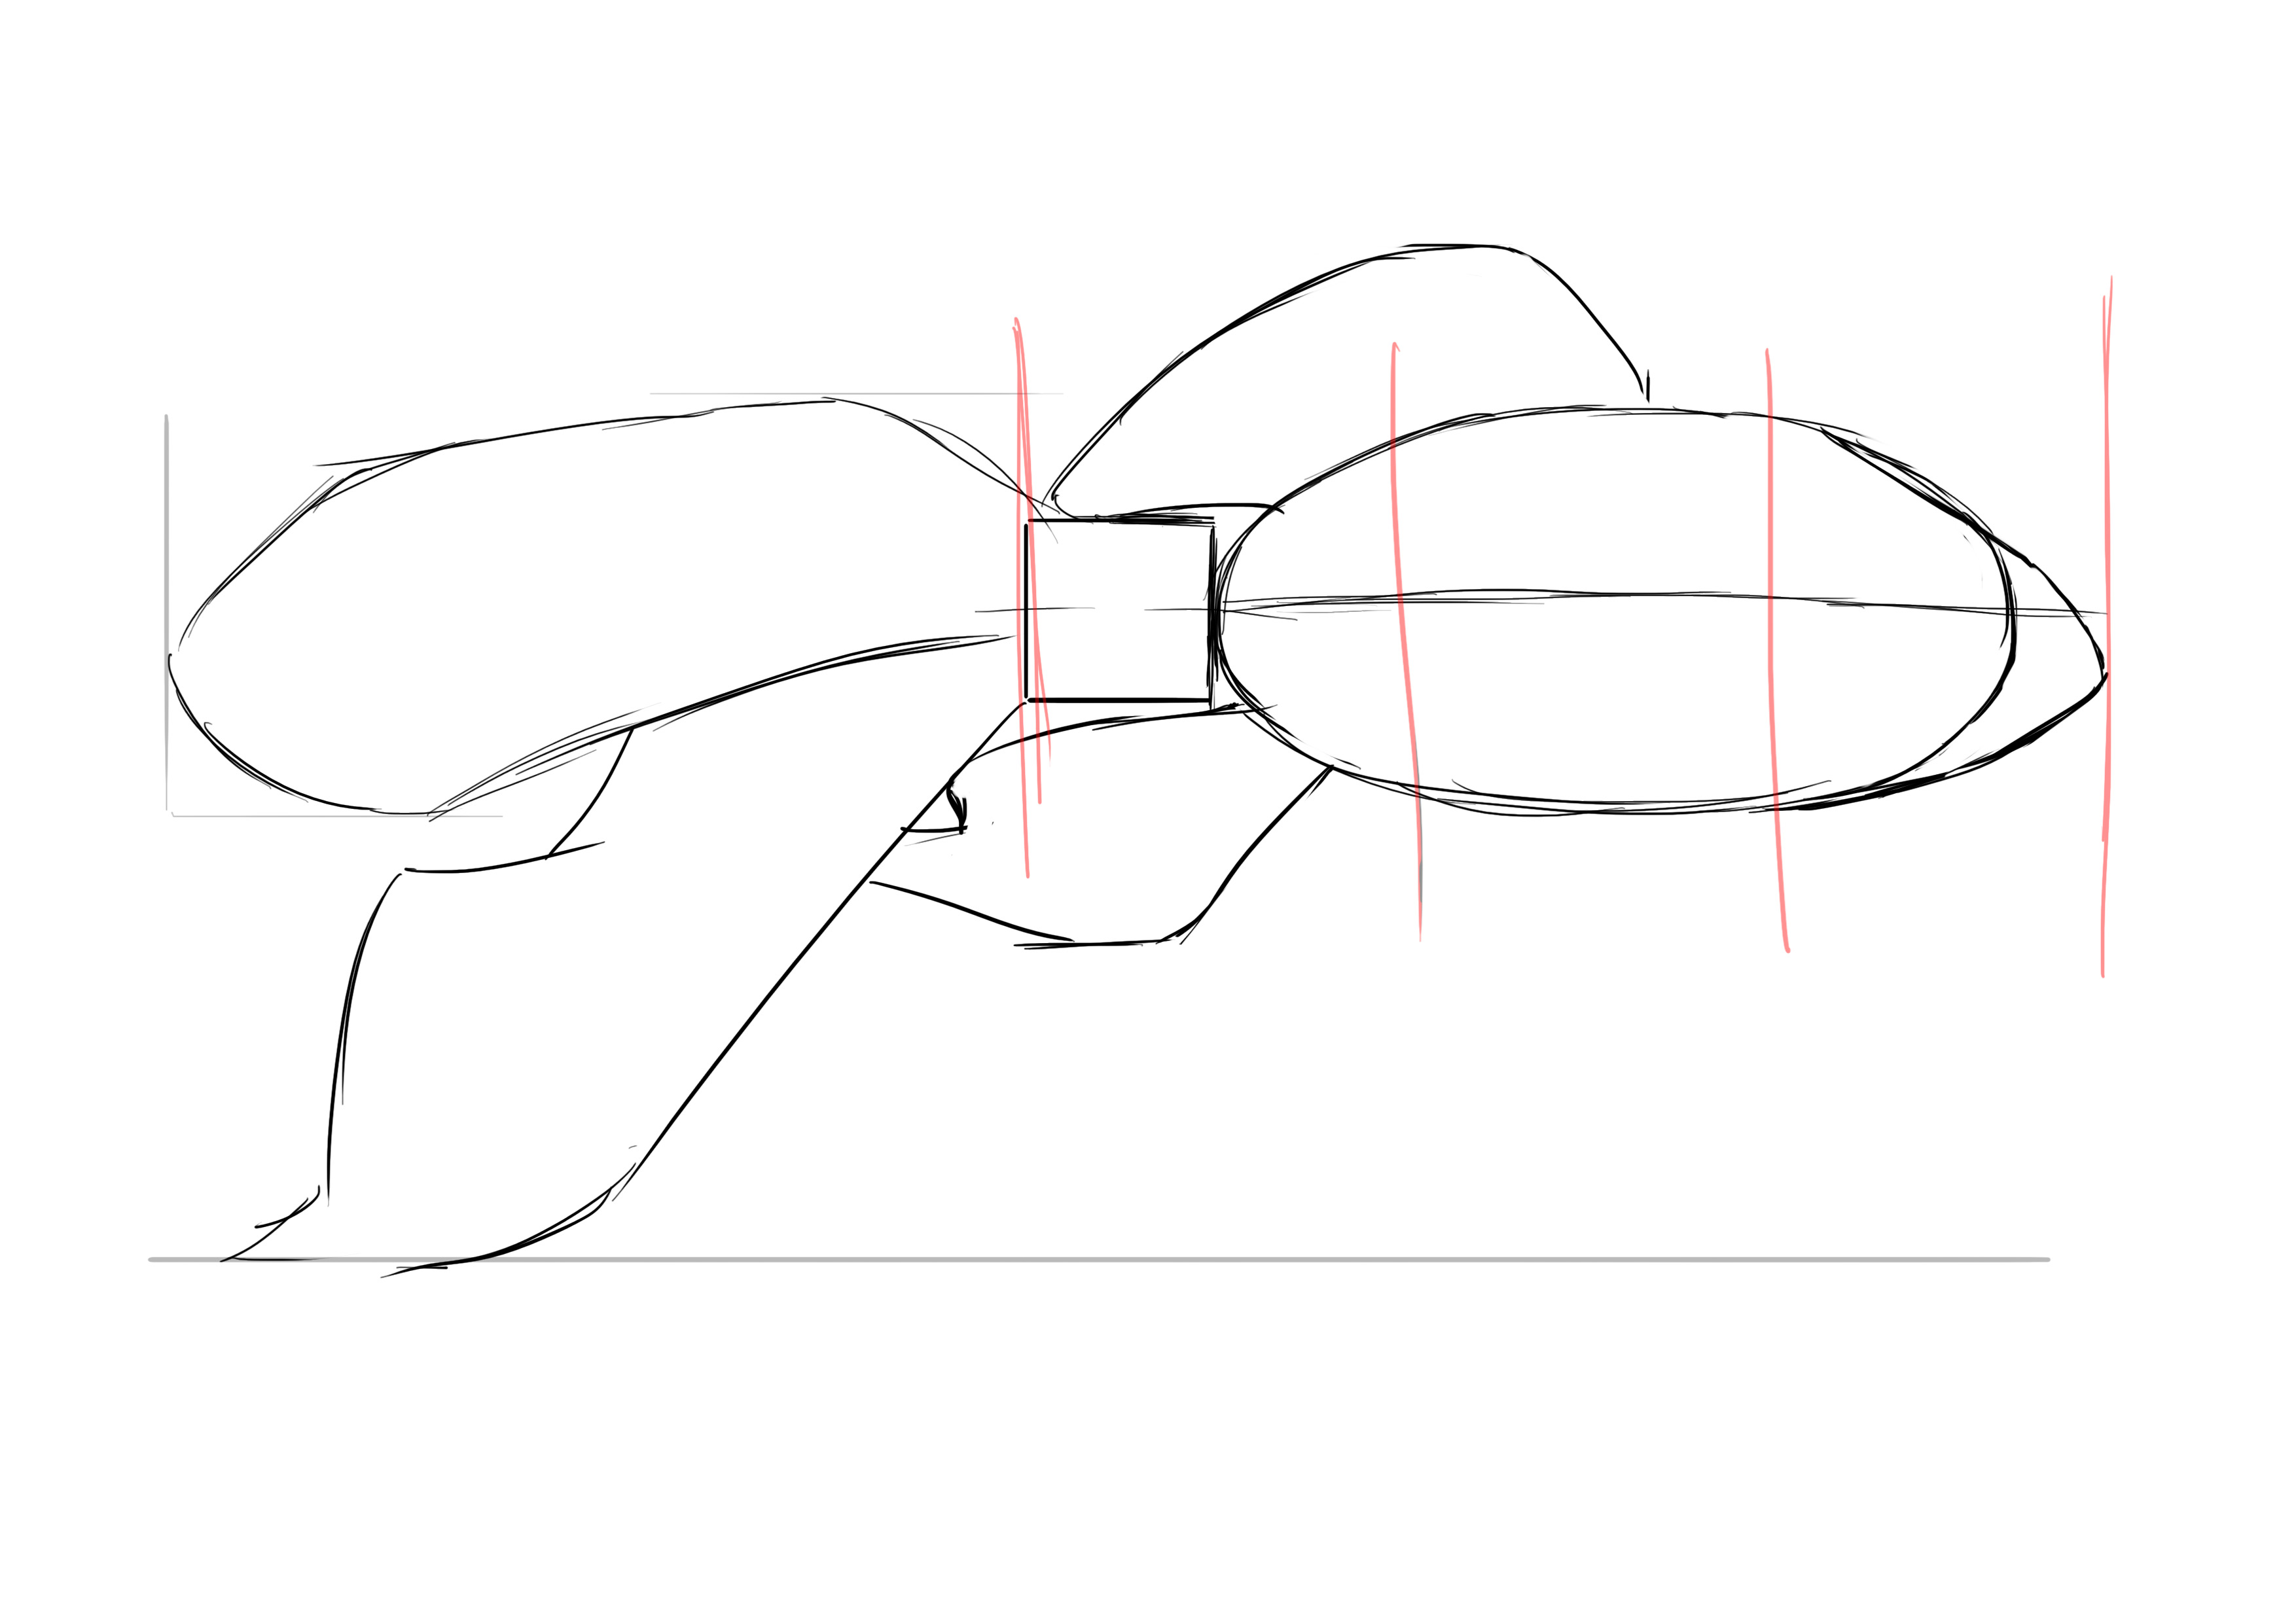
The two pectoral fins remain, descending as low as the tail. They have a very small base and start just a little bit after the halfway point. We draw two triangles again.
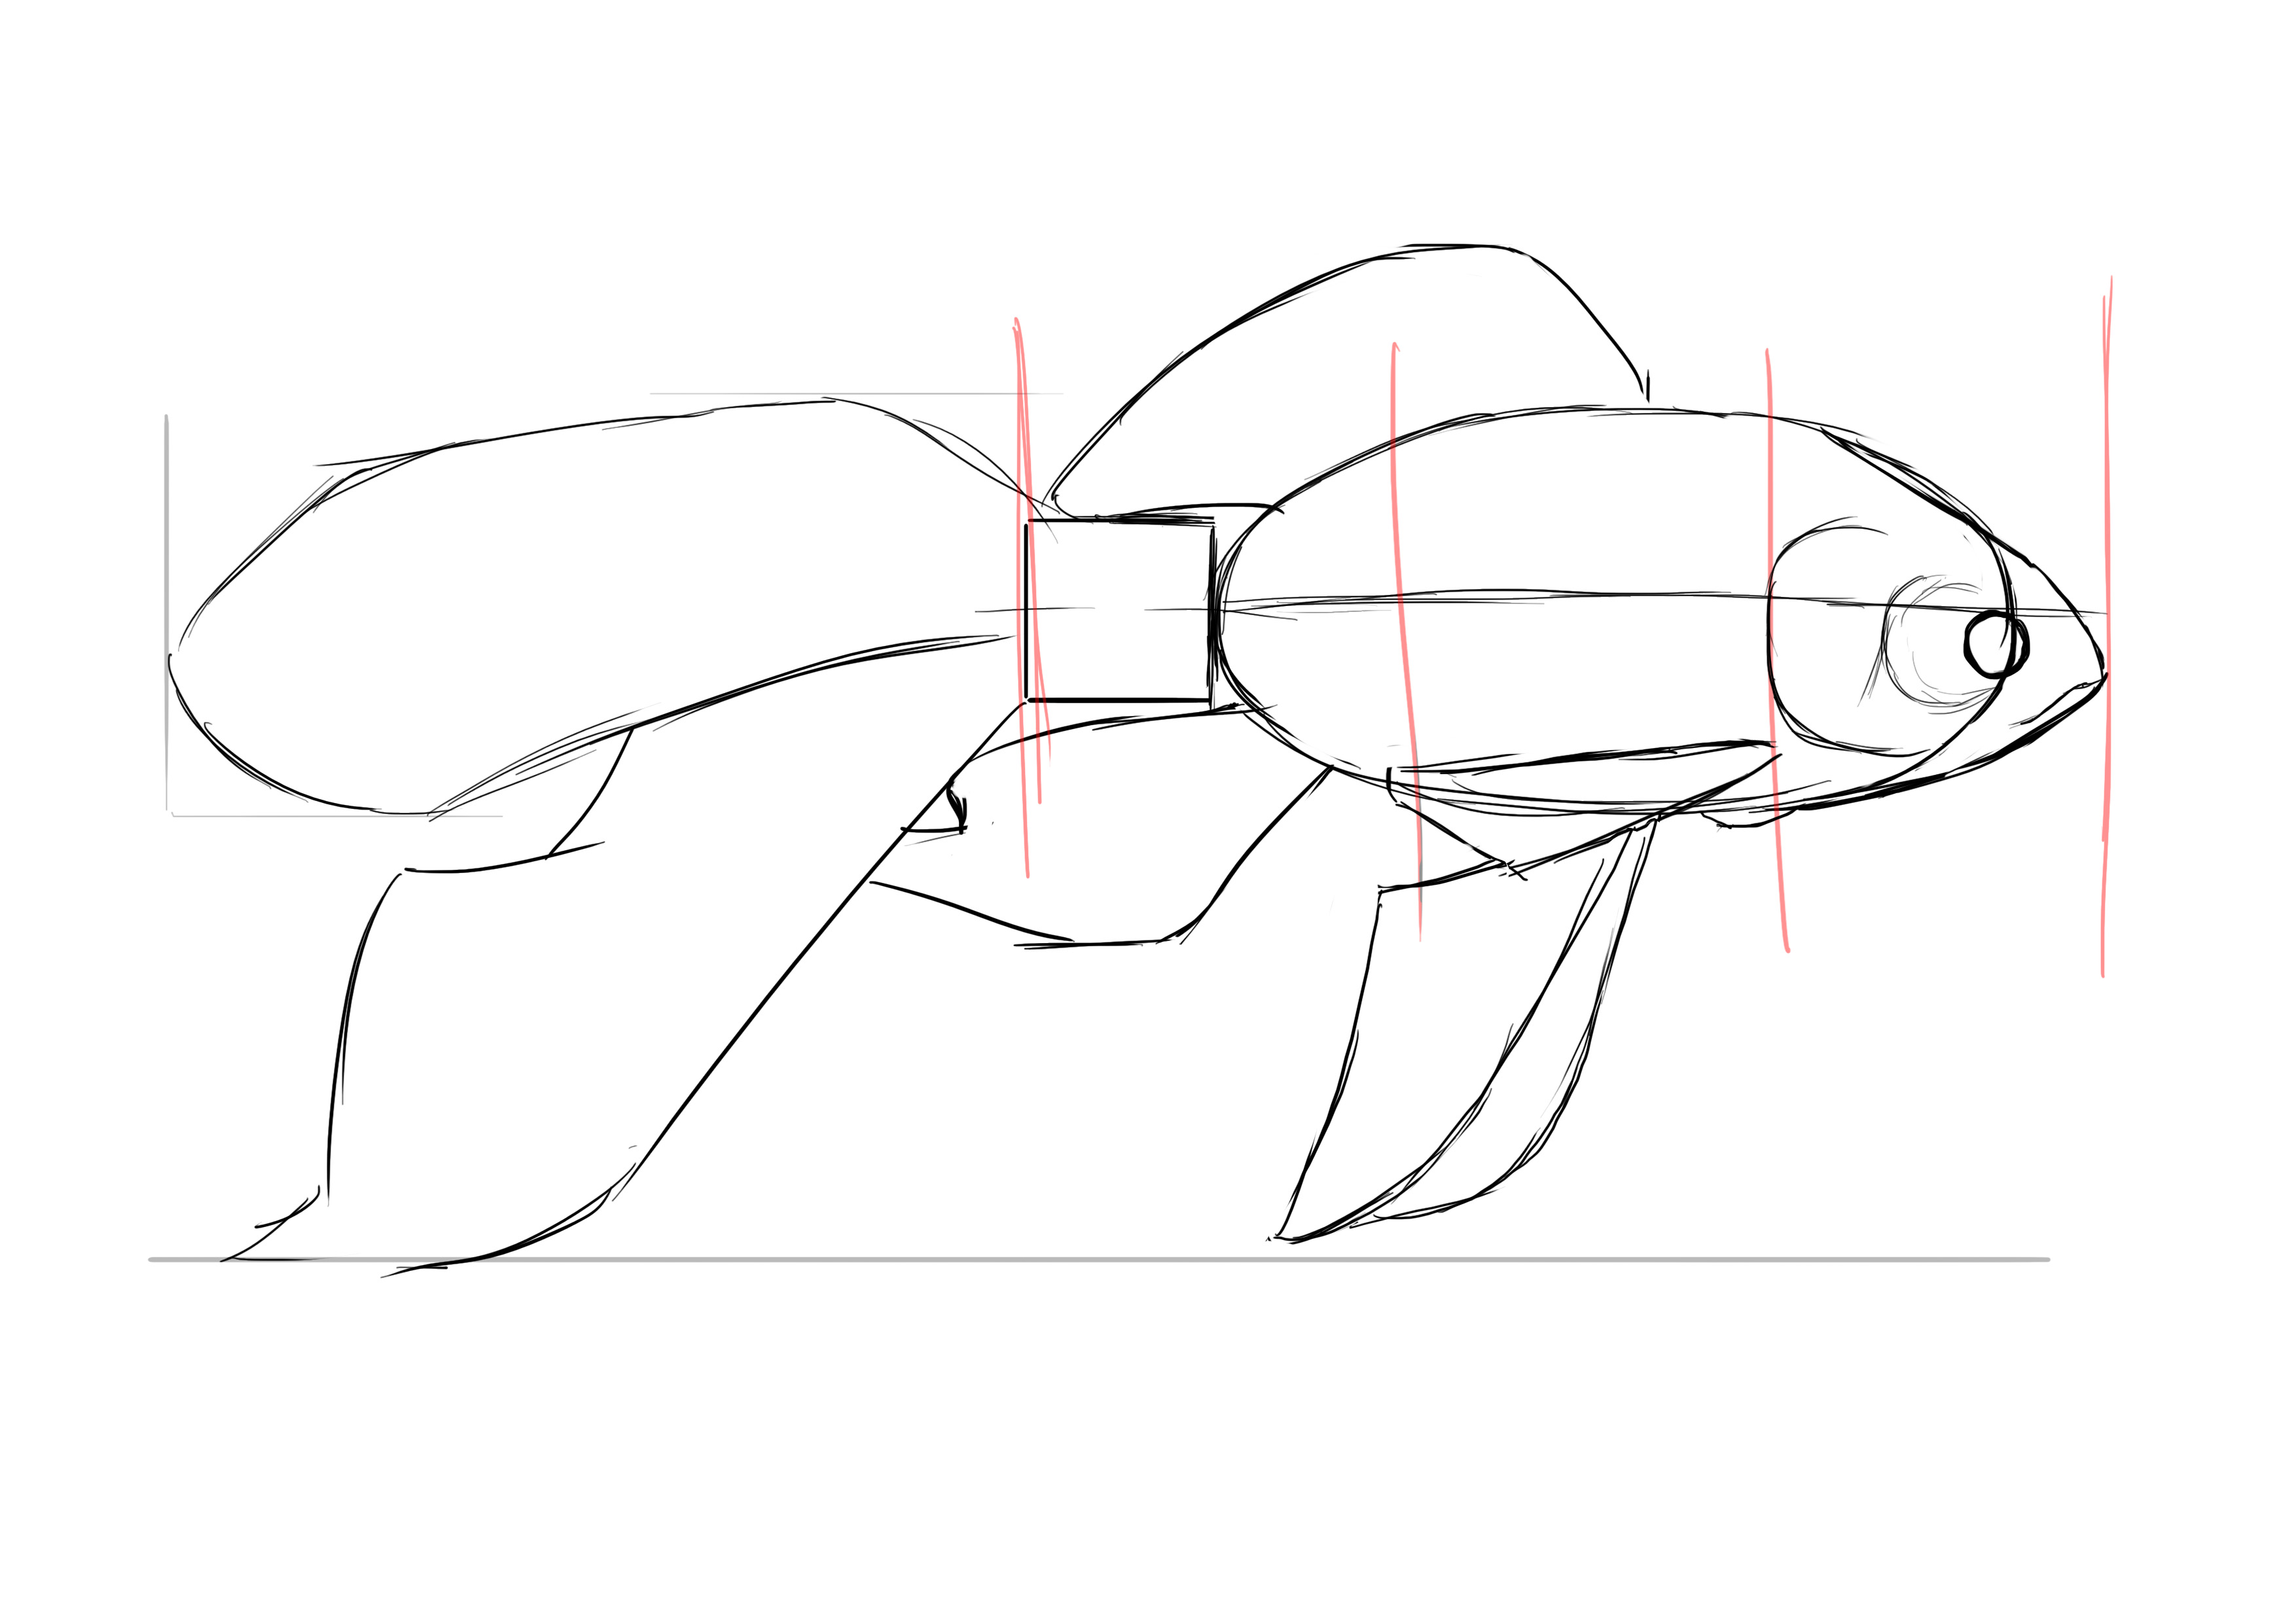
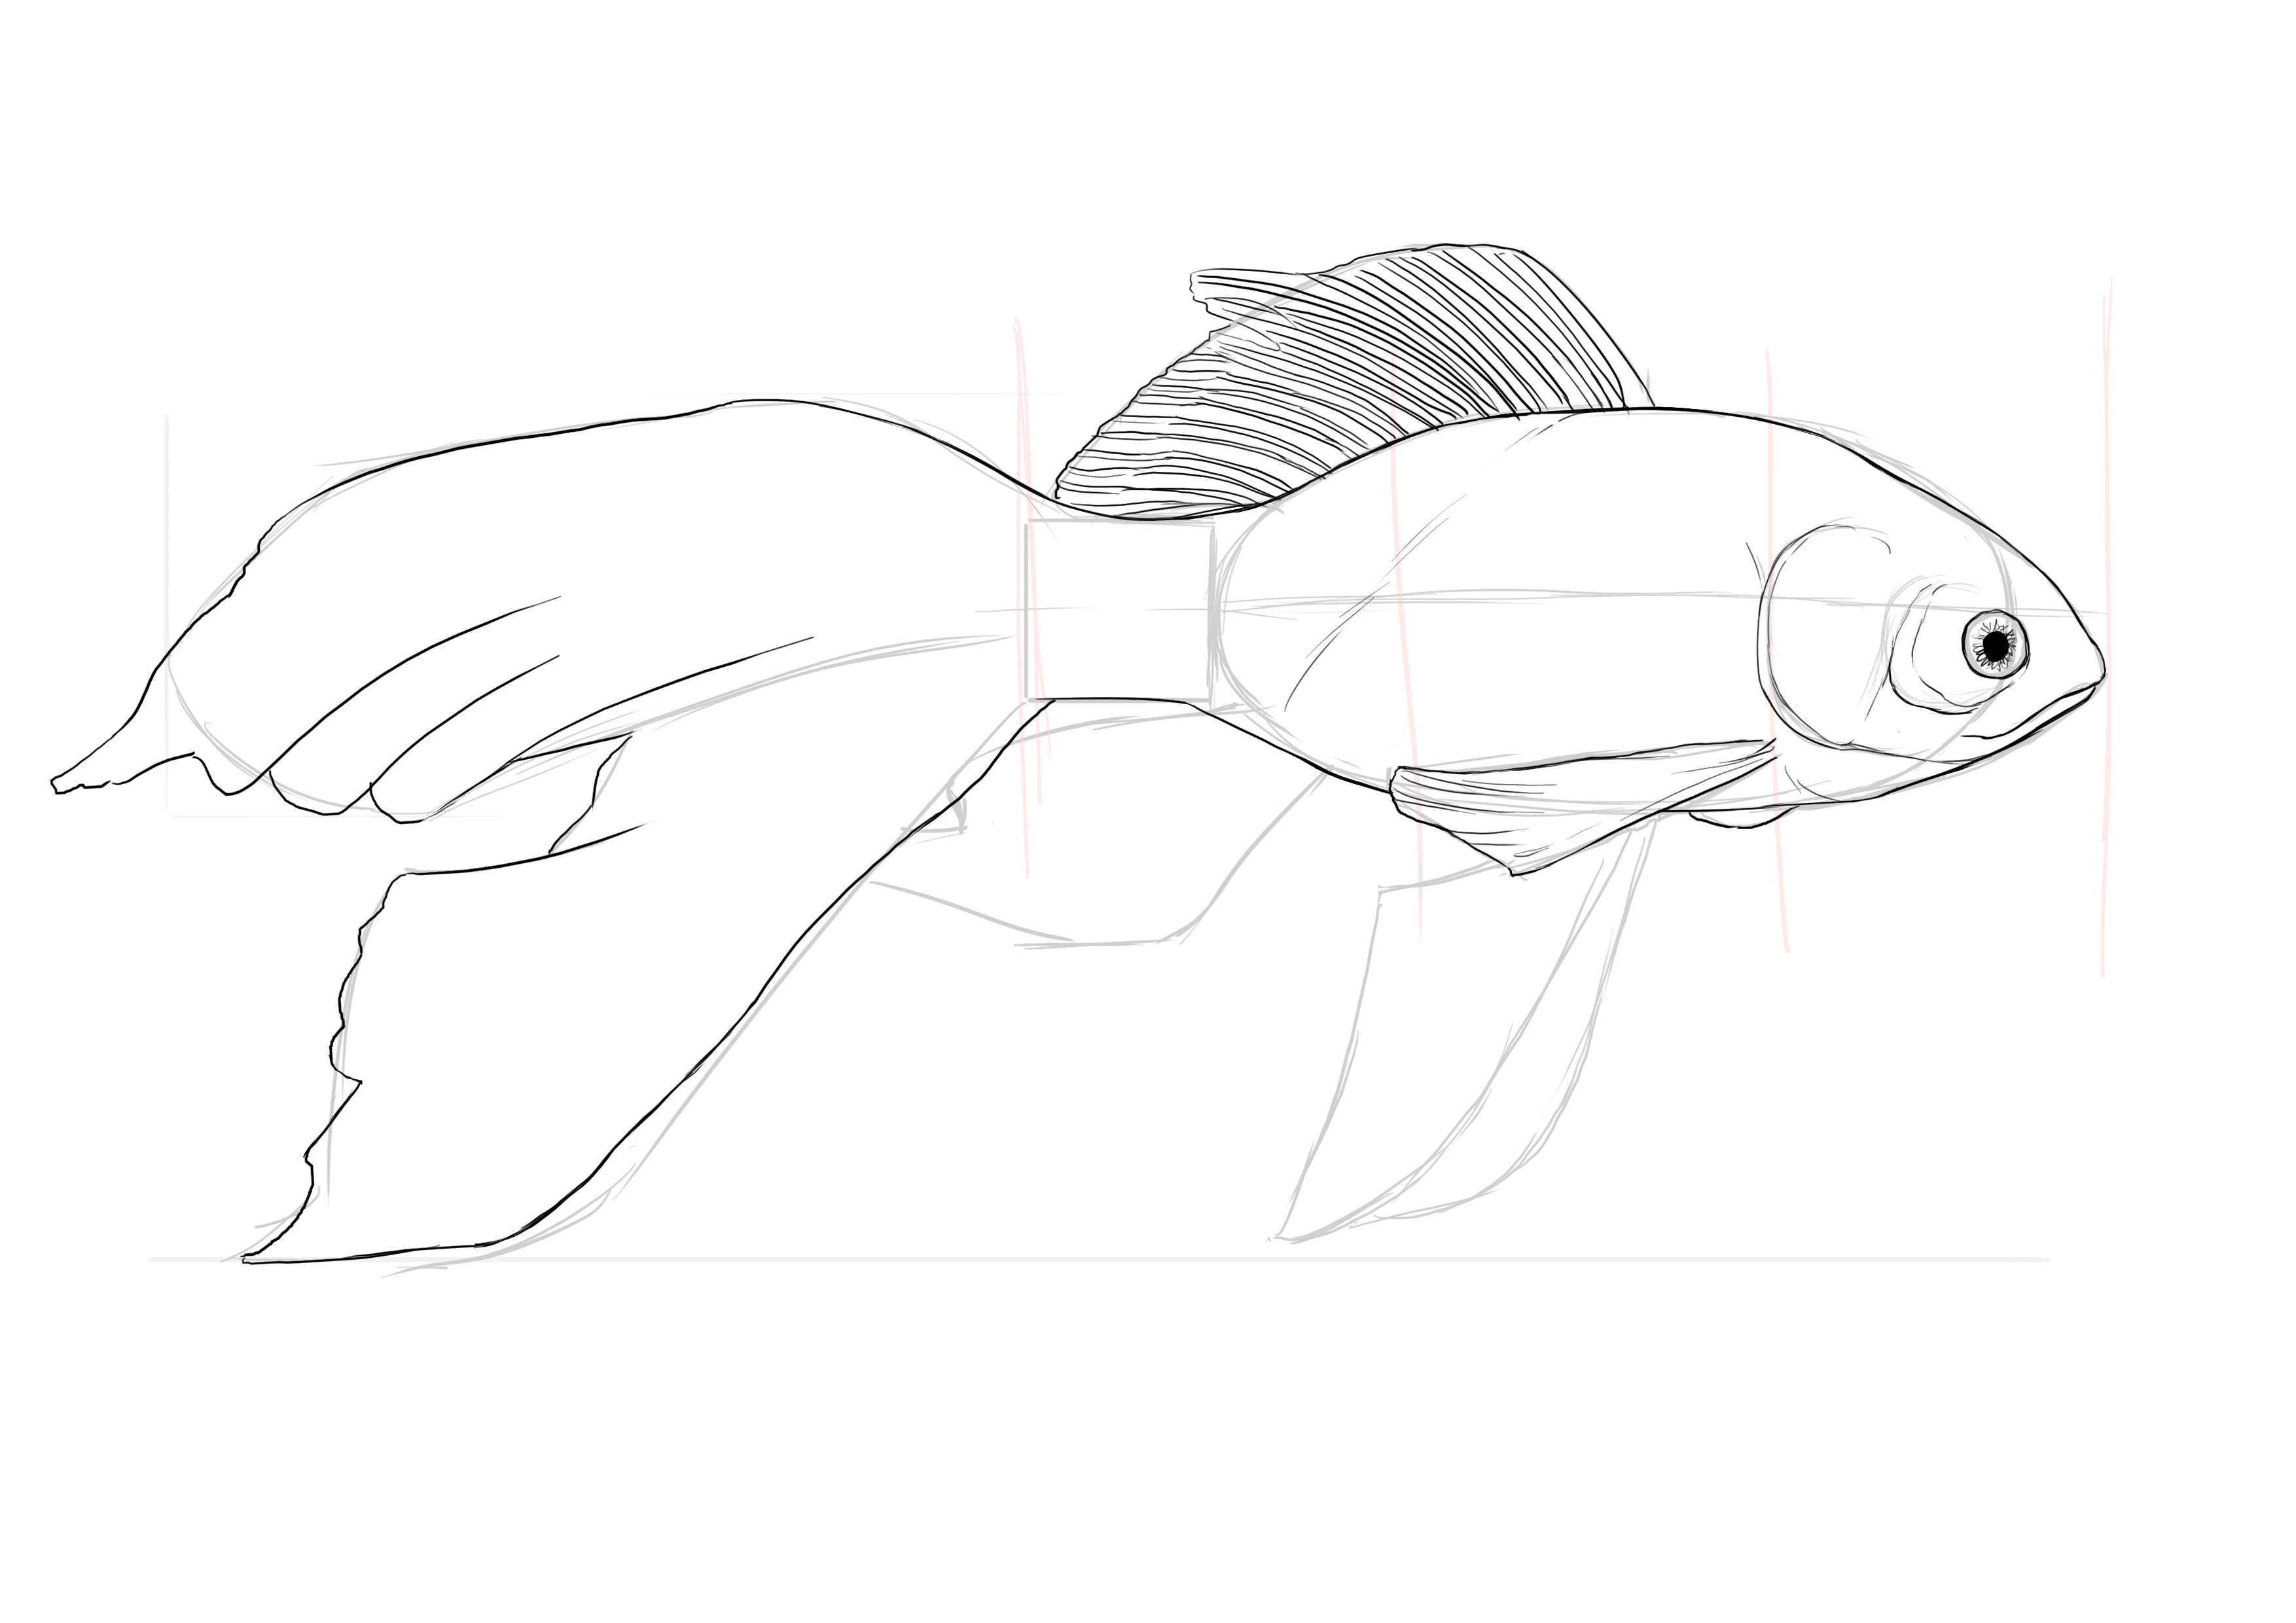
We're going to start working on the head before detailing everything. Do you remember the line we drew on the body of our goldfish? The eyes are located below this line. We can fit another eye above and below, as well as another between the tip of the "nose" and the eye itself. The eye is perfectly round.

At the level of the front fins, there are the gills. Be careful, they do not extend to the top of the body but stop just above the level of the eyes. Place the other circle halfway between the gill and the start of the eye.
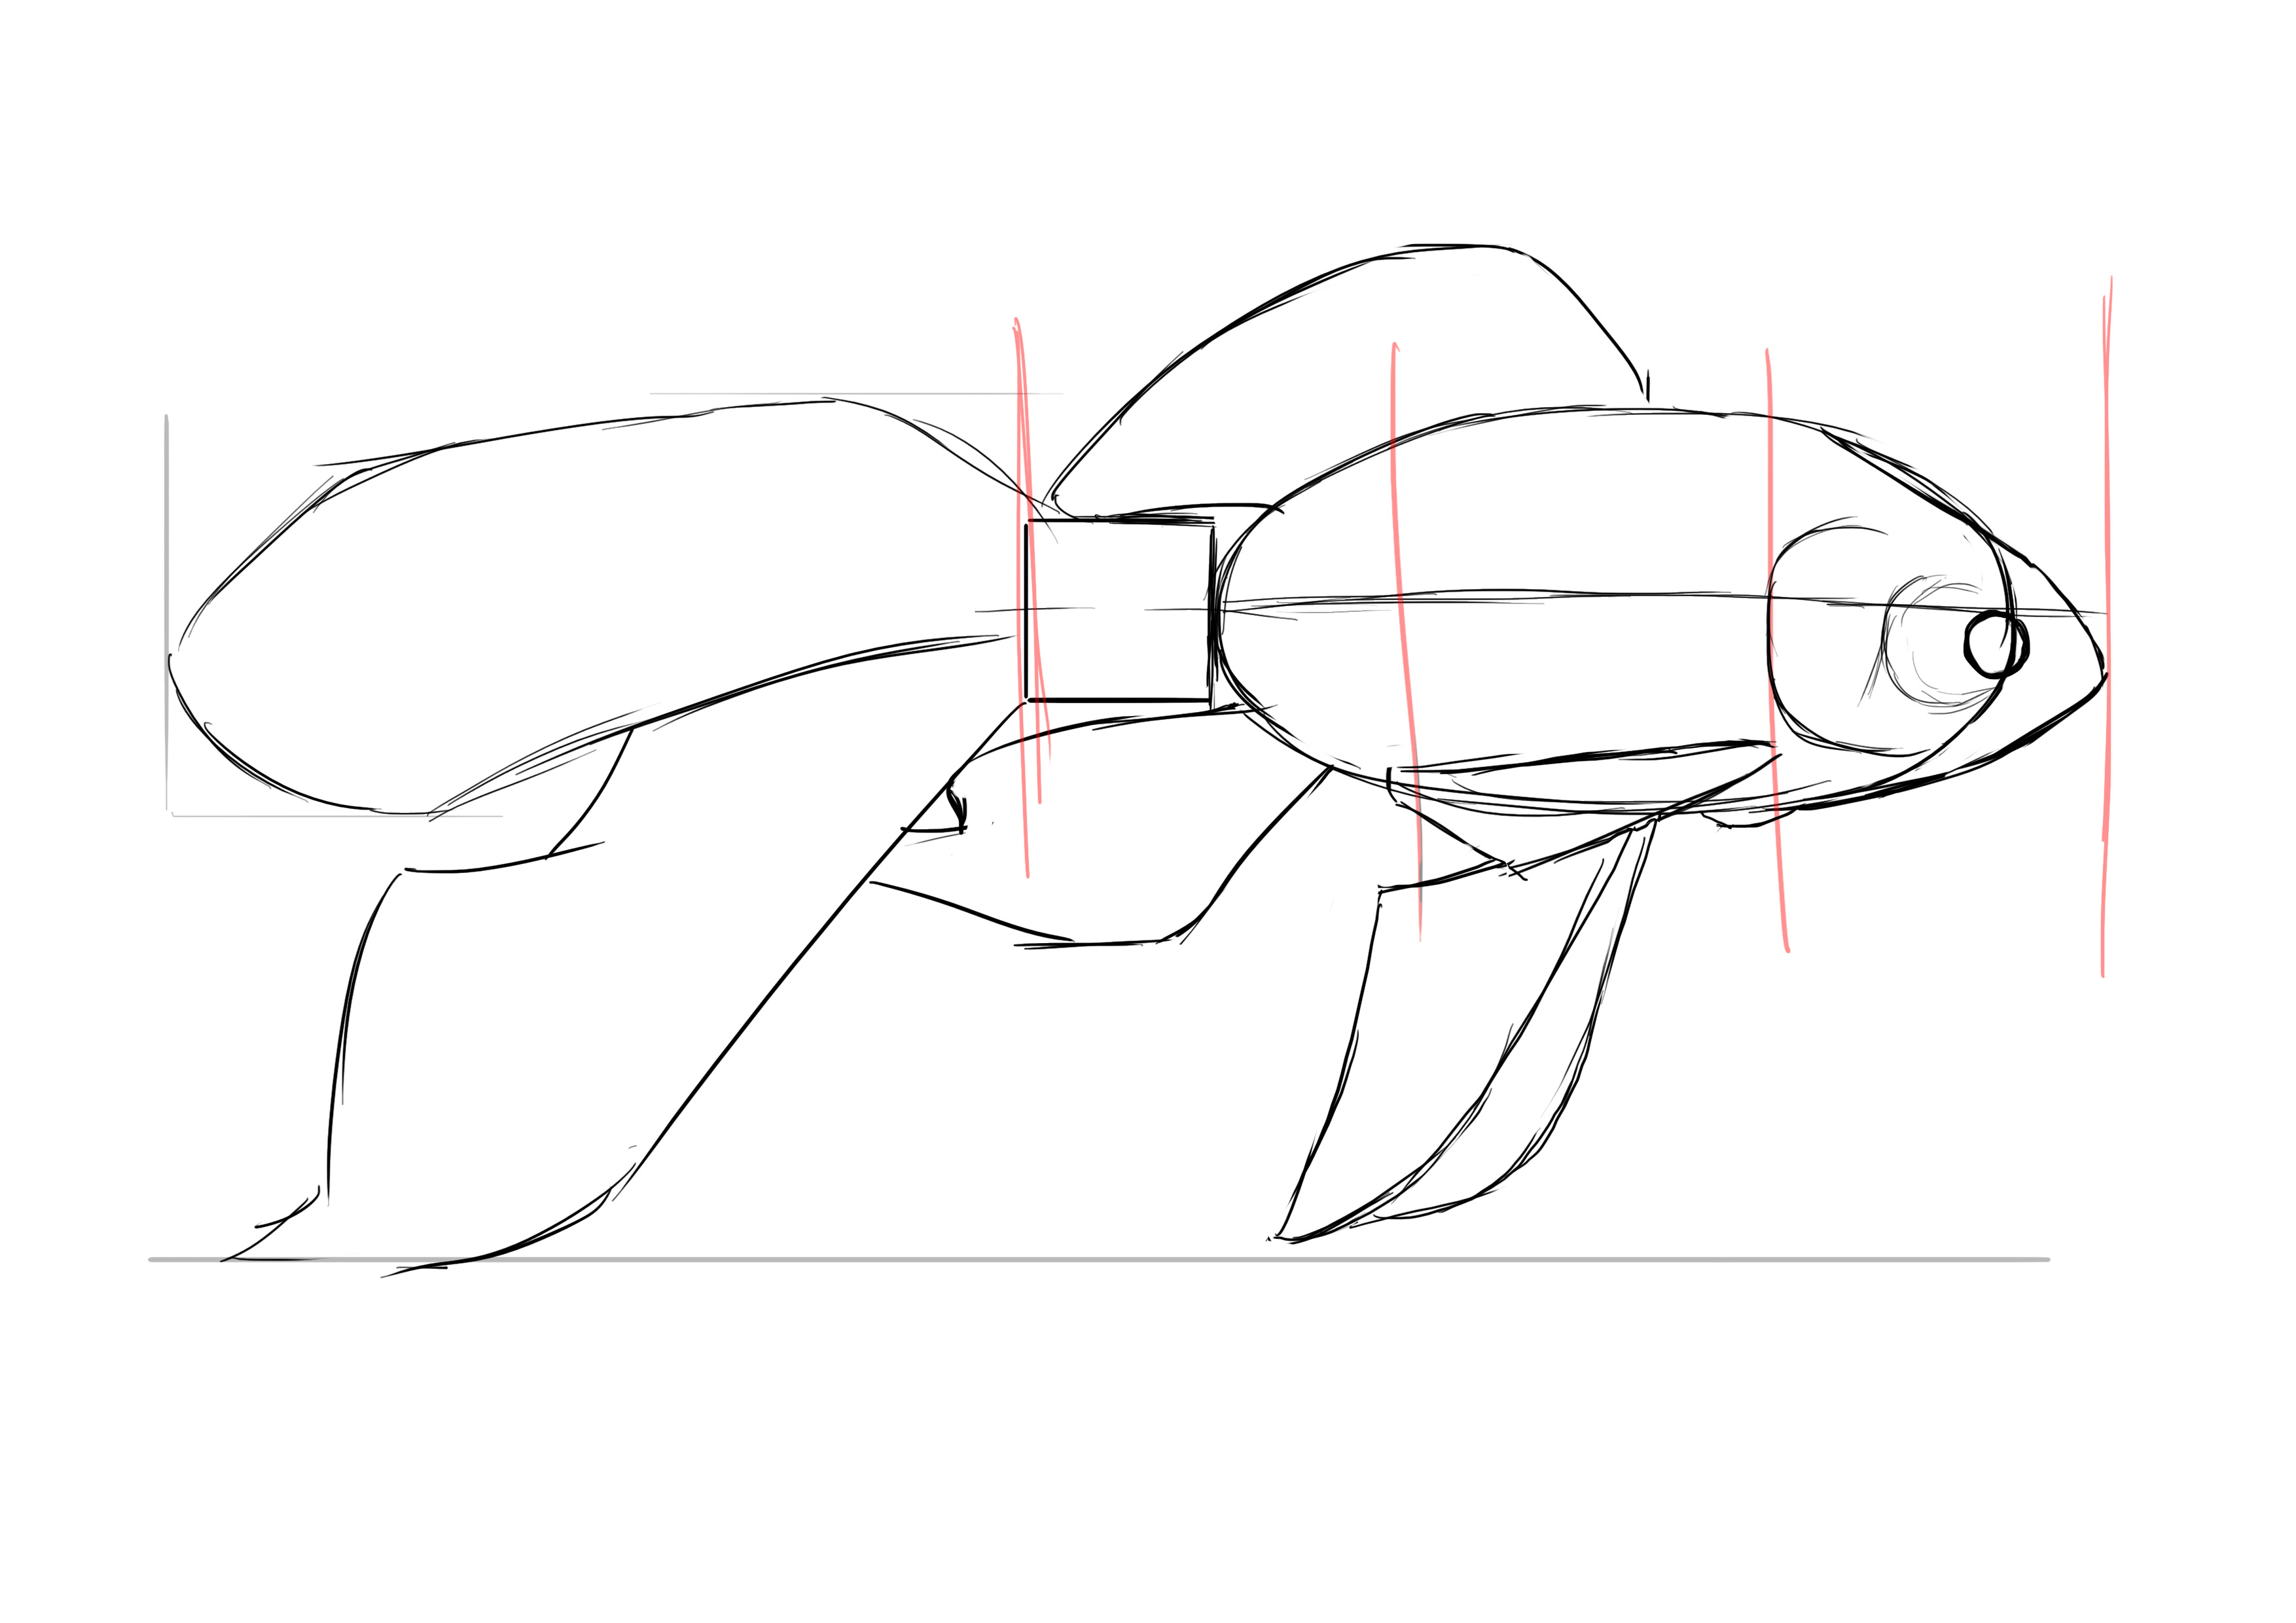
Finally, we position the mouth starting at the bottom of the eye.
DETAILING THE GOLDFISH DRAWING
Now let's go into detail!
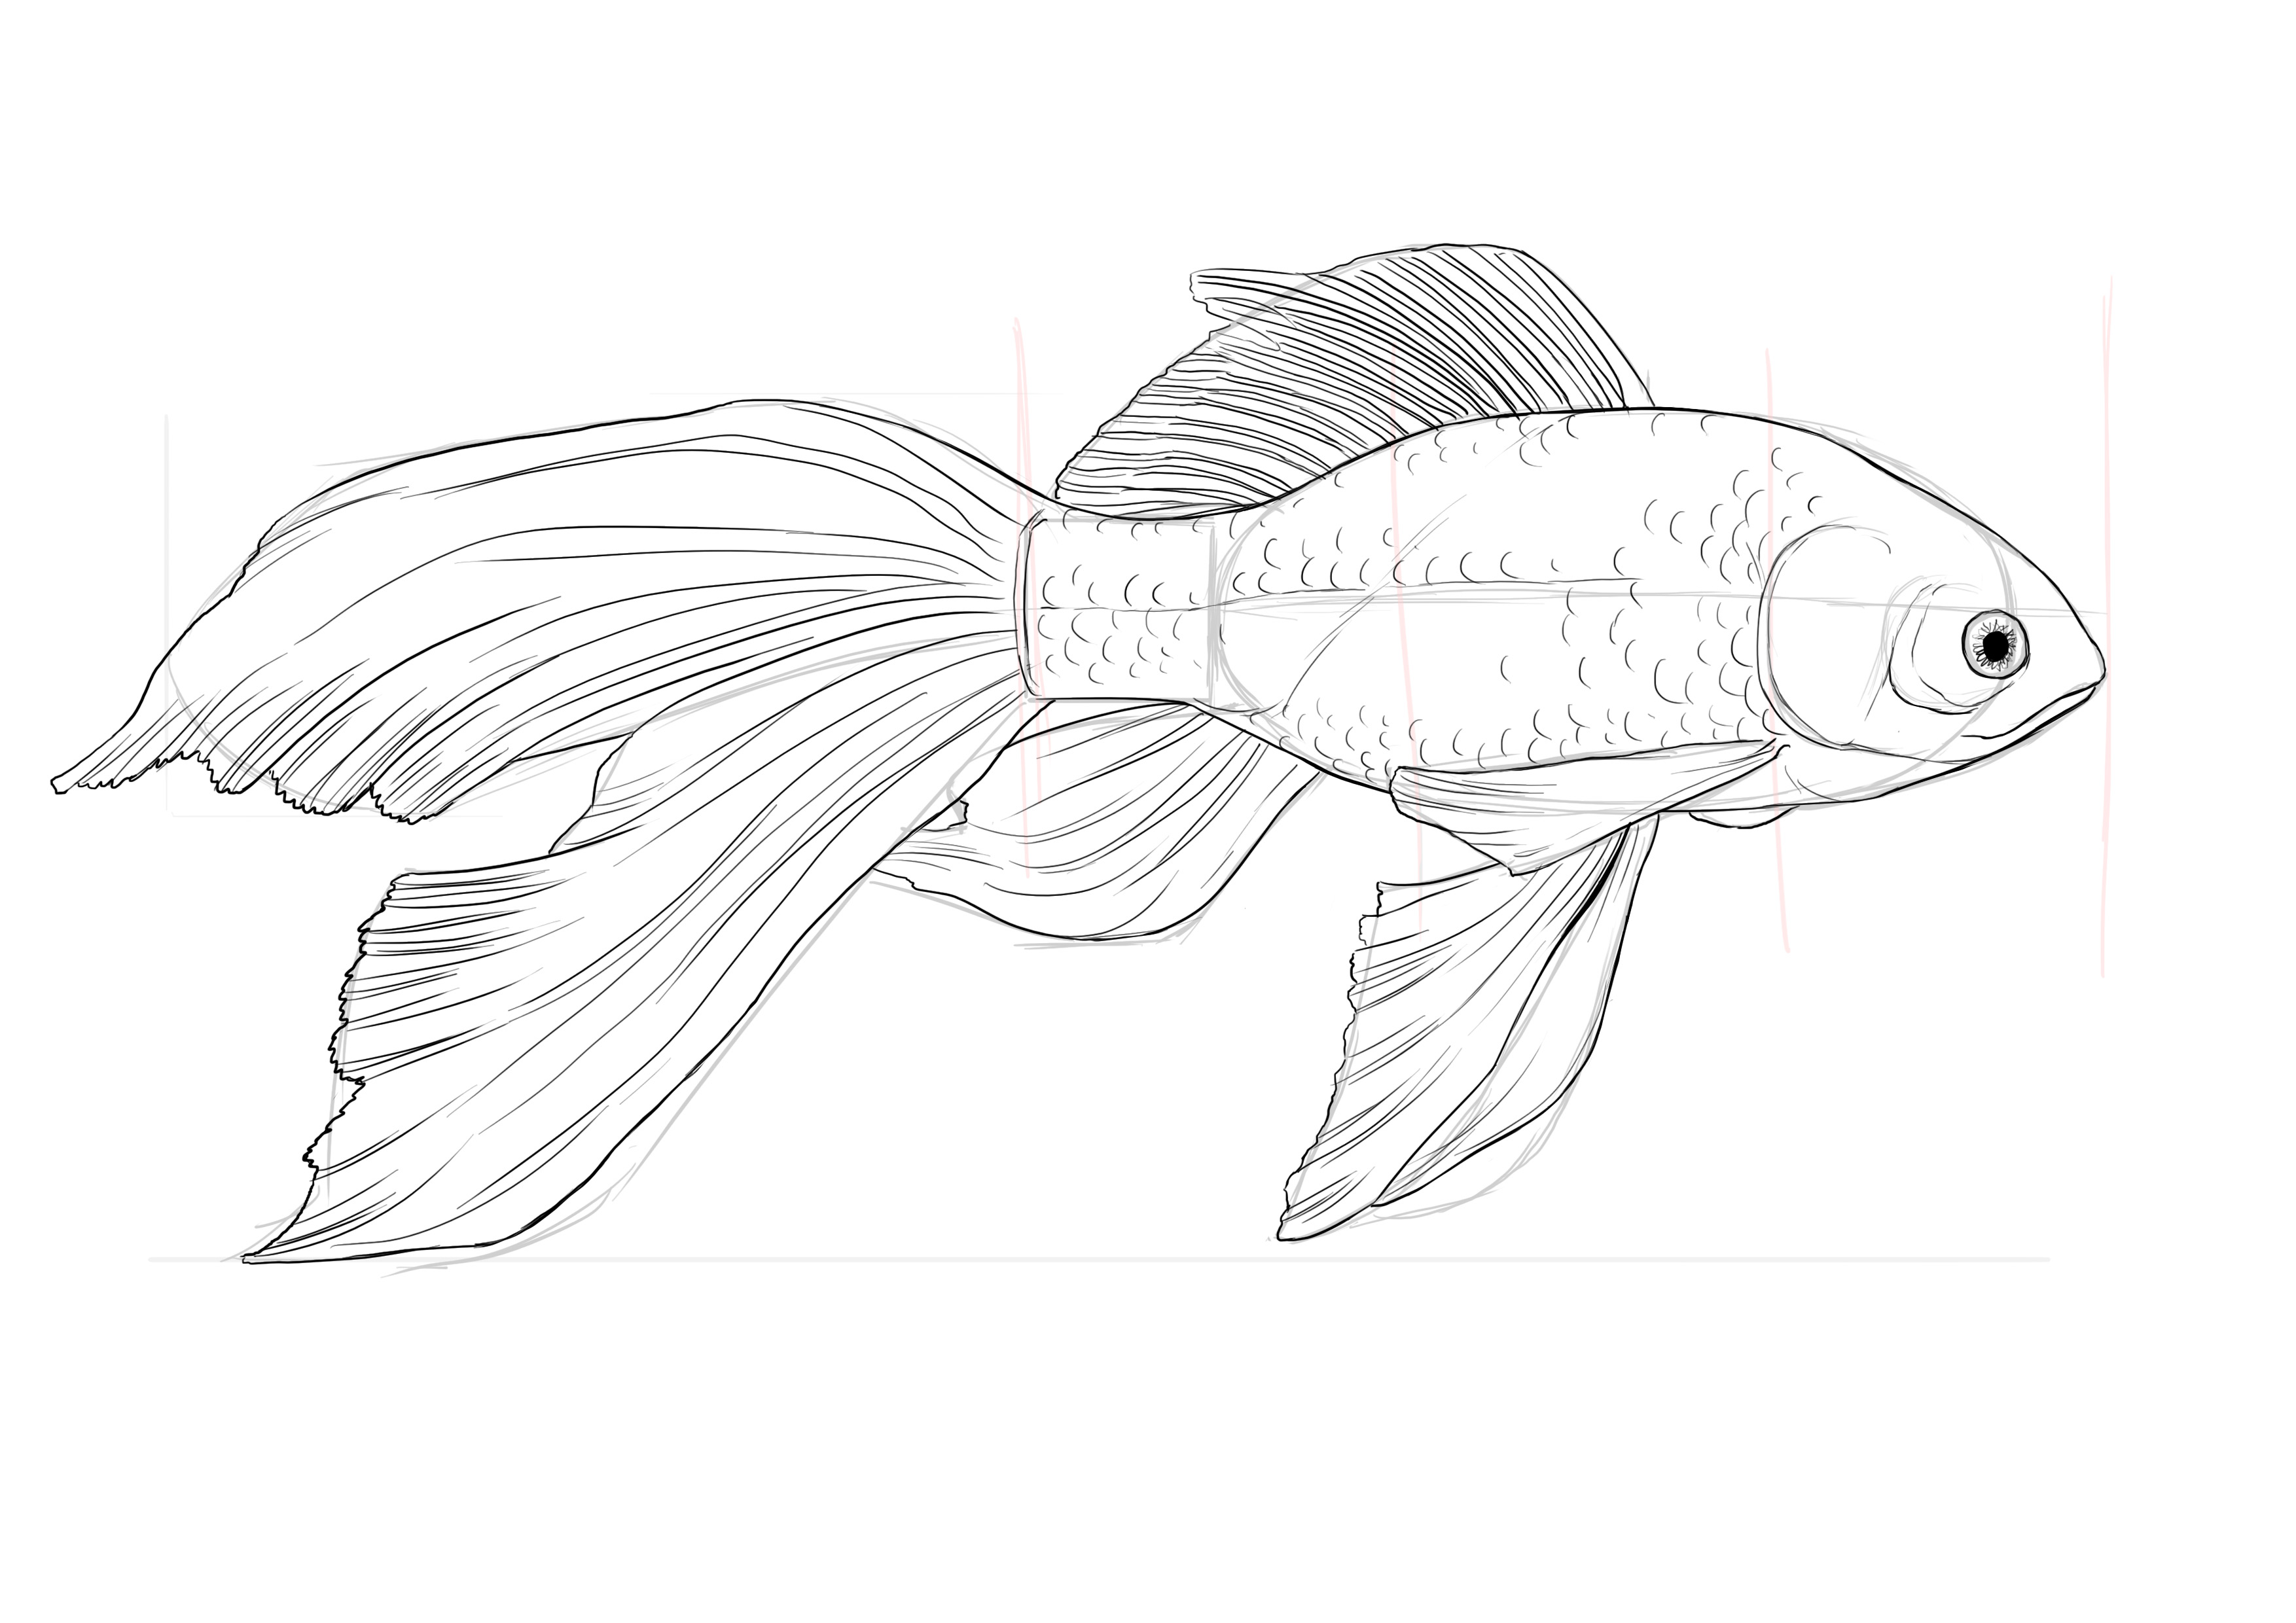
We've already done the biggest part, so it's mainly the fins and scales that will need to be refined. As always for this part, I refer you to our model. Note that the fins have irregular edges and are grooved. As always, these grooves follow a certain logic. In this specific case, we apply the same rule as with fur or feathers: we follow the direction of implantation.
The same principle applies to scales. I chose not to draw all of them because I am lazy (it's starting to be obvious by now, haha).
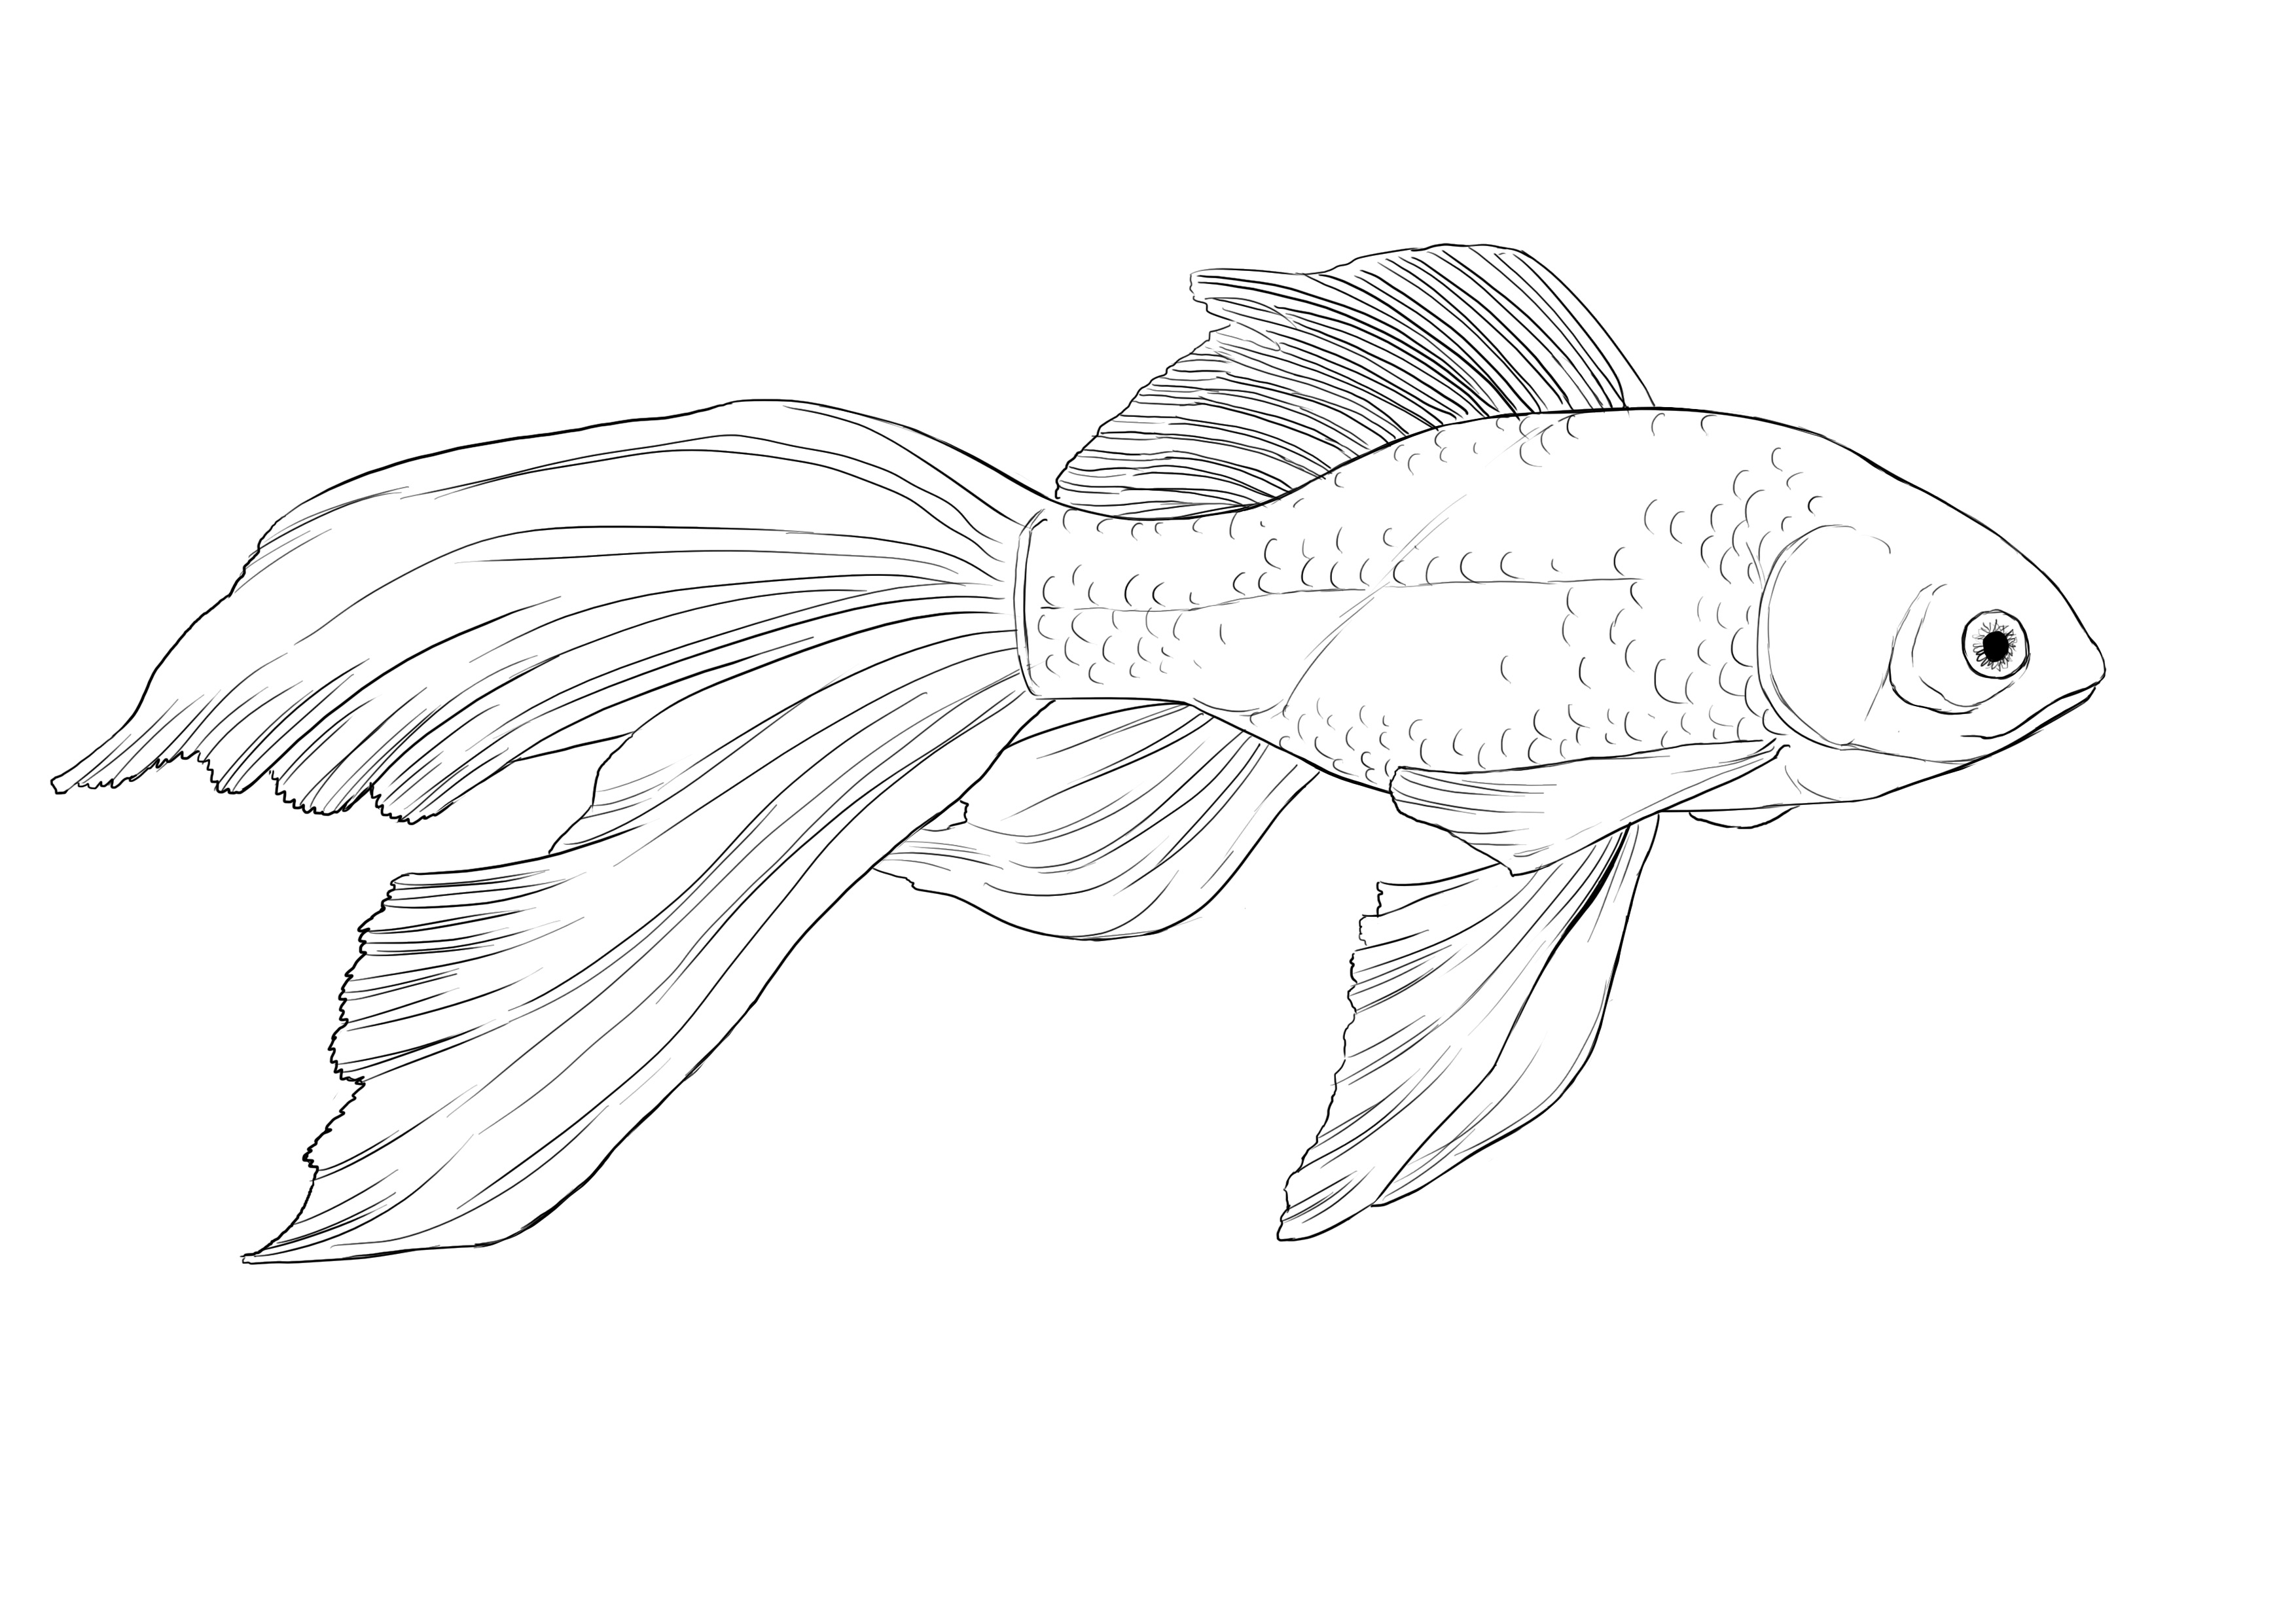
In the end, we should get something that looks like this:
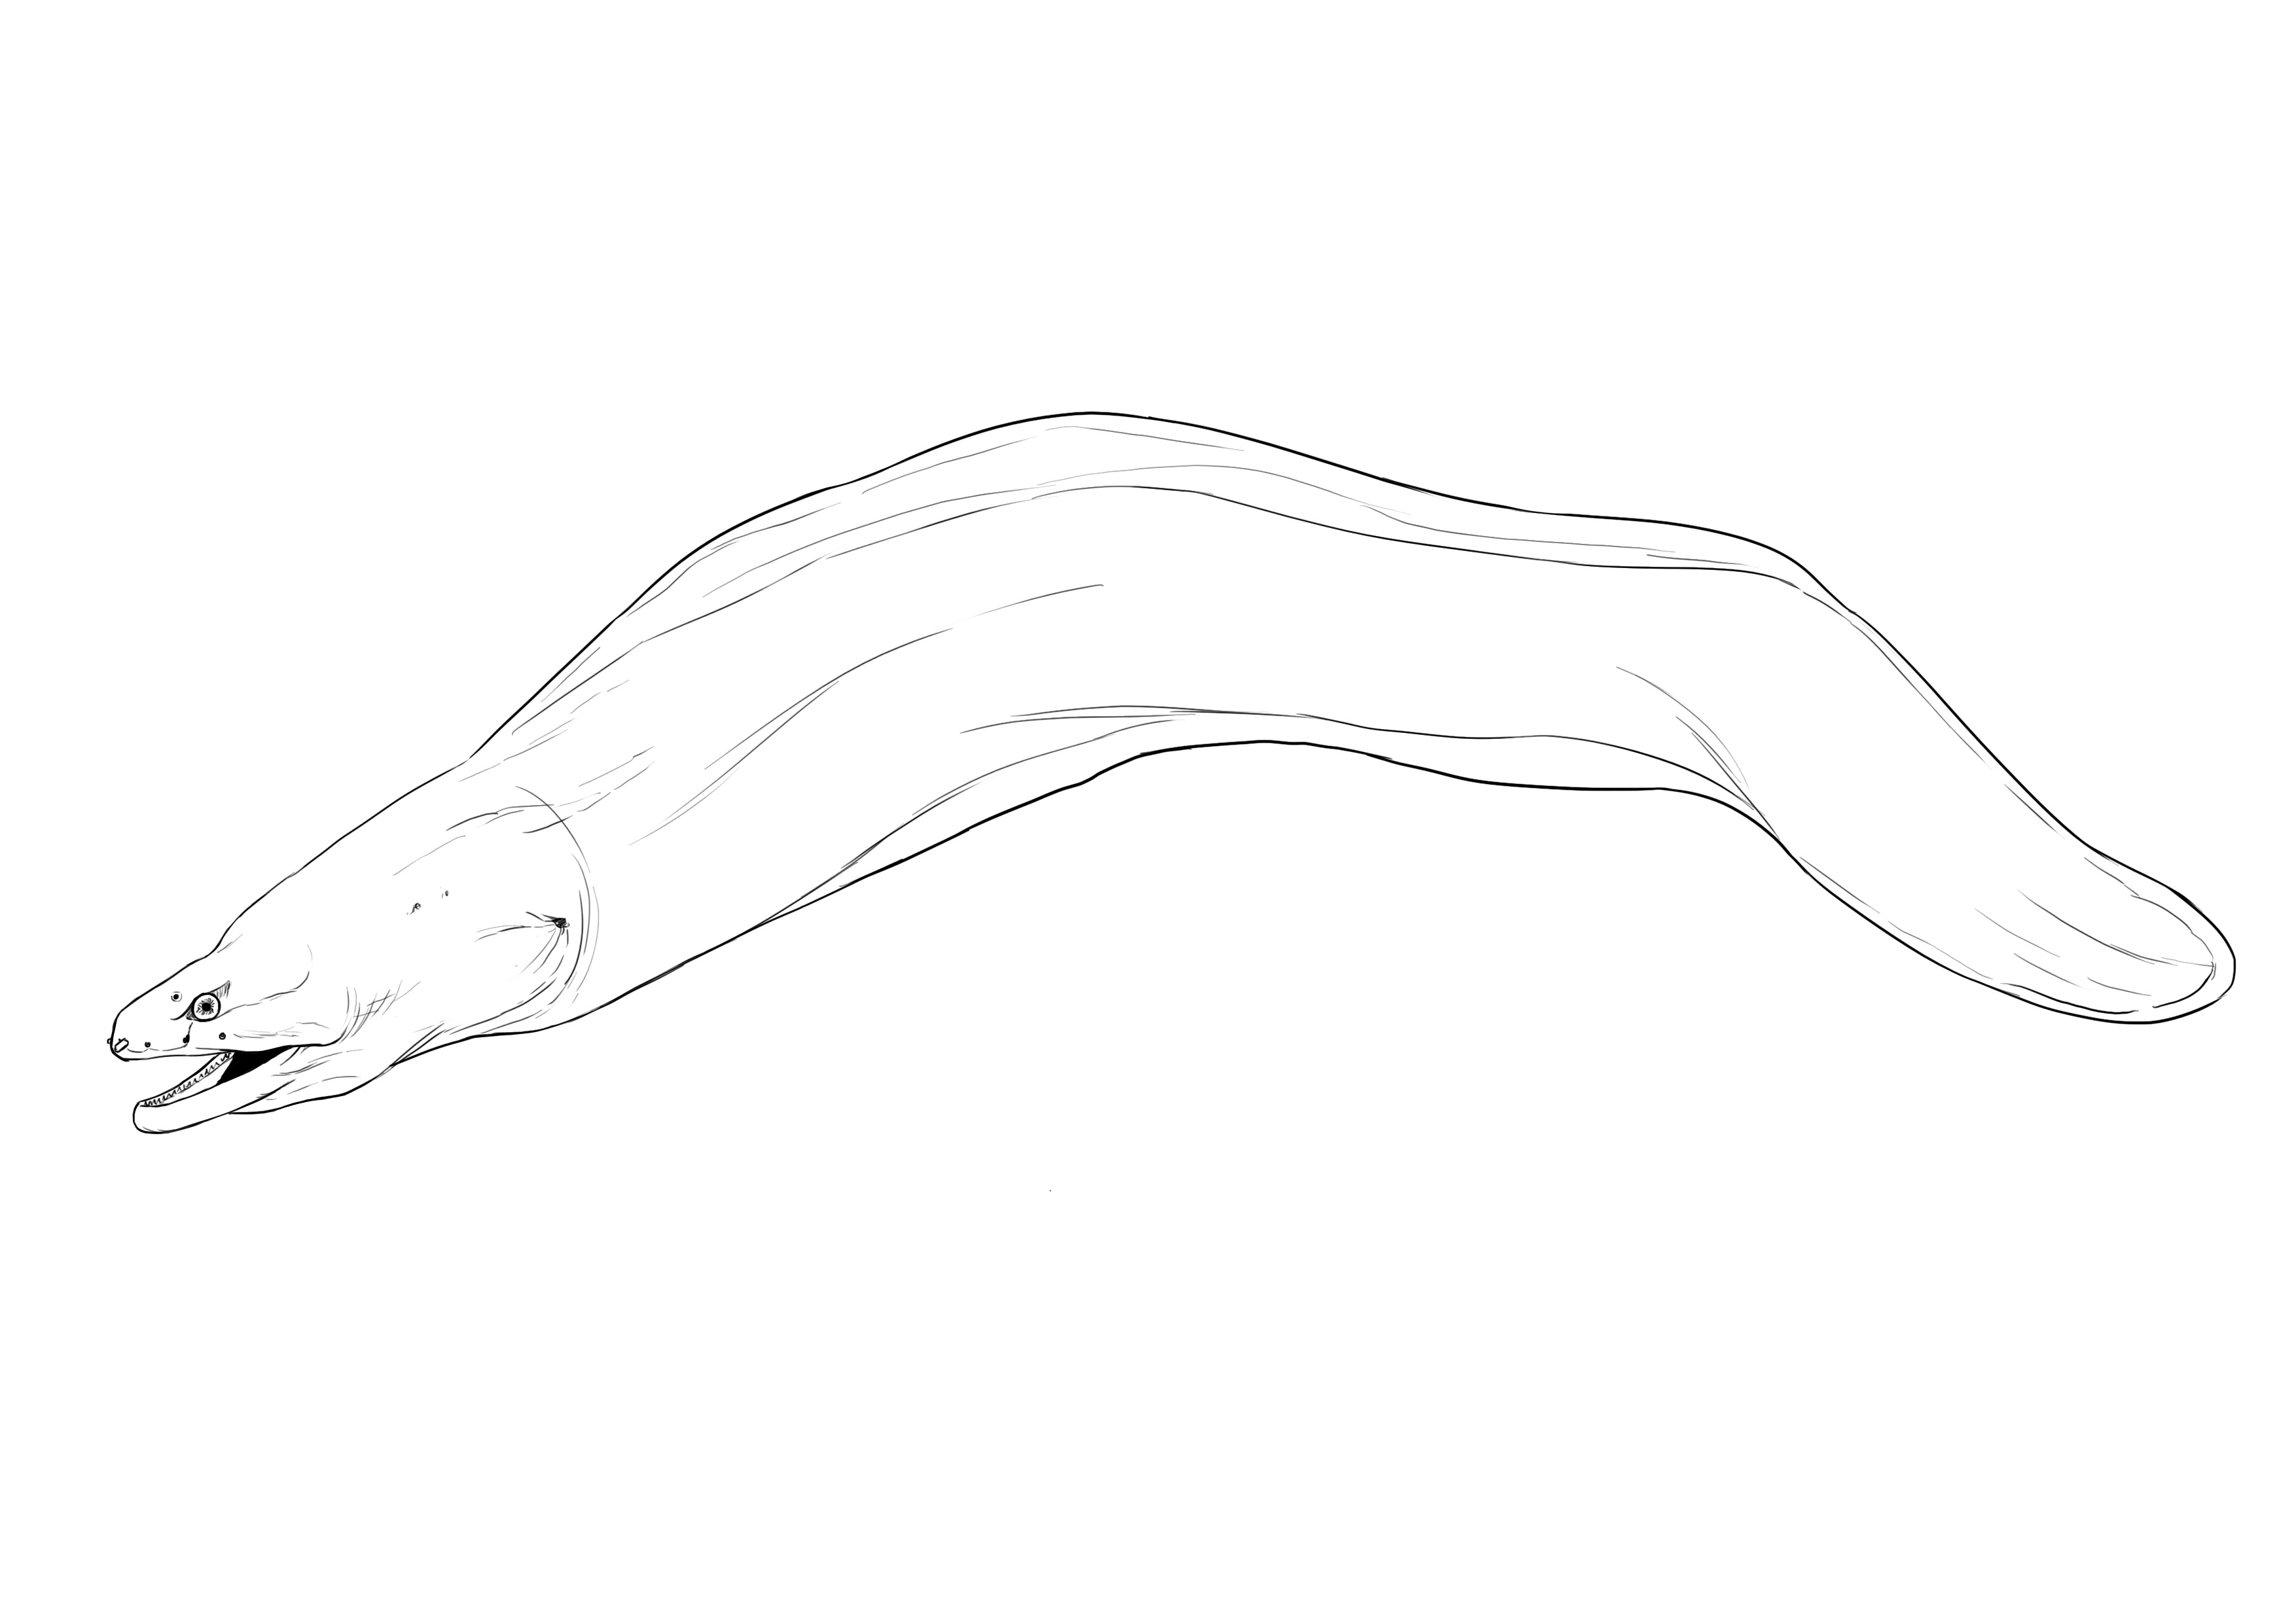
DRAWING A FISH: THE MORAY EEL
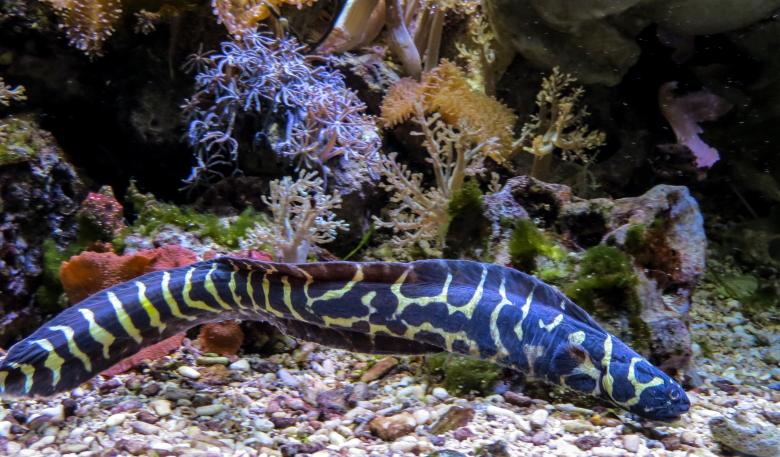
They accompany Ursula in The Little Mermaid and it can be said that they don't really have a friendly face. It's quite difficult to find a model with the whole body, very often these little creatures hide in the rocks. But fortunately for us, the body of the moray eel is very simple to draw :3
For the sake of clarity, we will base this on two photos, because the pattern of moray eels can be very deceptive, as shown here for example:
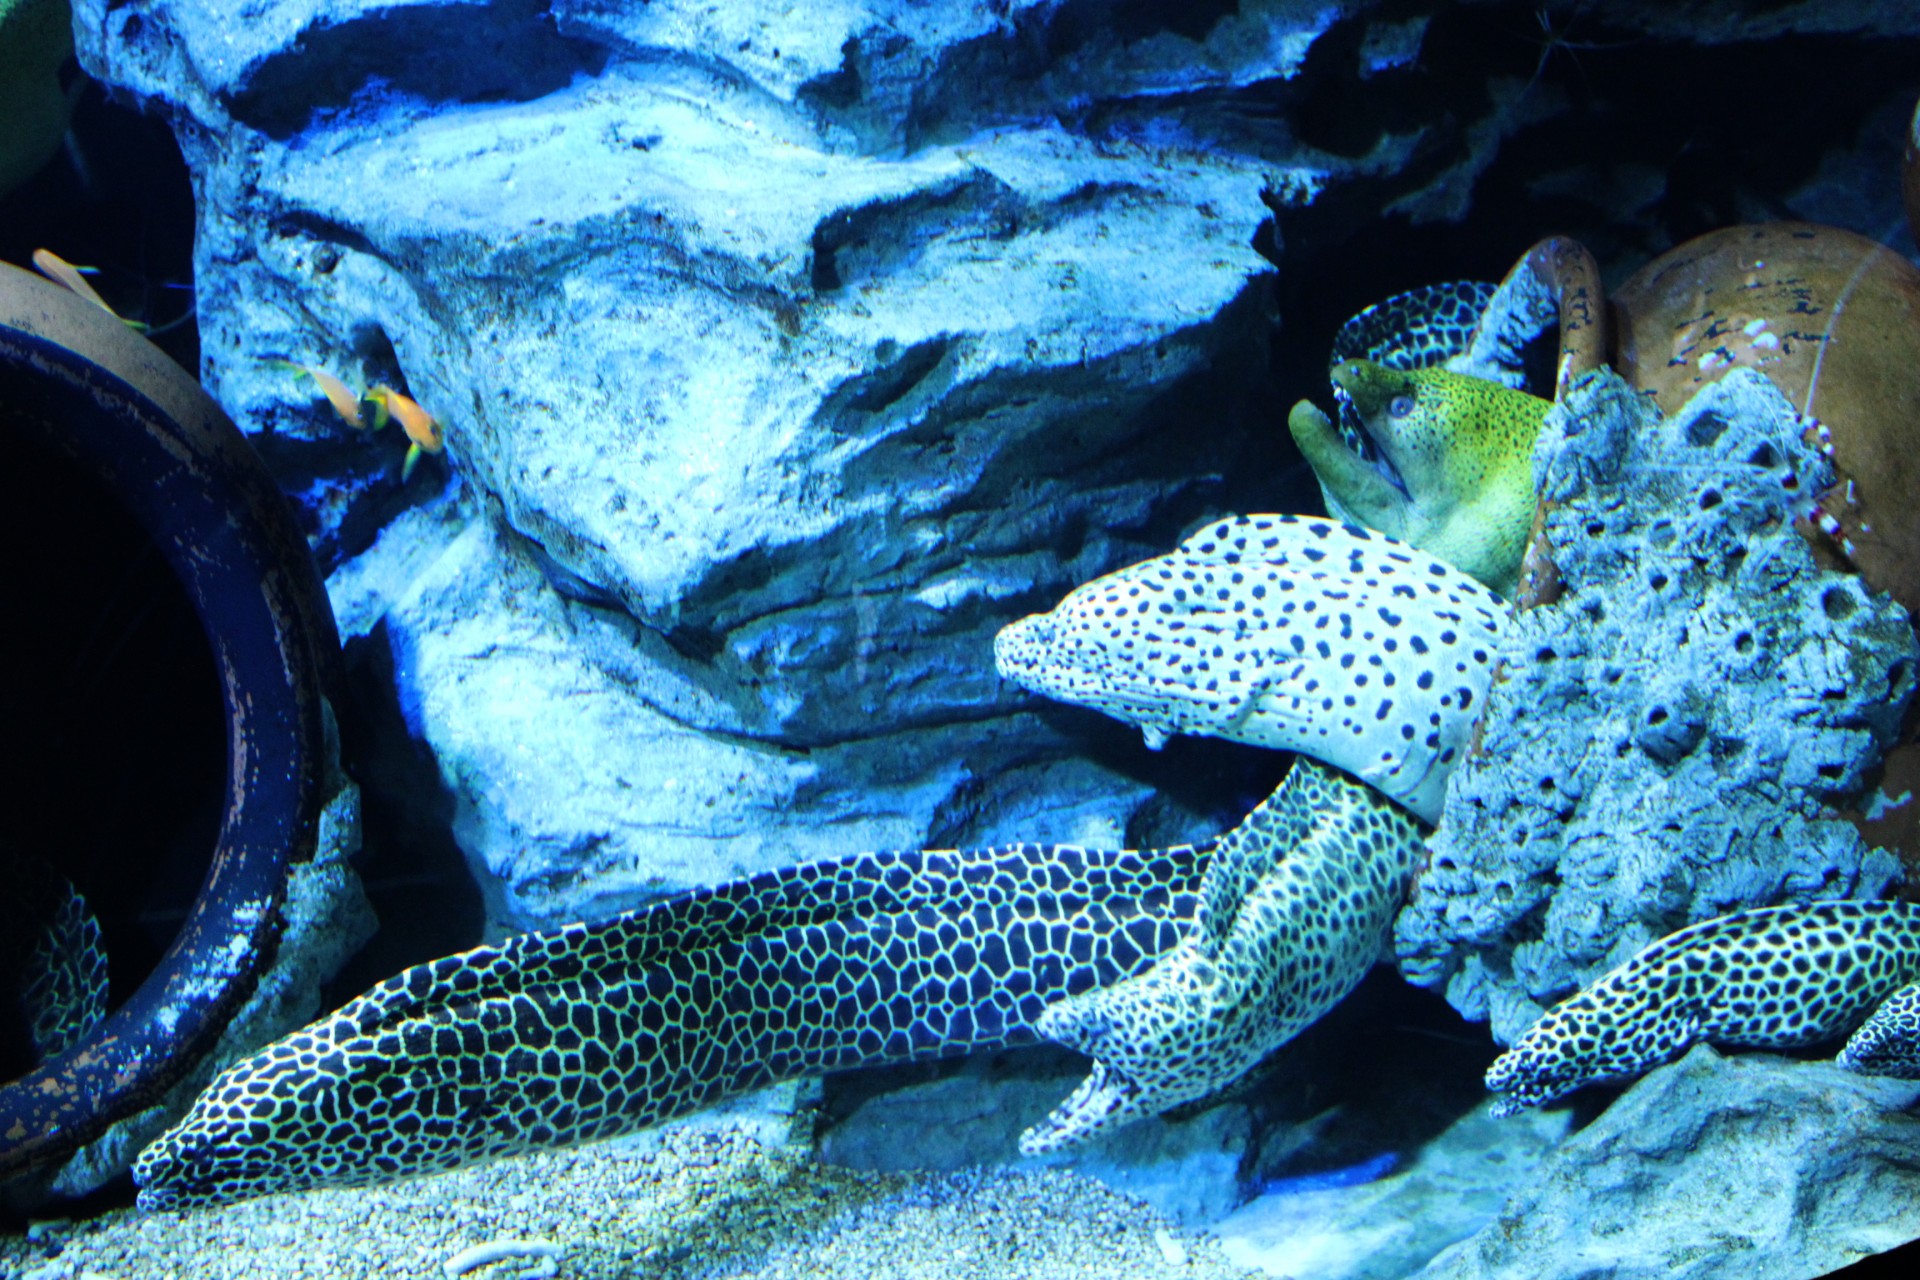
It's hard to really understand what is going on and how the head is structured.
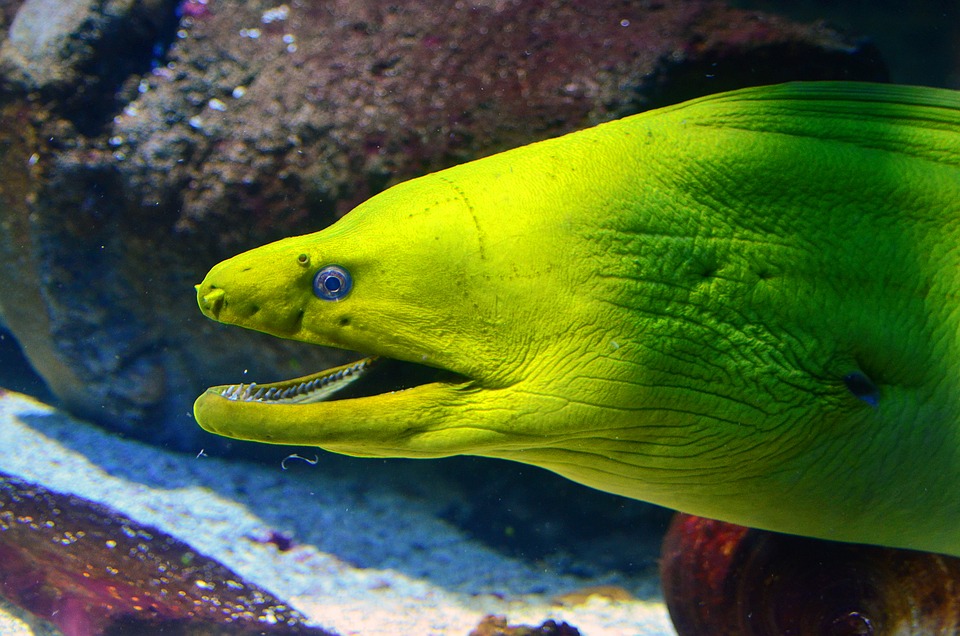
So we'll base it on these two photos:
DRAWING THE MORAY EEL STEP BY STEP
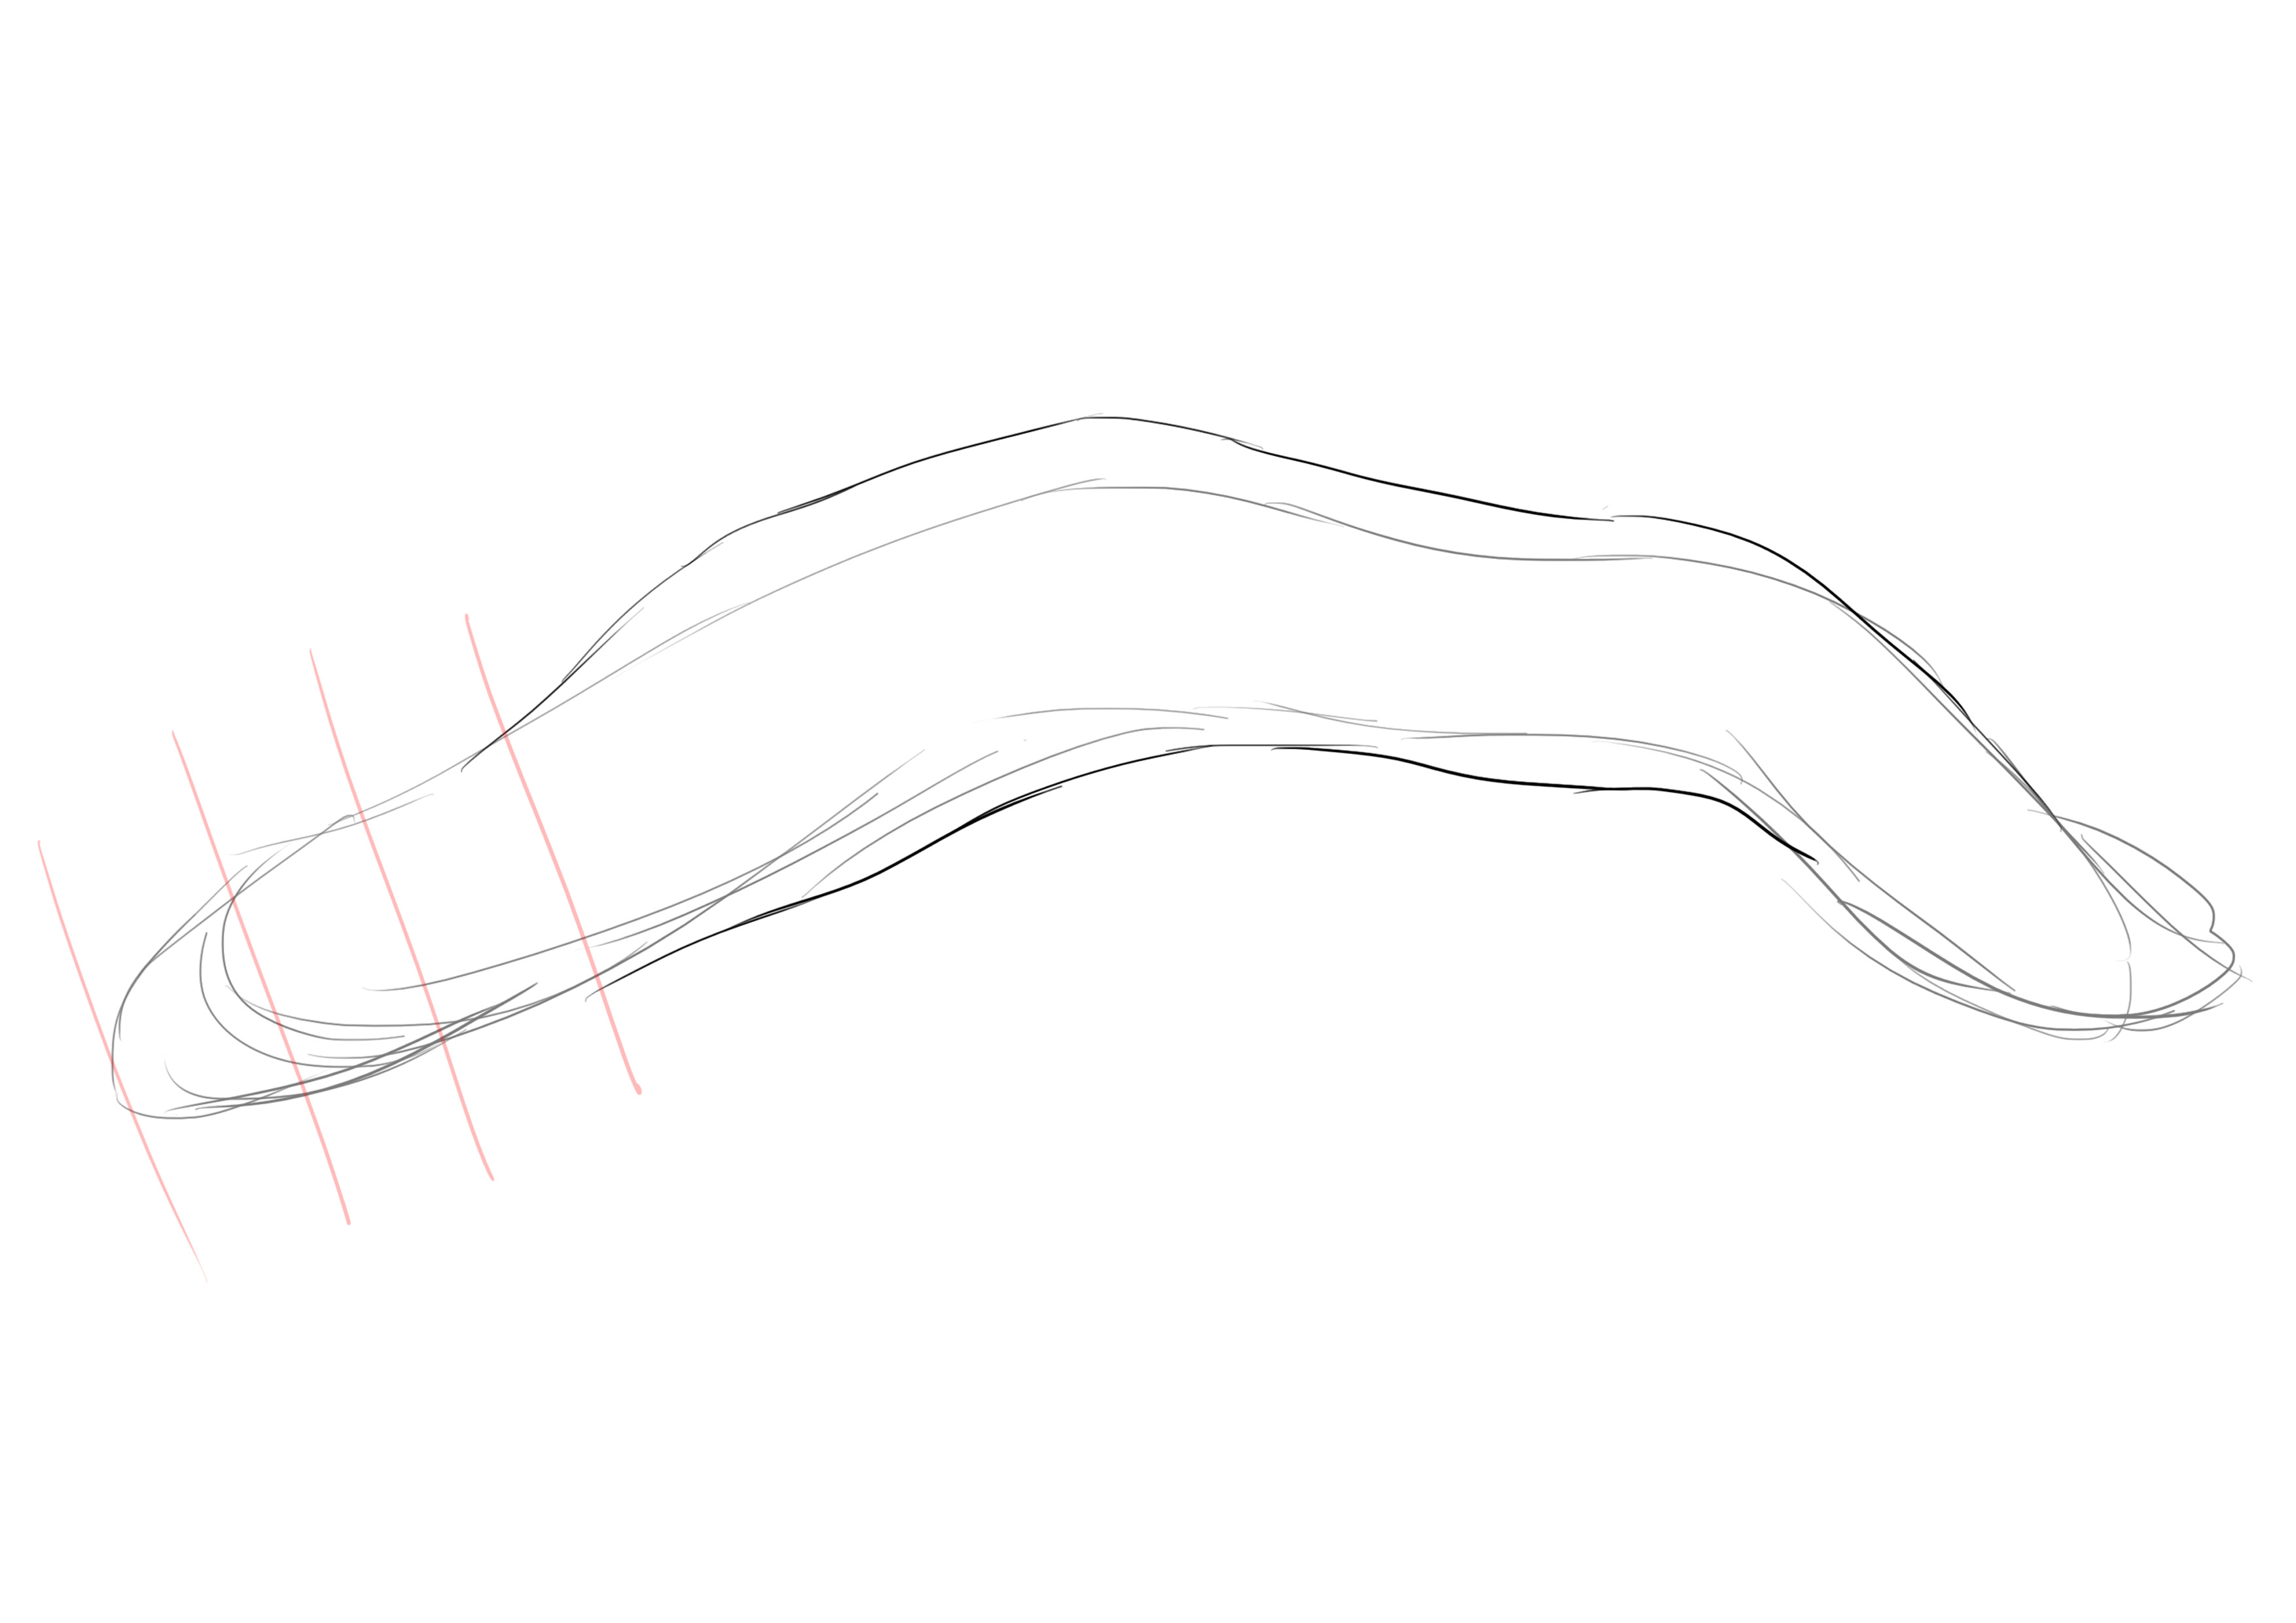
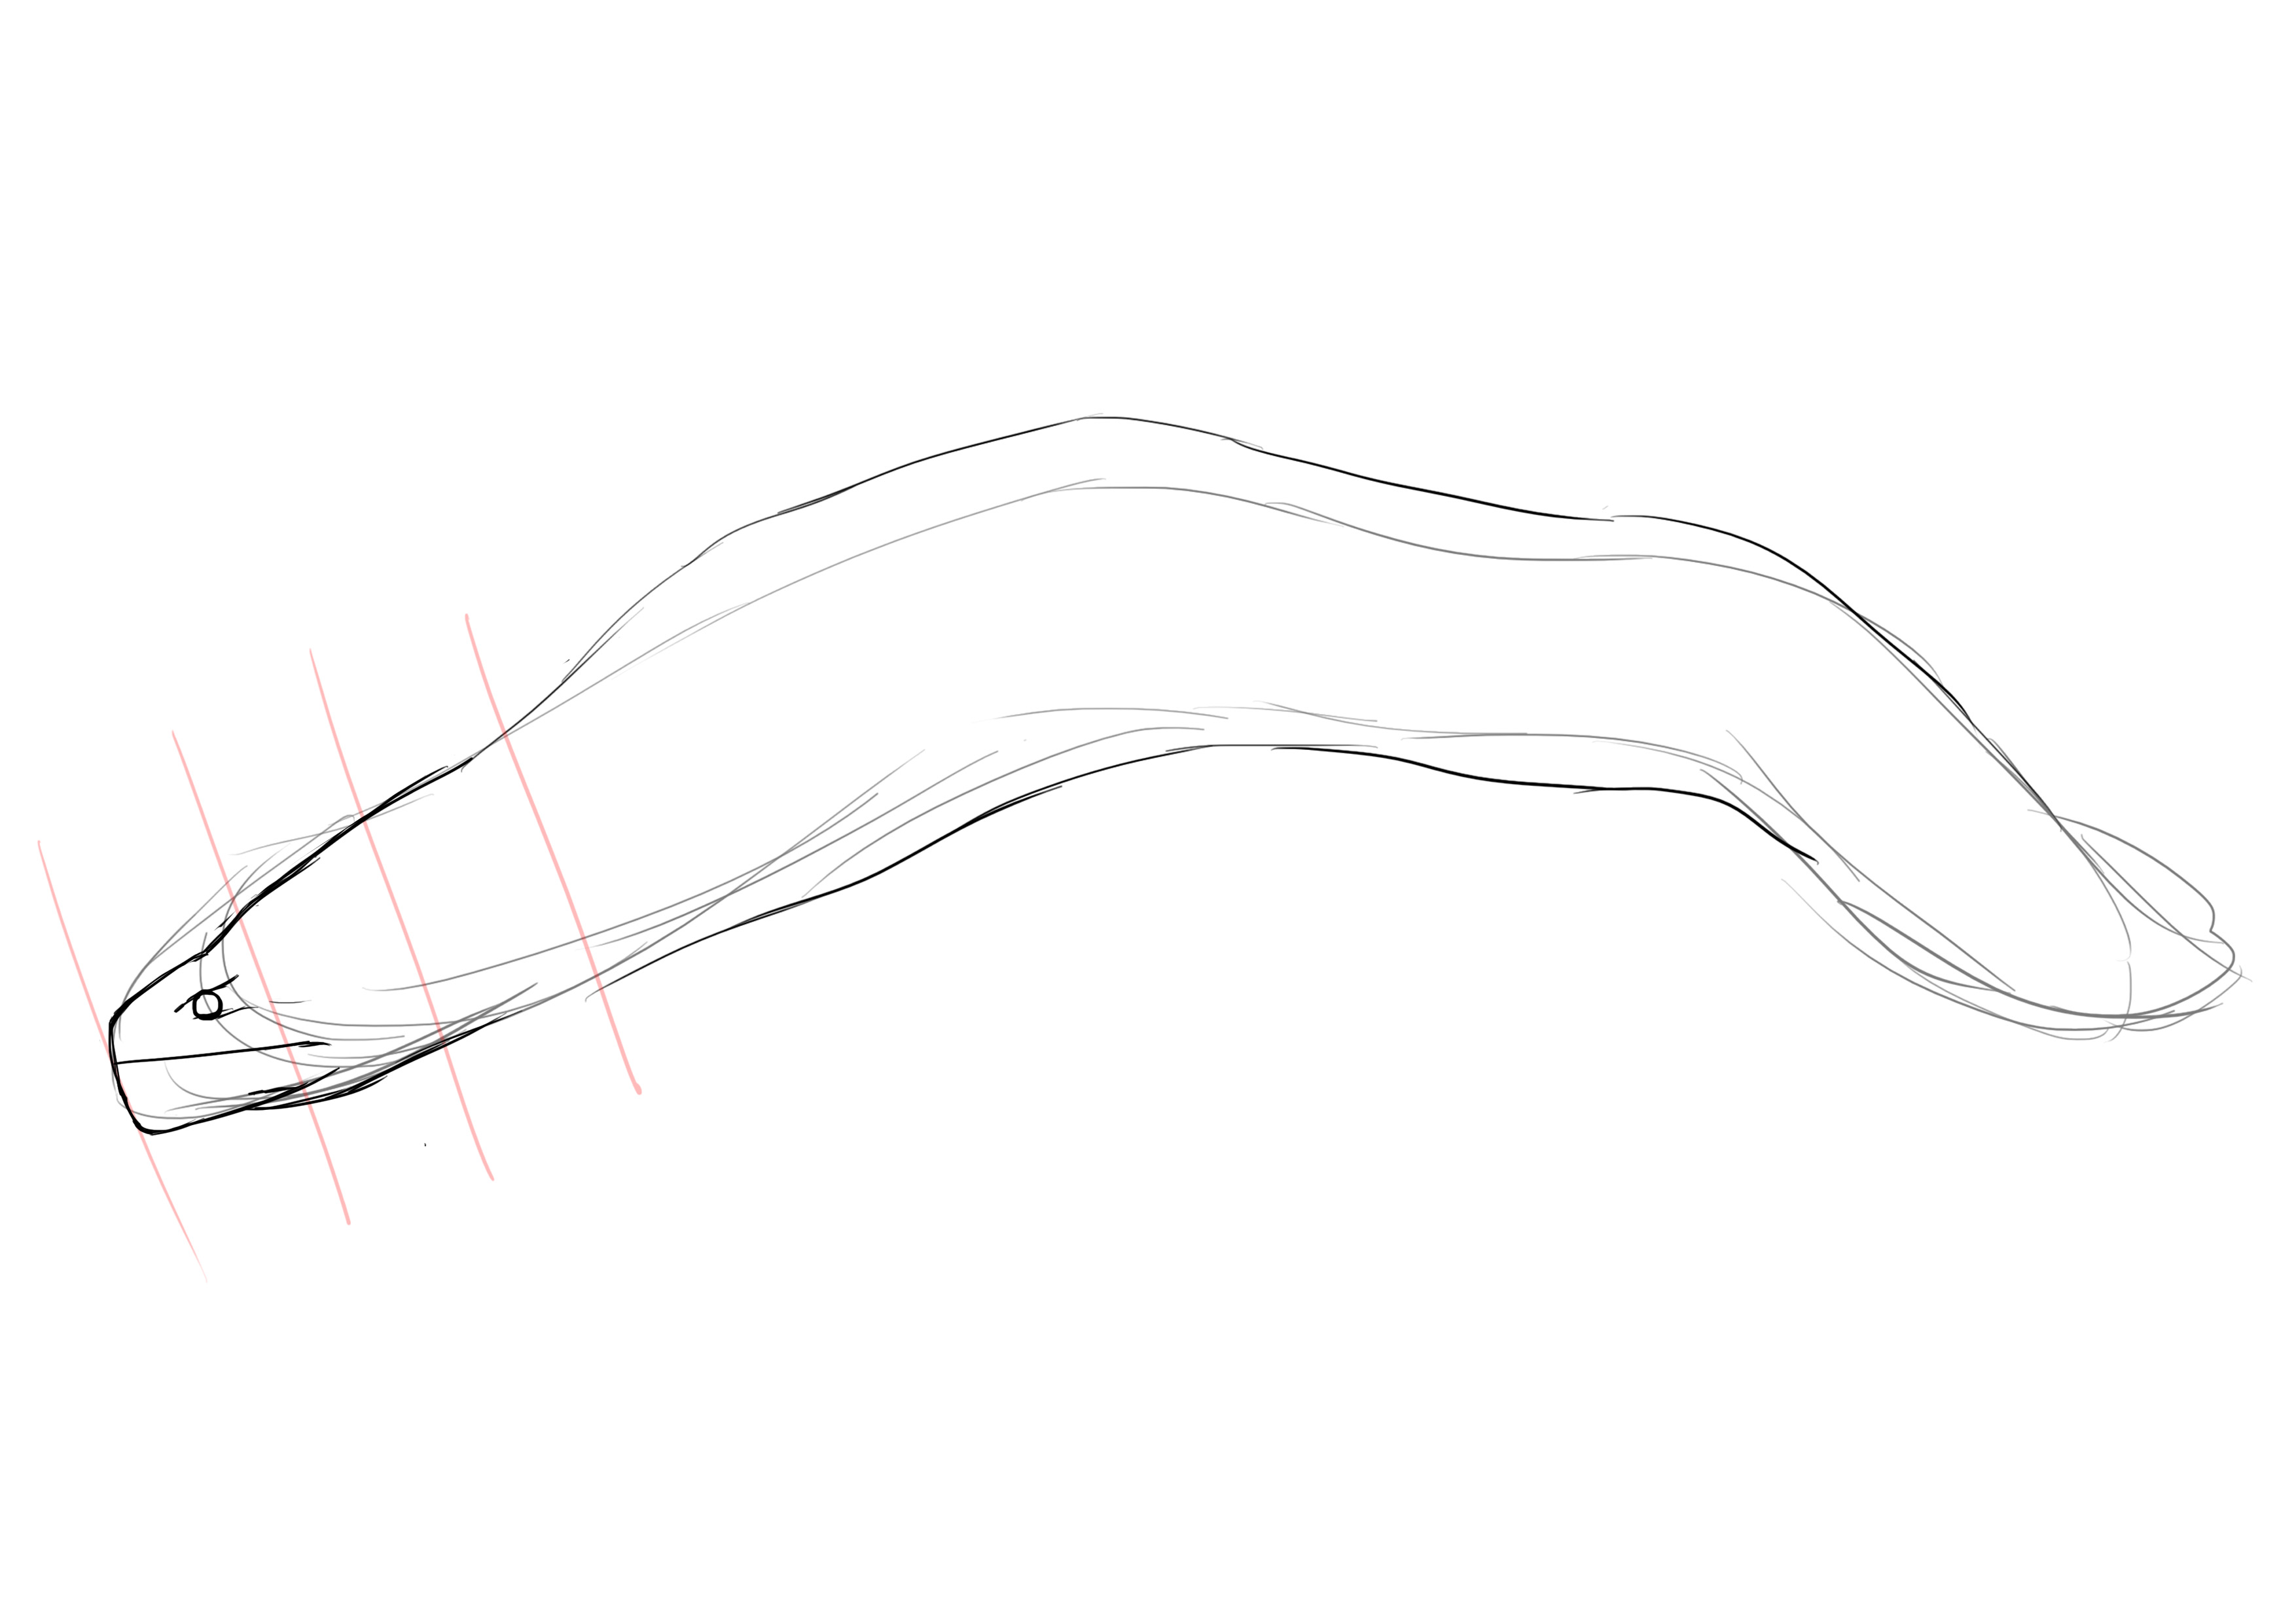
Let's start! We'll sketch the body. Obviously, as you have noticed, our two references are facing in opposite directions. So, we will need to flip one to draw properly. Since the body is relatively simple, it's the one we will reverse. I'm not doing any Photoshop manipulation in this case, I'm making the change in my head. But if you need to, feel free to mirror the image ^^
So we draw a nice uneven curve. I would tend to eyeball the proportions, but if you're afraid of making a mistake, the moray eel is about 8 times longer than it is wide.
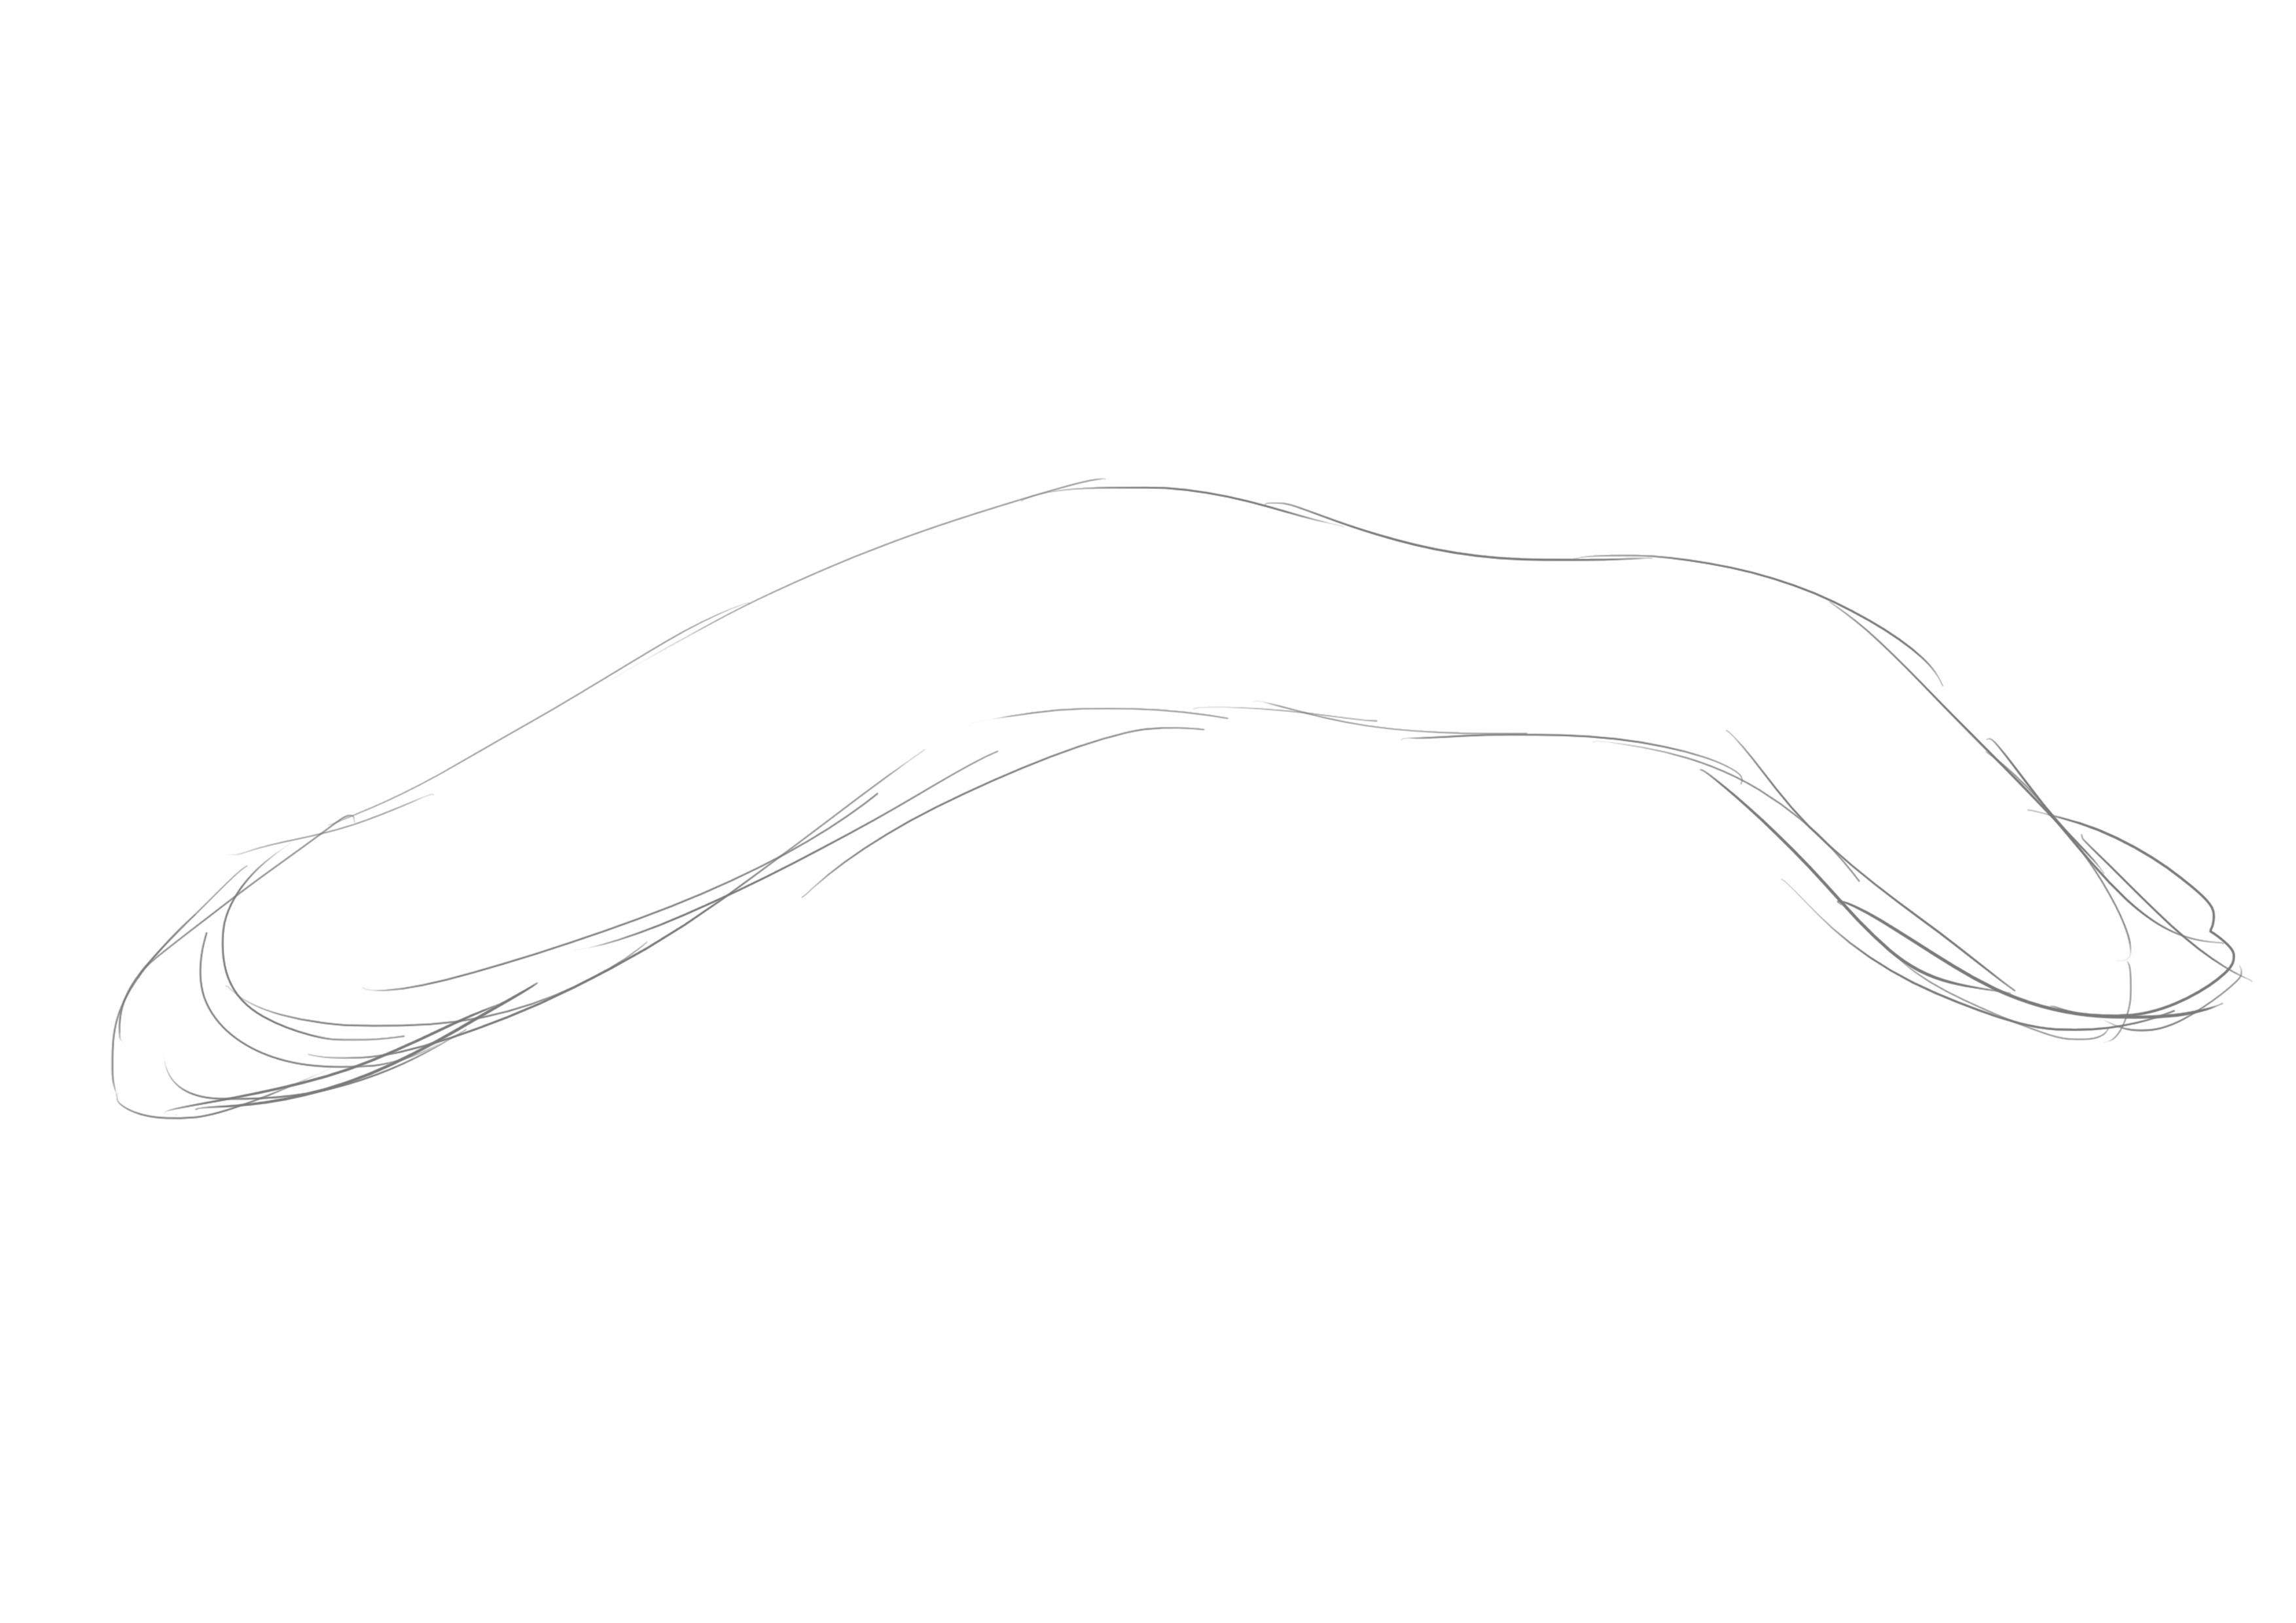
The moray eel has a type of fin on both the top and bottom of its body. The fin starts just after the head (about 1/7 of the total length). This will be taken into account since it tends to blend in with the body at both of its ends.
And that's pretty much it for the body. Easy, isn't it?
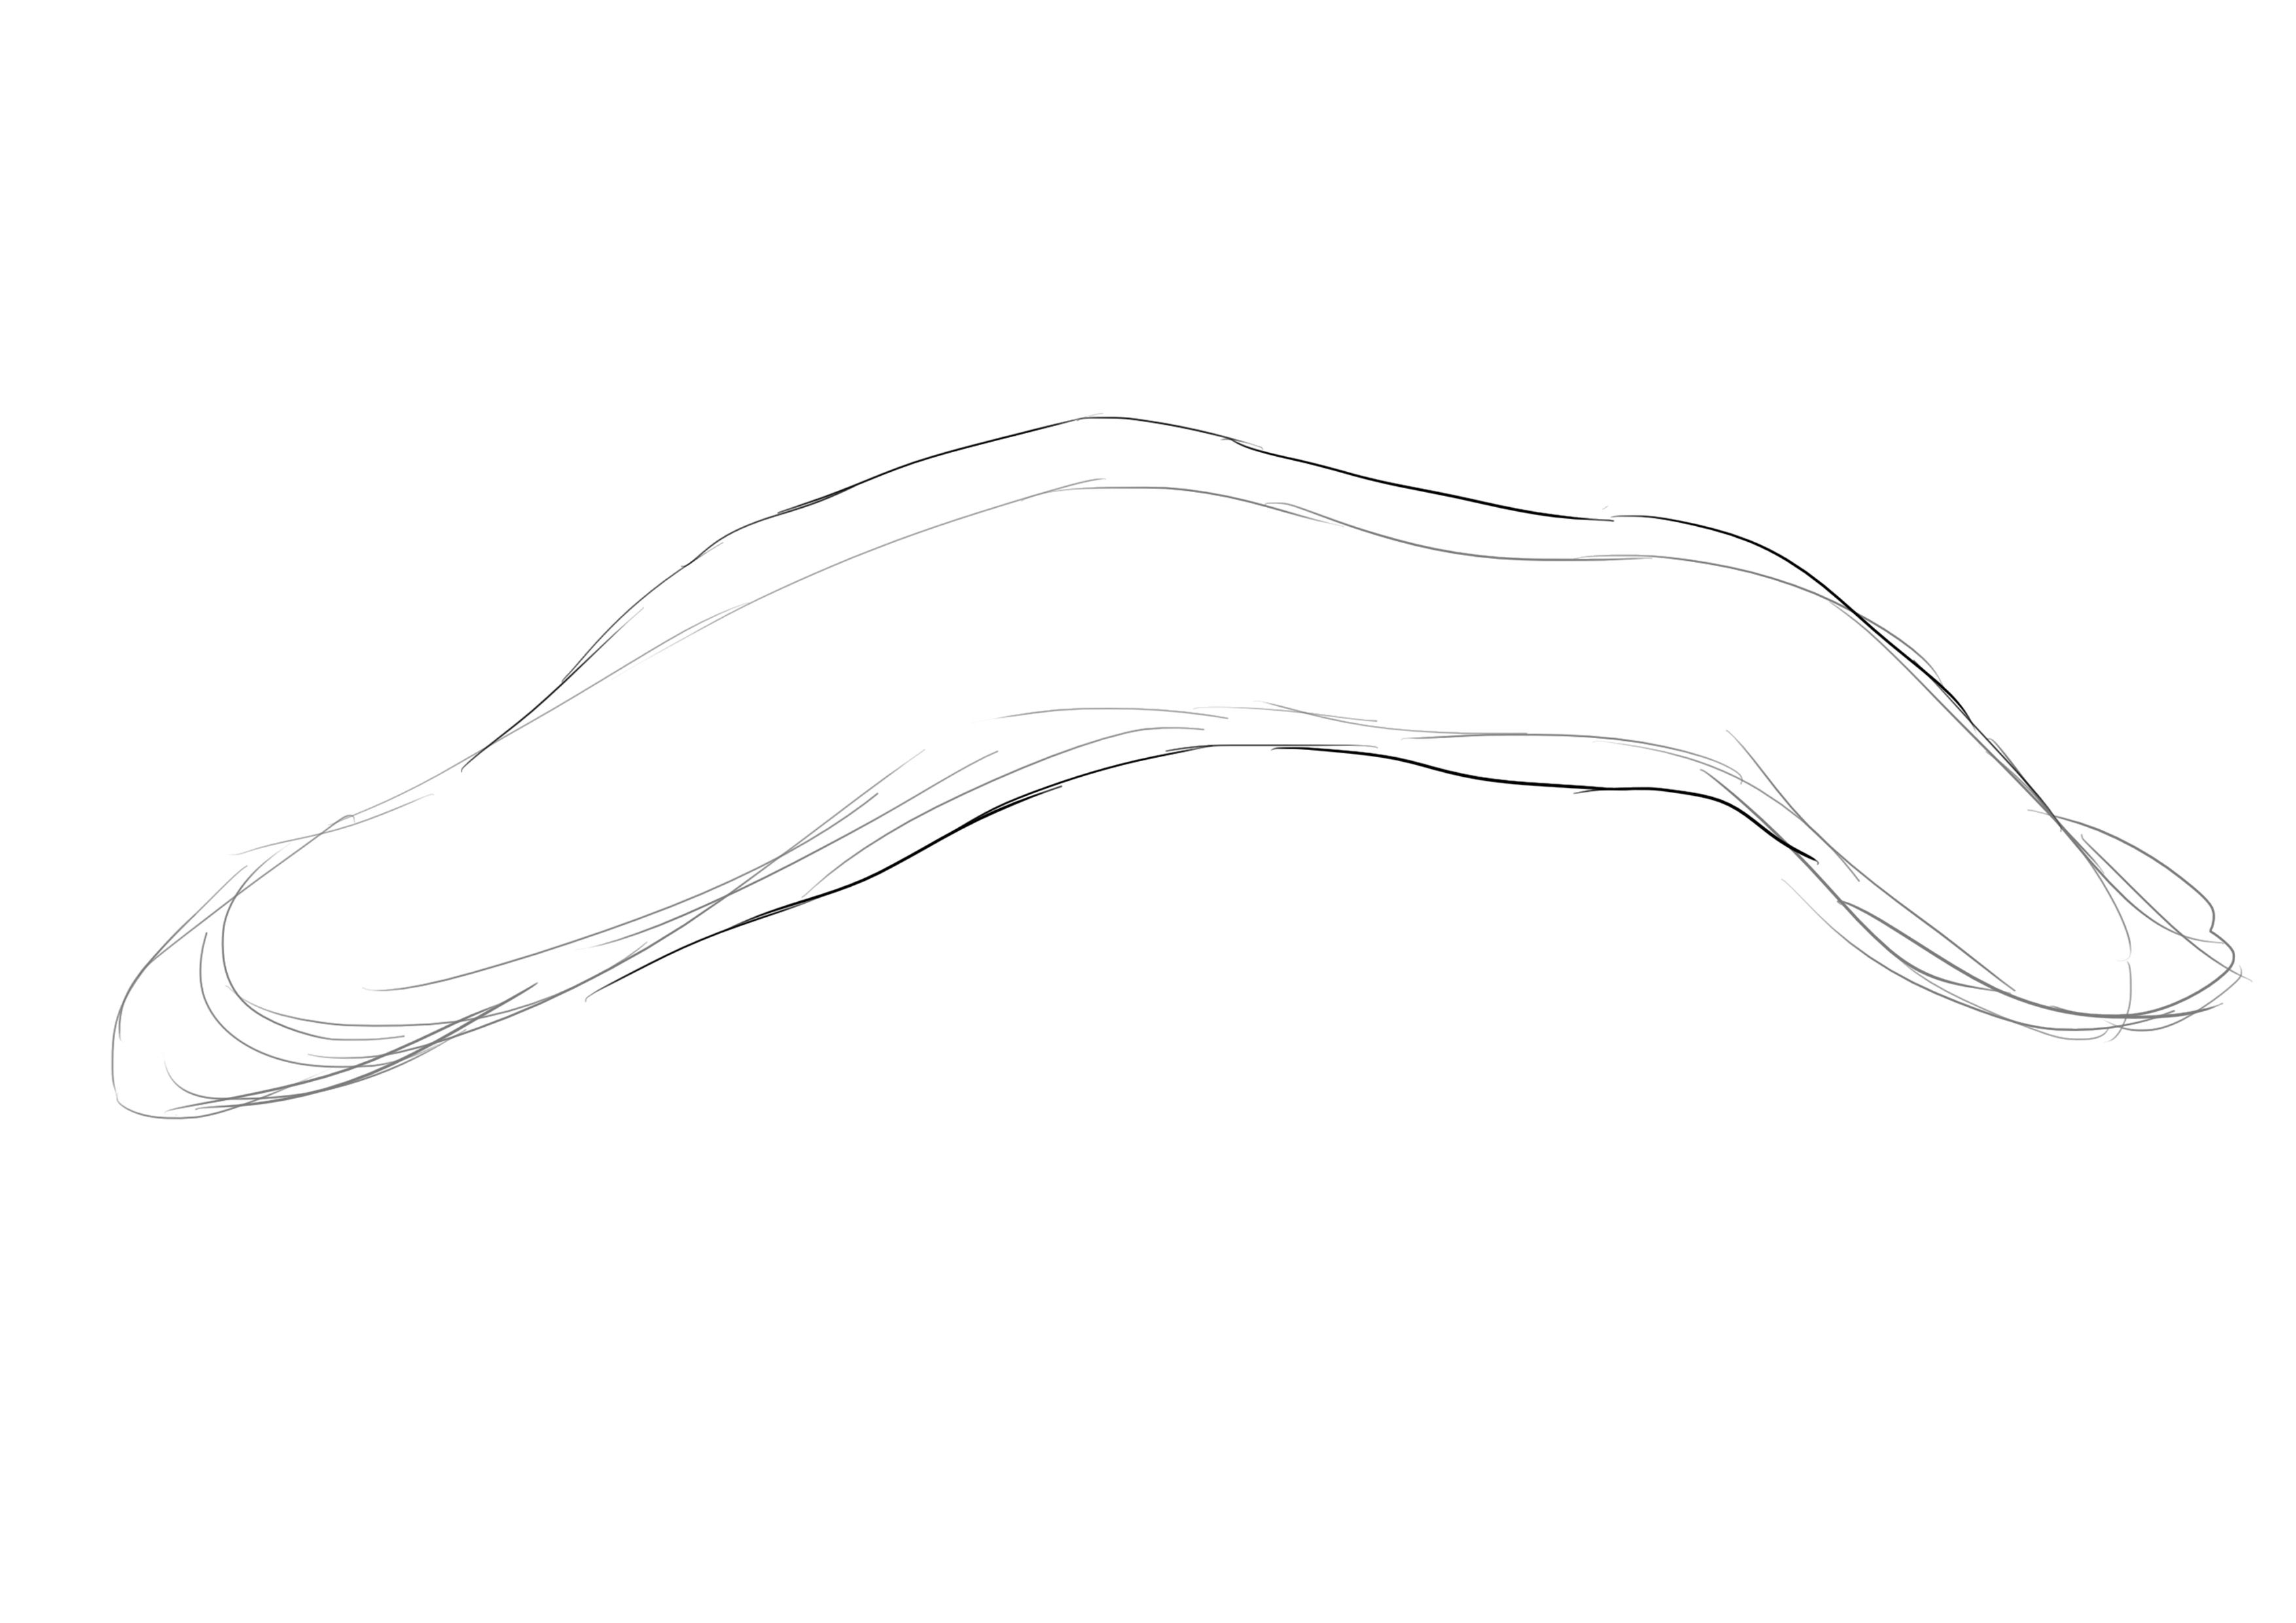
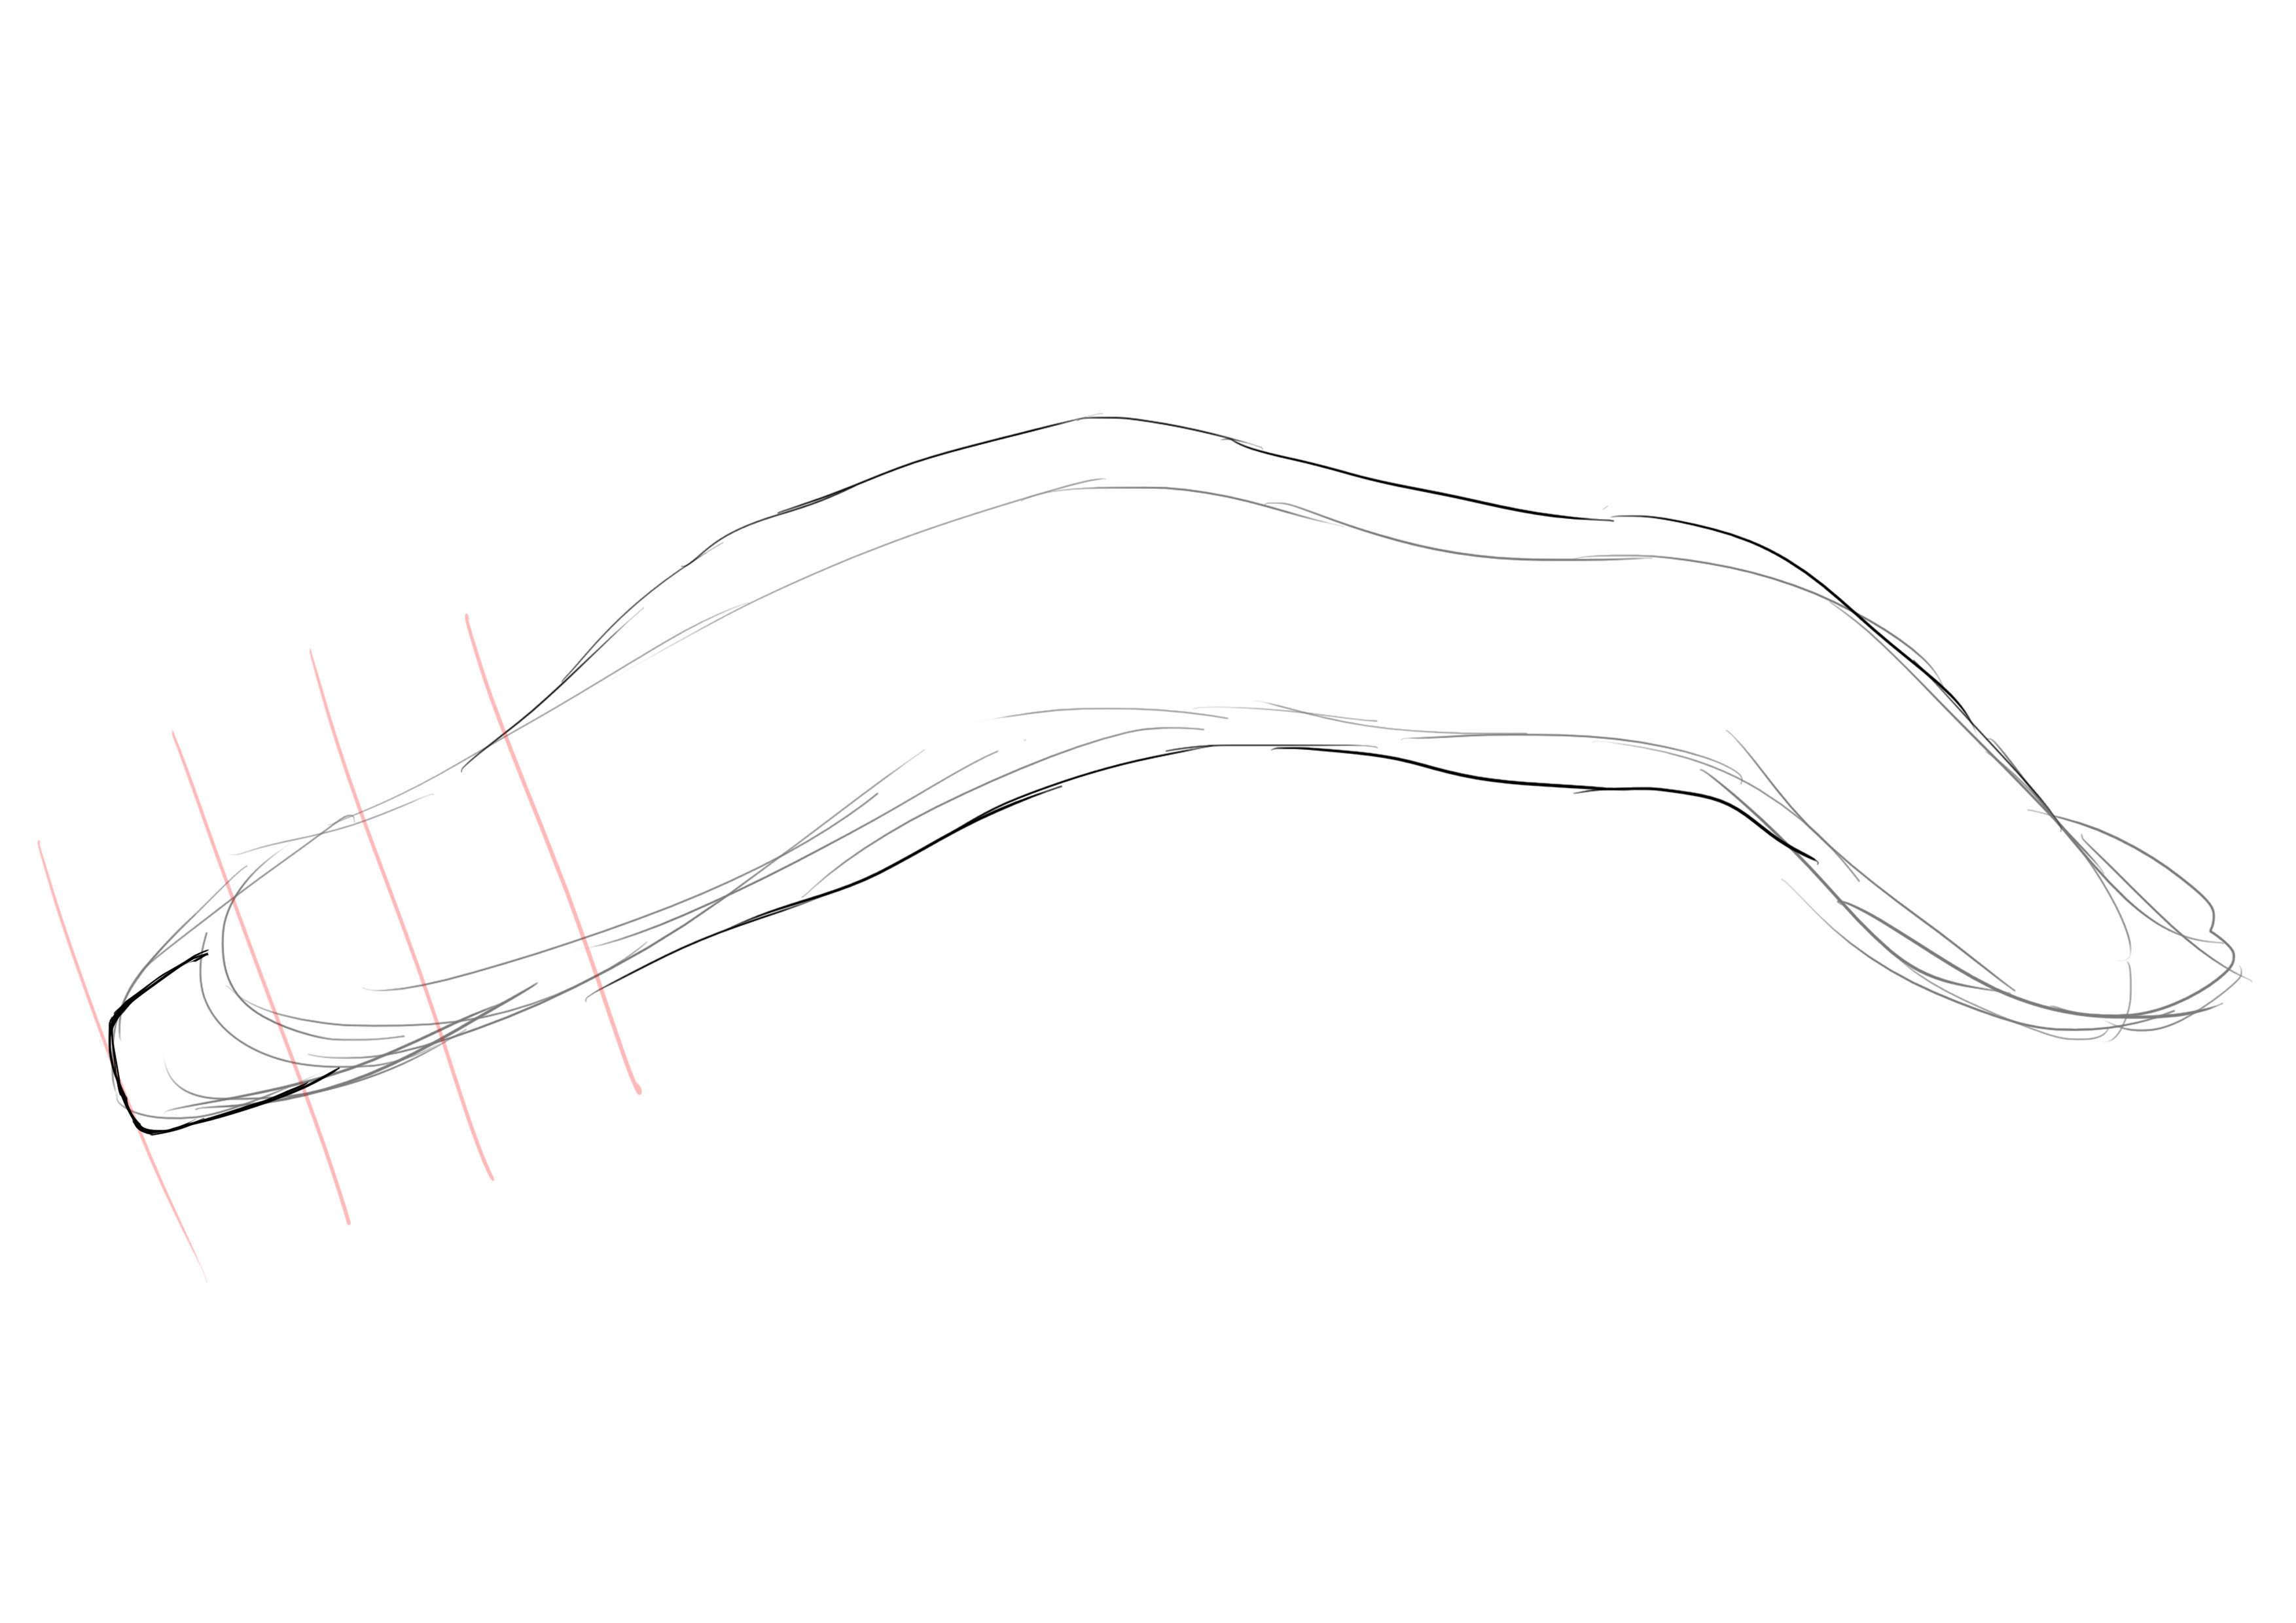
Let's move on to the head. We have included it in the body, so it's more about detailing it than anything else. It should be noted that moray eels often have their mouths open, so it is not strange to depict it this way. We will start by refining its snout. It occupies 1/3 of the area starting from the beginning of the fin. It tapers only from the top.
The eye is located vertically above the hollow of the snout, and another eye can be placed between the edge of the head and the edge of the jaw.
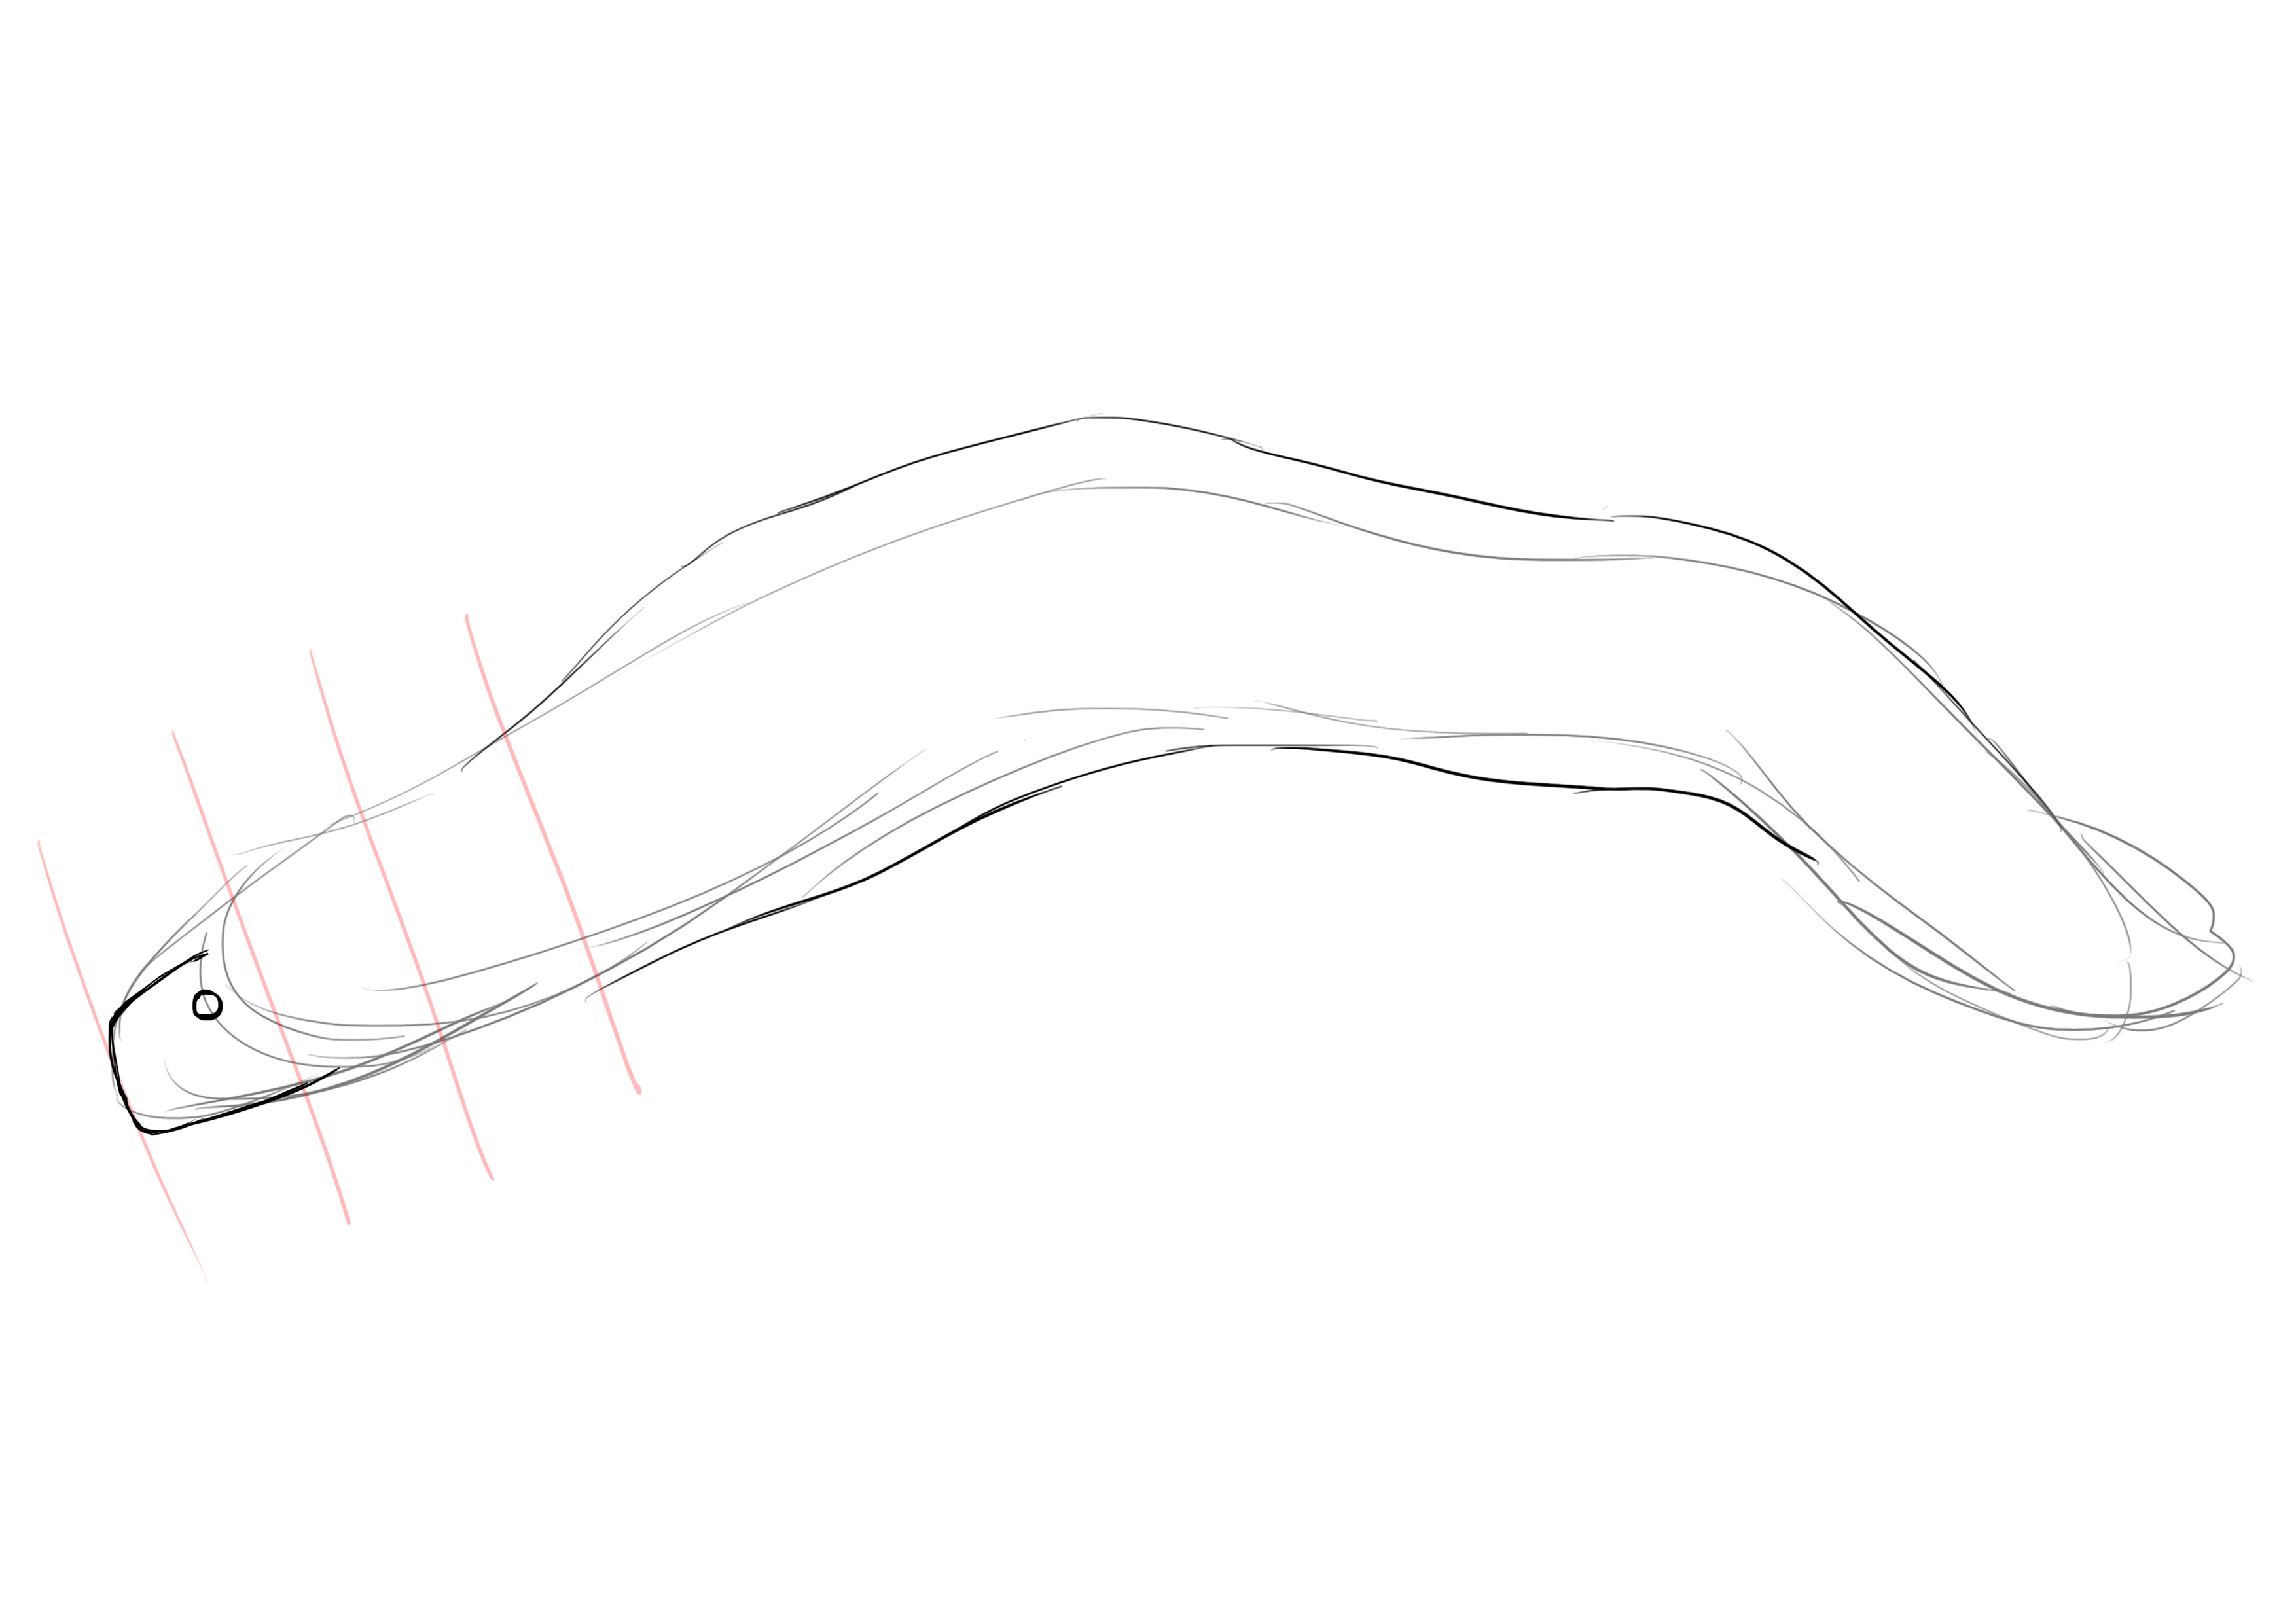
I'm taking the opportunity to add the volume of the snout.
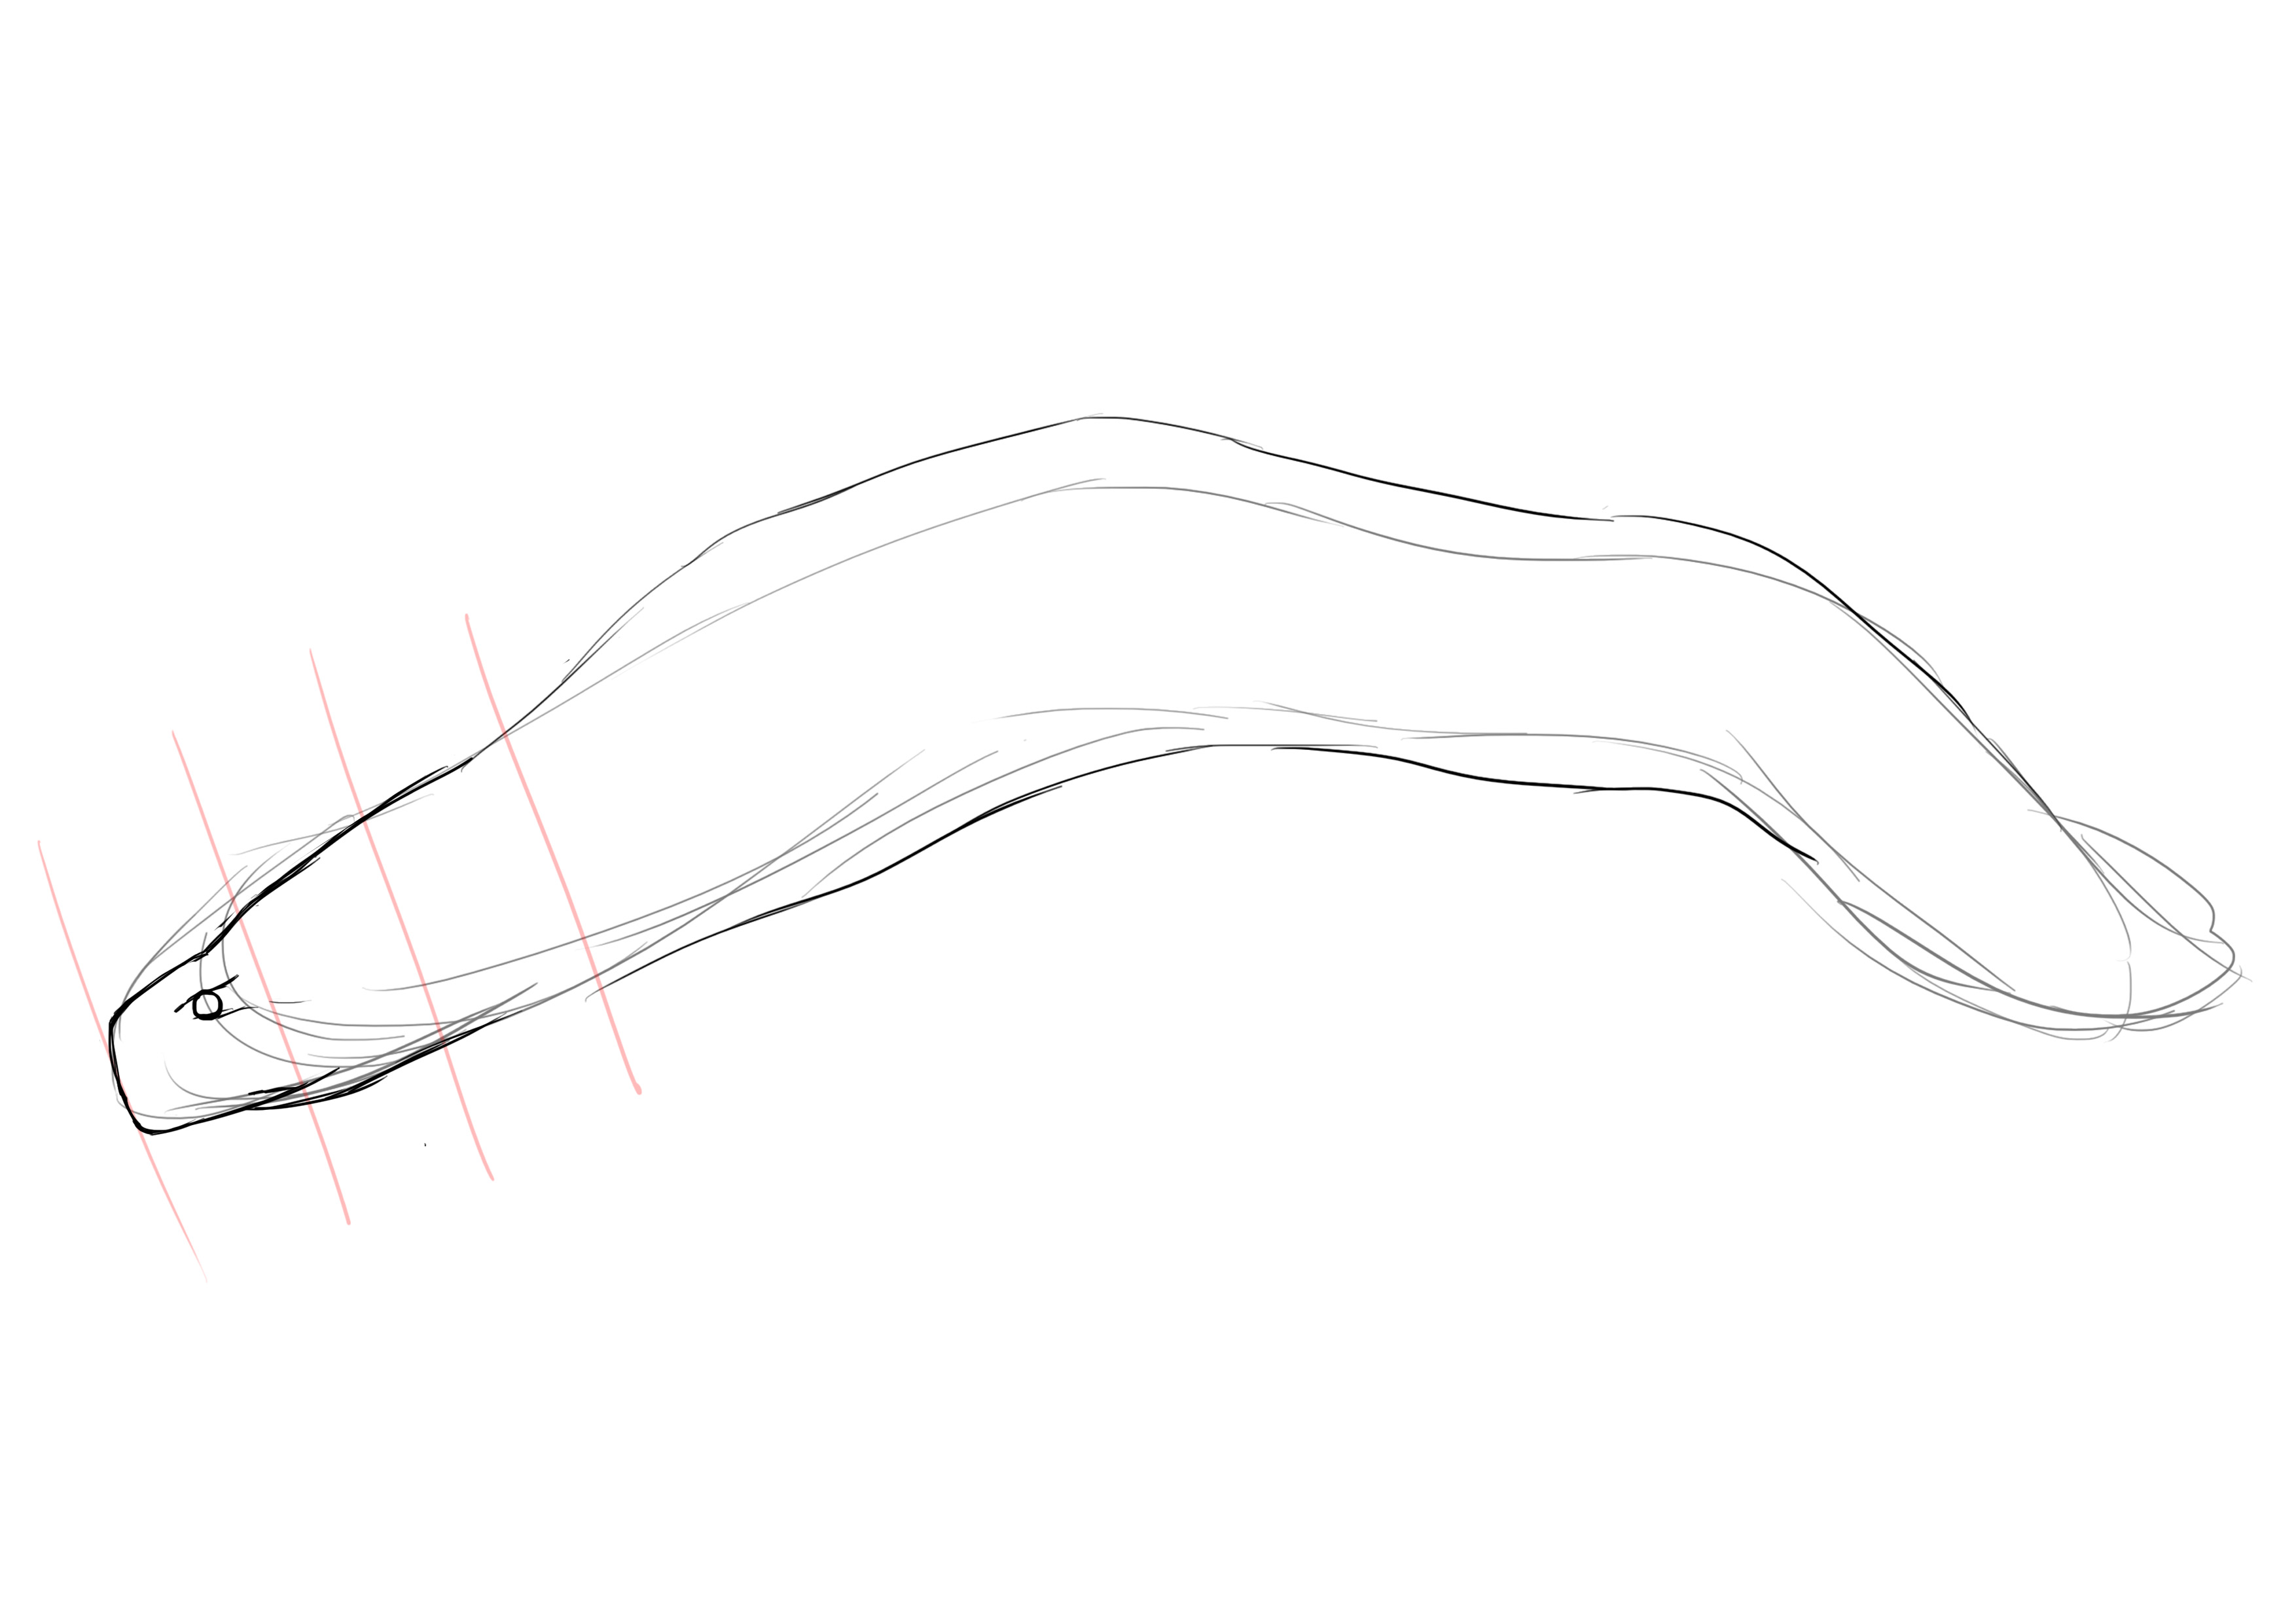
Then we draw the upper part of the jaw with a straight, inclined line. This line is twice as long as the distance from the tip of the nose to the eye.
Then the bottom.

With the other part behind, of course.
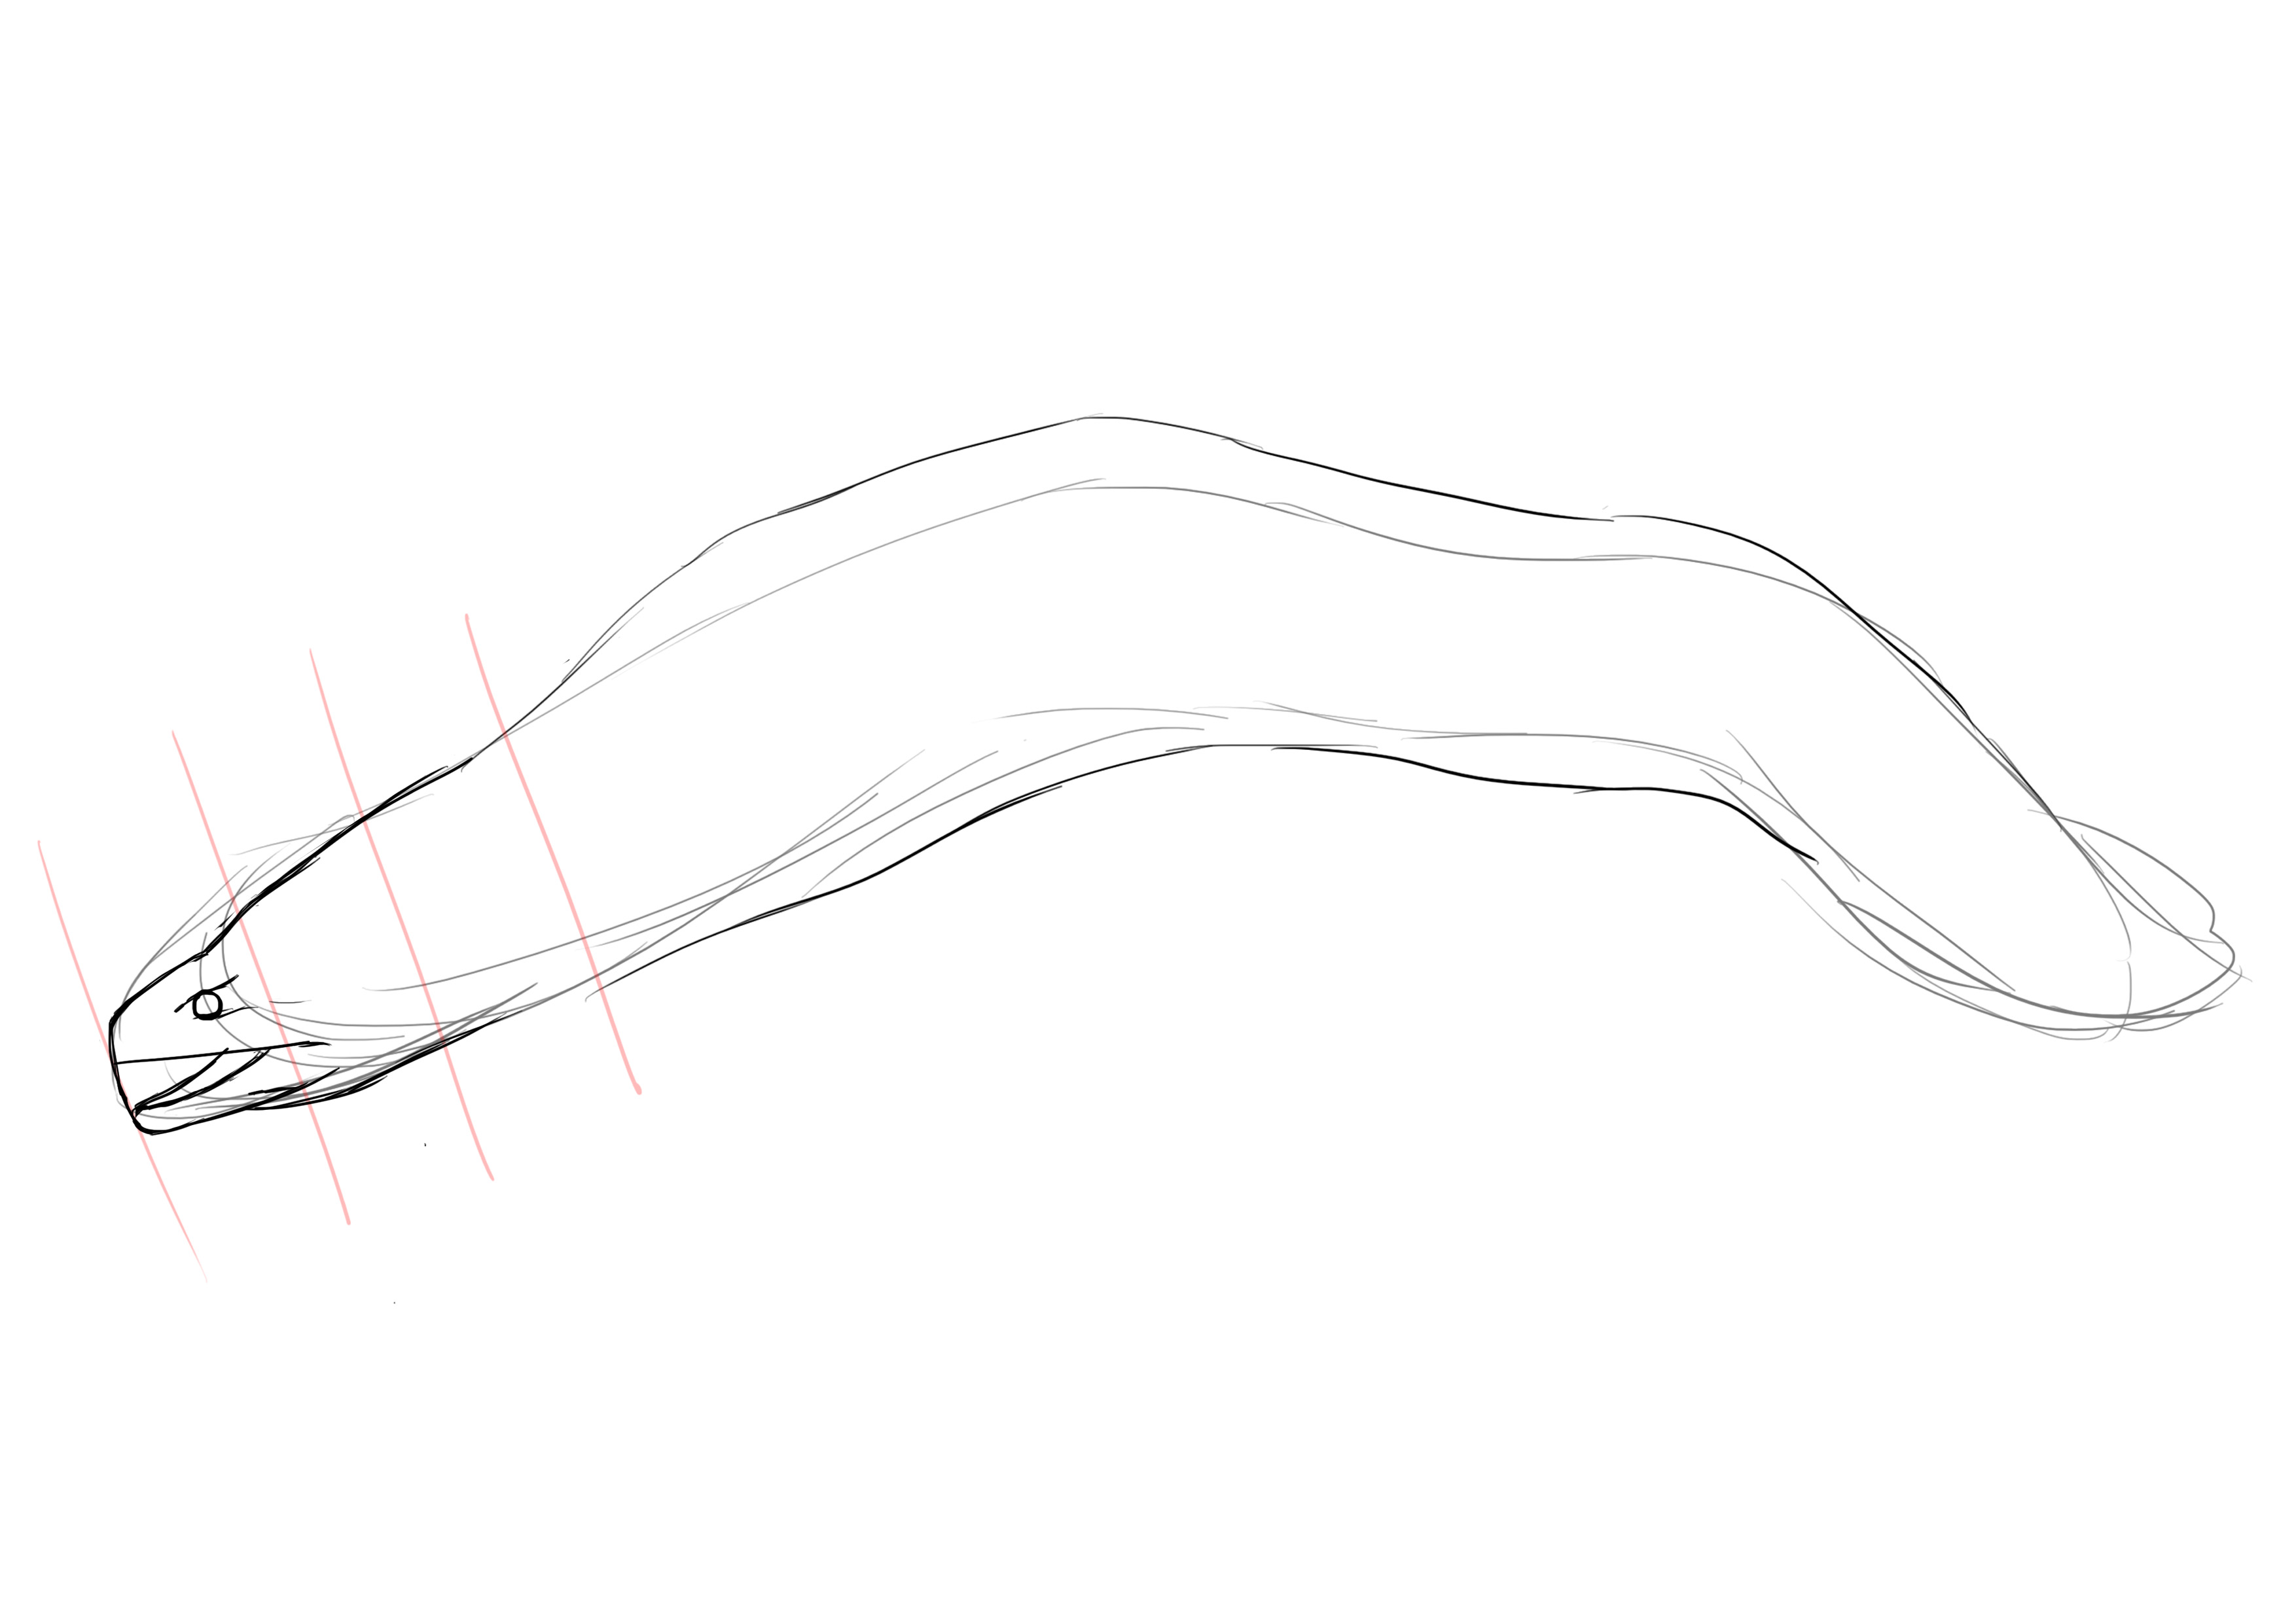
We don't forget the row of sharp teeth.

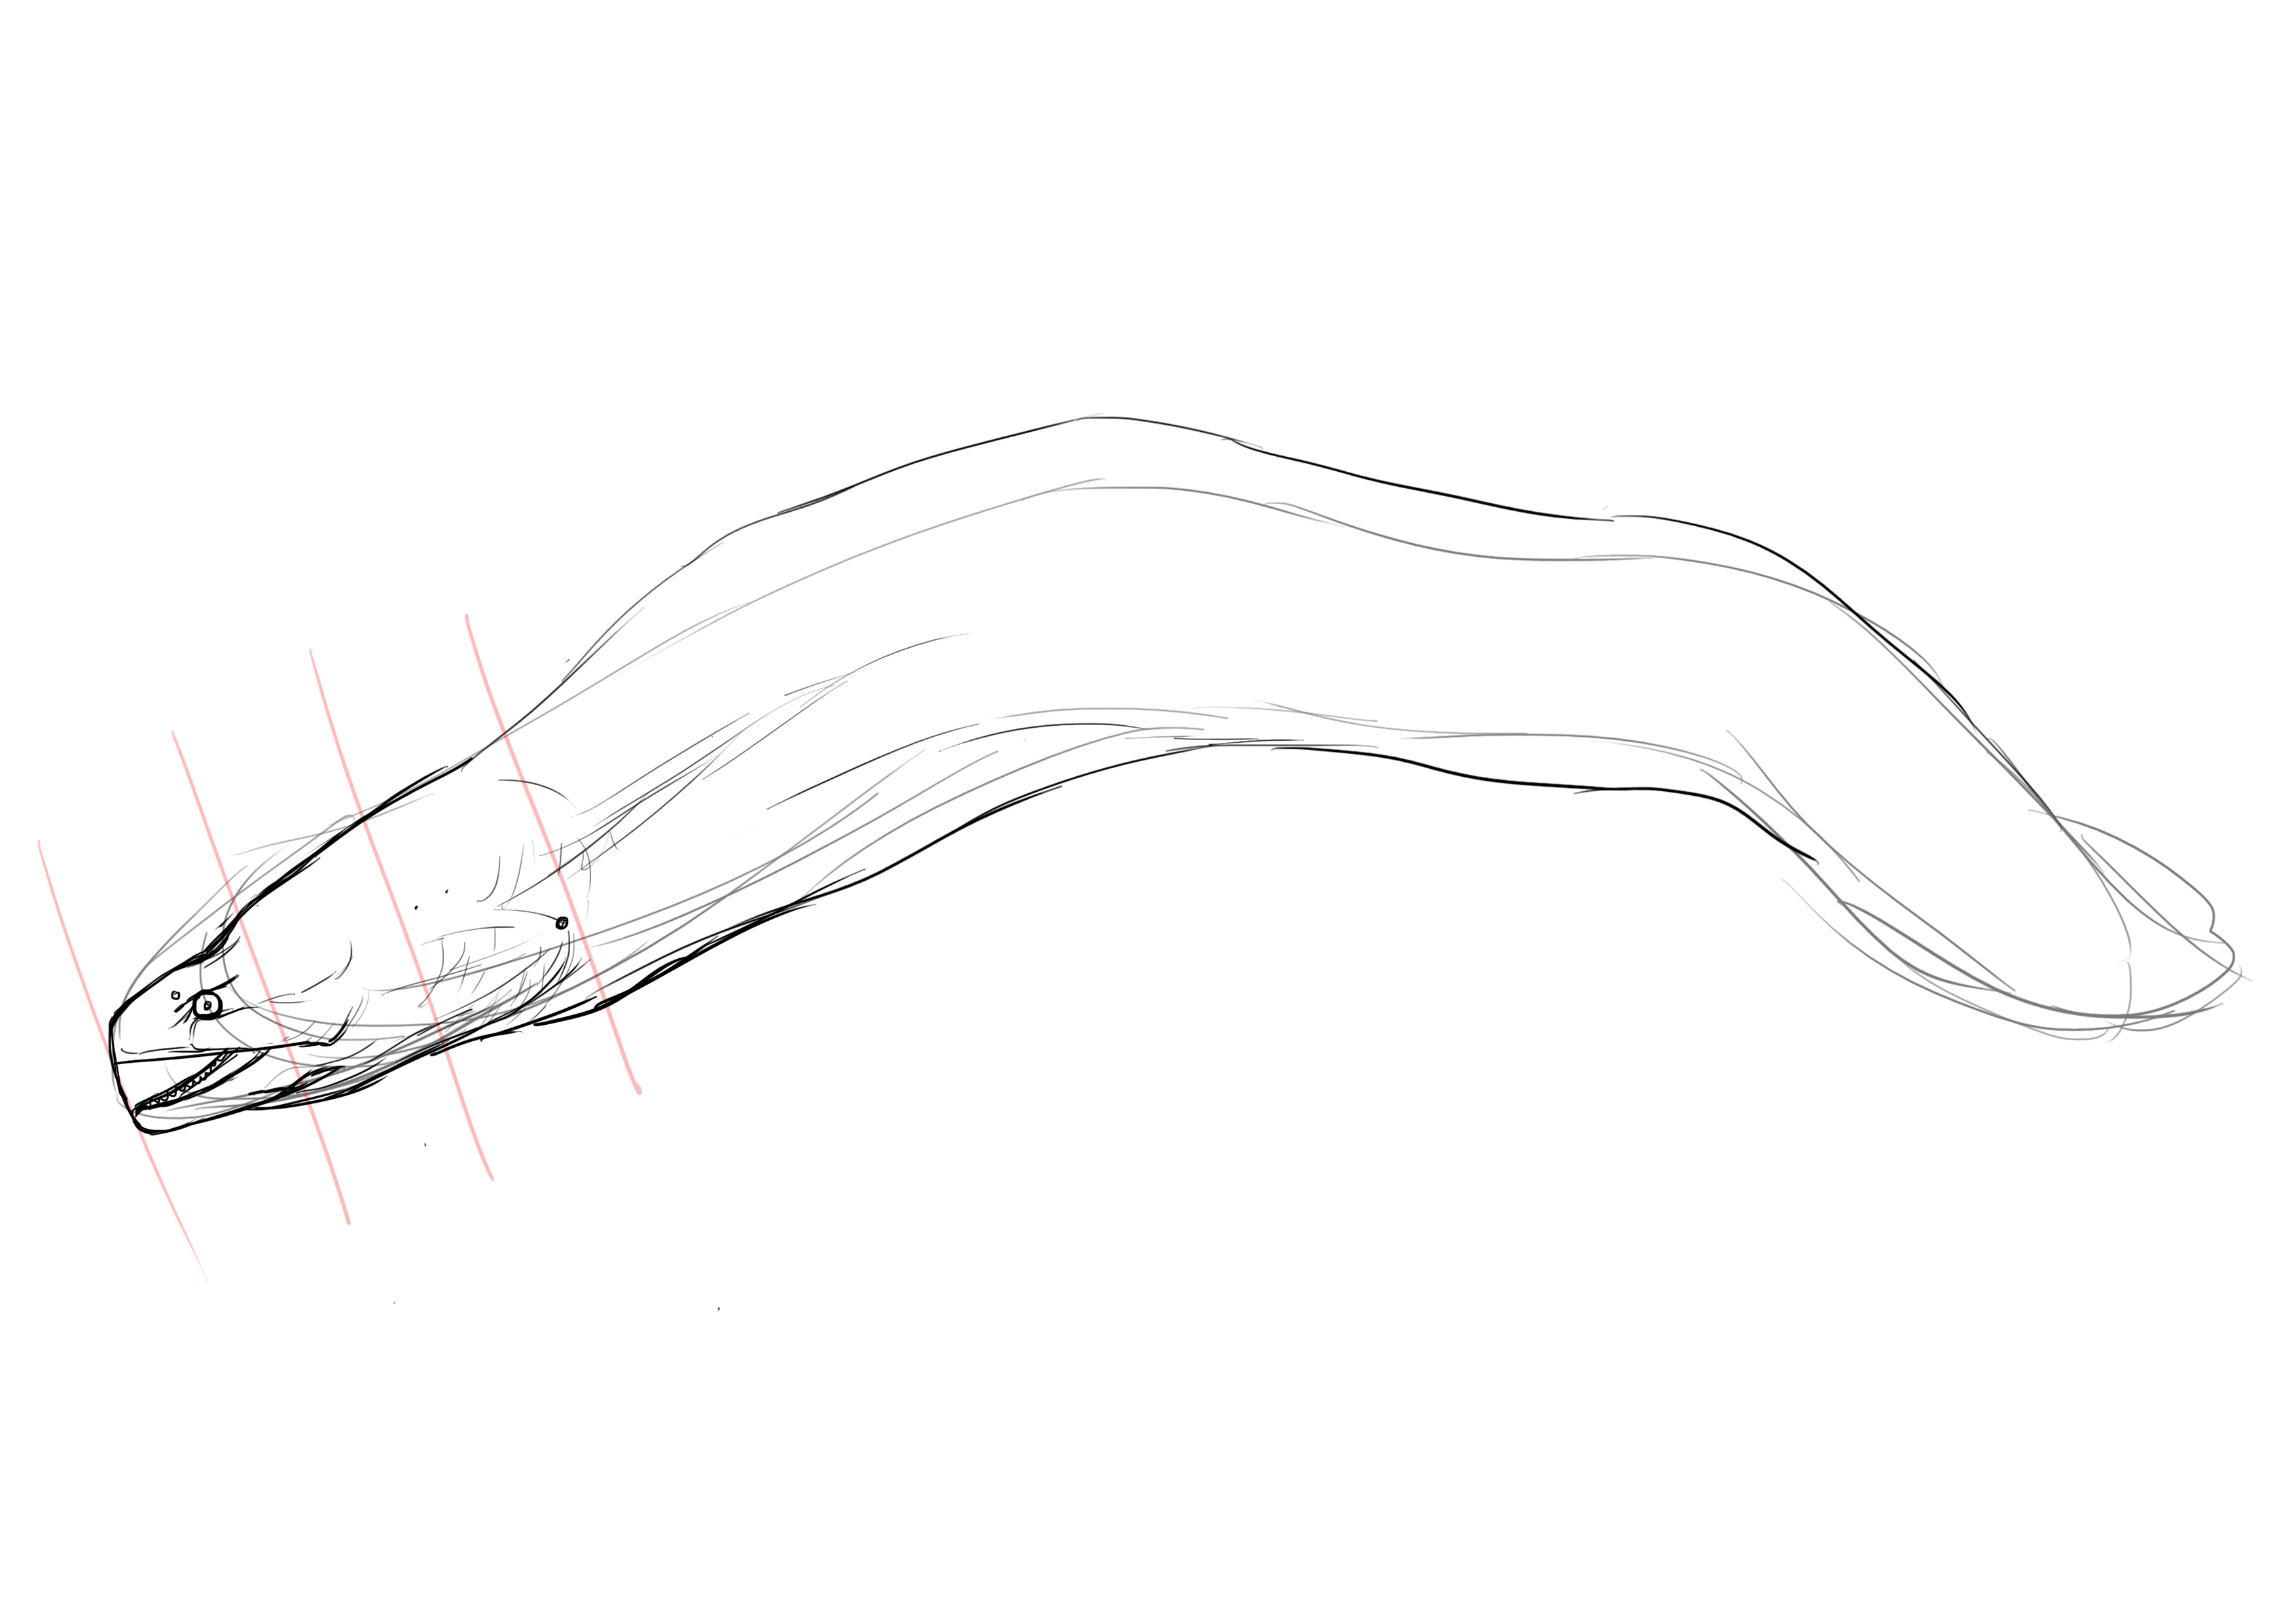
We finally place the small hole that we see on the right. I don't know if it crossed your mind, but the moray eel has no gills, and it is not a marine mammal. So how does it breathe? Well, I don't know, but I think the small holes we see on its head might have something to do with it.
So we're going to place them, the first one is a bit above the level of the corner of the mouth and at a length and a half of the jaw from the corner. For the others, trust your eyes :D

THE DETAILS OF THE EEL DRAWING
We're now going to add some volume.

And a more wrinkled / reptilian side.
We also don't forget the characteristic small hollows above the jaw.
As well as the small bumps above the nostrils.
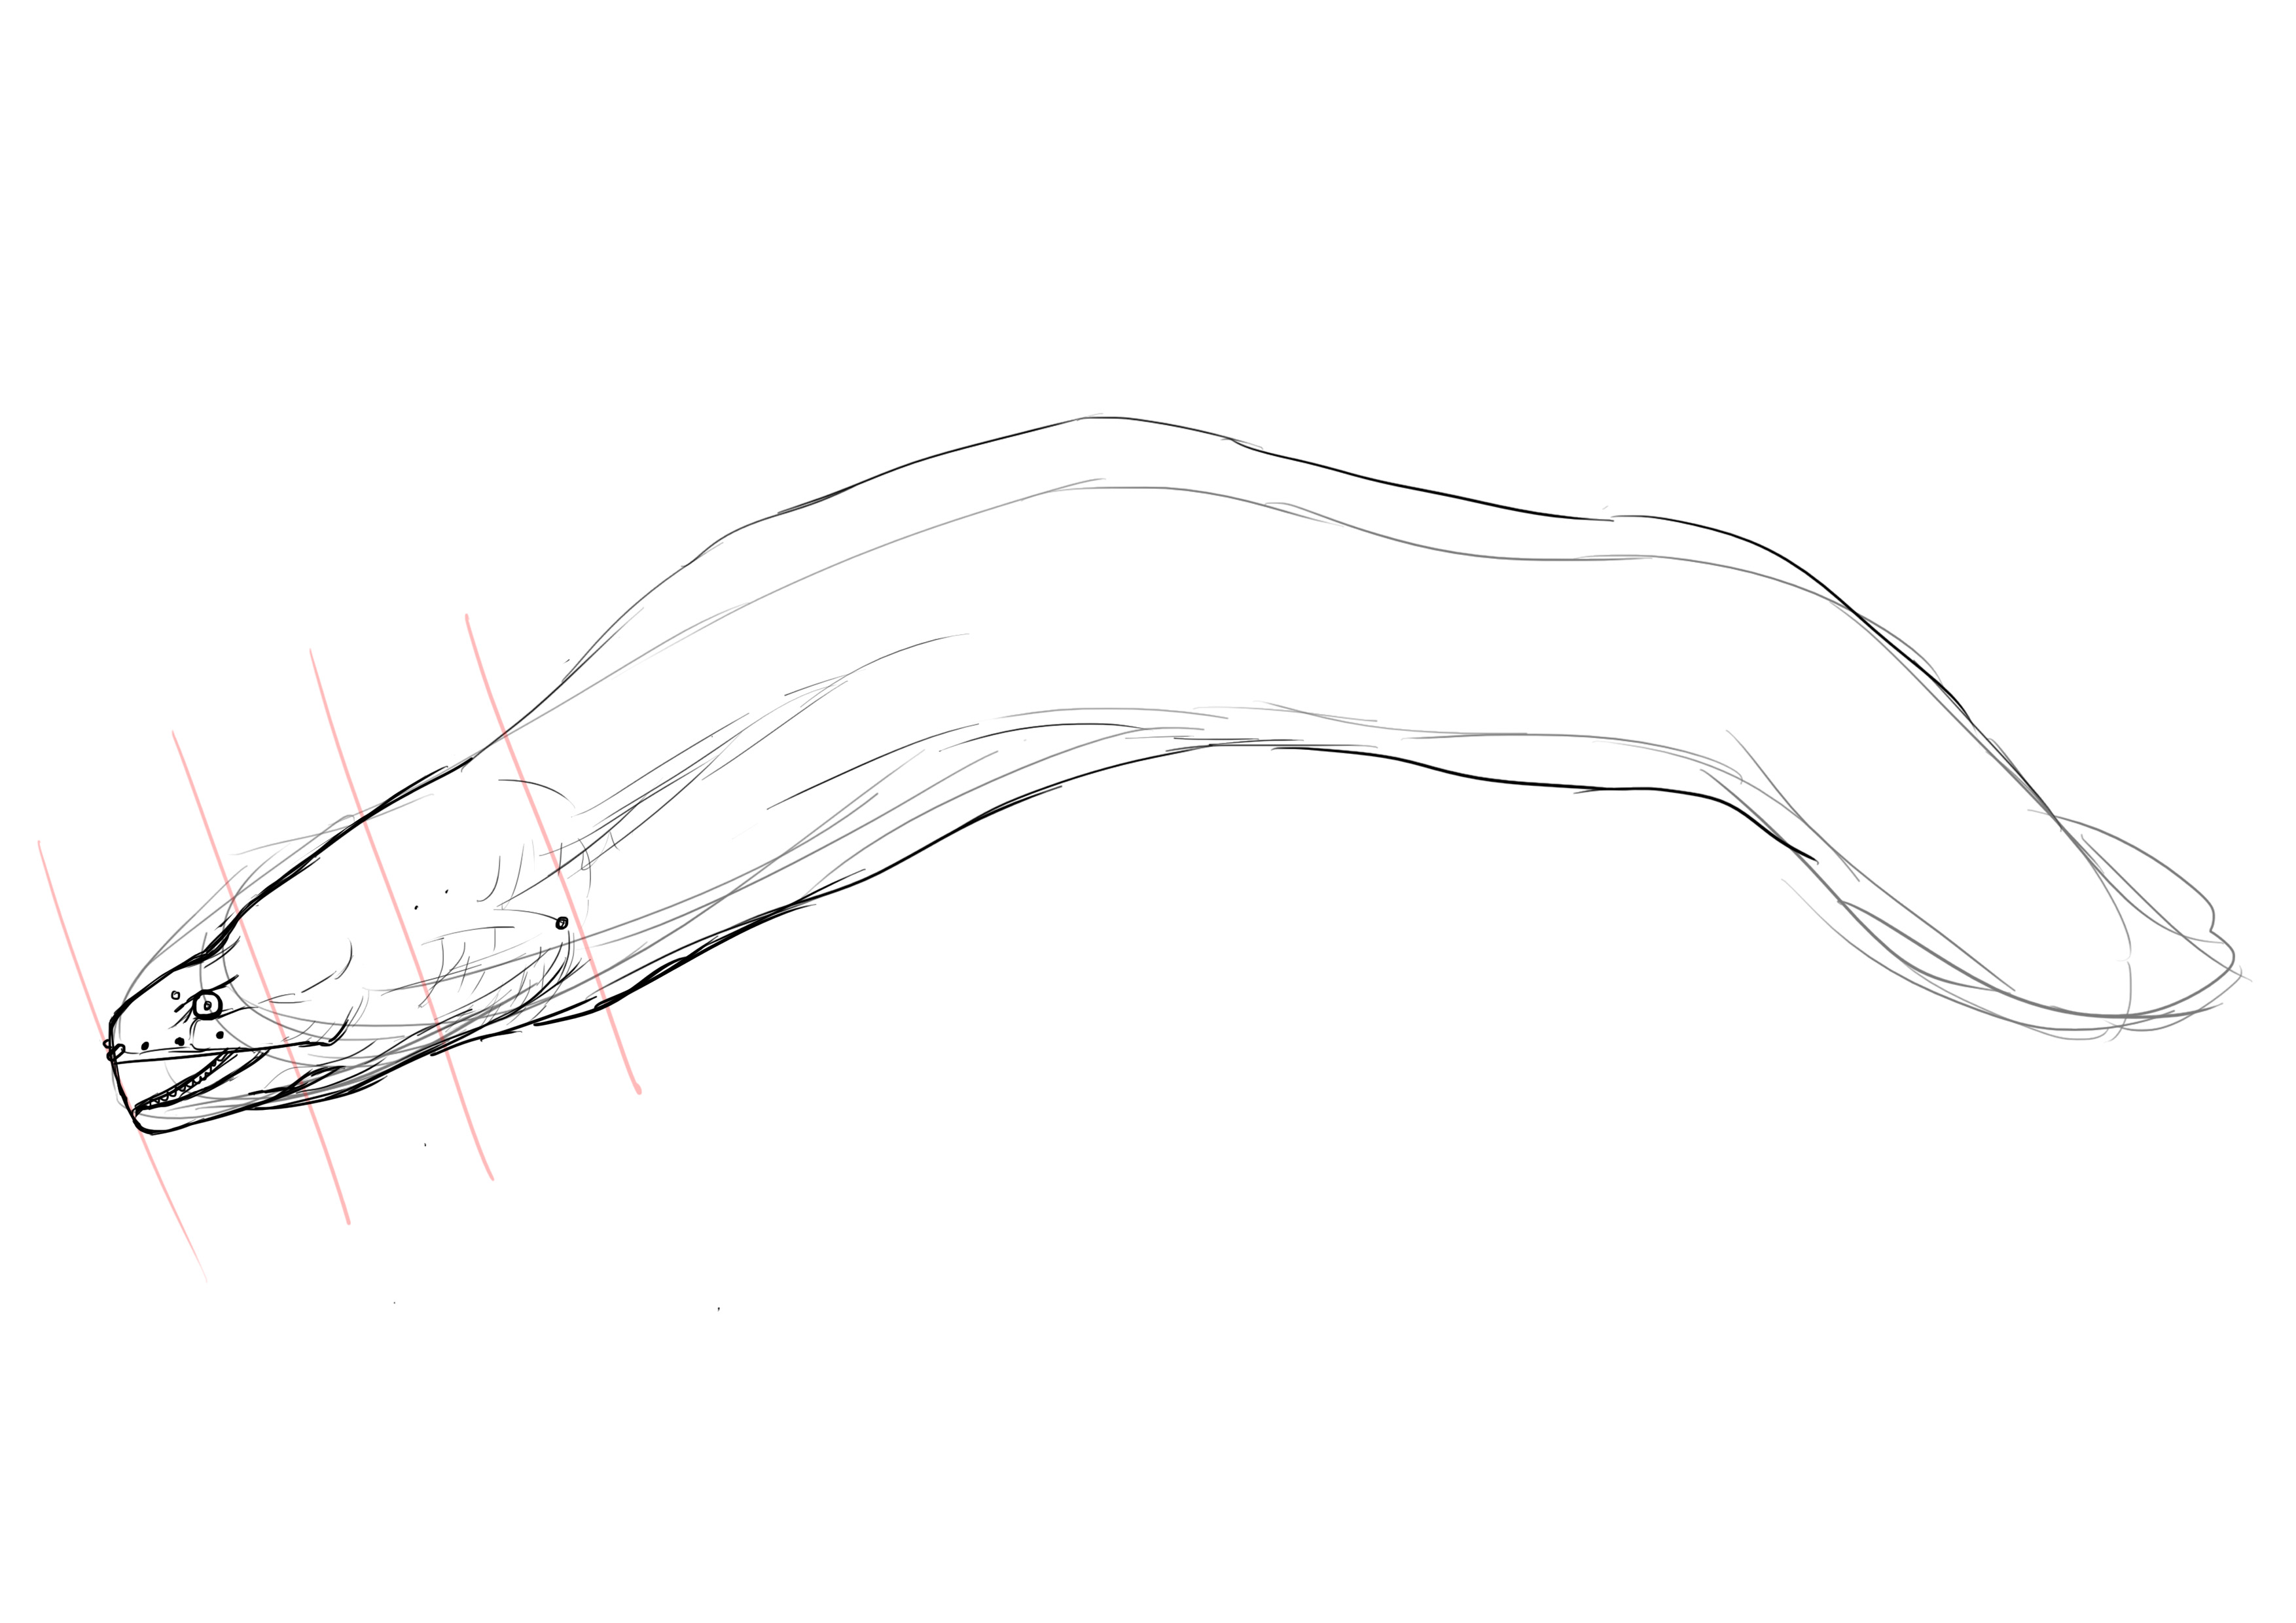
And we'll tidy everything up! It should look something like this:
You can, if you wish, add a pattern to the moray eel similar to our reference for the body, or the one we initially dismissed with a checkered pattern, somewhat giraffe-style.
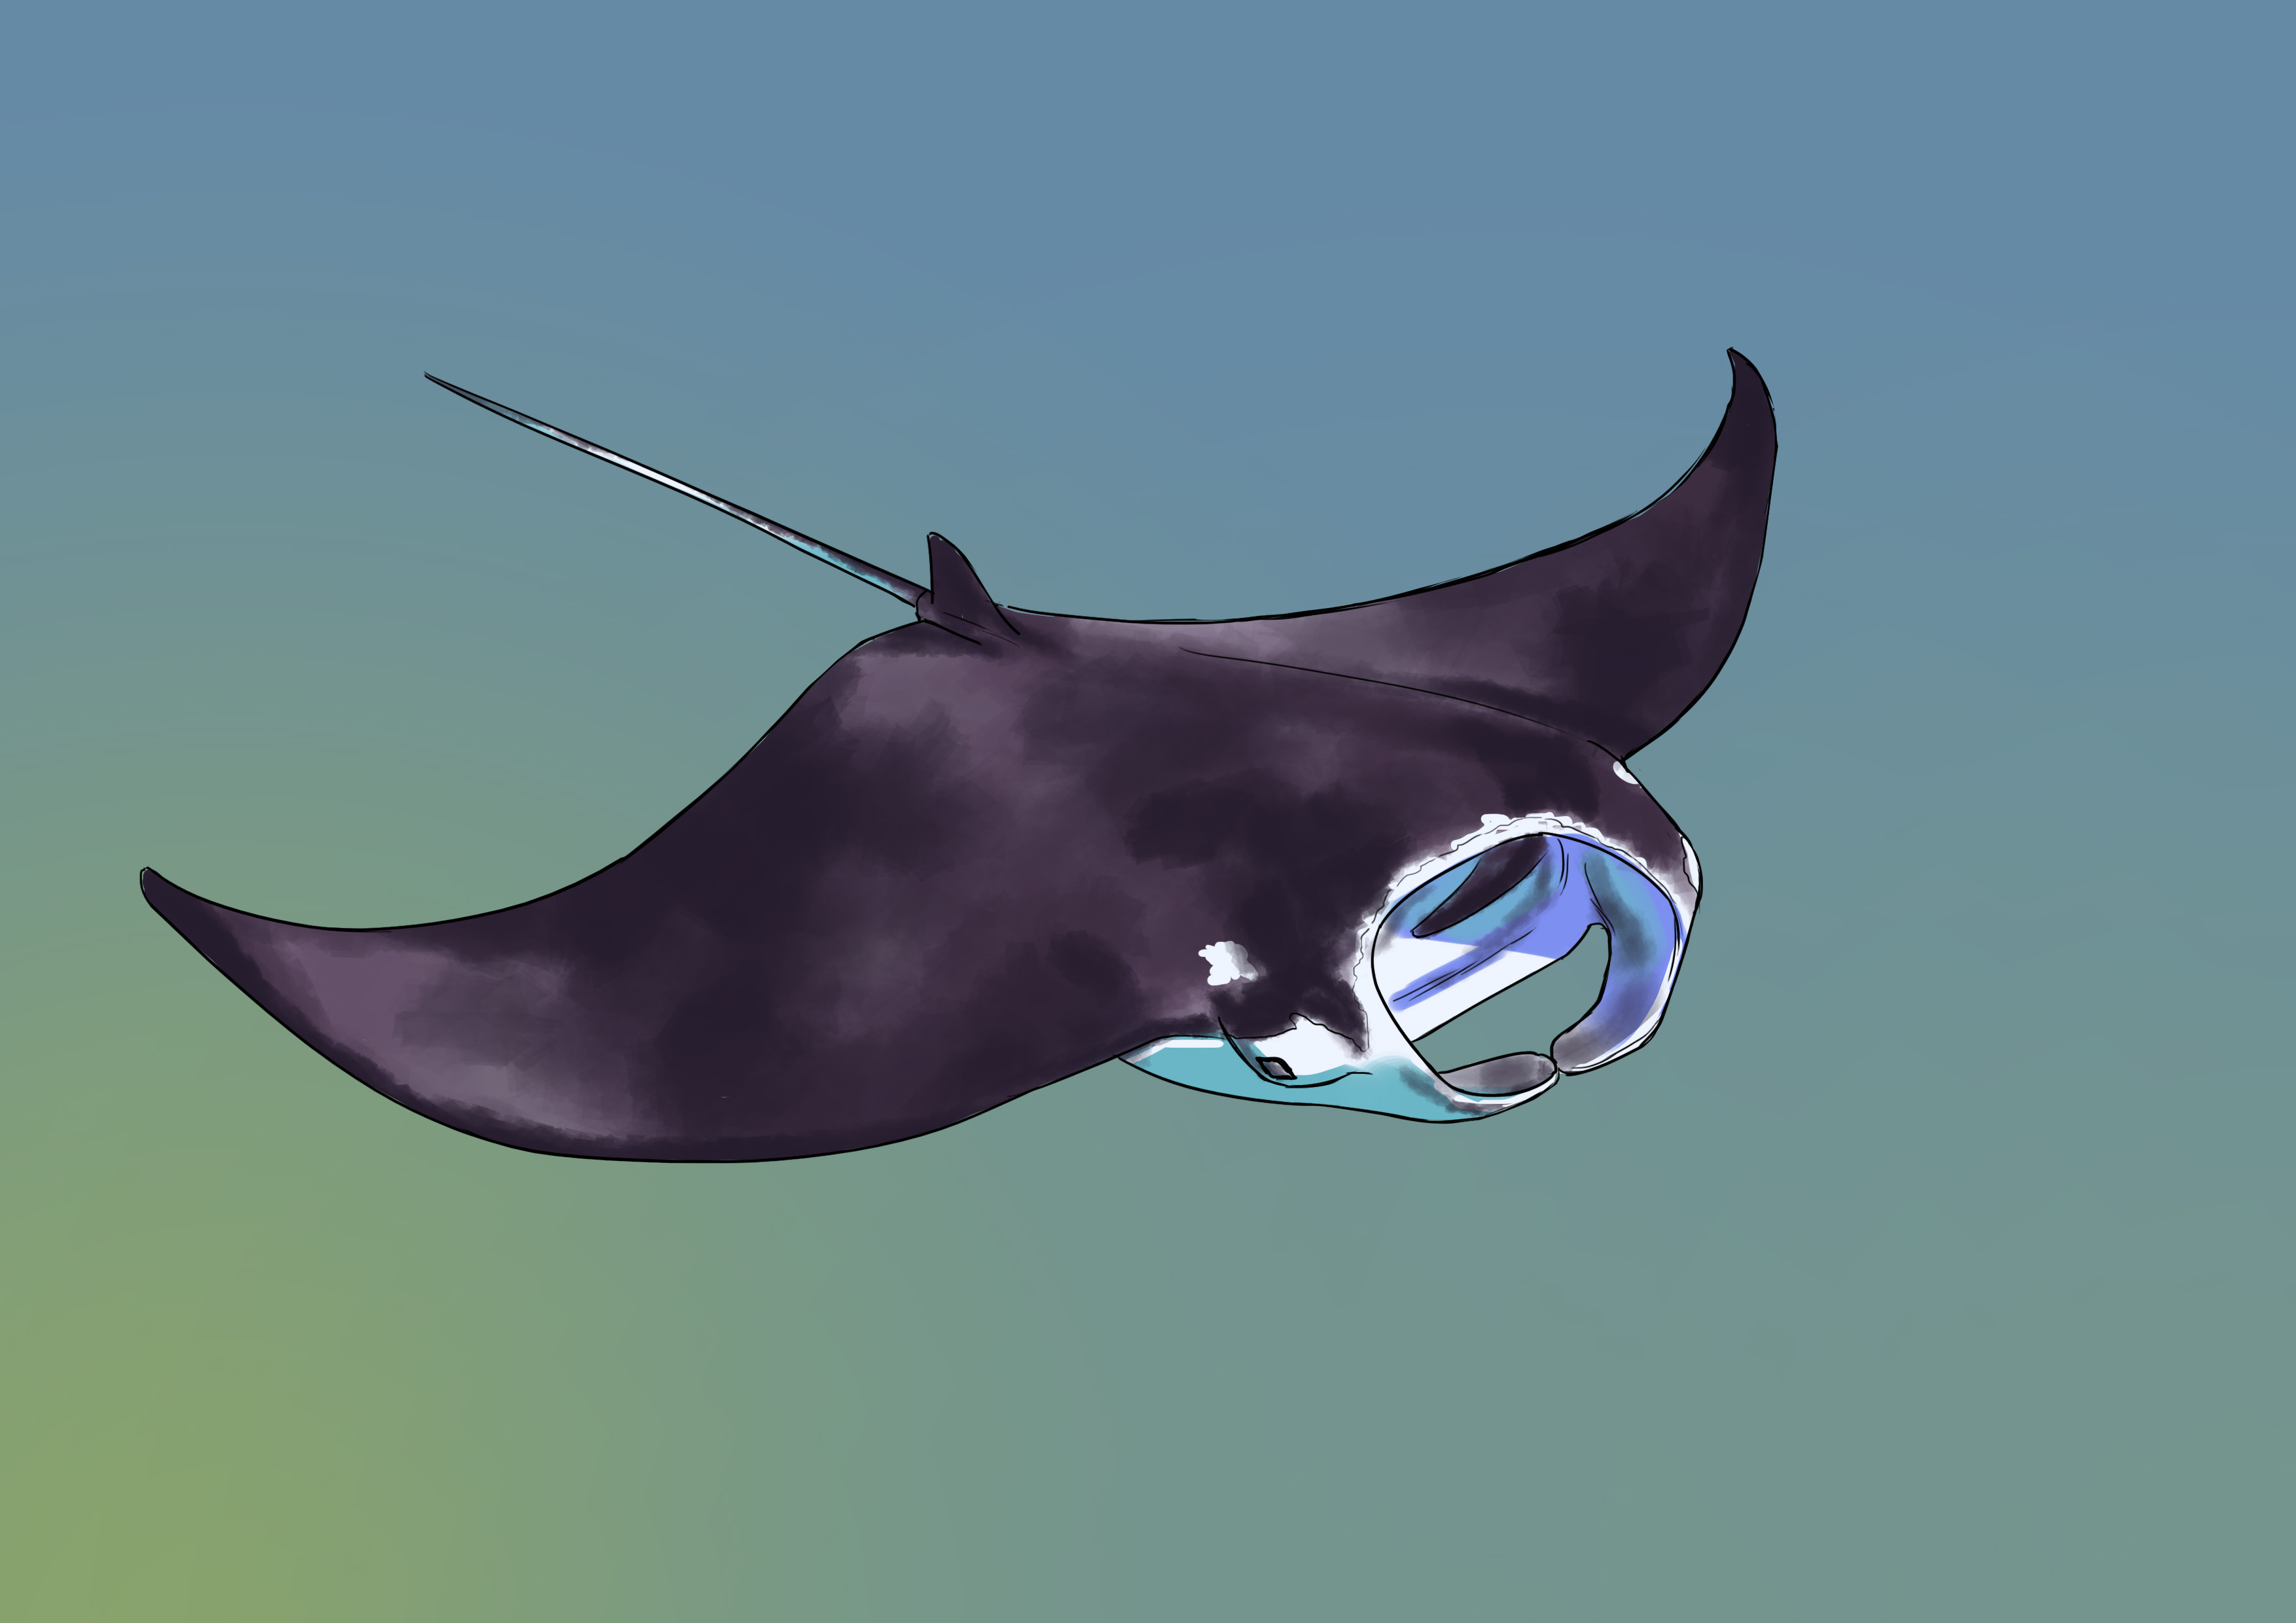
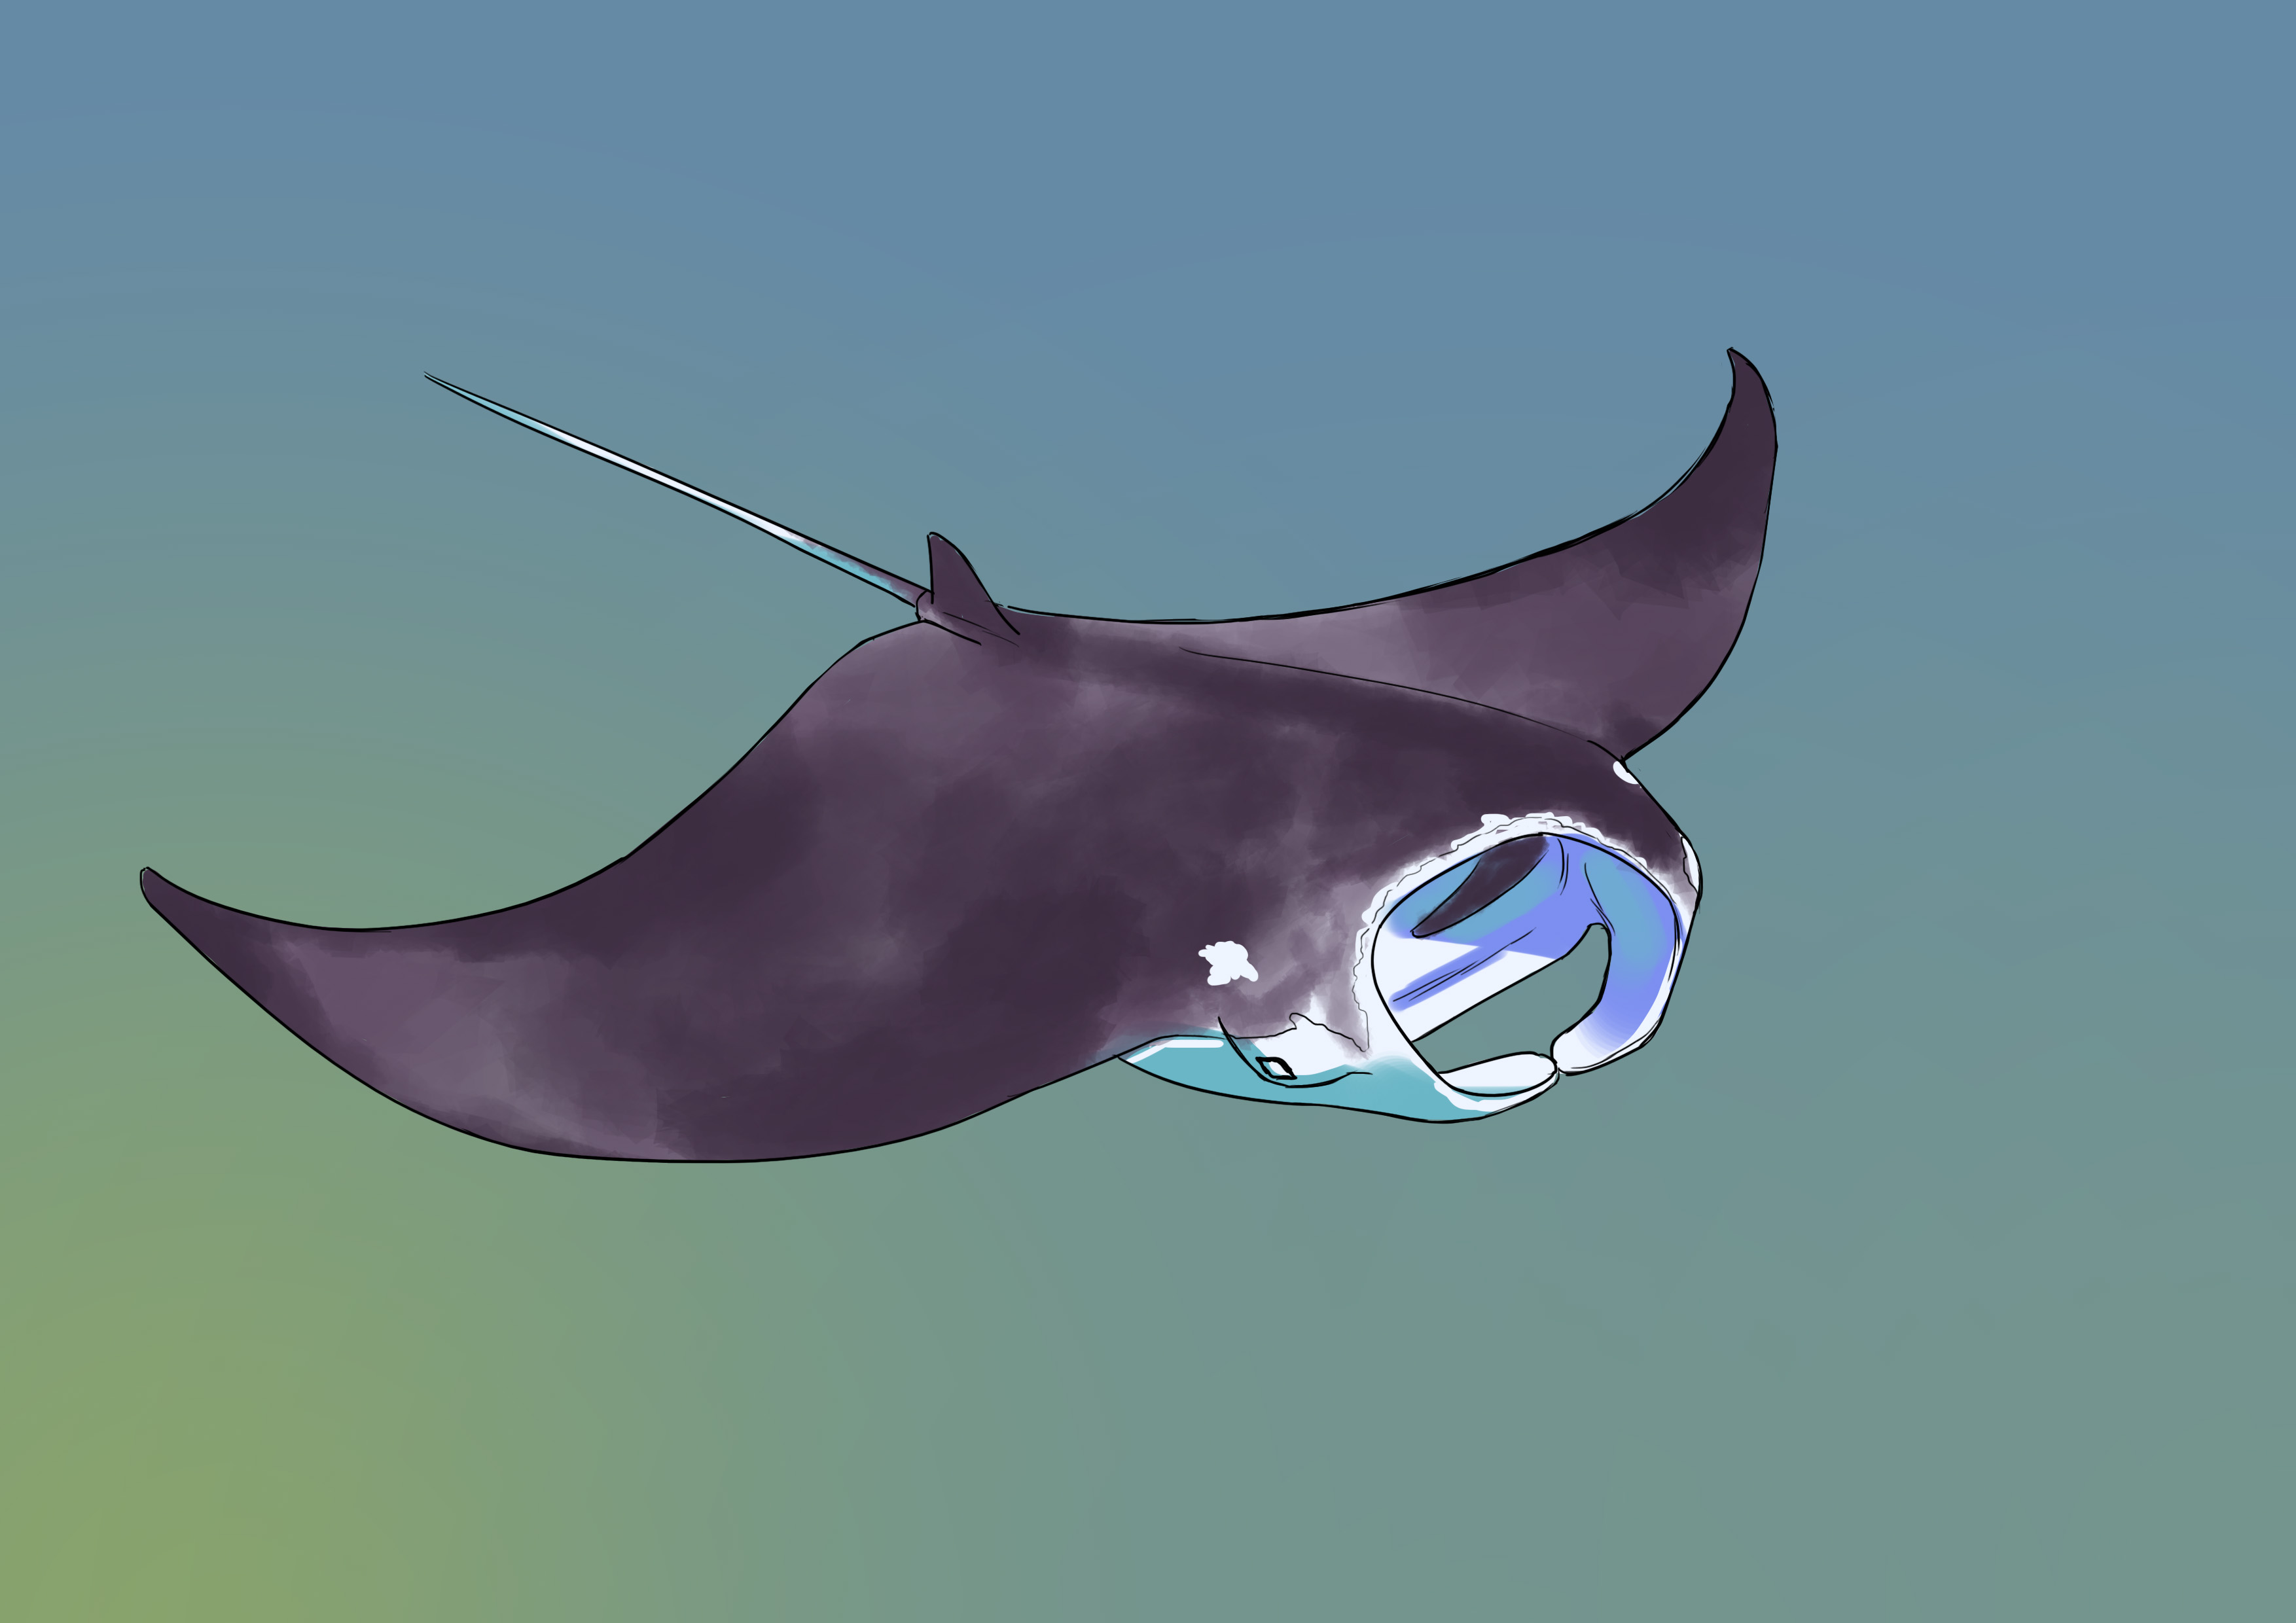
DRAWING A FISH: THE STINGRAY
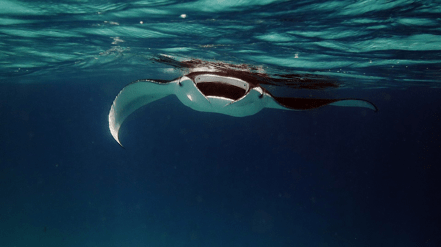
So we move on to our third fish which I particularly like: the stingray. As it's once again a very simple model, we'll work it in perspective! So we will base it on this photo:
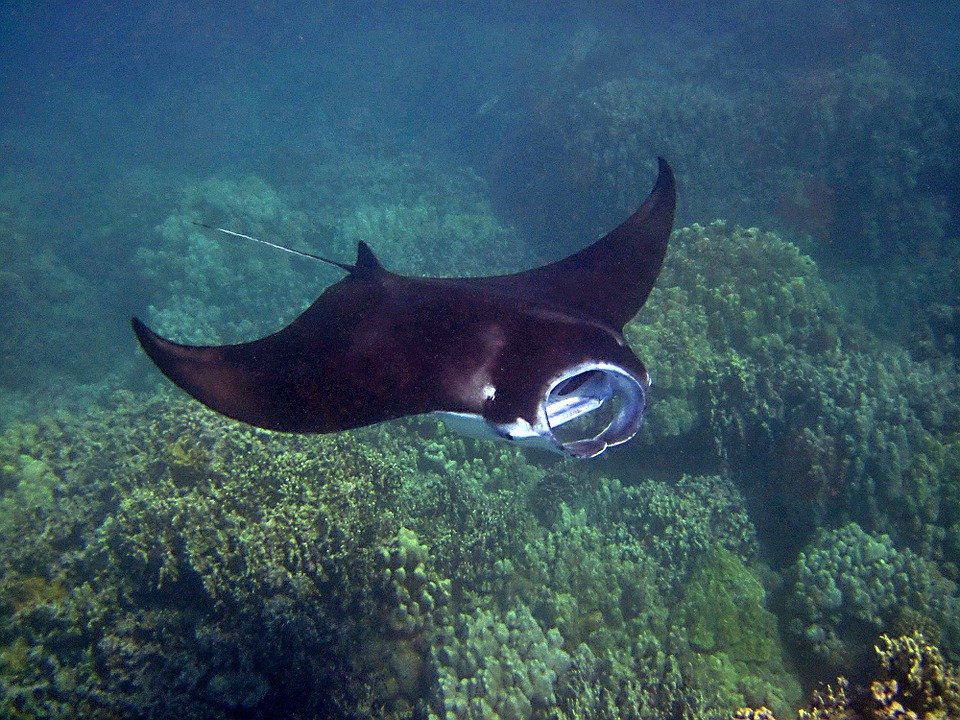
Simple indeed, but not so easy to explain, actually. This is often the case, actually, things that seem the simplest aren't necessarily so. In this case, the ray doesn't have a lot of details or complicated volumes, this is what makes it complex precisely. Because then, it is necessary to be accurate in the shapes.
DRAWING THE RAY STEP BY STEP
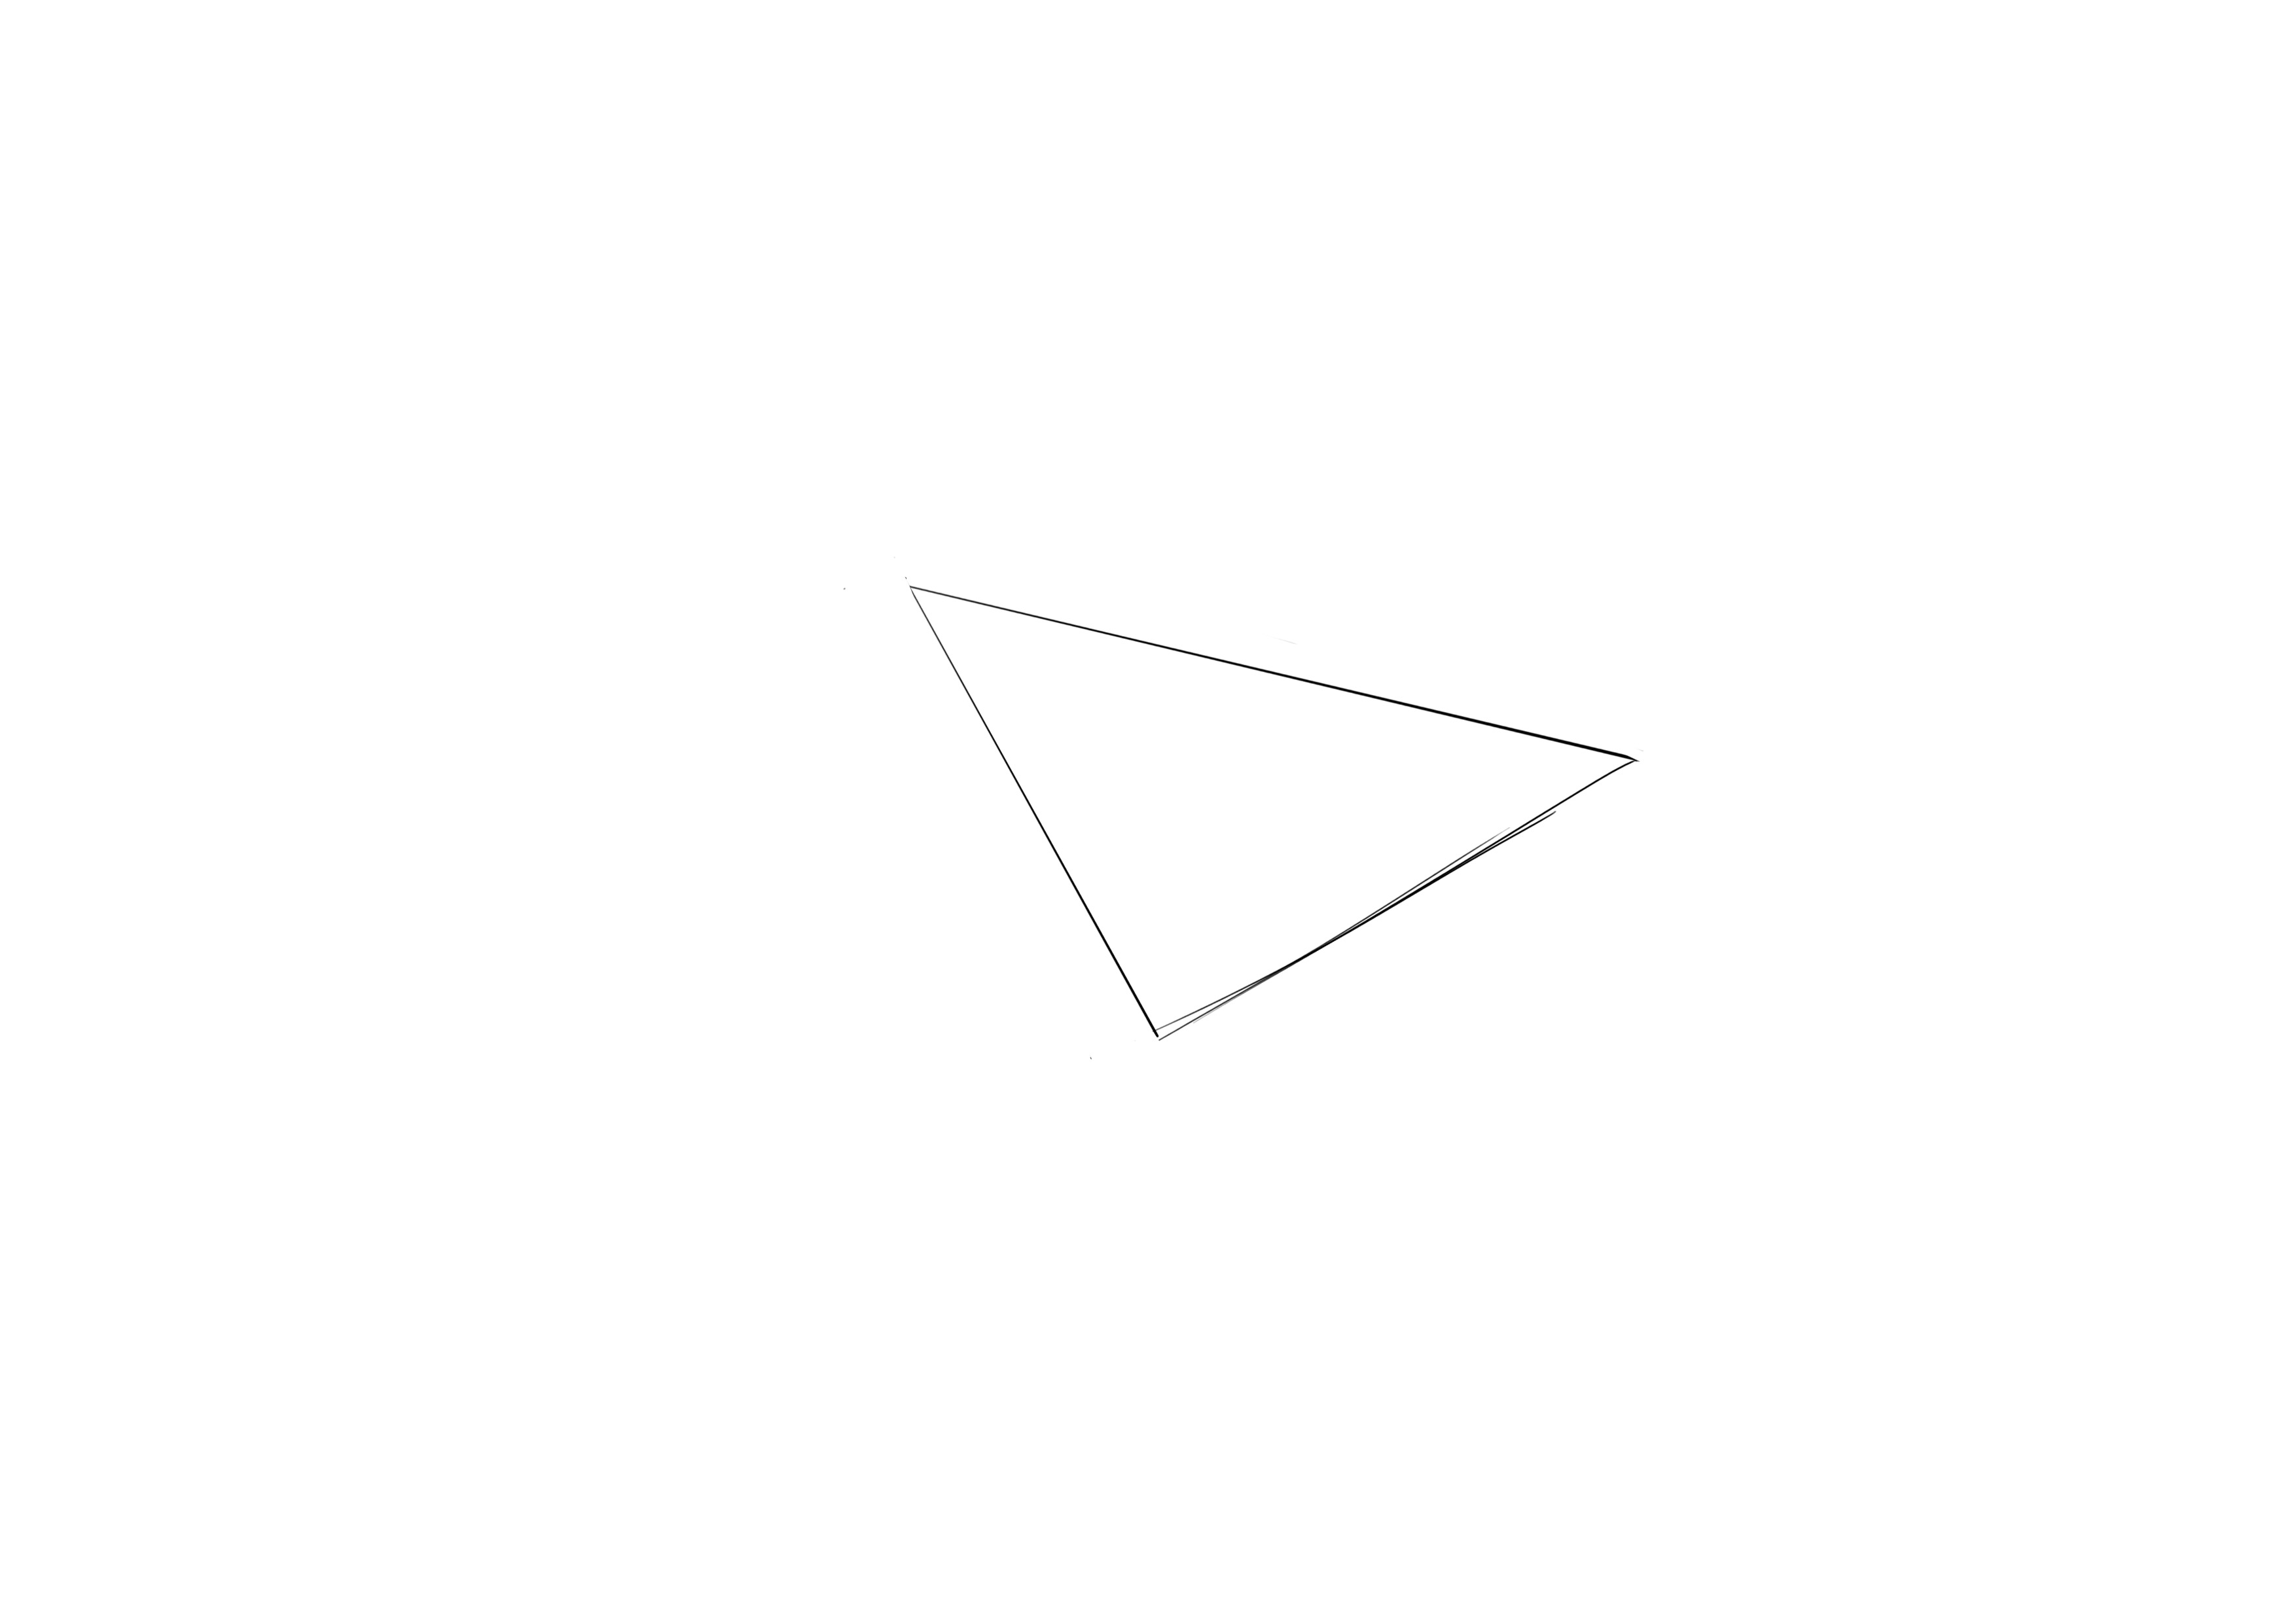
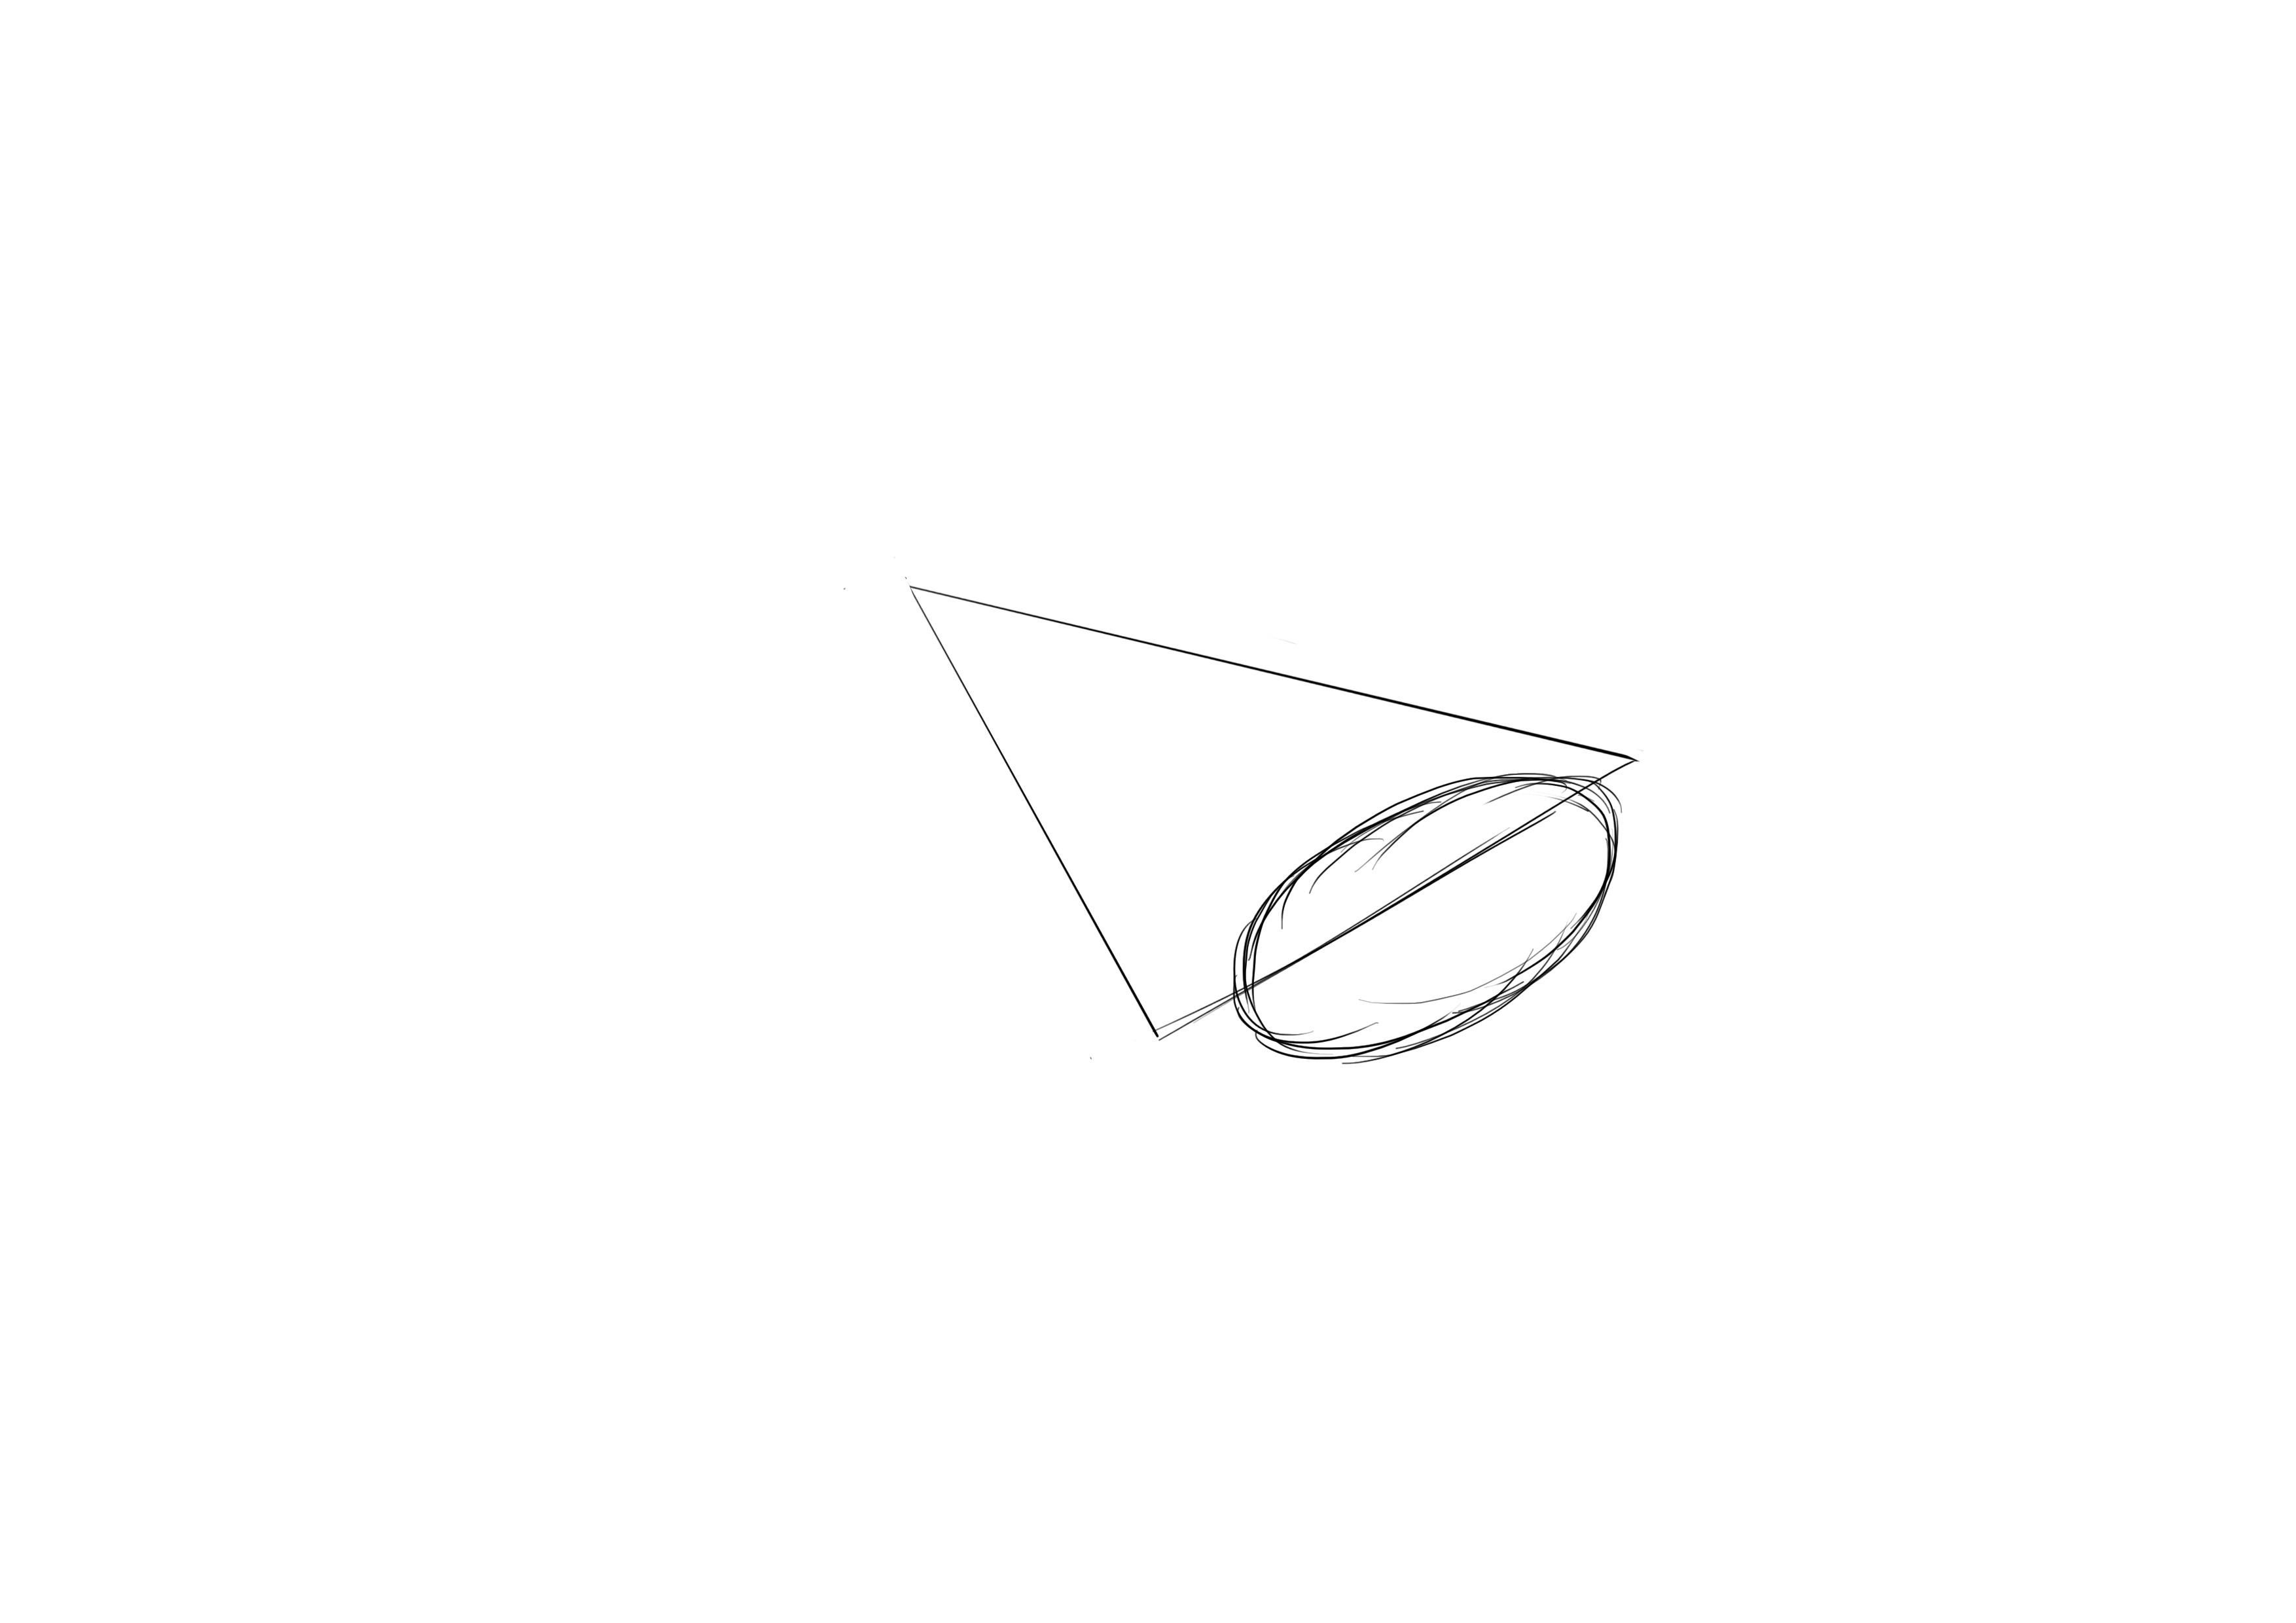
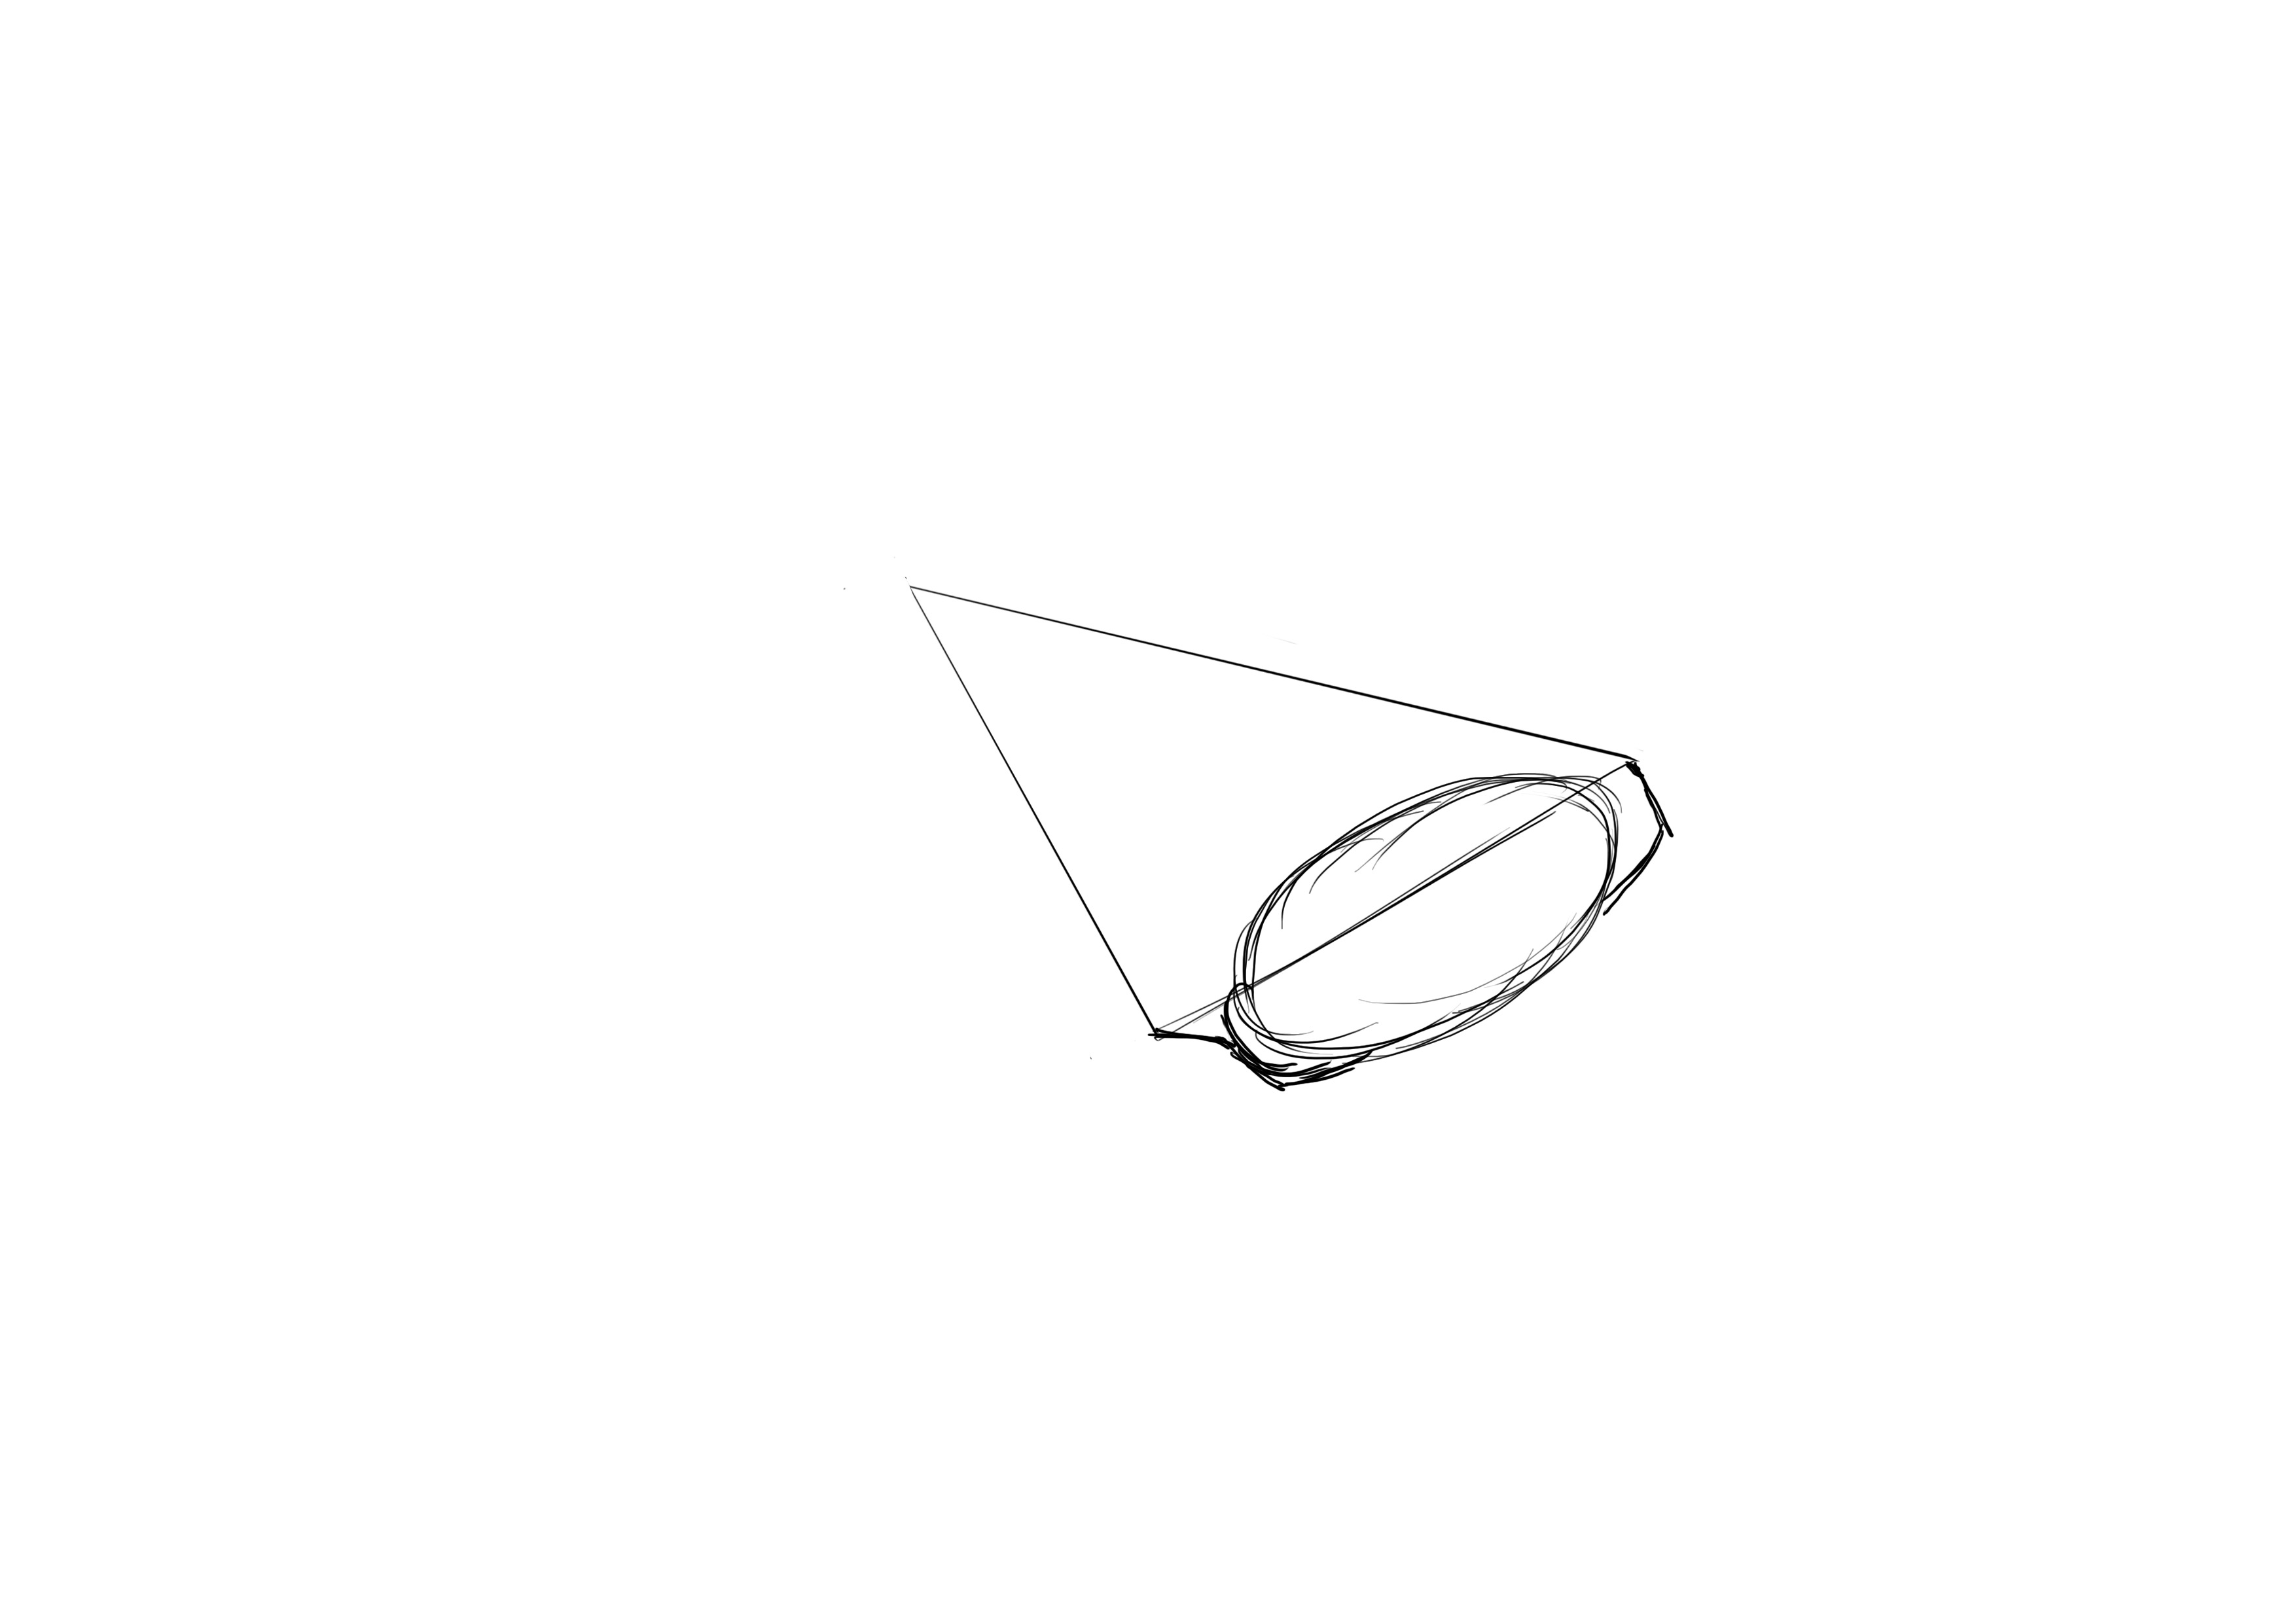
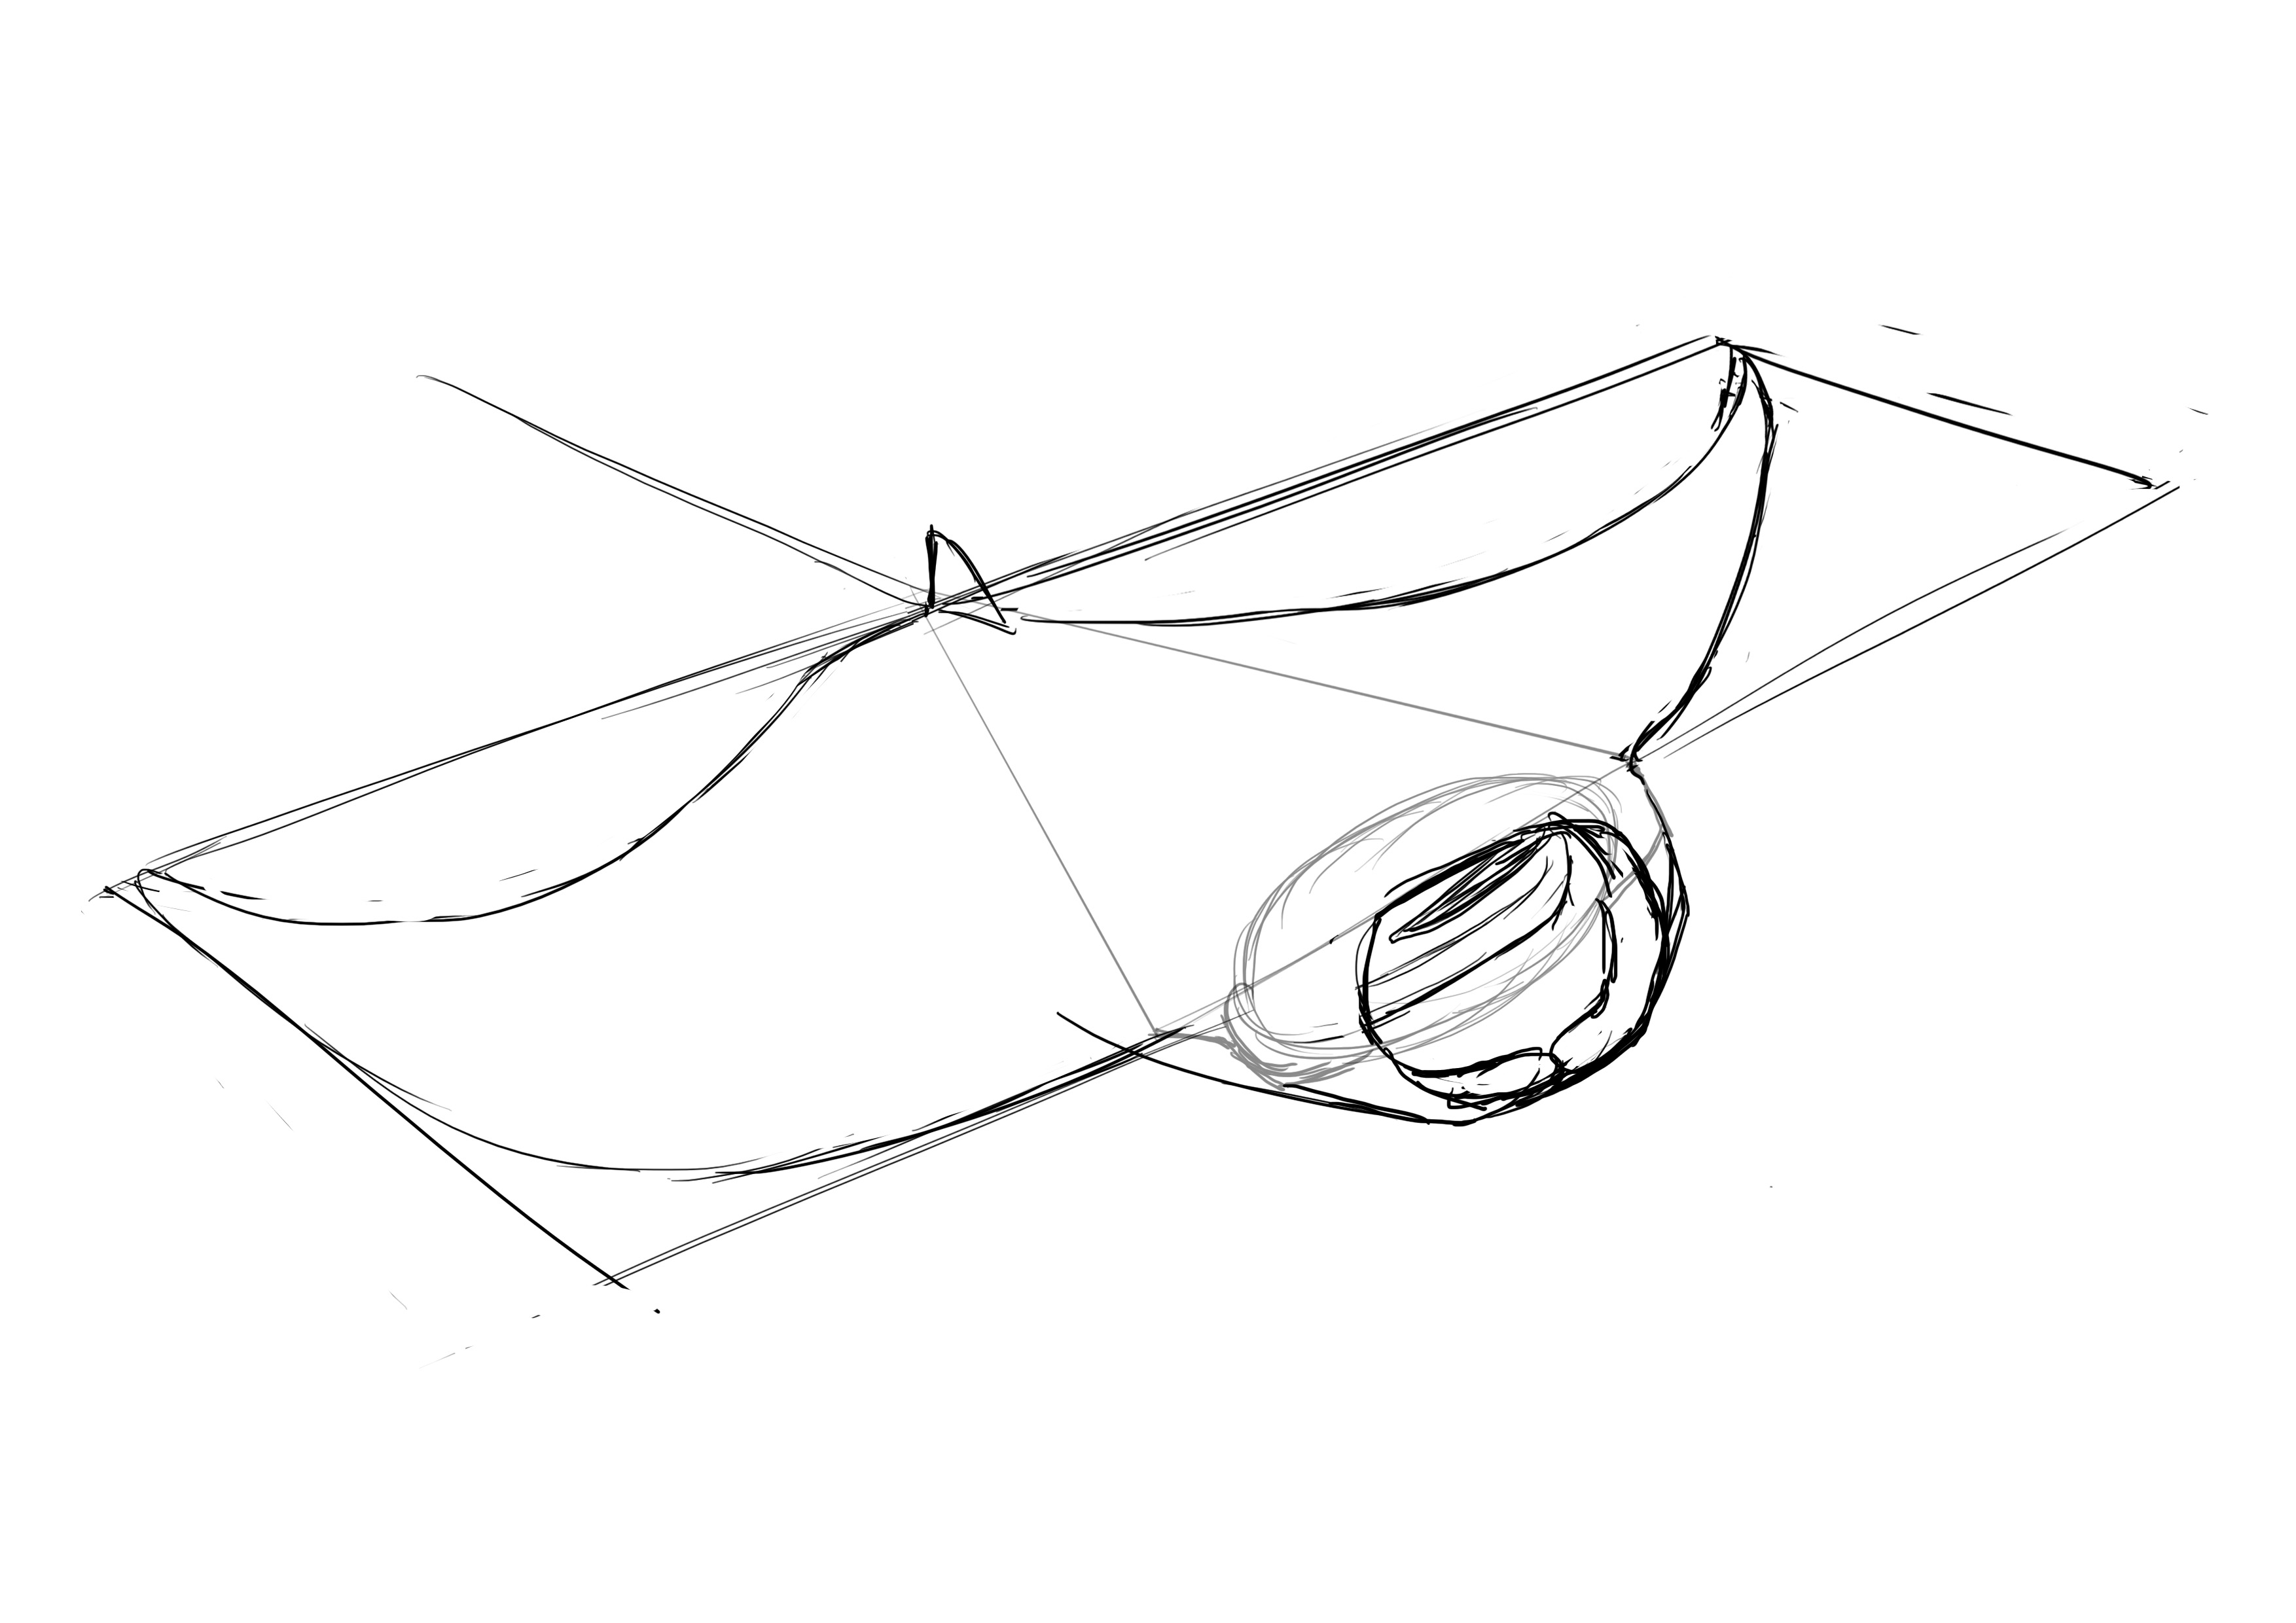
We'll start with the body in a triangular shape, about one and a half times longer than it is wide.
We draw an ellipse for the head. Be careful, it is slightly smaller than the width of the body.
We place the eye area.
Then the opening of the mouth.
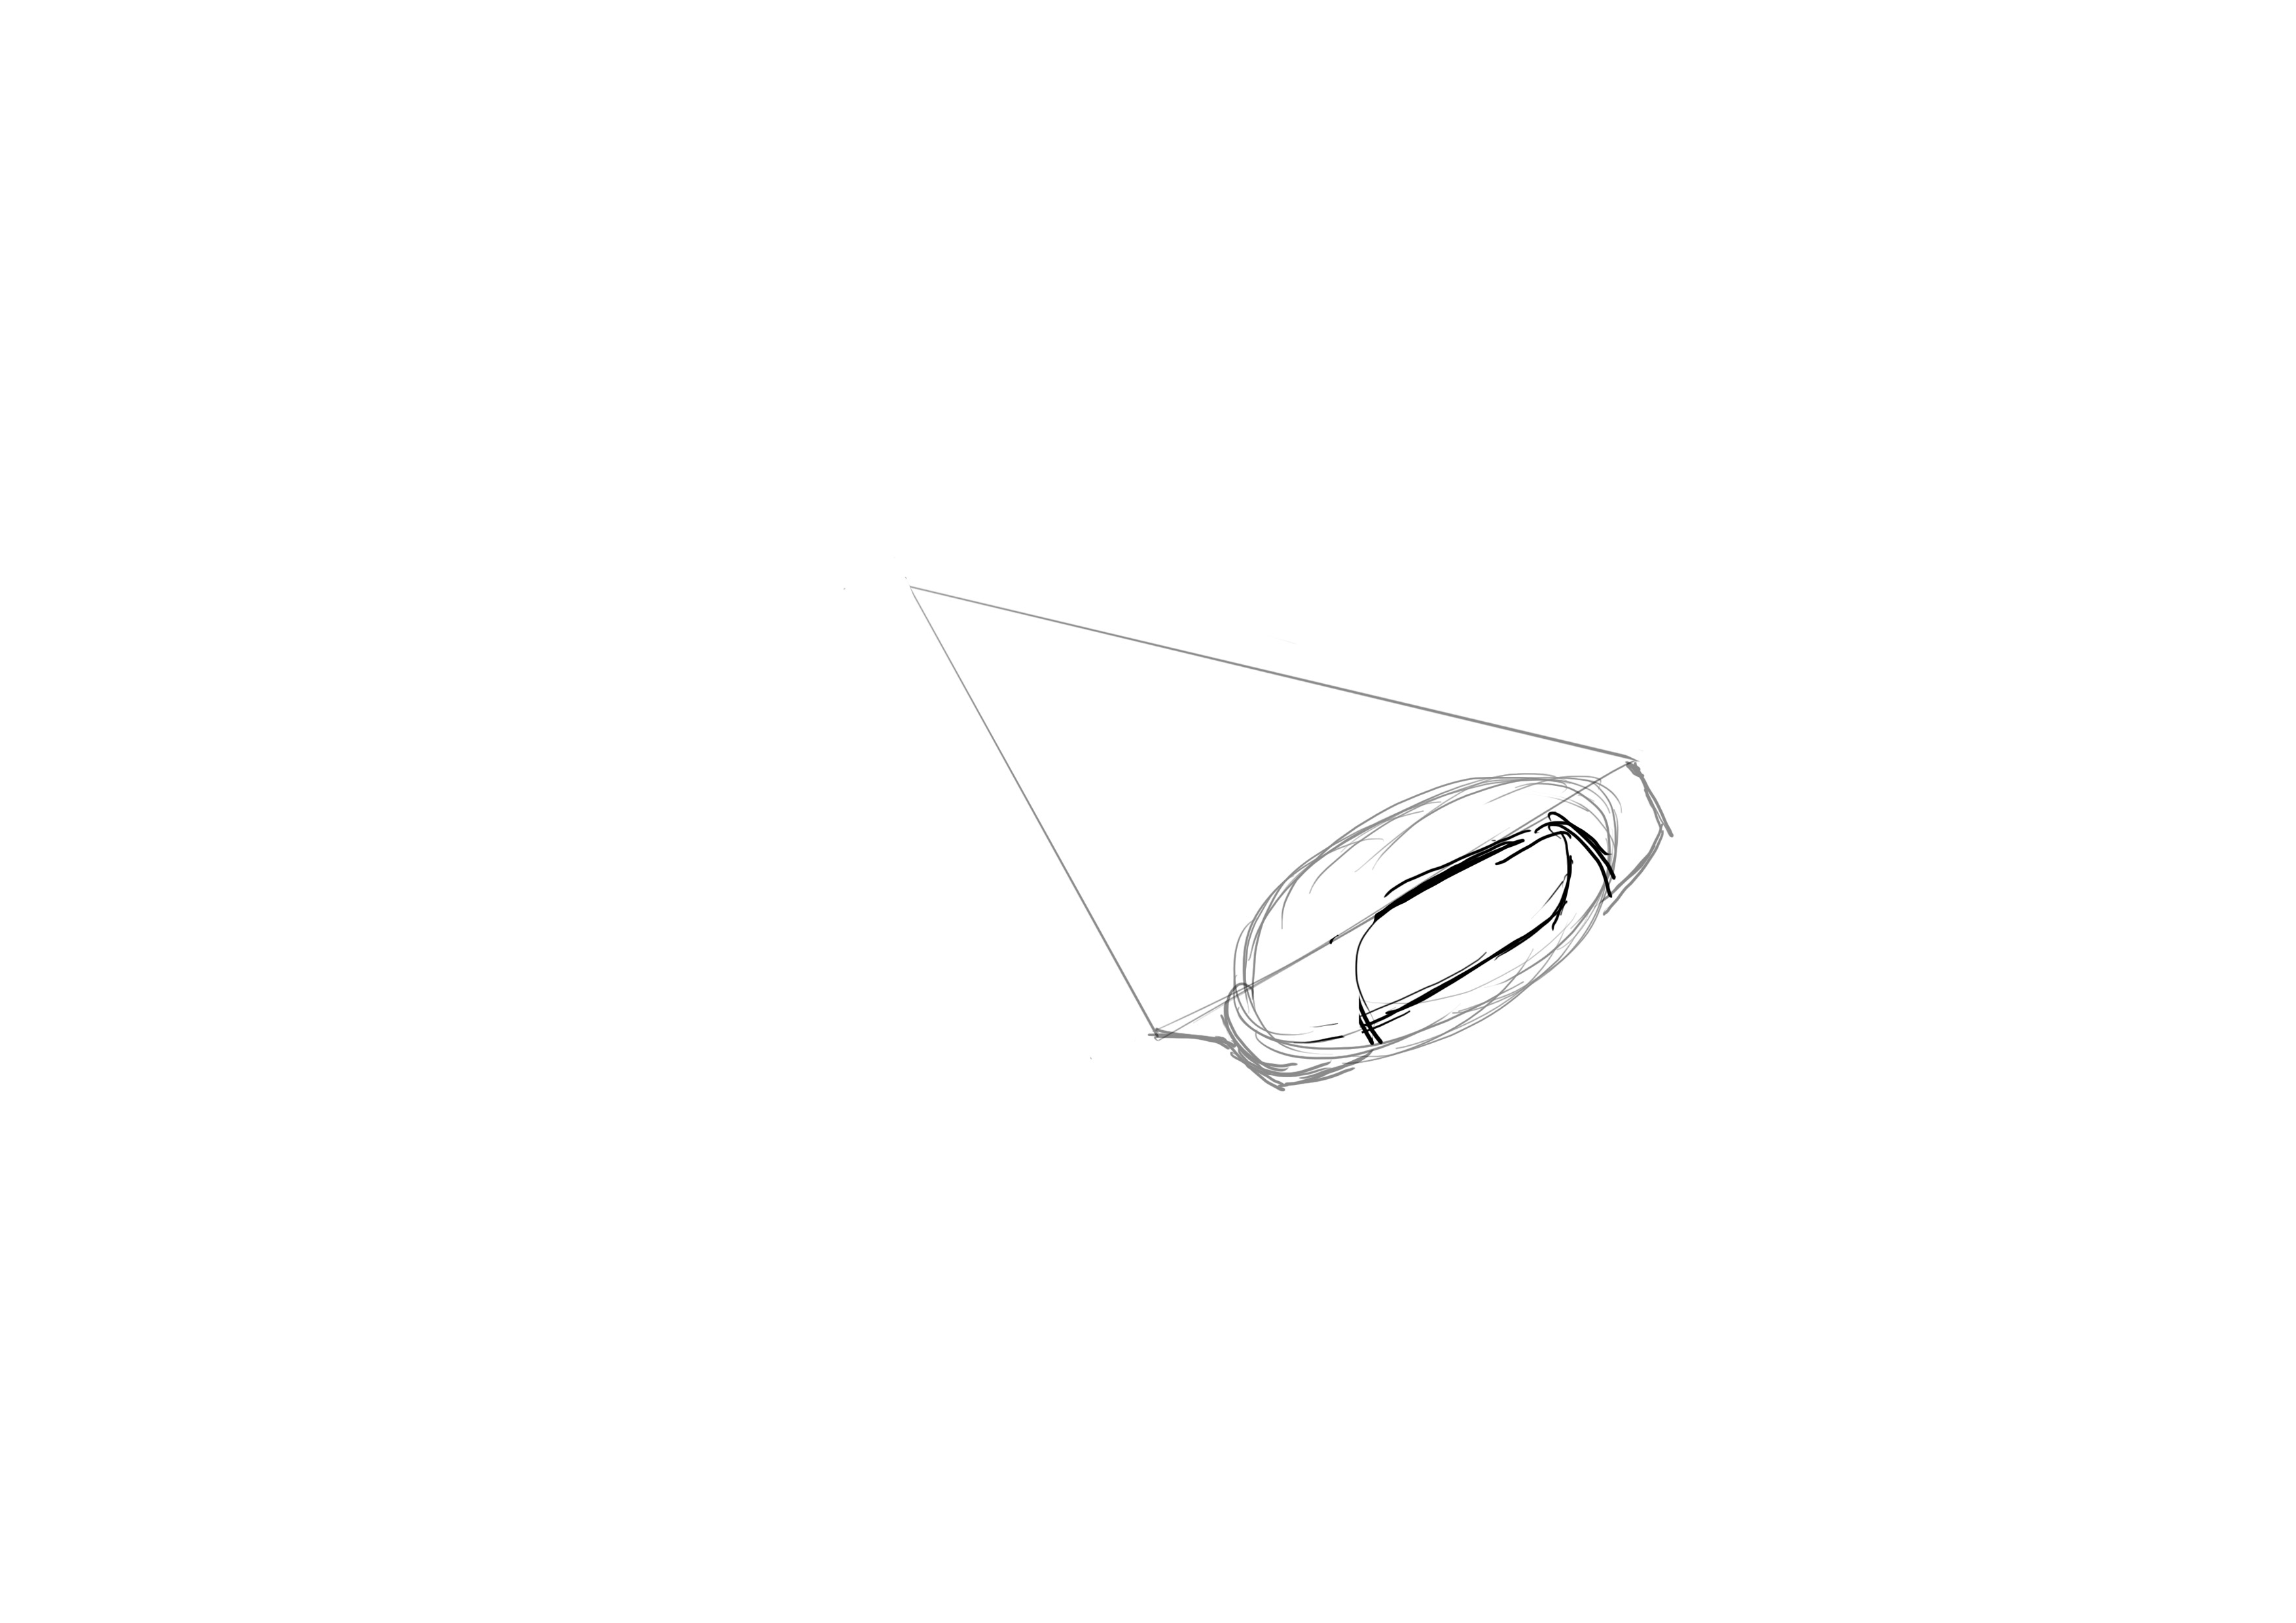
And the inside of the mouth.

And the kind of bulge in front of the mouth. I absolutely don't know what it's called.
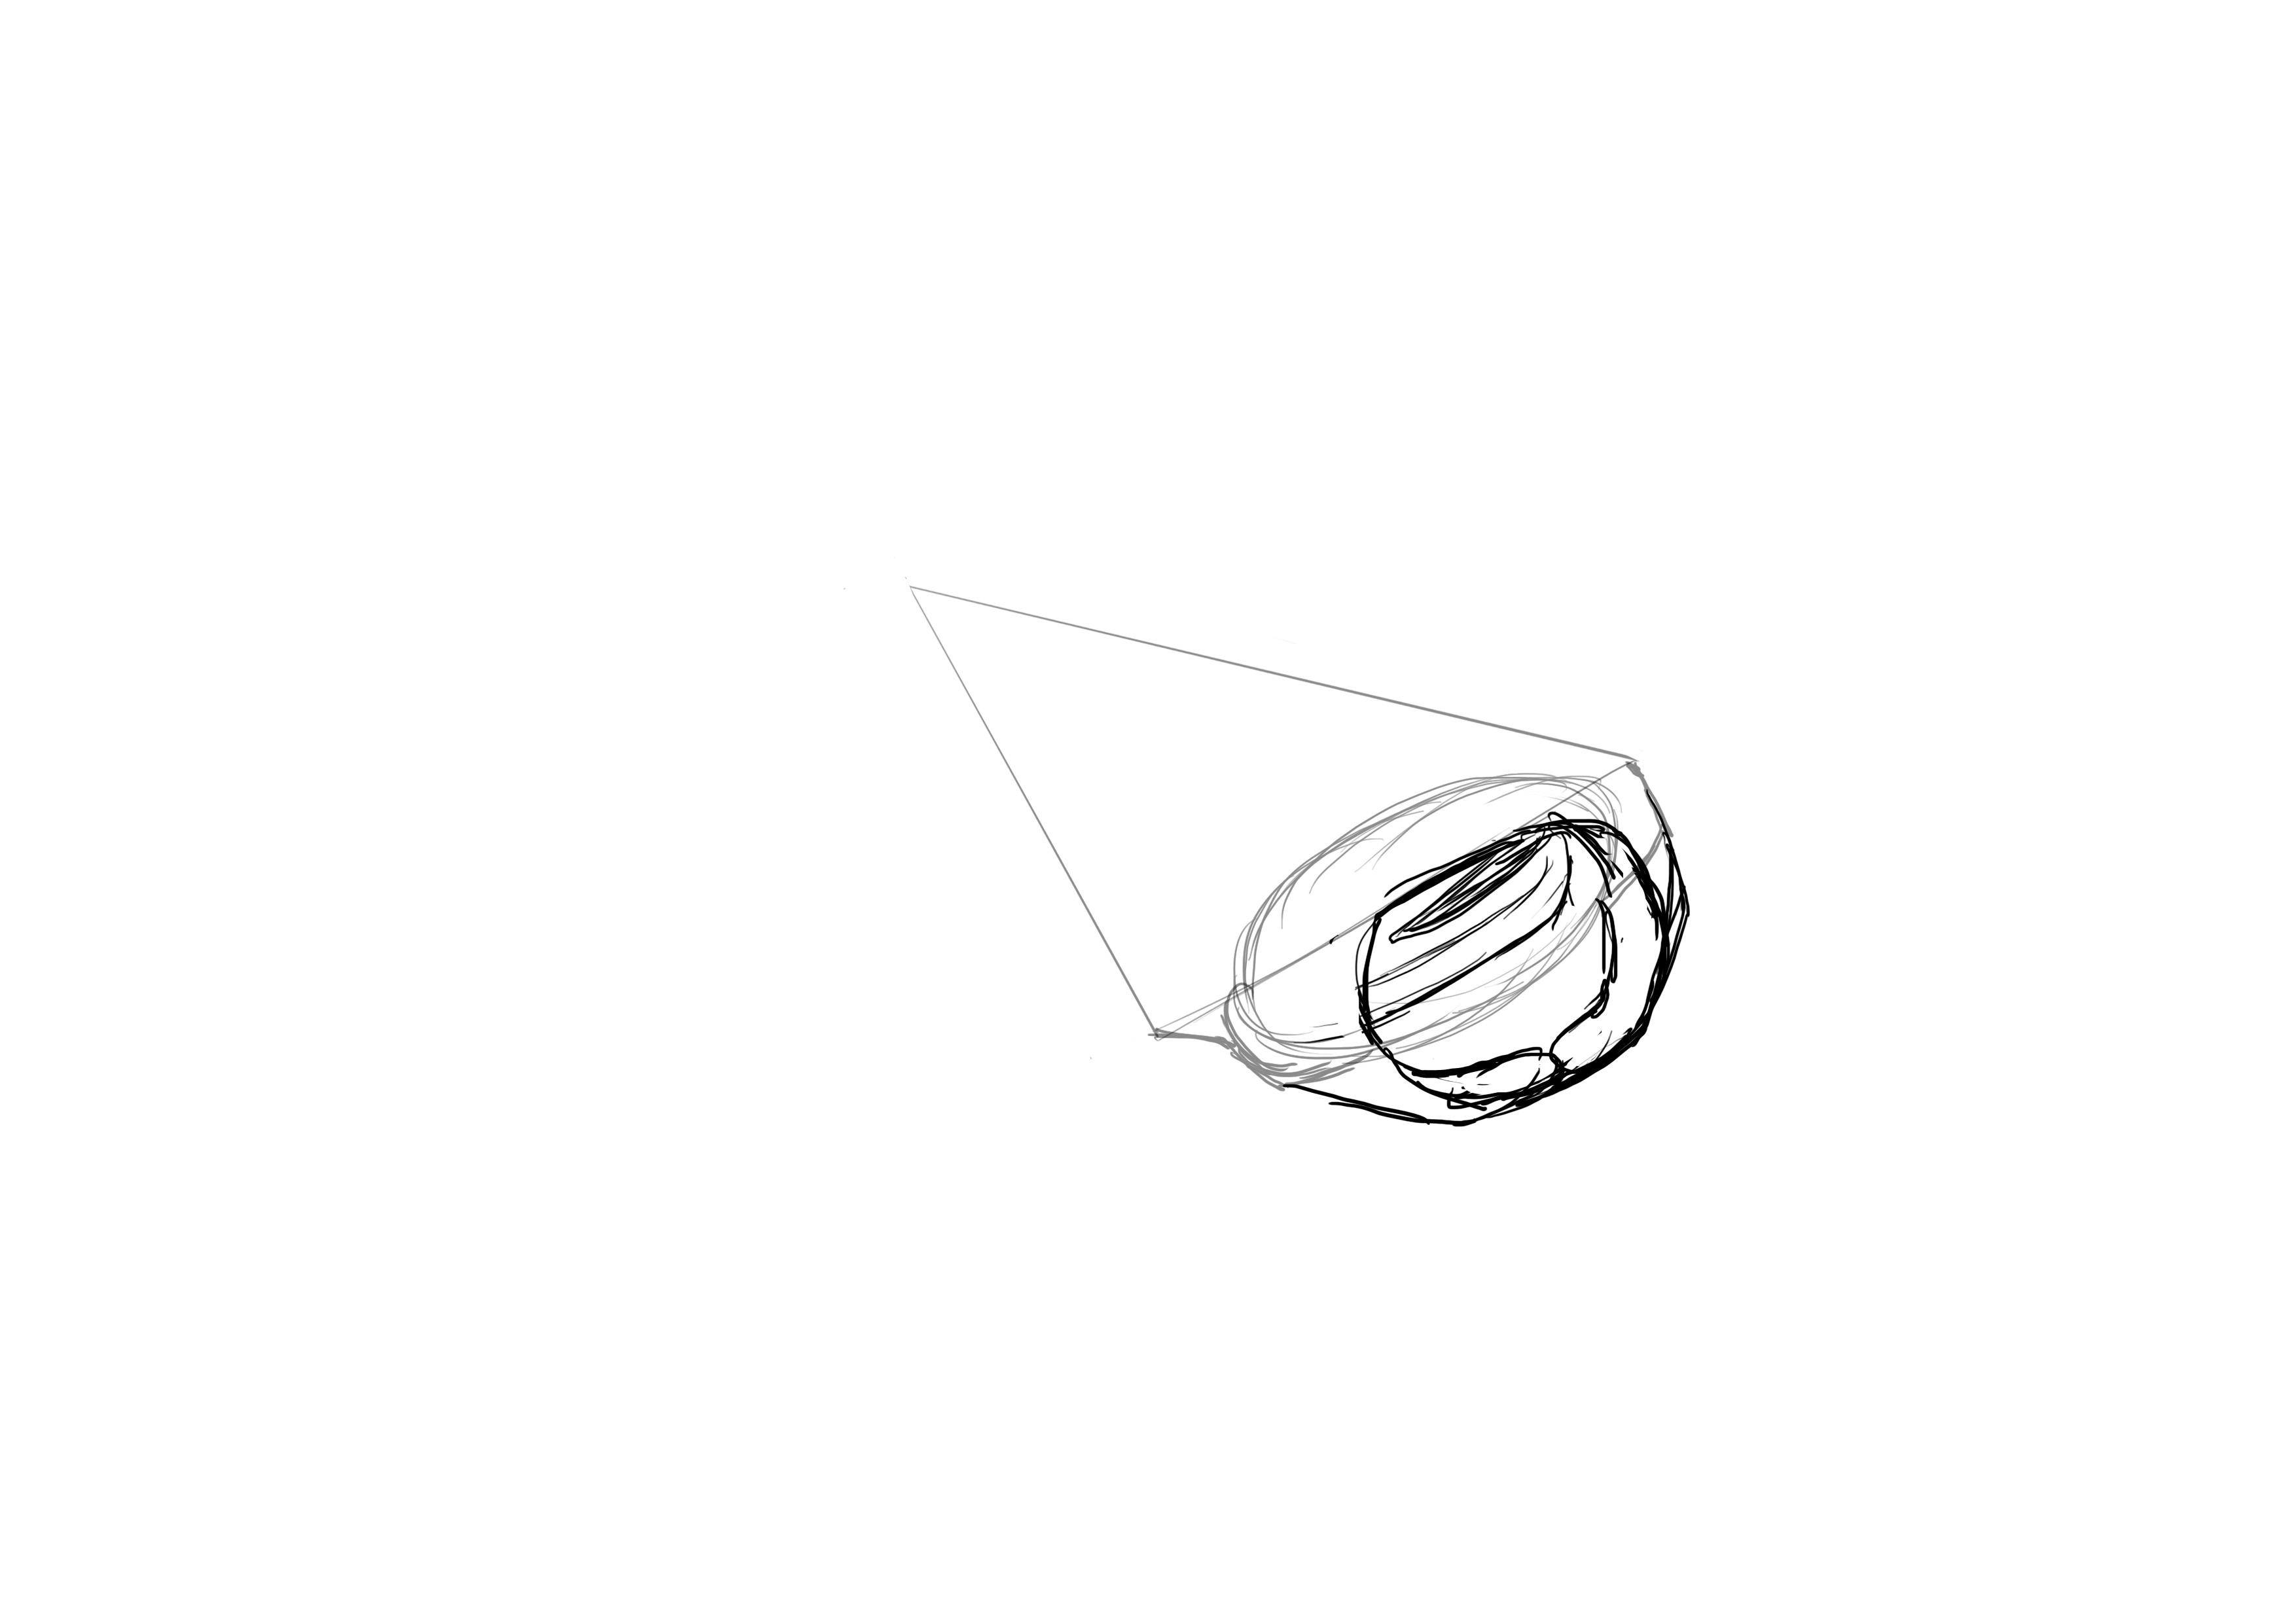
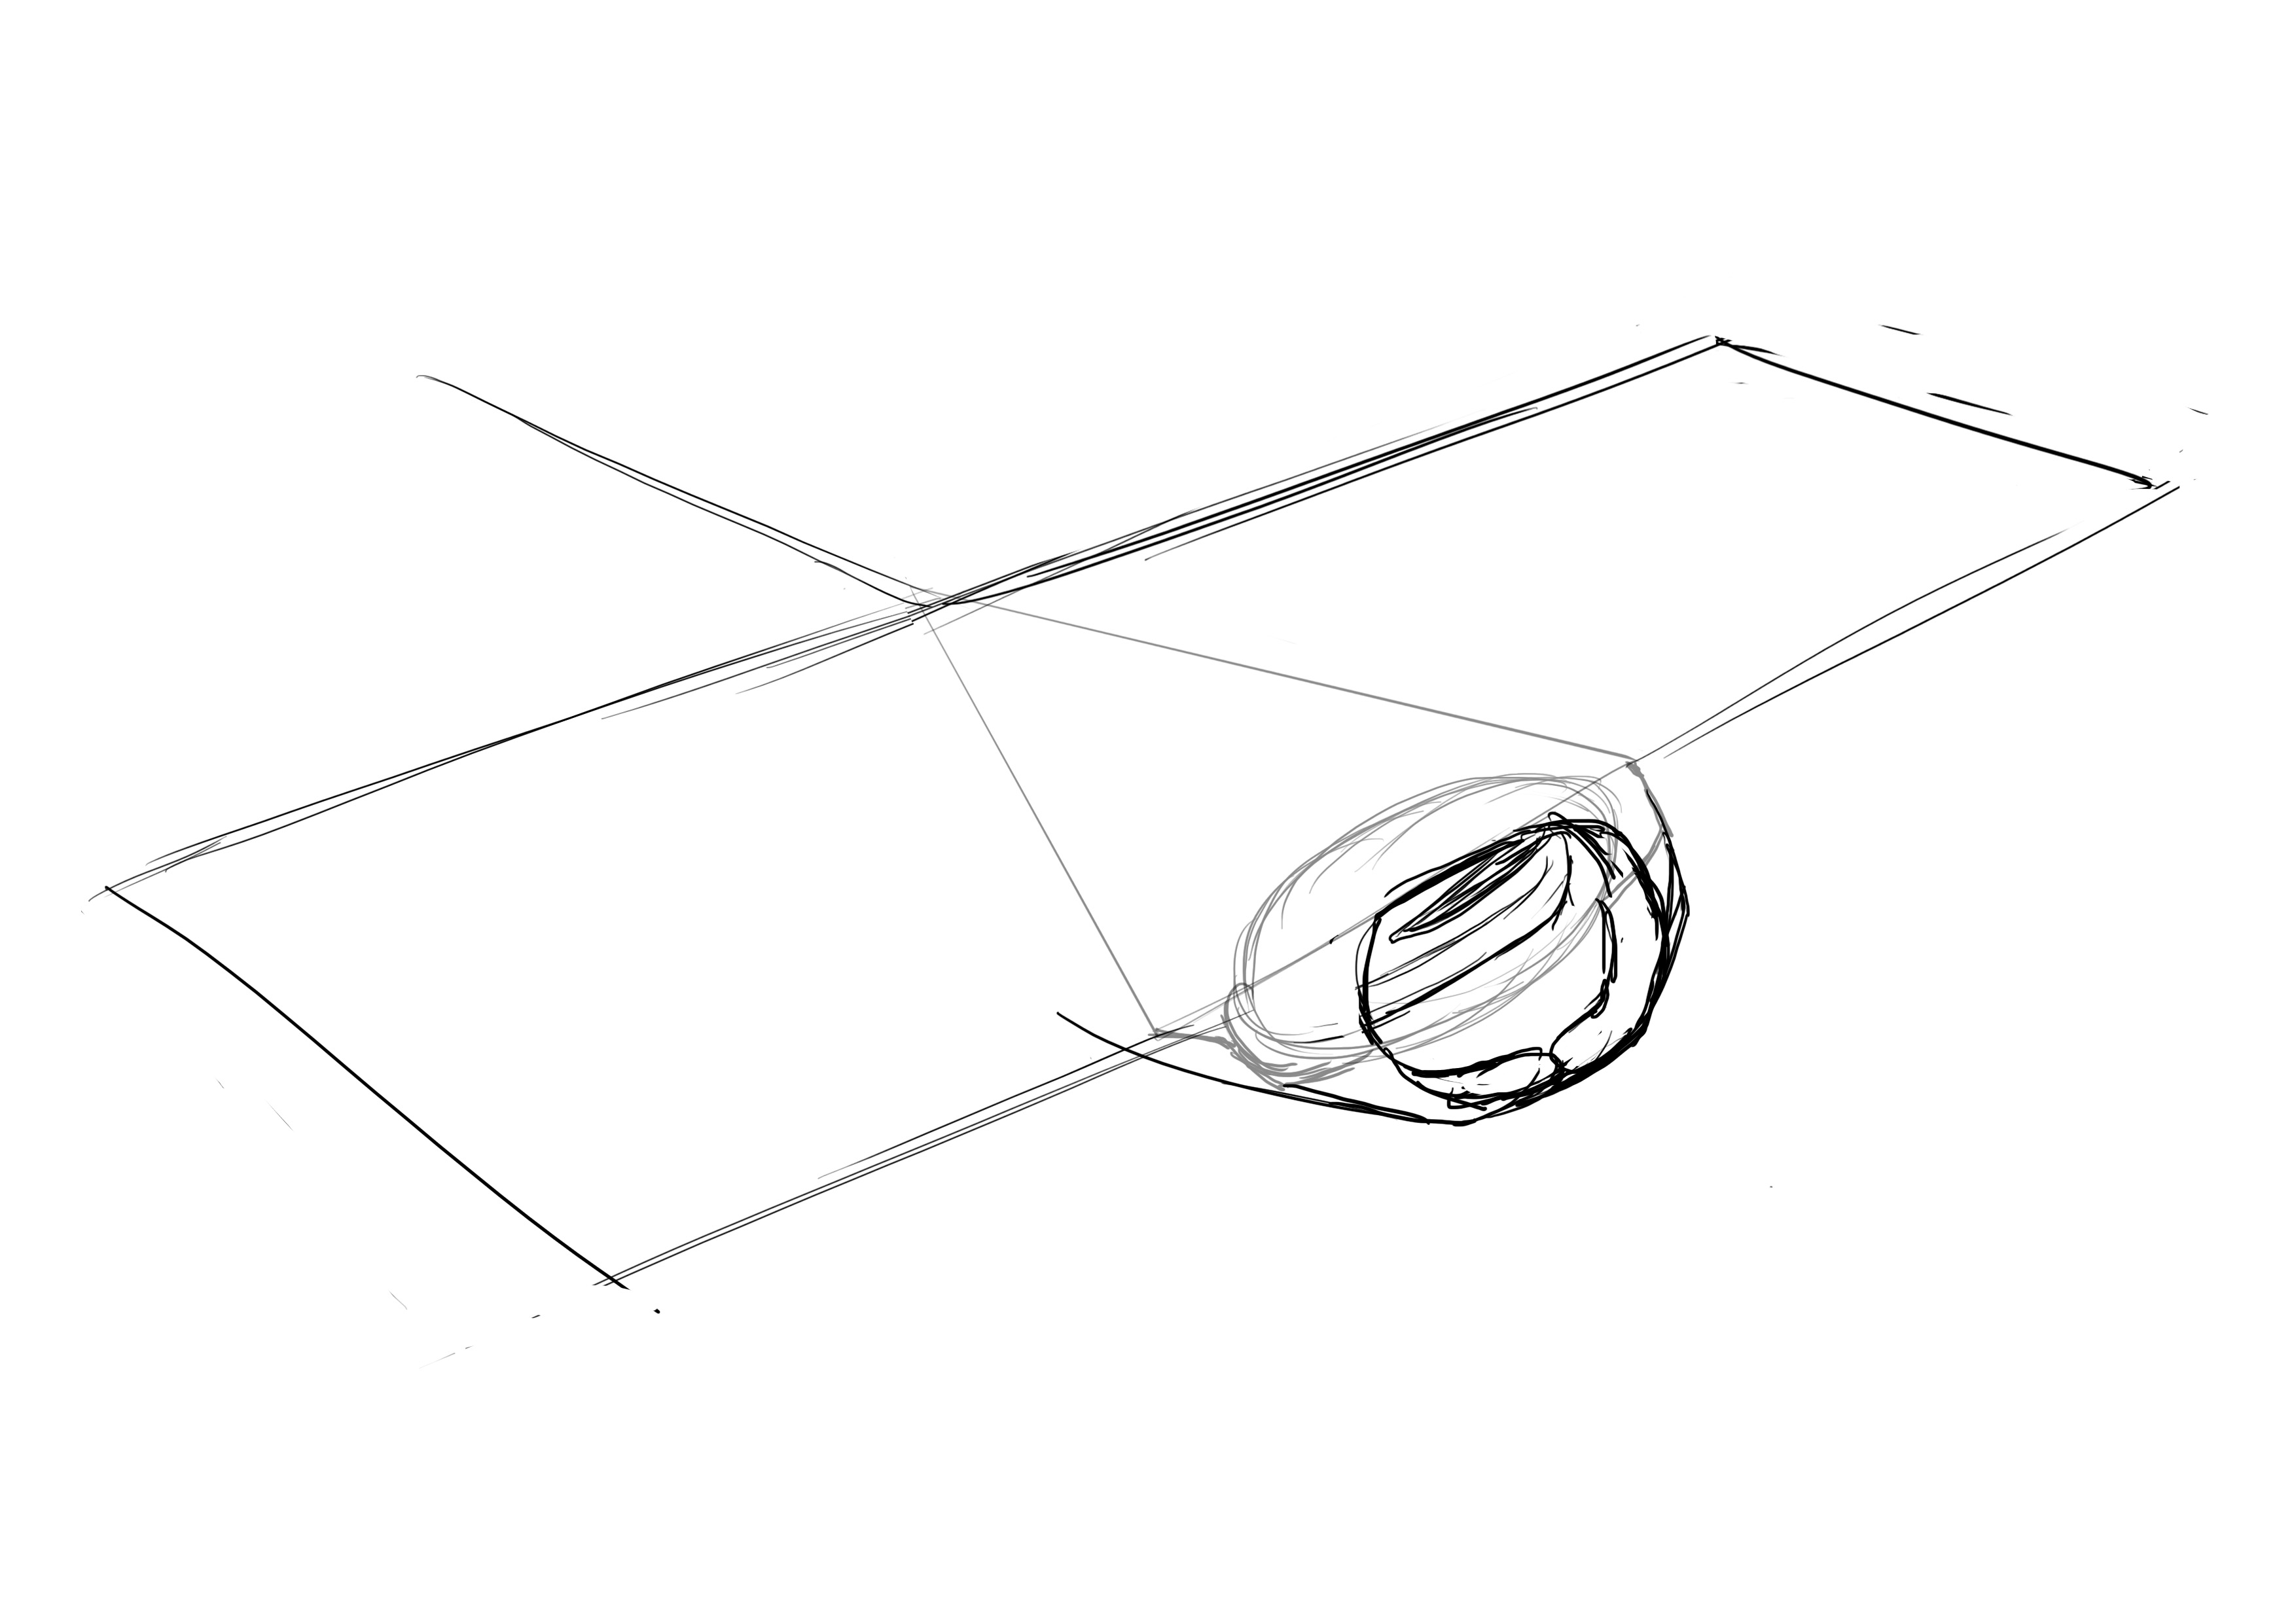
We draw the stinger, extending from the line of the back, about as long as the body is wide.
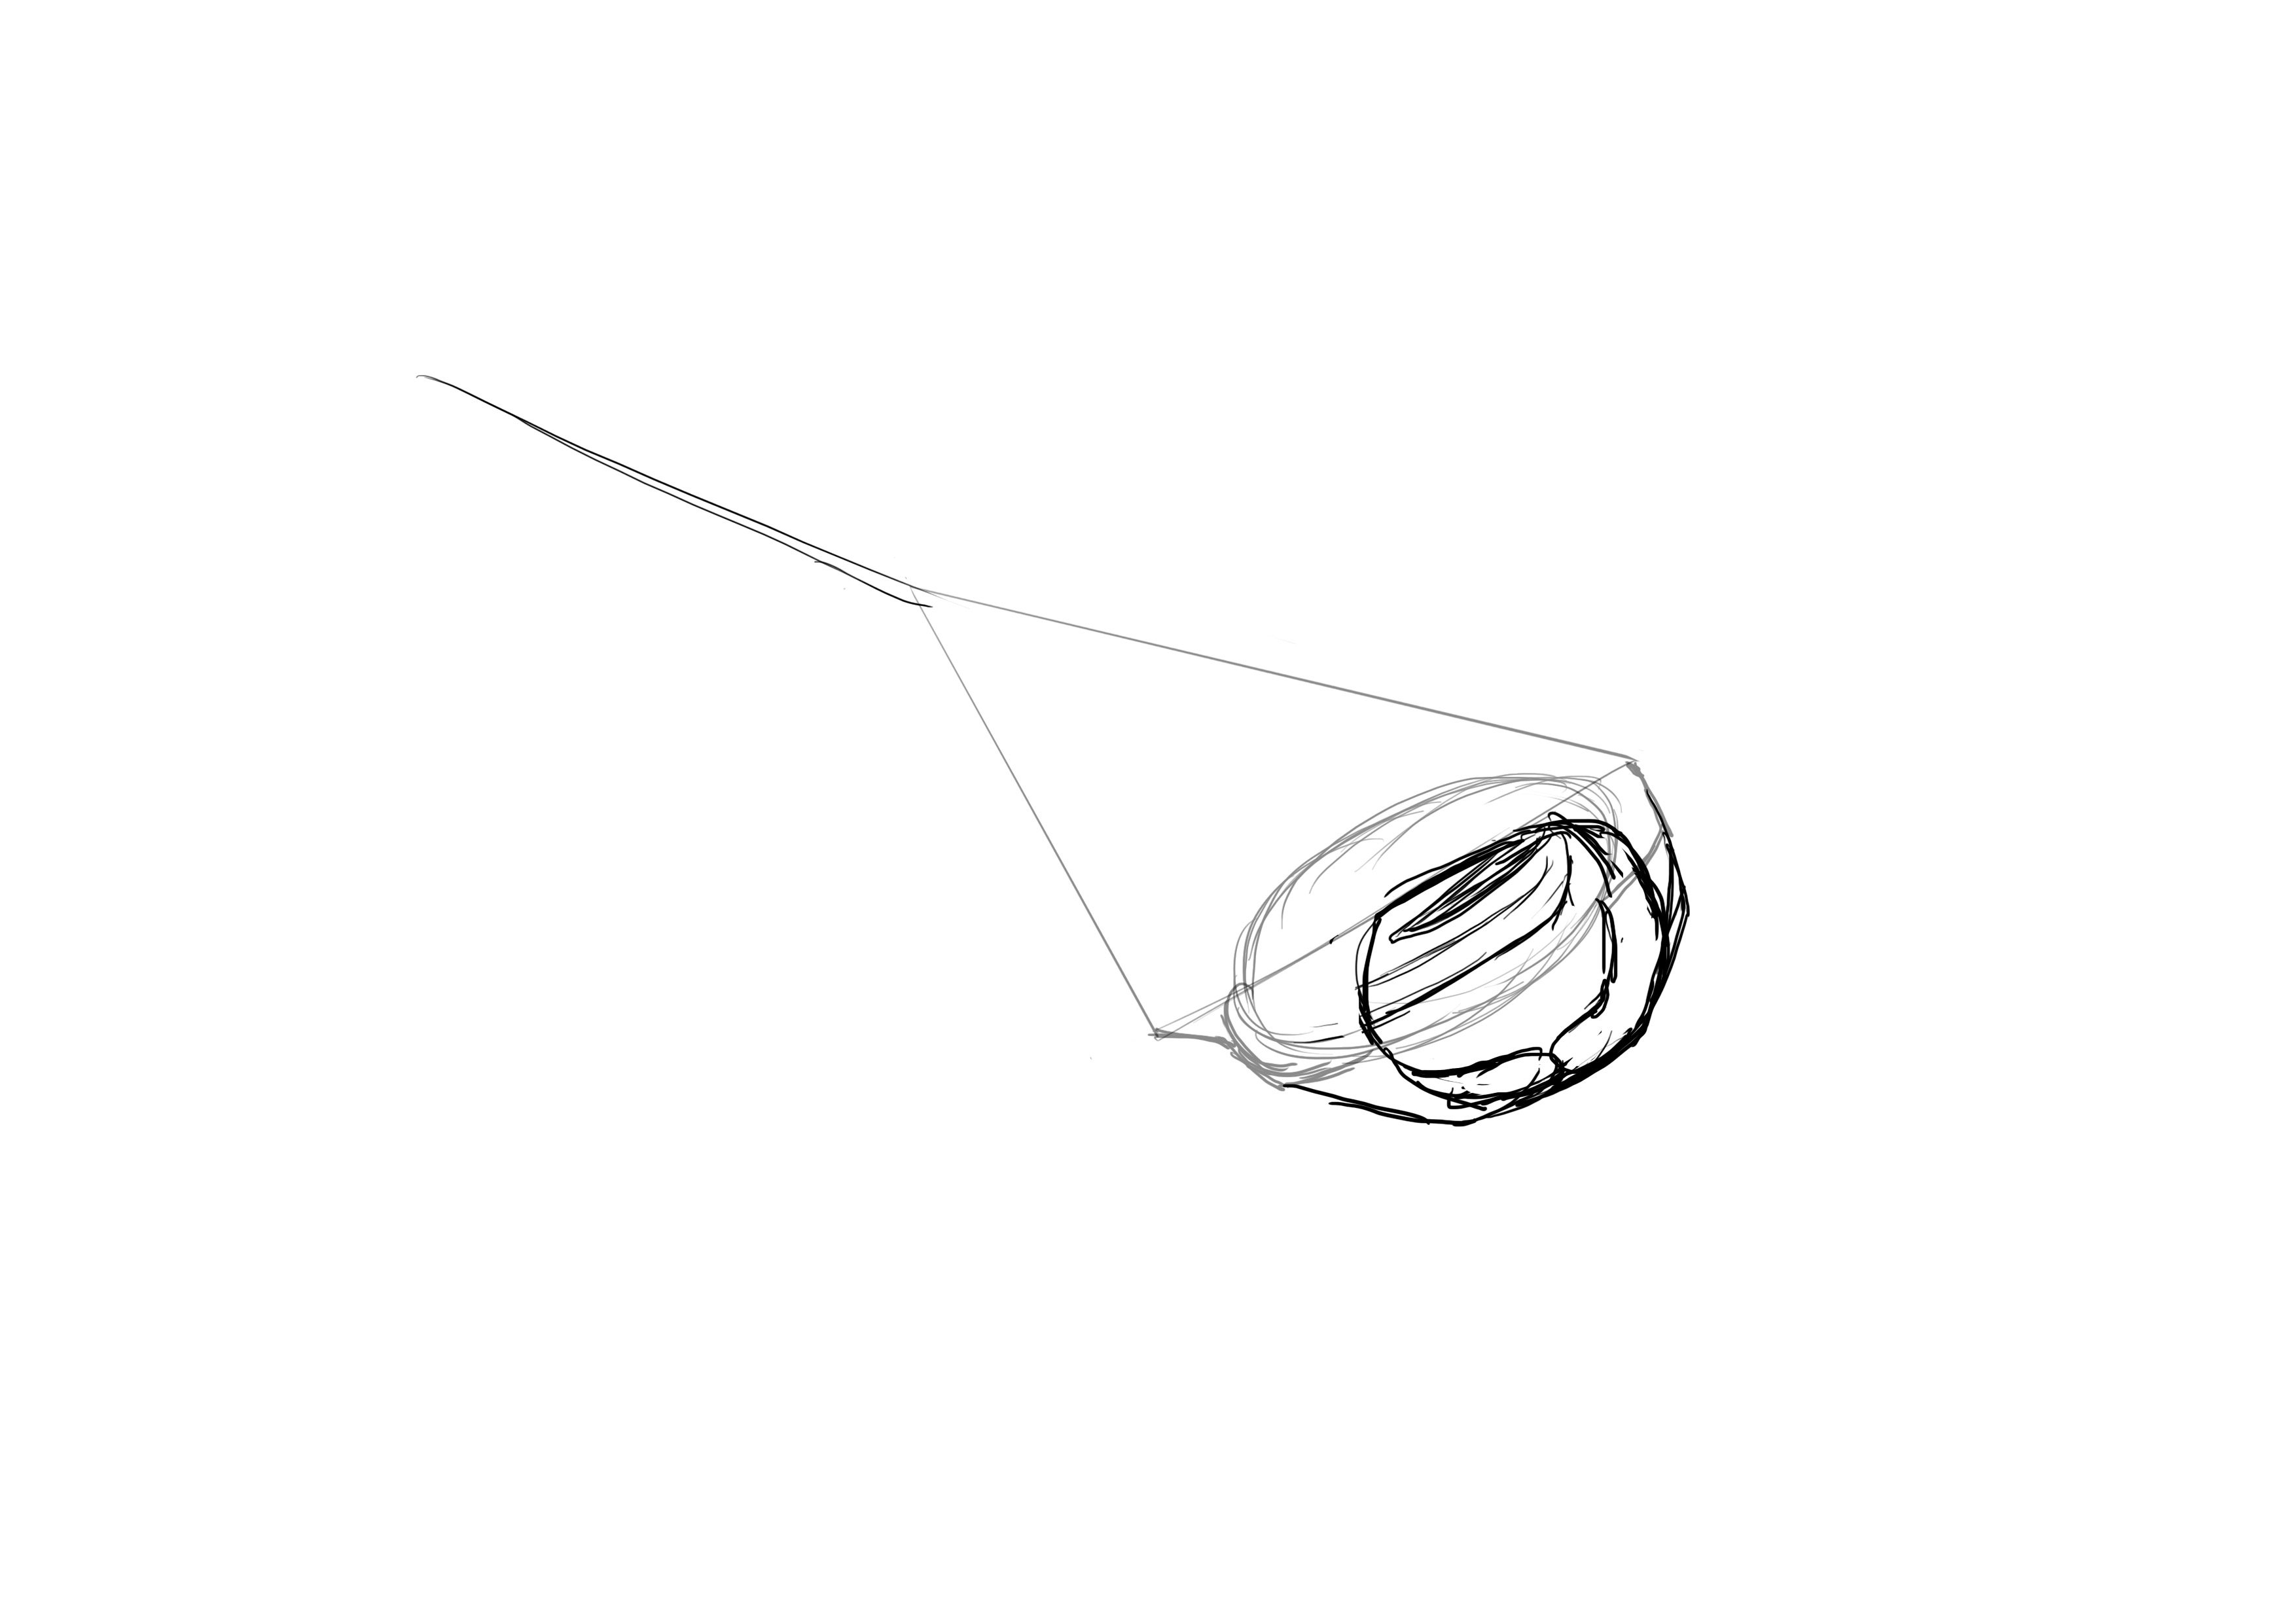
We trace the underside of the ray's body. By the way, I am providing a front view, so that you can better understand the volume:

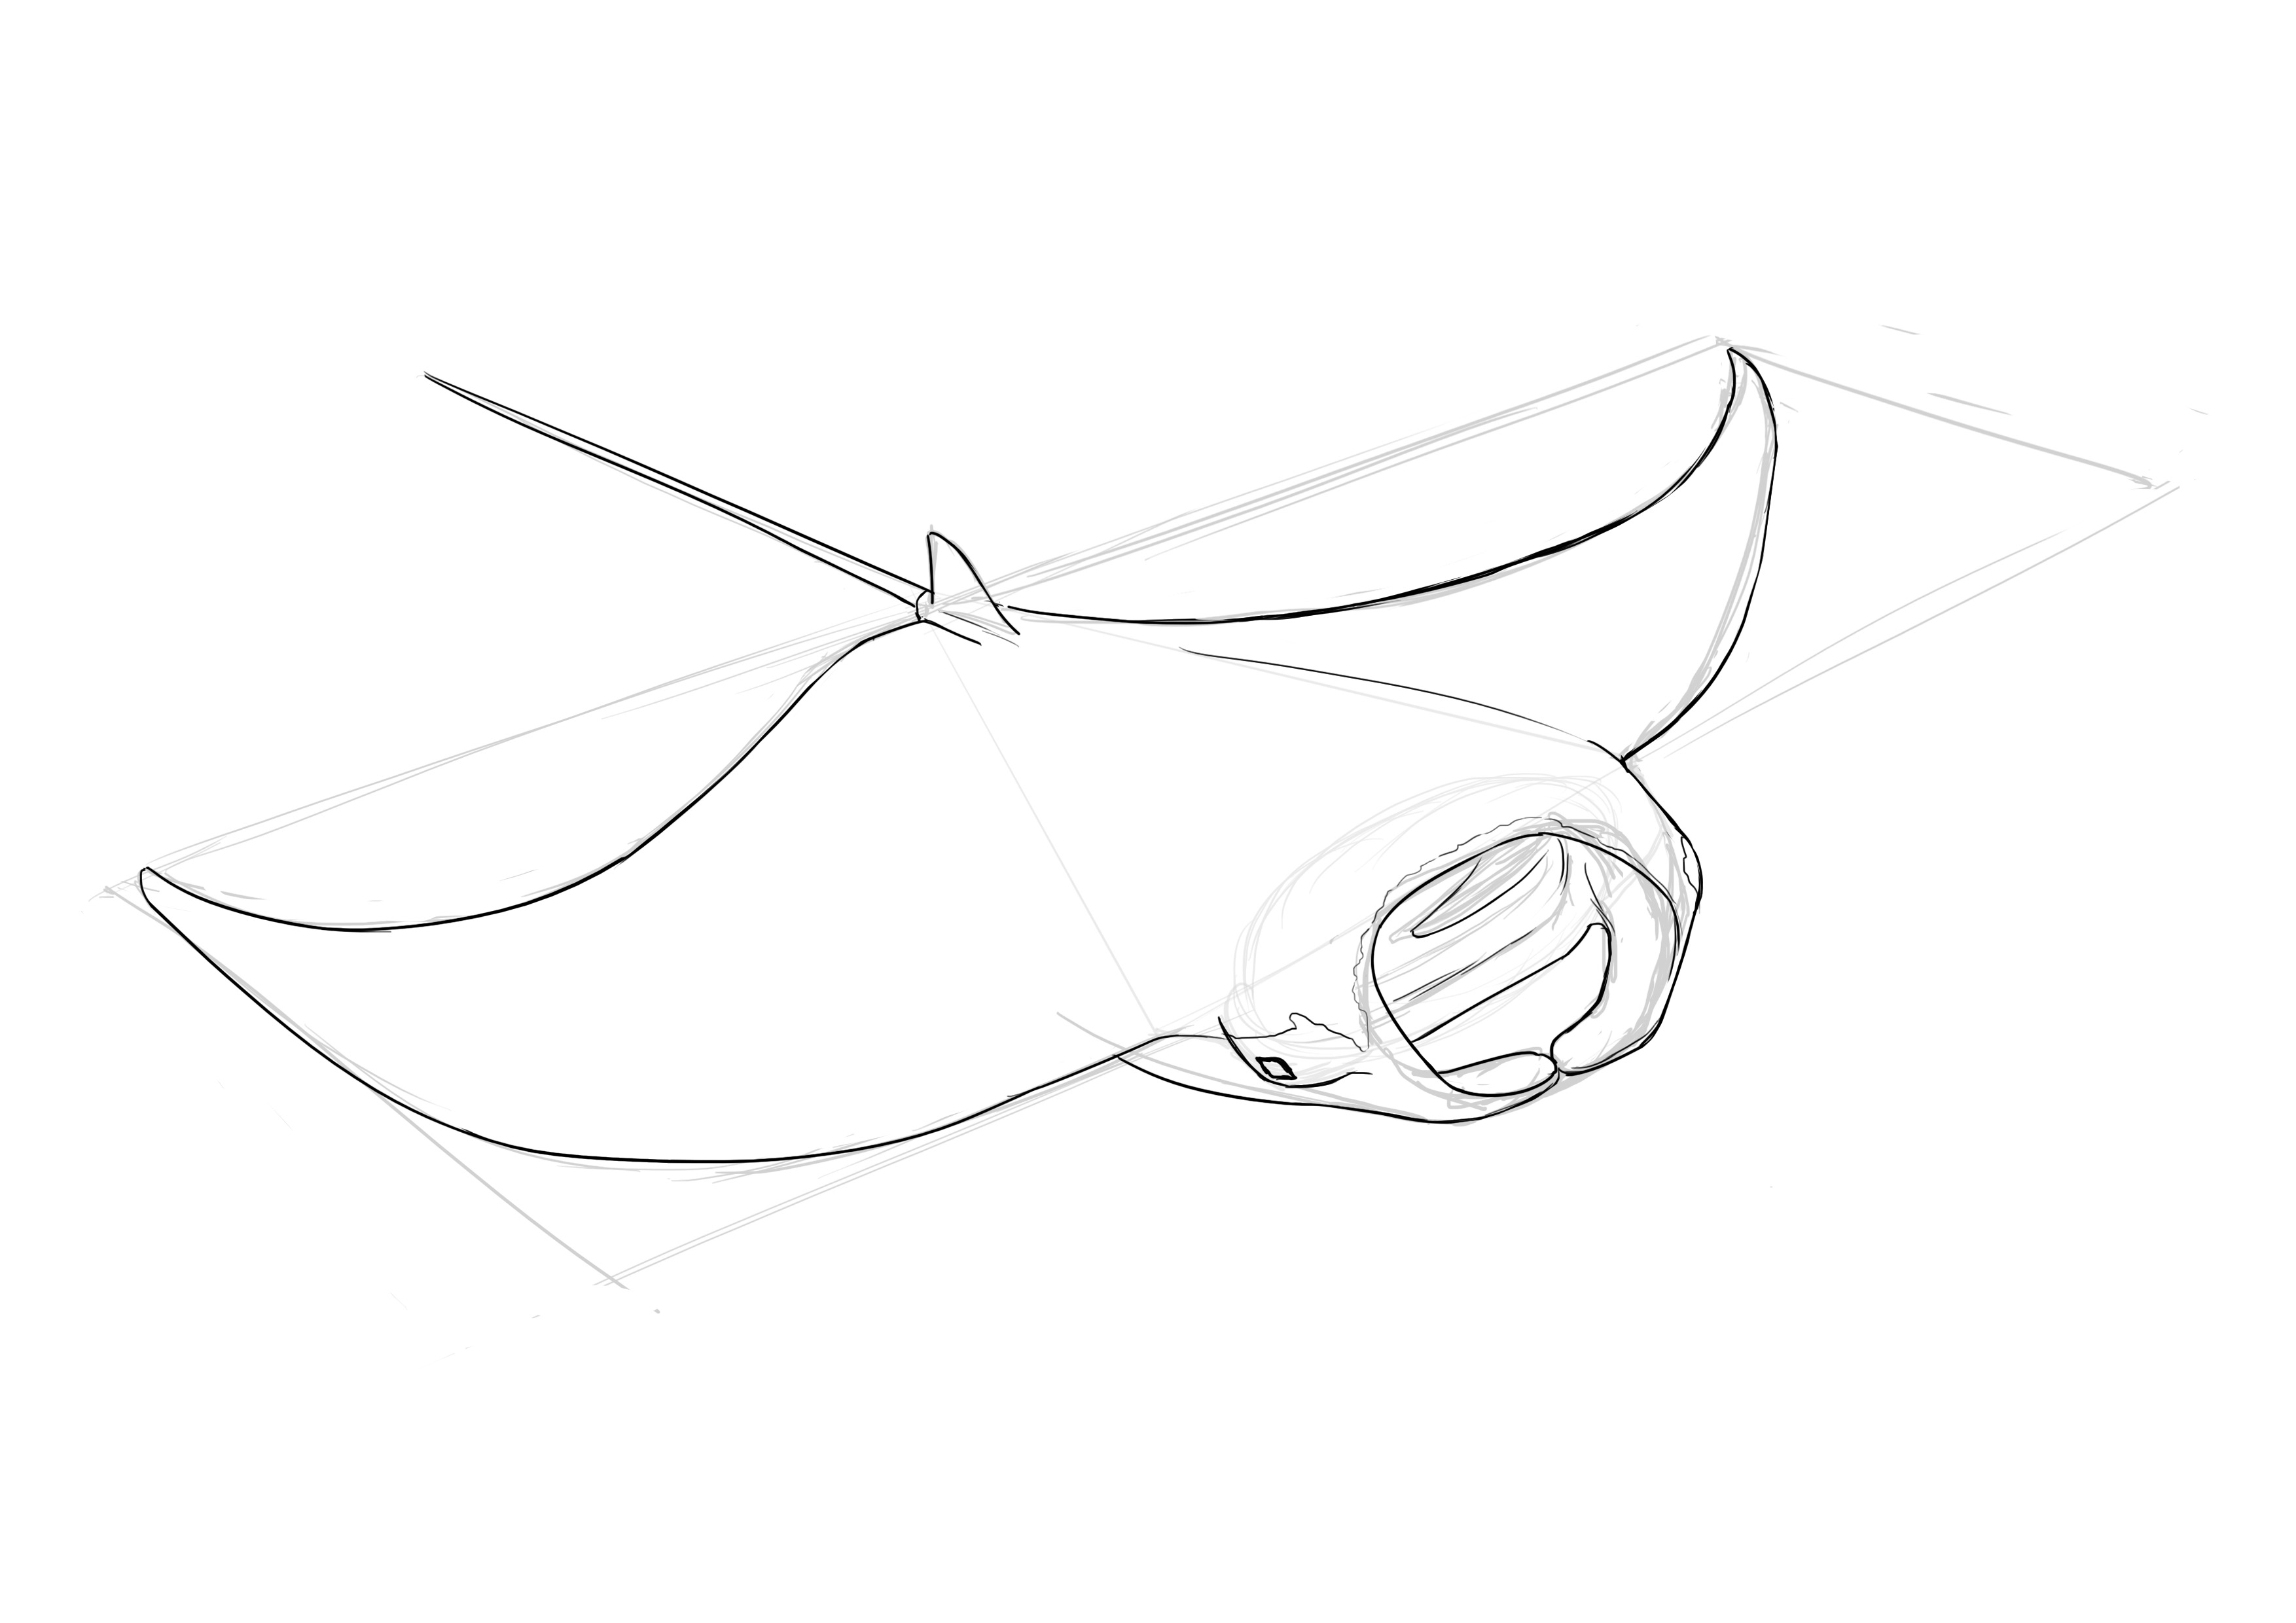
Then the wings. We will draw two rectangles in perspective for this. They follow the body. They are a tad longer than they are wide. The front one is slightly longer than the back one. Pay close attention to this part, it's the one that gave me the most trouble even though it appears to be the simplest area.
Next, we draw a curve for the back of the wing. I follow my model and thus make a short one for the front wing and a long one for the rear wing.
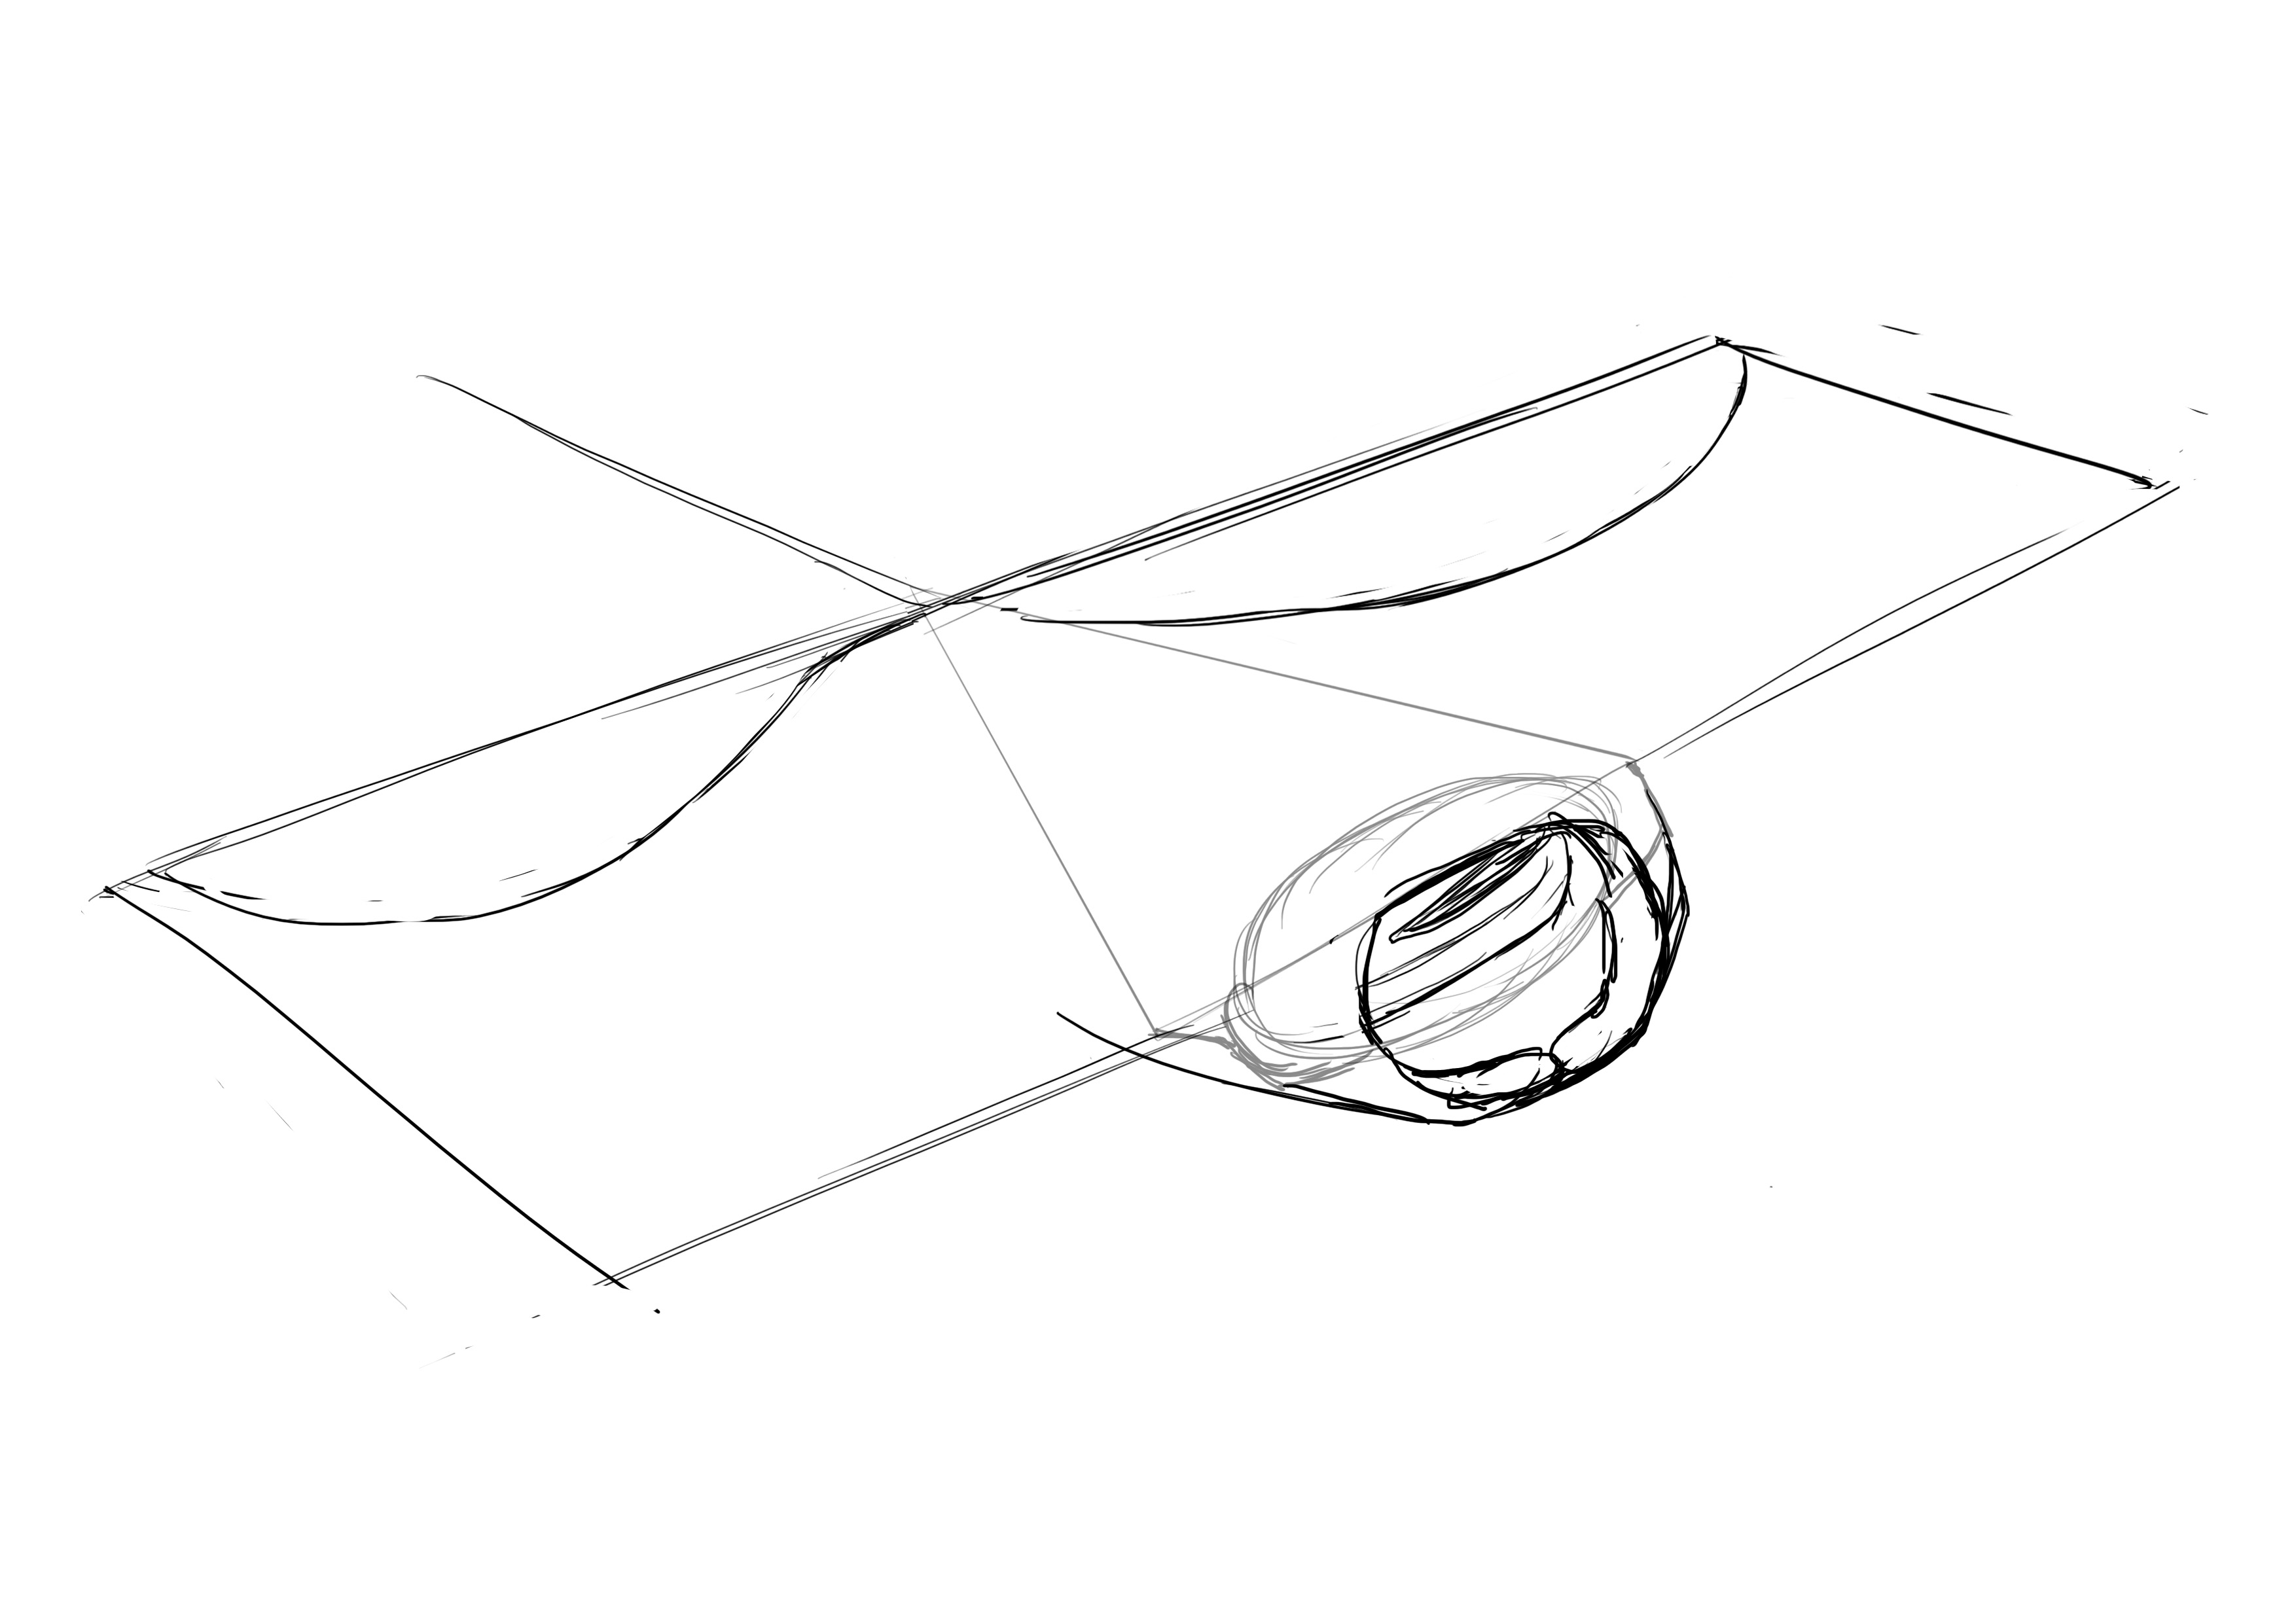
We do the same thing with the front of the wing. The wing closest to us should be wider than the one behind.
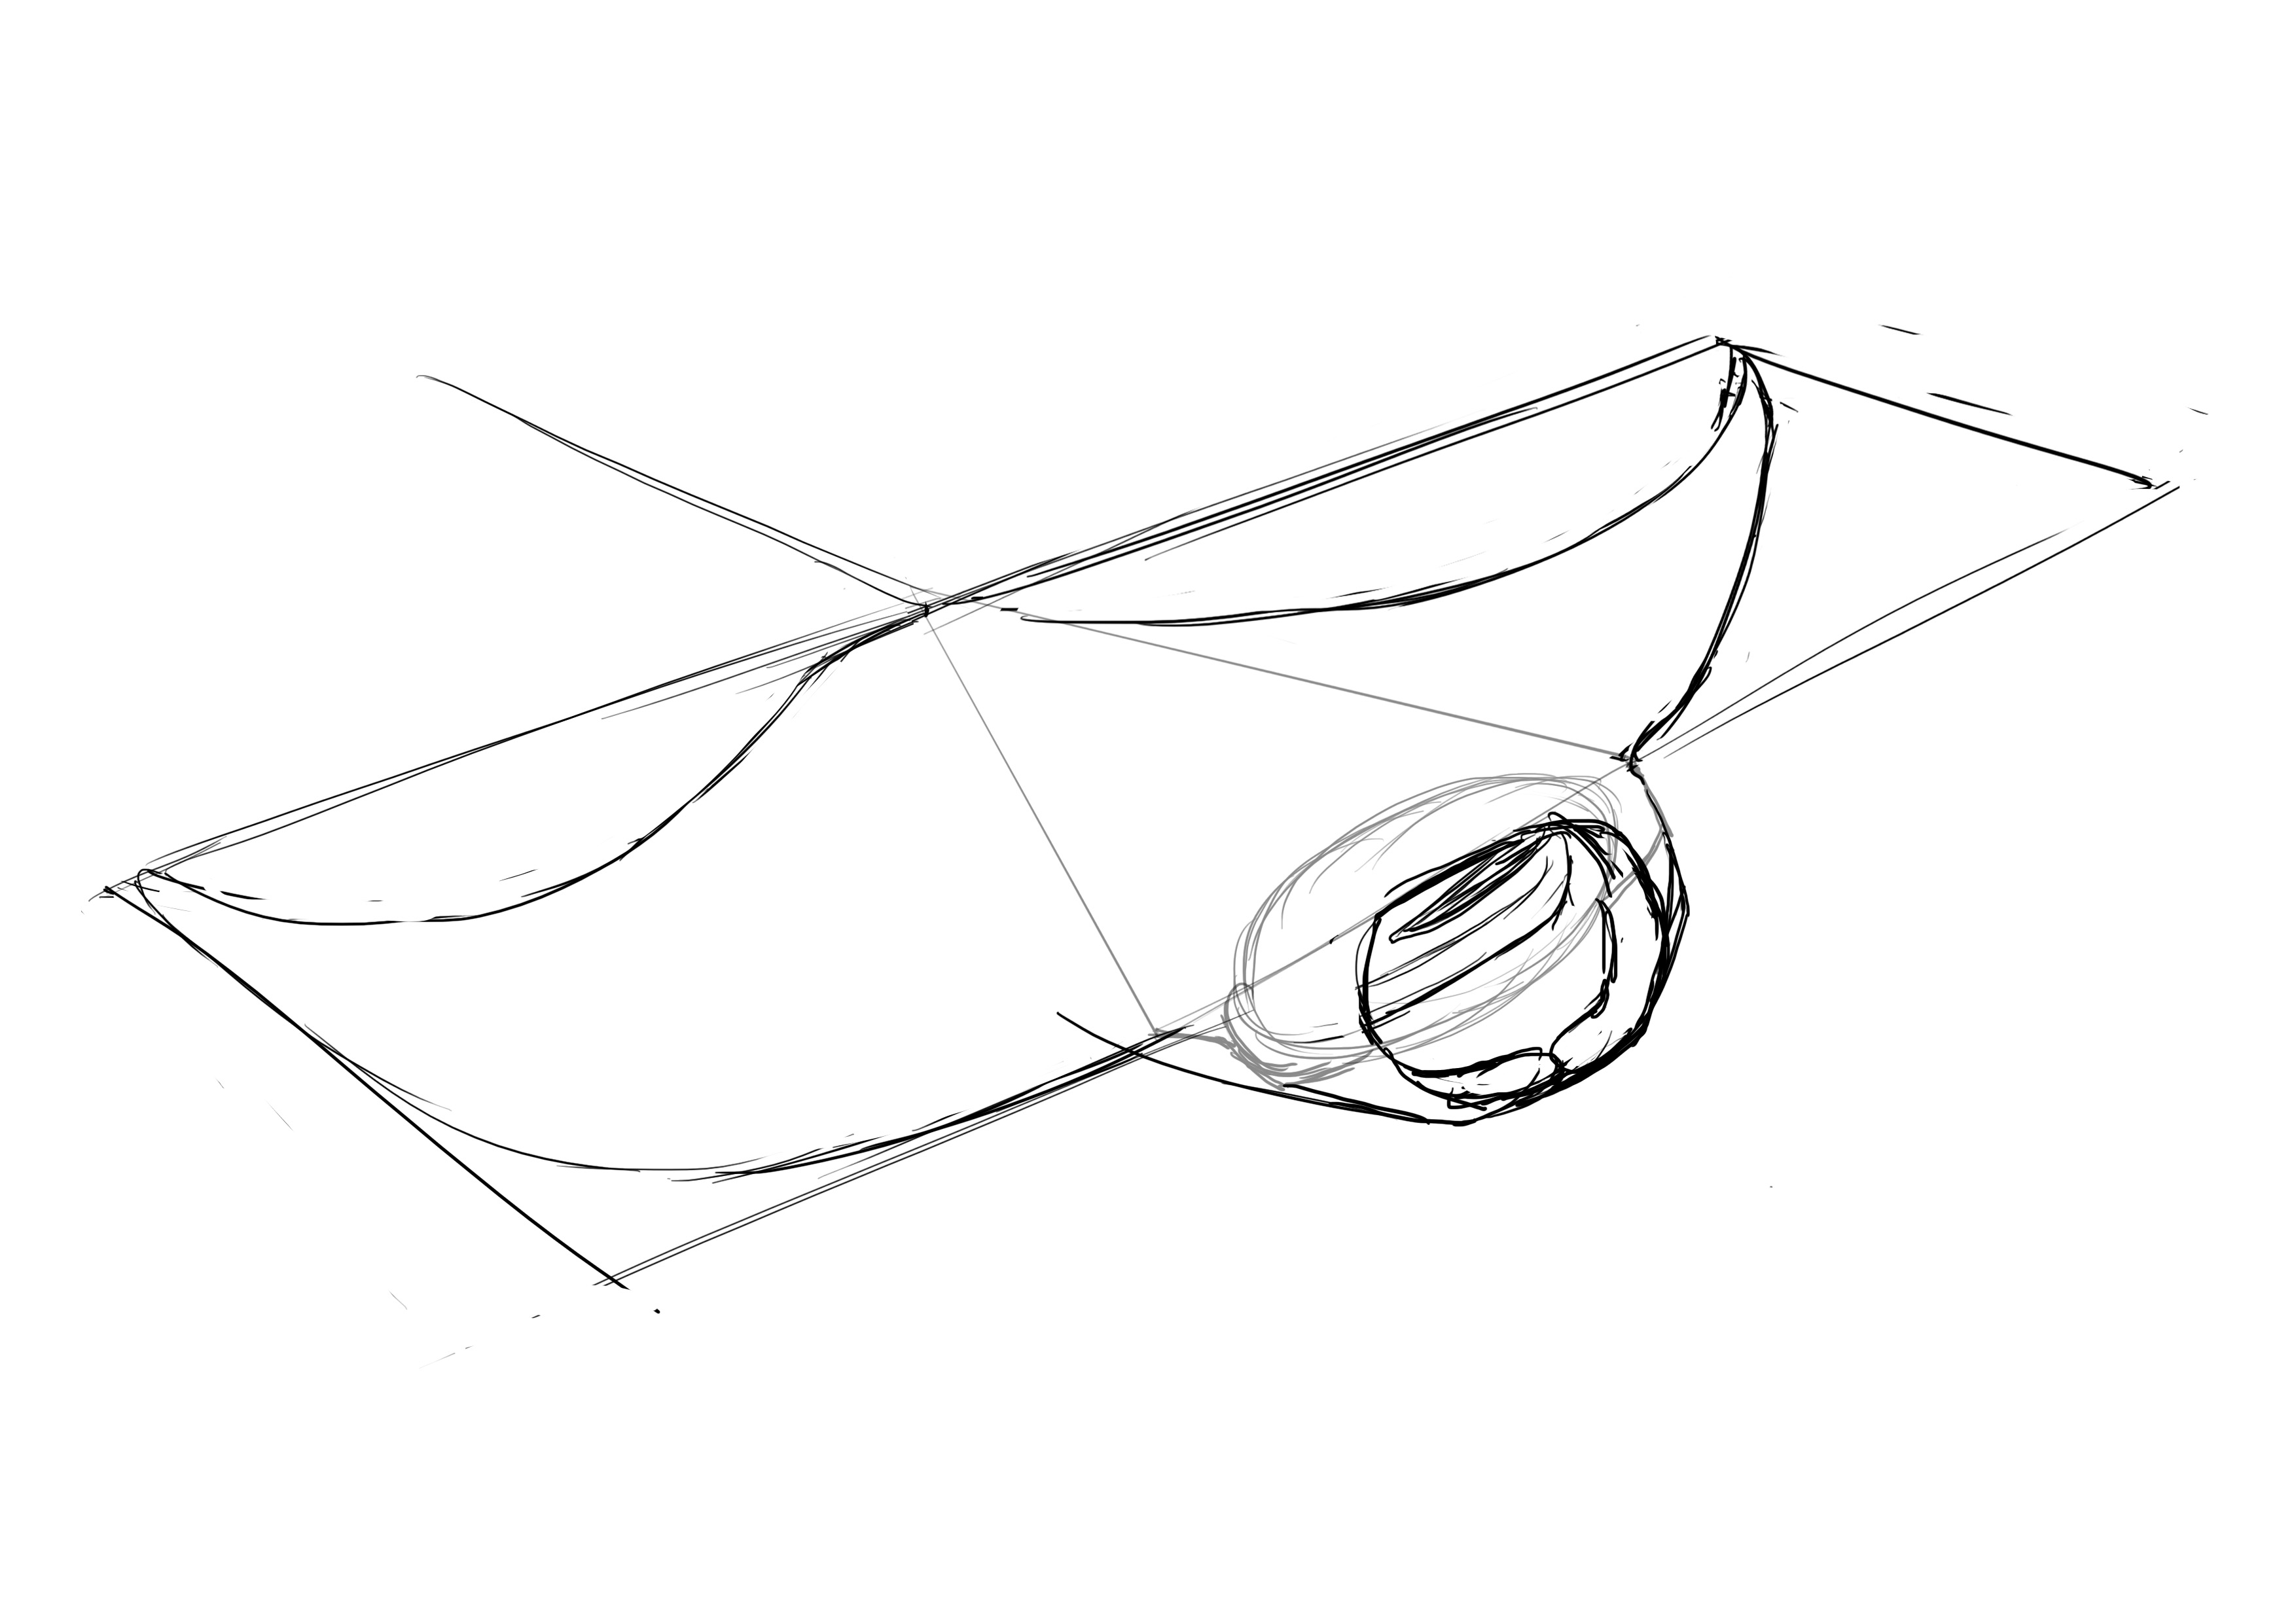
We trace the small triangle just before the sting and we will detail all of that.
DETAILING THE RAY
Well, we've done the bulk of it, there's not much more to redo, except for the head and placing the markings (black on top, white underneath).
The eyes are located on protrusions (a bit like hammerhead sharks) and rather towards the underside of the body. They are barely visible in our photo.
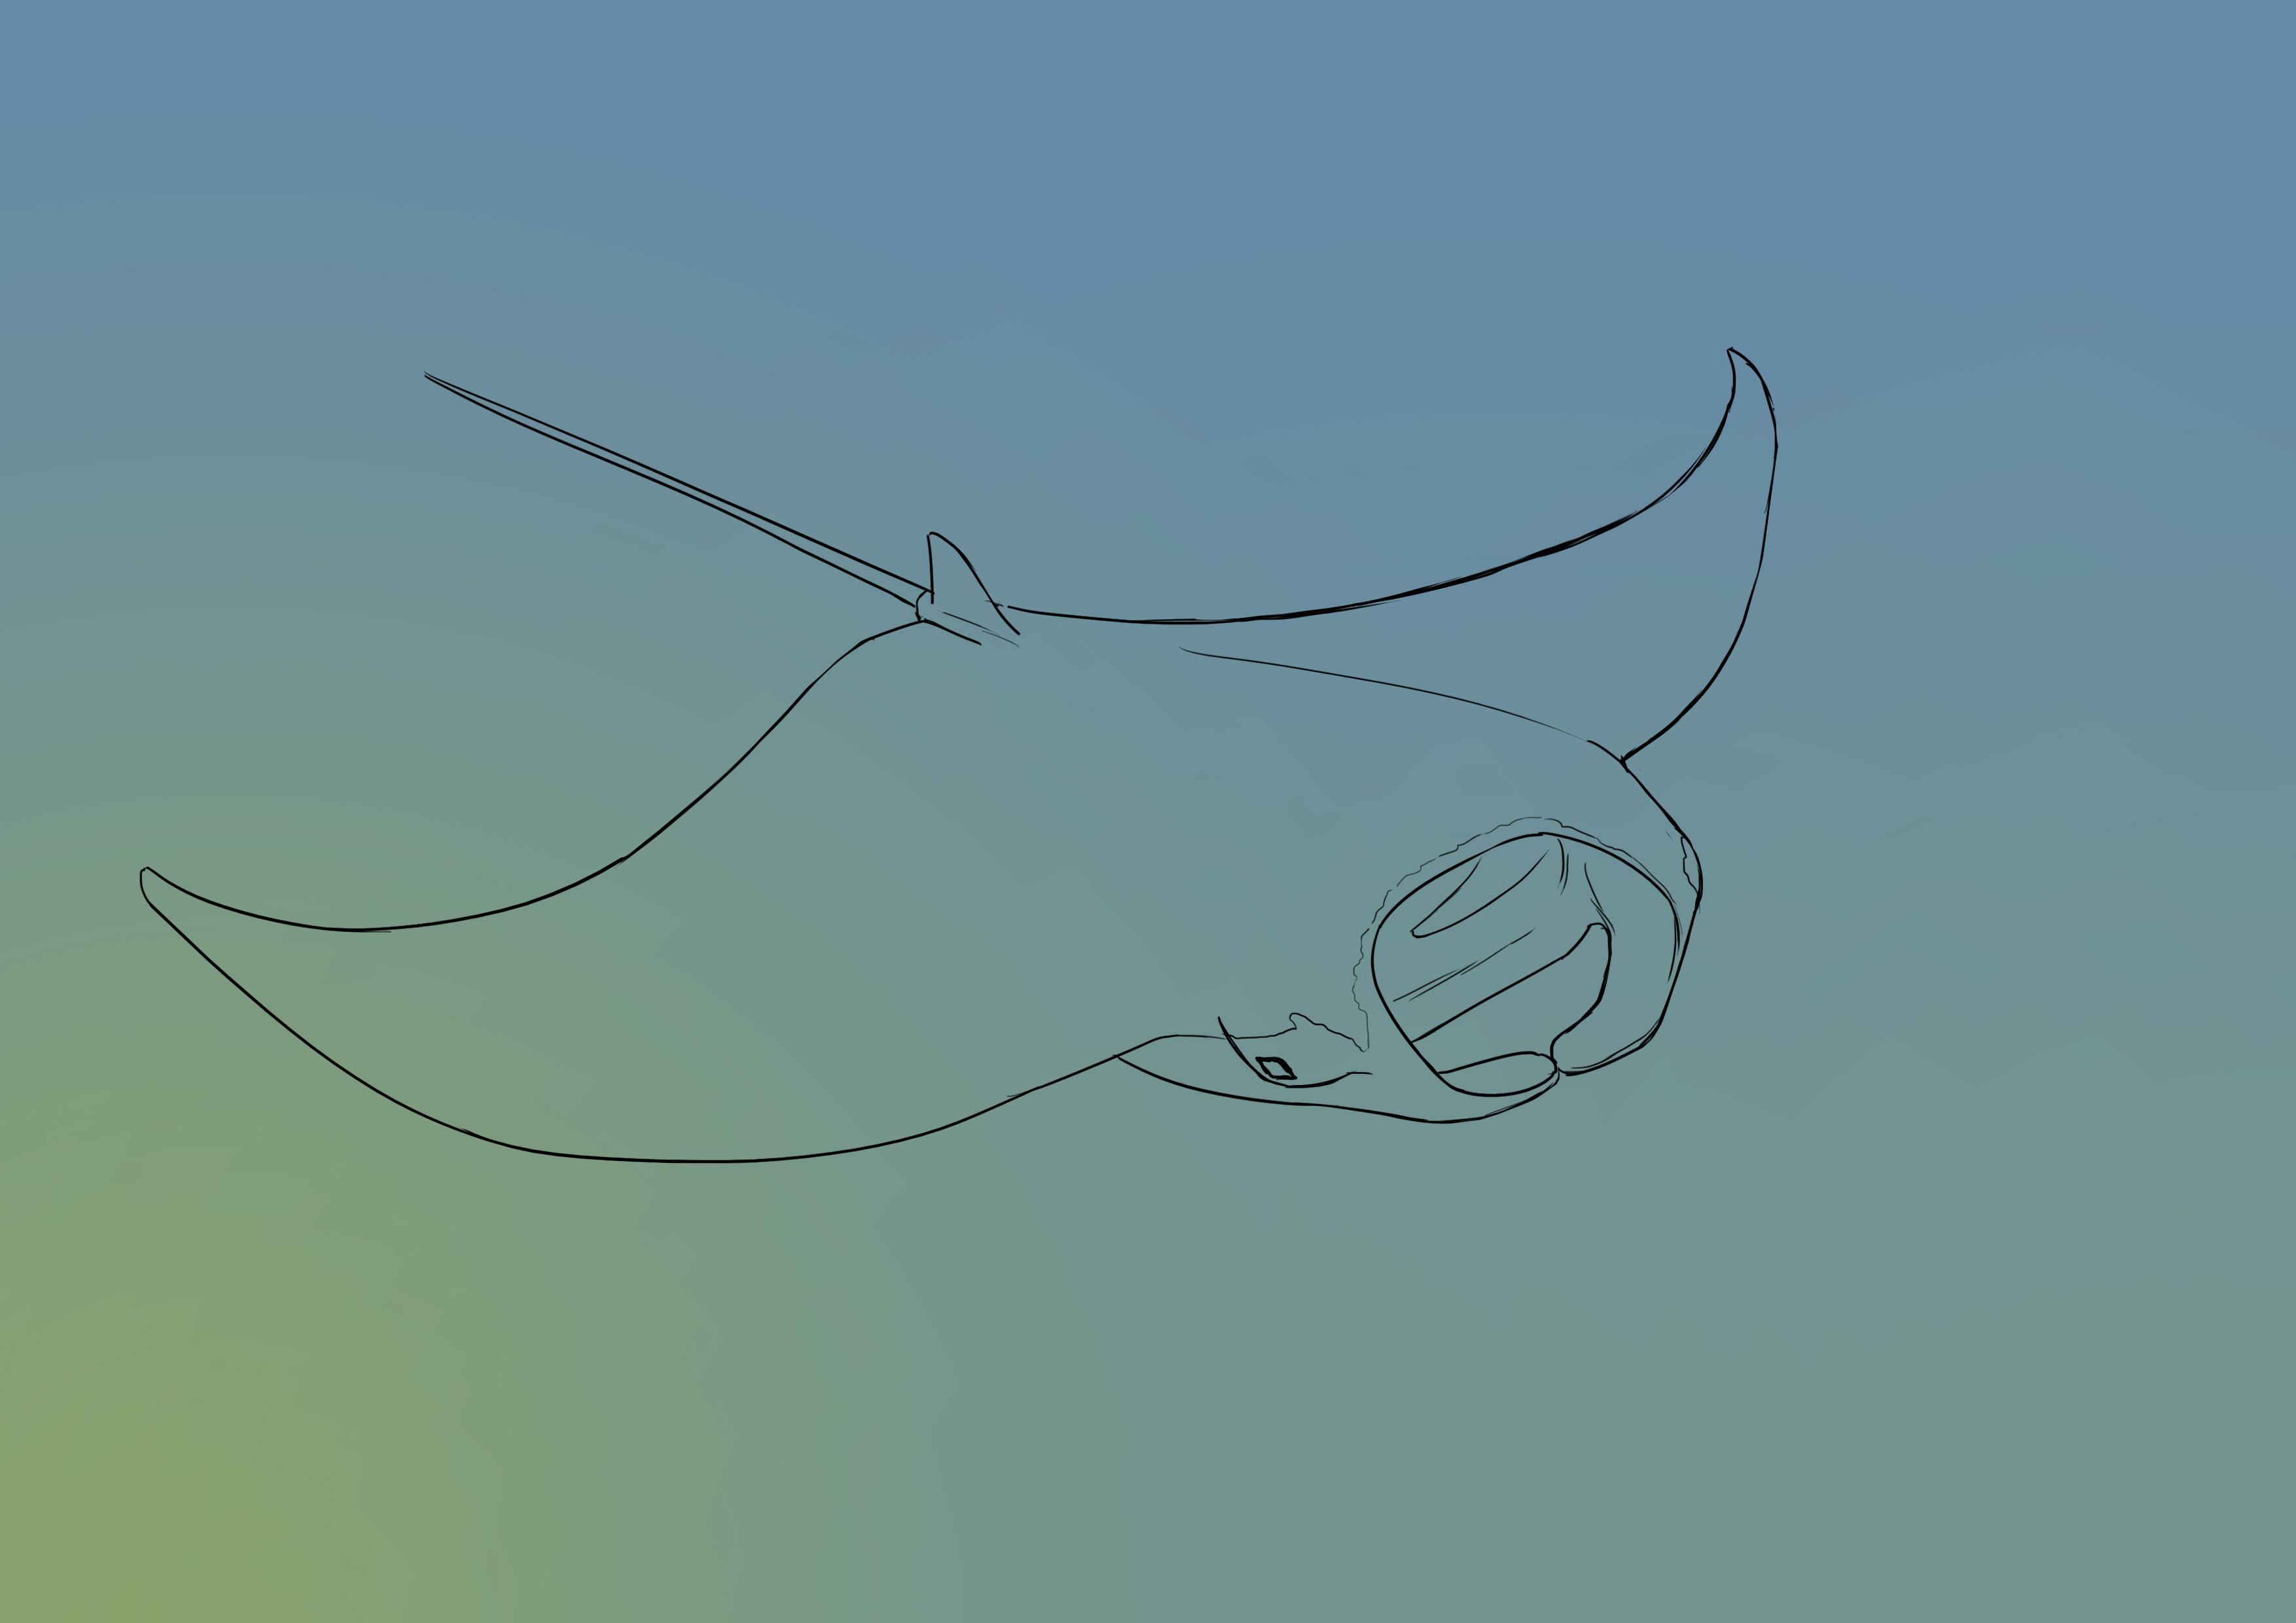
Following this, you should end up with this result:
ADDING COLOR TO THE EEL
And as we still have some room left, we're going to do the ray in color ^^
We start with a background that will be gray / blue / green.
We will then choose a slightly bluish white.

We will place the shadows in a blue-green / purplish color. Darker or lighter depending on the areas.
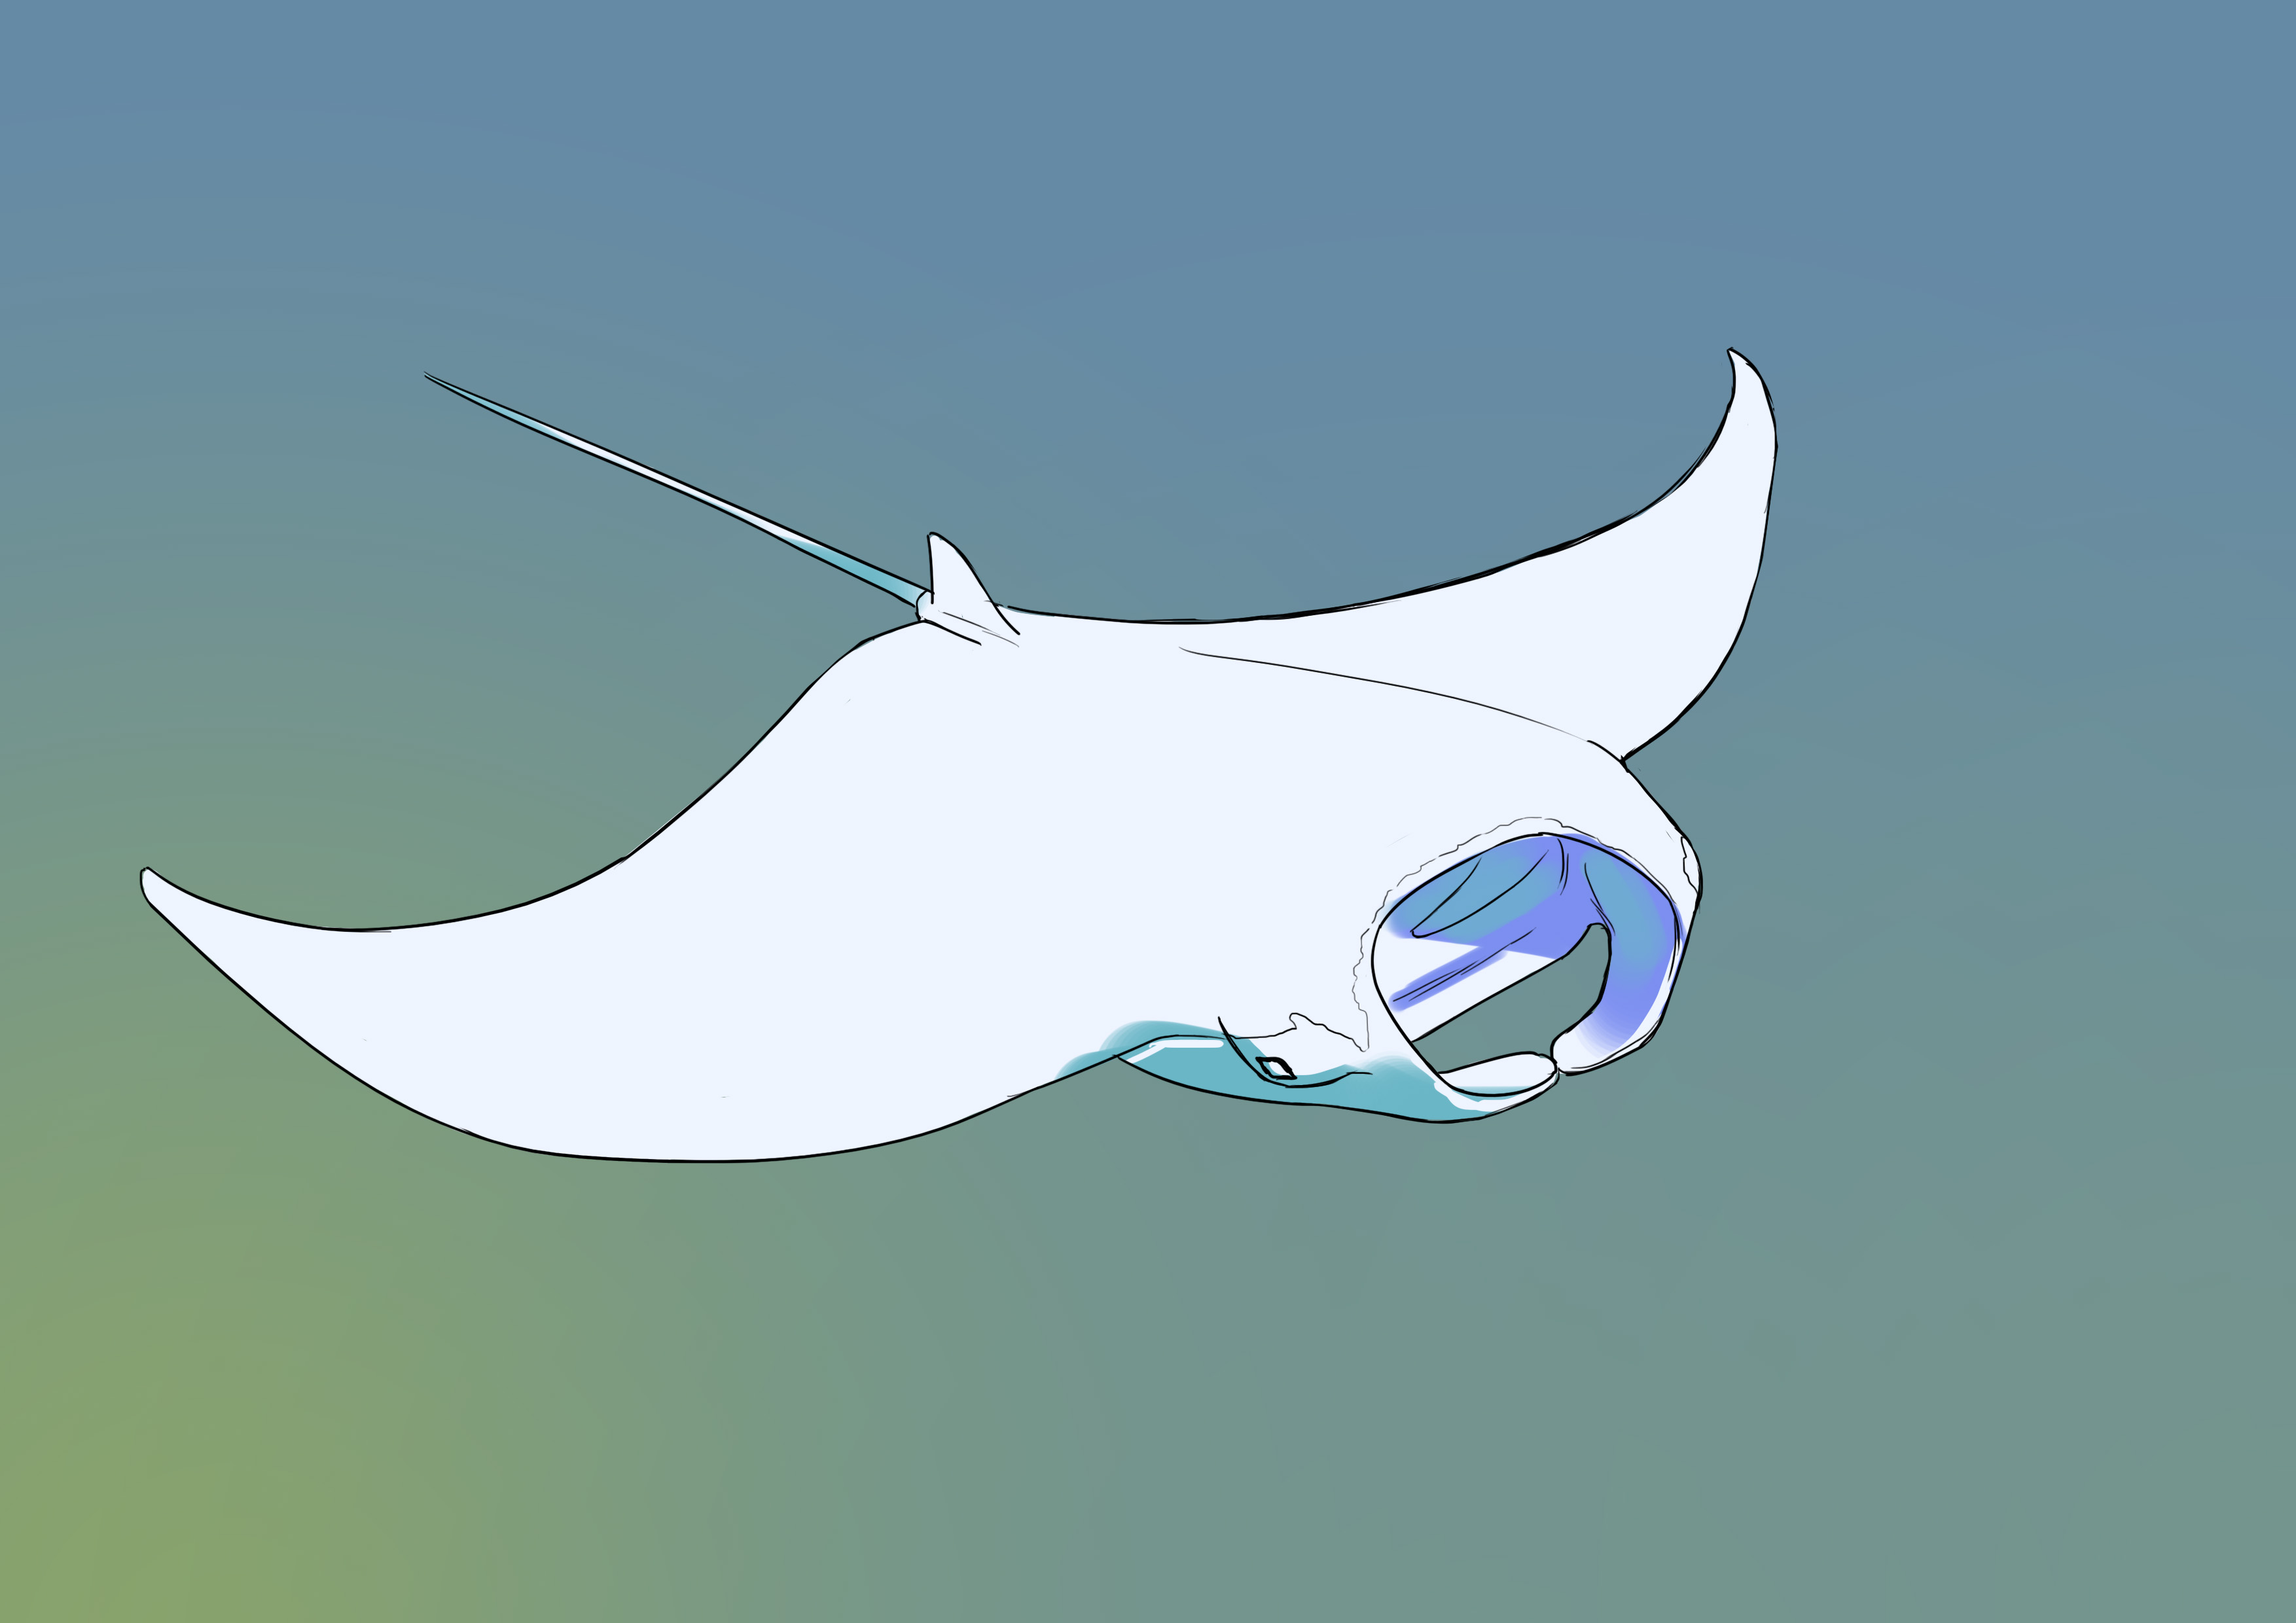
Then we move on to the back with a shade between pink/brown and purple. Don't hesitate to create nuances. If you are using watercolor, you should be able to easily reproduce the variations in shade that we see on the back.
We slightly darken the areas where it's needed: the head, the start of the wings, the fin, and the wingtips. And we are done. I told you: it’s very quick ^^

So let's recap all this:
- As always, we observe the model.
- We identify features, particularly for the head and fins.
- Ask yourself questions to understand what you are drawing (how does the creature breathe?).
- As always, look for simple ratios to avoid mistakes.
And with that, have fun, there are dozens, what am I saying, hundreds of other species of fish to draw :D
Discussion
3 comments