How to Draw an Eye

Eyes are the mirror of the soul, it is said. This probably explains why drawings of eyes are abundant on the internet. Today, we are going to see how to draw one and to do this, we will really go step by step. Because to draw a realistic eye, we cannot be satisfied only with the eyeball.
We will indeed find a gain in realism if you take the time to properly draw and texture the eyelashes, eyebrows, and various skin areas around the eye. Meticulous work awaits us, but so does a sublime result :D
OBSERVATION OF THE EYE
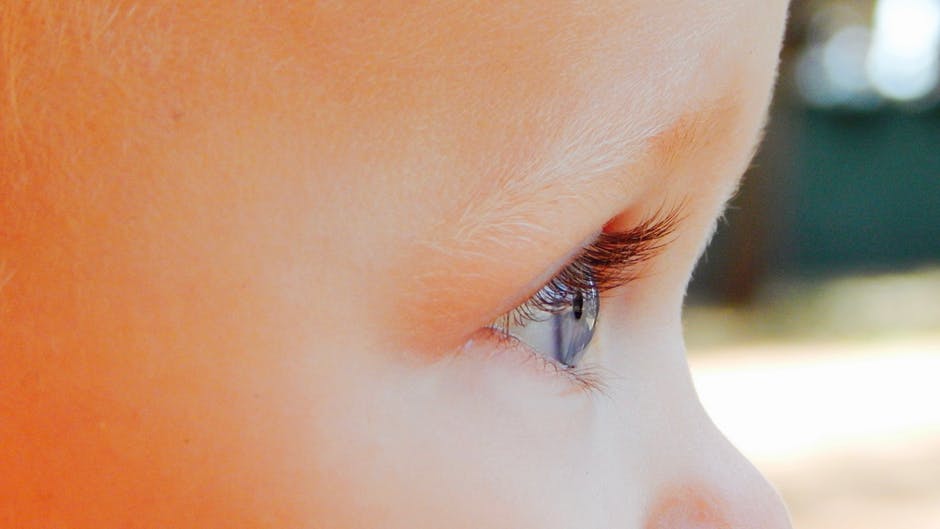
It goes without saying that everyone's eye characteristics change, especially based on ethnicity and age. I'll choose an adult Caucasian eye for the example, but feel free to choose a different model. However, don't forget to do some observational work beforehand as there are subtle differences (for example, in the eyelids among Asians ^^).
To get back to our sheep, today we need to talk a bit about anatomy. Not too much, I assure you, but still.
So how does an eye work?
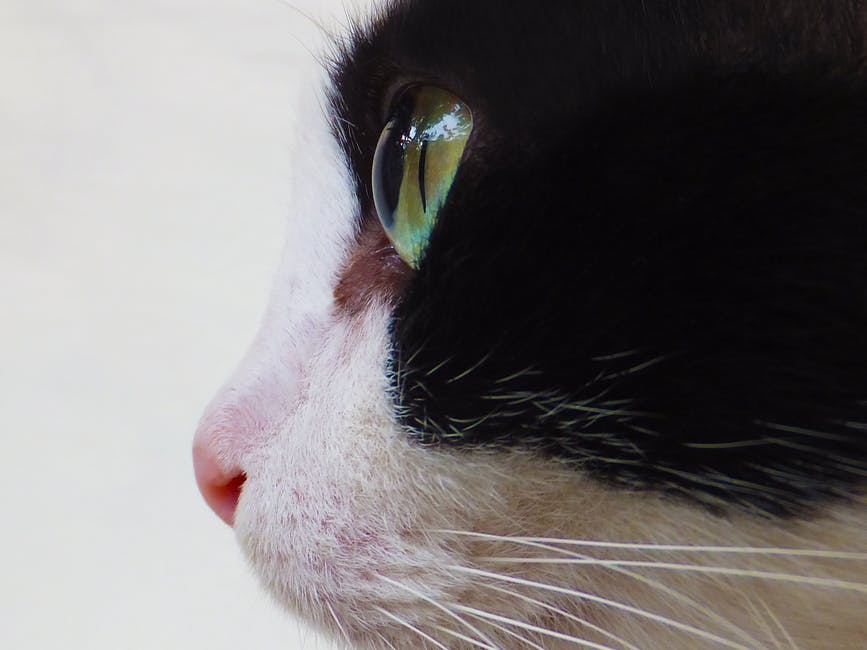
I don't think I need to tell you that the eye, strictly speaking, is an eyeball, therefore a sphere, covered by muscles and skin which gives us the eyelid whose shape varies from one individual to another.
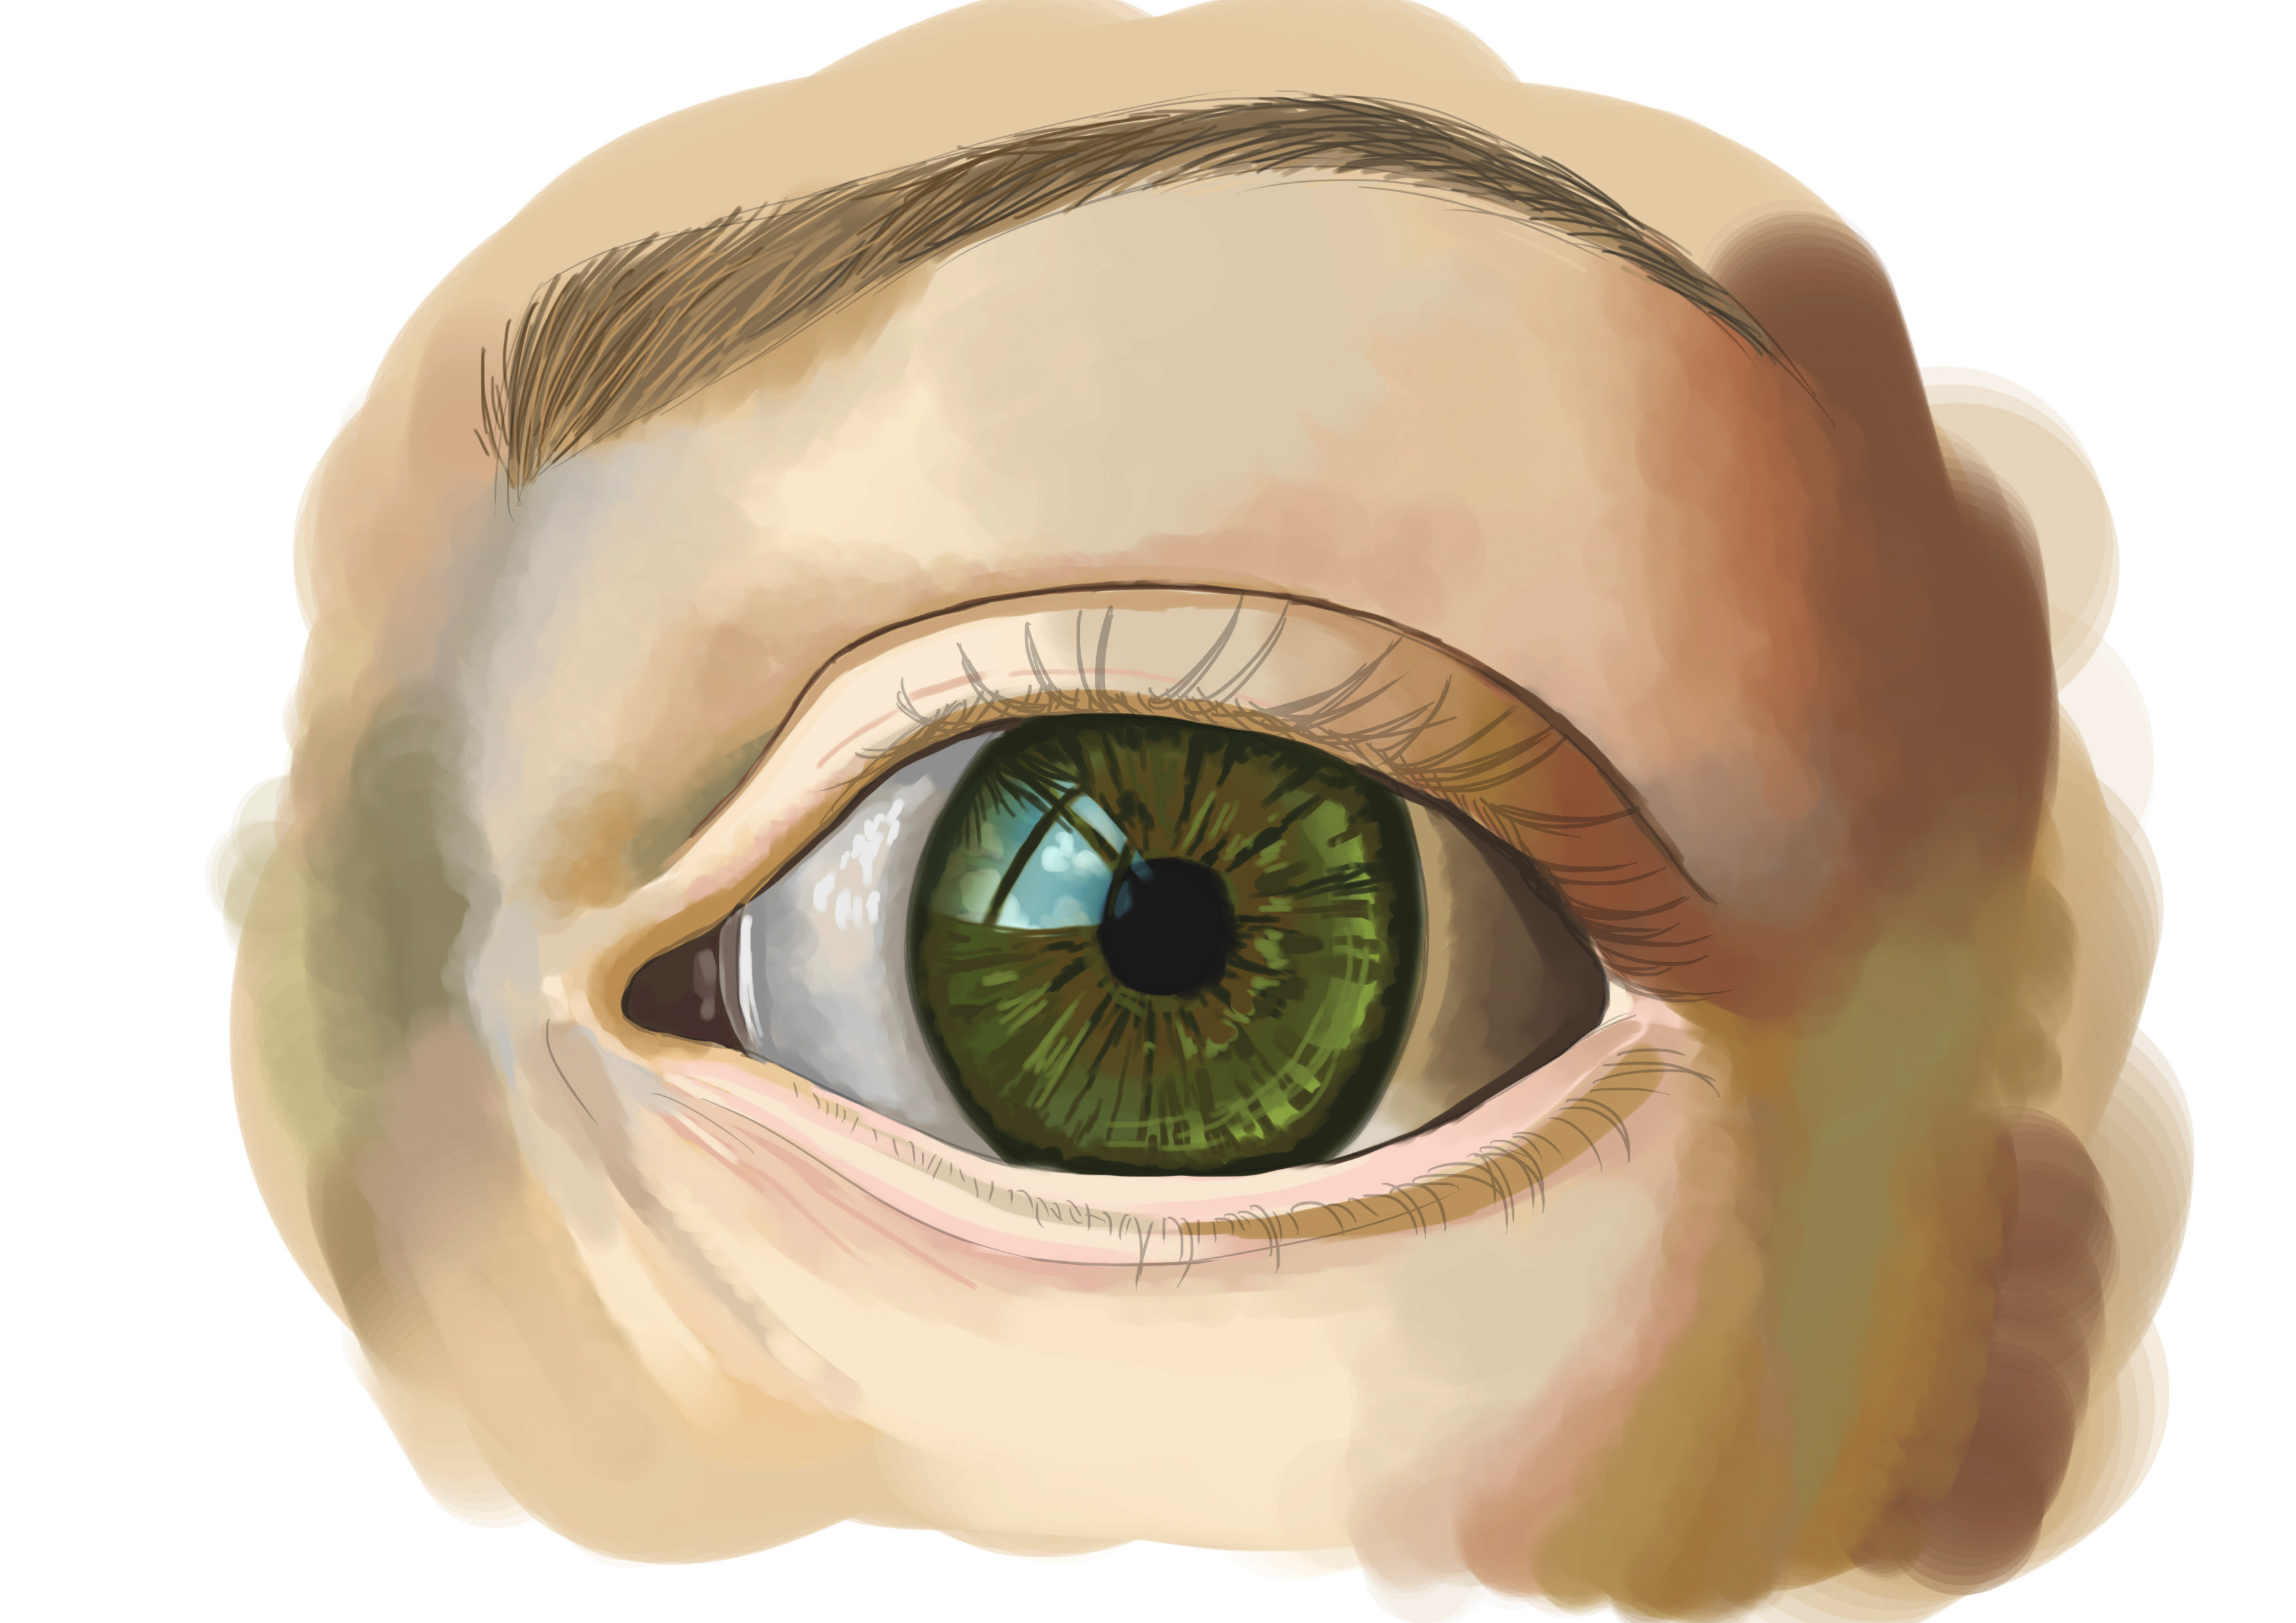
This eye features a round-shaped iris with highly variable color, as well as a pupil in its center that allows the eye to see. The size of the pupil varies depending on the amount of ambient light (same principle as cats and most animals actually).
From a side view, it still maintains a spherical shape, of course, but the iris and pupil are "flat" areas with a translucent dome over them. This is very evident in our feline friends. In humans, the iris is smaller, so this phenomenon is less visible, but can be perceived, notably with the positioning of the pupil.
Along the edge of the eyelid we have the eyelashes, both above and below, again more or less abundant depending on the individual. They are not directly placed on the eye, there is a rim between the eyeball and them, but they are located on the outside. Particularly so that we can close our eyes comfortably.
The inner corner of the eye reveals a bit of the muscles and mucous membranes that surround our eyeball. It's not glamorous the way it sounds, but it's still part of the important stuff ^^
Above, depending on the individual, there is generally an eyelid marked by a crease.
Then we go up to the eyebrow and the brow ridge. The eye is set in a socket, framed by the nose, the cheekbone, and the brow ridge.
In this article, we are going to look at the eye in detail, of course. But after that, it will be important to know how to correctly place it on your face, with the right proportions, etc.
Find a course from the "fundamentals of drawing" training that deals specifically with this and more generally with the proportions to respect in order to have a legible and coherent face:

Let's move on to drawing!
EYE DRAWING
I assume that everyone wants to draw a realistic eye. Generally, that's what we aim for when we want to draw an eye all by itself like that.
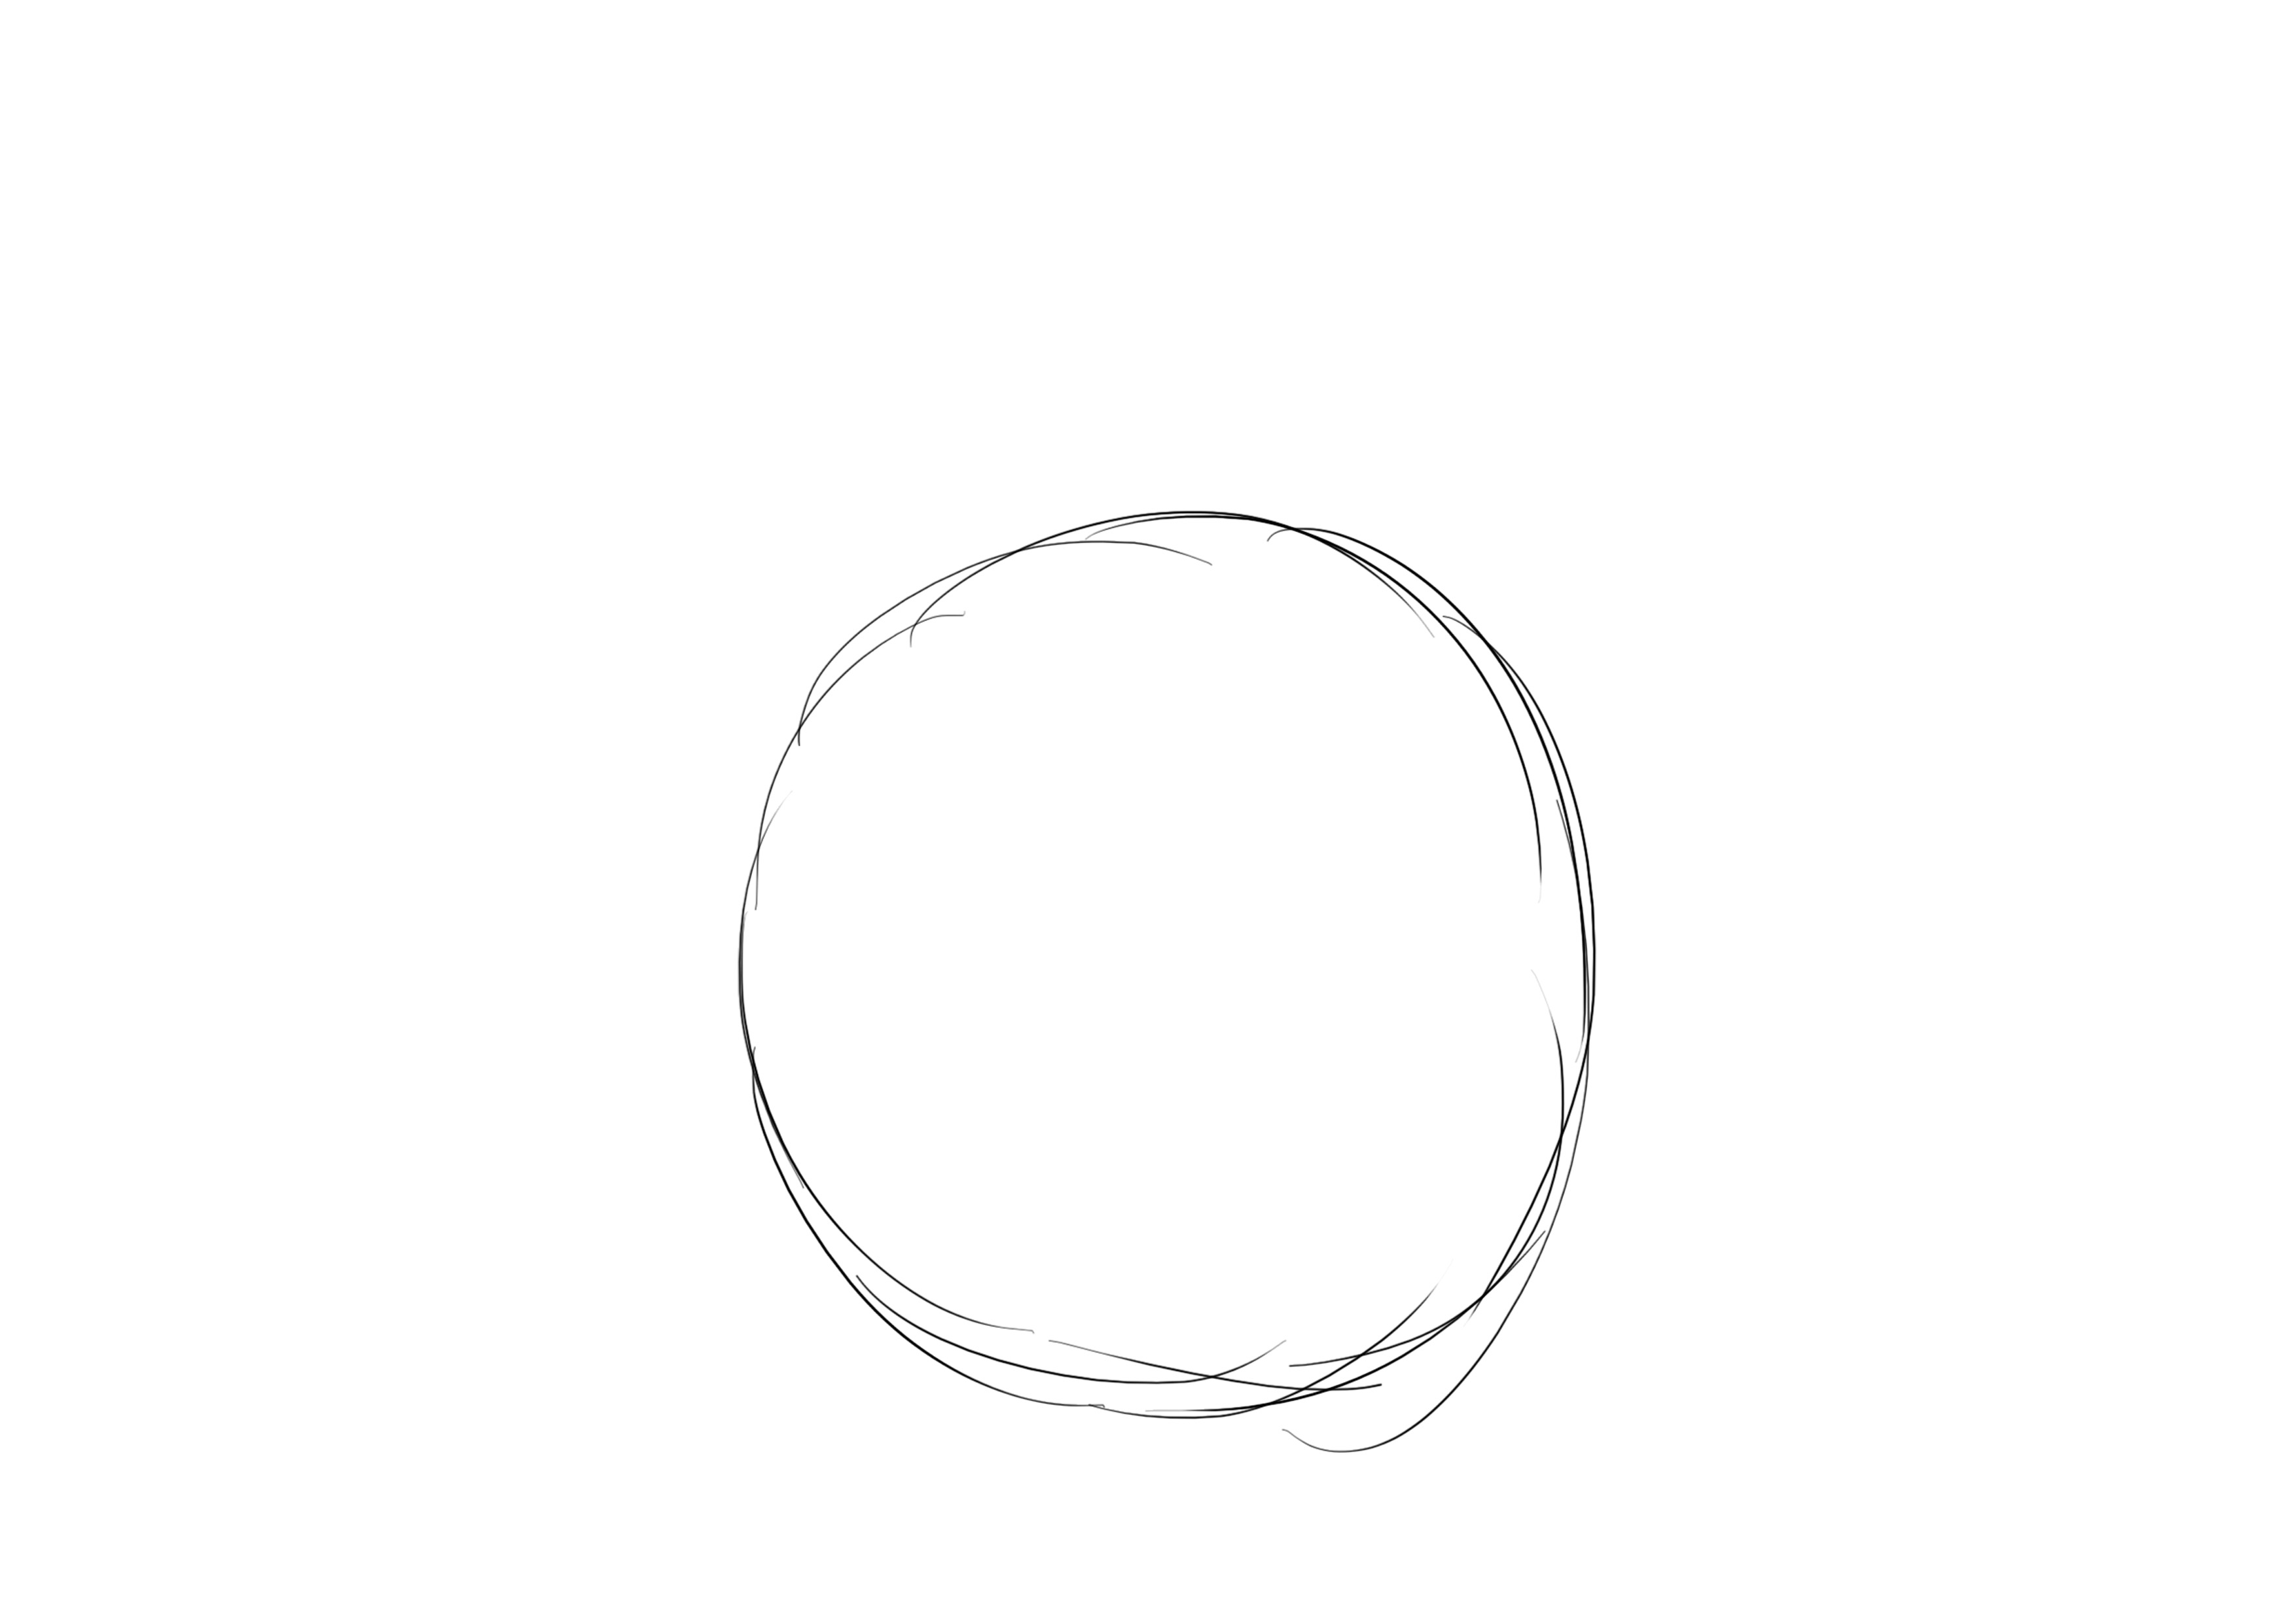
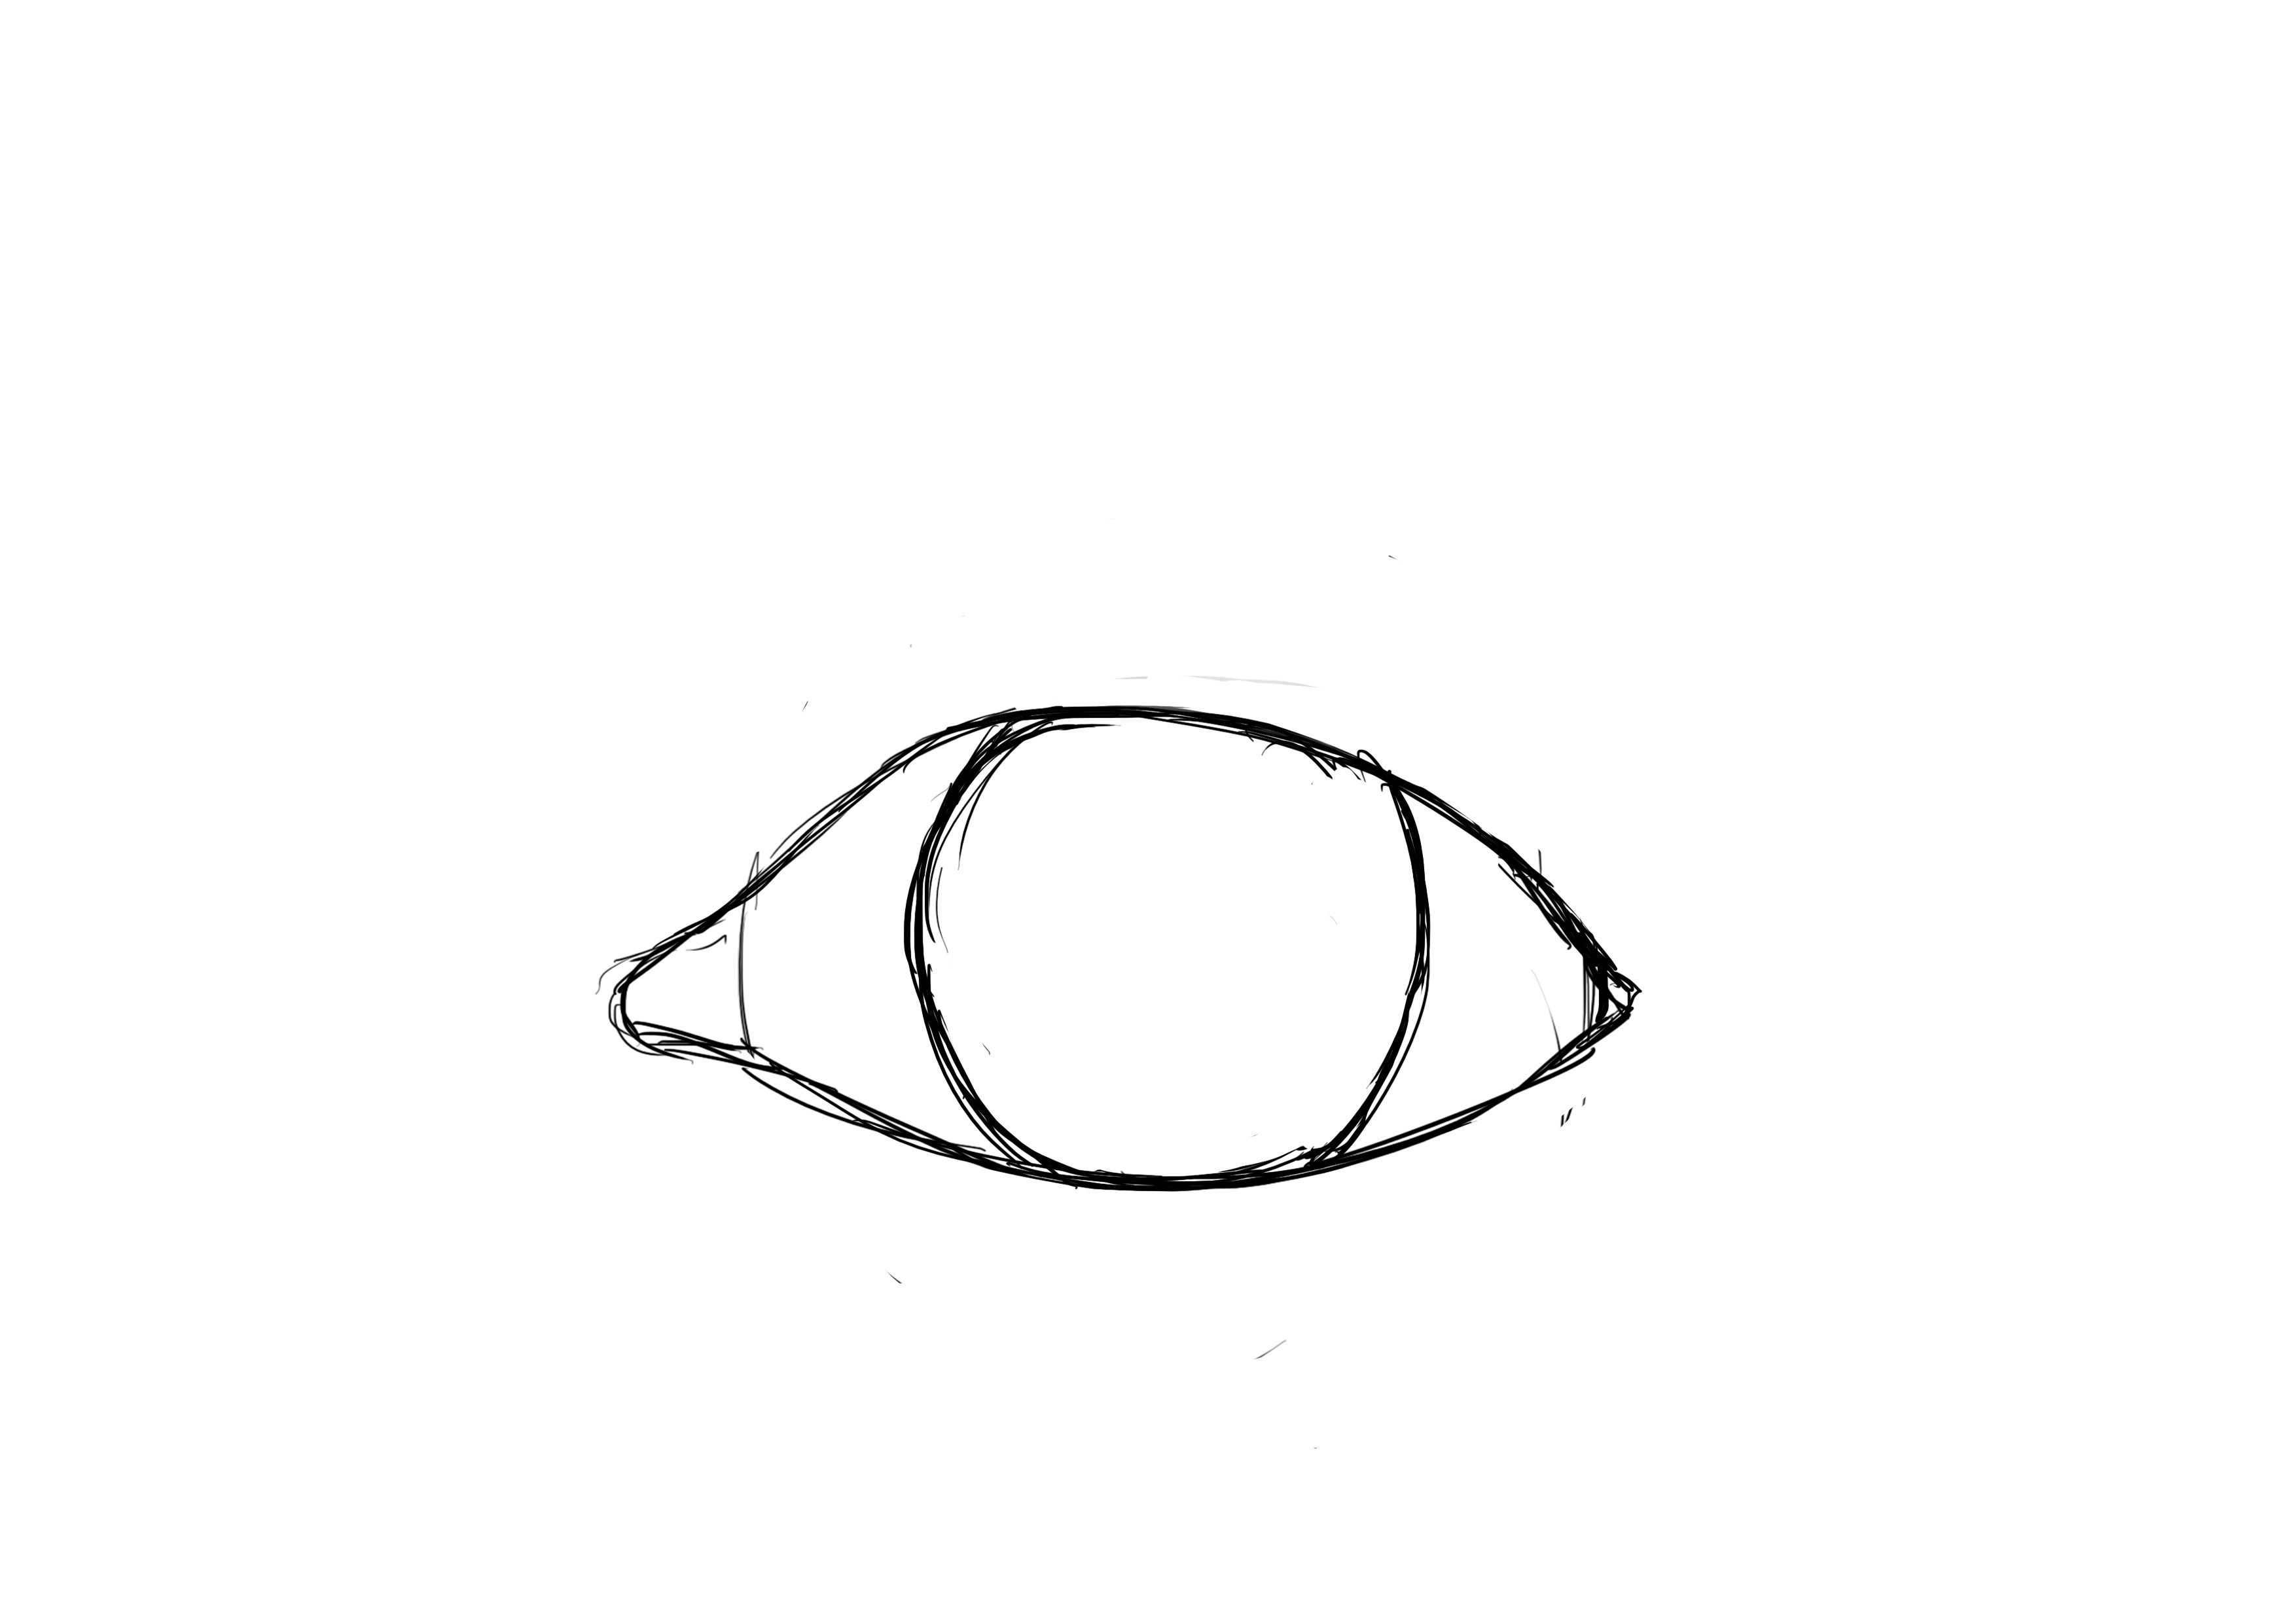
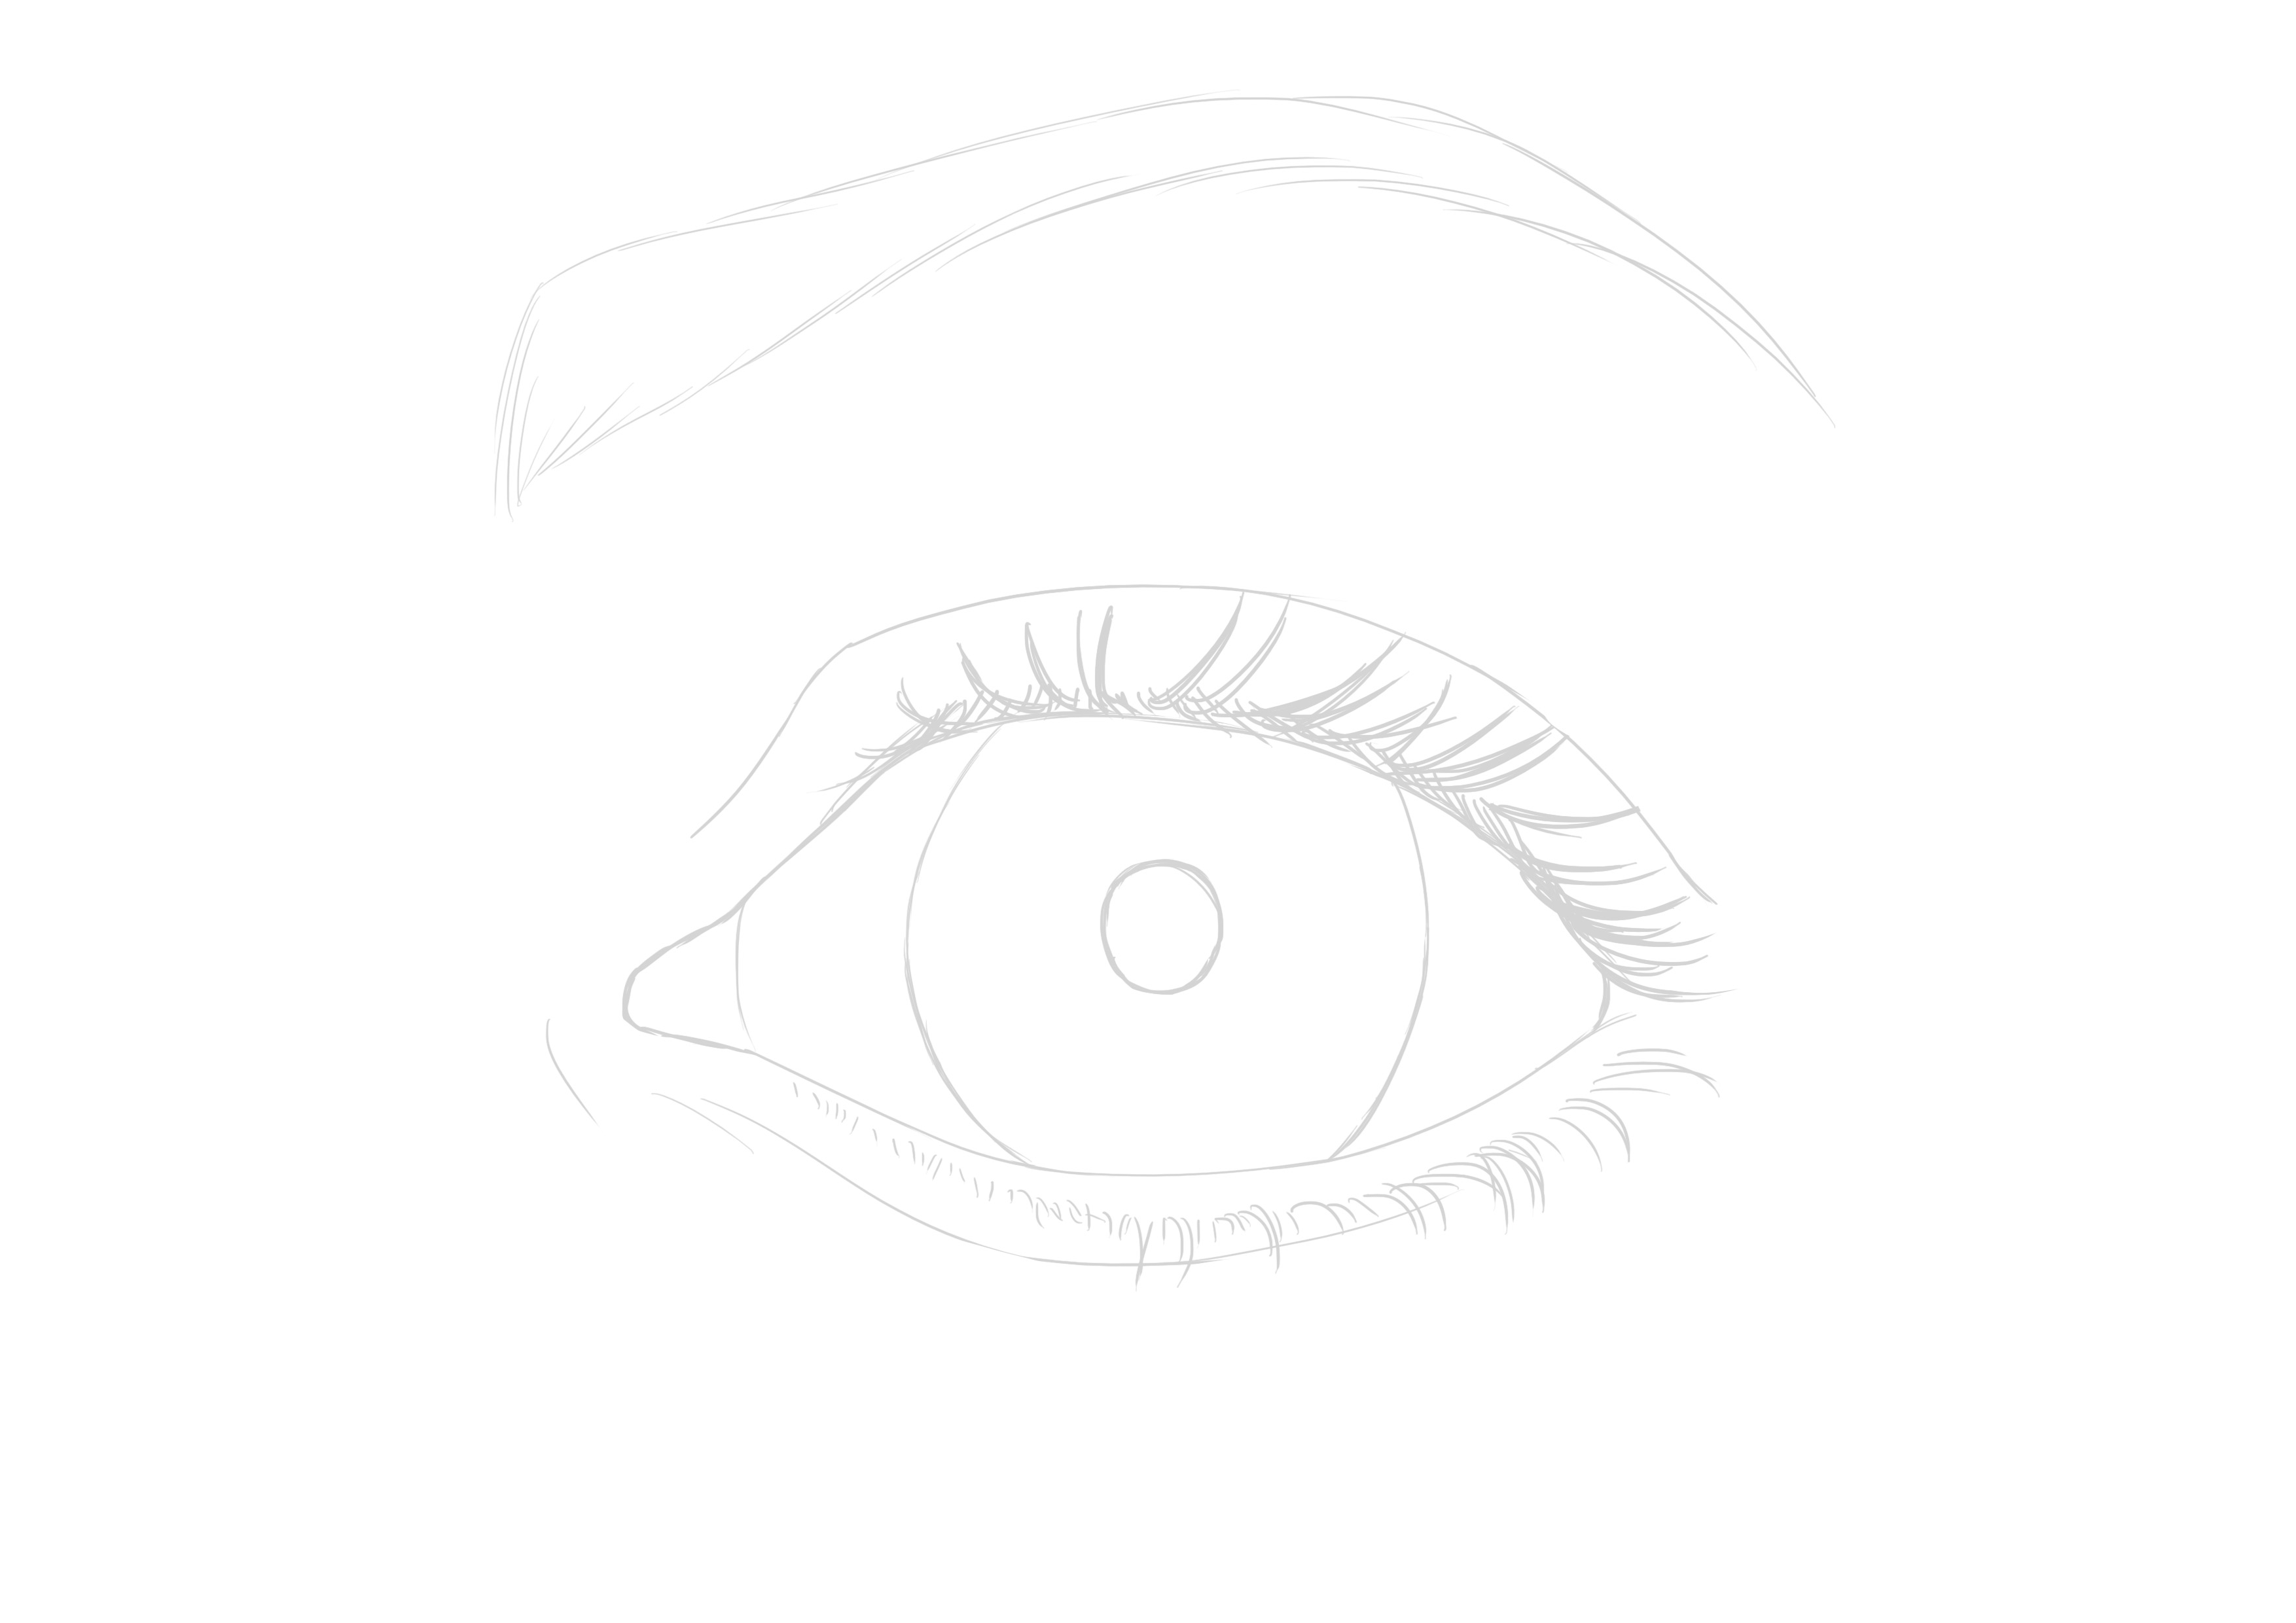
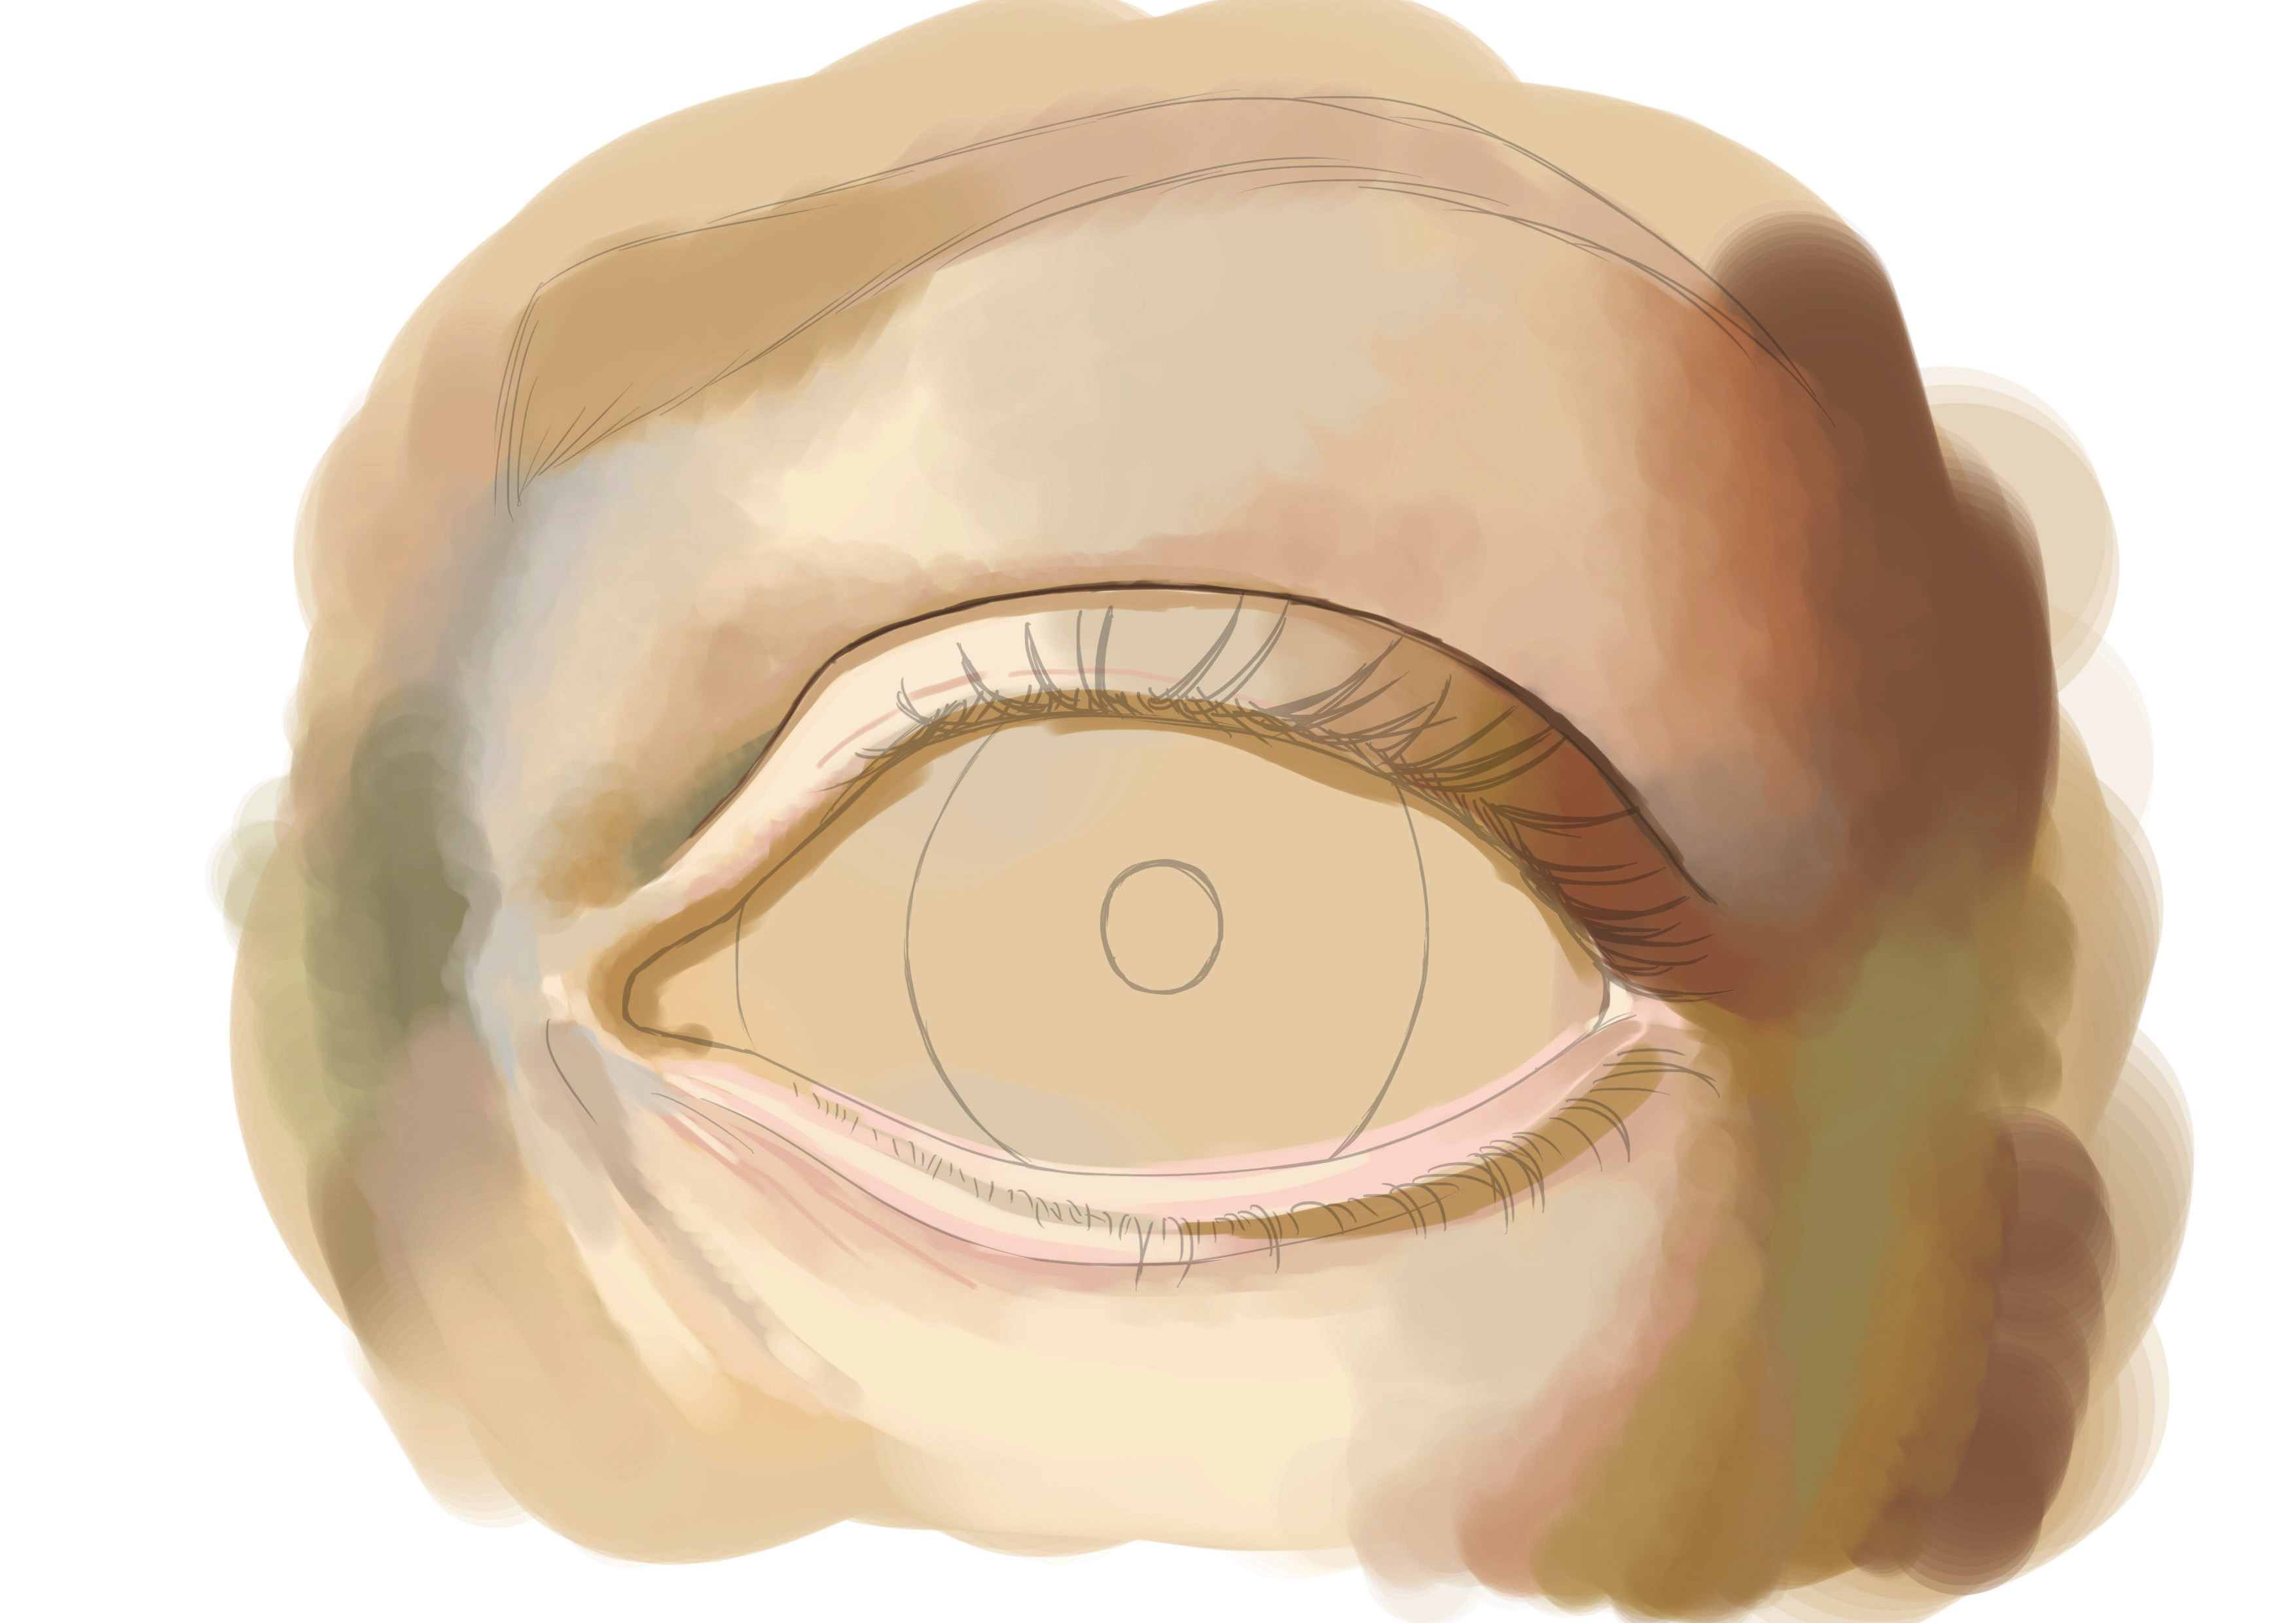
So, let's start by tracing our eyeball.
THE EYEBALL
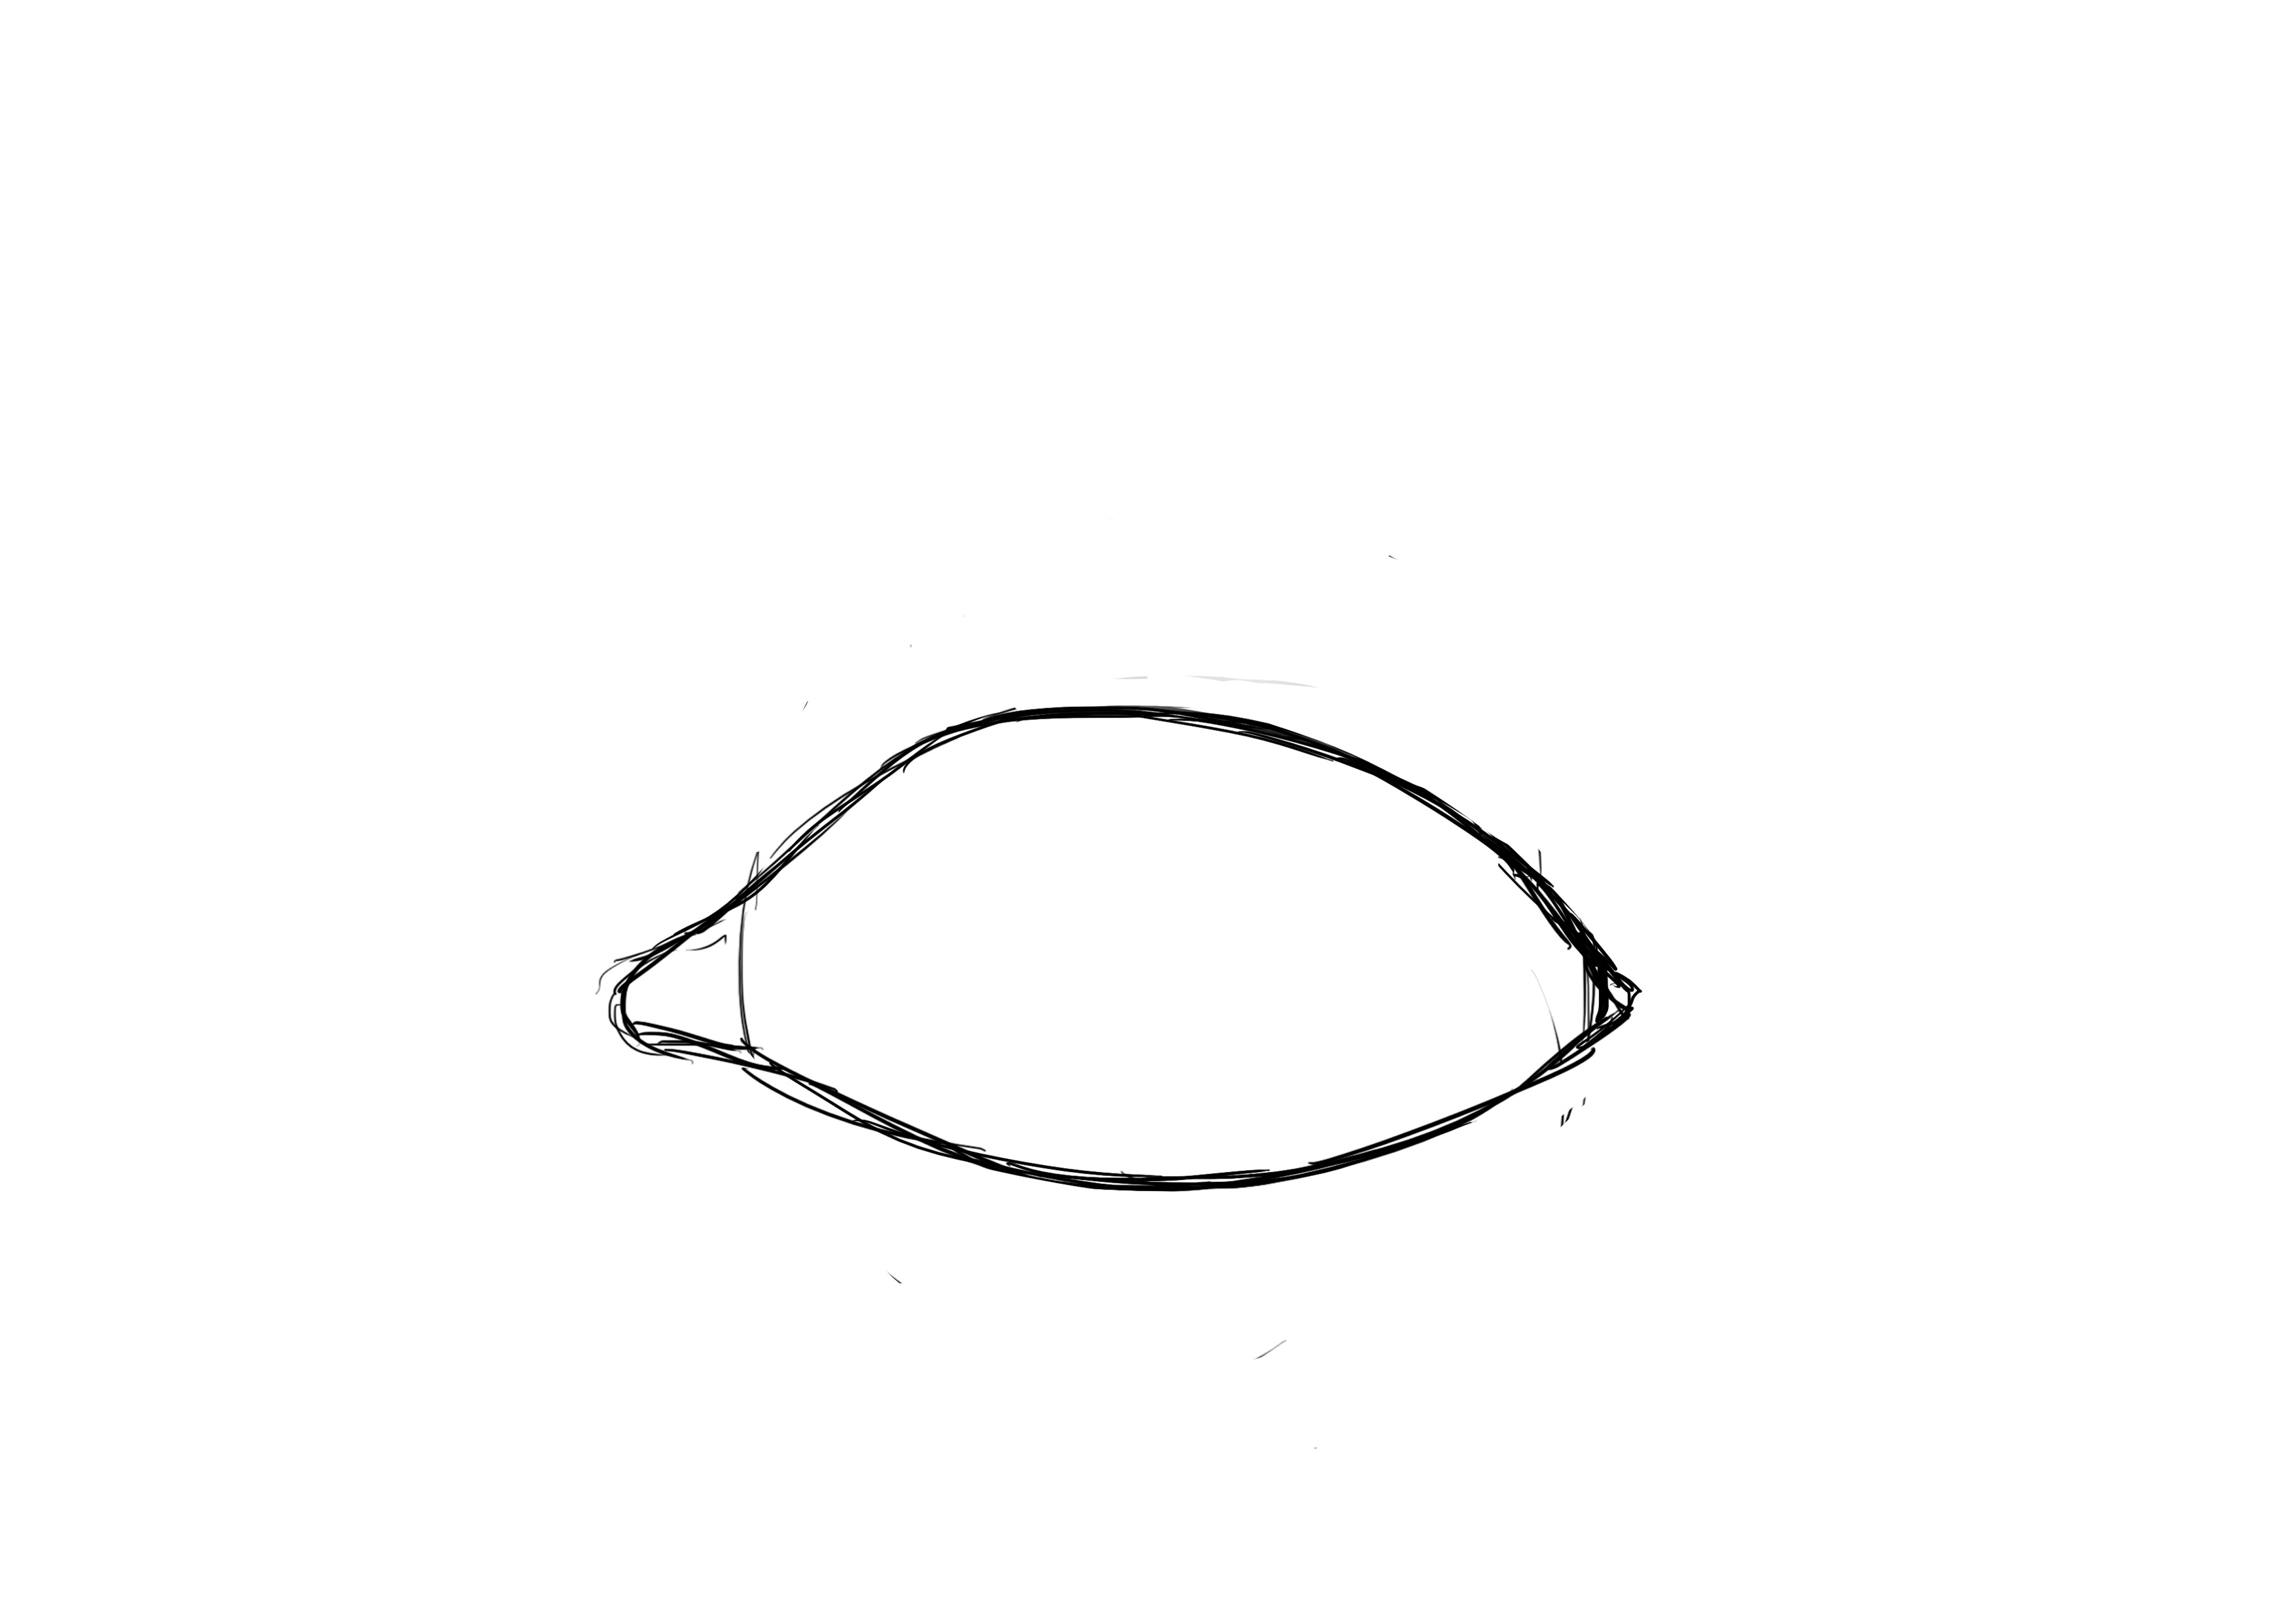
Next, we'll place the eye opening. I'm going for a fairly classic eye, neither almond-shaped nor droopy, but feel free to choose a different model if you wish ^^

We do not forget the inner corner of the eye that protrudes from the eyeball.
You can erase the lines on the globe, we won't need them anymore.
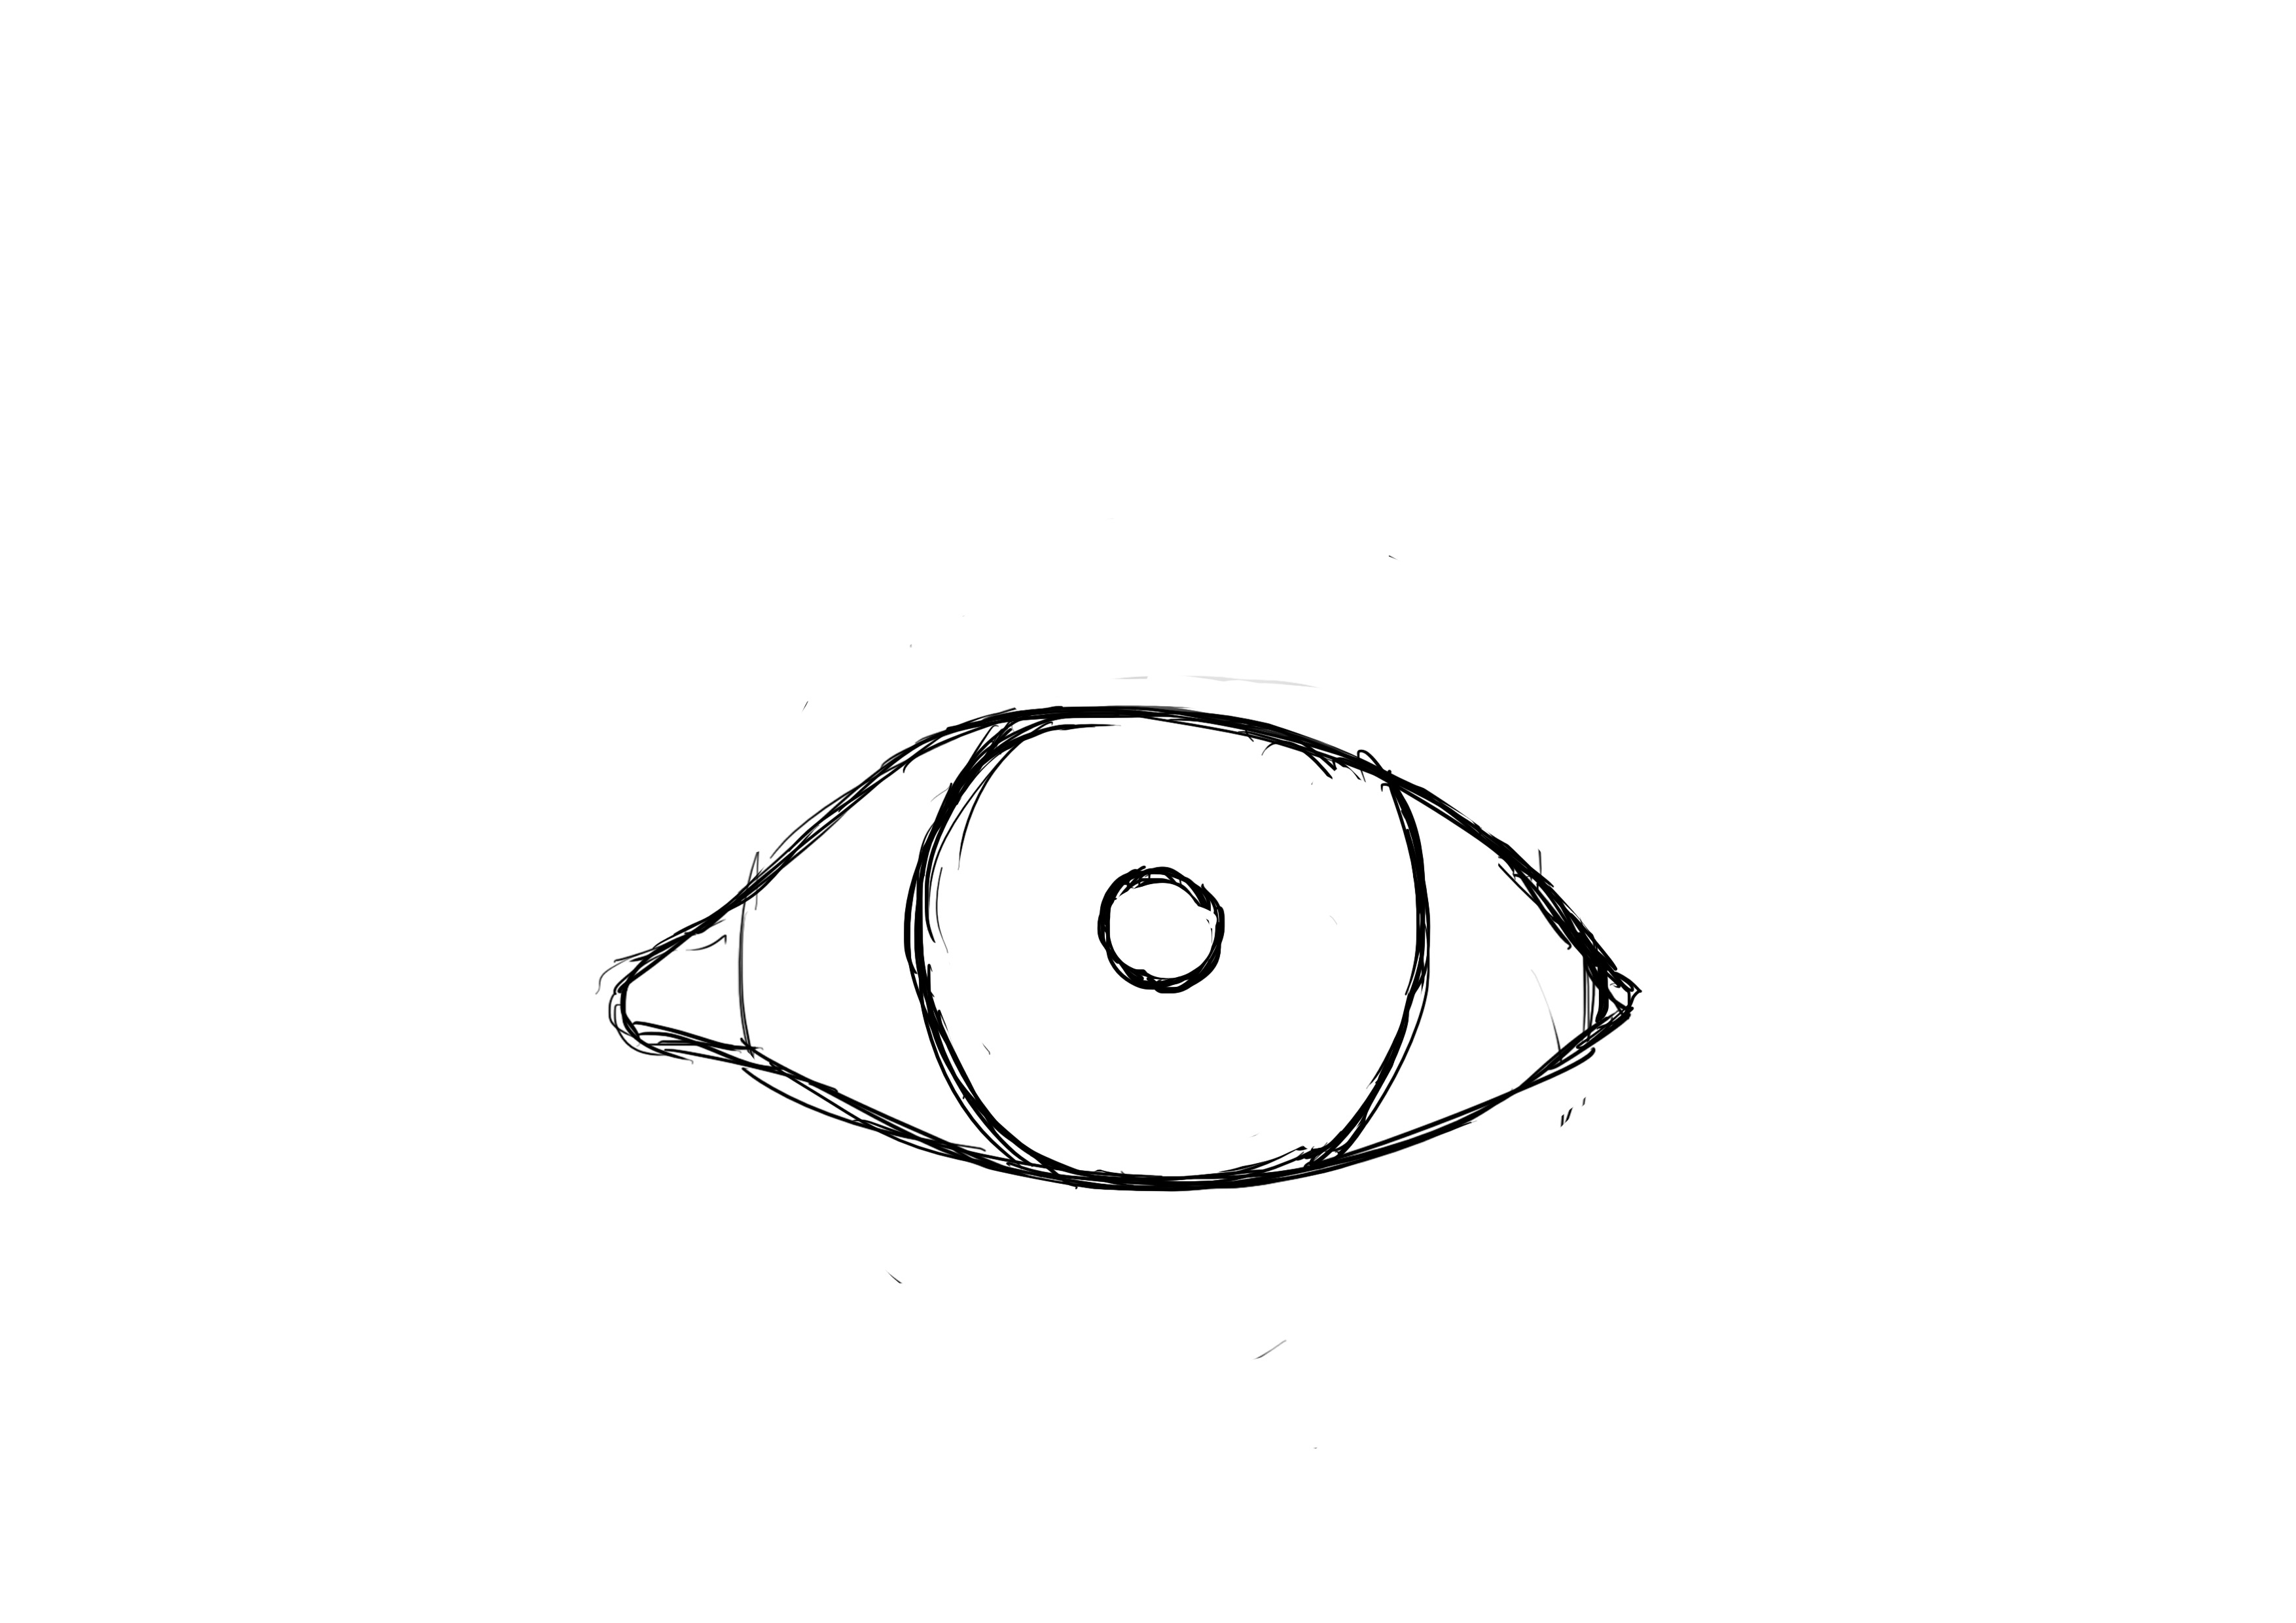
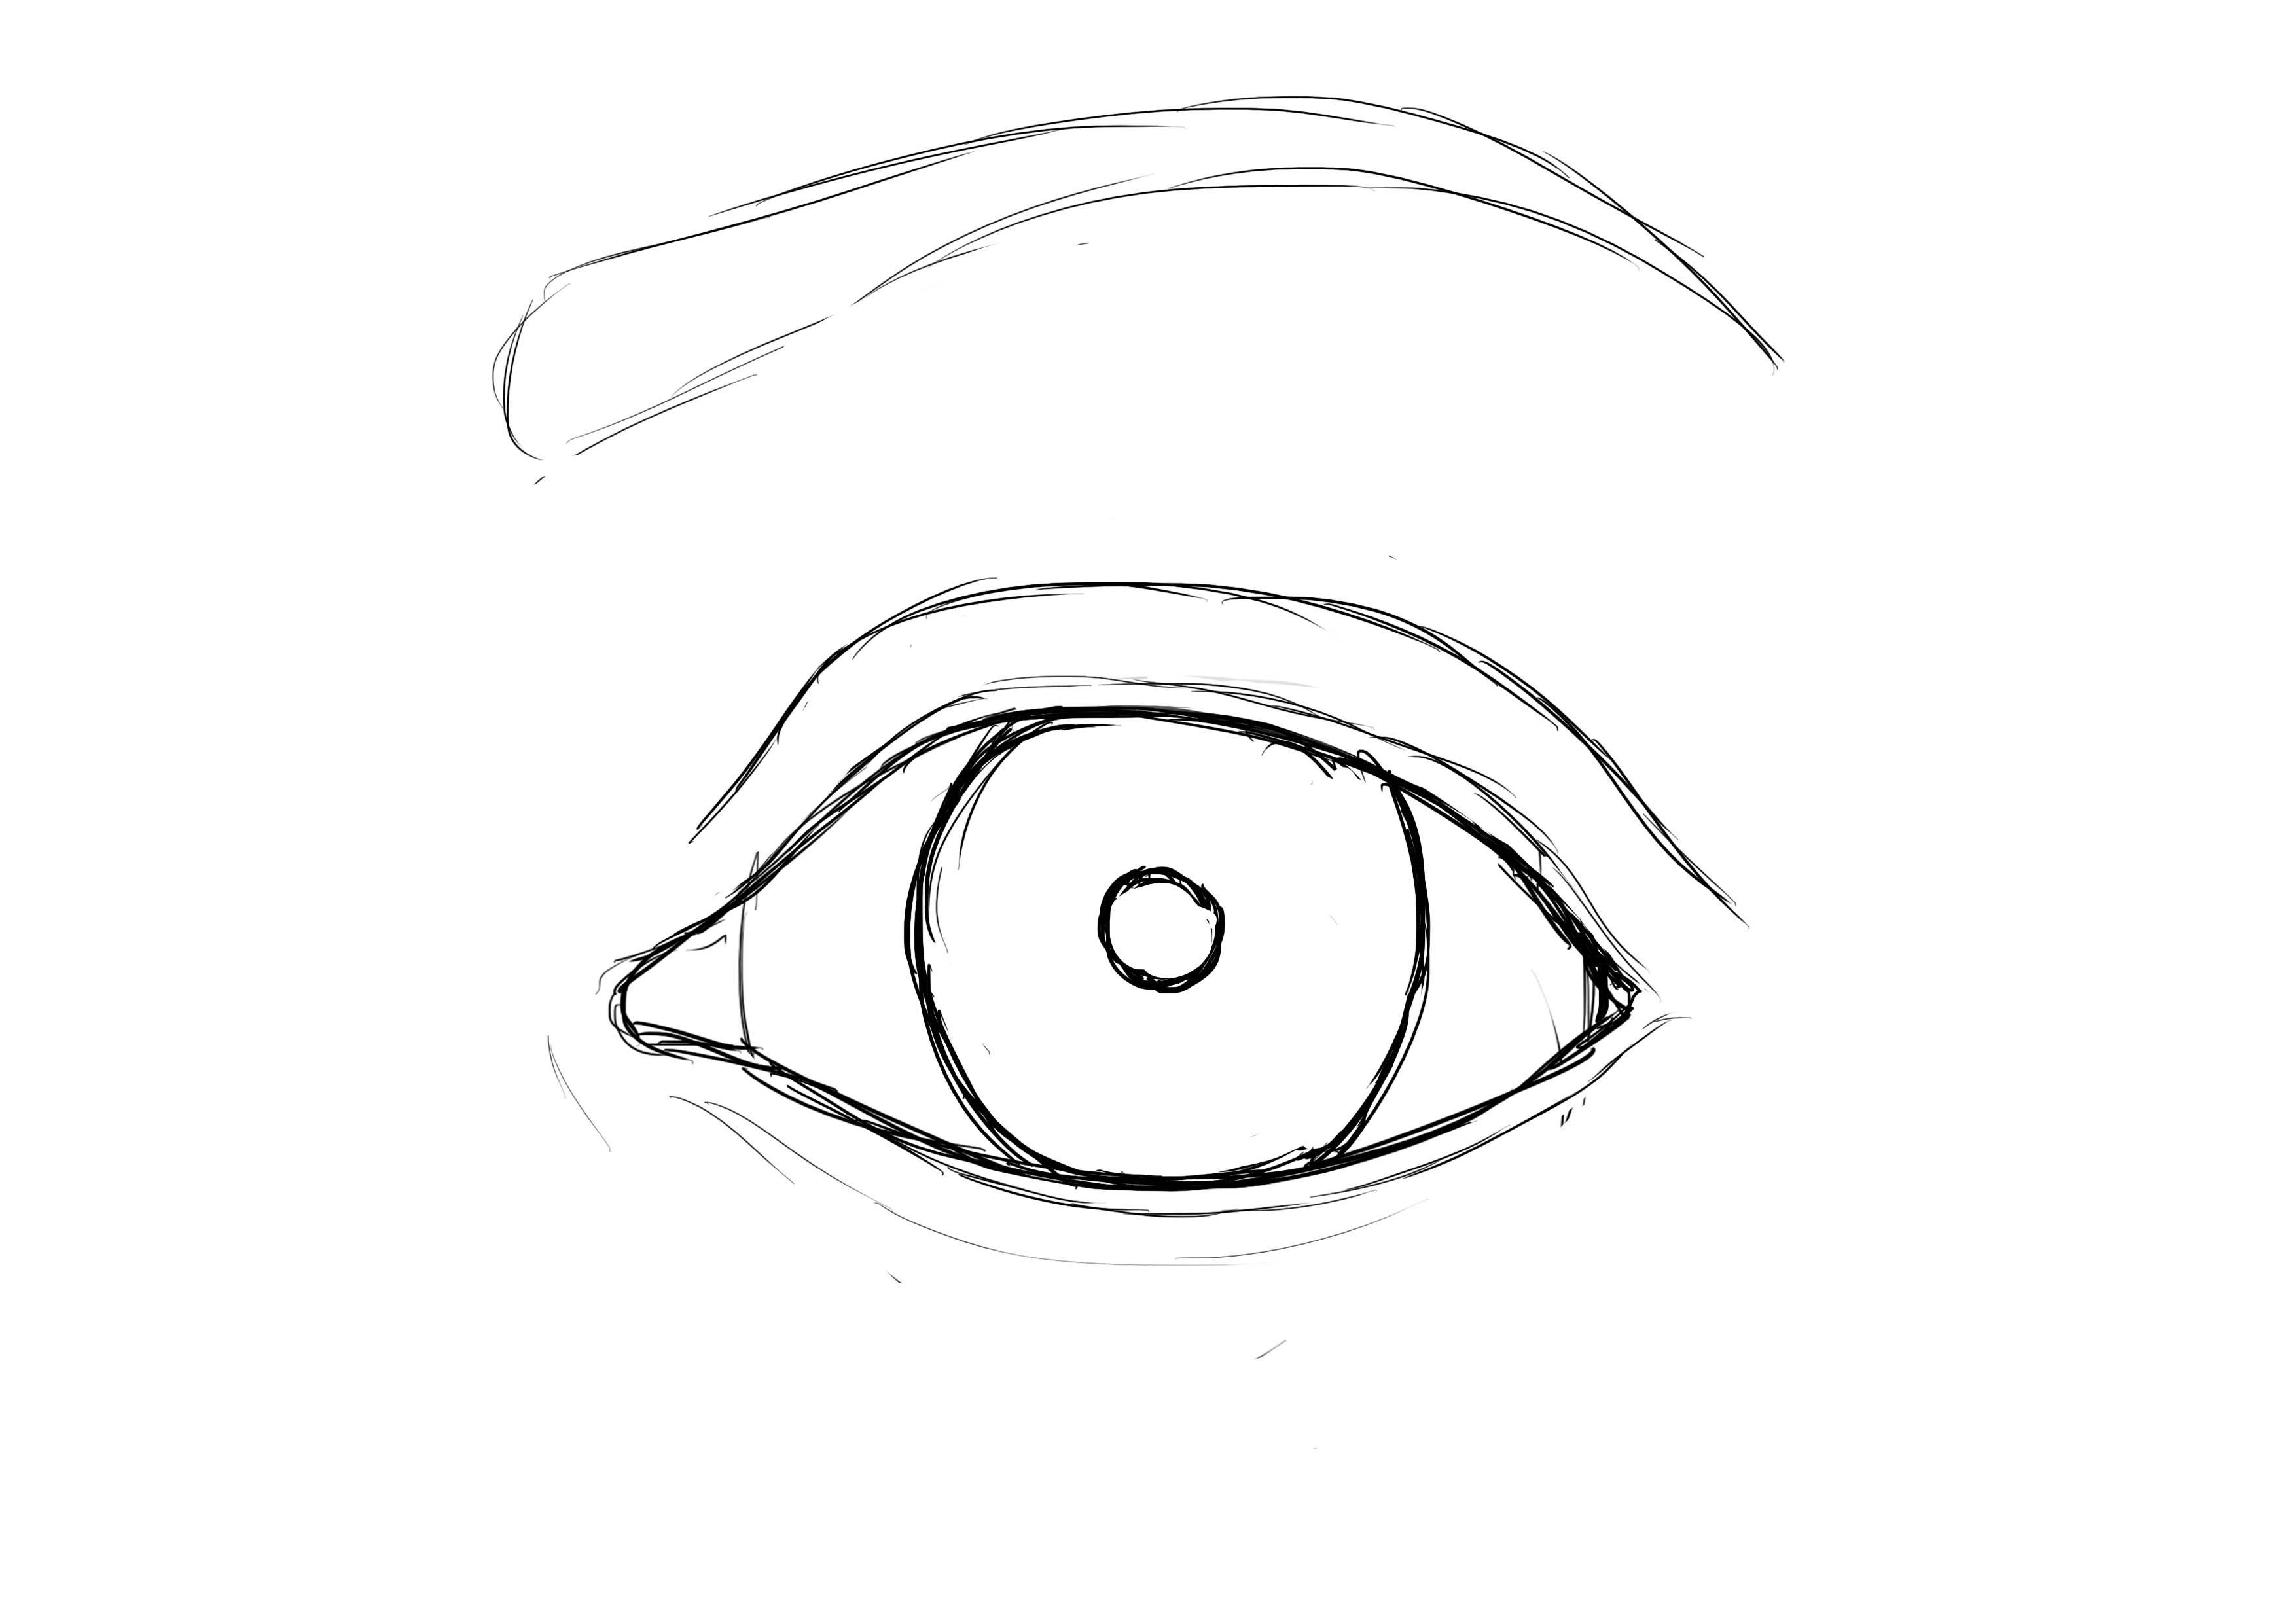
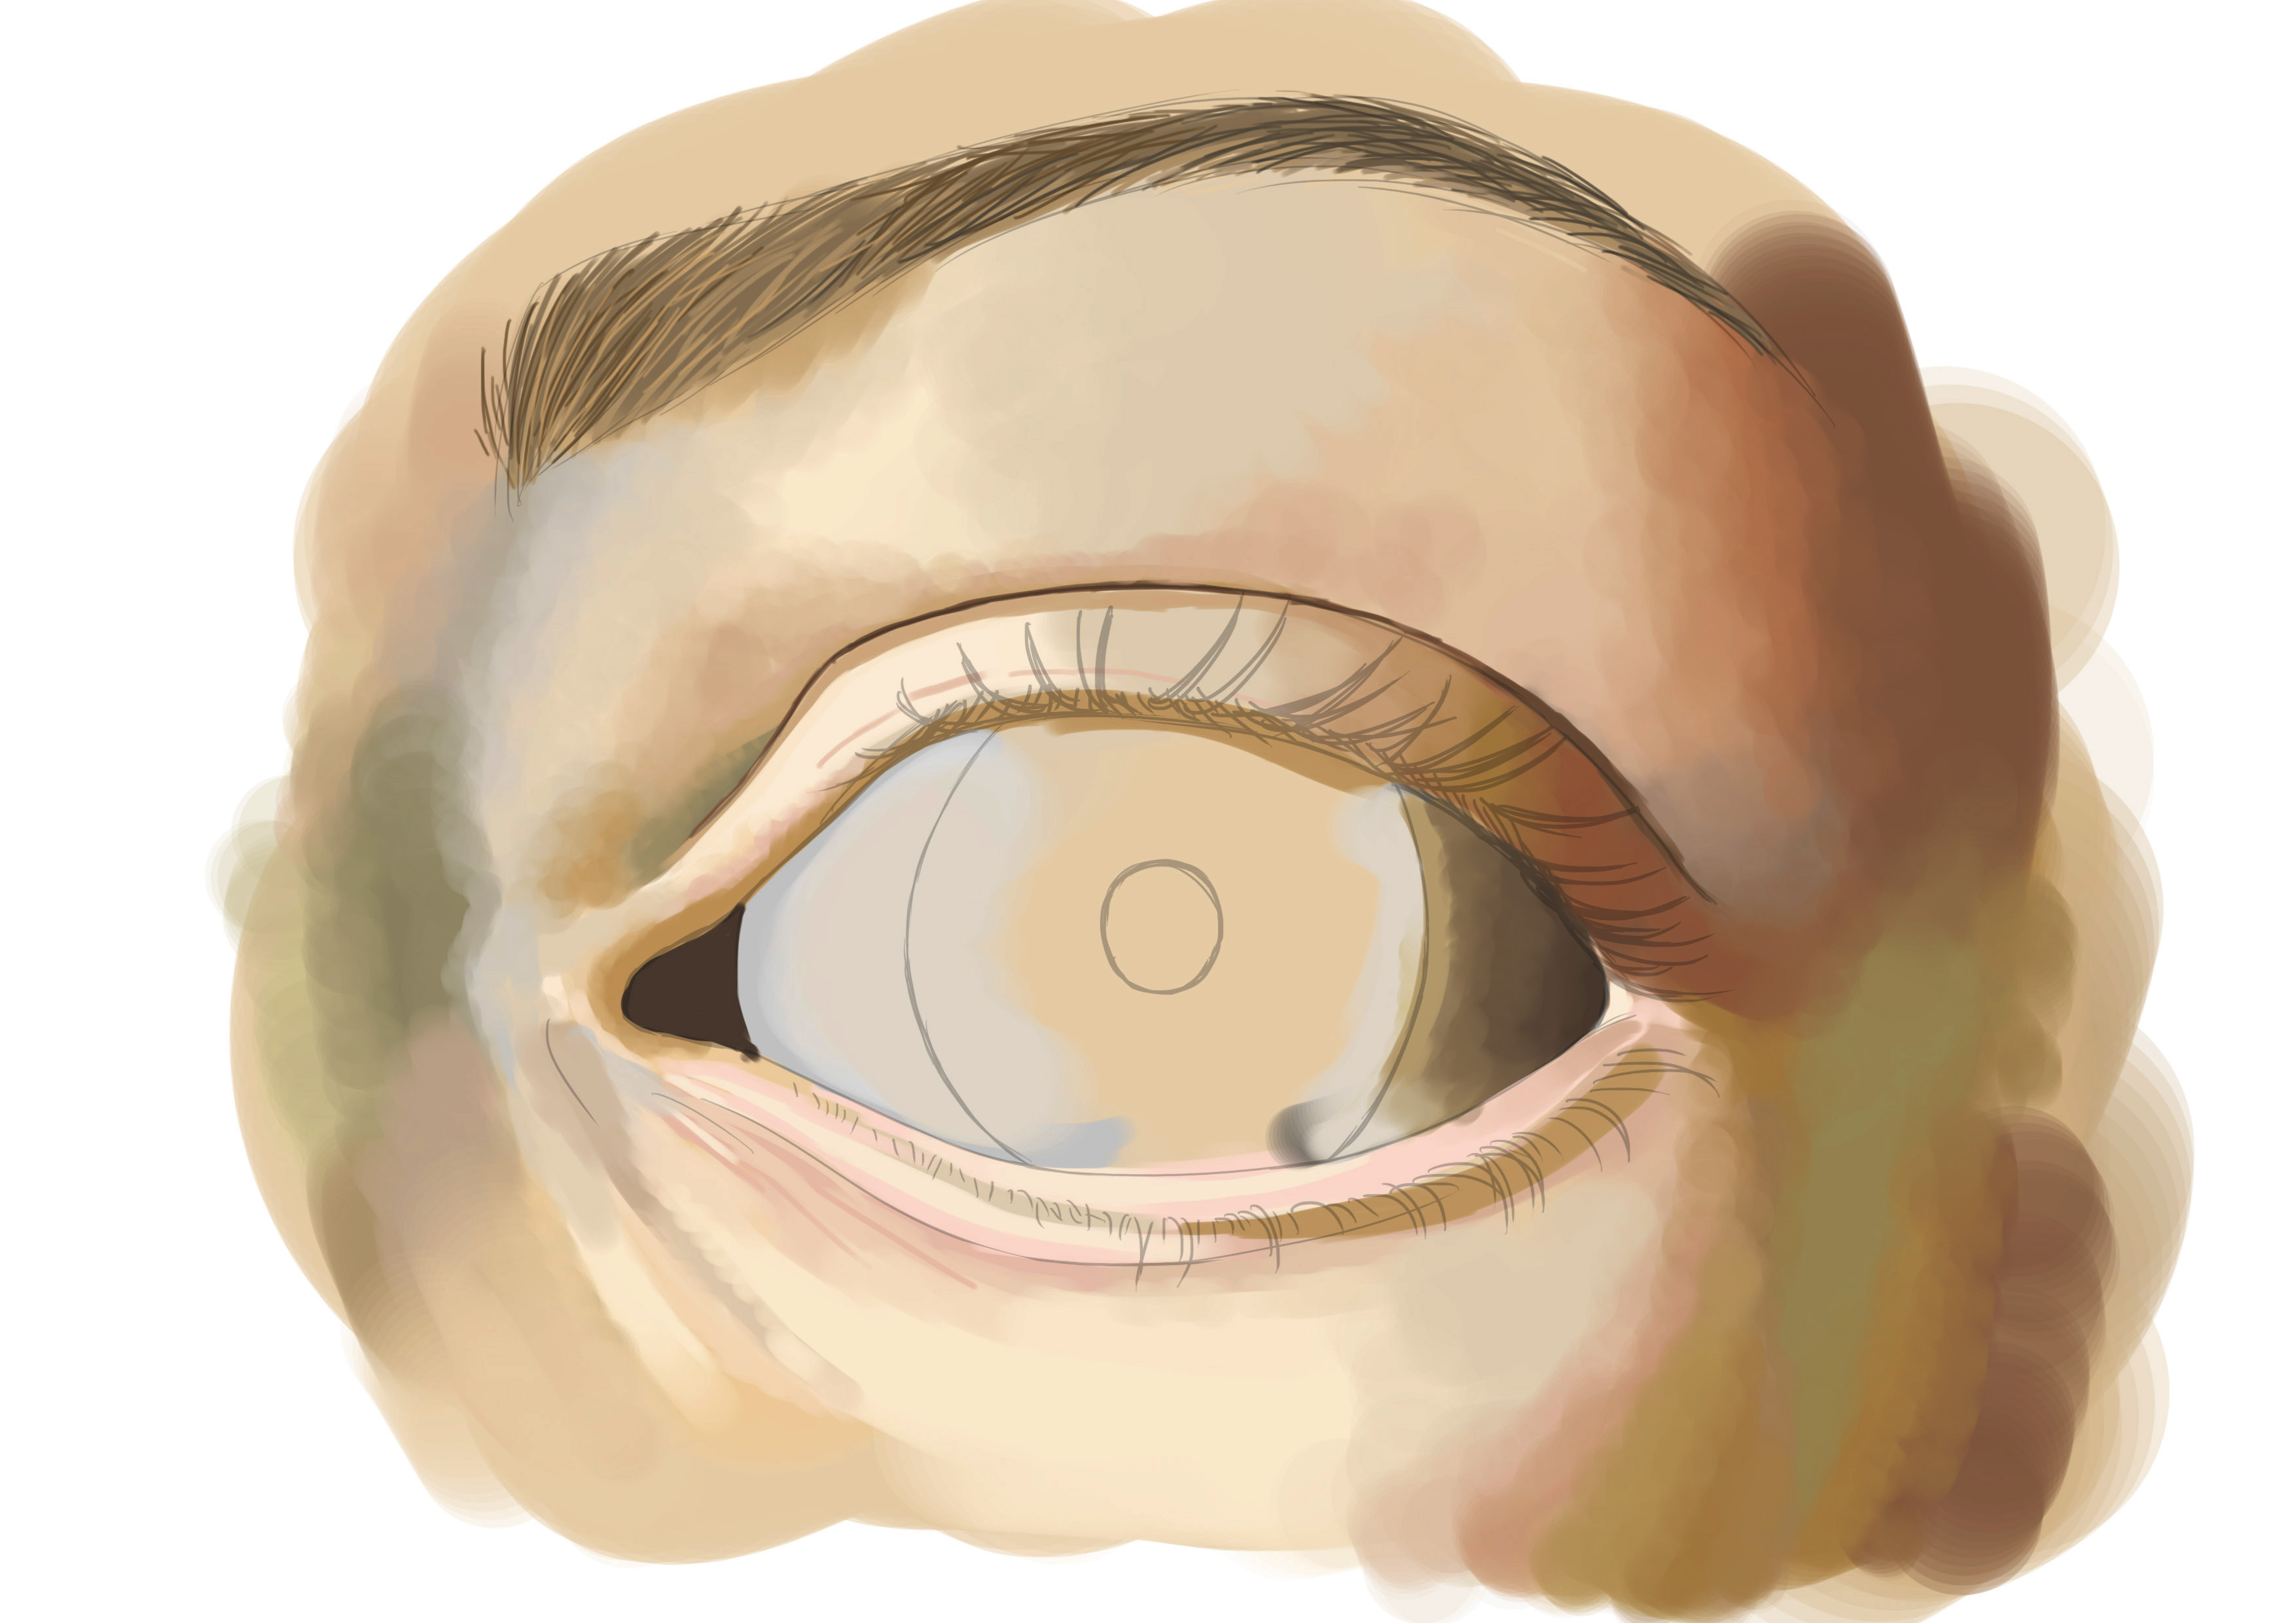
DRAW THE IRIS
We trace the iris, very rounded (but it is not a perfect circle if you look closely ^^). Note: the iris is always in contact with the upper eyelid. The only reason it wouldn't be in contact is when we widen our eyes. You can test this with anyone.
Ask him to move his eyes and observe his iris. Whether he looks up or down, the movable eyelid will always follow his iris and will always hide it a bit, unless you ask him to widen his eyes ^^
THE PUPIL OF THE EYE
In the middle of our iris, we will draw our pupil. Here too, choose the size you want for the pupil. I like making the pupil quite small to reveal the color of the iris. I find that often, in the center of the iris, there are different shades that can really give very pretty colors.
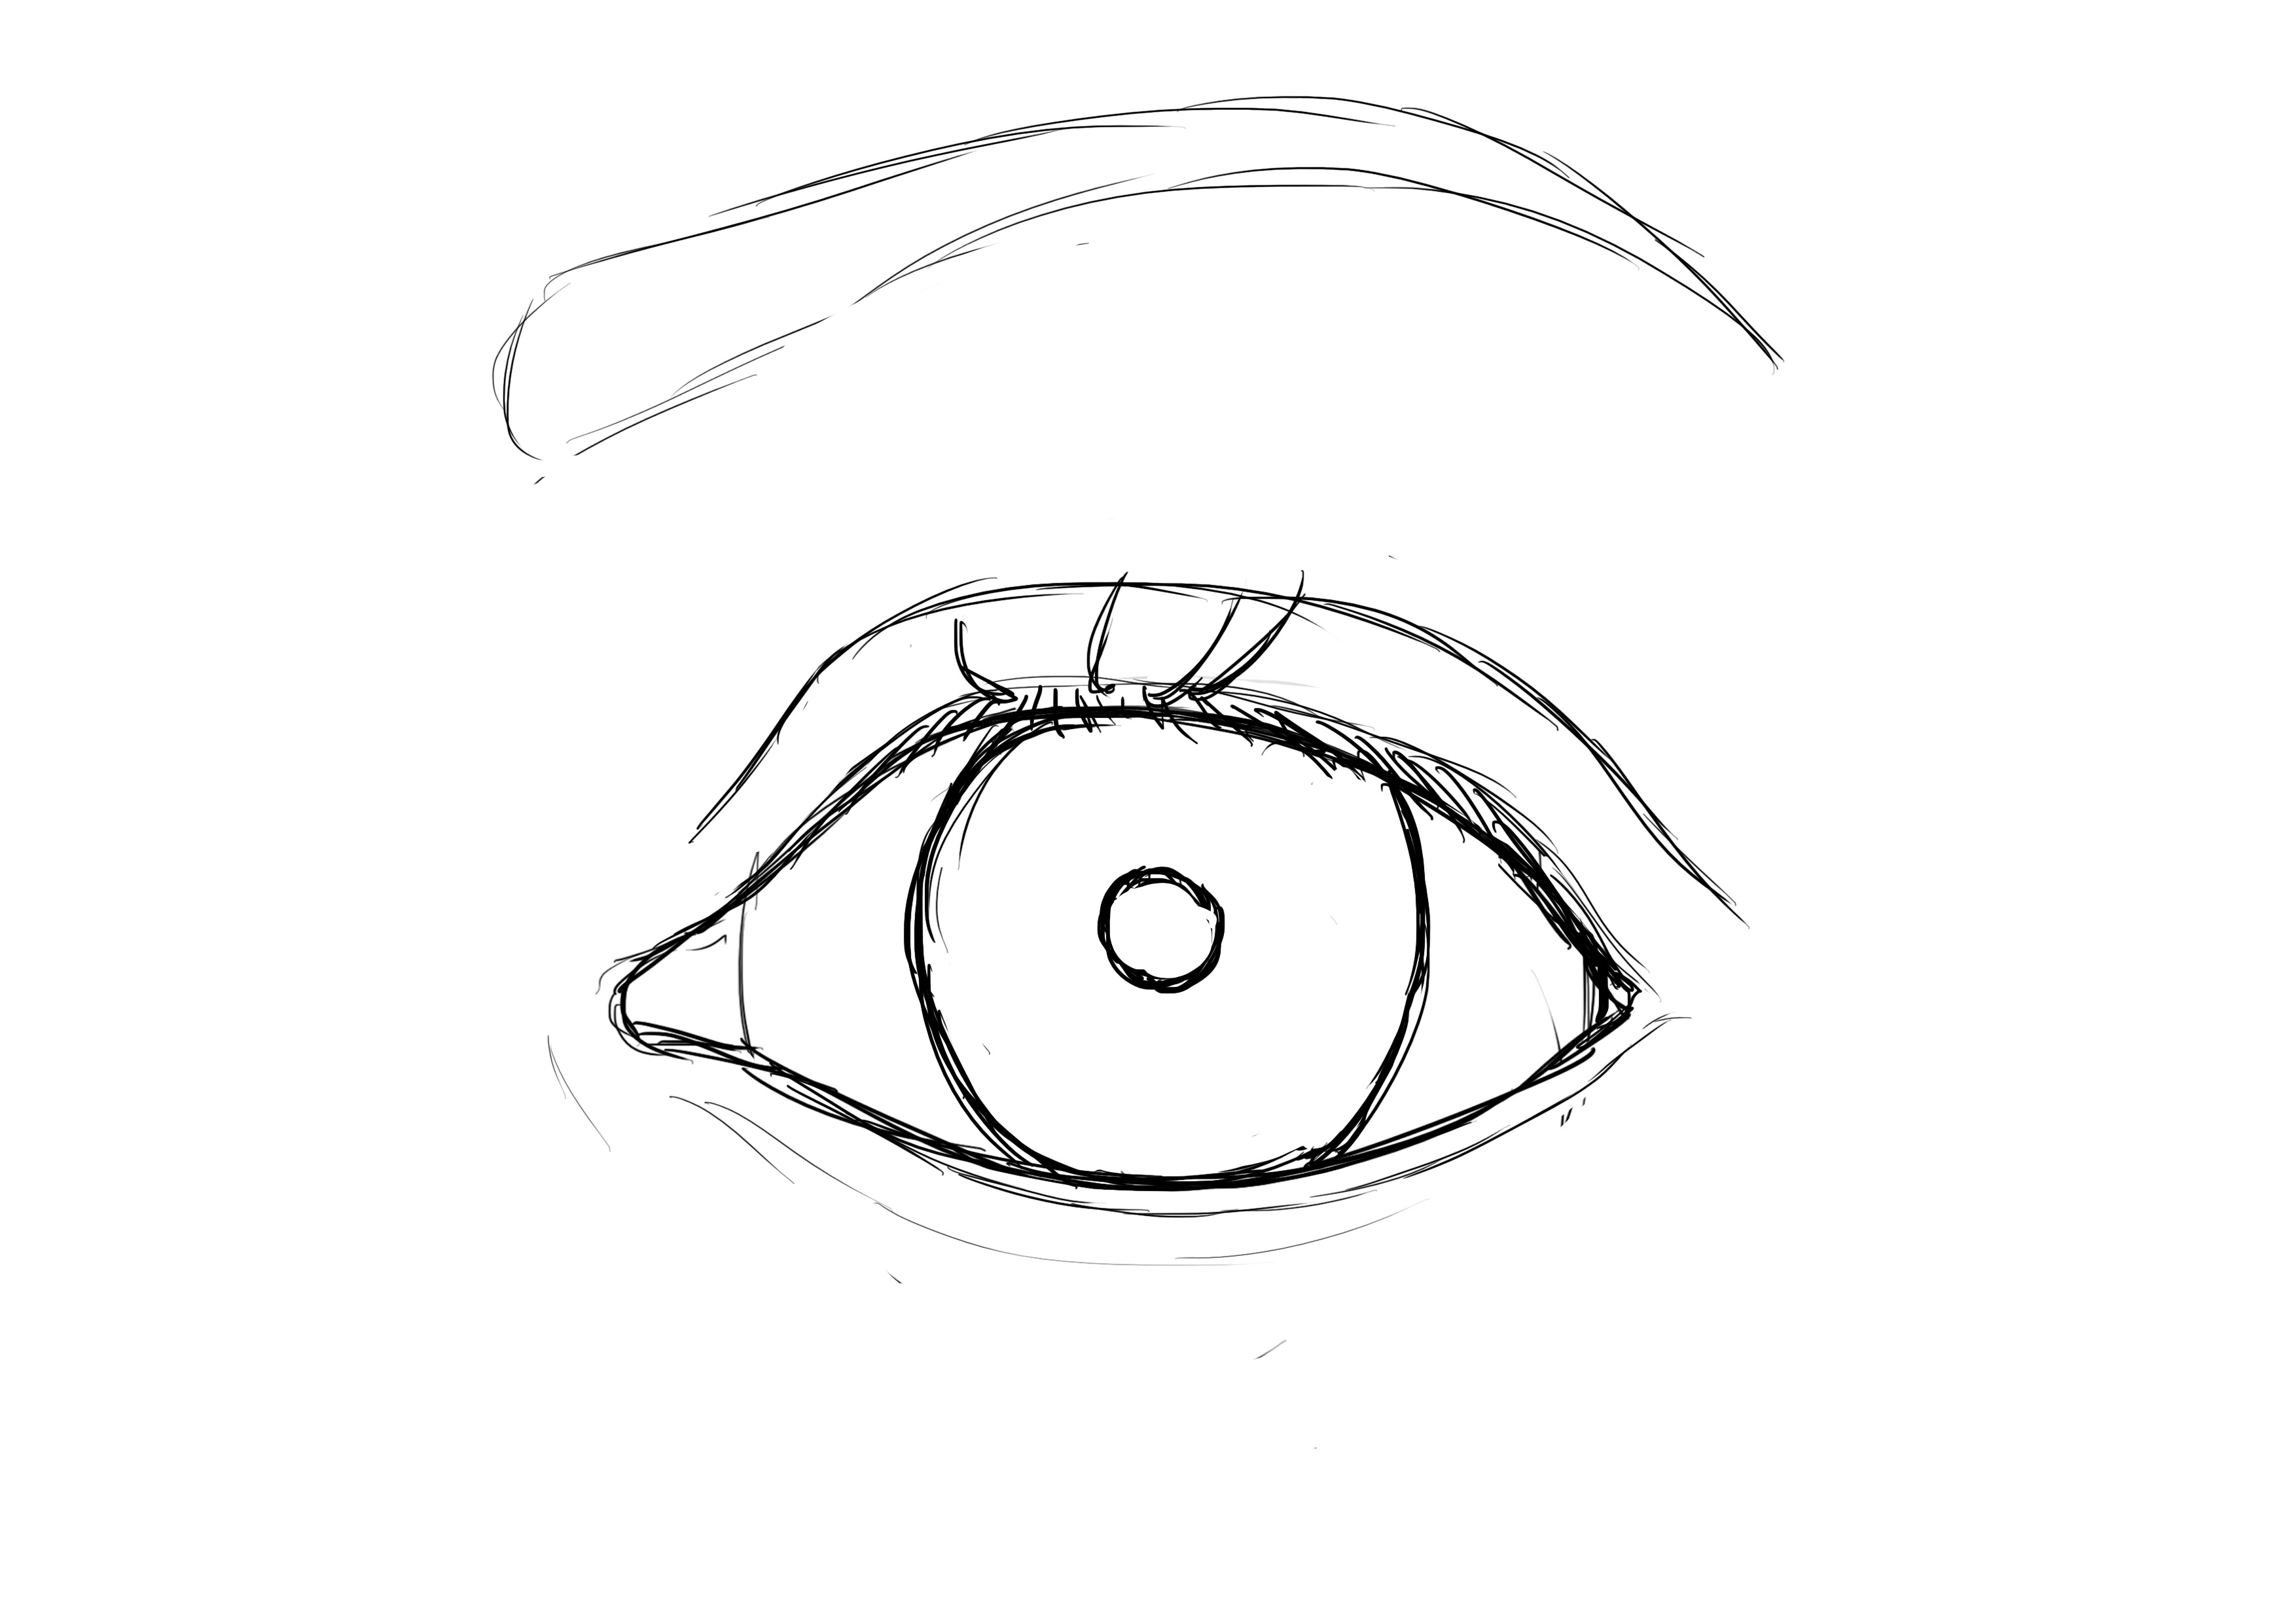
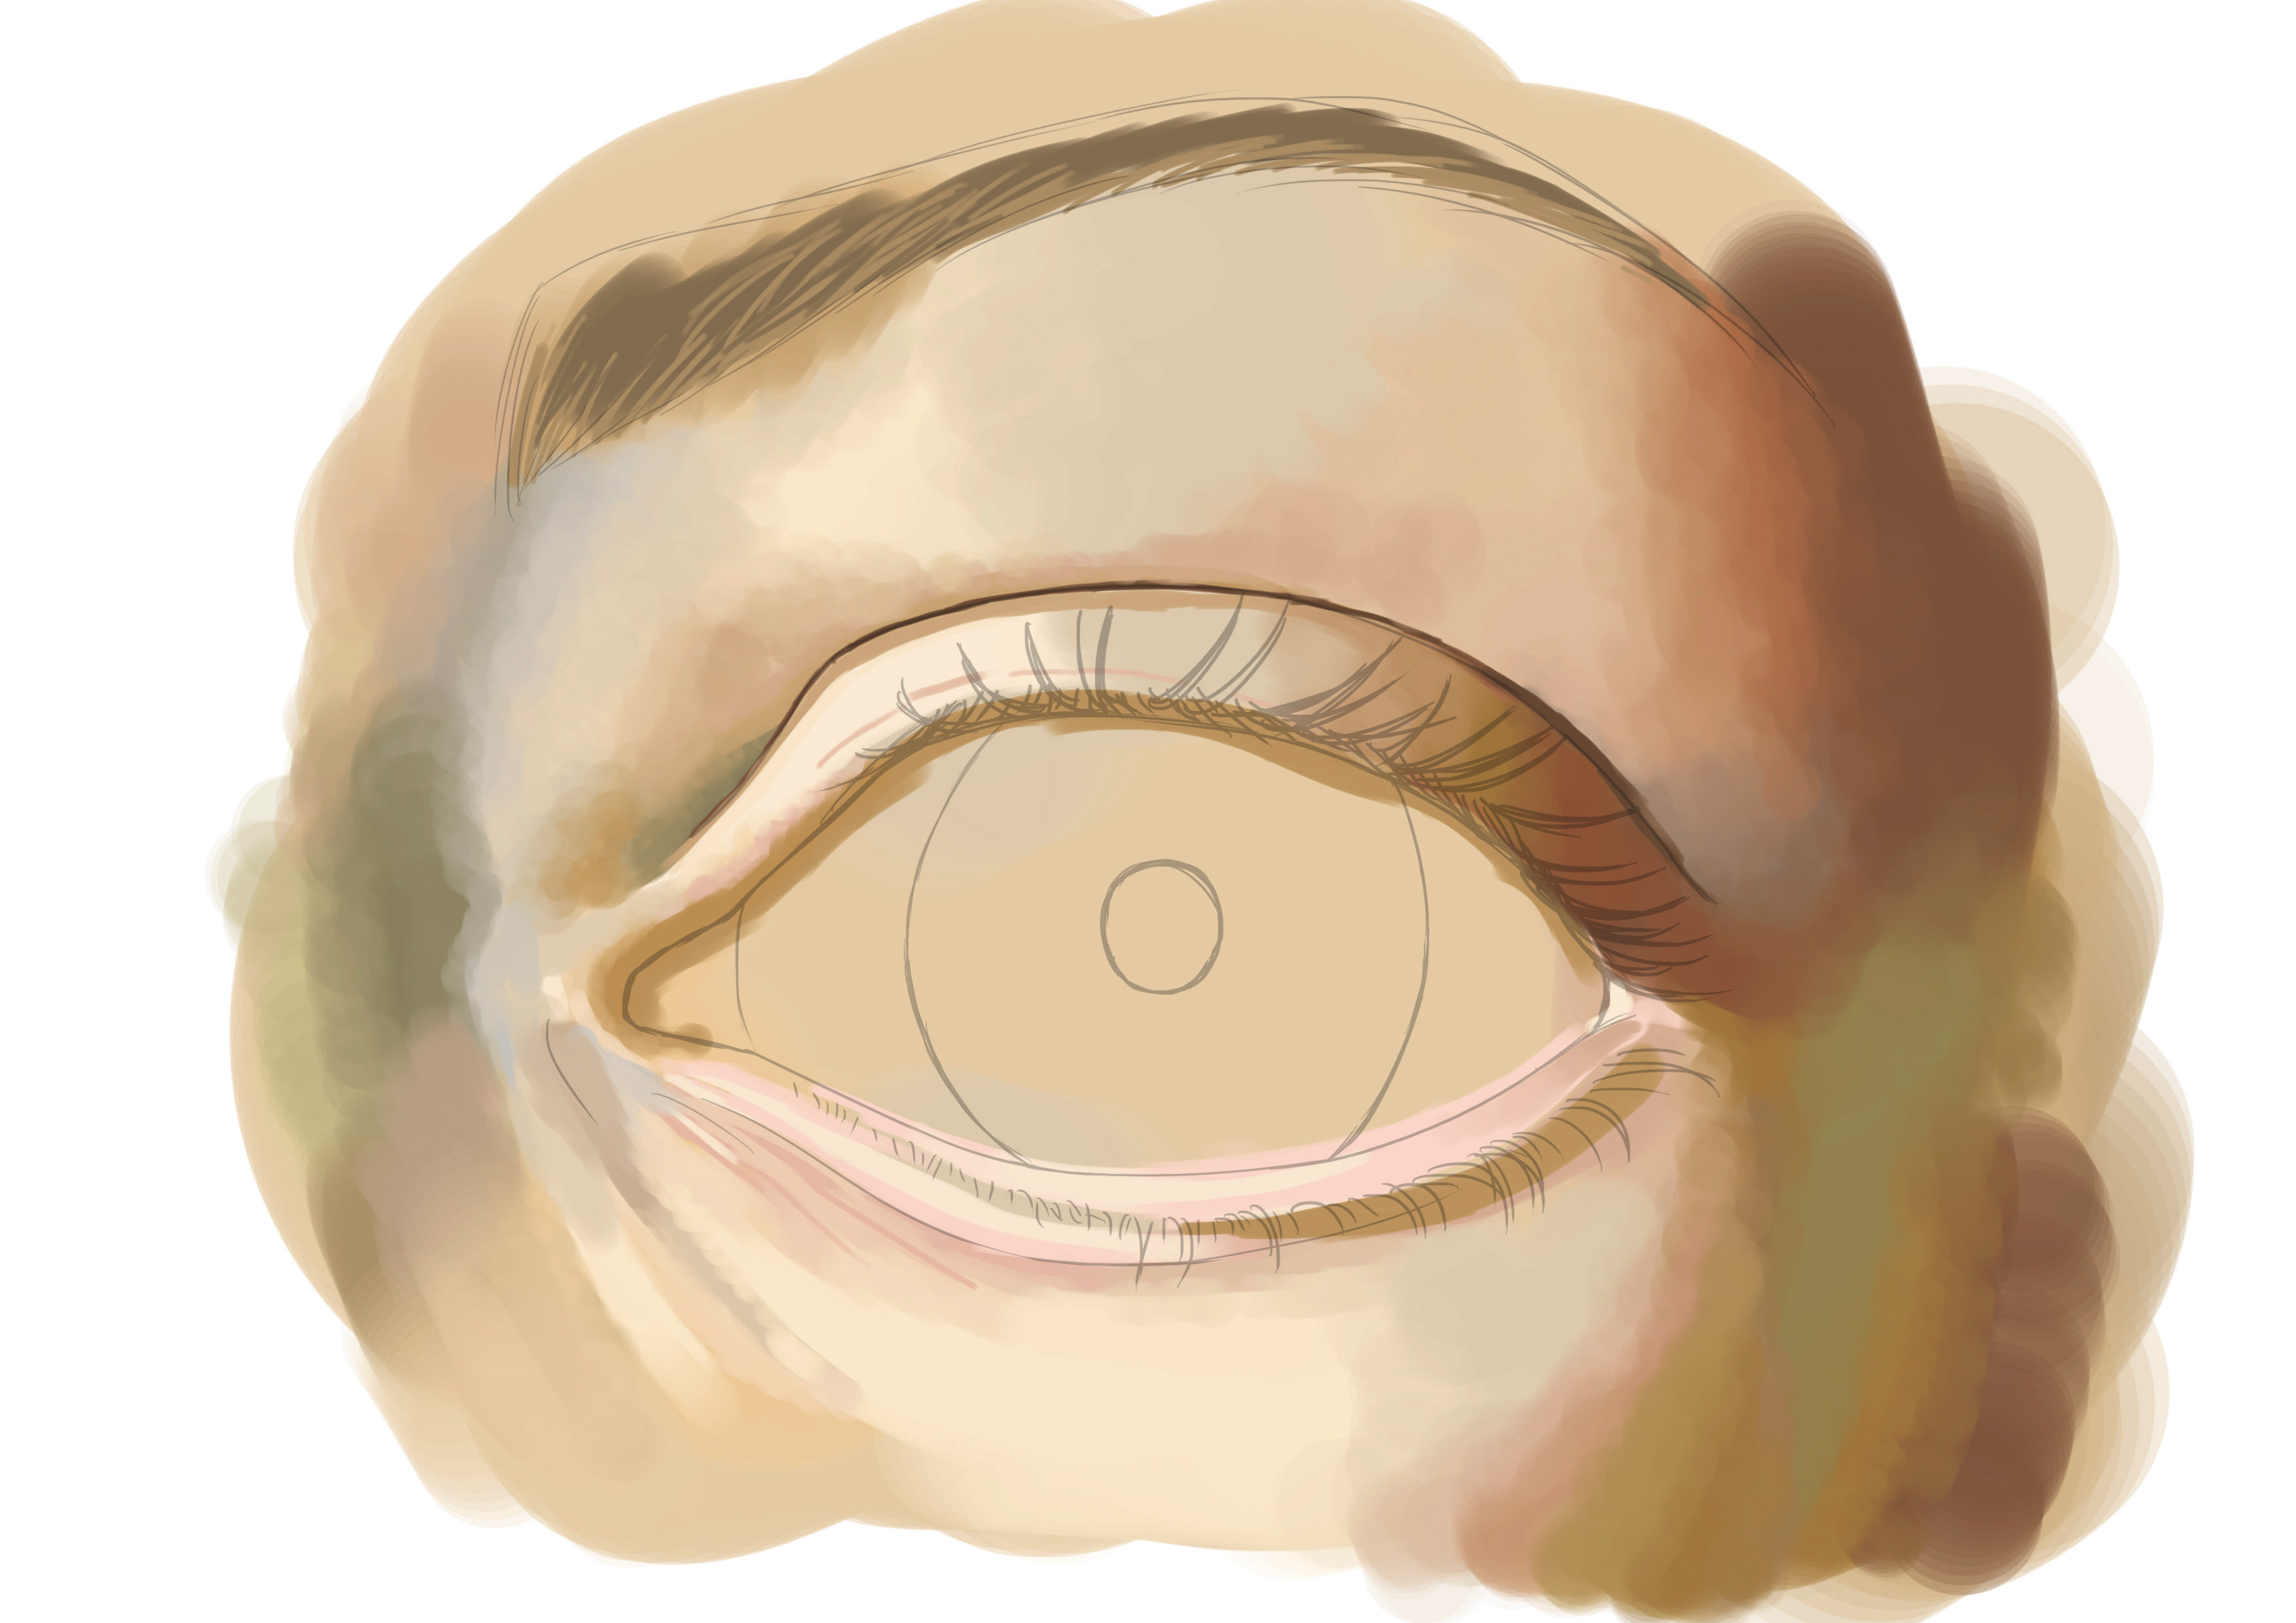
THE EYELID
Then let's place the eyelid. Here again, as always, the eyelid can have various shapes and forms. My model has a large, well-defined eyelid, so I will do the same.
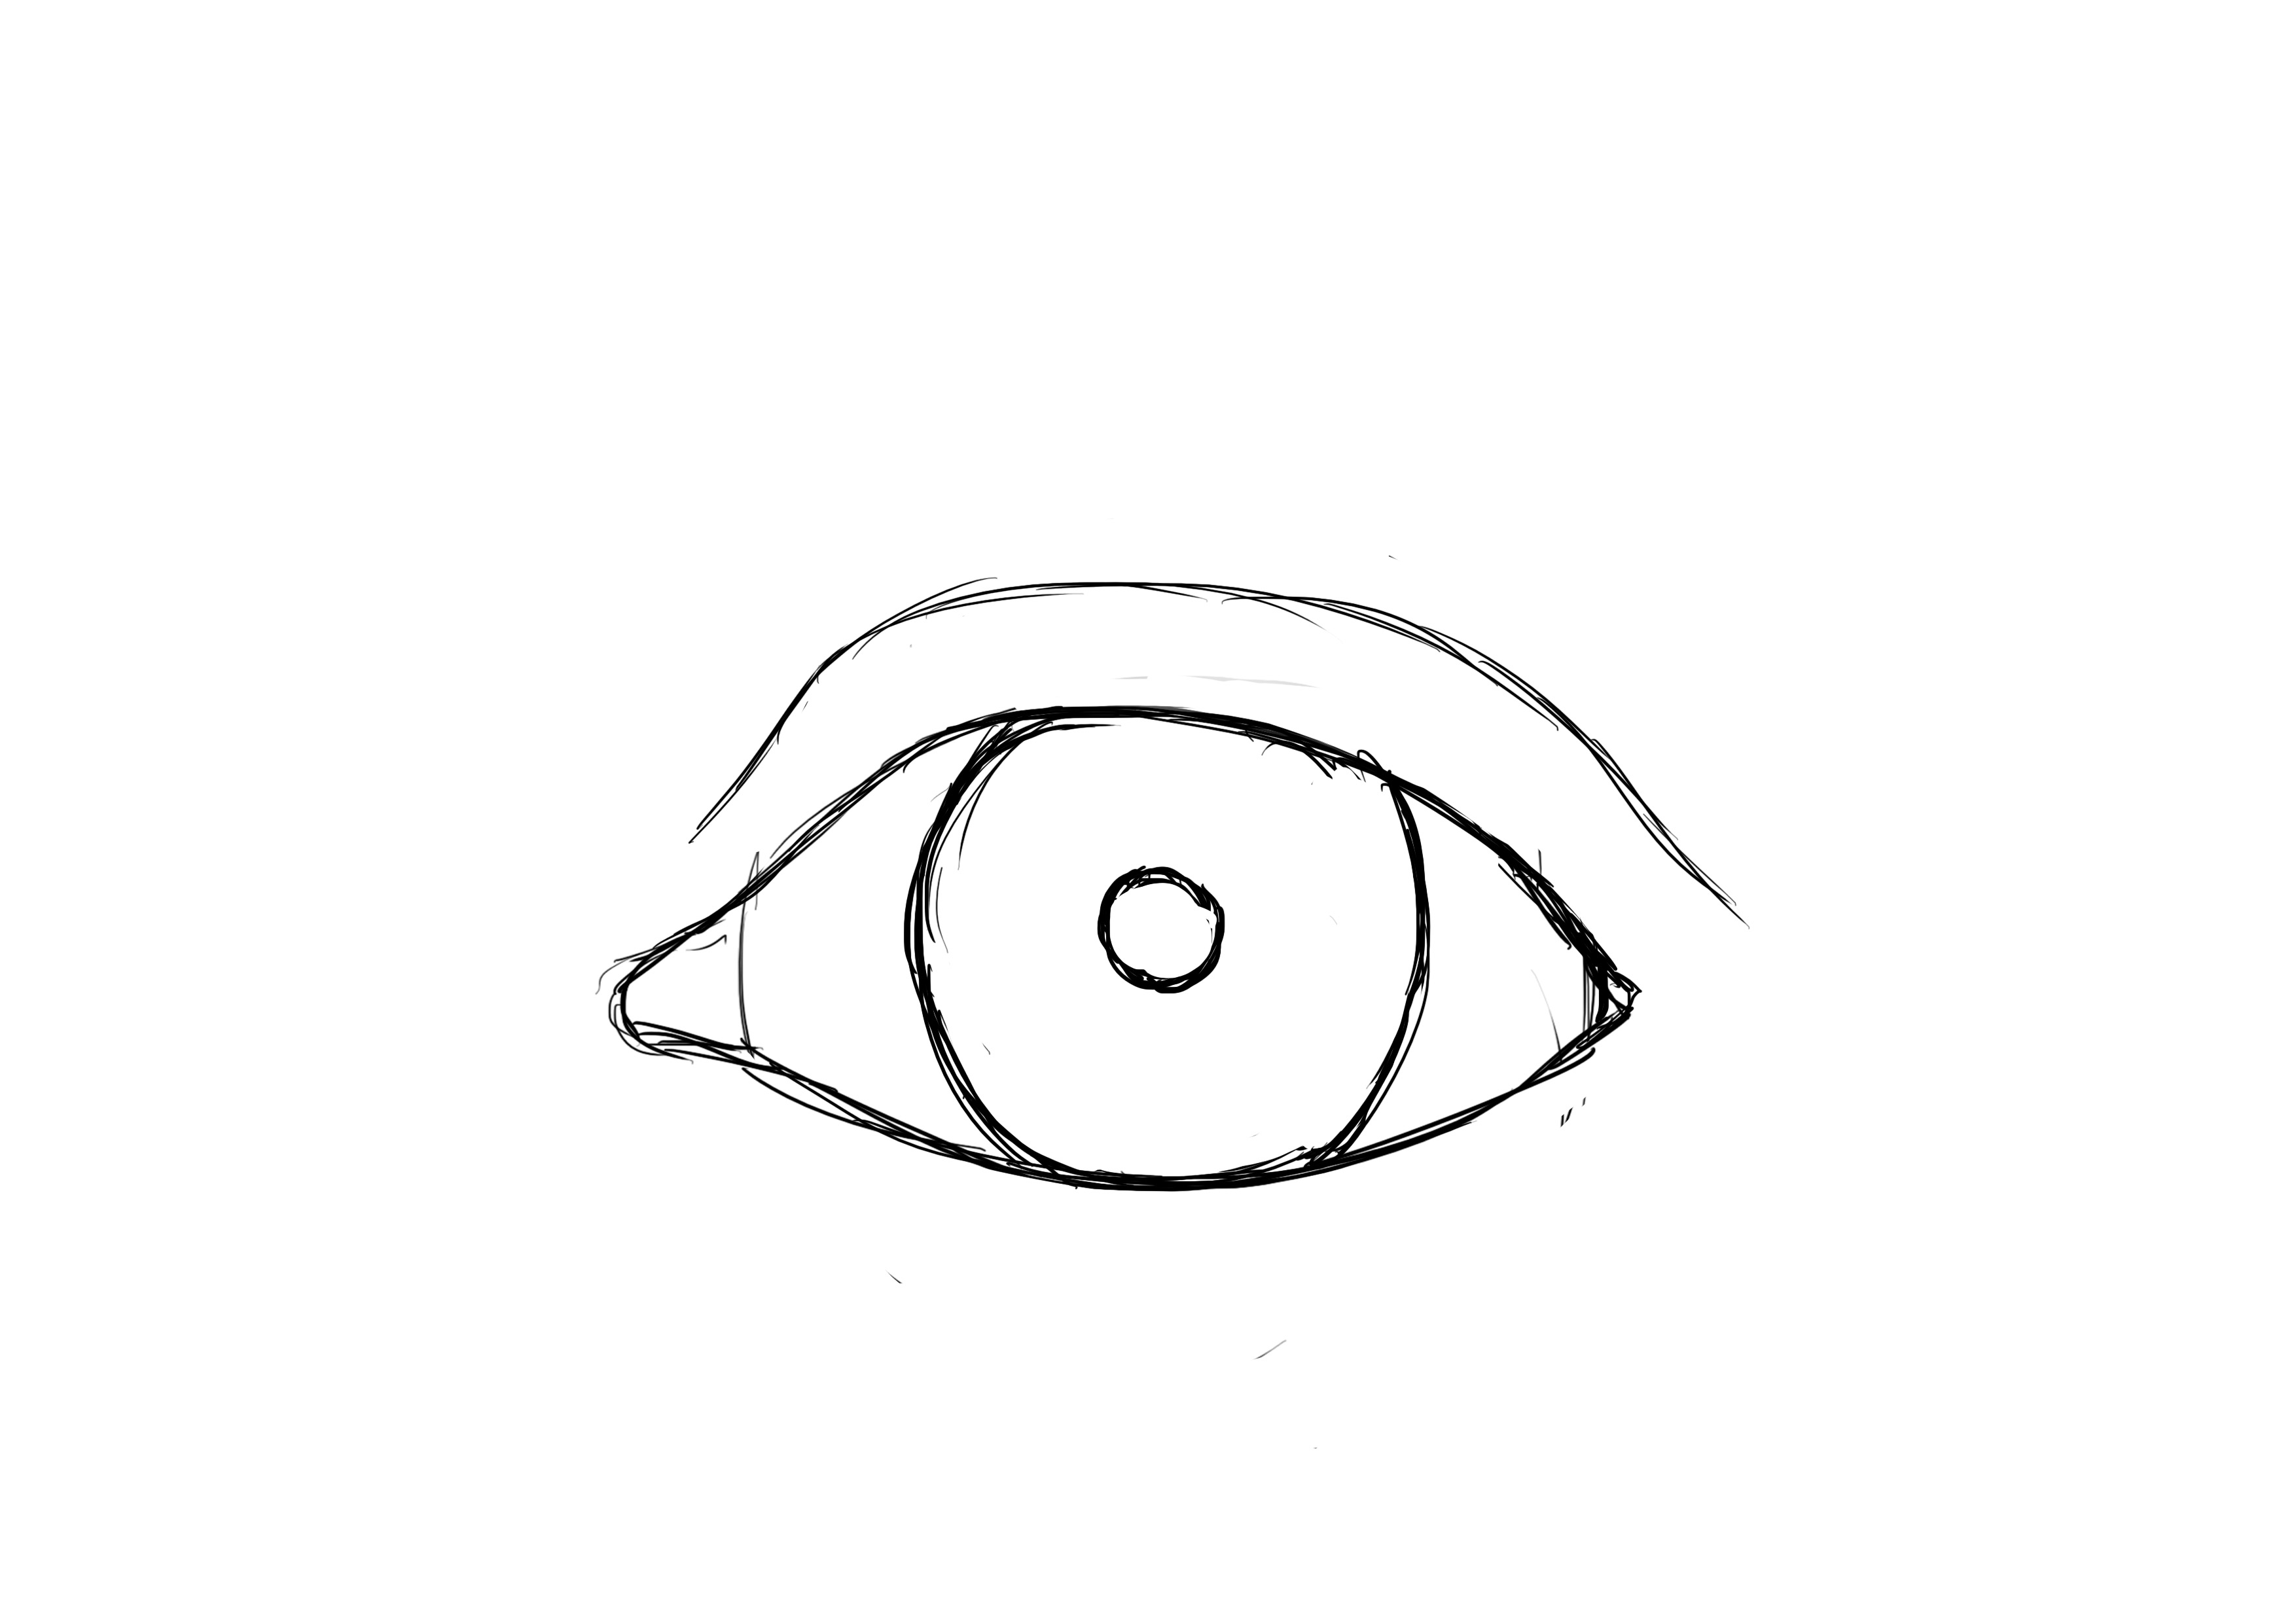
You can also lightly trace the small creases under the eye (not too hard). This is optional. Since we will be coloring all this later, you can do it; it will serve as a guide. But if you want to do a drawing simply in black and white, be careful with these kinds of things. Small creases like these tend to age people. So it is good to avoid them if necessary.

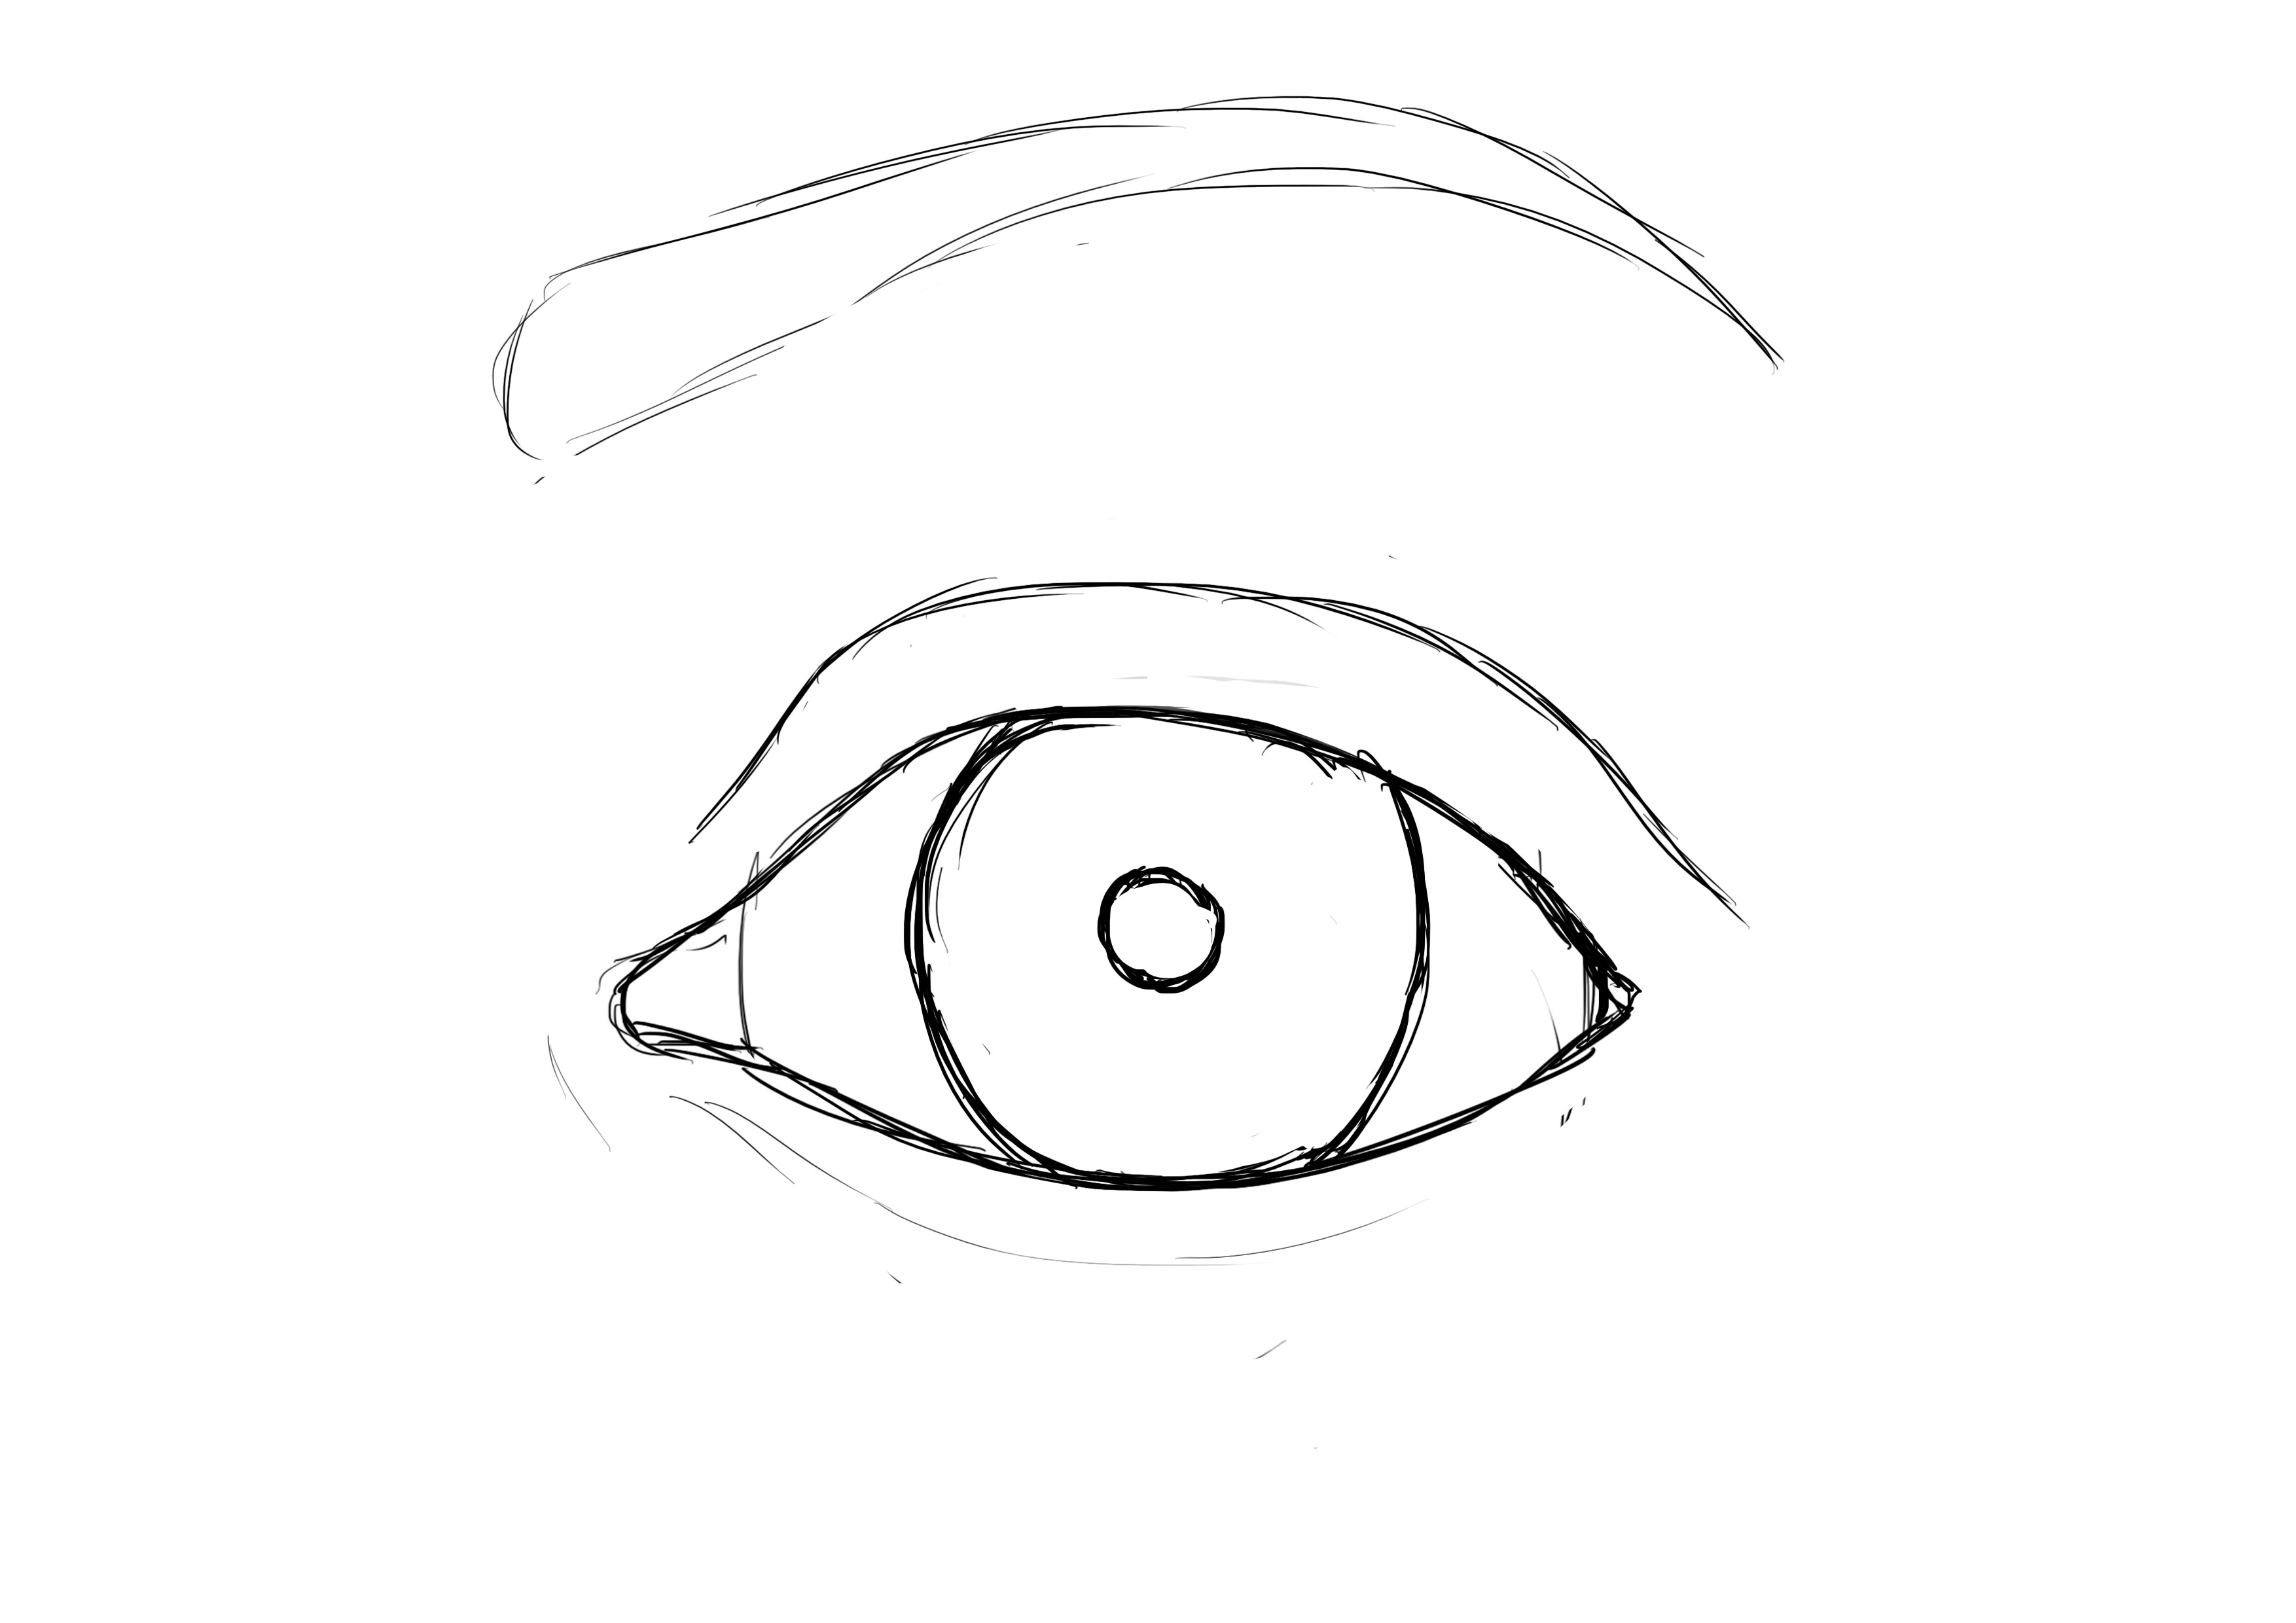
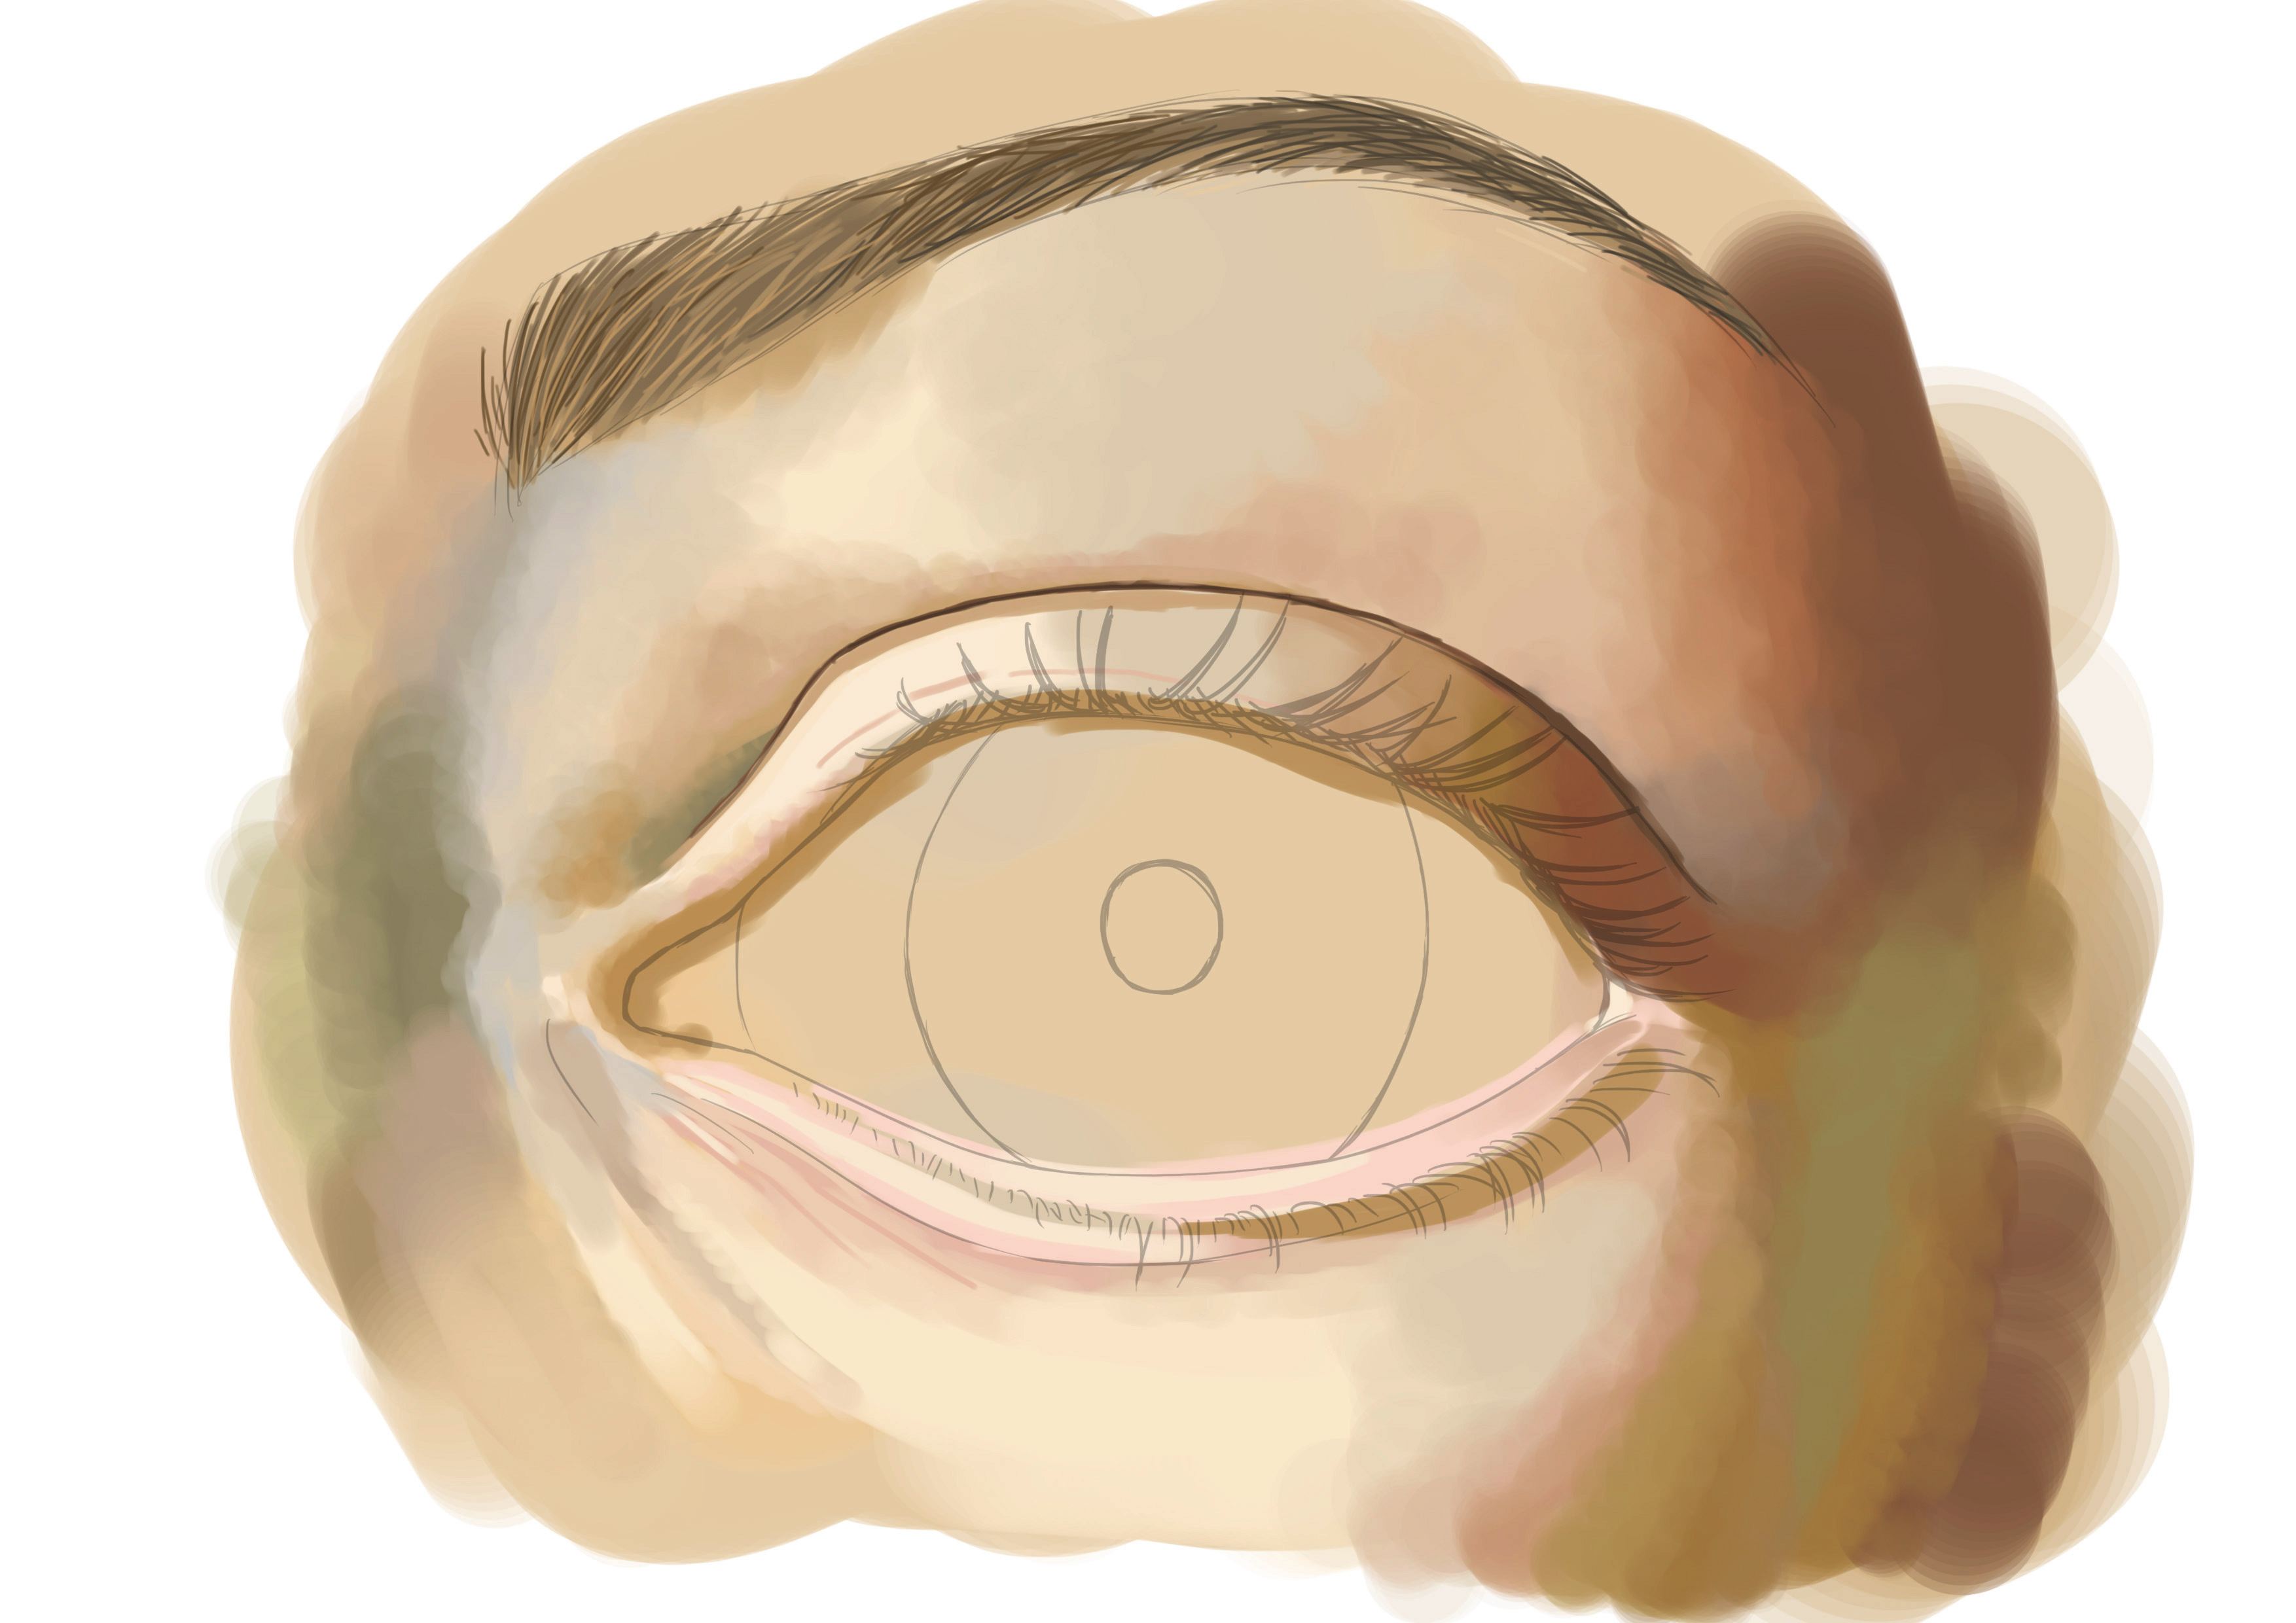
DRAW THE EYEBROW AND EYELASHES
Let's draw the eyebrow. The height of the eyebrow is also quite variable. Generally, the closer an eyebrow is to the eye, the more it indicates that the eye is deep-set in the socket. The same goes for the shape of the eyebrow, it's quite variable ;p
Let's draw the eyelashes. They are thicker at the top than at the bottom and are positioned along the edge of the eyelids. So, we will start by drawing a line to mark the edge.
From here, we can place the eyelashes. Note: they are not well aligned and perfectly "brushed". If you look closely, it's a bit disparate. Generally, when dealing with organic structures, it's rarely well aligned and symmetrical, whether we're talking about animals or plants. To draw our eyelashes, therefore, we need to be precise and draw beautiful curves, some going to the right, others to the left, etc.
I finally draw one last line which will serve as my reference, it's the start of the nose curve. You can do without it ^^
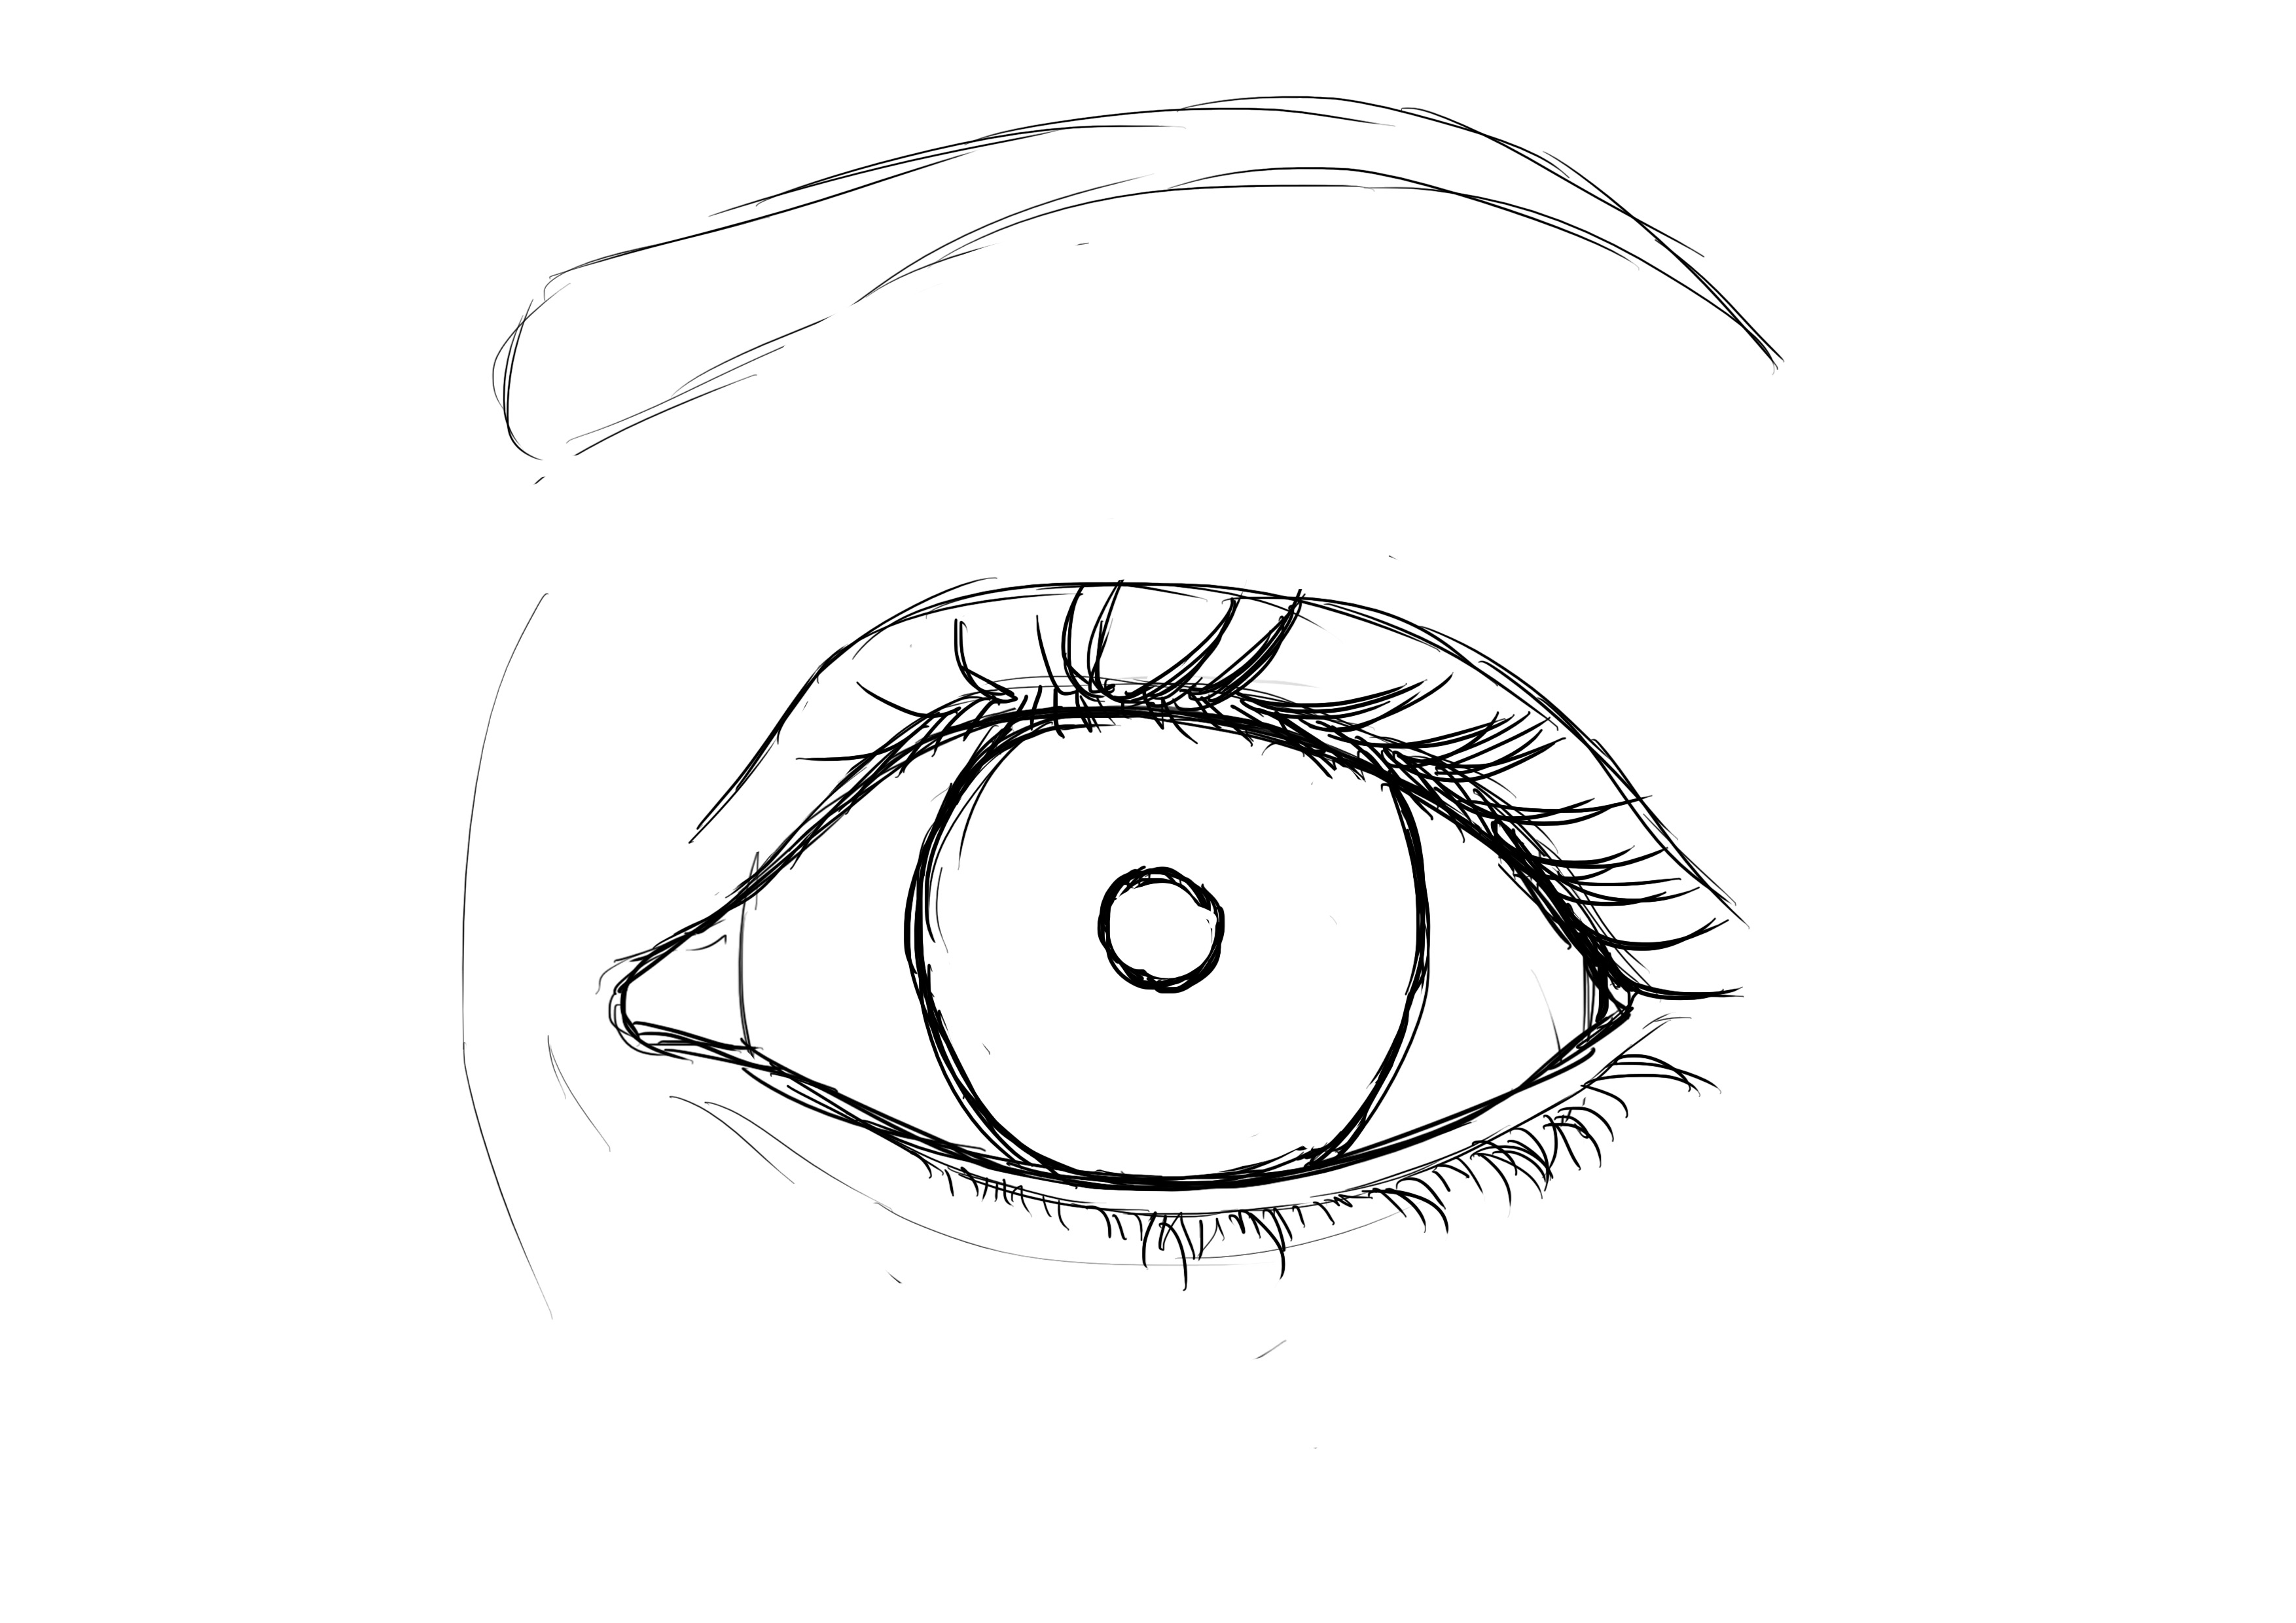
And I'll tidy all this up before moving on to color :D
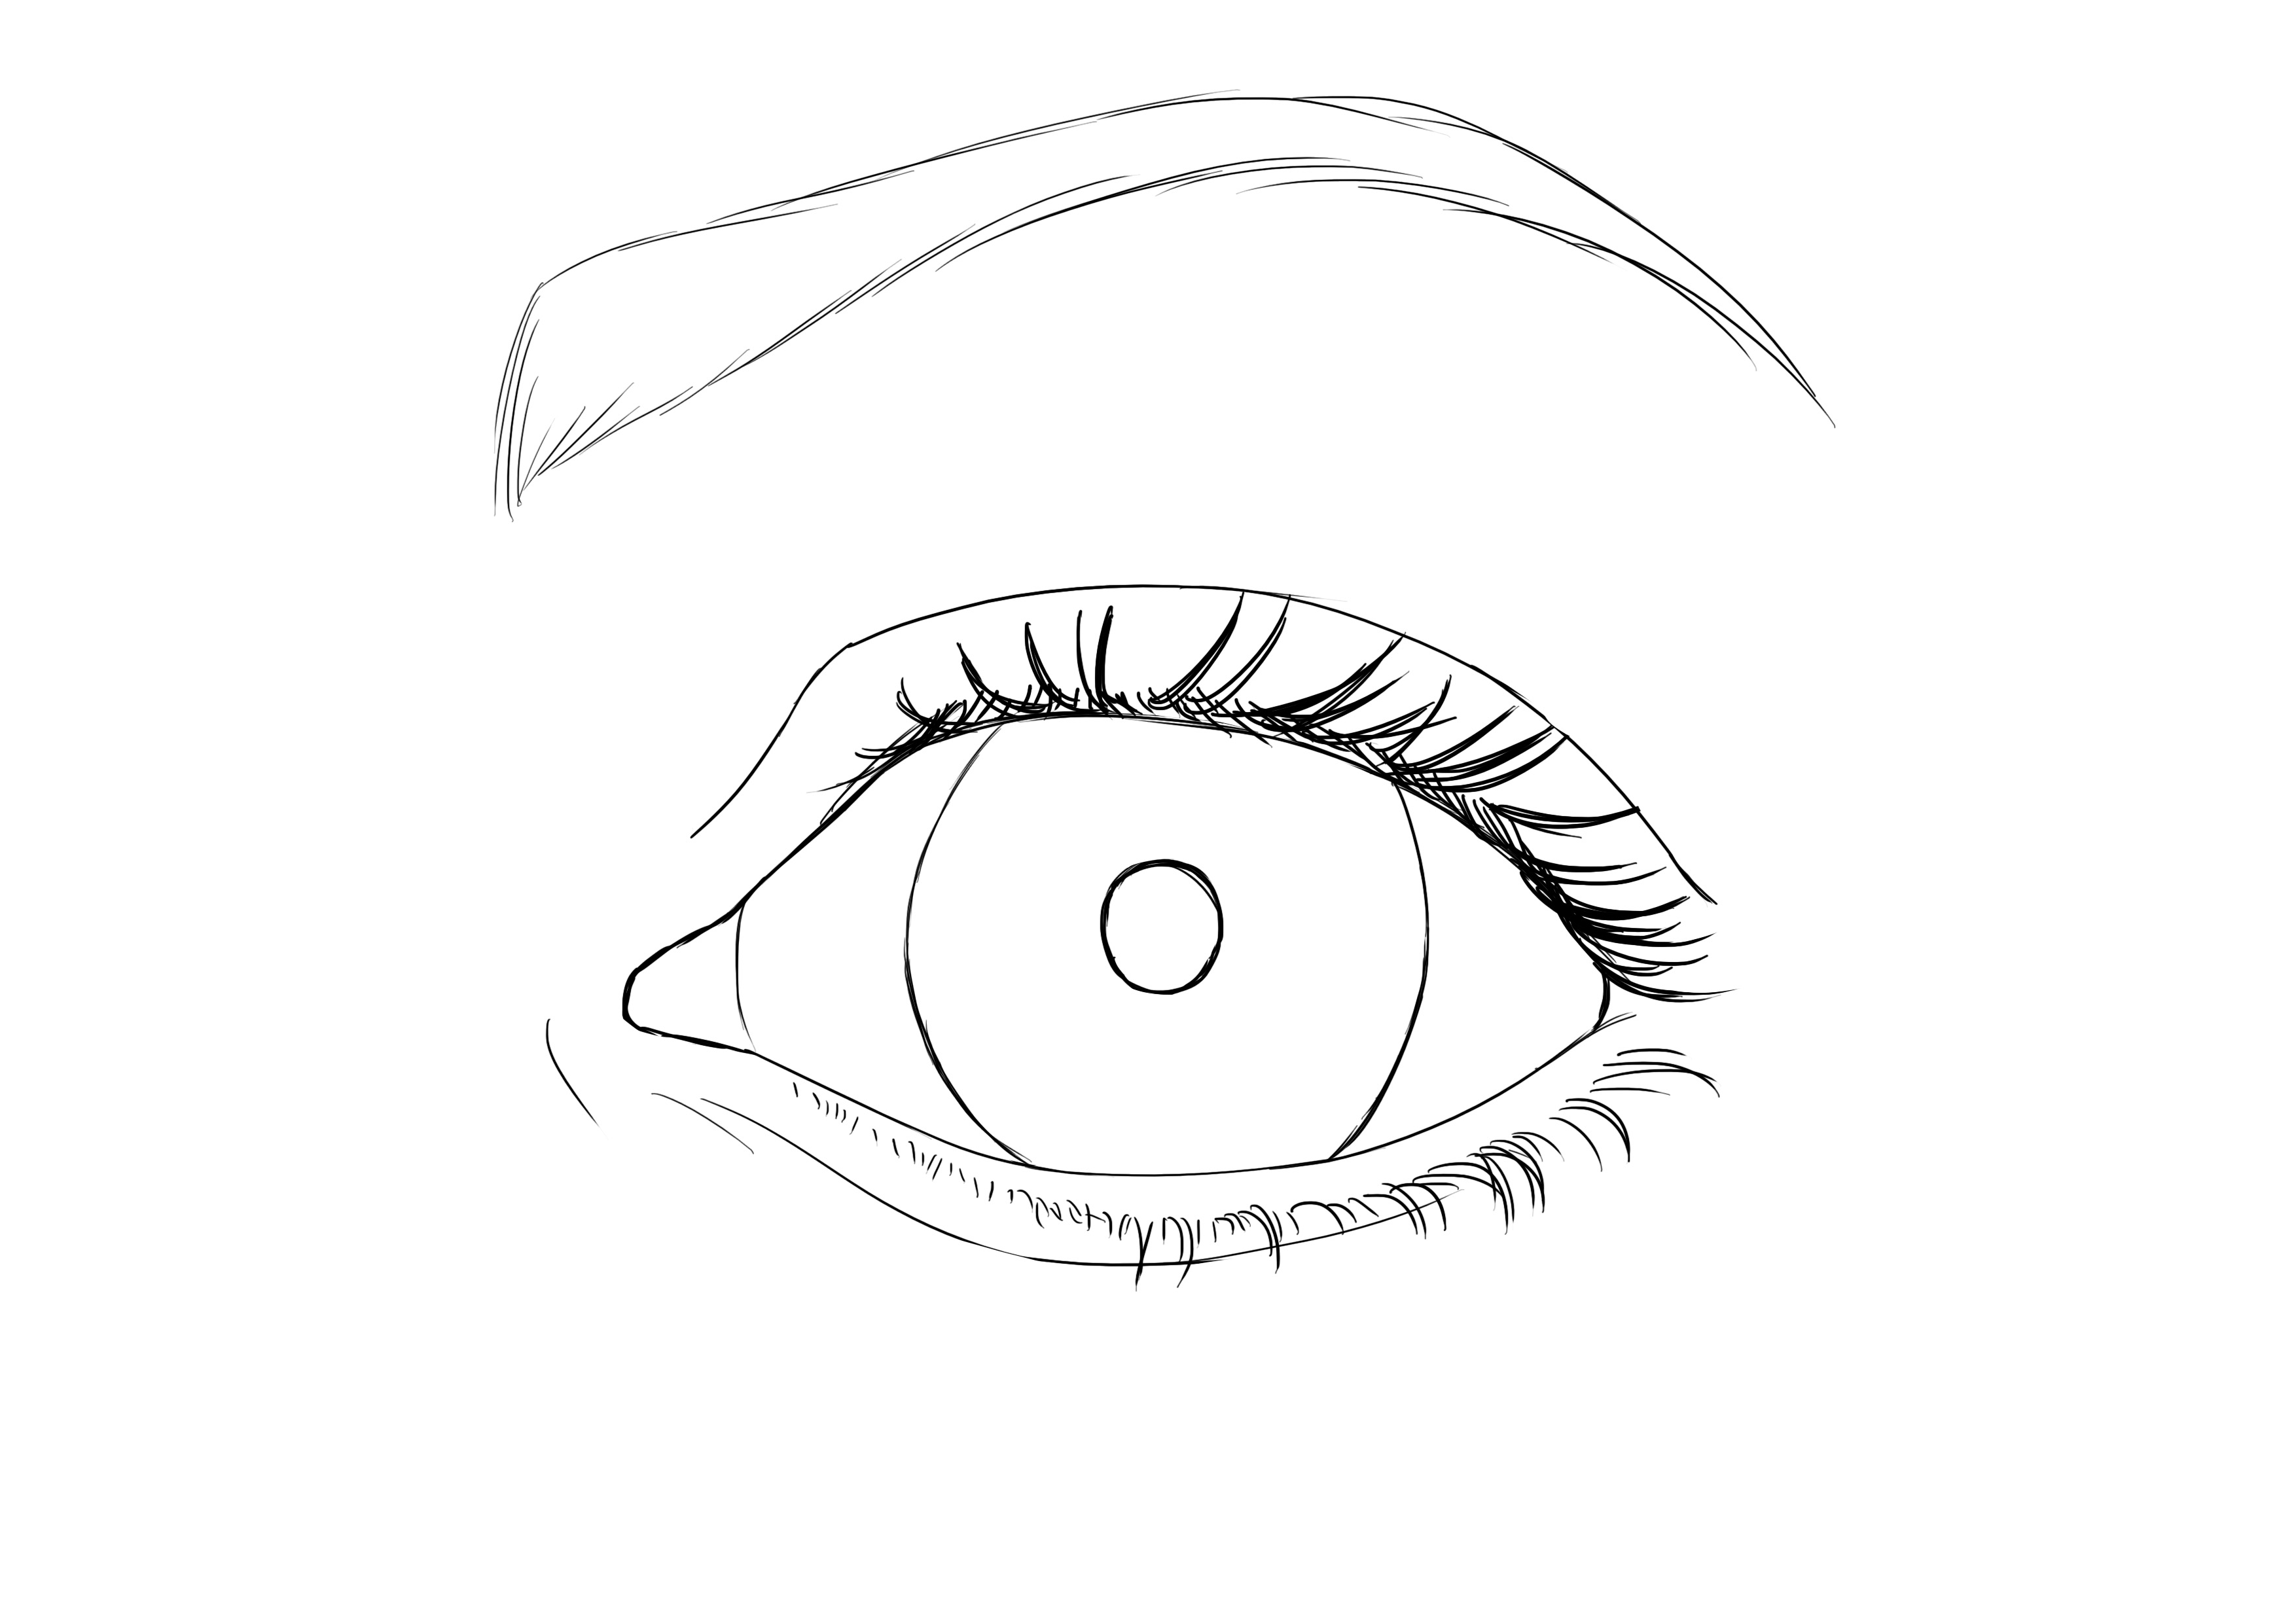
There we have it, our eye has been set up. All that's left to do now - and it's no small detail - is to add color and play with shadows and lights to get as close as possible to a realistic eye. Let's go!
APPLY COLOR TO THE DRAWING
First step: lower the opacity of our drawing. For this, I know that generally, when we try to draw this way, it's because we aim to achieve a very realistic rendering. So, we'll try to get as close to that as possible.
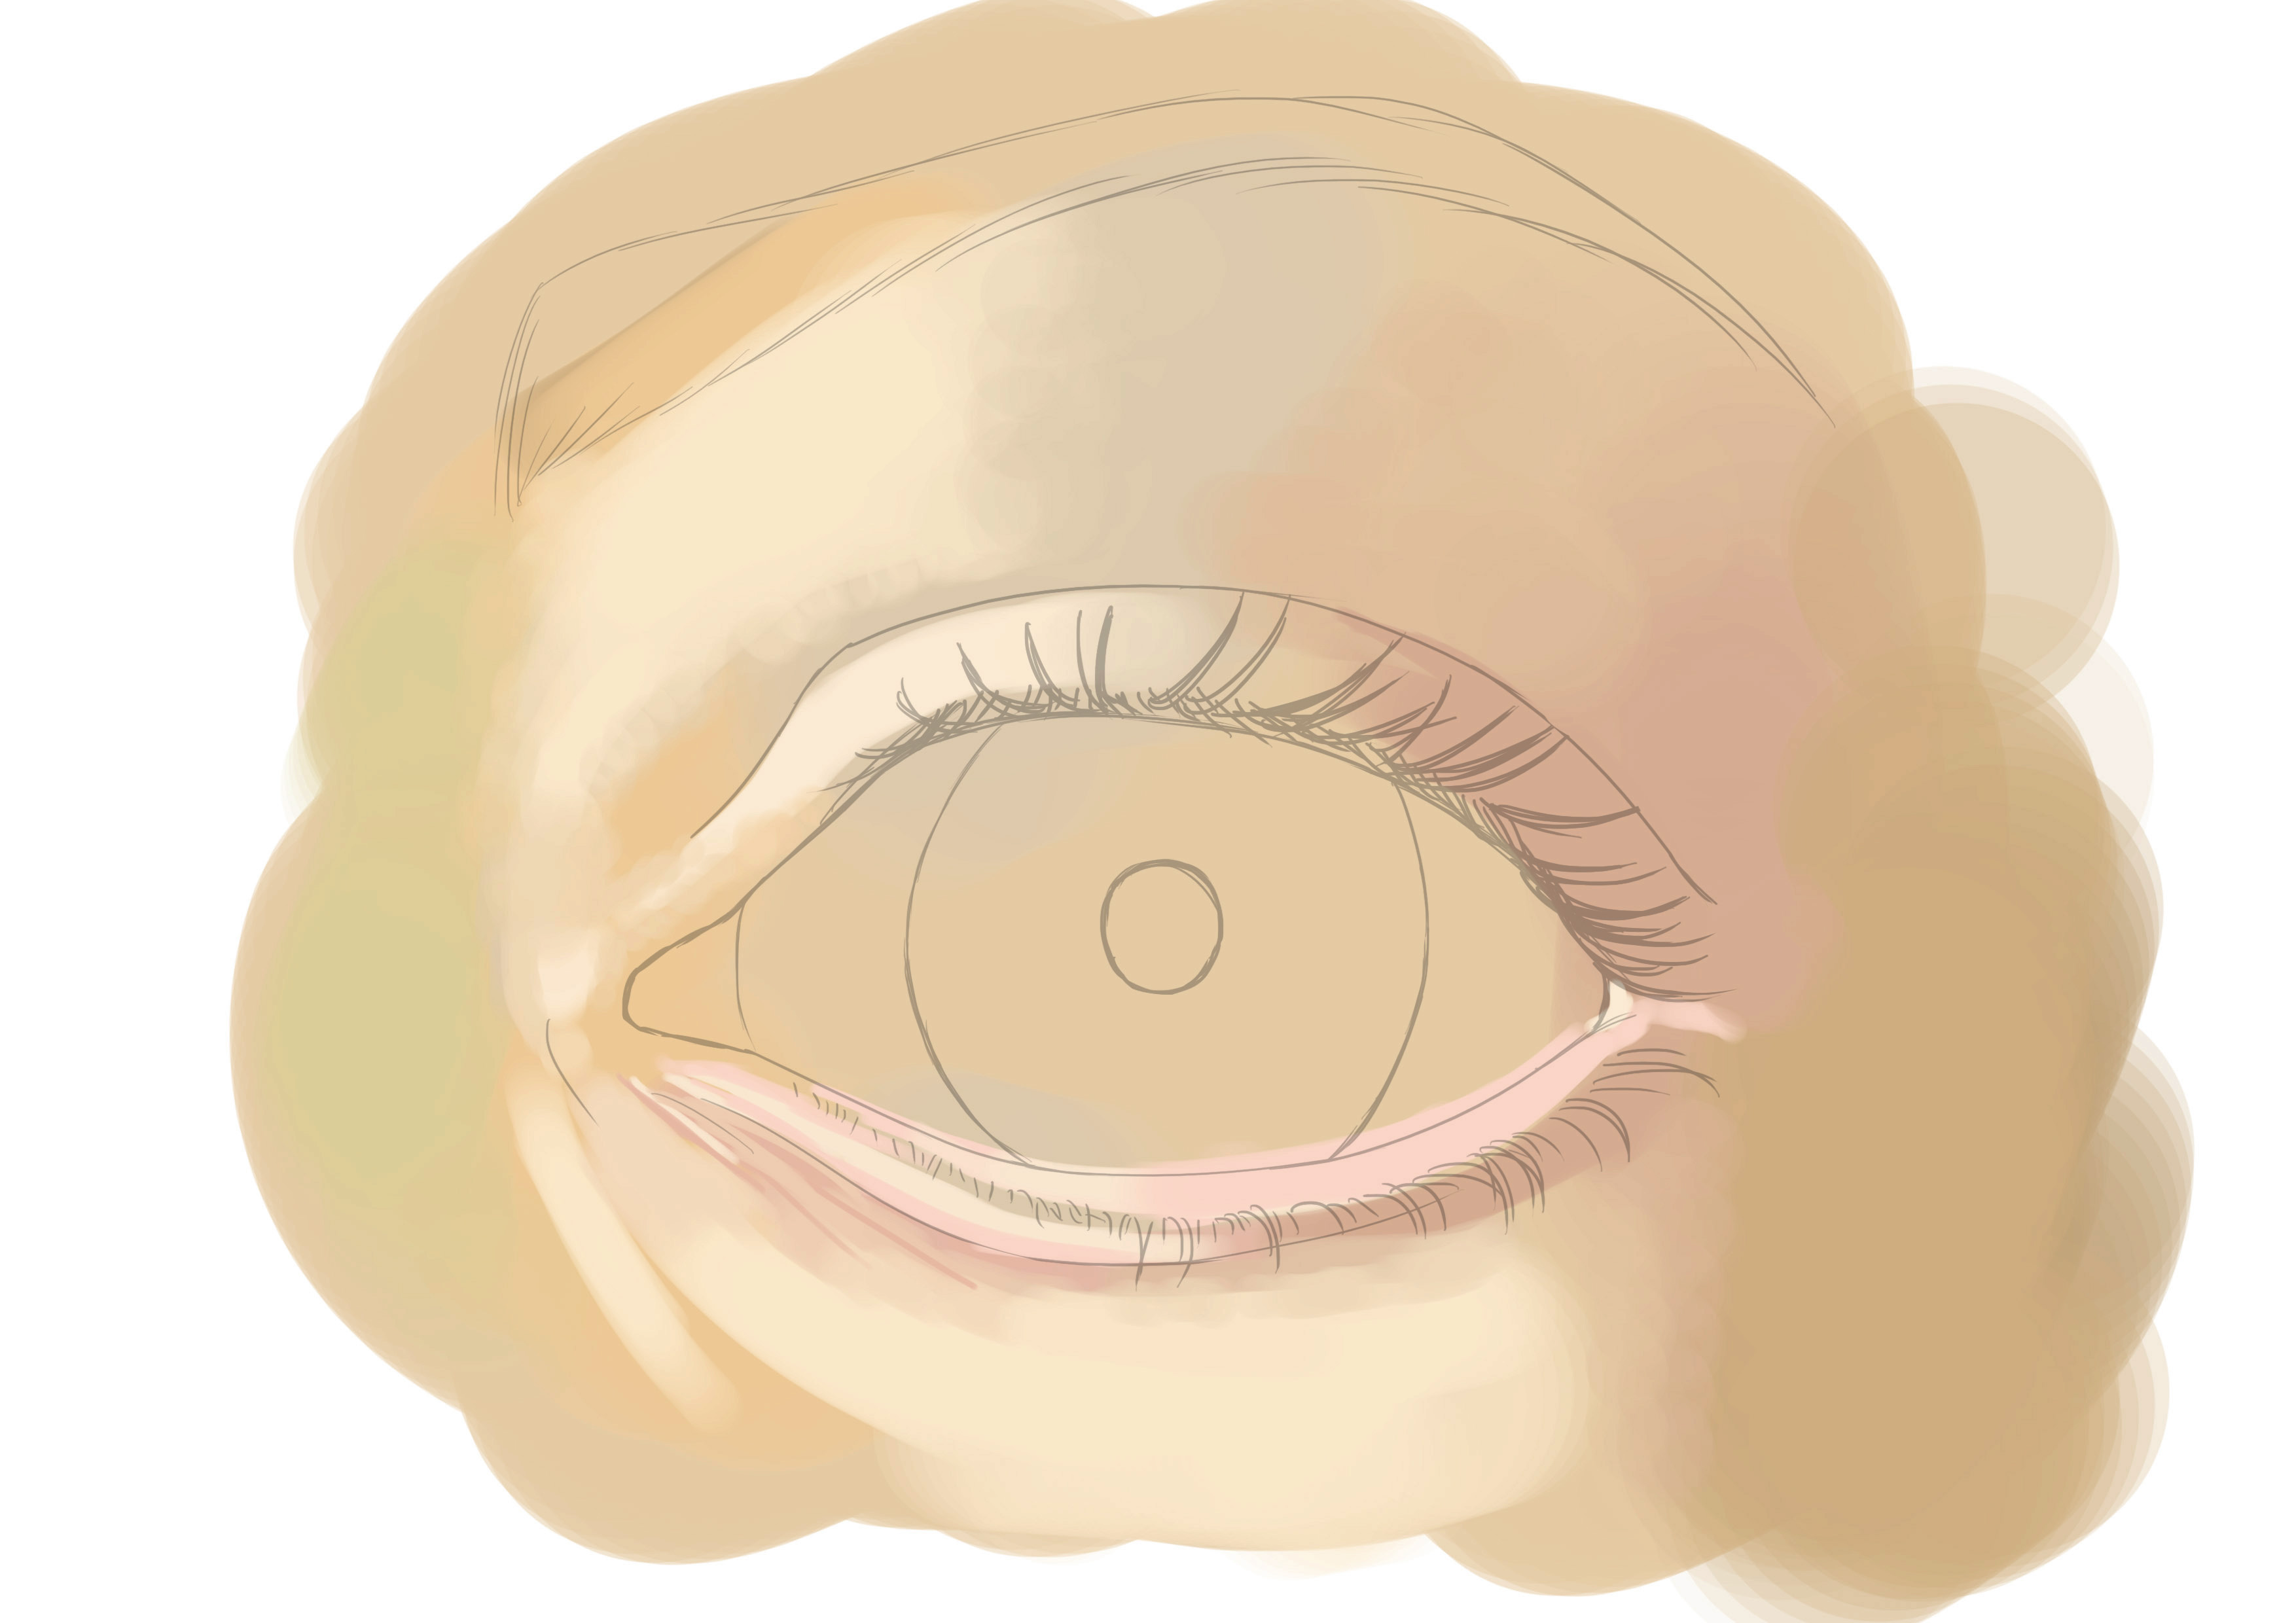
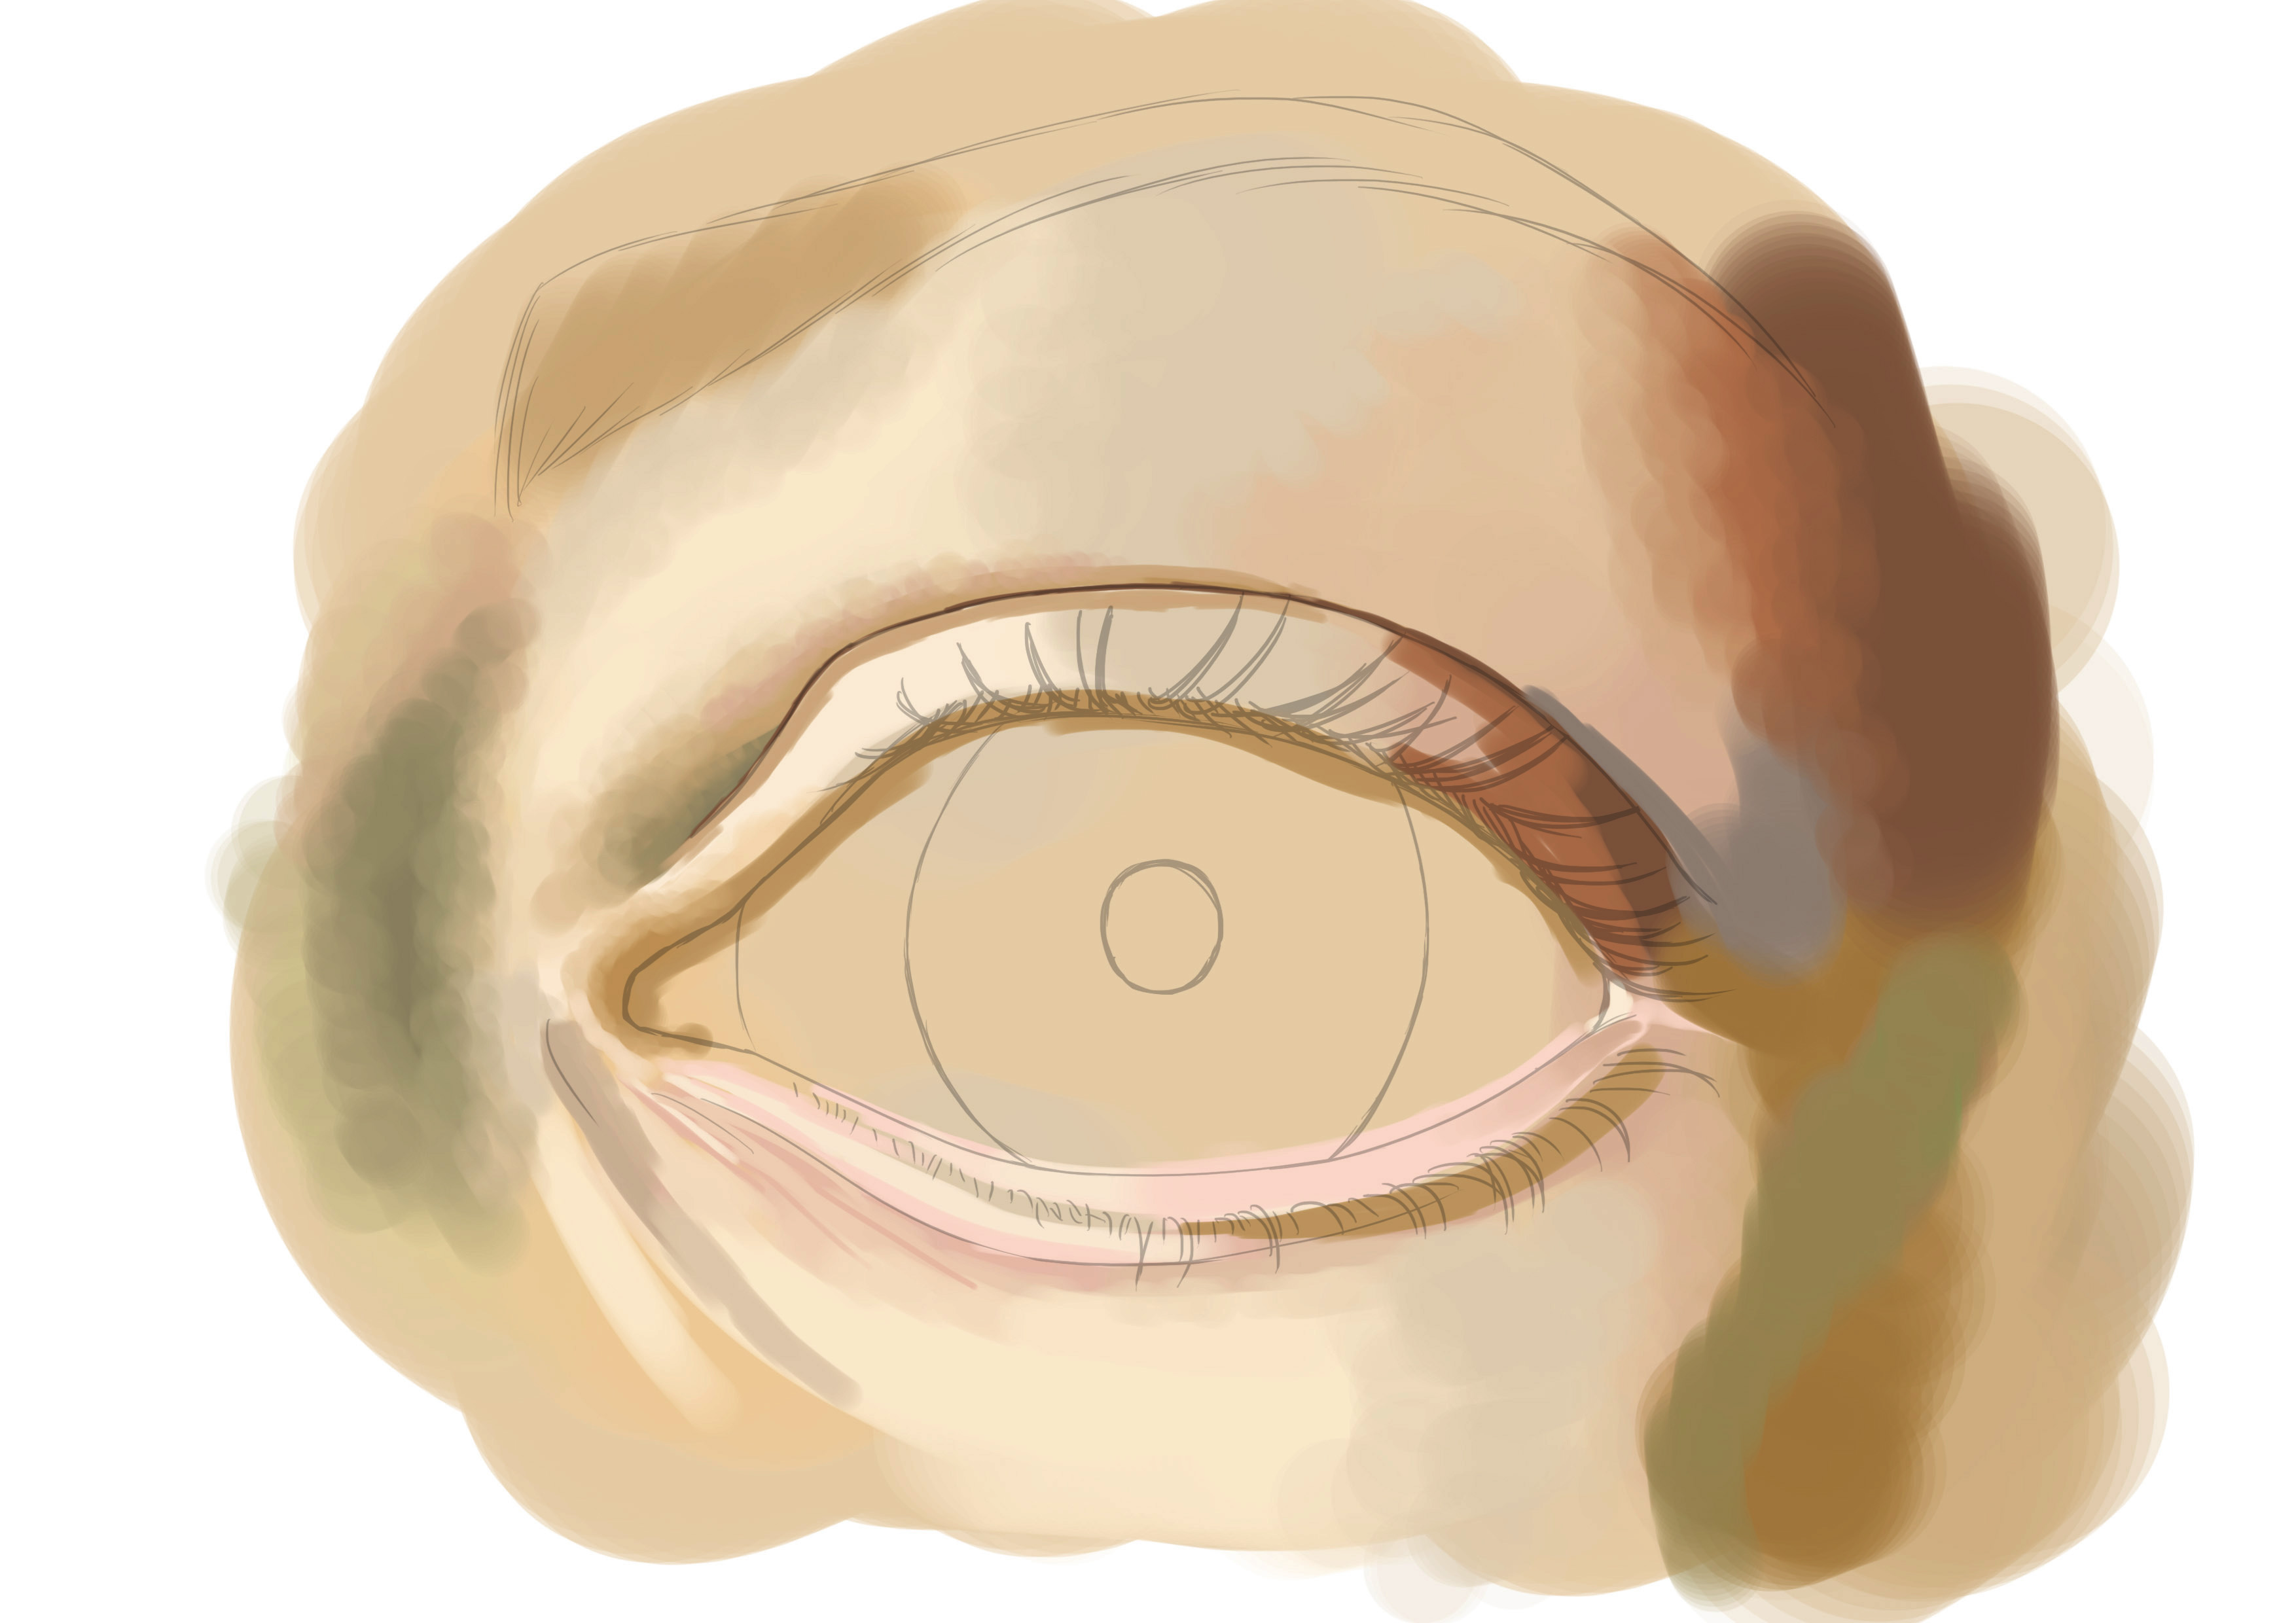
We start by applying the base color for the skin, in my case it is a light, not very saturated orange-yellow.
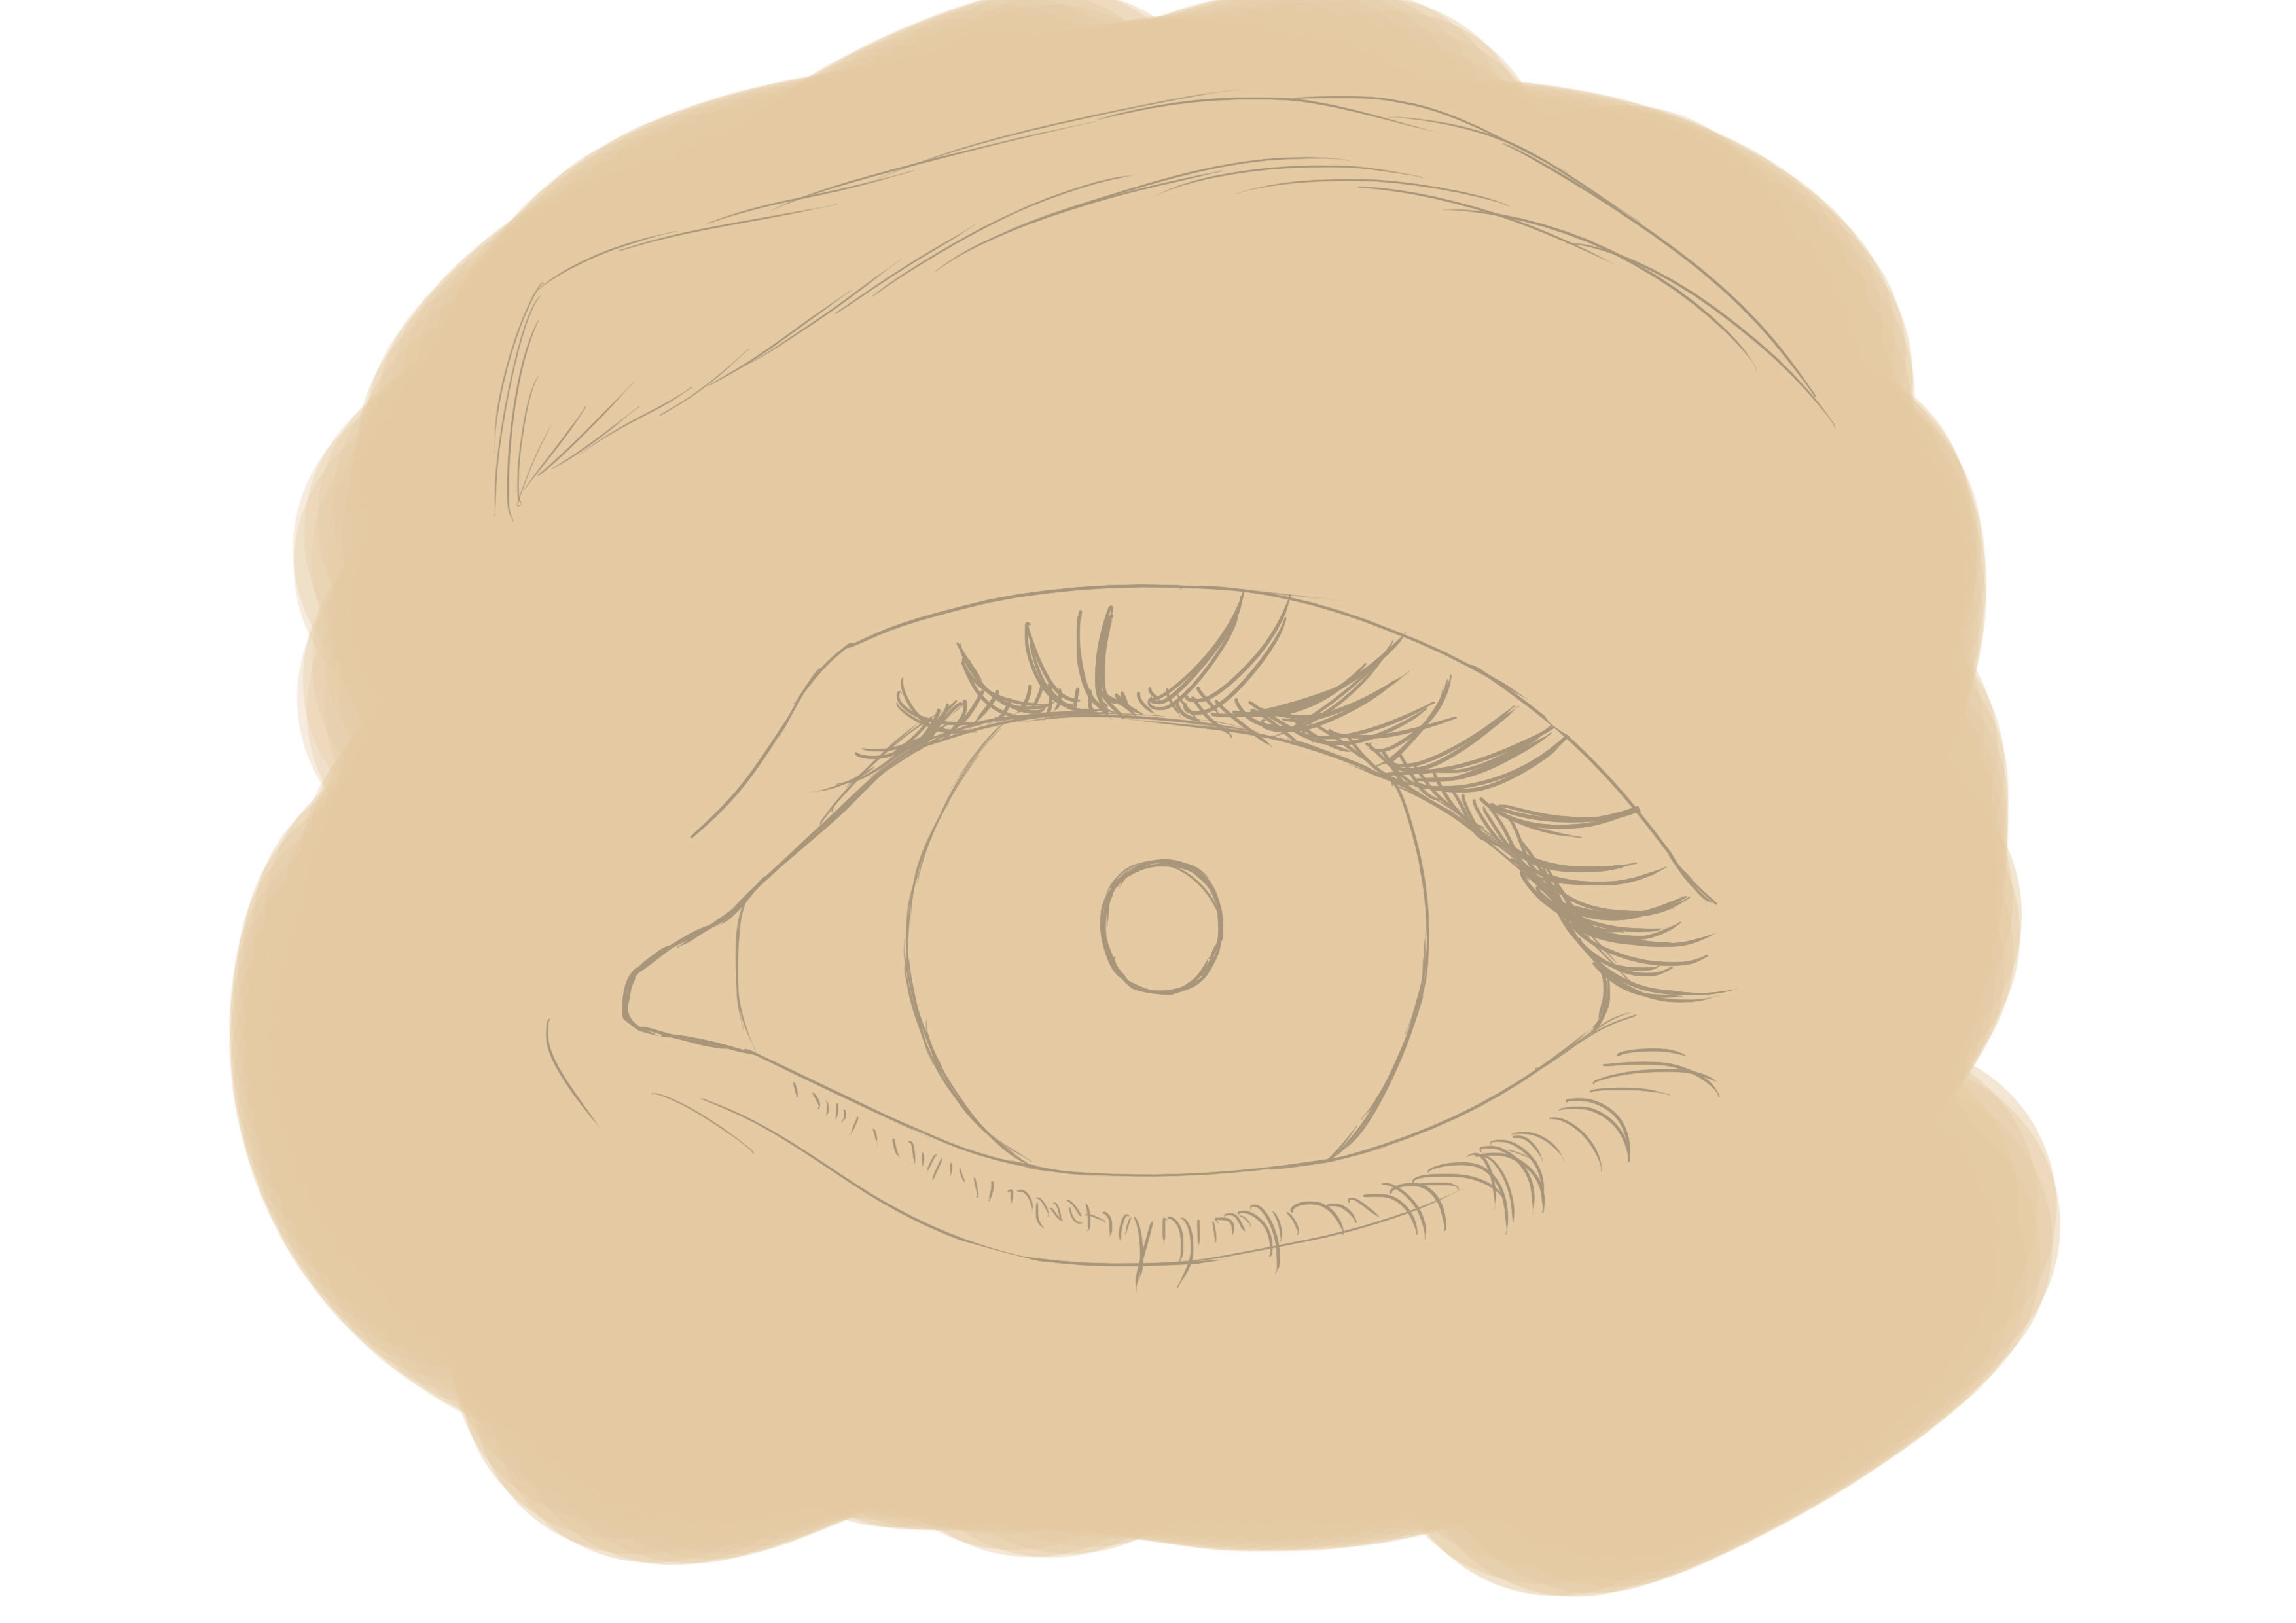
I will immediately start shaping all of this. I see there are various shades on my model. I see a slightly greenish hue towards the nose, an orange-yellow to the left, a lighter and desaturated color (that means less colorful / grayer if you prefer) around the middle of the eyelid, and a more pinkish area towards the right side of the eye before returning to a sandy hue in the shadows on the right. So, I am laying down these colors roughly.
It's not about volume, light, or anything else at the moment, but solely about skin tone. Because skin tone is not perfectly uniform everywhere.
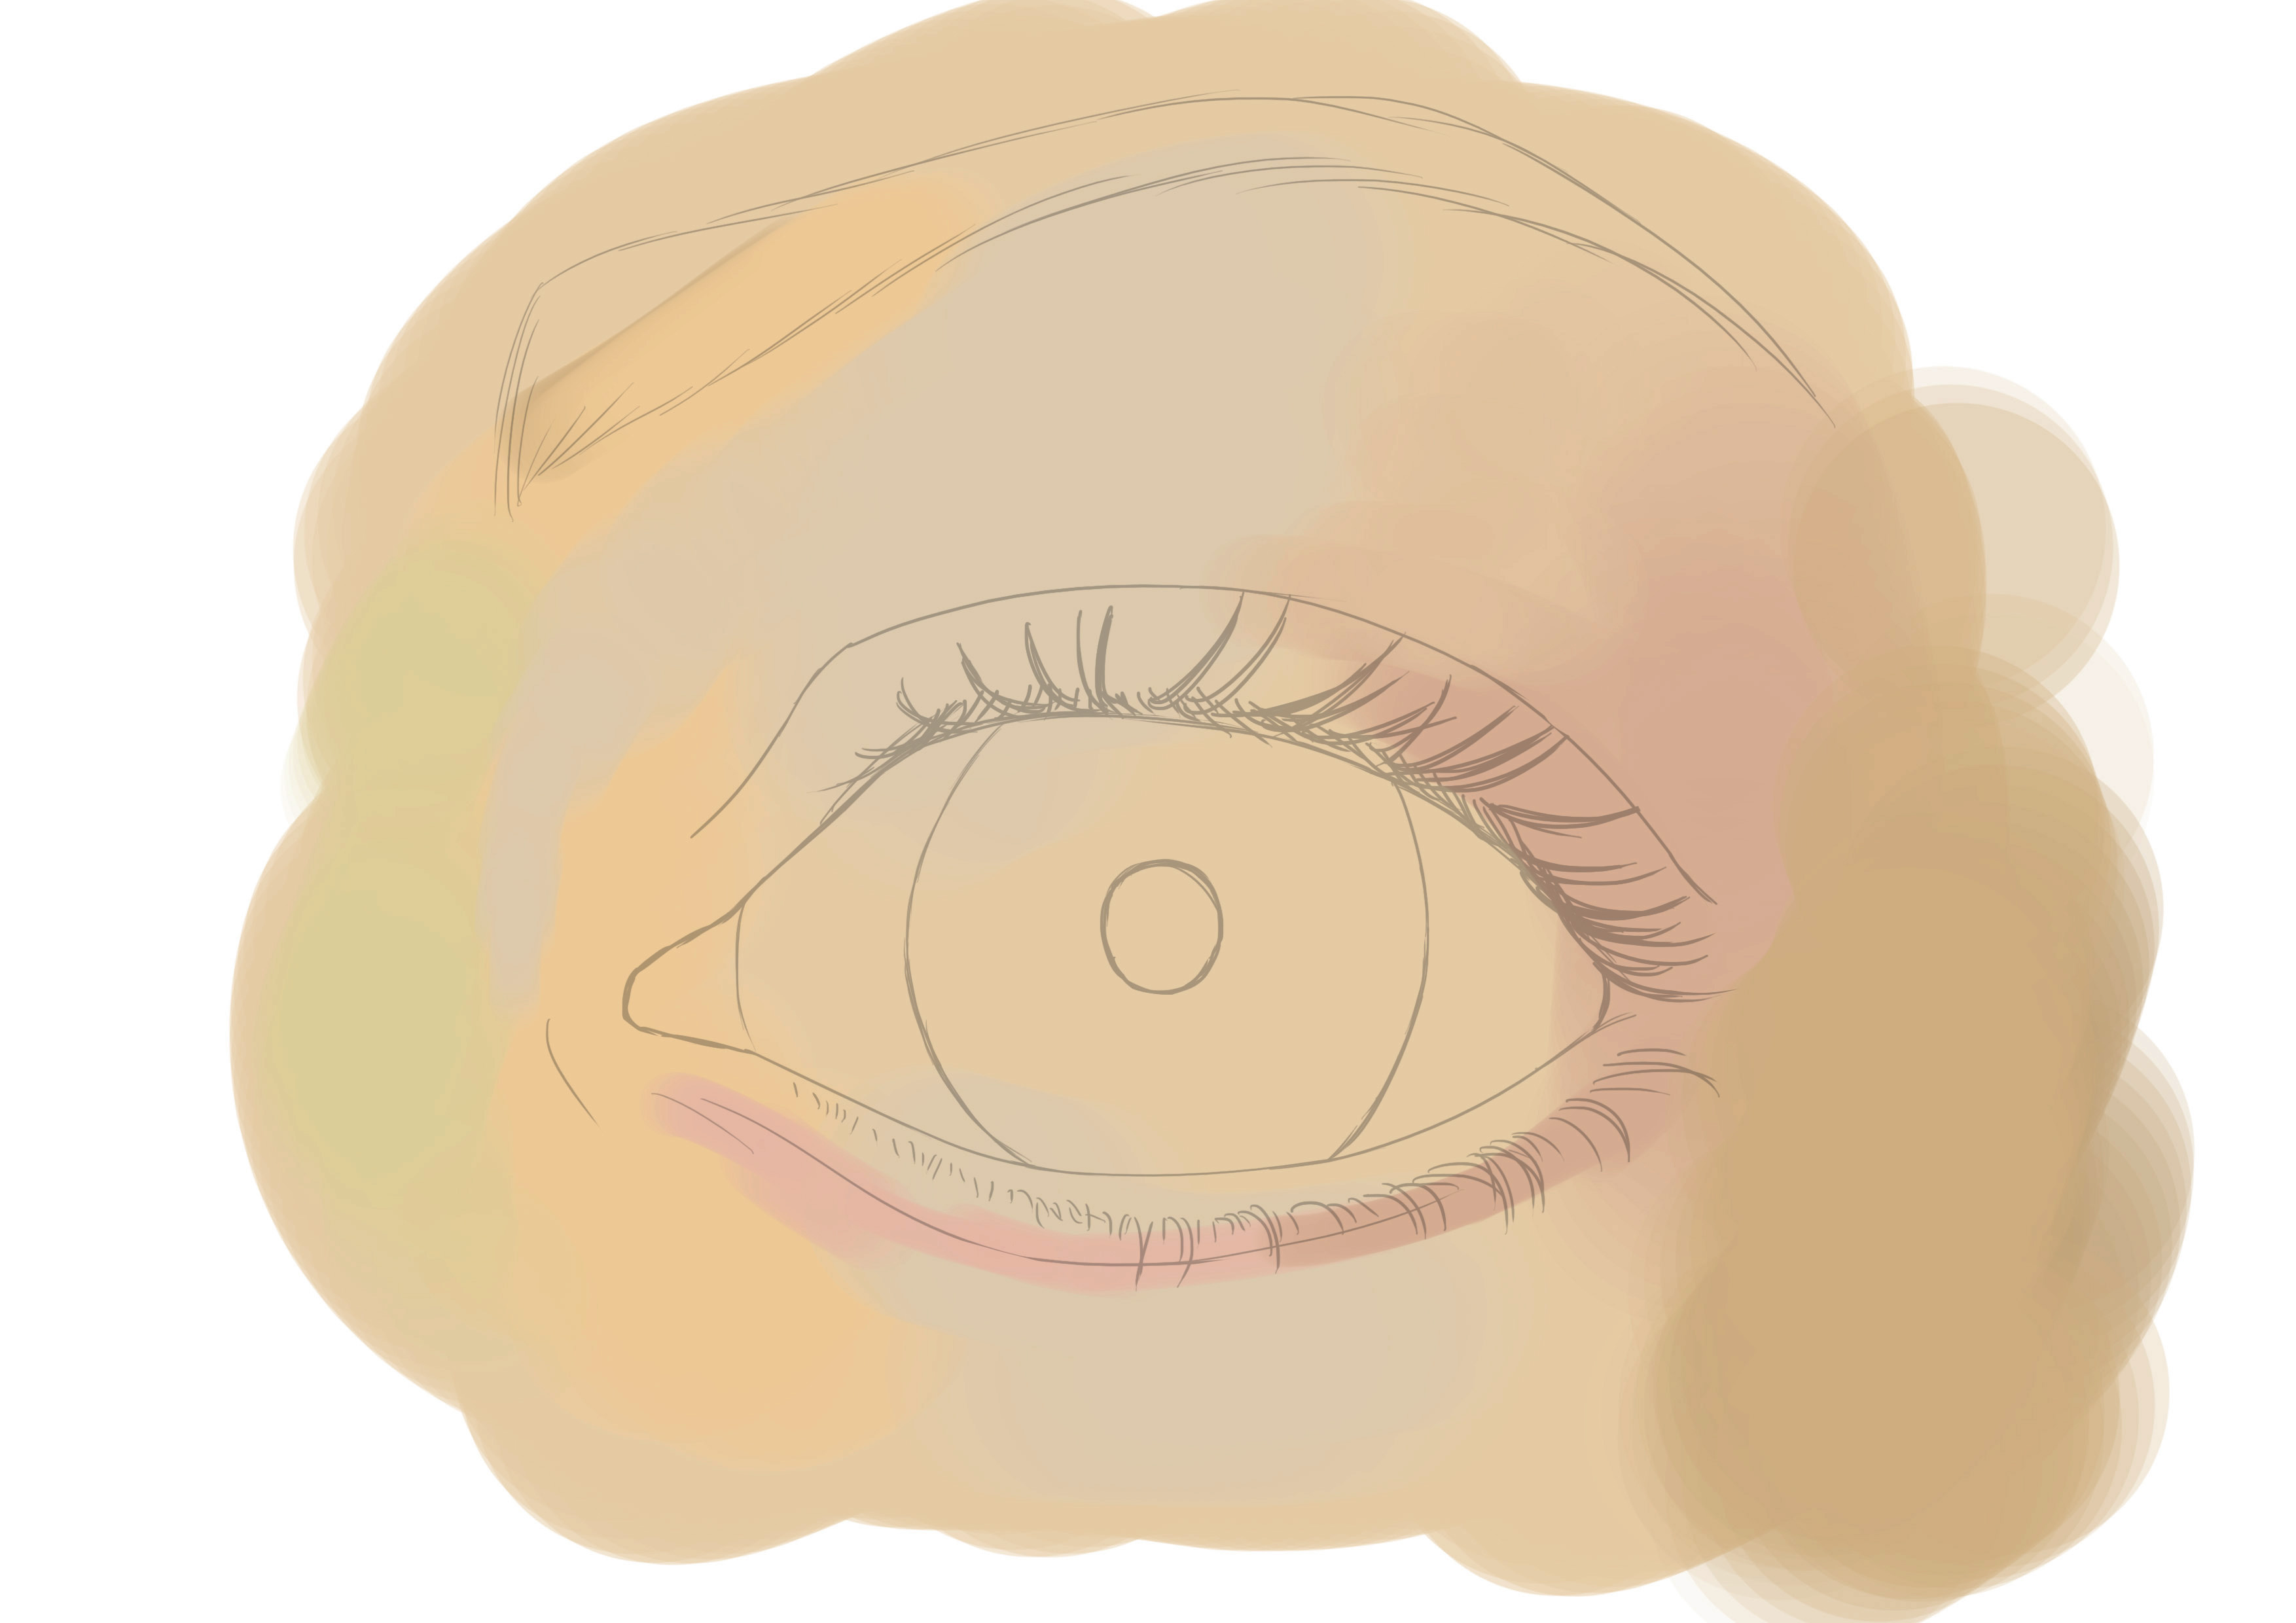
THE LIGHT OF THE DRAWING
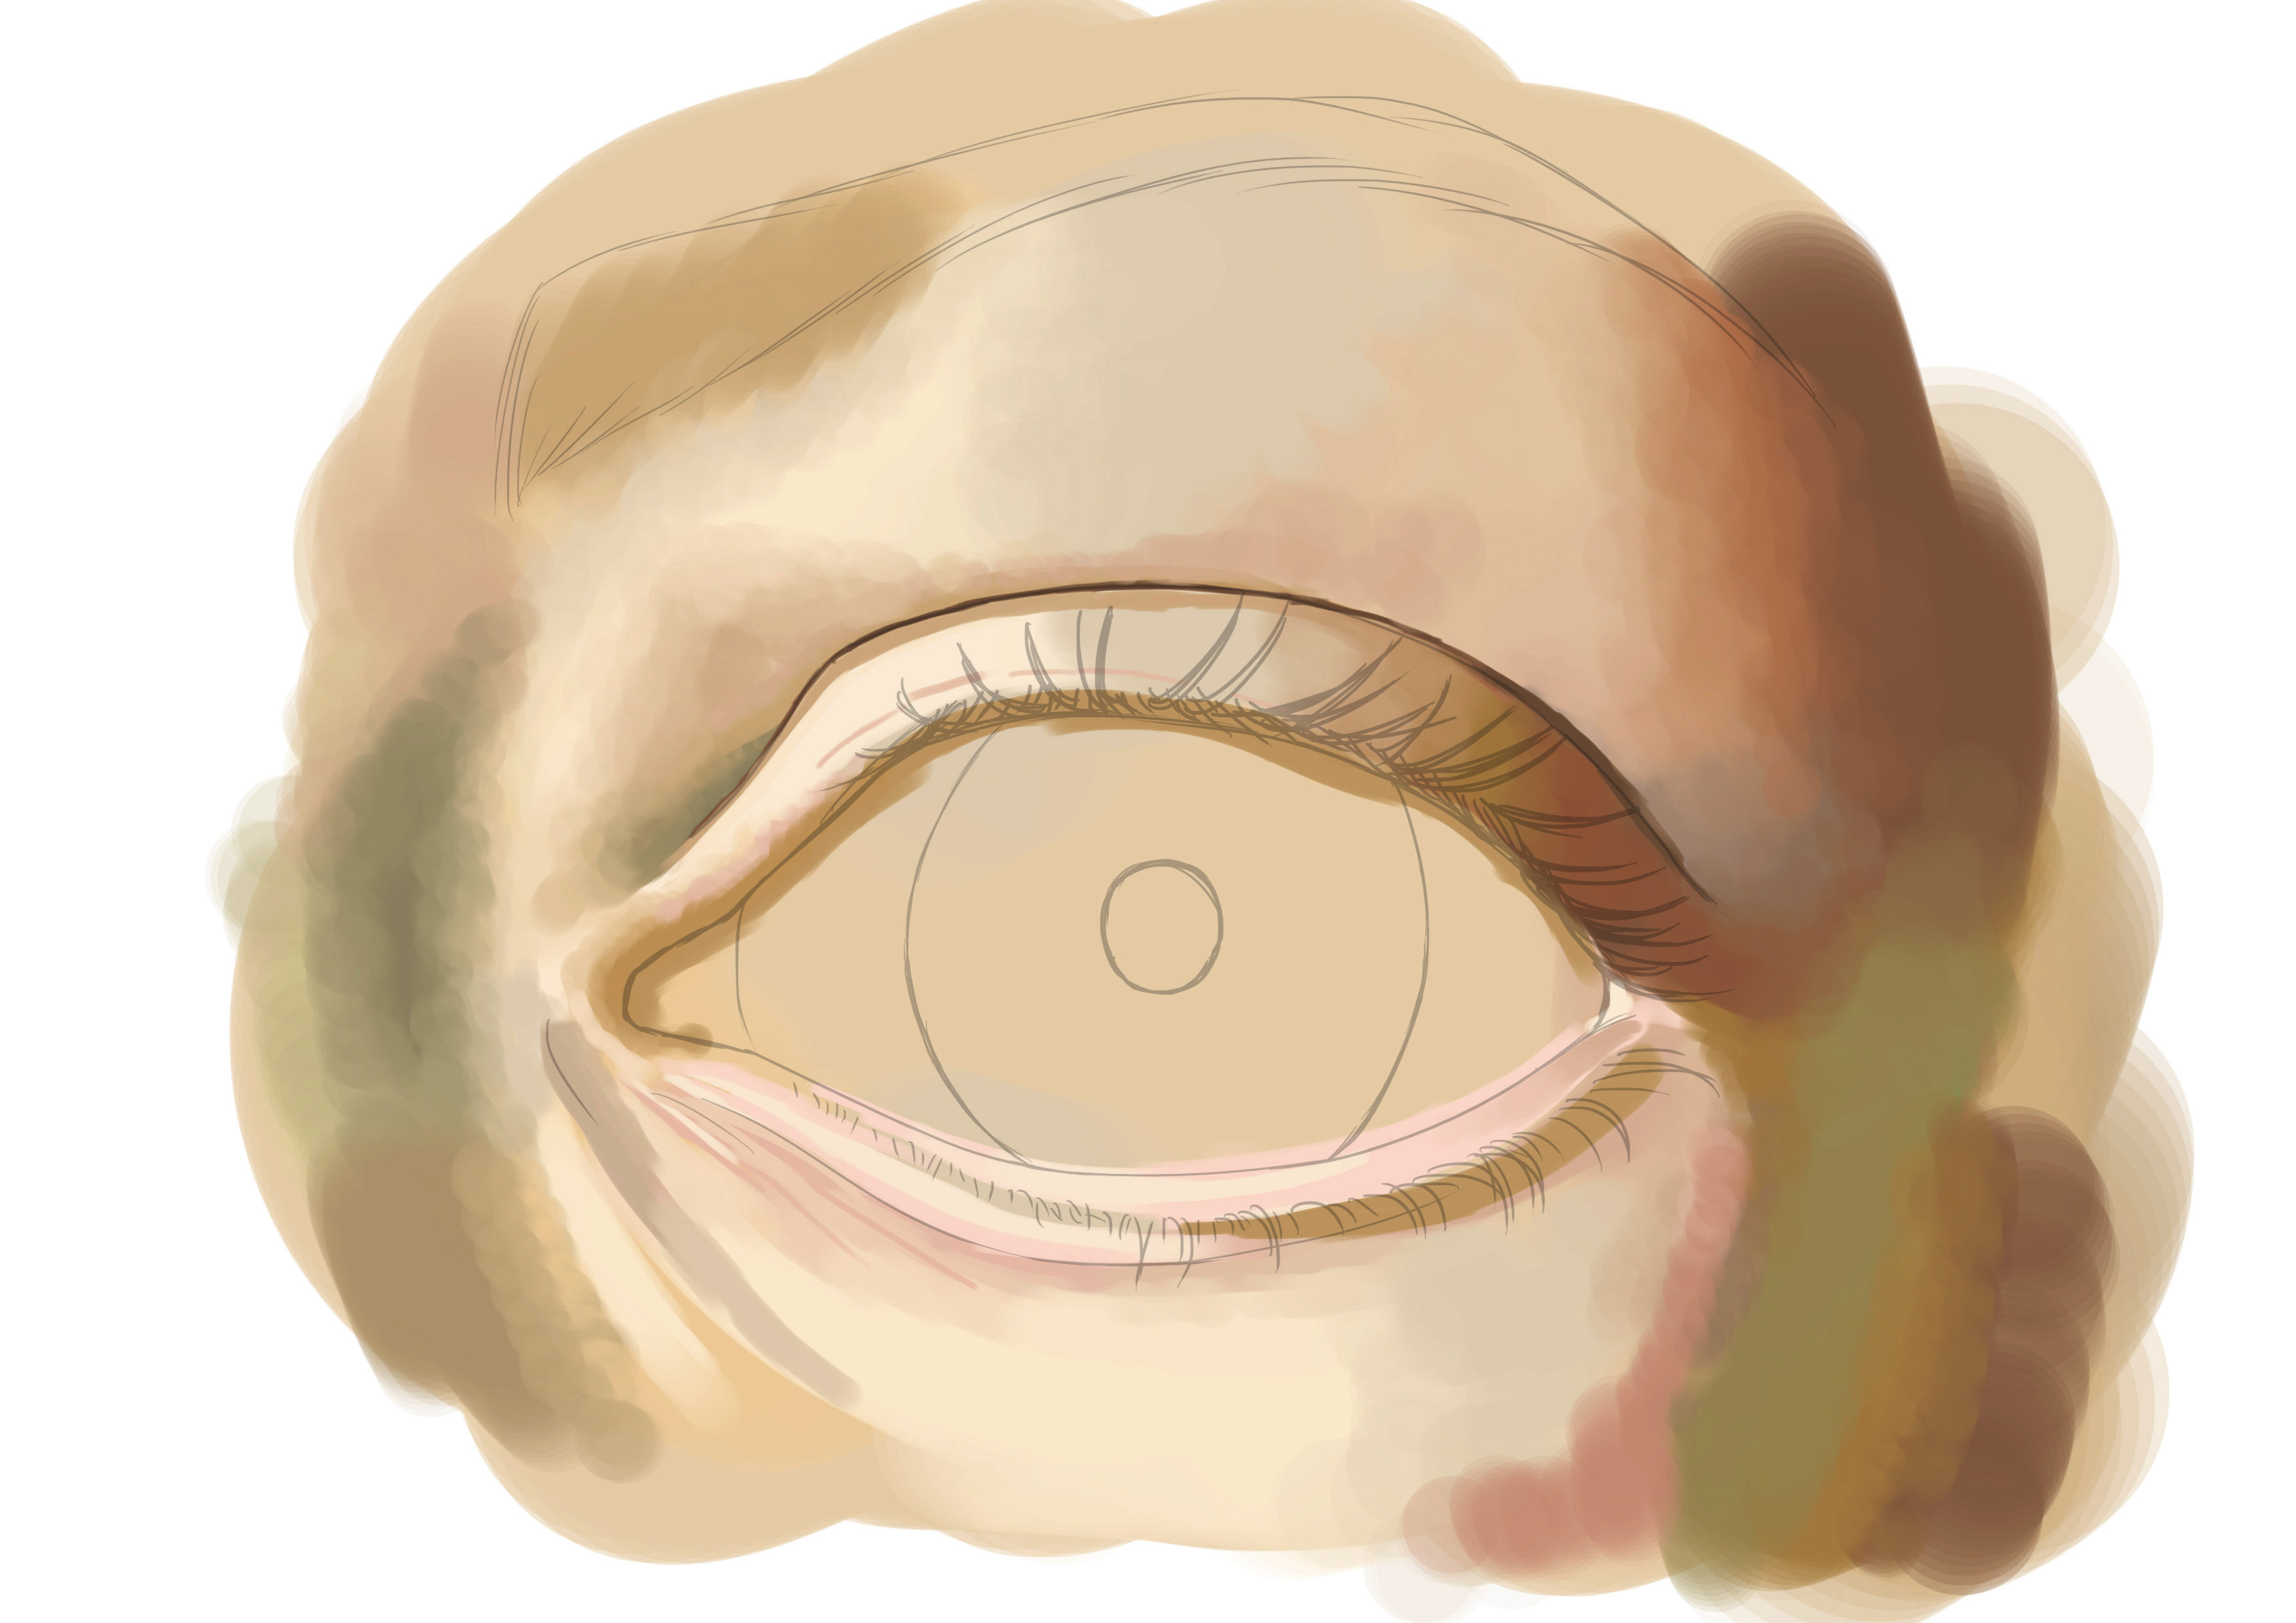
Now, I am going to start placing lighter shades for the lights. As before, I see different light shades: a very light yellow/orange shade, a kind of very light gray/beige, and a last shade that is more pinkish. Logically, this echoes the base shades we dared to use previously.
Here, we are engaging in pure and simple copying. It's actually a documentary study. We try to stick closely to our model. So, refer to your model. As usual, try to identify the light source and stick to it. Here, we can clearly see the light source reflecting in the model's eye. There are large windows on our left. The light is quite diffuse, so we don't have sharp and marked shadows. Everything is quite soft.
The main highlights are located on the left side of the movable eyelid (the light hits it, since the source is on the left), the same for the lower eyelid, the outer corner of the eye, the top of the cheek, and the brow bone, which in my example is not very deep.
Do not hesitate to properly blend and look for other areas that let light through. The brightest areas remain the eyelid and the outer corner of the eye.
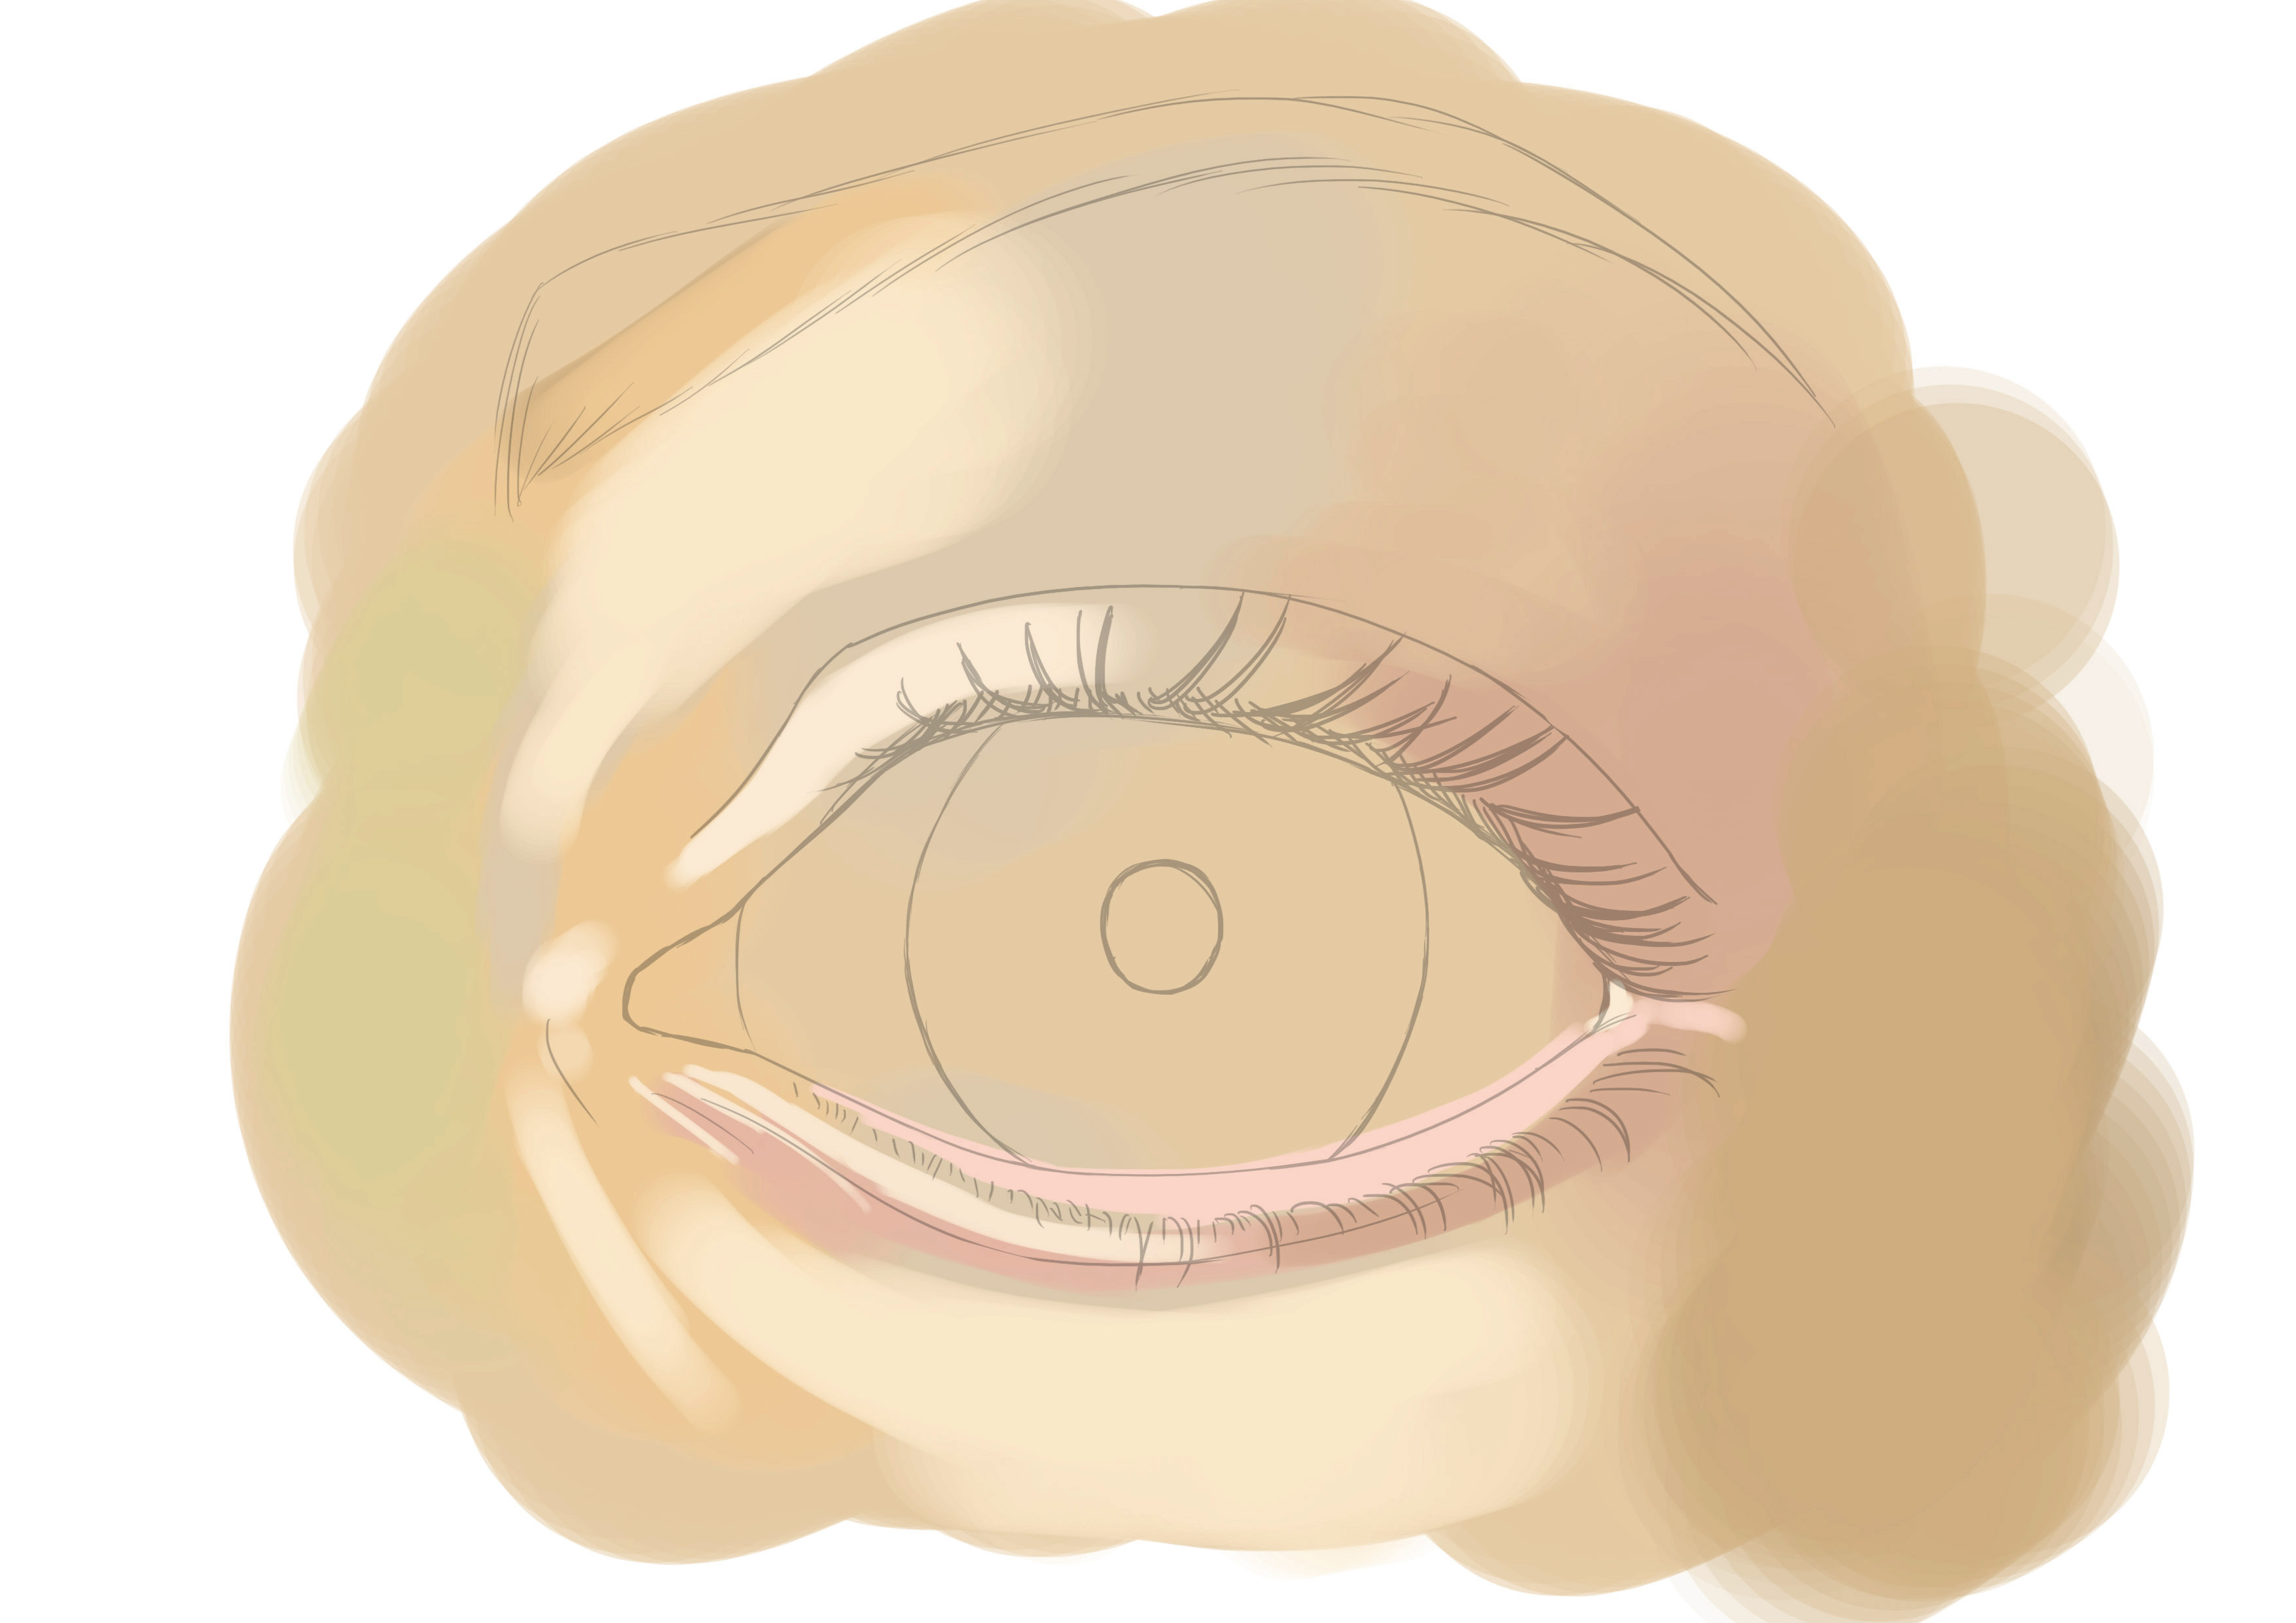
SHADOWS OF THE EYE
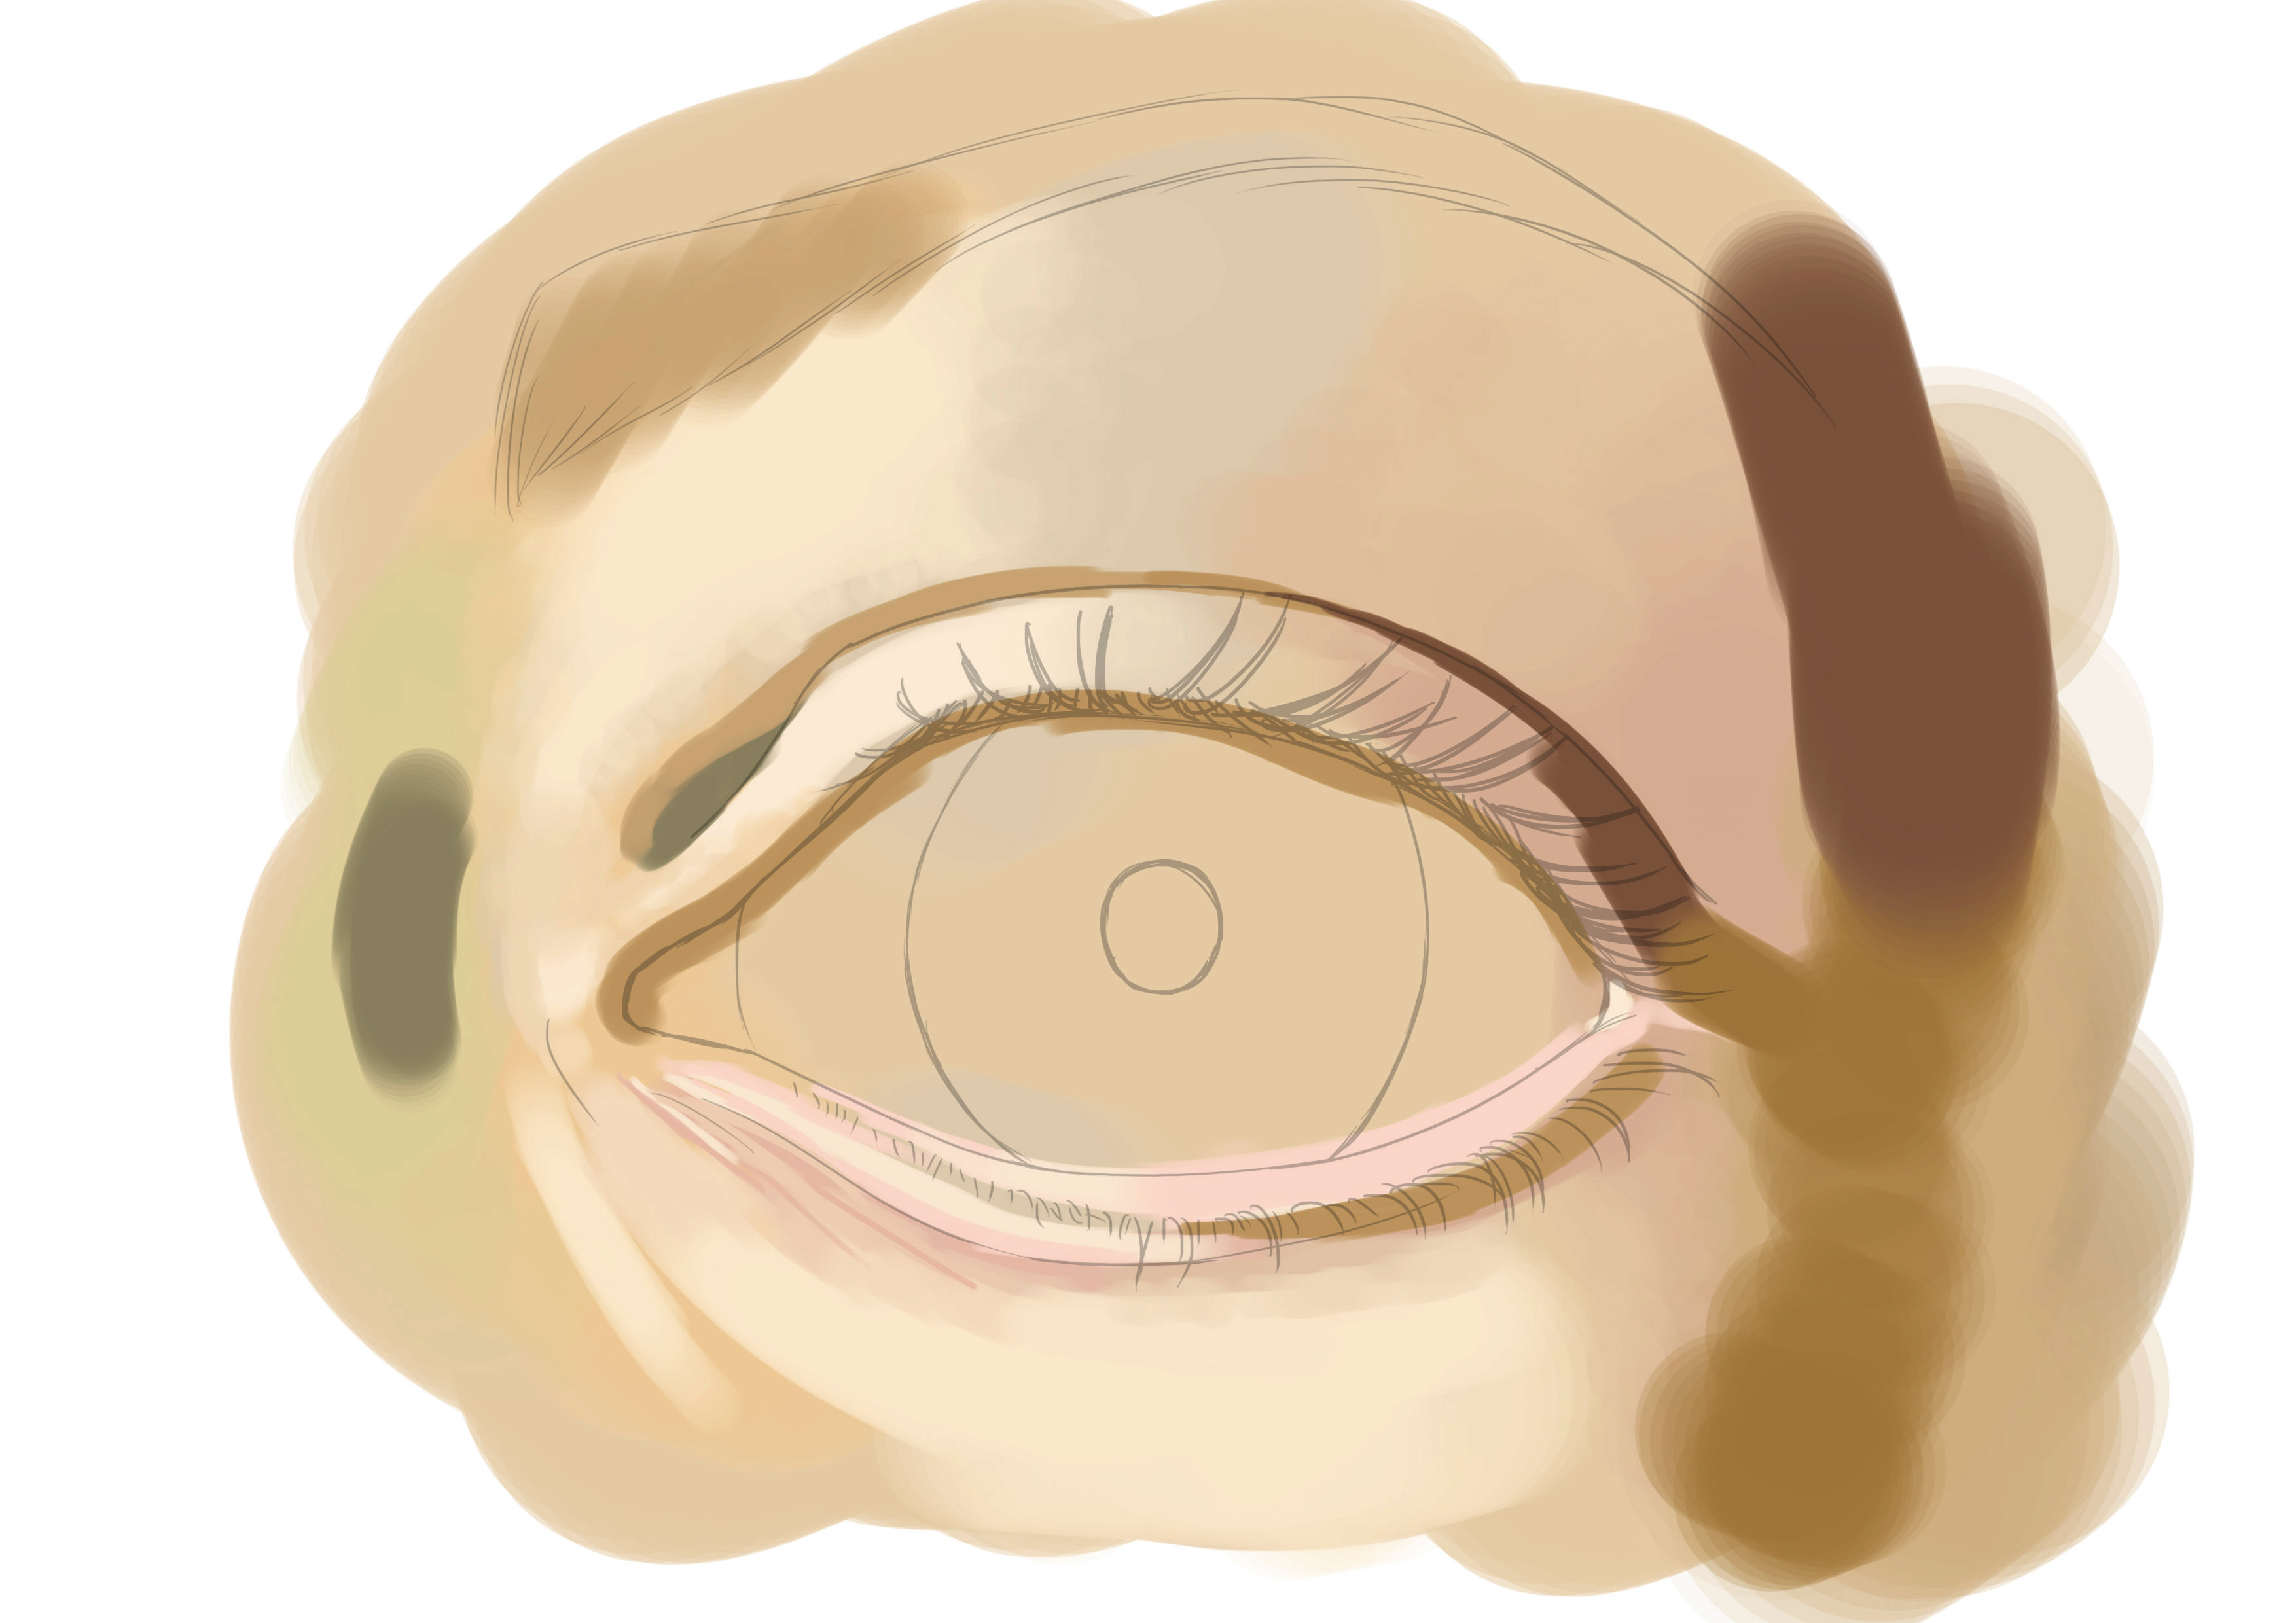
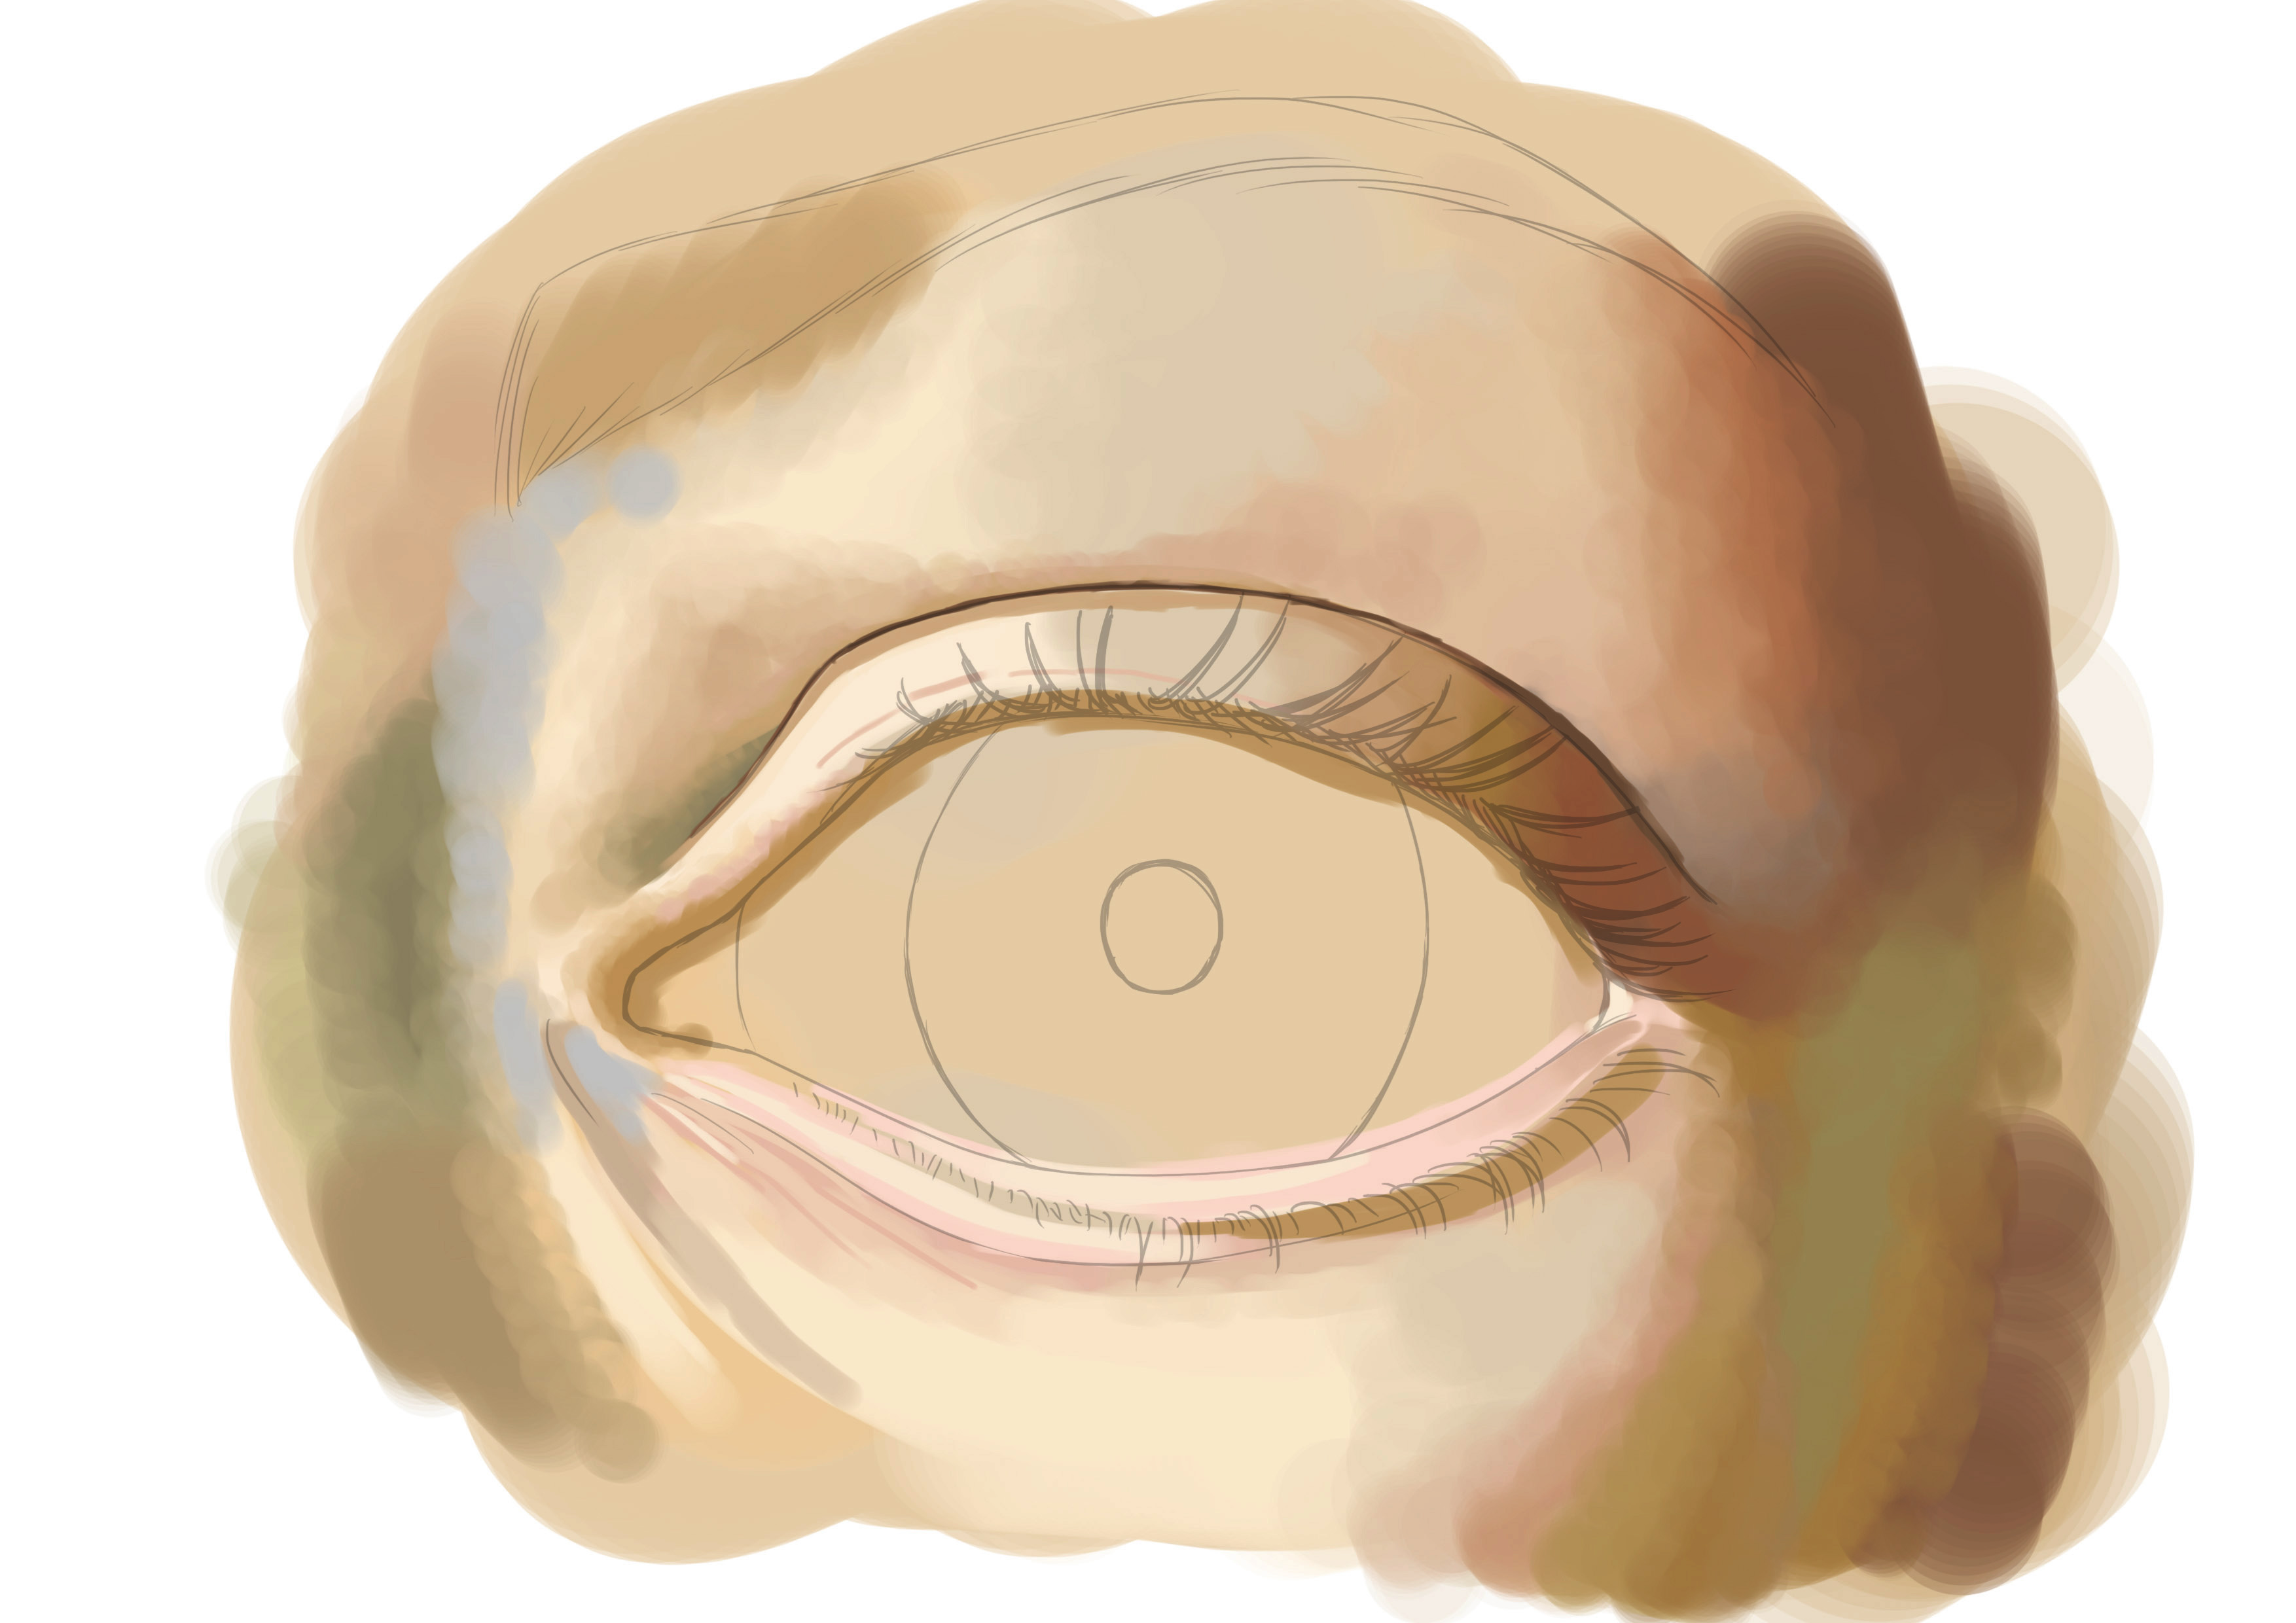
Once that's done, we move on to the shadows! We'll place our diffuse shadows, just like the base shades and lights, we have various shades. A fairly gray/greenish color, another orange/golden one, another more violet (under the lower lashes and the crease of the eyelid in particular) and another brown/chocolate one.
You can find complete courses on the correct use of shadows and lights in your drawings in the training "The Basics of Drawing":

So we place these shades referring to our model. Do not blindly follow everything I do, use your sense of observation to understand what I am doing and how I break down my model to best transcribe it ^^
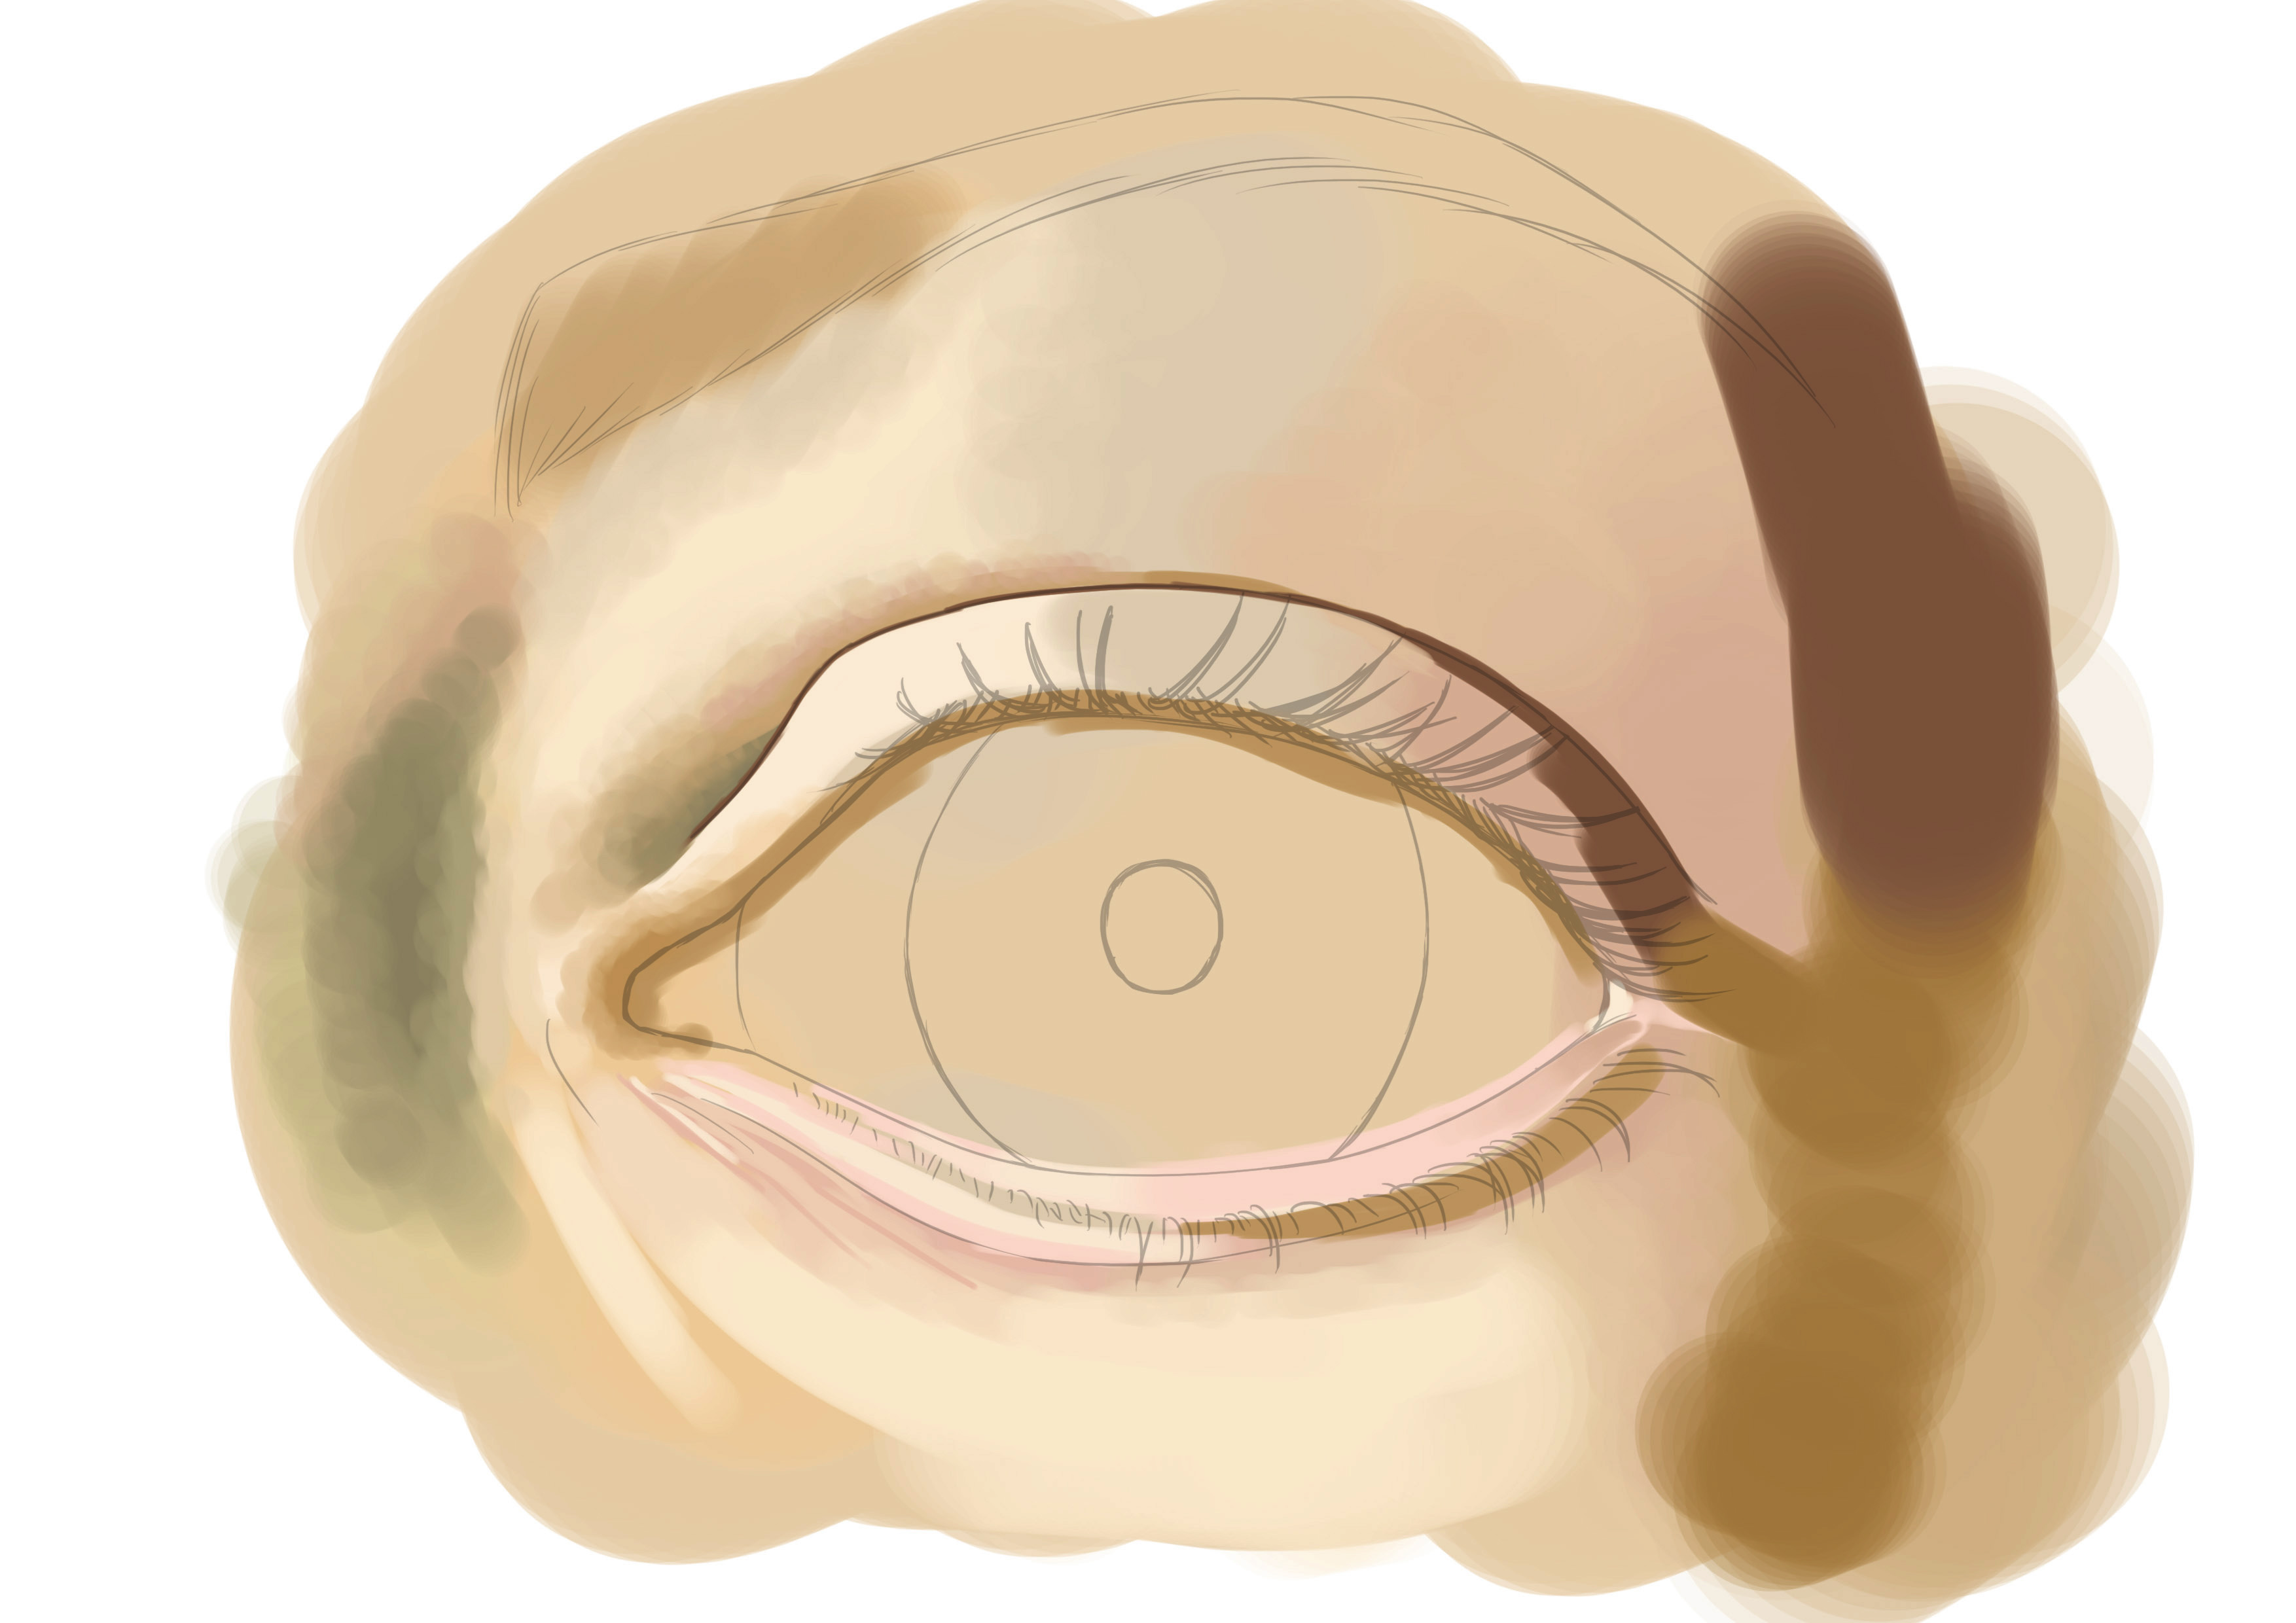
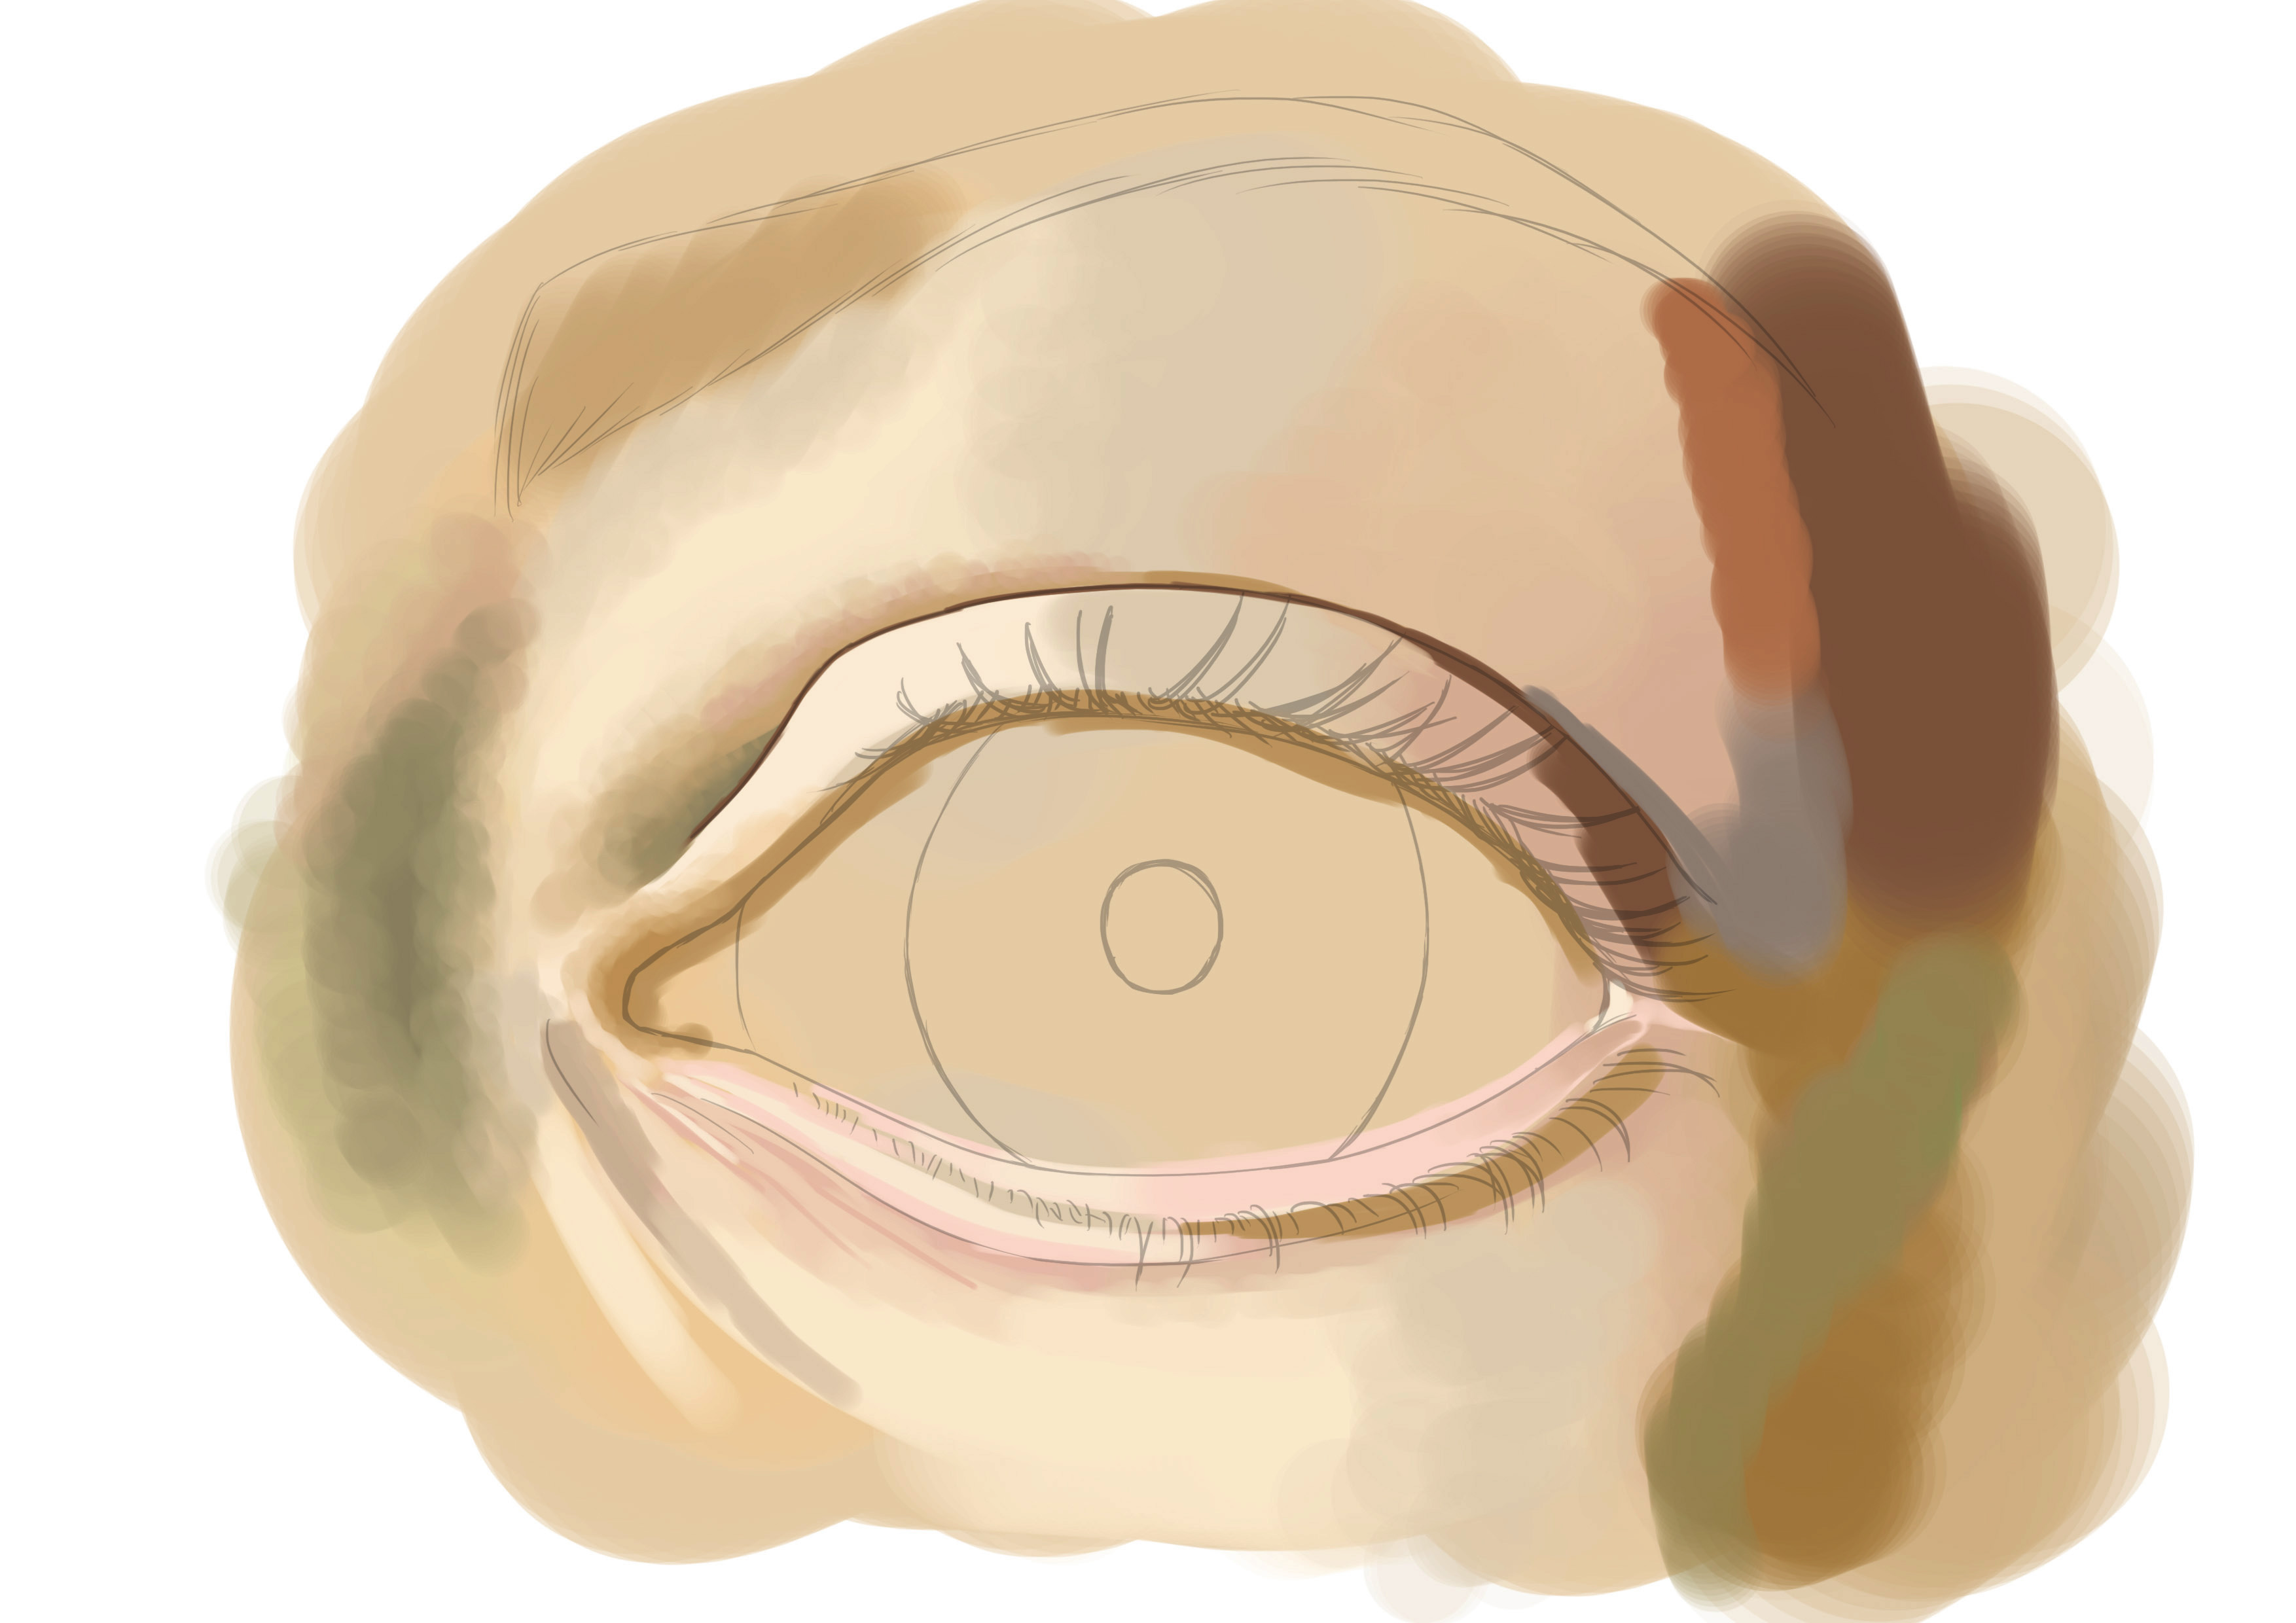
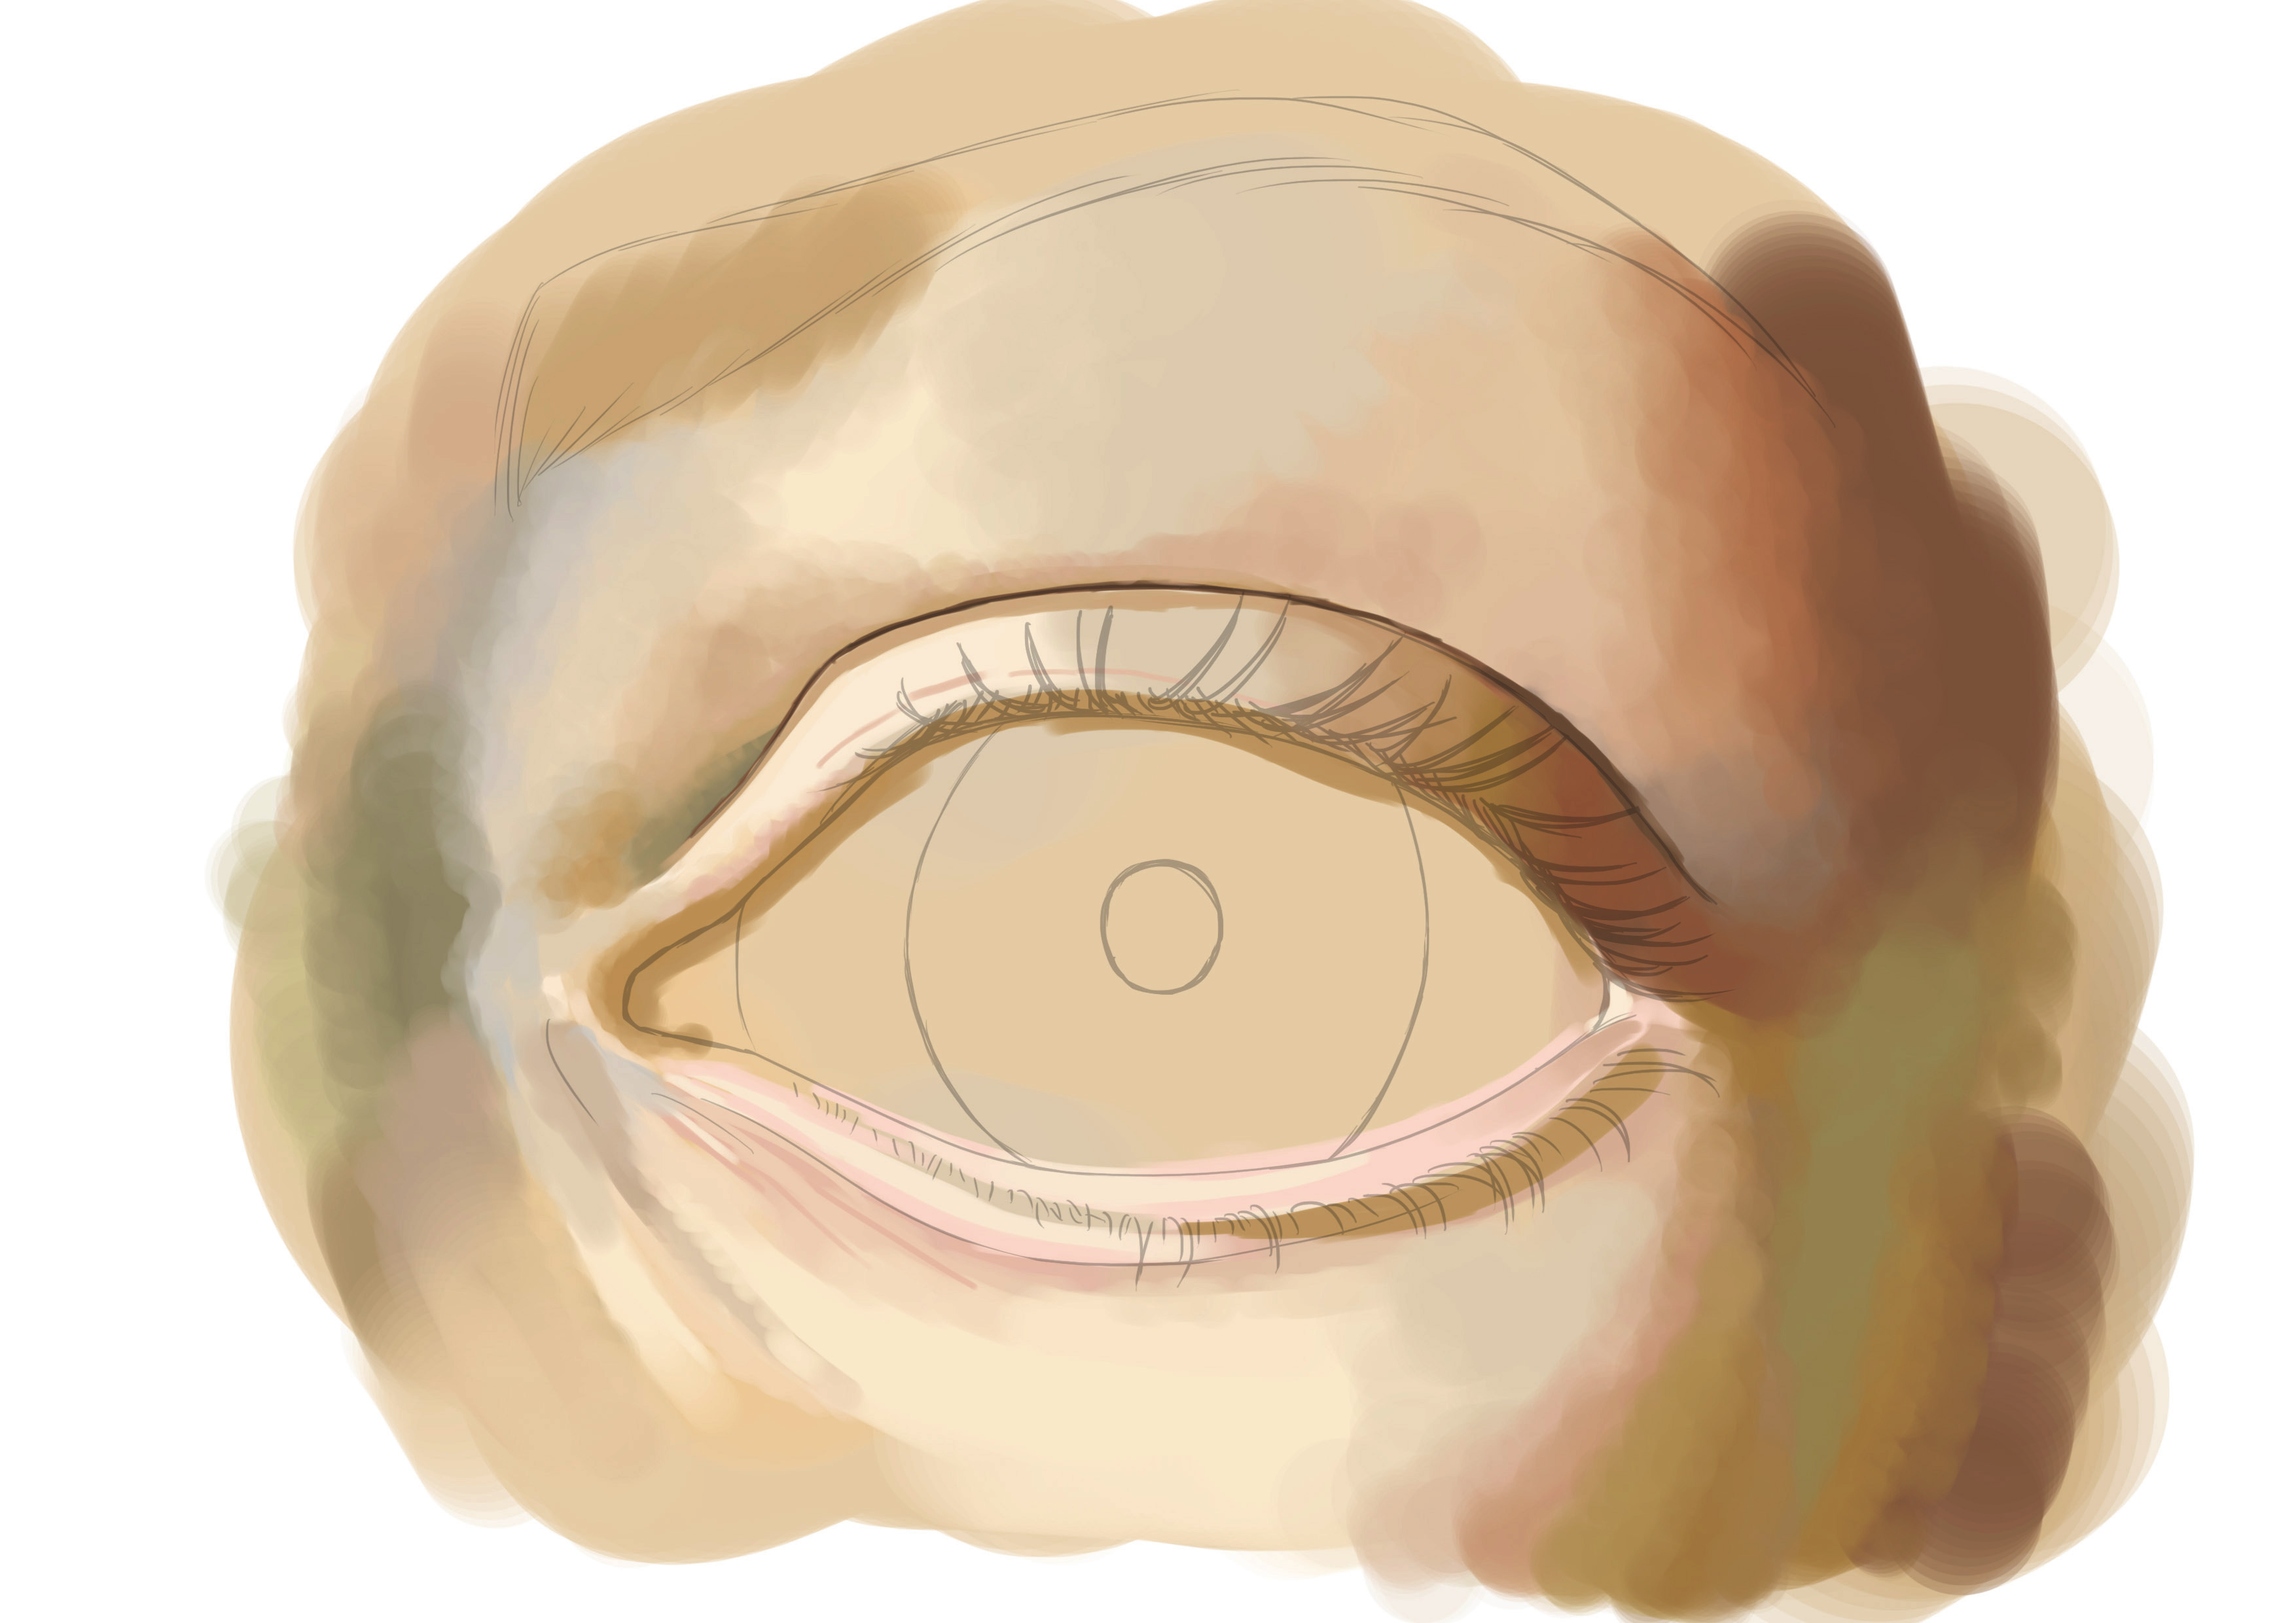
You can rework the skin as much as you want, take up basic shades, remix with shadows to create beautiful gradients. I do it myself, in fact, I've included a few steps below. You will see that by creating gradients, I notice other intermediate colors that I add here and there. That's pure, hard observation. Take your time and be subtle.
Let's move on to the eyebrow! In my example, it is non-existent; normally, I shouldn't have drawn anything since I have no reference for it. But since I think some of you will choose models with eyebrows, I'll make an exception to the rule.
Whatever the case, always respect the absolute rule when making hair, fur, or anything similar: always follow the direction of hair growth. Always, always, always. Otherwise, you will struggle to maybe (not even sure) get a decent result. So make your life easier from the start. This rule also applies to the drawing part, by the way.
The principle remains the same, the shades are not uniform so we create hairs of different shades referring to our model. Since I don't have a suitable example (even though I took a reference to avoid doing something random), the result I will get is probably unconvincing, but you, you have no excuse :D

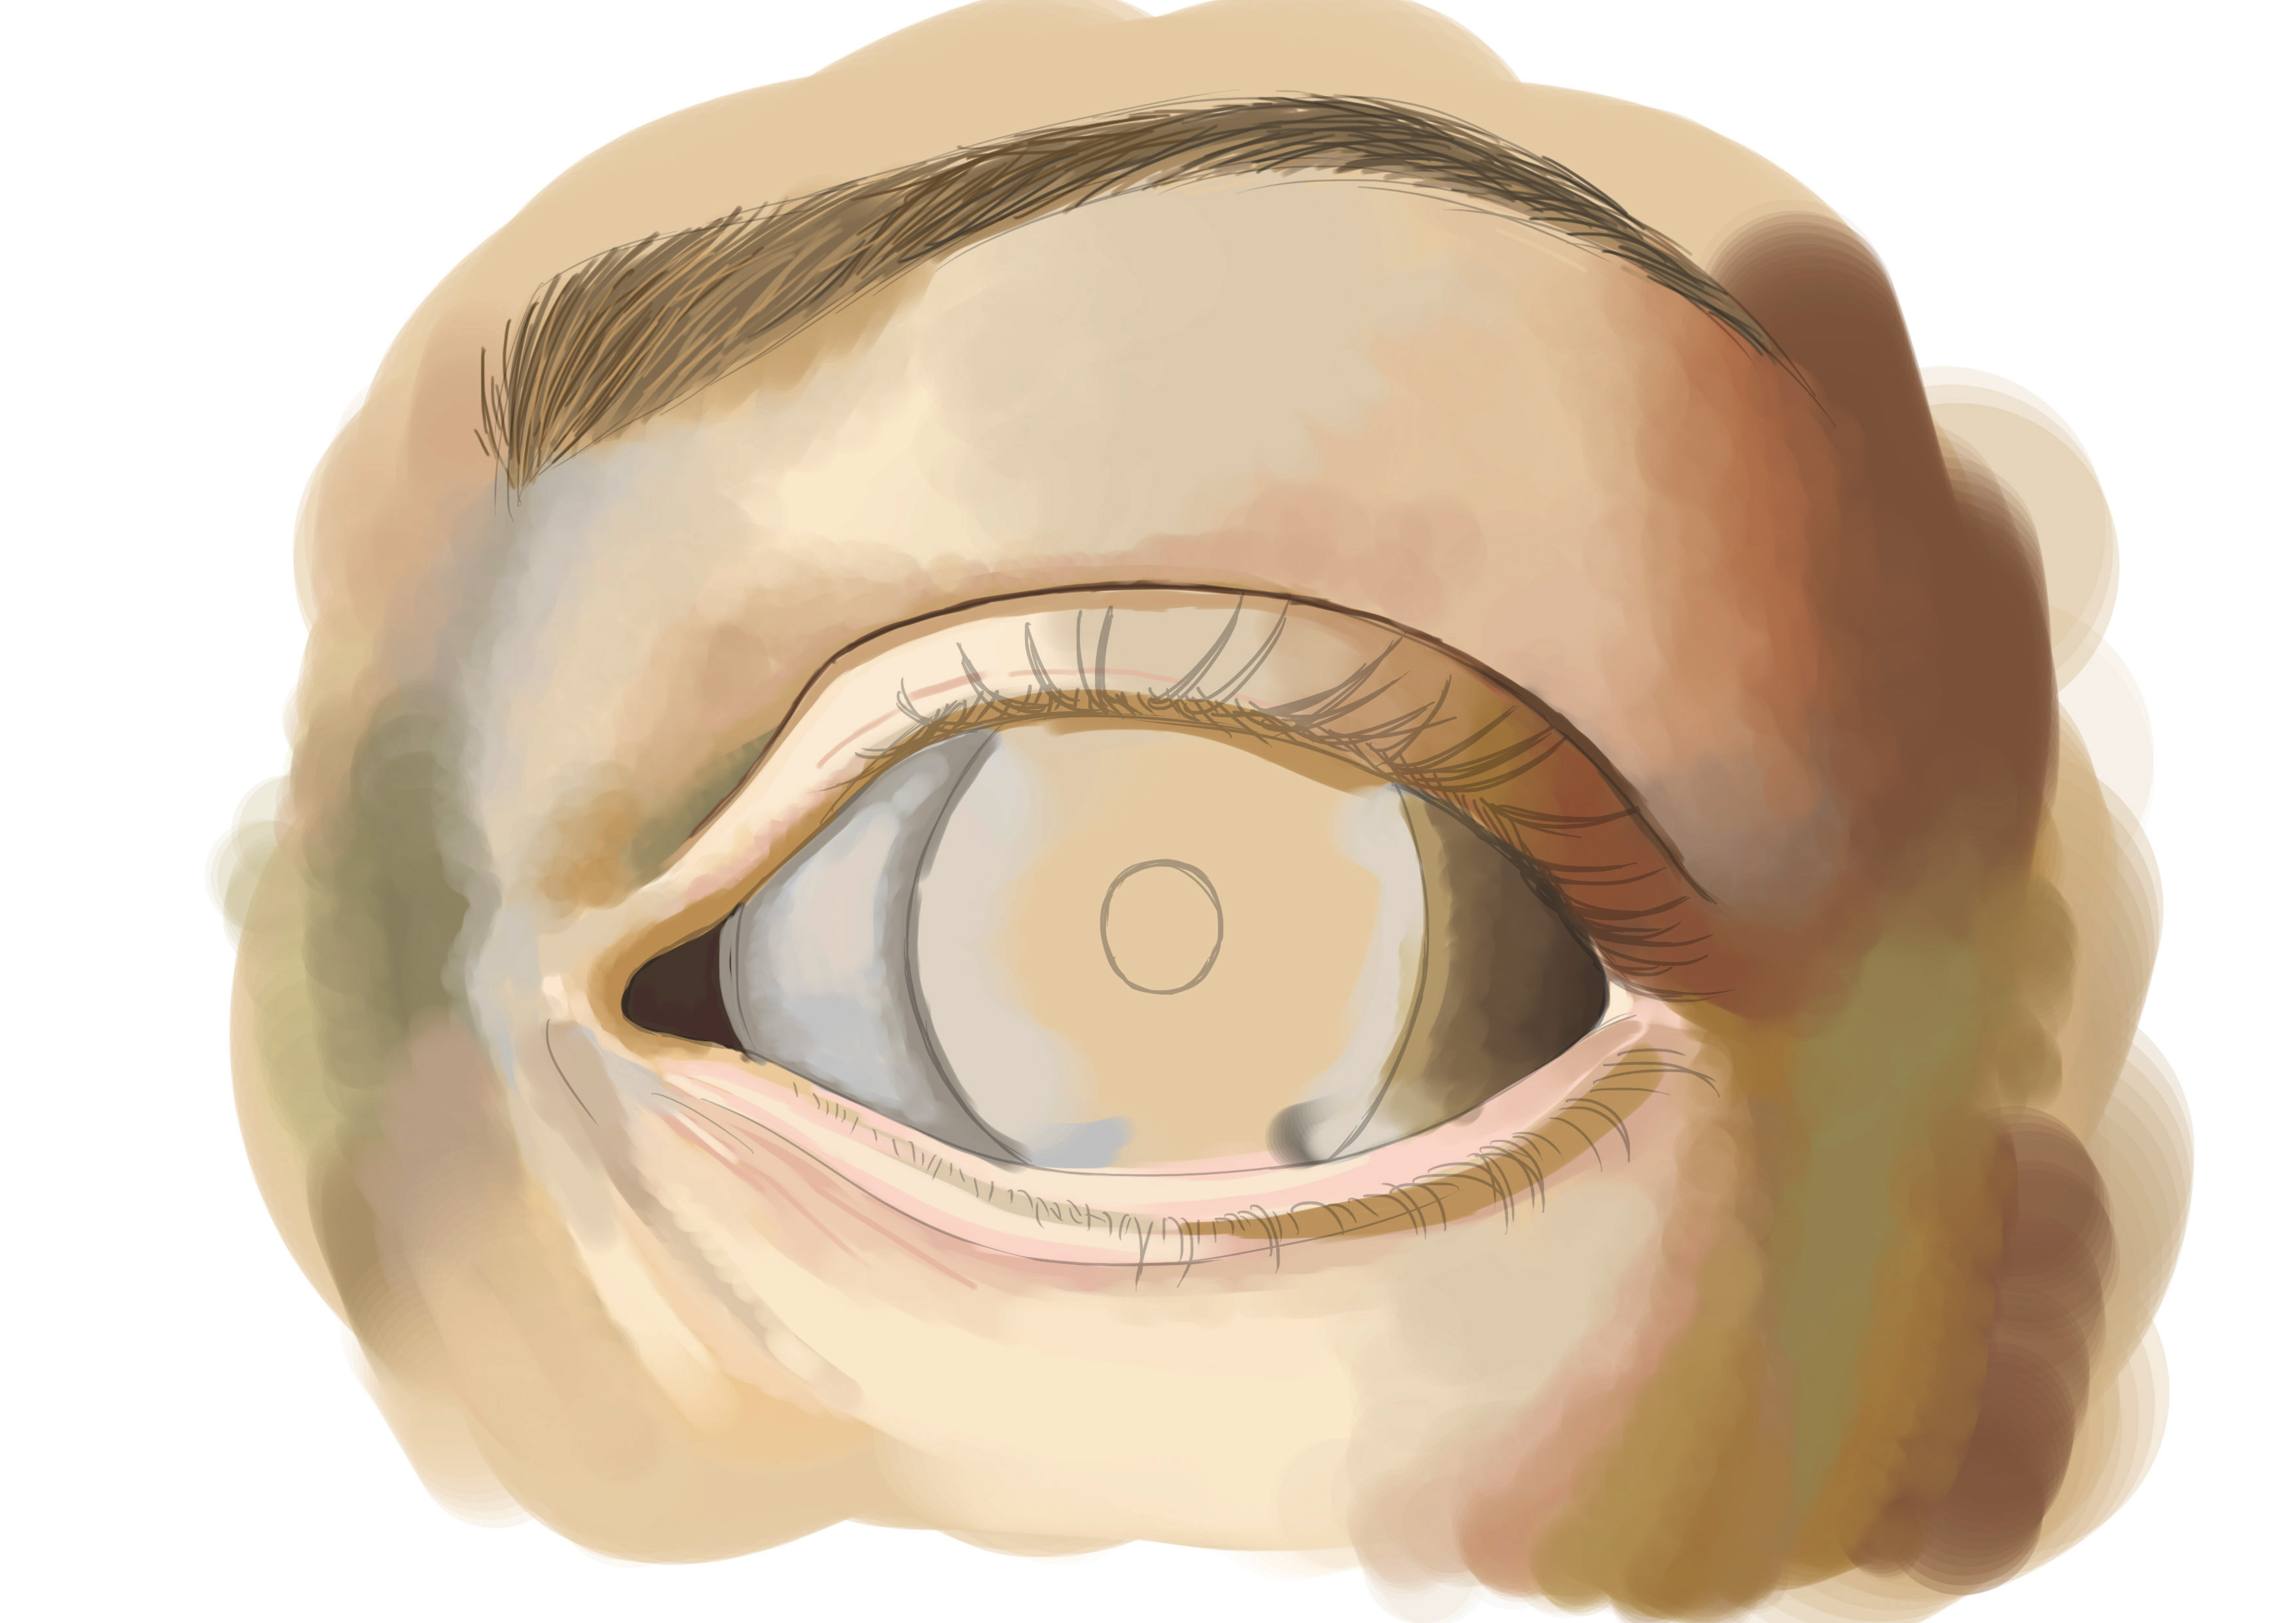
Now, let's get to the heart of the matter: the eye! We'll go for a light and rather gray/beige shade. The eyeball is a sphere, which means it will catch the light on its most curved part, and shadows will fall along its edges. We also need to consider the shadow cast by the moving eyelid. So, I'm adding darker shades leaning towards brown/yellow and gray for the shadows.
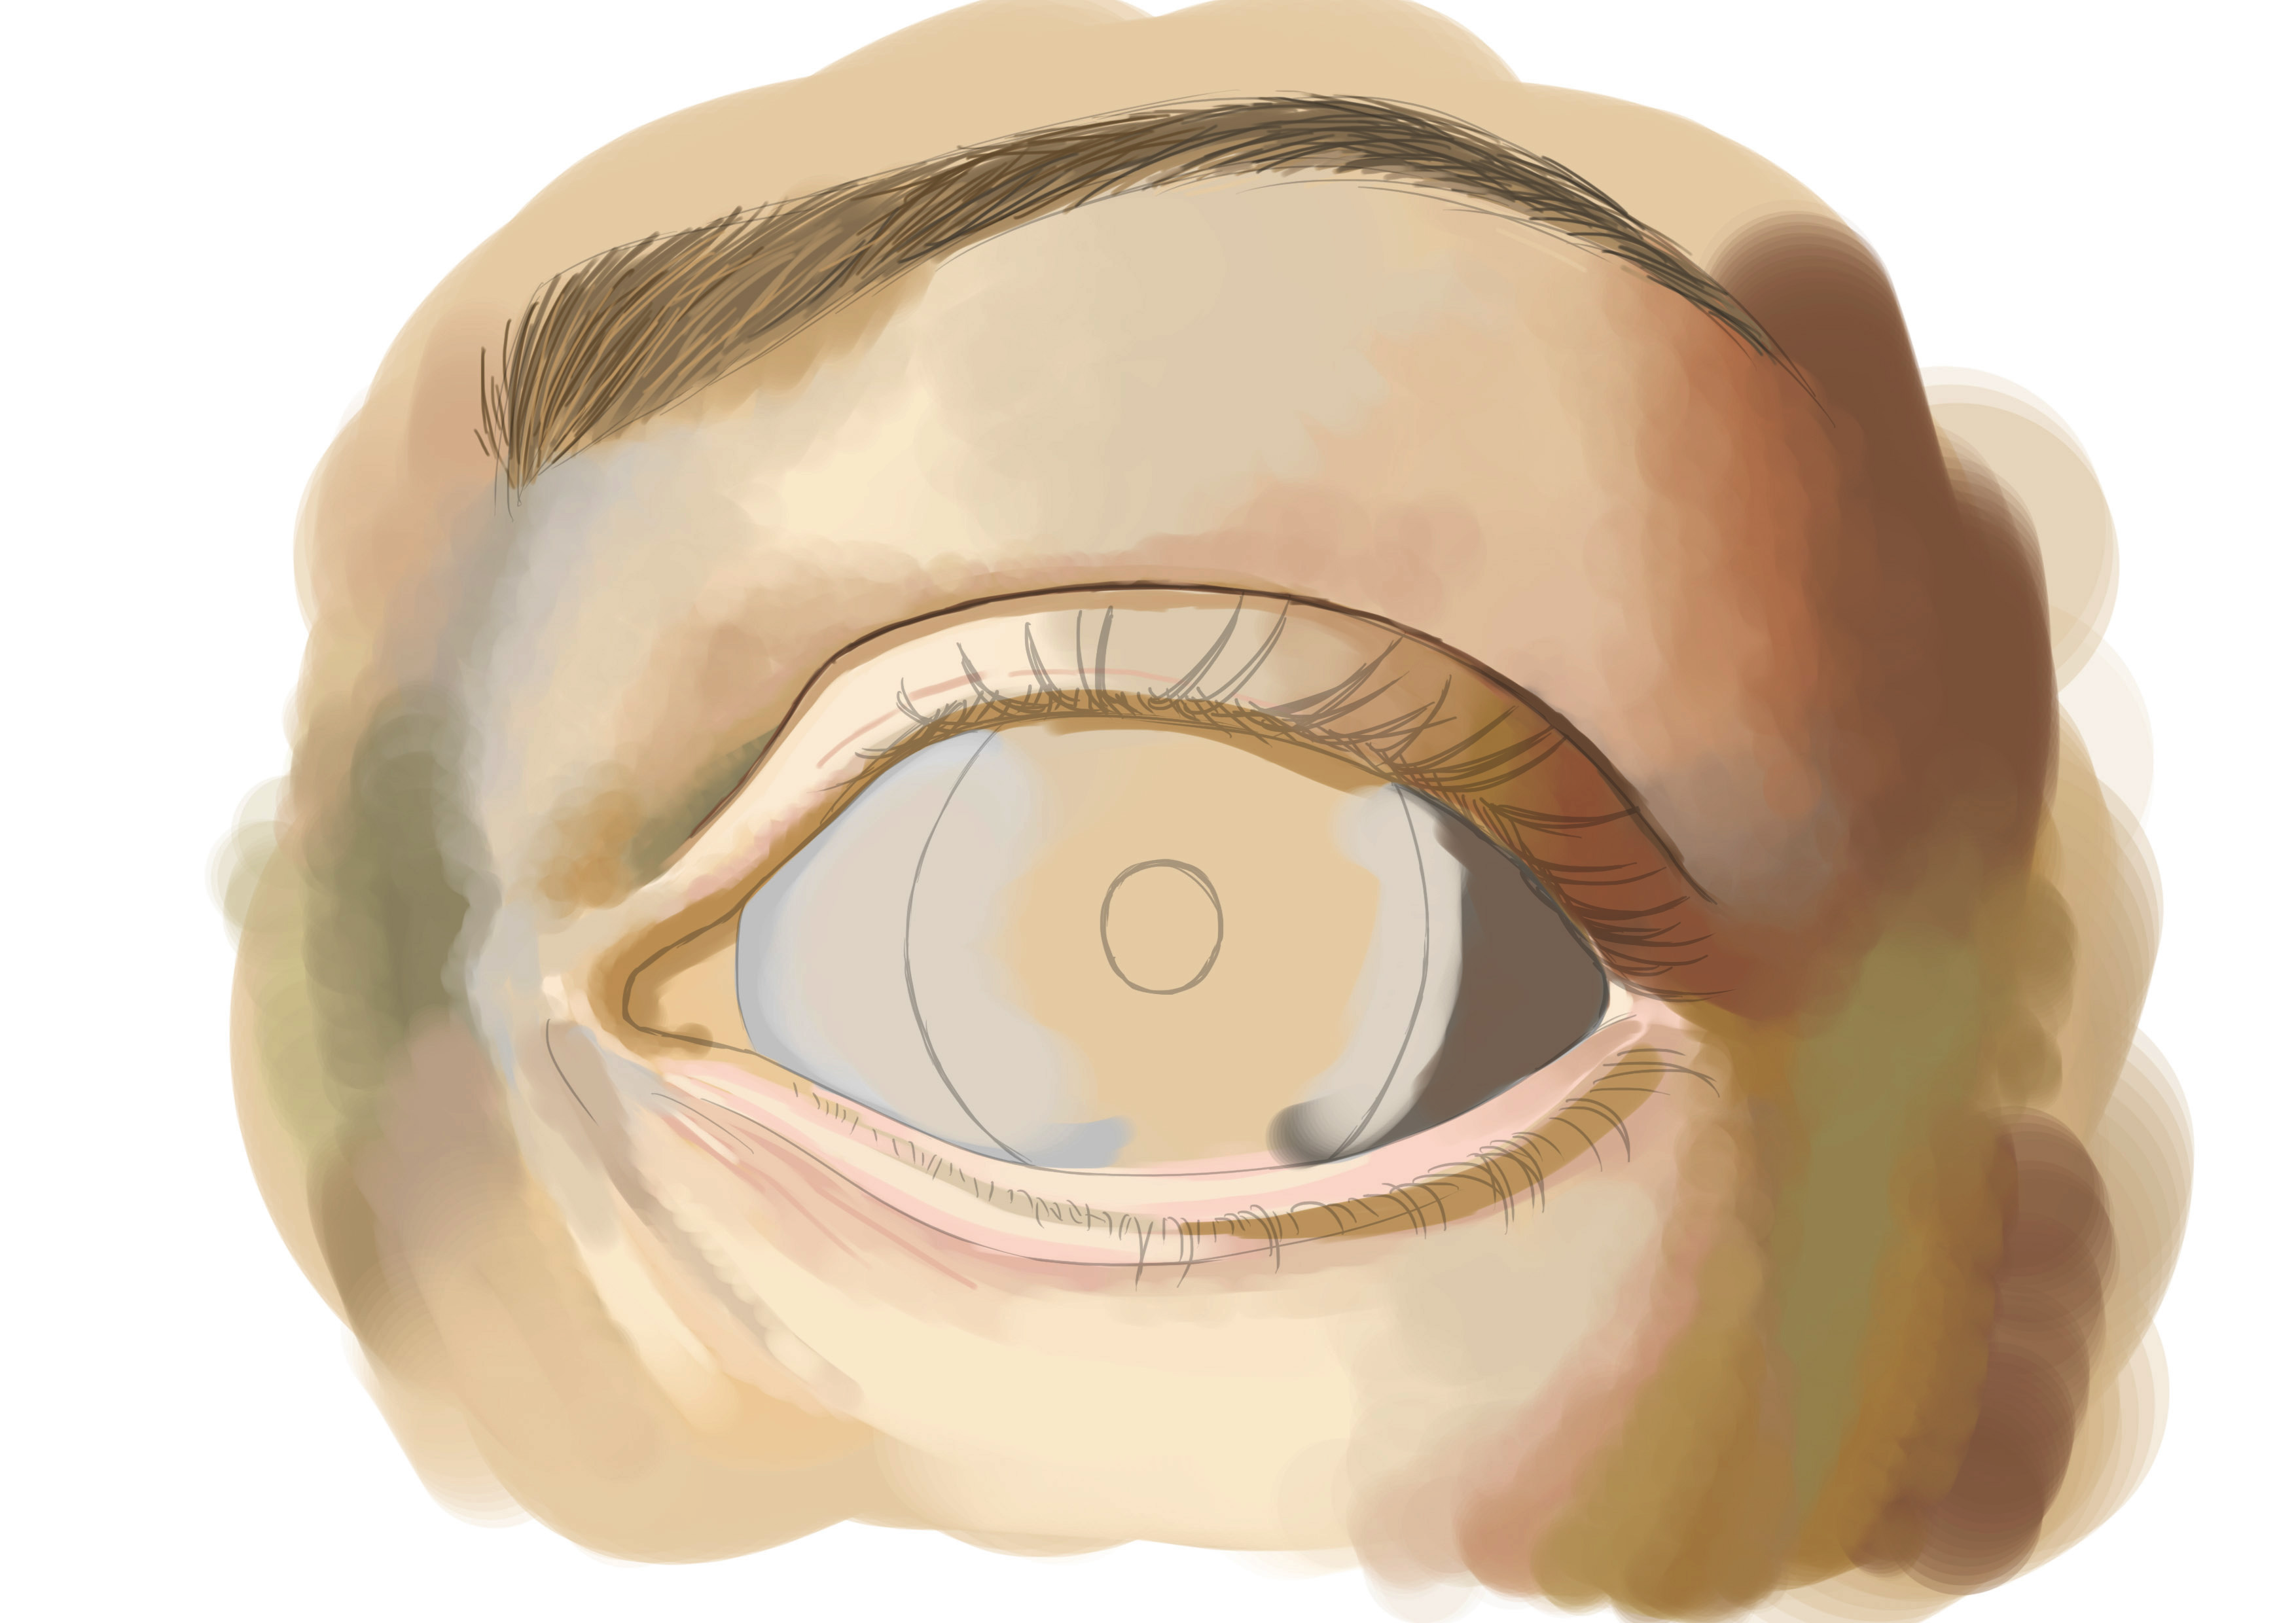
THE COLOR OF THE IRIS AND PUPIL
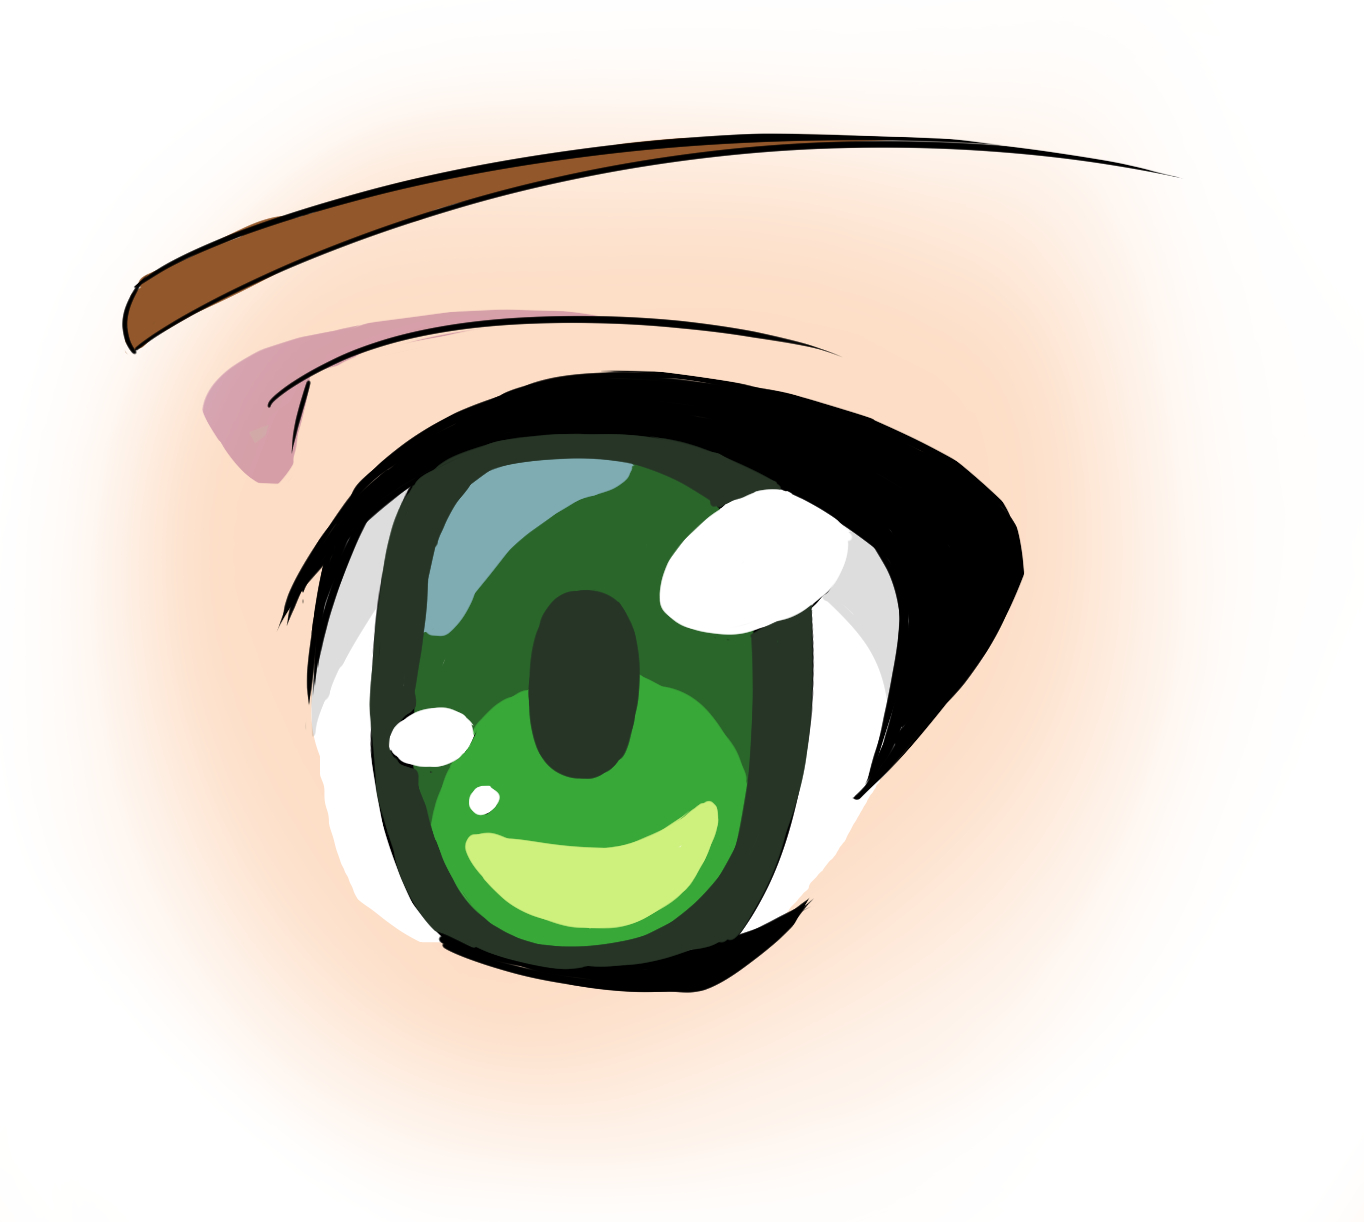
Be careful not to go over ^^ Once that's done, we'll make our iris. If you look closely, the iris isn’t very sharp. Its edge is quite blurry, so you can have fun making a rather diffuse circle. The color of the eye depends on each model, so this time I'll let you observe and choose your shades. There is just one rule that always applies: the perimeter of the eye is always darker than the rest.

Notice how we have this quite strange impression of a flat iris. This is exactly what I was explaining to you in the observation part. This area is actually relatively flat, it's the translucent layer above that gives it its convex appearance. We'll see more about that further down ;p
We are not going to deal with potential light reflections right away, but really work on the pattern of the iris. As we can see, there are "layers" of juxtaposed colors that go from the center to the outside of the iris. And a second pattern that forms rays from the center of the iris to the edge. Let's start with the base color.
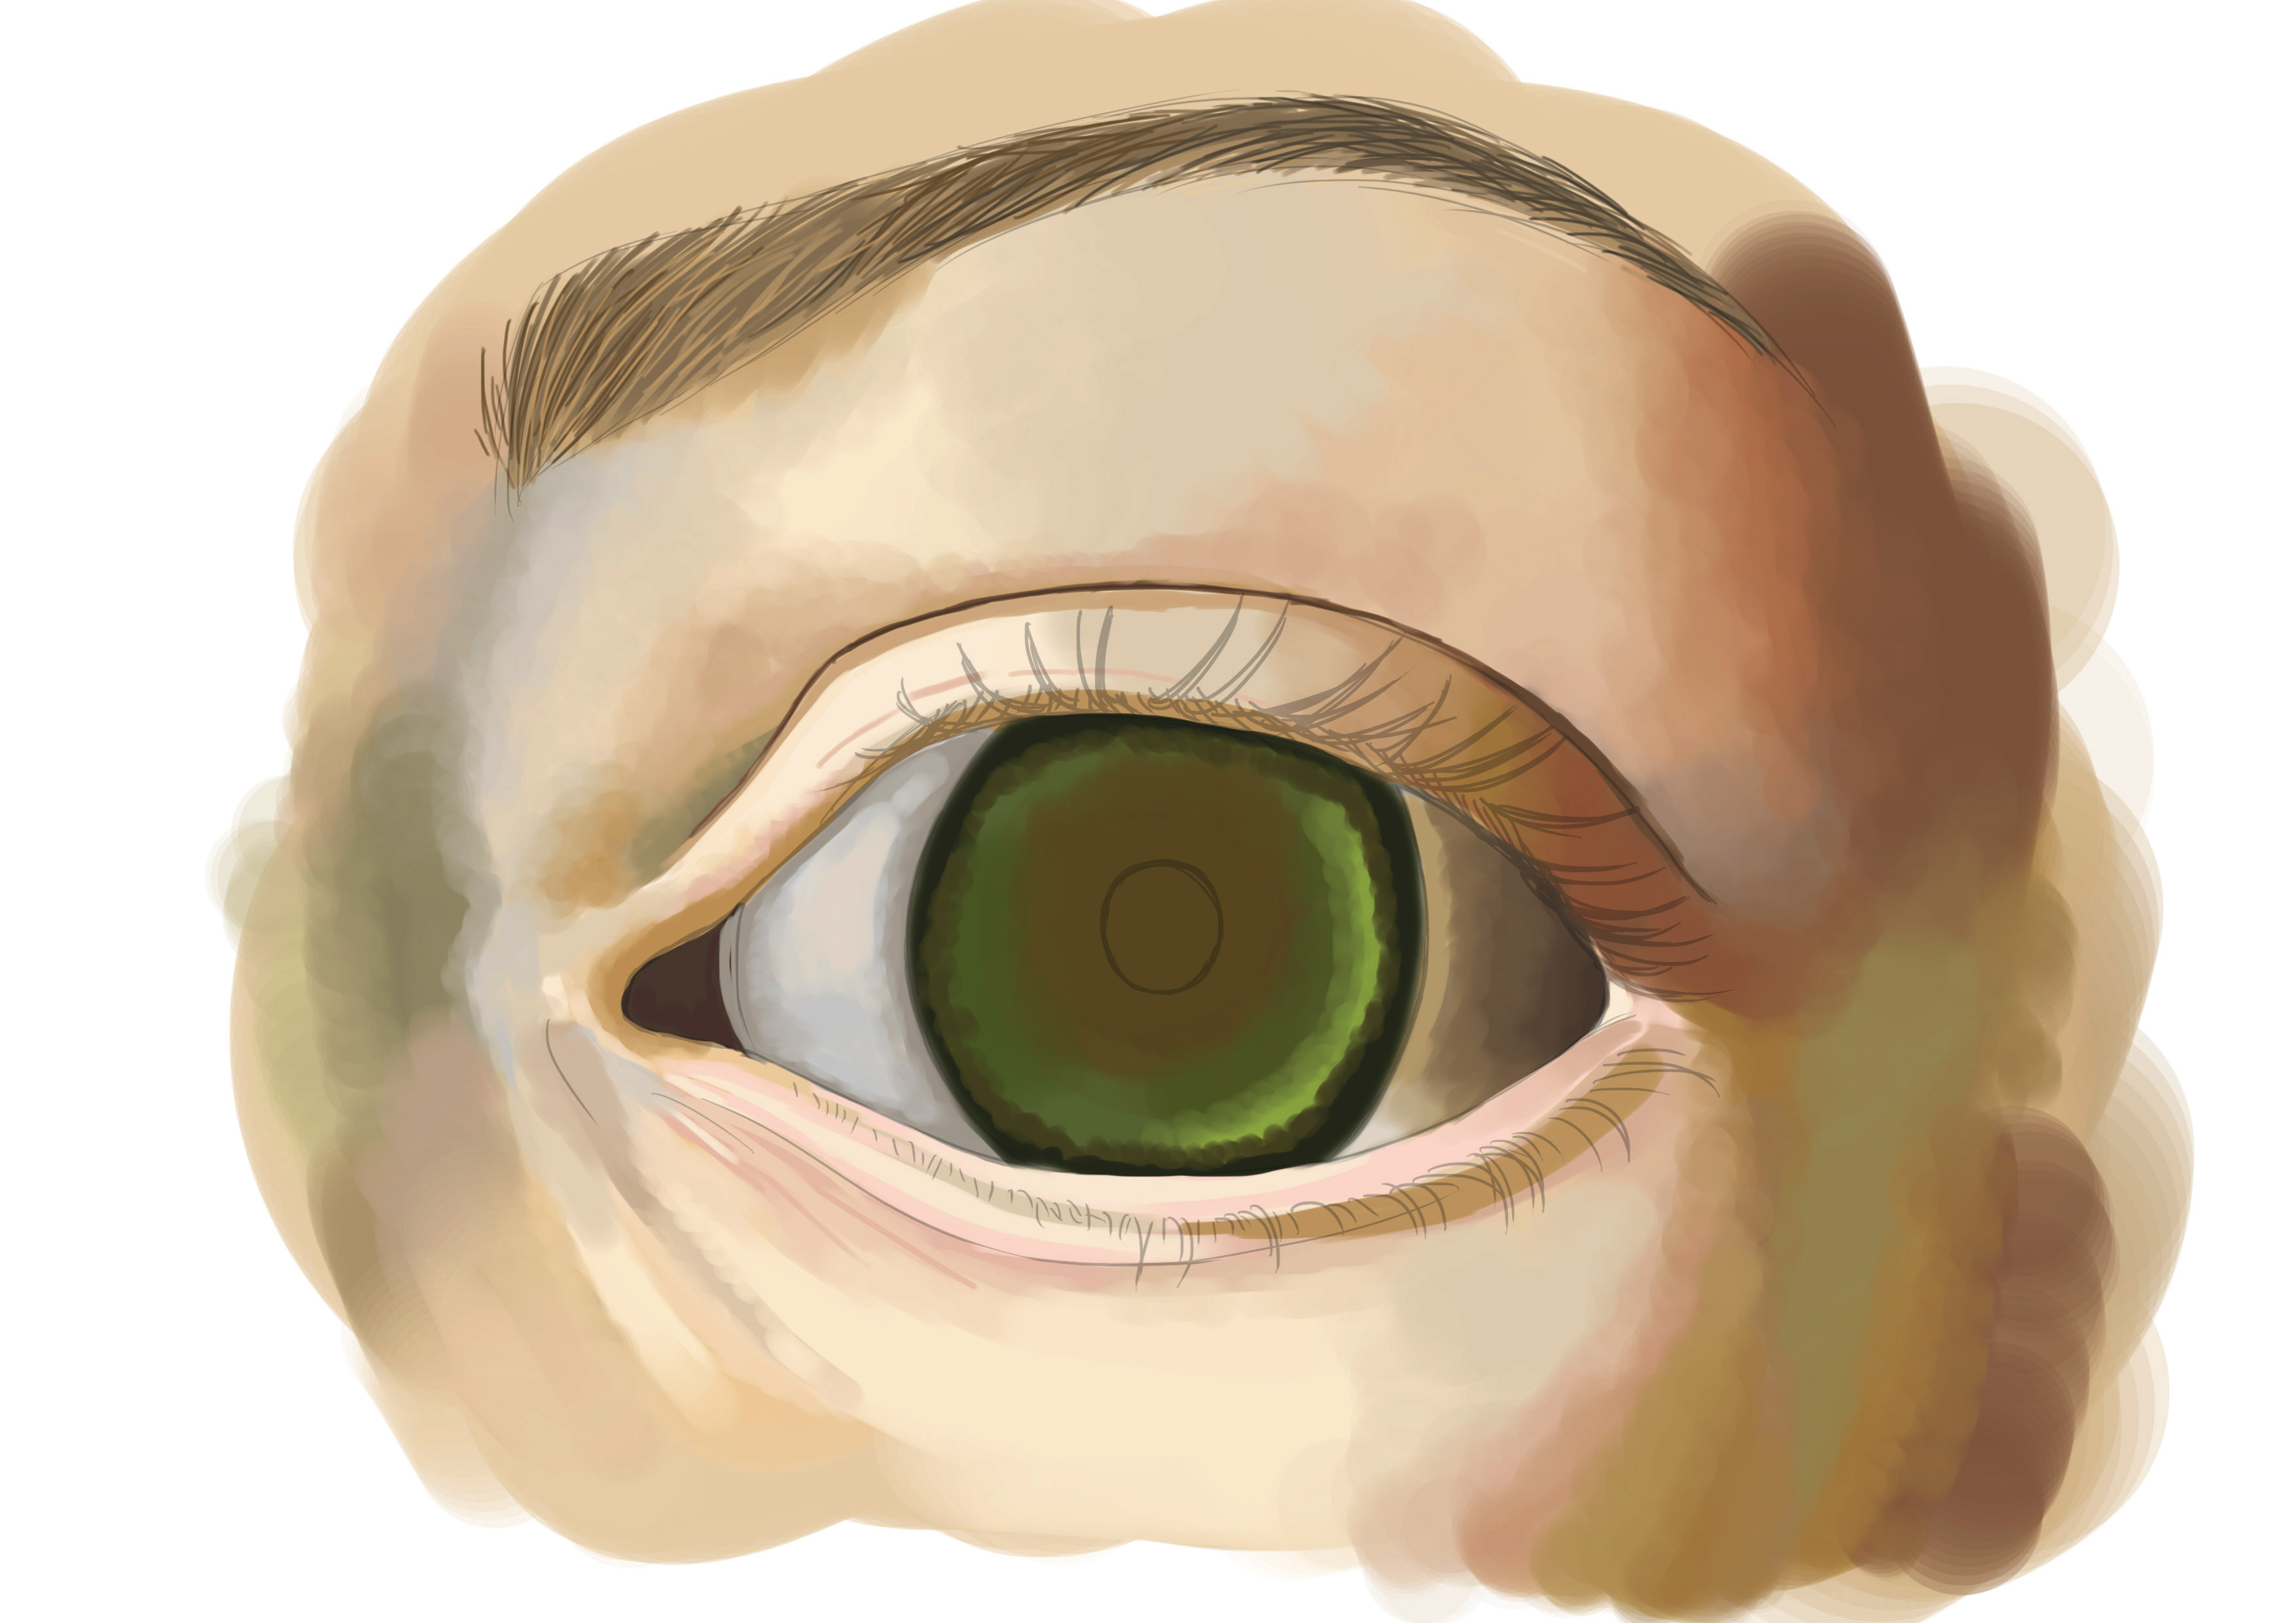
The shades can be uniform or very variable depending on the individual. You can also go for a completely invented color, as long as you refer to an existing eye to see how these shades can match. They are generally in shades, more or less (that is, they are colors that vary around a central shade, a bit lighter, a bit darker, a bit more yellow, a bit more blue, etc.)
We then add our pupil. Be careful! We NEVER use a perfect black. It's extremely rare, or only in very dark settings, that there is a need to use a perfect black. In our case, if you look at the pupil, it isn't black. Test it if you want. I even provide a comparison so you can see the difference.

↑↑↑ (very dark grey: okay) ↑↑↑
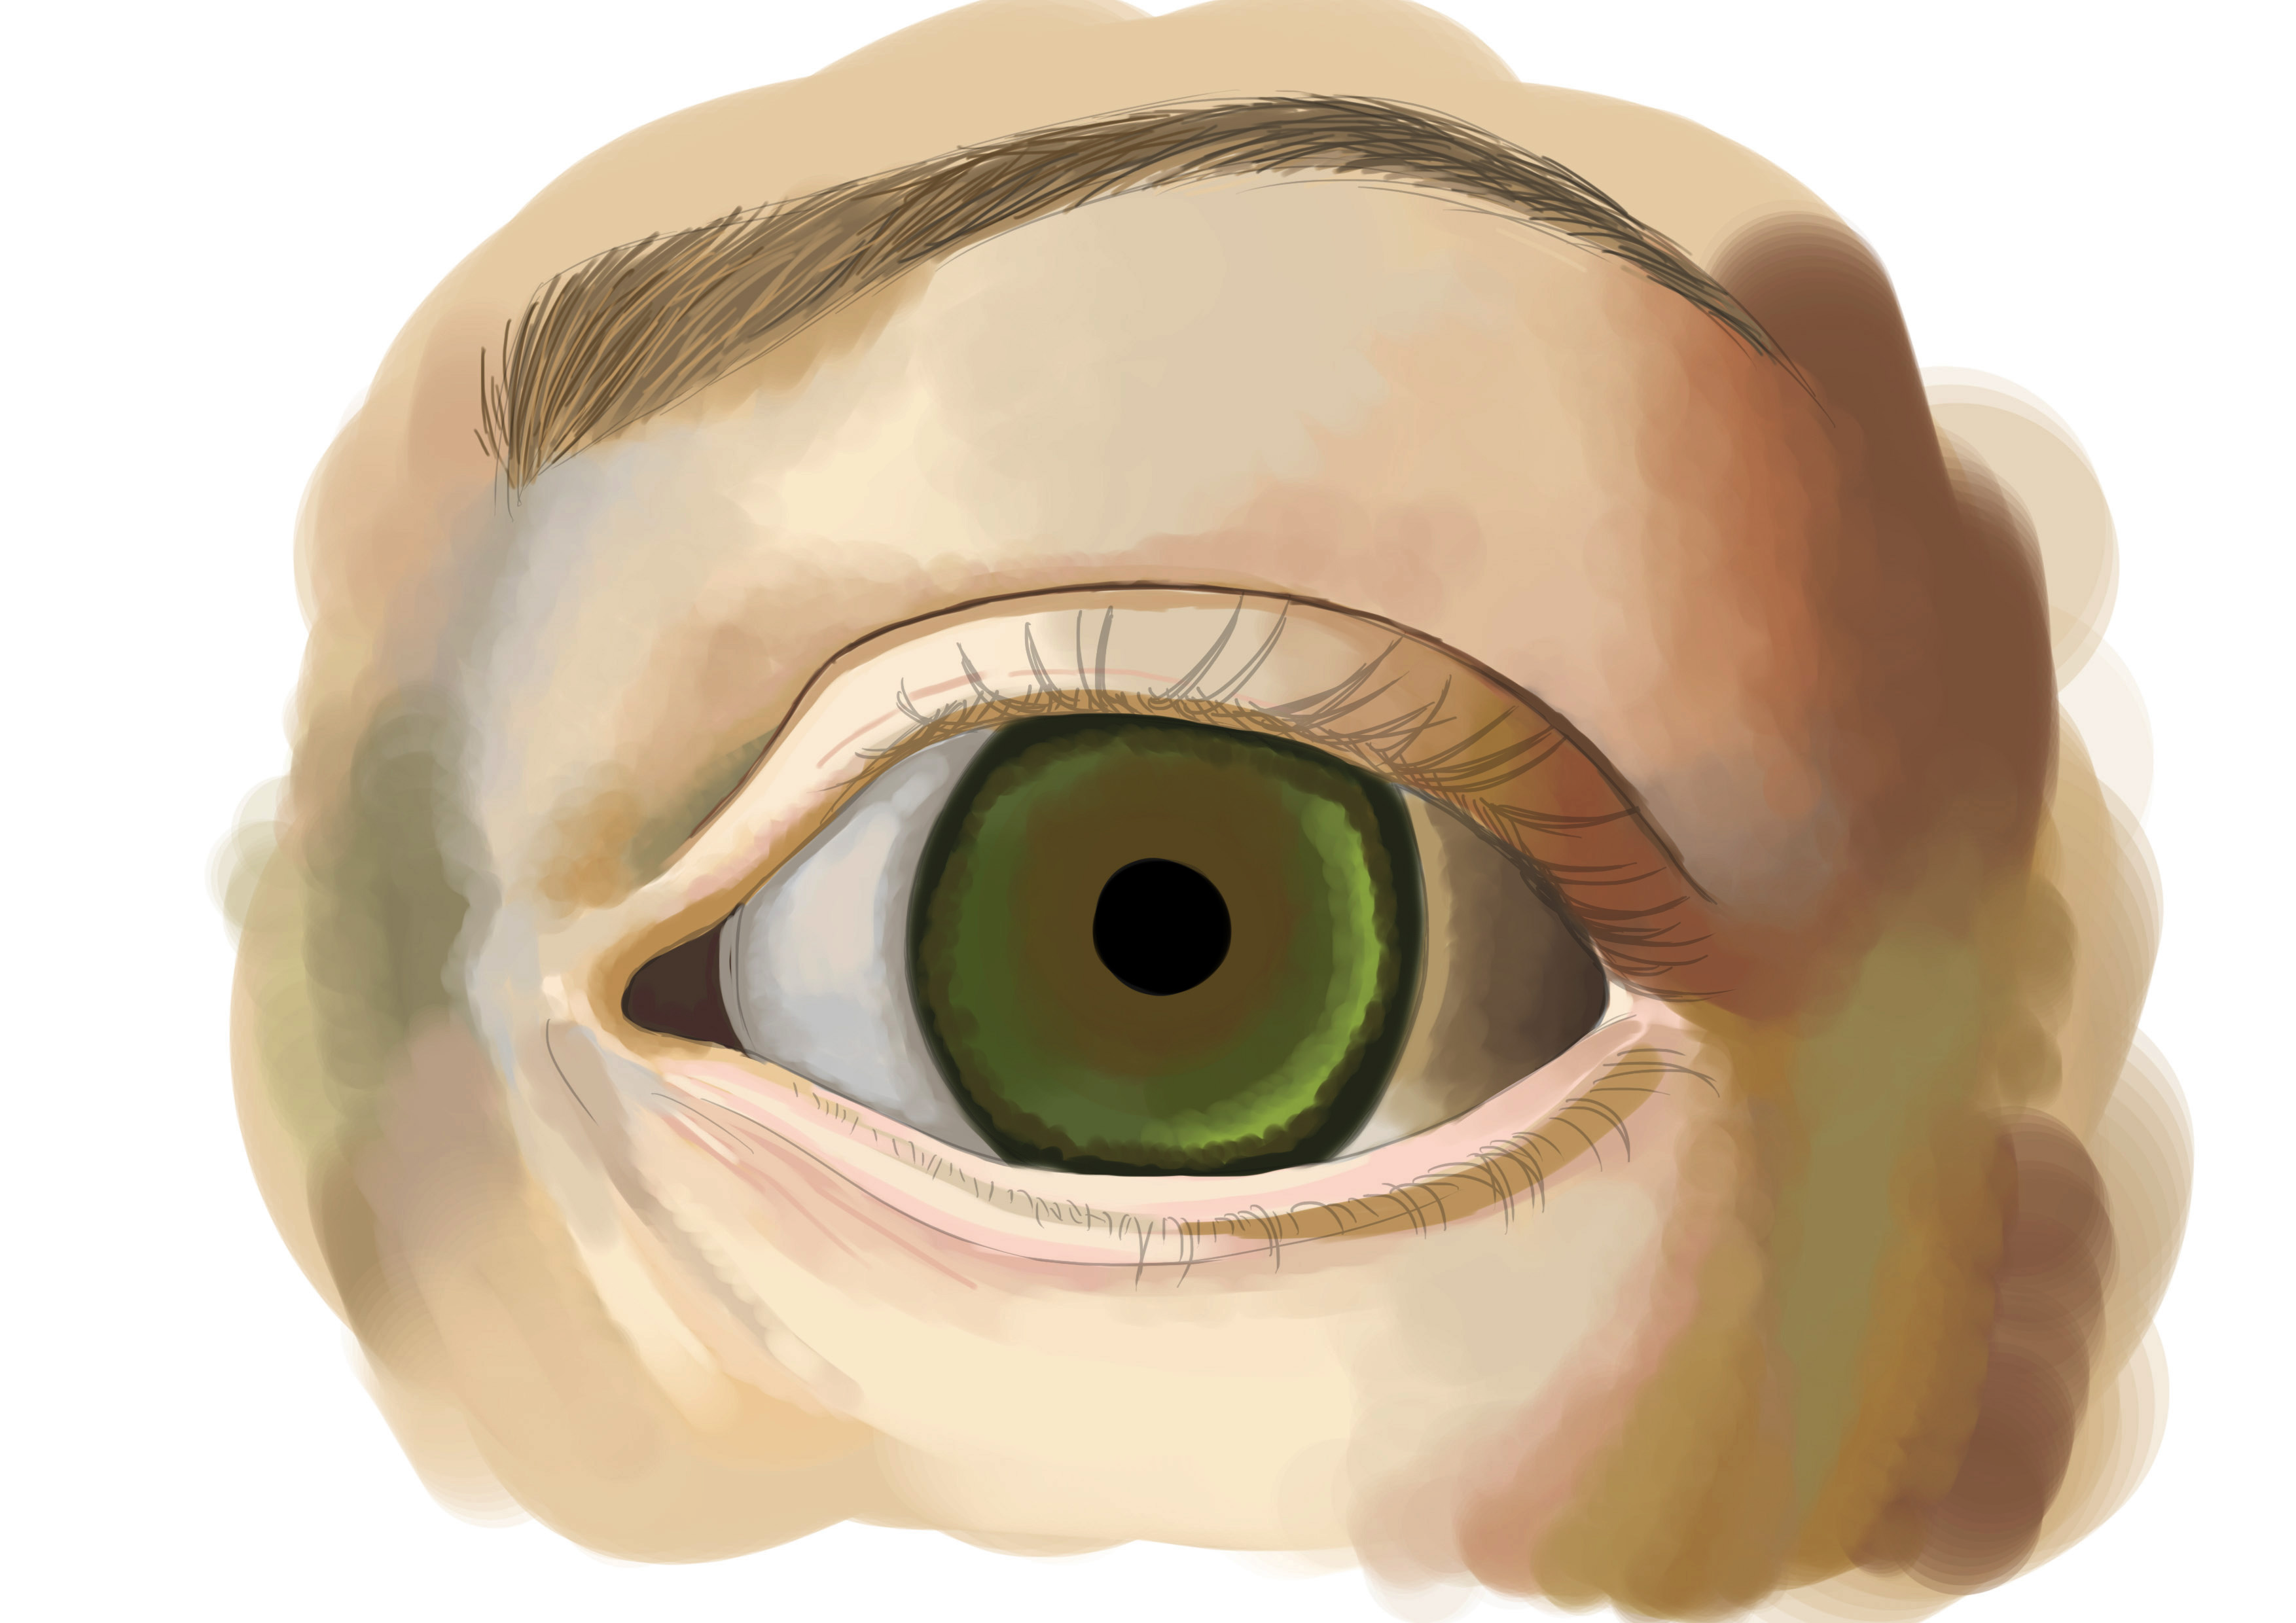
↑↑↑ (pure black: not good, because it immediately flattens the colors and attracts way too much attention) ↑↑↑
Same principle for the rays except that they are often of a dark shade. As always, these rays are irregular.


THE REFLECTIONS OF THE EYE
We can now add the light that reflects on the eye. That's what gives the eye its rounded appearance, because the light reflects on the translucent layer and thus adds volume to our eye, particularly to the iris. The reflection is a variation of white and blue (because it's actually the sky with clouds that we see through the window) that traces the reflection of the room's windows where our model apparently is. You'll also notice that the eyelashes are reflected in that area.


If necessary, you can go over some details. In my case, add small reflections on the eyeball, slightly enhance the folds under the eye, give a little texture to the skin, and we are almost done!
Finally, we have the eyelashes to place. I place them last because they go over everything else, so working on the eye after the eyelashes would have been more complicated ^^ Think about the order in which to draw things, it will save you time, believe me. Anyway, they are not black either. The rule of pure black still applies (except for certain graphic styles, like comics, but that's not the topic today ^^).

I deliberately used only one brush for this tutorial and no textures or anything so that even if you wanted to paint an eye, for example, you could see the methodology and results you can achieve :3 Especially for small details or the rendering of the skin, etc. In the realm of the human body, if you want to learn to draw a man's face for example, I invite you to visit our Dessindigo blog, there are lots of interesting articles :)
And with that, happy drawing folks :D

Discussion
15 comments