How to Draw a Cat
Knowing how to draw a cat is something that many drawing enthusiasts envy, understandably! Cats are beautiful, classy, soft, kind... Well, for the most part, anyway!
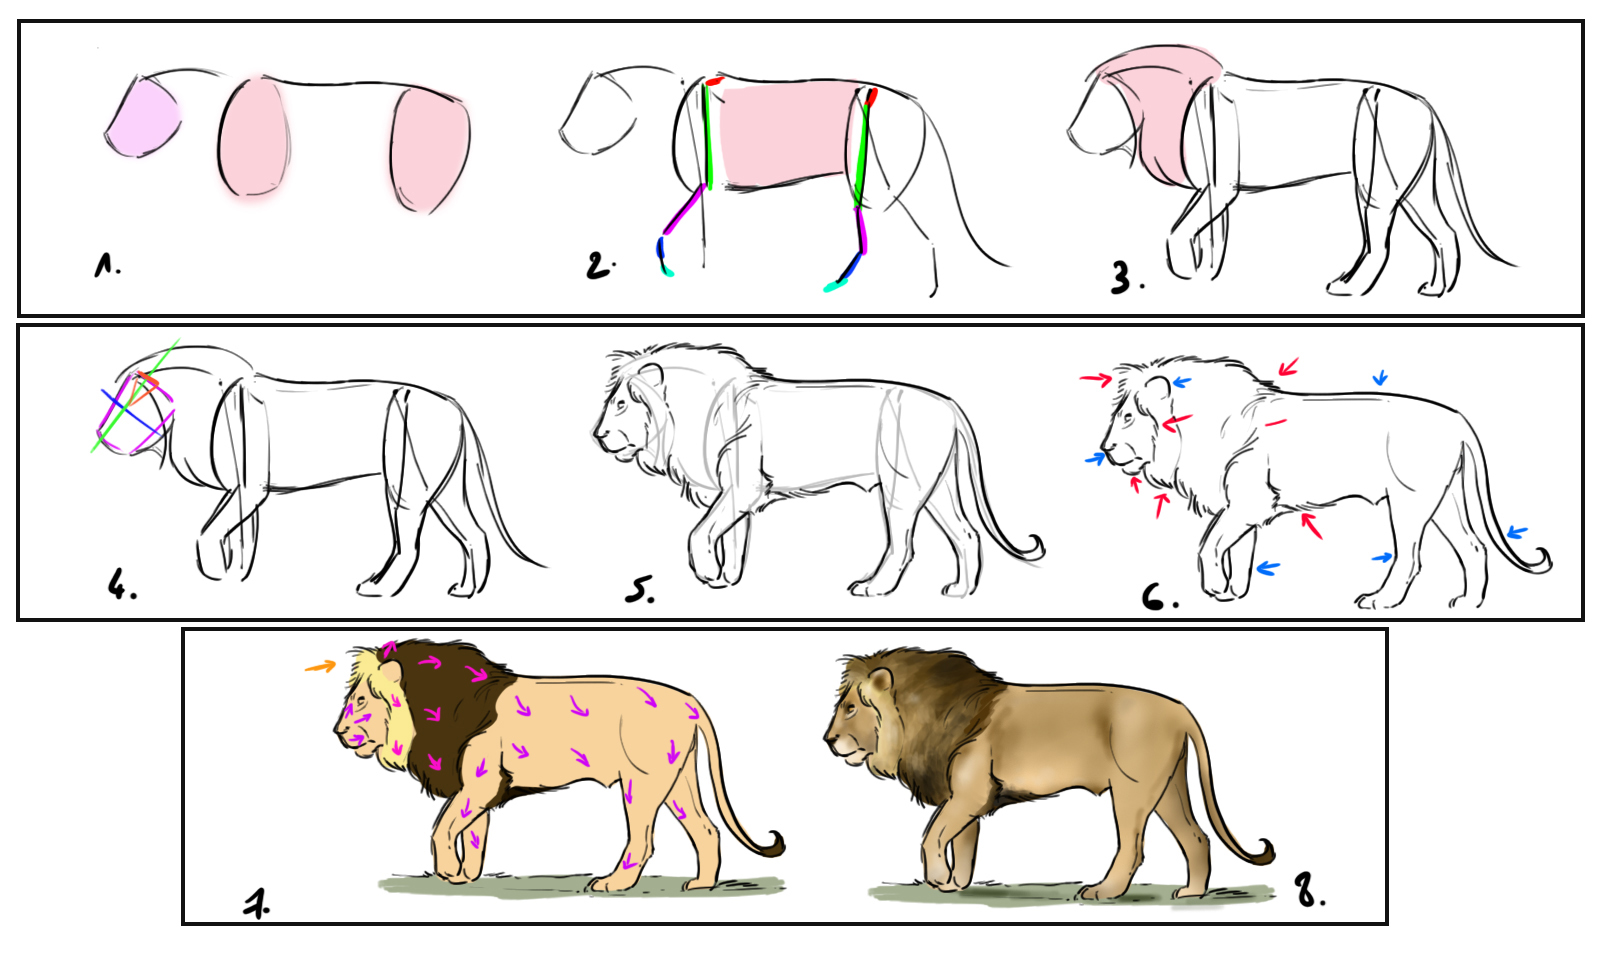
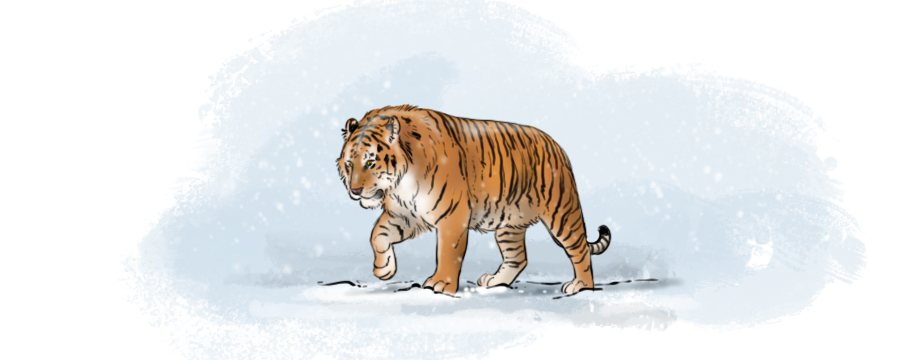
In this article, we will find out how to draw the amazing creature that is the cat. Through the points we are going to cover together, you will also learn the basics for drawing a dog, a horse, or any other four-legged animal! To learn how to draw a horse, feel free to visit our blog ;)
_________________________________
Firstly, a bit about anatomy! Felines, especially cats, have very flexible bodies. If you've never noticed this before, I advise you to take a moment and watch a cat grooming, stretching, etc. Its spine and tail are very rarely straight, if ever.
And if you look closely, in nature, very few things are perfectly straight!
Important point, whatever you're drawing, my key word is OBSERVATION! Yes! Take the time to observe what you want to draw, you will learn a lot. So, let's take a closer look at a cat before we start drawing…
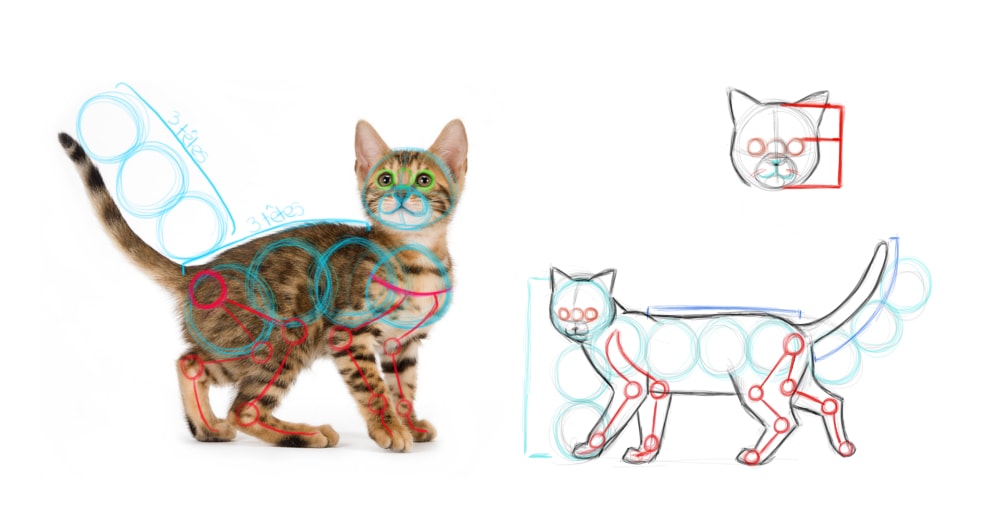
In terms of proportions, the following relationships can be observed, taking the cat's head as a reference point: 3 heads for the body and from the head to the front paws, one for the shoulder & hip, three for the tail, two for the legs. For the face, the space between the eyes is equal to the size of one eye, and the forehead is slightly smaller than the part from the eyes to the chin.
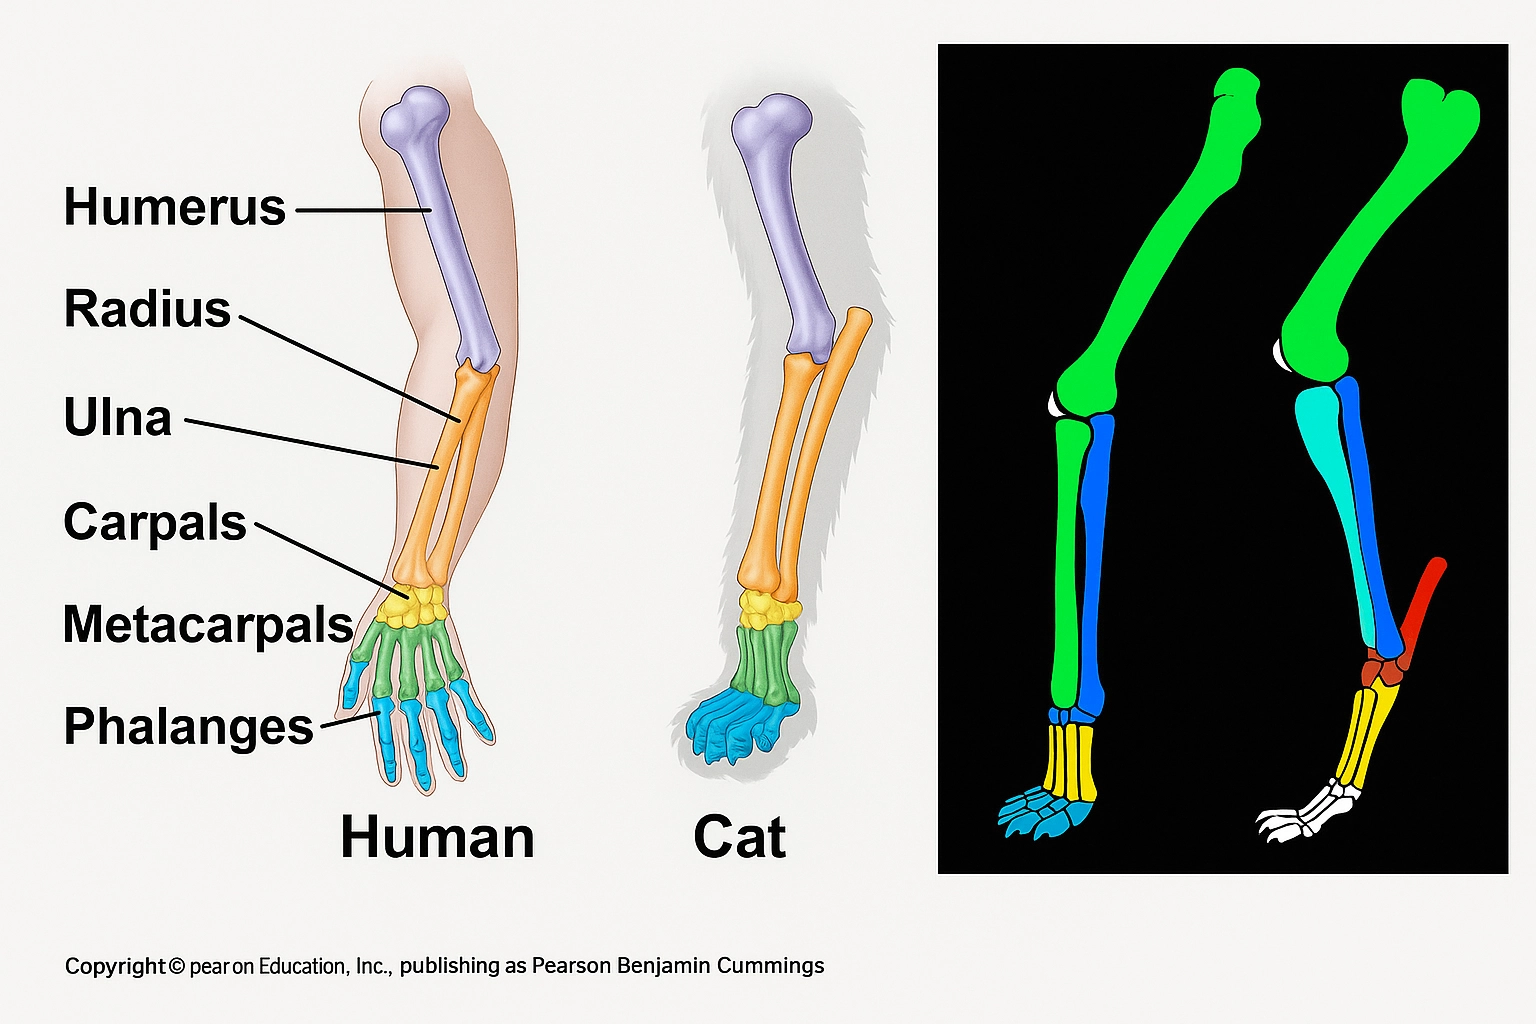
Regarding the skeleton, we can see that, contrary to popular belief, a cat does not have an extra joint compared to ours. It simply stands as if we were standing on tiptoe.
In the "Fundamentals of Drawing" course, you will learn about the crucial importance of observation before you start your drawings or illustrations. Therefore, check out this course to explore further:

STEP-BY-STEP GUIDE TO DRAWING A CAT
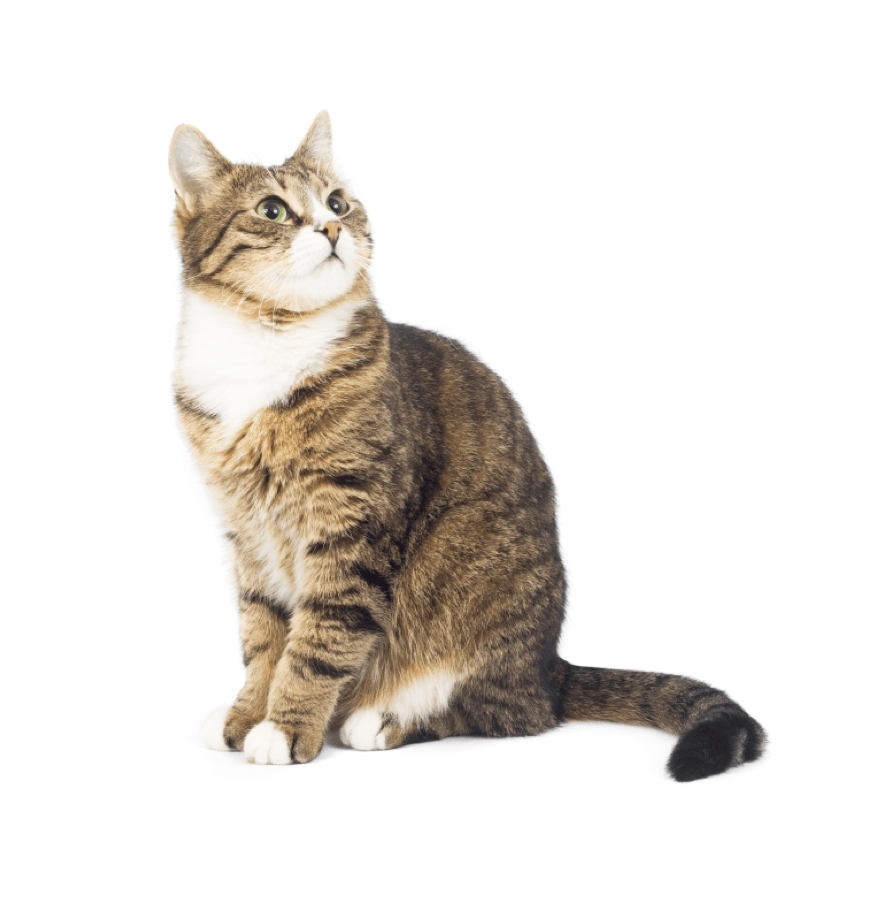
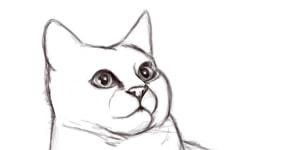
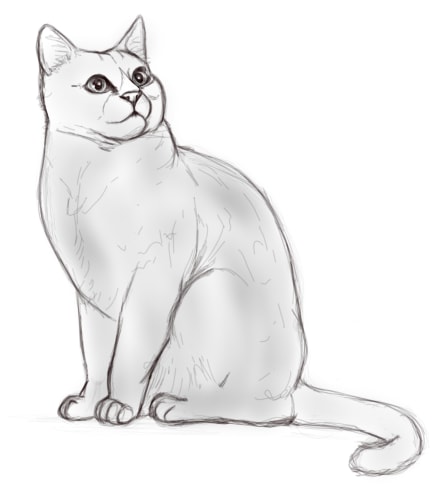
Let's start drawing our cat with these basics! I've chosen an example cat for us because at the beginning, it's easier to start with a model and here it is :)
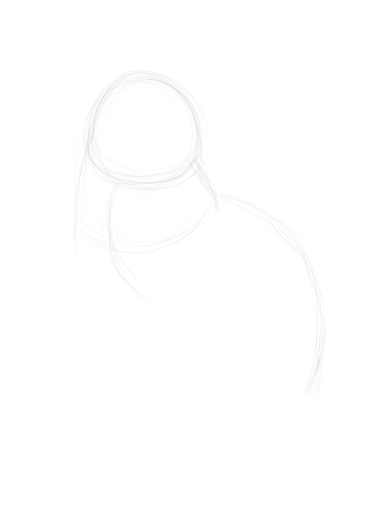
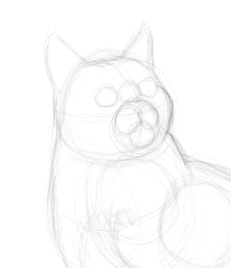
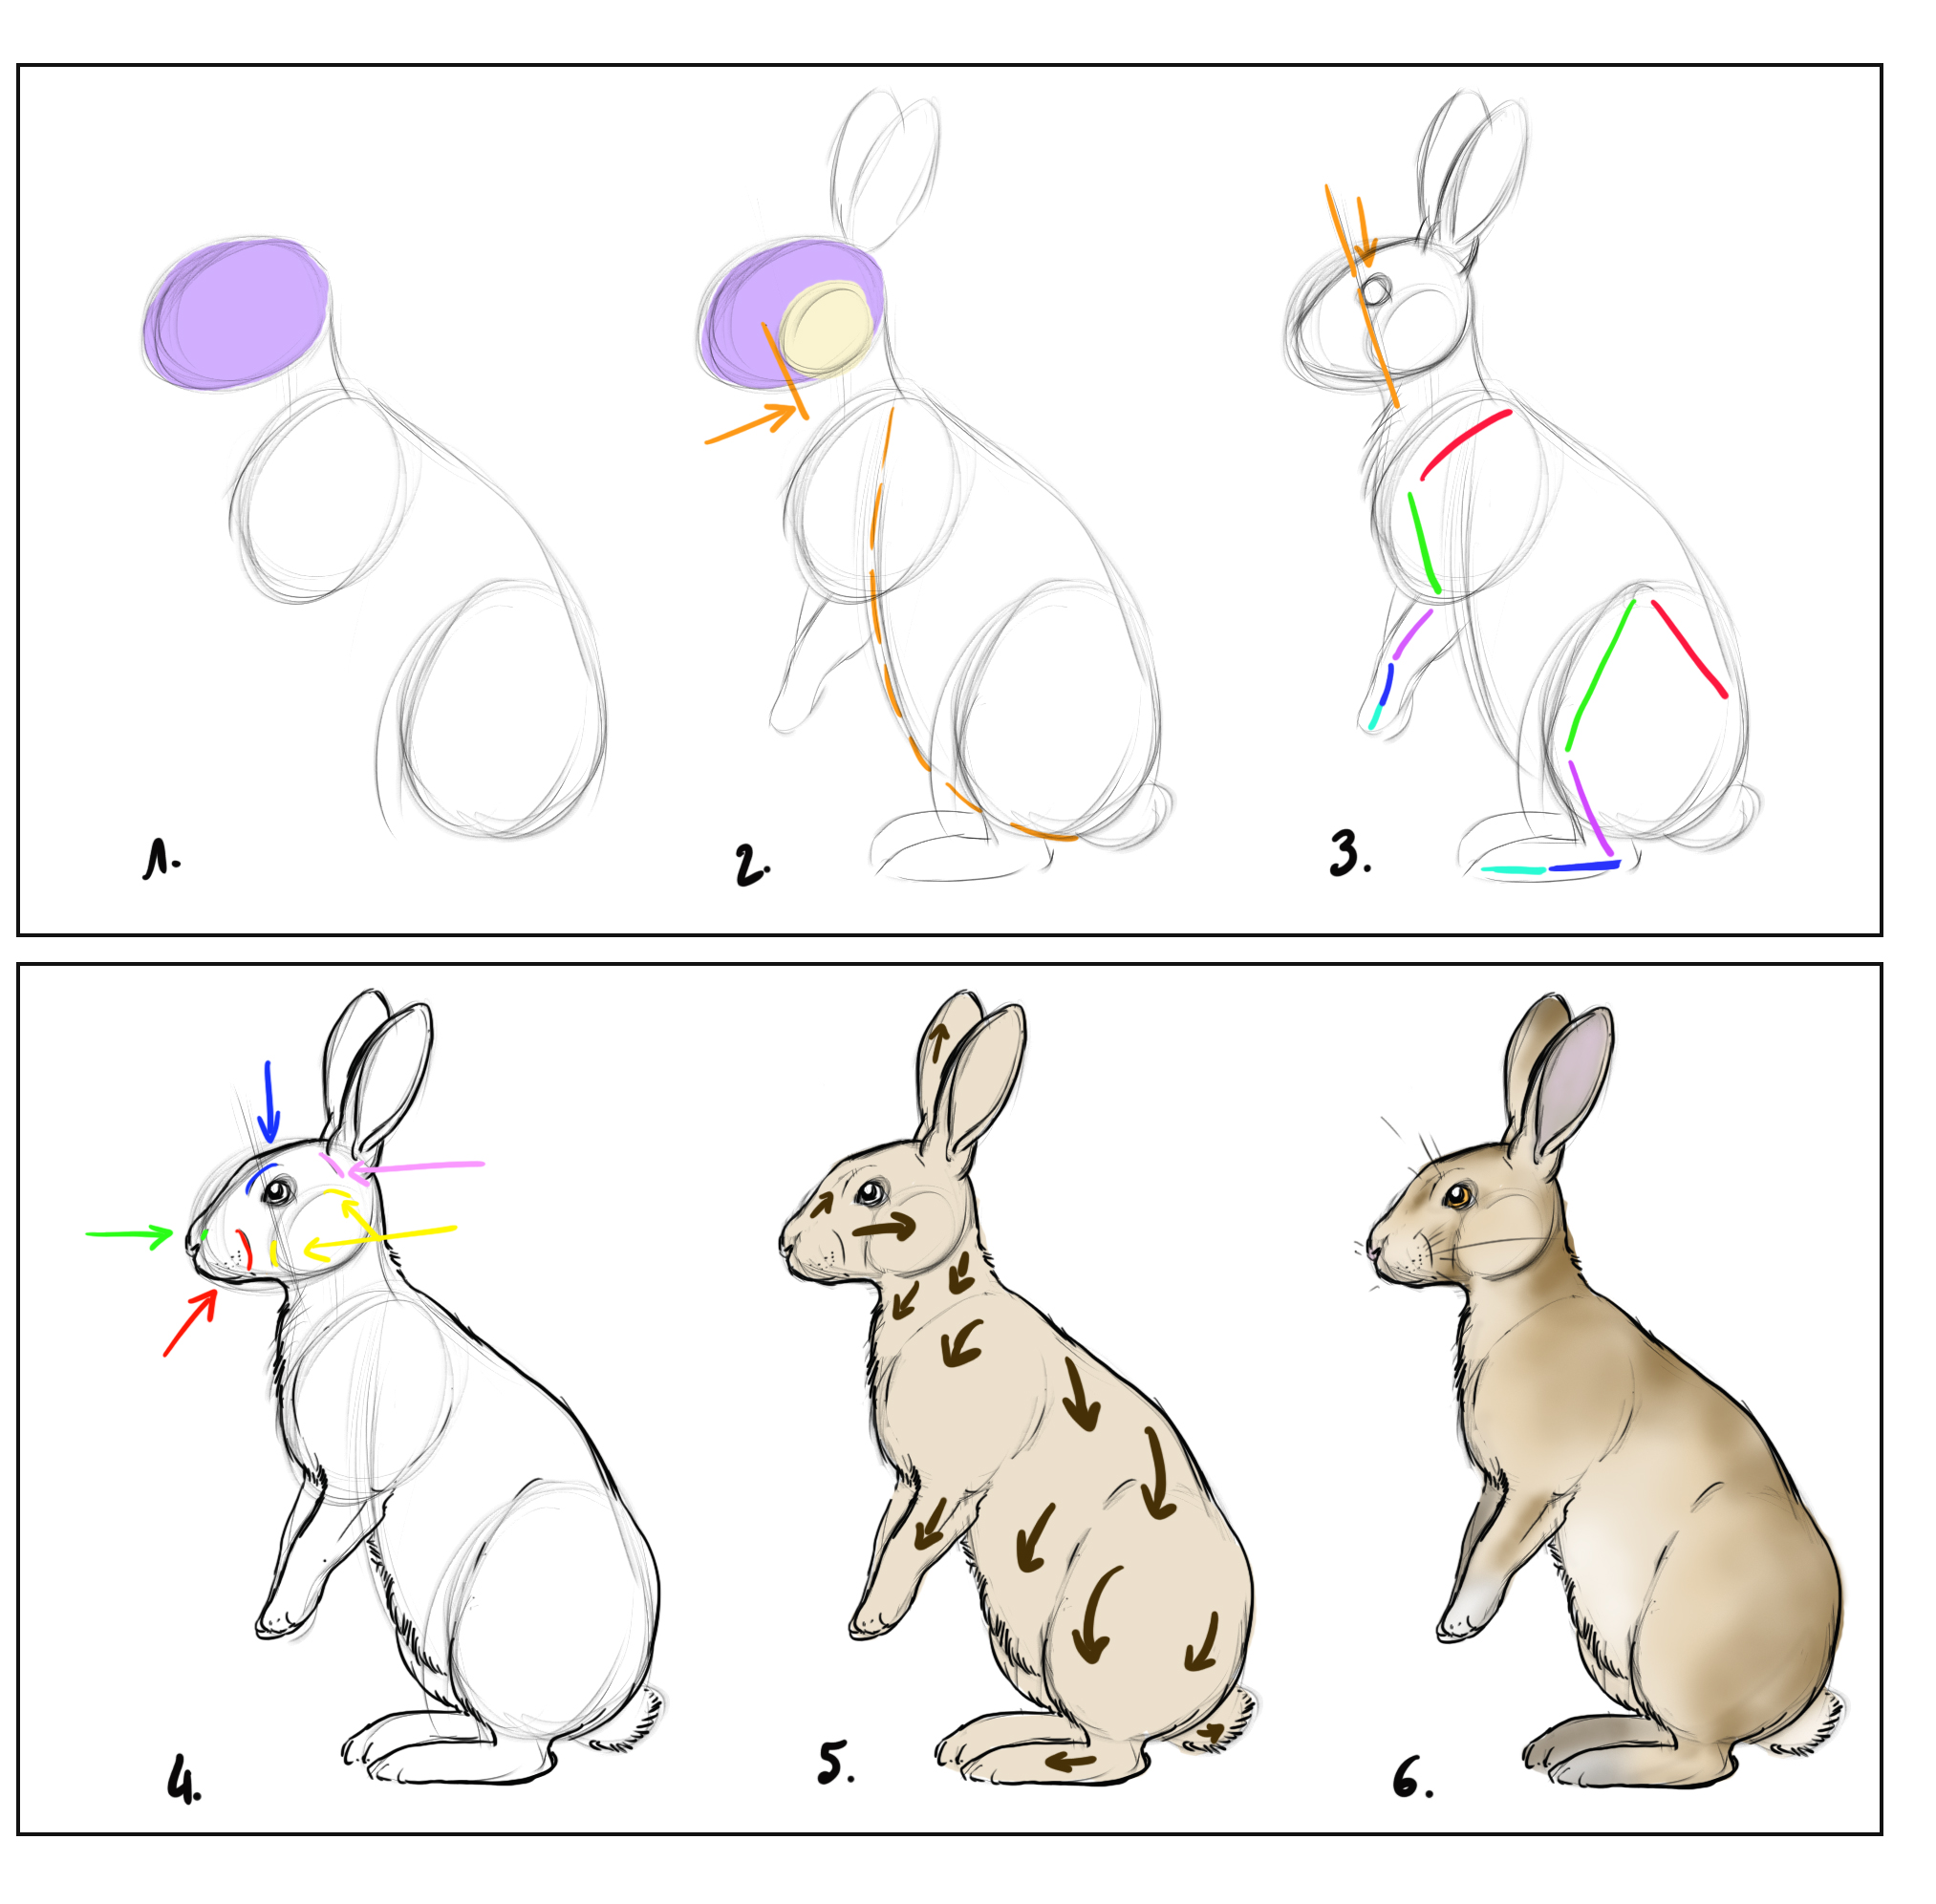
Let's get started! First, with a light touch, draw a circle, which will be the head of our cat; the body proportions will be adapted to this first circle.
For the body, we will use the method with wooden mannequins, dividing our body into various lines, points, and circles.
We begin by sketching the shoulders, then we position the spine and the torso.
Following that, we will add 2 ovals to properly position the shoulders, then we will move onto the body, following the curve of the spine, by adding 3 circles (3 heads!).
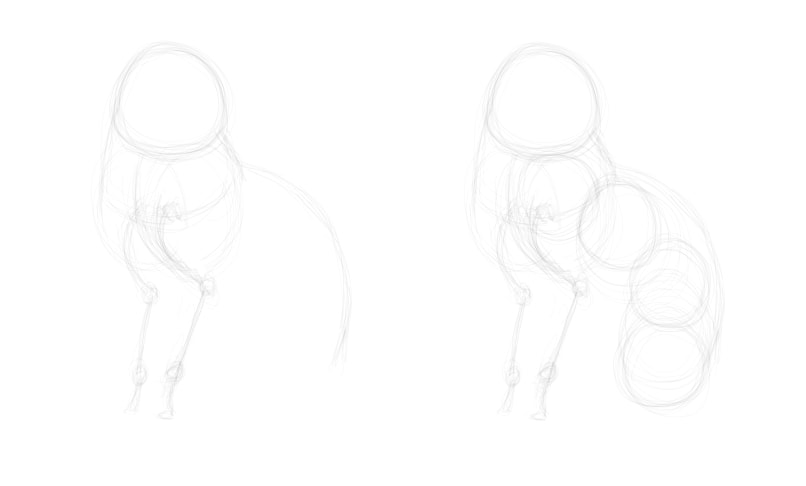
After that, we can draw the skeleton of the front legs, segmented into 3 parts, as we saw when we observed the anatomy of the cat, and use our 3 circles for dimensions. The front legs should reach about the same height as the bottom circle, and the cat's "elbow" about in the middle of the circle... From the middle!
We can now draw the hind legs, for this we use the model again as well as what we have learned about cat anatomy :)
We will add two lines for the face, one horizontal and one vertical, a method that is also used to draw human faces for example. These two lines define the center of the face and help to position all the other elements. Then the tail (3 heads!) before shaping the muscles of our cat.
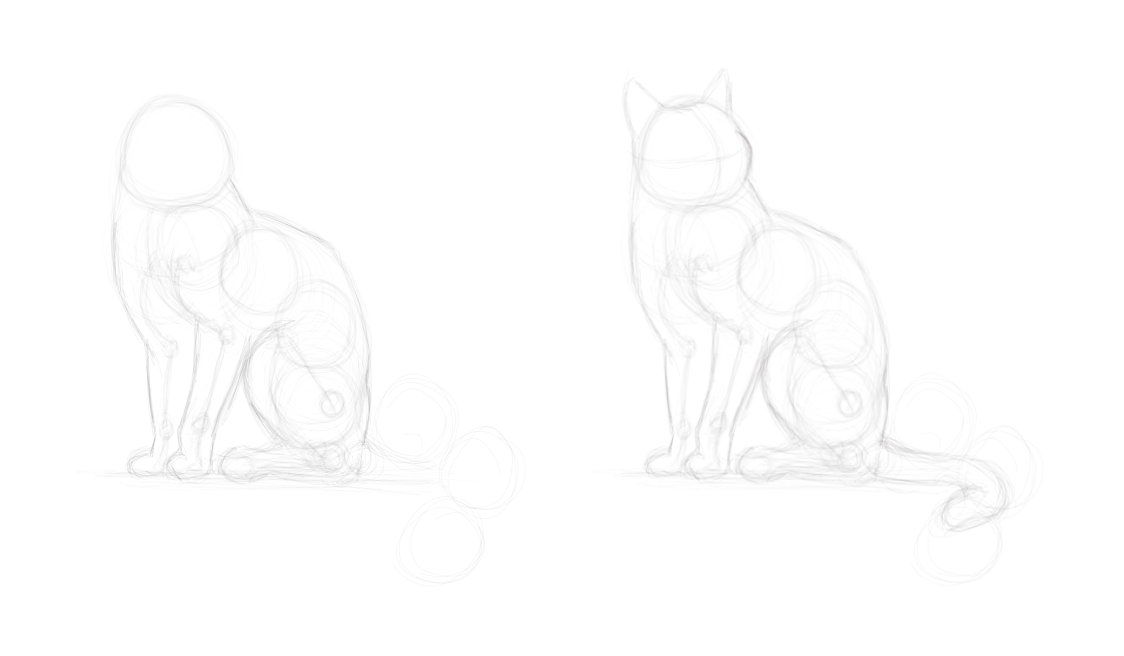
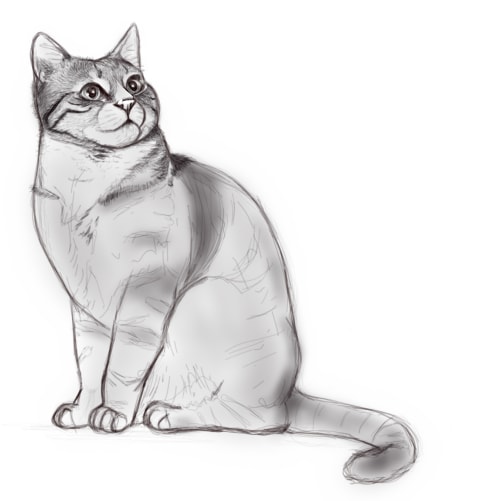
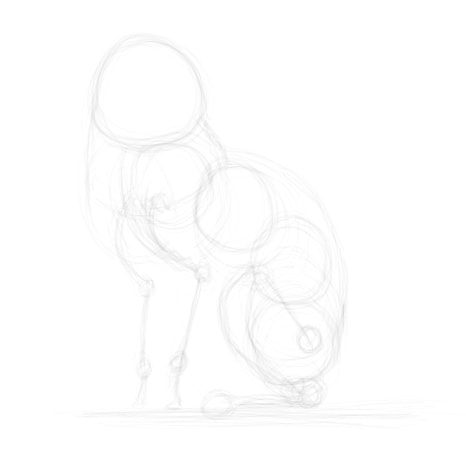
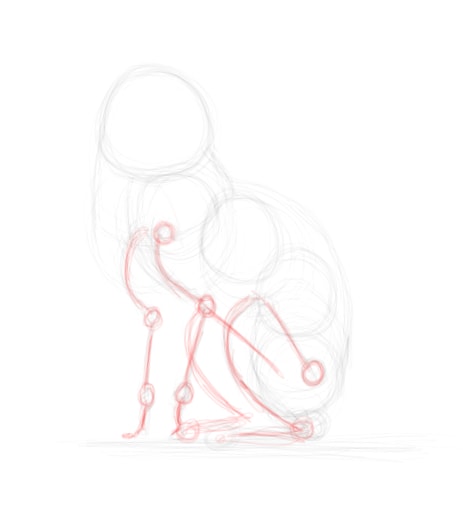
And finally, we will erase the lines that we no longer need and better define (but not too much!) the ones we're keeping. Make sure you really observe your model closely the first few times.
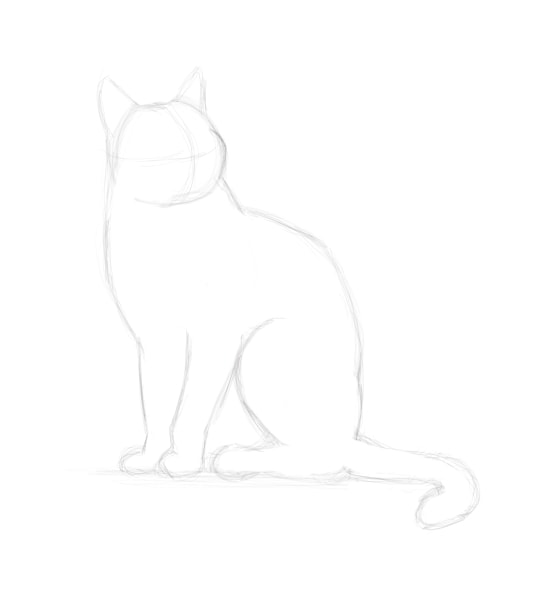
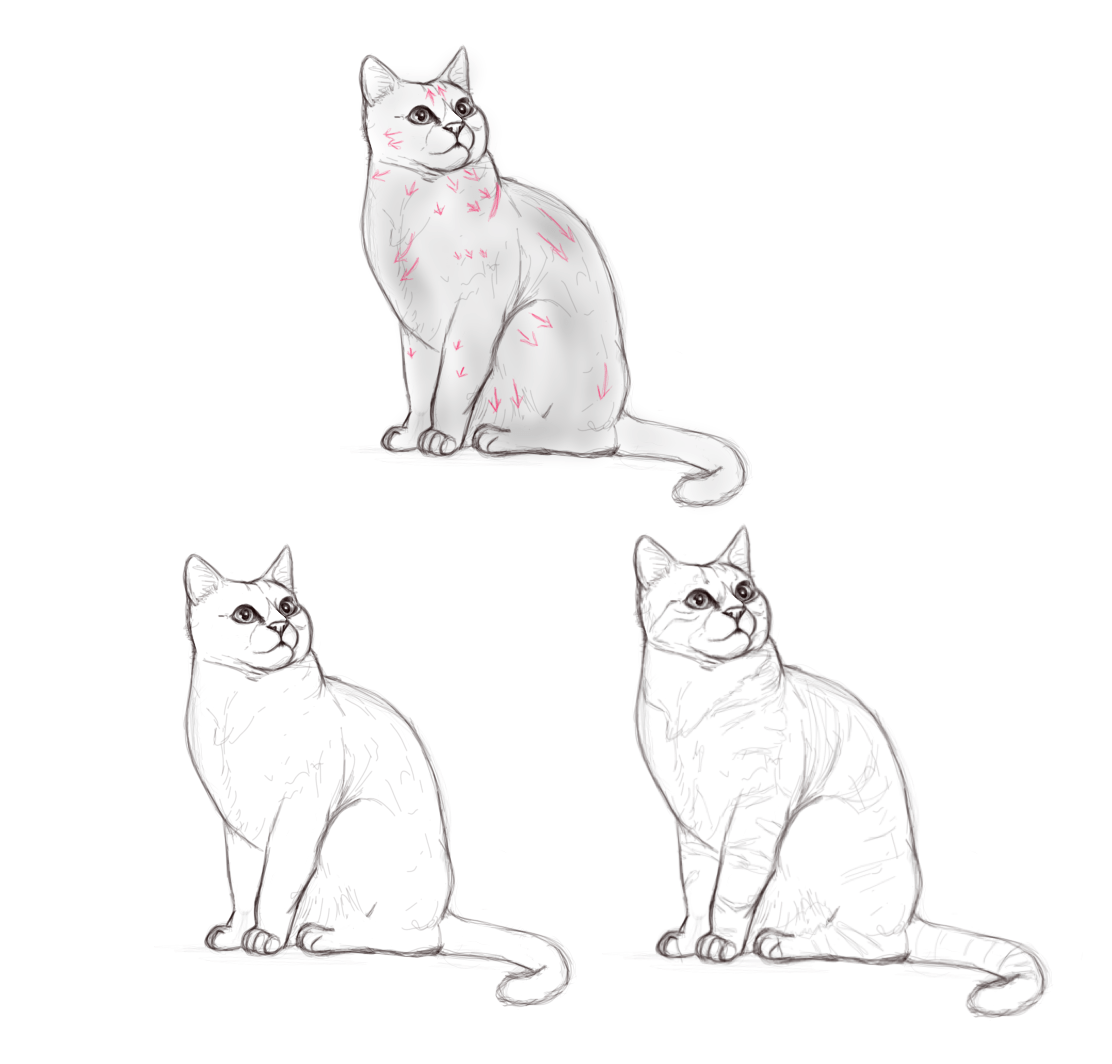
That's it! The body's foundations are set, now we'll check our proportions. You can lengthen or shorten certain segments until it looks right to you!
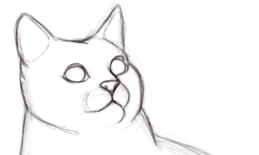
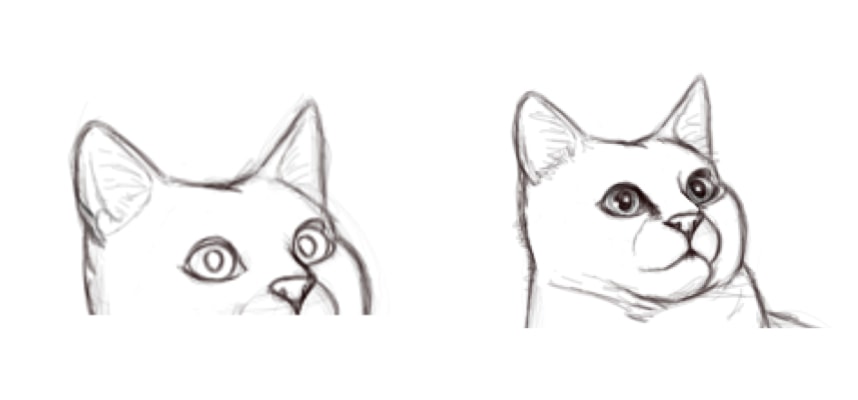
DRAWING A CAT'S FACE
Let's tackle the face!
I'm giving you the base, but don't forget that it's not a big deal if your cat has bigger or smaller lips/eyes/etc than the model. Just like human faces, not all cats are the same either, and that's what gives them their personality! :)
Be careful not to space the eyes too far apart, or conversely, too close together…
We will place our eyes, first one, then the space of an eye, and then the second.
Below the space between the two, we draw a circle that will serve as the nose and lips, which we add by drawing two circles again.
And now we will move onto the details!
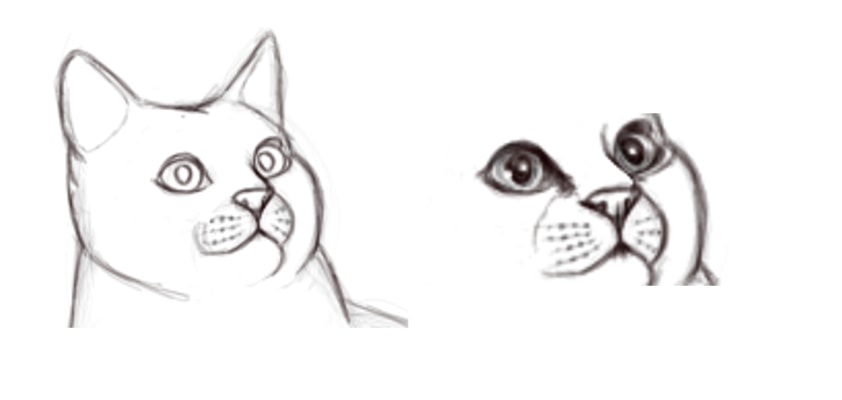
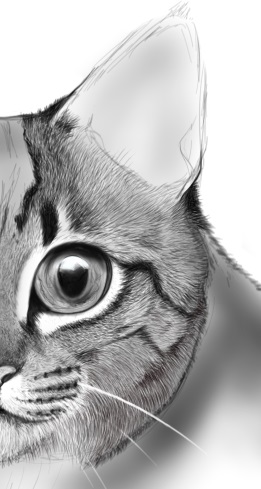
DRAWING EYES
For the eyes, we will better define their contours and add the eyelids (refer to the image) and properly shape the socket.
Cats have pupils that can dilate enormously, sometimes even giving the impression that their eyes are completely black! This happens when they are in the dark or in very low light, as well as when they are playing or about to attack.
But they can shrink greatly, until they appear just as a thin line, like a snake, typically when they face a very bright light.
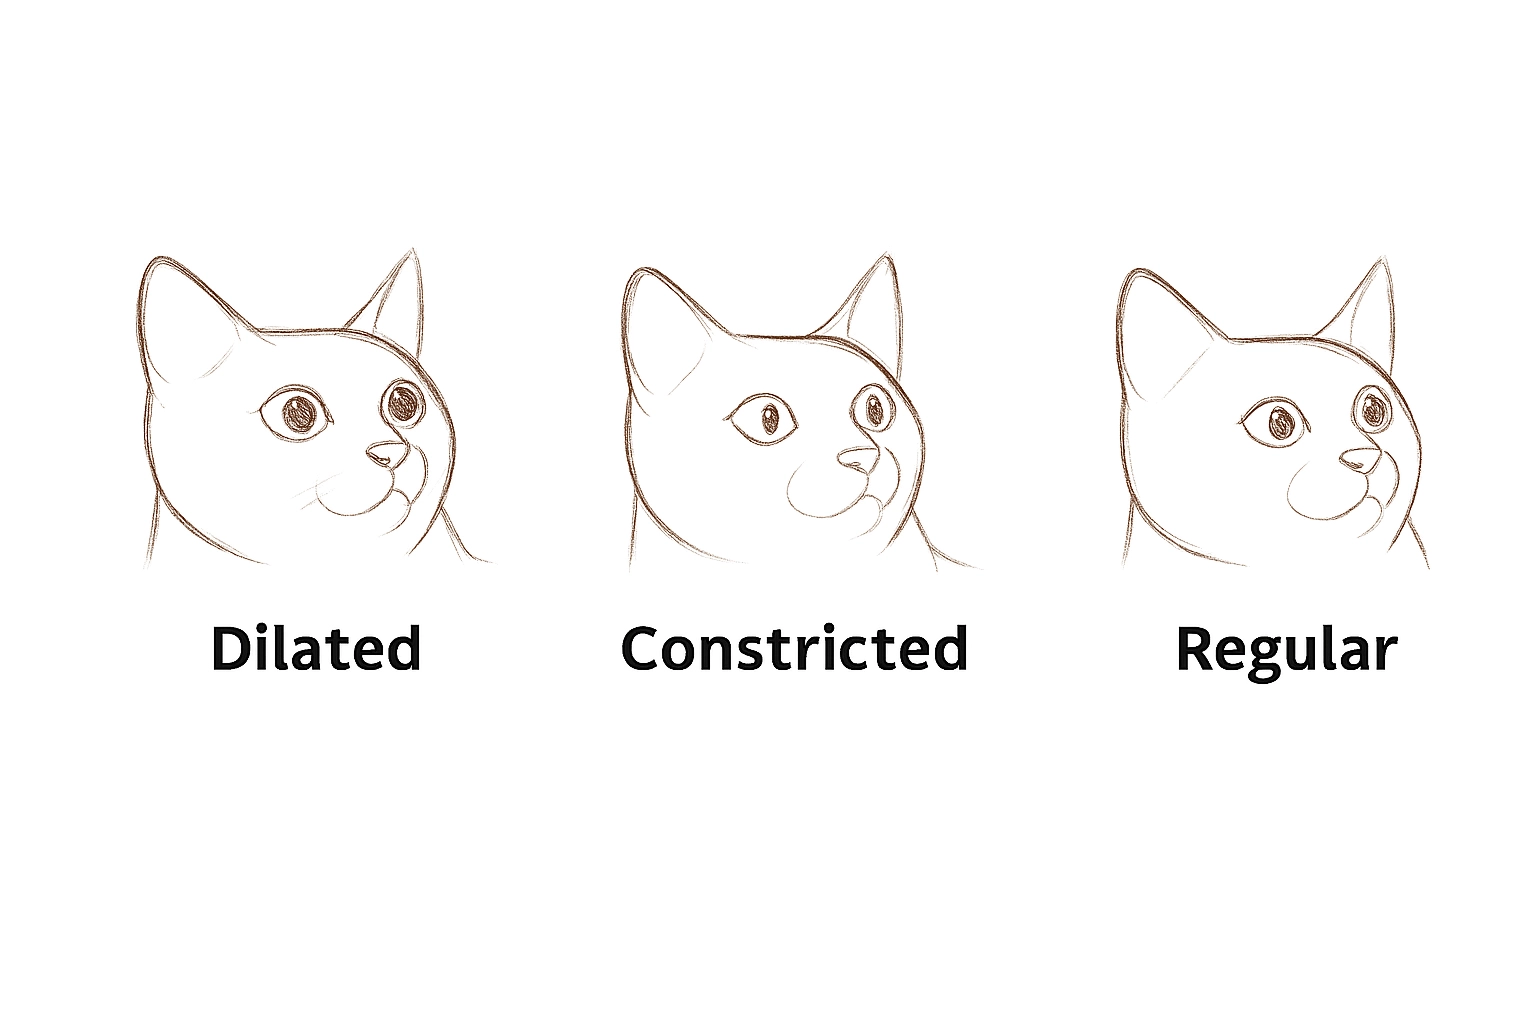
So, dilated pupils or not... It's up to you! I decide to keep them like the model's.
Then we first add the hints of light before coloring the pupil black, then we detail the iris with shading, which will give the eye a bulging effect.
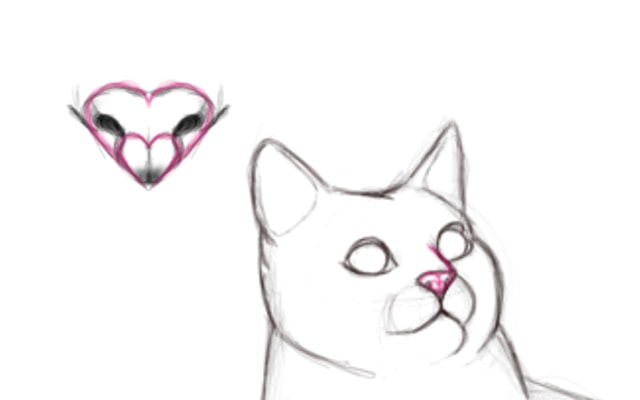
THE CAT'S NOSE
What's amazing about a cat's nose is that two hearts fit beautifully inside, making it a great way to draw it. Then all you need to do is add the nostrils and the separation in the middle! (Be careful, not all the way up!)
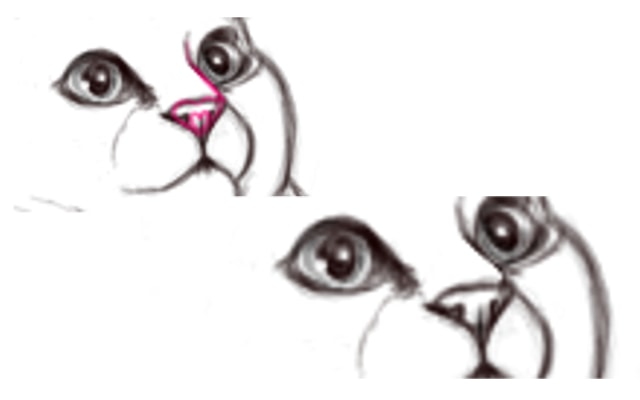
LIPS / MOUTH
As you can see from the previous drawings, for now we are simply retracing the lines of the circles we had made before.
Regarding the whiskers, the roots are not really visible on our model due to the light and because our cat has a white muzzle, but I'll still show you what it would look like at this stage of the drawing if we were to draw them.
THE EARS
We add the opening of the ear as well as rough marks for hair and detail the outer edge.
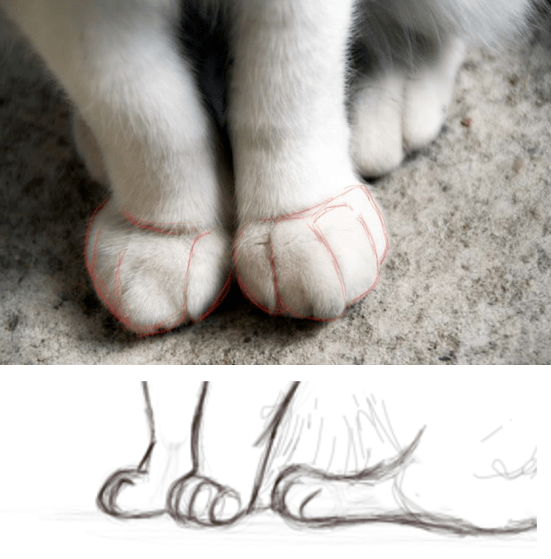
DRAWING A CAT'S PAWS
Regarding their paws, cats have five "fingers" on their front paws, with the "thumb" positioned higher than the four main ones. Each one has pads, and they have a "palm" on the paw which also has a pad divided into three parts; additionally, they have a carpal pad.
For the hind legs, there are four toes and the palm, but there is no "thumb" or carpal pad!

"Look at my paw, I'll explain."
1,2,3,4,5 the five fingers of the paw!
6 the metacarpal pad, called "the palm"
7 the carpal pad
But in our current model, the legs are not really highlighted, so we simply have to differentiate the "fingers" according to the photo.
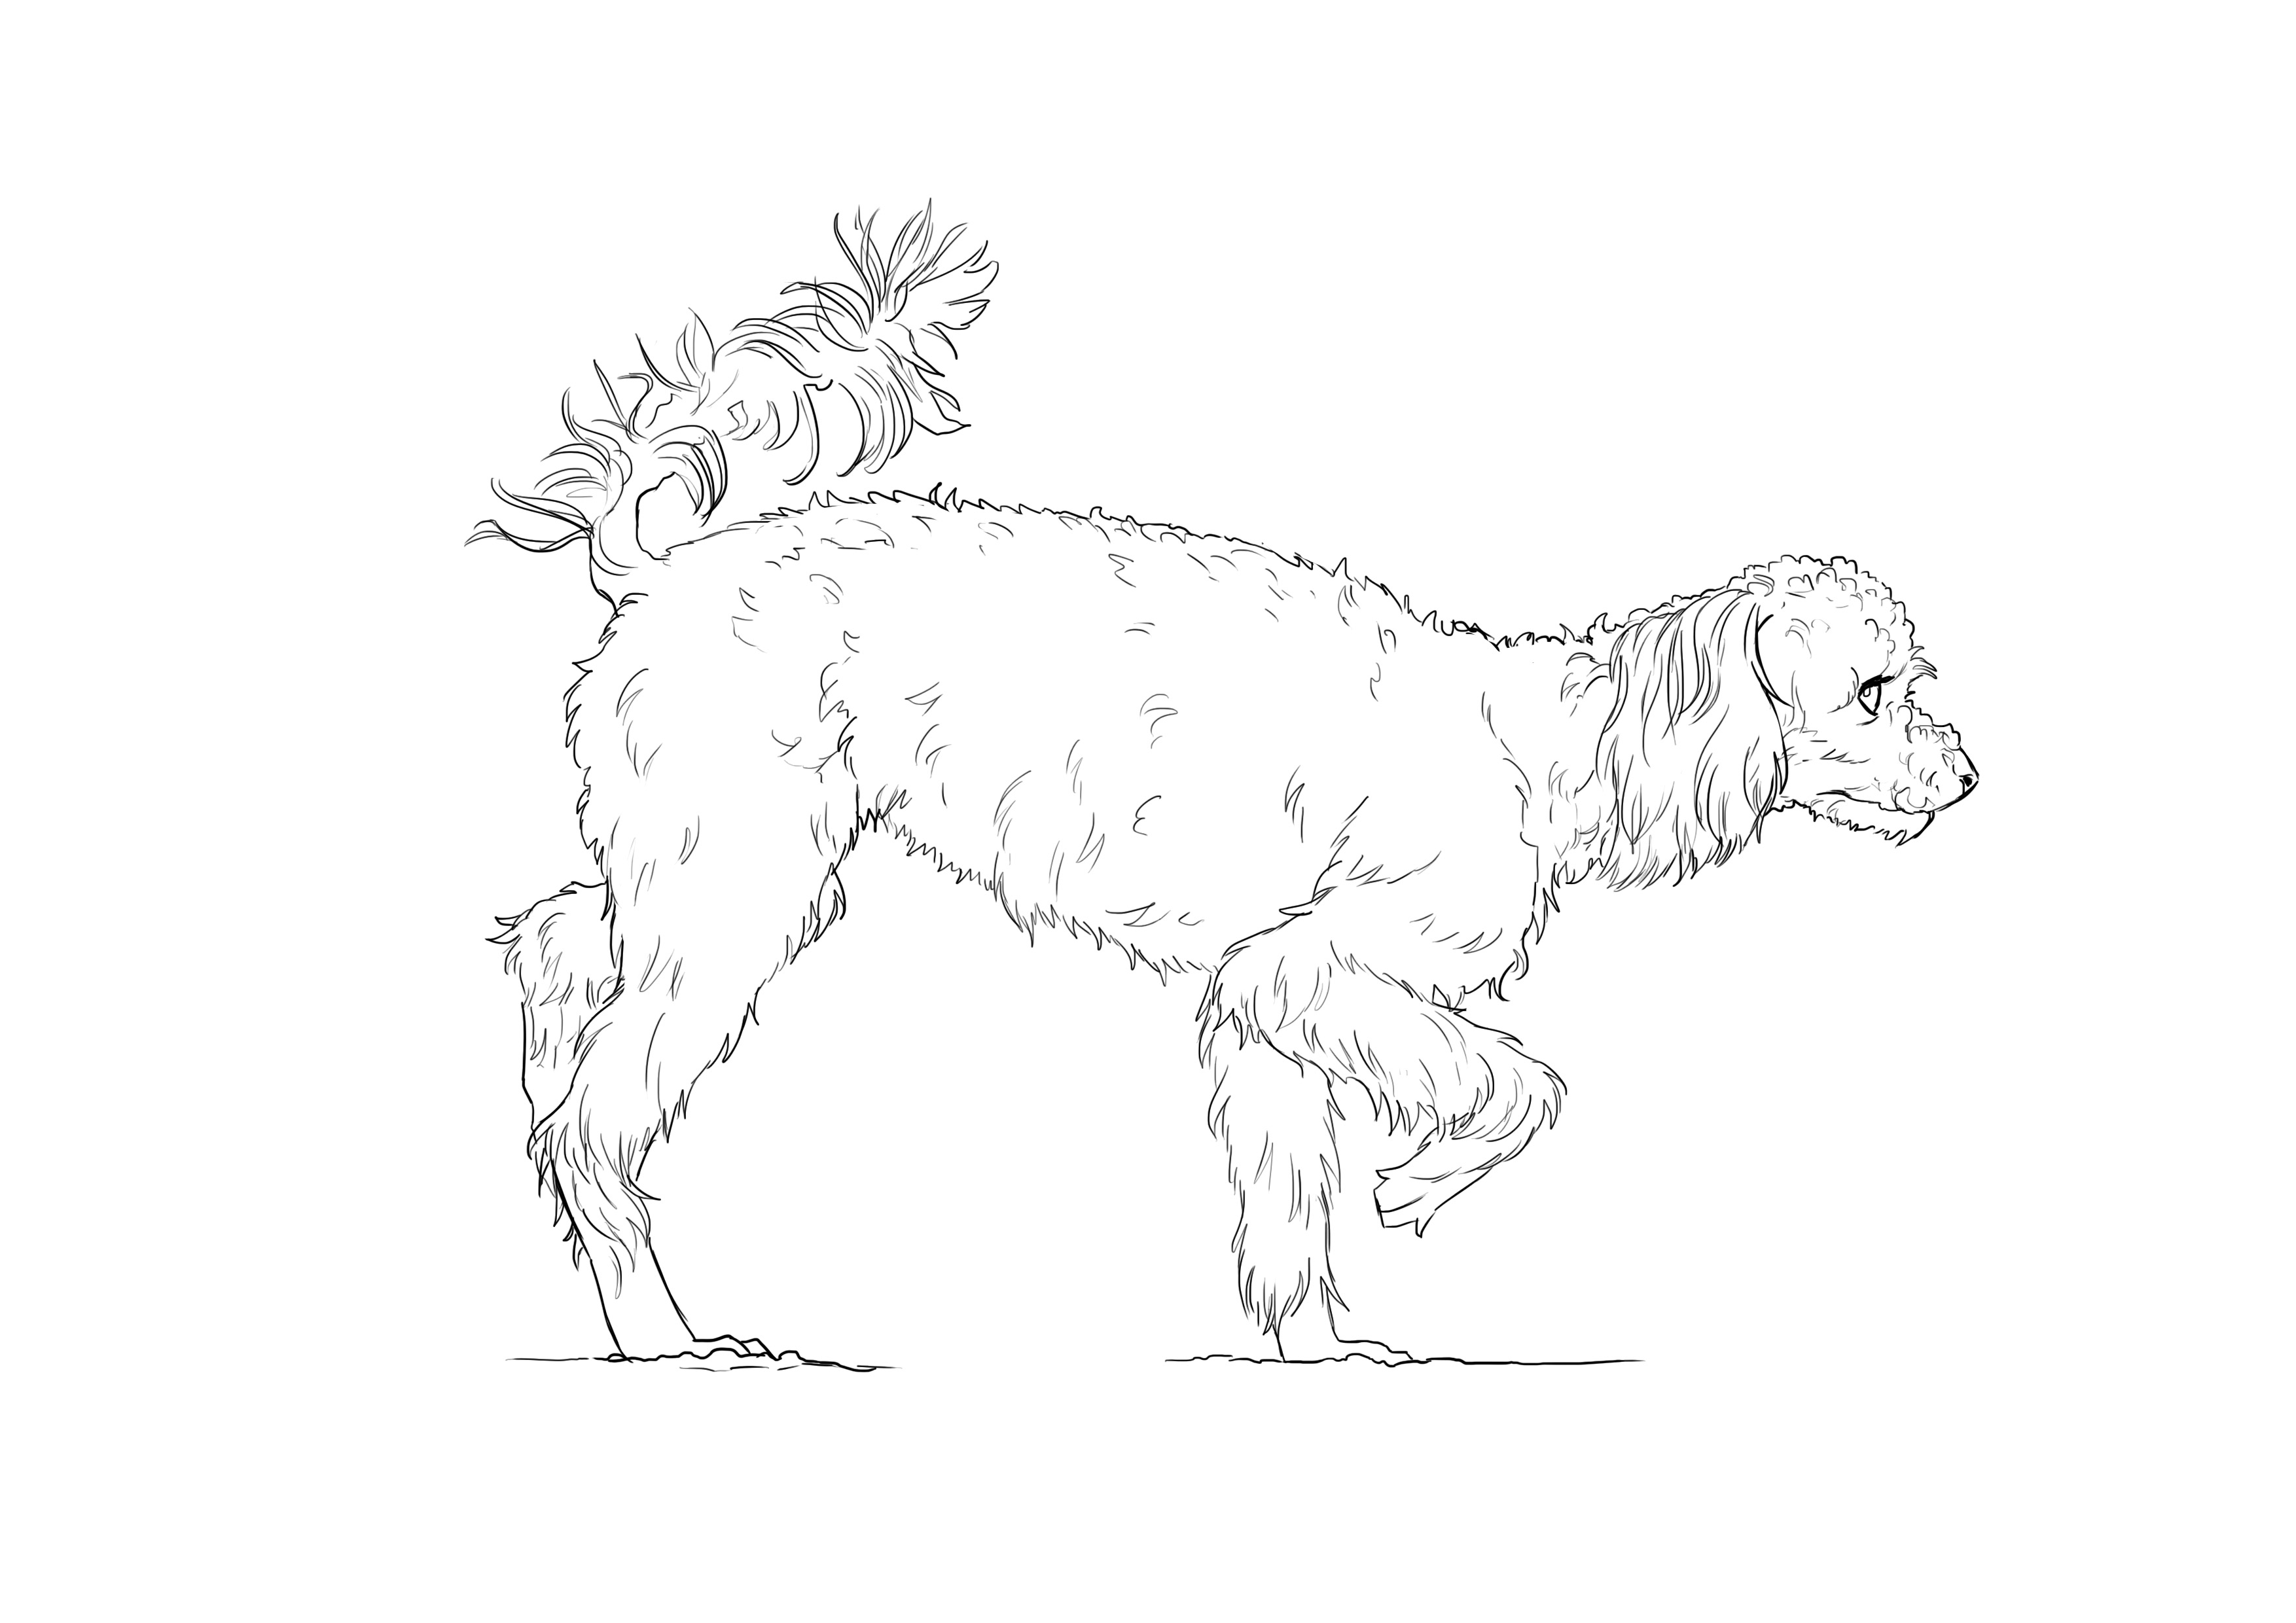
LEARNING TO DRAW FUR
Drawing fur requires time and patience, just like with our own hair. First we will... Observe :)
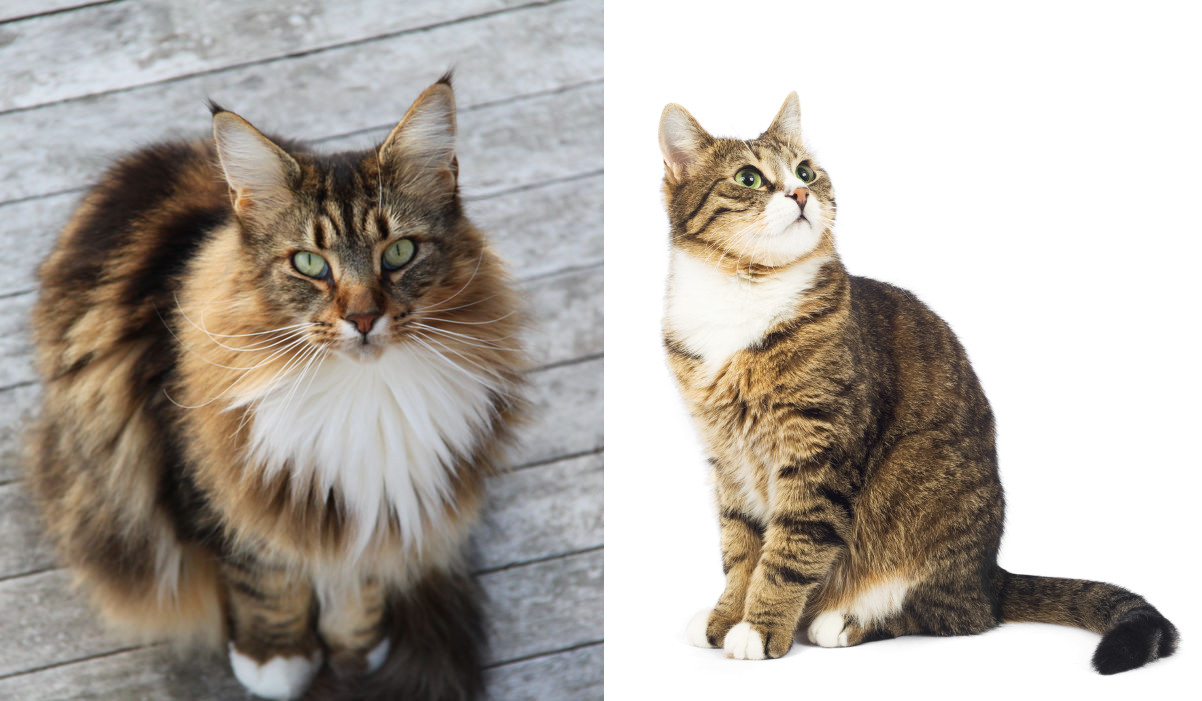
If we look at these images, we can see that the cat's fur follows the movement of its limbs and that it is not uniform, but full of variations in contrast.
Starting from there, we can begin to draw the fur. Firstly, personally, I gently shade the entire coat of my cat in gray, then I go over it, darkening or erasing as needed.
After that, firstly we define the direction of the hair. We then lightly draw the stripes etc, and then we start hair by hair… I know, it might seem depressing! But that’s what gives the most realistic result. So, we proceed by crosshatching/hair by hair. Start with a small area, work on it well and then continue onto another, always following the hair implantation.
As the drawing of the cat that we used as a model is too small to properly show you the texture of the fur done hair by hair, I am showing it to you on another drawing that I am currently doing :)
Hair by hair rendering
Once that is done (and it's no small feat!) we can add the whiskers. Since they are white in our model, we can use a fine eraser, and voilà!

Proceed in the same way for all the rest of the fur and play around with the hair by putting more or less in certain places. Also experiment with different strokes by shading certain areas more or less to give it a unique coat!
CONCLUSION
You now know how to draw a cat. Together we have explored all the steps to make a cat as beautiful as they deserve to be!
Take your time – I cannot stress this enough – to carefully observe models to understand the proportions. Then proceed step by step and don’t be afraid to erase, start over, clarify, modify. You will see that the more time you spend on the initial attempts, the faster the next ones will go, and you will have naturally become familiar with this type of drawing.
The fur stage can be tedious but the final effect is really great. So it's up to you to determine the degree of realism and also the time you allocate to your cat drawing.
In any case, have fun. Get your pencils ready!
Illustrator: Alison
Popular Articles
Discussion
cool me who struggles with animals