How to Draw a Dog
I call upon team dogs! o/ Today, we’re going to draw some of man’s best companions, our favorite big pooches. For this tutorial, once again, no color, but we'll be drawing three different breeds: the poodle, the pug and the Labrador. Three dogs with different physical characteristics :3
As always, if you would like to see the coloring, please mention it in the comments ;)
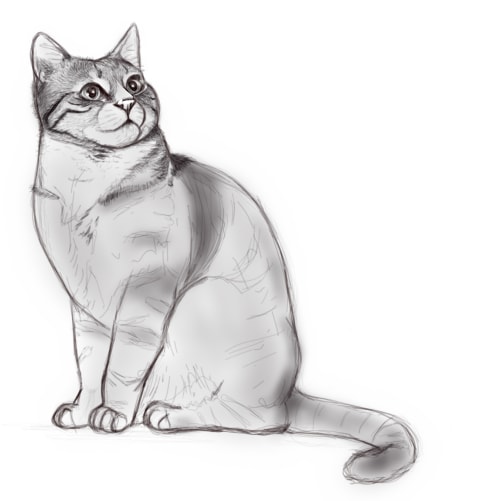
To find another beloved animal, named the cat, I encourage you to read the article how to draw a cat, found on our blog.
DRAWING A LABRADOR
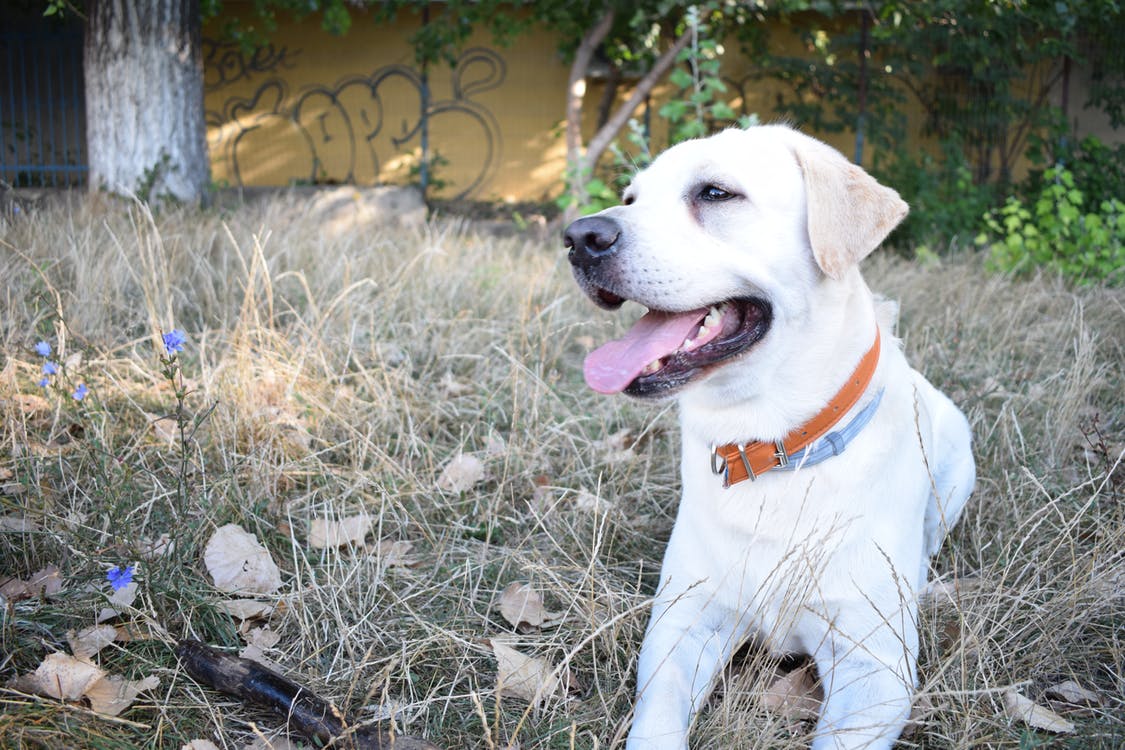
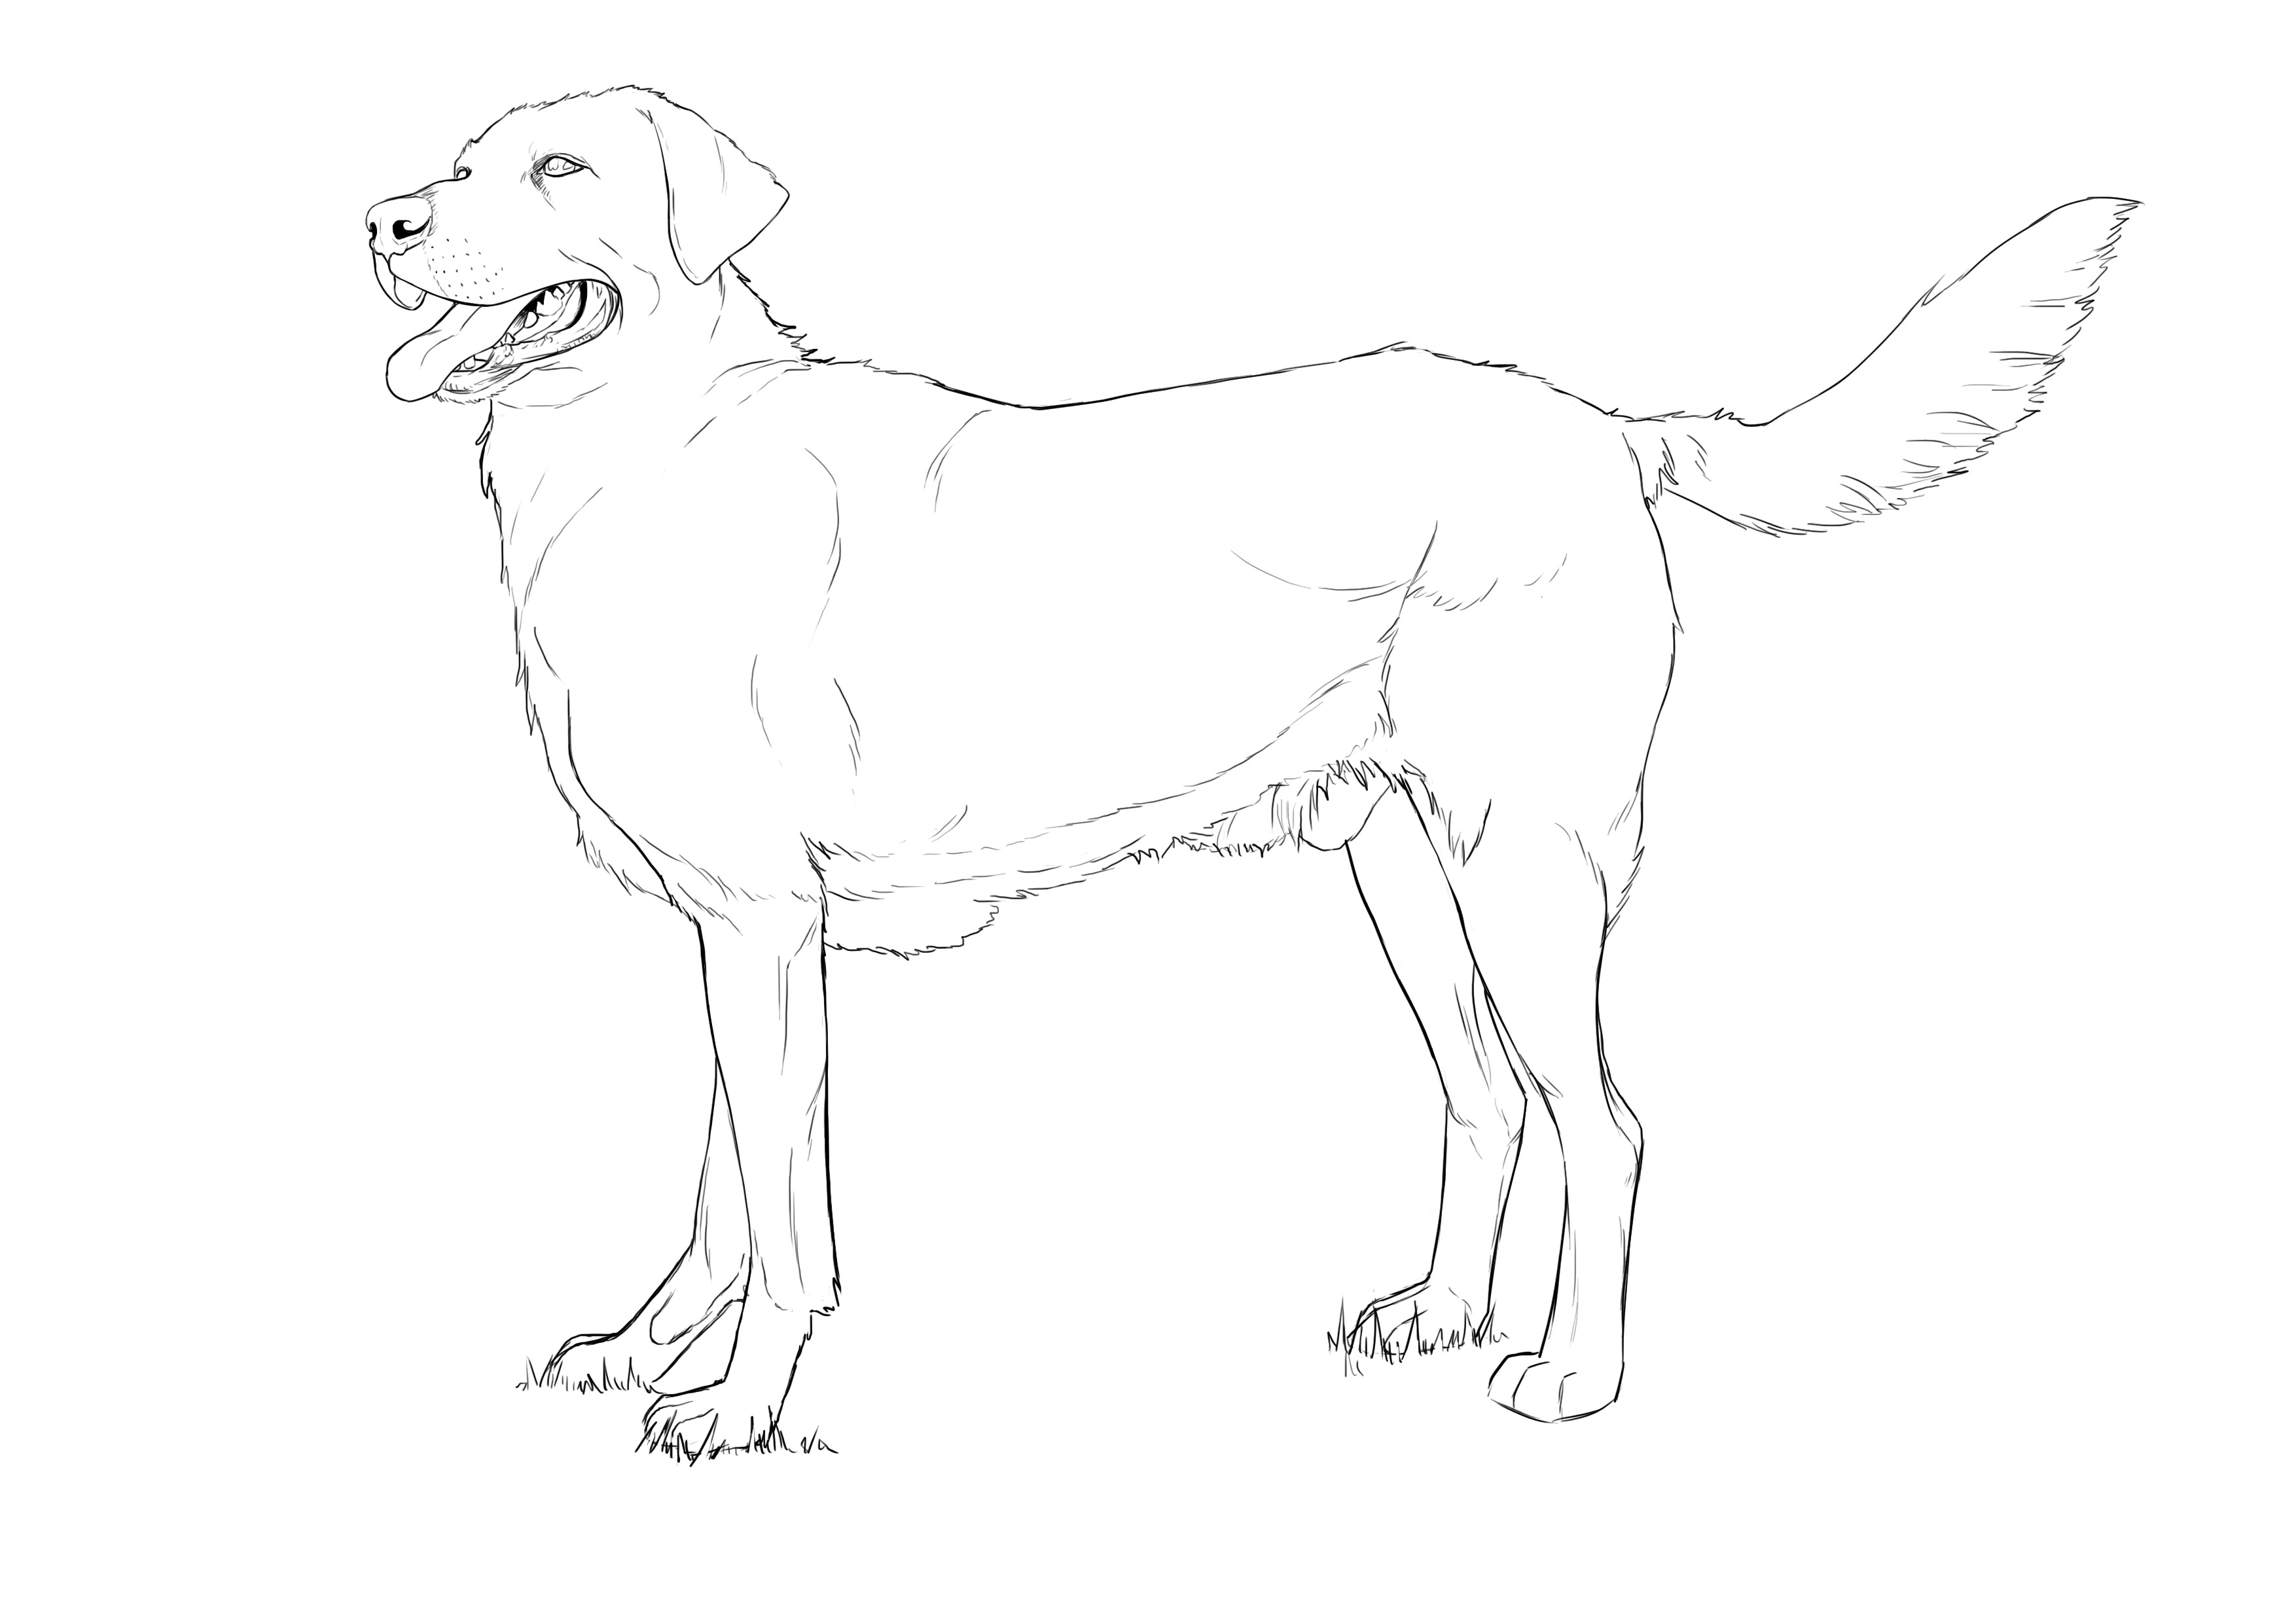
We start with a well-known dog: the Labrador. It’s a relatively large dog, quite hefty too. Larger than a wolf in any case. It has a fairly square head with drooping ears and a rather long muzzle.
For today, we'll mix these two photos. The posture from the first one with the head from the second one (because I guess you're still interested in our pooch's head).

SKETCH THE OUTLINE OF THE LABRADOR
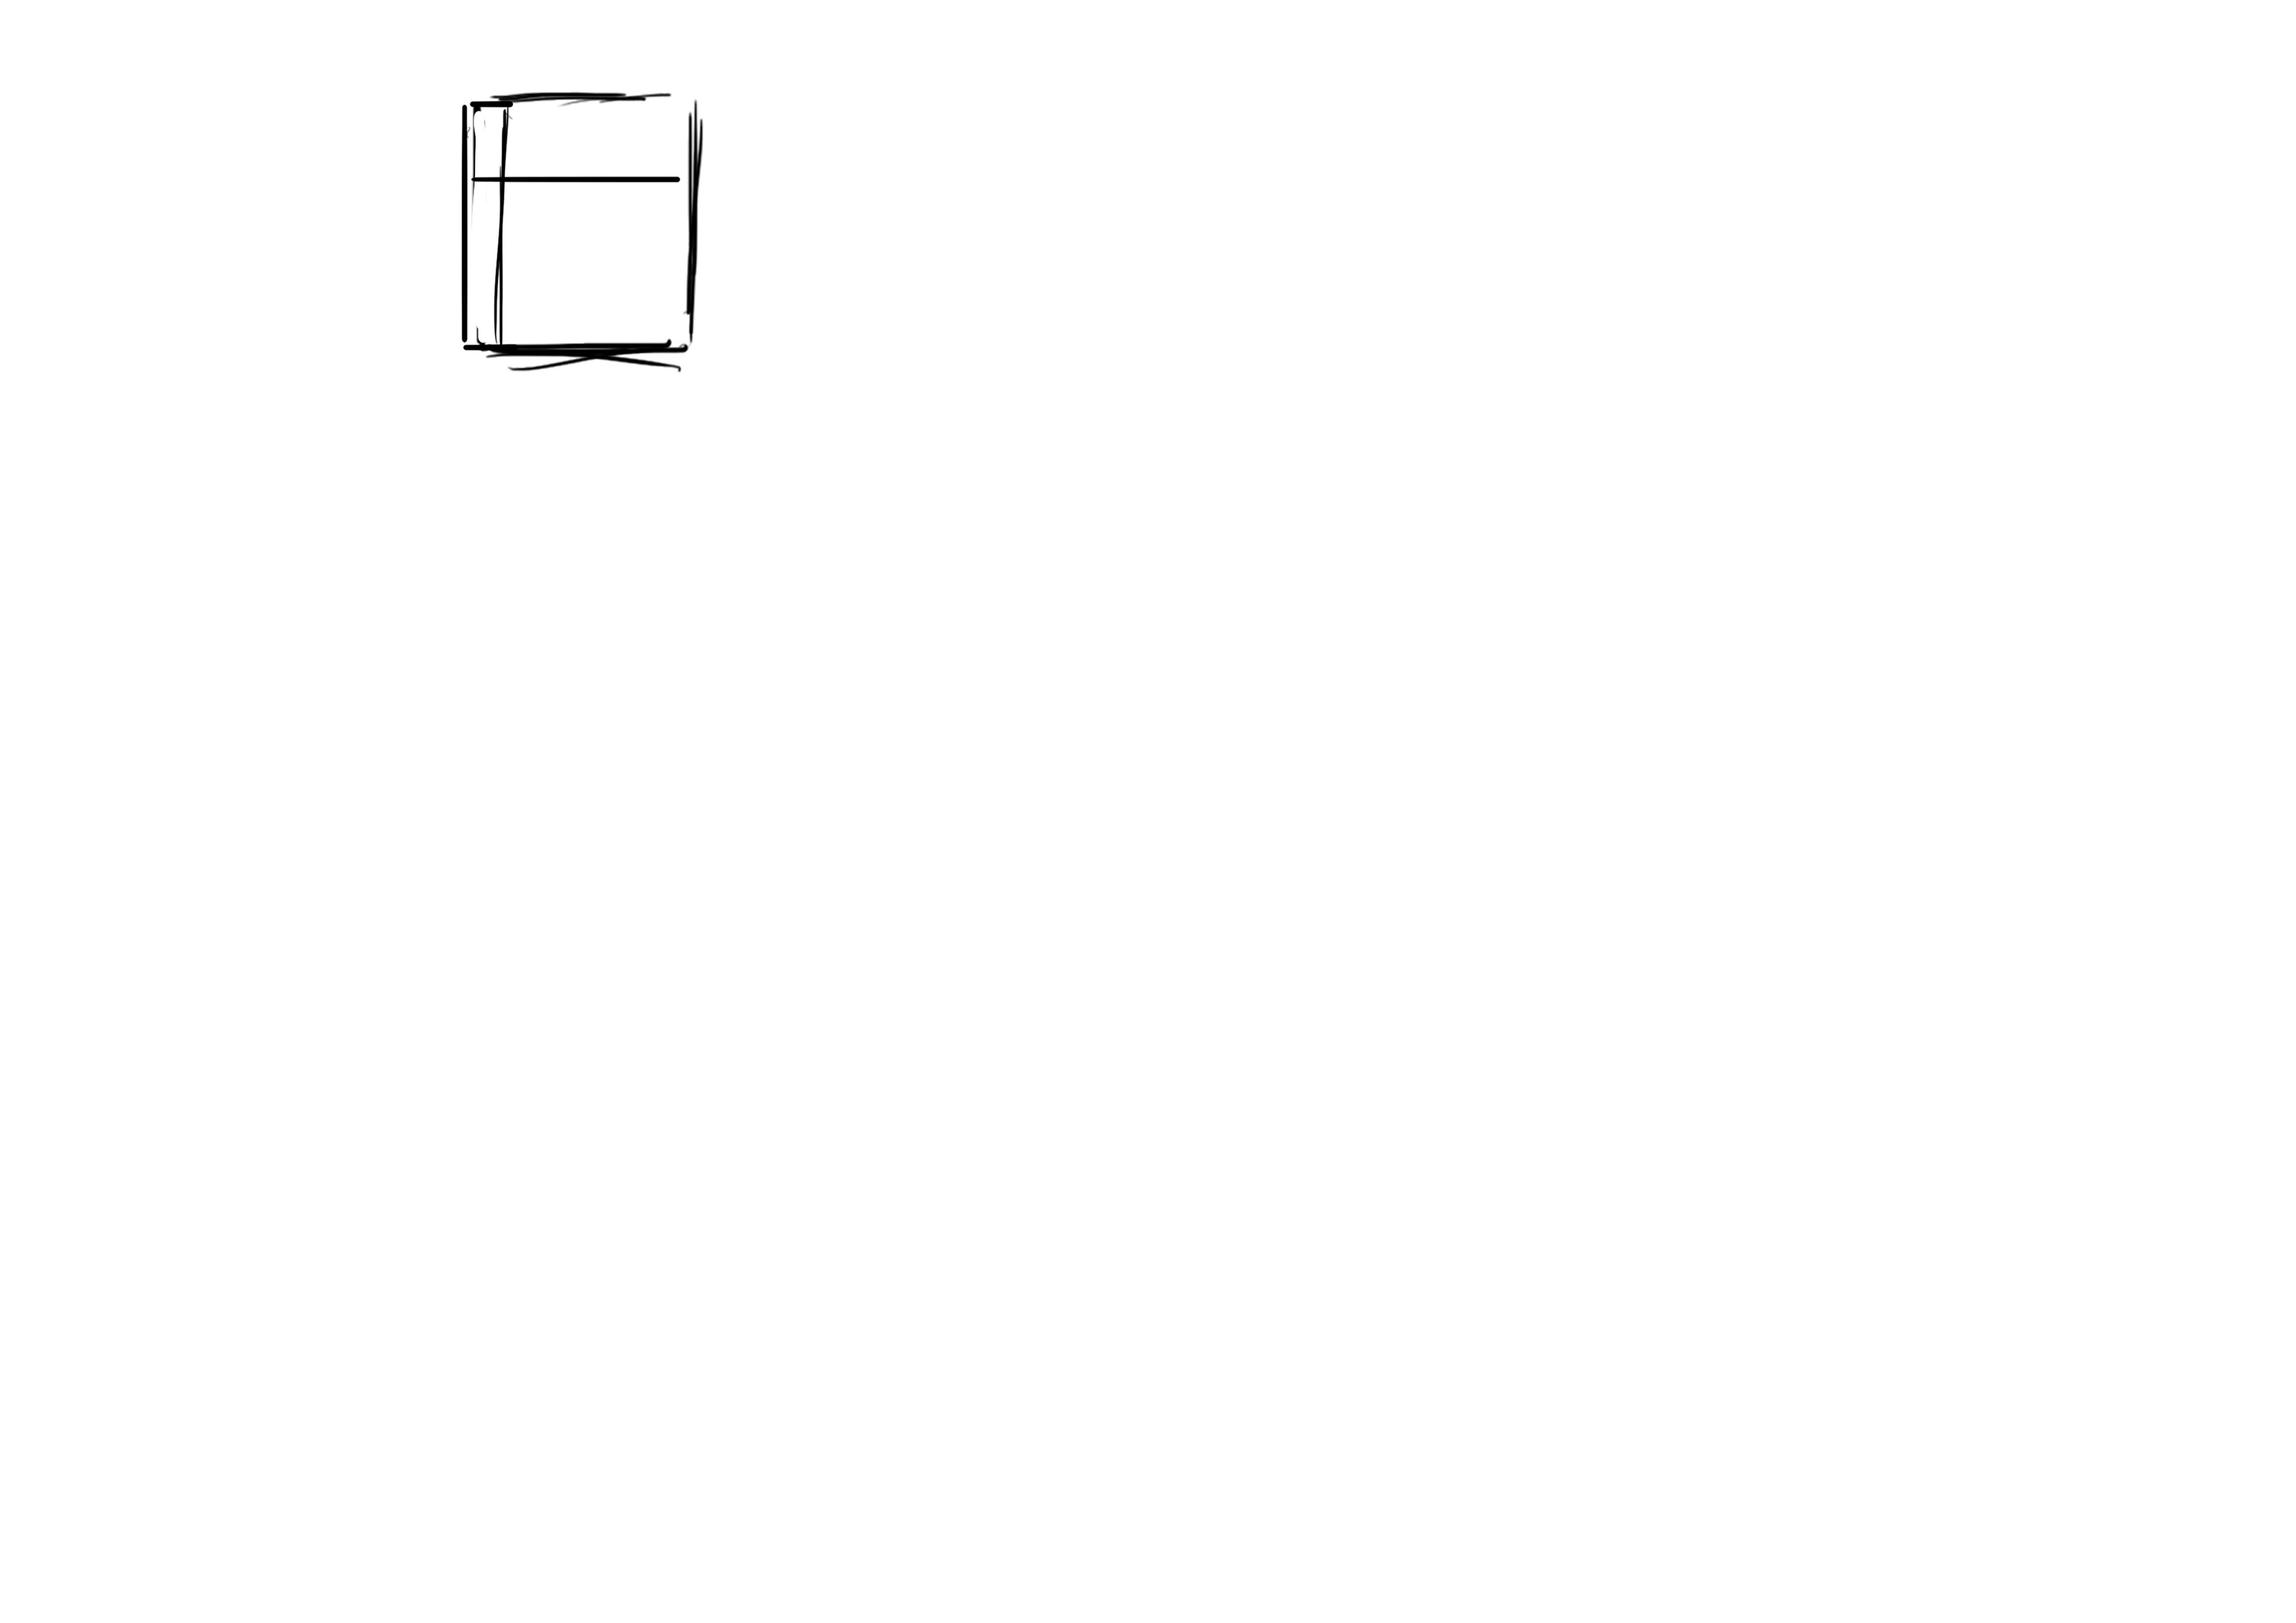
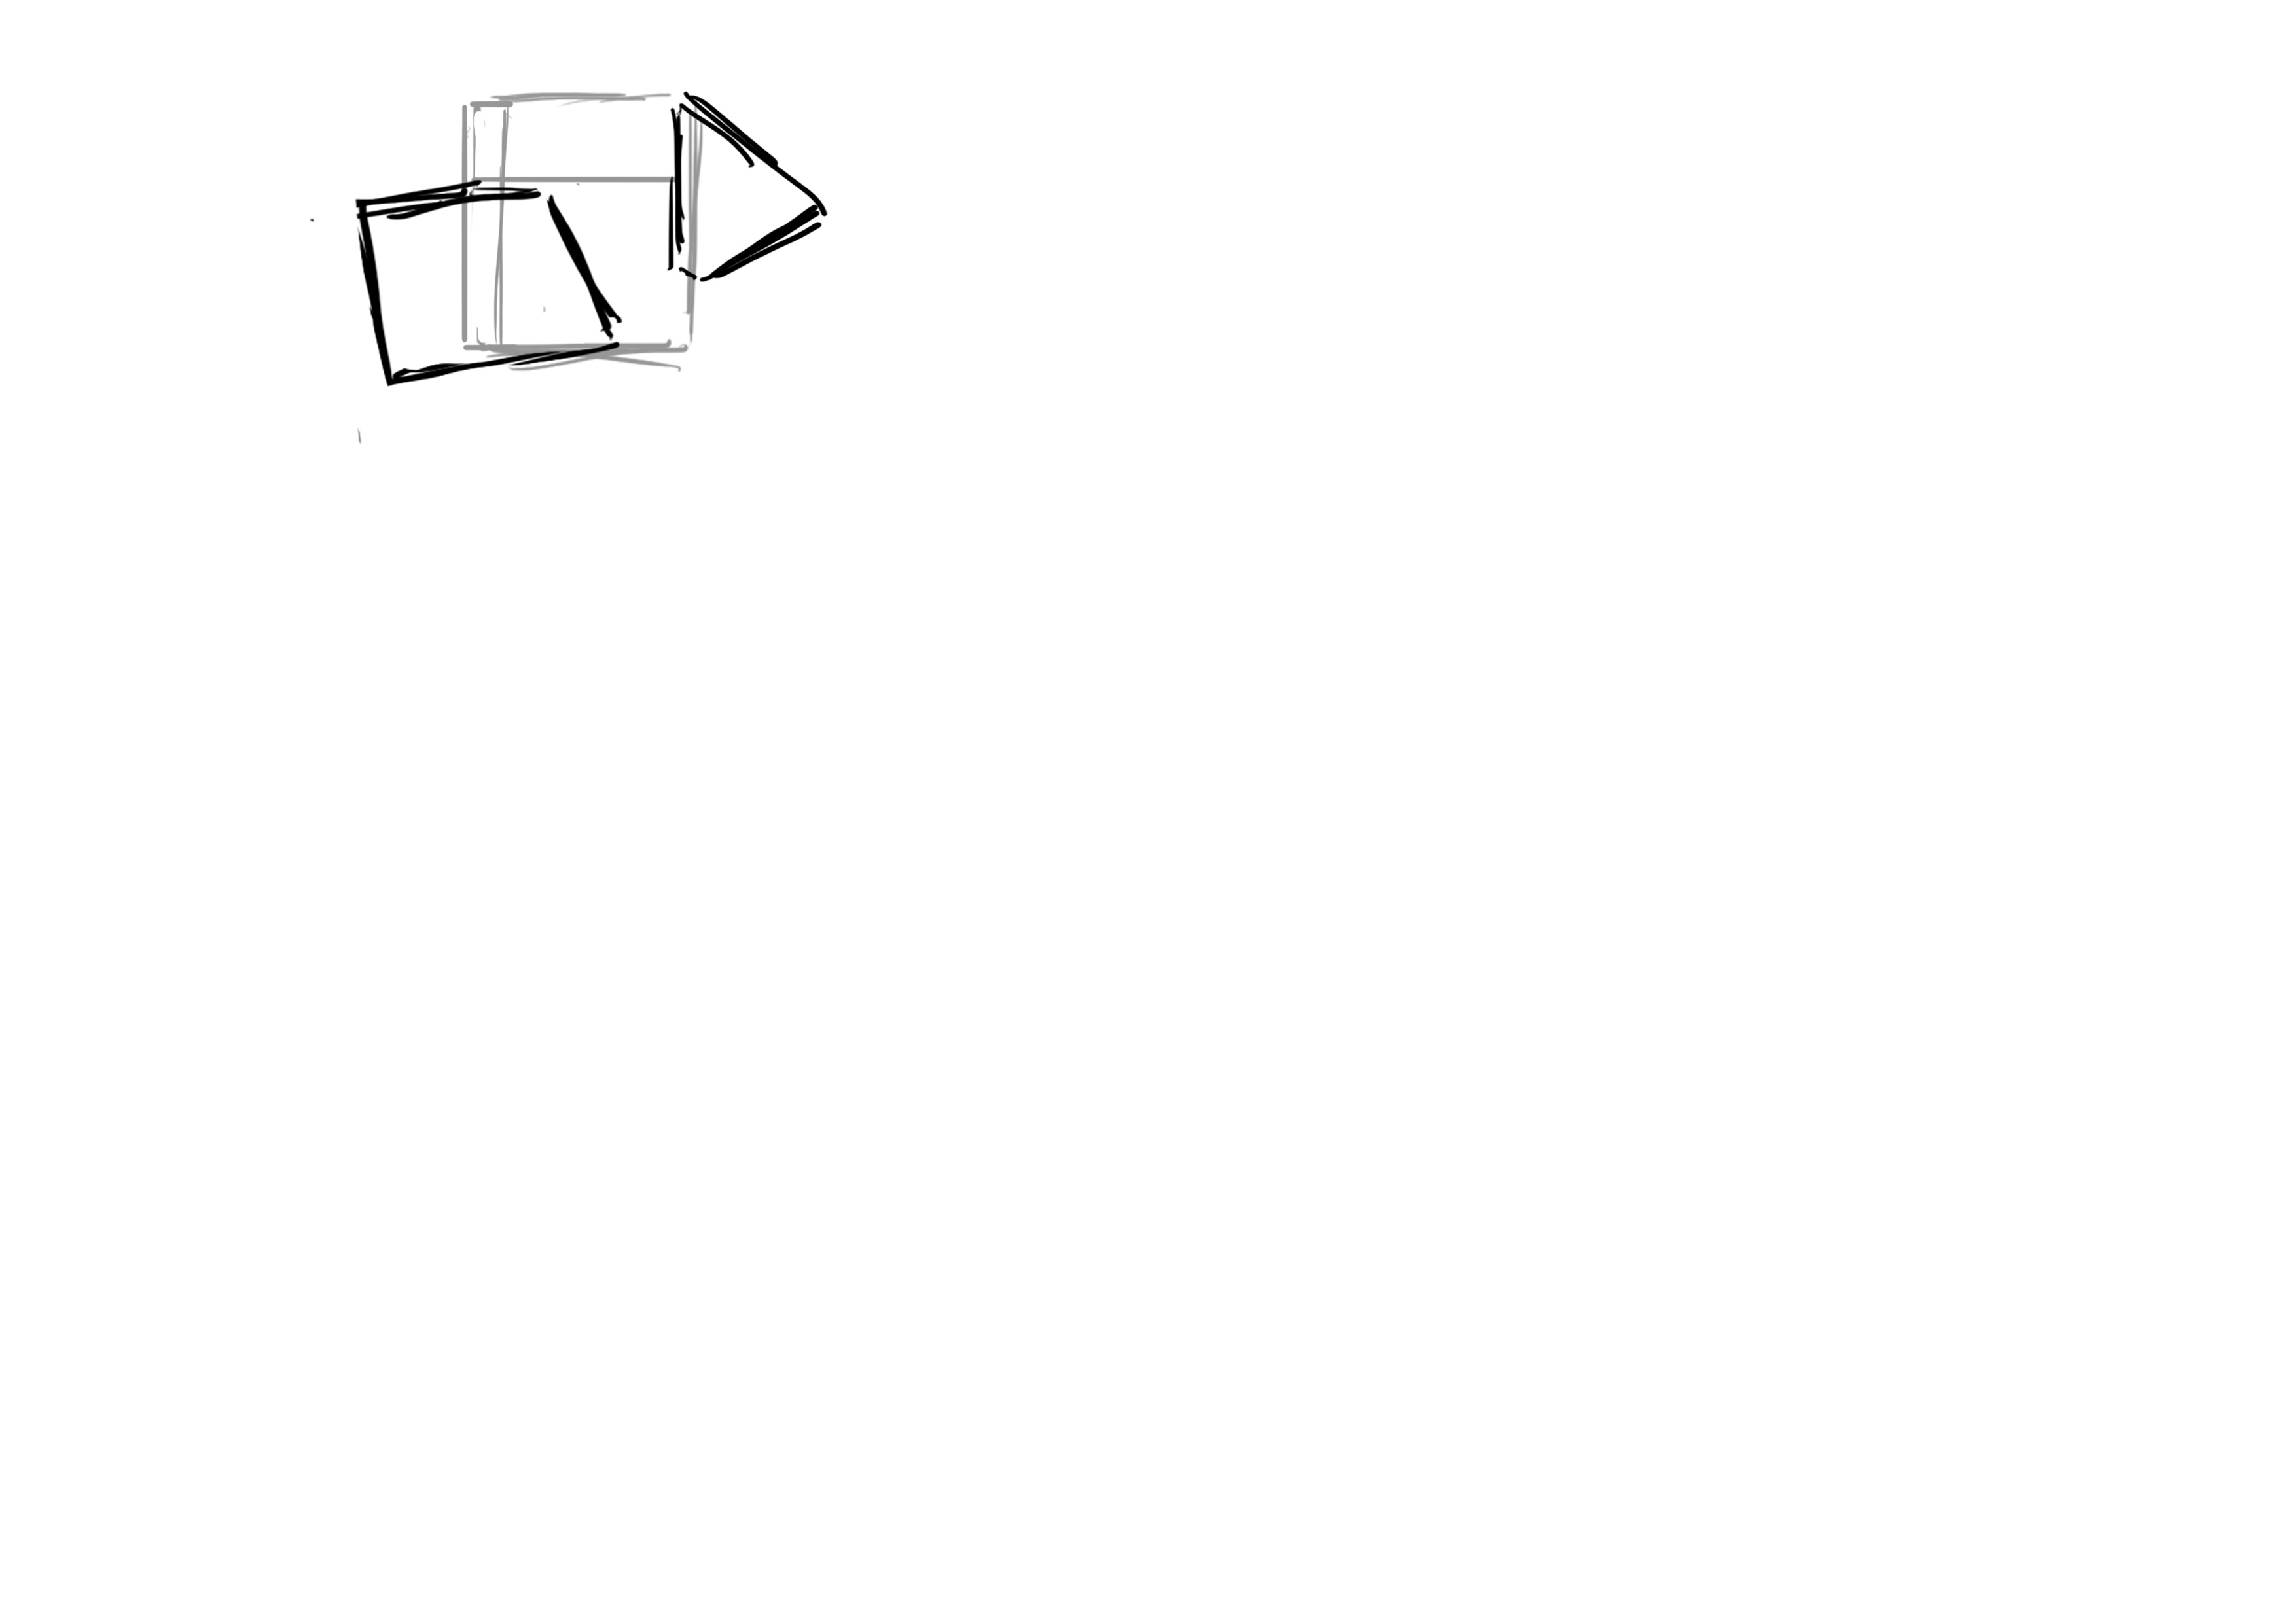
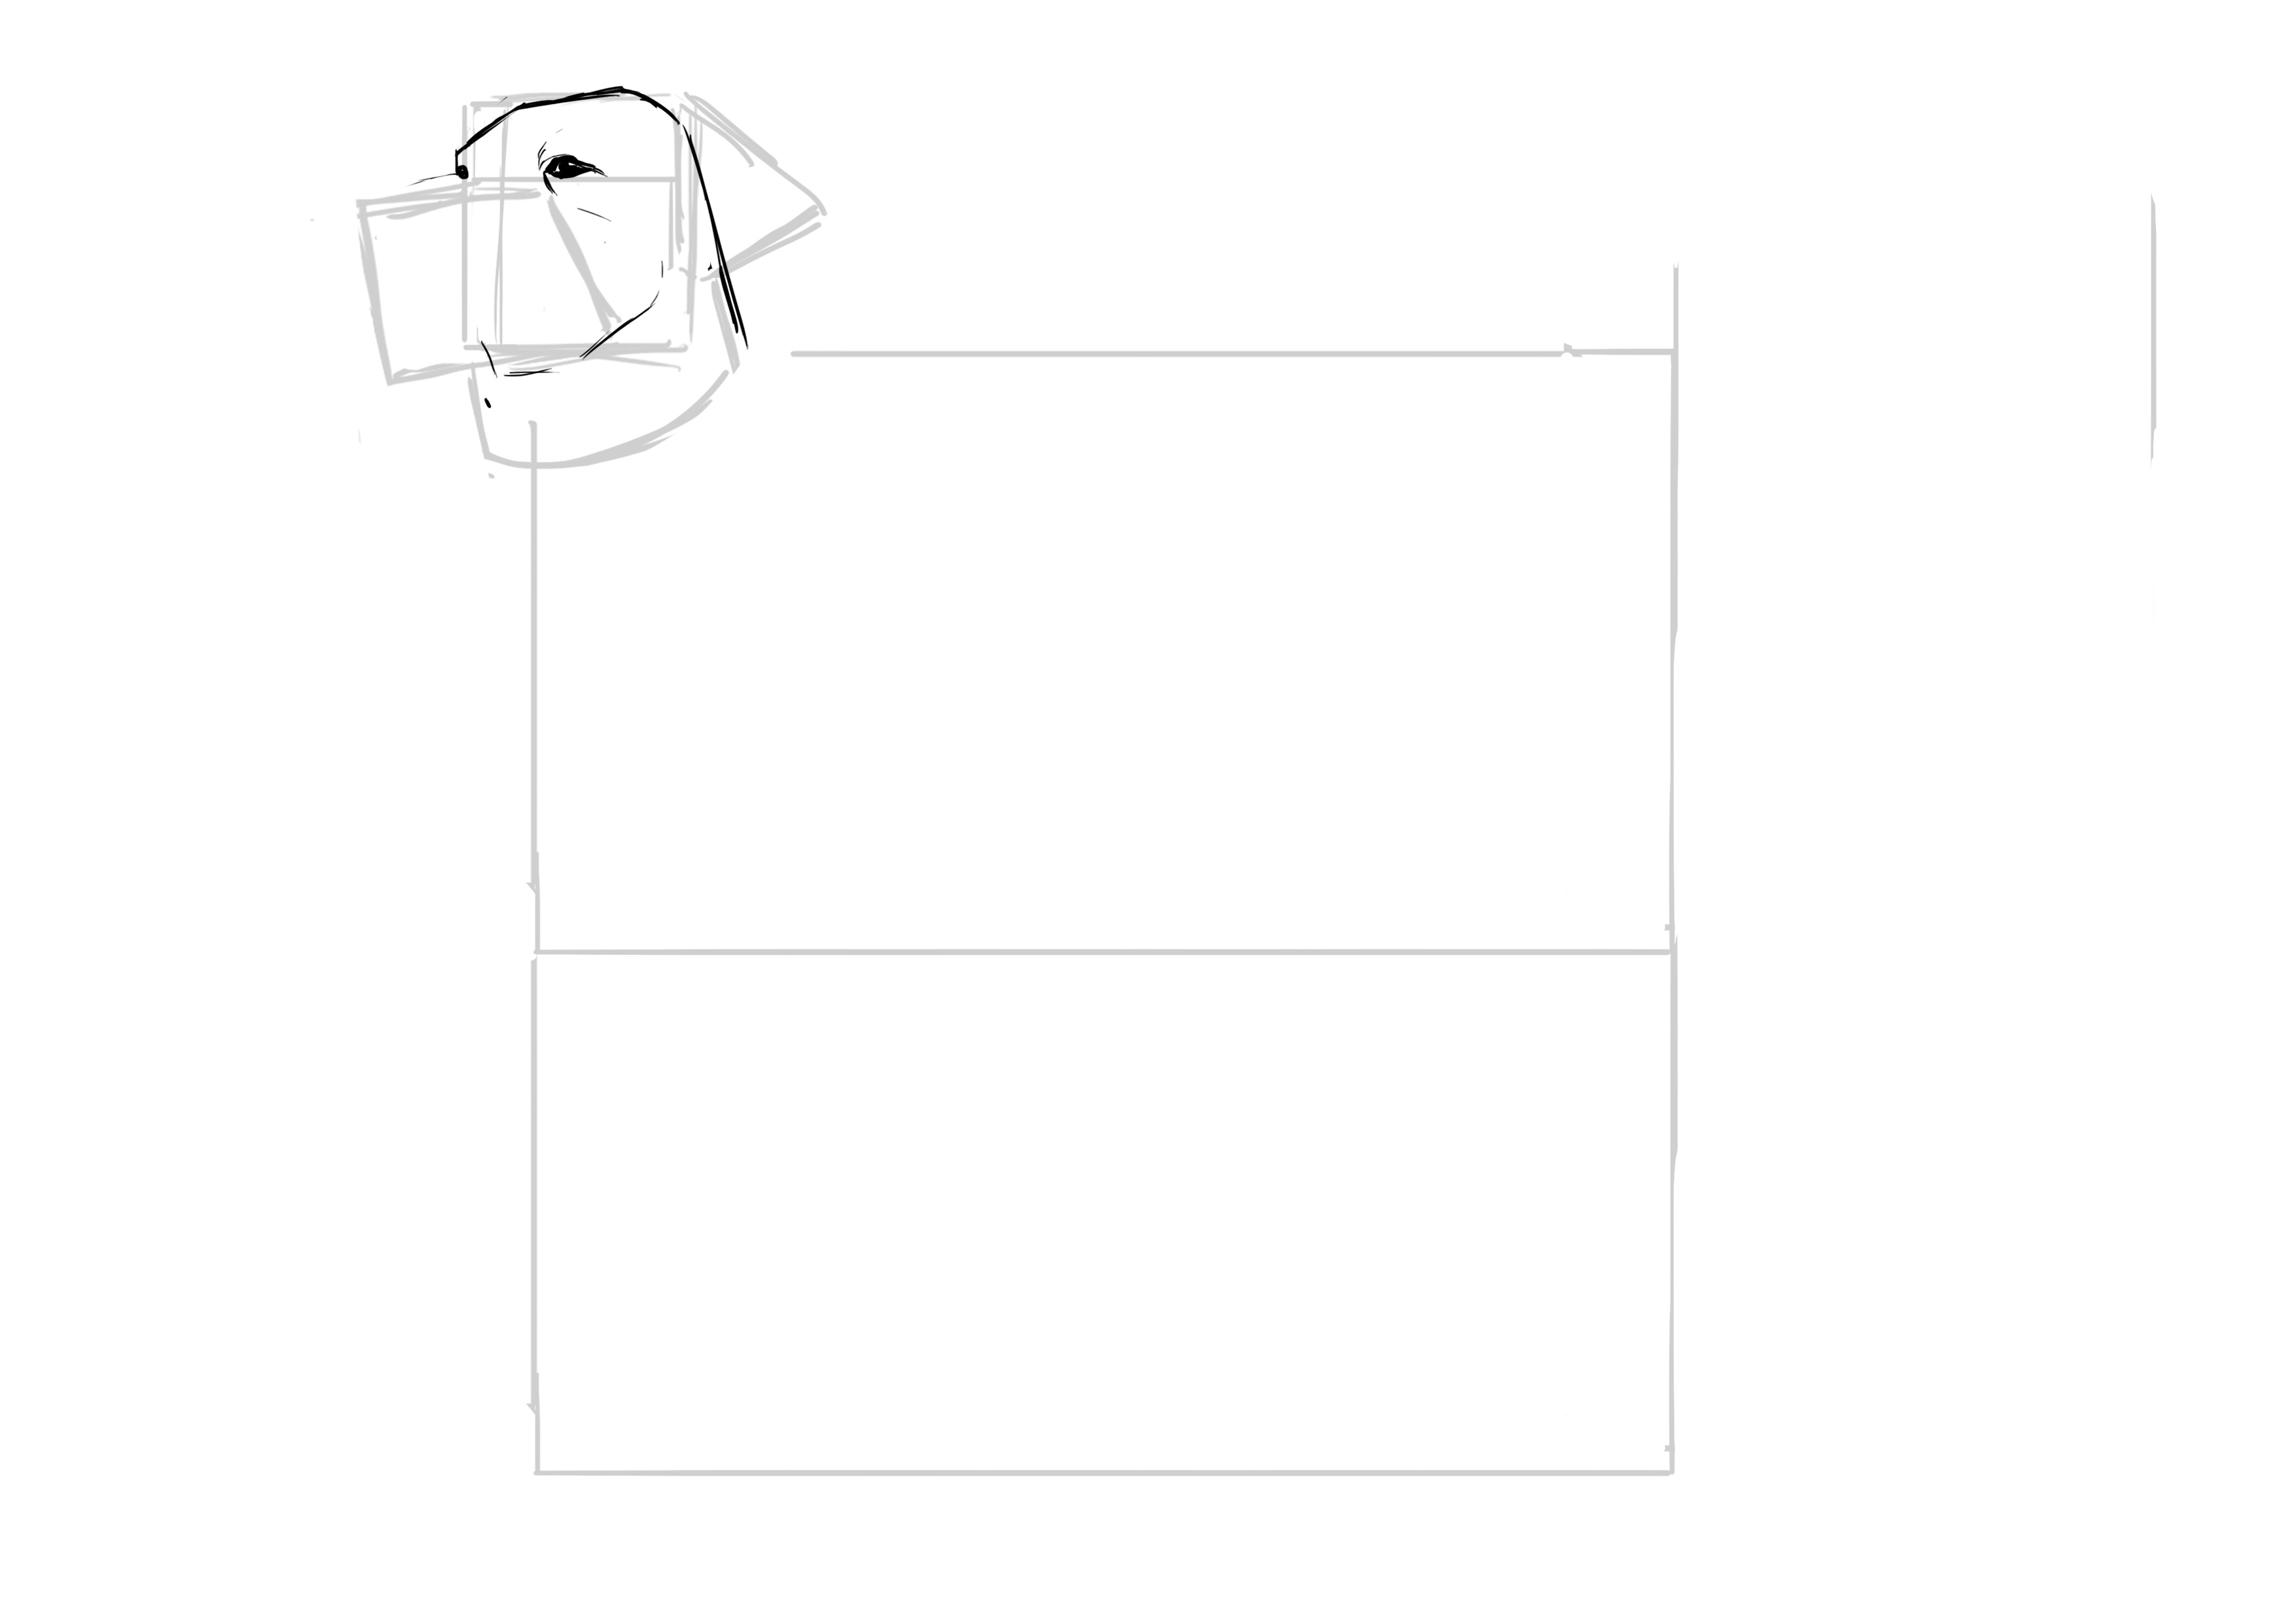
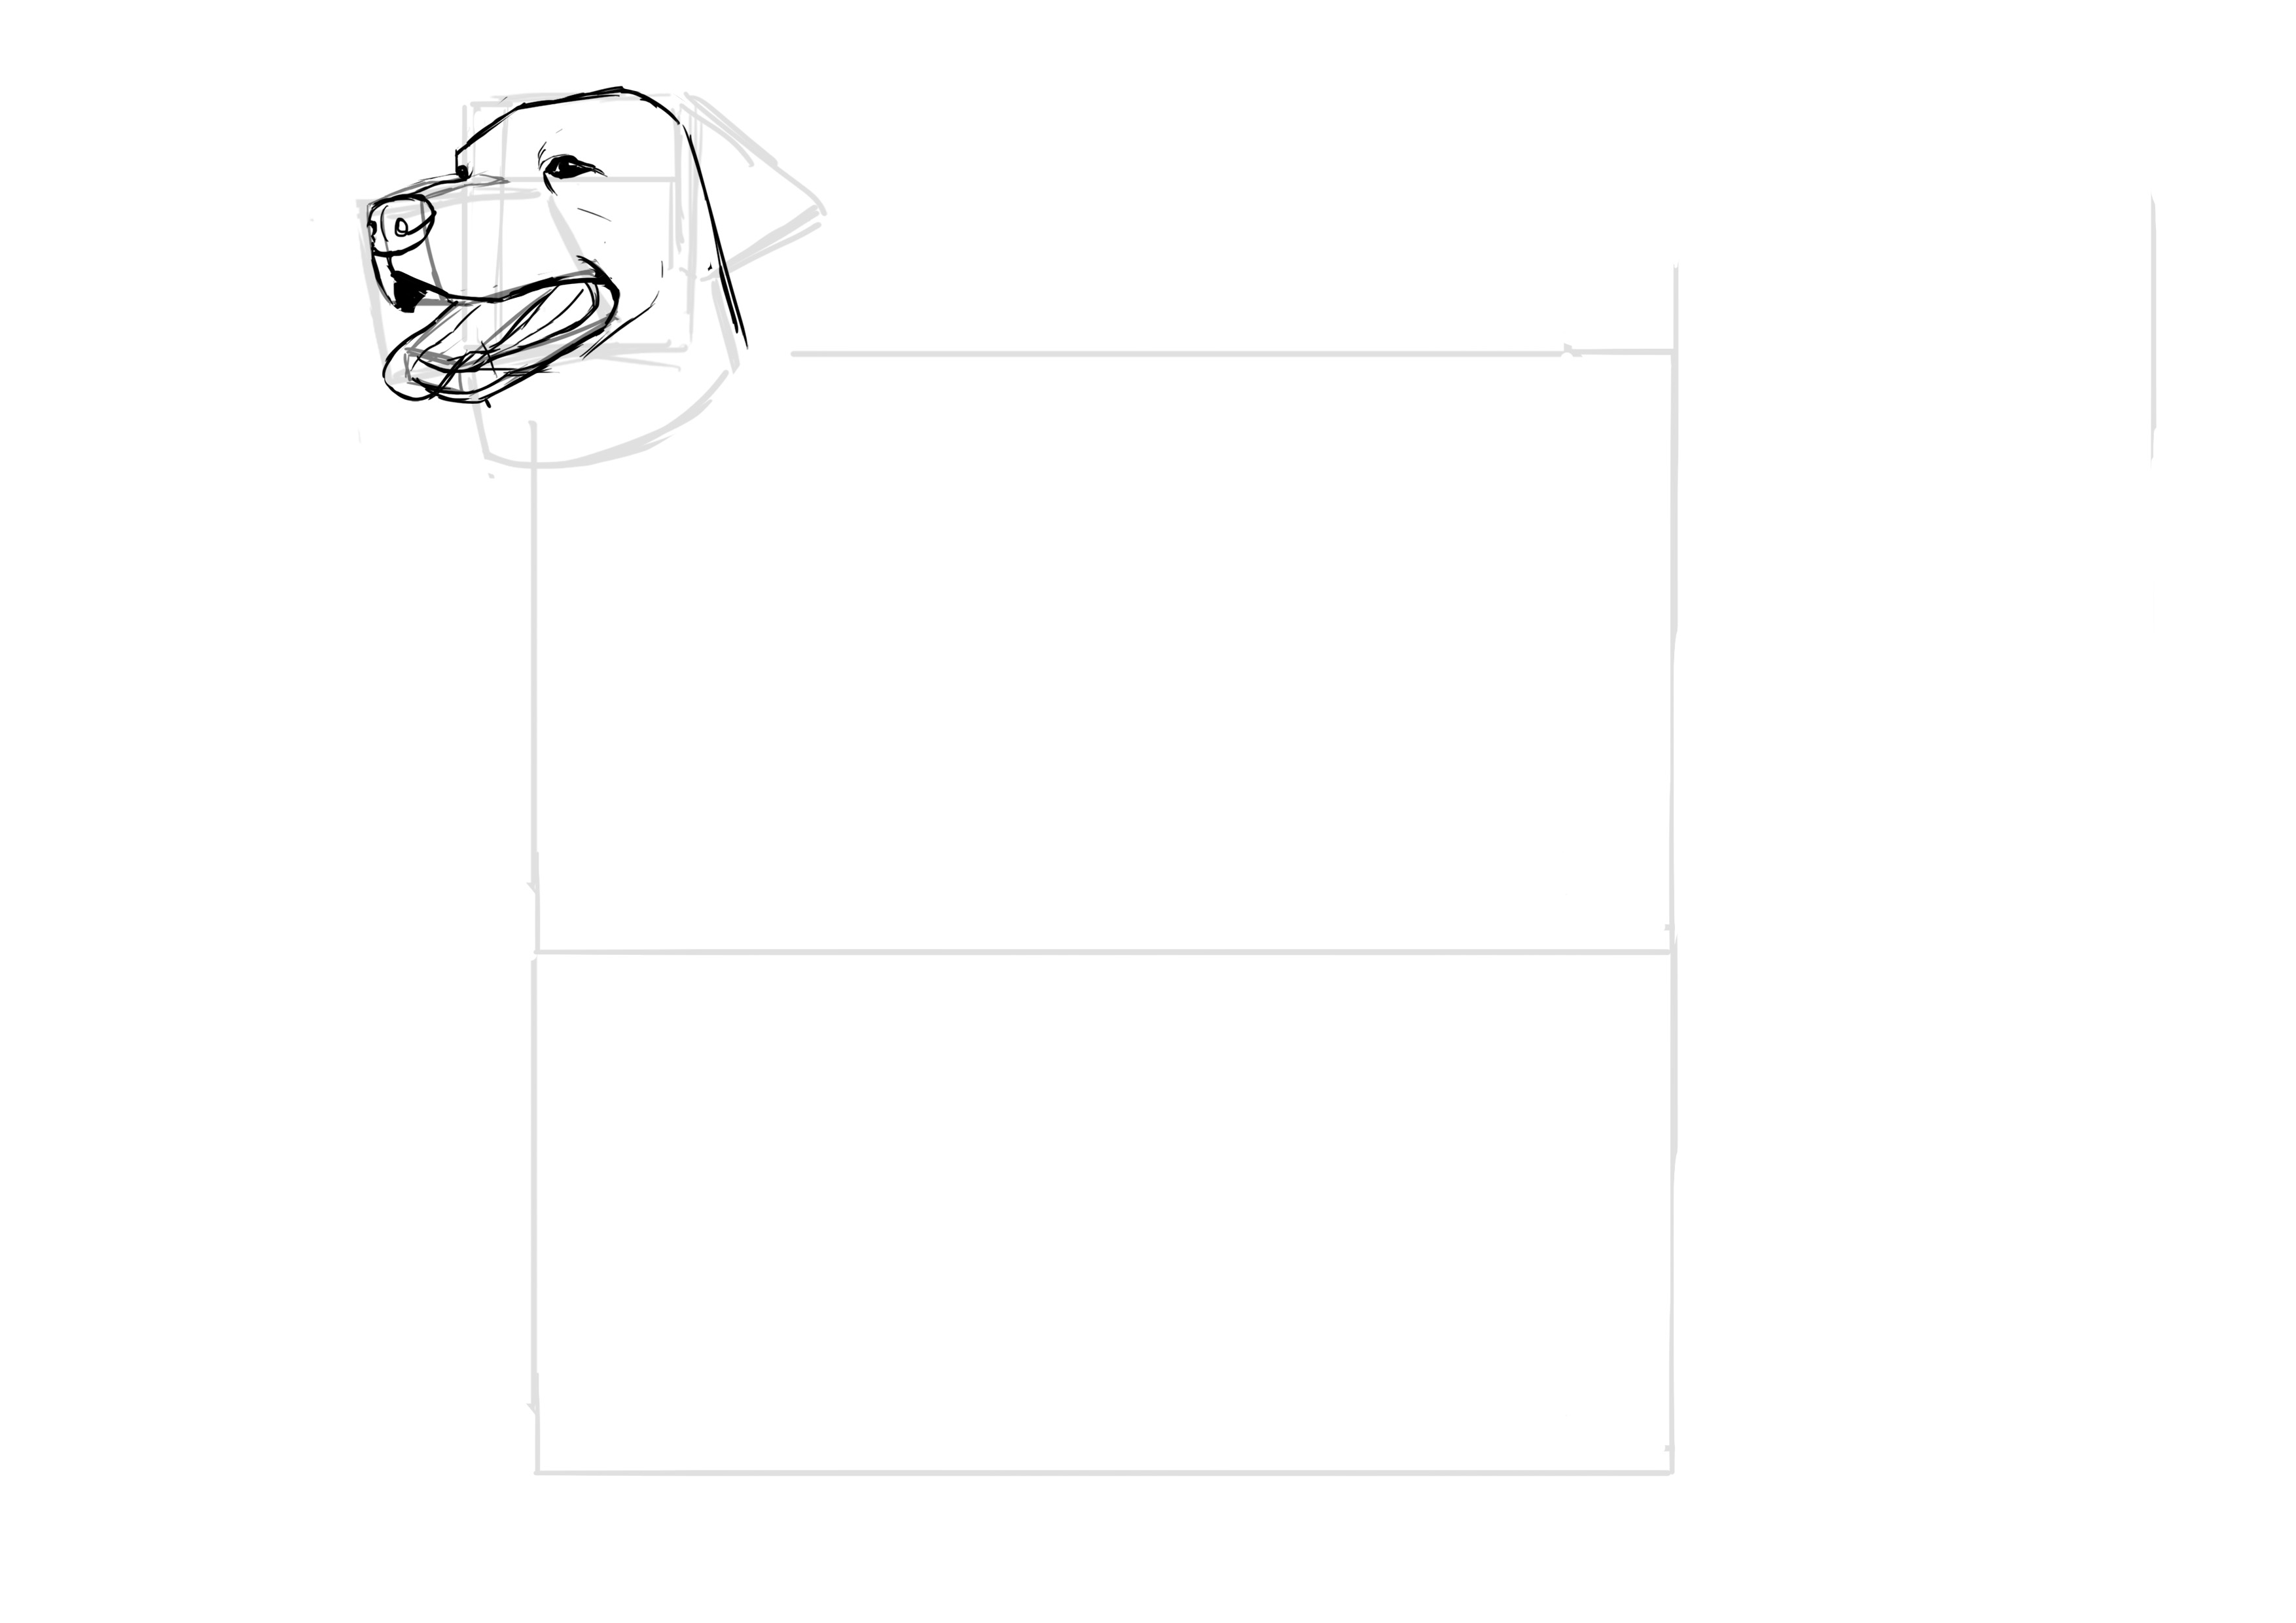
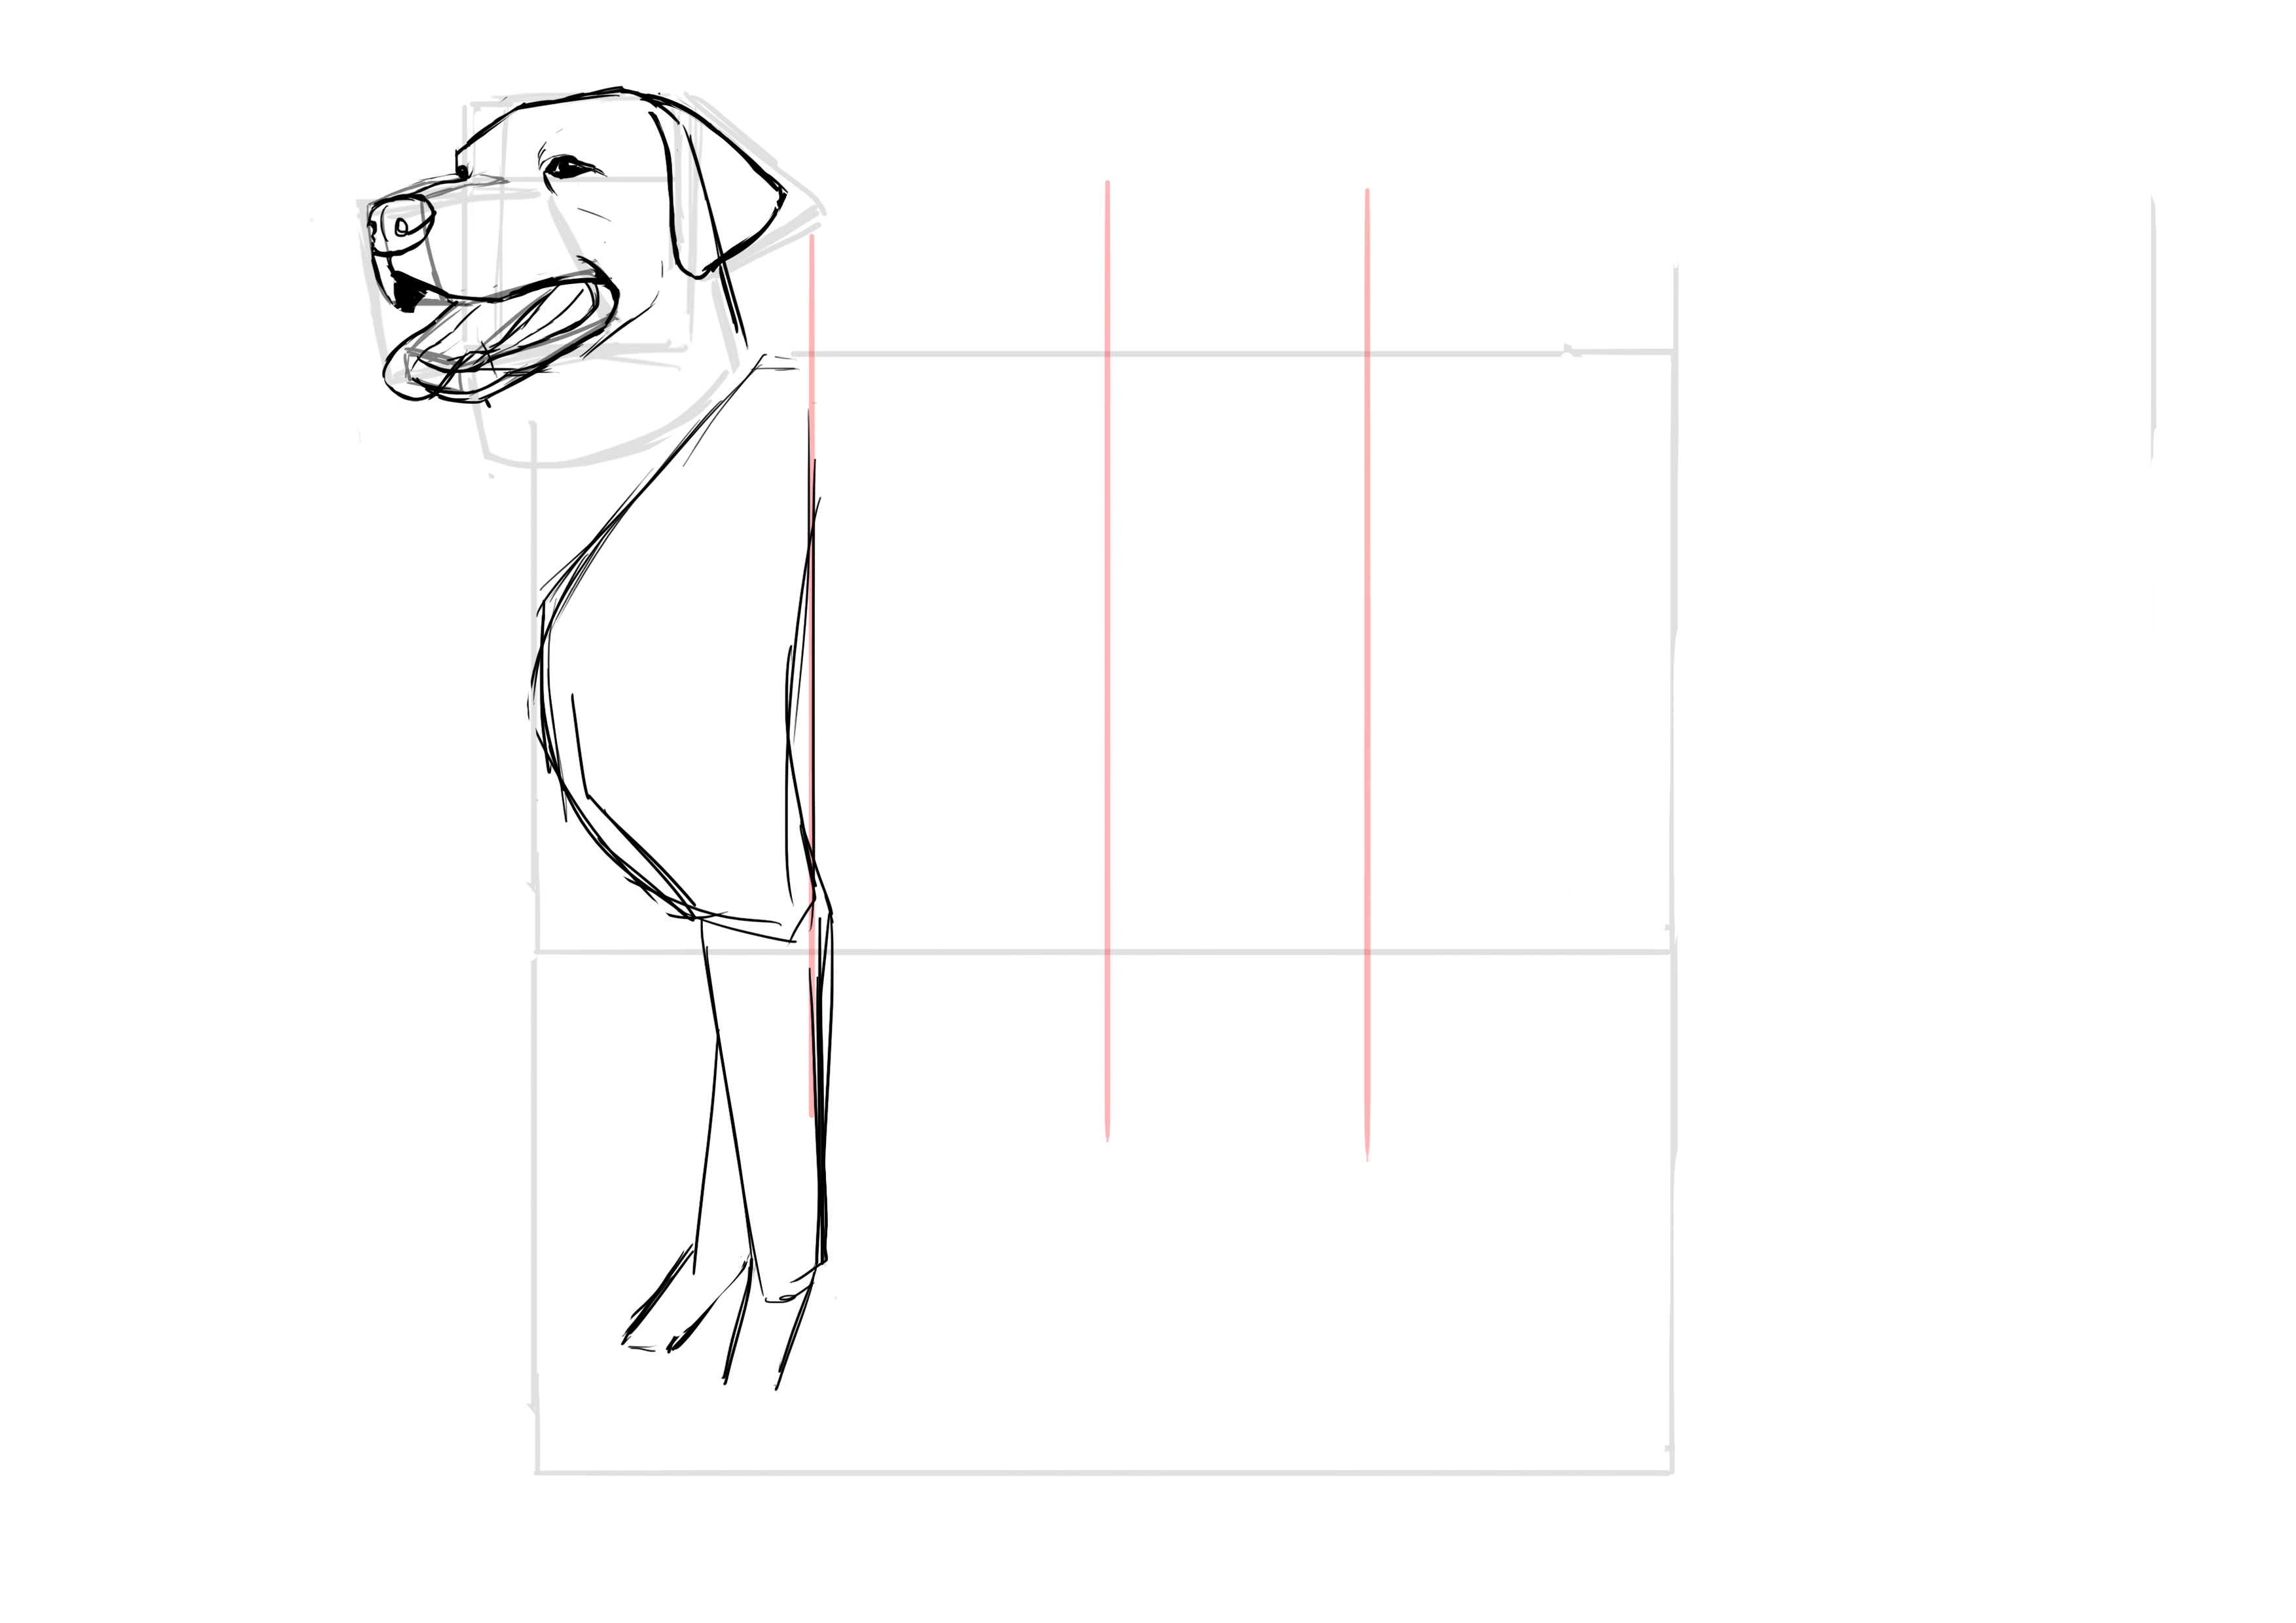
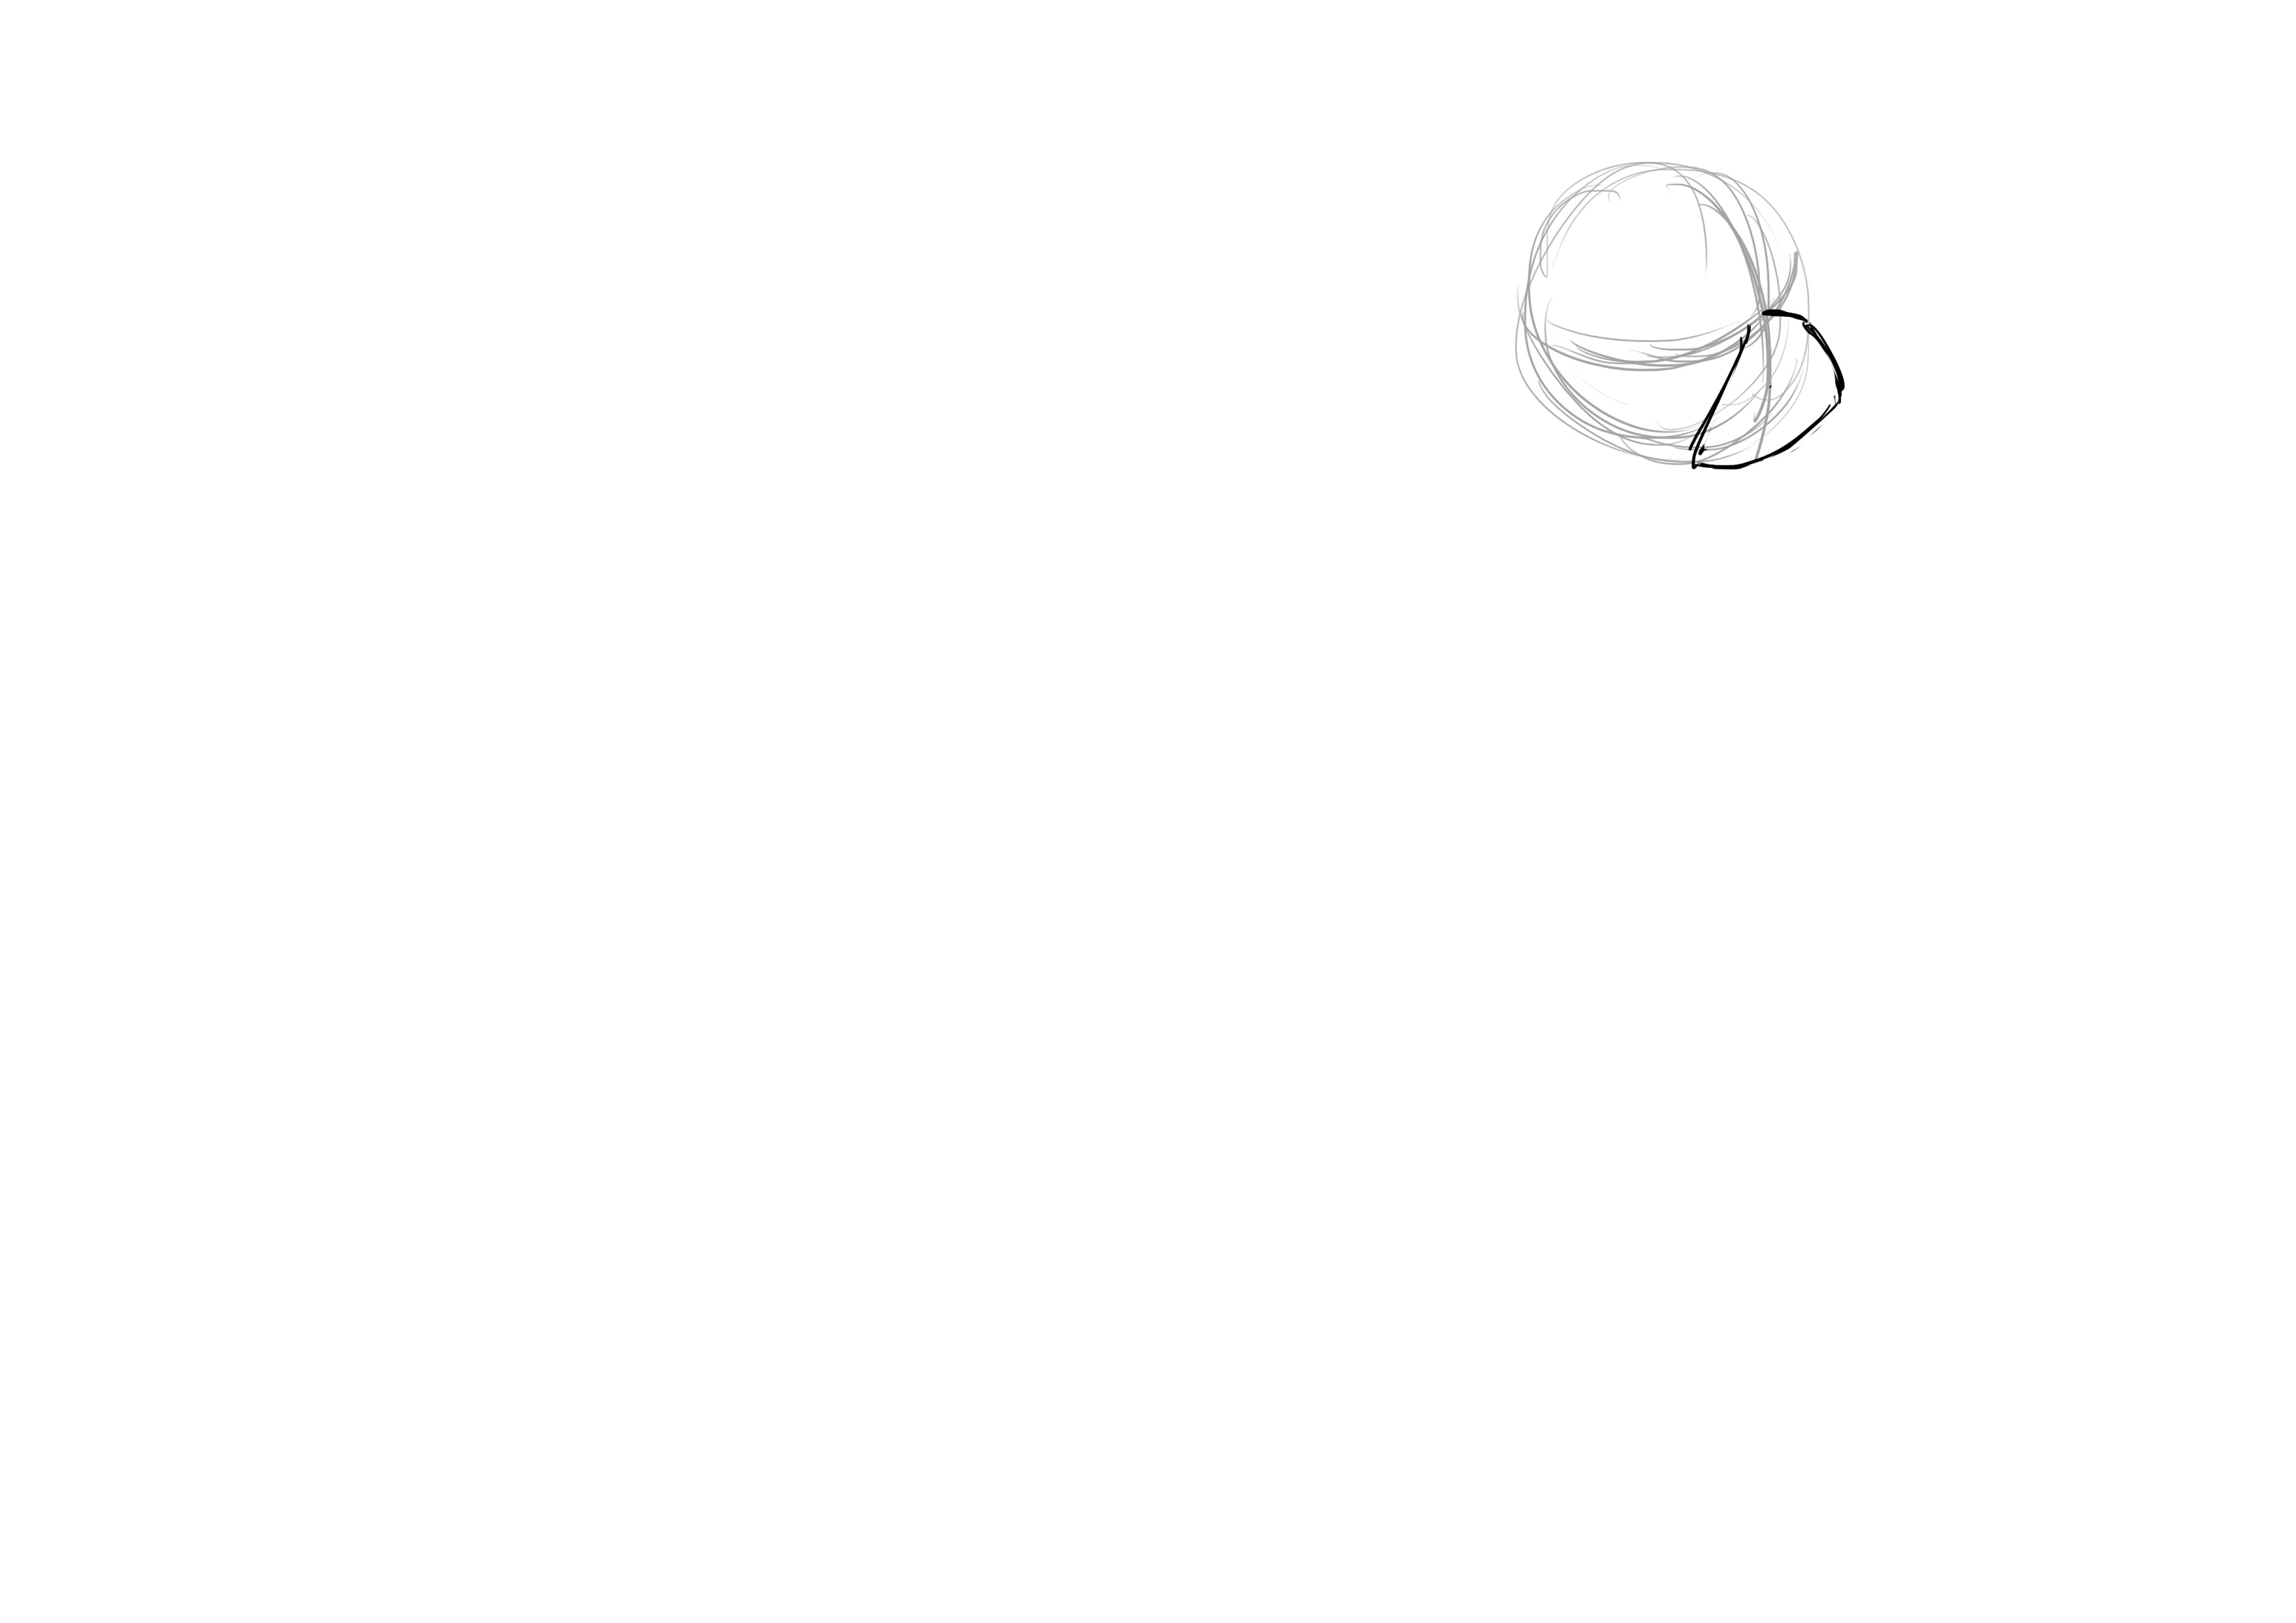
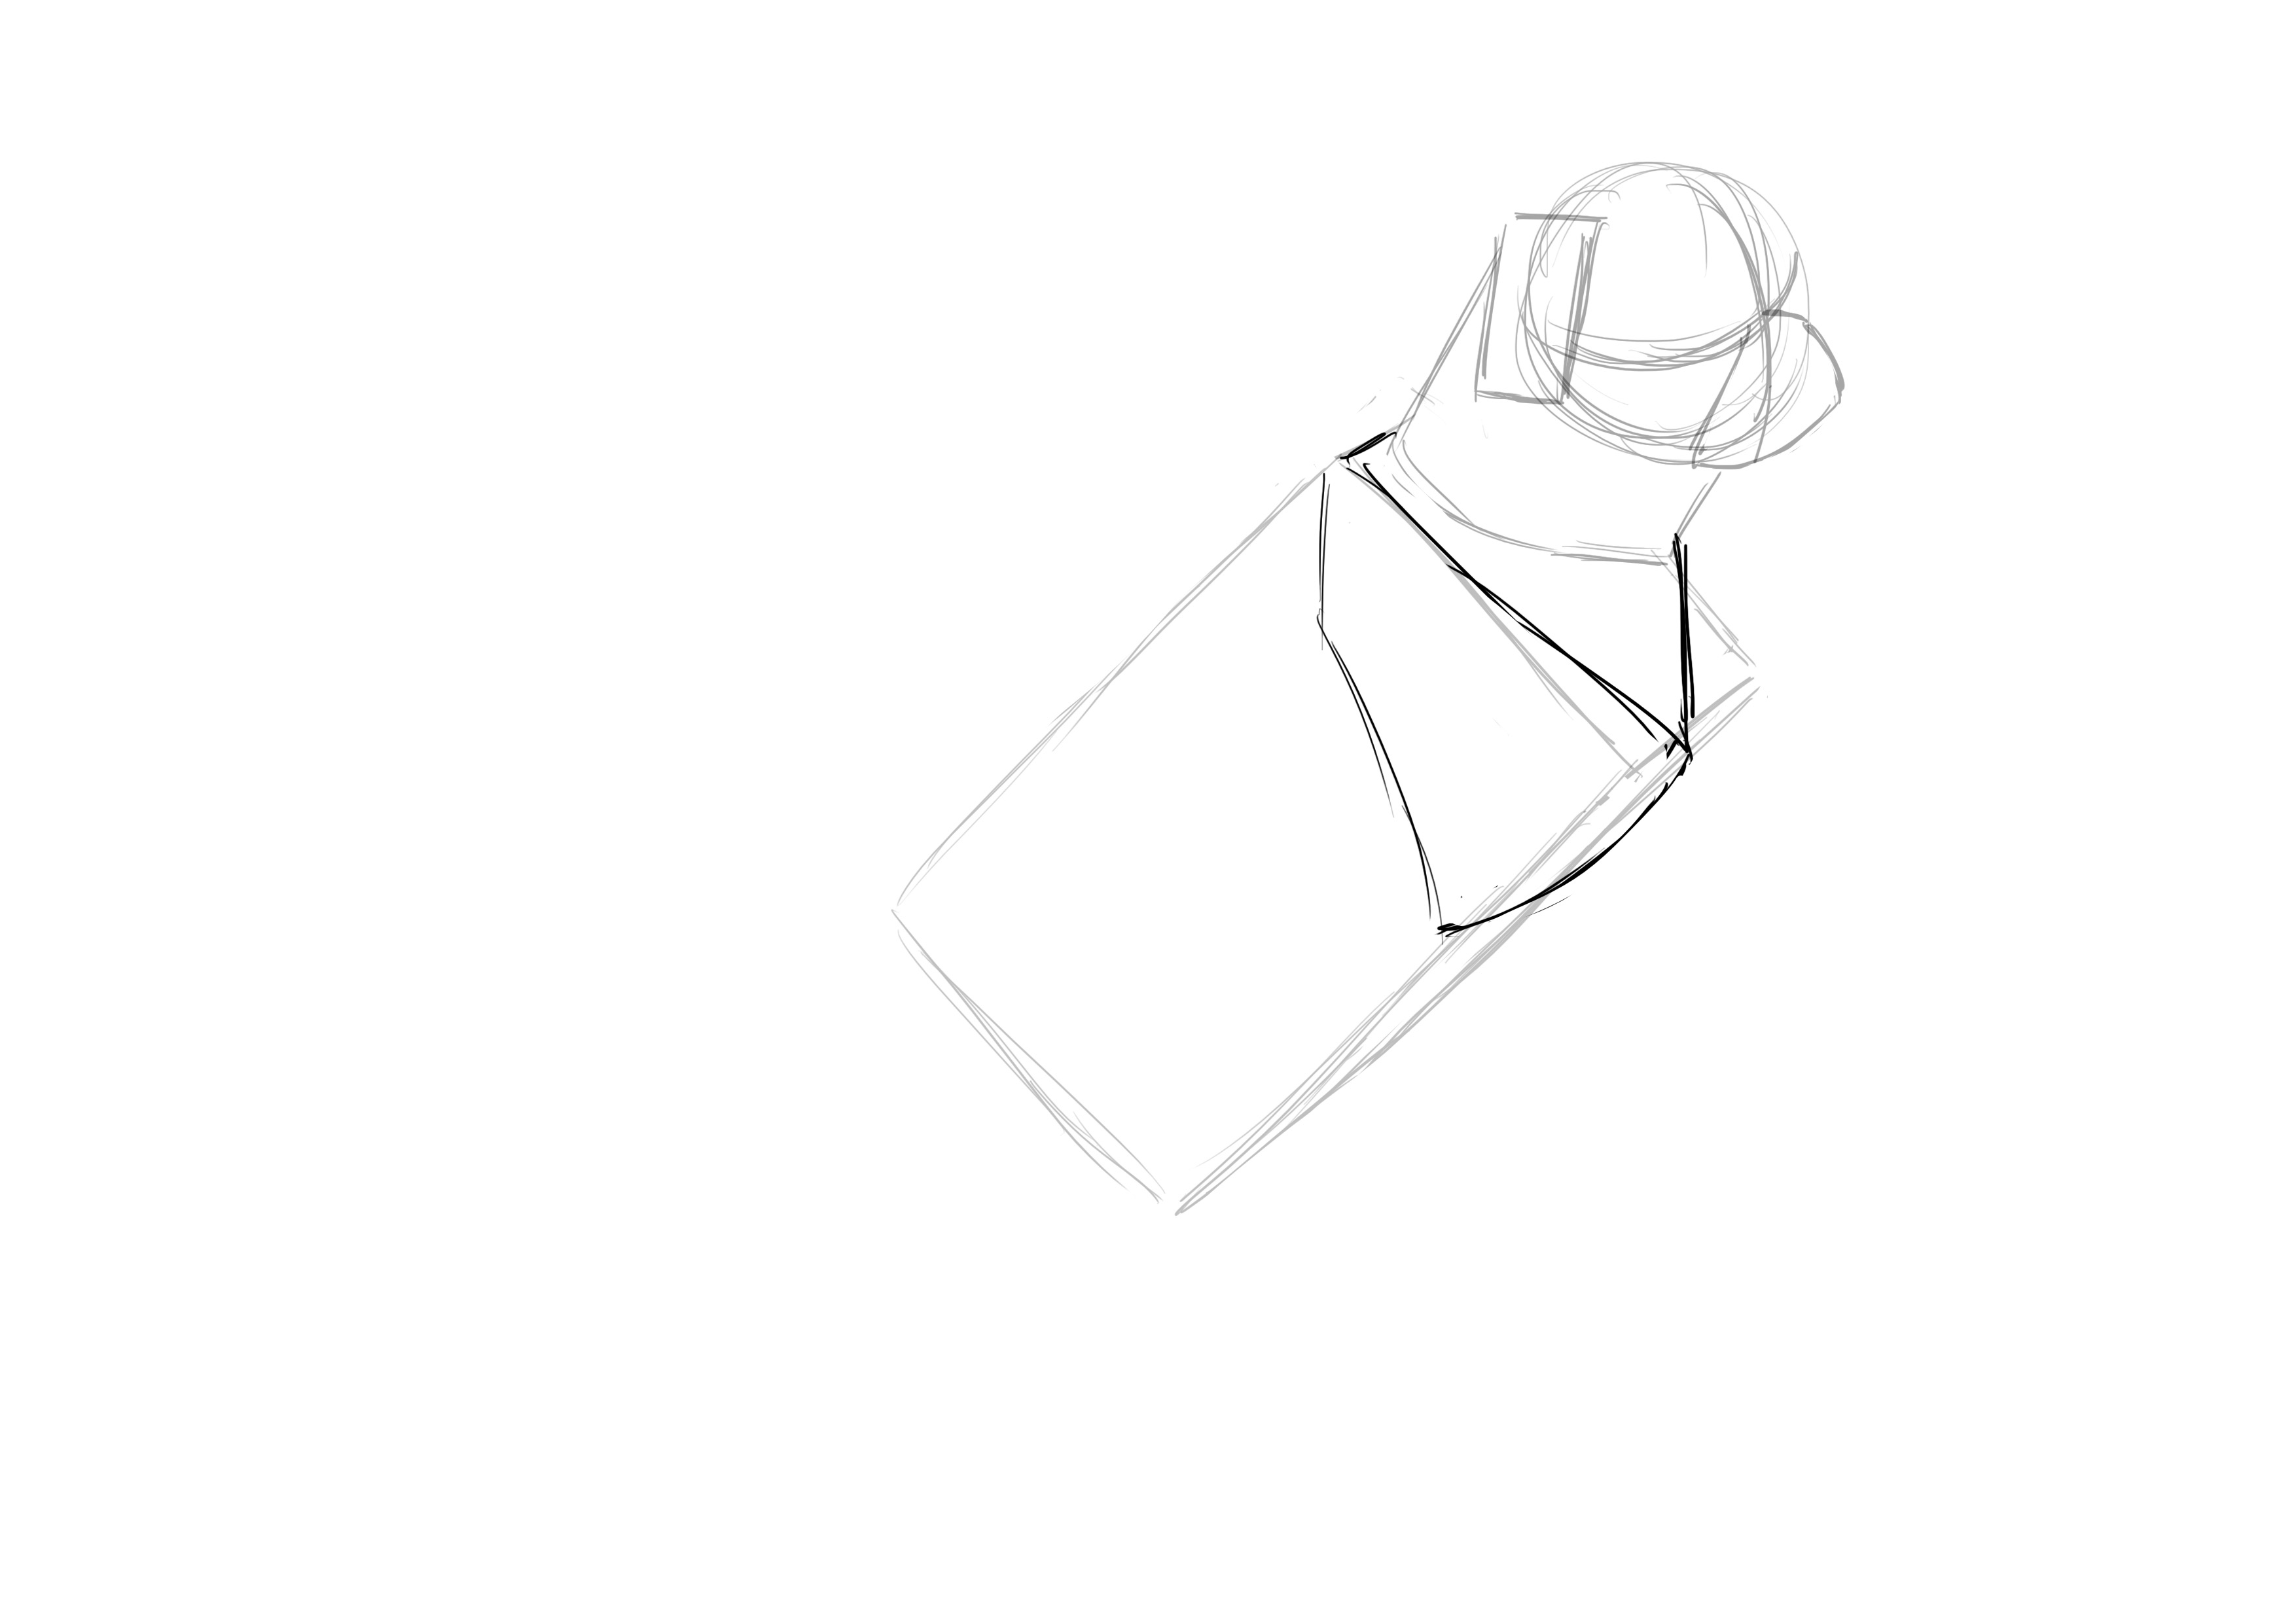
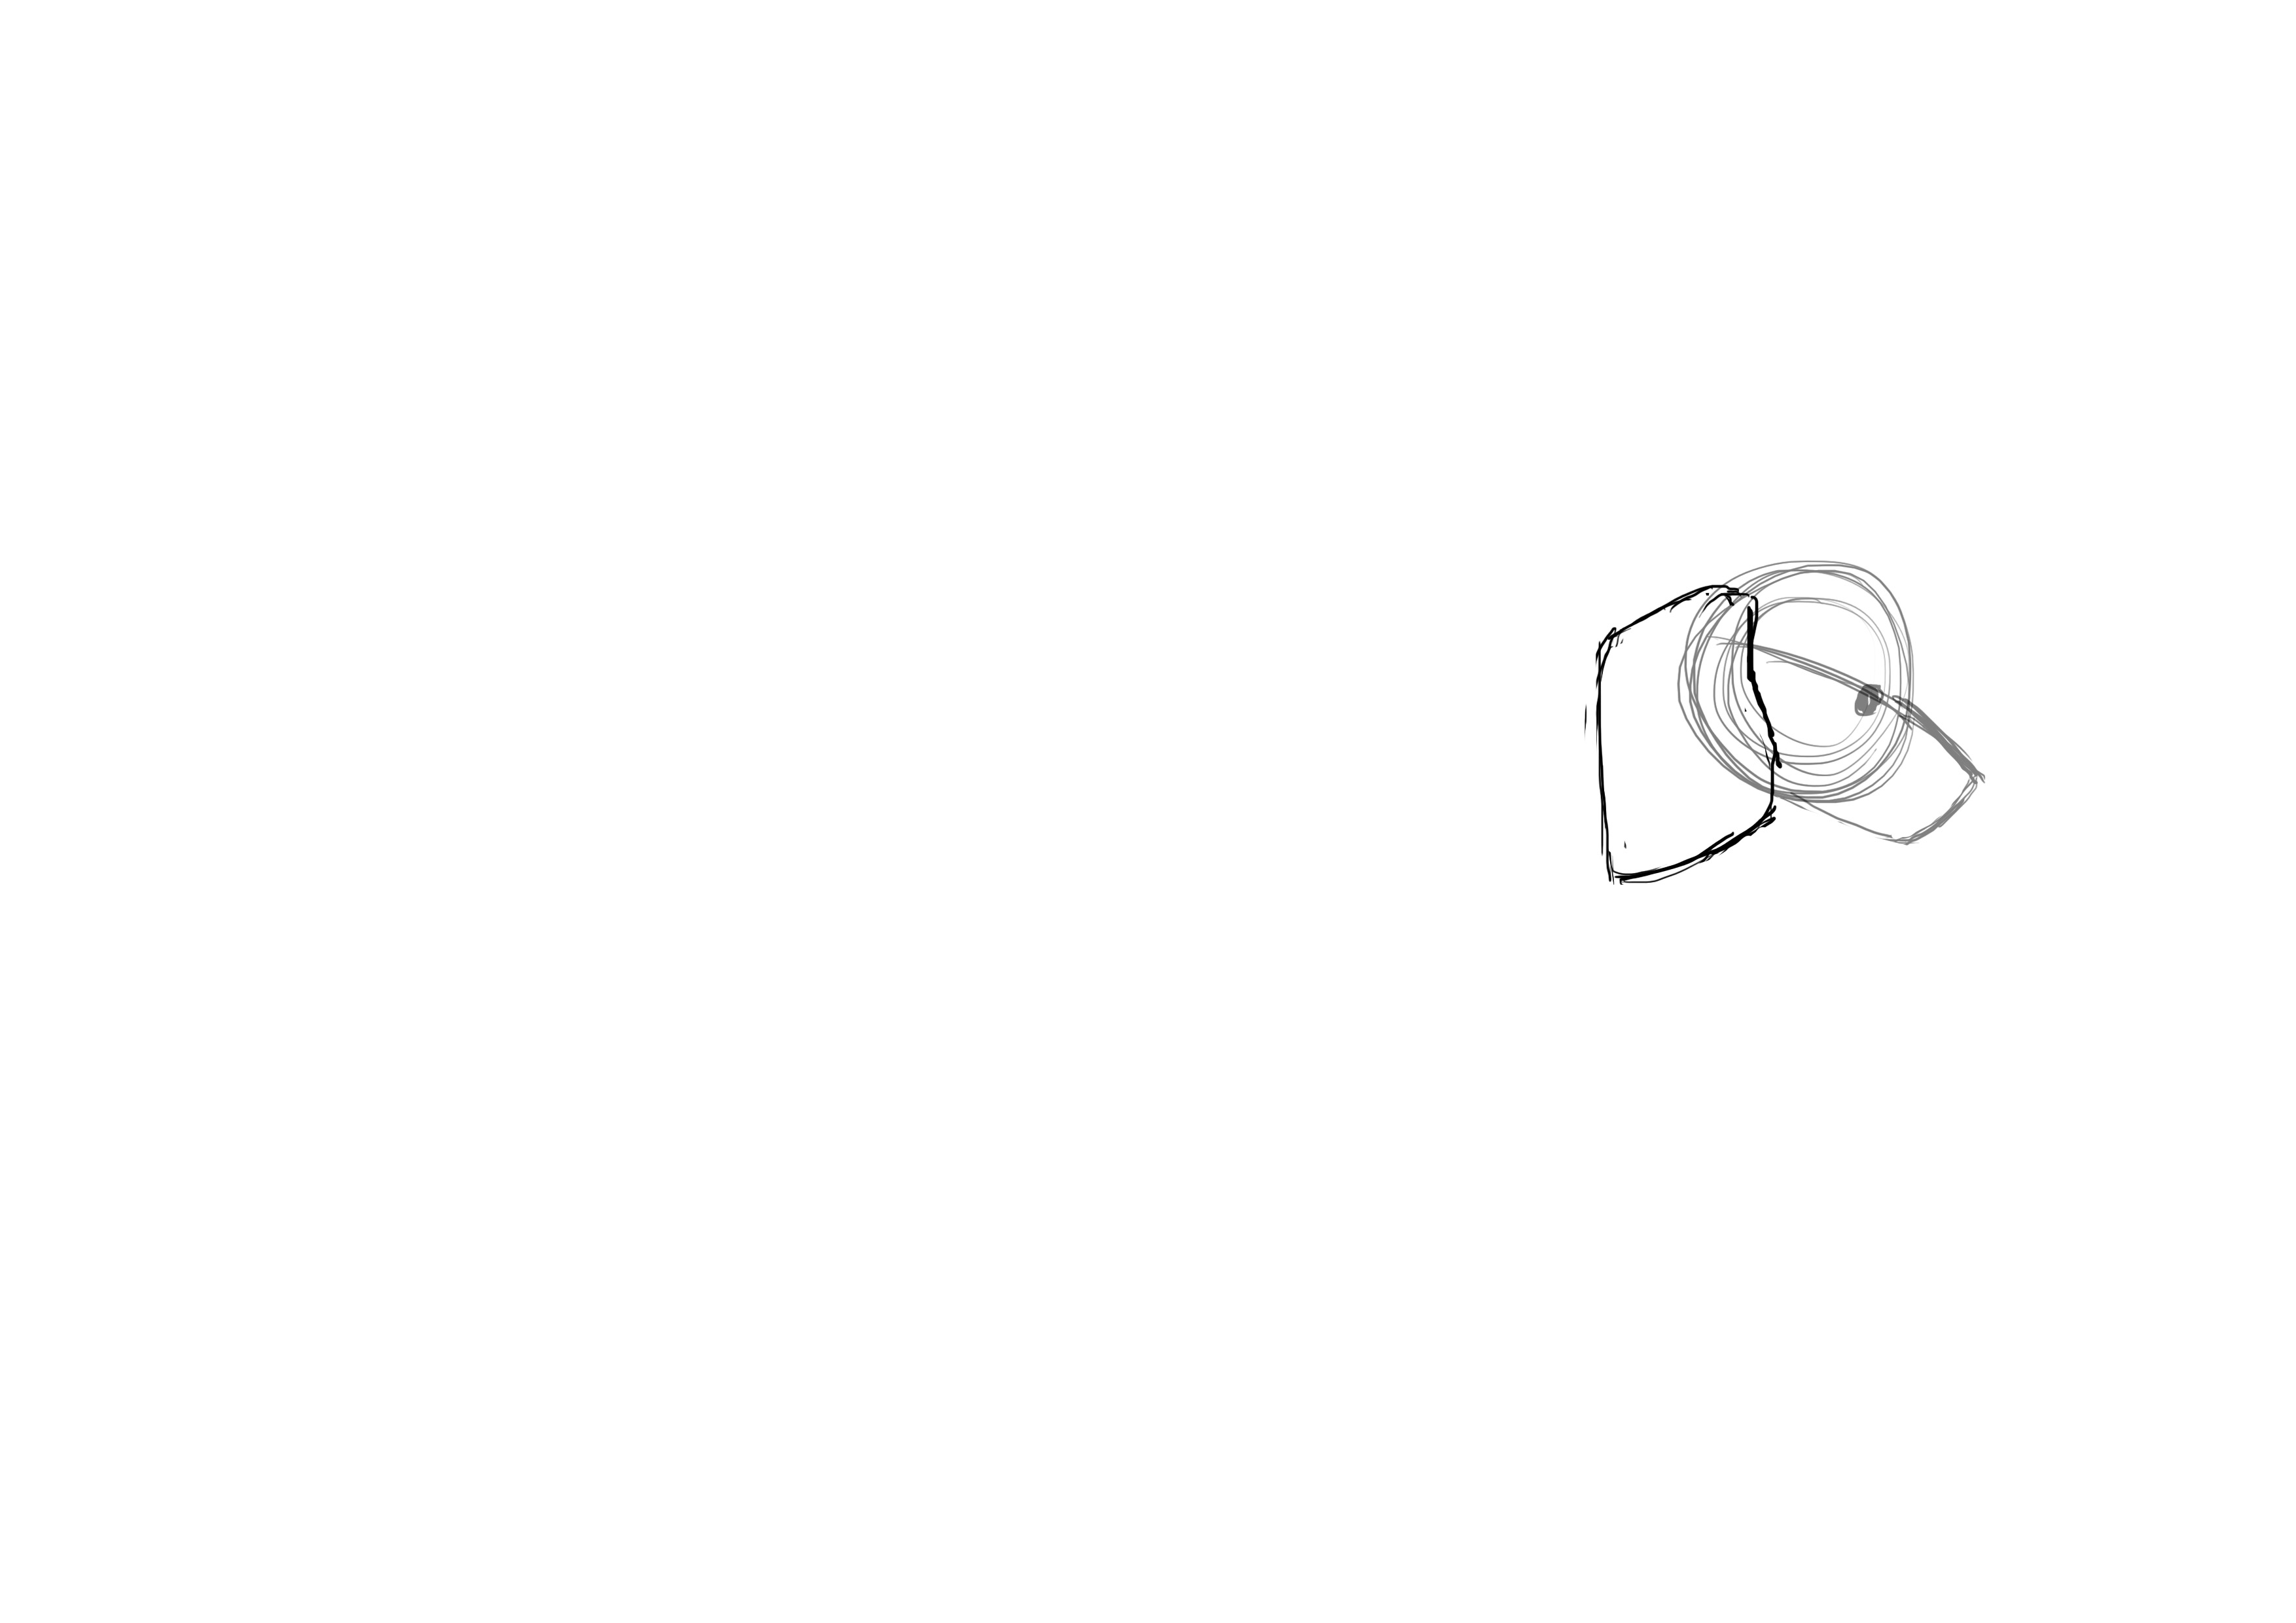
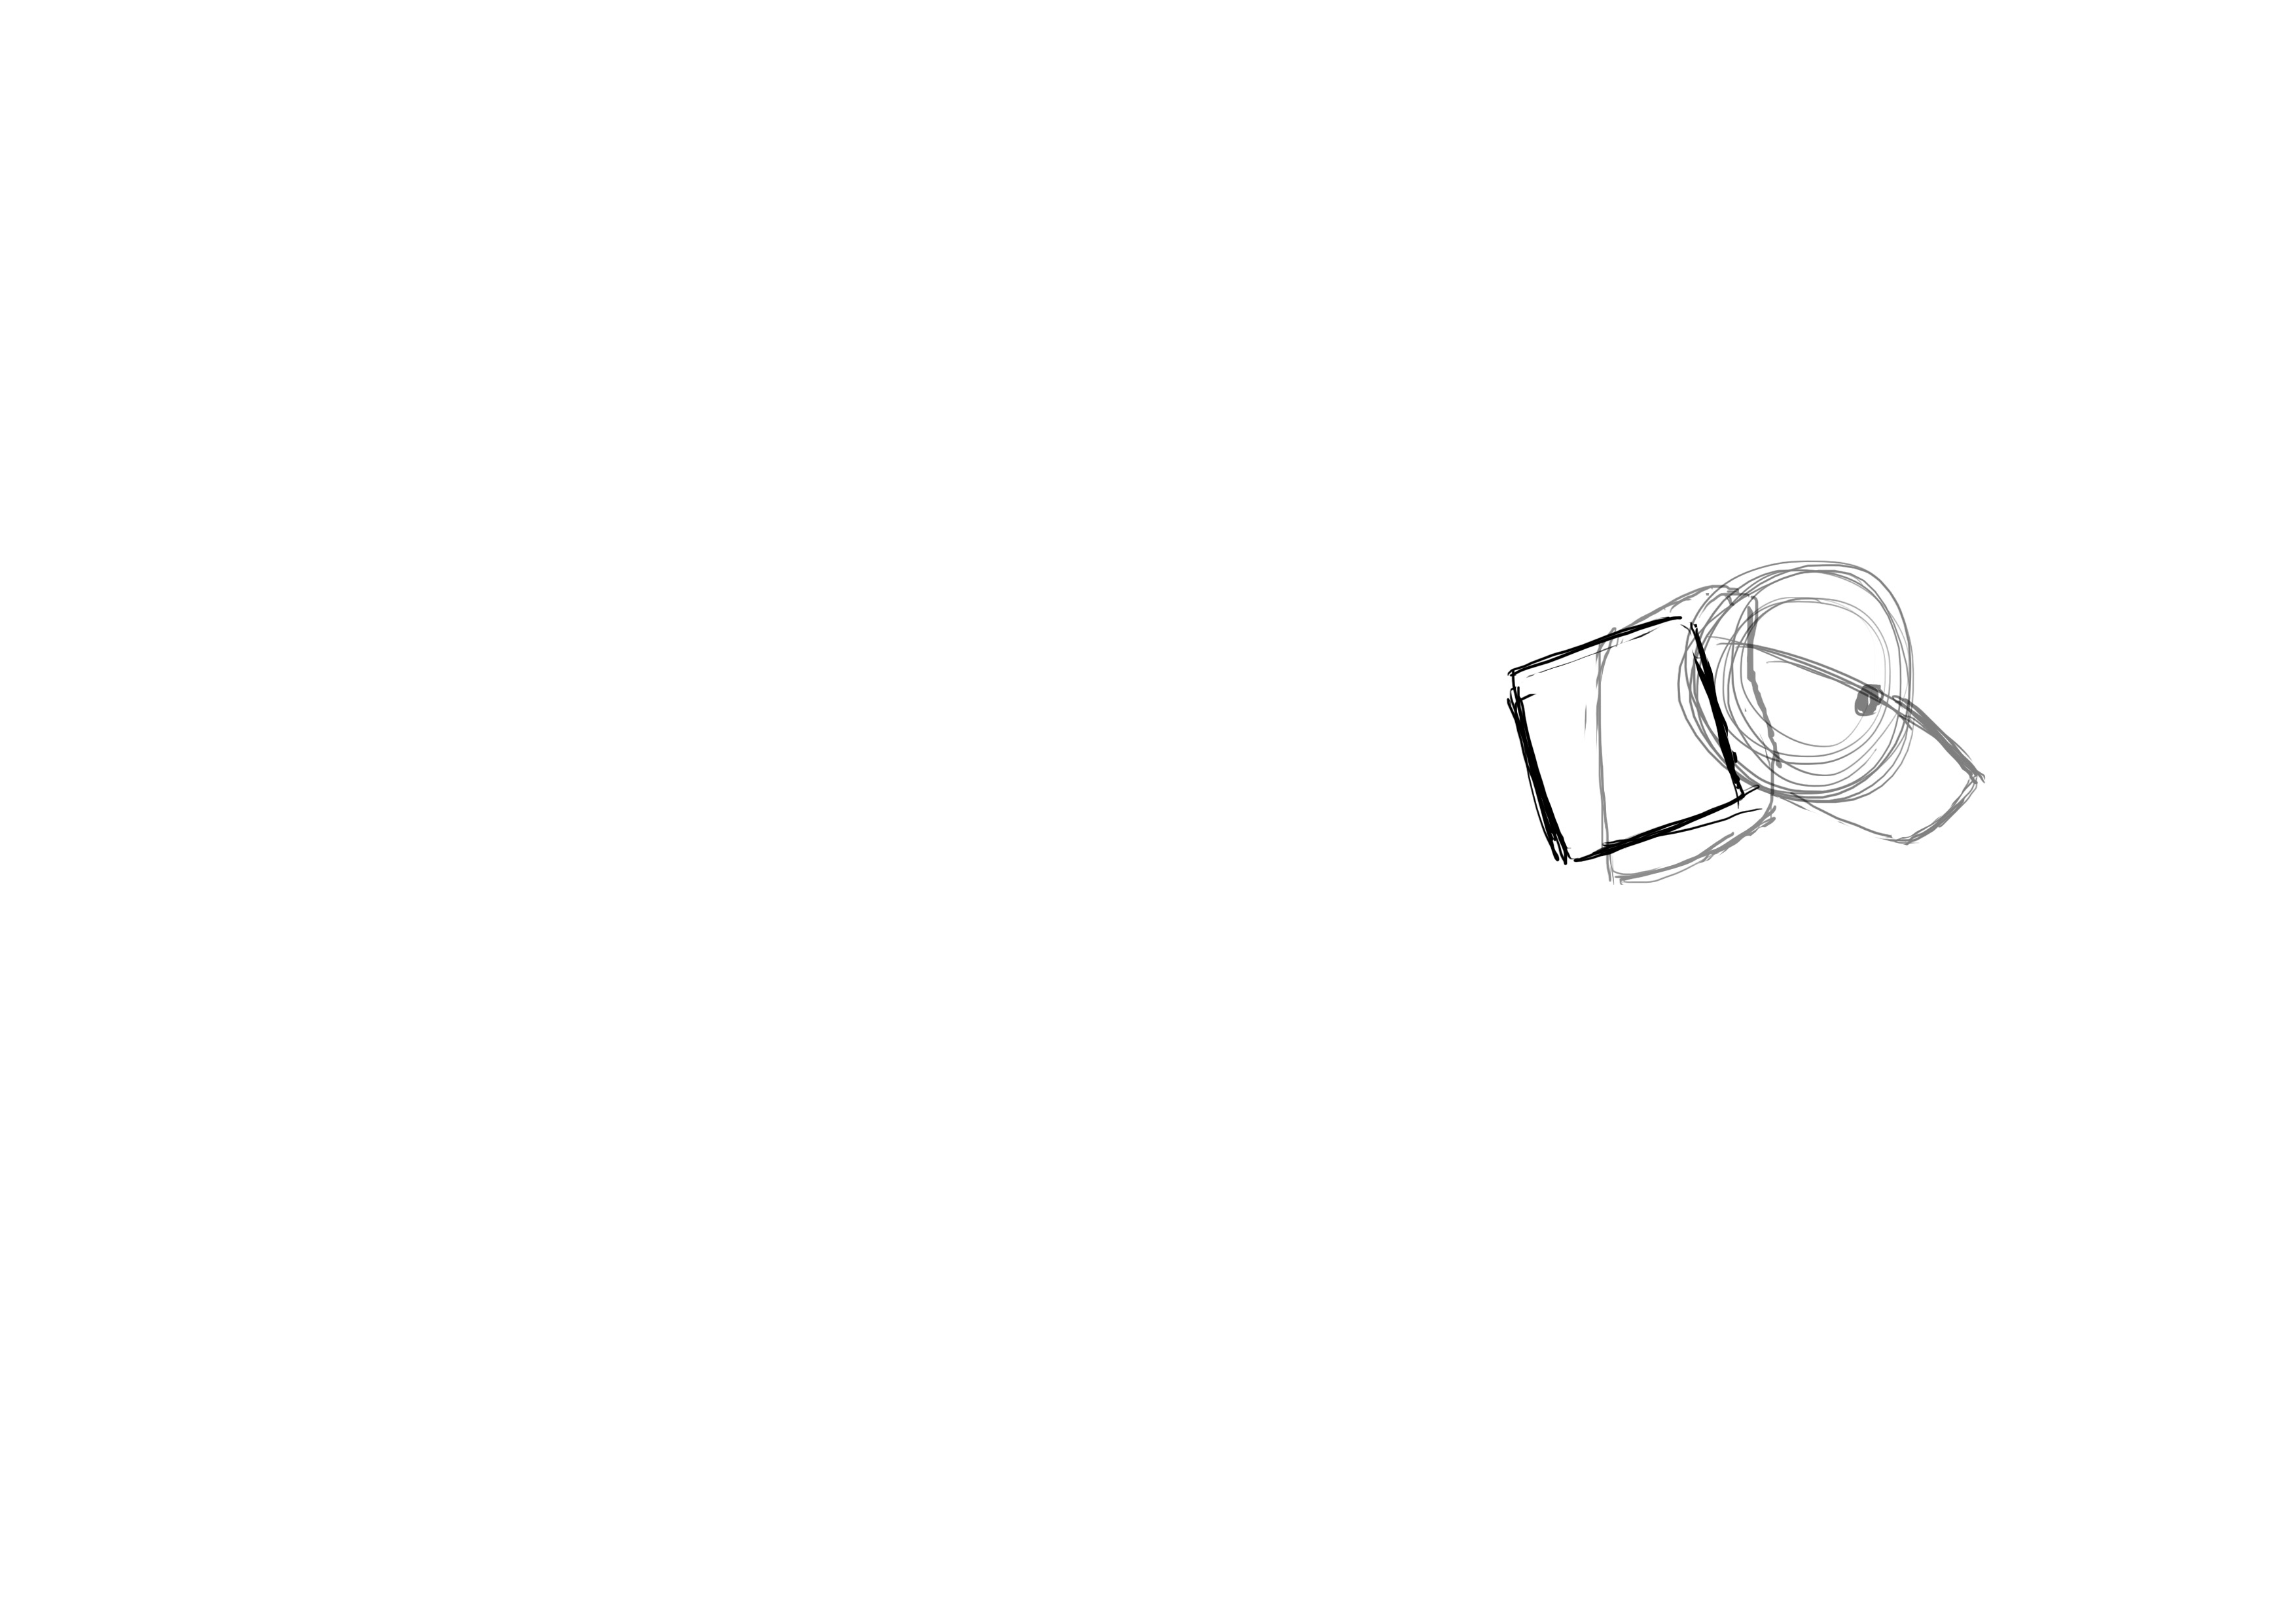
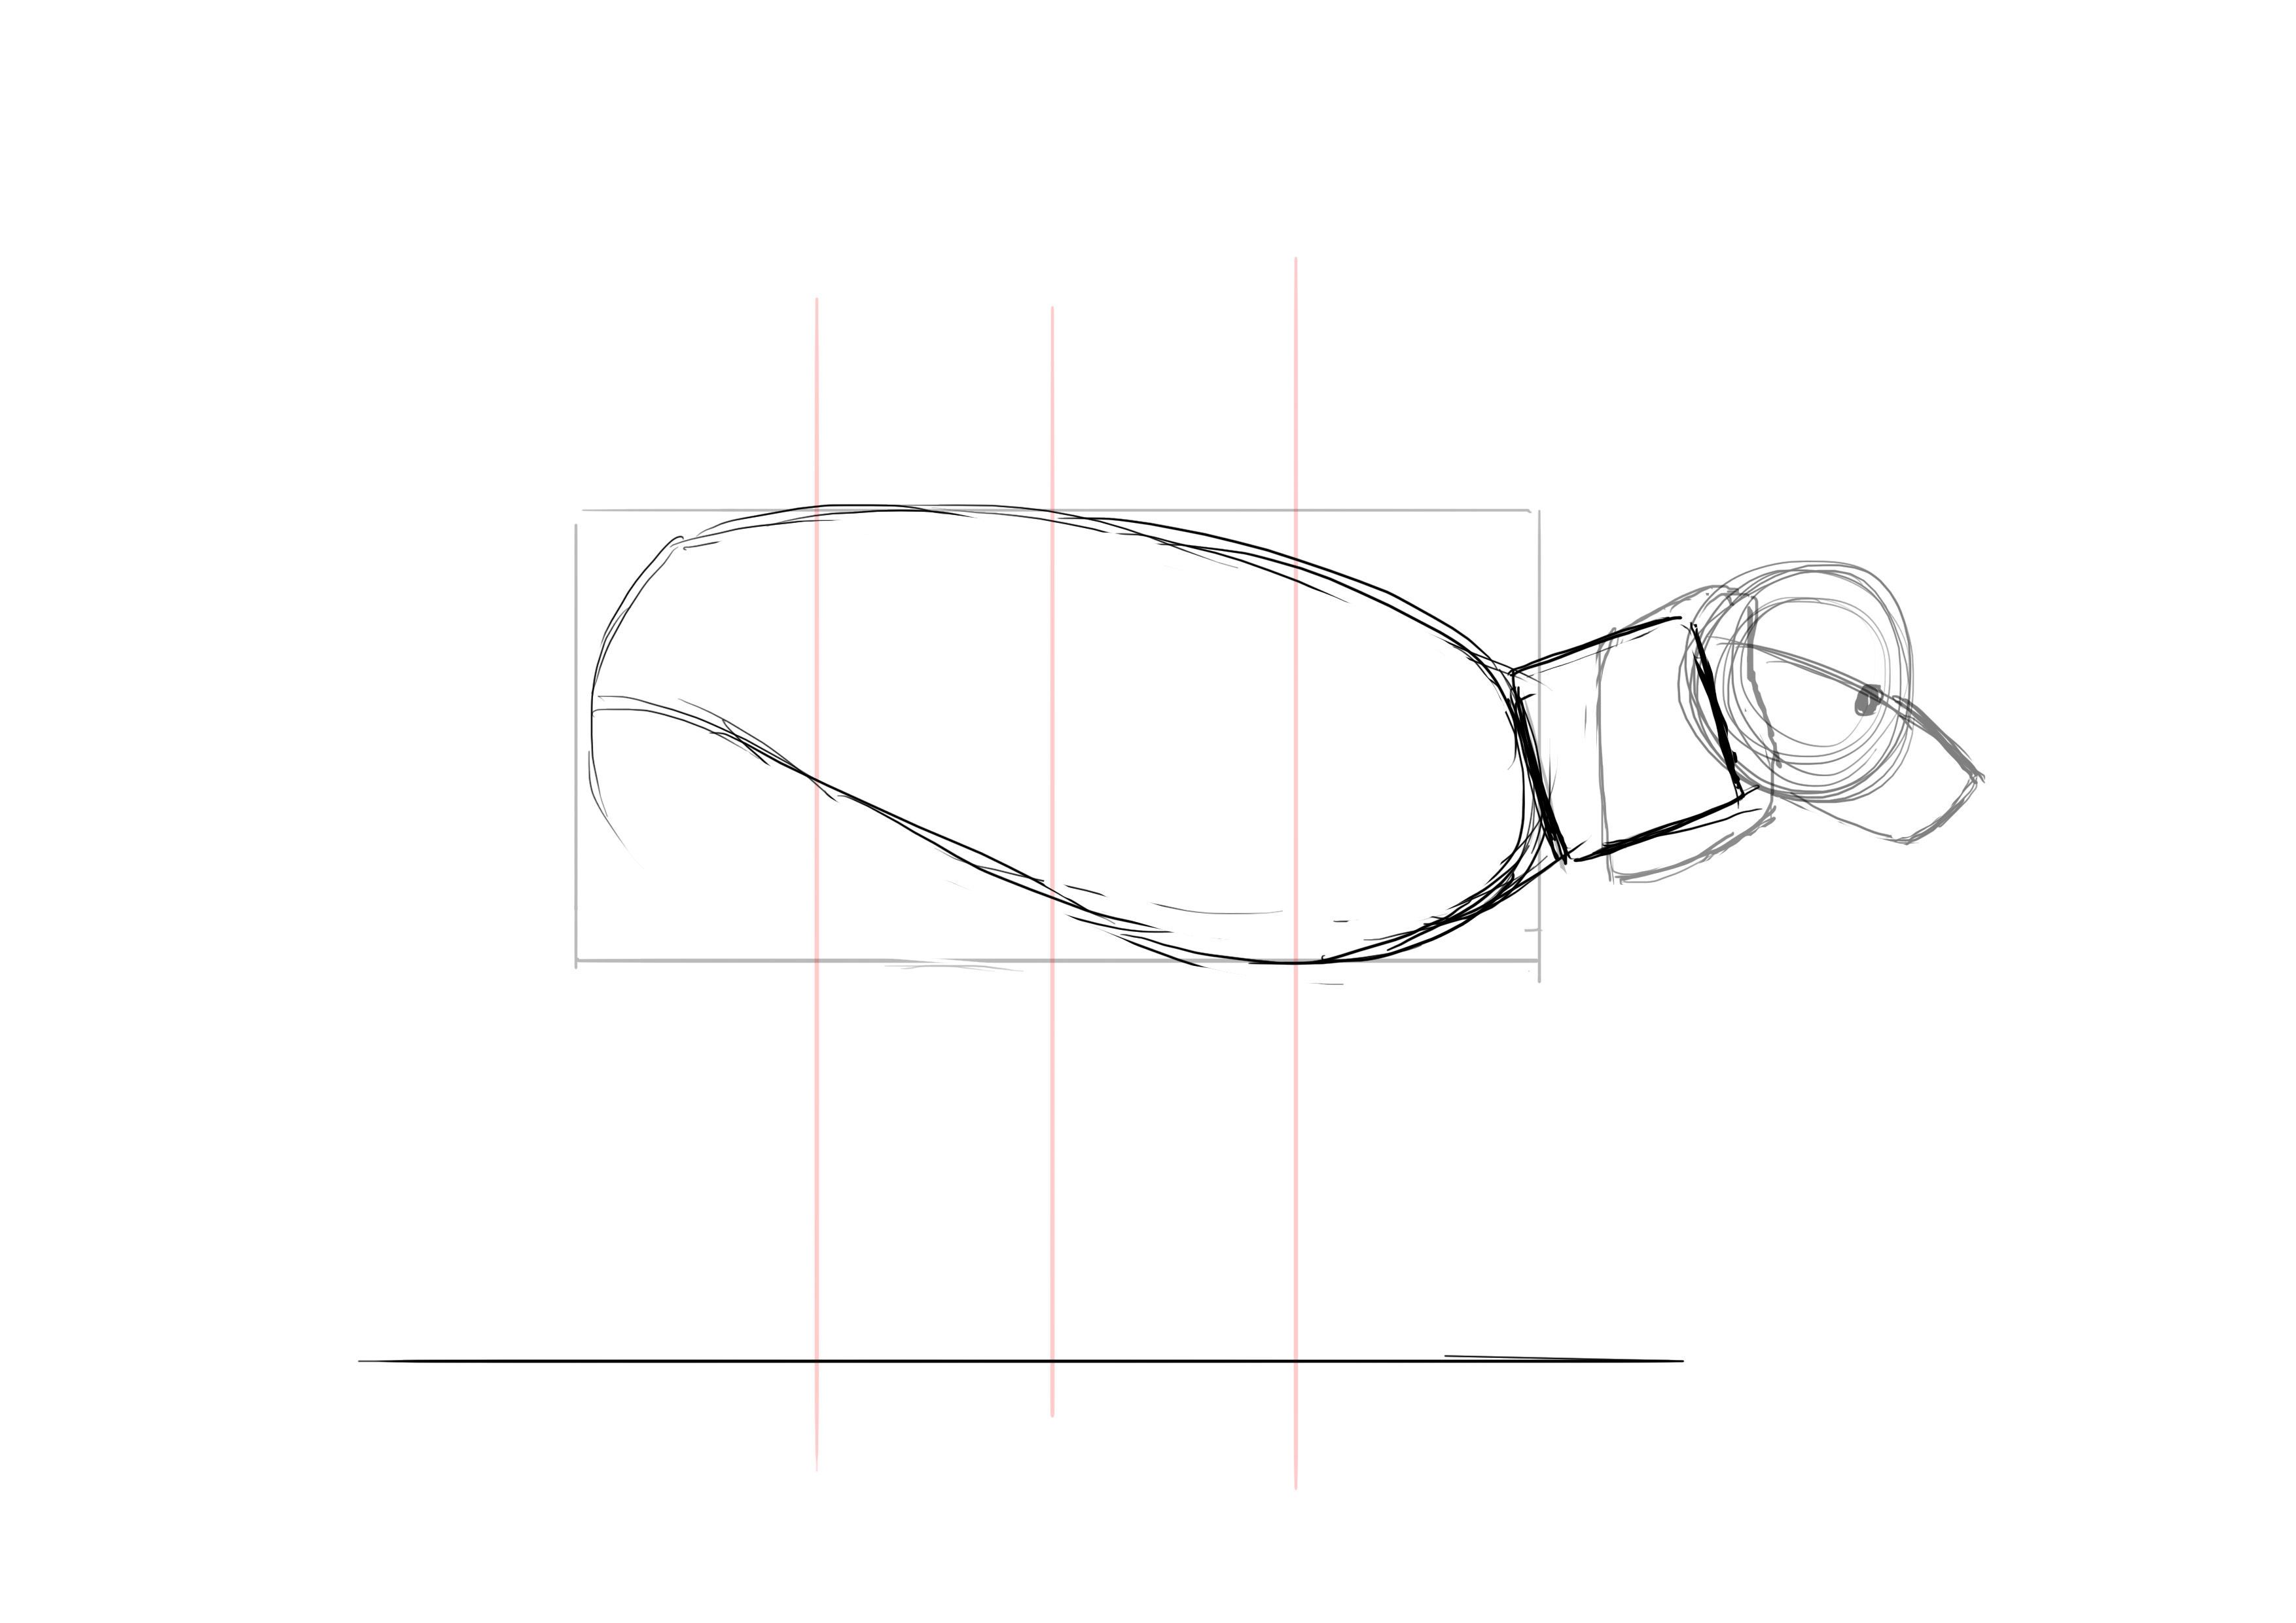
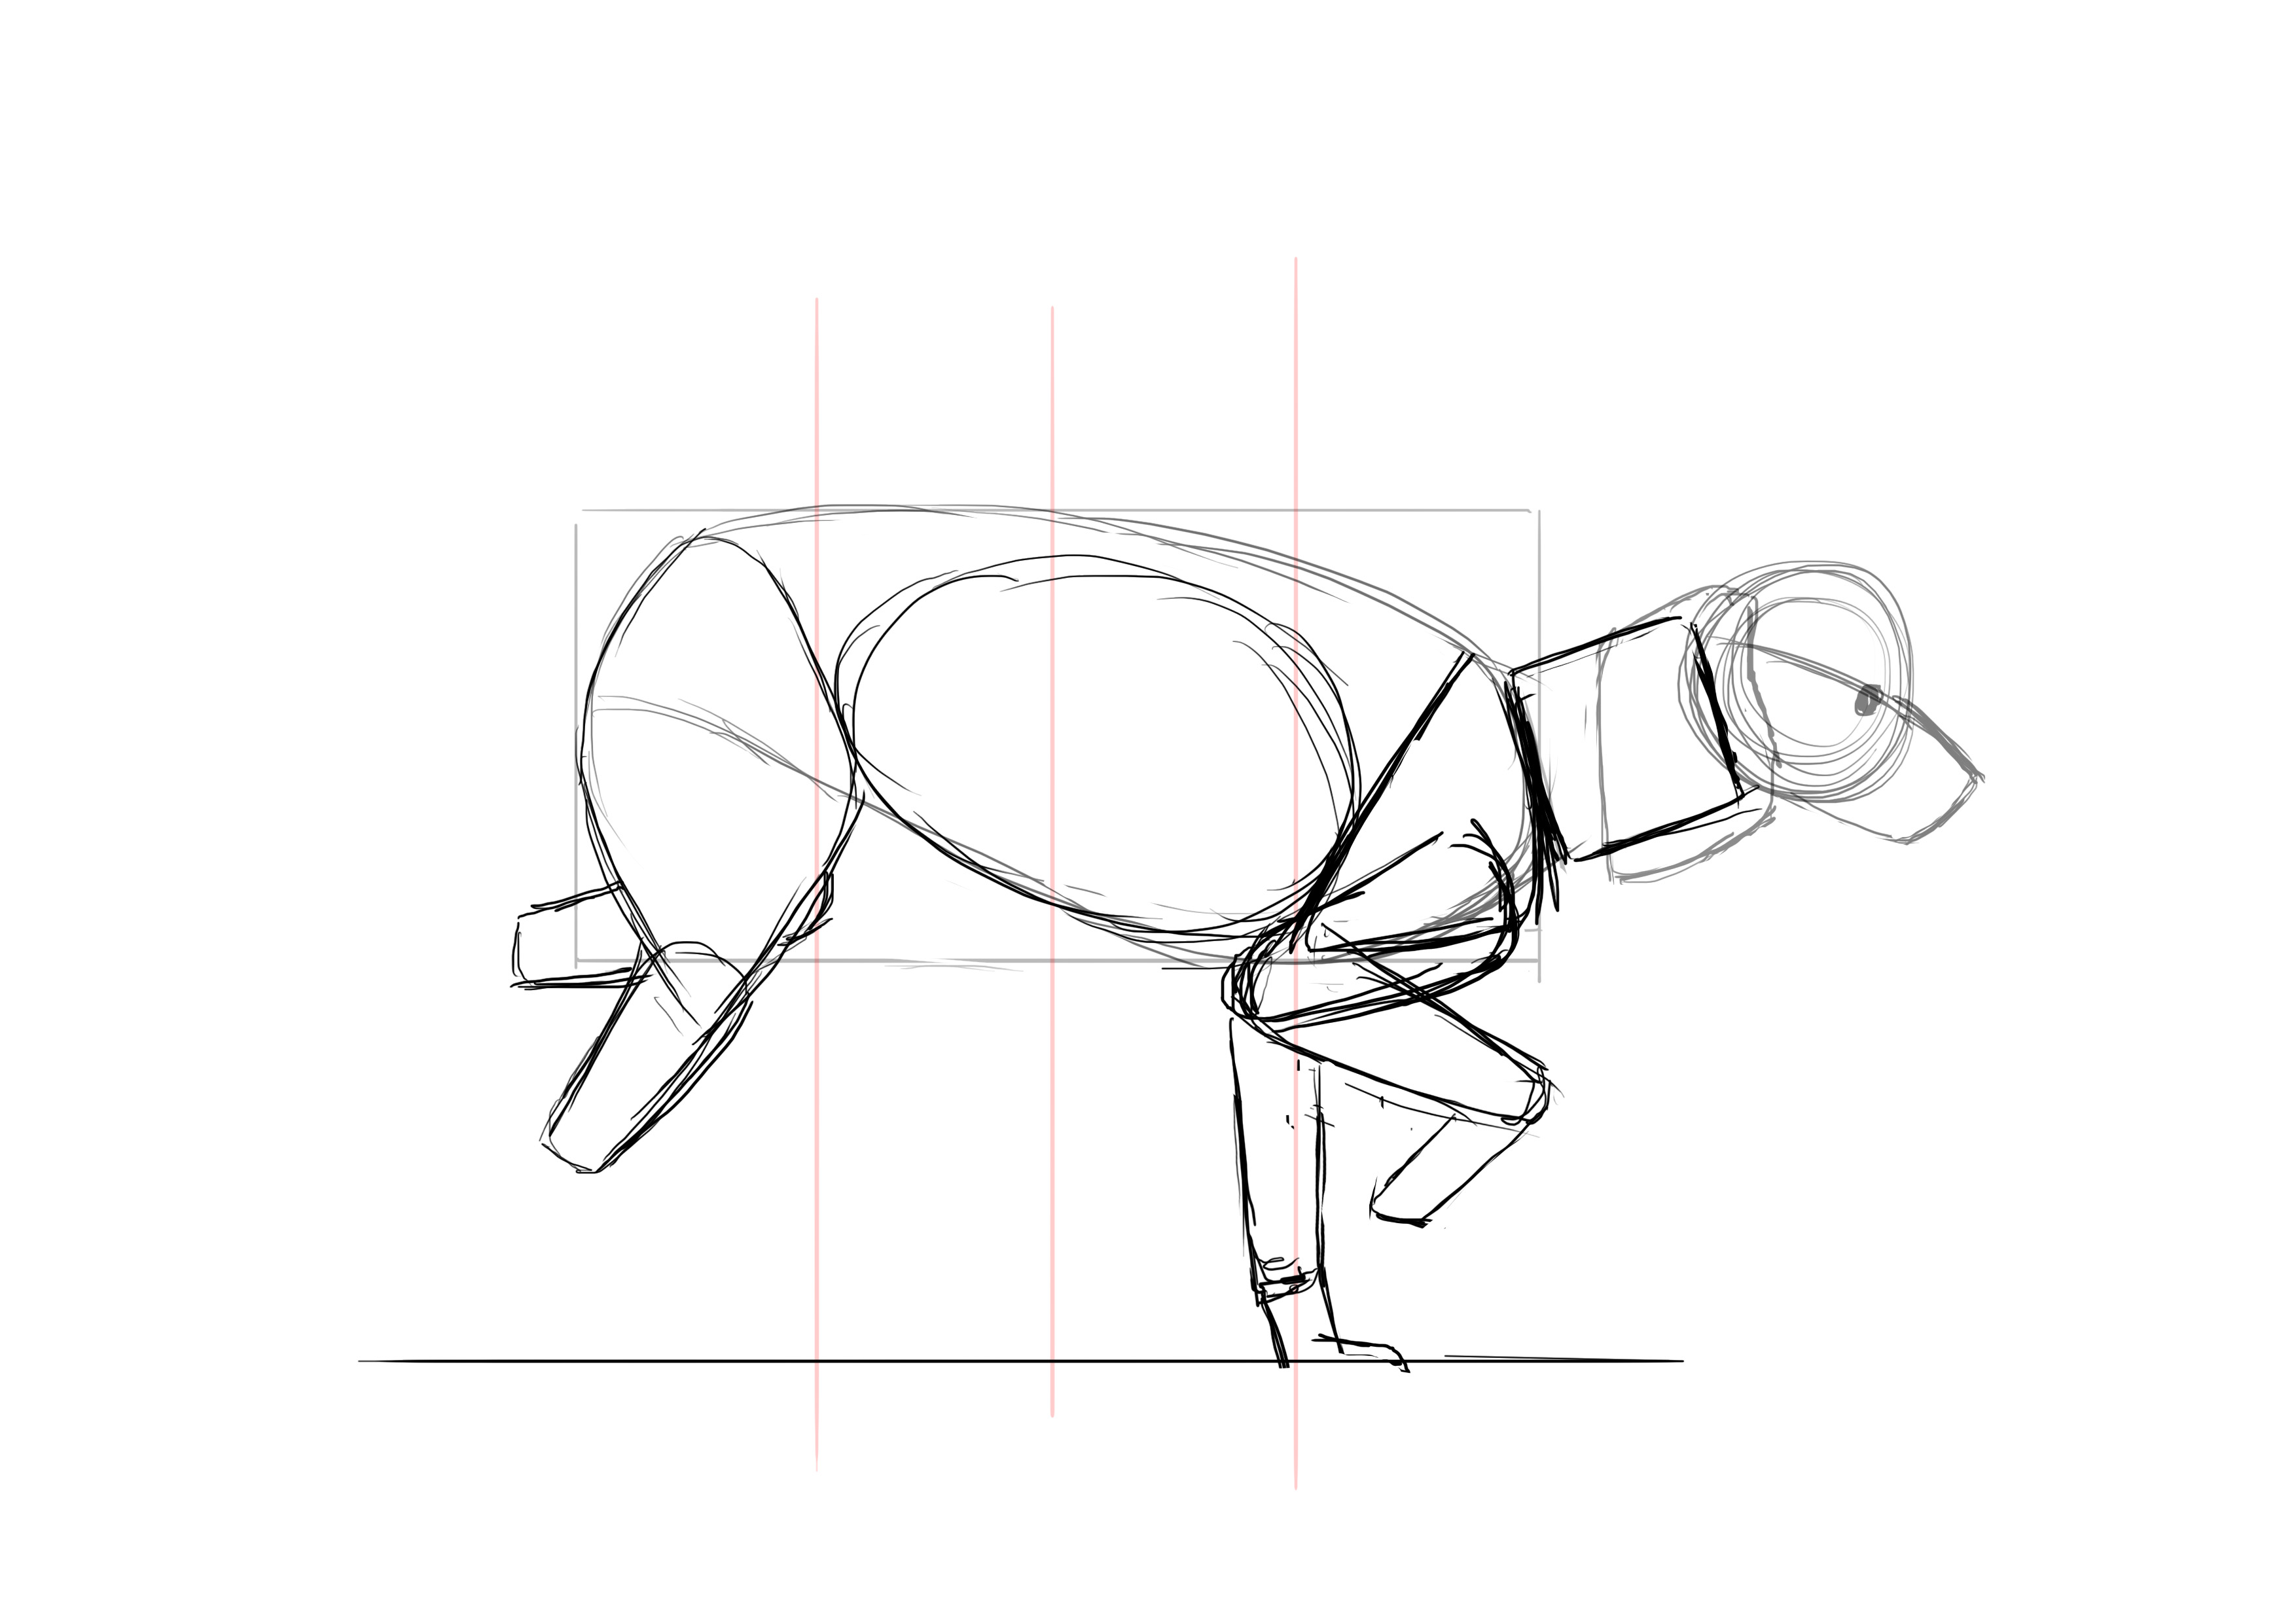
You know me, we'll start with the head :D For this one, I'd go with a square shape rather than a round. Since our dog has its mouth open, this square is a bit taller than wide.
We will immediately add the muzzle, which also has a fairly square shape and is set diagonally on the lower 2/3 of the head. From our point of view, the muzzle is set at 1/3 of the width and is 2/3 the length of the head's width.
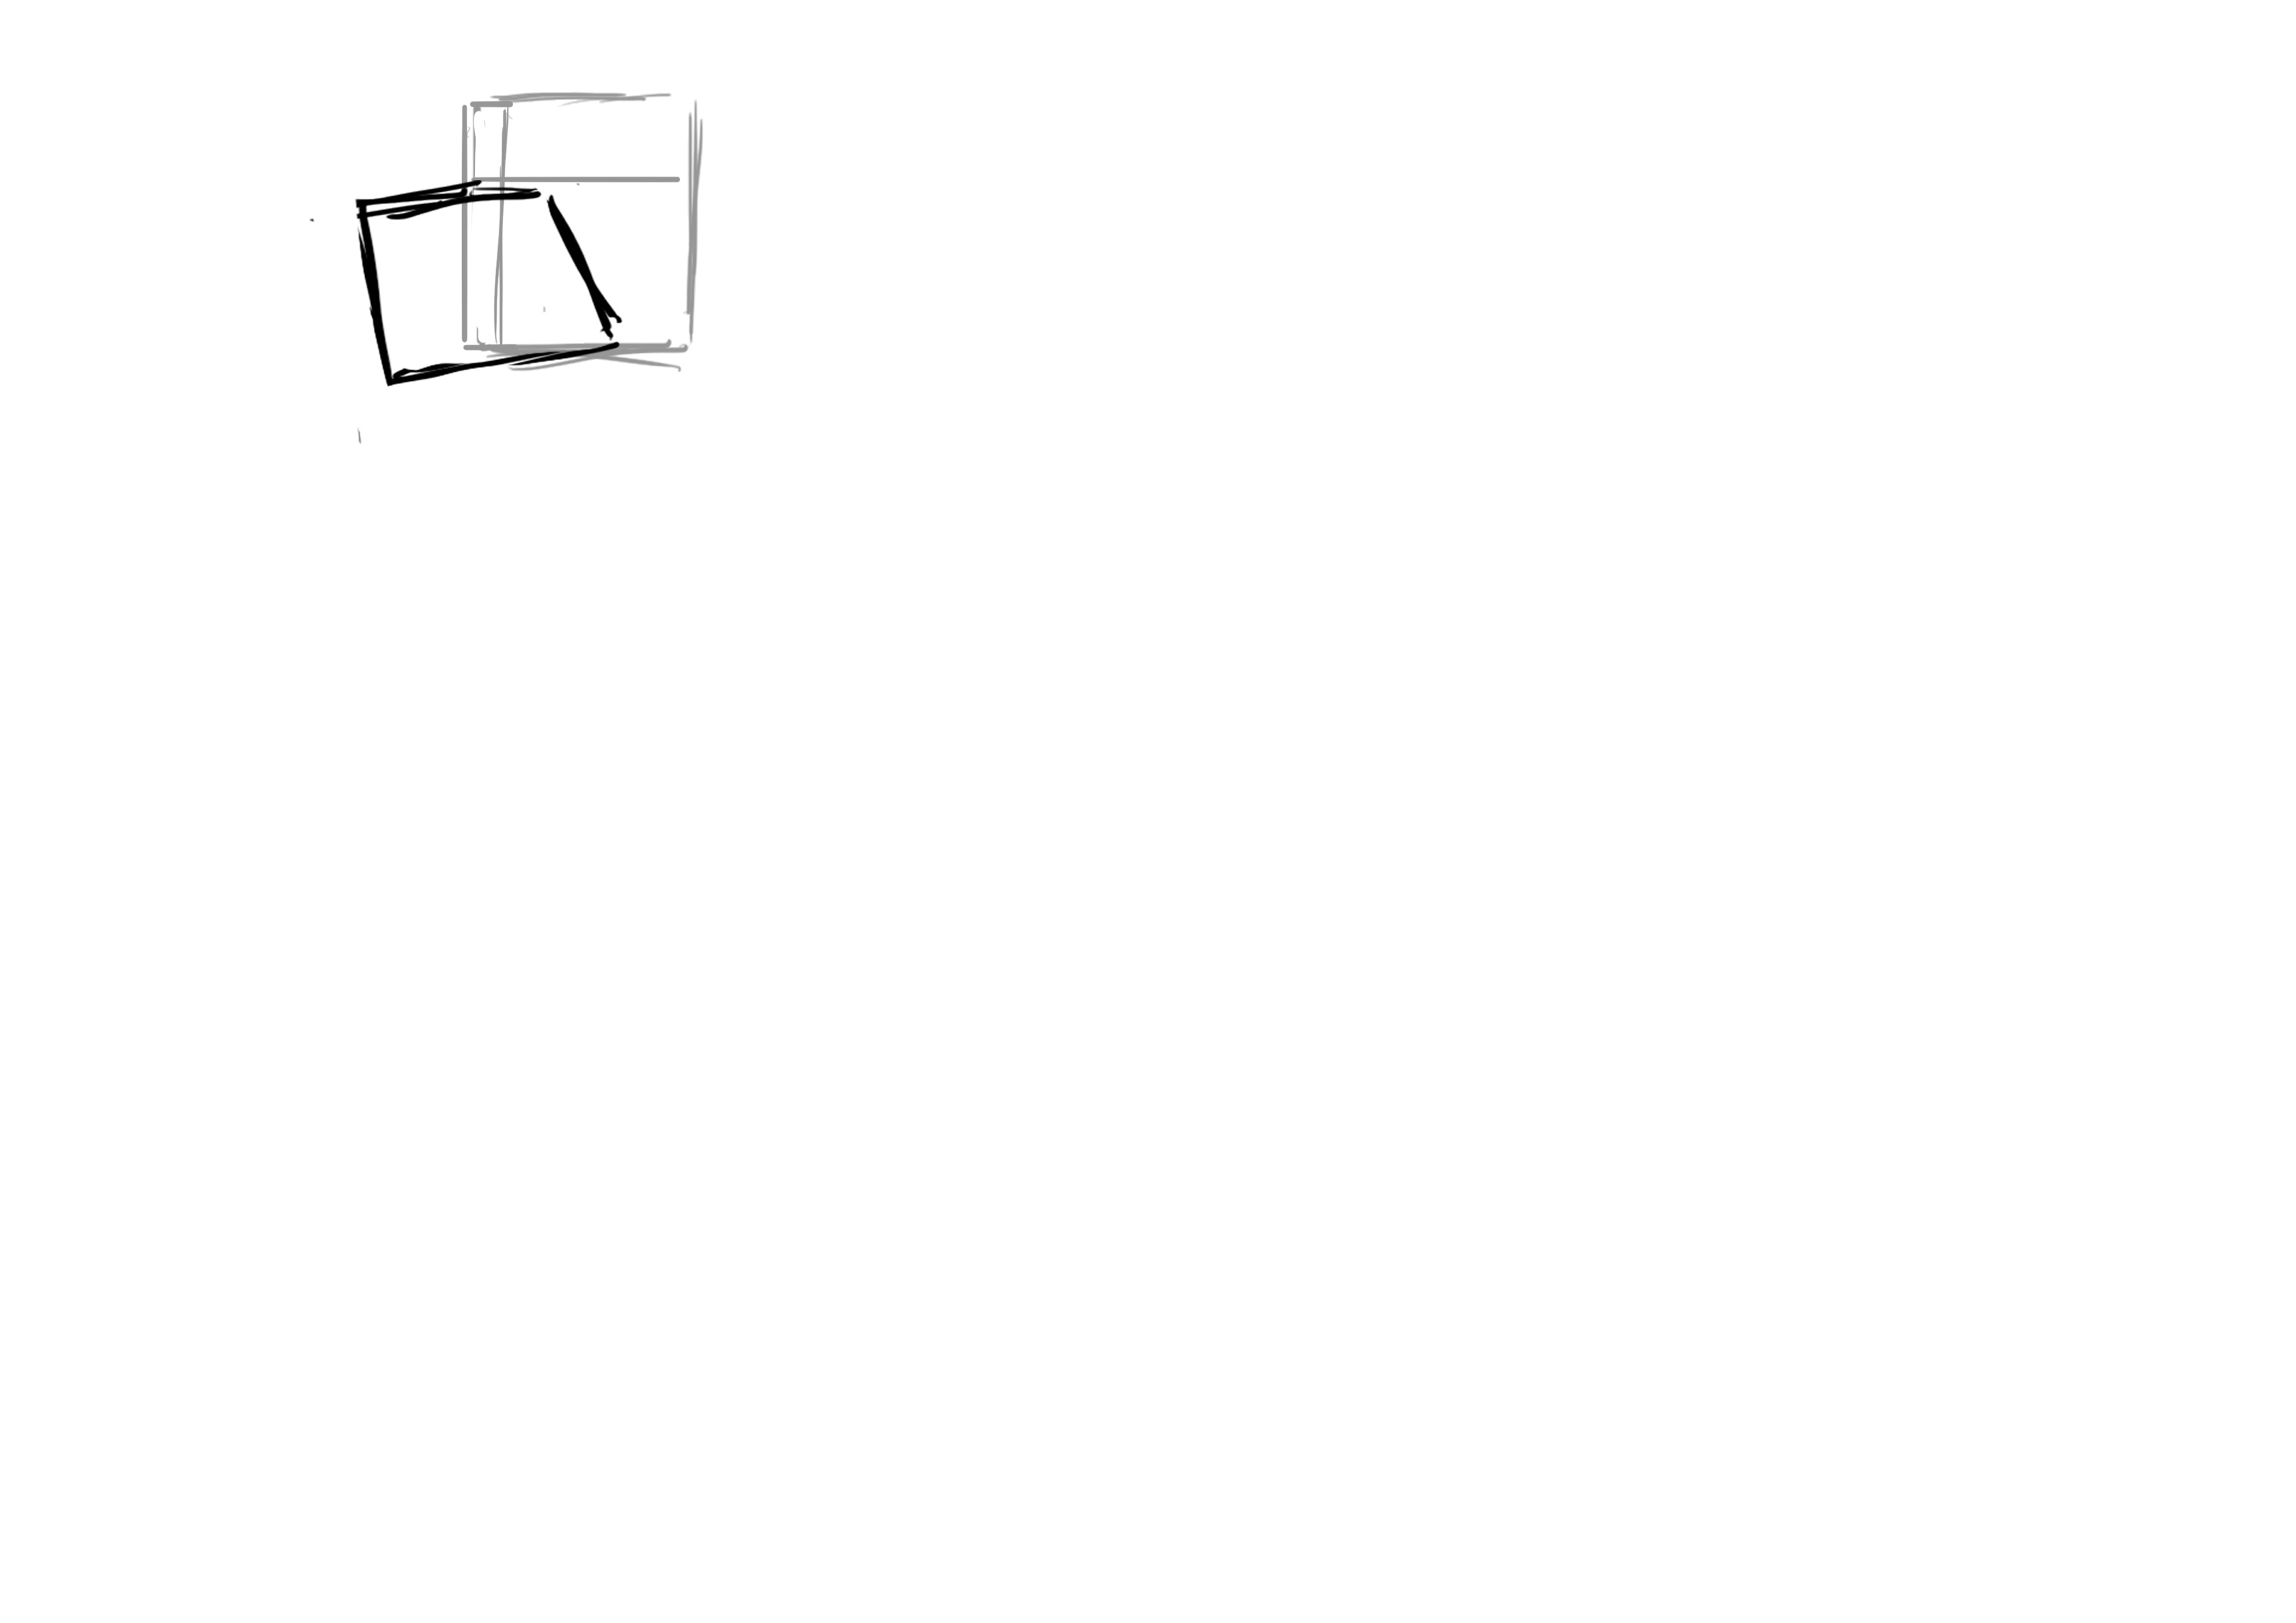
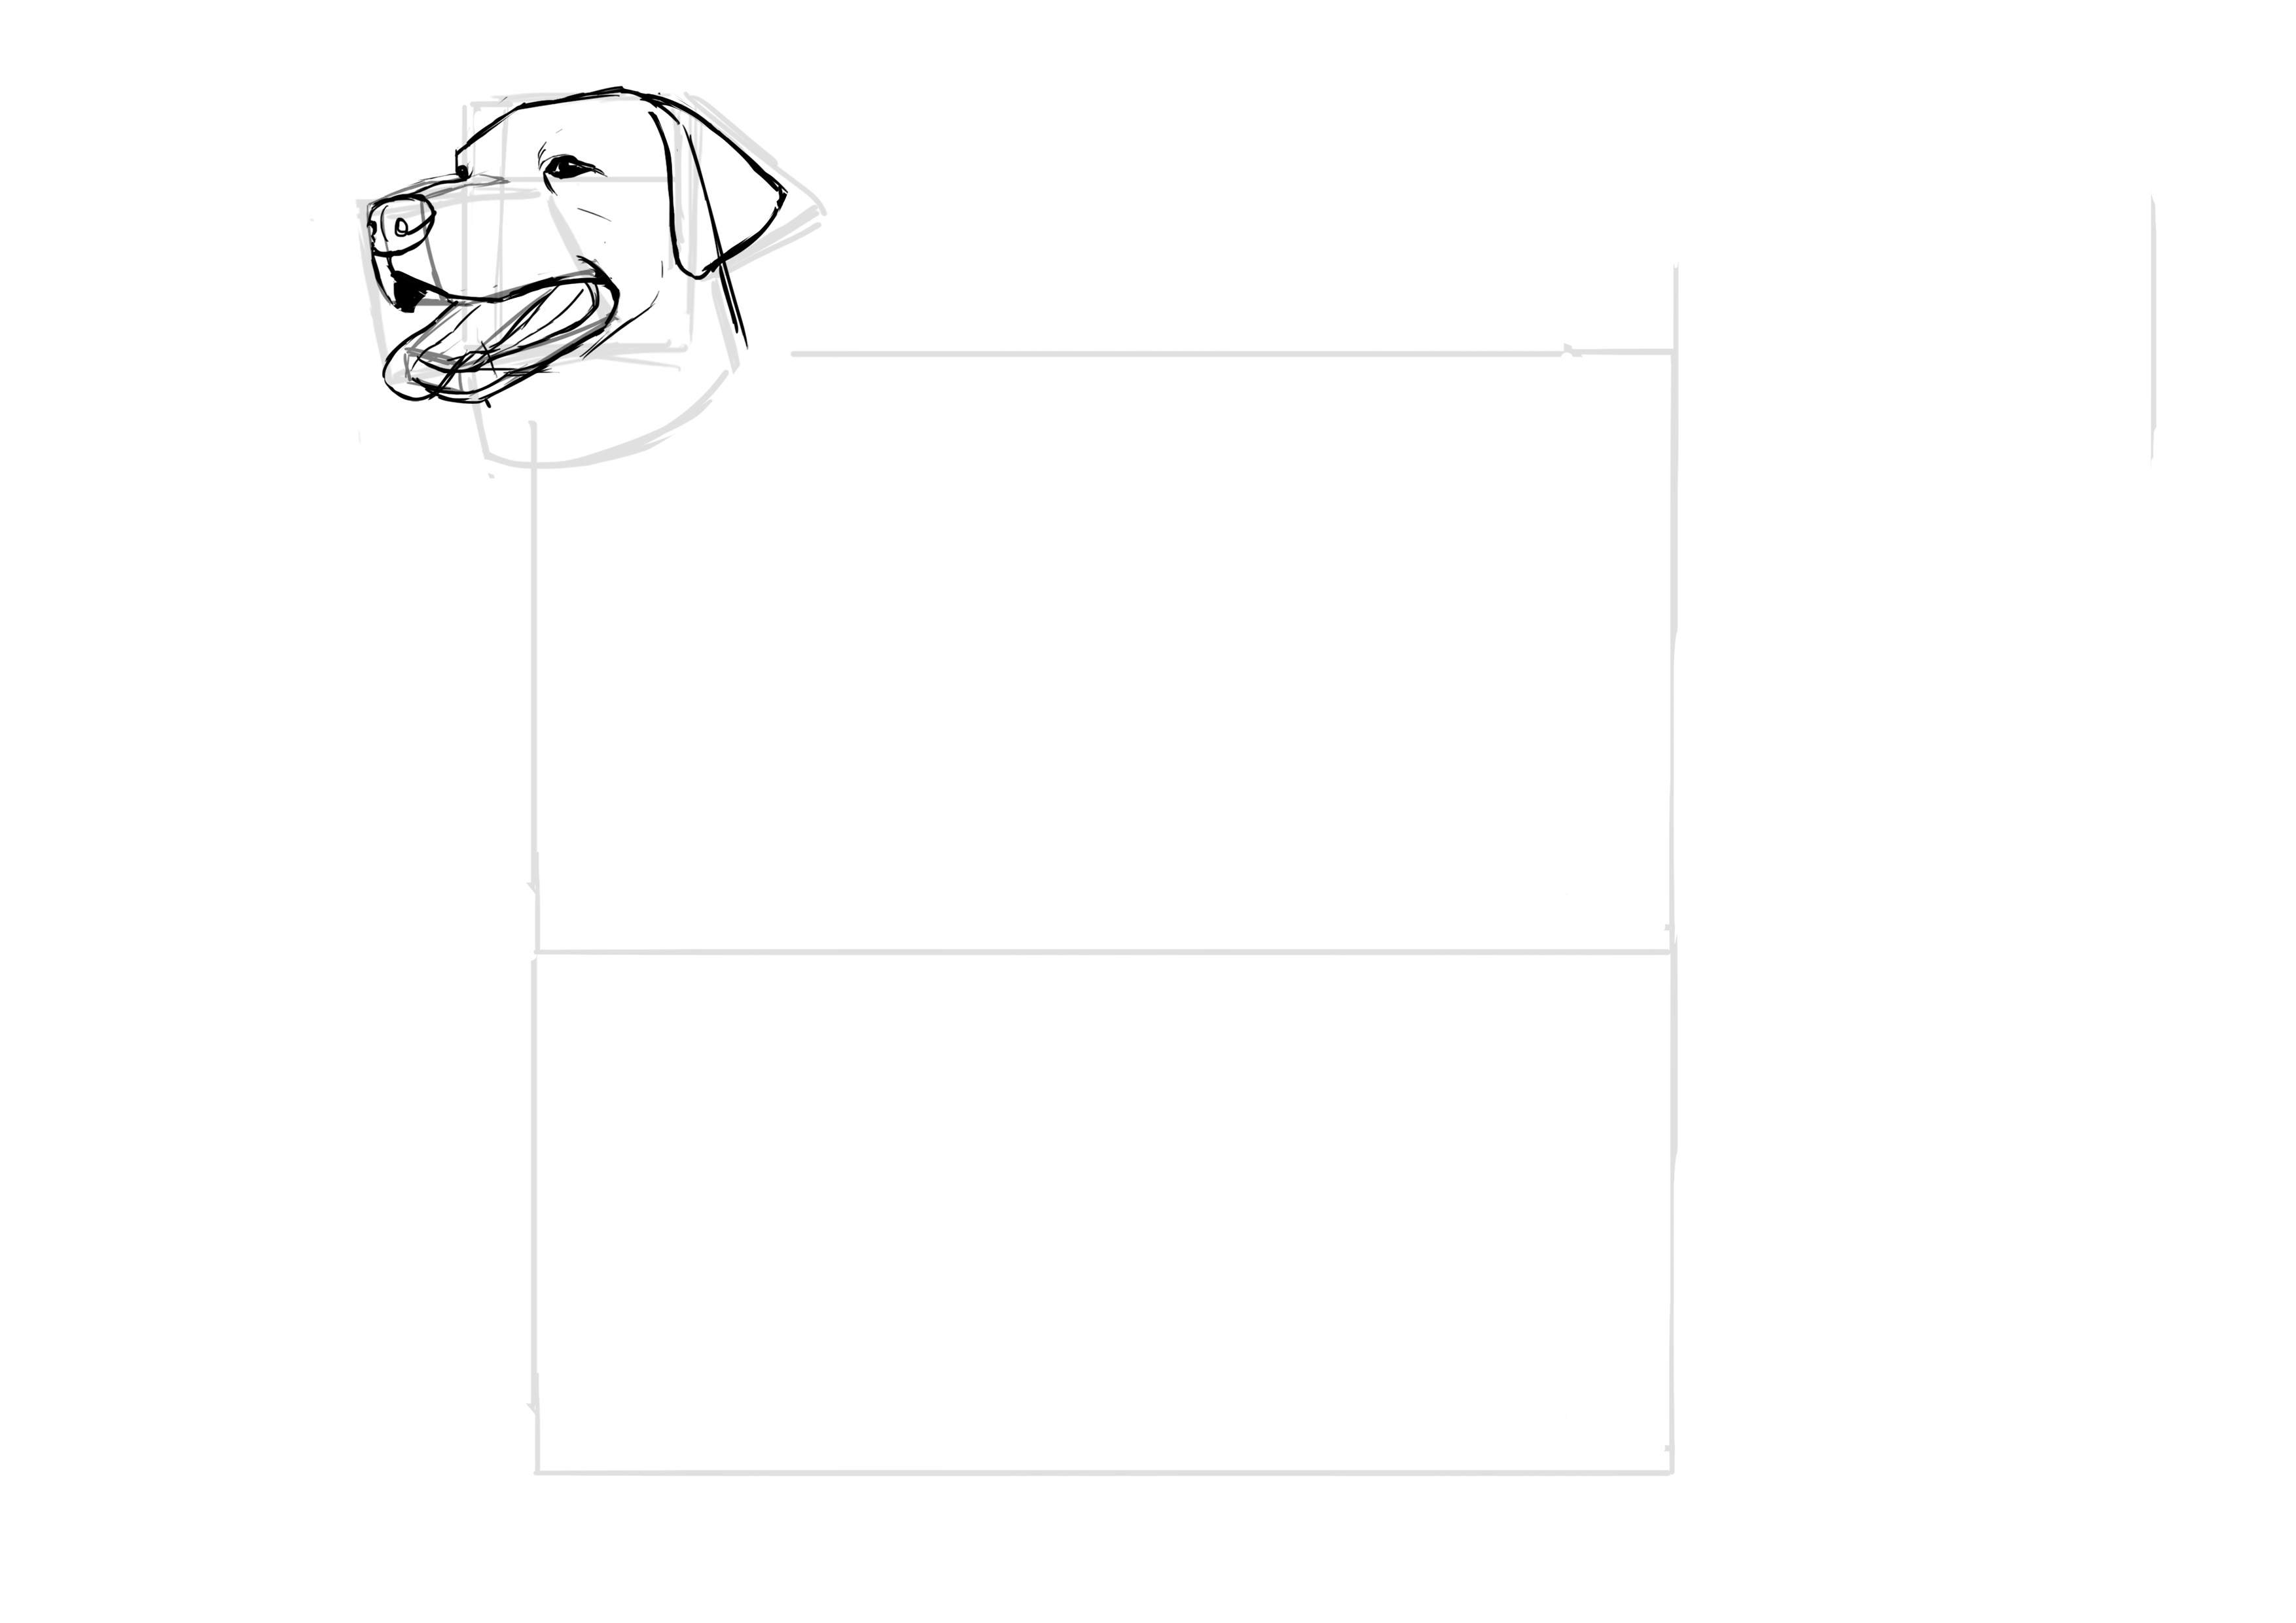
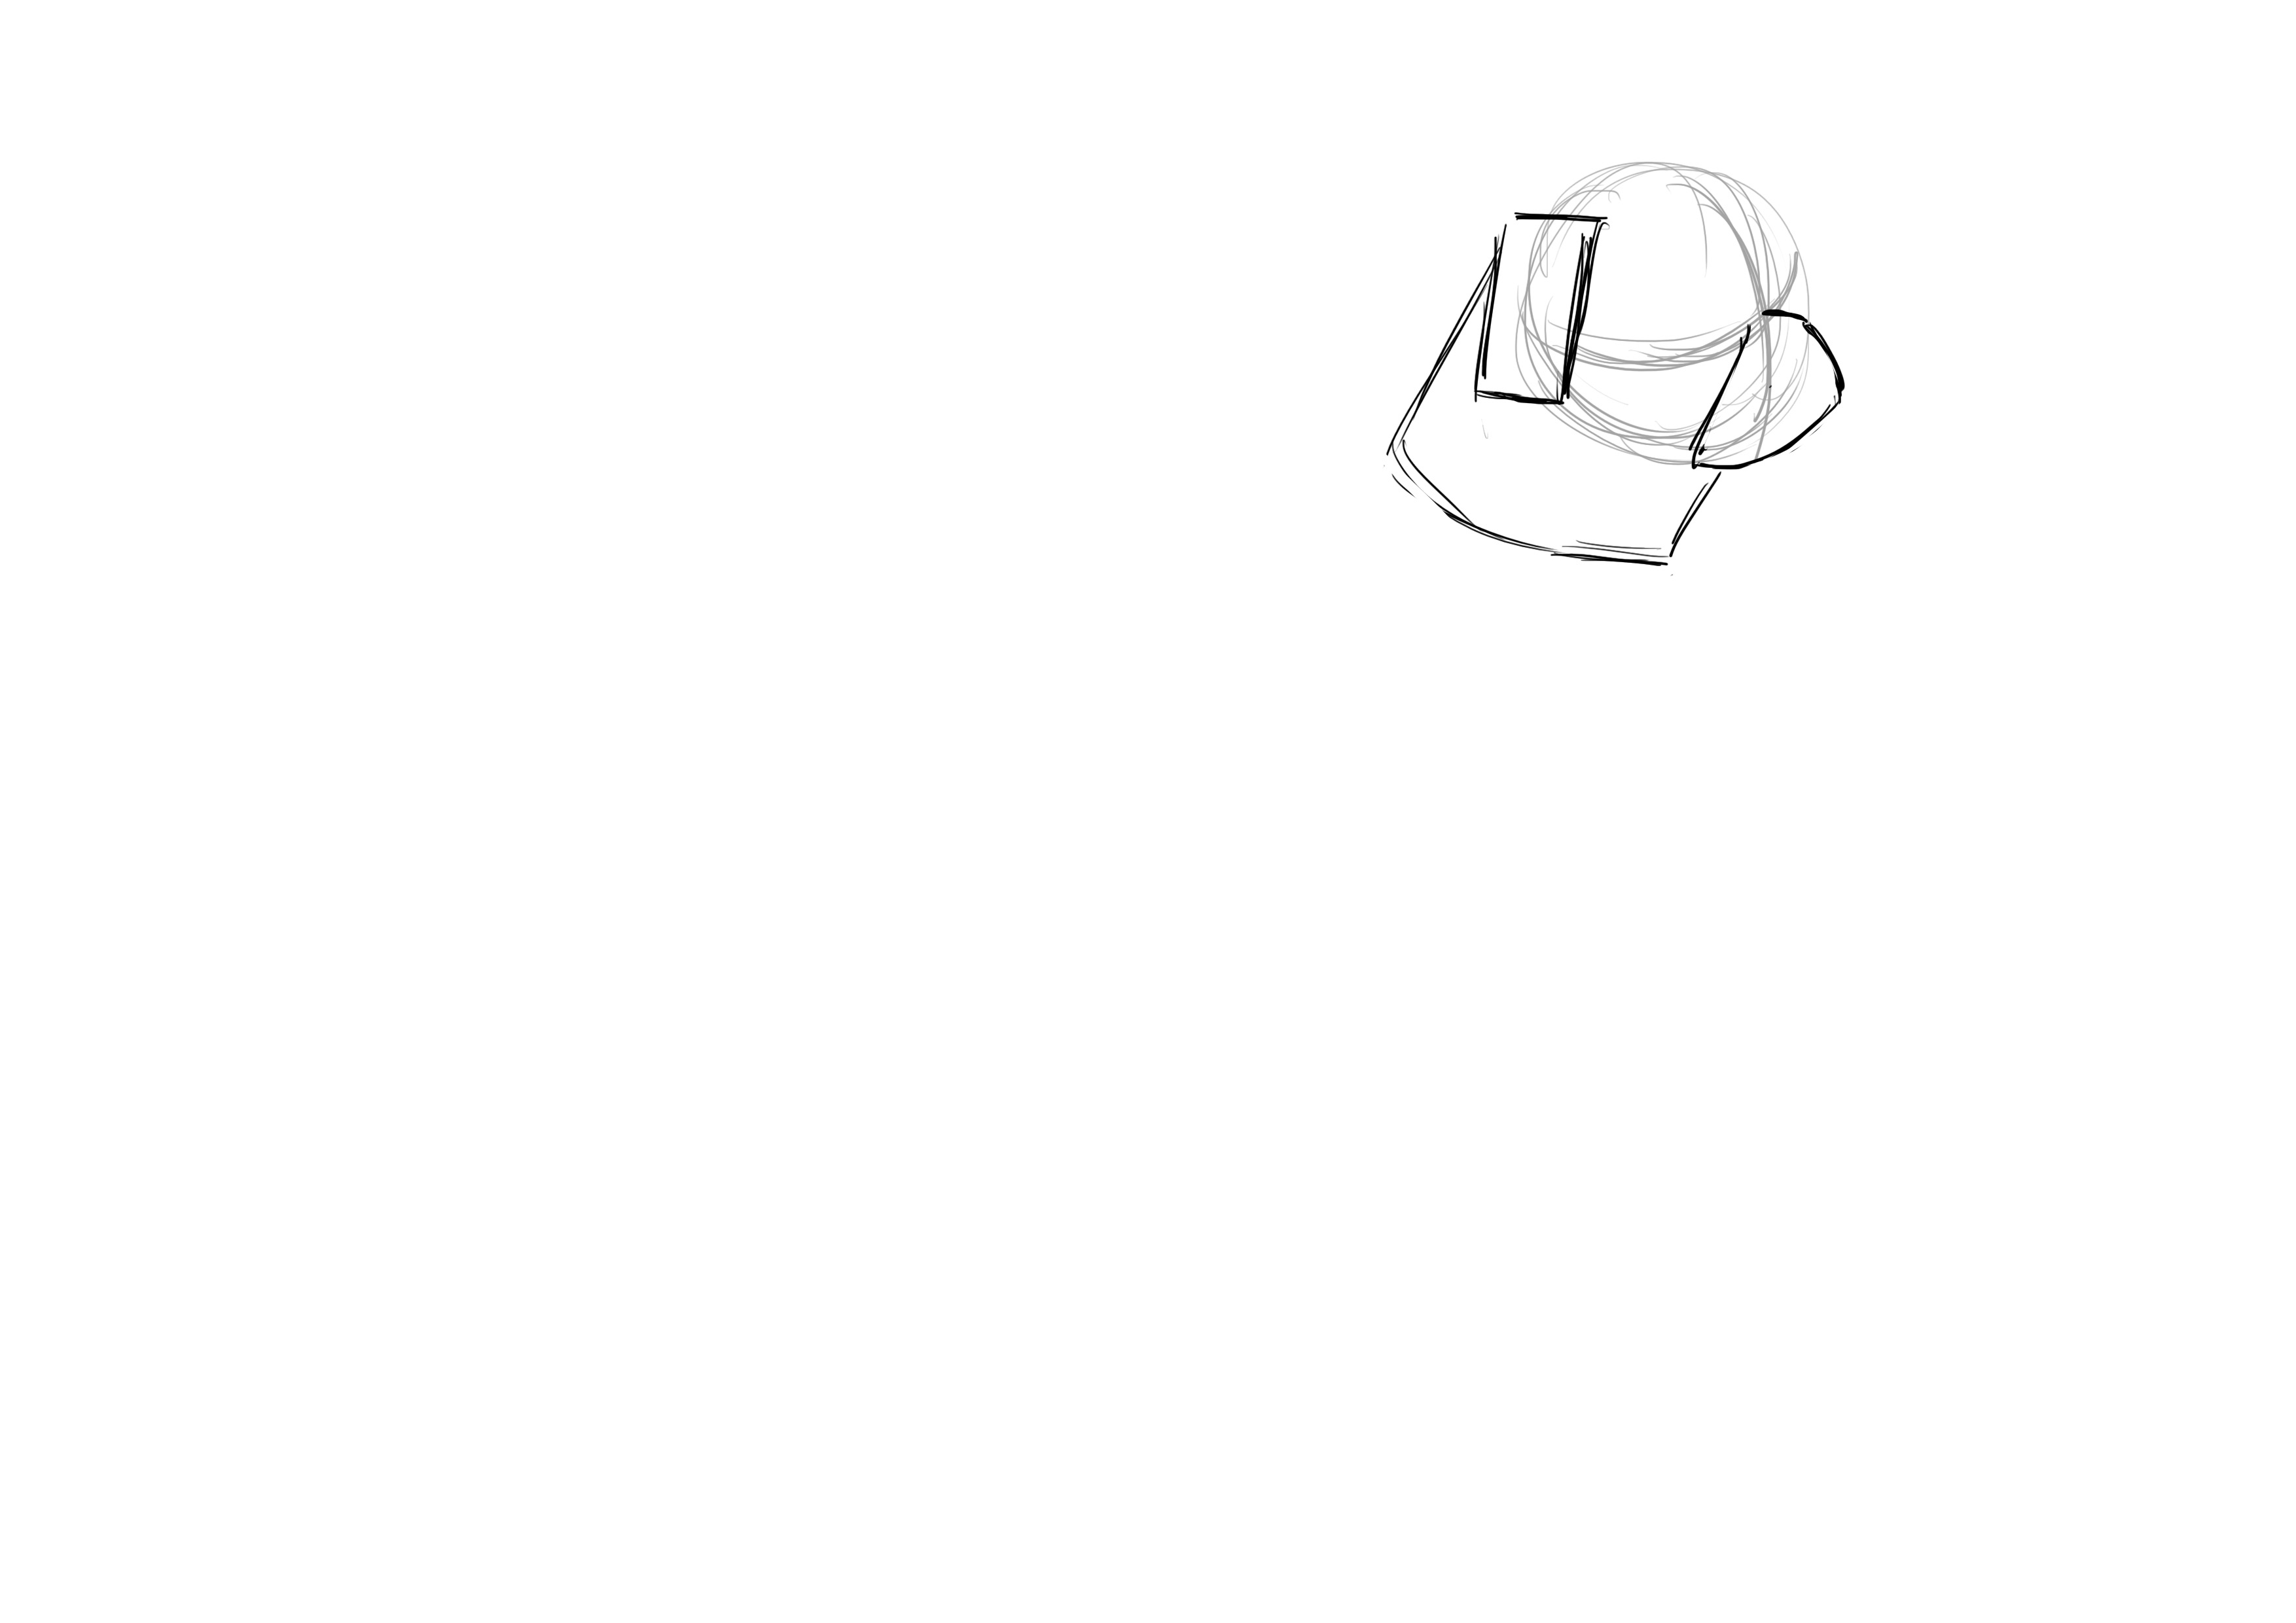
We then position the ears. Triangles tilted to half the width of the head.
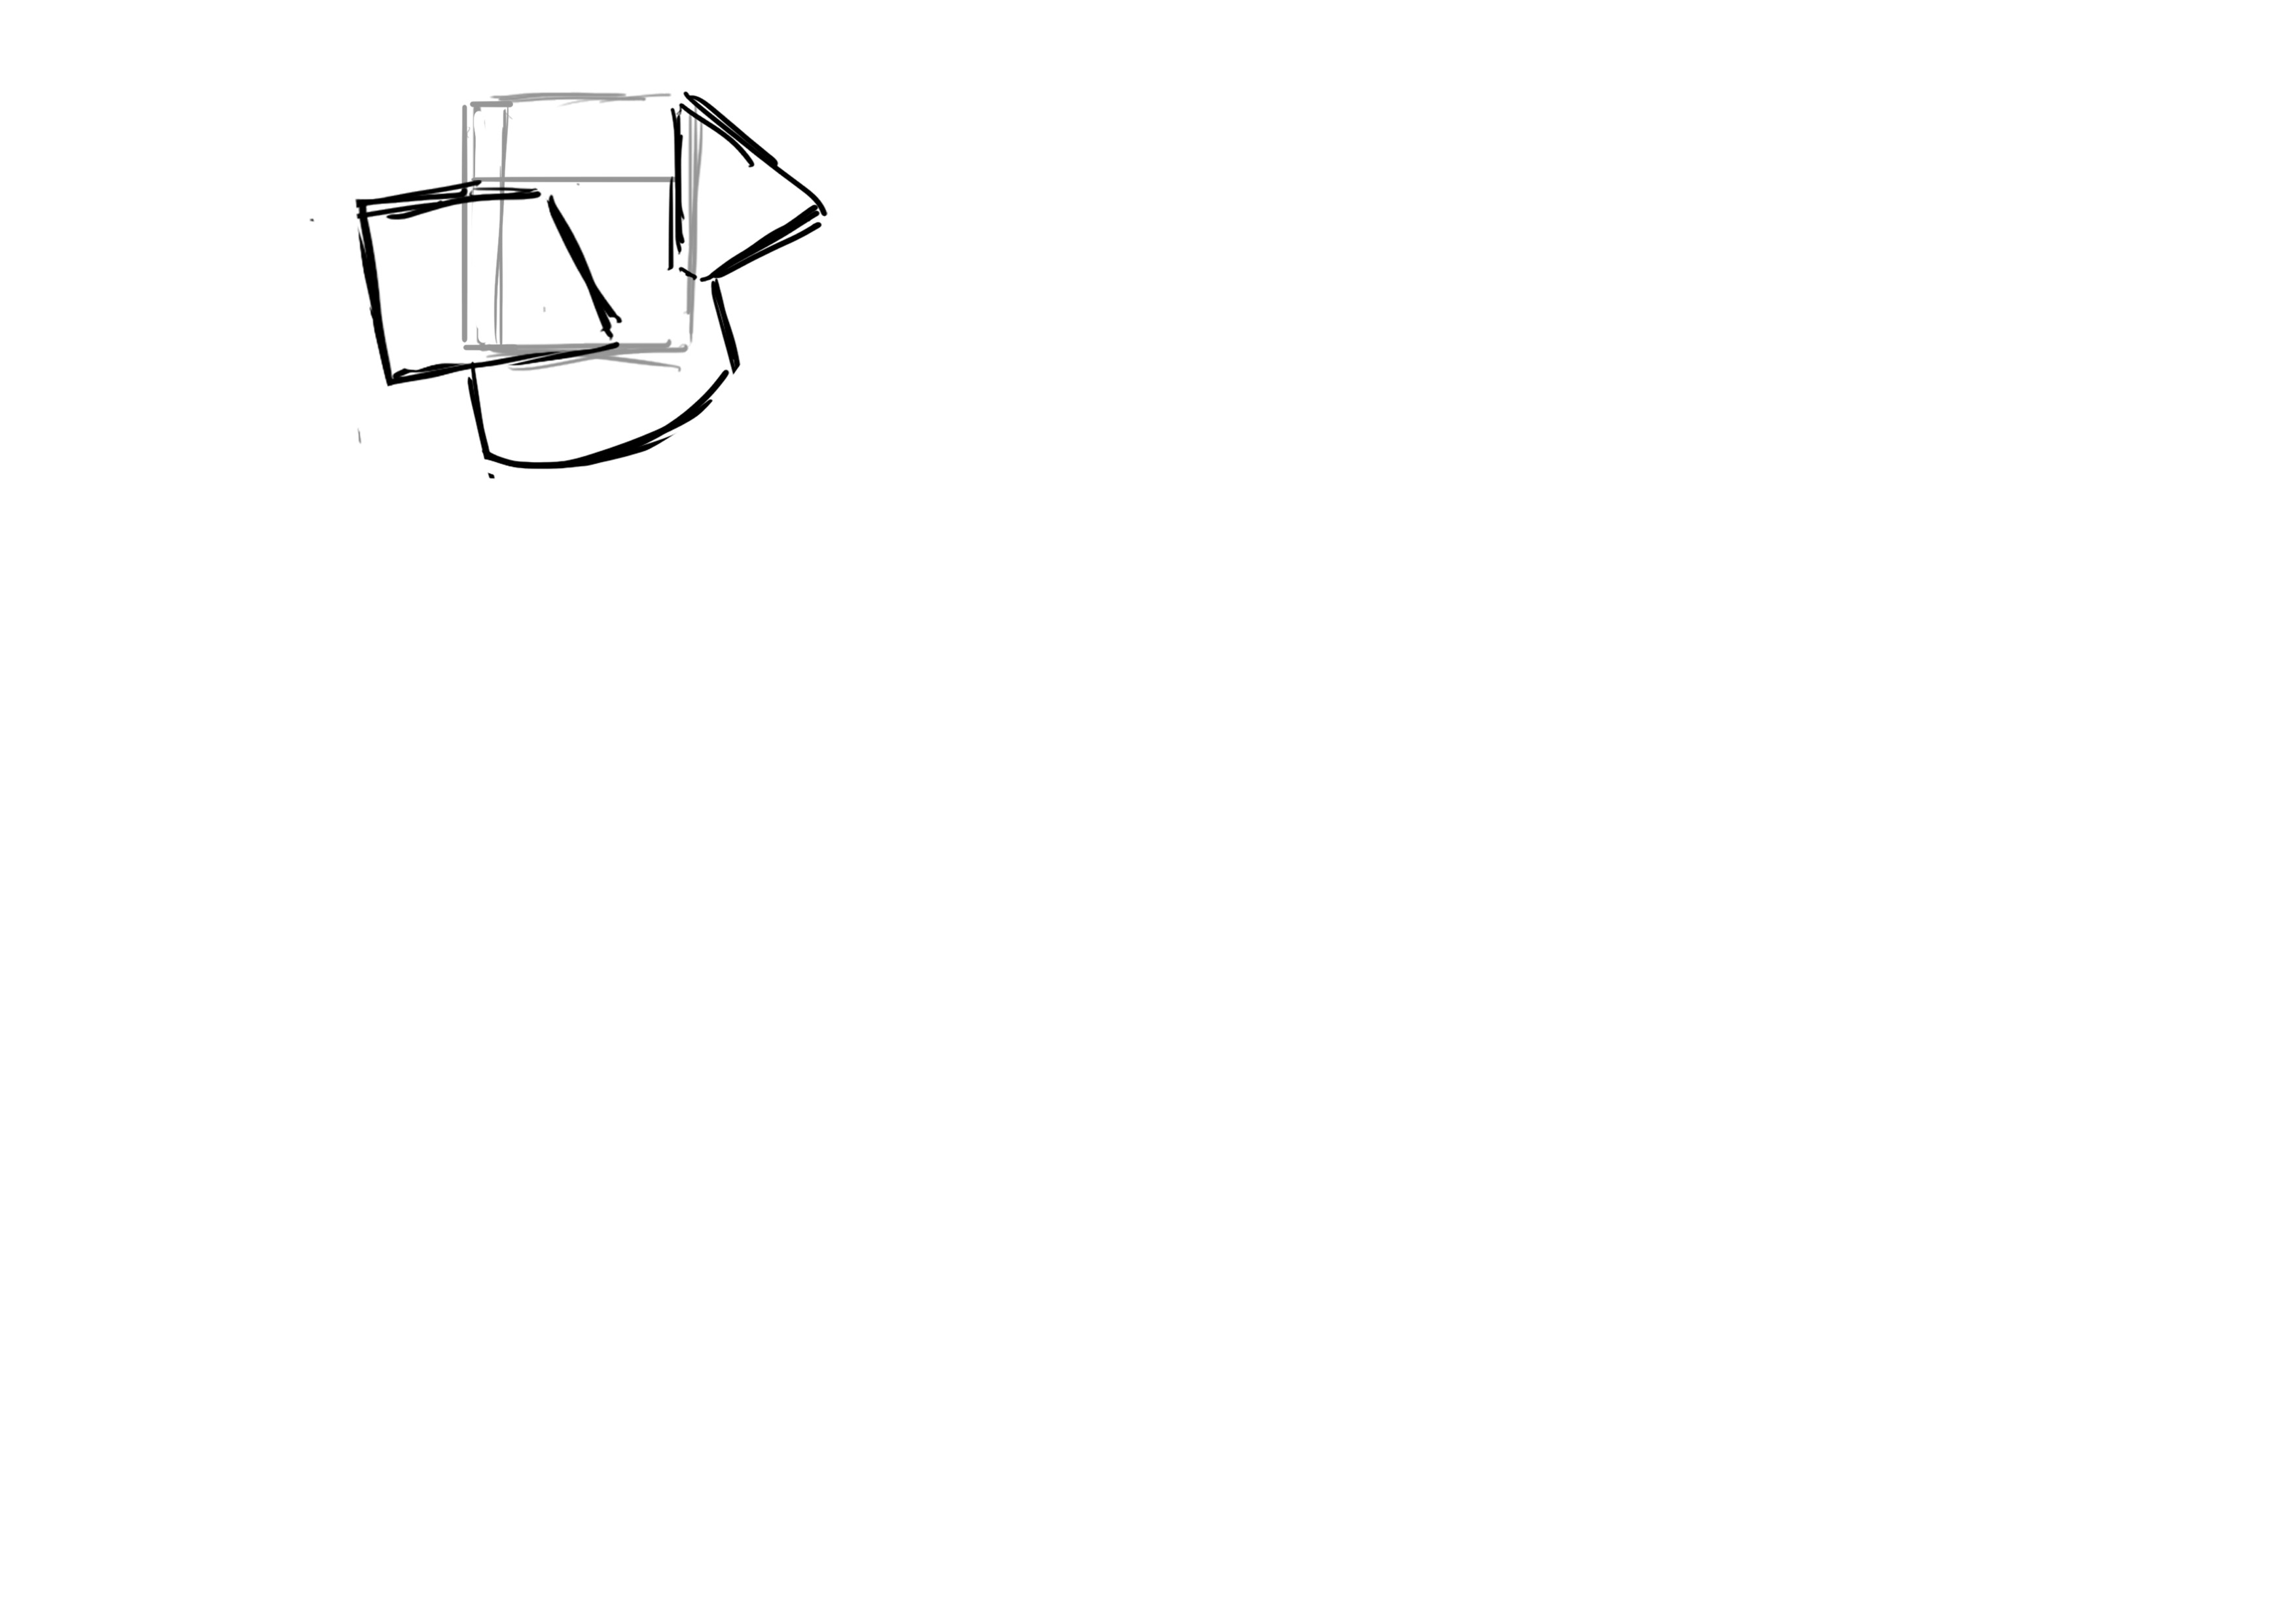
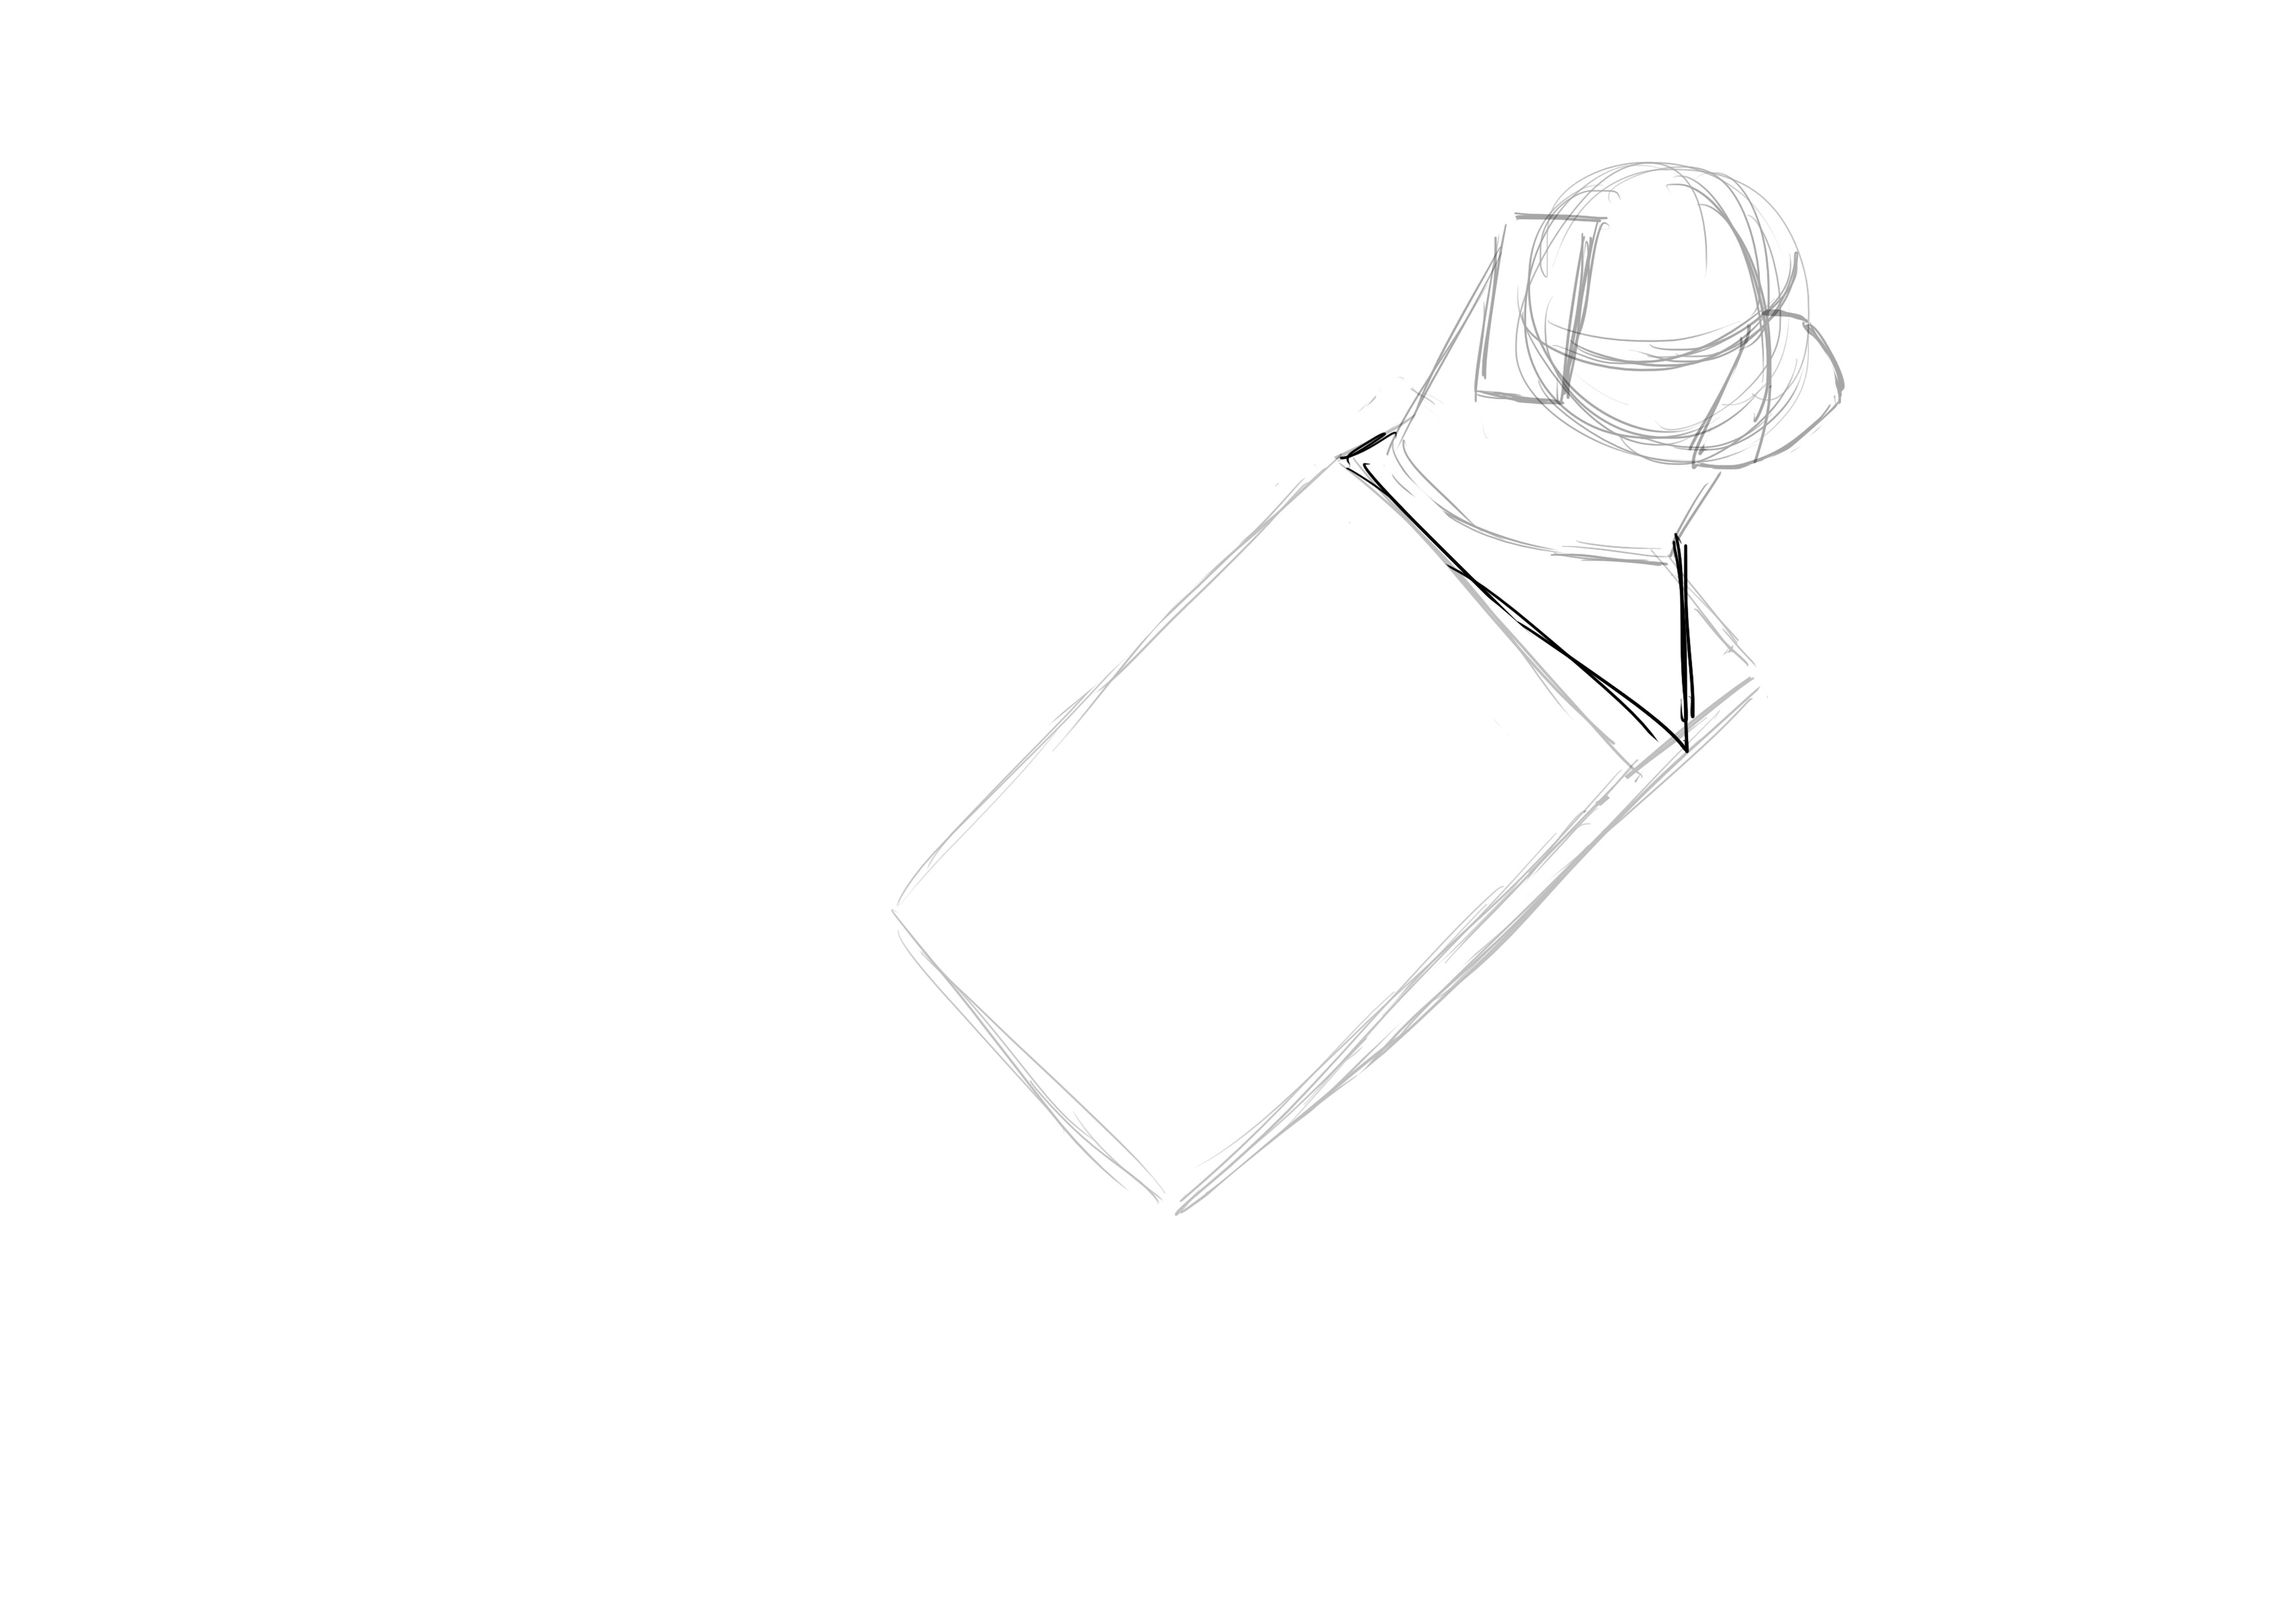
We move on to the neck. It is rather short and about as wide as the head.
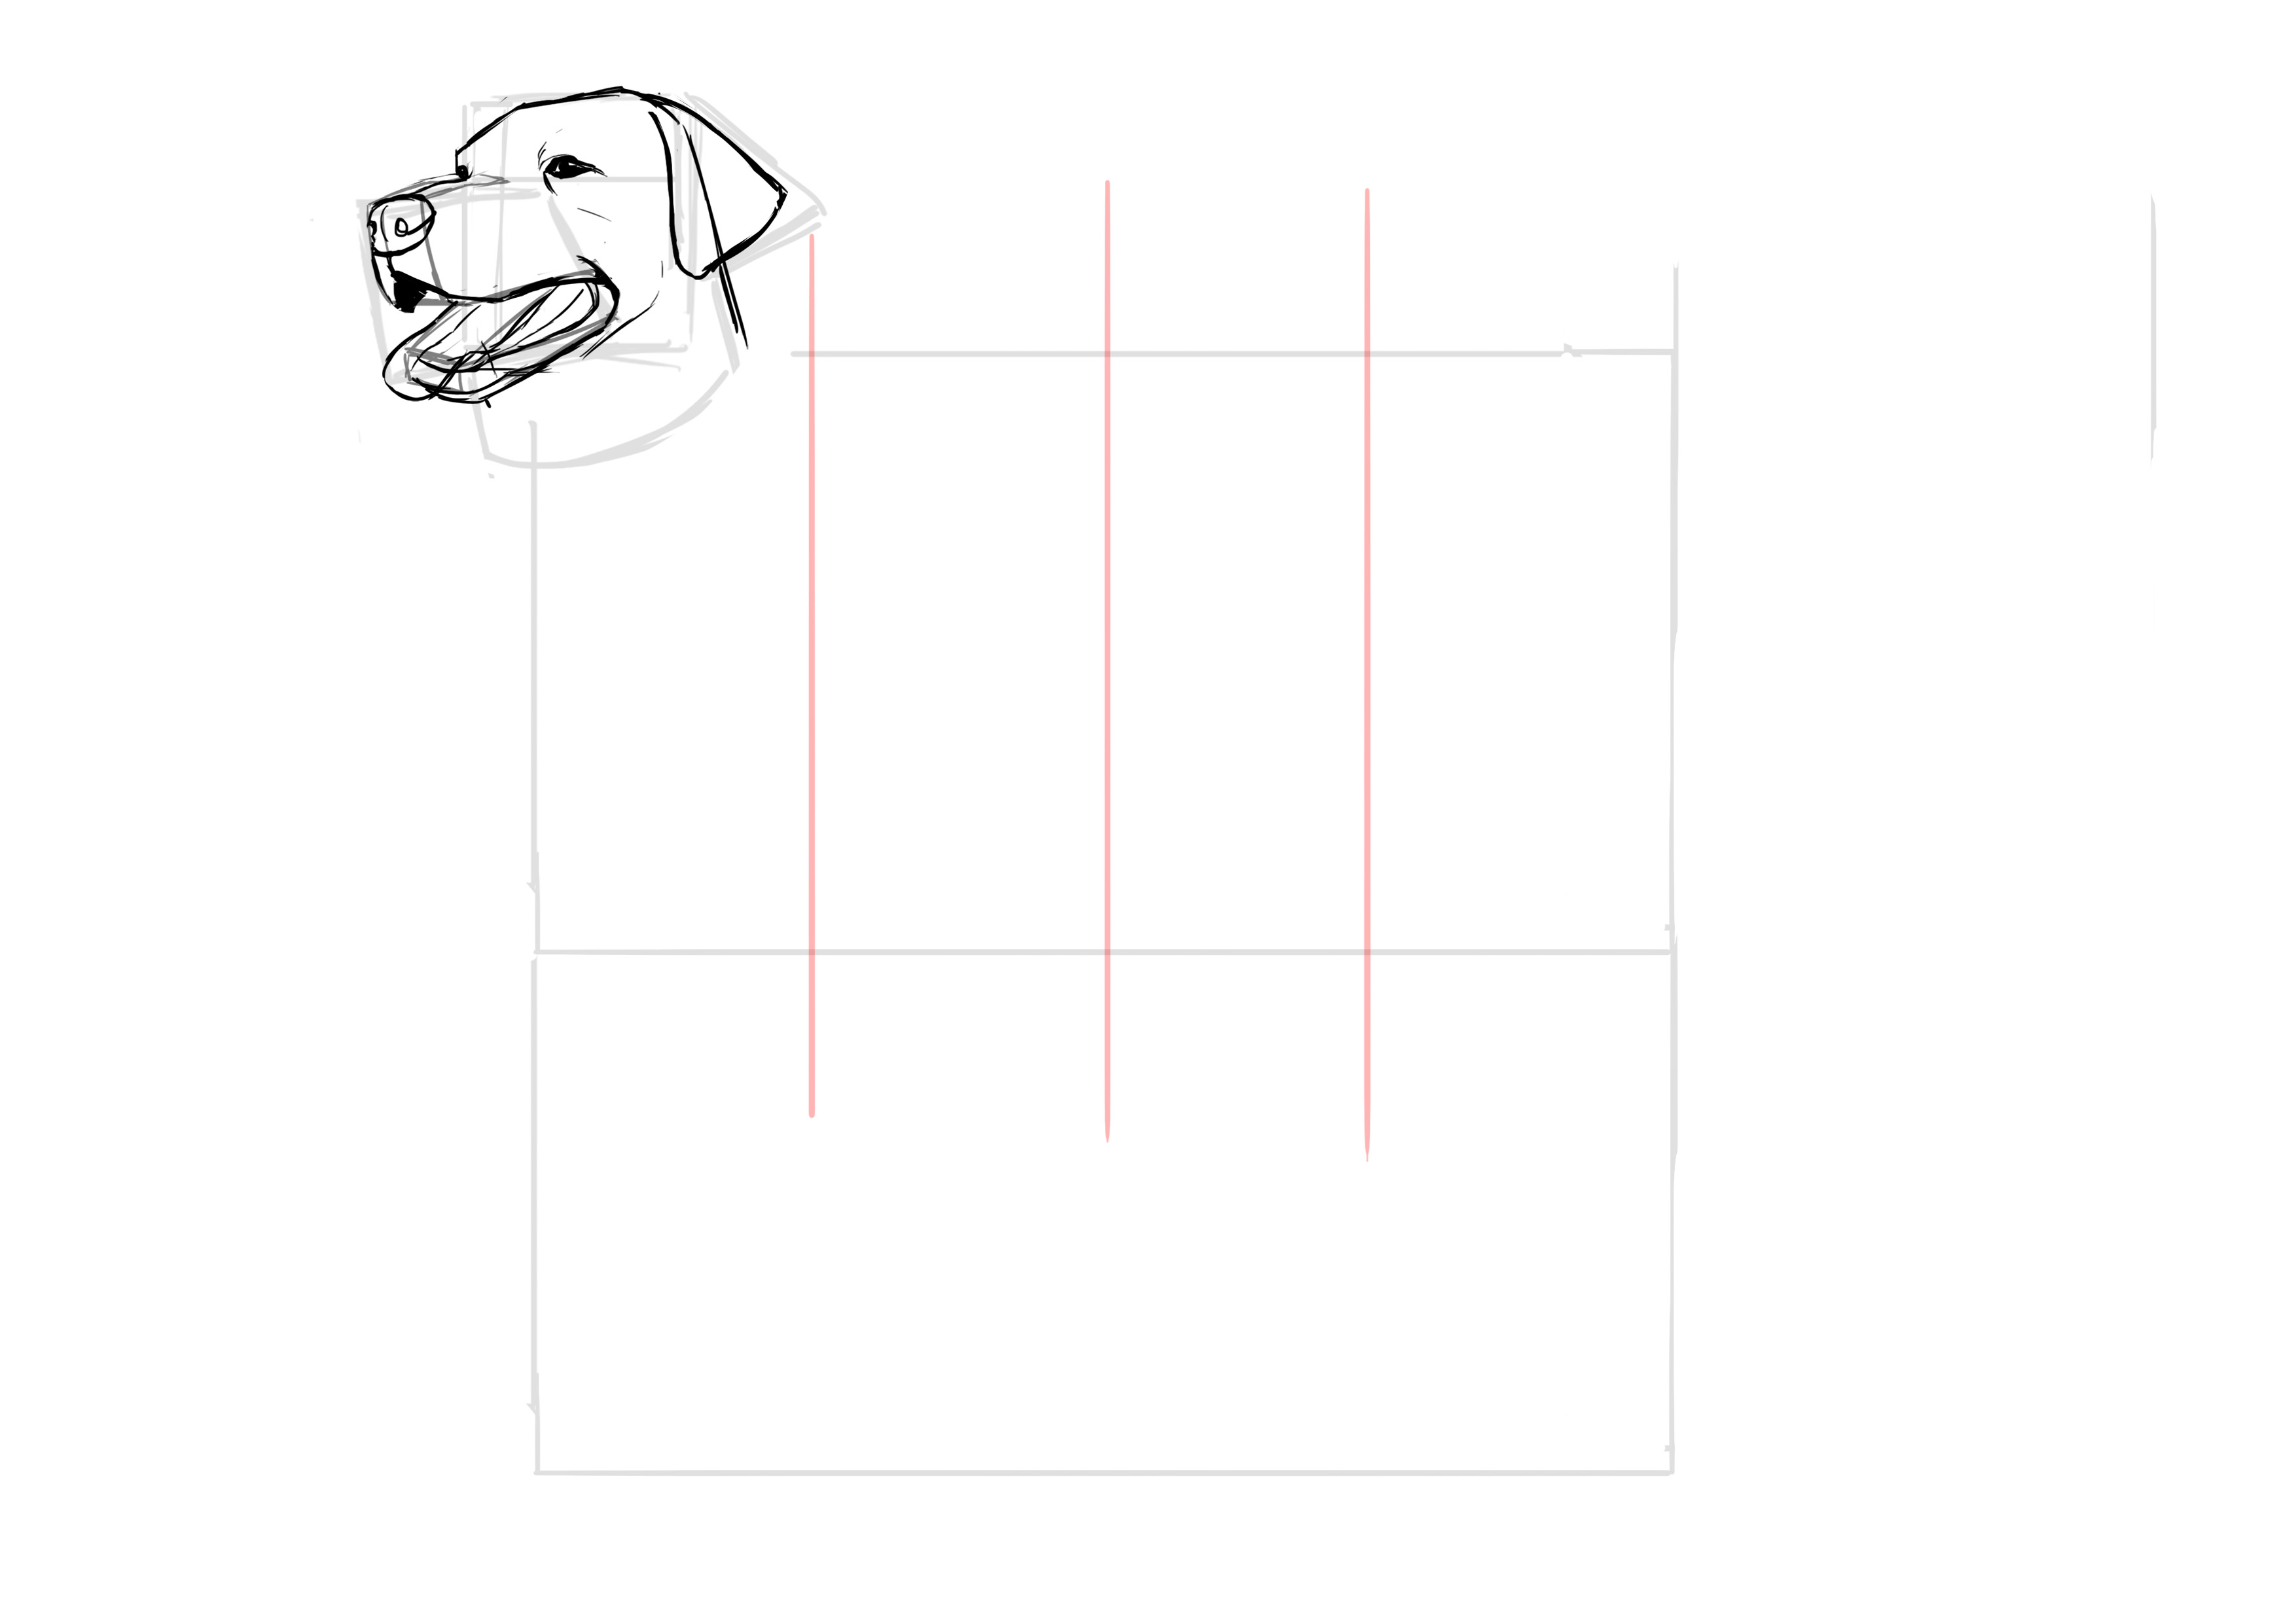
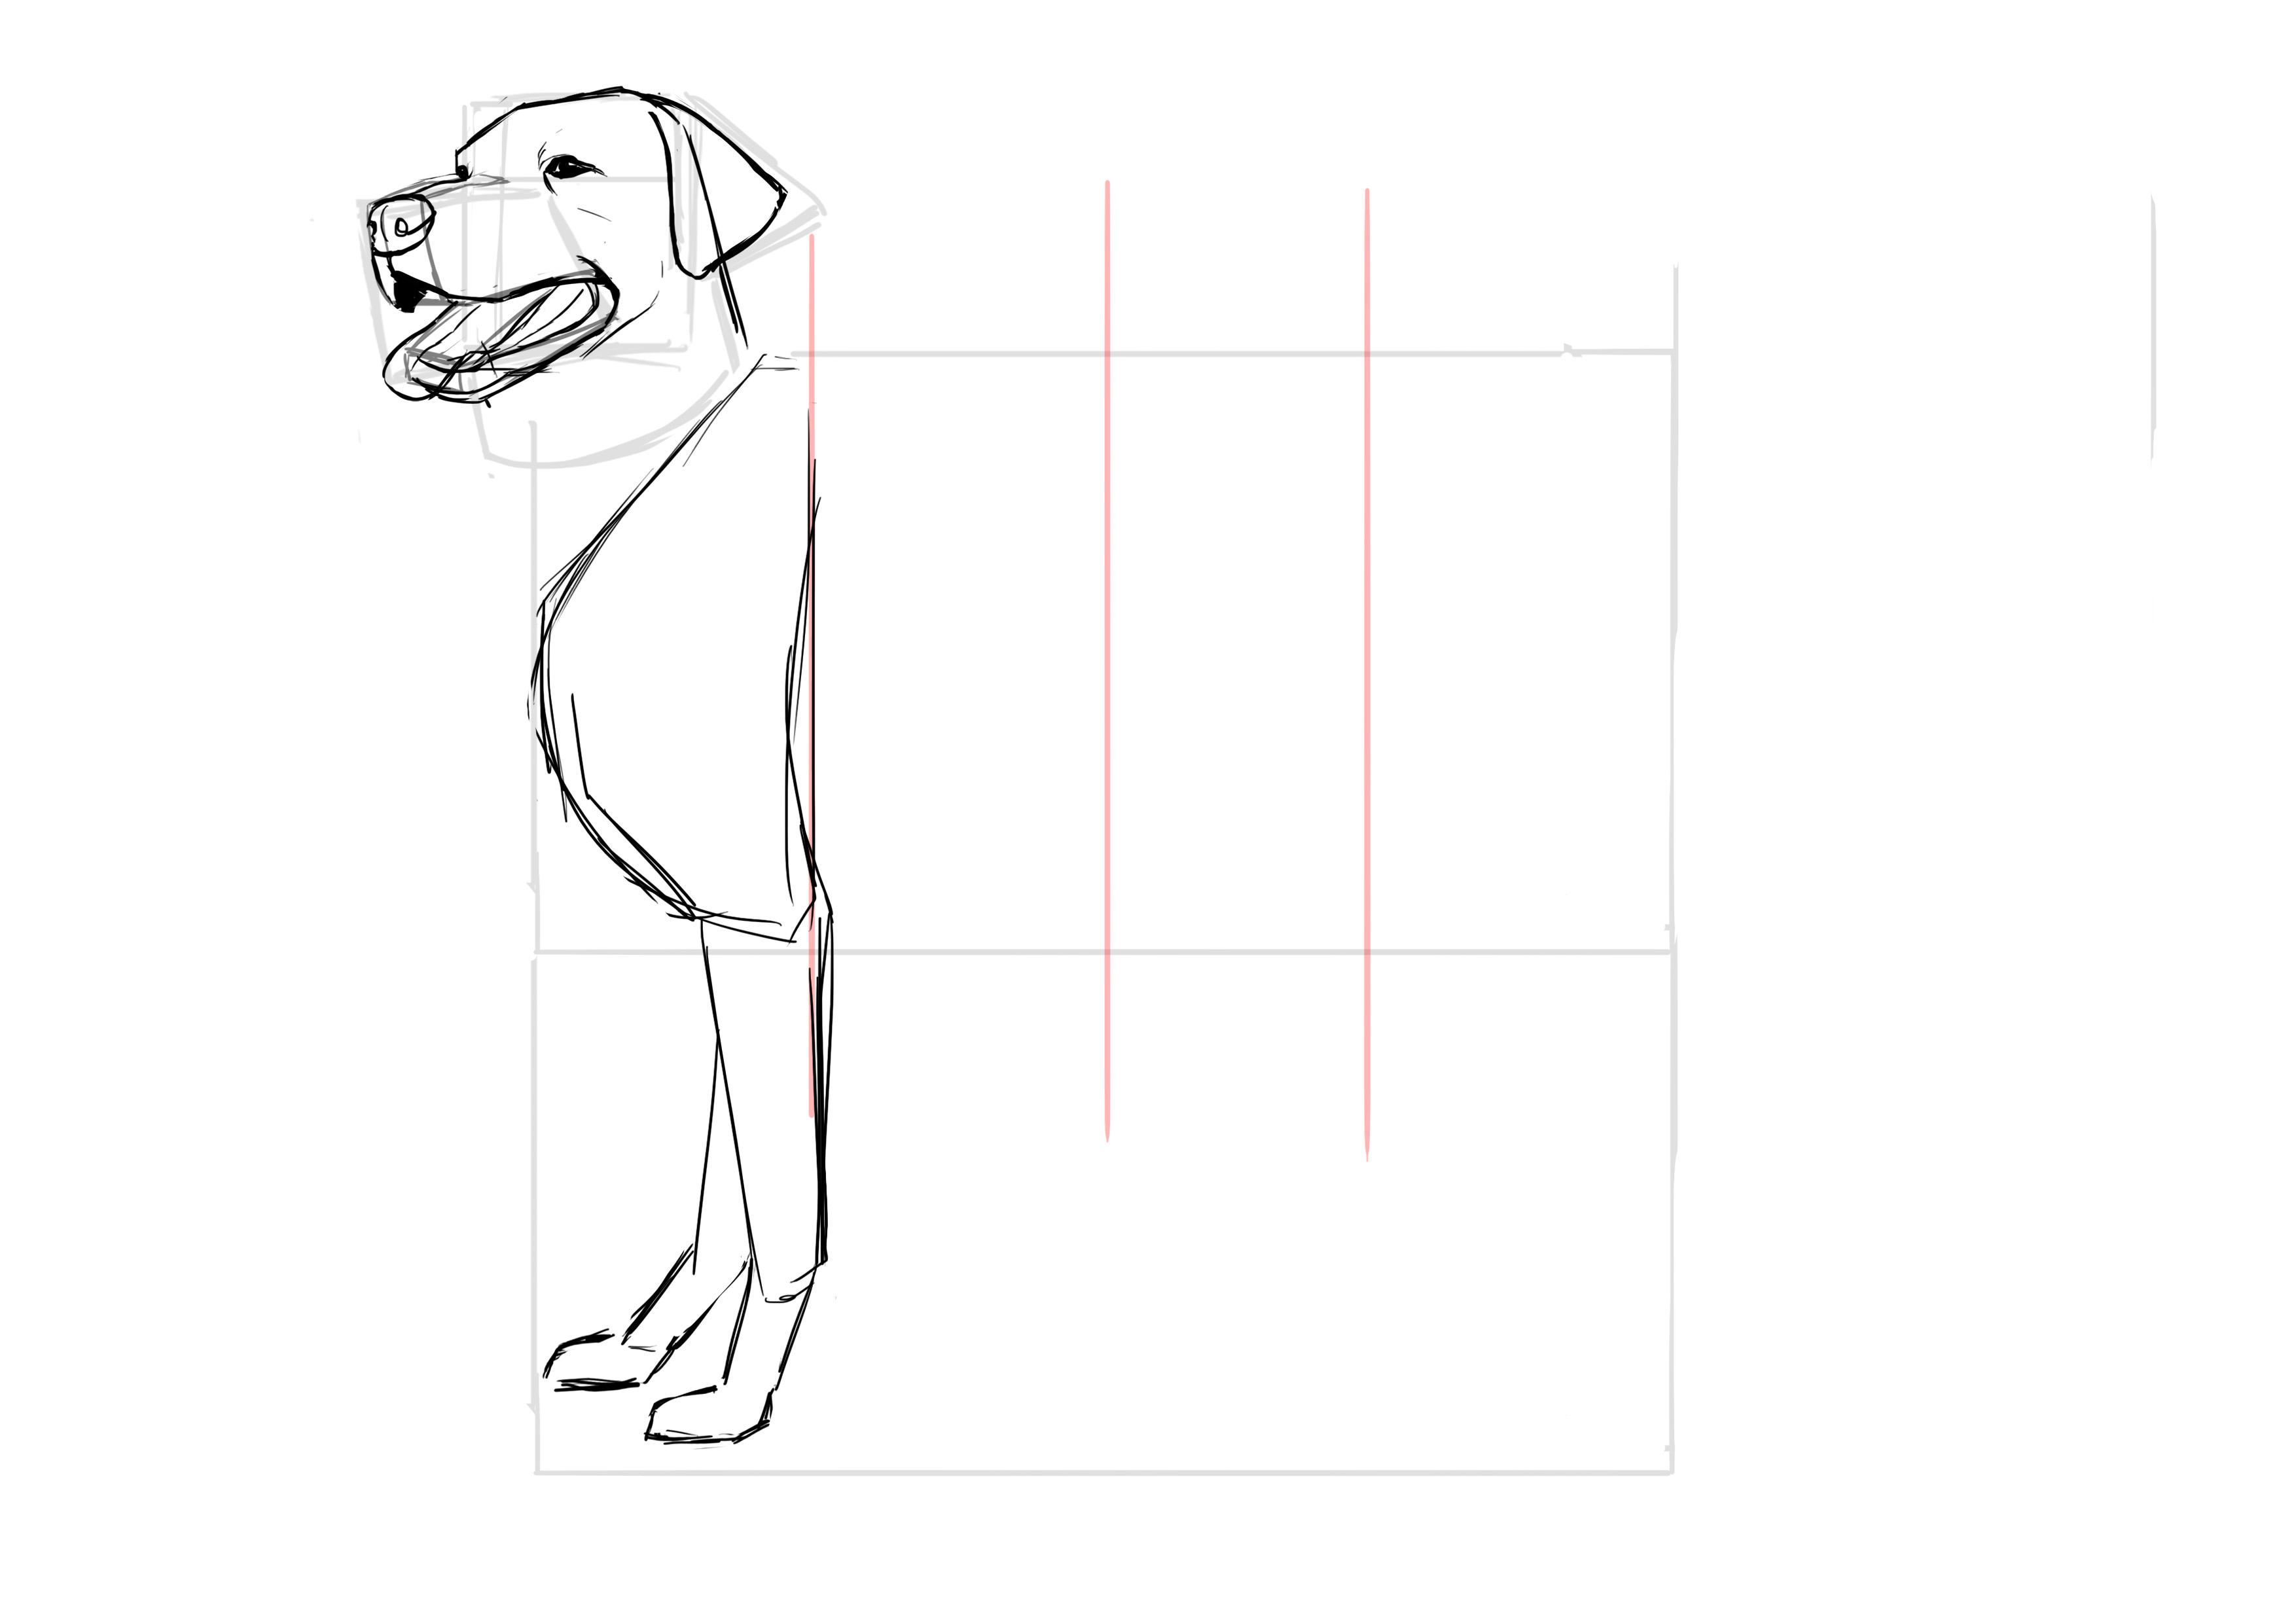
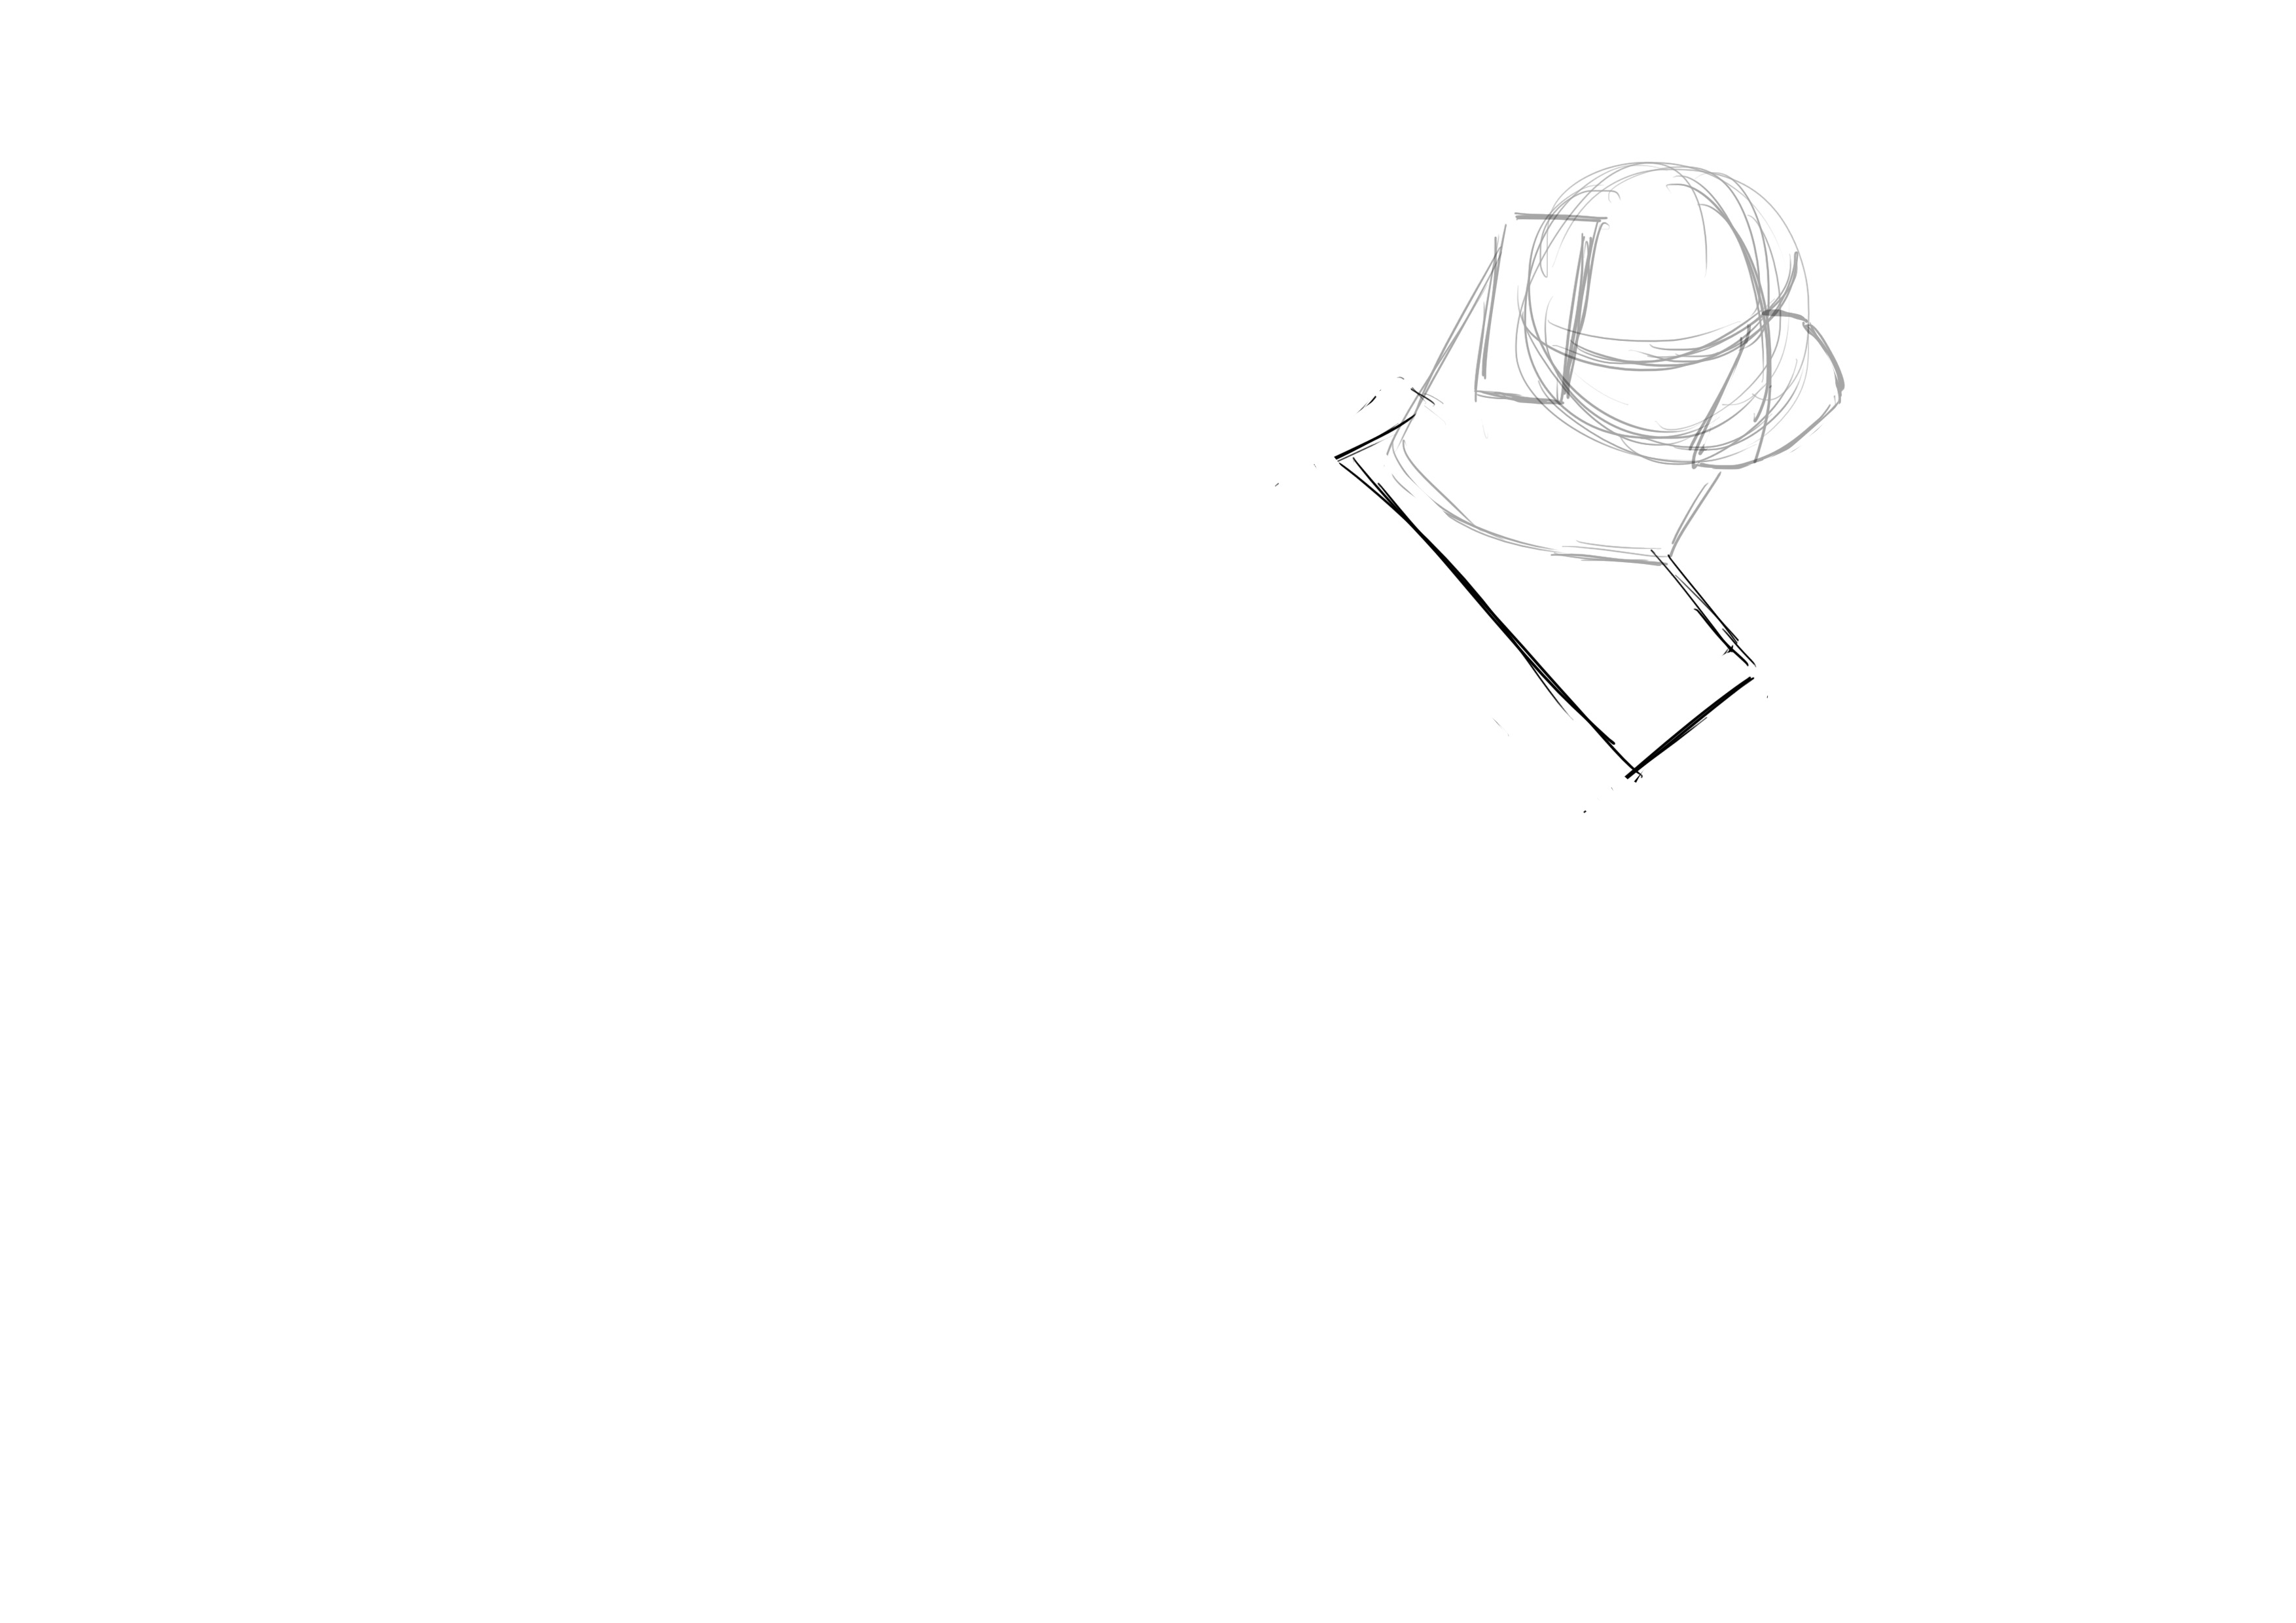
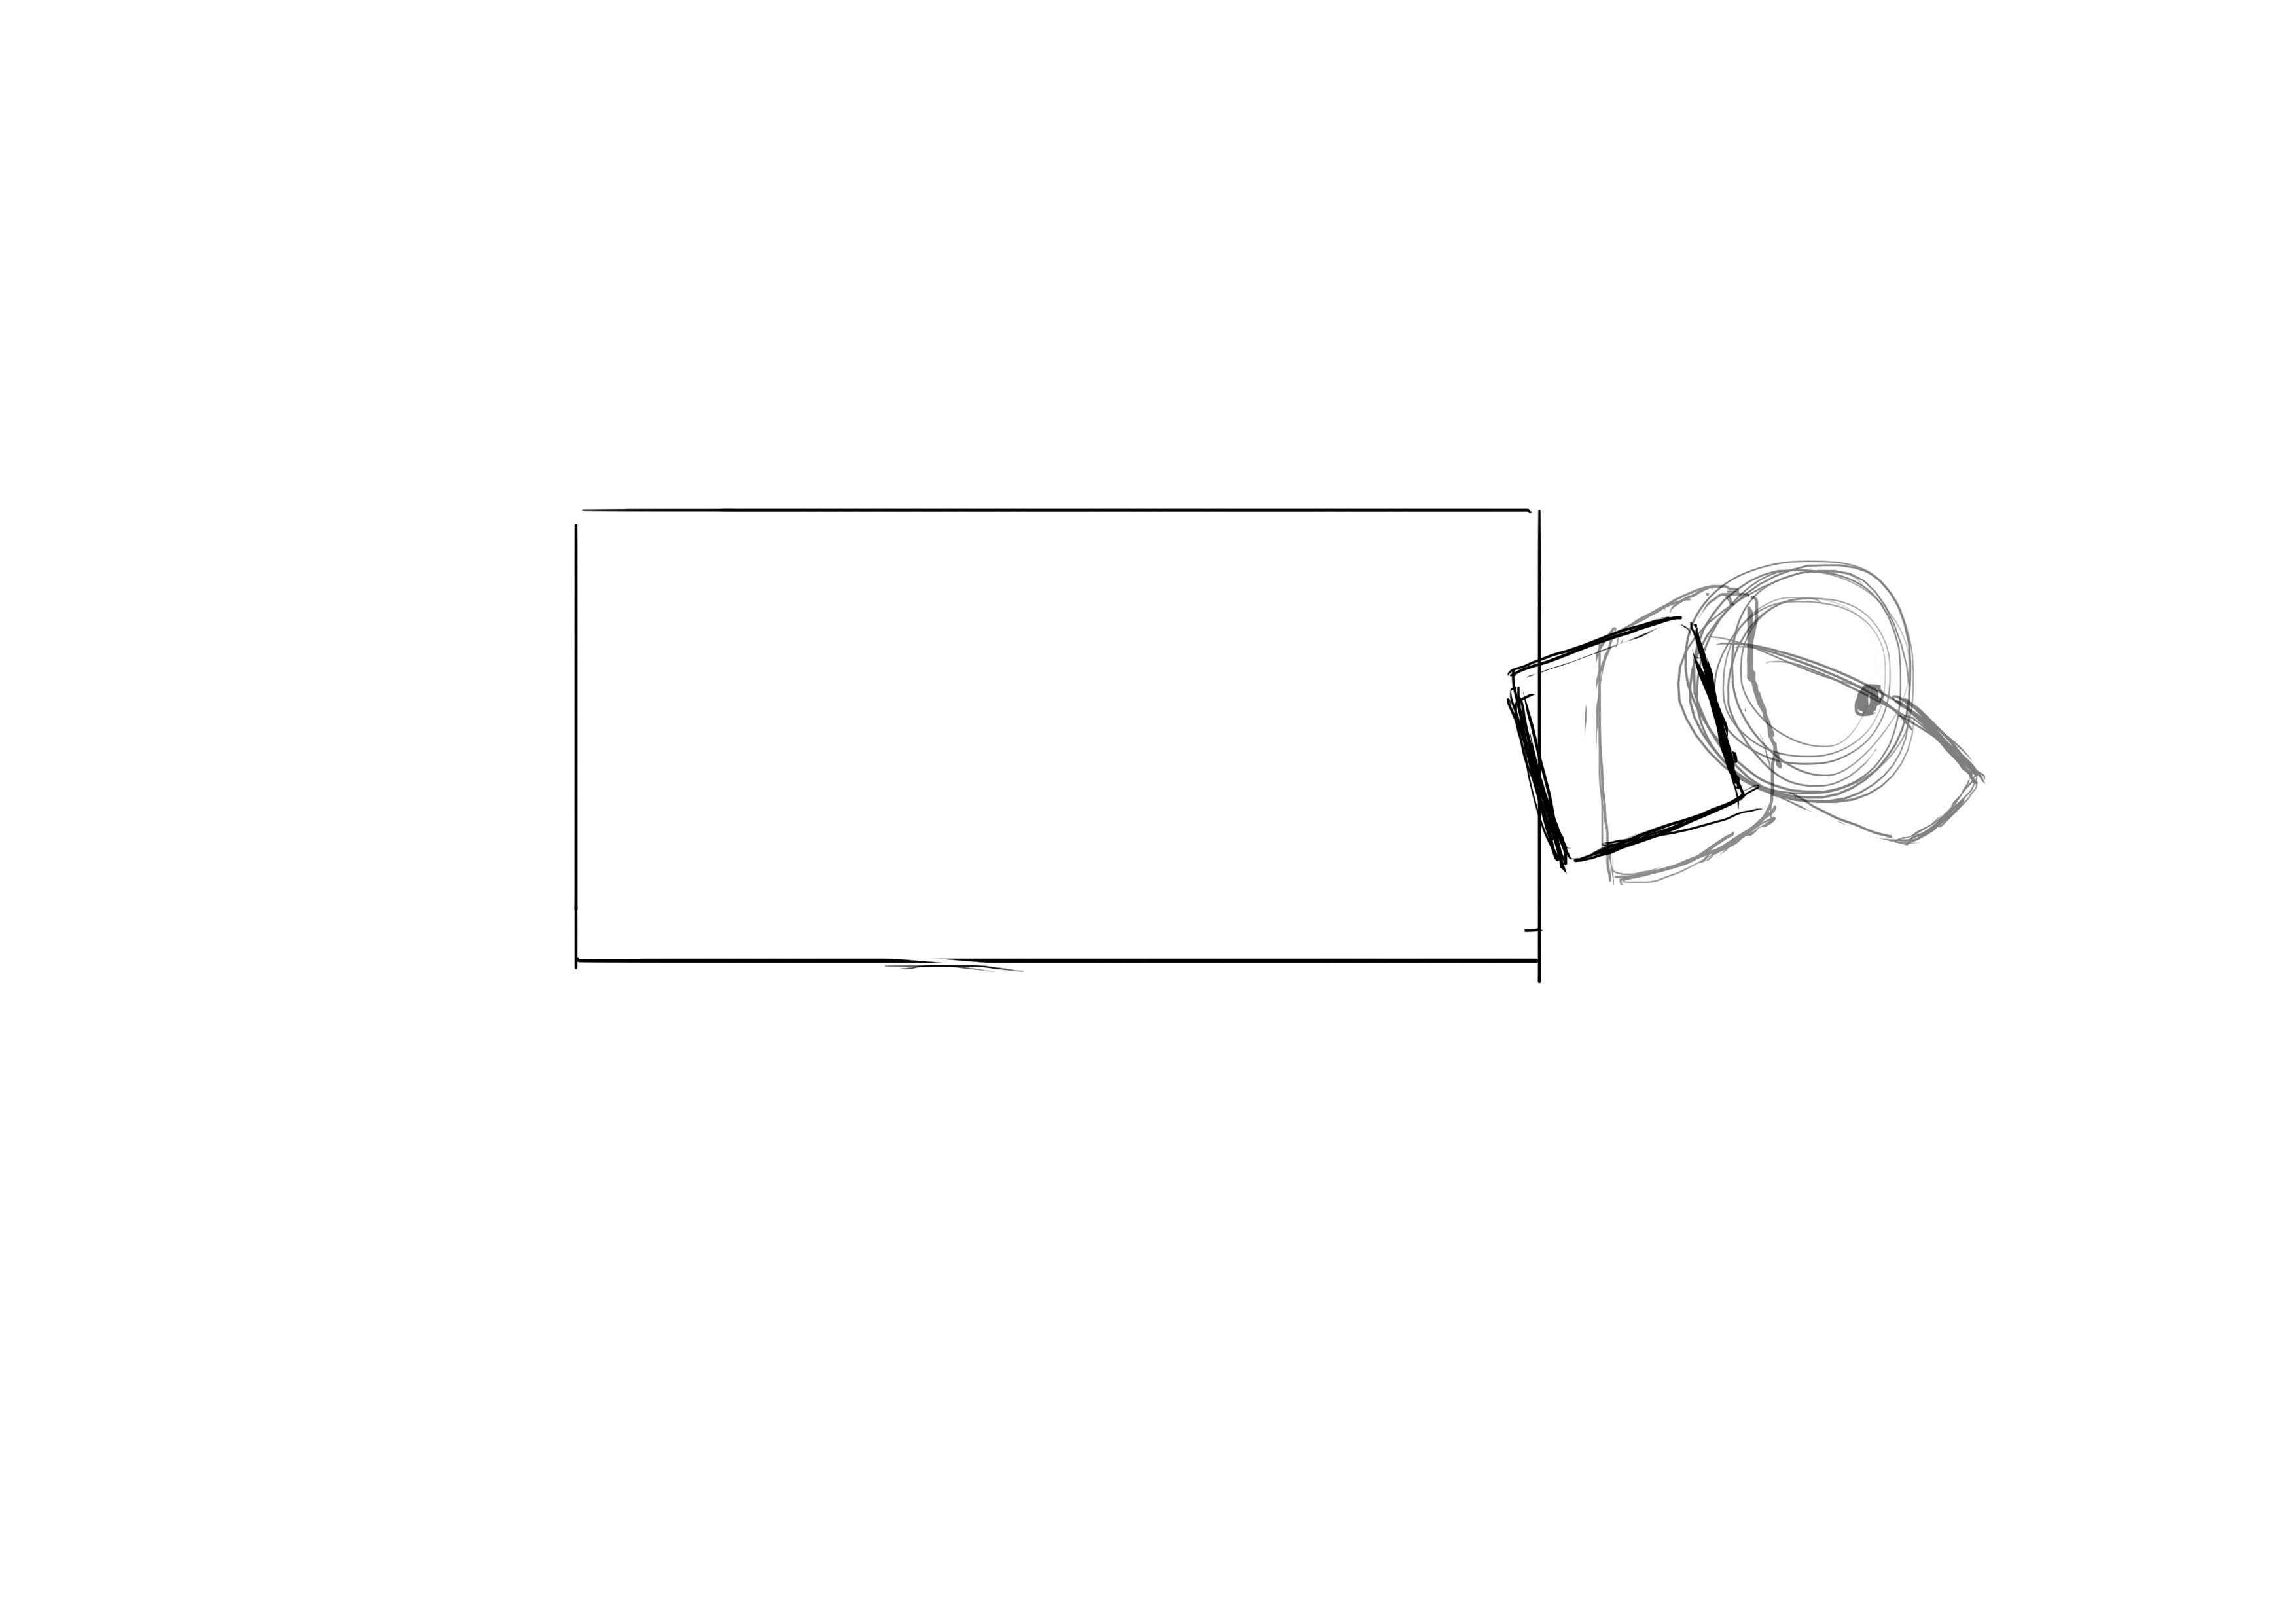
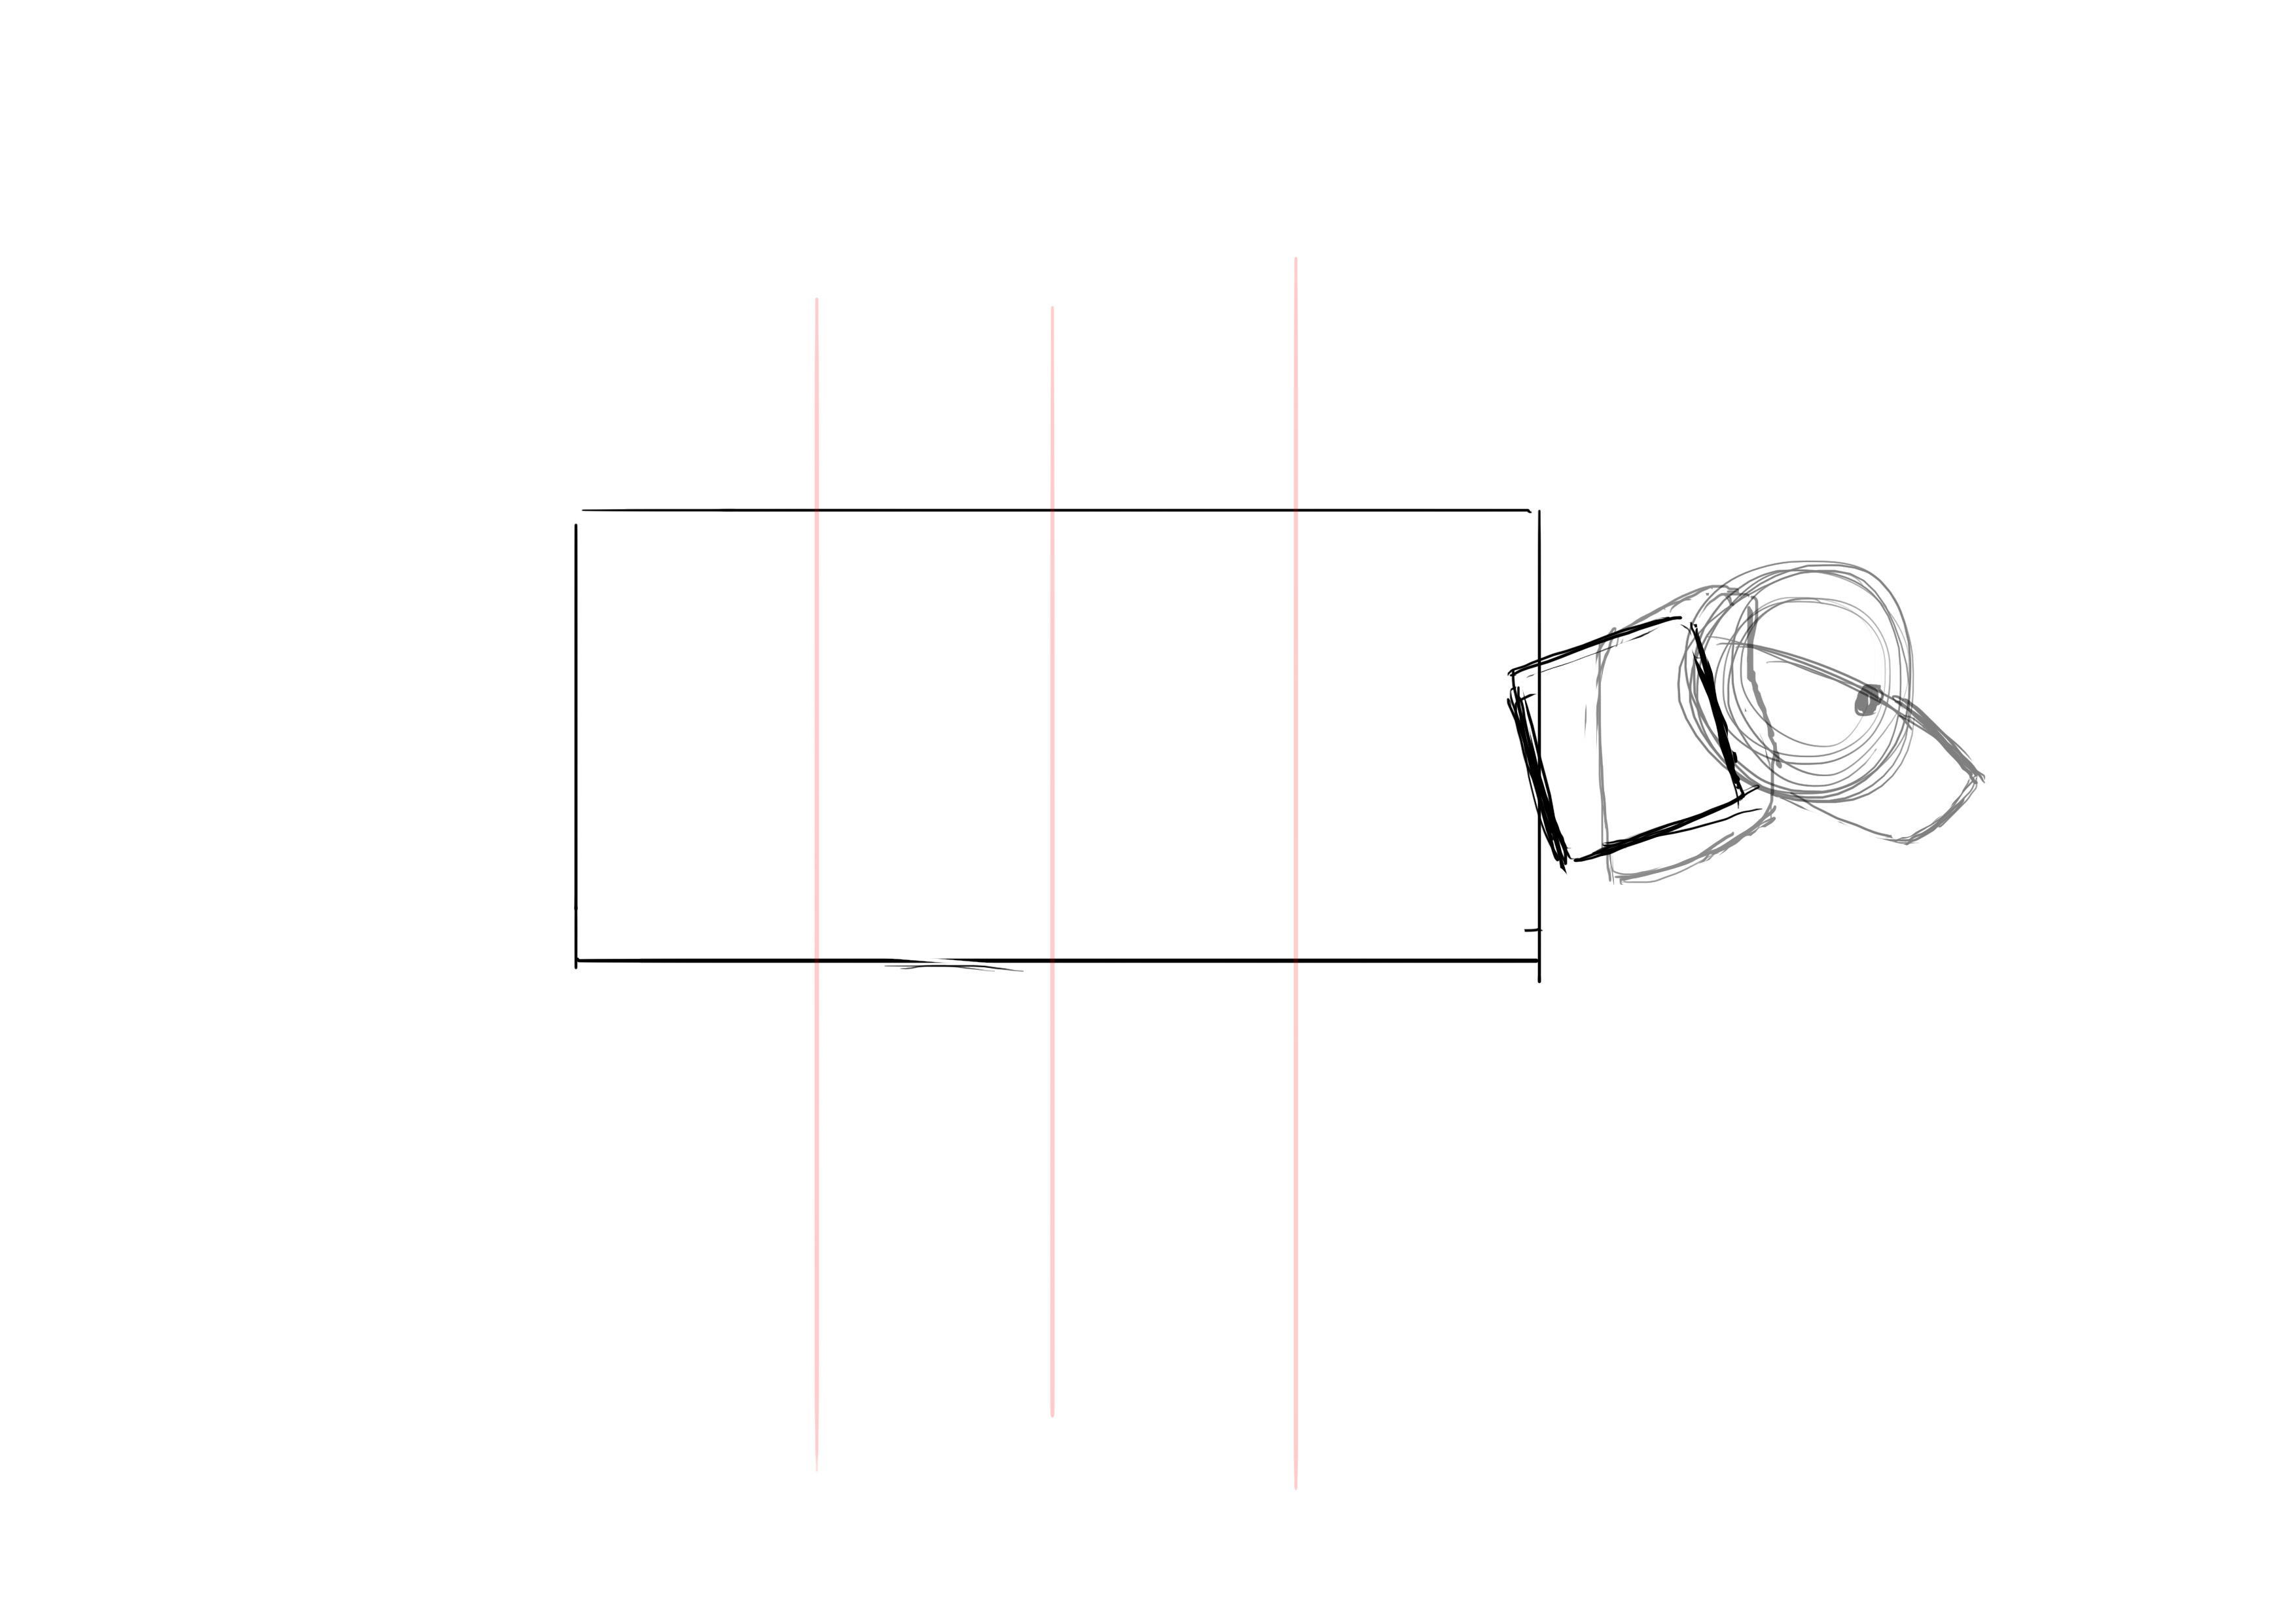
You know the method for the body, it's the same one used for most of my tutorials: the parallelepiped. Here, it starts at the bottom of the jaw. The rectangle is a little more than twice the length of the head and a little more than once the head's width.
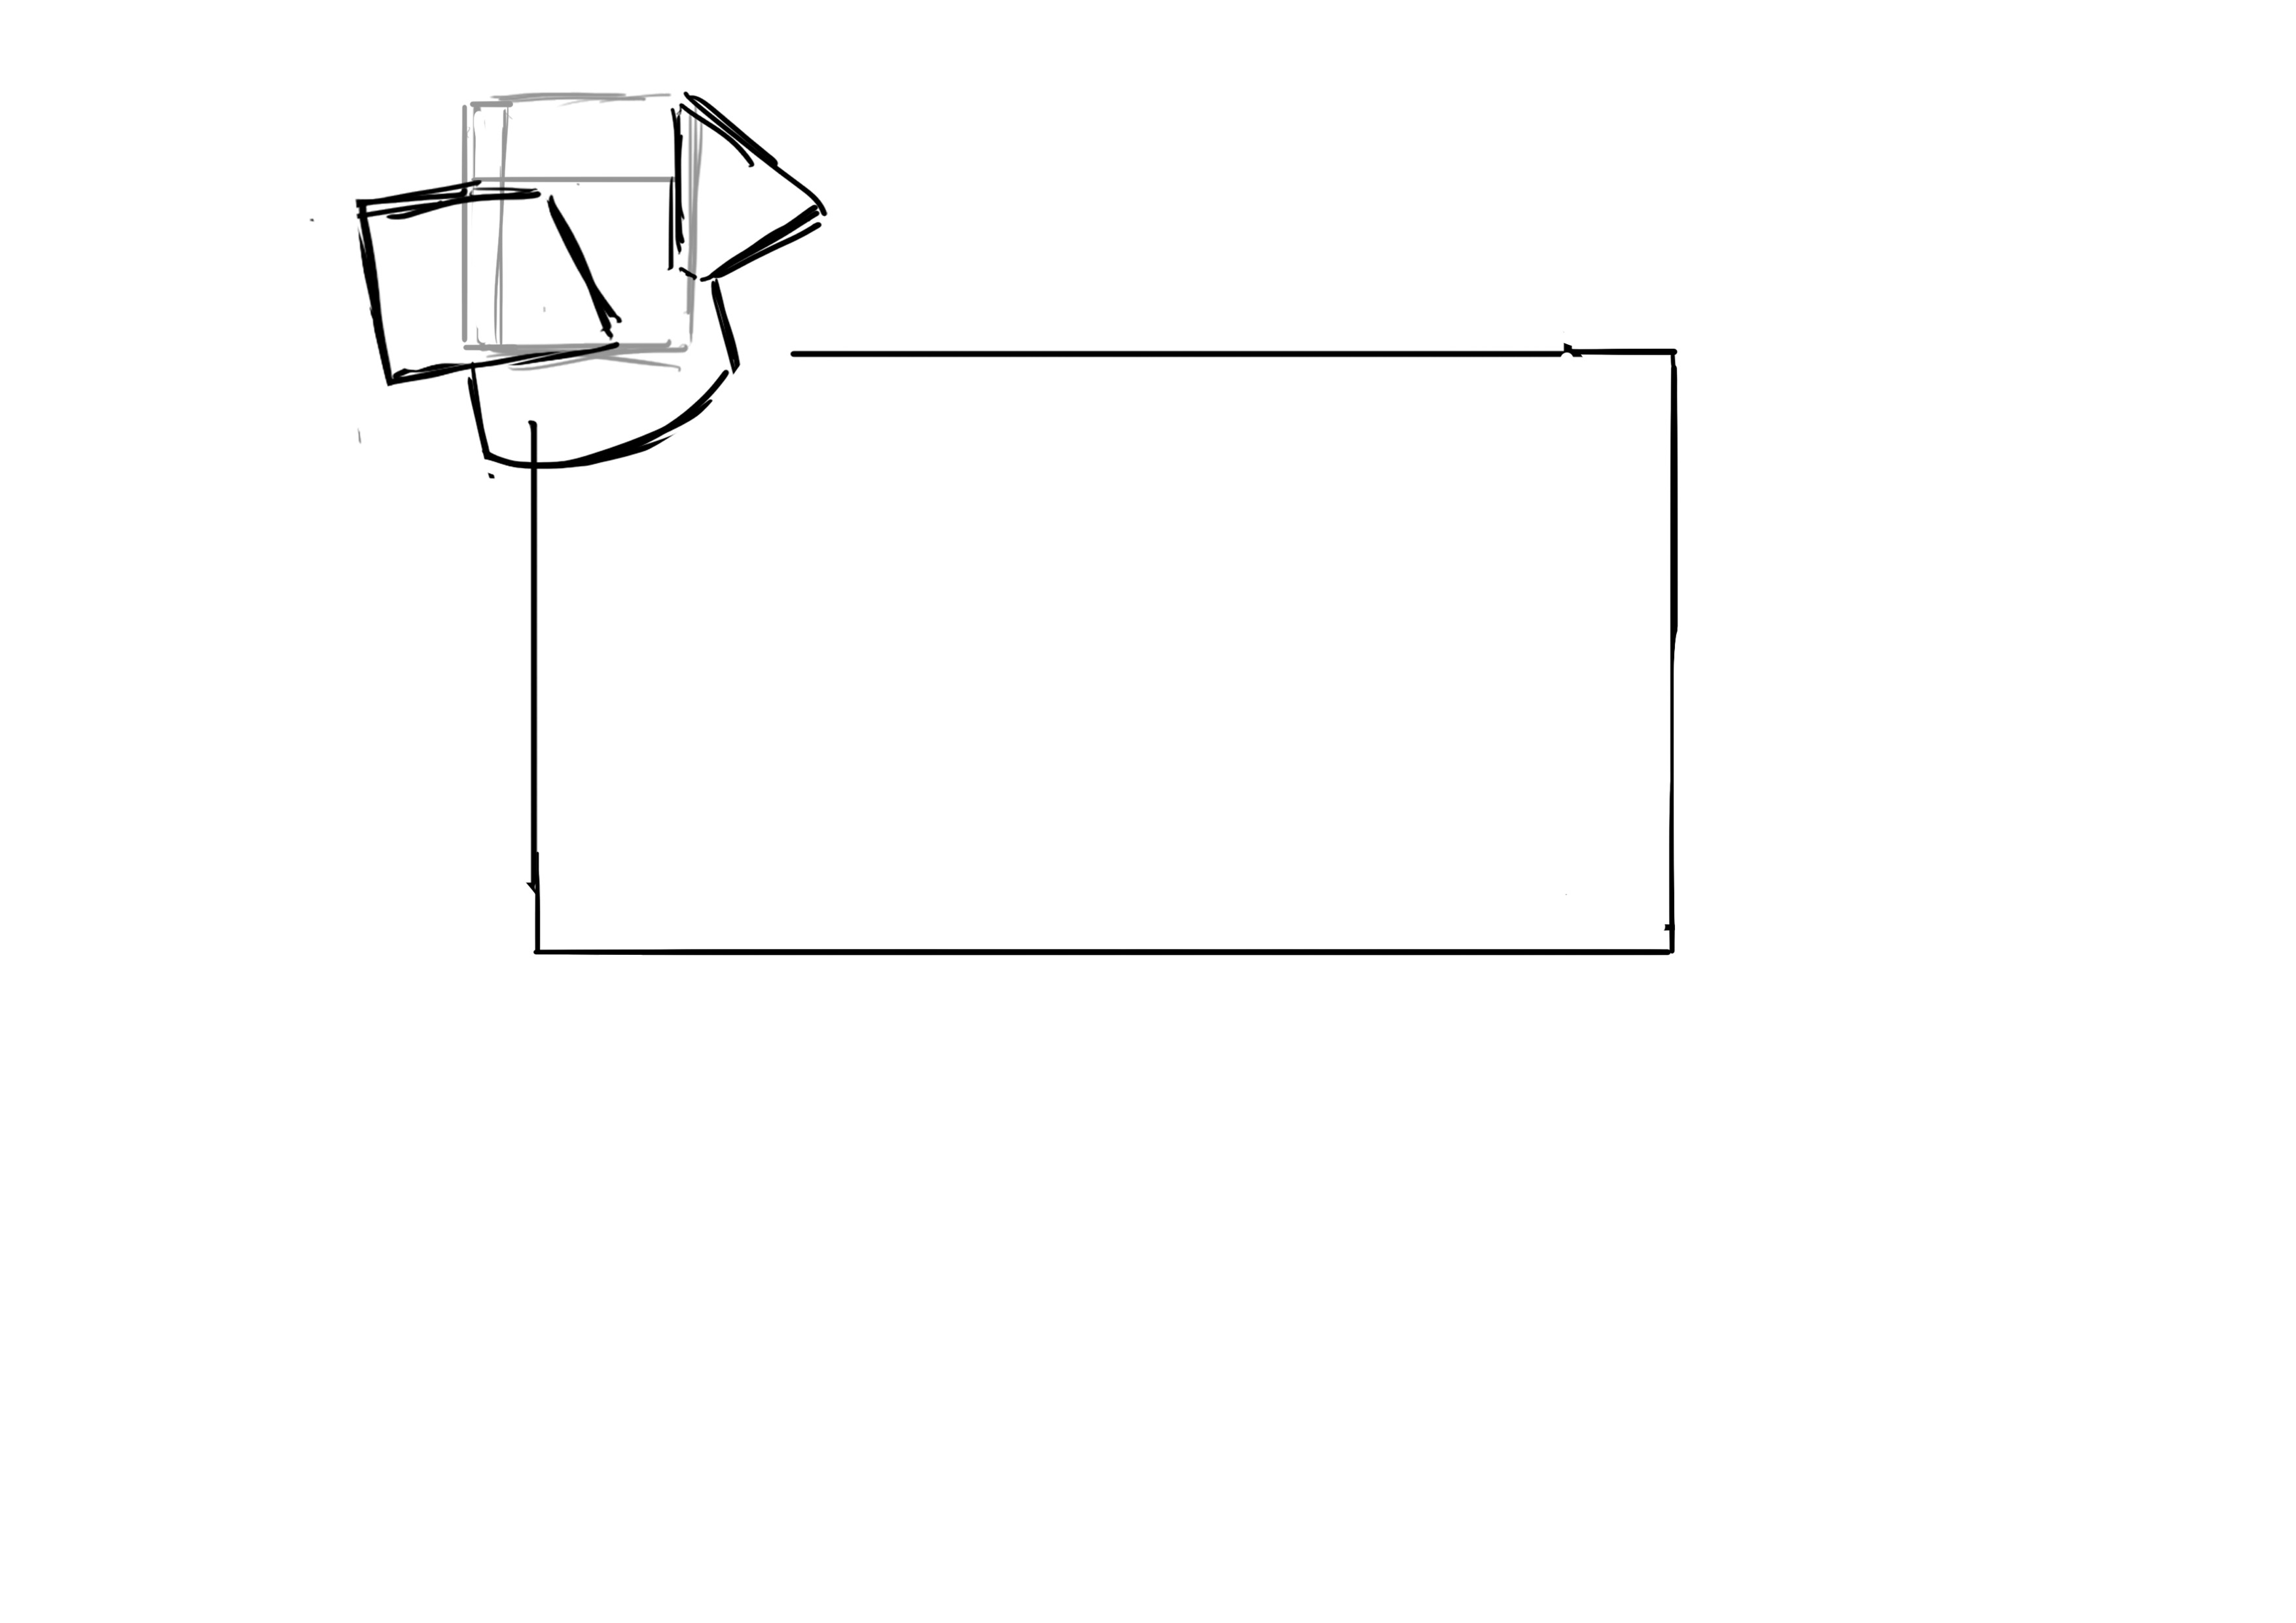
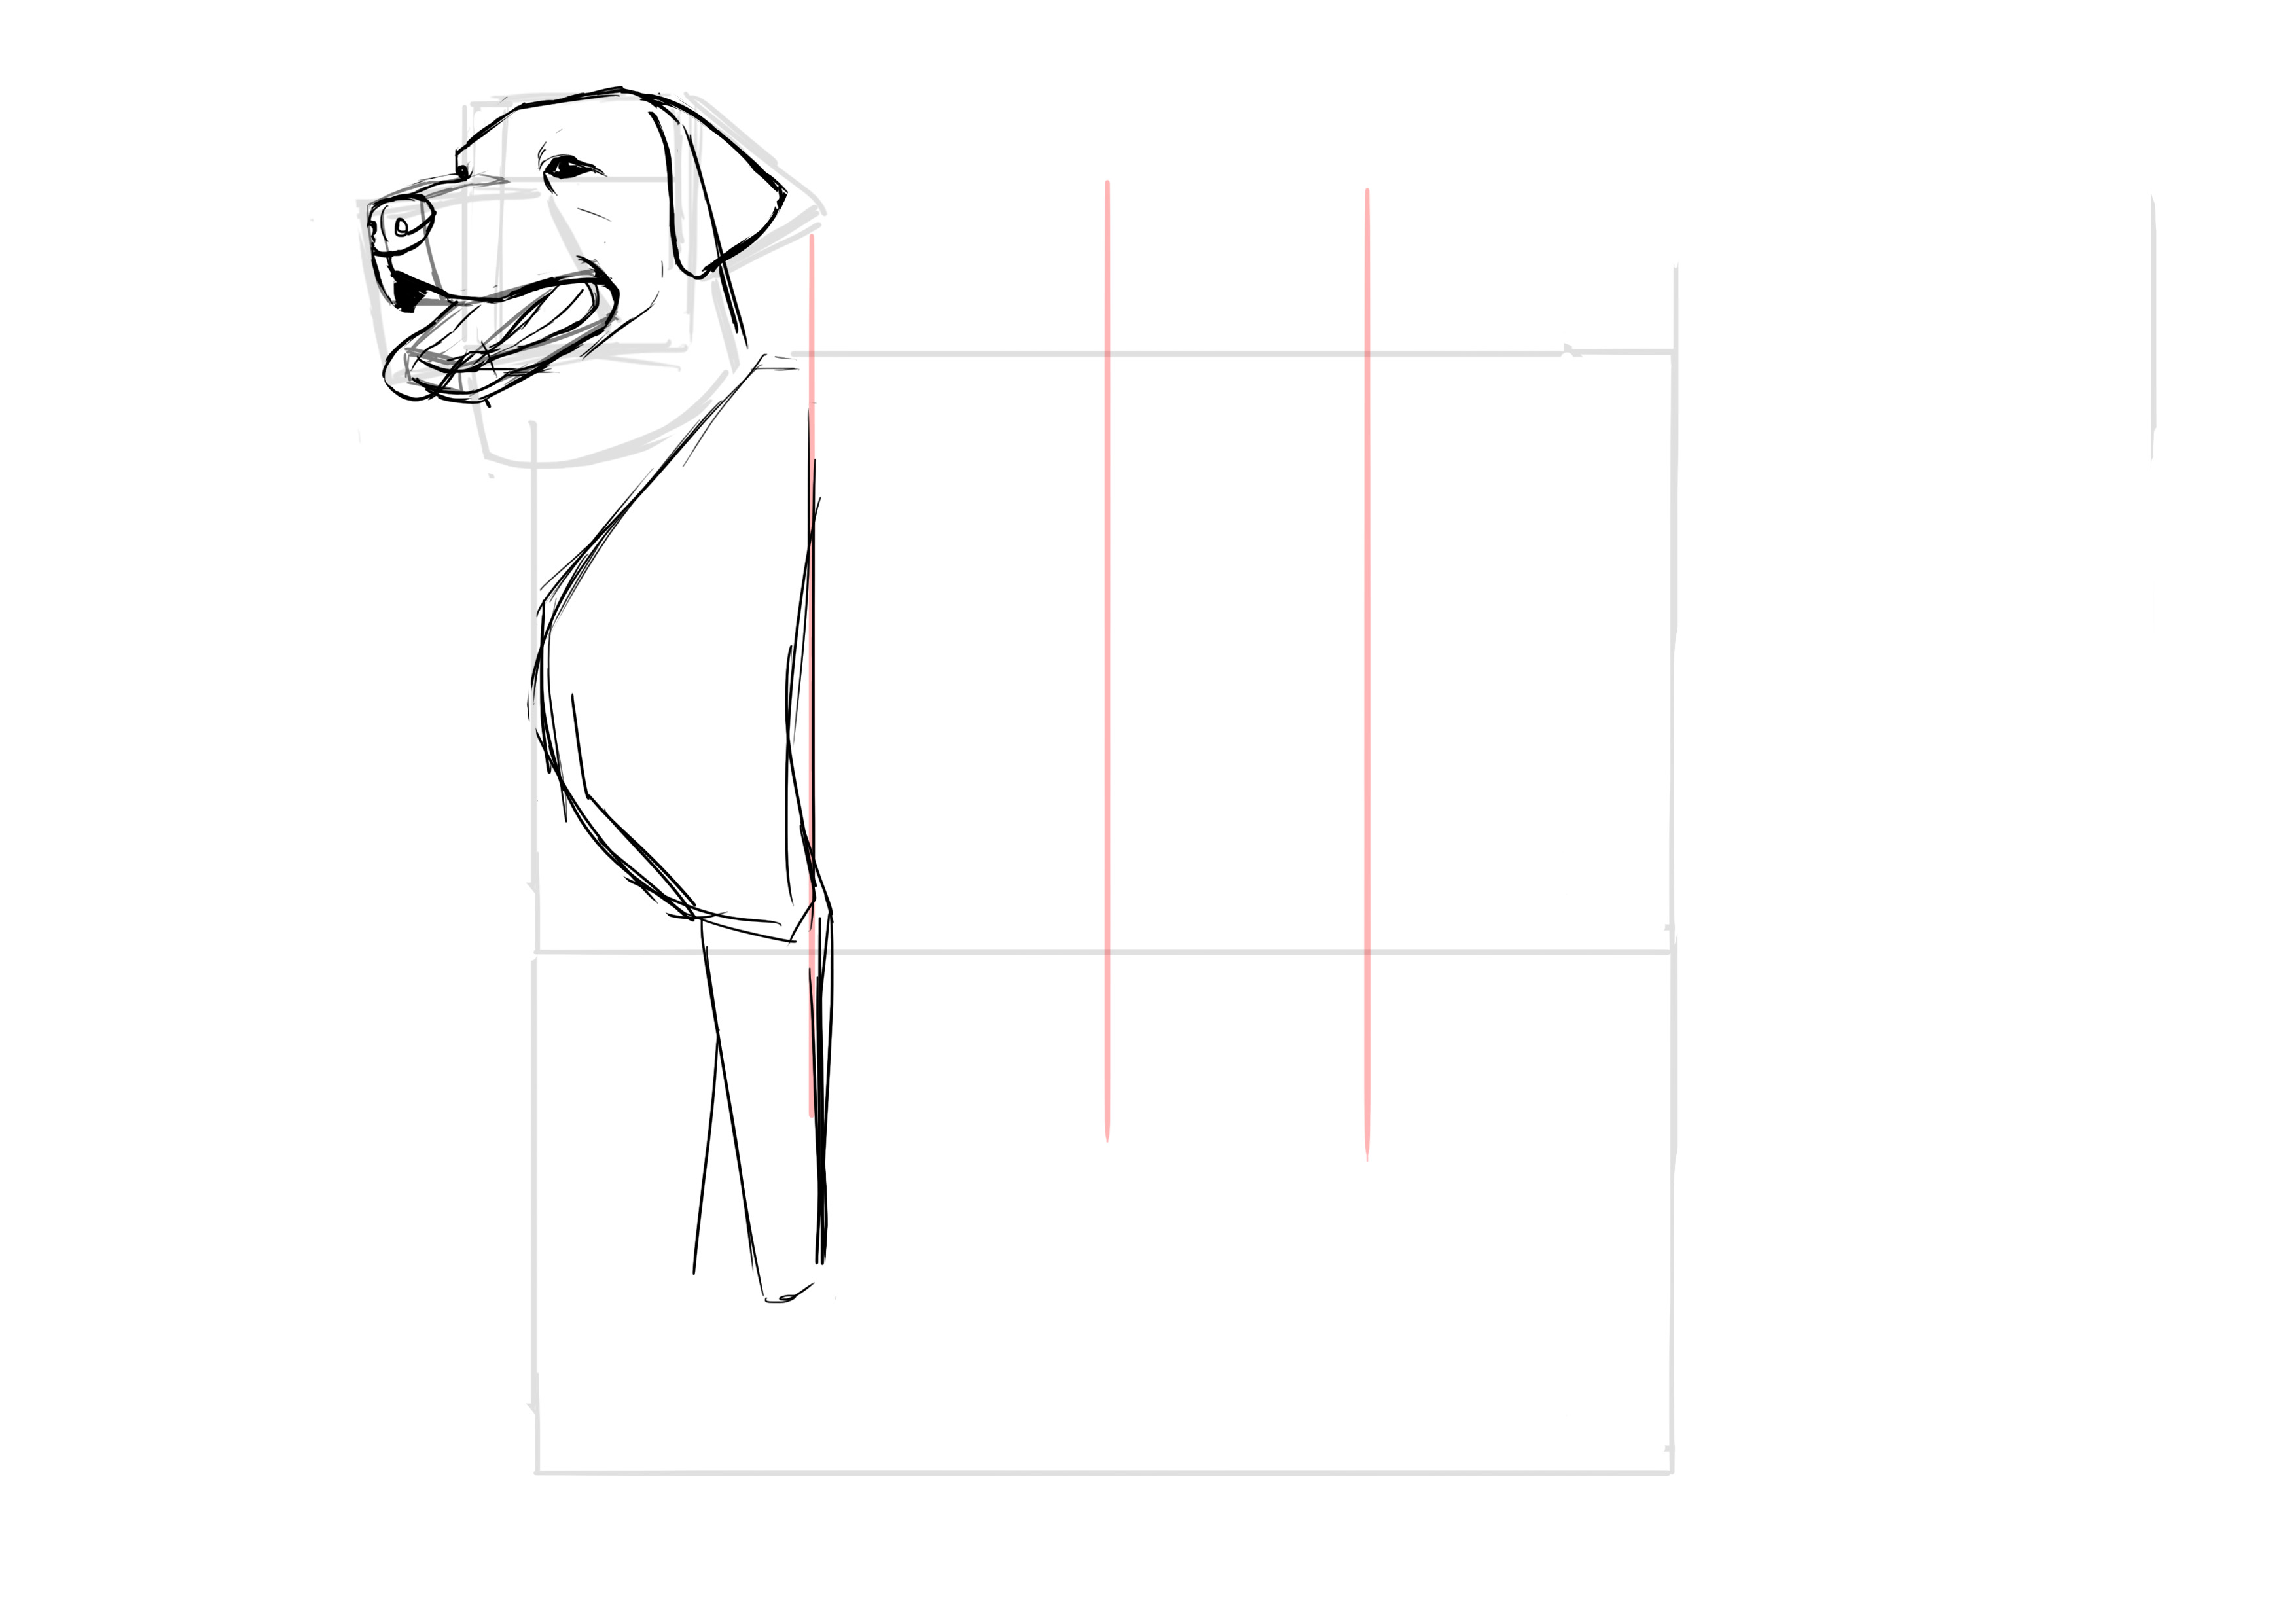
It should be noted that the dog's chest is much larger than the rest of the body.
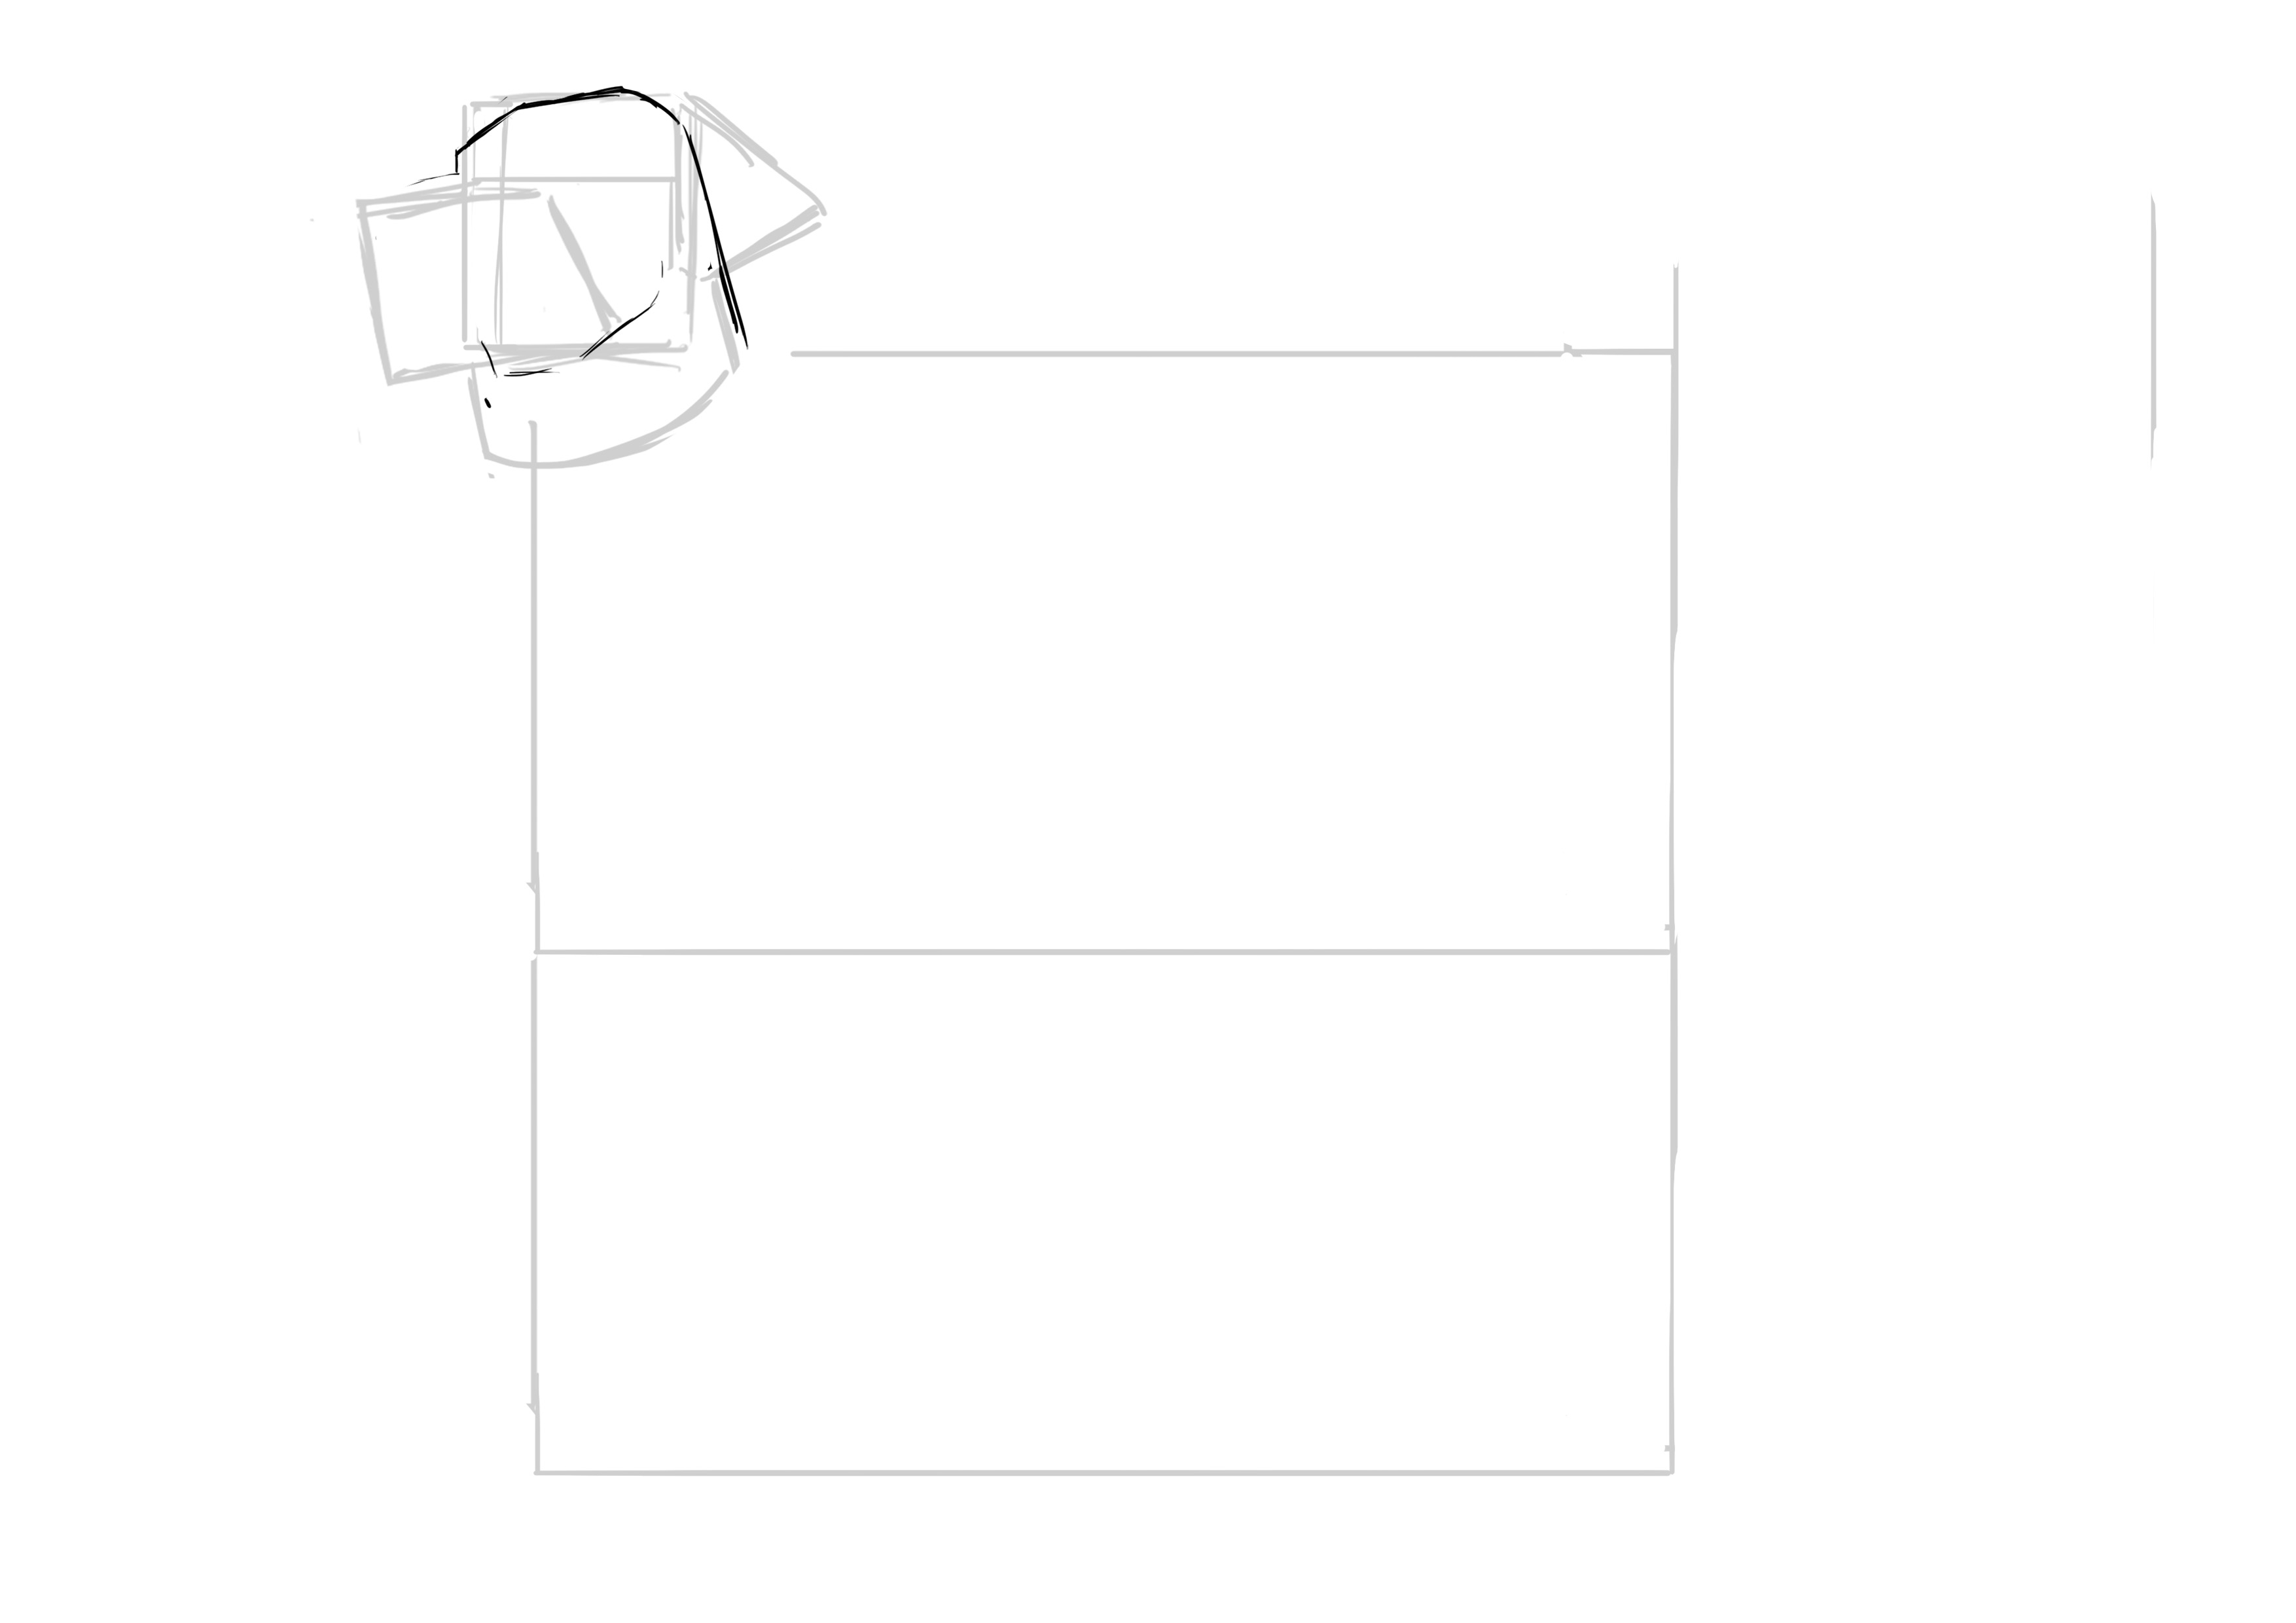
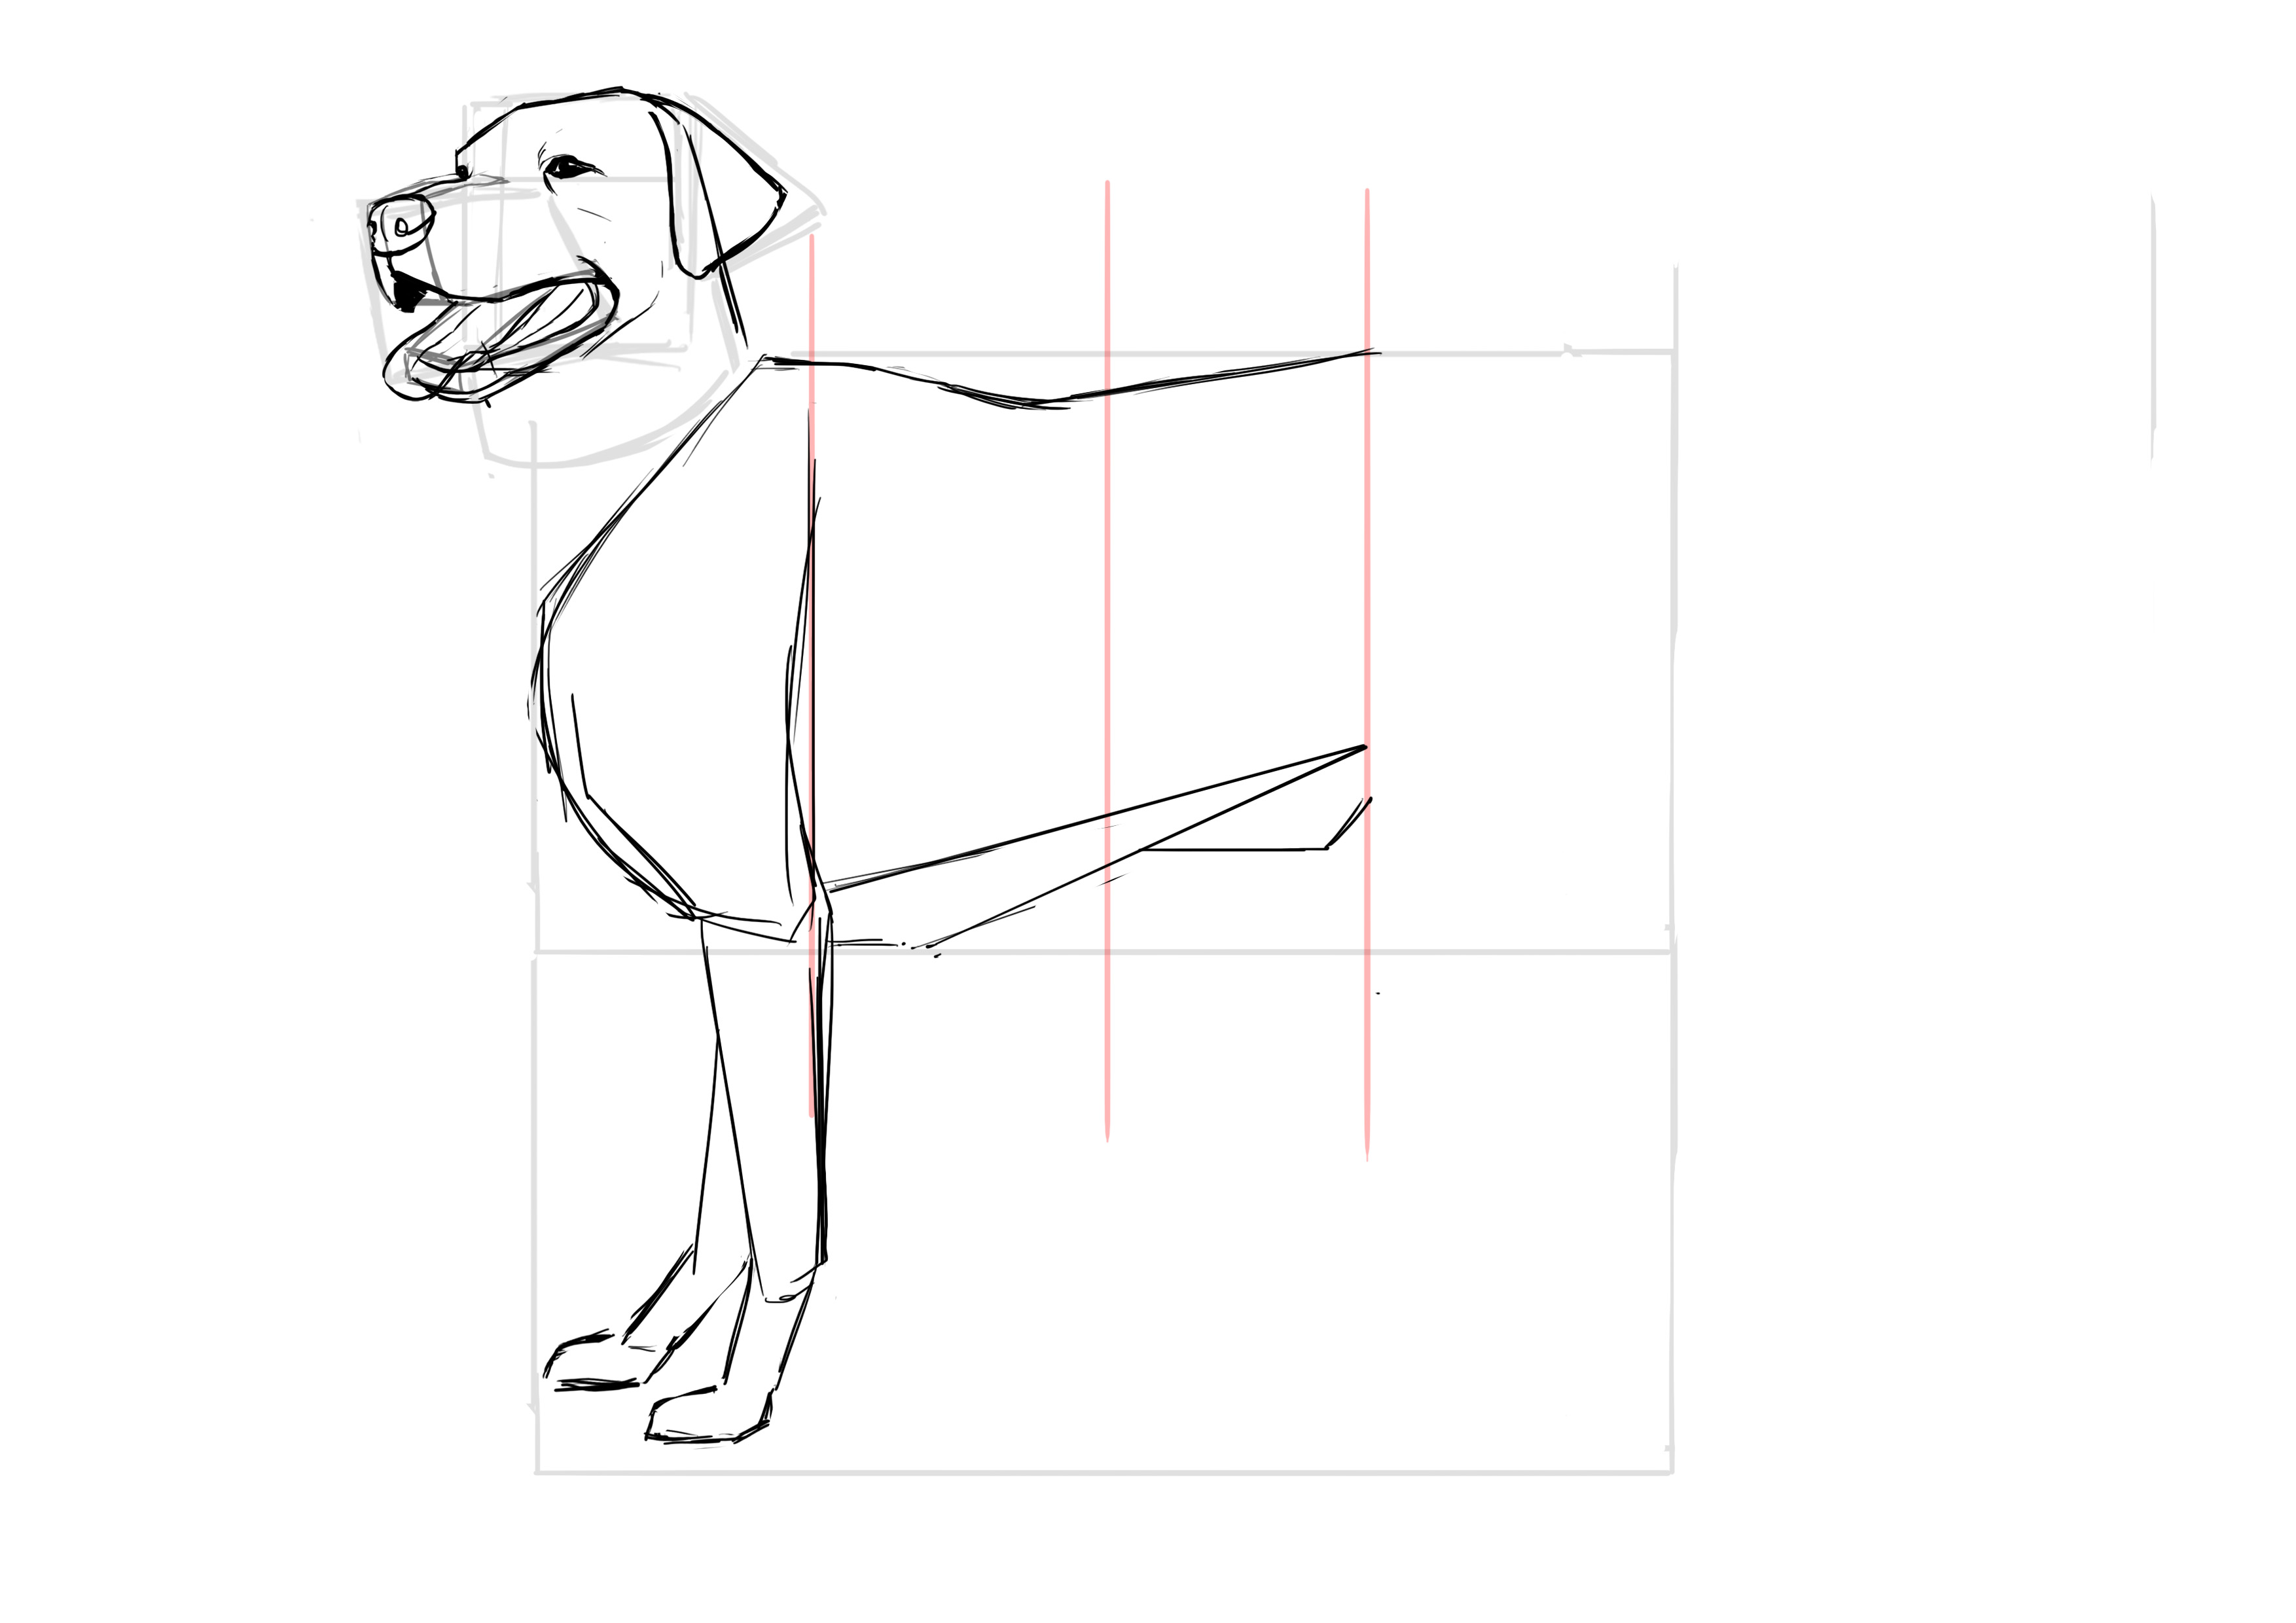
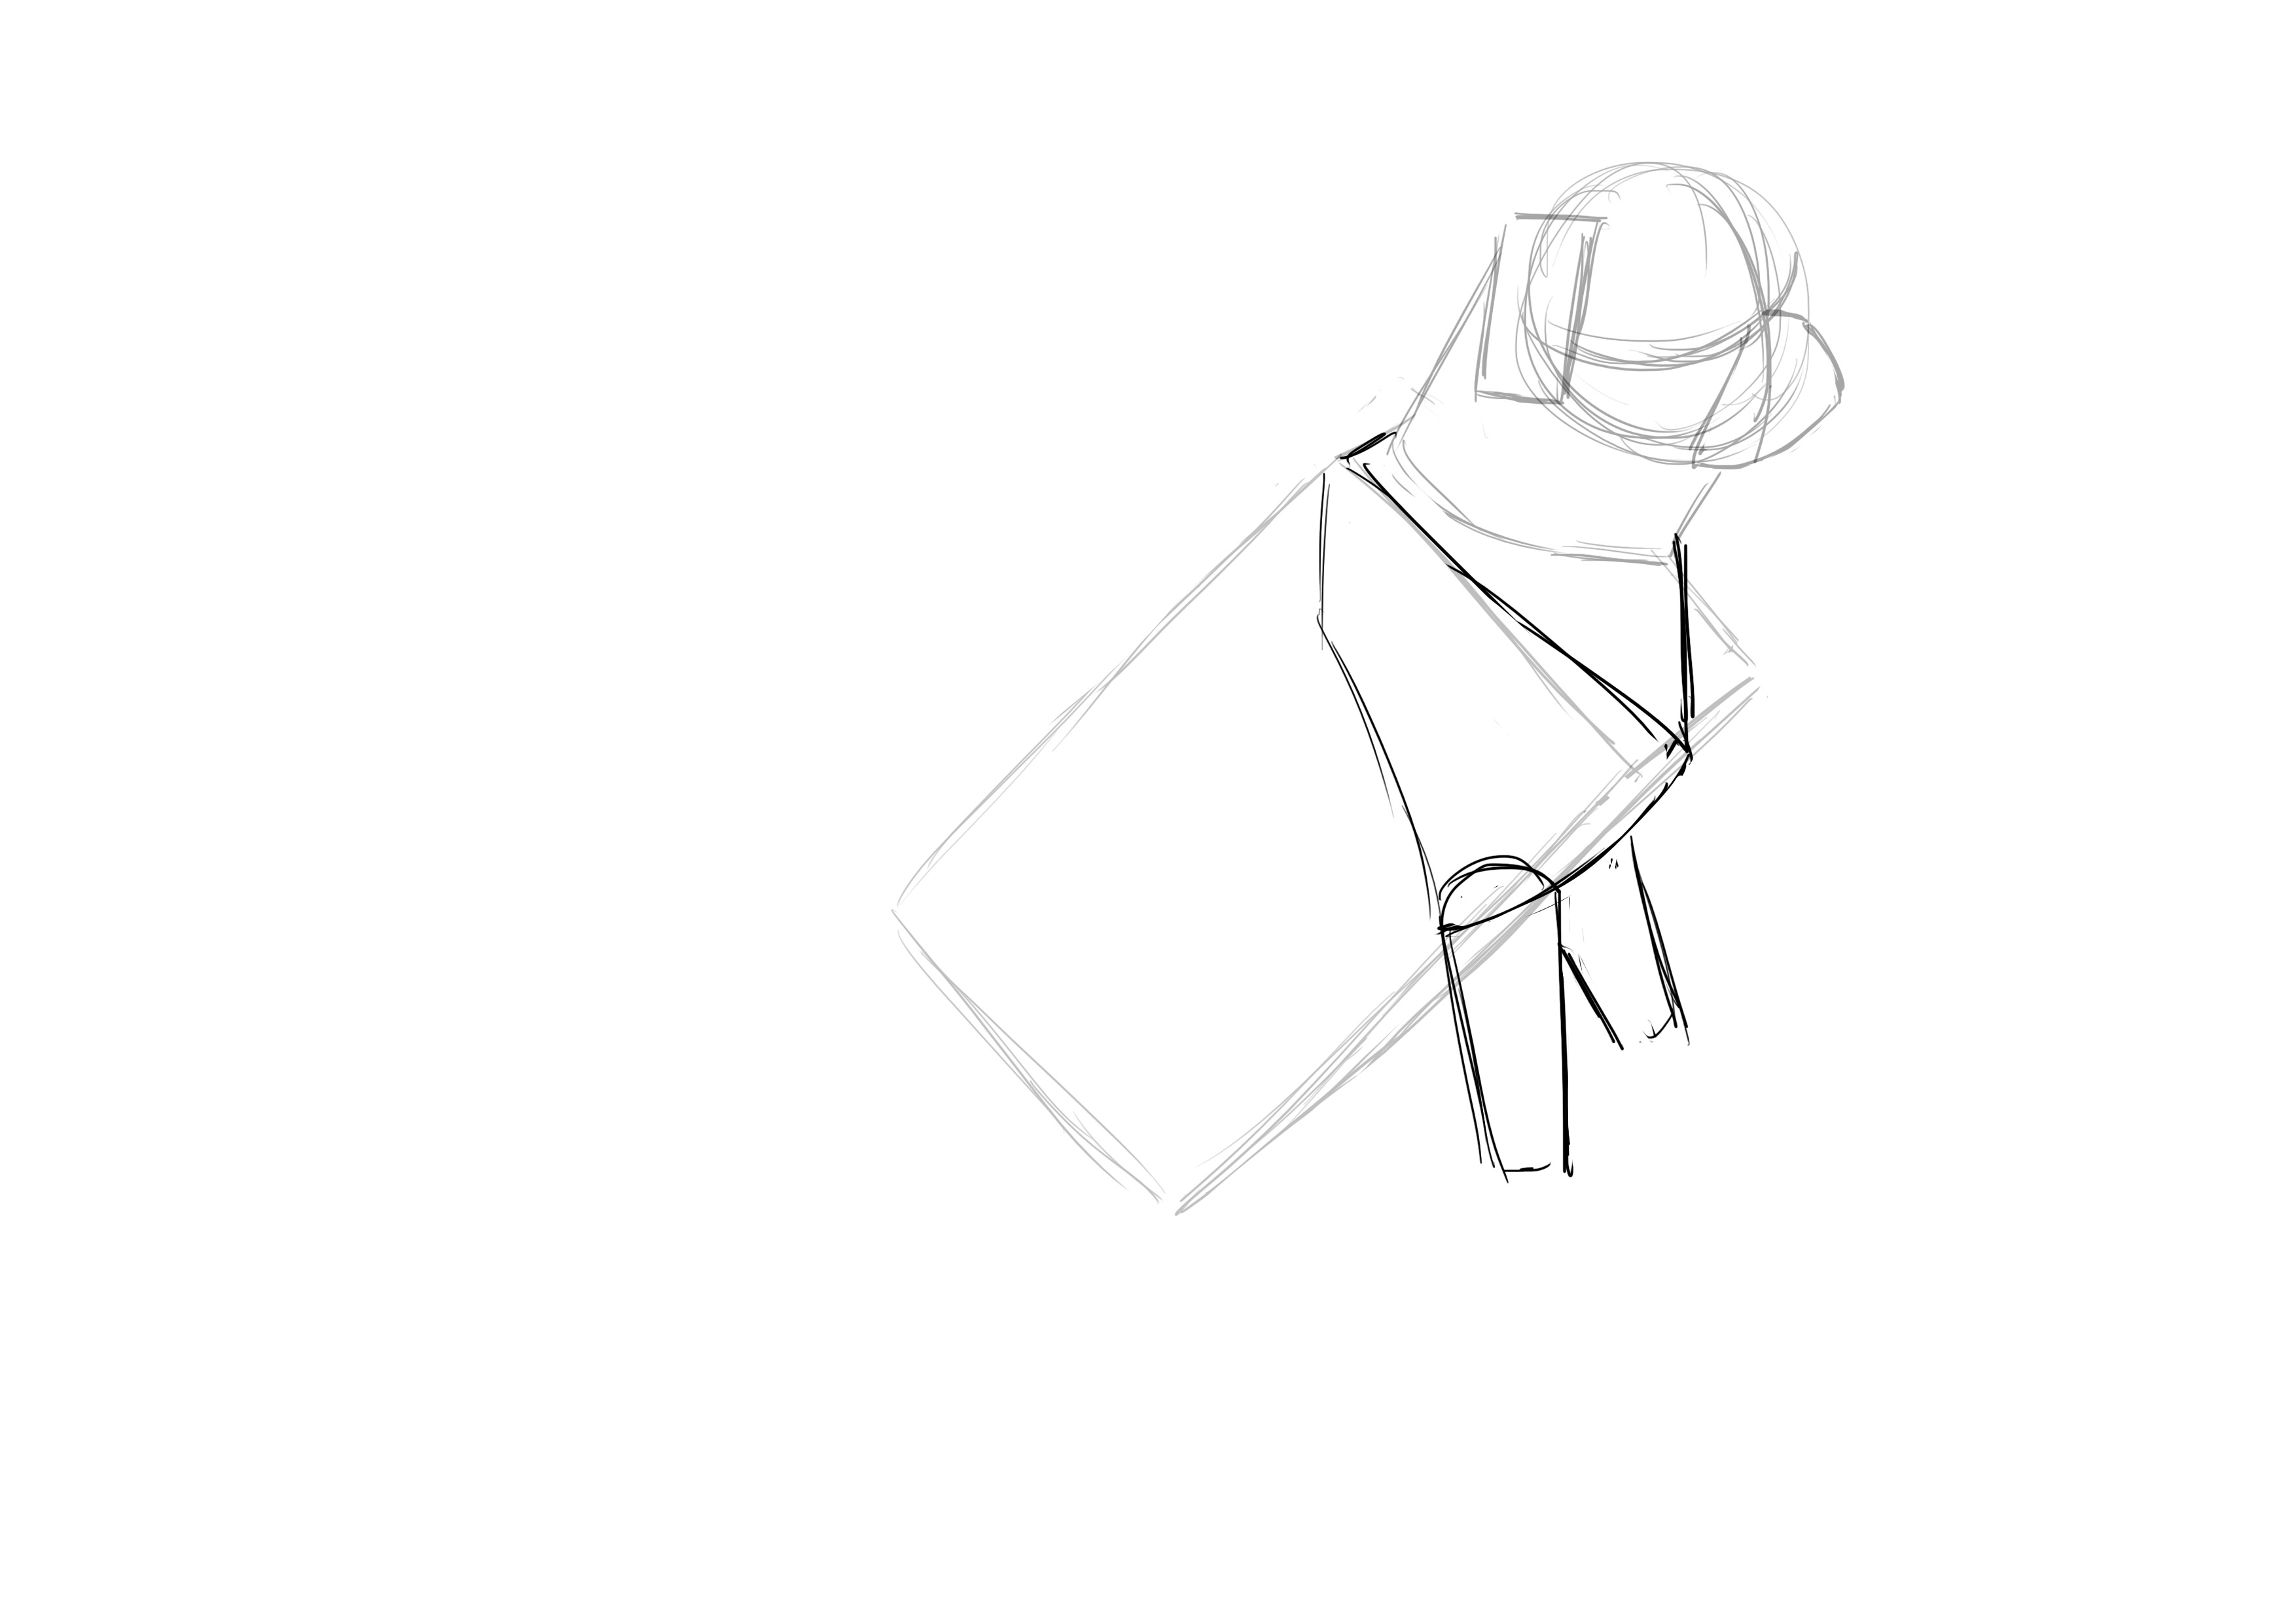
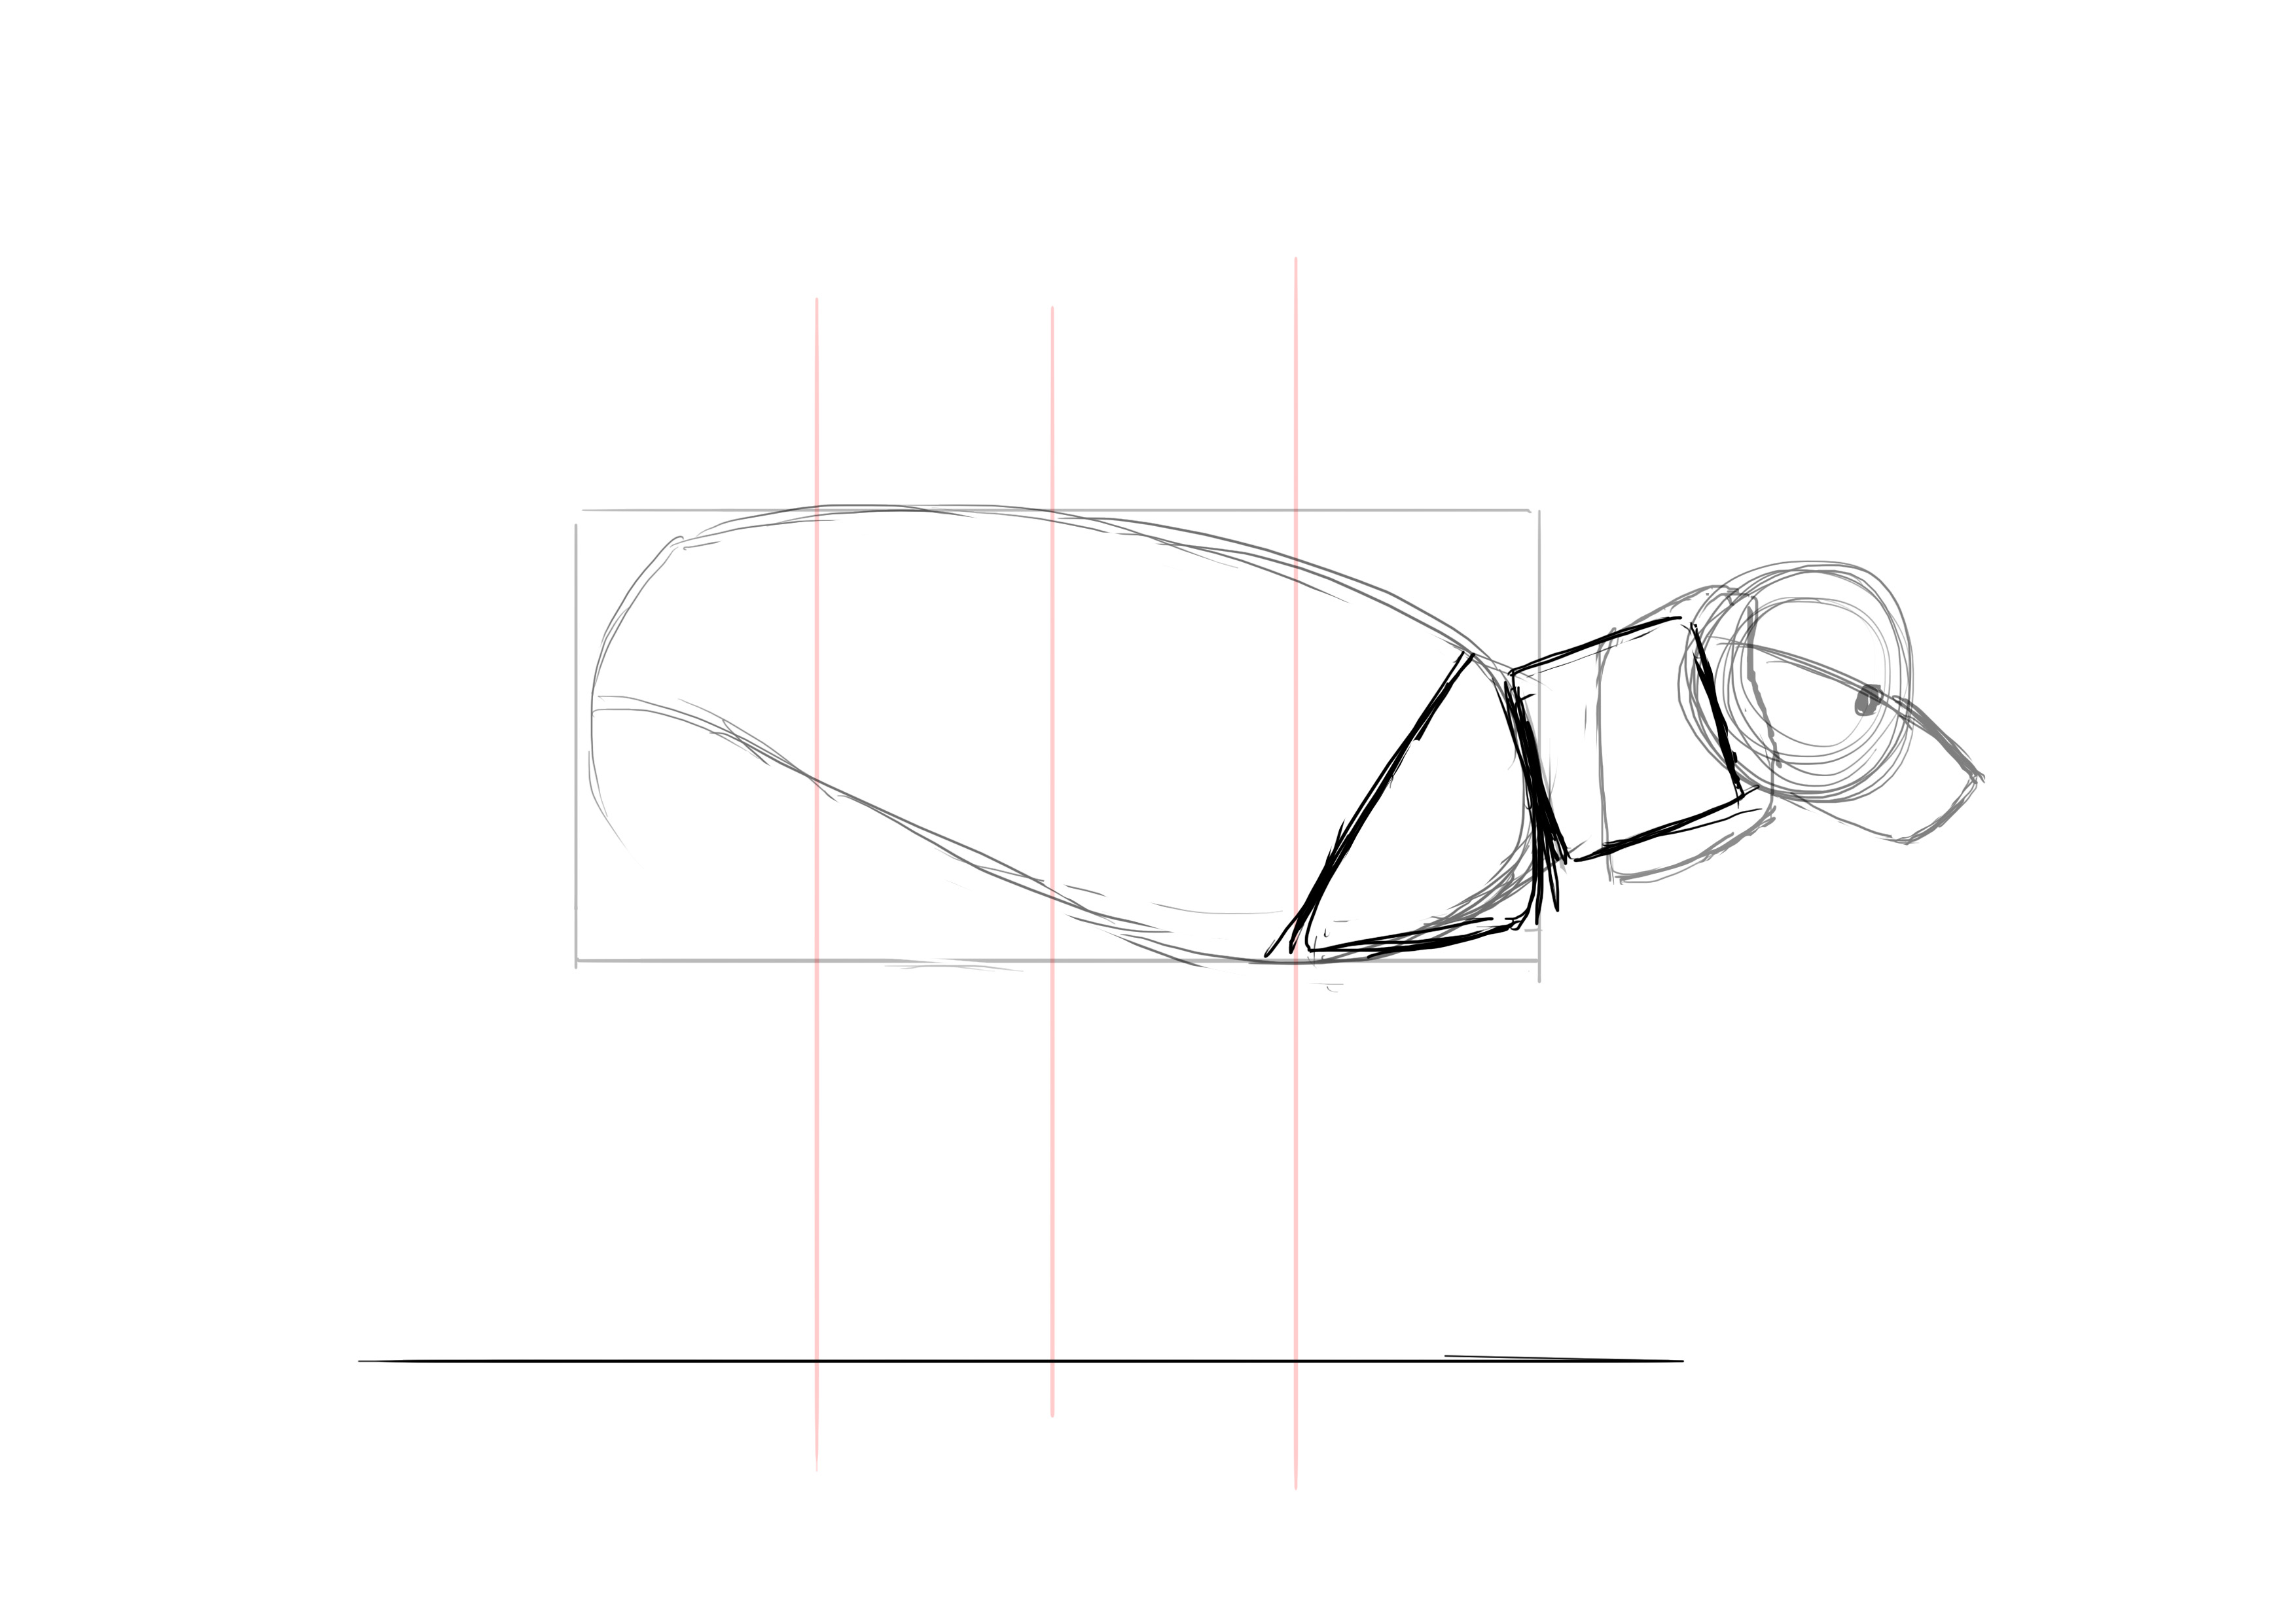
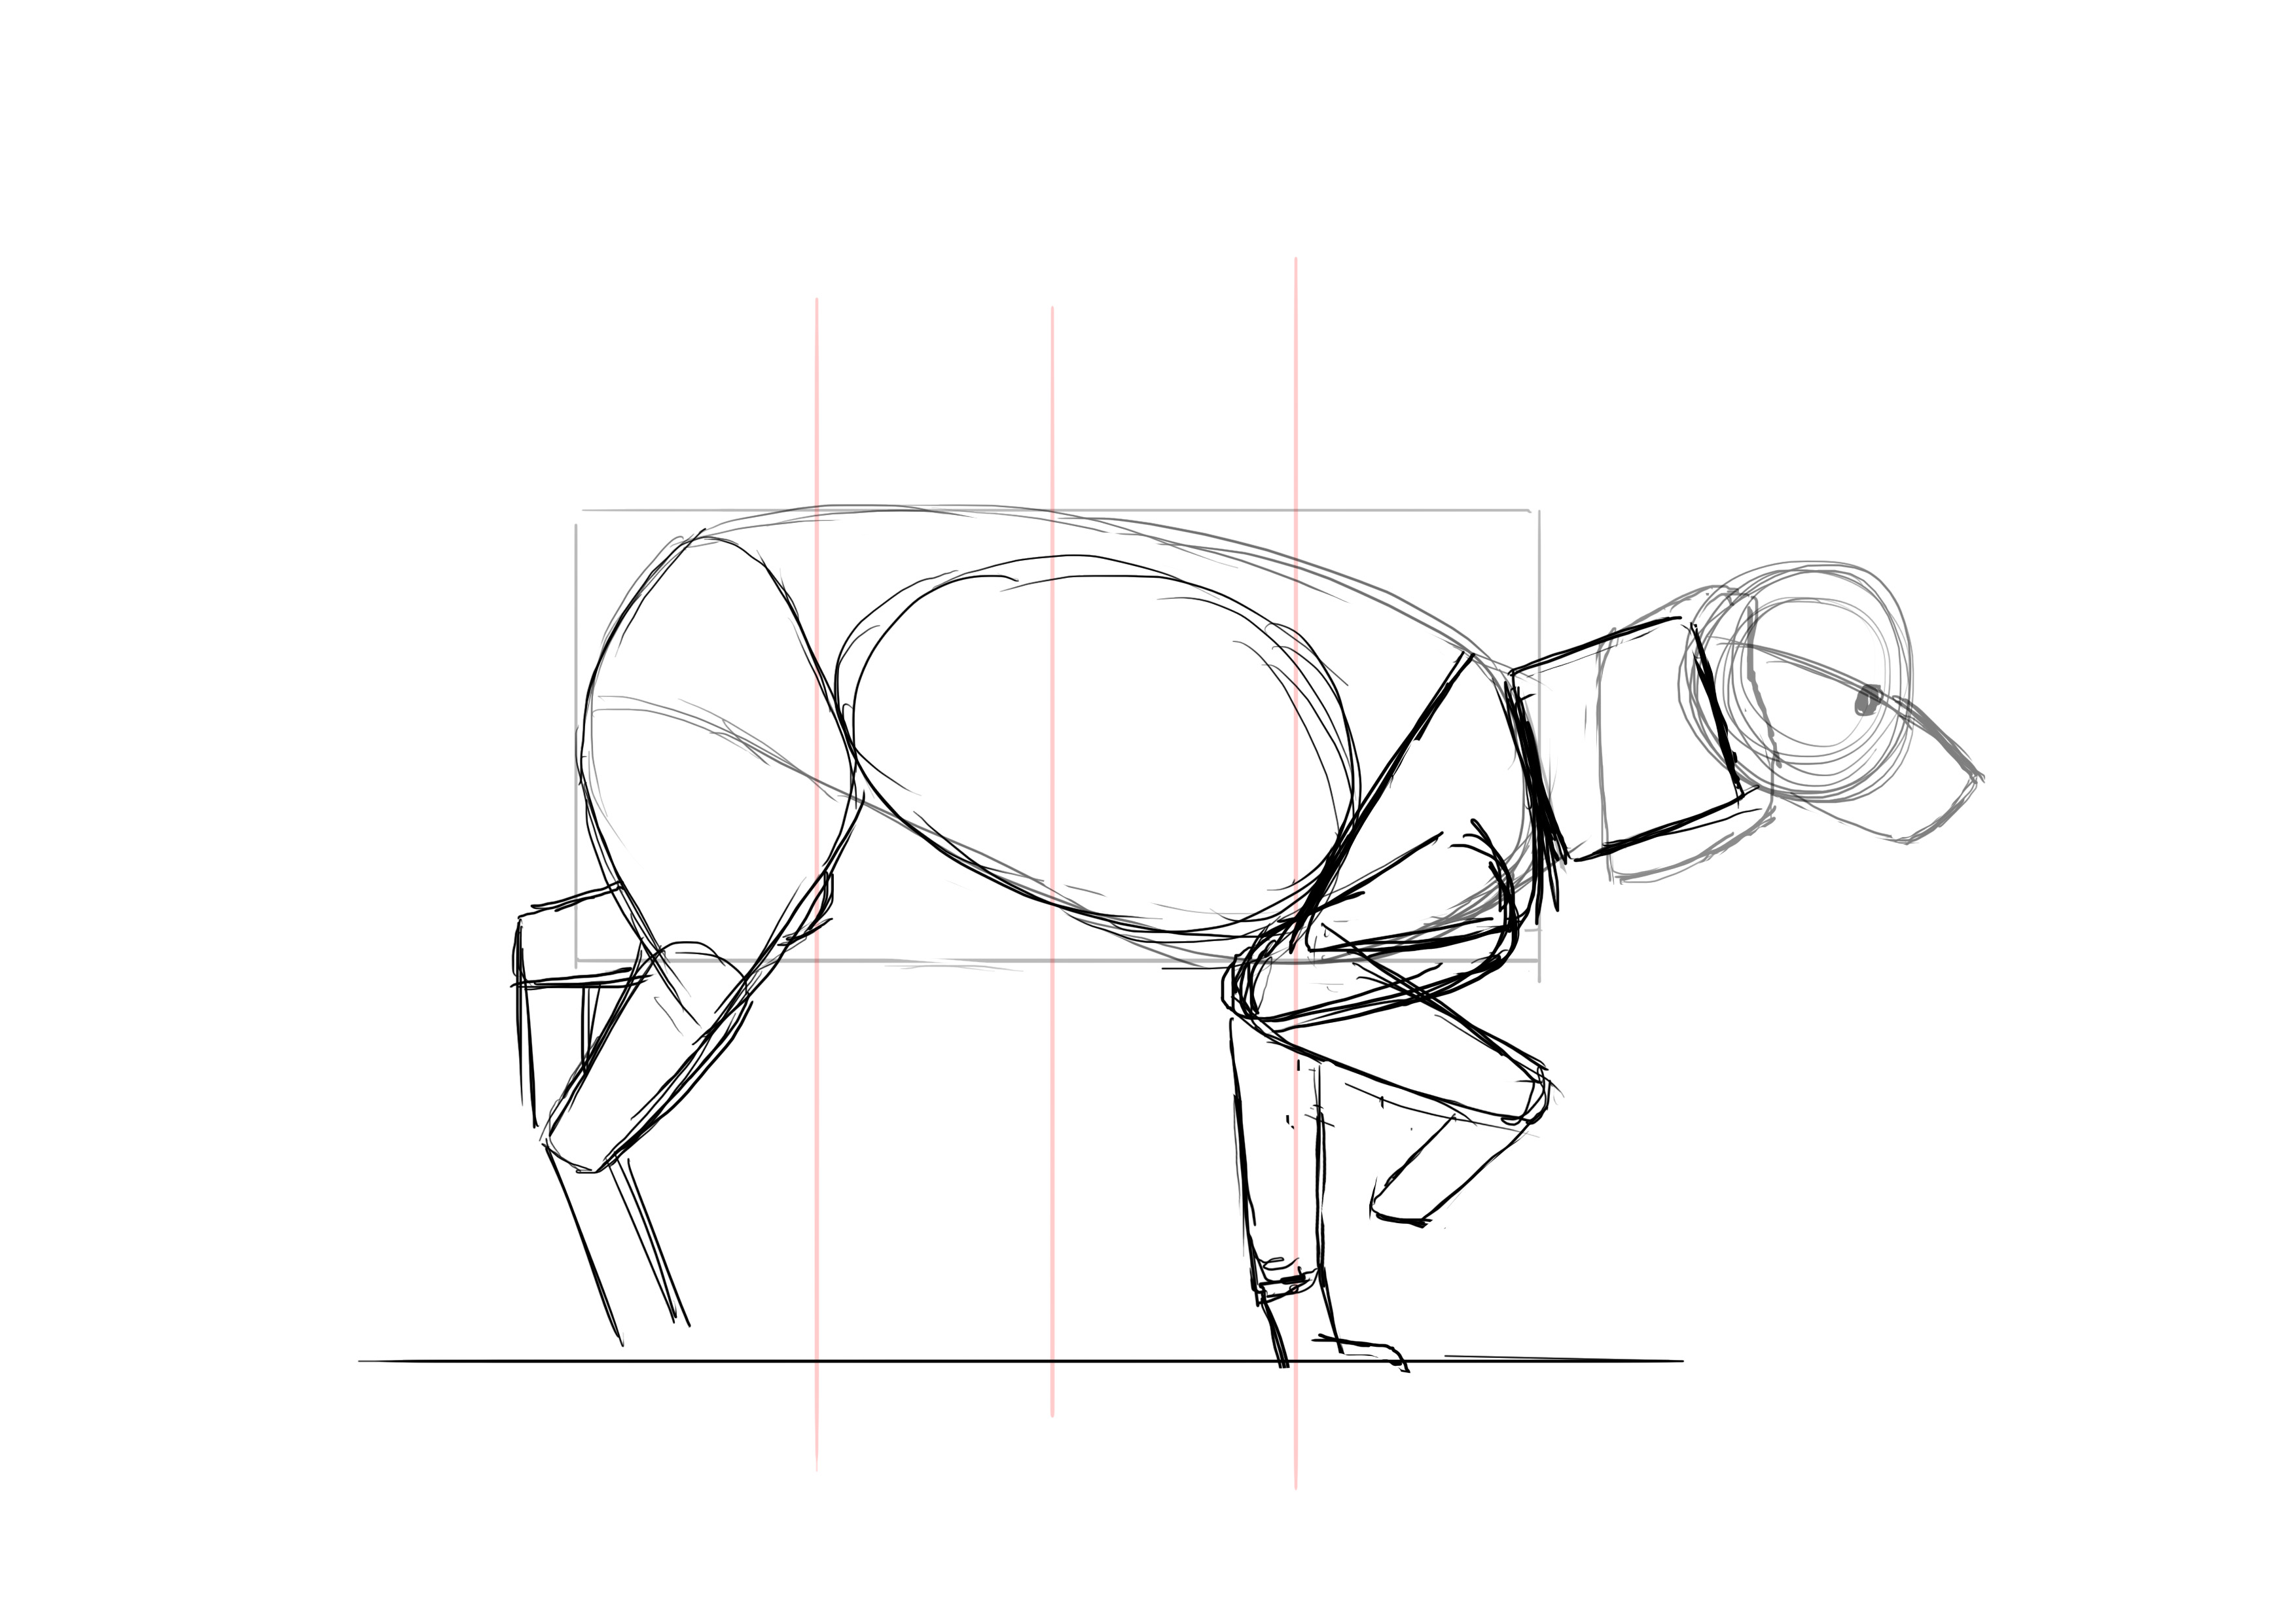
The legs are a bit shorter than the width of the body.

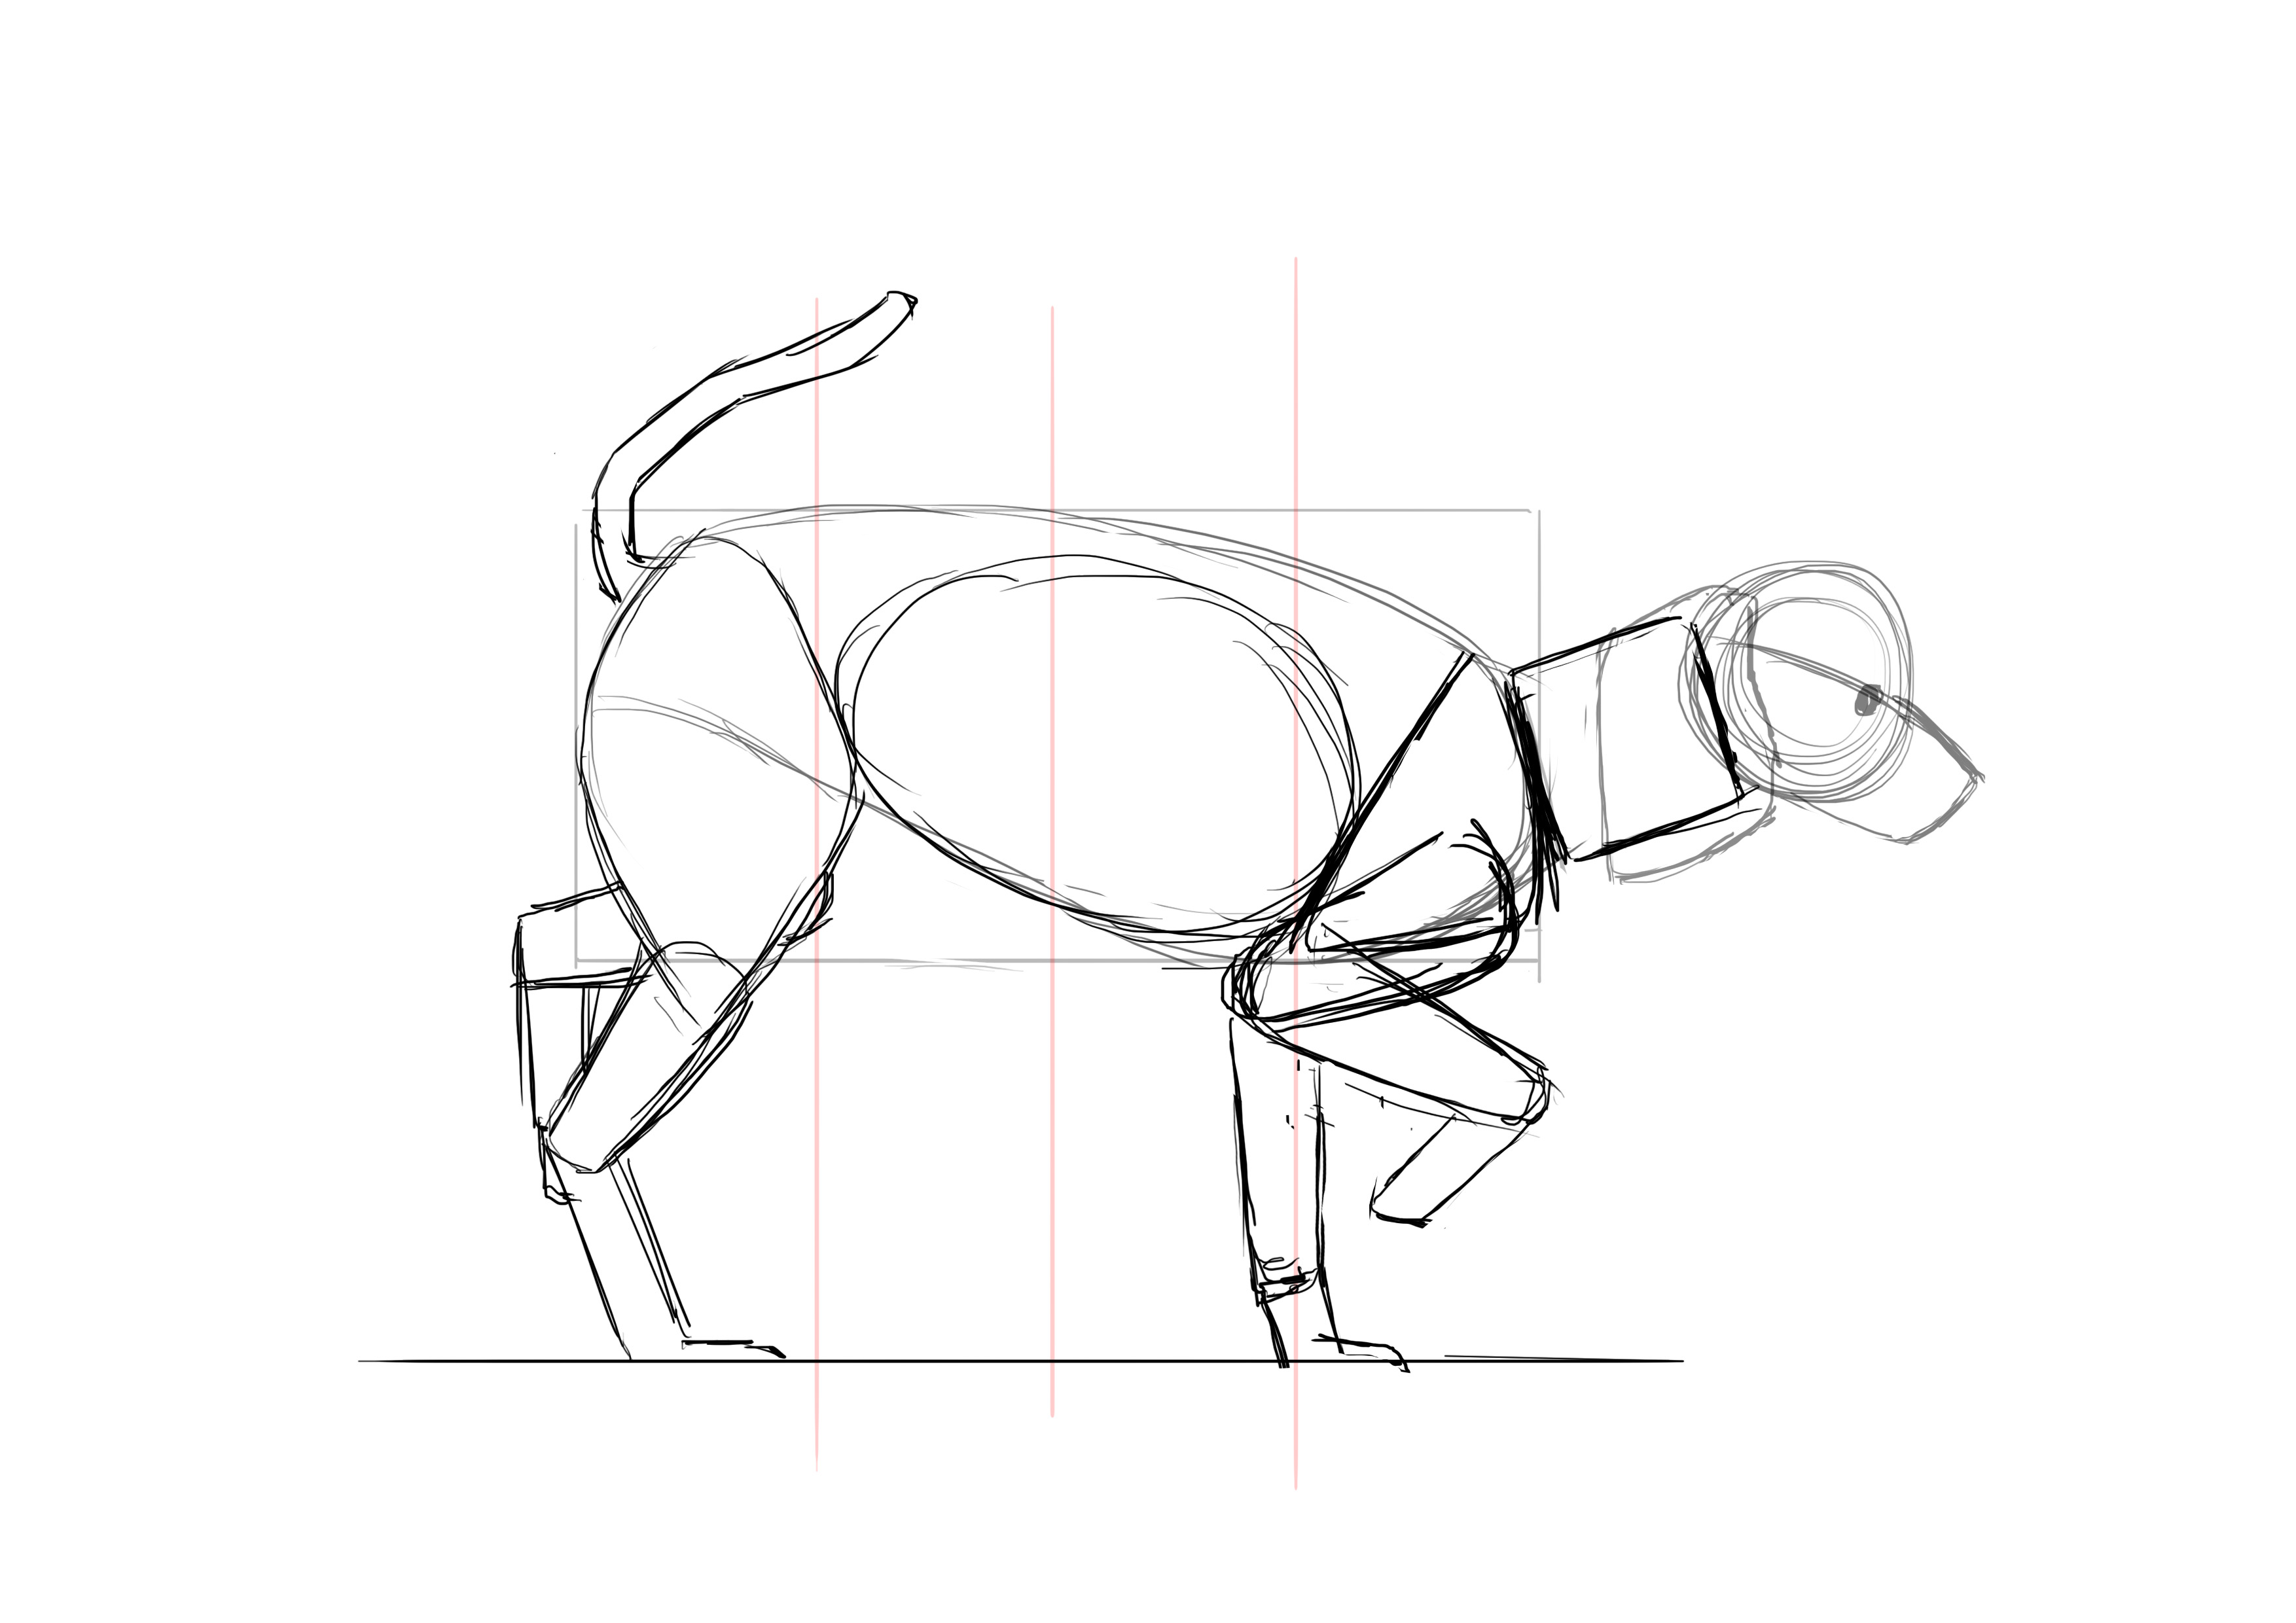
The tail, which is as long as the body is wide, is positioned and forms a curve.

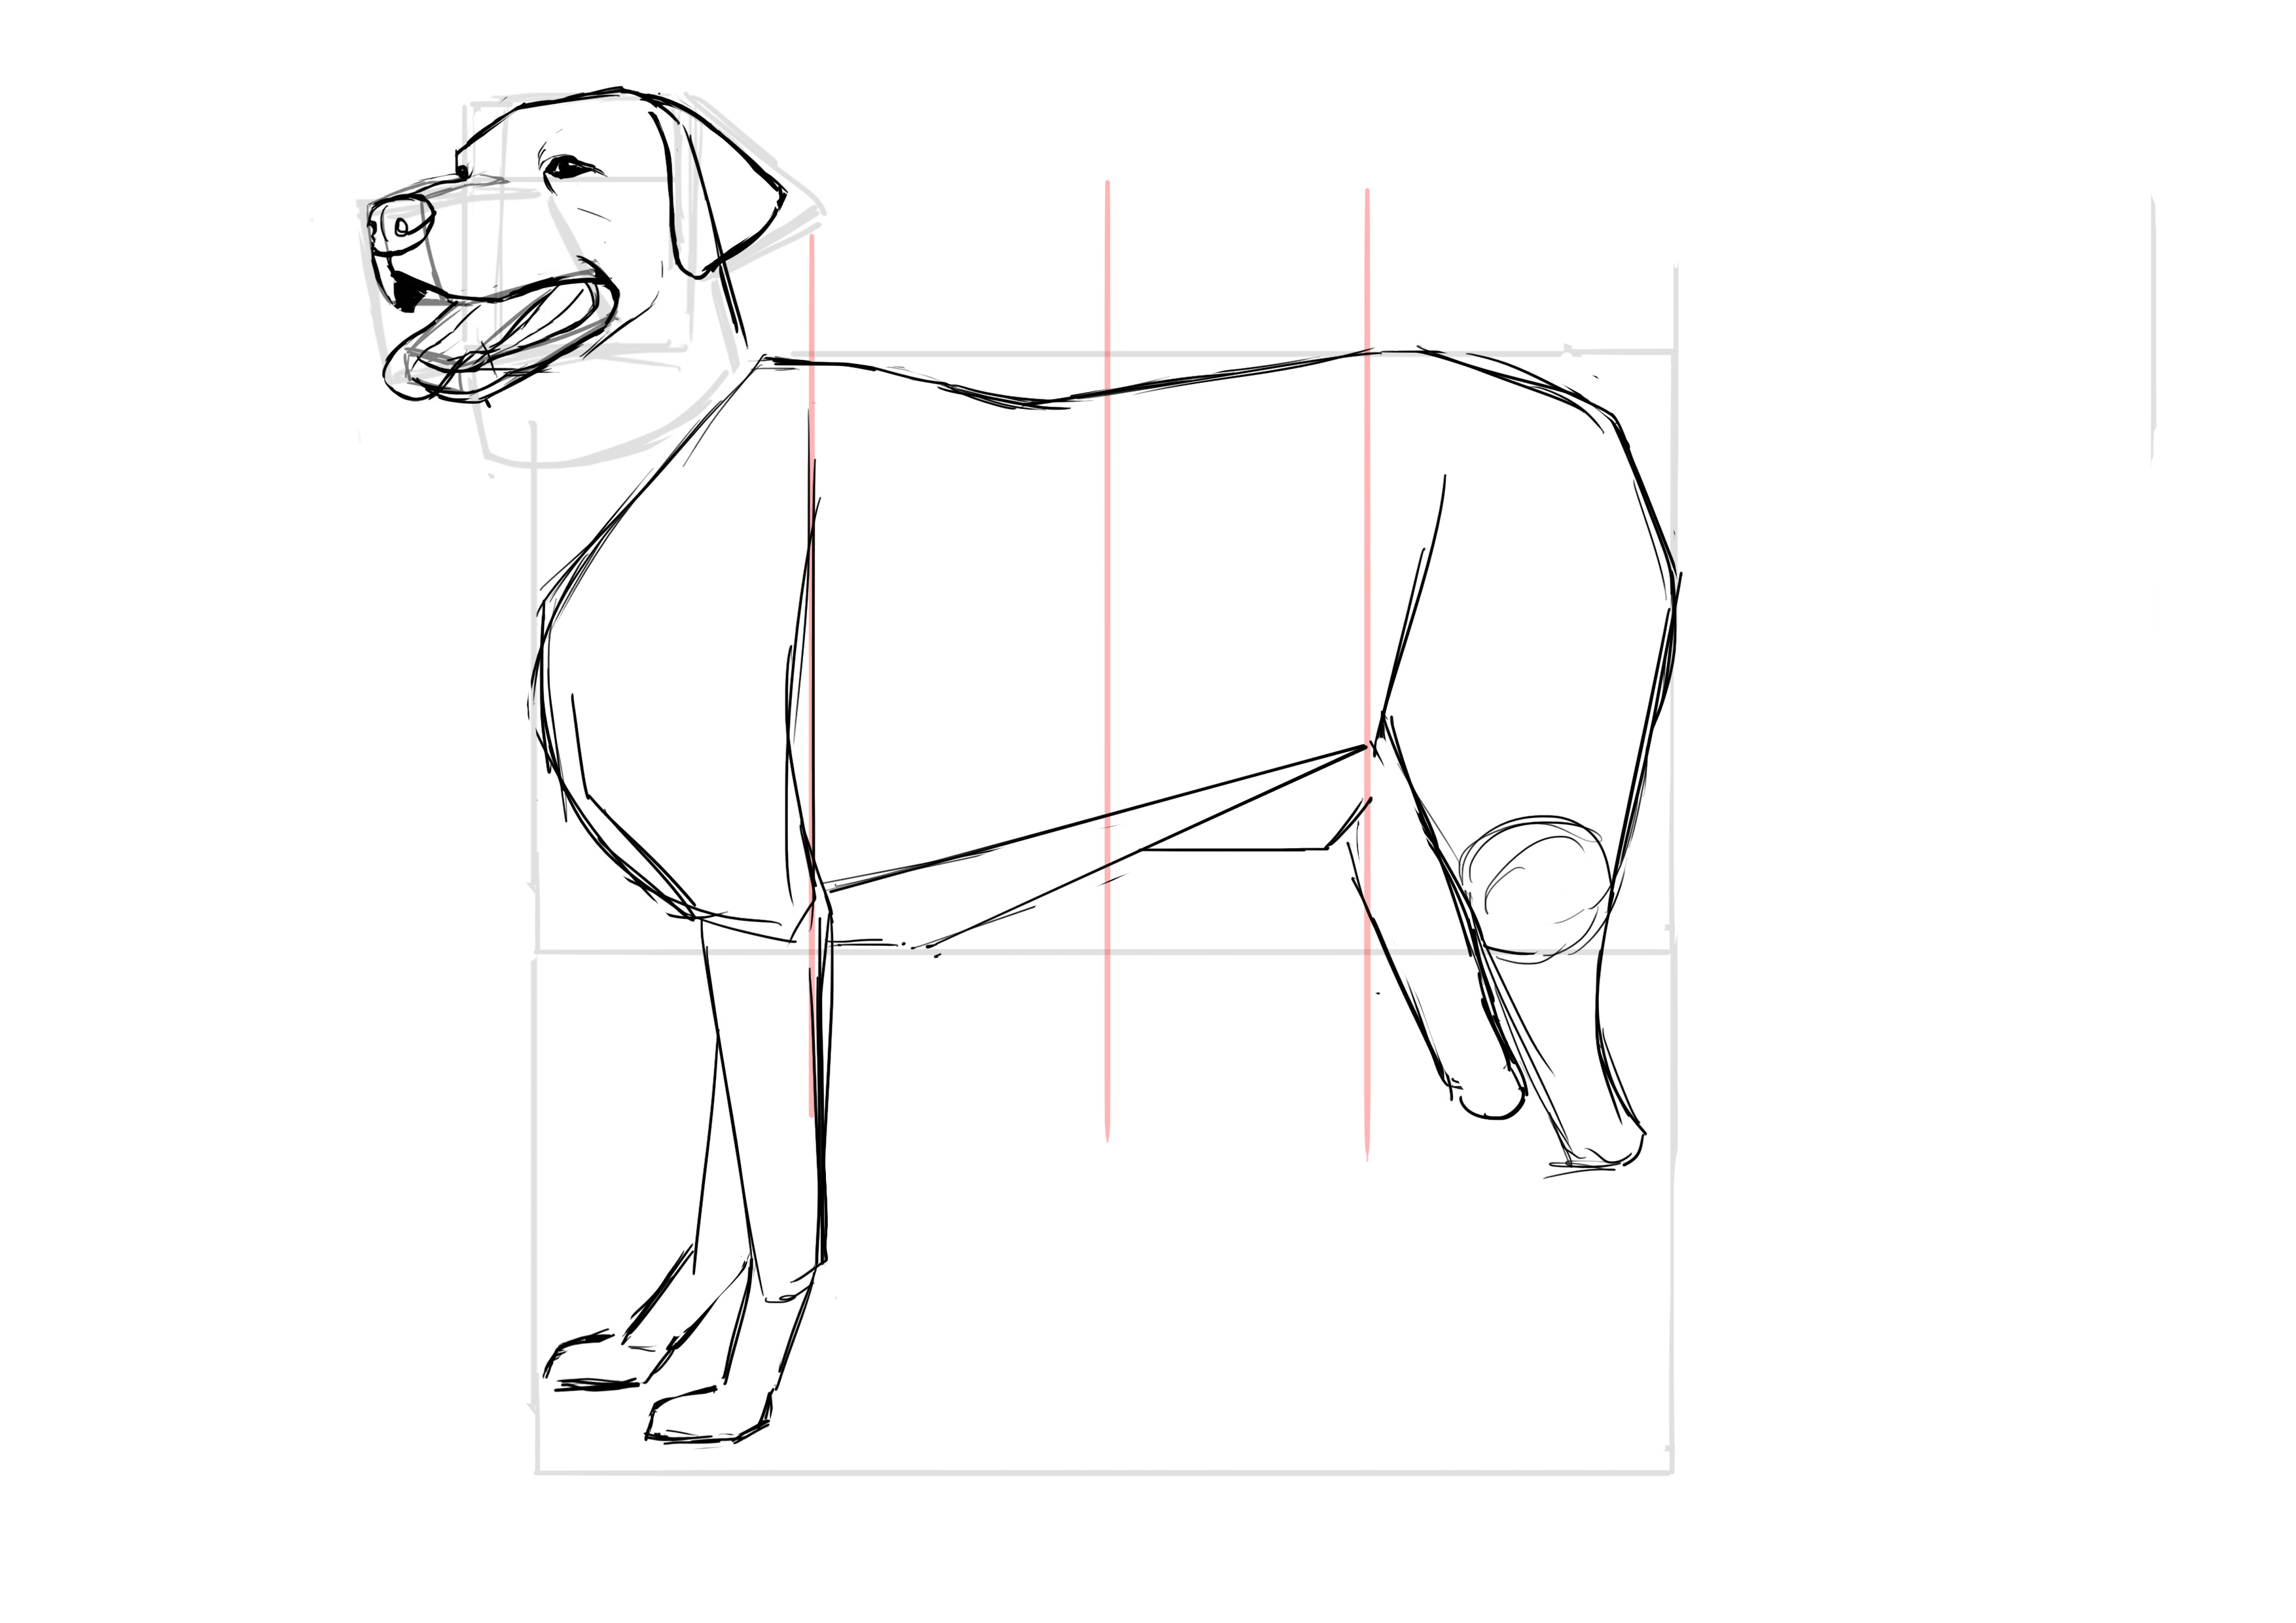
DRAW THE DETAILS OF THE DOG
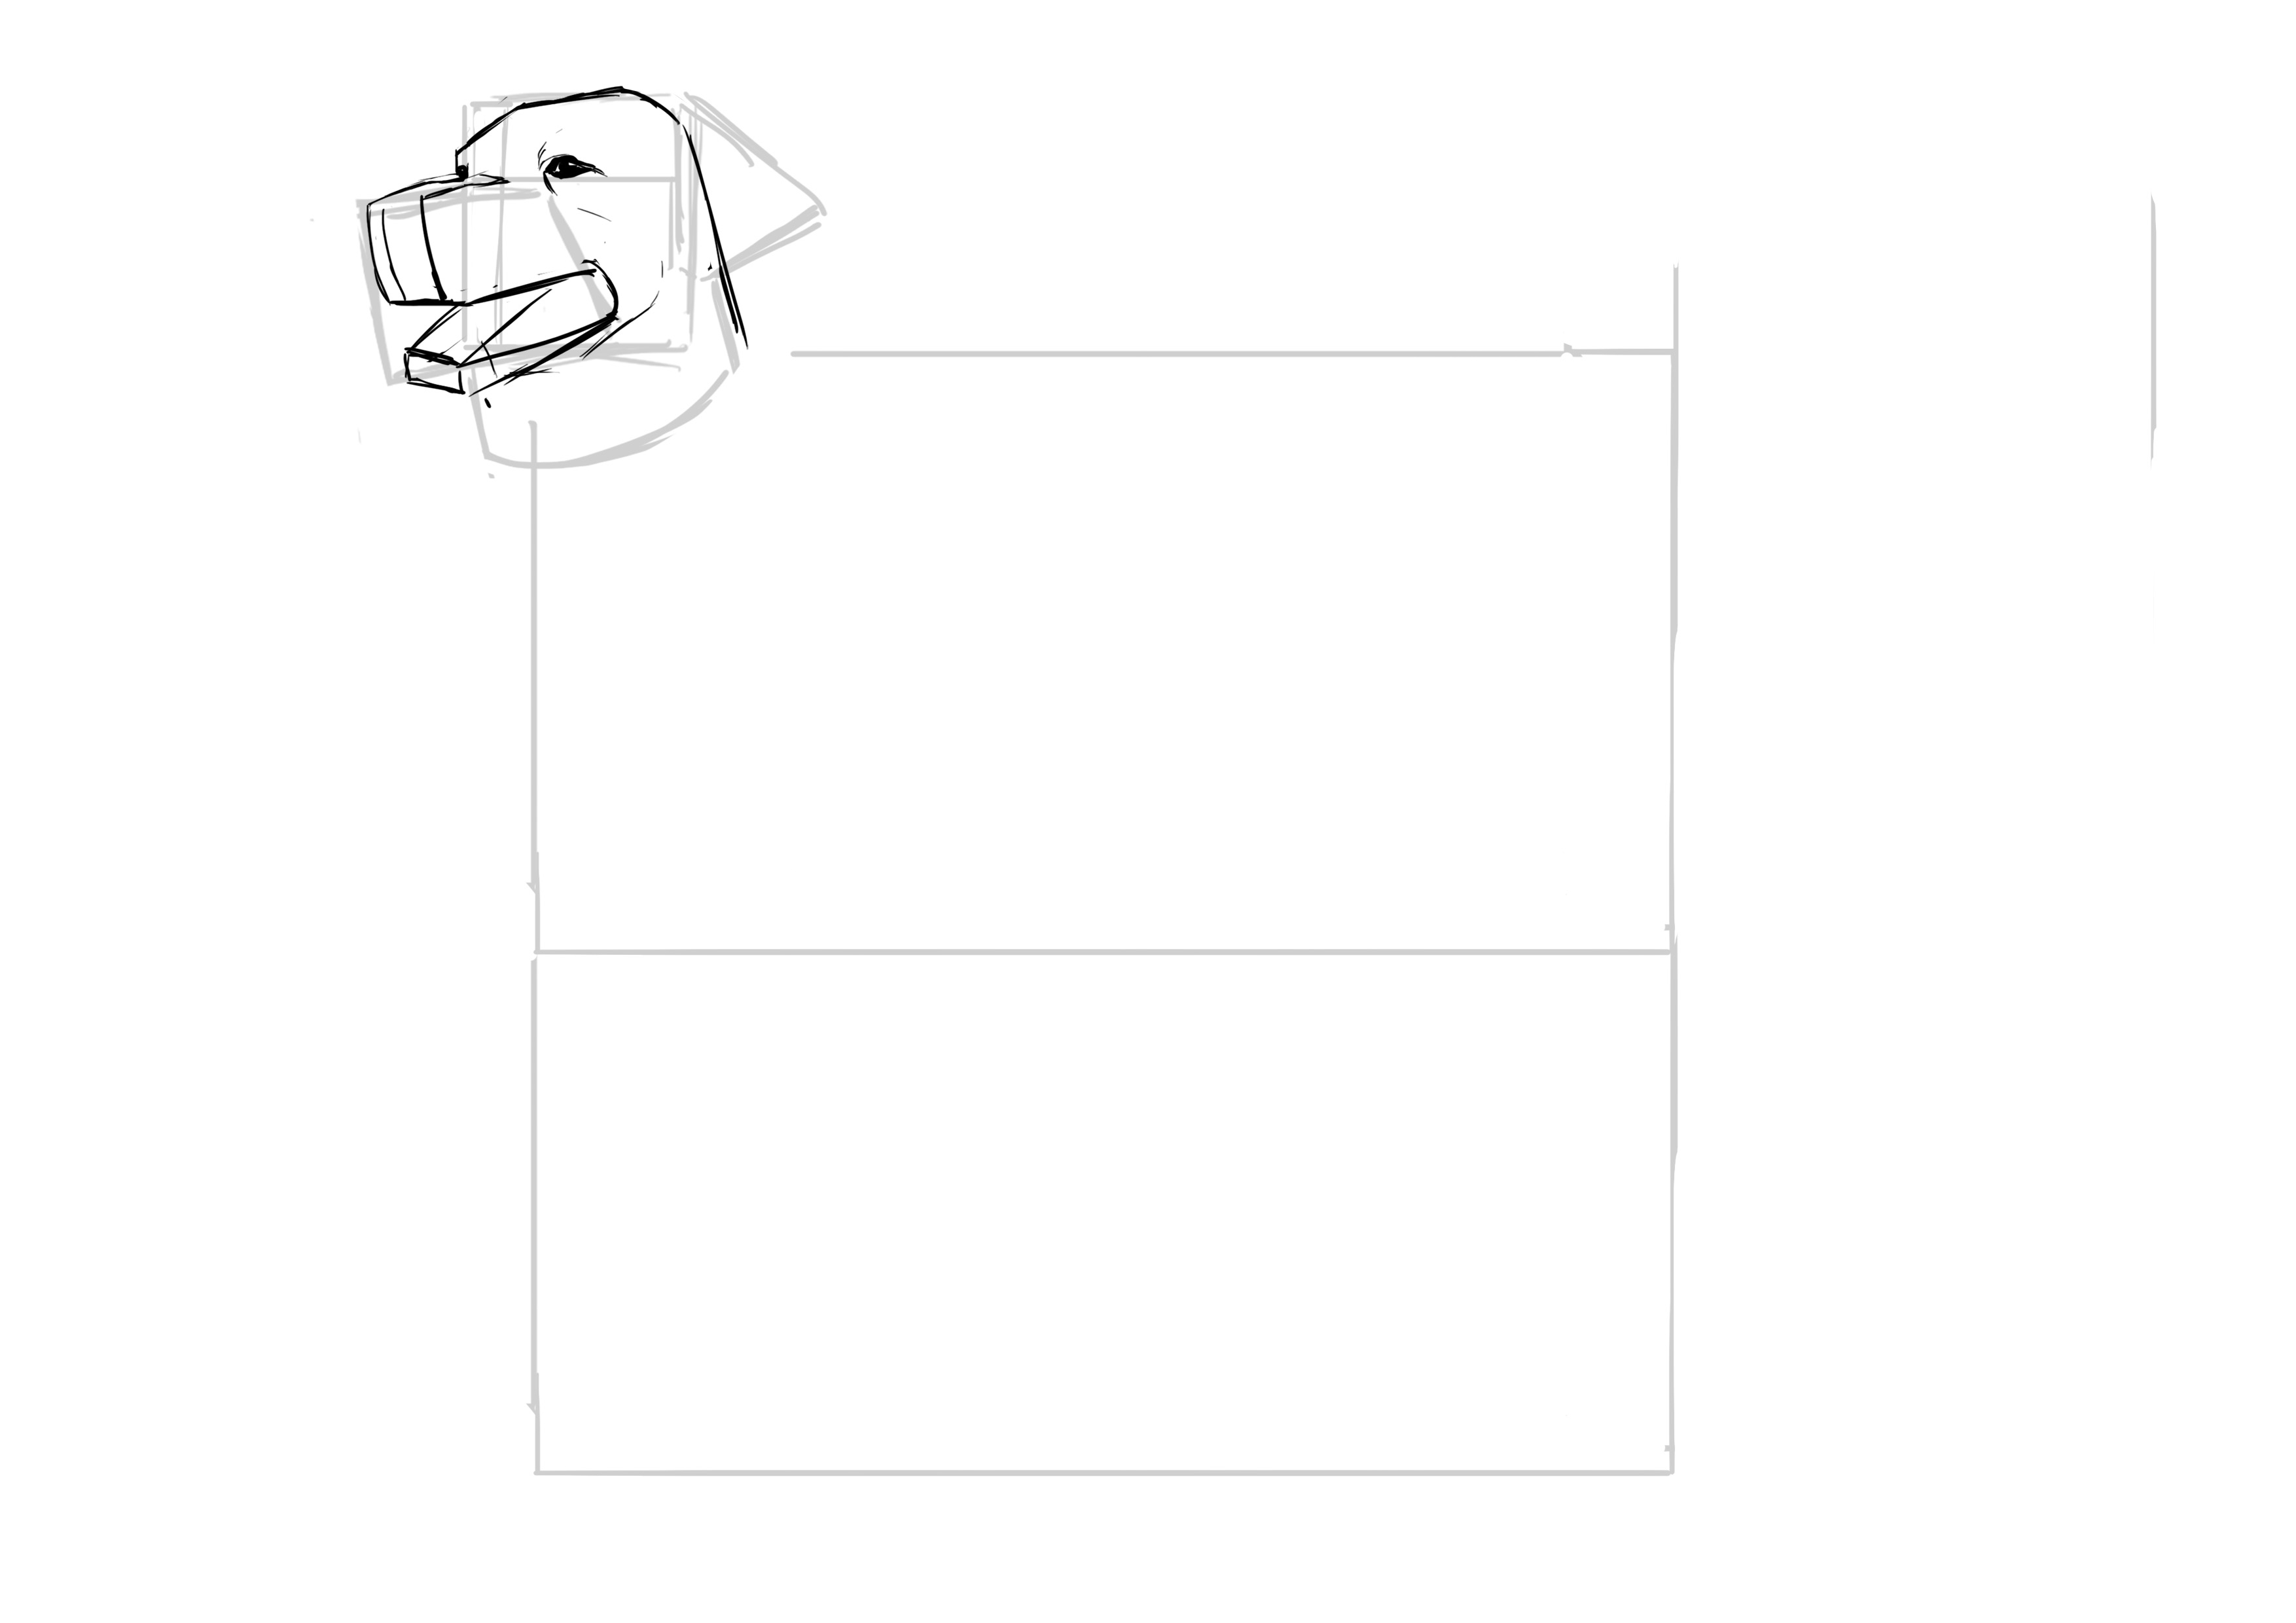
We now move on to the first level of detail. We go back to the head and redefine its shape.
Next, we position the eyes; they are located just above the muzzle line and from our point of view, at the half-way point of the head (in terms of width).
Next, the muzzle! We will first divide it into simpler shapes:

From there, you can place the nose and detail the dog's lips. Take your time for this part ^^
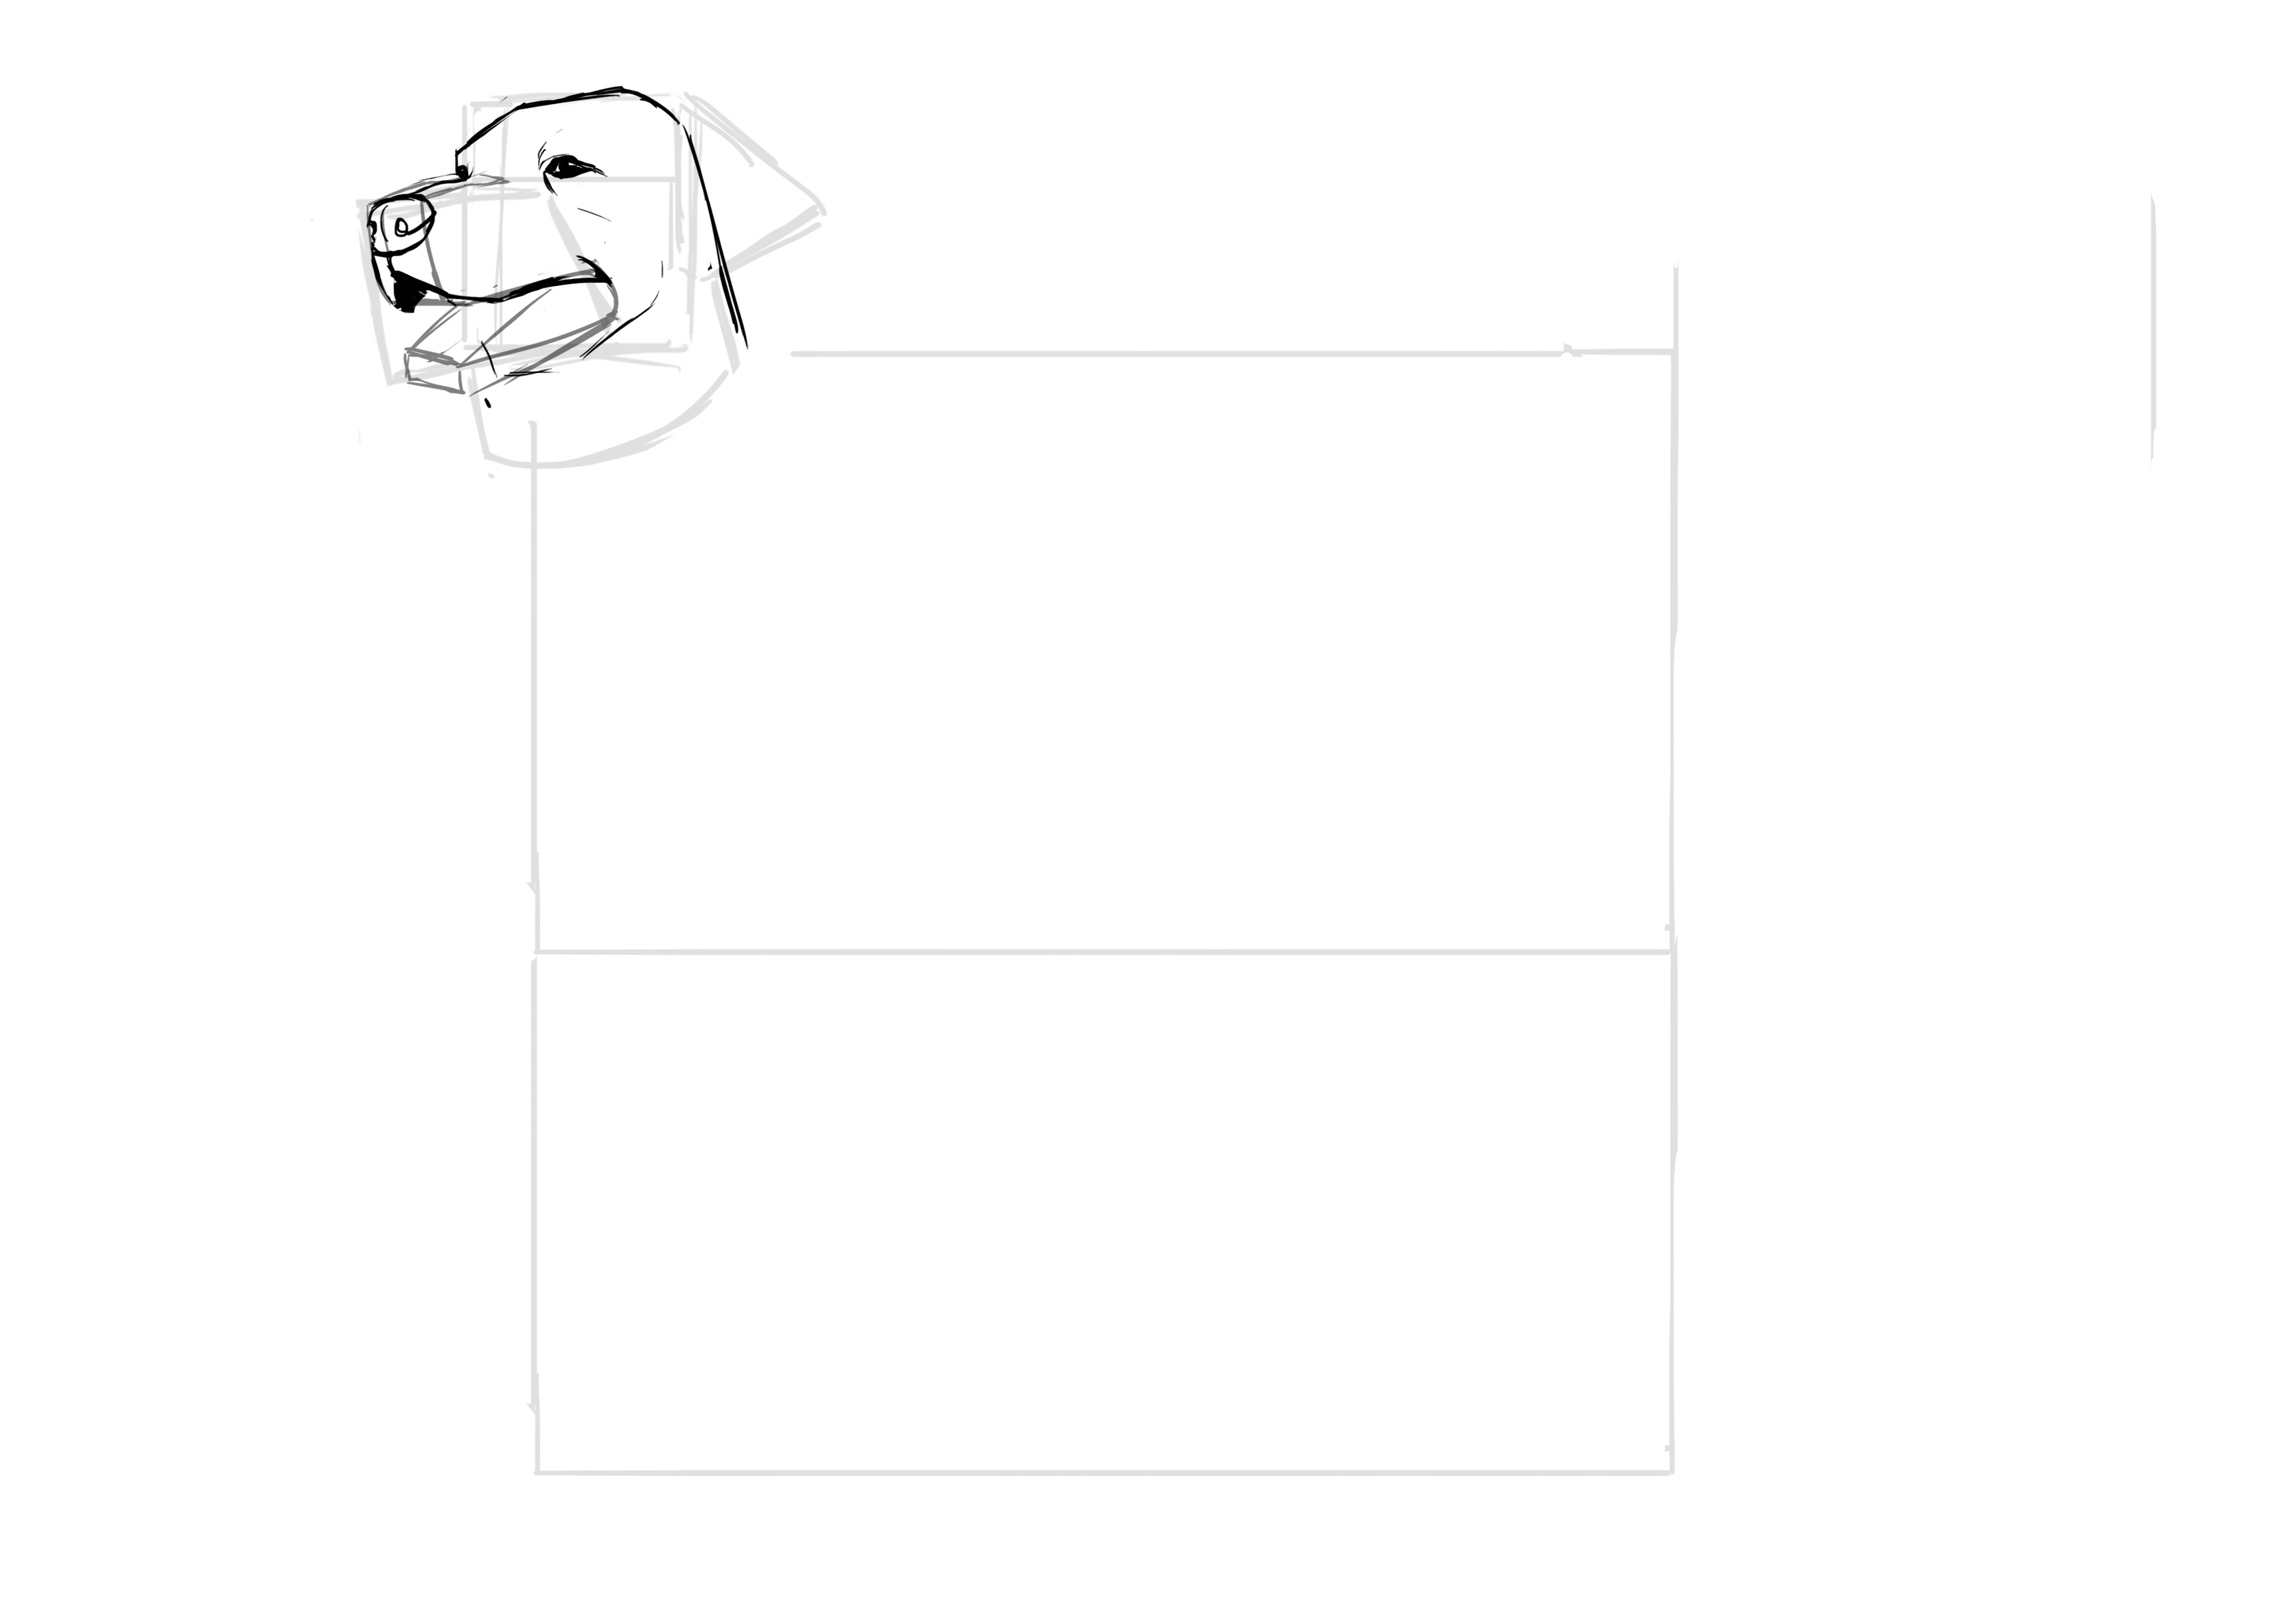
We can also position the lower jaw.
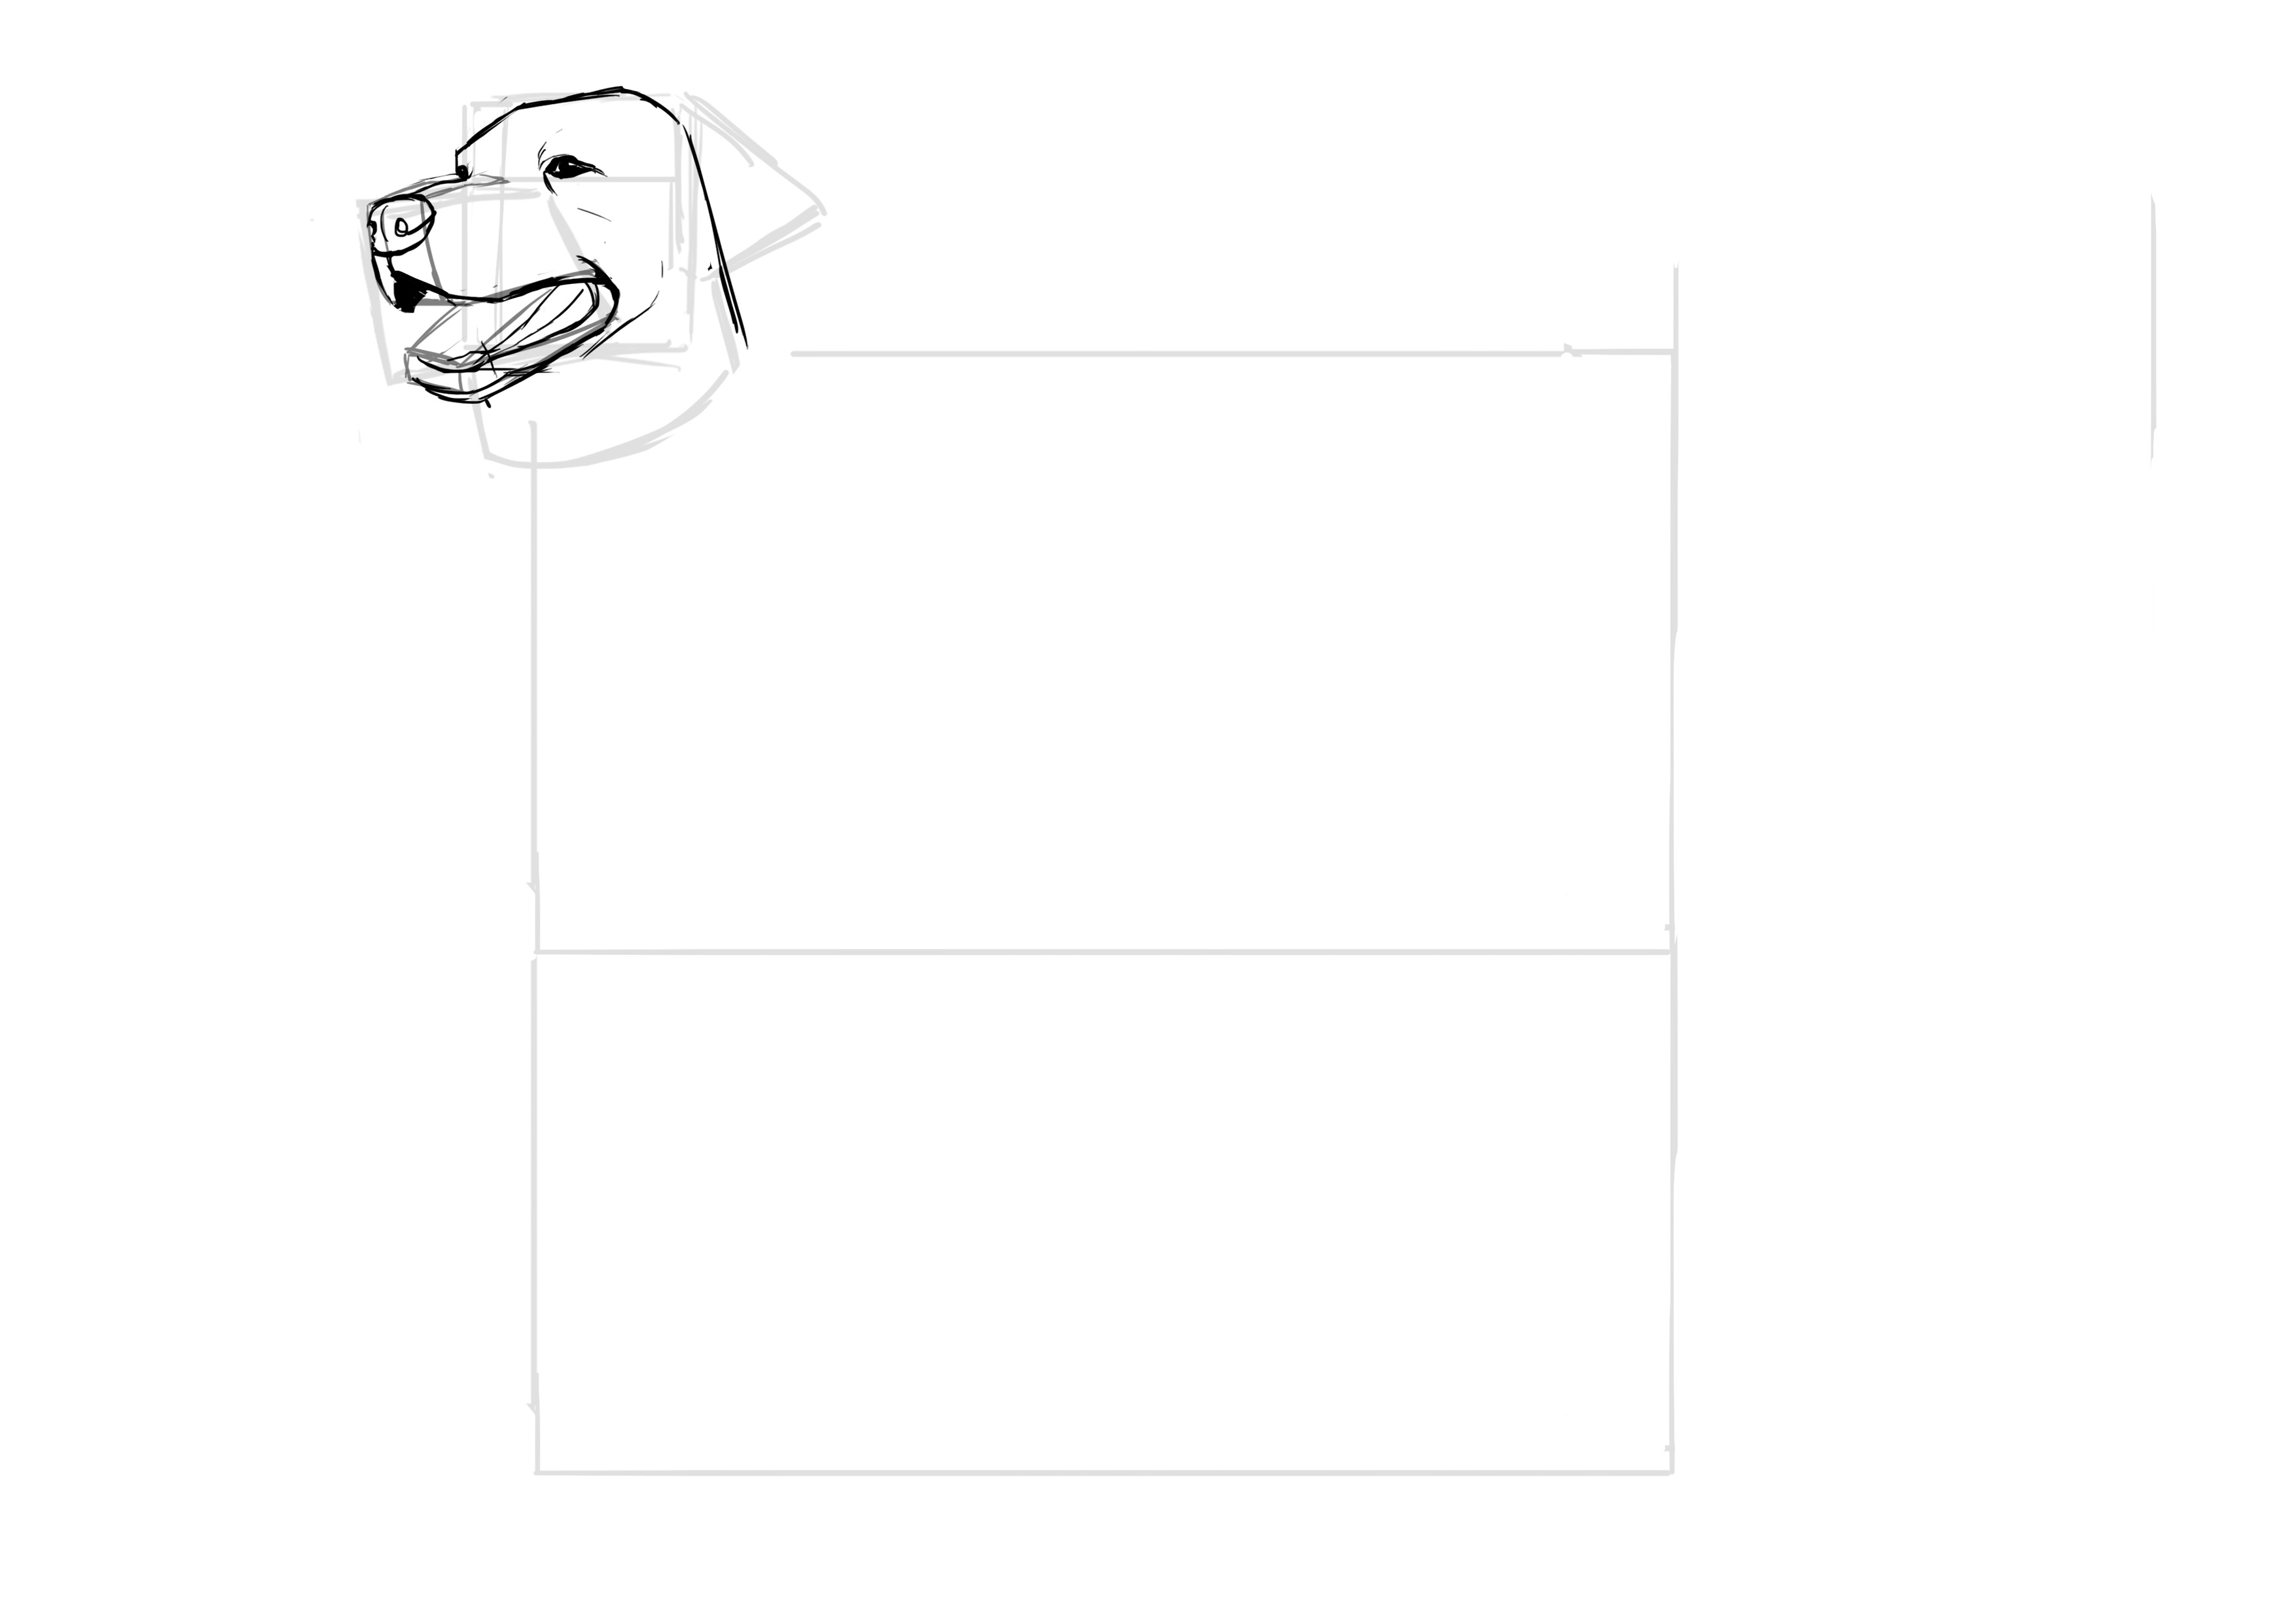
And the tongue.
As well as the black area under the teeth (I don't know what that part is called). The lips?
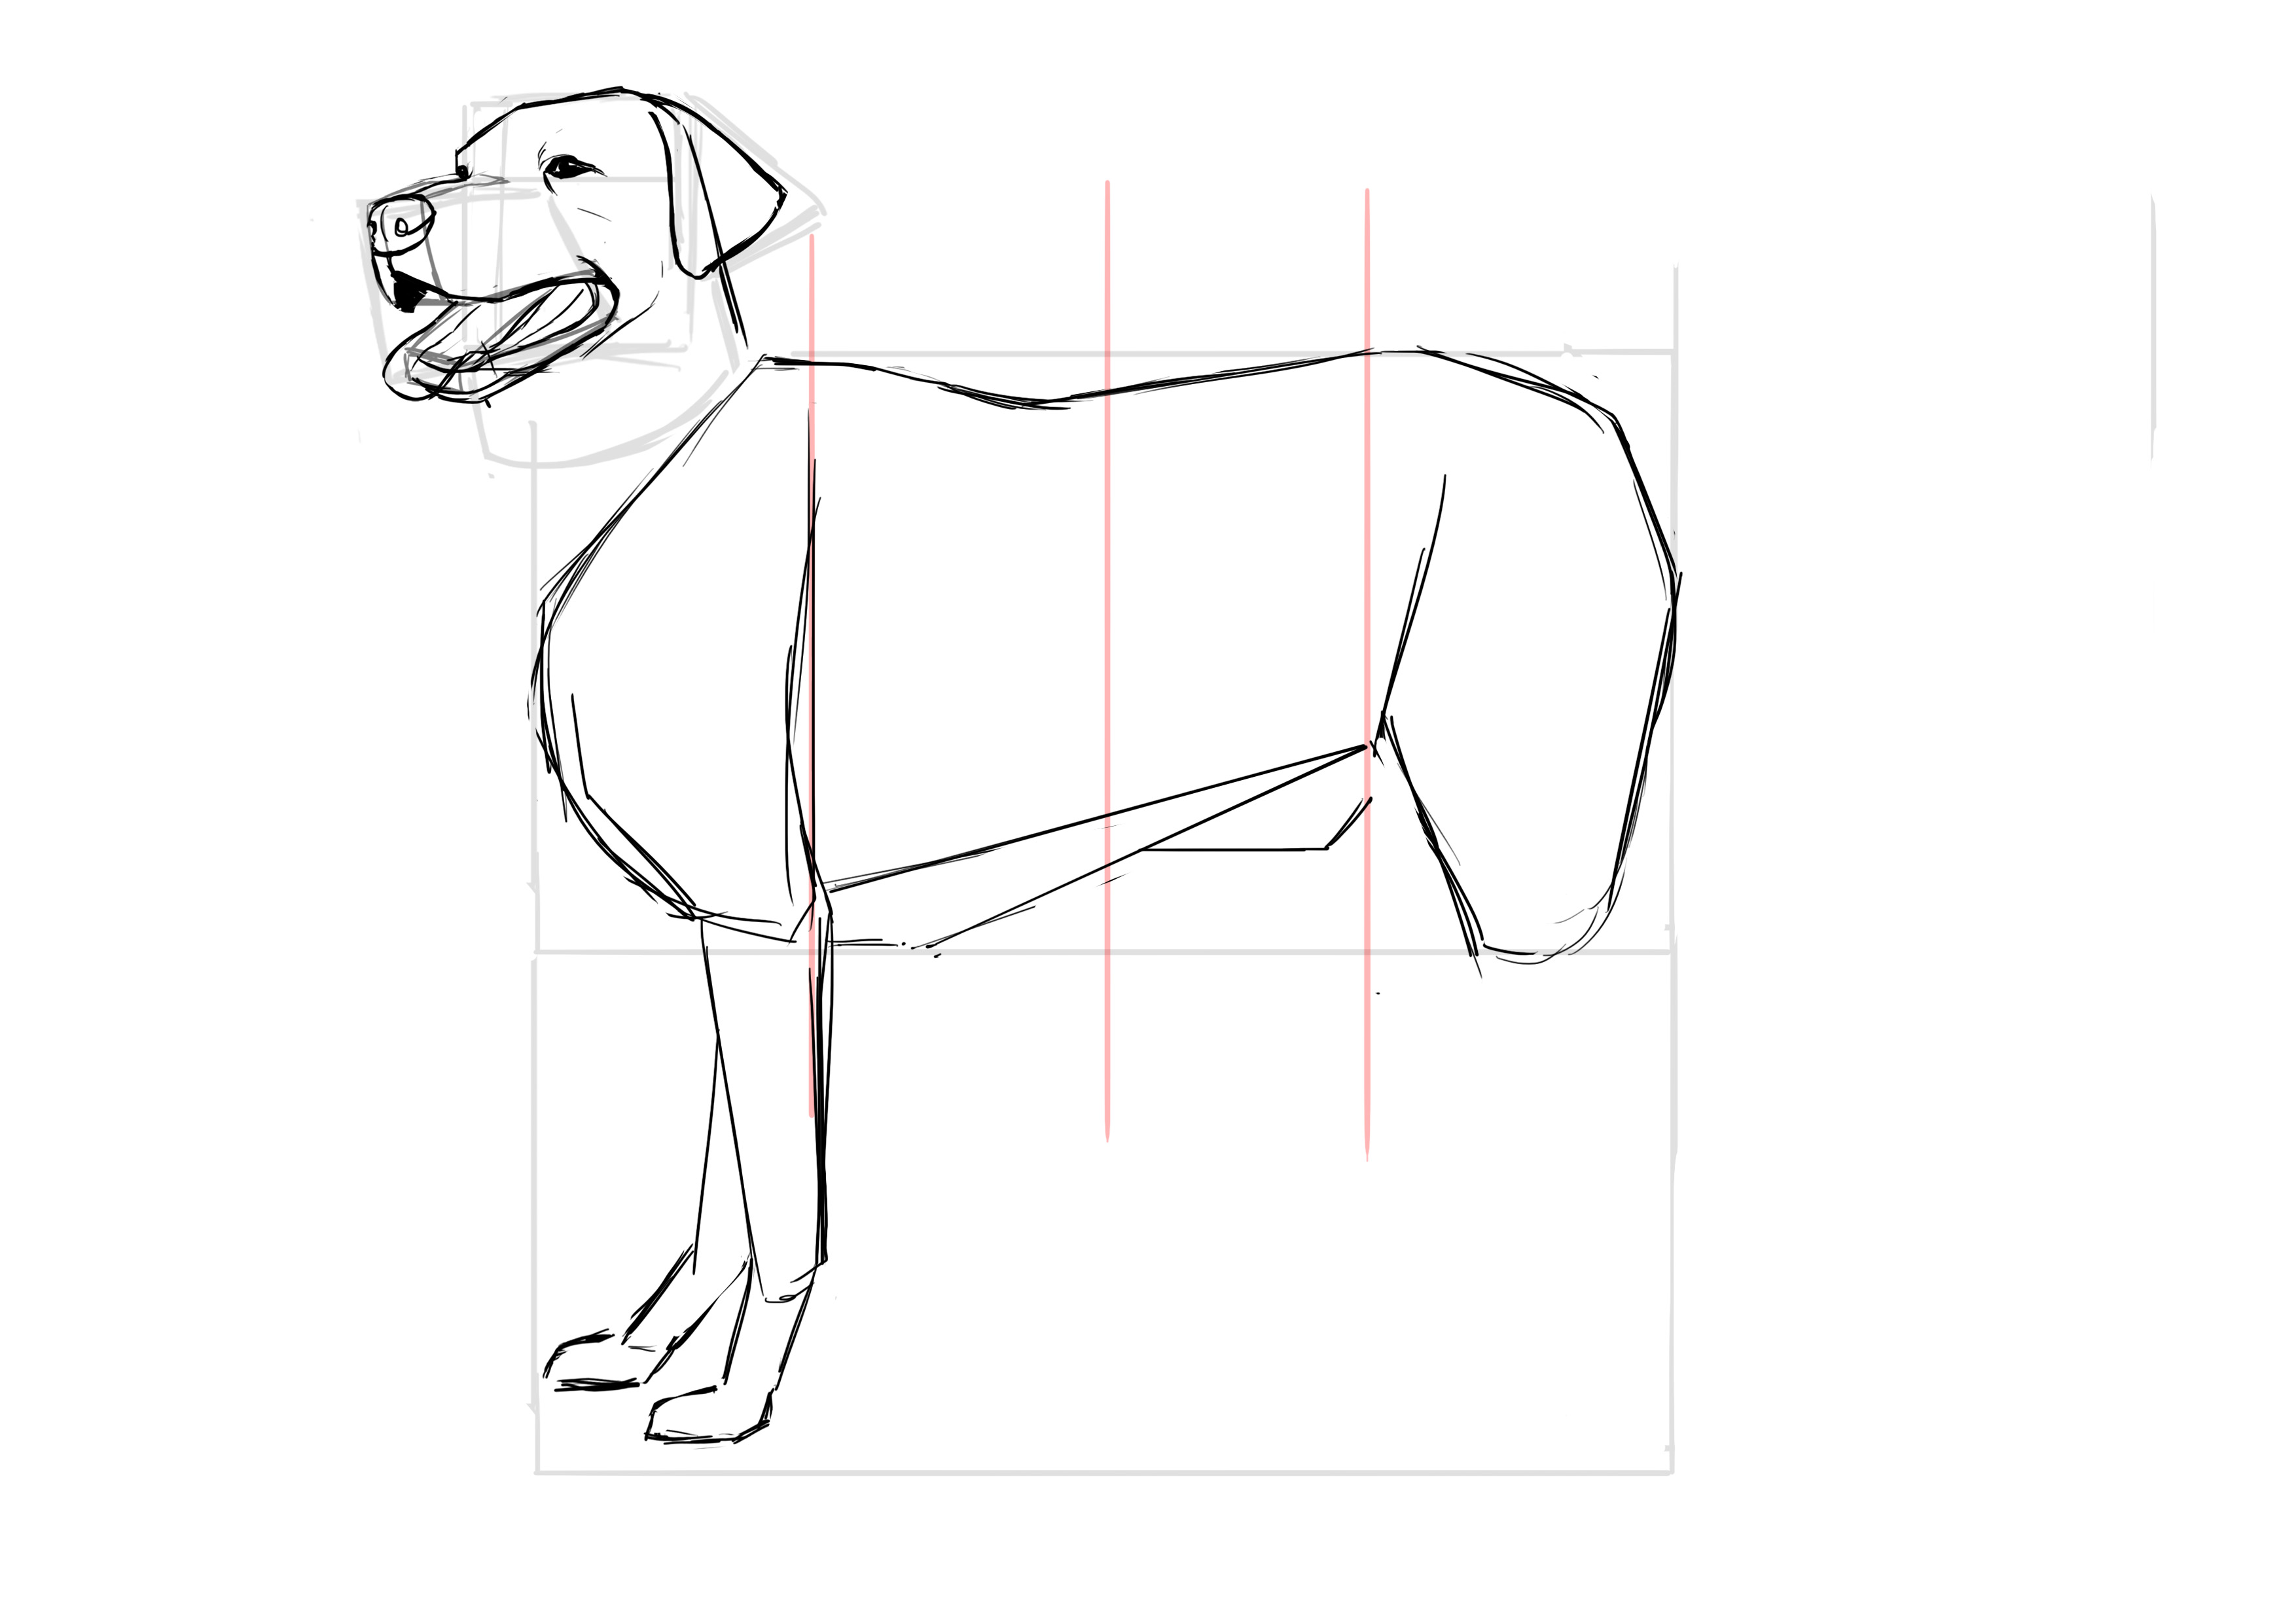
We can quickly redefine the shape of the ears before turning our attention back to the body of our little dog. In deer and horses, we could roughly divide the torso into three equal zones containing the shoulders, the abdomen, and the hindquarters, respectively. Here, it's clear that we are dealing with a more flexible animal: its abdomen and spine are much longer than the areas of the shoulders and hindquarters. Specifically, the shoulders take up about ¼, the hindquarters as well, and the abdomen the remaining half of our parallelepiped.
We outline the roughly diamond-shaped shoulders.

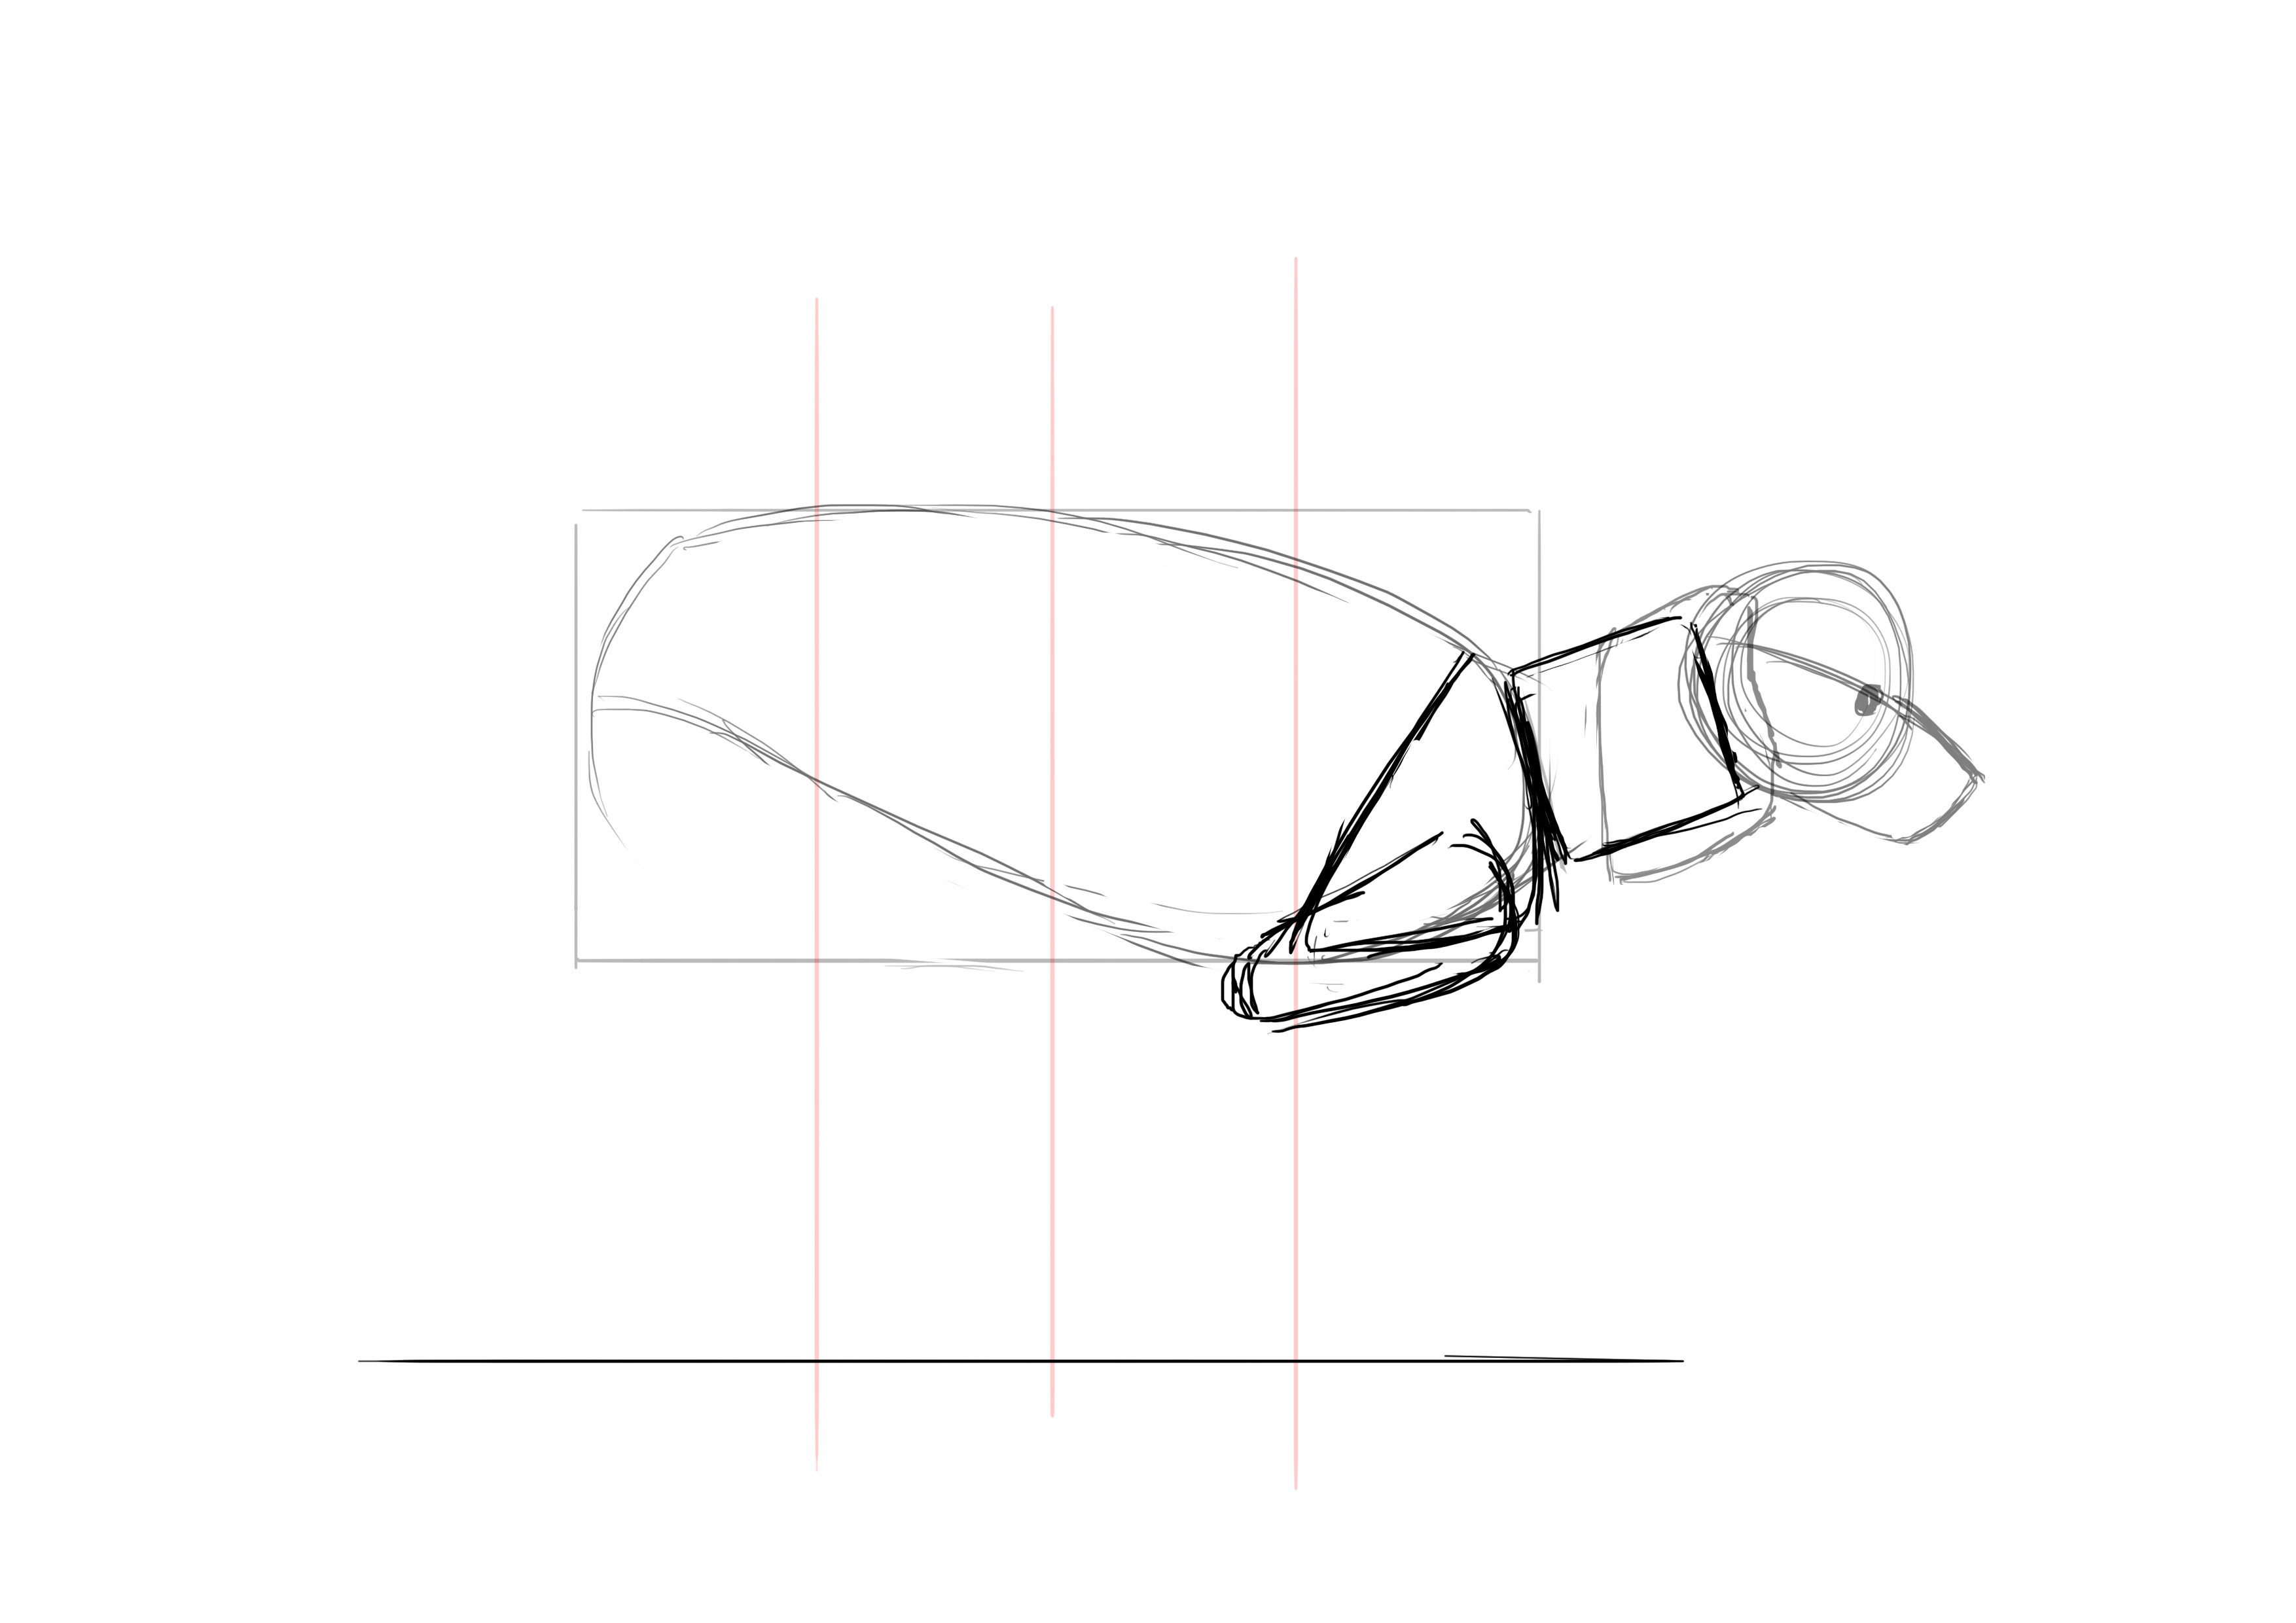
A long cone for the paw.
A small rectangle.
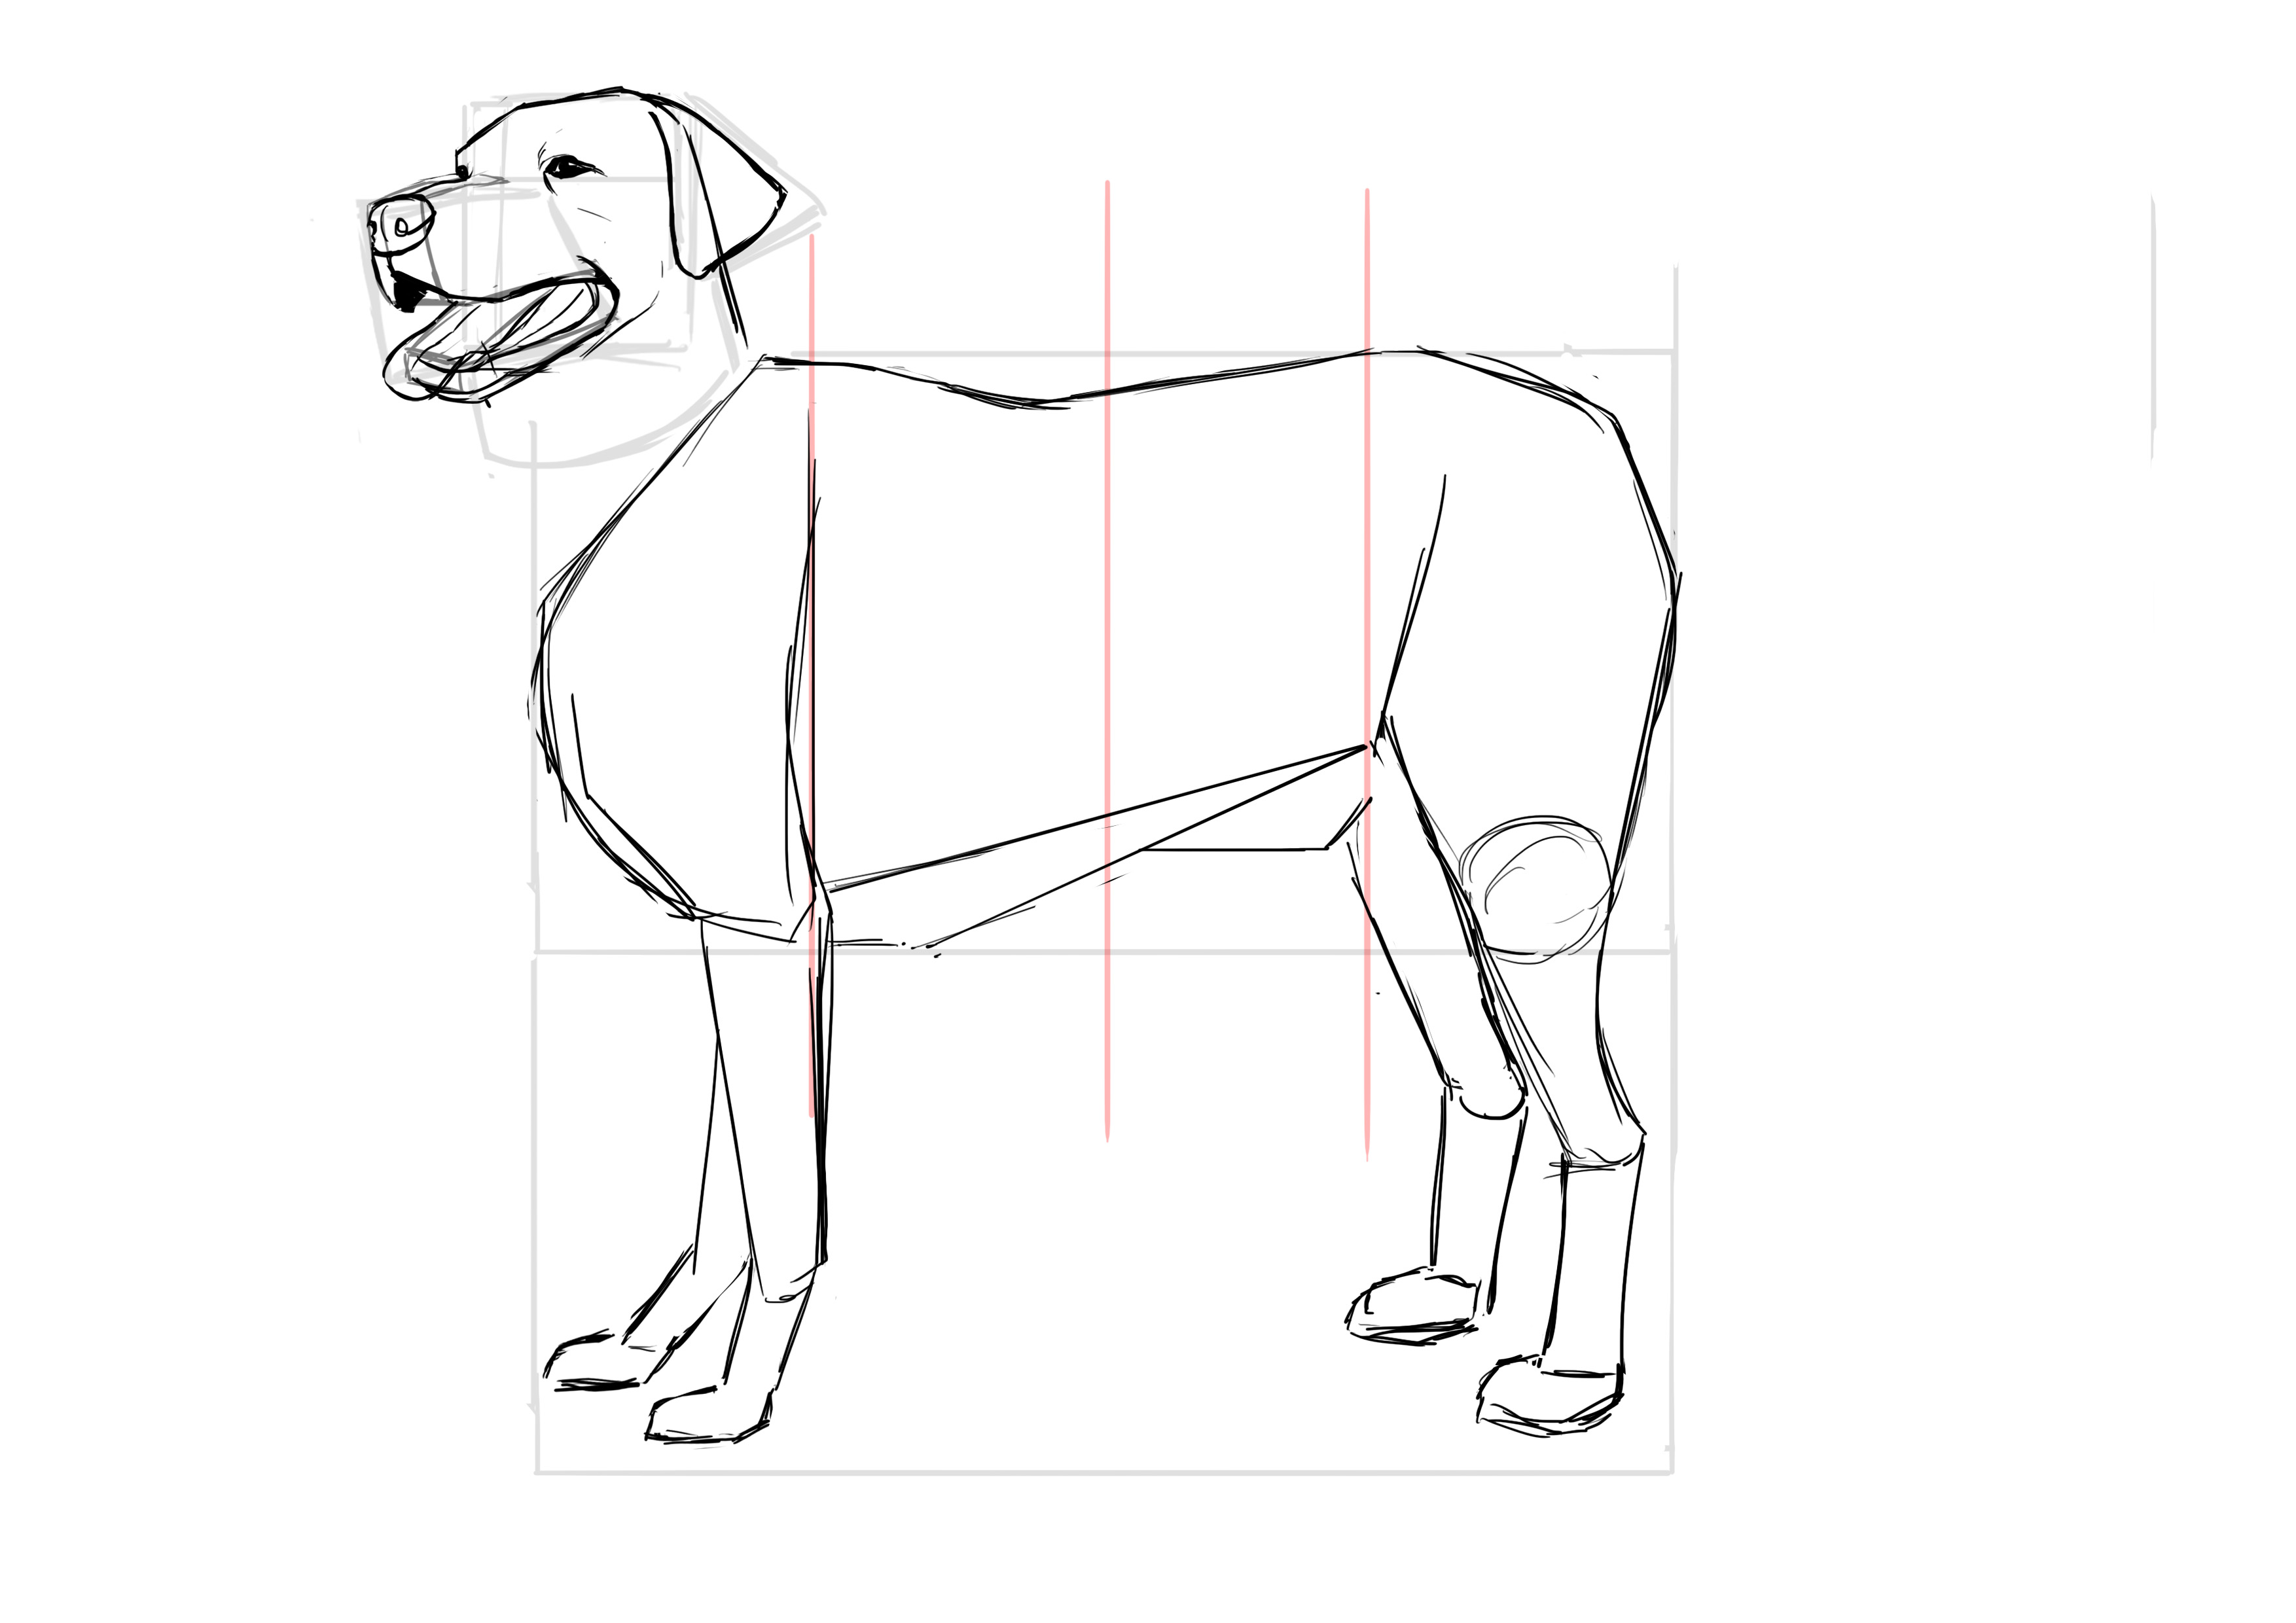
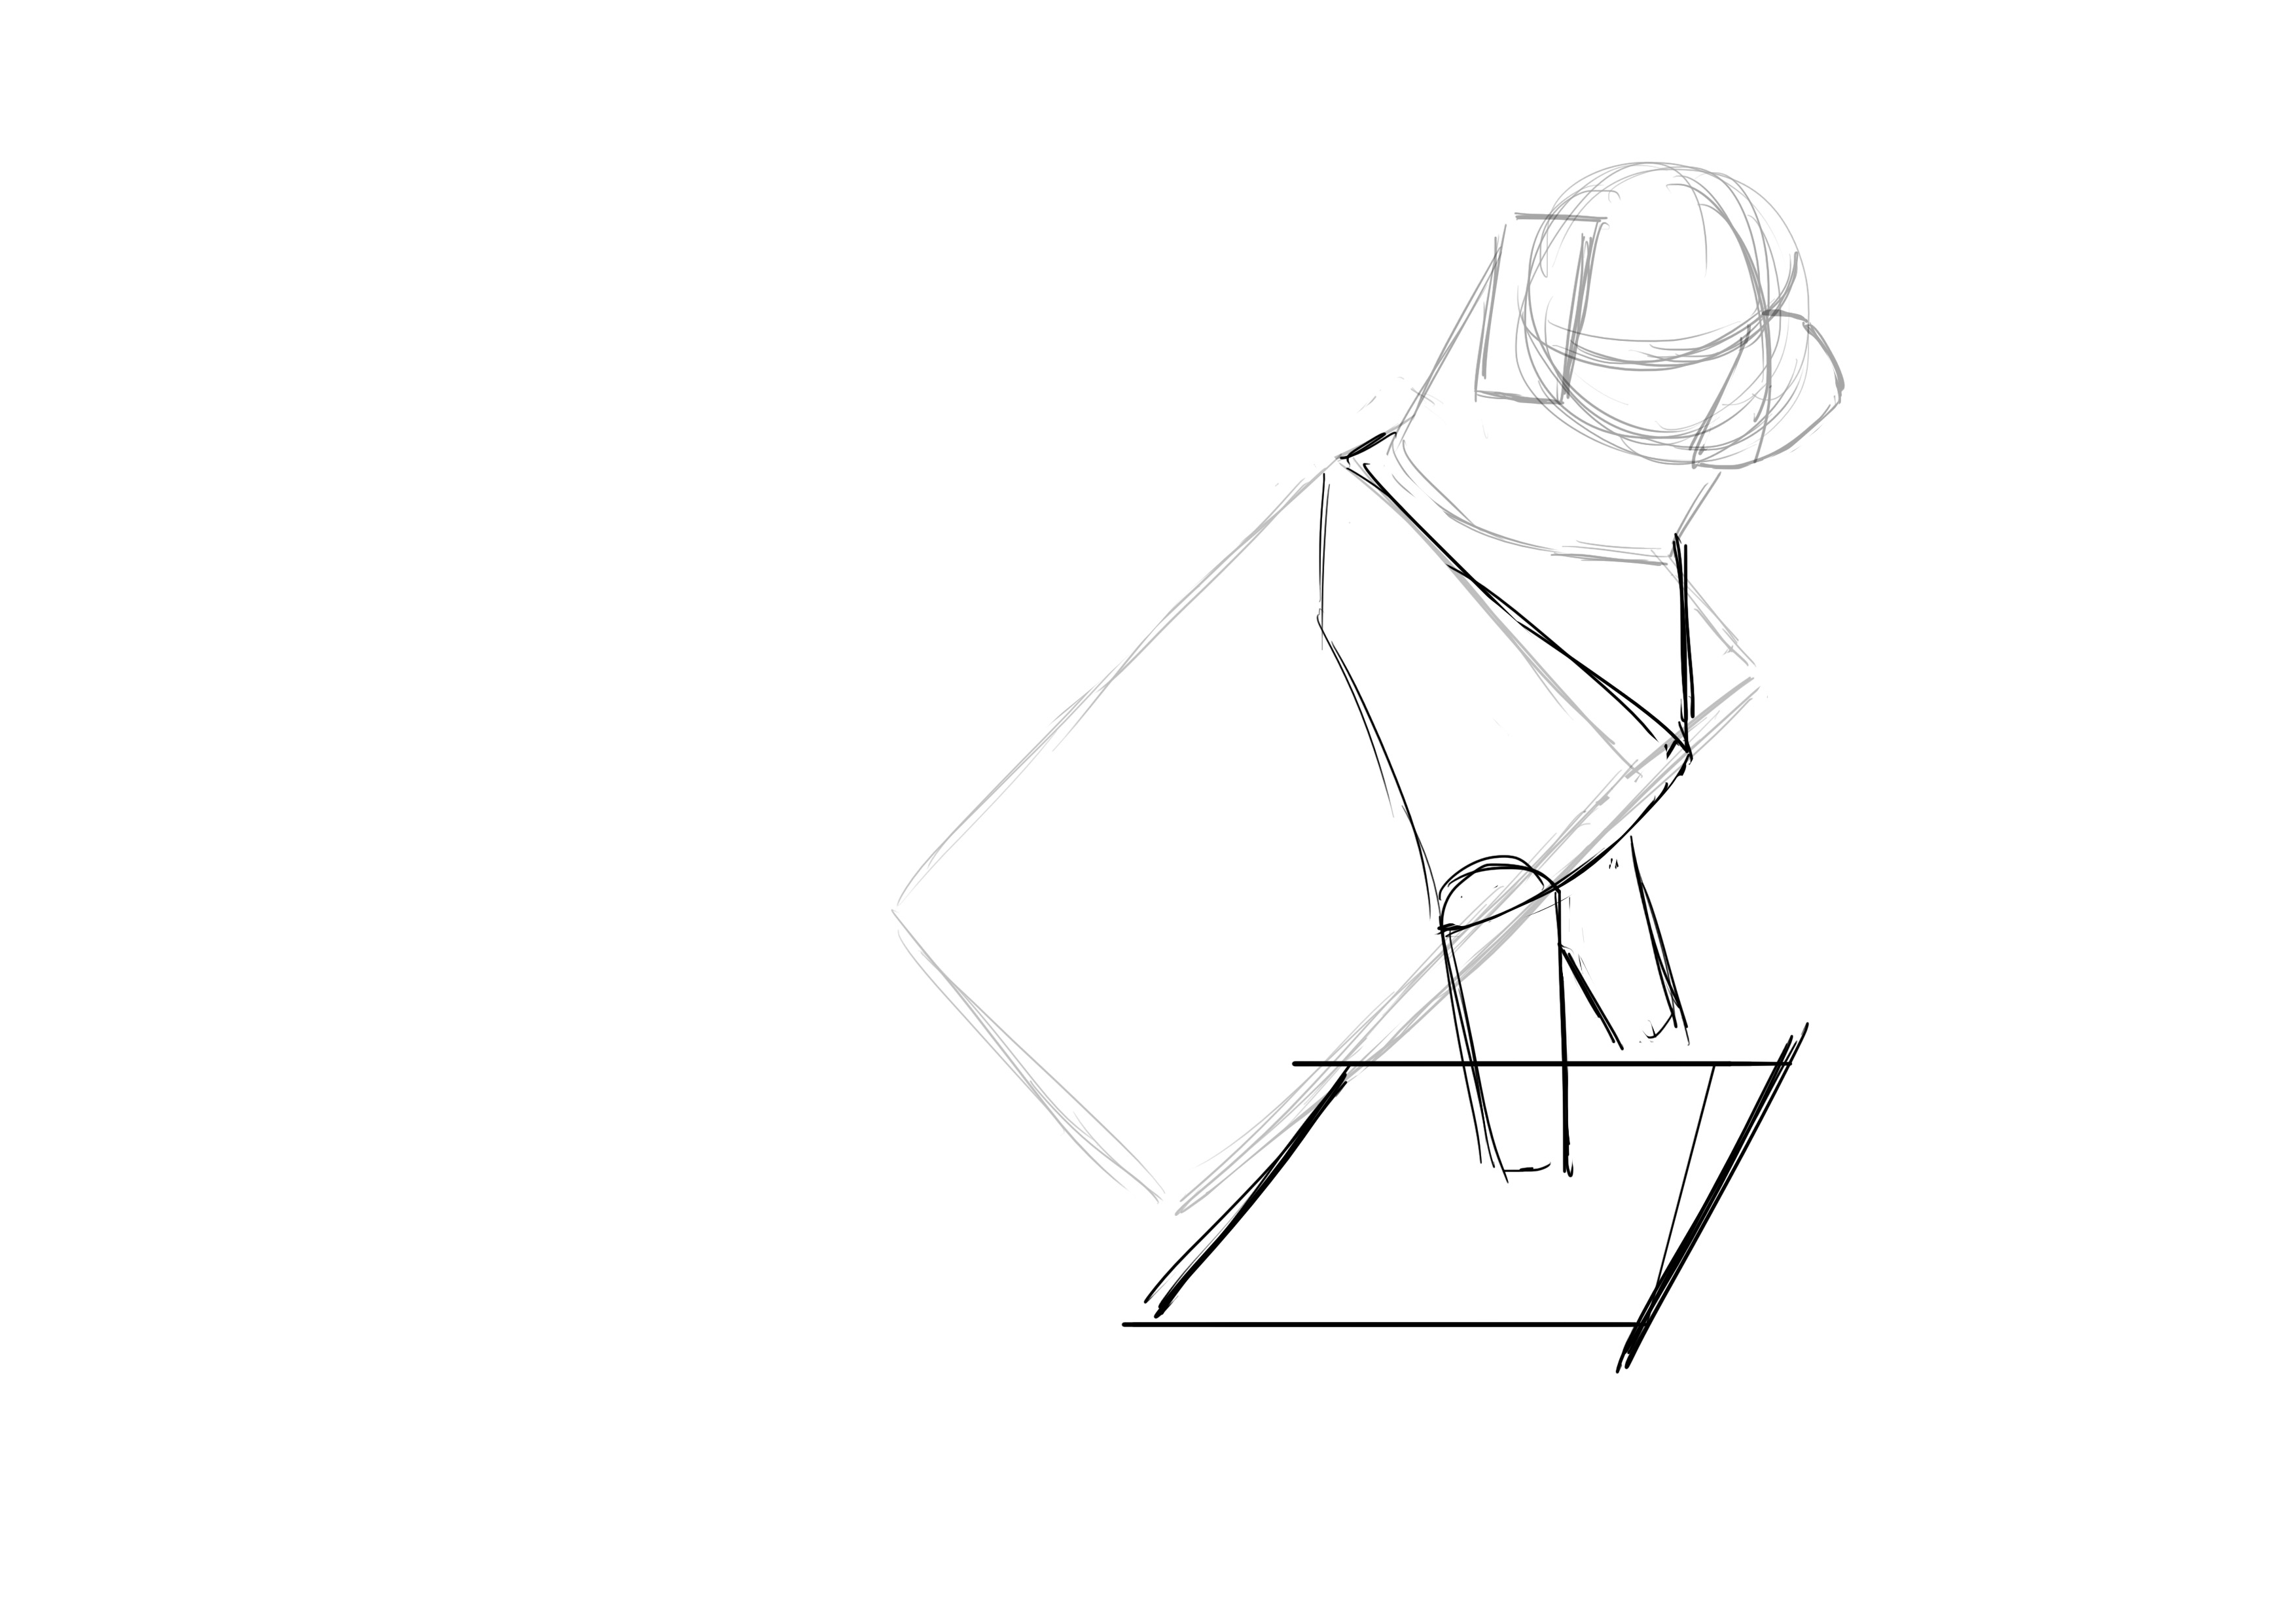
And the paws.
The abdomen now. We create a trapezoid, narrowing towards the hindquarters.
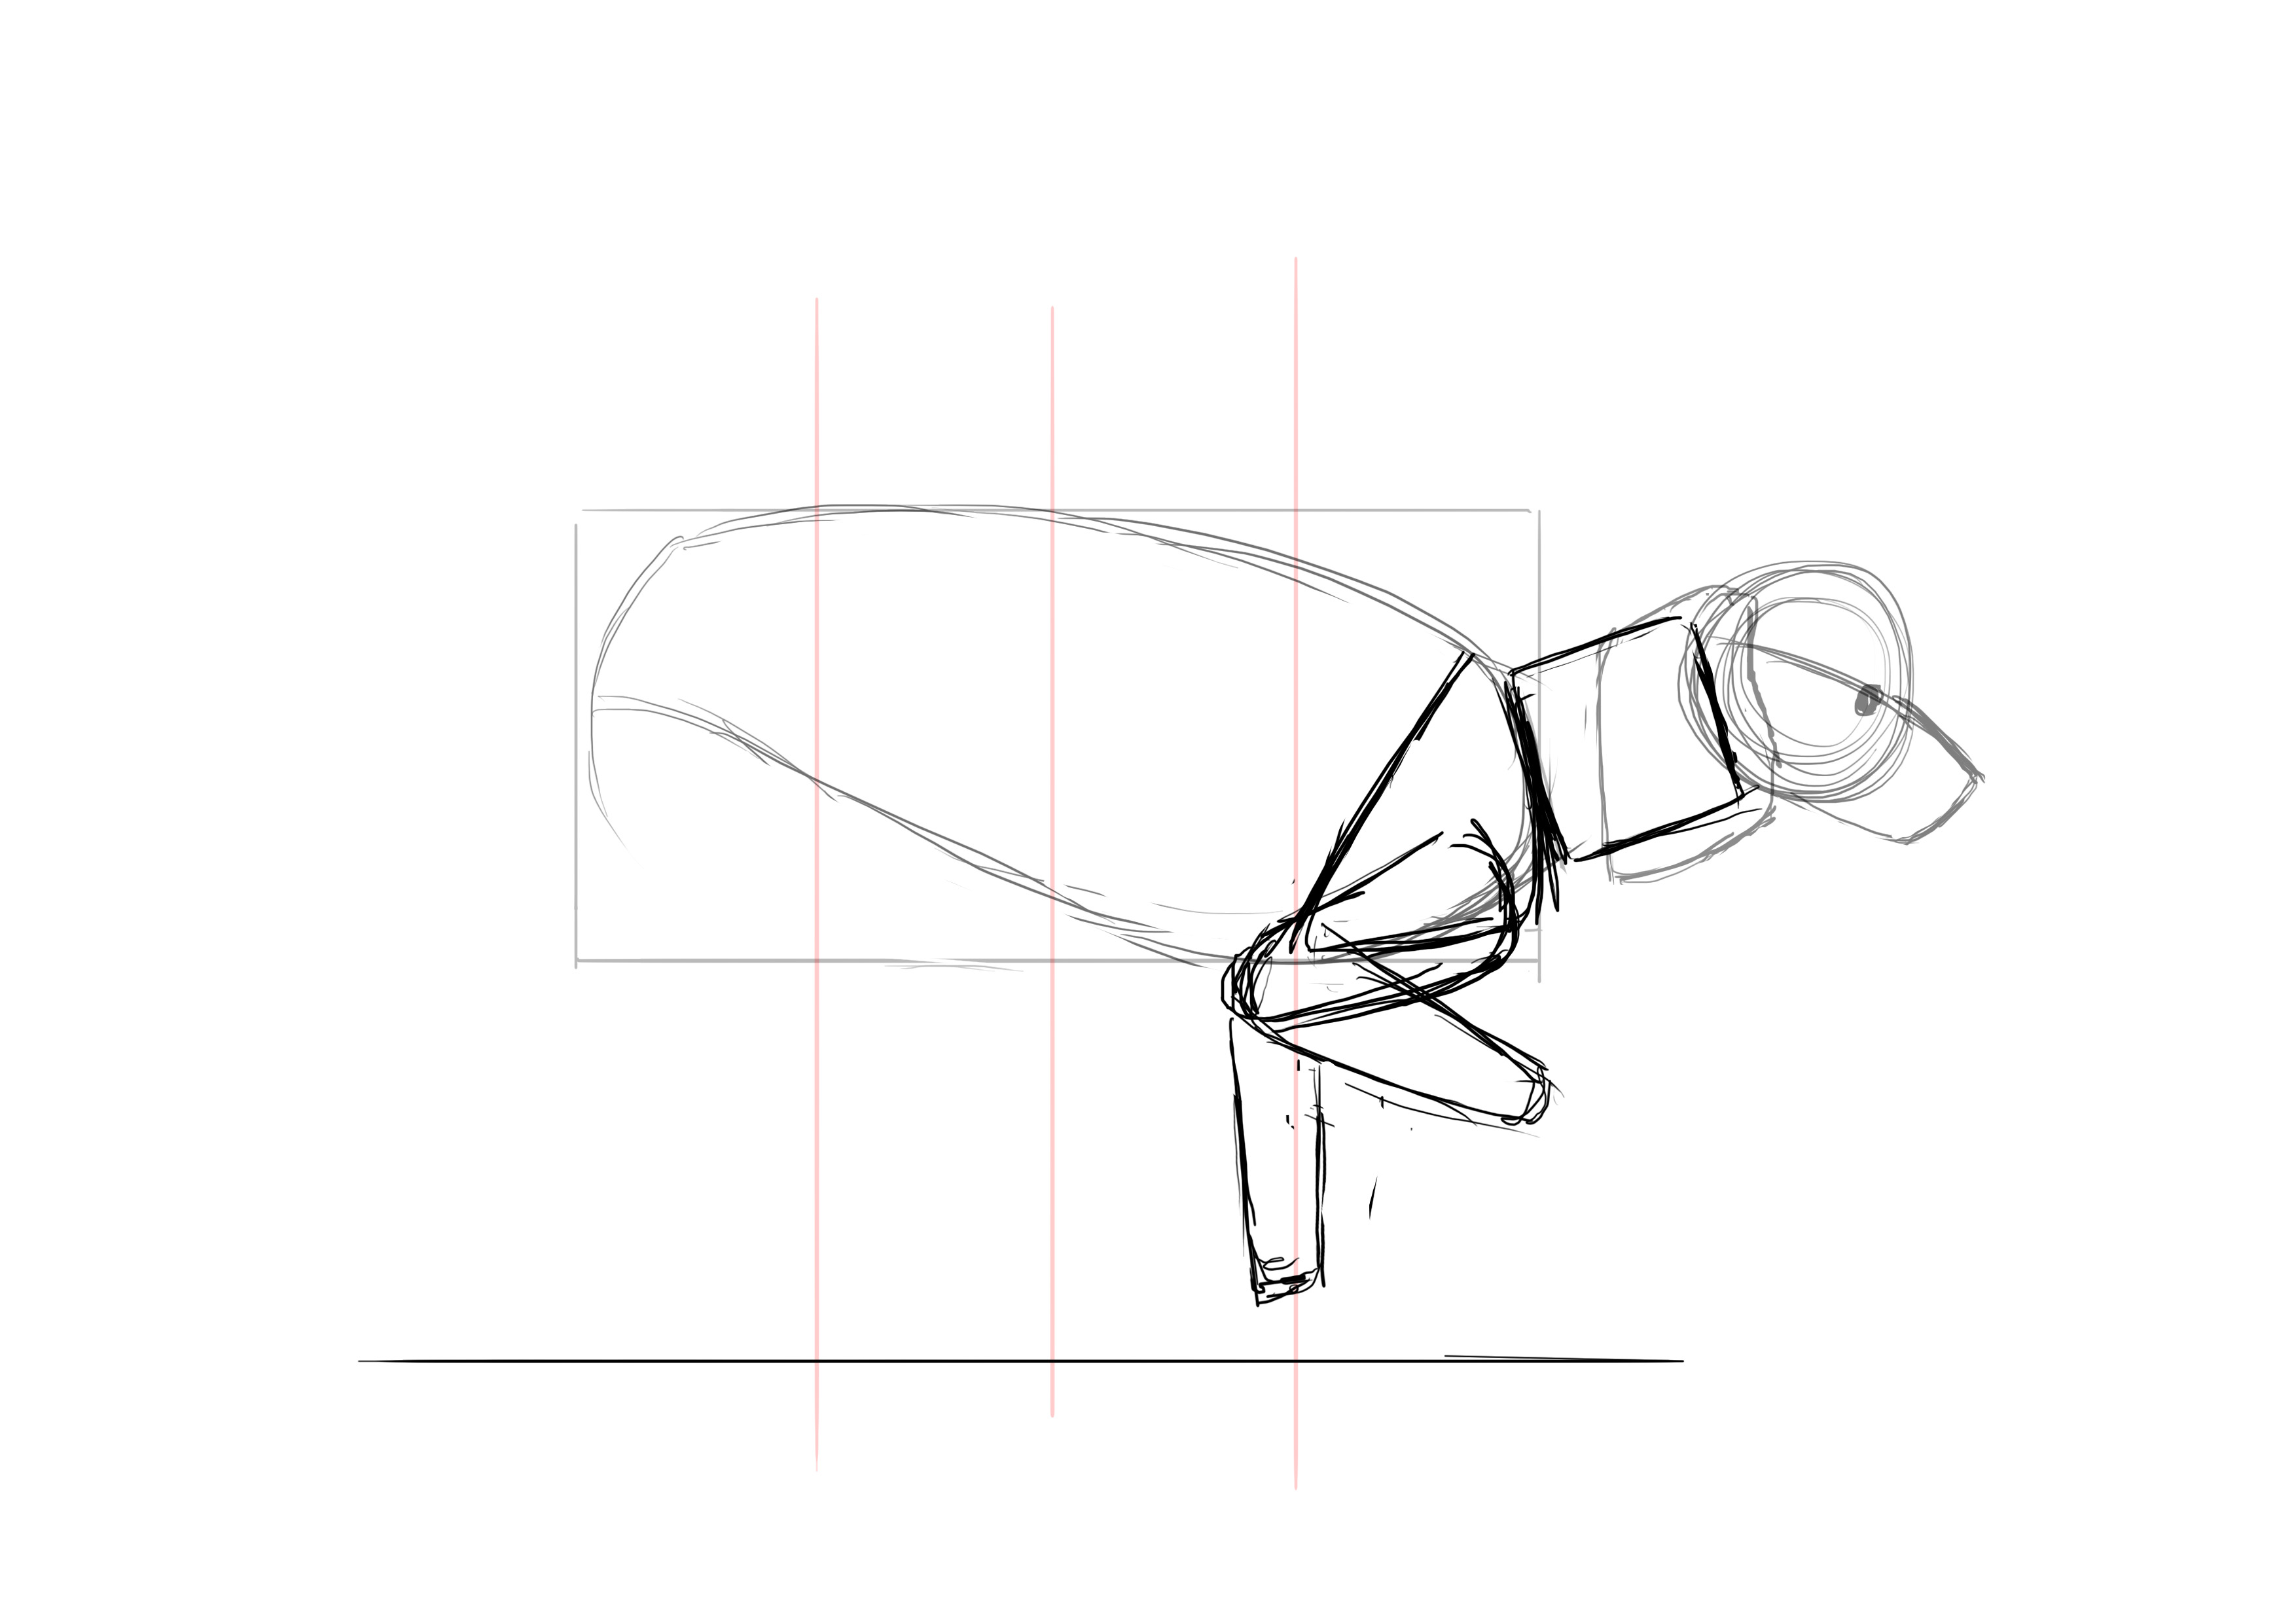
Another diamond for the rear end.
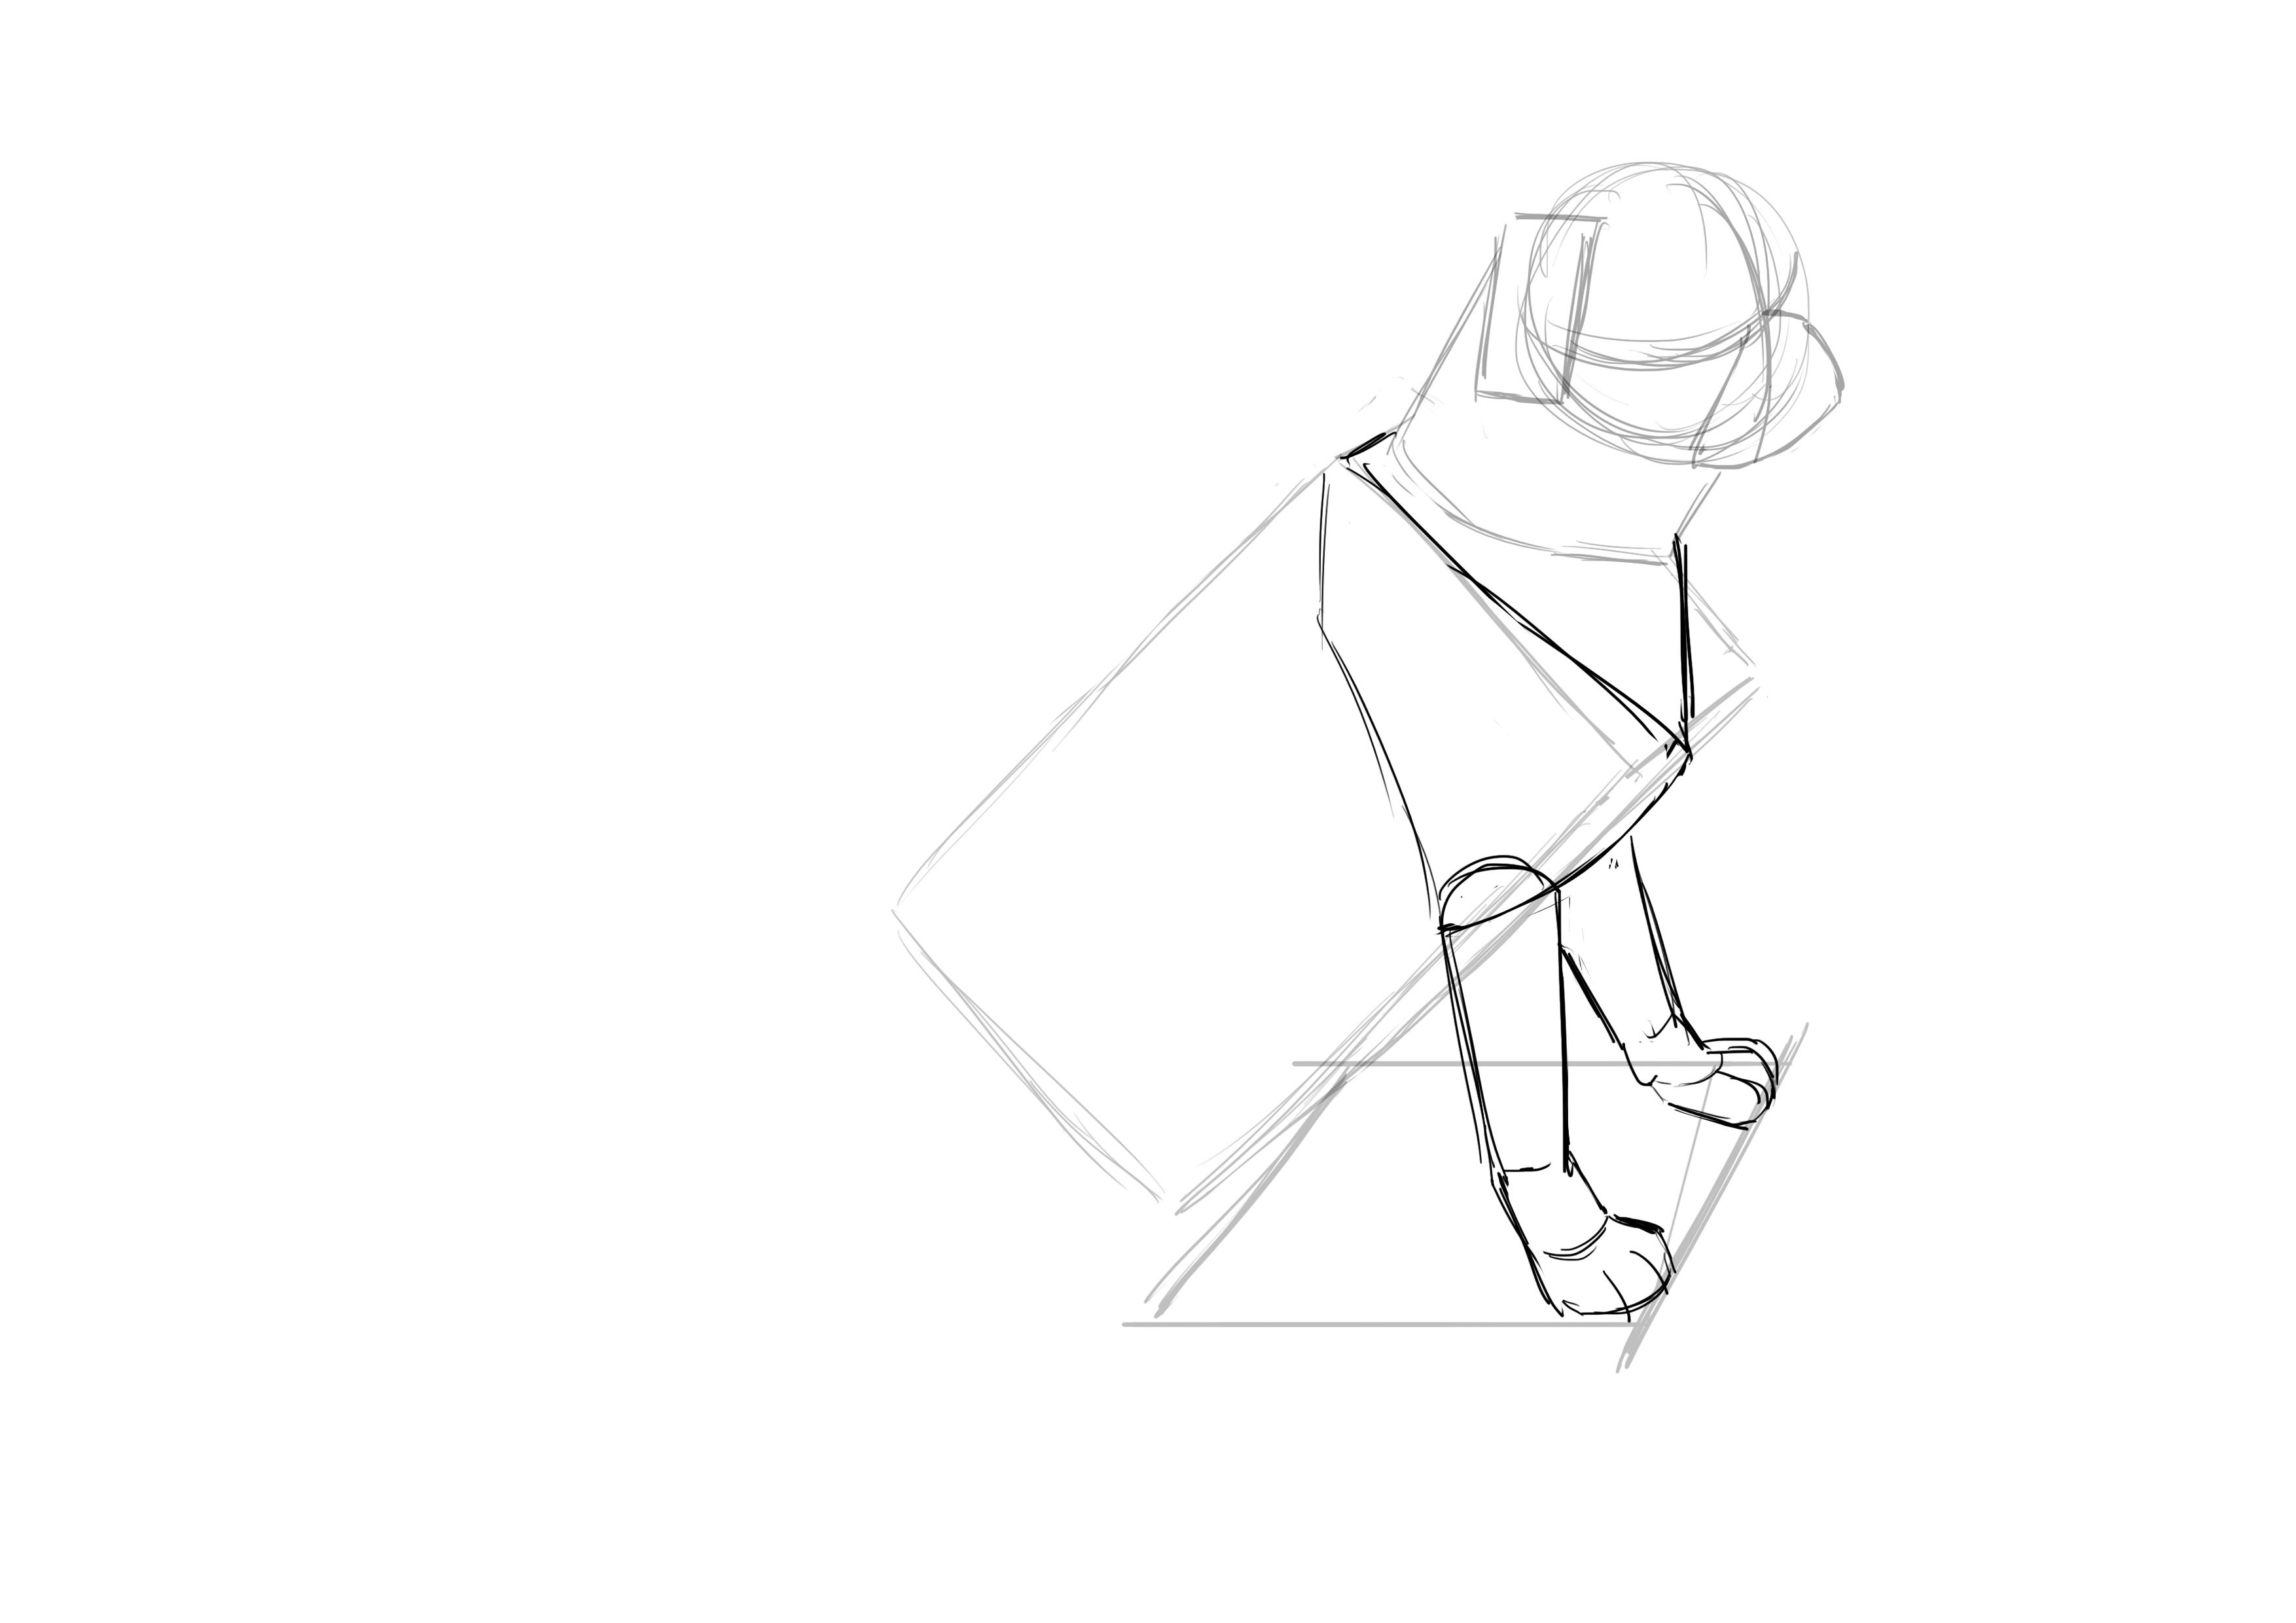
The cone of the thigh, rectangle for the lower part of the leg, then the toes. Feel free to draw a square on the ground (in perspective) to properly place the legs if you need it. This will help you avoid mistakes.

We add the tail.
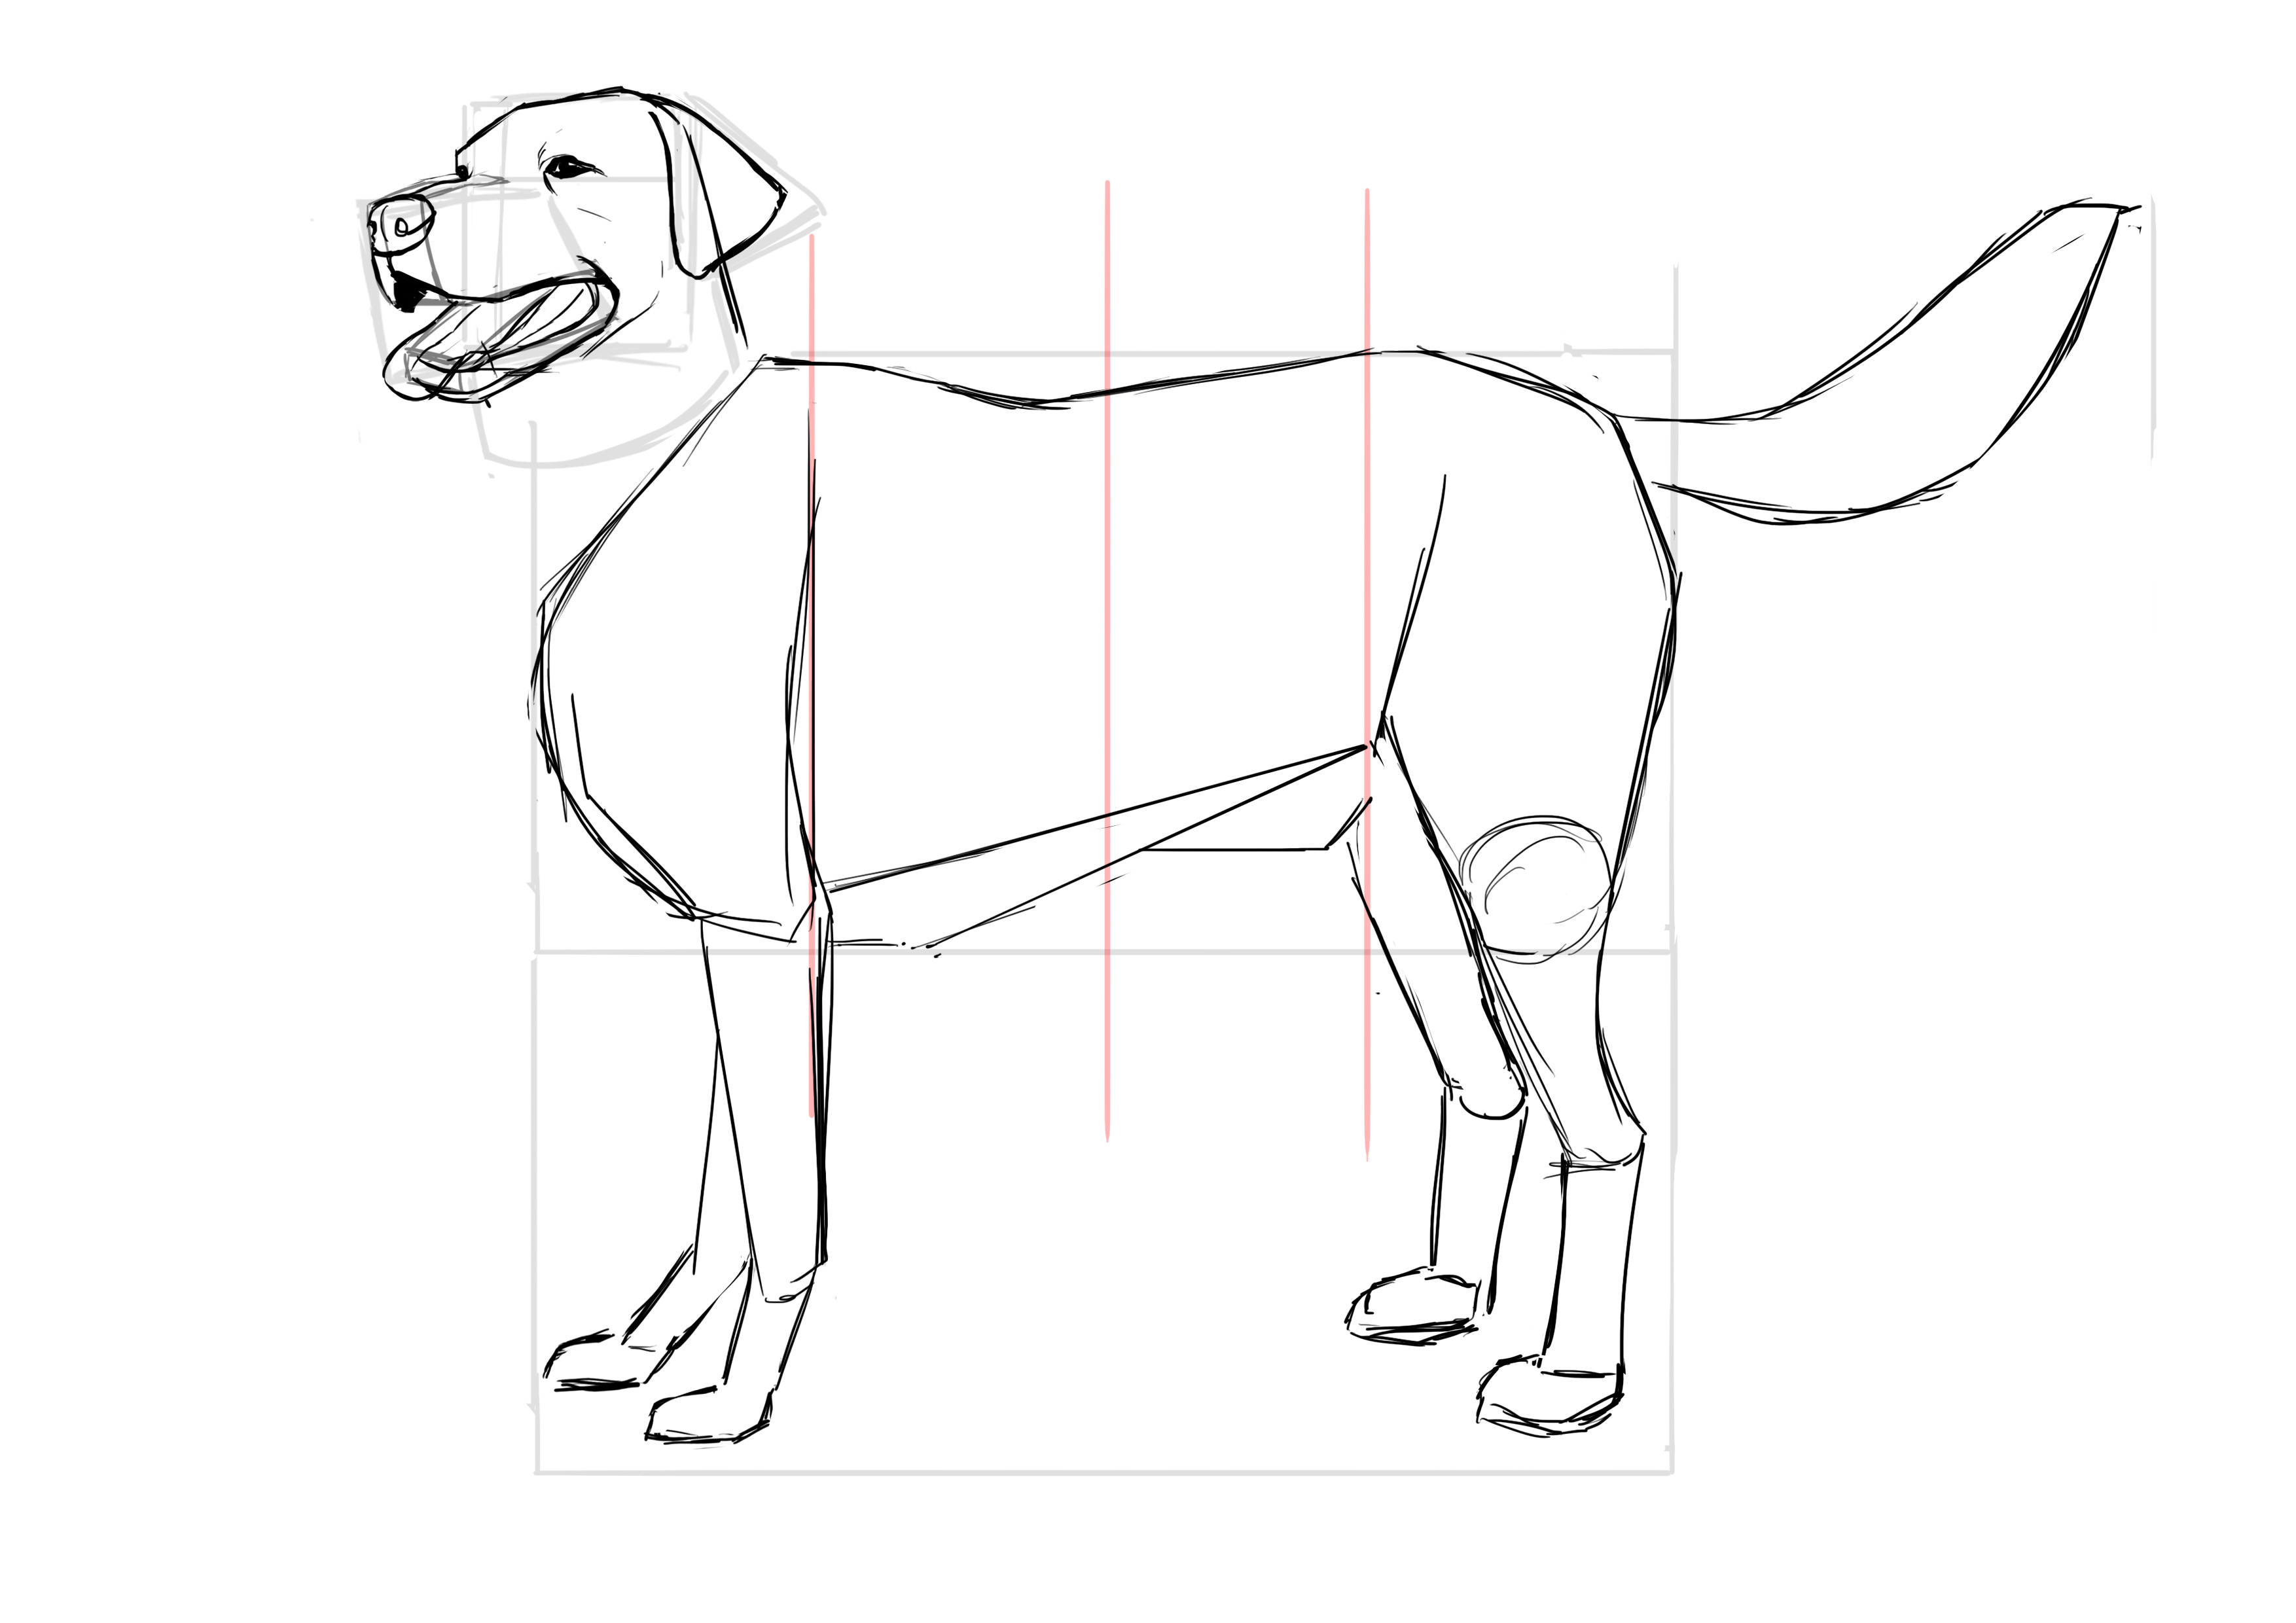
We draw the neck to tie everything together.
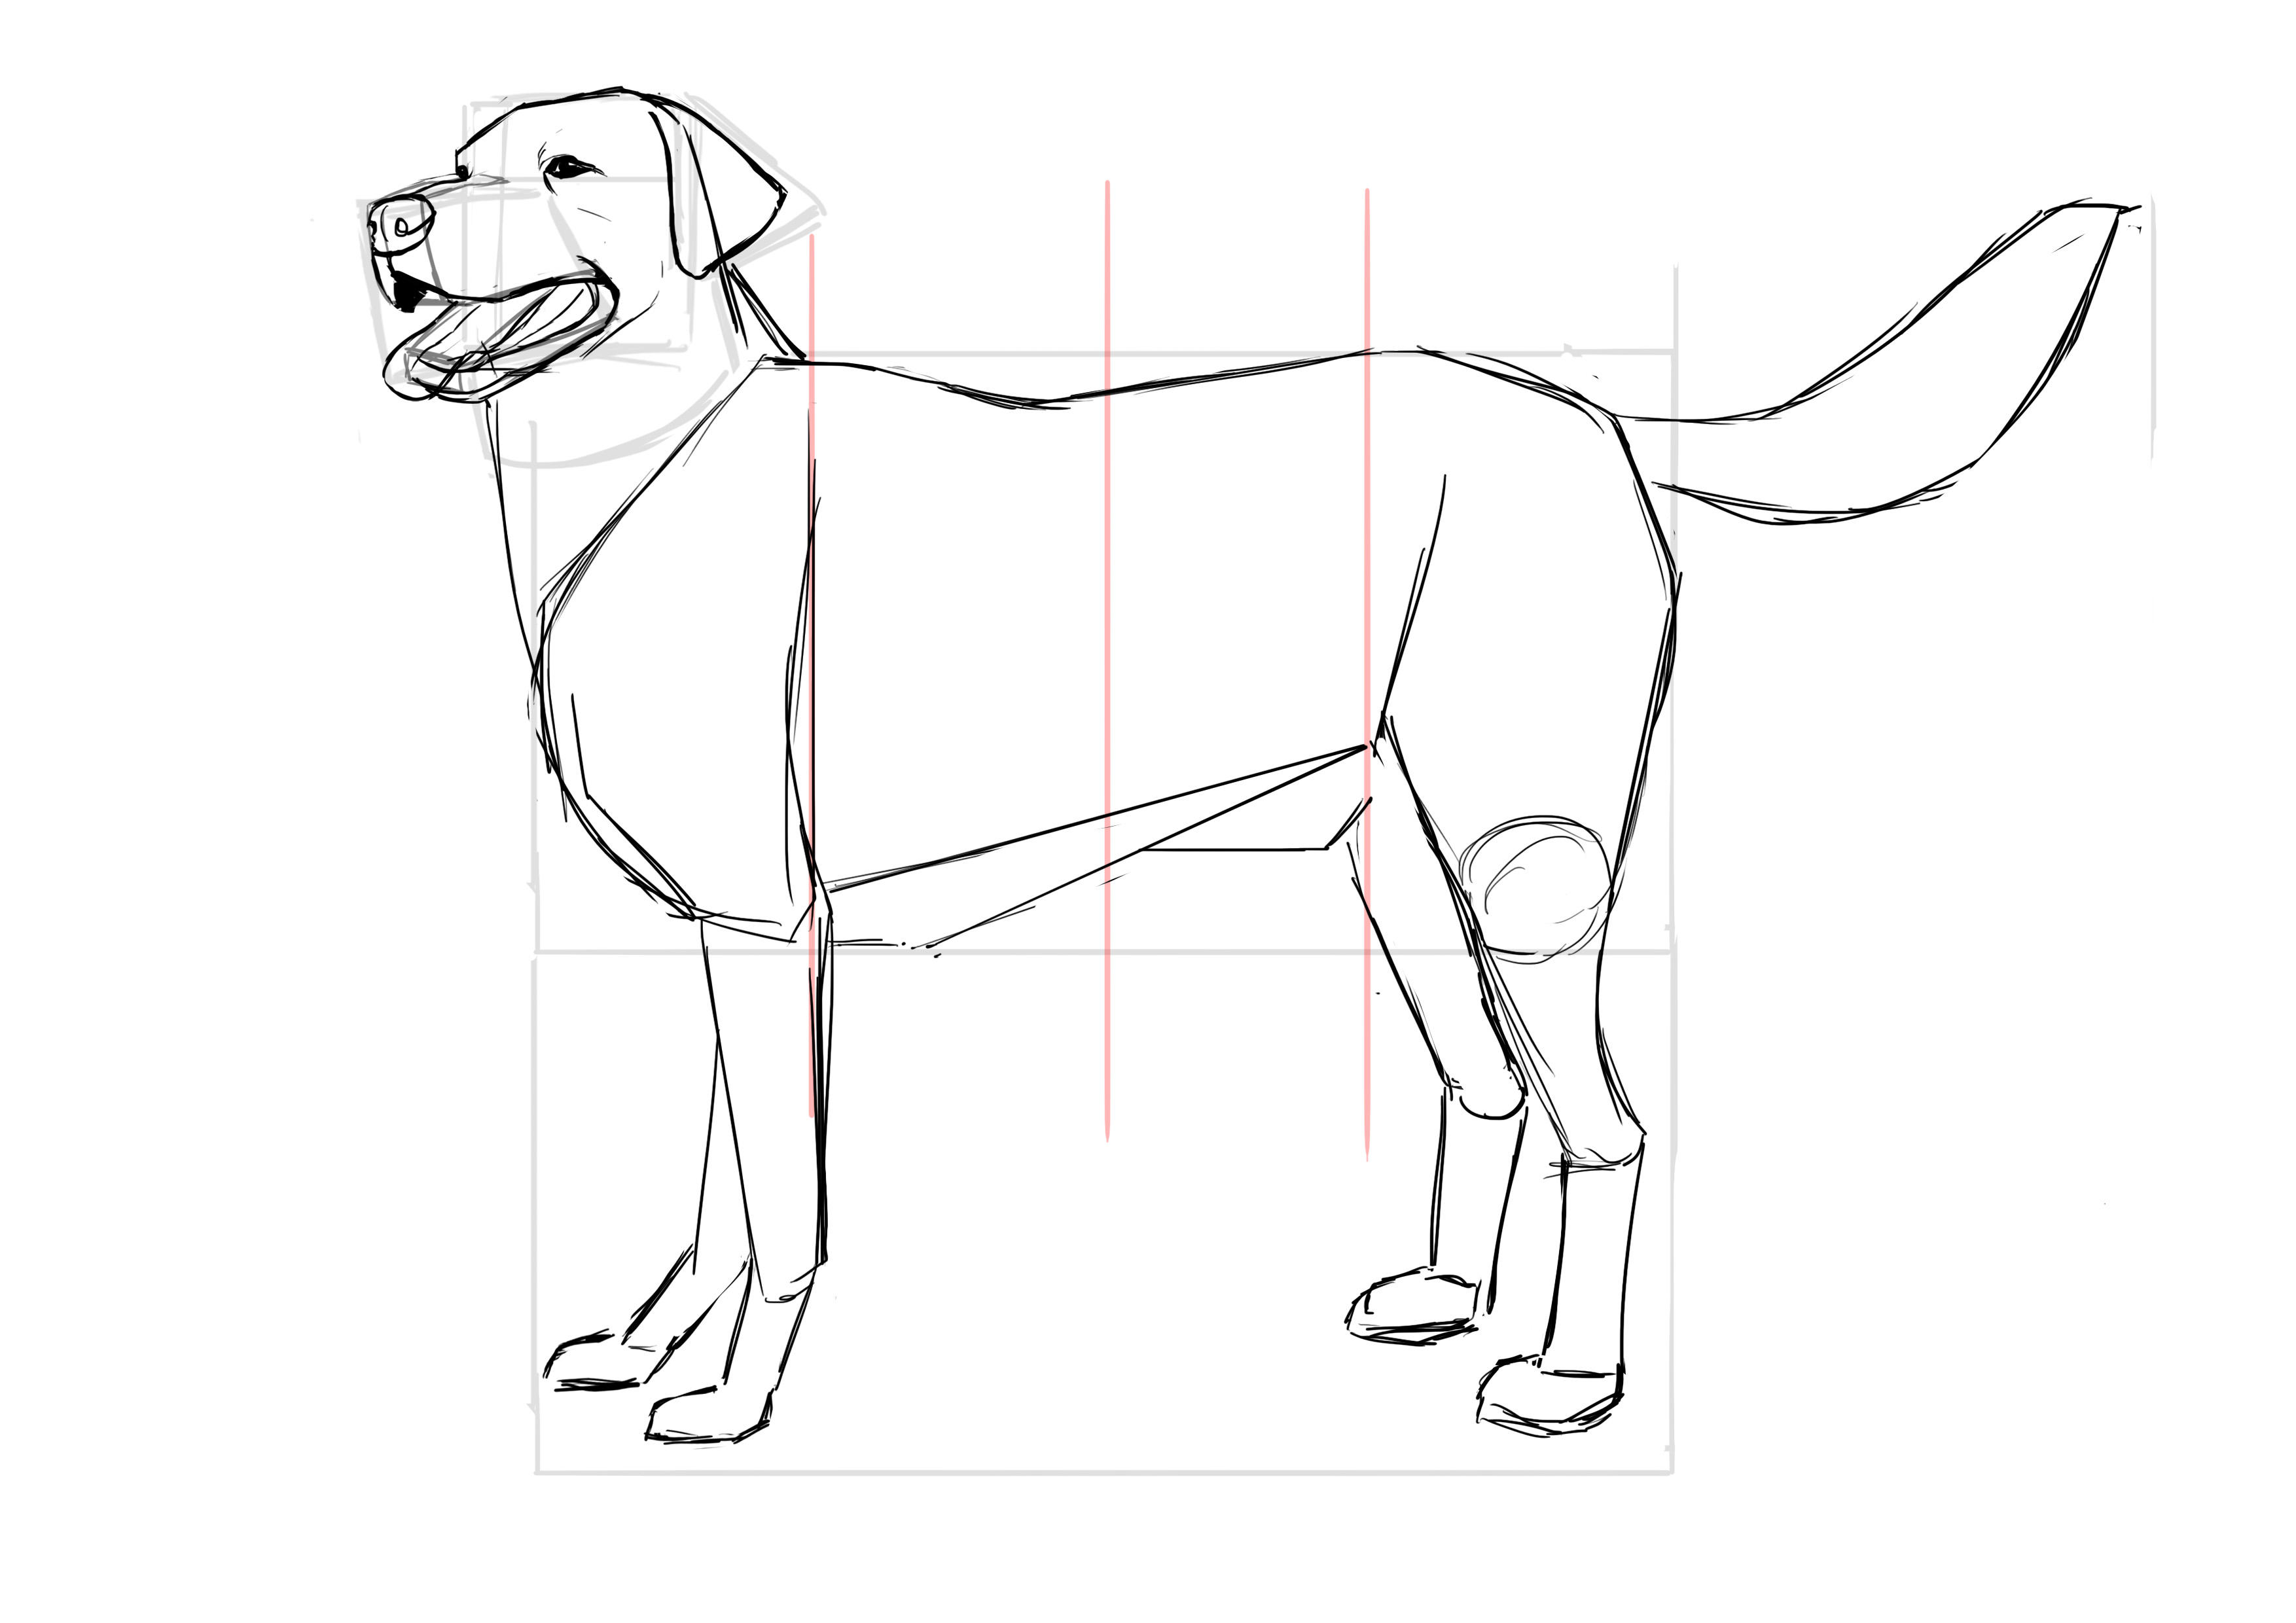
TIDY UP THE DRAWING
We're moving on to the final clean-up! As always at this stage, it's the little details that make the difference :3
DRAWING A PUG DOG
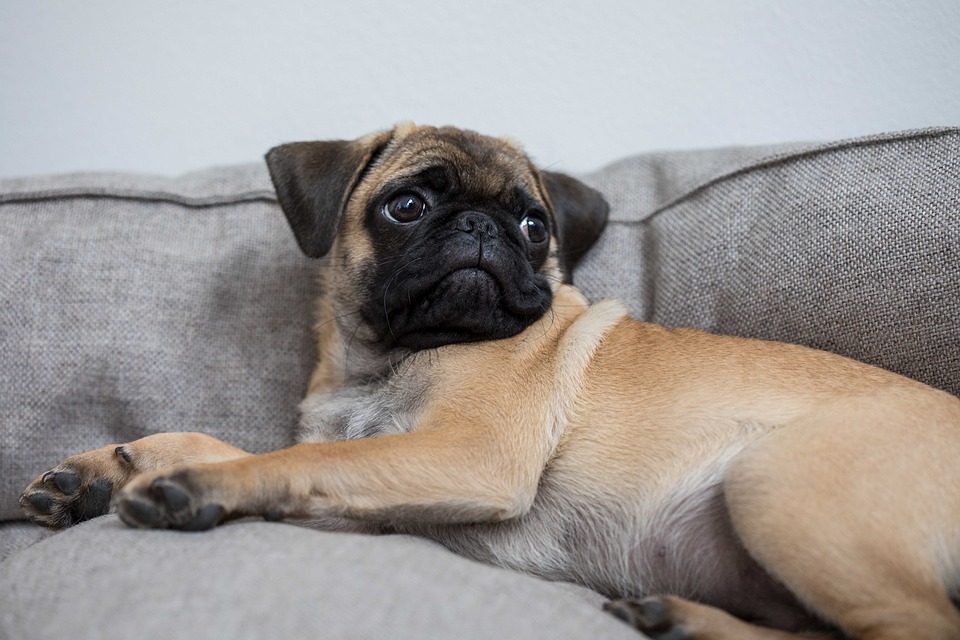
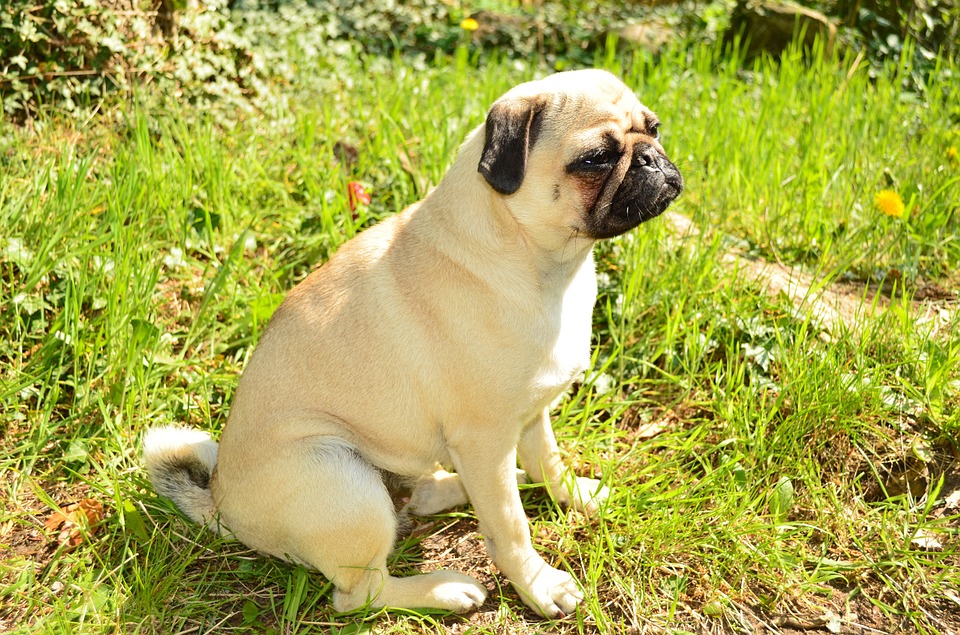
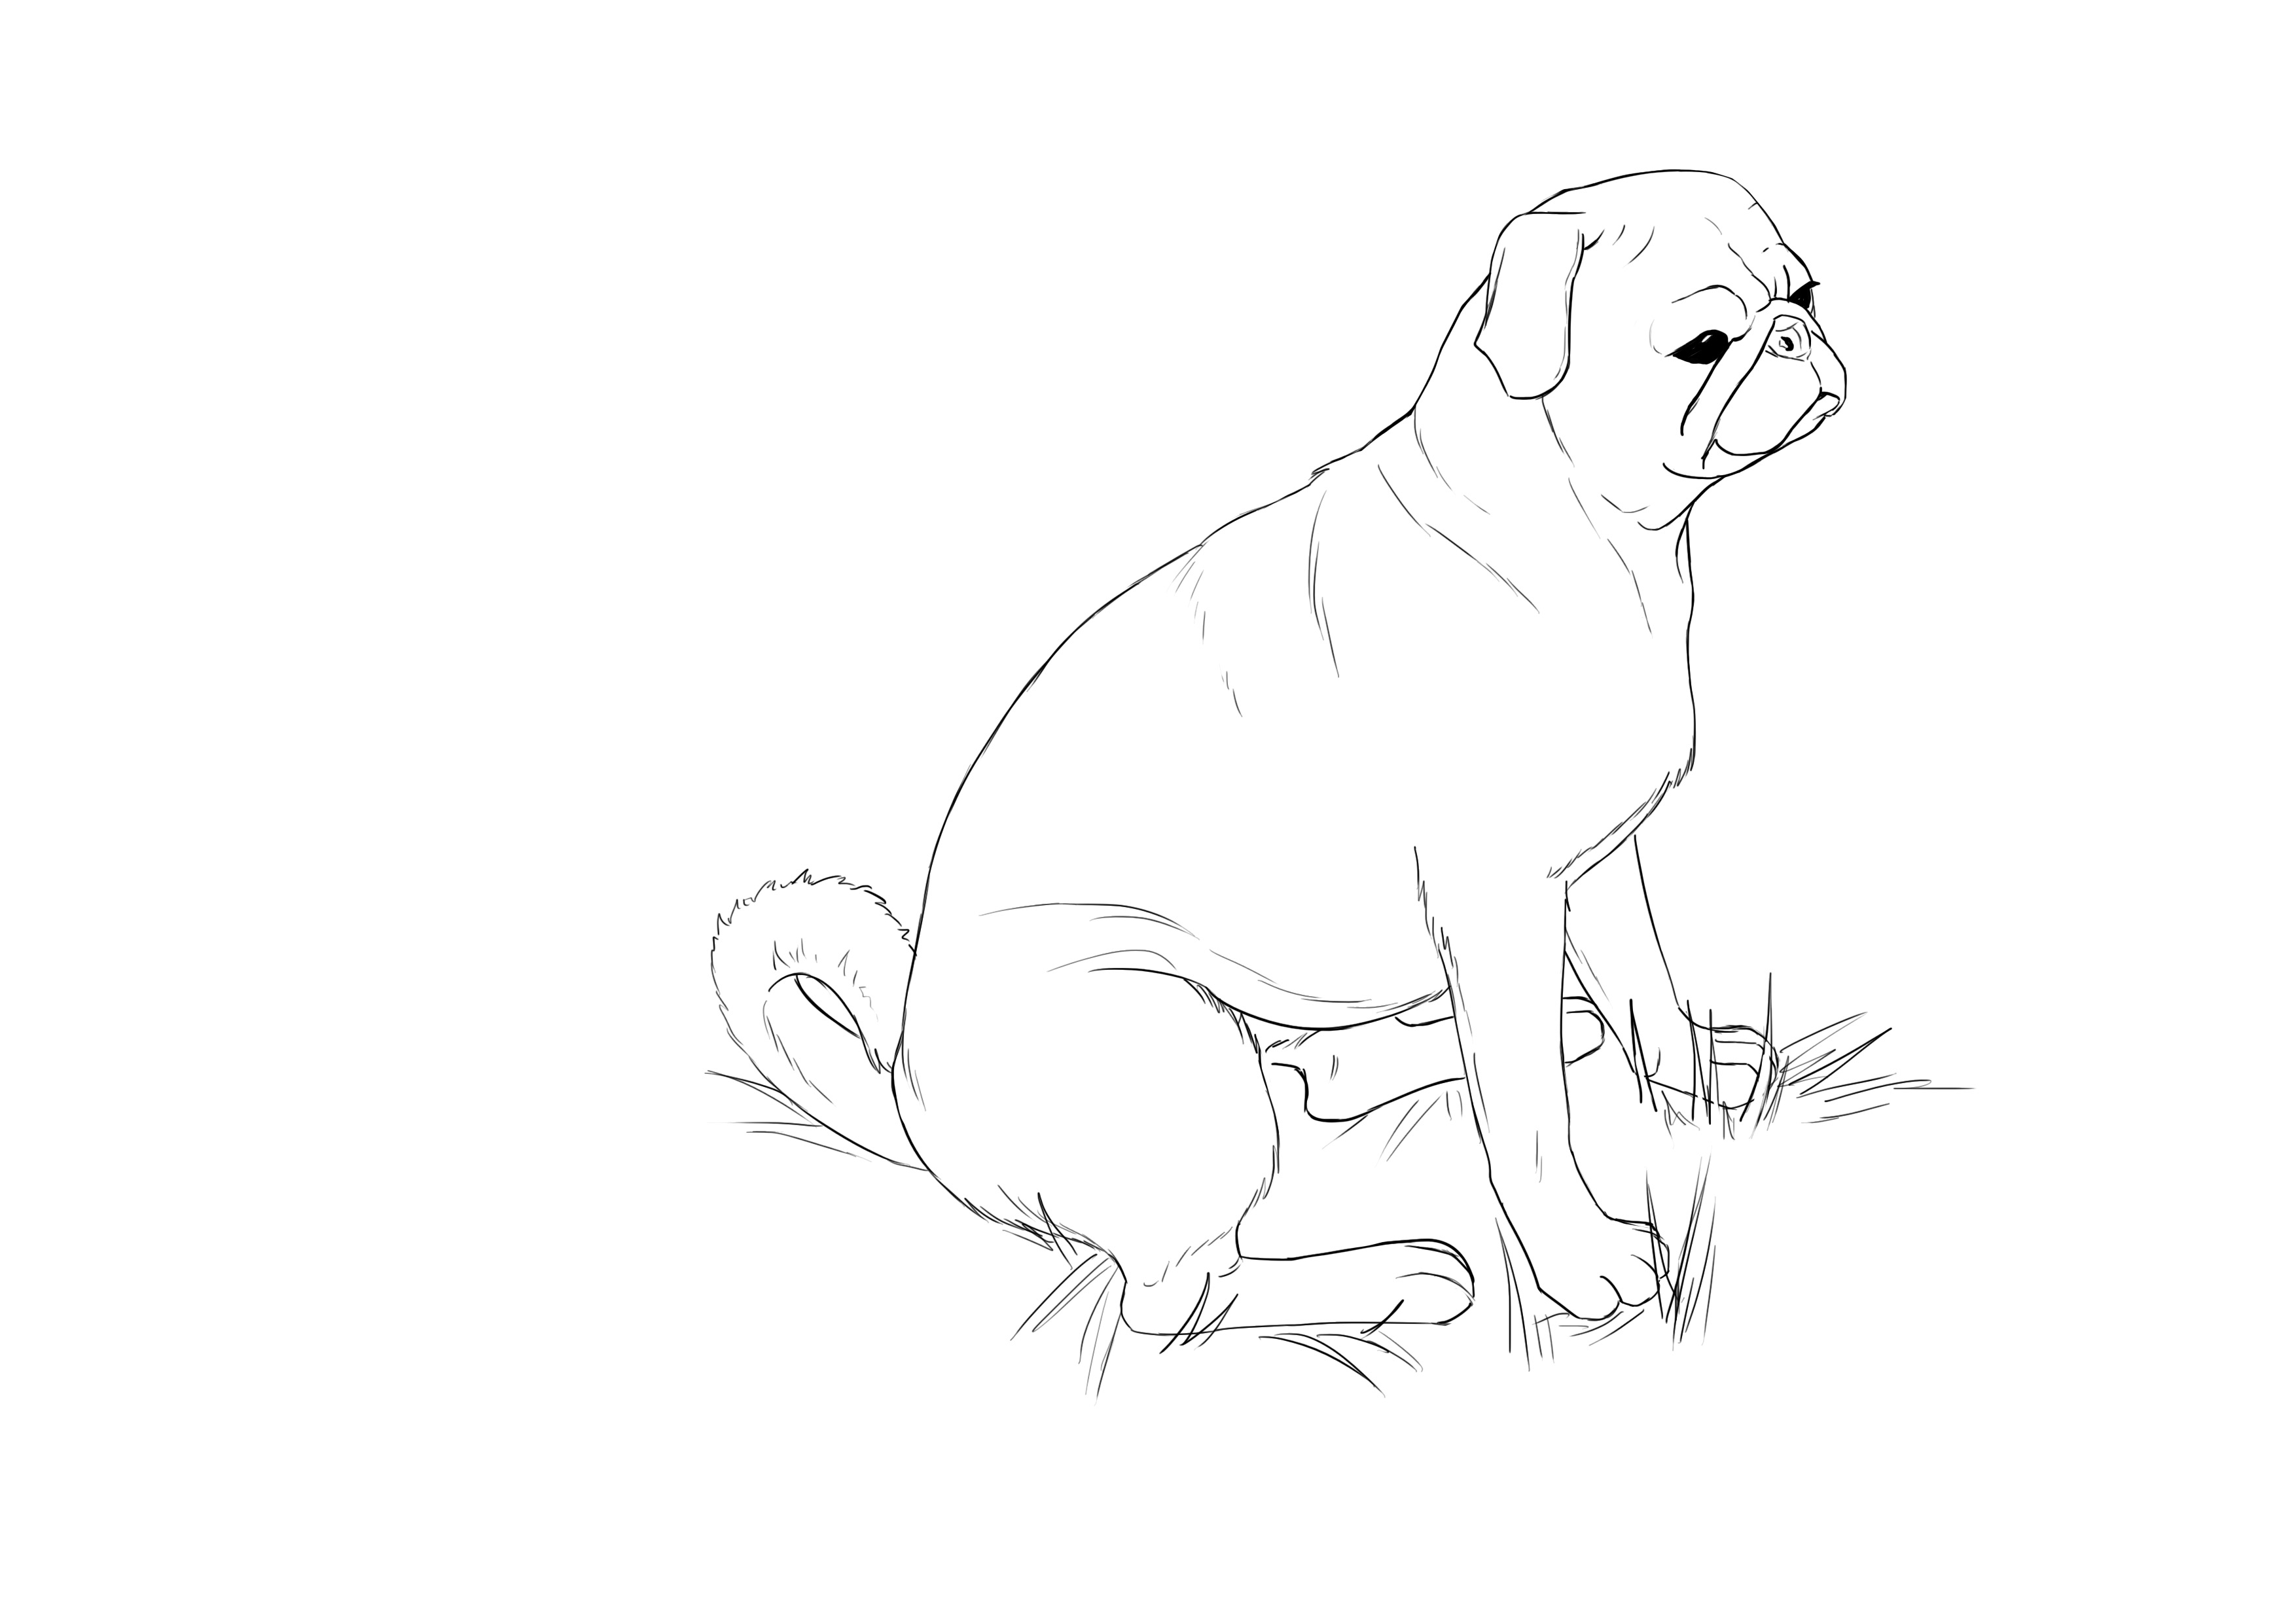
We continue with a small dog with a very unique head. The pug is small and stocky, quite square actually. It has big eyes and a small muzzle that is completely flattened, literally, because rolls of skin are visible on its face as if its muzzle was actually pushed into its head. It has small drooping ears, a thick neck, and a corkscrew tail.
For our example, we will base it on this photo:
SKETCH THE PUG OUTLINE
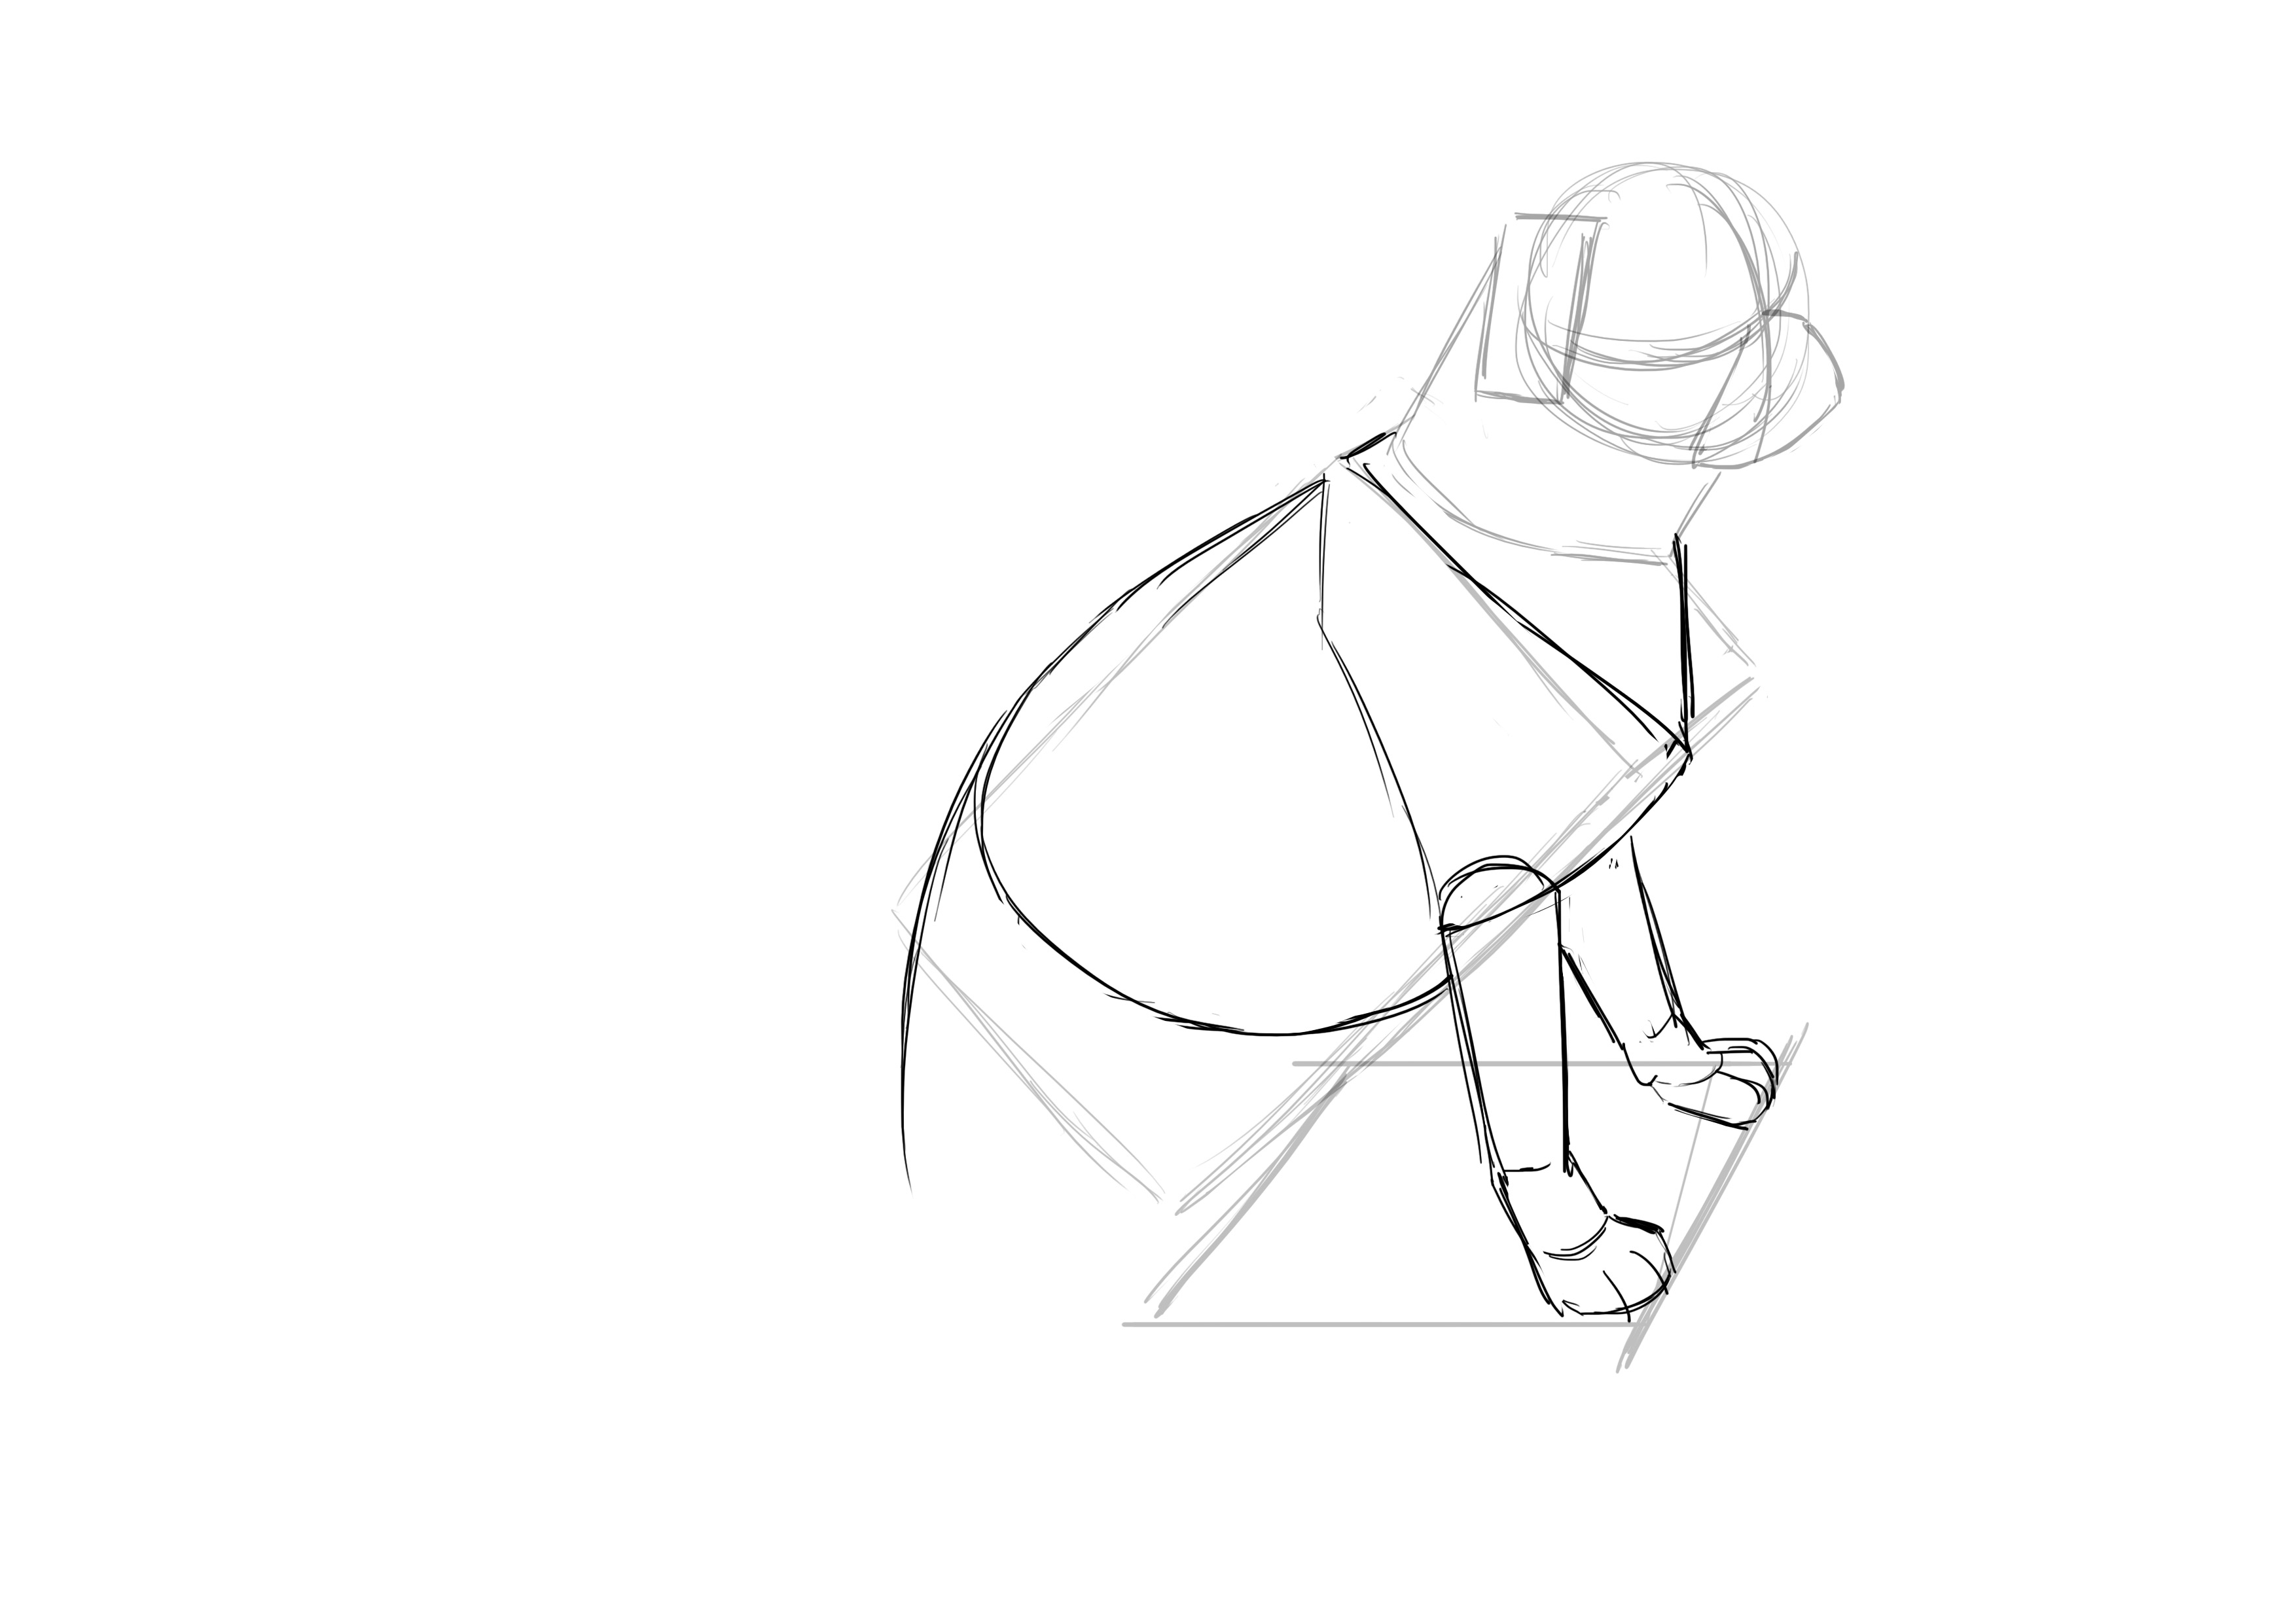
A bit of perspective for once ^^ For this as well as for the poodle, I'll go into a bit less detail about the steps. That way we'll see if you've understood everything so far.
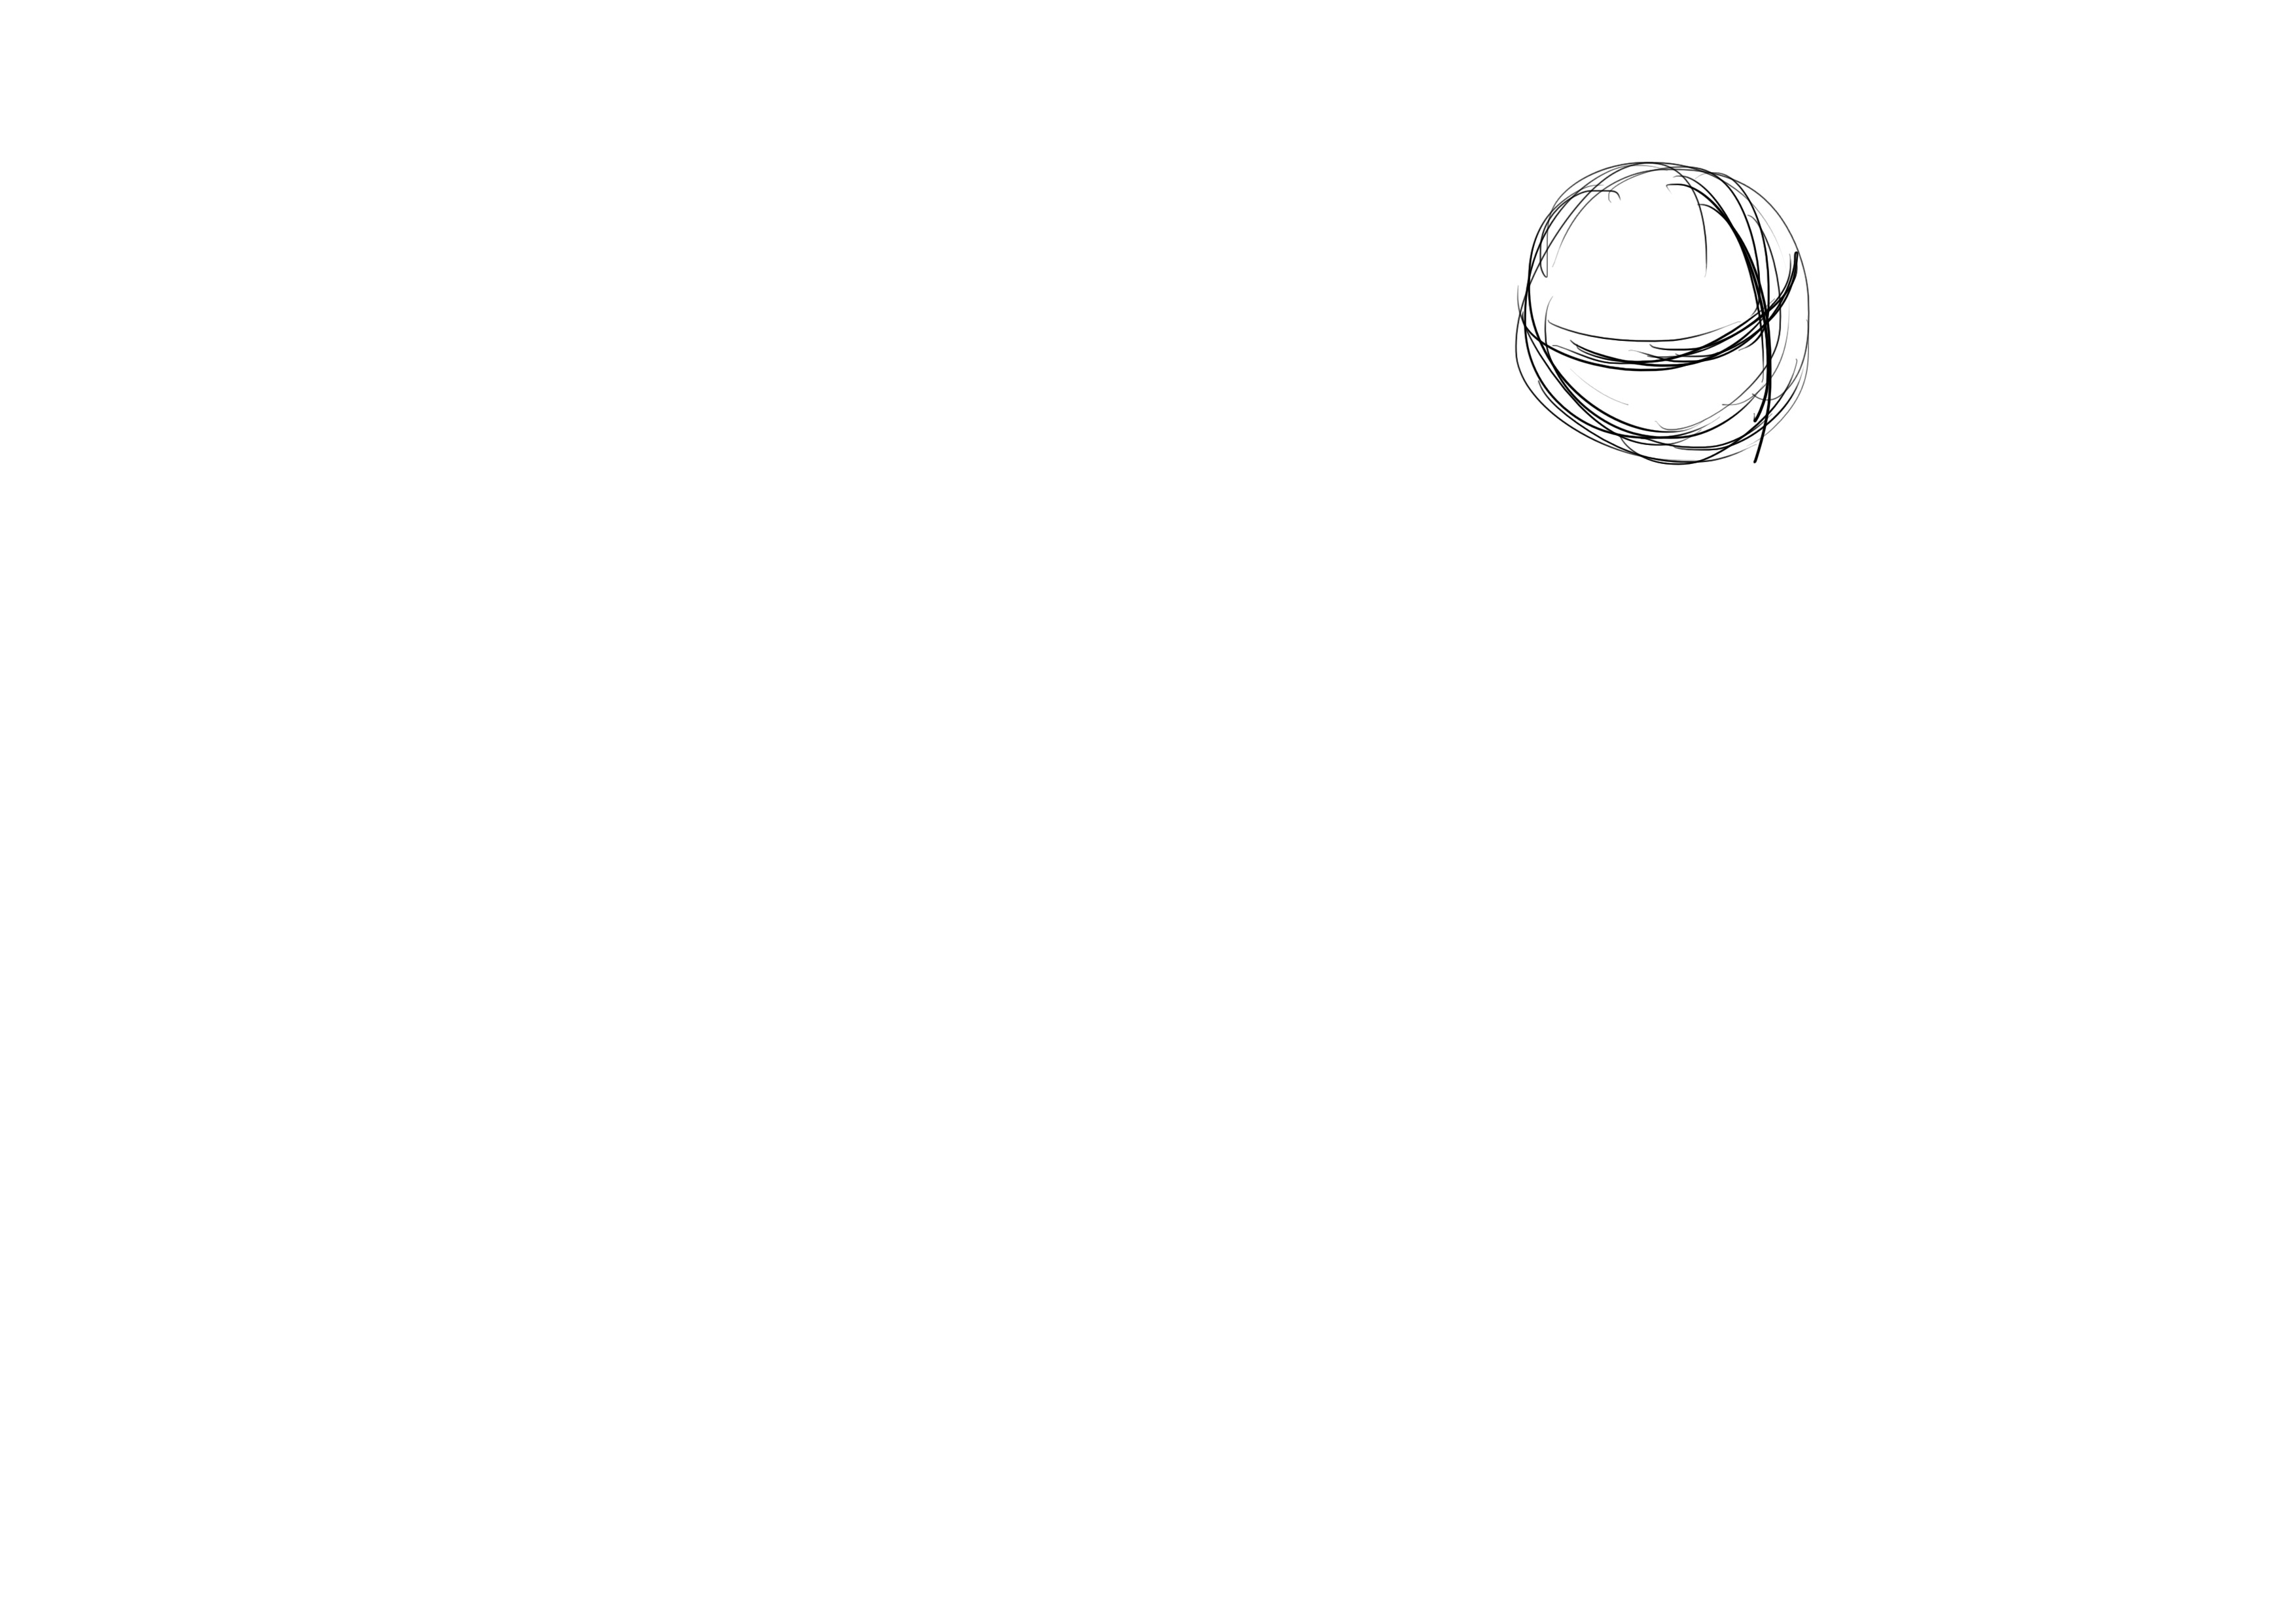
As always, we start with the dog's head. A simple circle. We place the usual small cross, the eyes are located slightly below the middle line (due to the angle of view).
We add the triangular shape of the muzzle.
The only ear we see (a rectangular shape from this angle).
The neck next, half as tall as the head and as wide (if the muzzle is not included).
Next, we'll draw a square in perspective (we'll do it by eye), it simply needs to have the side closer to us be a bit wider than the one farther away from us. The square is about as wide as the head and the muzzle.
This square is actually a face of our parallelepiped for the body. We therefore draw the other lines. It’s one and a half times the width.

DRAWING THE DETAILS OF THE PUG
For once, we'll start detailing the torso right now. We place a triangle for the chest. This time, the three sections are equal.
Then, like the labrador, we draw another triangle (more or less), slightly shorter than the width of the chest.
Then we add the legs.
As we are in perspective, the legs are not aligned, let's draw another square on the ground to position the legs correctly.
The abdomen is slimmer towards the rear end once again.
A circle is placed around the thigh.

Then a rectangle for the leg.
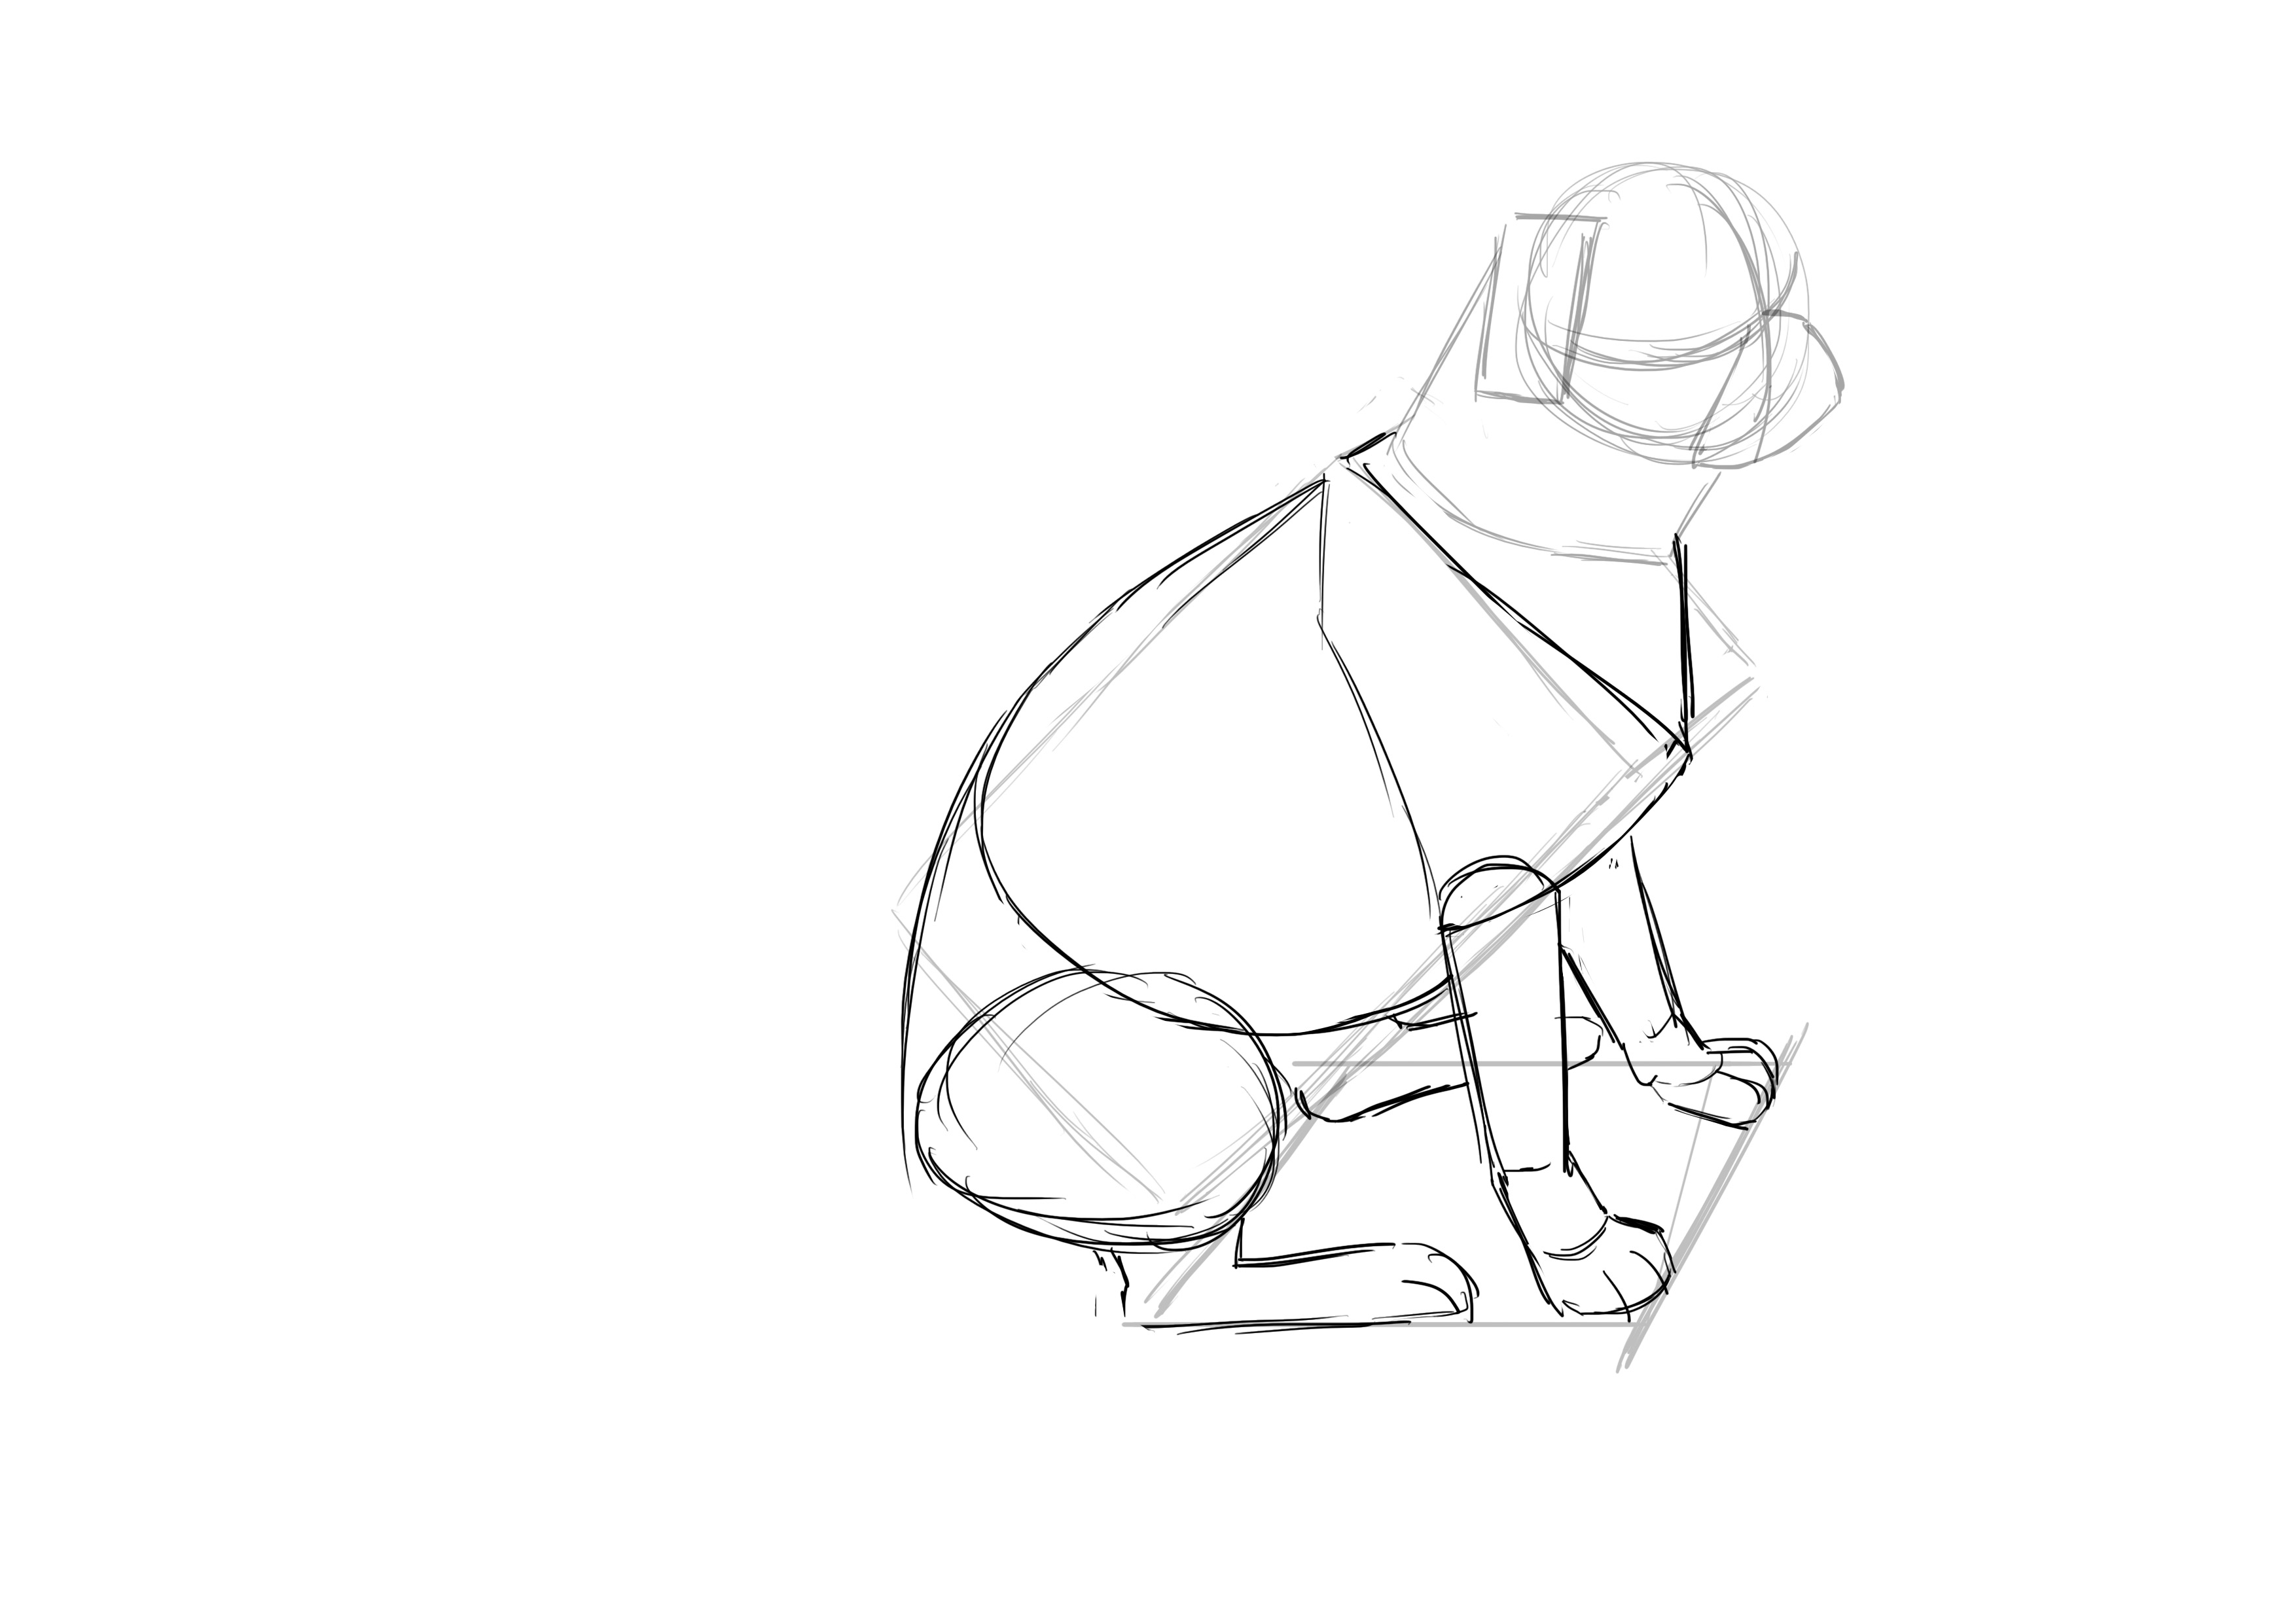
Finally, we attach the tail.

DRAWING THE DETAILS OF THE DOG'S HEAD
We go back to the head to add the nose, eyes, and mouth.
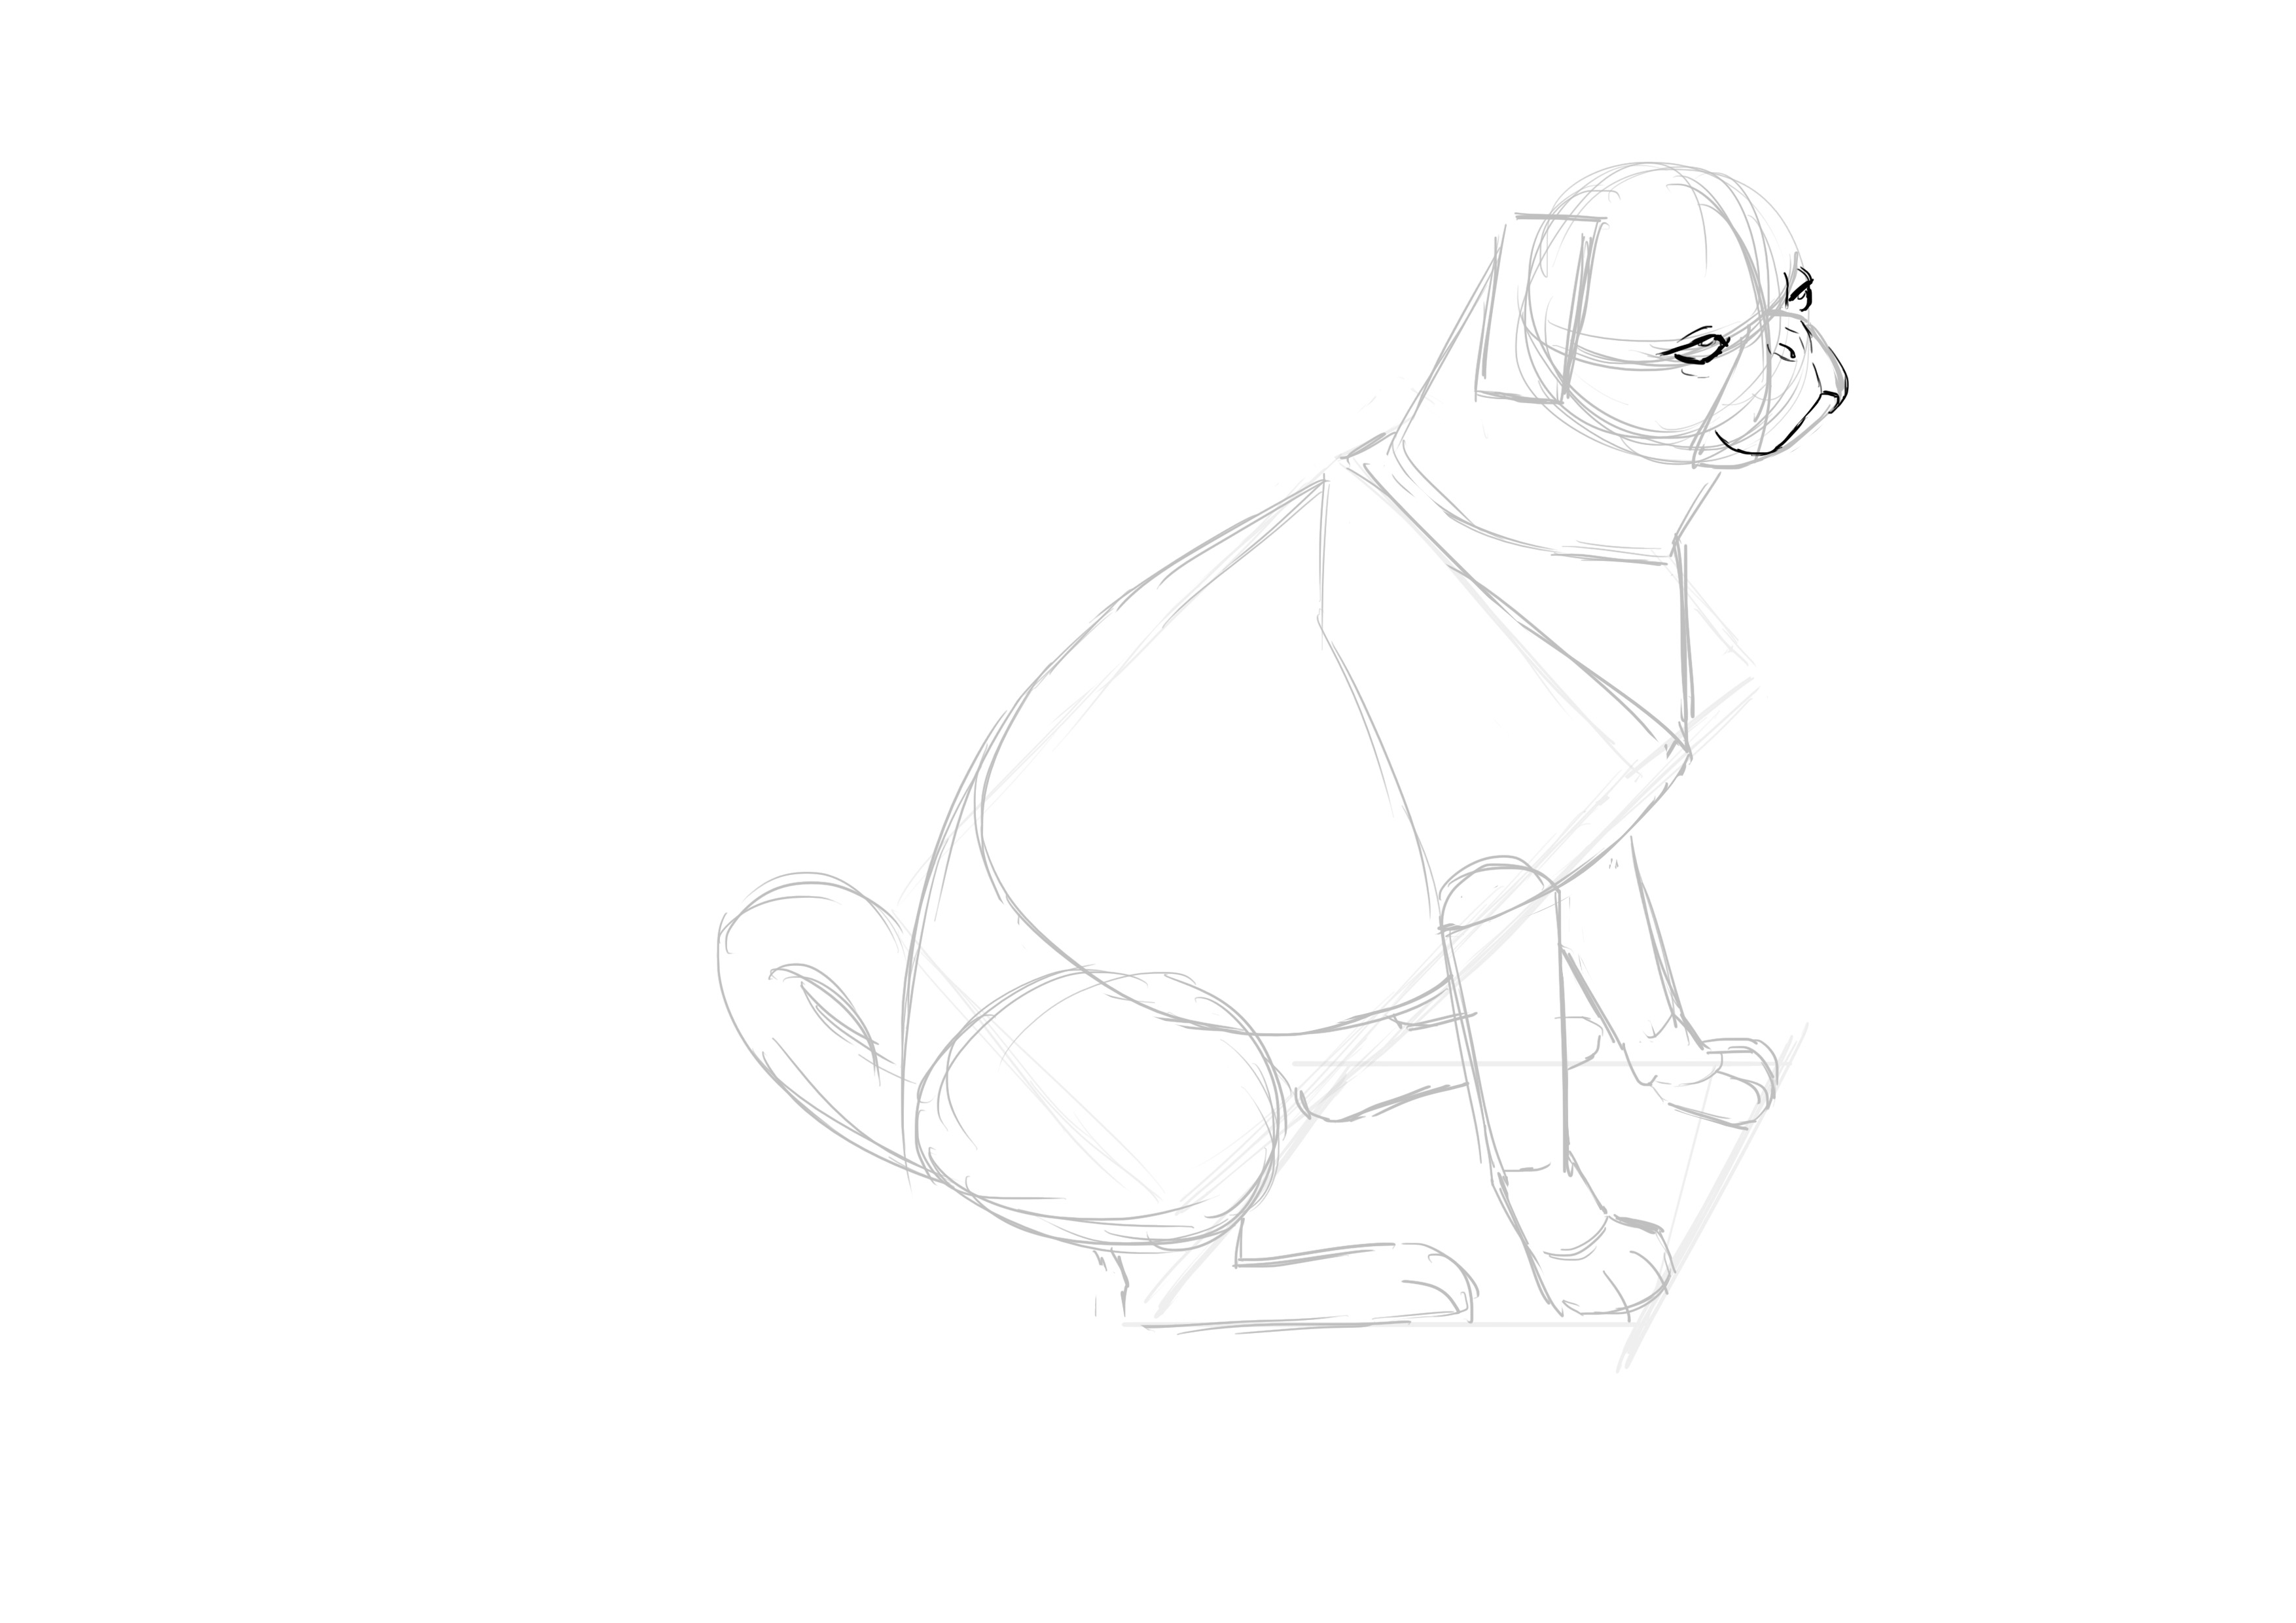
And now we can go into detail :3 If there are rolls of fat (especially around the head), do include them. It's characteristic of this breed of dogs. Even though it's rounder and stockier than a Labrador, it's still toned and muscular. The legs are quite thin compared to the rest.
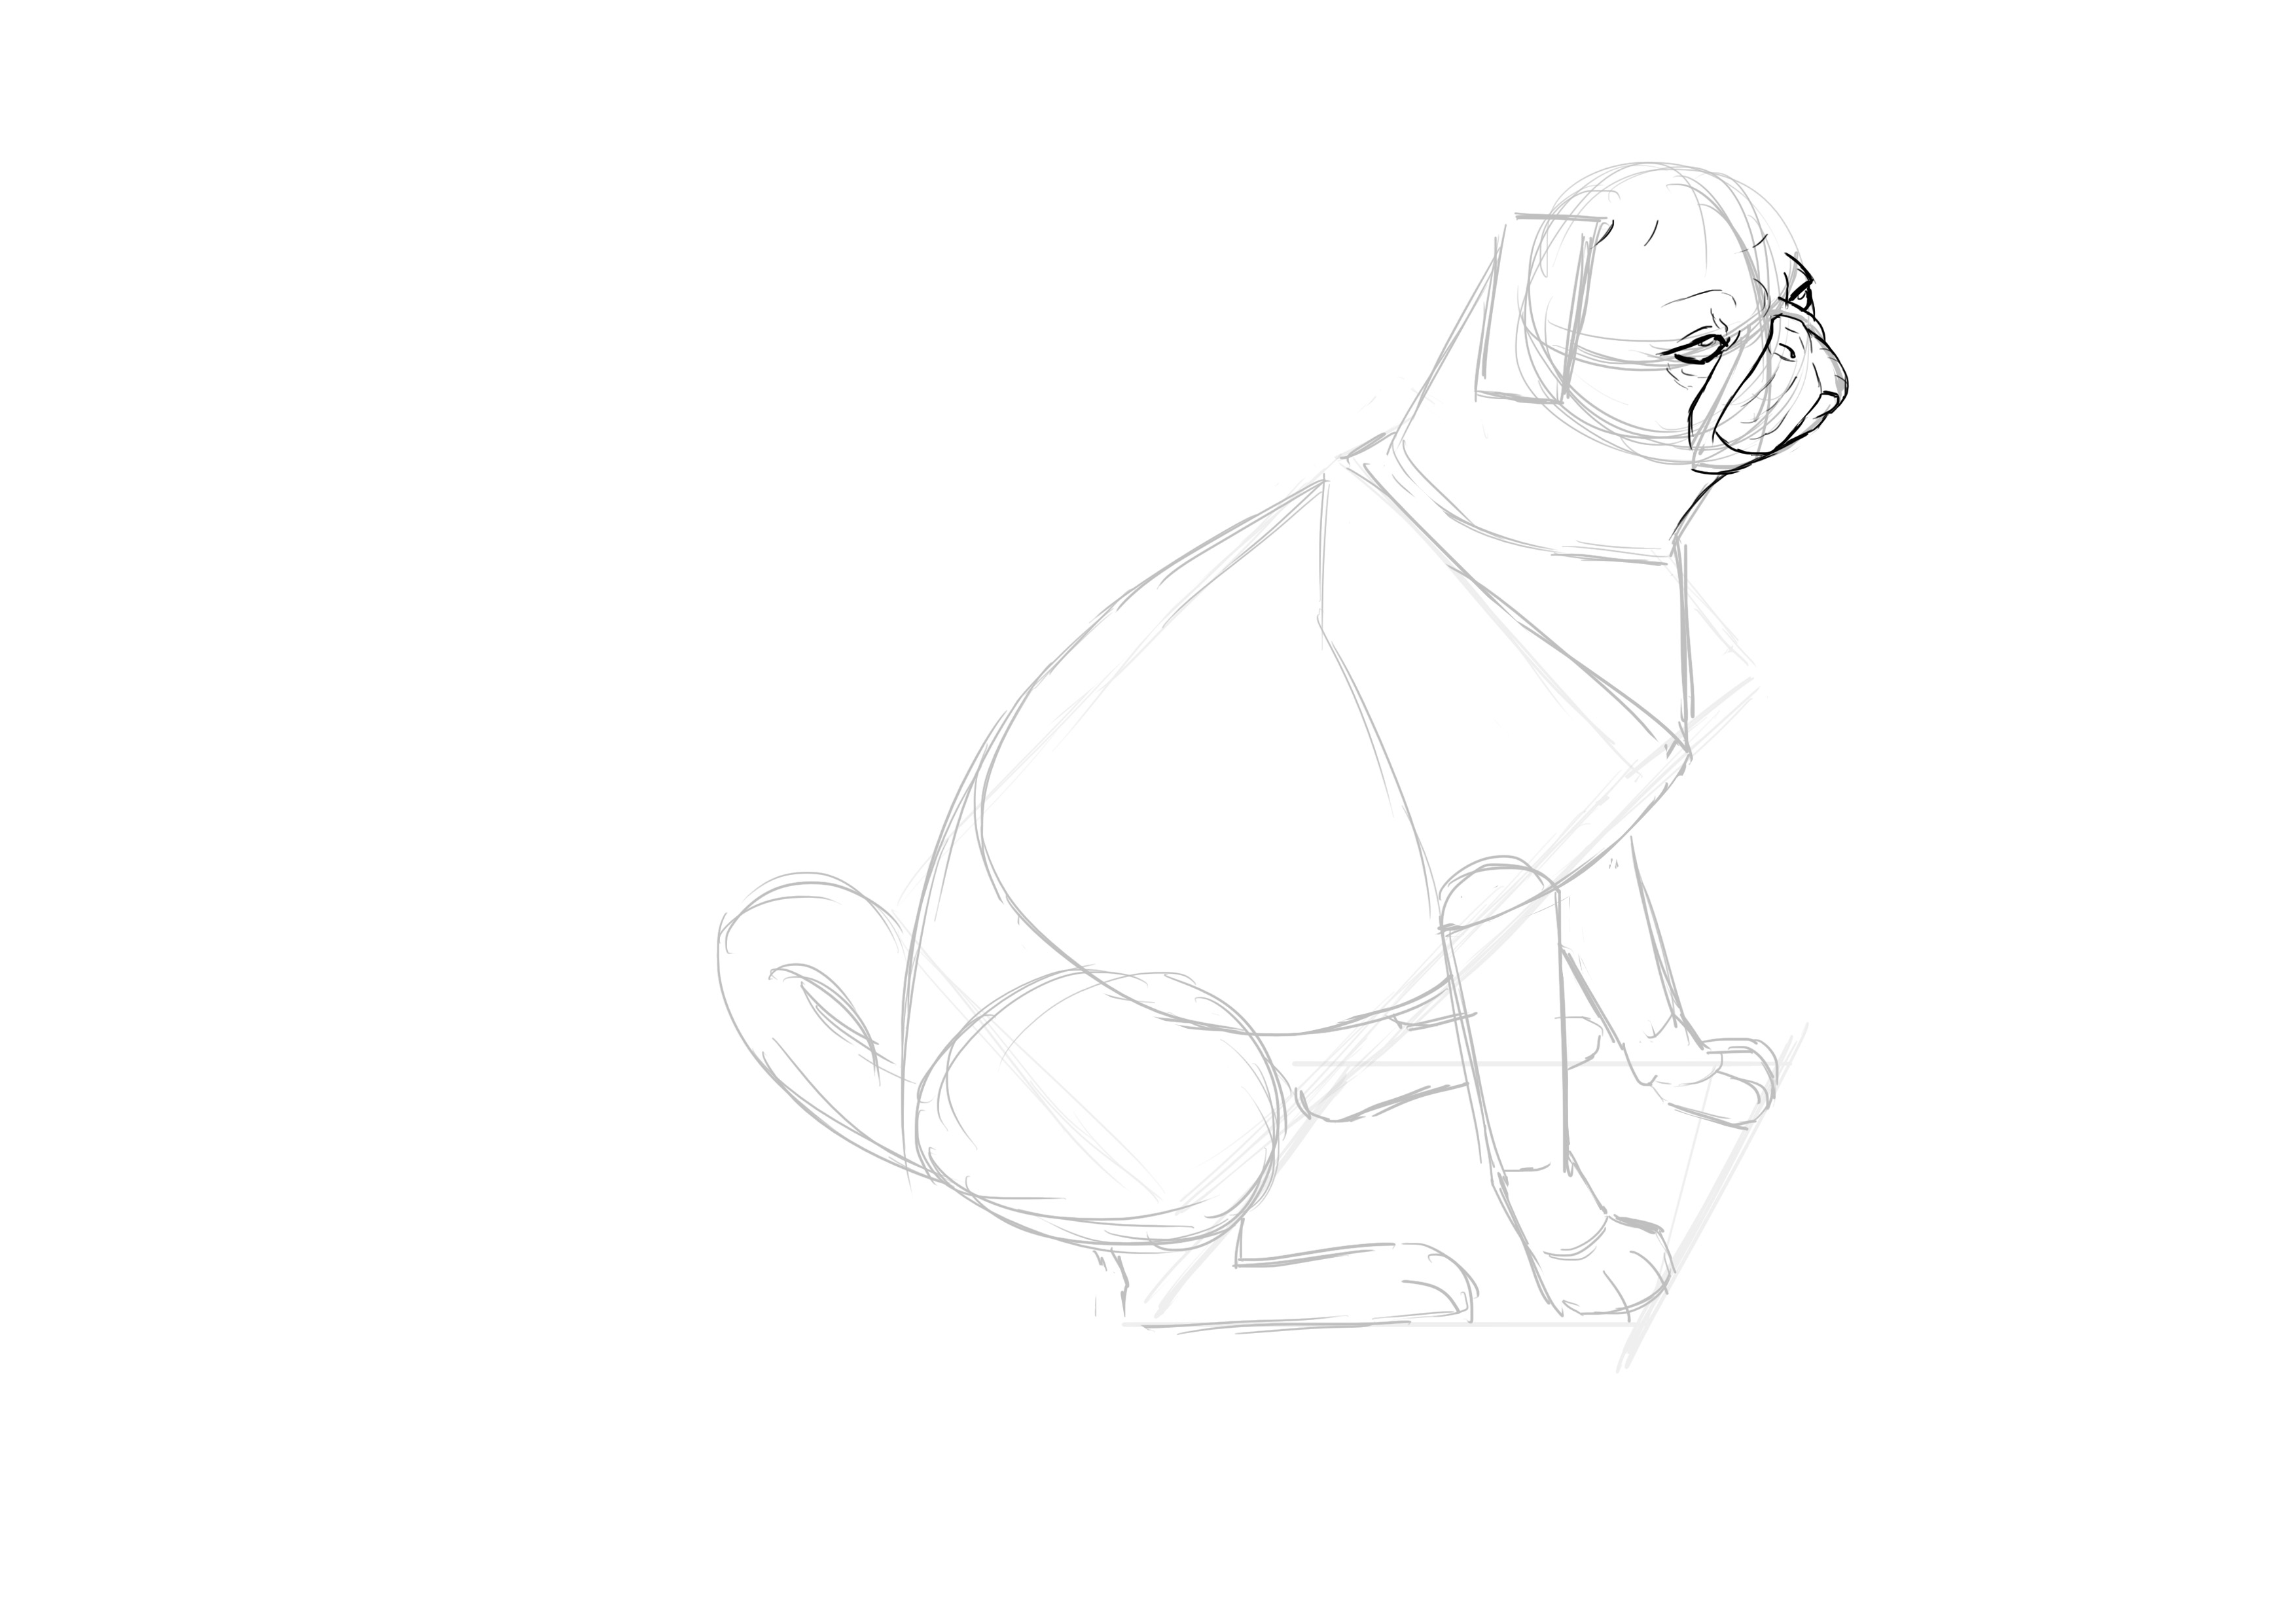
CLEAN UP THE PUG DRAWING
By the way, speaking of paws, I’d like to point out a small detail: generally, dogs have five toes on their front paws (4 toes and a "thumb" set back) and four on the back. This can vary depending on the dog breed, so pay attention to that :3
And there you have it for the pug!
DRAWING A POODLE
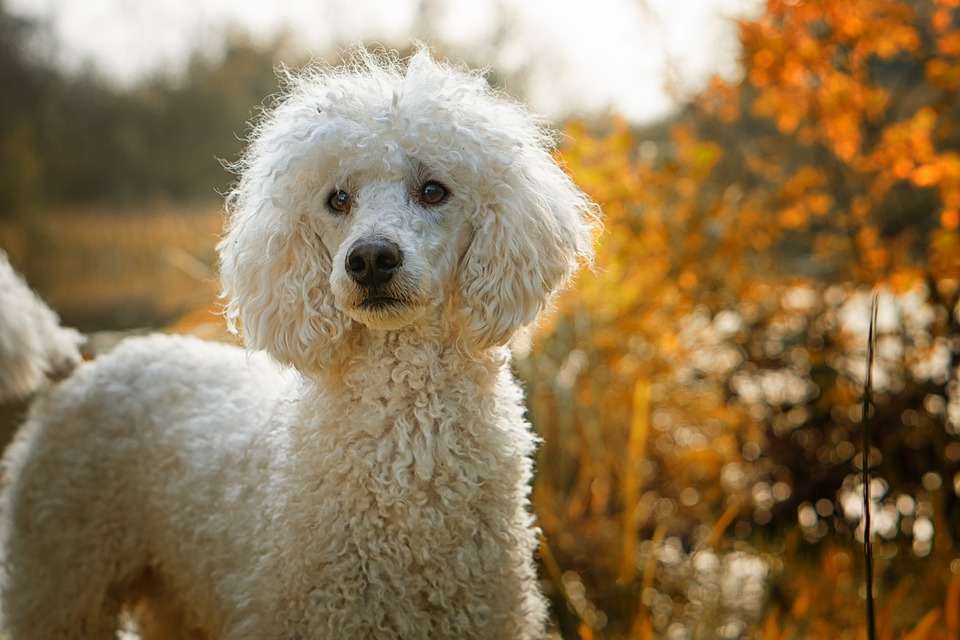
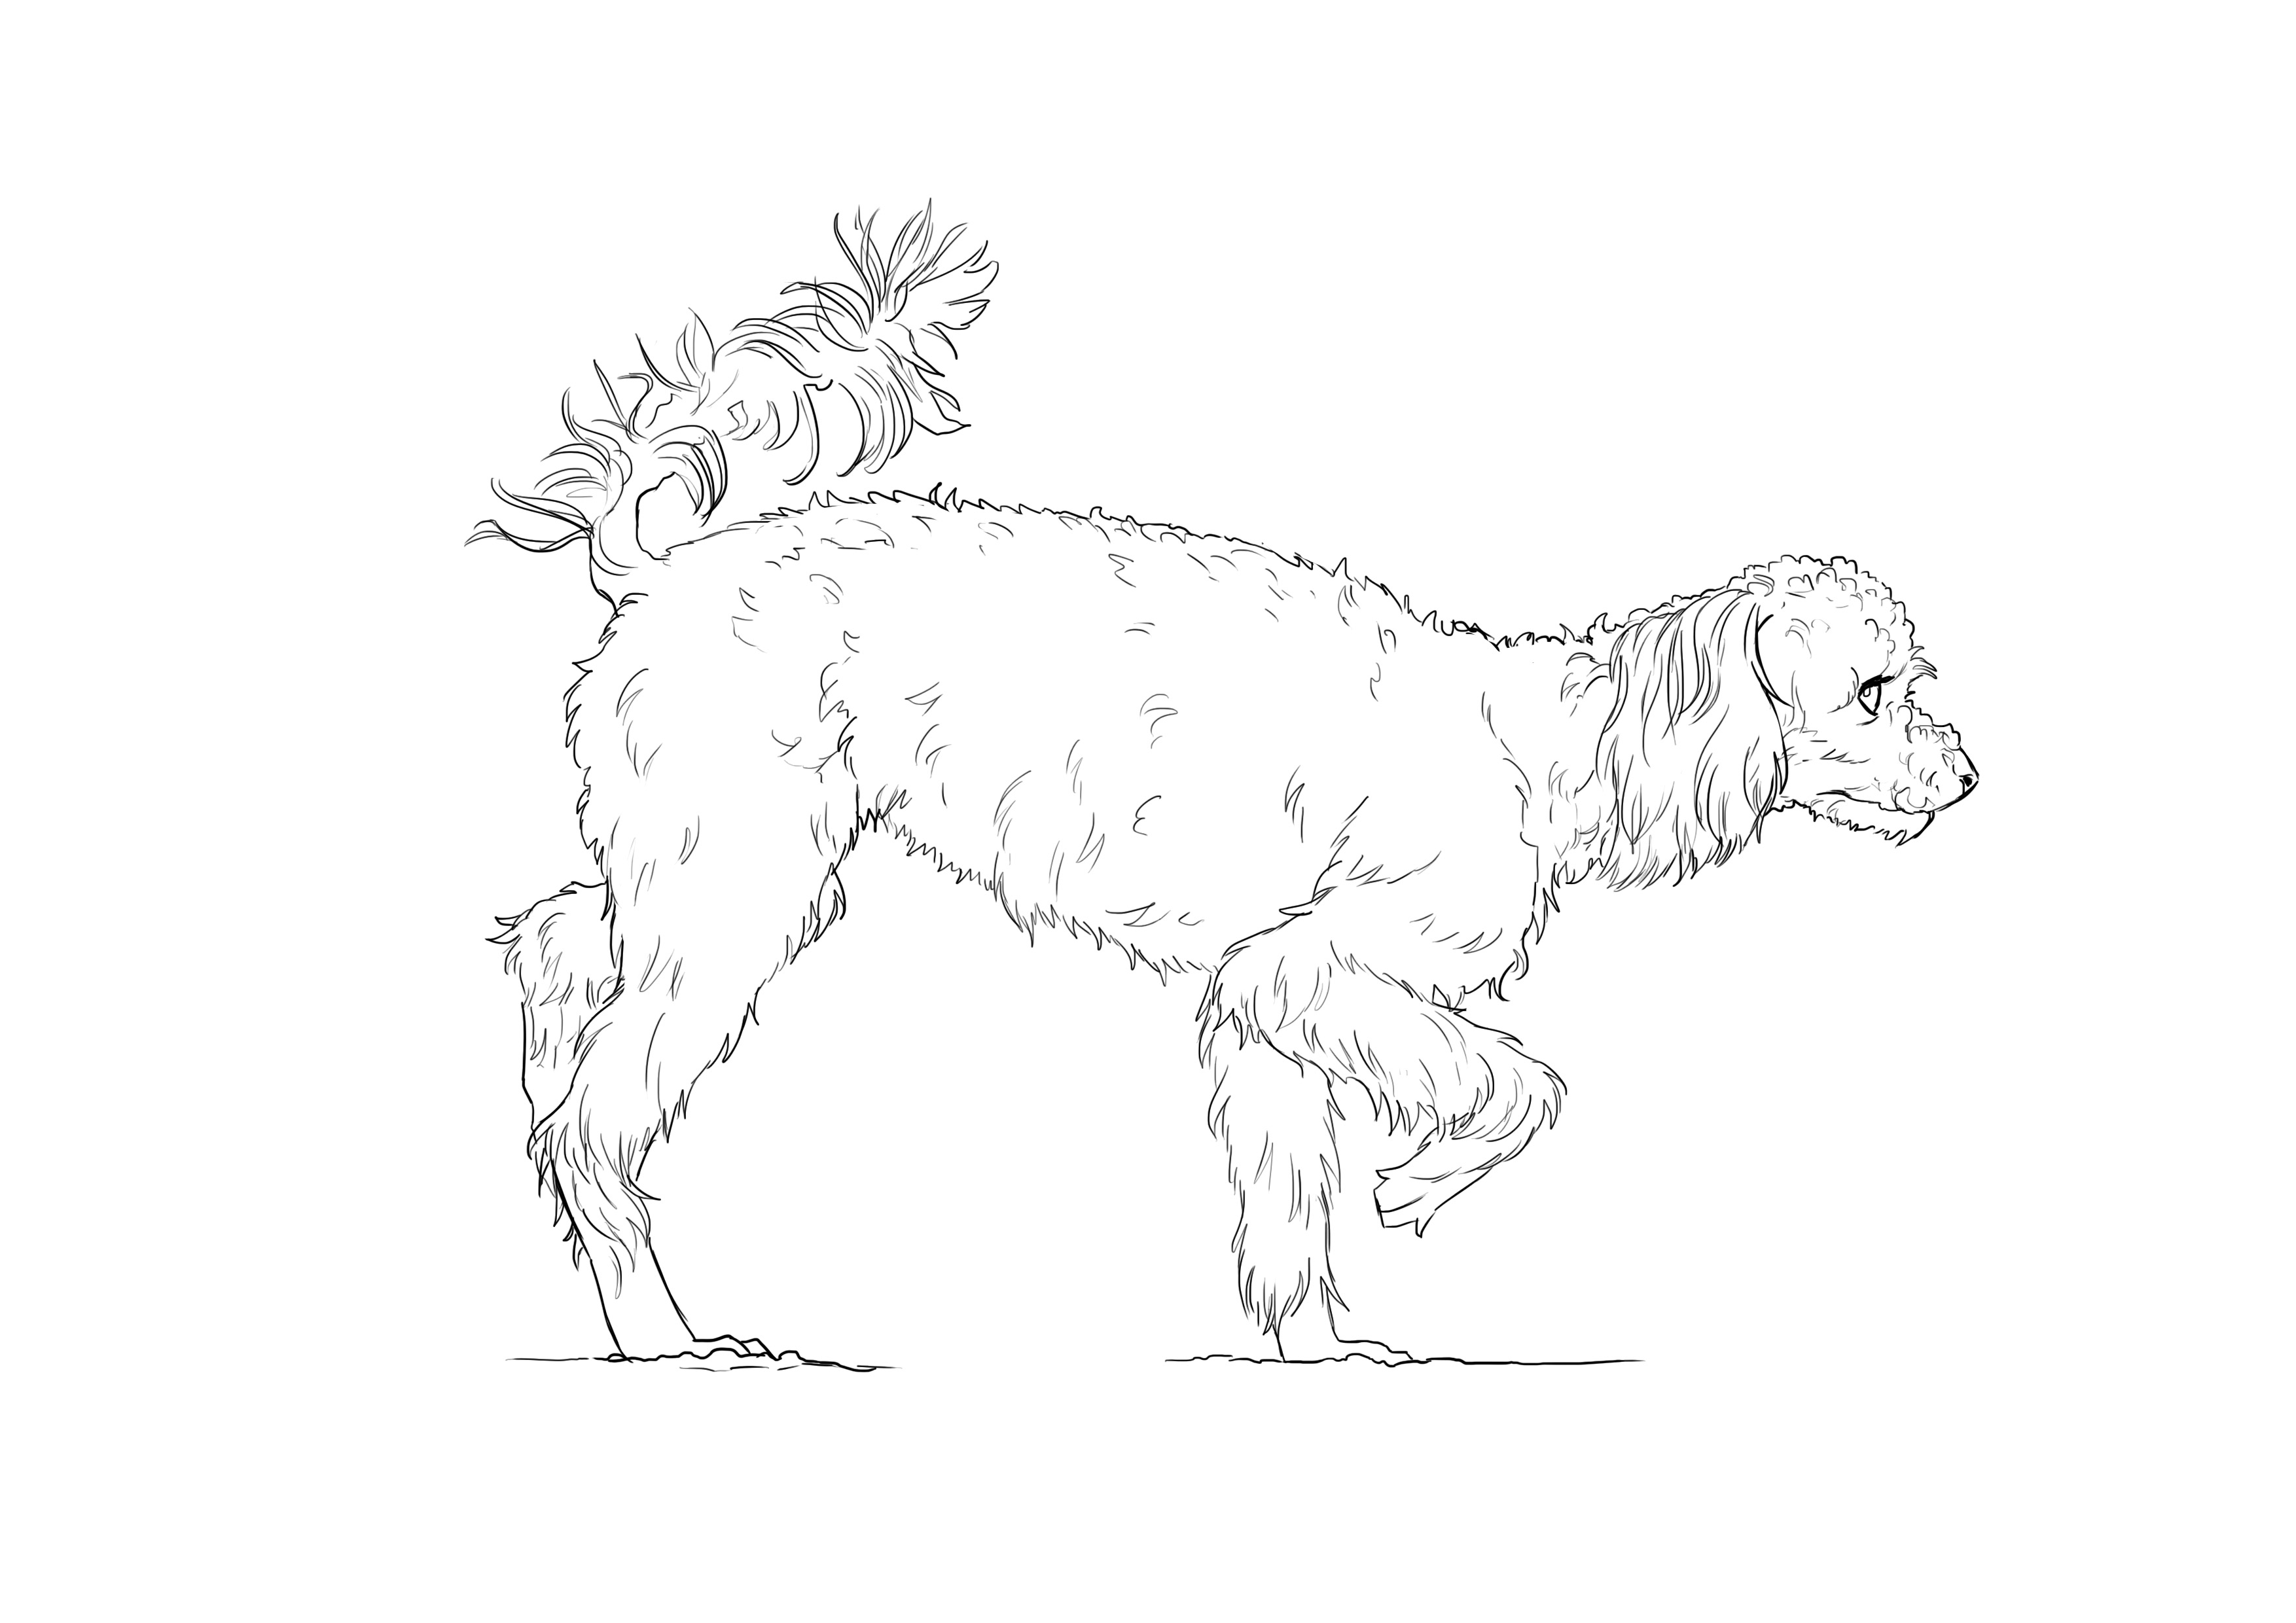
The last of the three models that we are going to discuss. I put it last because it has thicker and curlier fur which therefore hides the details of its body. This can be both an advantage and a disadvantage.
It is slimmer than the other two and more slender than the pug.
For this one, we are going to base it on this photo:

SKETCH THE OUTLINE OF THE POODLE
You're starting to know the method now: we start with the head!
Again a fairly round head.
We add the muzzle, slightly shorter than the head and occupying the lower half of the head (as usual ^^). The eyes are, as always, located about on the middle line.
The dog's ears are quite large here (almost larger than the size of the skull). Note, they do not start at the top of the head but a bit below (about 1/4). And they descend to half a head below the chin.
Then the neck: a tilted square a bit longer than the head.
Again, we will create a box for the body. This one is about as tall as the head and ears and twice as long as it is wide.
Again, we notice that the shoulders and legs take up smaller portions than the abdomen, exactly like in a Labrador. With the same proportions as the Labrador in fact ^^
For the ground, we can usually place another rectangle under the abdomen (a little bit less wide) and we have the ground line.

ADD DETAILS TO THE POODLE DRAWING
Let's outline the overall shape of the body. Since we are dealing with a quite bent posture here, it's better to draw it first ^^
Let's start at the shoulders, then, we use a triangle.
Due to the fur, it's harder to see the shape of the legs here, but we'll draw a first cone for the area between the shoulder and the elbow.
And then another one for the fore leg.
And finally, a rectangle for the paw itself.

We also take the opportunity to position the abdomen, which follows the same curve, just a bit more pronounced.

A new diamond is added for the dog's thigh. Here again, the fur masks the structure underneath. If you remember the Labrador we did at the beginning, you just have to follow the same process. There are the same joints in the same places. We are dealing with the same type of animal, so these are elements that are common to all dog breeds.

We therefore draw a second cone for the thigh, just above the knee.
Then a rectangle for the part below the knee.
And we also show the paws that we can barely see in the photo. Because I forgot to mention, but our poodle is walking on wet sand and therefore sinks into it a bit, which hides its paws from us.

Don't forget the tail. Despite the fur, you can clearly see its shape underneath. Just sketch its structure, we'll add the fur in the detailing step ^^
CLEAN UP THE POODLE DRAWING
And by the way, that's what we're going to do now.
The only thing to remember here is to proportion the fur that is going to be used. In some areas, we included the dog's fur (like the torso, for example), and in others, we did it without (like the tail or the paws). When you add fur, it's like adding hair: it is necessarily something that is added onto the "smooth" skin.
So you can "go beyond" areas that we have drawn to do it. More or less depending on the places, there, it's a matter of observation and logic. There are a lot more hairs on the top of the paw than on the bottom: otherwise, the dog might step on them and trip over. Nature, in general, takes care of these kinds of small details.
In short, another important point: the poodle's fur is curly. So, you can let your pencil move a bit randomly :3 Even though it's less problematic not to follow a specific direction of hair growth, there are quite a few places where it's clearly visible, so still try to respect the direction of the hair growth as much as possible J
After cleaning it all up, we end up with something like this:

RECAP:
The process is always the same:
- We analyze the proportions of the dog model and its characteristics
- It is divided into simpler geometric shapes
- If it has thick fur, we try to understand its structure to allow ourselves some margin when we actually draw the fur
- If there's perspective, it's easier to address the problem during the simplification phase with geometric shapes (spend as much time as needed on this step)
Editor and Illustrator: Rakjah
Discussion
20 comments