How to Draw a Fox
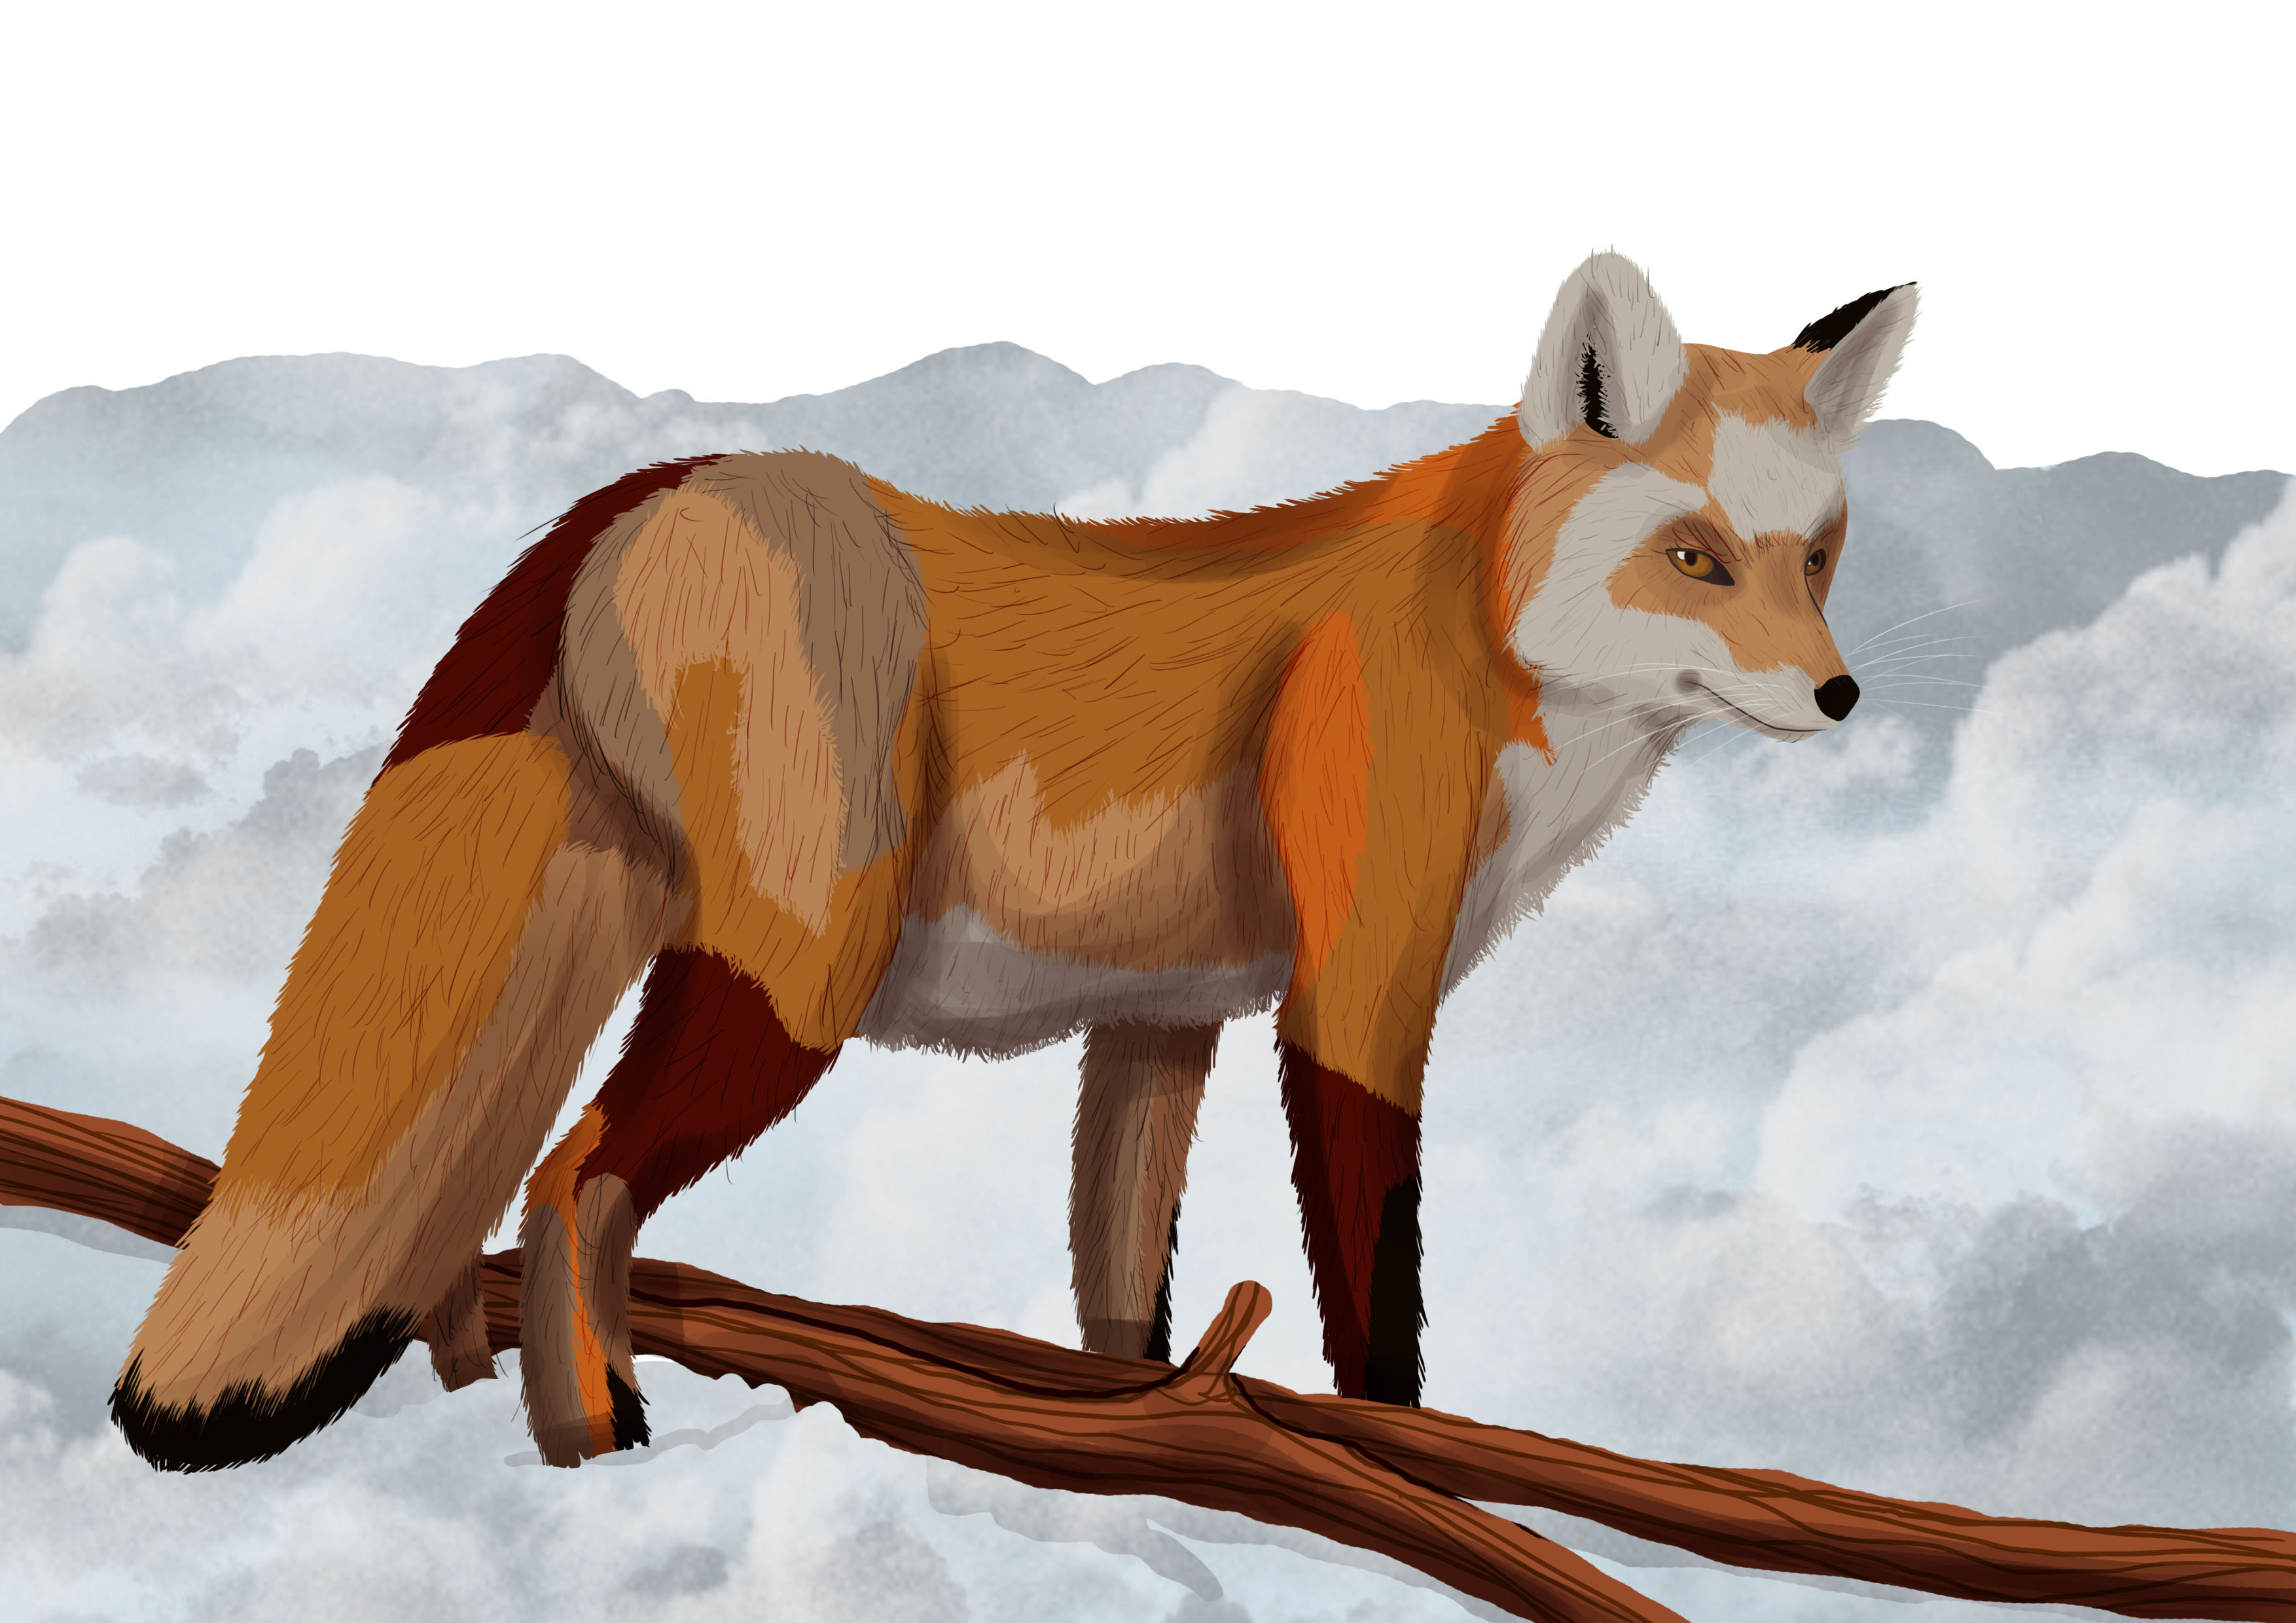
In this article, we will look at how to draw a red fox.
The fox is a well-known animal, considered cute in pop culture and adored or feared in certain beliefs depending on the country.
In Europe, the fox is associated with lying, cunning and malice. It is an animal that will not hesitate to use cunning to get what it wants. It is also the totem animal of Loki, the god of discord and trickery.
In Asia, depending on the country, the fox can be good or bad, but it retains its mischievous character.
In Japanese folklore, the fox (kitsune) is the messenger of the god of agriculture, Inari.
Enough about legends, let's move on to drawing! We will draw a fox from the side, with the head in a 3/4 view.
Just like with all drawings, a good foundation will ensure you create a good final line. So take your time!
Let's go!
DRAWING A BASIC FOX SKETCH
For this step, do not press down on your pencil, make light and clear strokes.
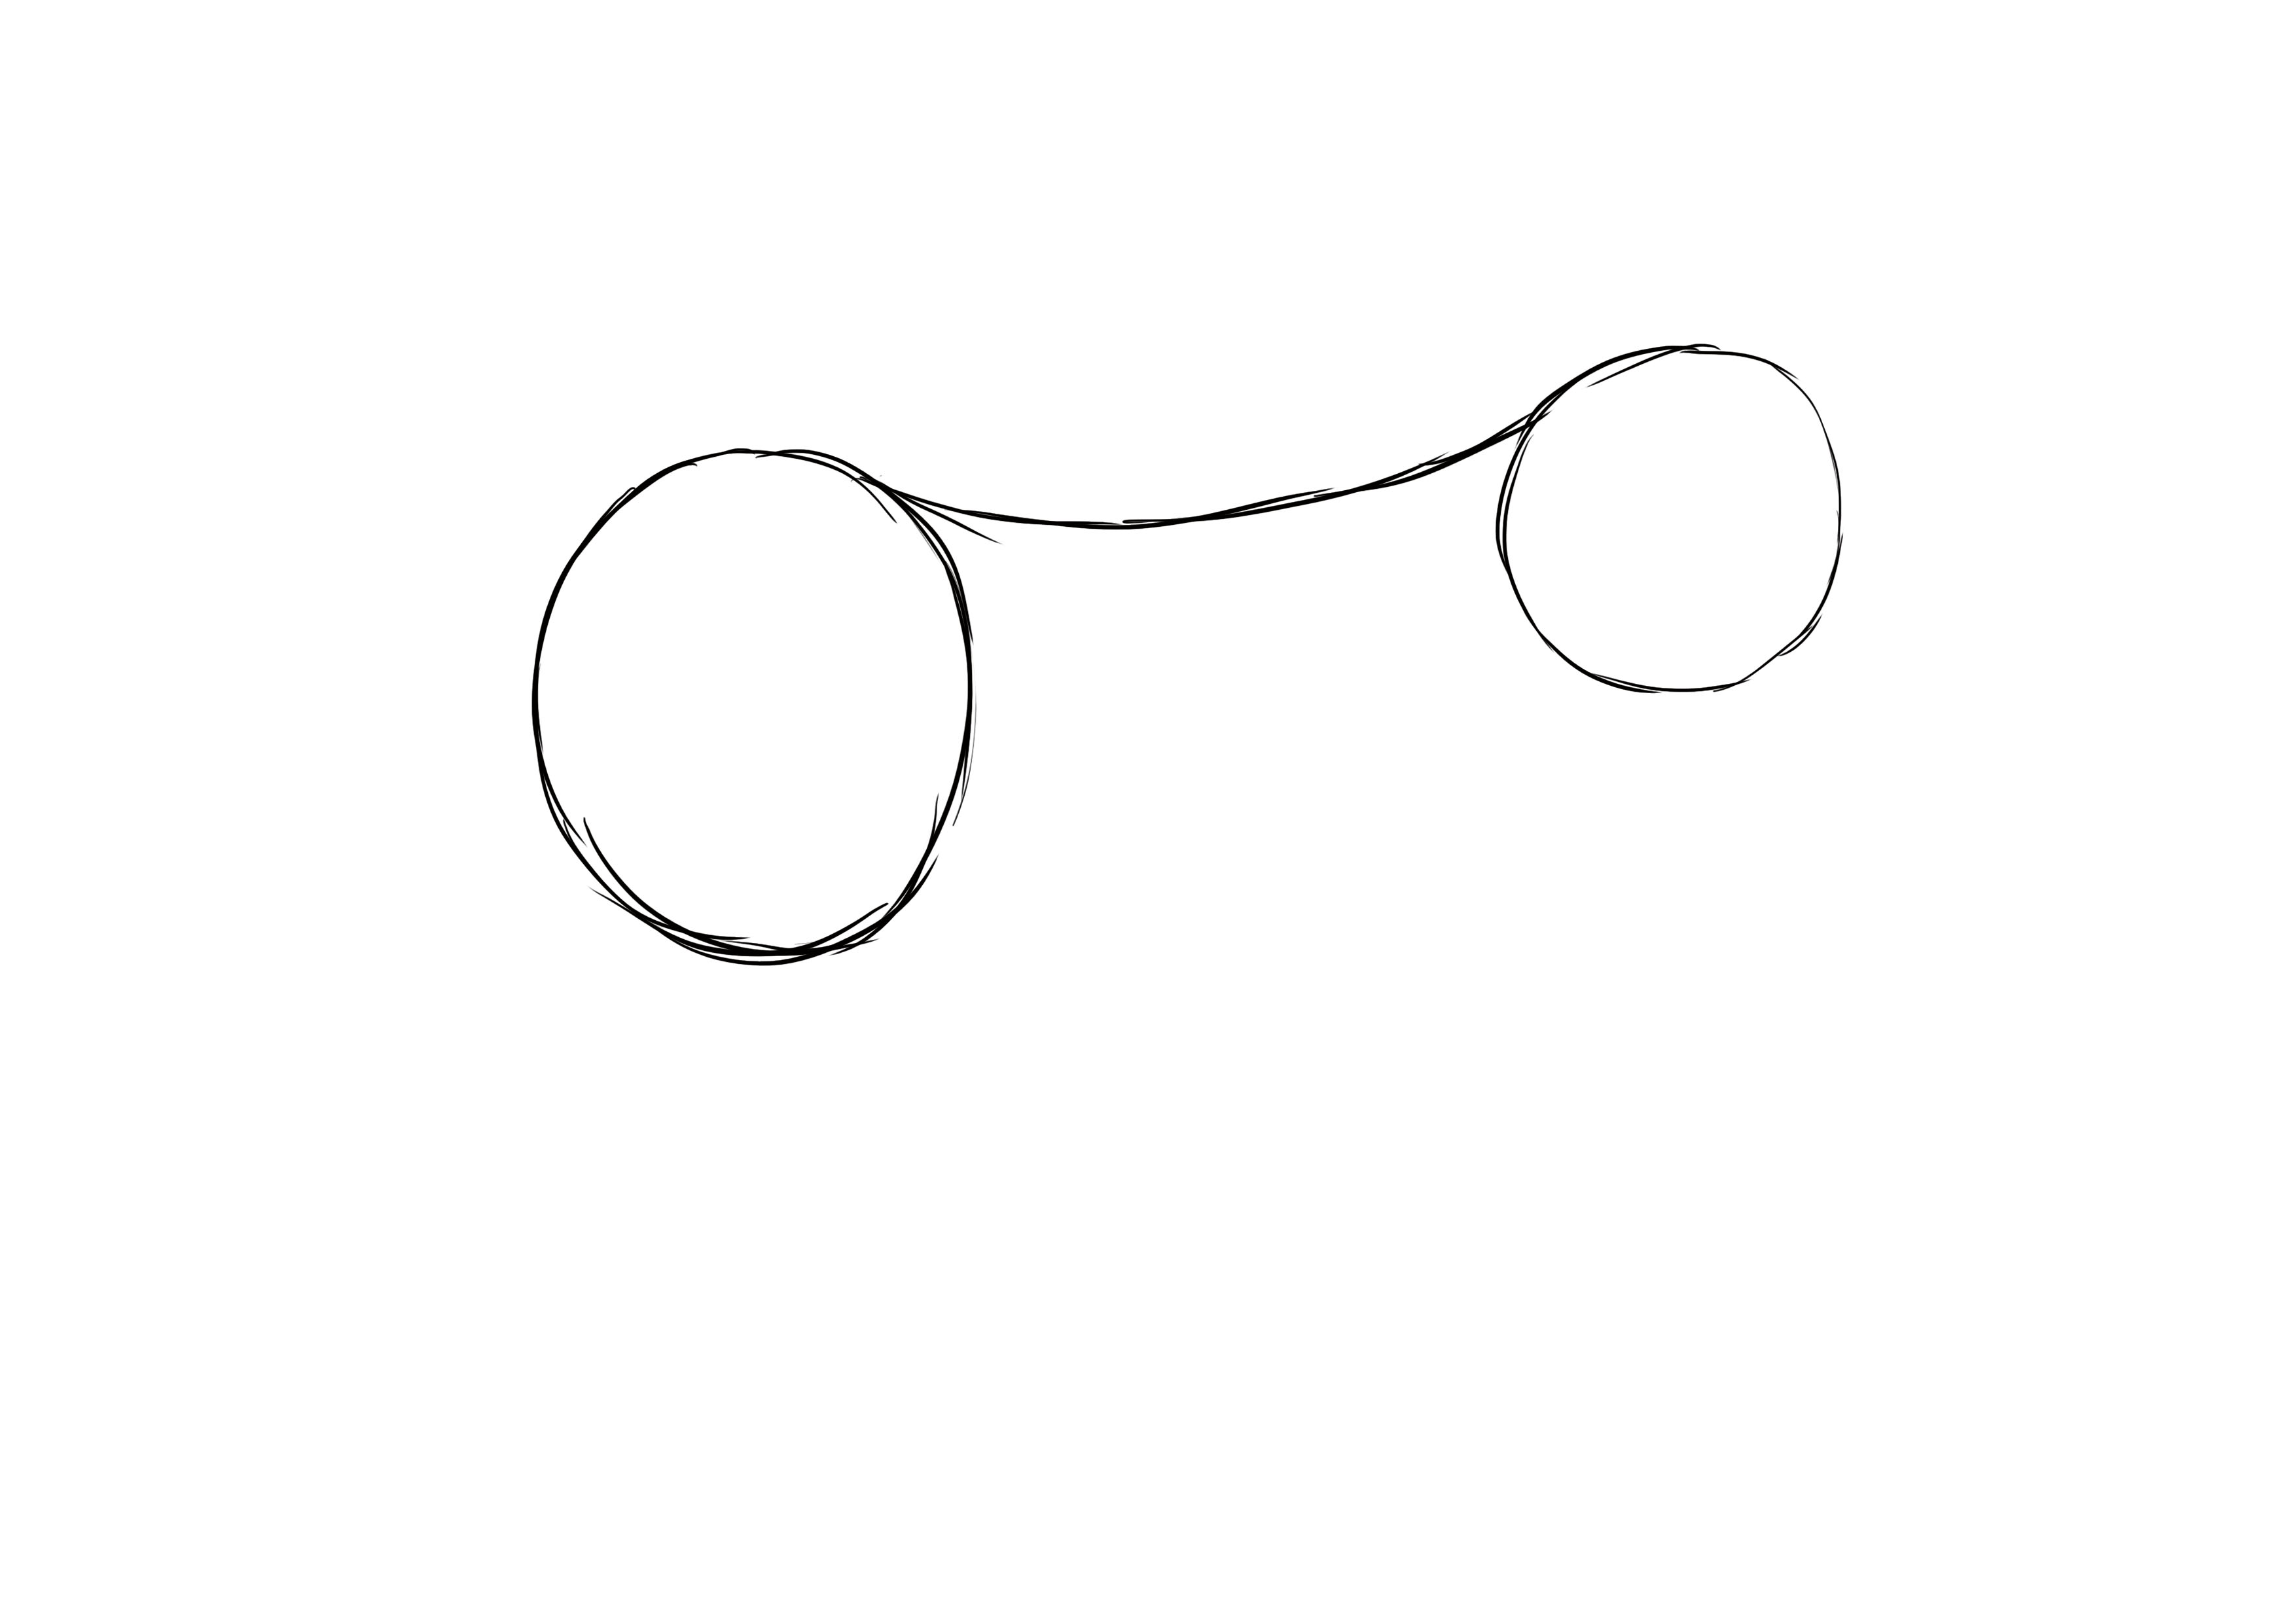
You will start by drawing a circle on the right side of your paper. Make it a medium size; it's the base of the head.
Turn 1/2 head to the left, draw another circle, but bigger, which will be the fox's hindquarters.
Connect the two circles with a slightly curved line, which will be the spine.
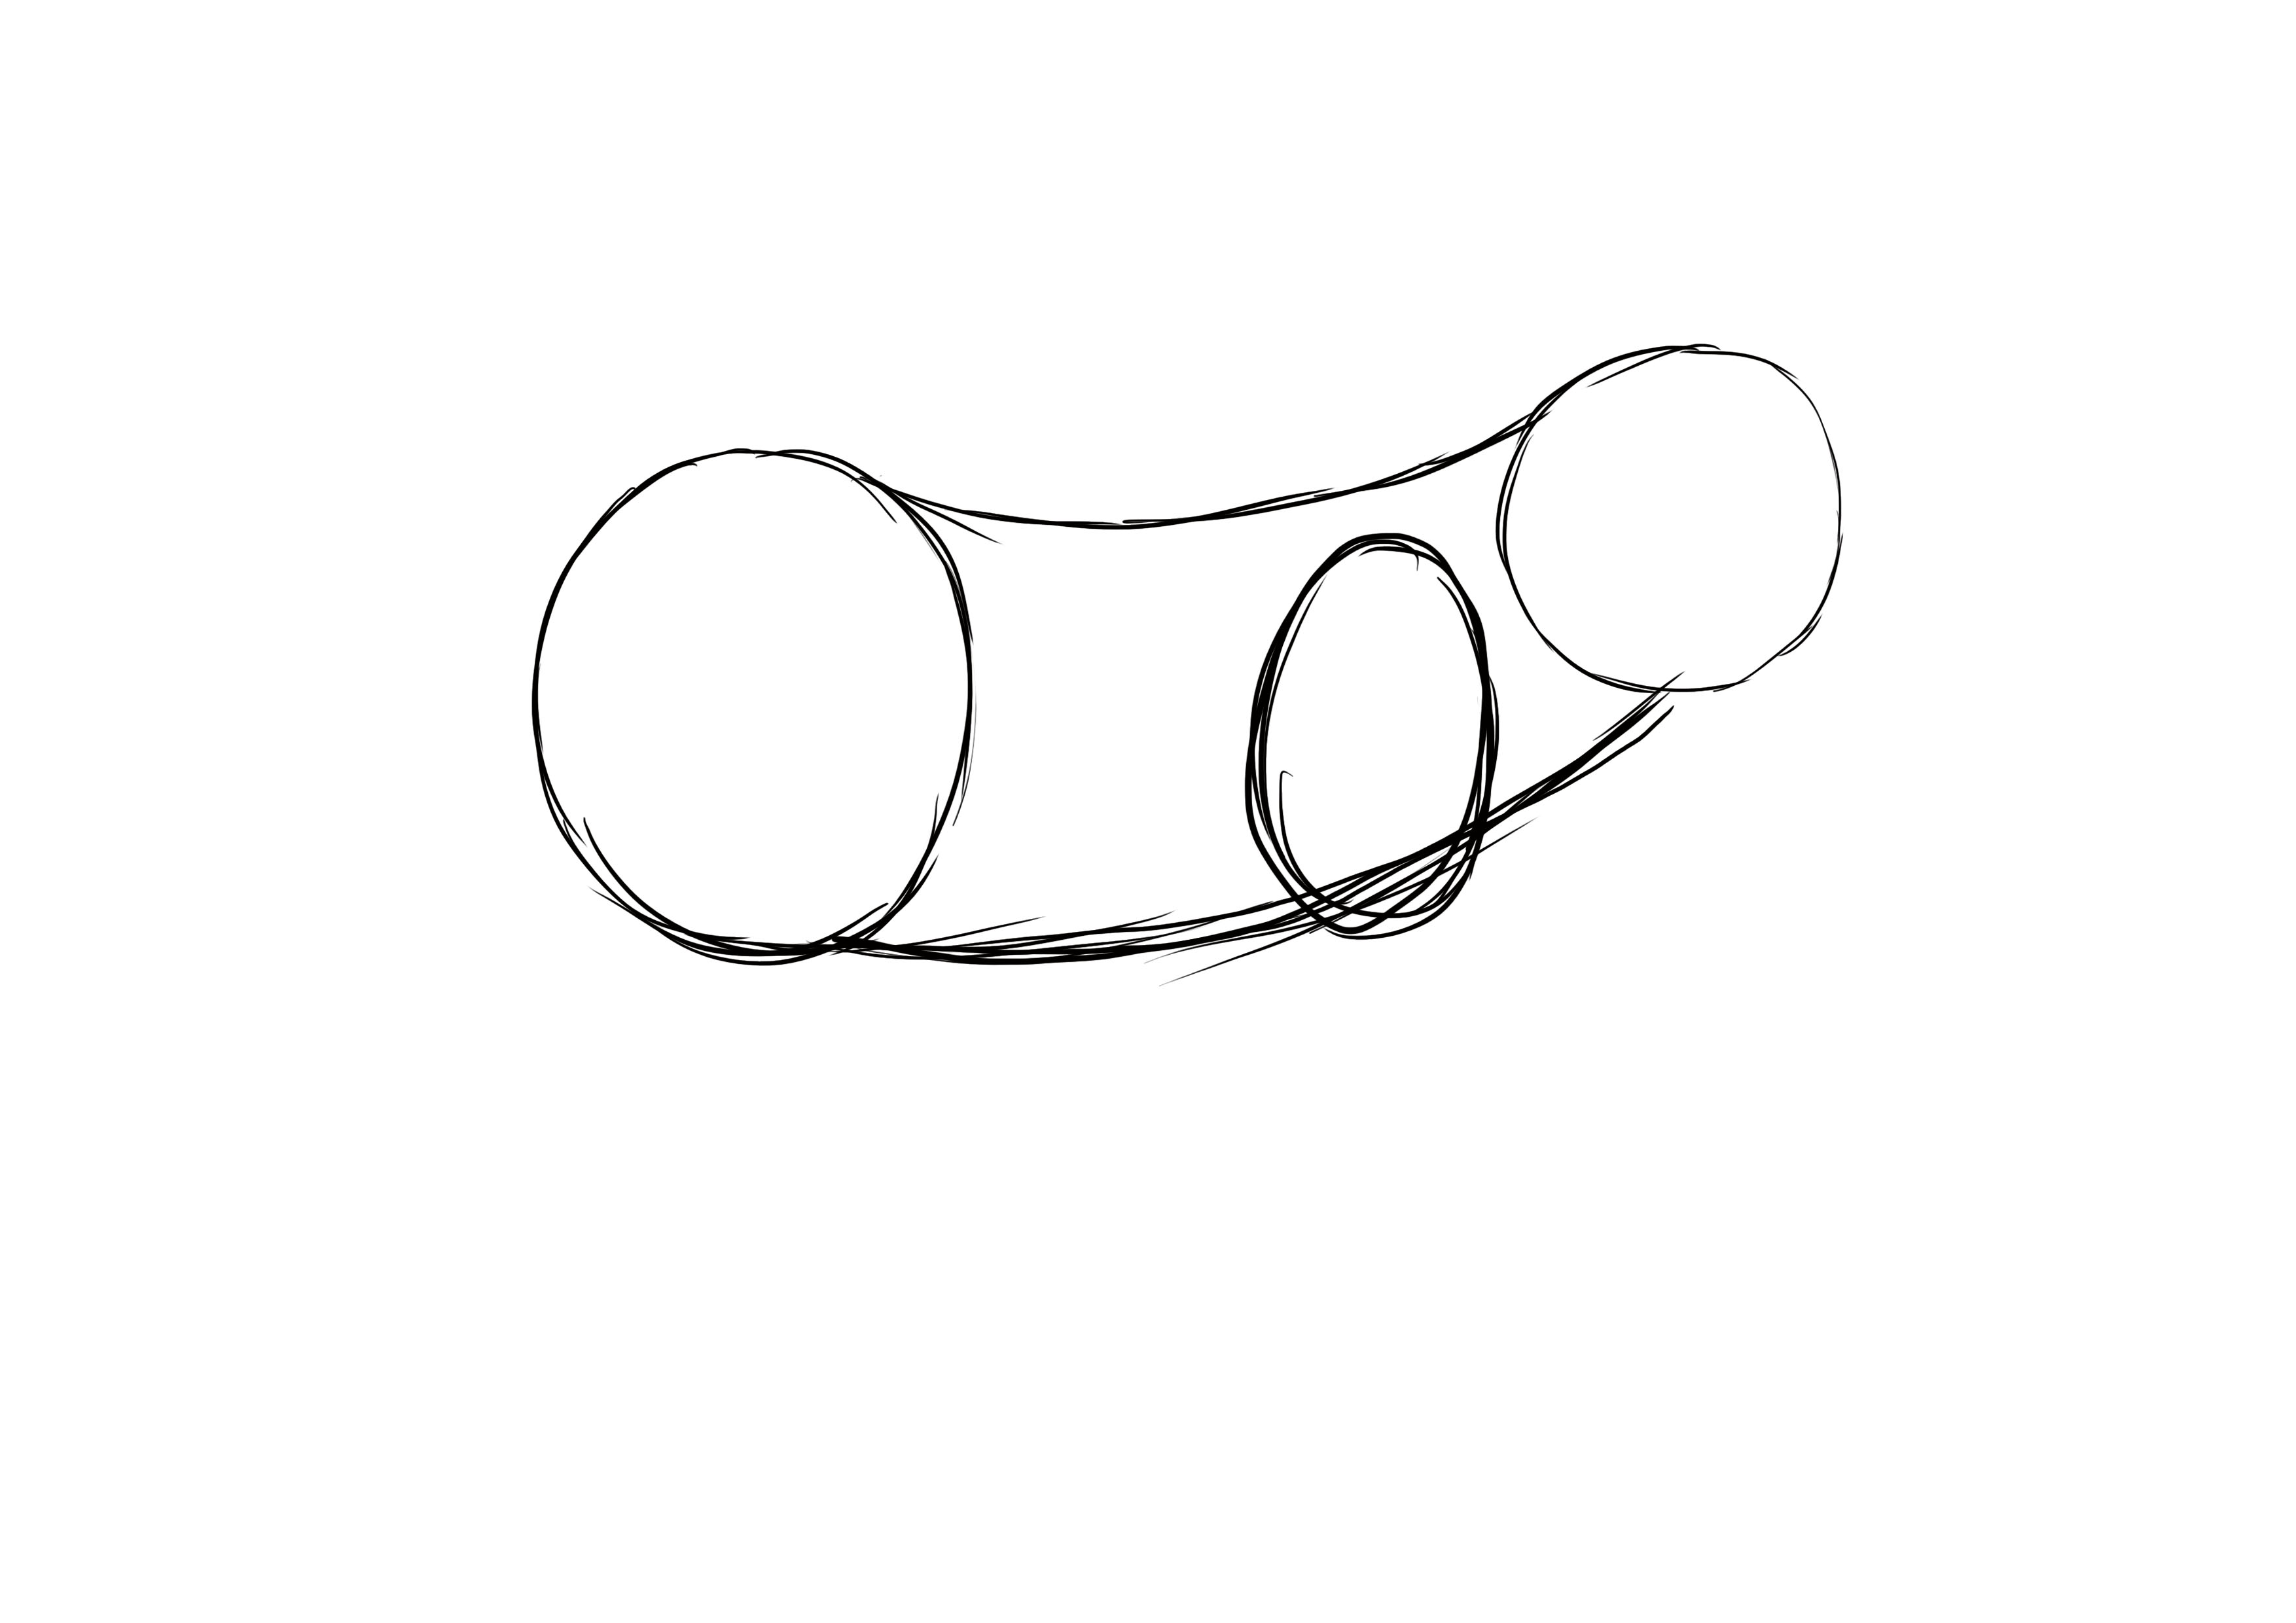
Draw an identical line at the bottom of the circles to make the animal's belly.
Next to the head, make an oval that starts near the line of the spine and slightly exceeds the belly. This is the fox's shoulder.

Starting from the shoulder, you will create a stretched "U" shape downward to make the leg.
Do the same on the left side but starting from the belly, to make the leg in the background.
We're going to do the rear leg in two steps.
Make an oval that starts from the bottom of the back and goes diagonally to the left. Then another oval that goes diagonally to the right.
Next, we are going to start laying the foundations on the head.
Draw an oval at the bottom of the head to make the muzzle.
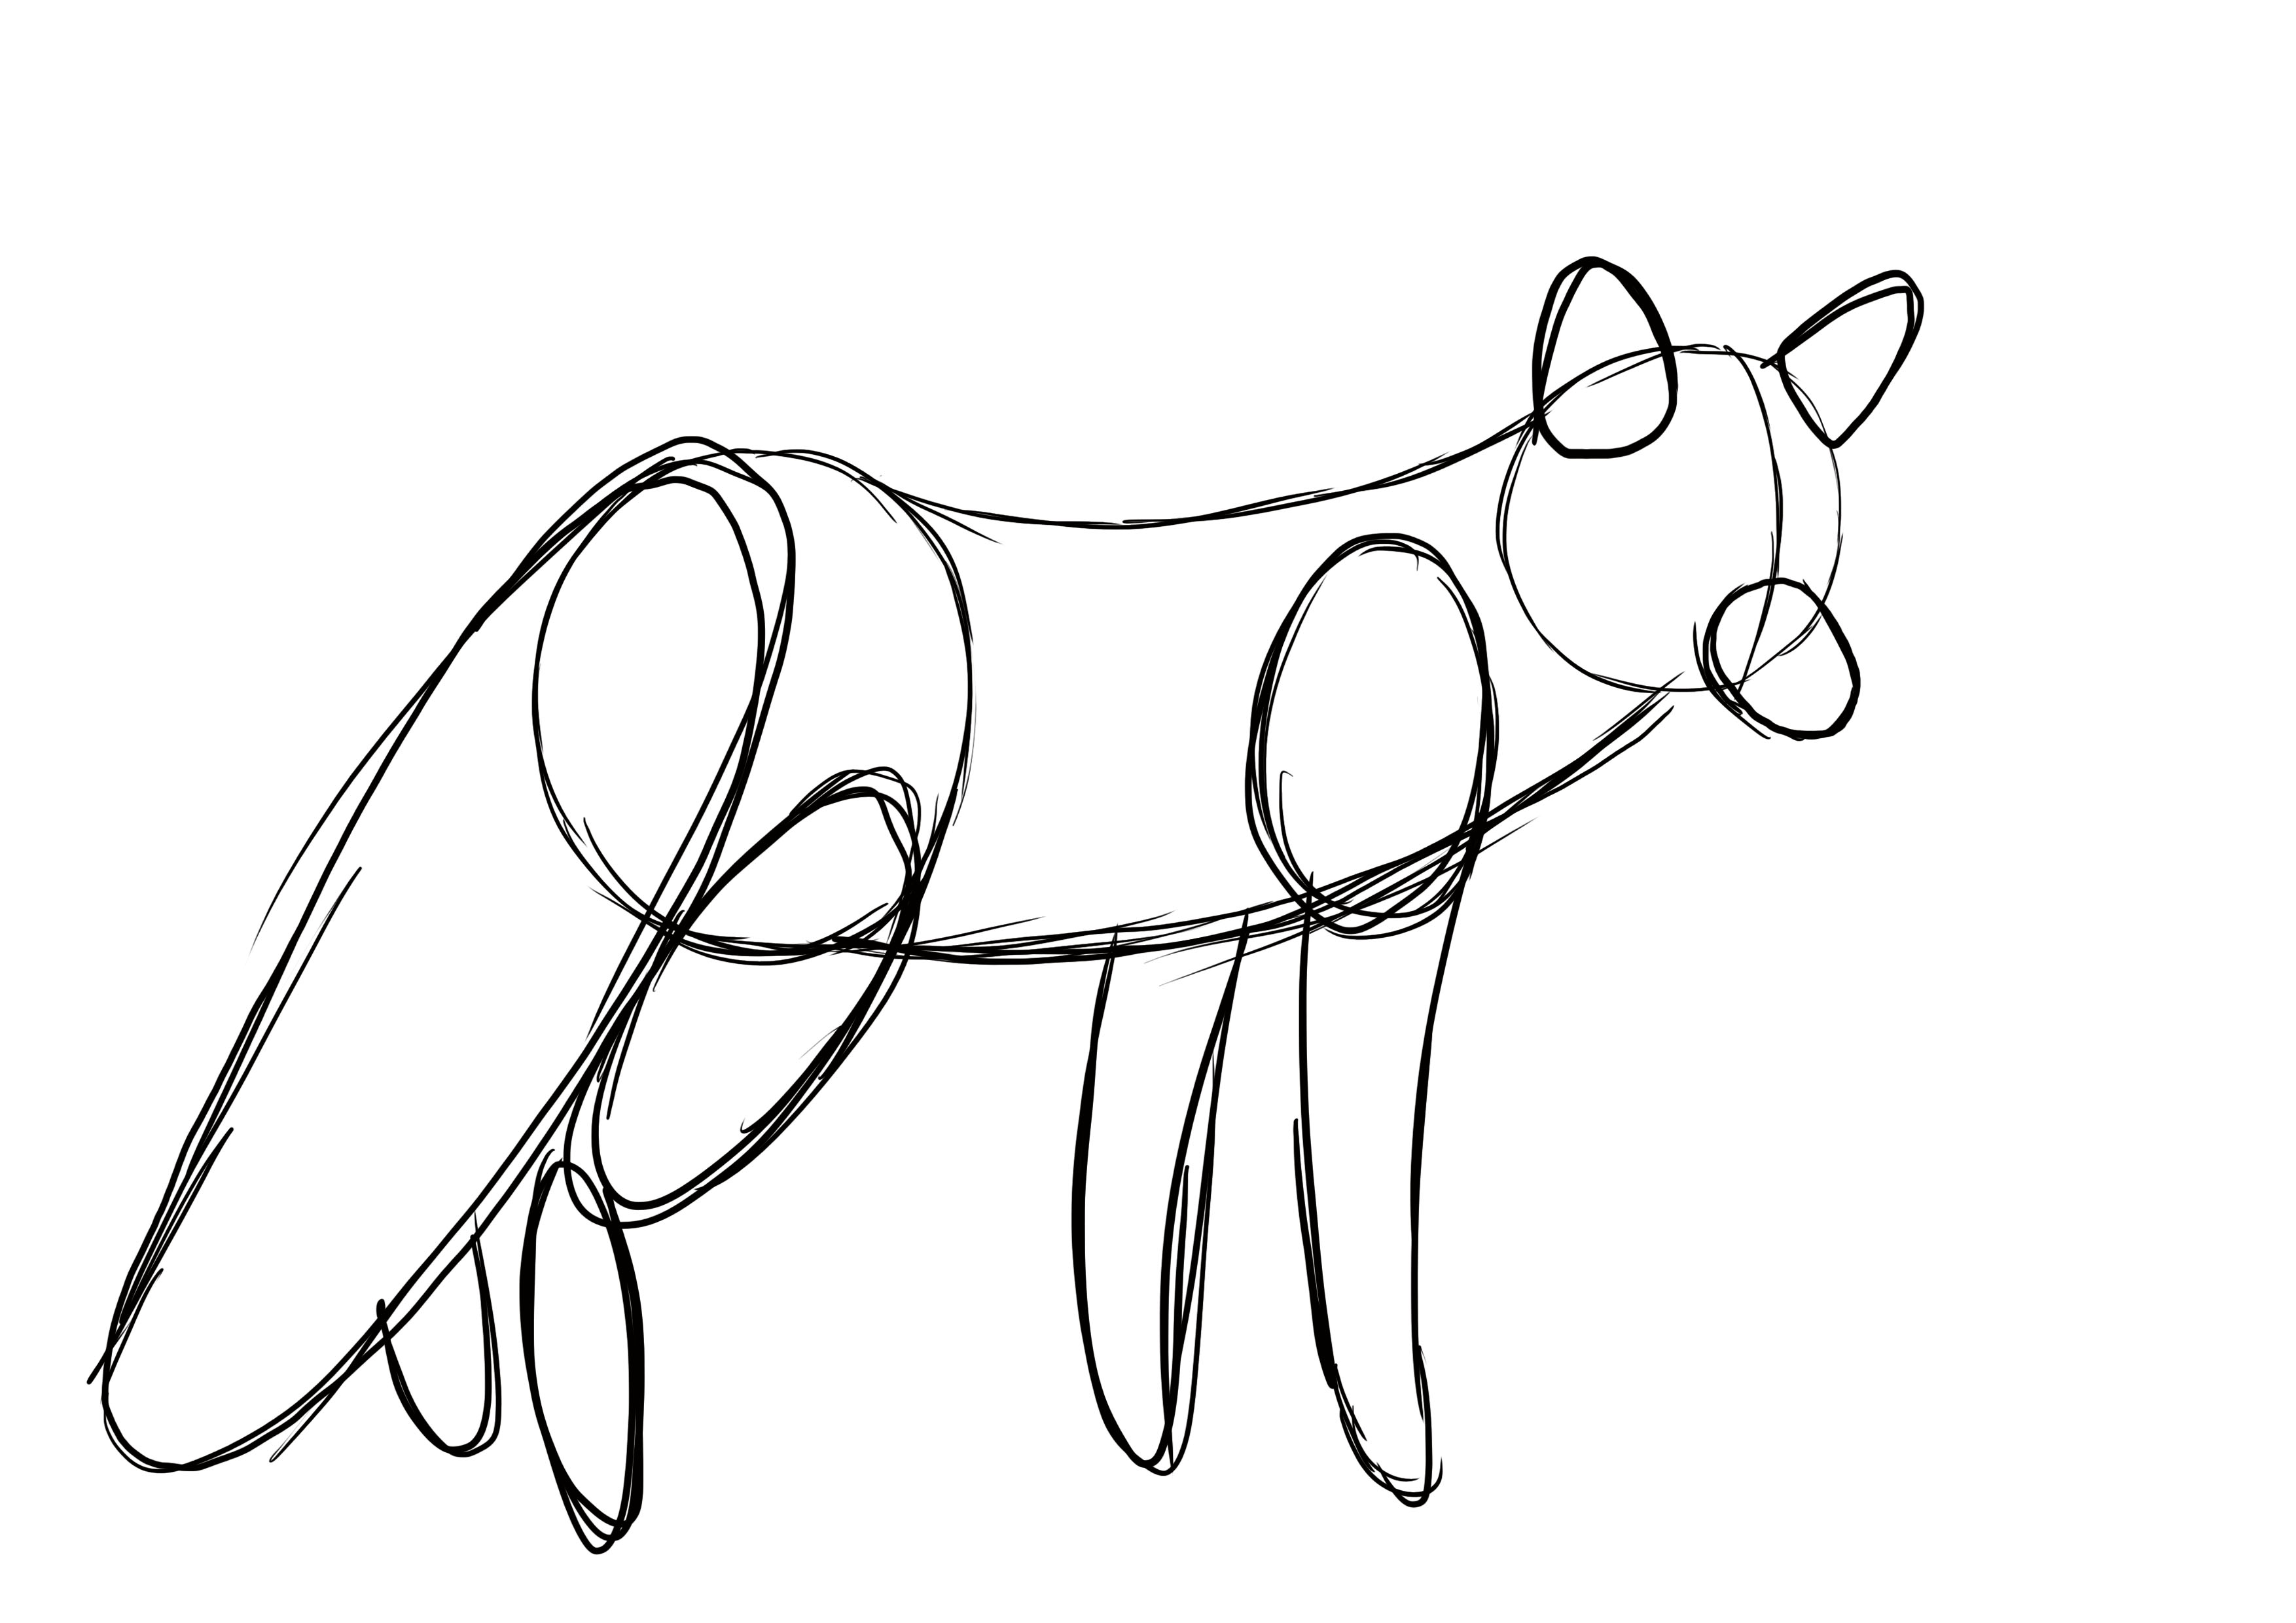
Make two rounded triangles above the head to make the ears.
For the tail, make a very stretched oval diagonally, the top starts from the hindquarters and the bottom goes towards the left, which goes down to the hind legs.
CLEANING UP THE FOX DRAWING
Once you have finished laying the foundations, and you are sure of yourself, you can proceed to the cleaning stage.
So you will go over your basic strokes but refine the details.
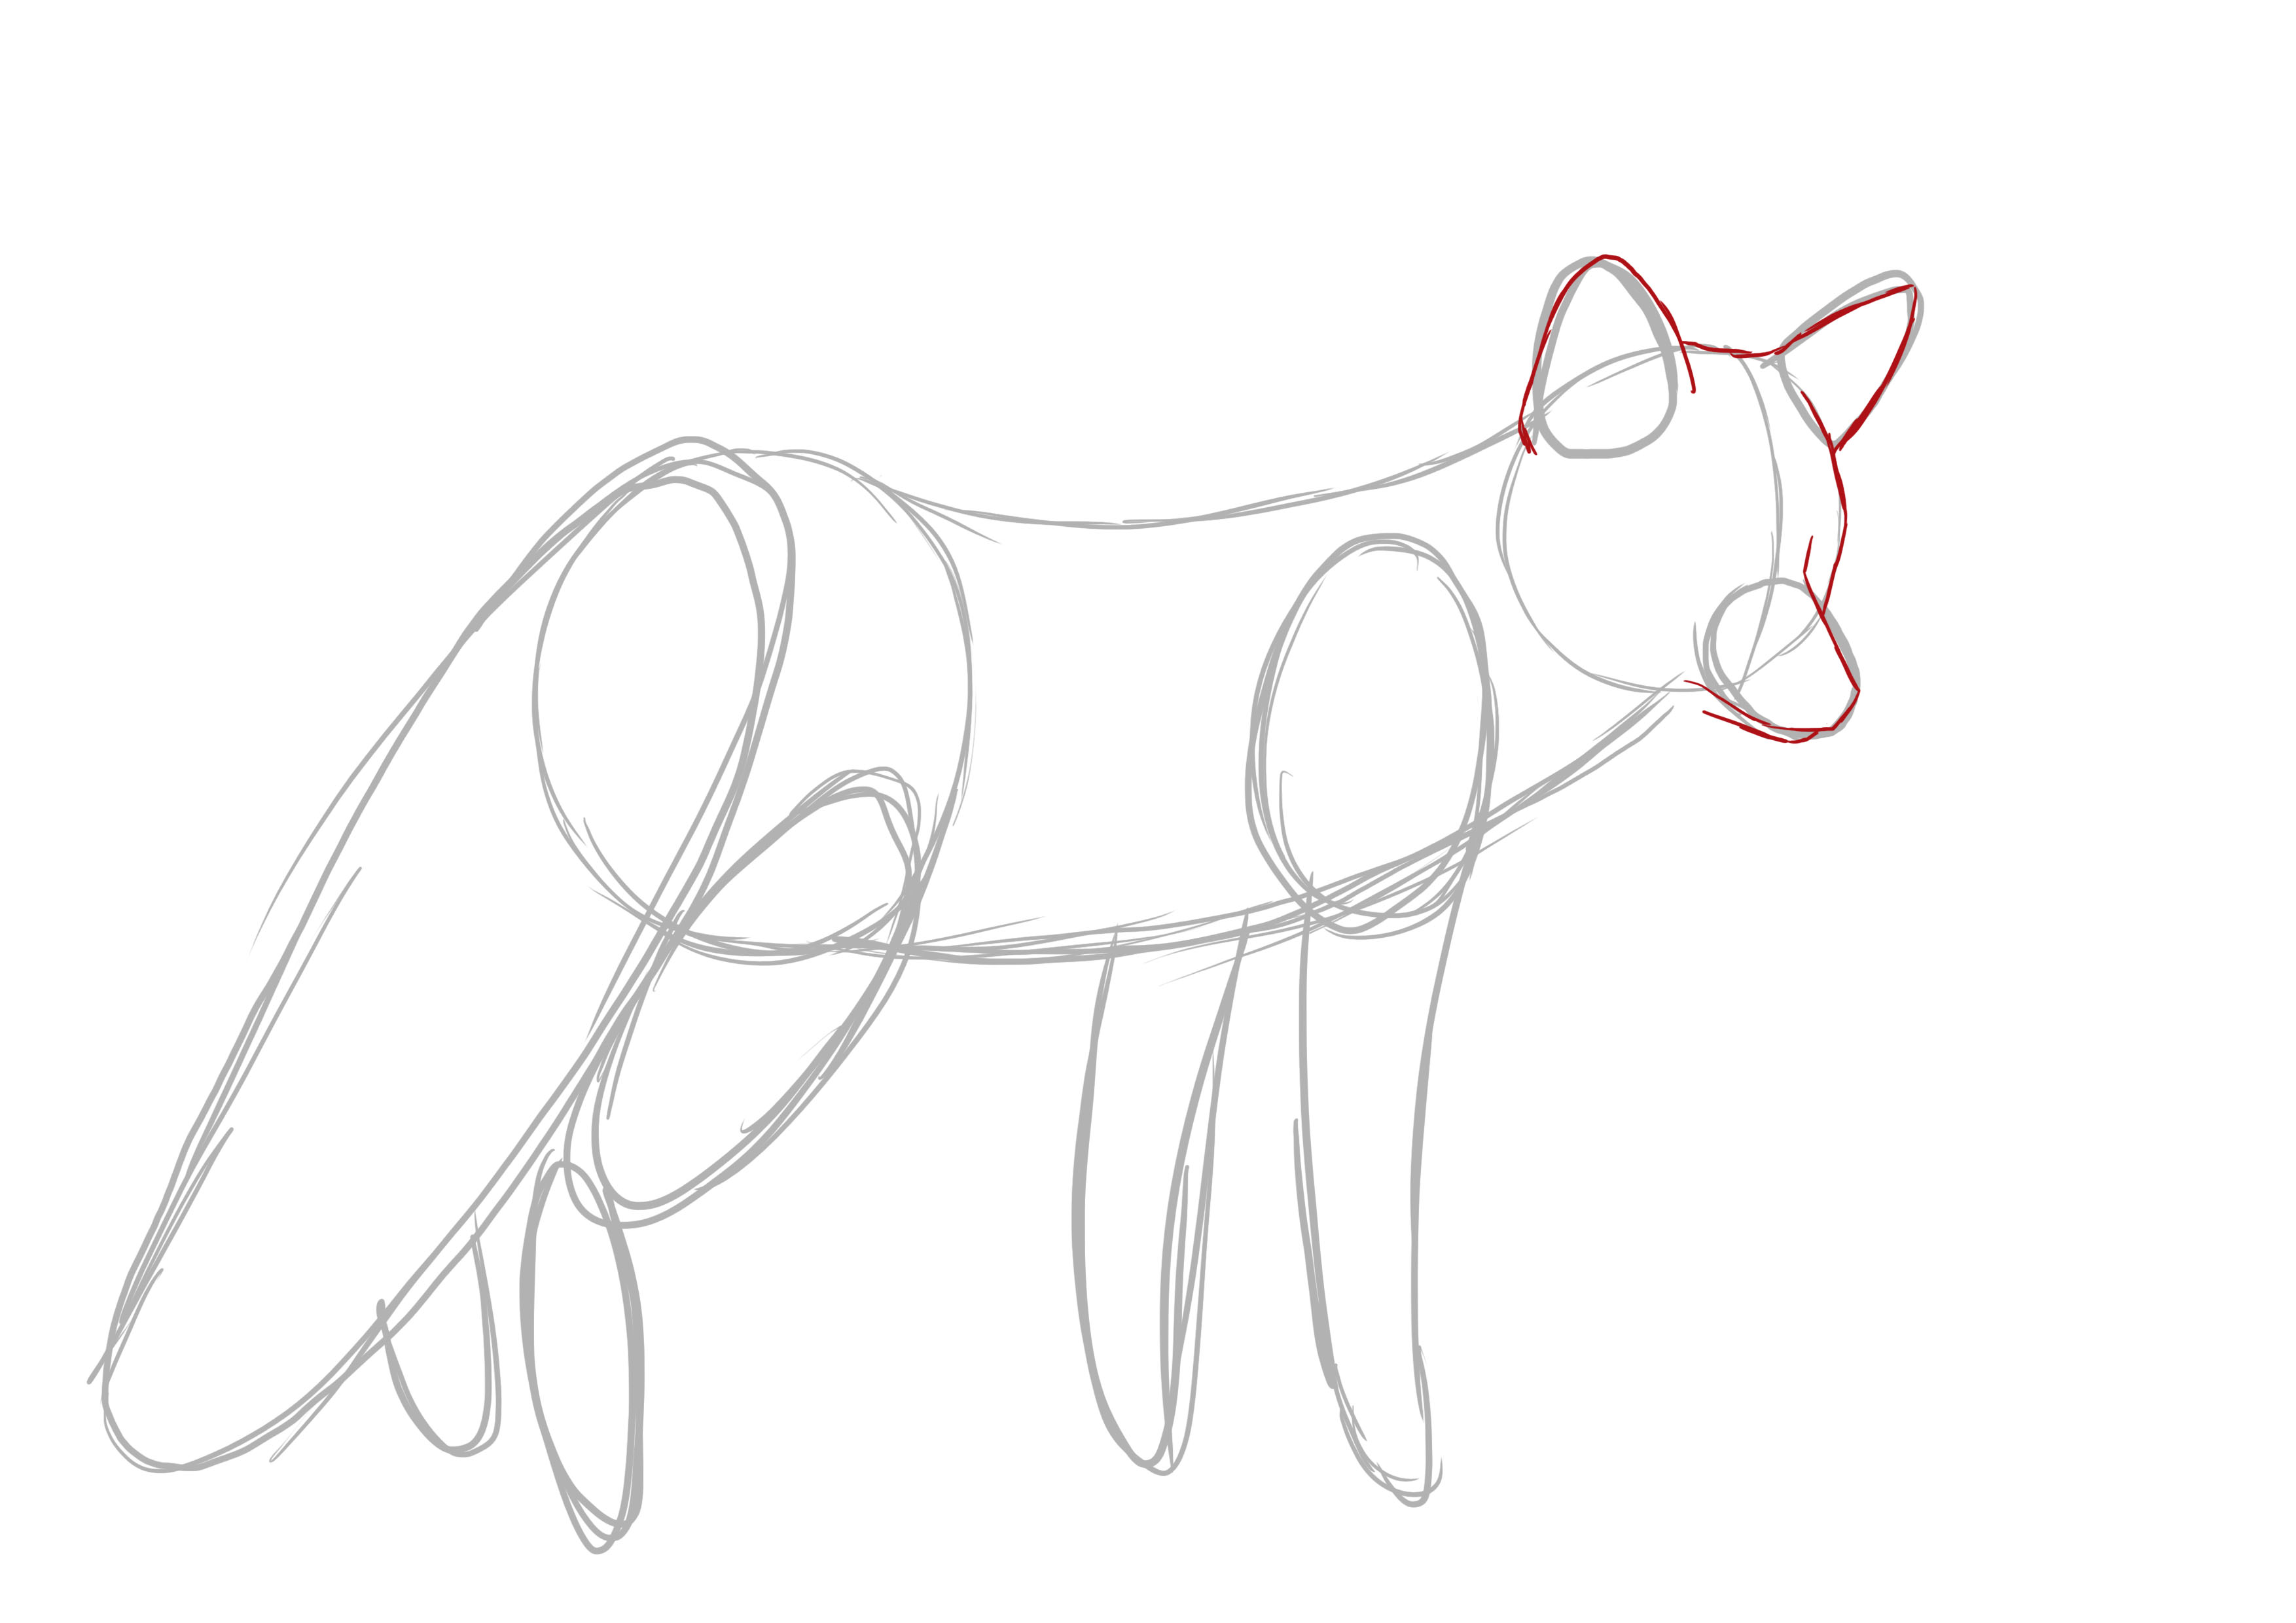
We start with the head. Make the ears squarer than on your base. The angles are more pronounced.
To the right of the head, you will make a slight angle to form the eyebrow arch.
For the muzzle, go over the base again, marking a slight angle to make the "nose".
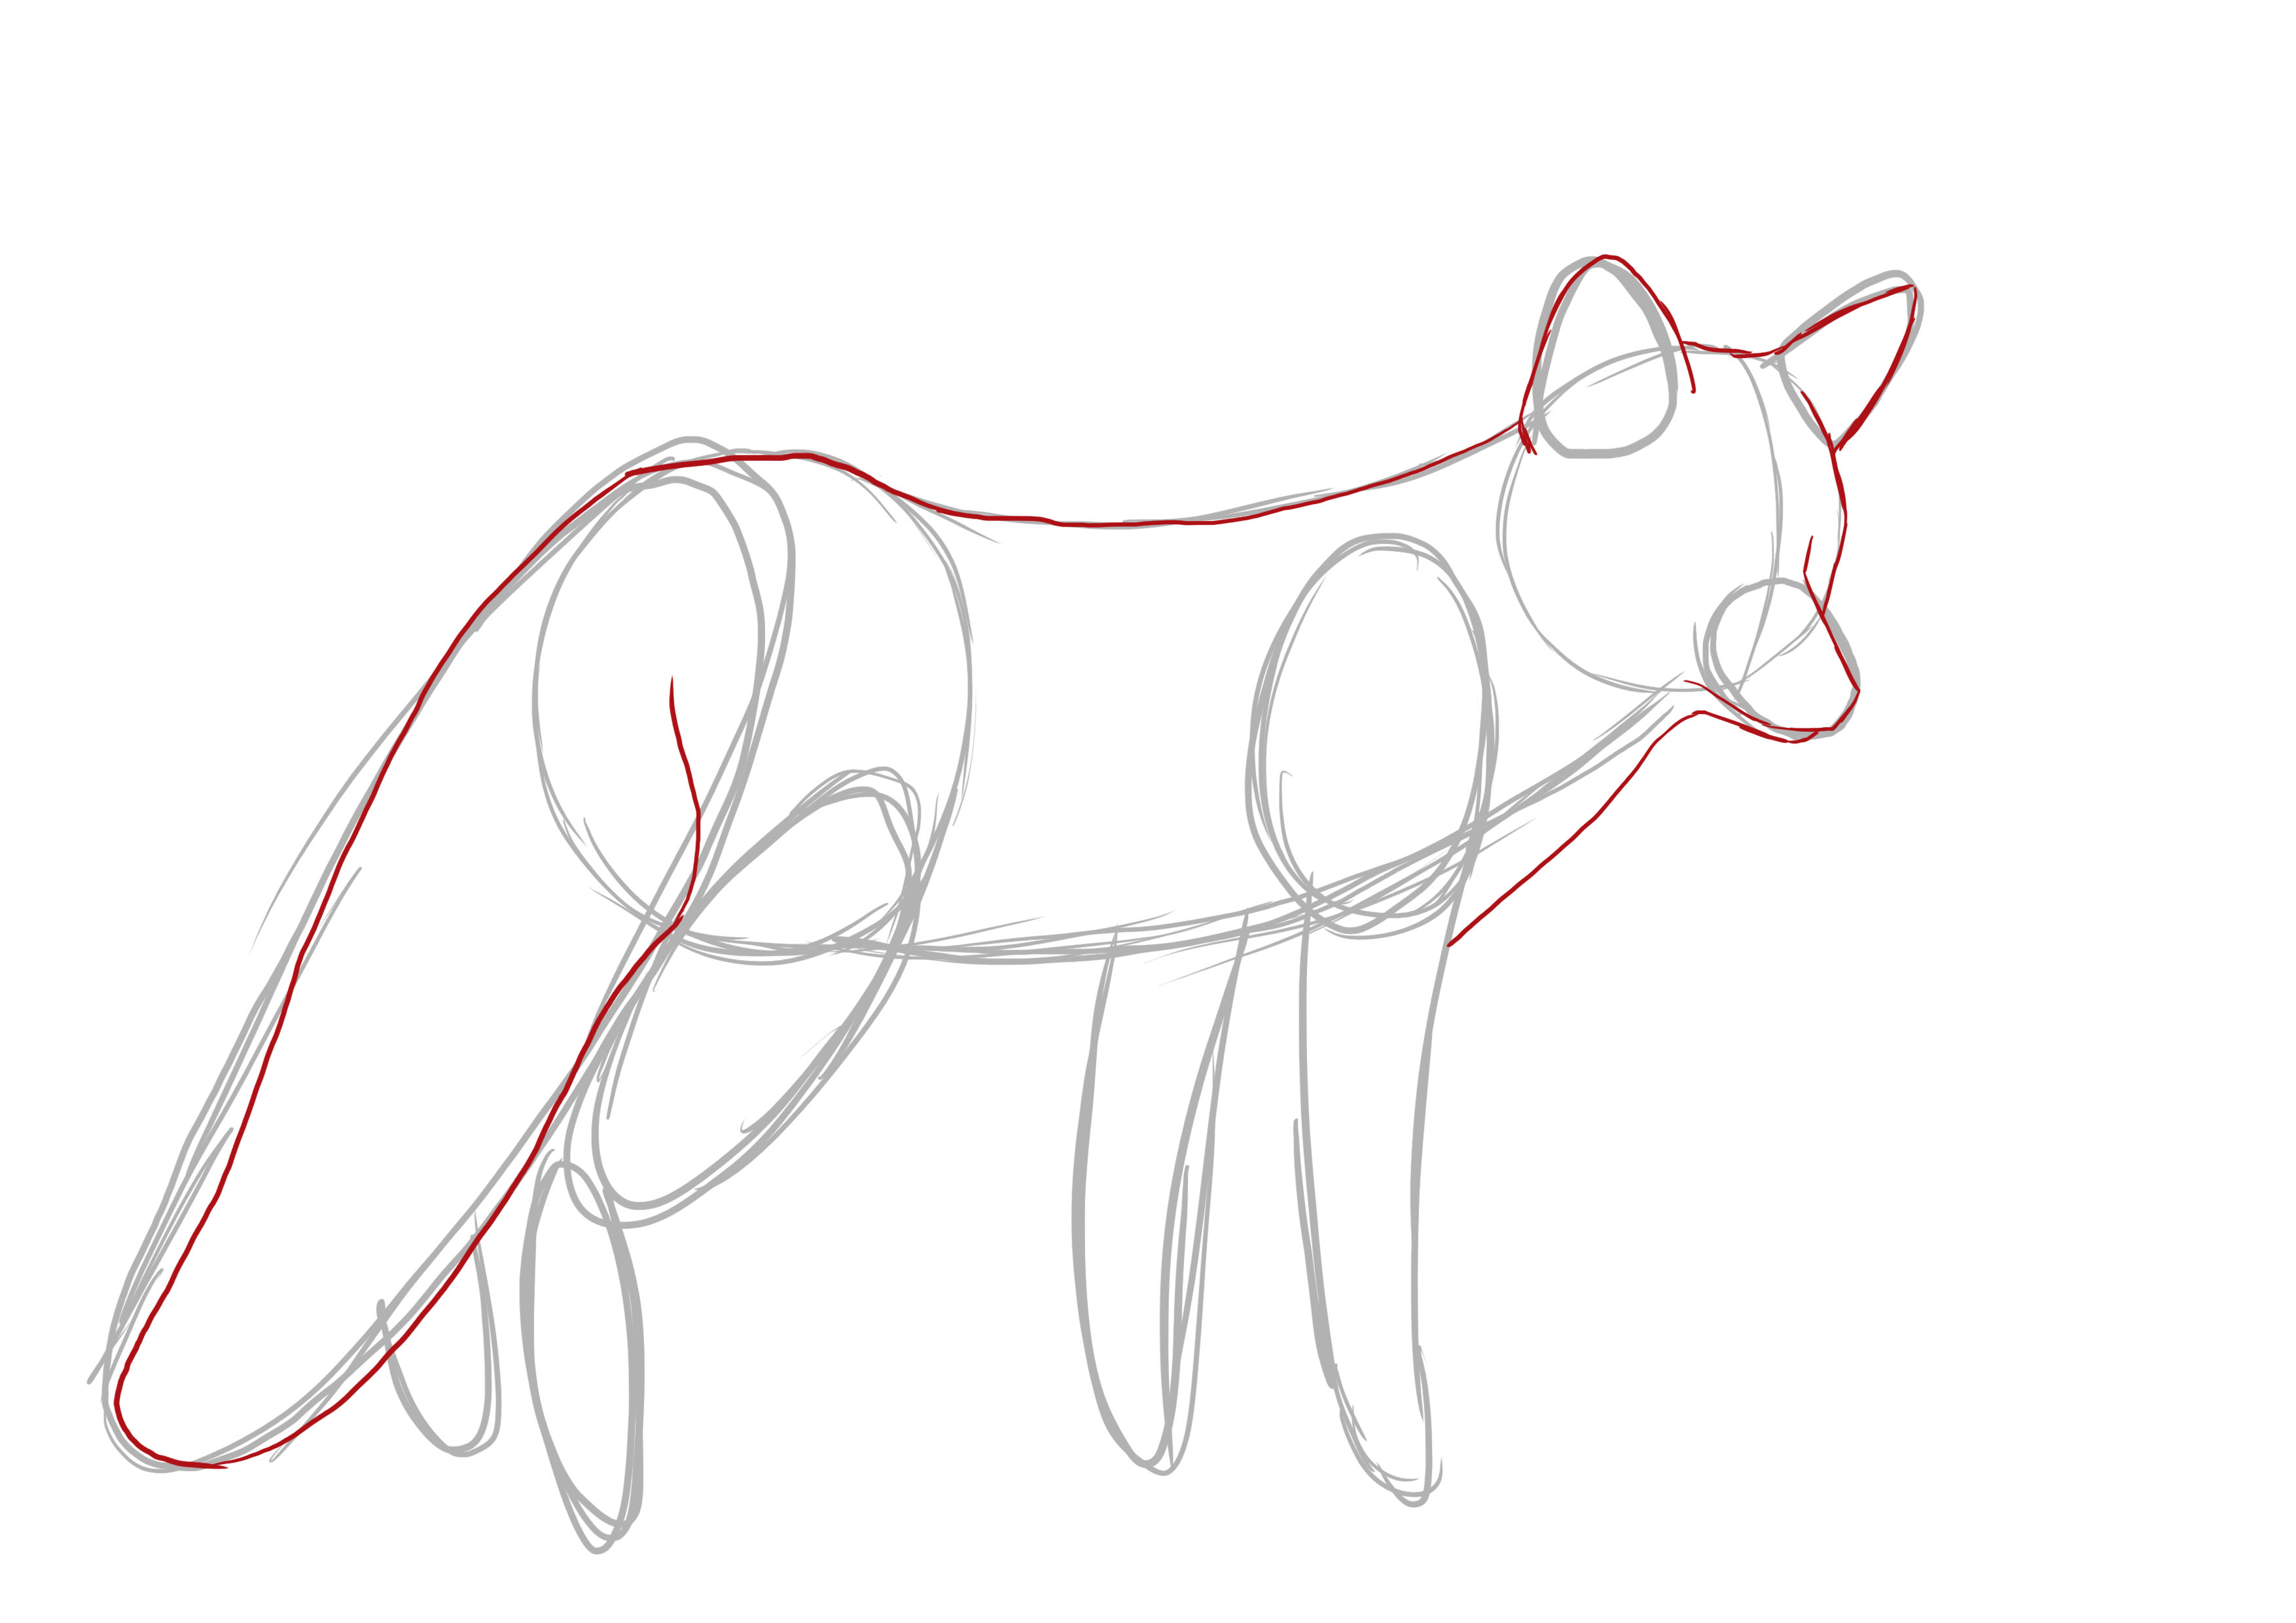
Let's move on to the neck. To do this, continue from the snout by drawing a curve that goes down slightly. Stop it when it gets to the mark of the front paw.
Next, redraw the curve of the spine and then the tail.
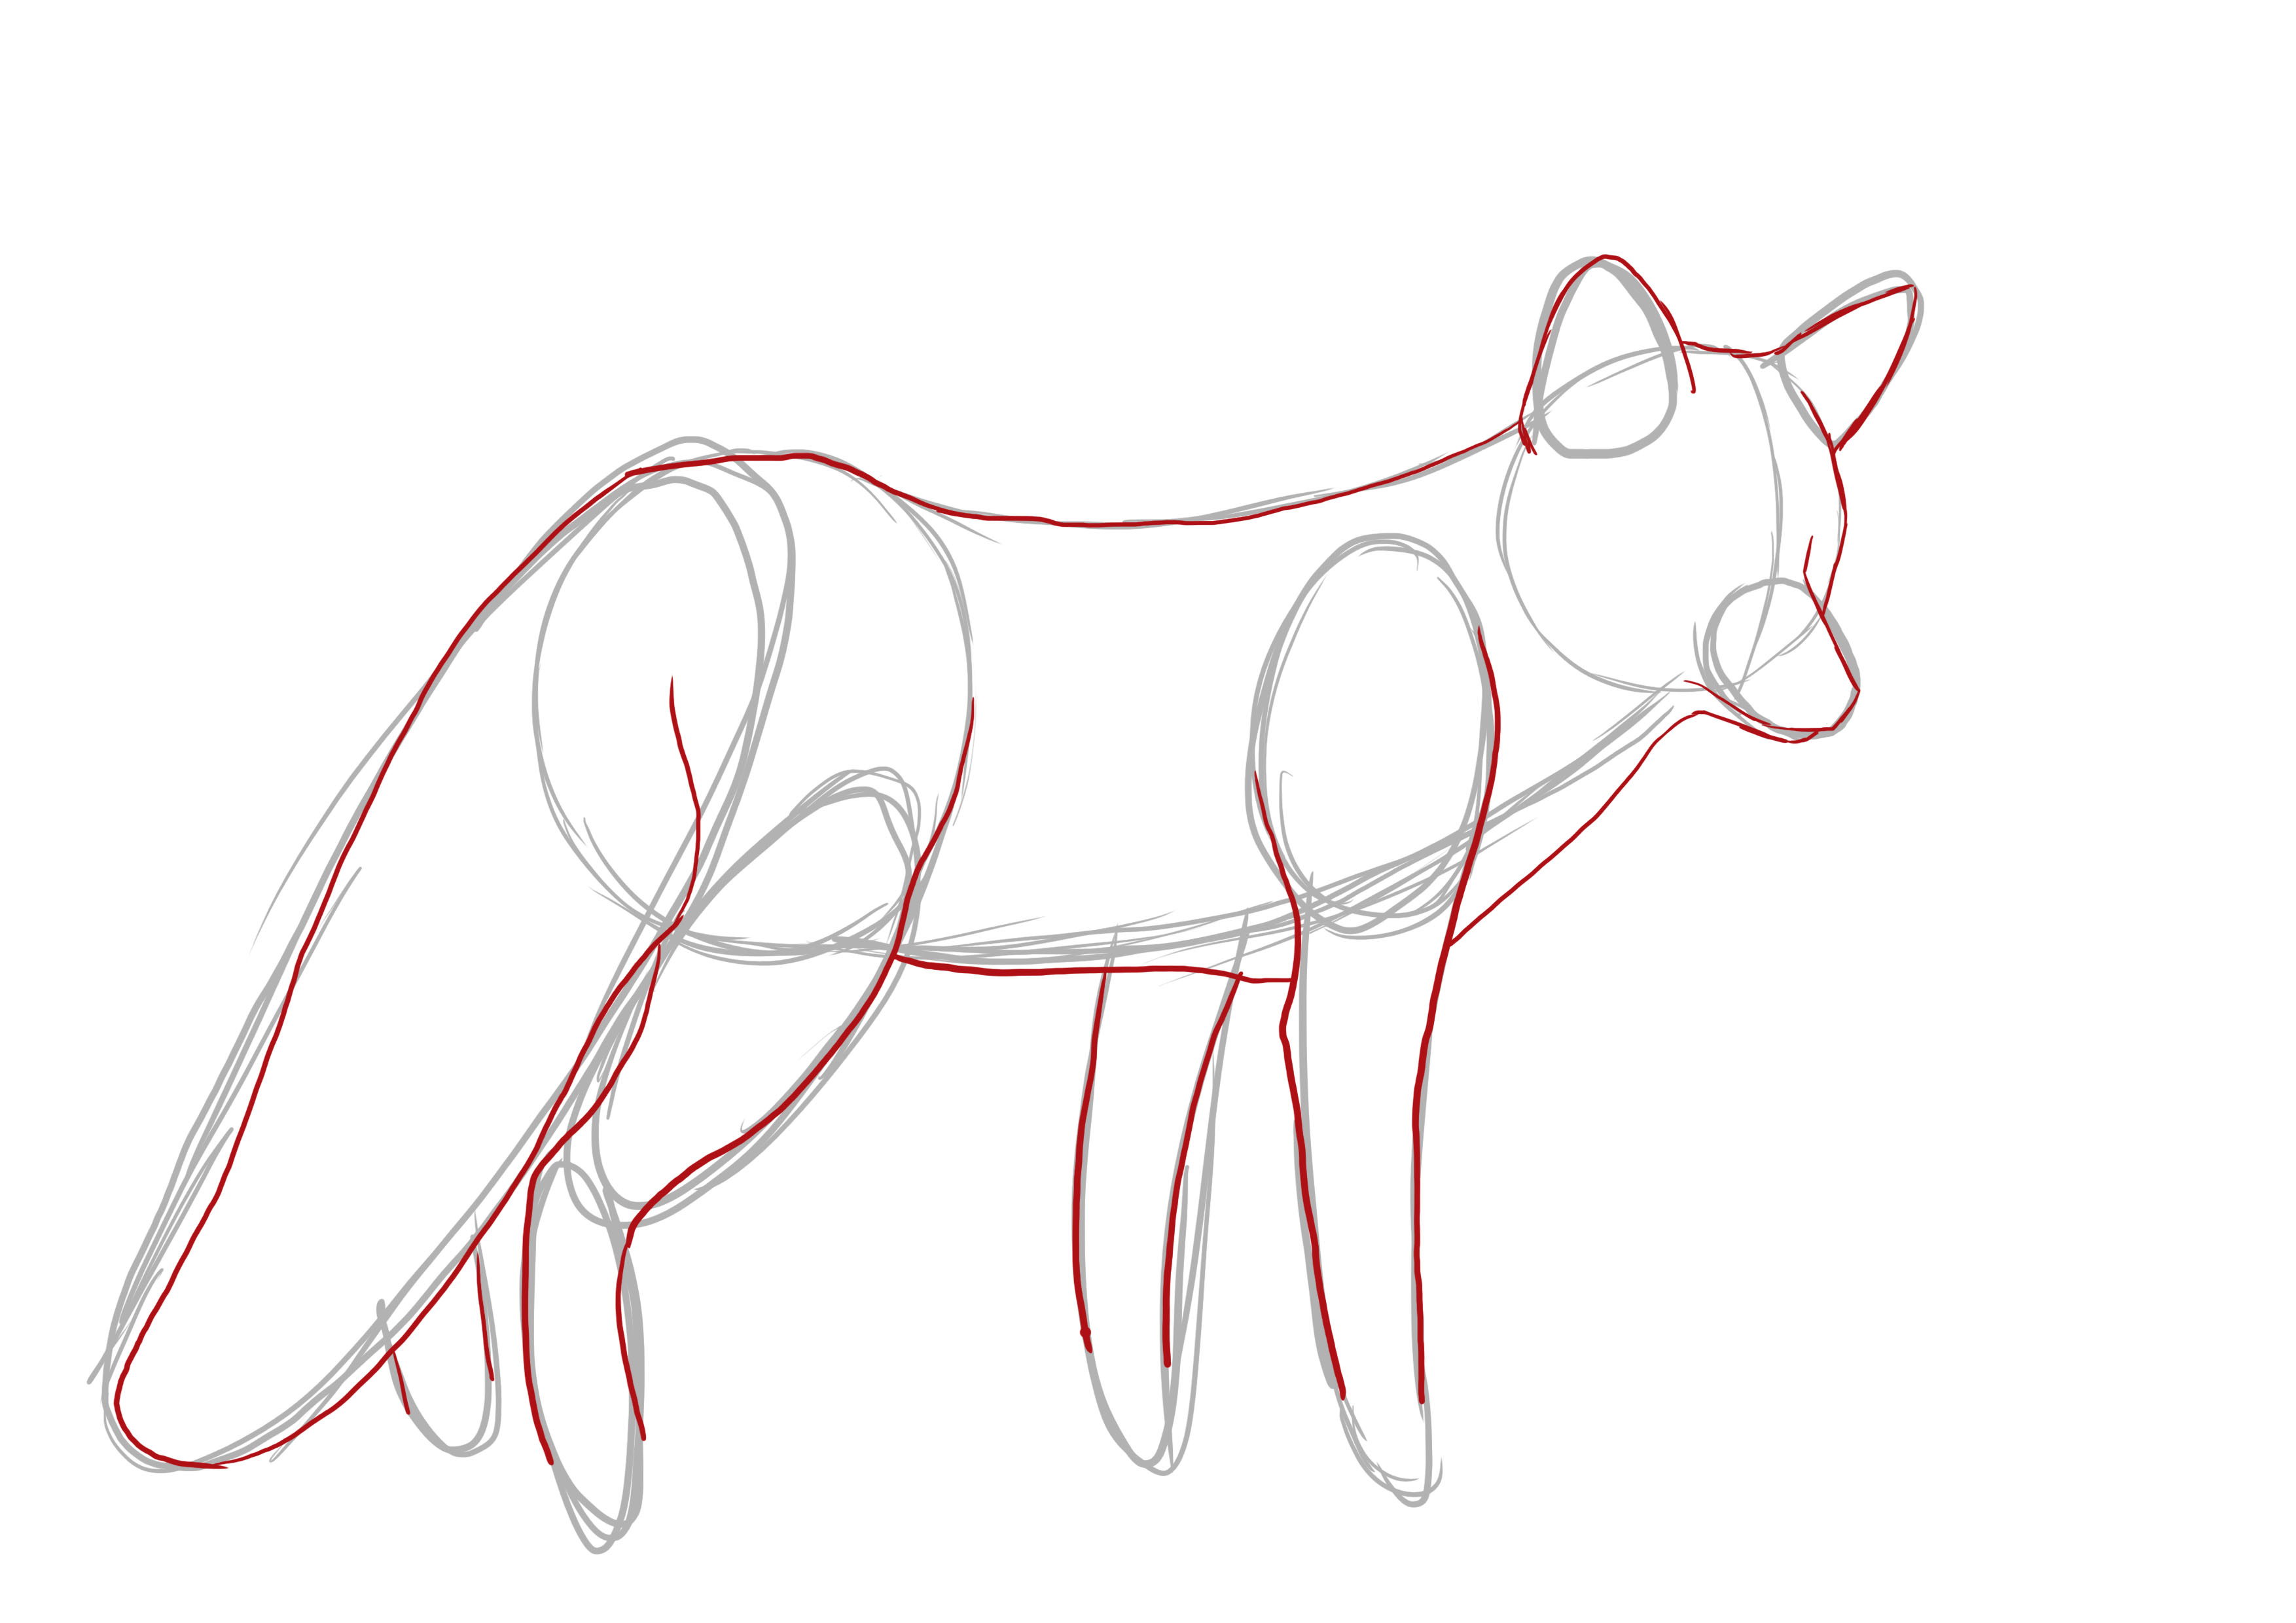
Draw the legs starting at the oval markers for the shoulder and thigh, then go down following your guide lines while clearly marking the angles.
Complete by drawing the lower belly.
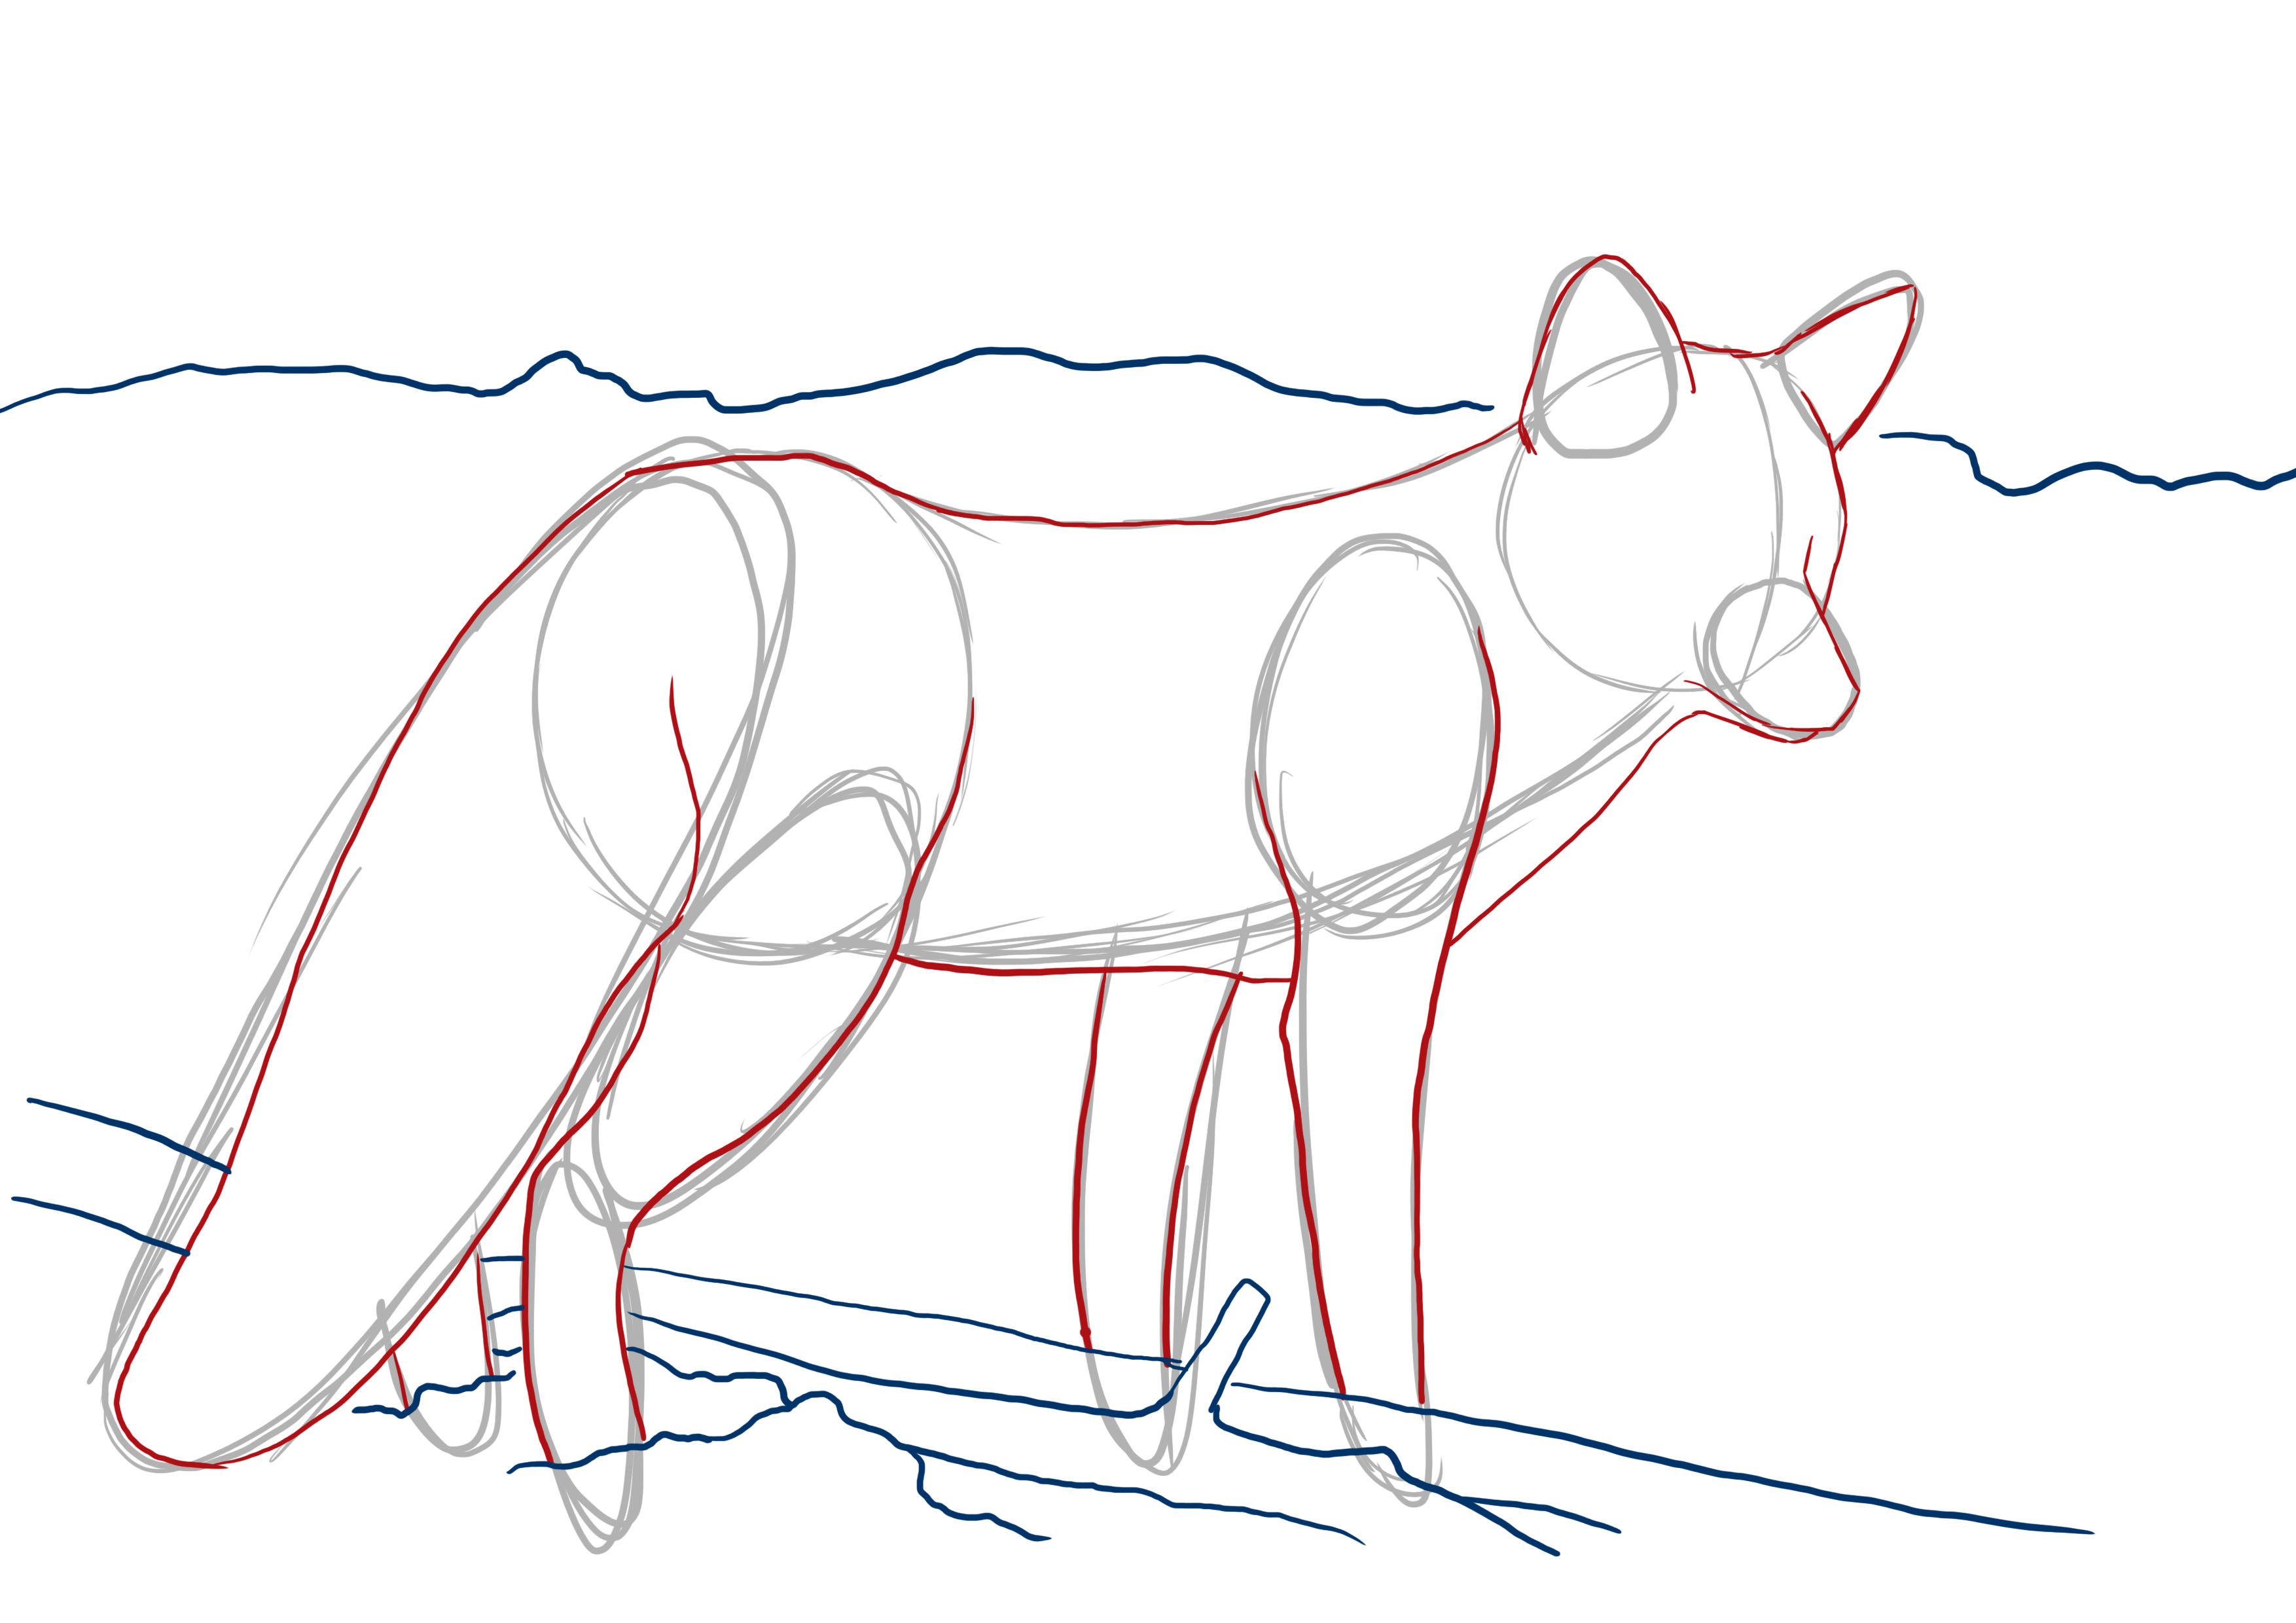
Now that you have cleaned up the silhouette, we are going to sketch the setting.
Two fairly thin tree branches pass between the fox's legs; the rest will be covered with snow.
The legs are buried in little piles of snow.
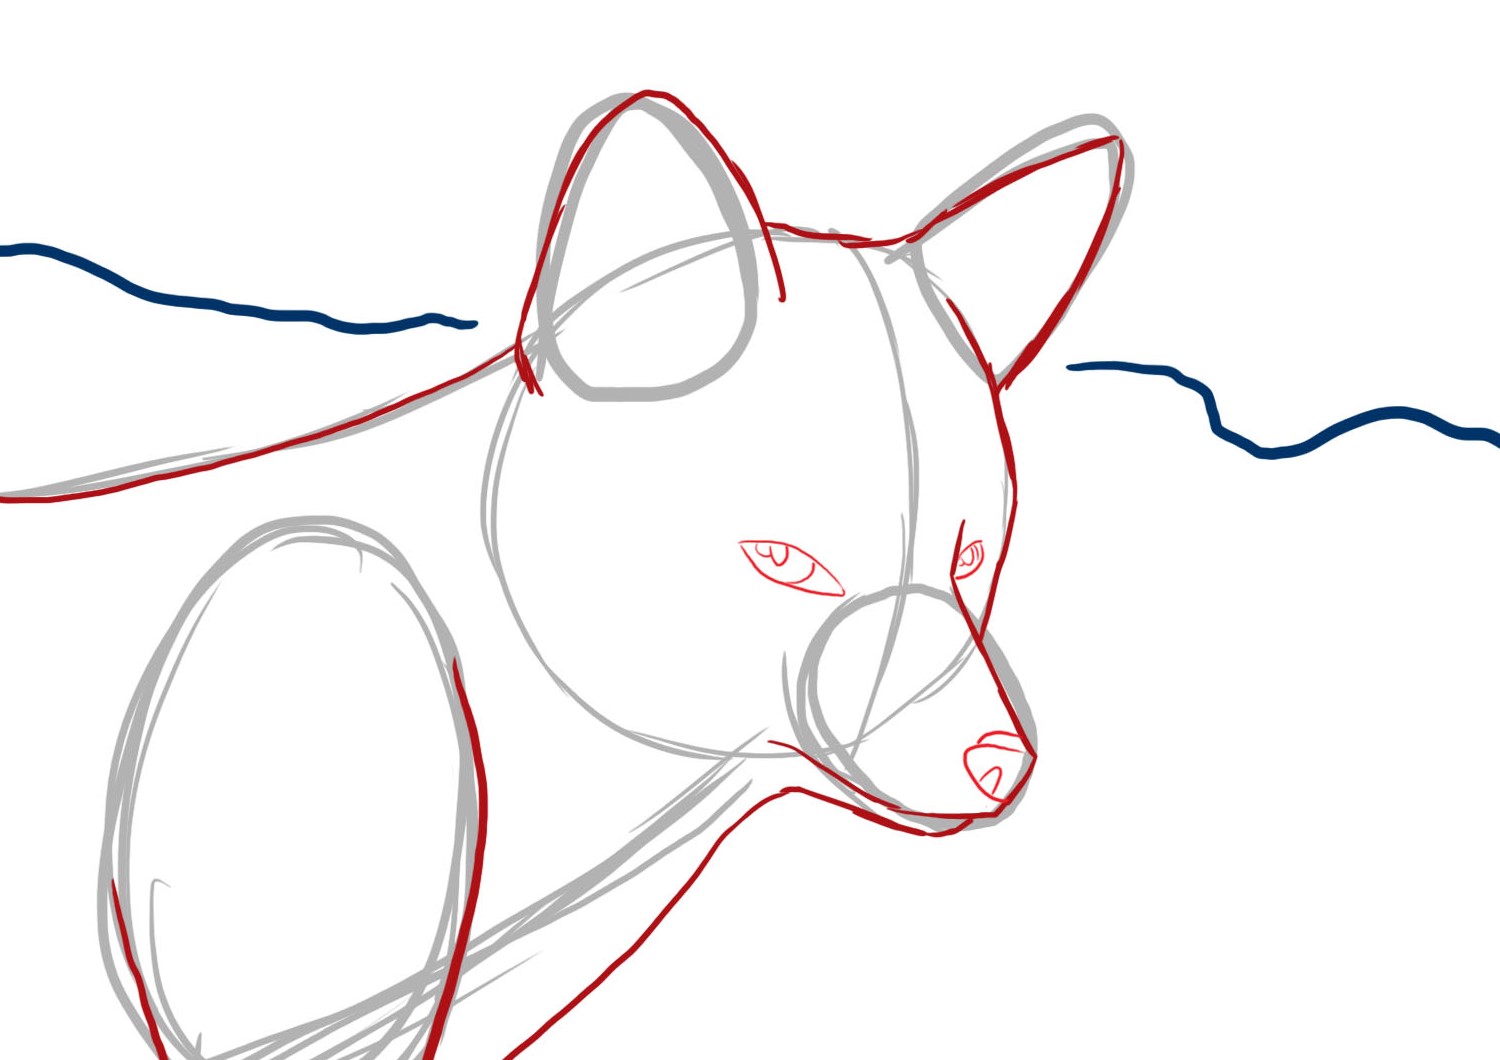
To completely finish this step, we will make the fox's face.
Start by drawing the eyes. They are almond-shaped.
Then make the nose in a triangle shape with rounded corners.
ADDING COLOR TO THE FOX DRAWING
You have finished drawing your fox.
You have the choice:
- Either leave it as is and just add some shadows
- Or add color, which will give more realism ...
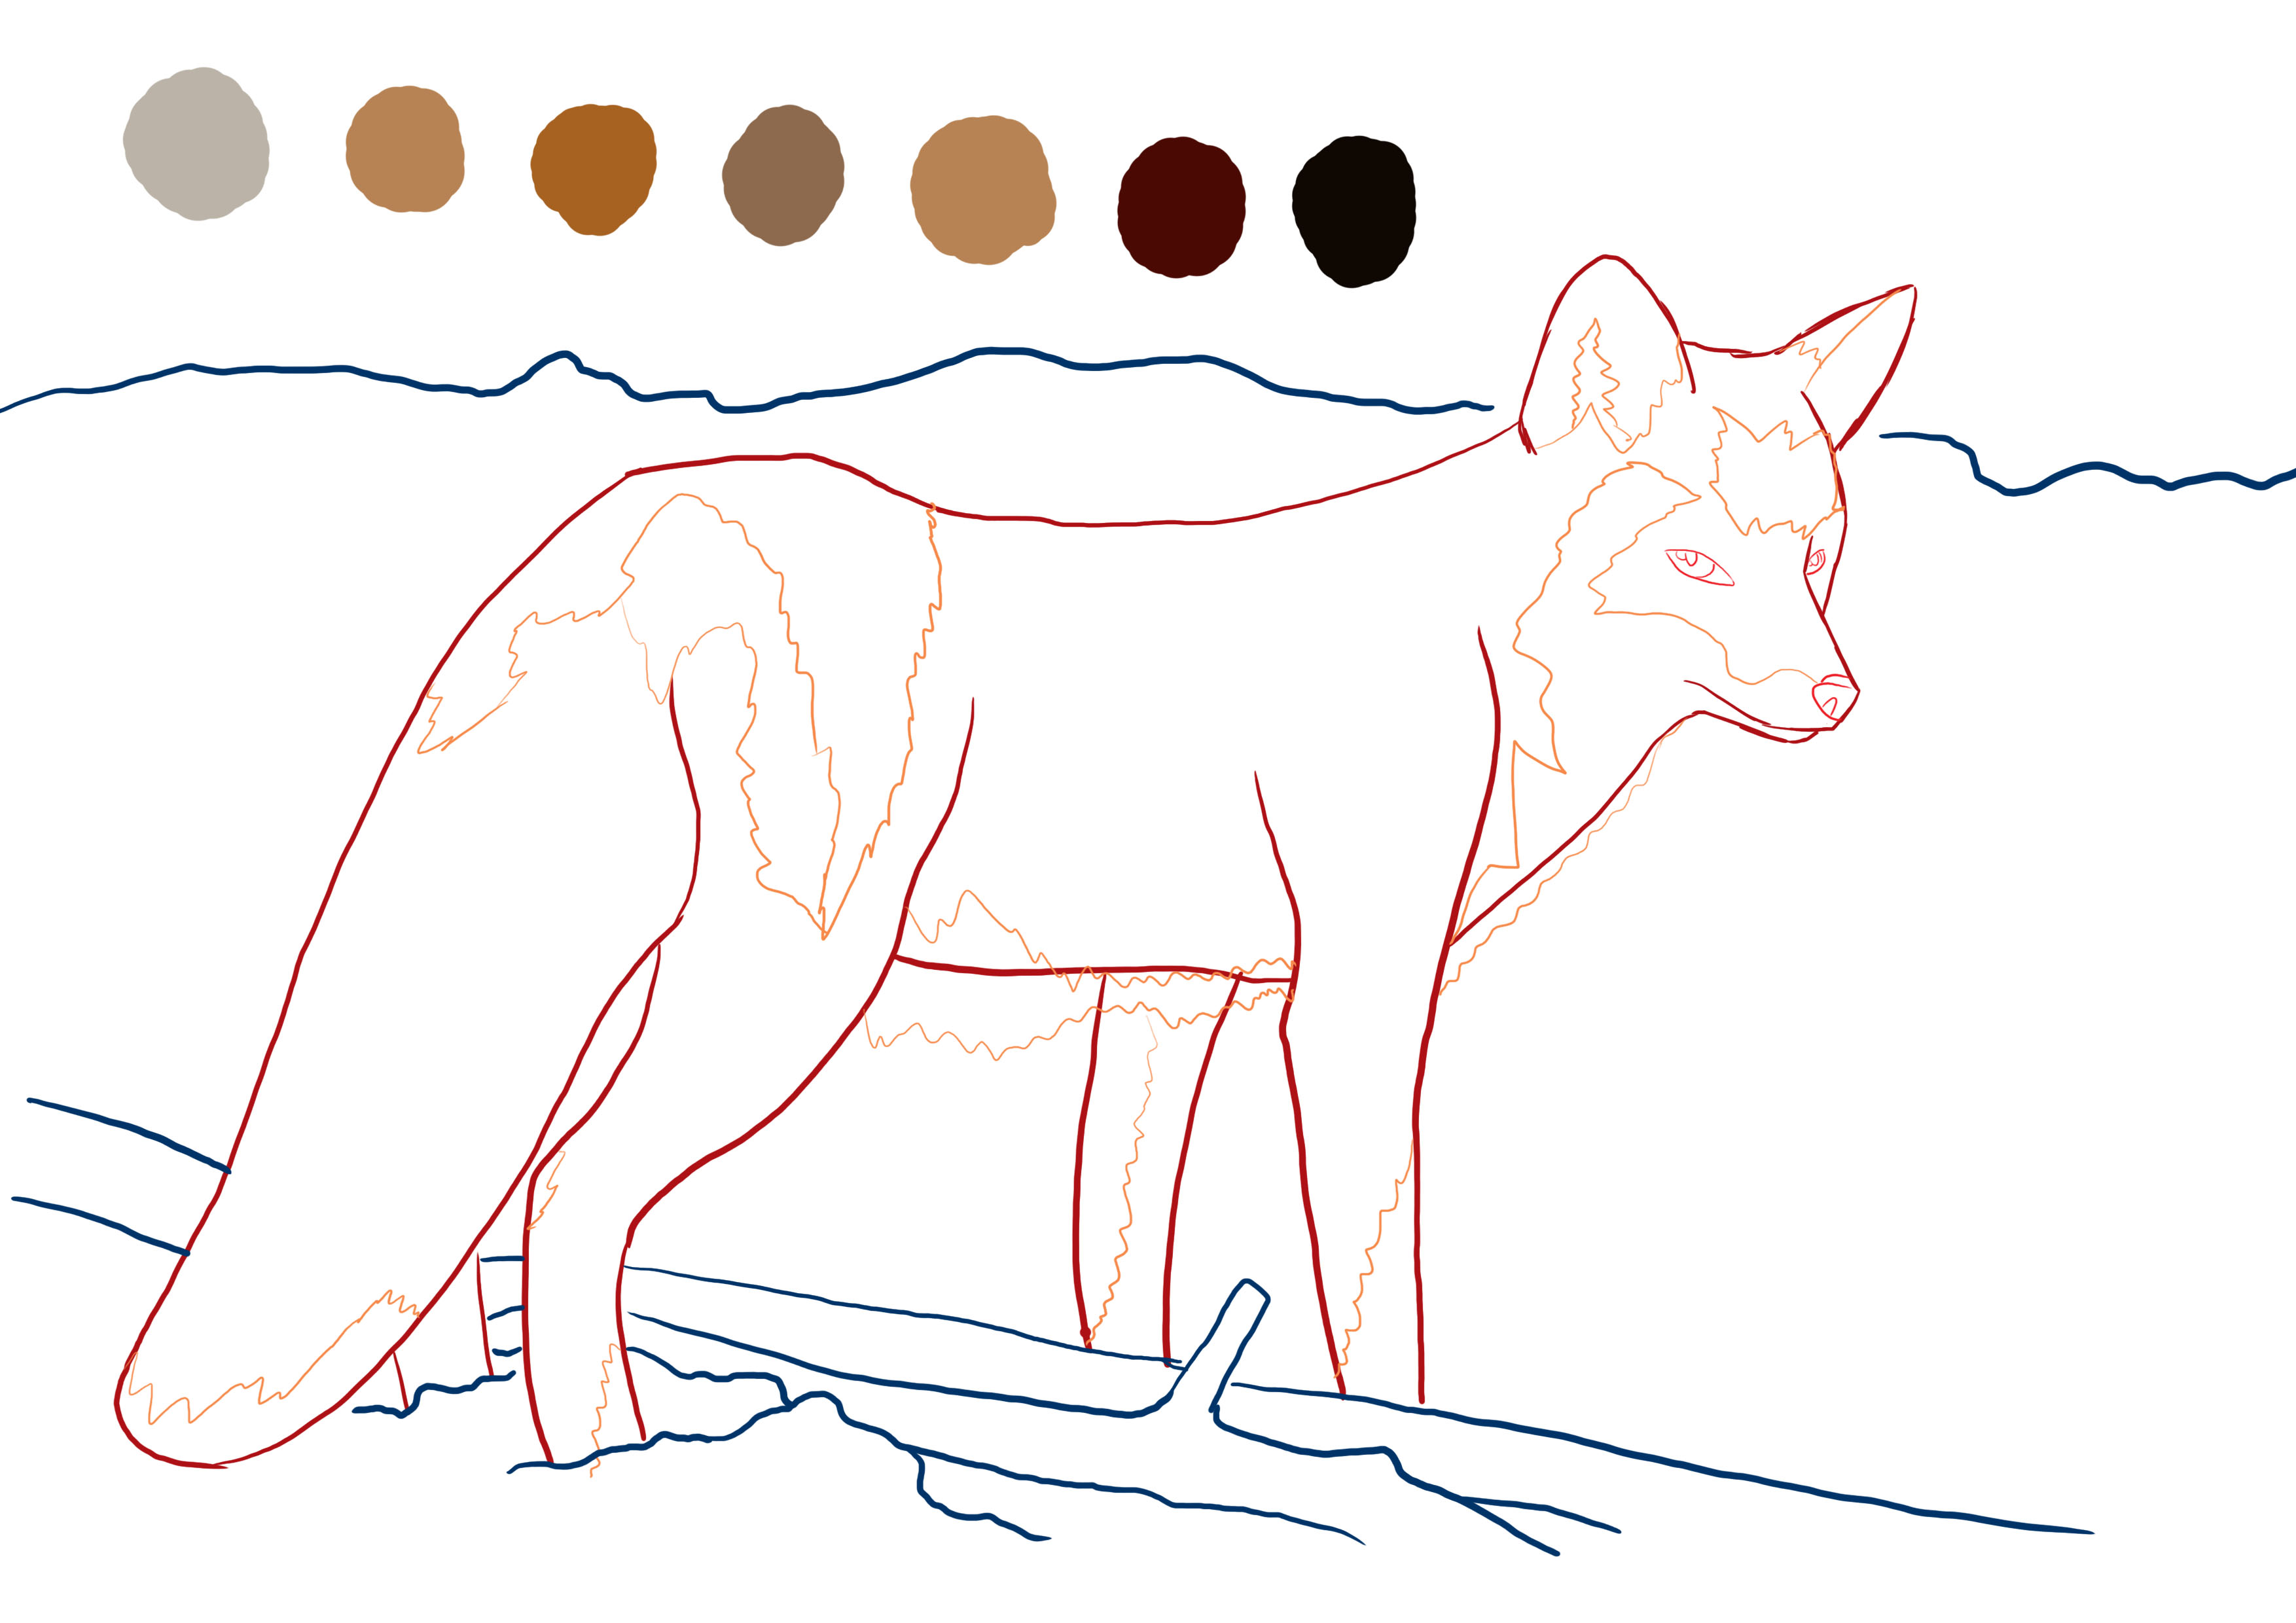
To do the coloring, you're going to need 7 colors:
A light gray, a light hazelnut brown, a medium hazelnut brown, a neutral brown, a light orangey brown, a dark red-leaning brown, and an almost black brown.
It's up to you to decide the colors you're going to use. For my part, I chose to make a fox with neutral shades, but you can make a fox that goes more into orange tones or even a fox in gray/white hues.
The important thing is to use a wide range of colors to create gradients.
Once you have chosen your colors, you will define the areas for each color.
You can modify them along the way, they are not final, but they will give you an overview and an initial reference point.
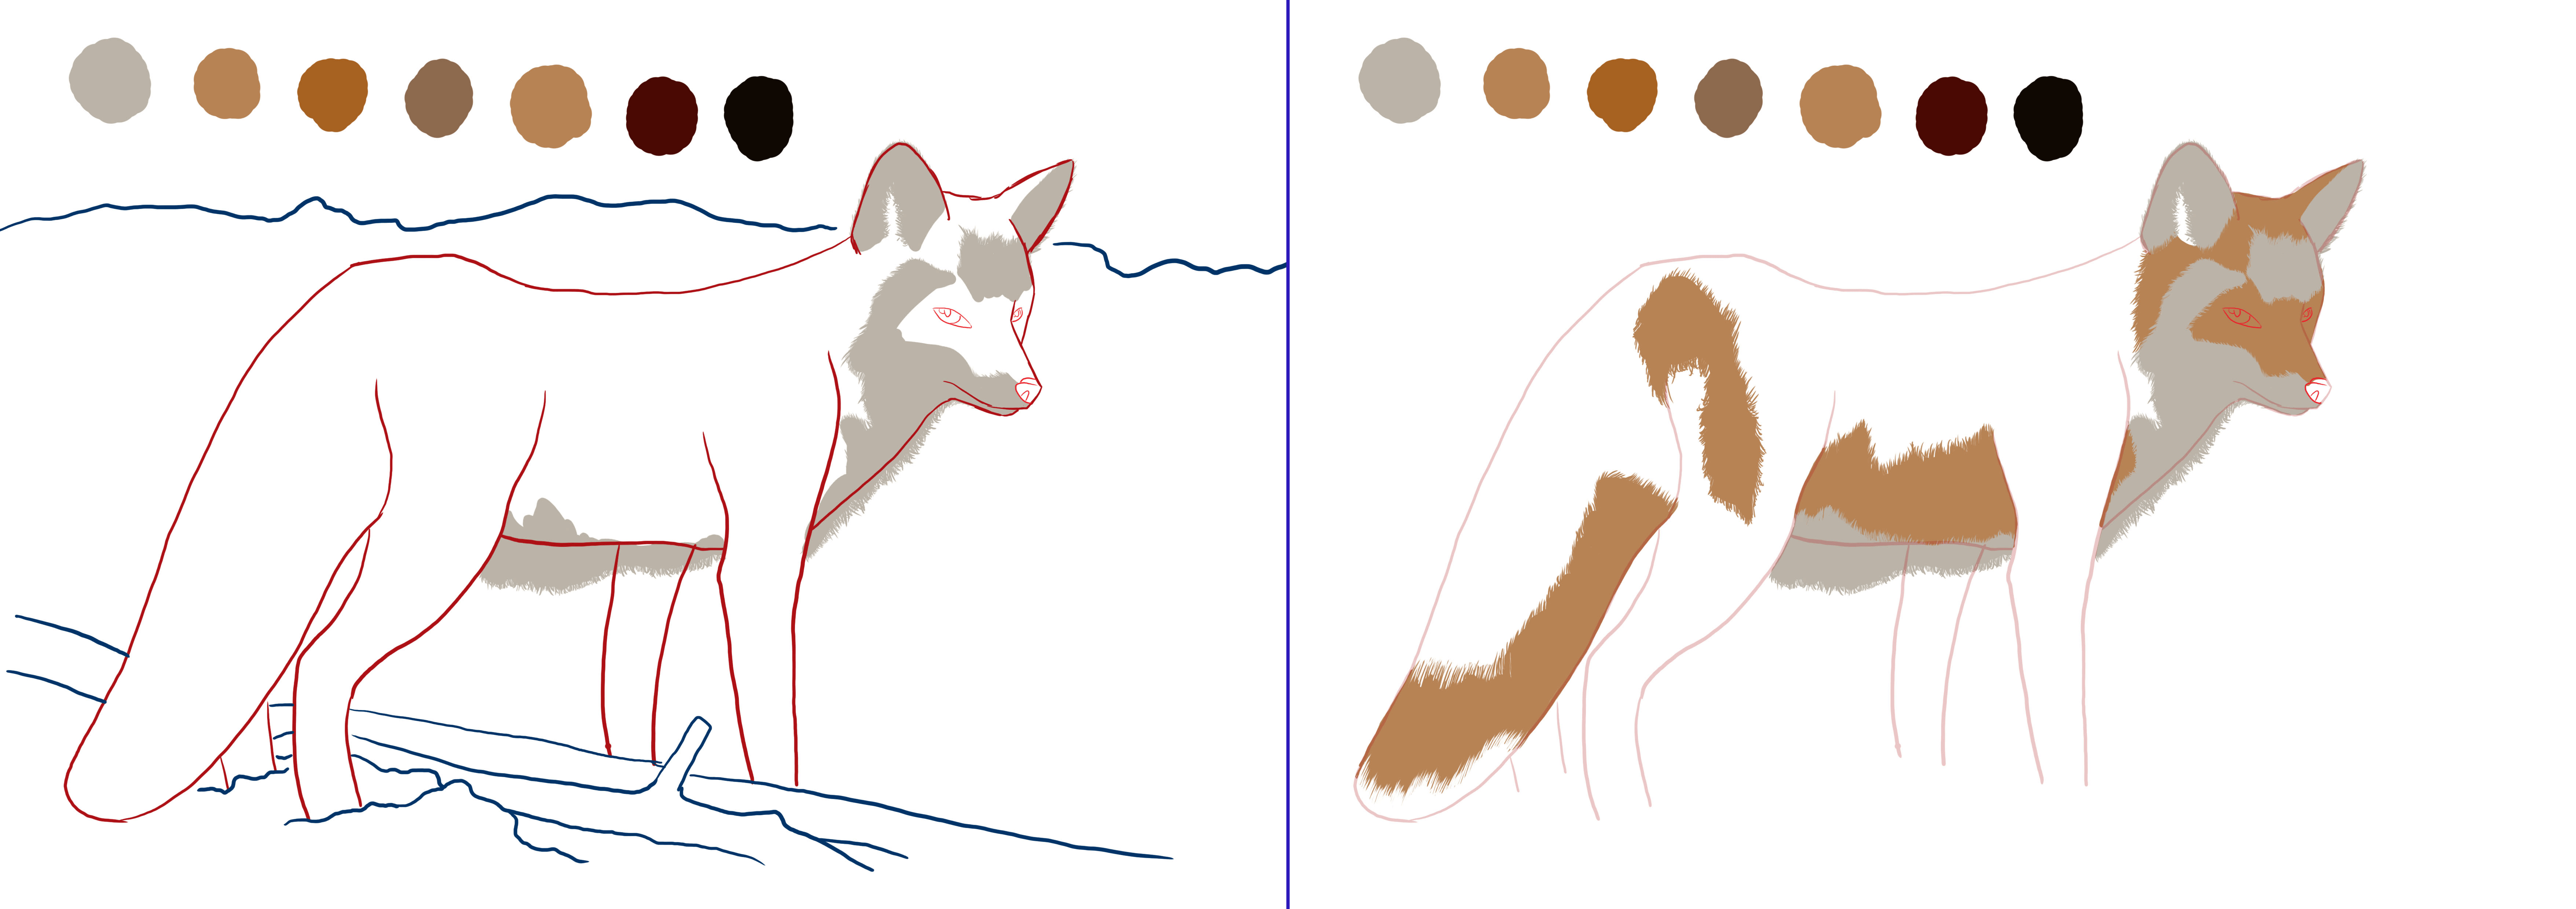
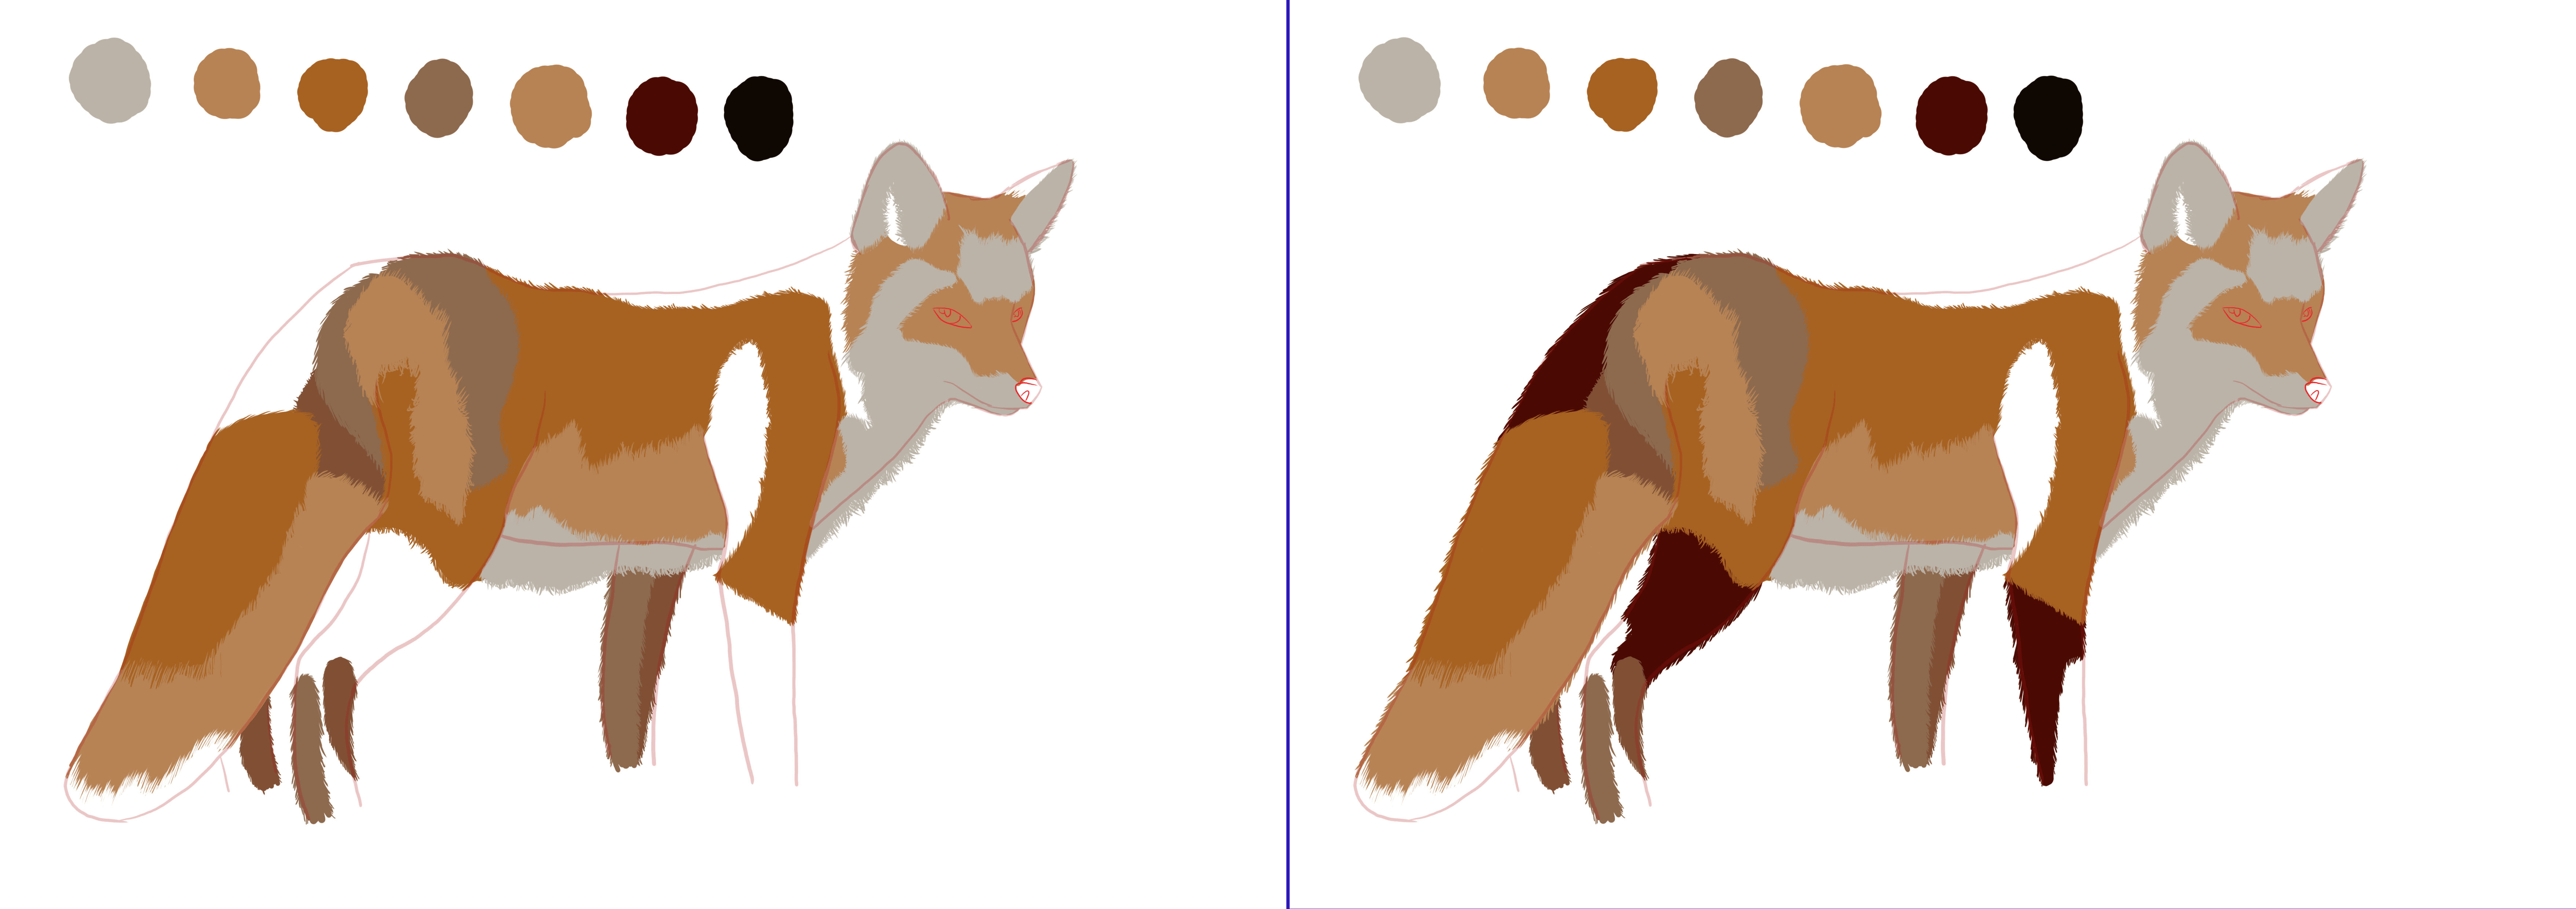
I start by applying the lightest color and continue by applying the darker shades.
I go a bit beyond the outline, depending on the area, making points to draw the hairs.
You need to make points of random length and thickness so as not to make the hairs too identical.
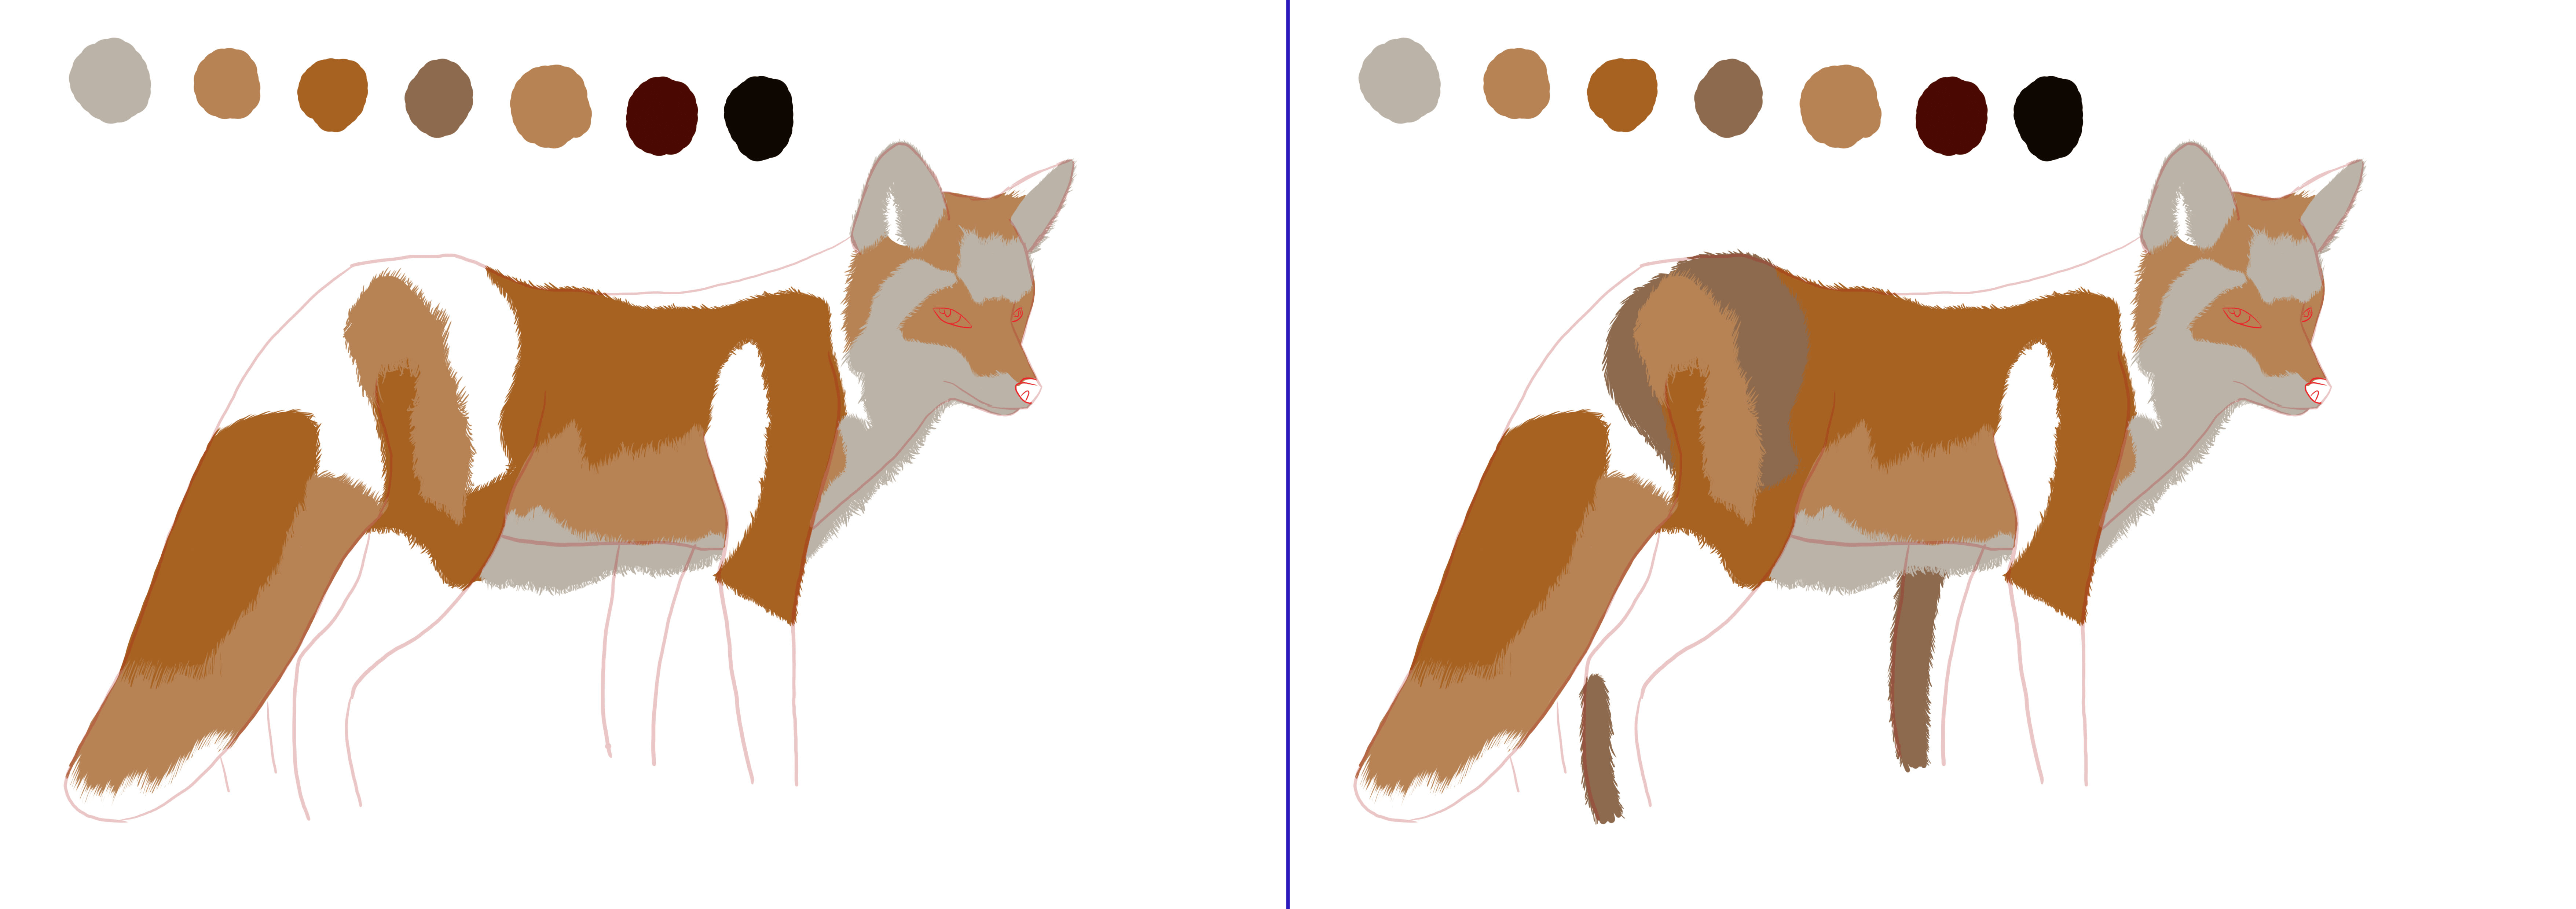
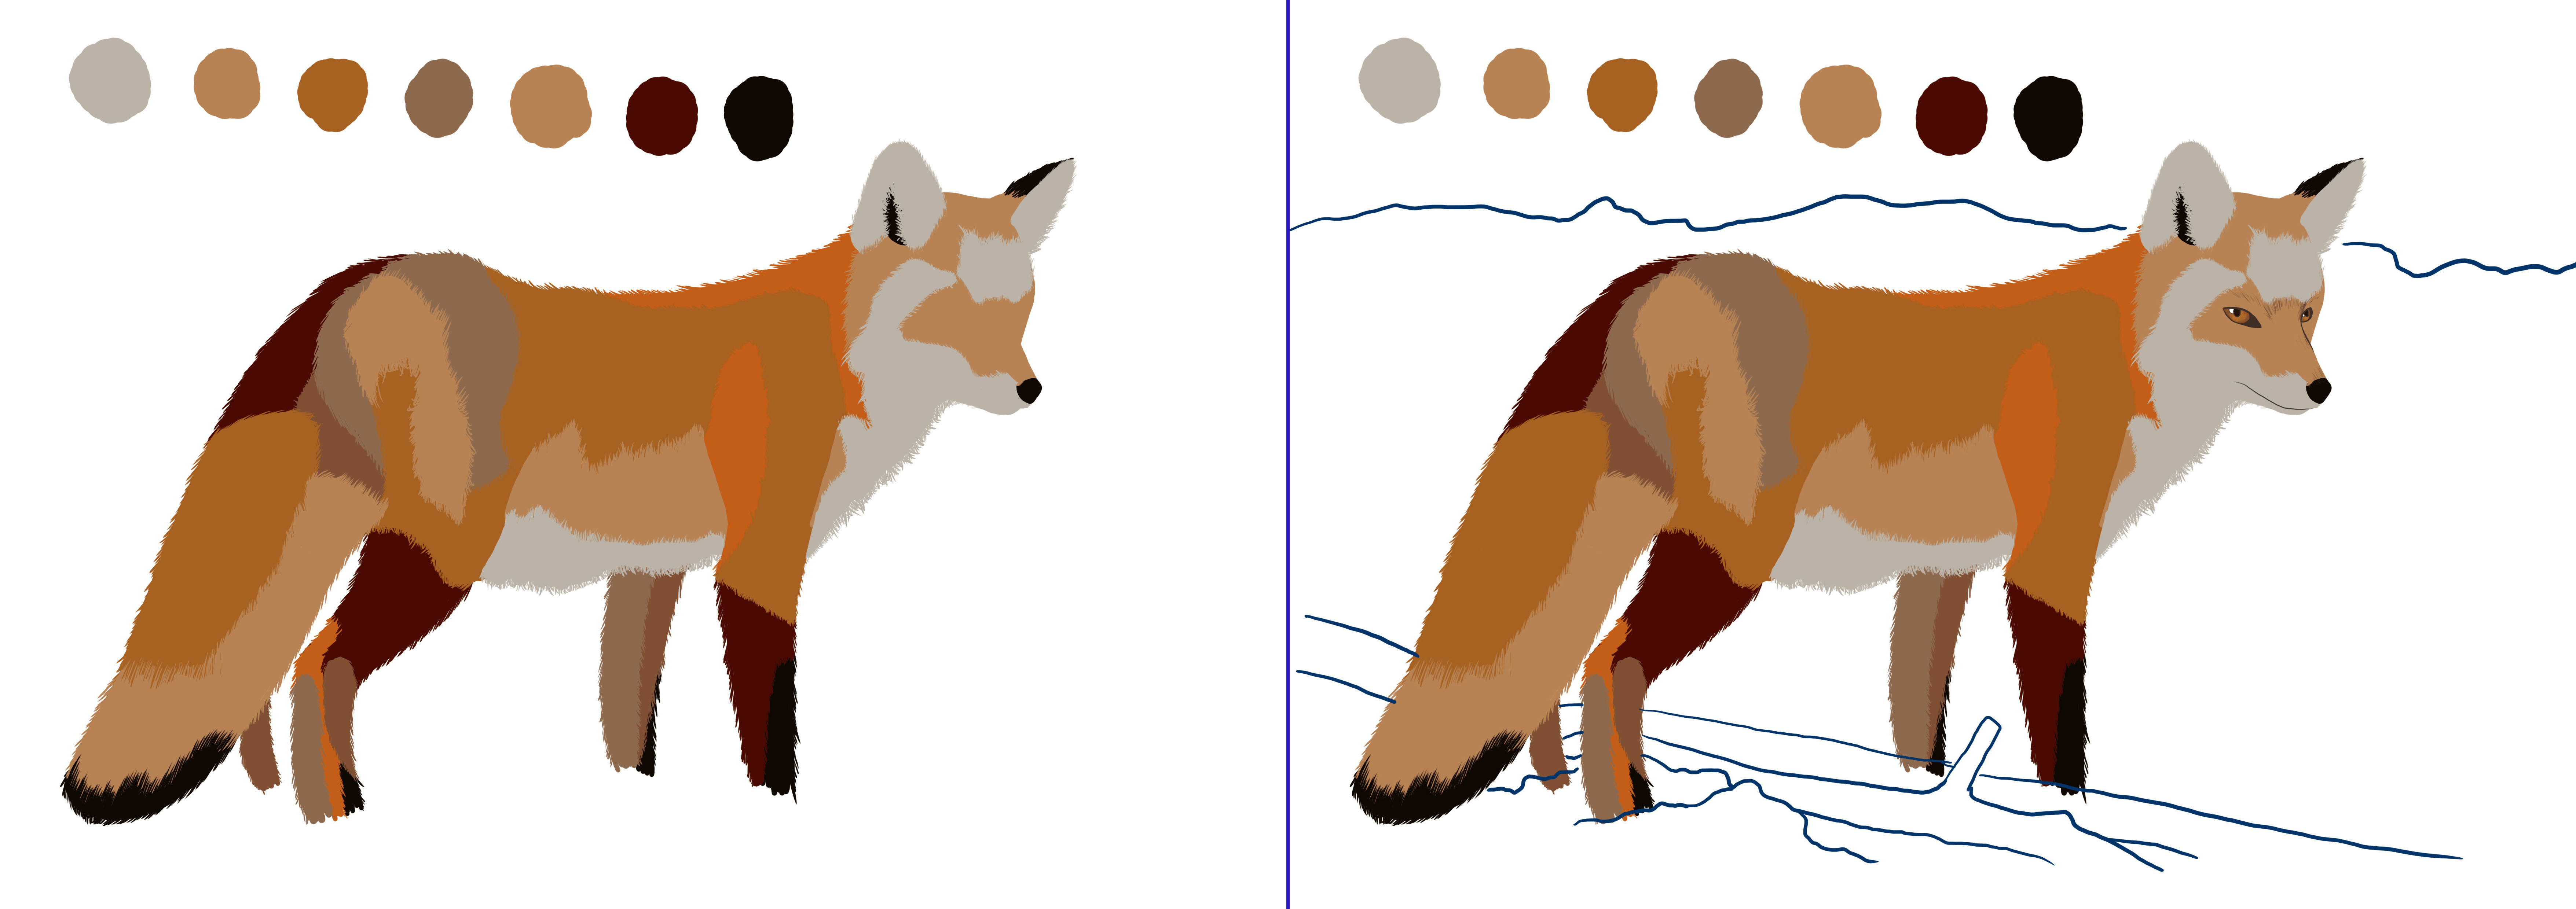
Once the coloring is done, I draw fur on top using a medium color (for me, it's brown with a red tinge). The fur should follow the curve of the fox's body and be of random size.

Then, using the same principle, I color the background.
Shades of gray/white for the snow and brown for the wood.
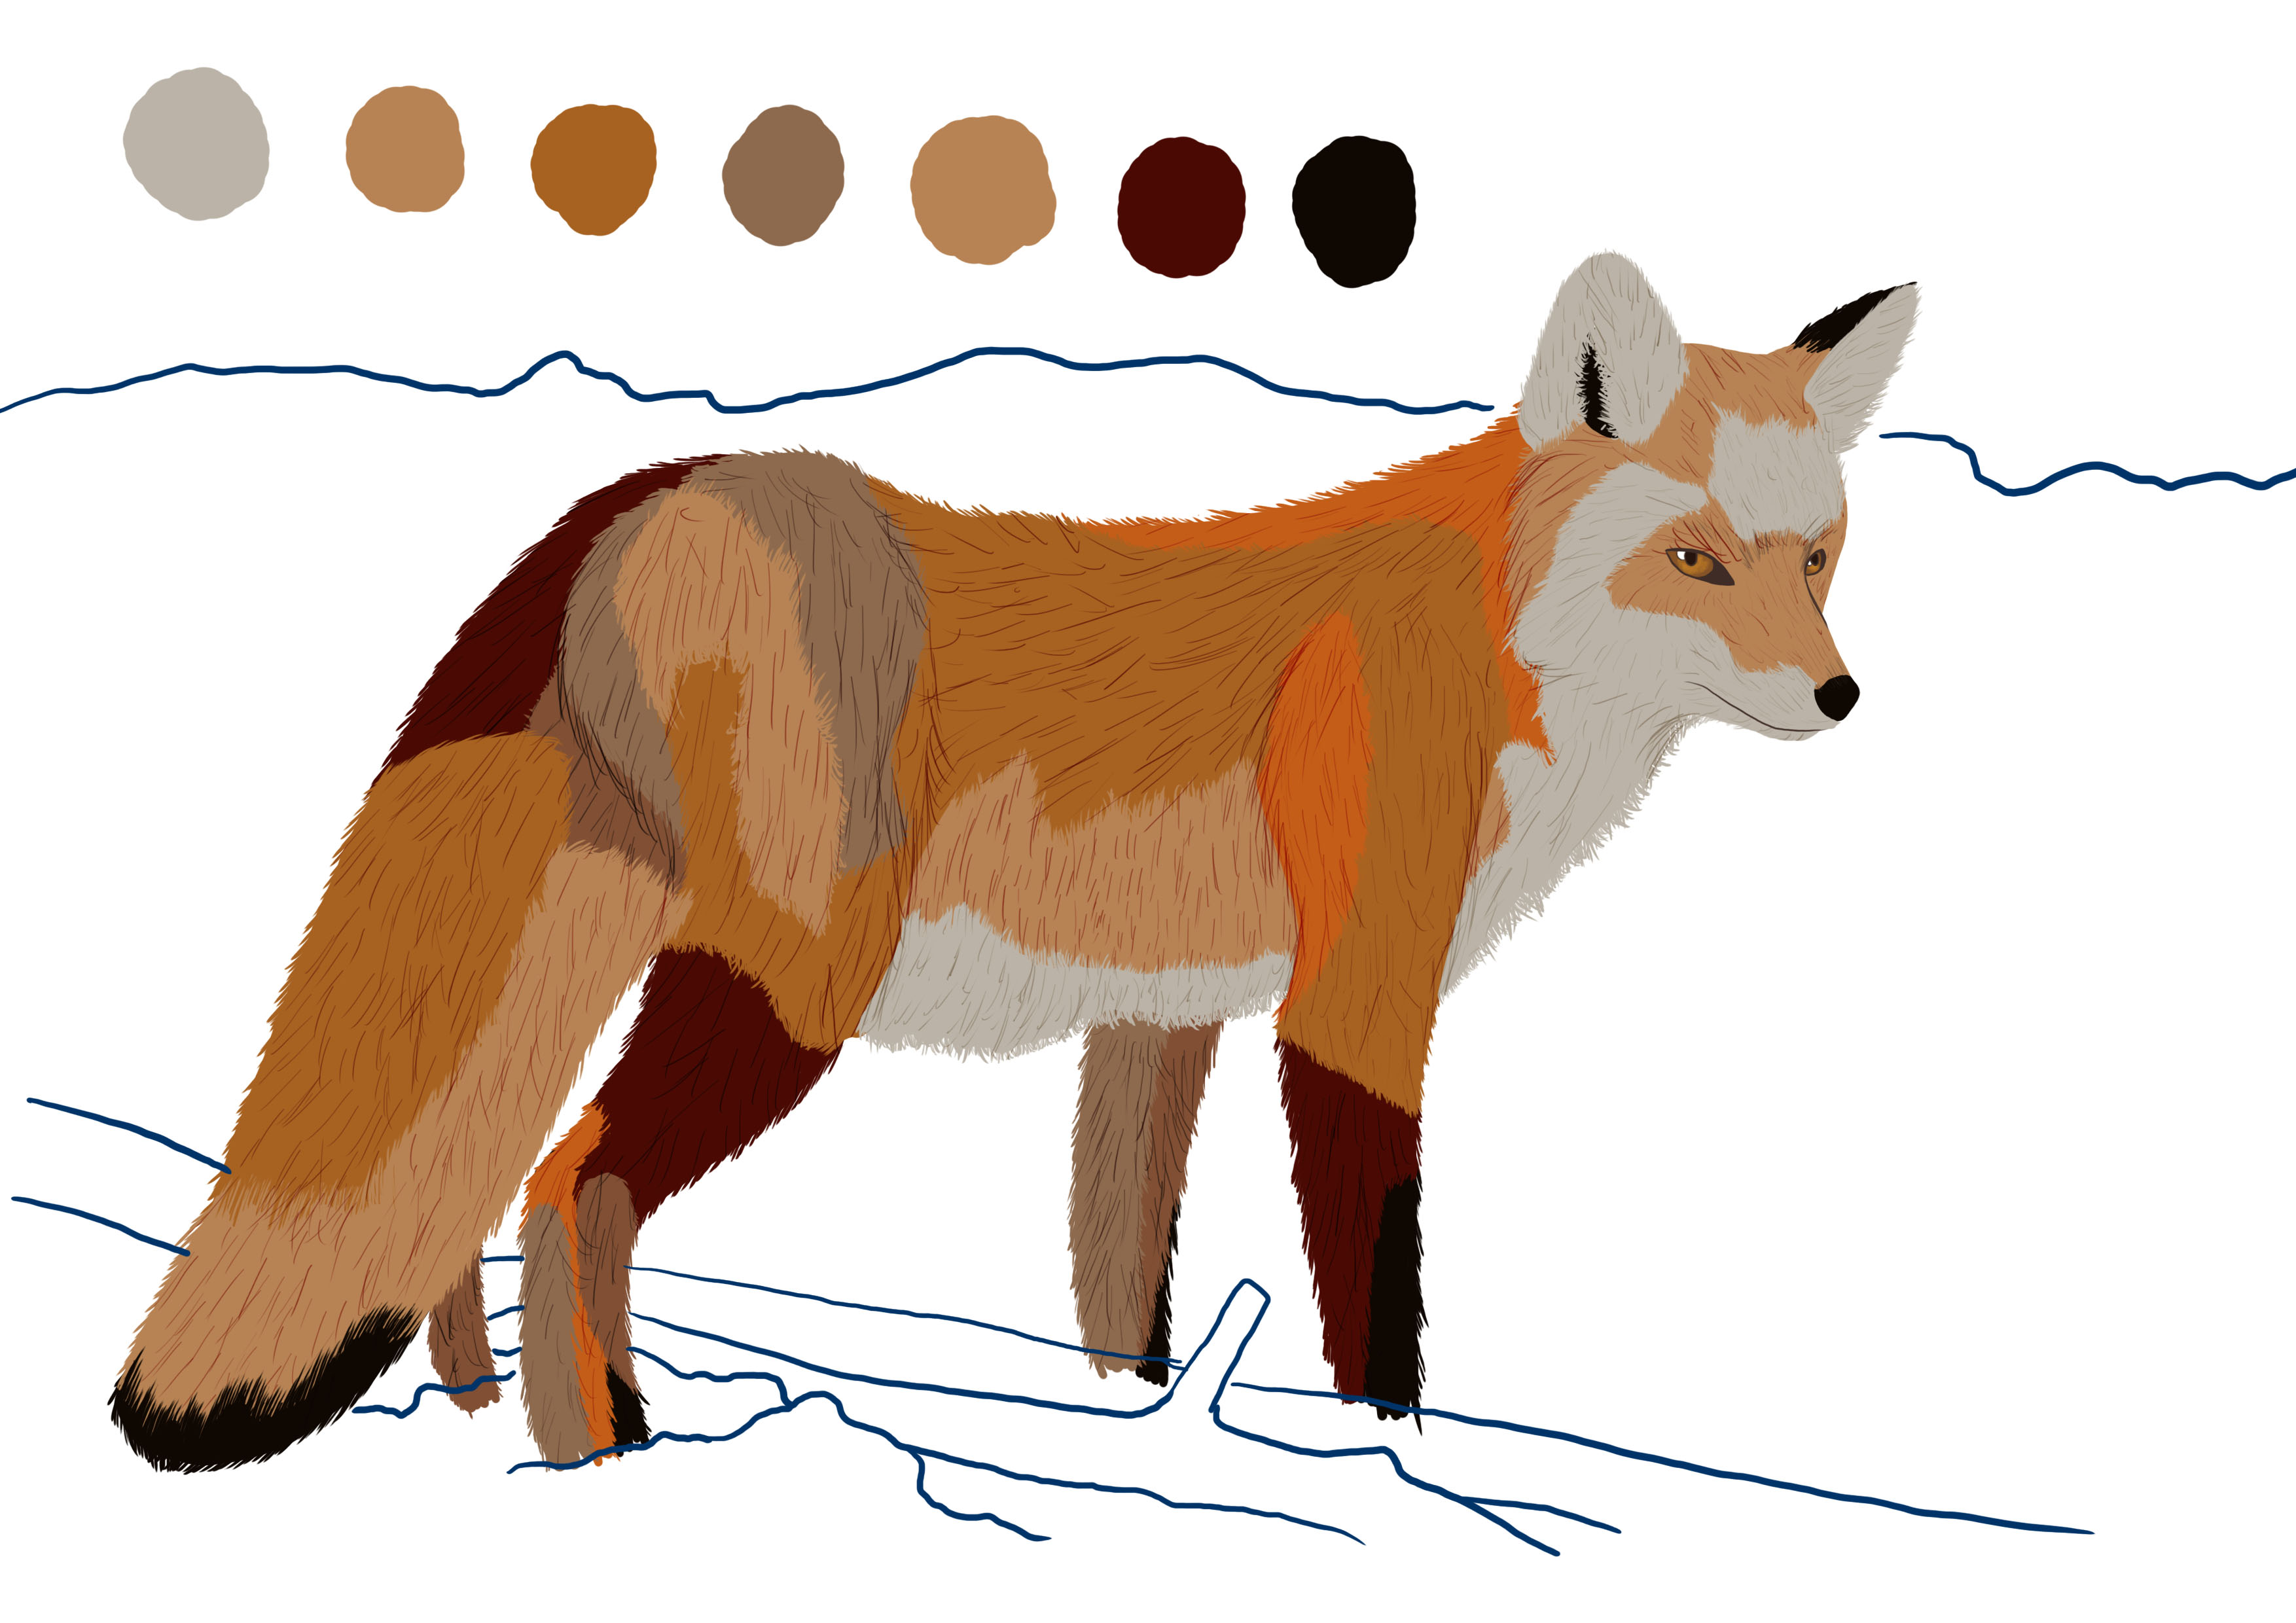
I'm adding some shadows on the fox, on the belly, thigh, shoulder, tail and head.
Your fox is finished!
I repeat it in each of my articles and I will always say it again: A good foundation ensures a good drawing. It must become automatic.
It is better to spend hours and hours on a simple sketch, creating all your ideas, checking the proportions as many times as necessary. Make sure you use reference images, create a good drawing base and then the refining step will be much simpler and less frustrating.
Popular Articles
Discussion
I love the way you incorporated cultural references about the symbolism of the fox d