How to Draw a Deer
The king of the forest, the deer! Majestic and peaceful. Who hasn't wanted to draw one after watching Bambi?
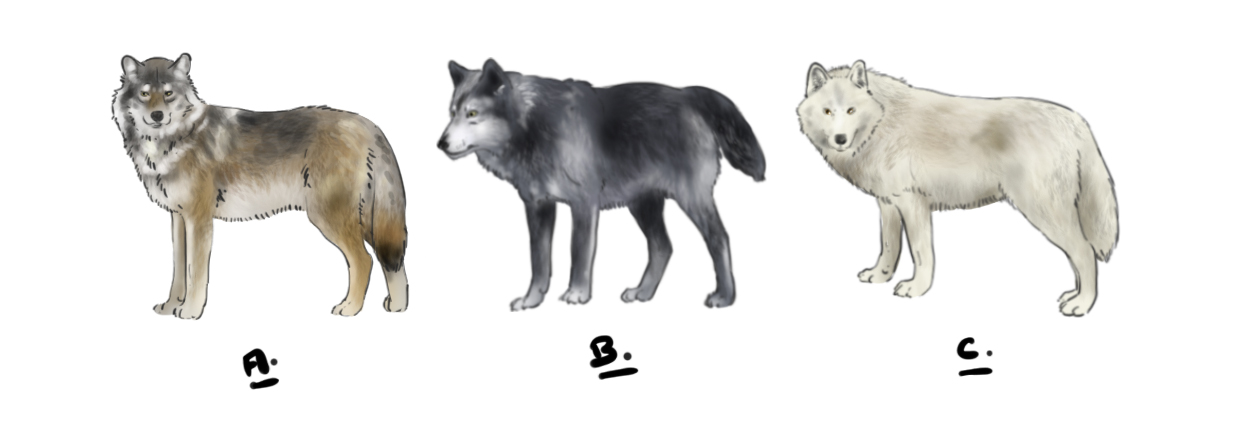
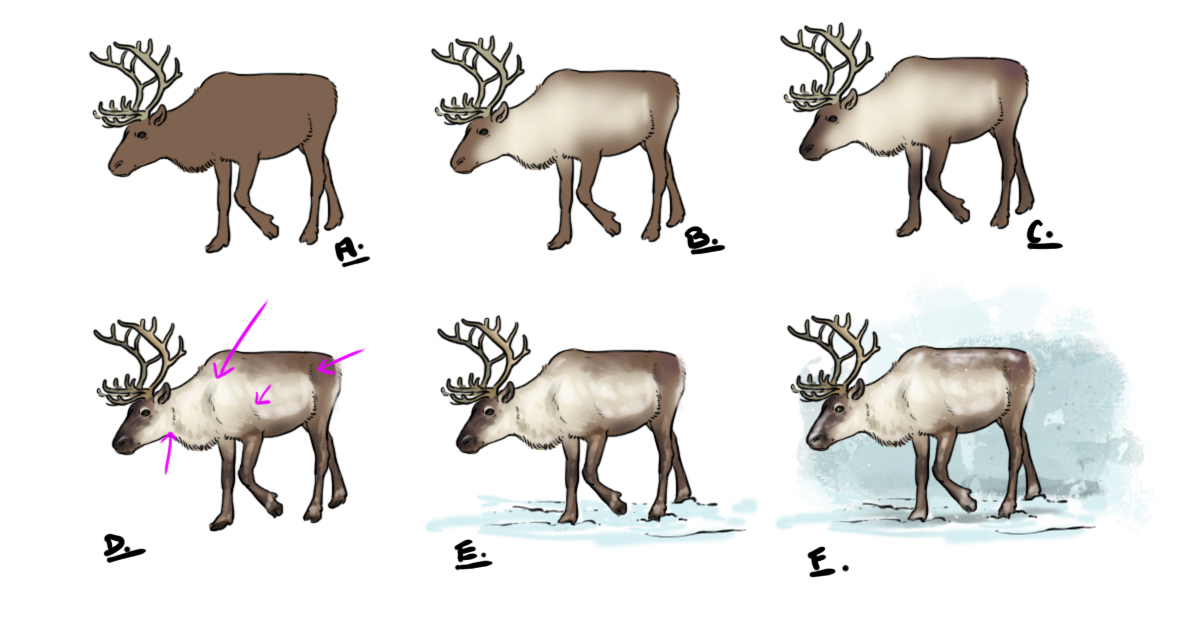
Today we will see how to draw this beautiful animal. I won't dwell on the deer's head, which will be covered in another article. For this article, I have taken a red deer as an example. But the body structure is quite similar to that of their cousins the moose, reindeer, and other types of deer. Only minor details vary such as the thickness and length of the body, the length of the neck, etc.
We start with our favorite step: observation!
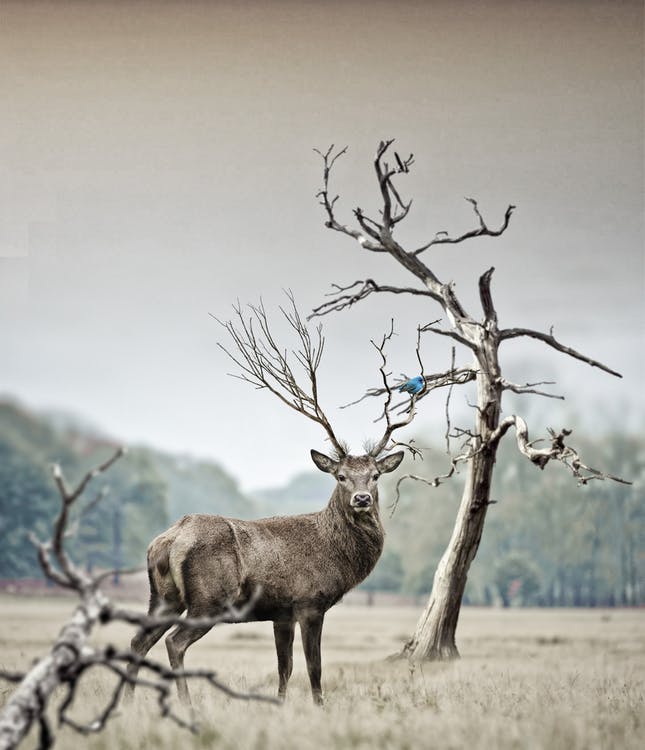
Well, the photo I used as a reference was altered at the horns, but that's okay. It's the body of the deer that I'm interested in.
Like all ruminants, deer are characterized by a rigid and solid spine to support their rumen and digestive system. Their backs are generally quite straight and they are not very flexible at this level. Their bodies are rather thick. They have long thin legs and in the specific case of the deer, it has a fairly thick neck.
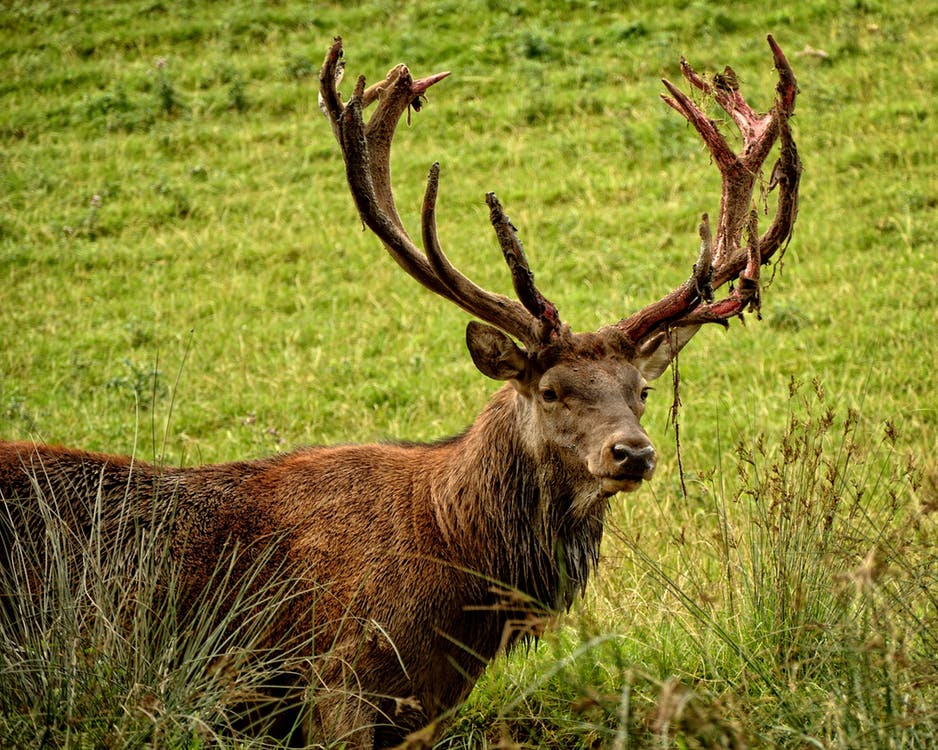
The head is generally triangular and it has large diamond-shaped ears. Not to mention the famous horns, of course!
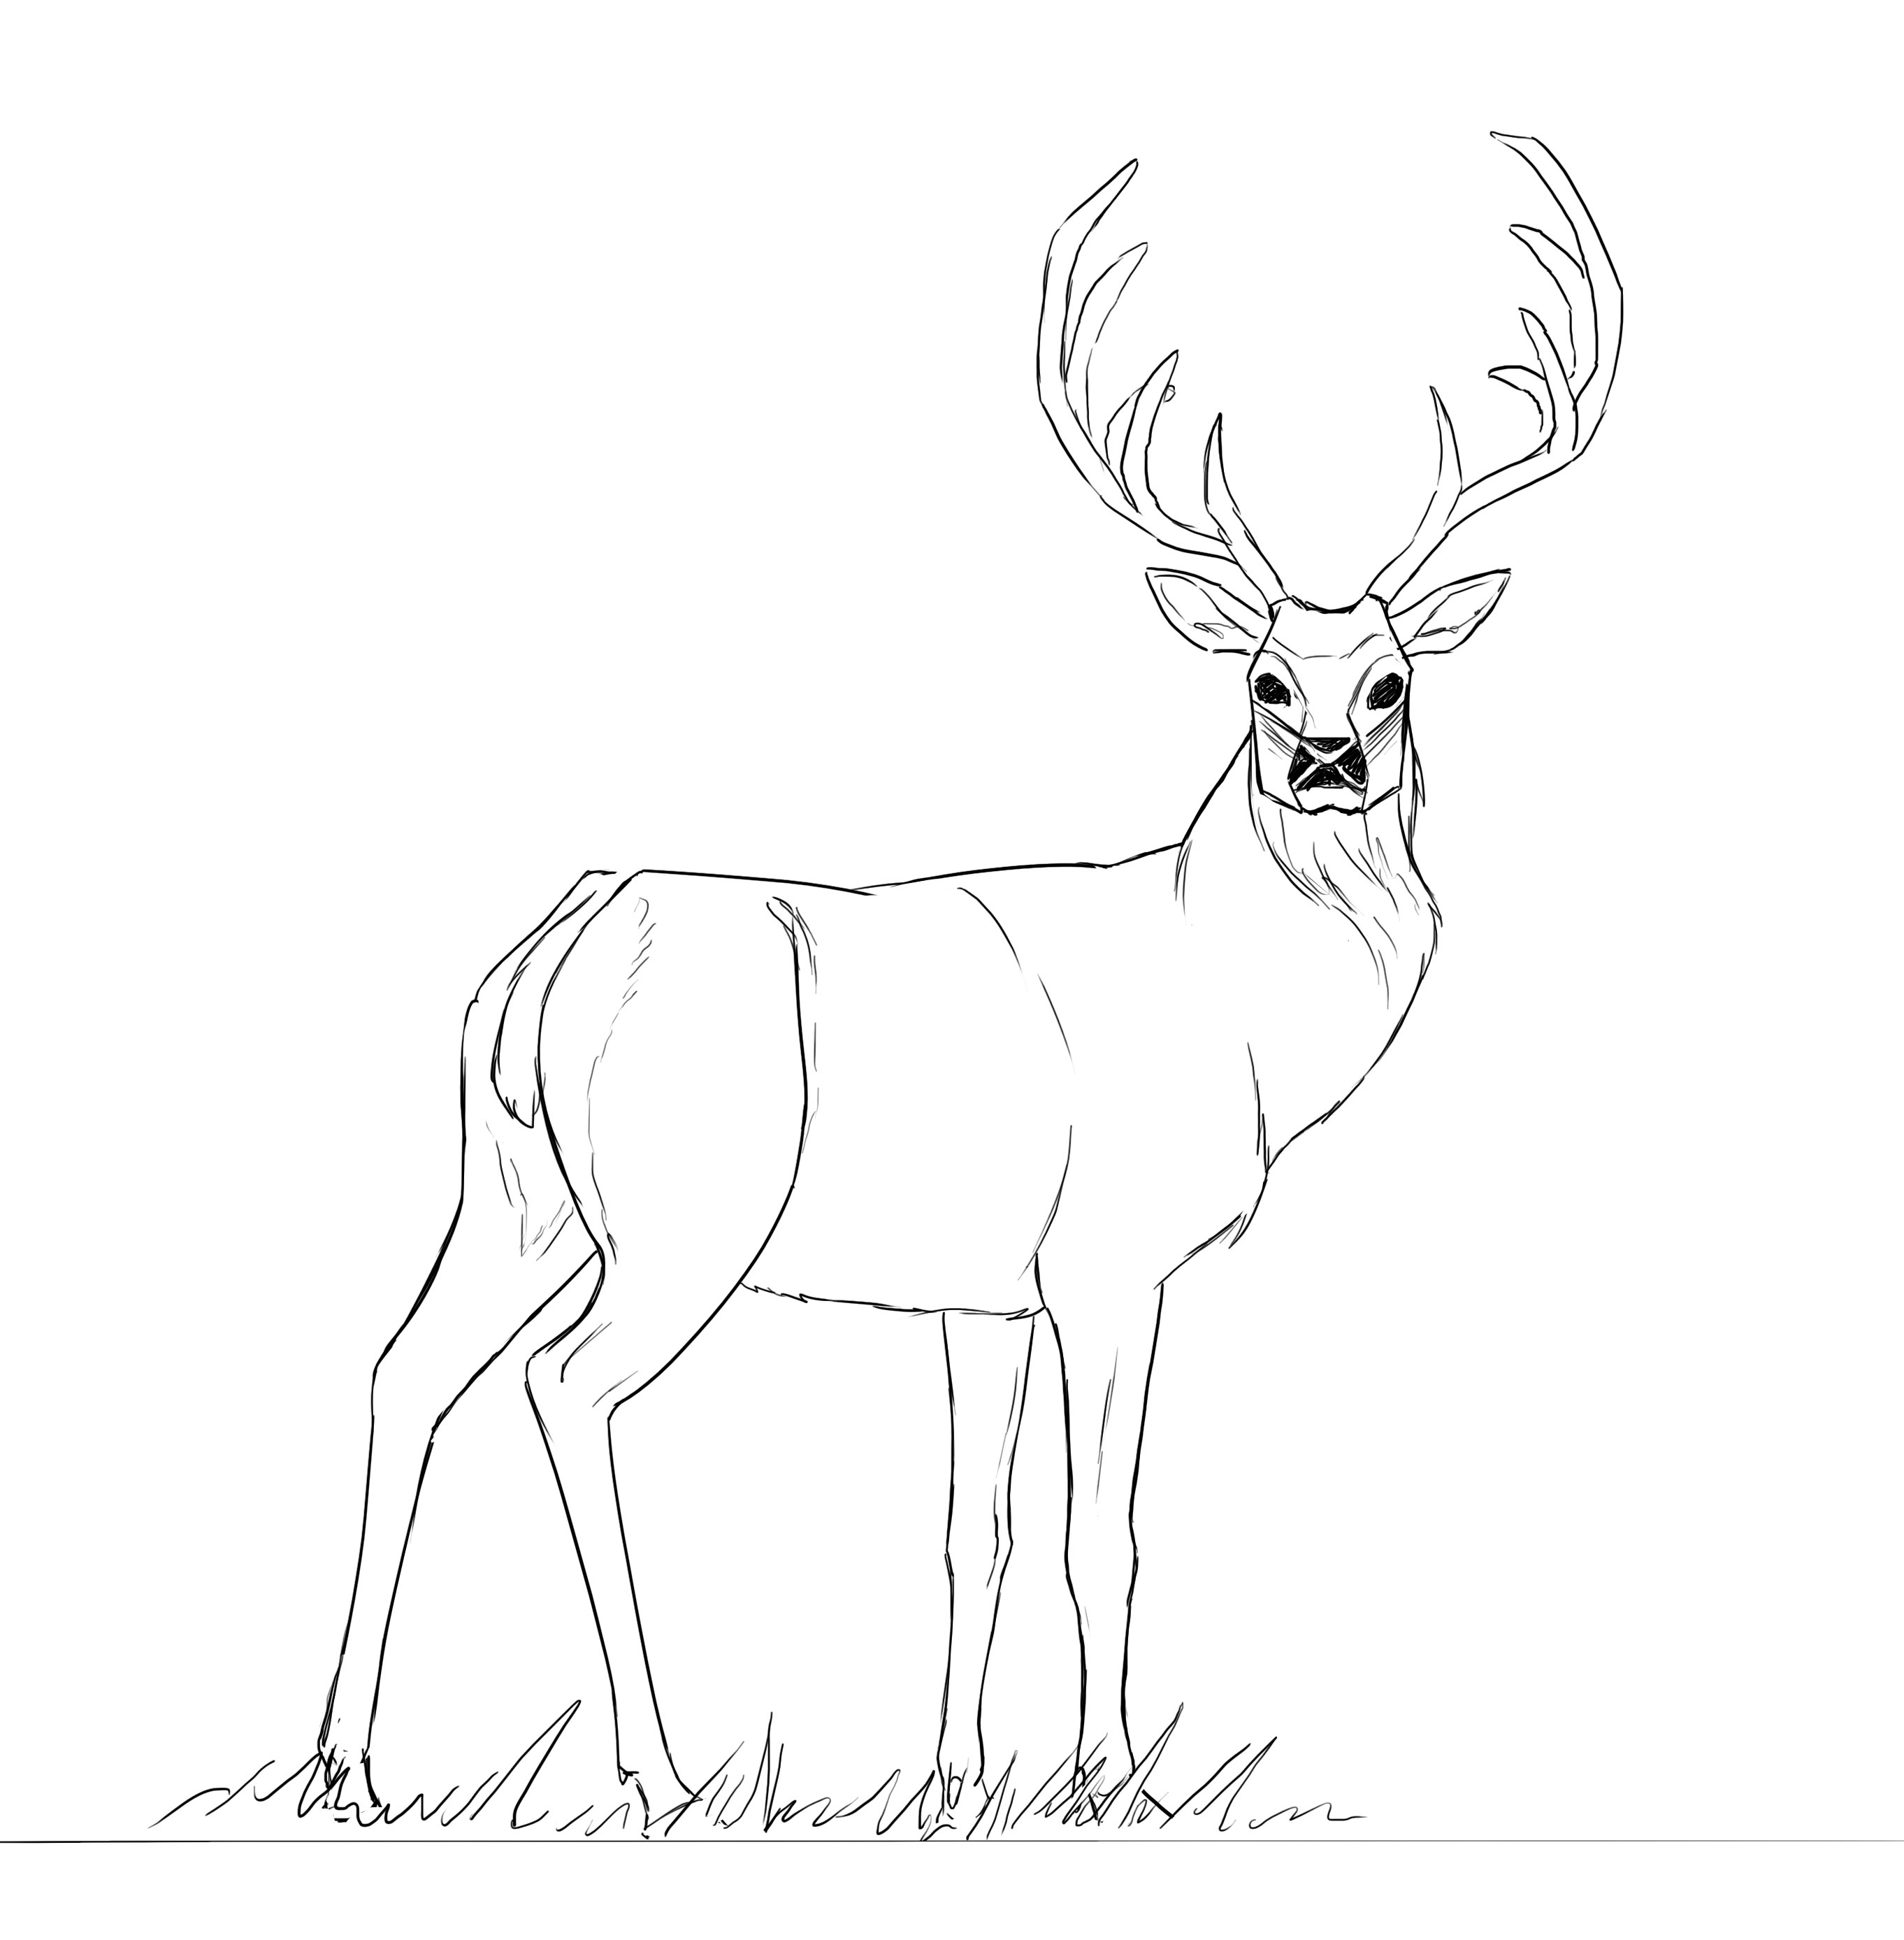
This time, I will reproduce the photo that I posted at the top (but with real horns, of course). I will also put on the hooves.
THE DEER SKETCH
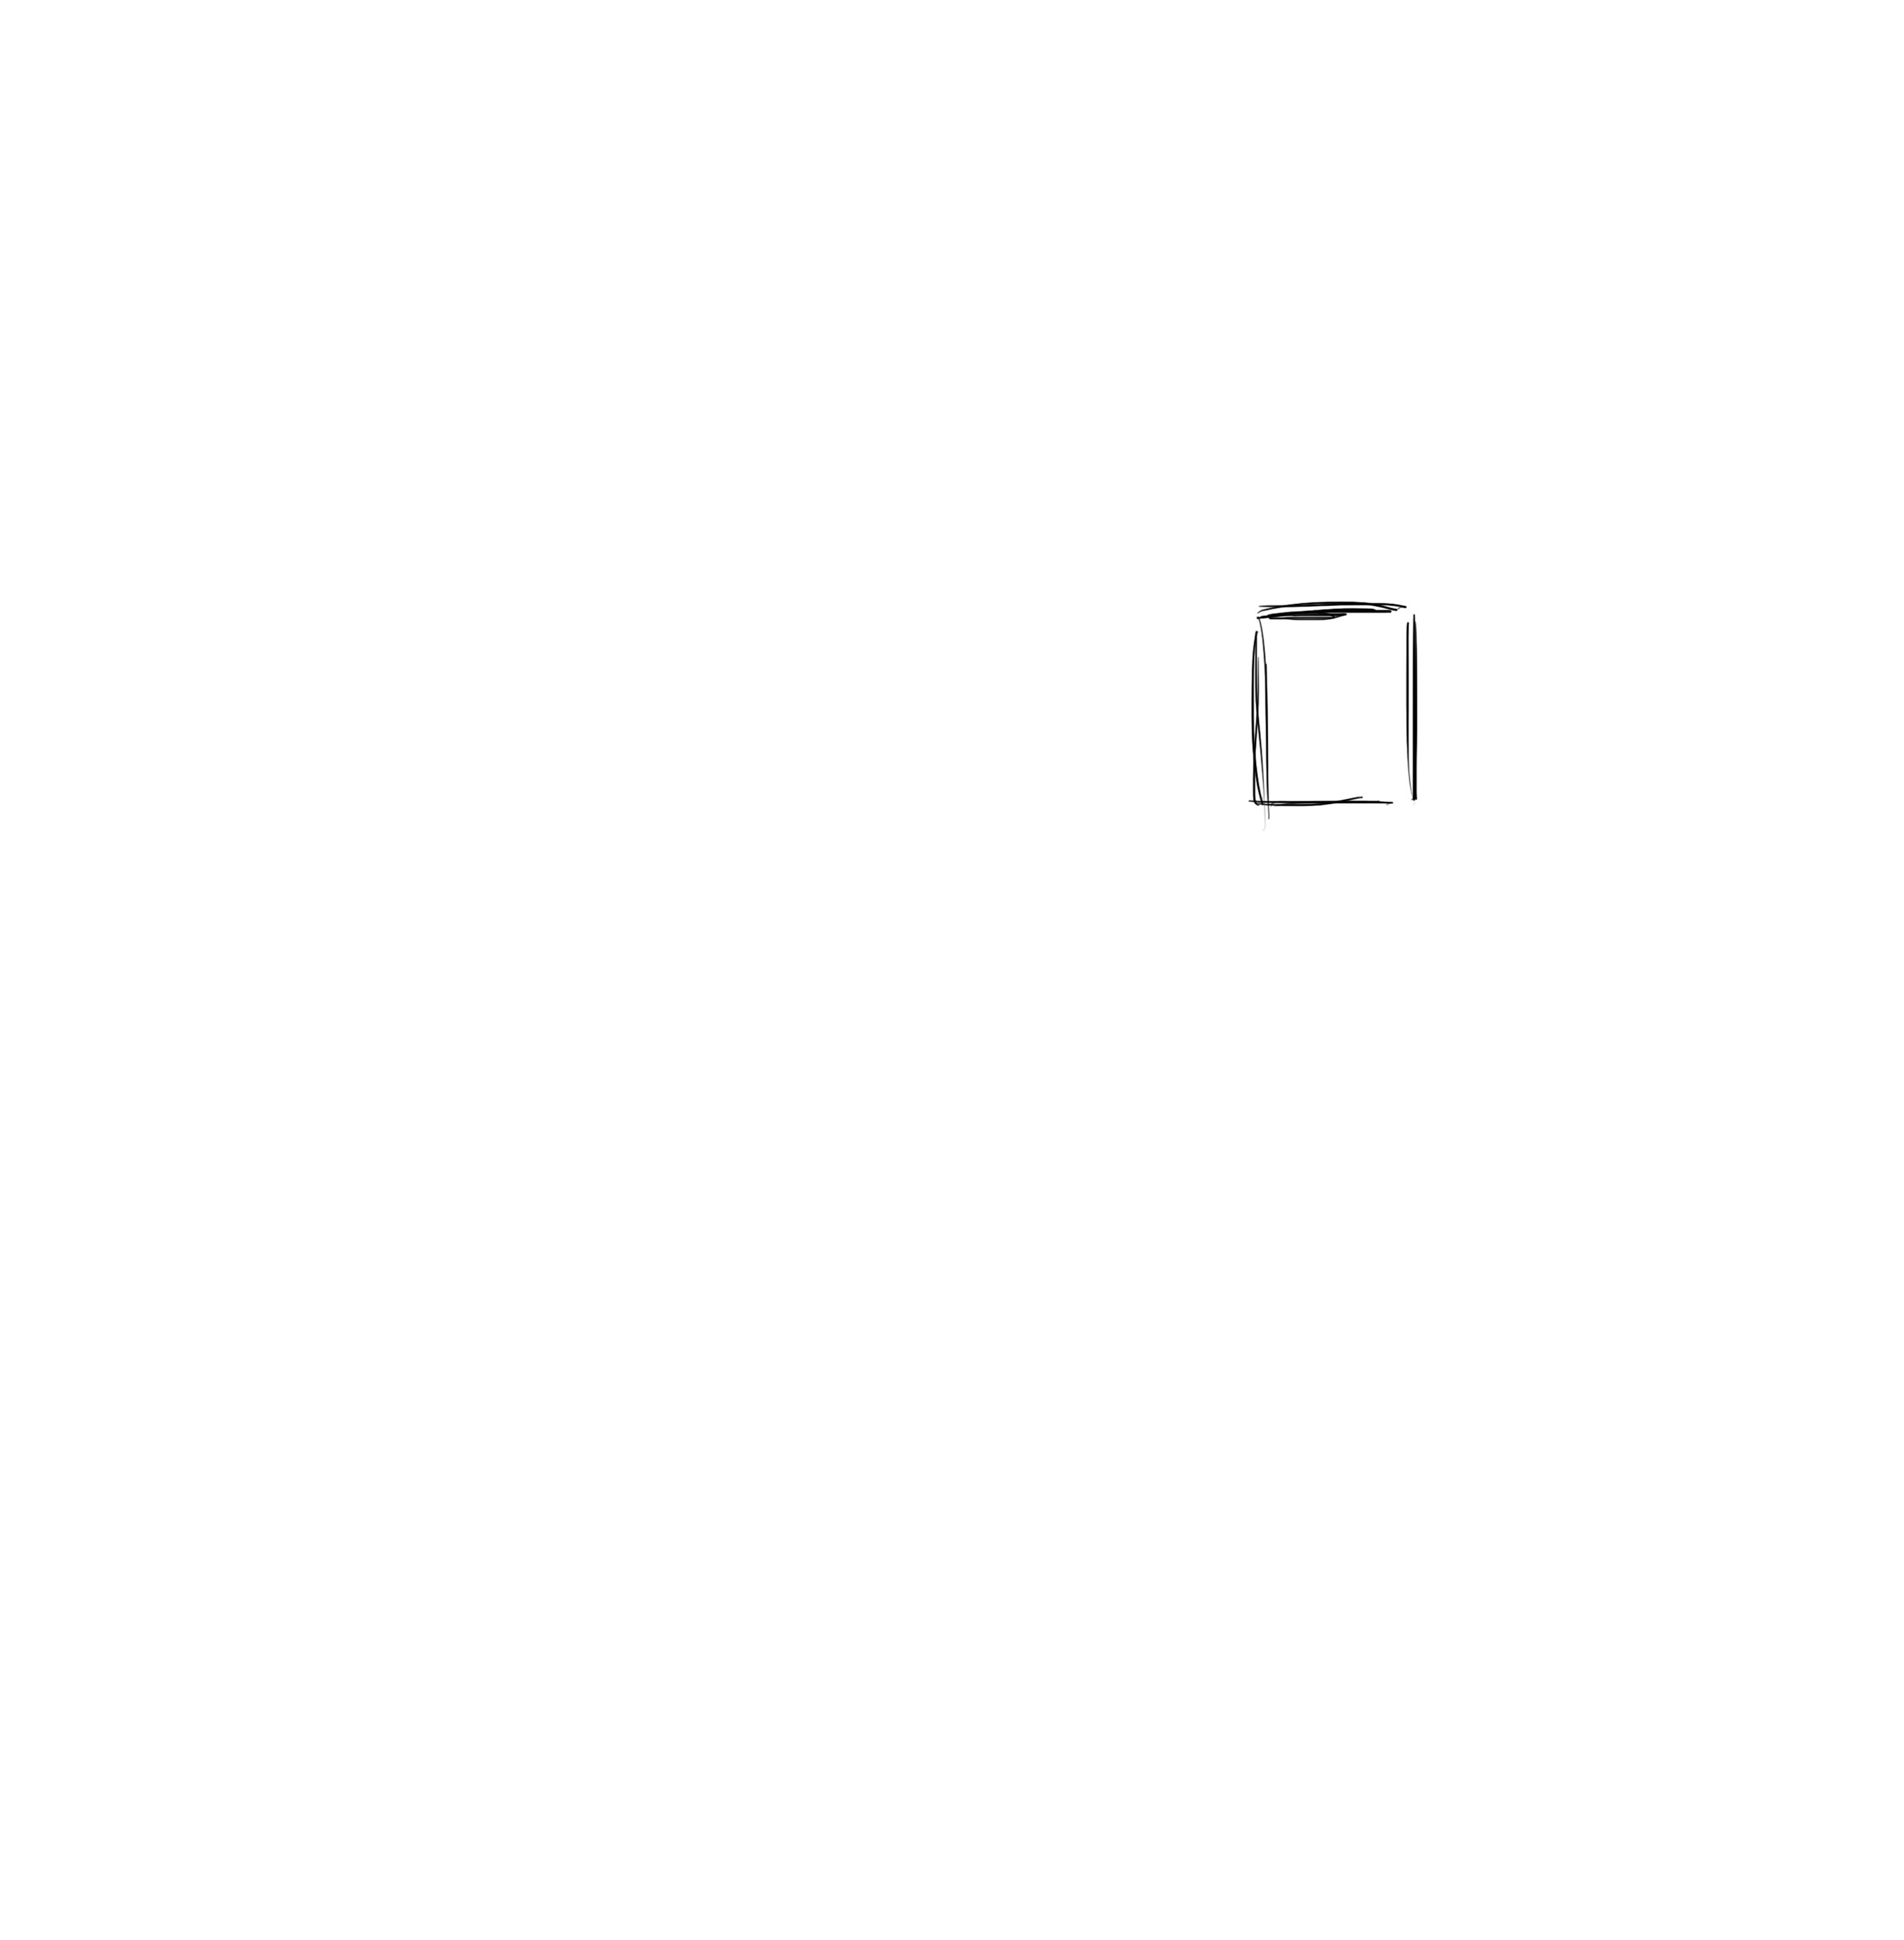
So we will start with the basic structure.
I always start with the head, and will therefore list the steps in this order, but if you prefer to start with the legs and work your way up, the process is the same. As long as you understand the structure, you can approach the drawing from any angle, and it should work ^^
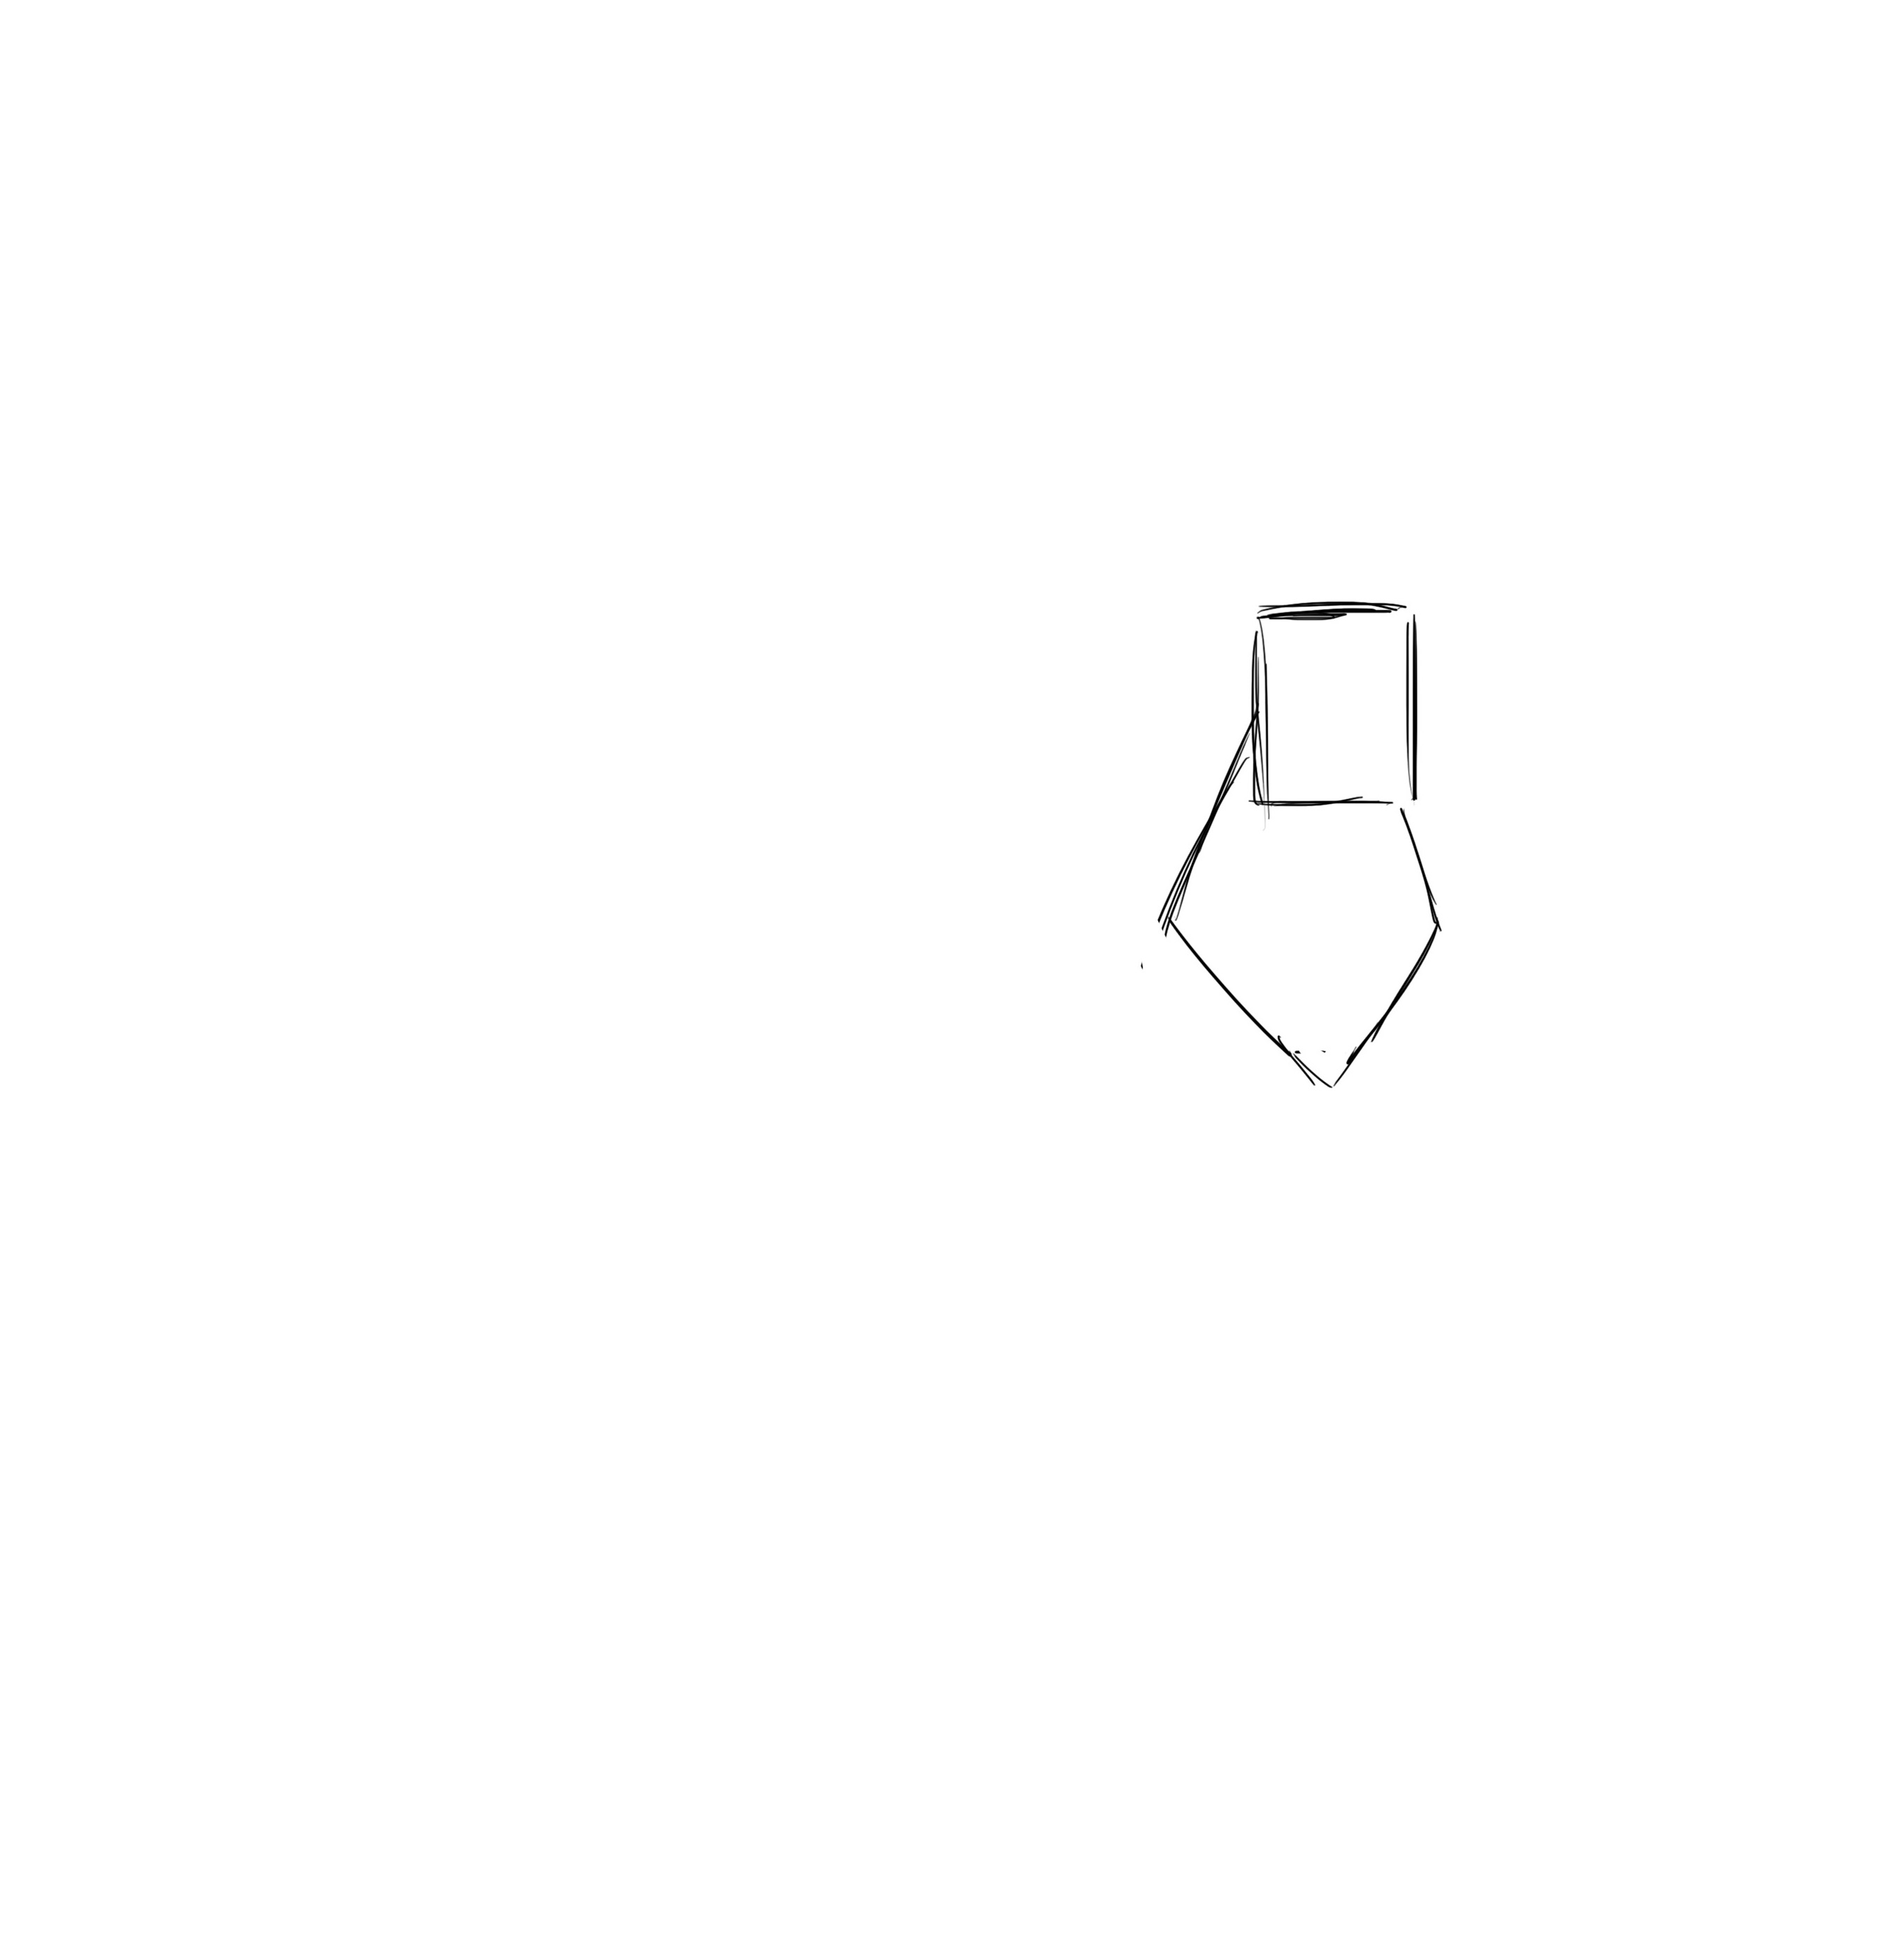
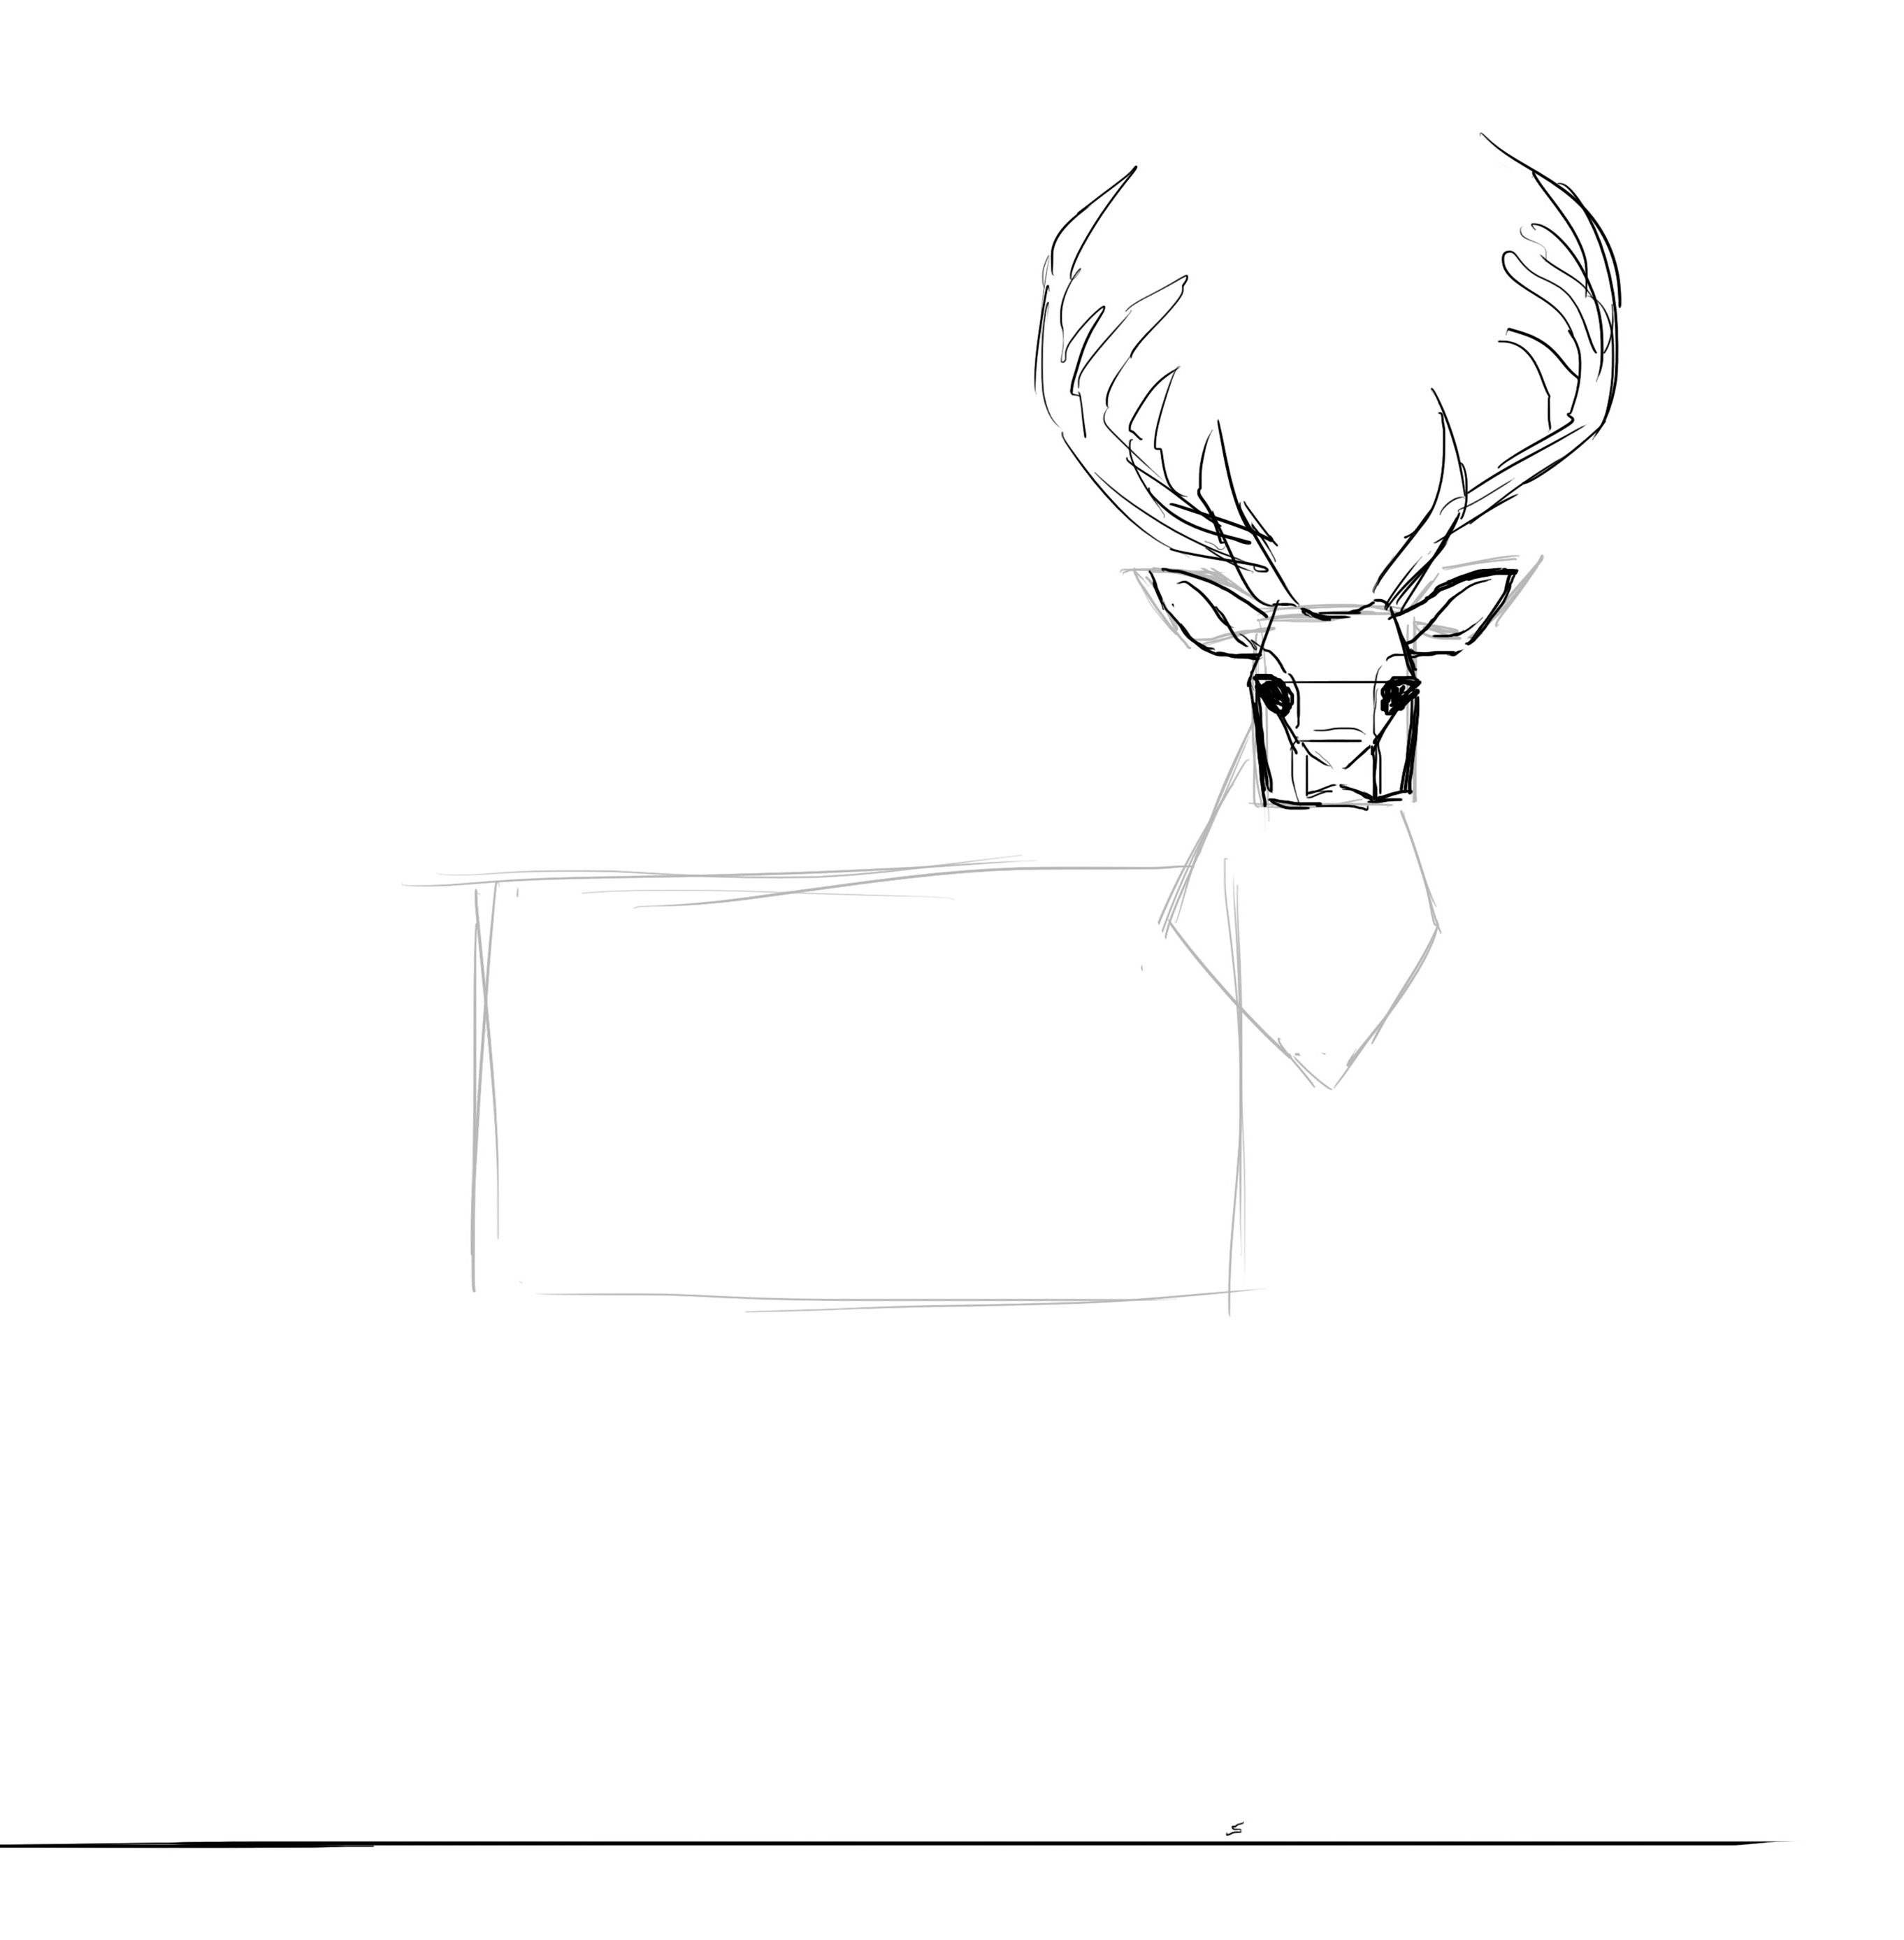
So I'm going to place a rectangle for the head.
I then place a kind of diamond shape for the neck. The neck should be one and a half times the width of the head and you should be able to fit a second head between the chin of our deer and the base of the neck / the chest.
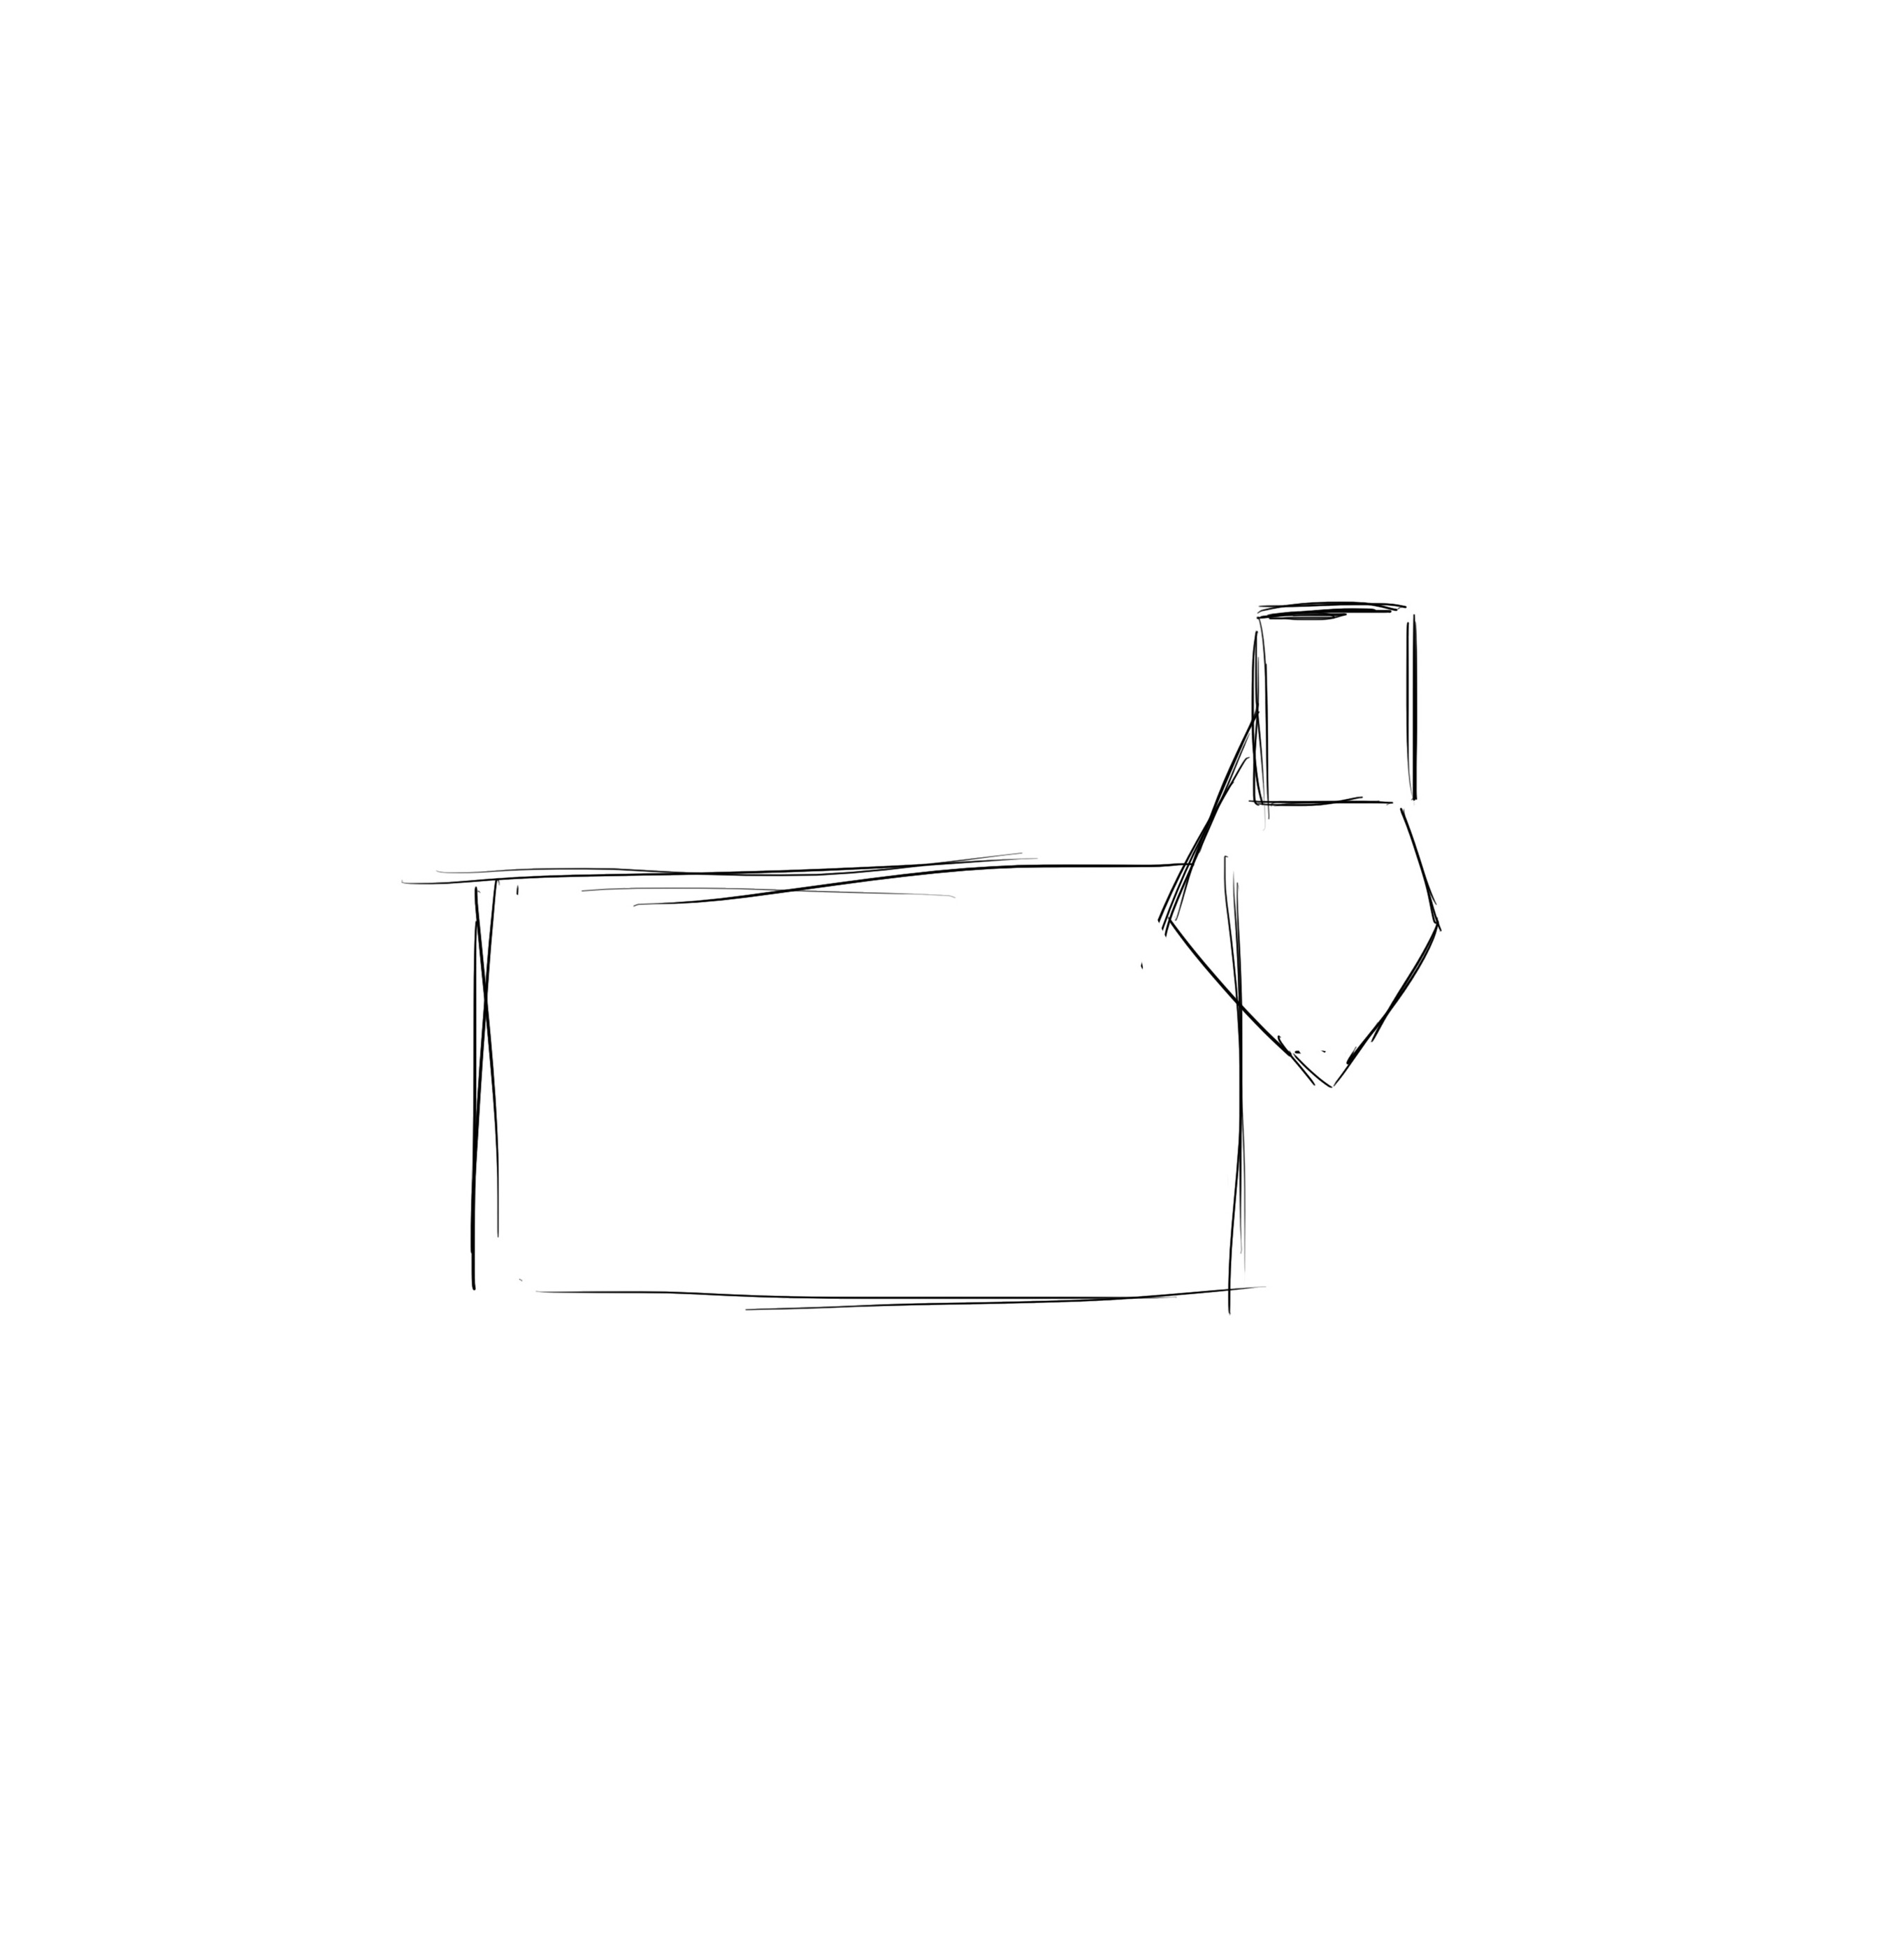
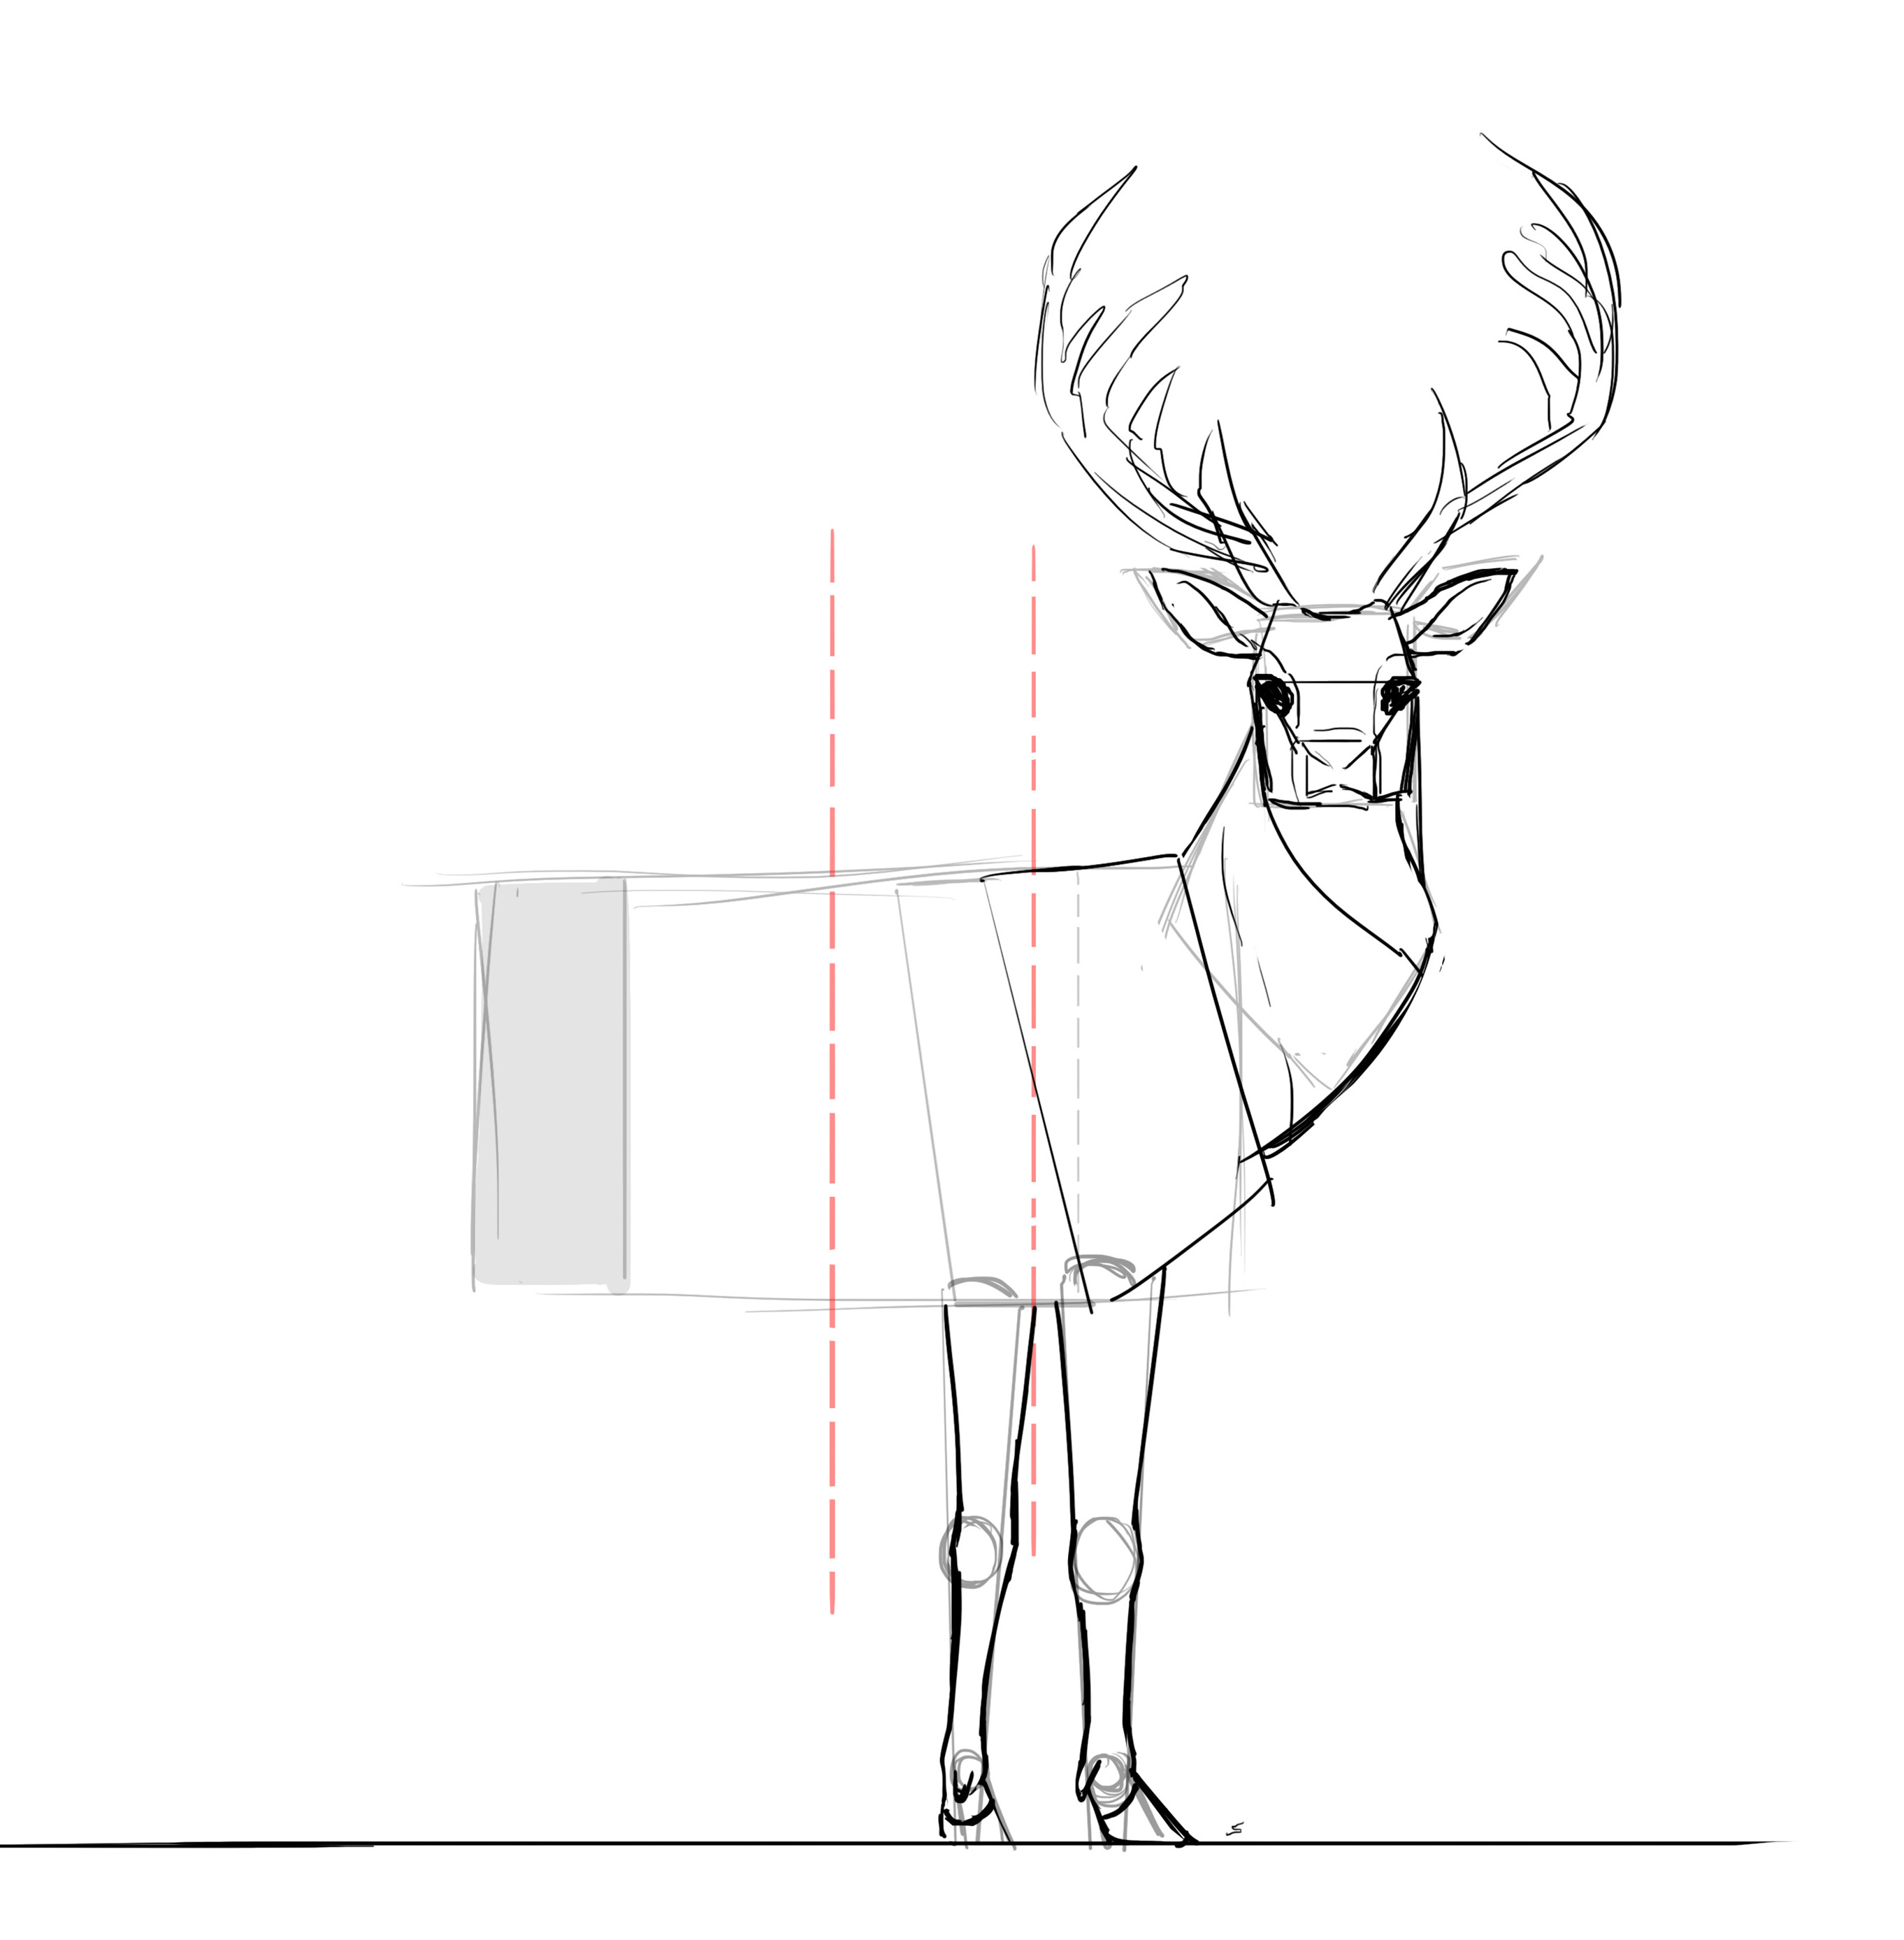
Next, the body! Again, it will be a rectangle about twice the length of the head + the neck and about half as wide (and I emphasize "about", no need to measure all this precisely ^^).
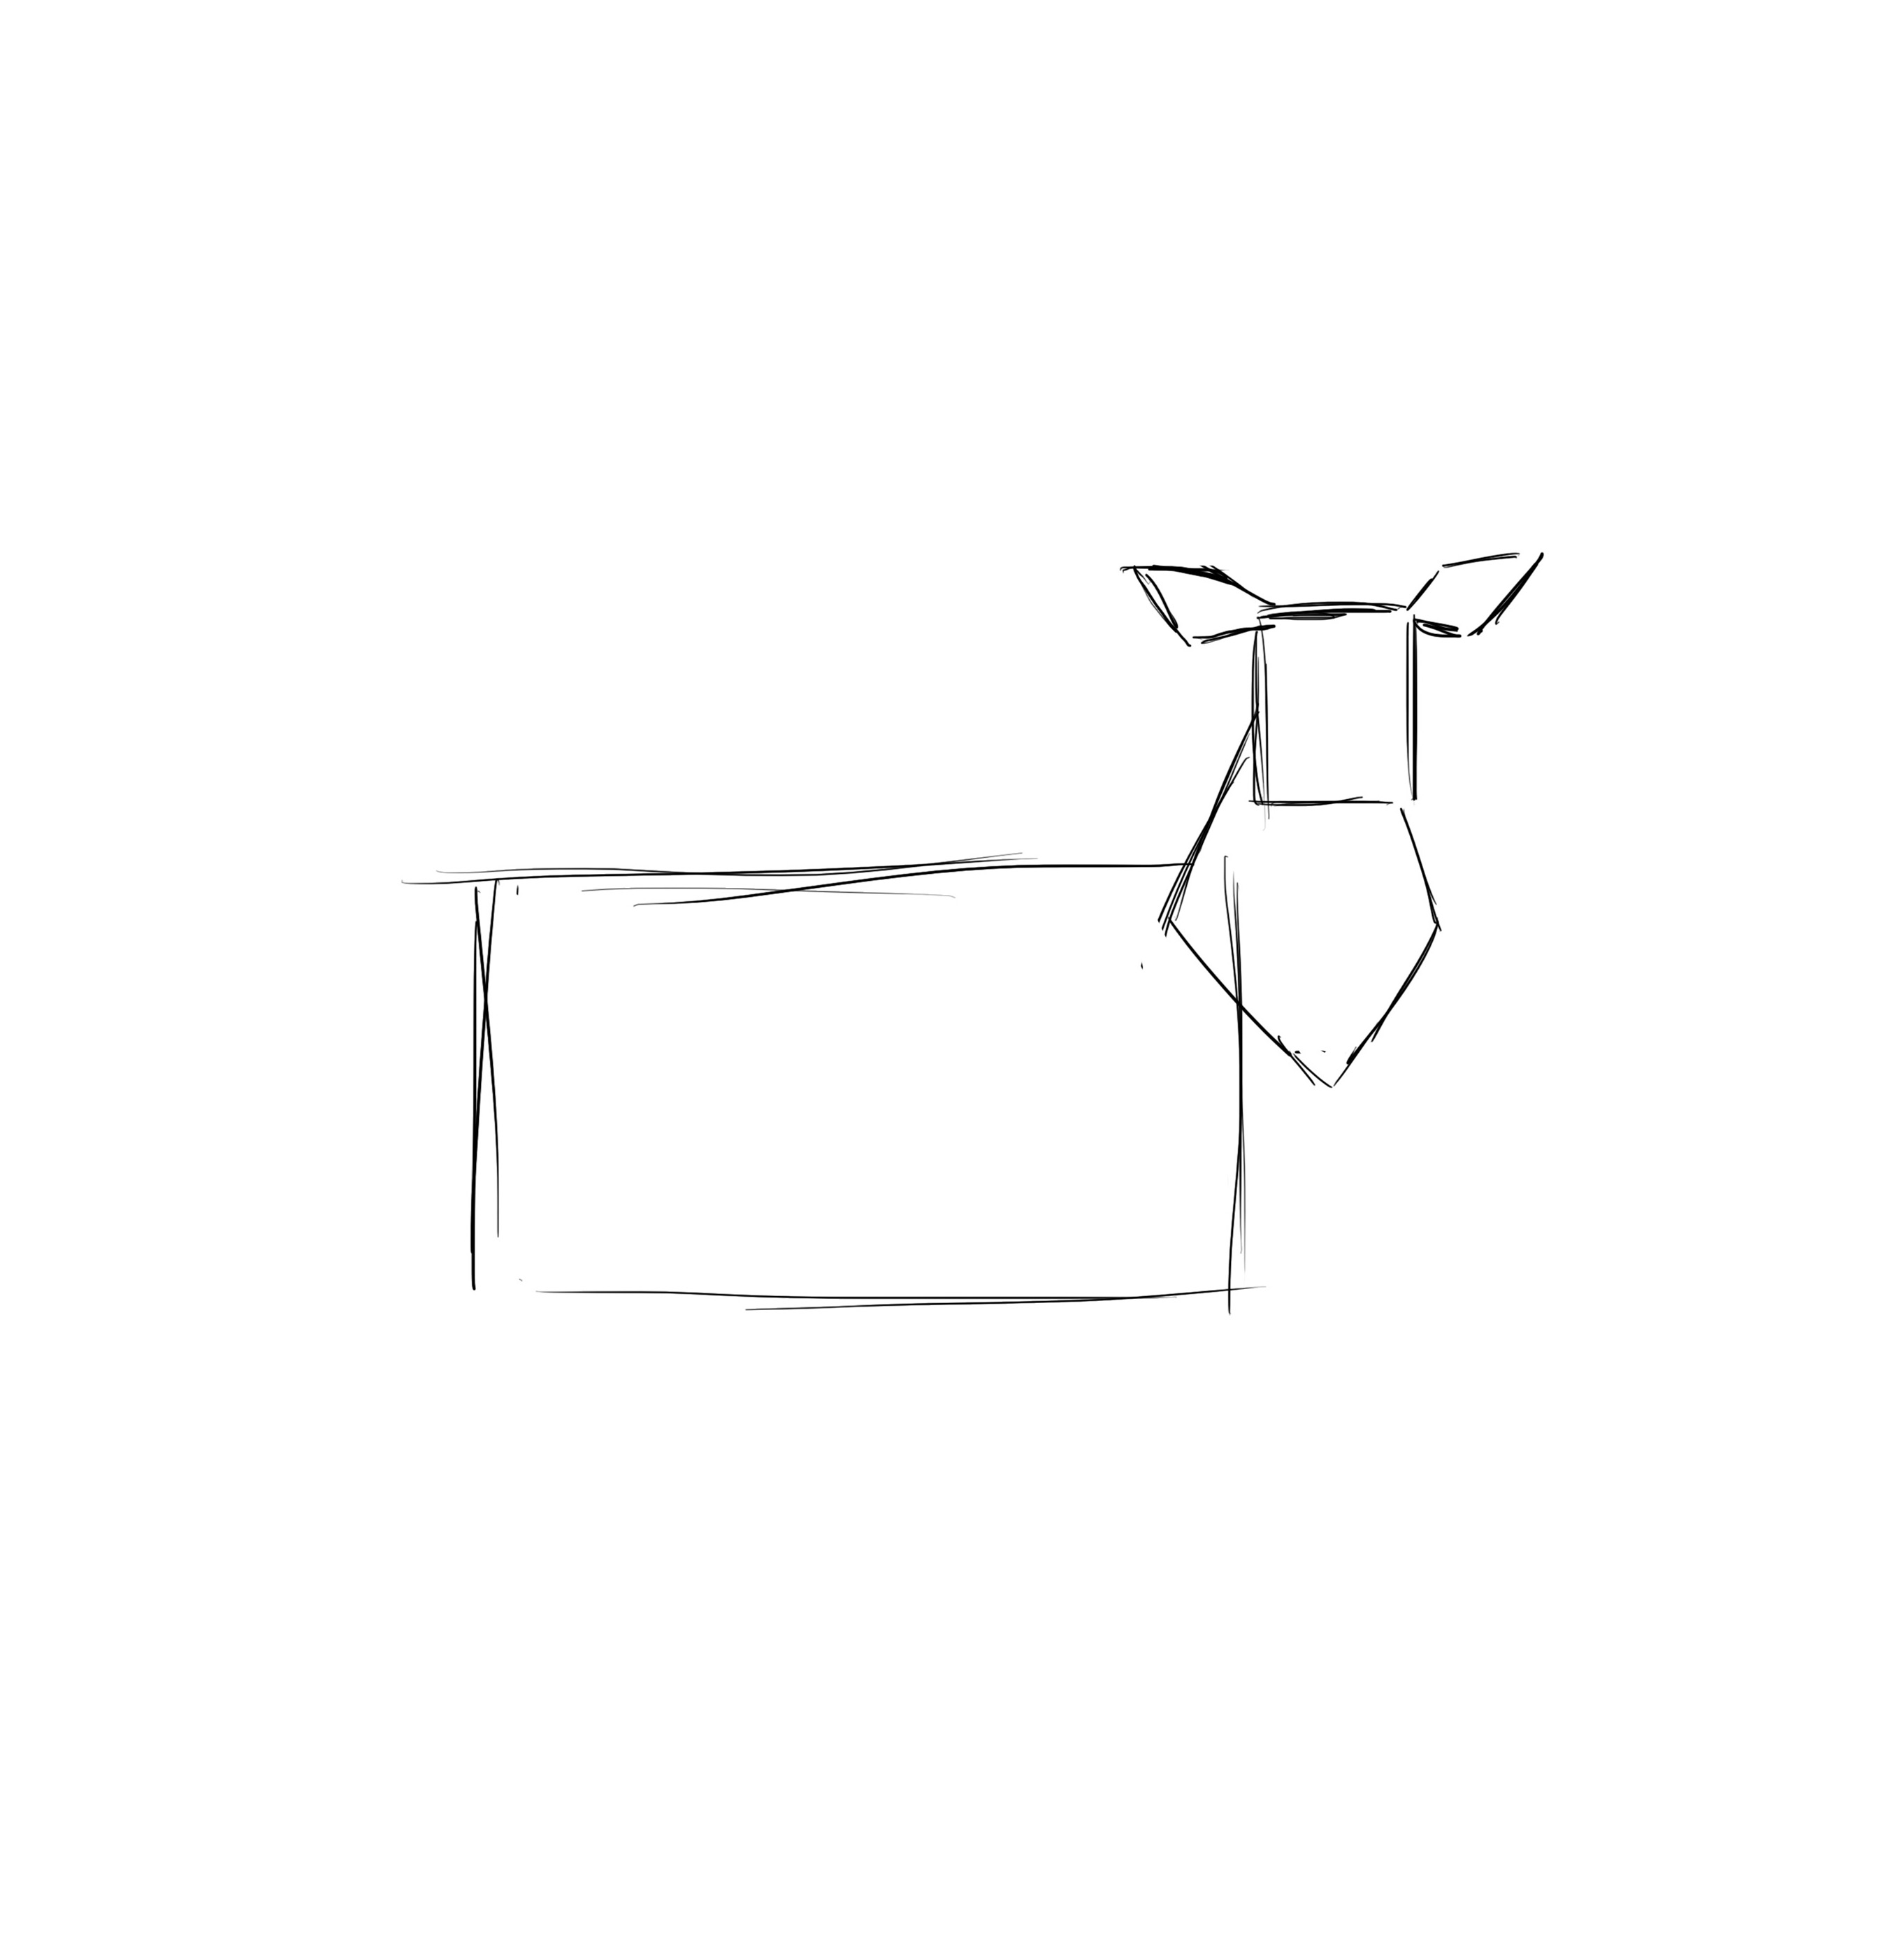
I'm adding two diamonds for the ears.
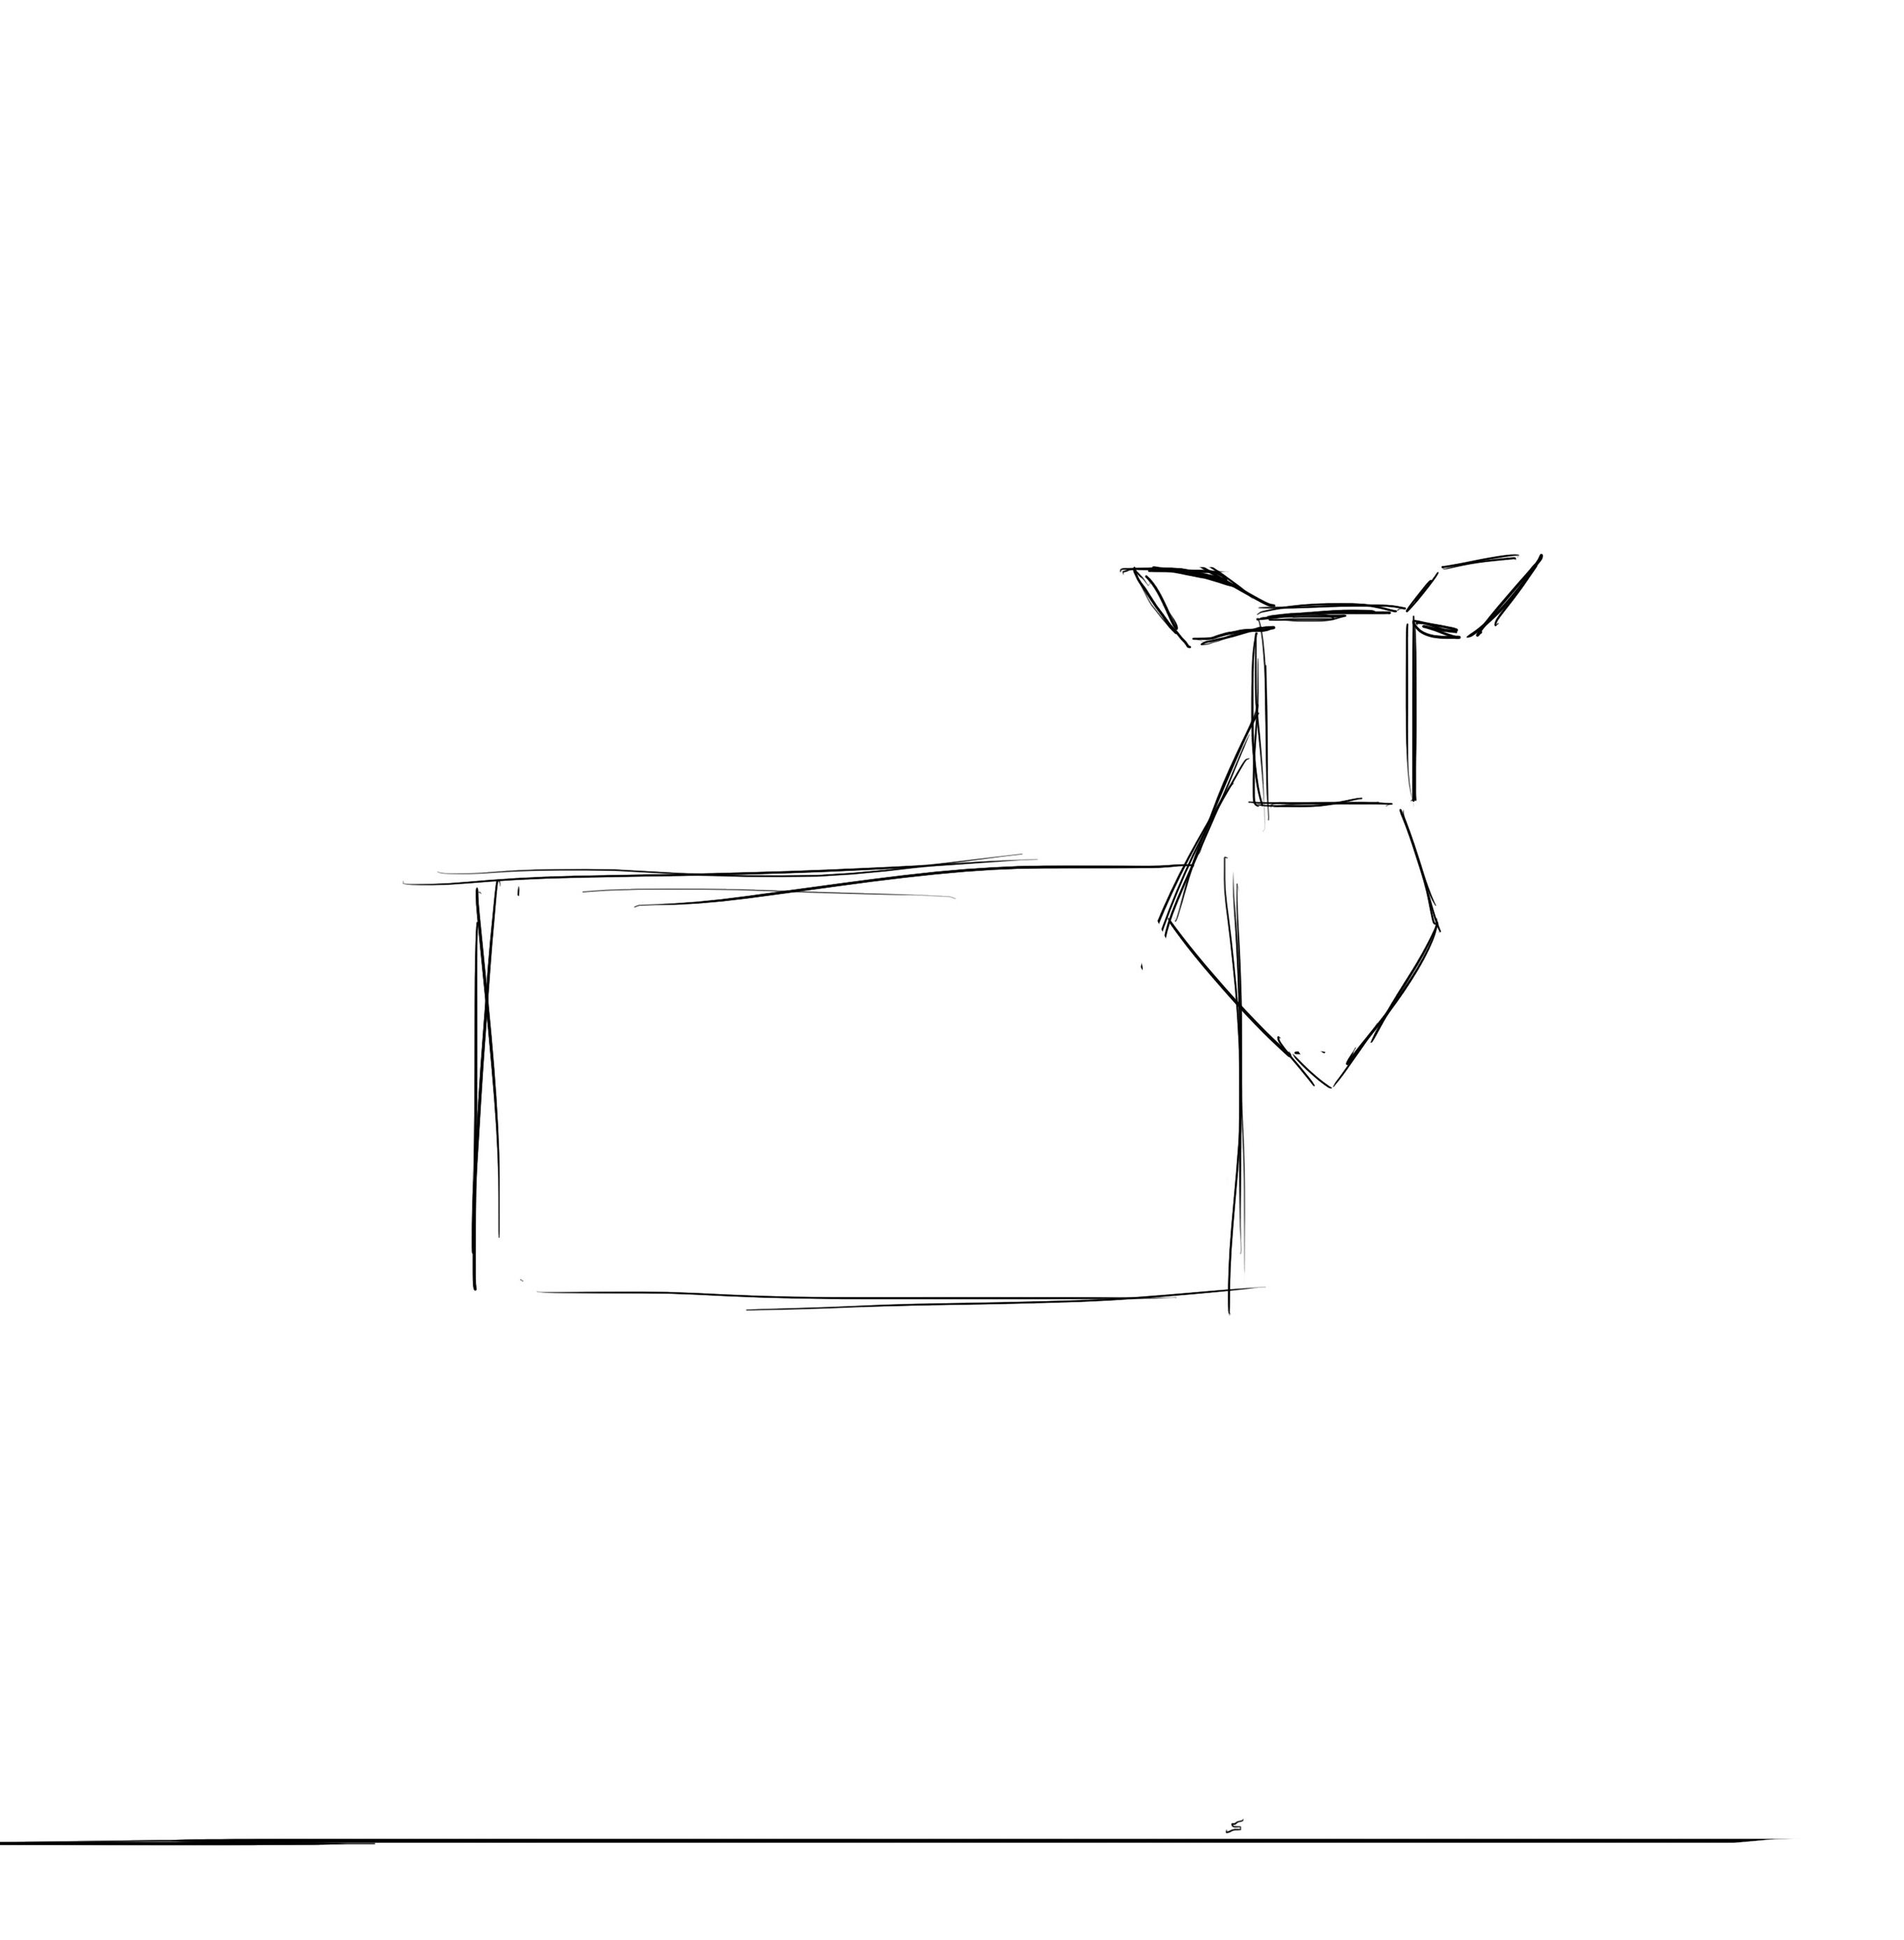
I'm not going to place the legs right away because positioning them requires detailing the body a bit more first. However, I will place the ground line. Consider that we can fit the body of the deer again between the bottom of its belly and the ground and you will have roughly the distance to the ground ;)
DRAWING STEP BY STEP
Now we will go into a little more detail.
THE DEER'S HEAD
As I said at the start of this small tutorial, I won't go into detail about the head here, which will be covered in another article. So, I quickly position the muzzle and add a small detail to the ears. I also quickly place the horns (this too will be detailed in an upcoming article).
DRAW THE NECK
We'll go back to the neck area. I can't help but think about the movie Bambi when I draw this deer, as it simplifies and highlights the deer's body features very clearly and effectively. Particularly at the neck level. I encourage you to watch it again if you're having a bit of trouble, it should greatly help you.
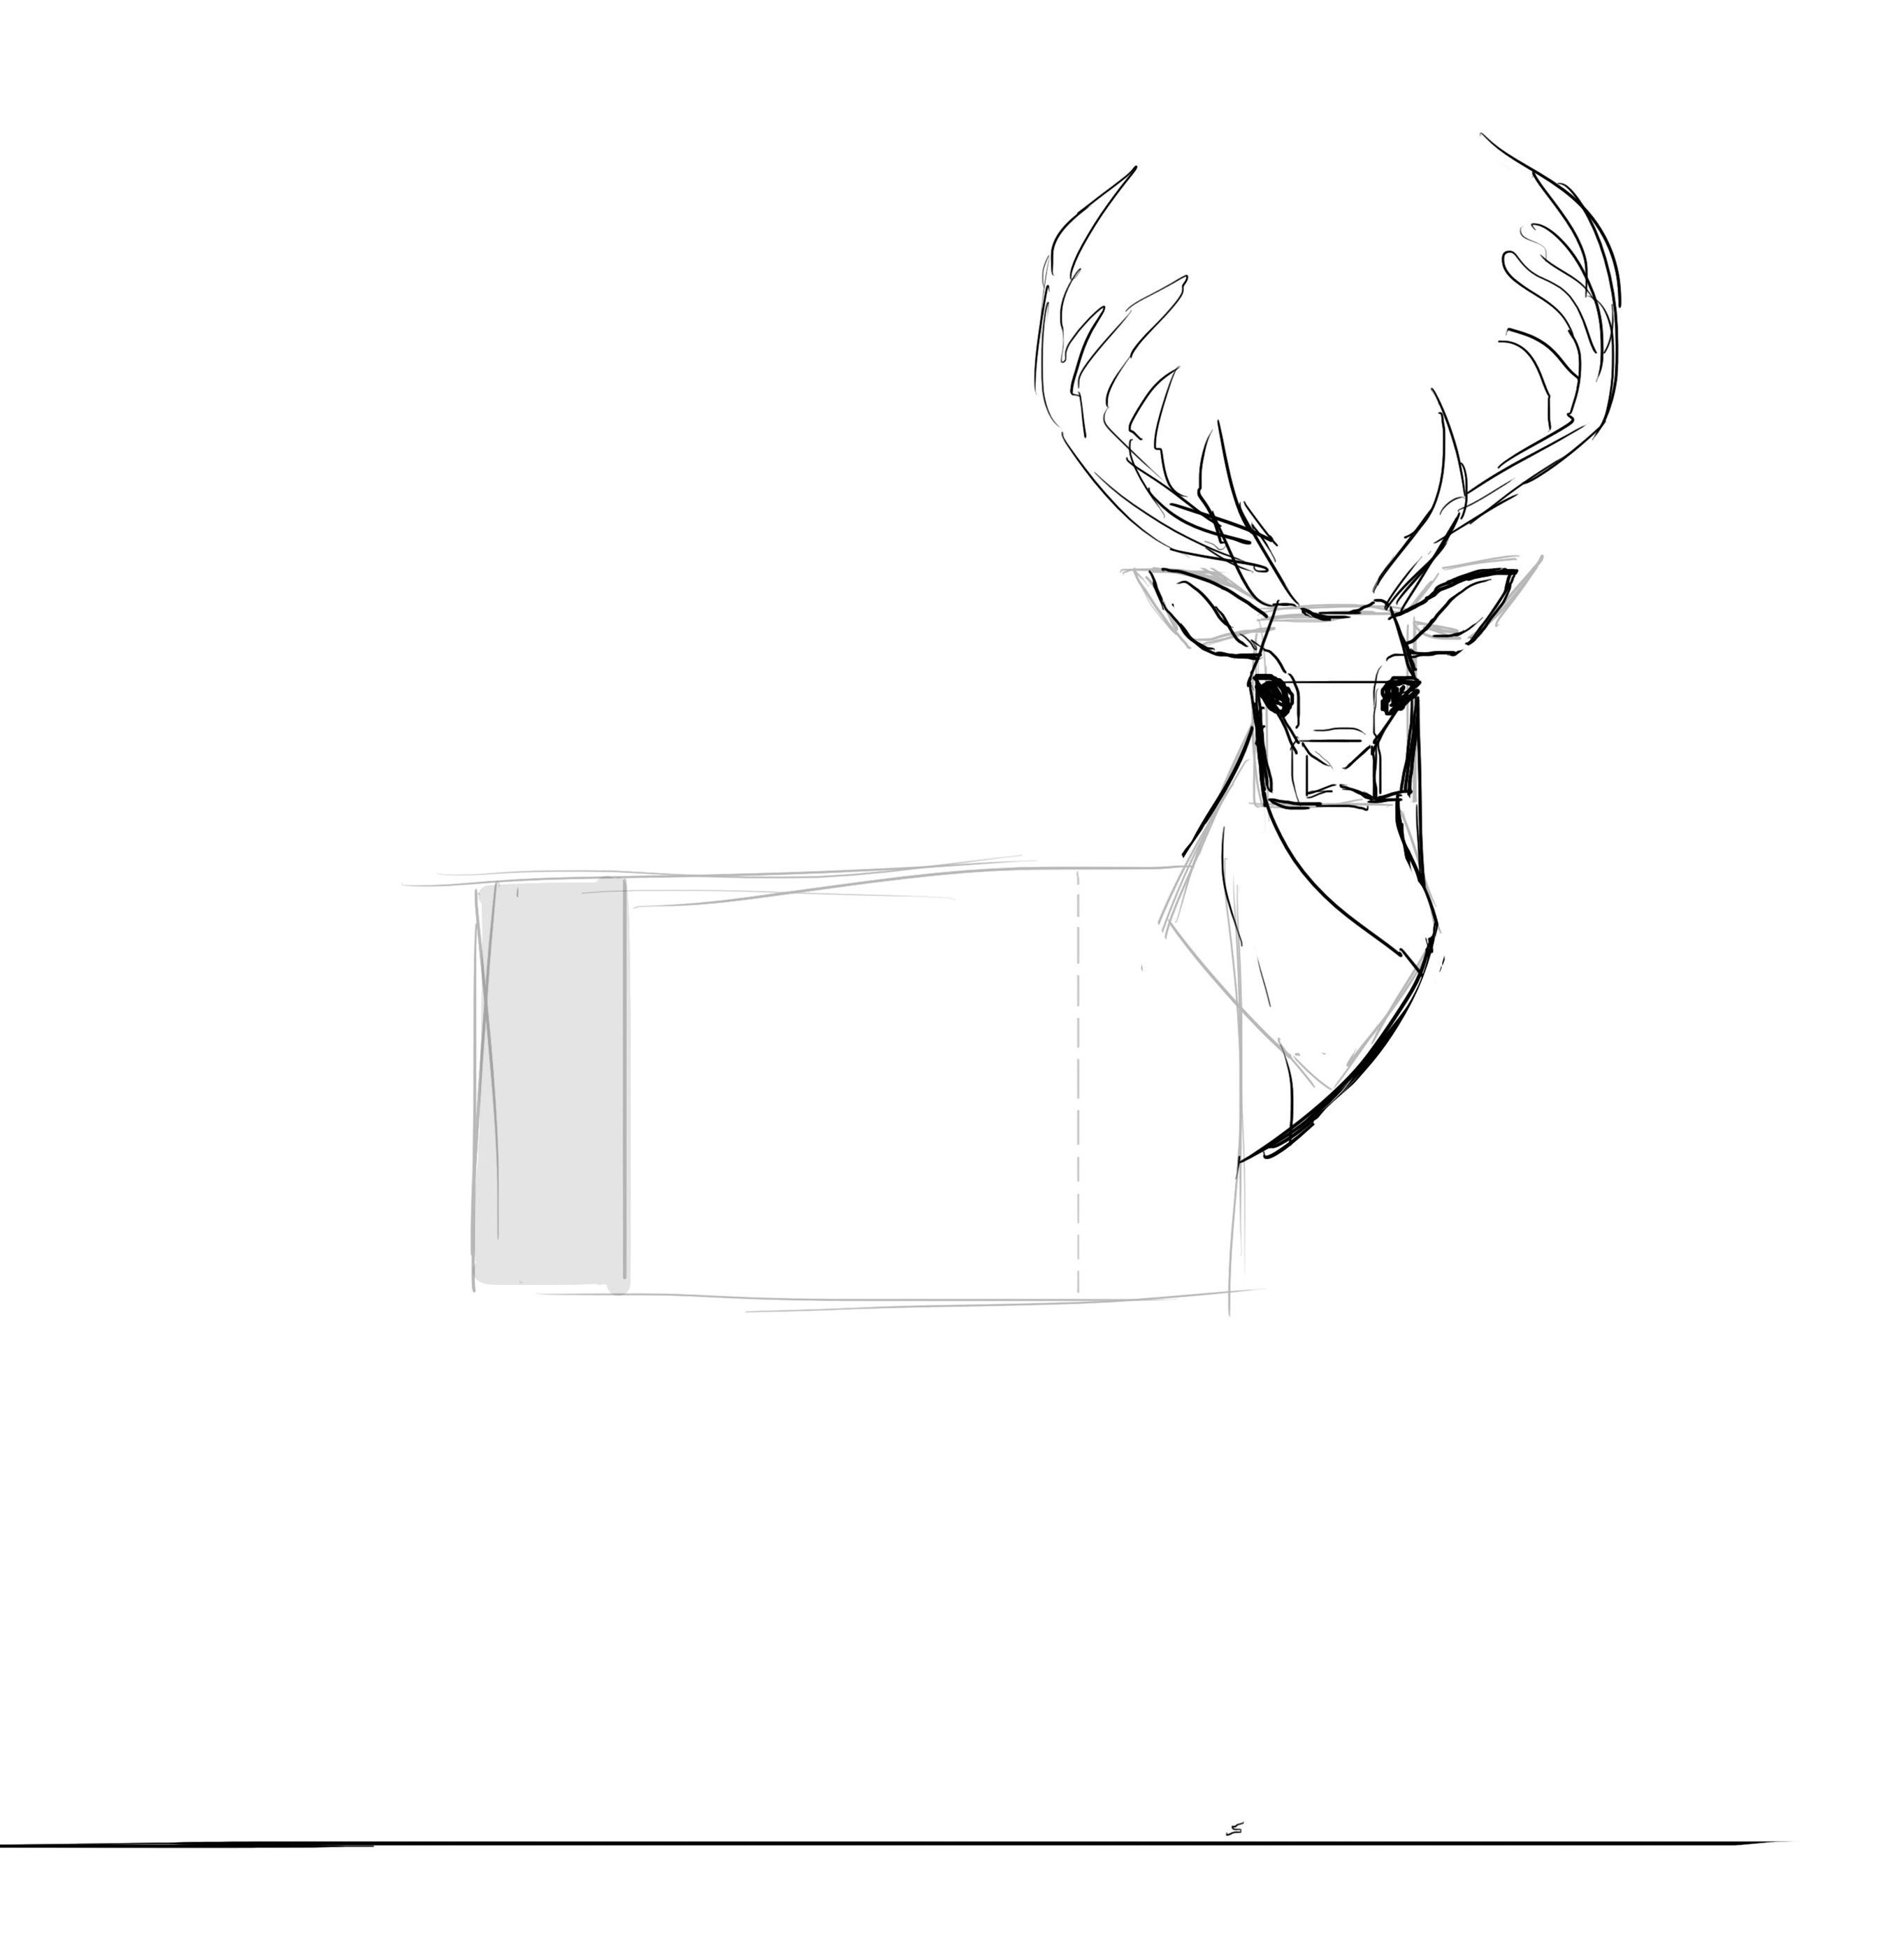
Going back to the neck then, we can see that there is a kind of twist on it since the deer's body is in profile, or even somewhat from the back in relation to the photographer, but its head is squarely frontal. So, I outline the major lines of this twist.

I take this opportunity to more accurately redraw the neck and give it that special volume that gives such a majestic bearing to the deer (in addition to its antlers, of course).
THE DRAWING OF THE BODY AND LEGS
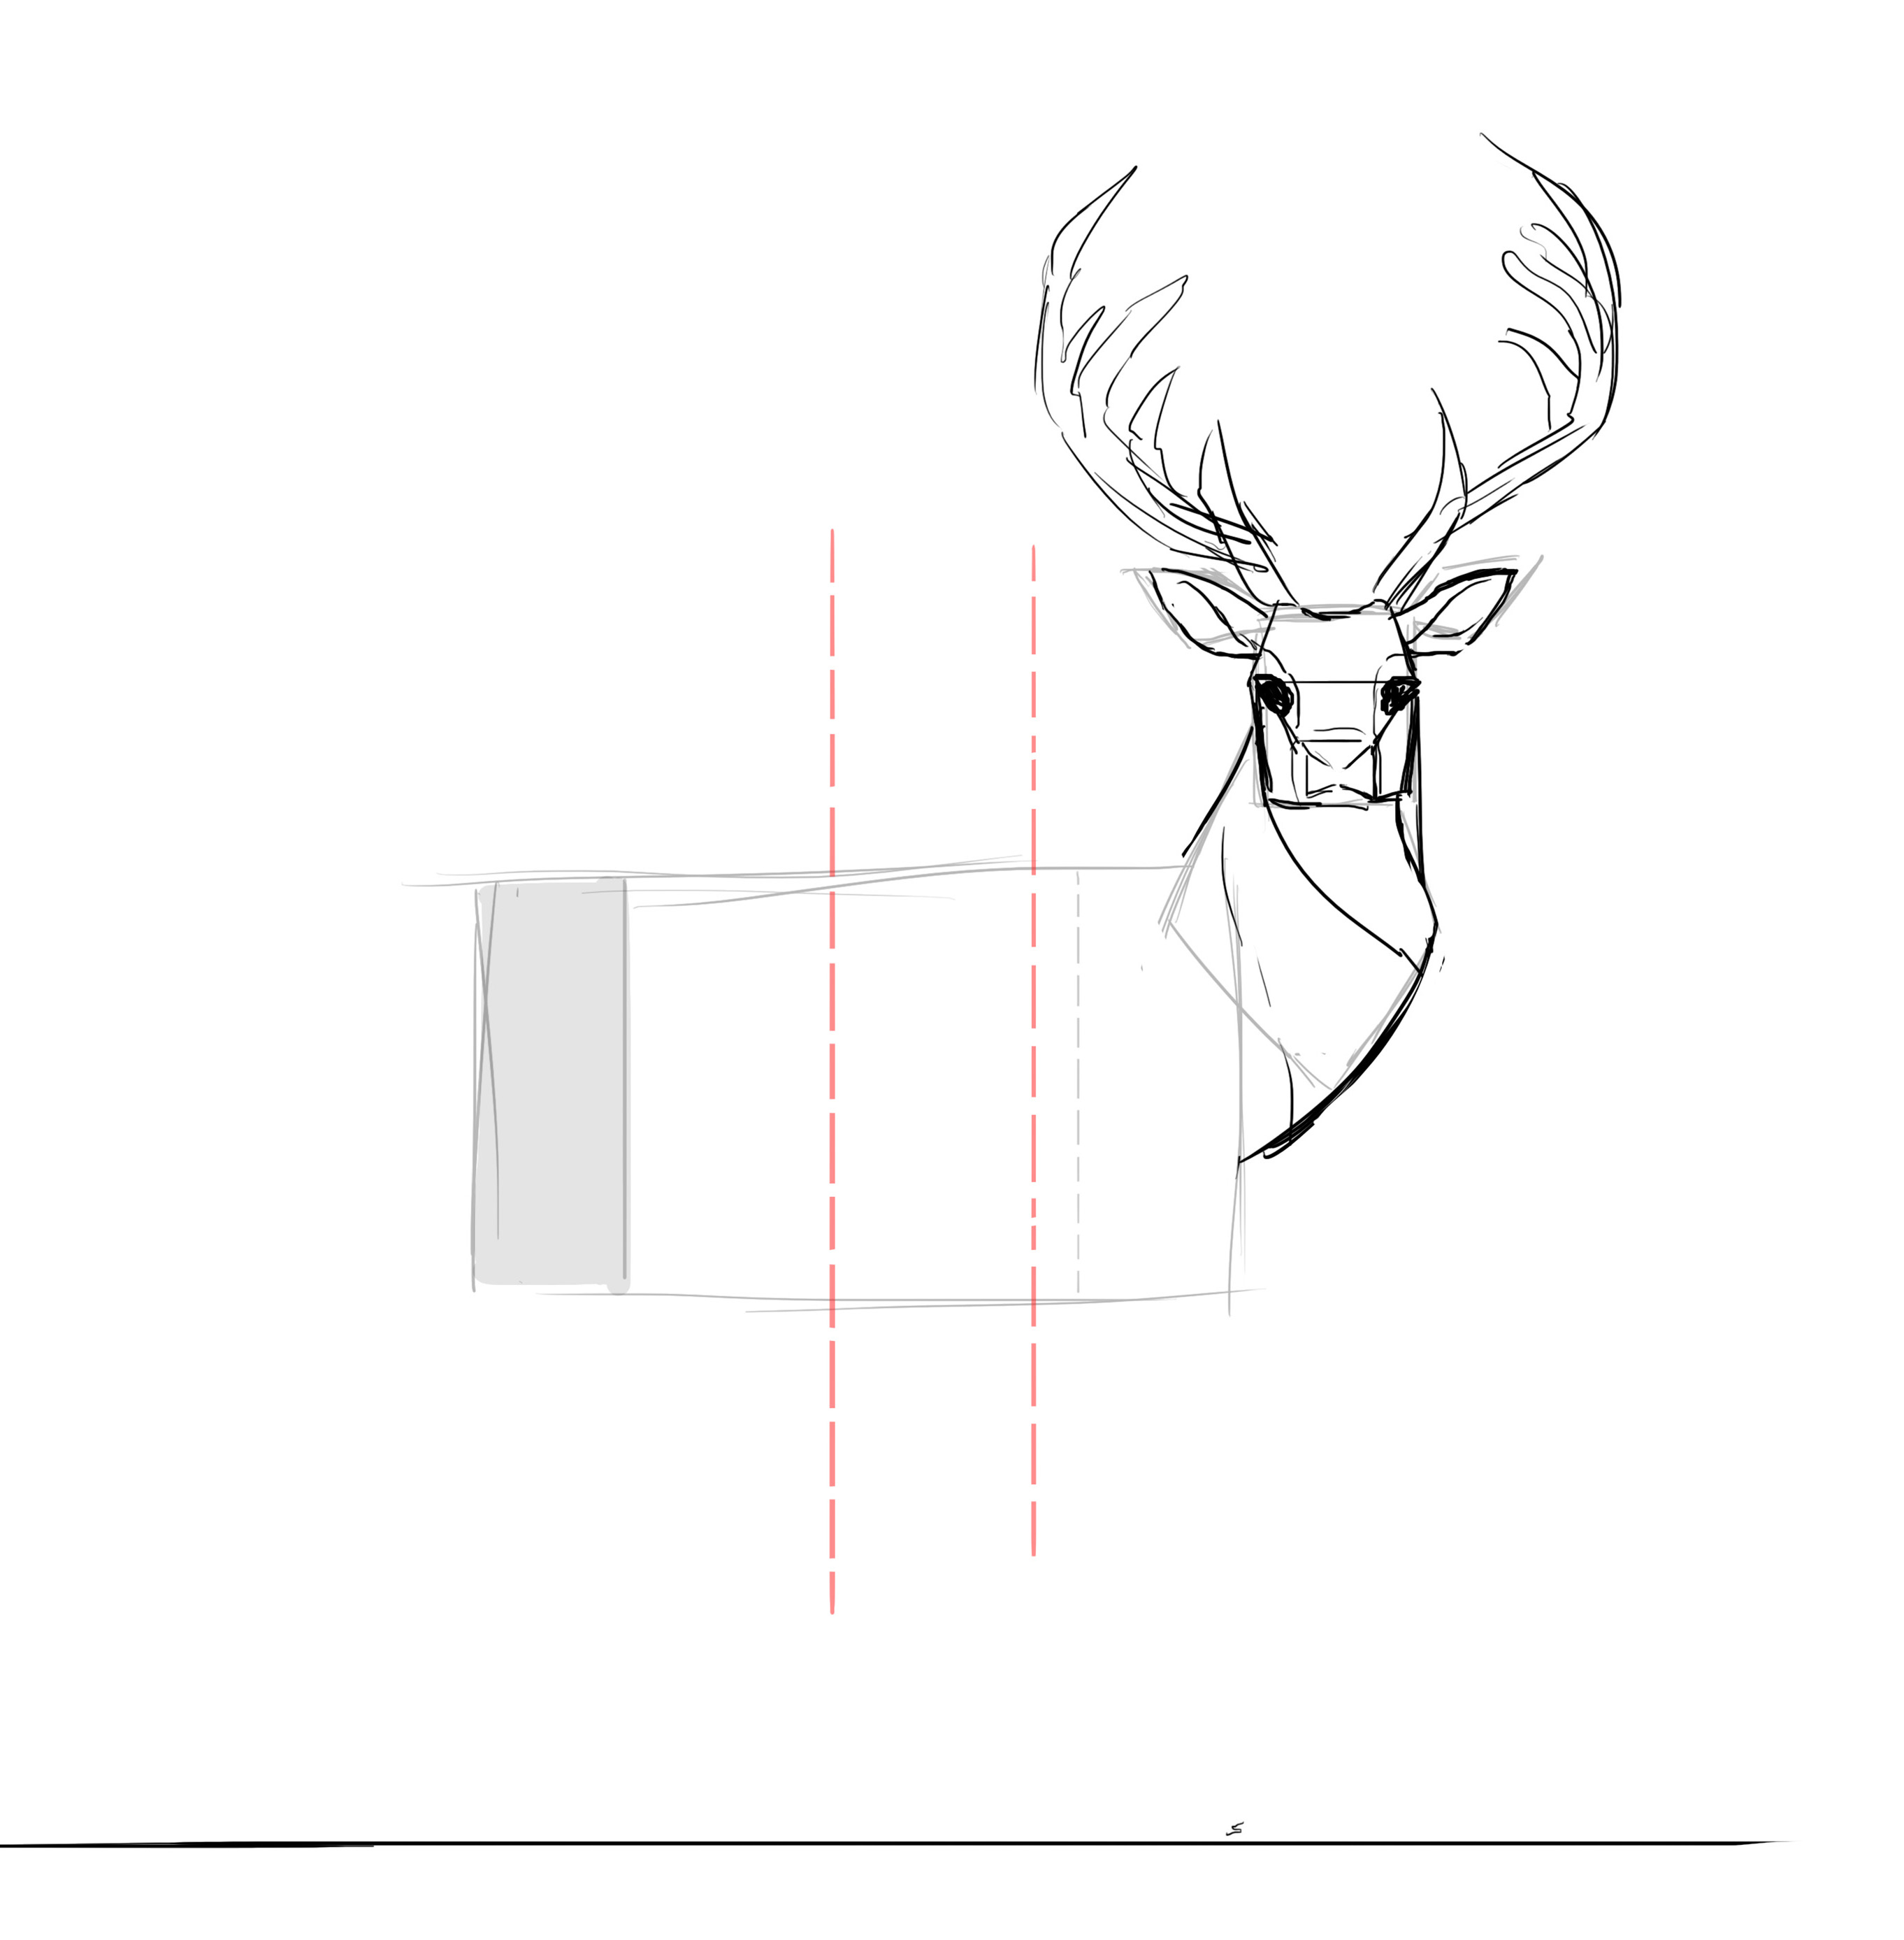
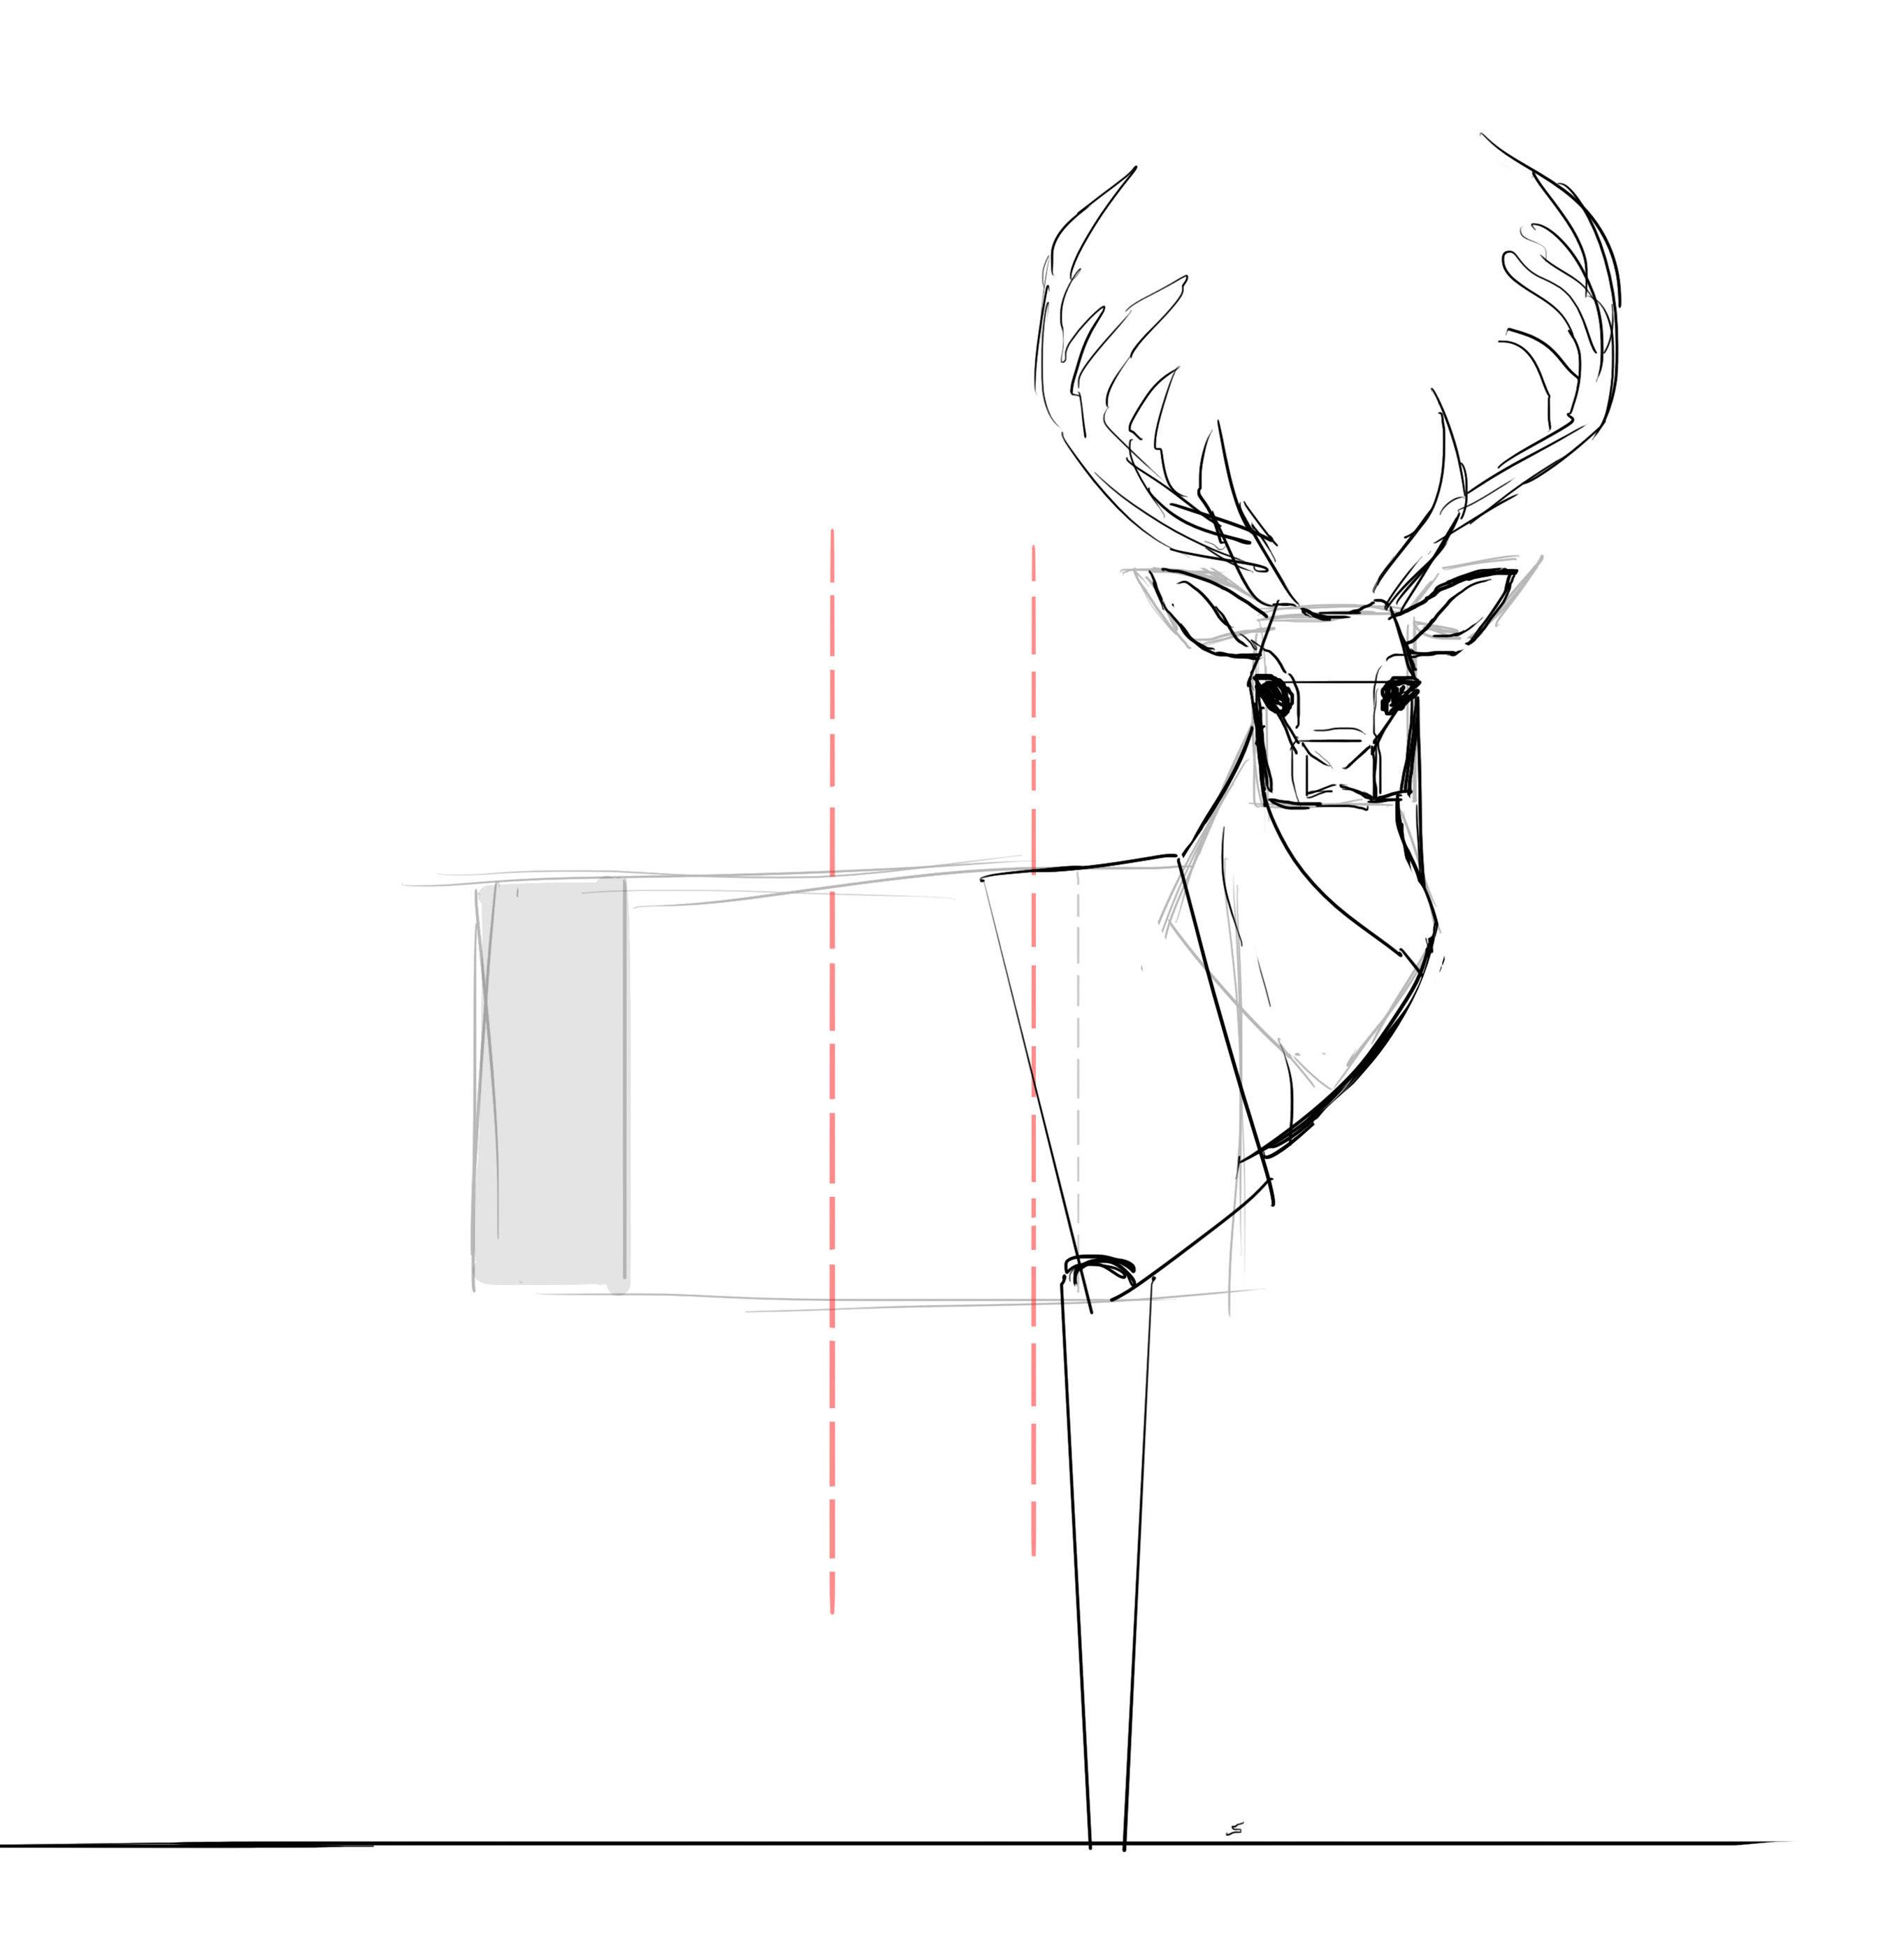
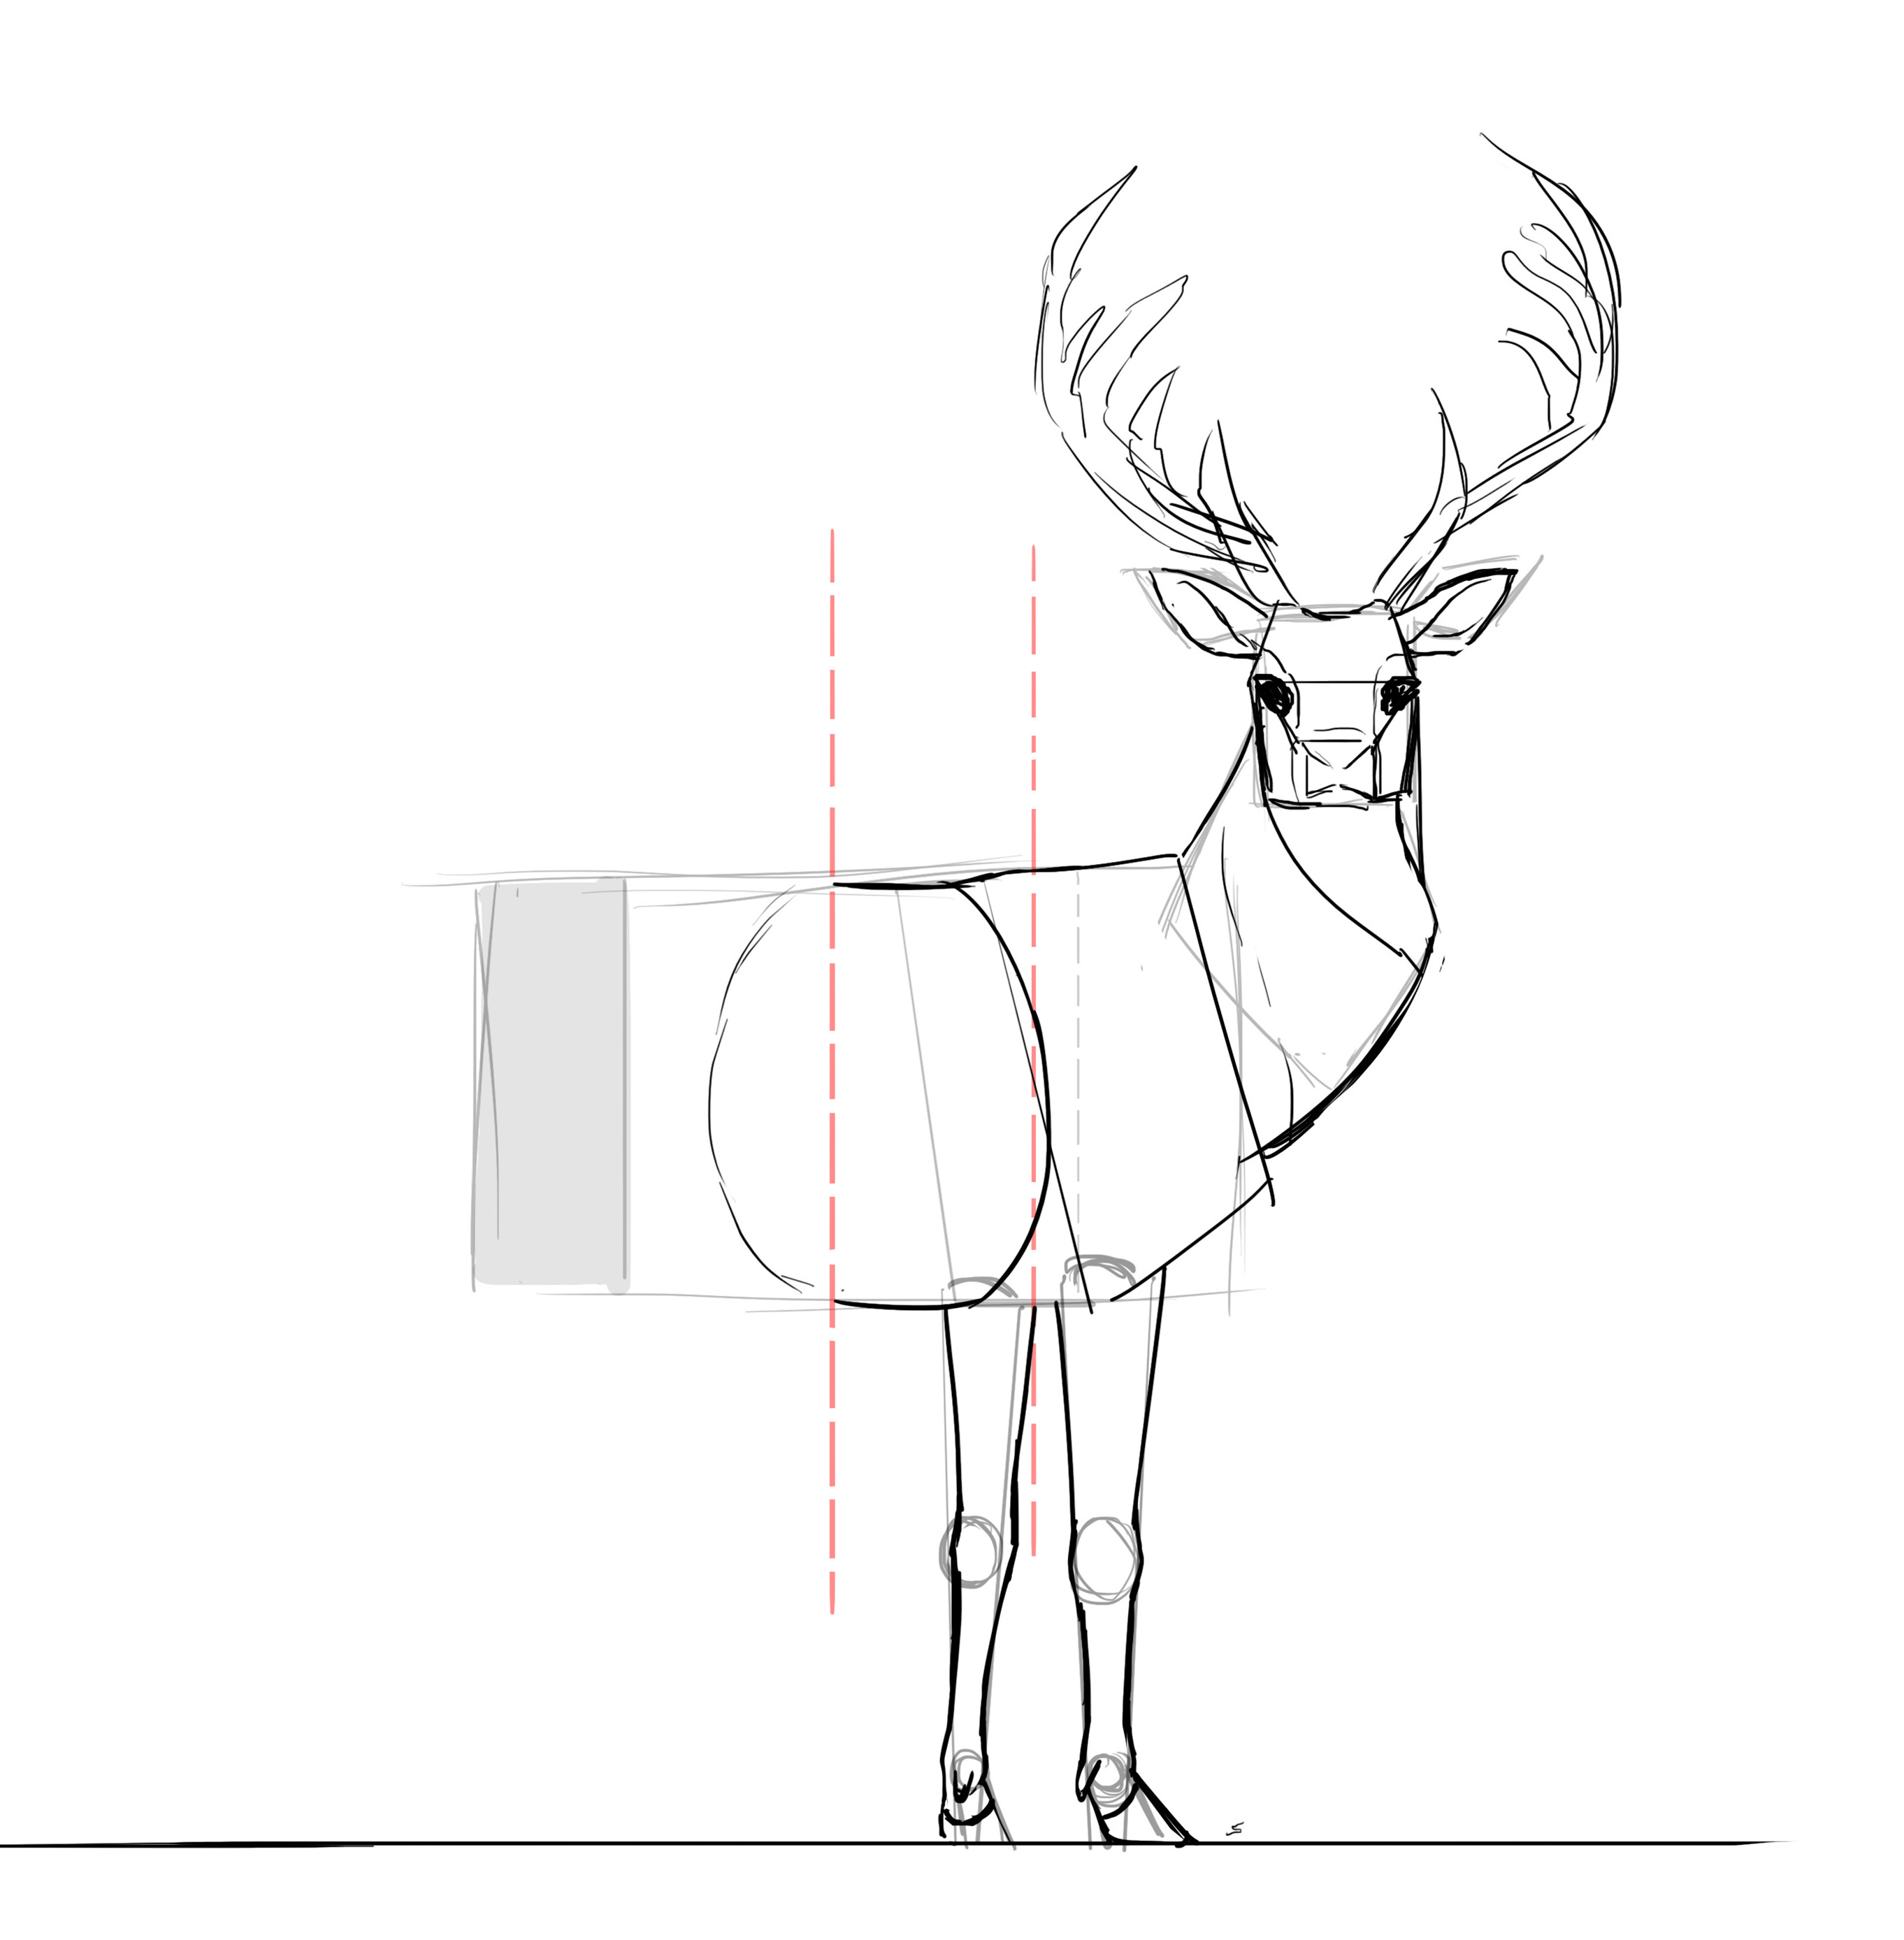
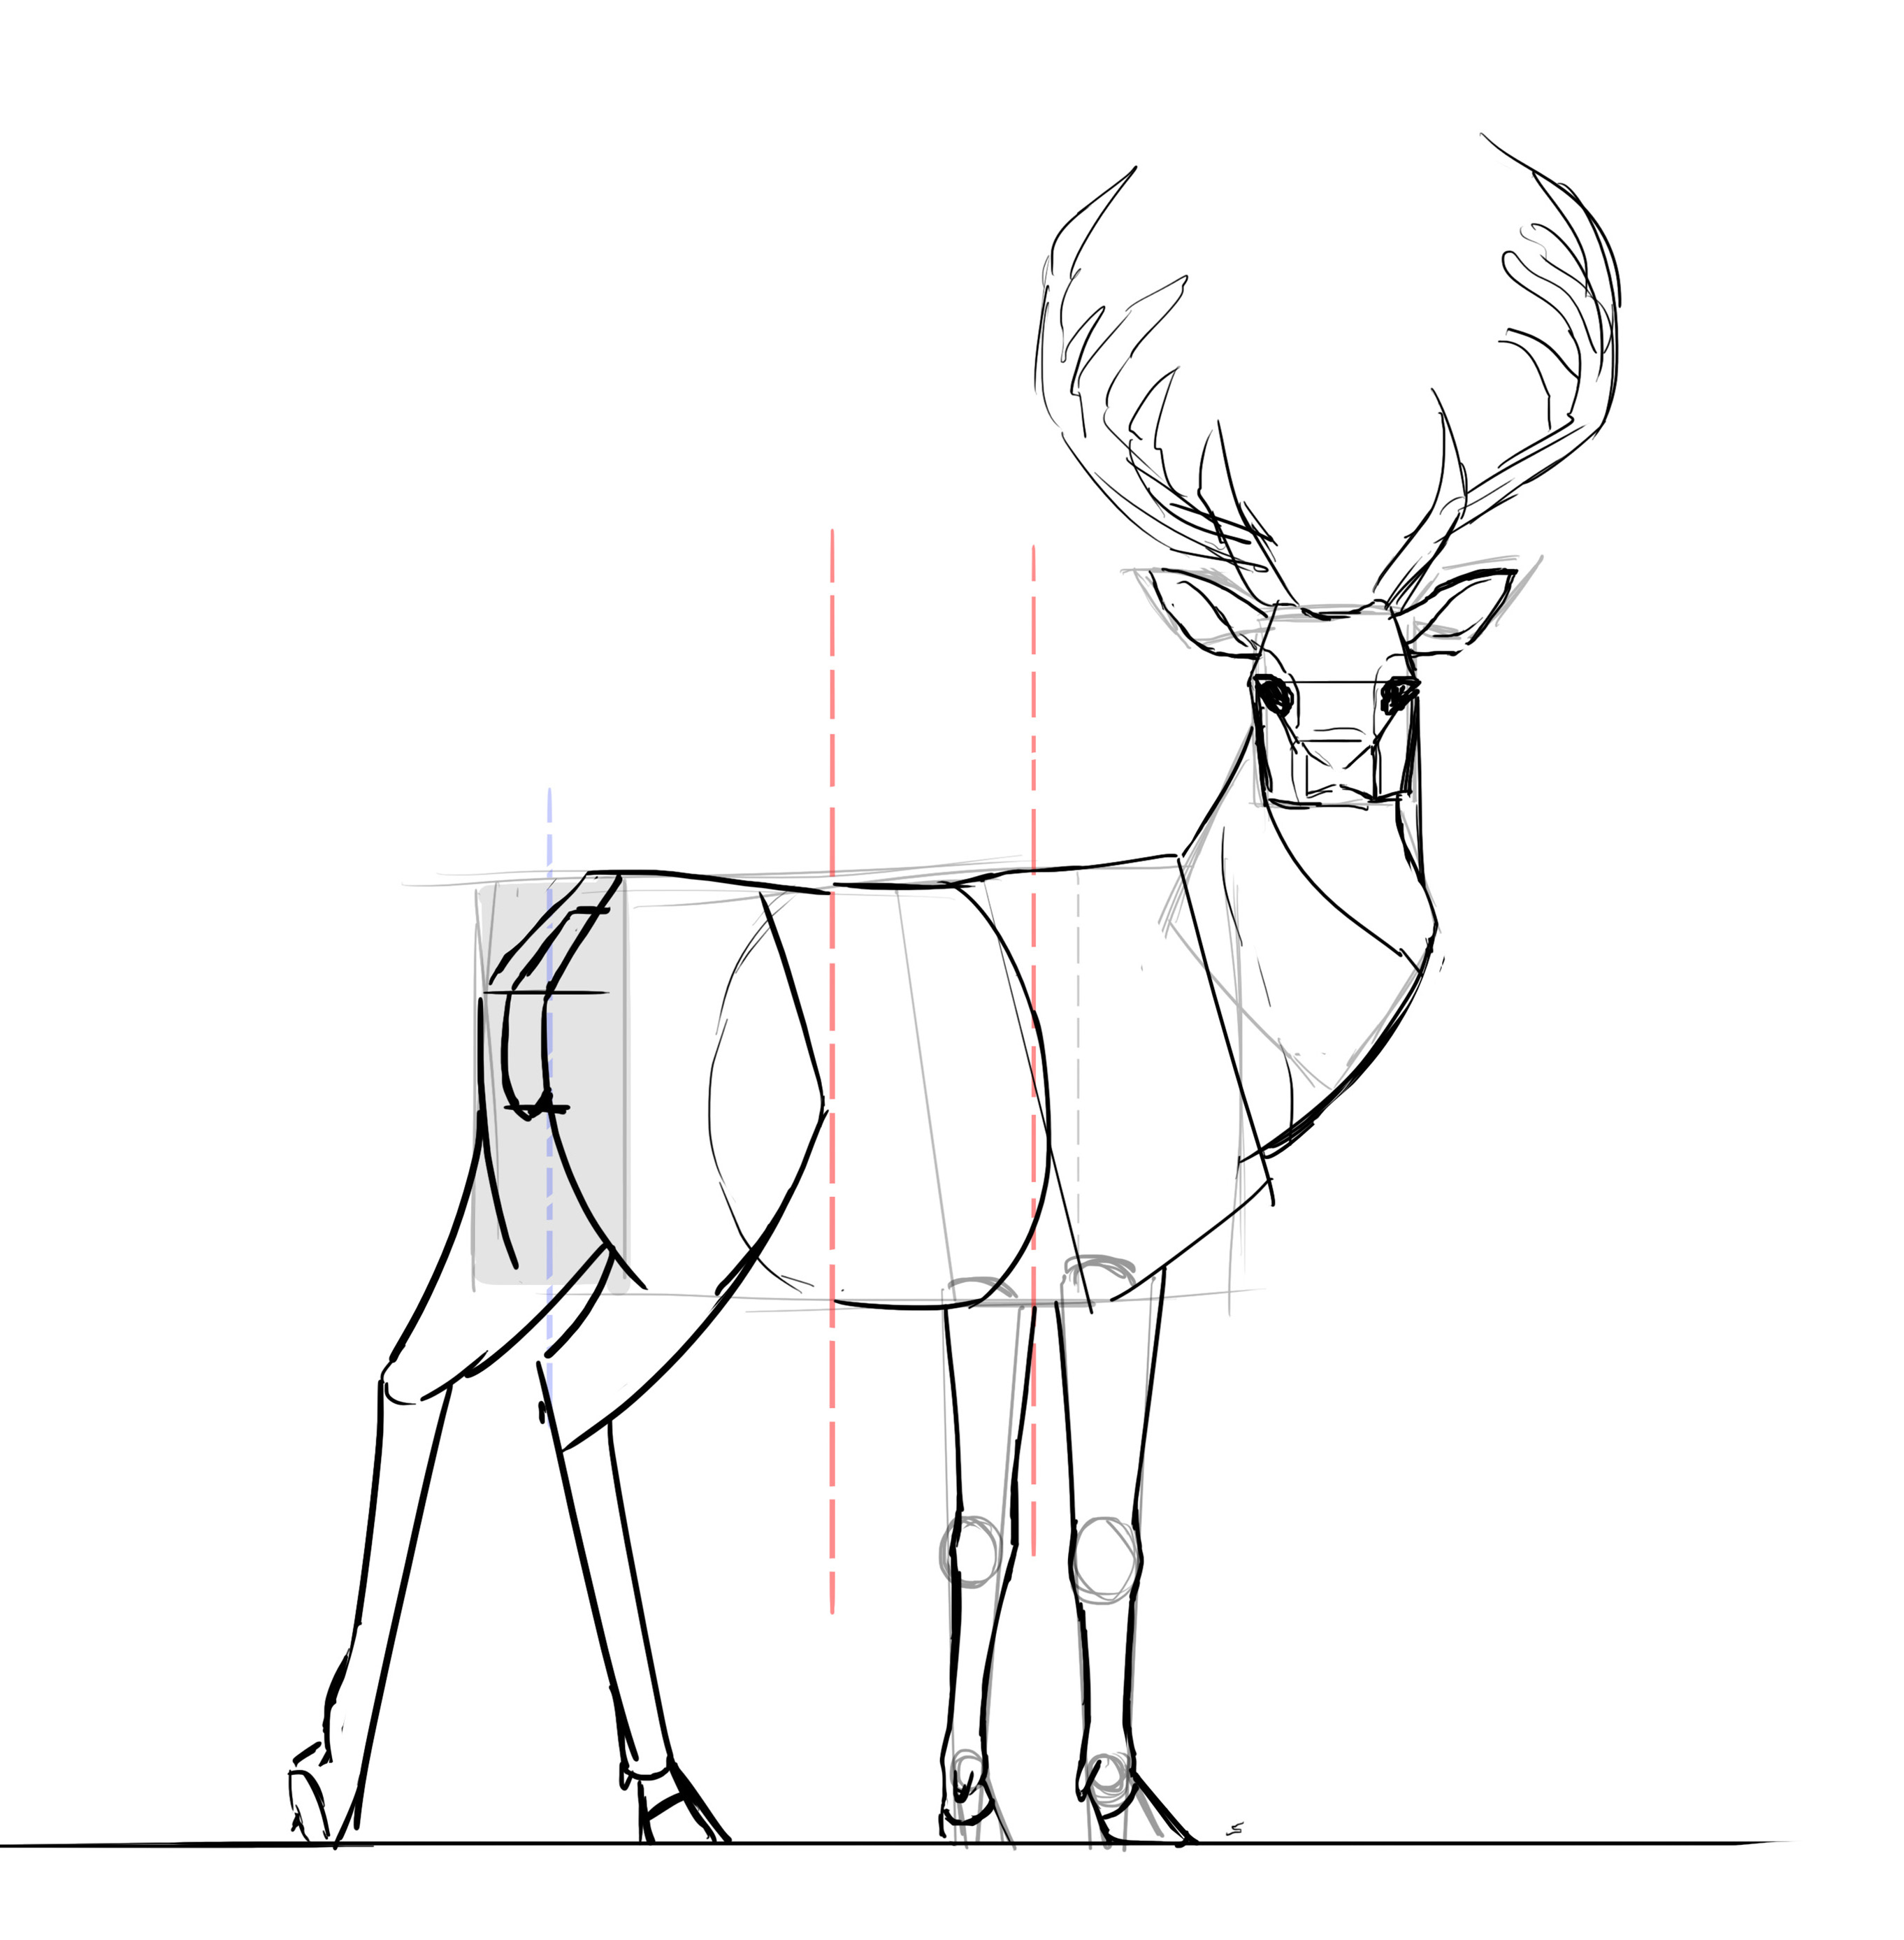
I then move on to the body. It can be divided into 3 roughly equal areas. The right part includes the shoulder blades and the front of the rib cage from which the forelegs descend.
The middle which is the paunch, or the swollen abdomen.
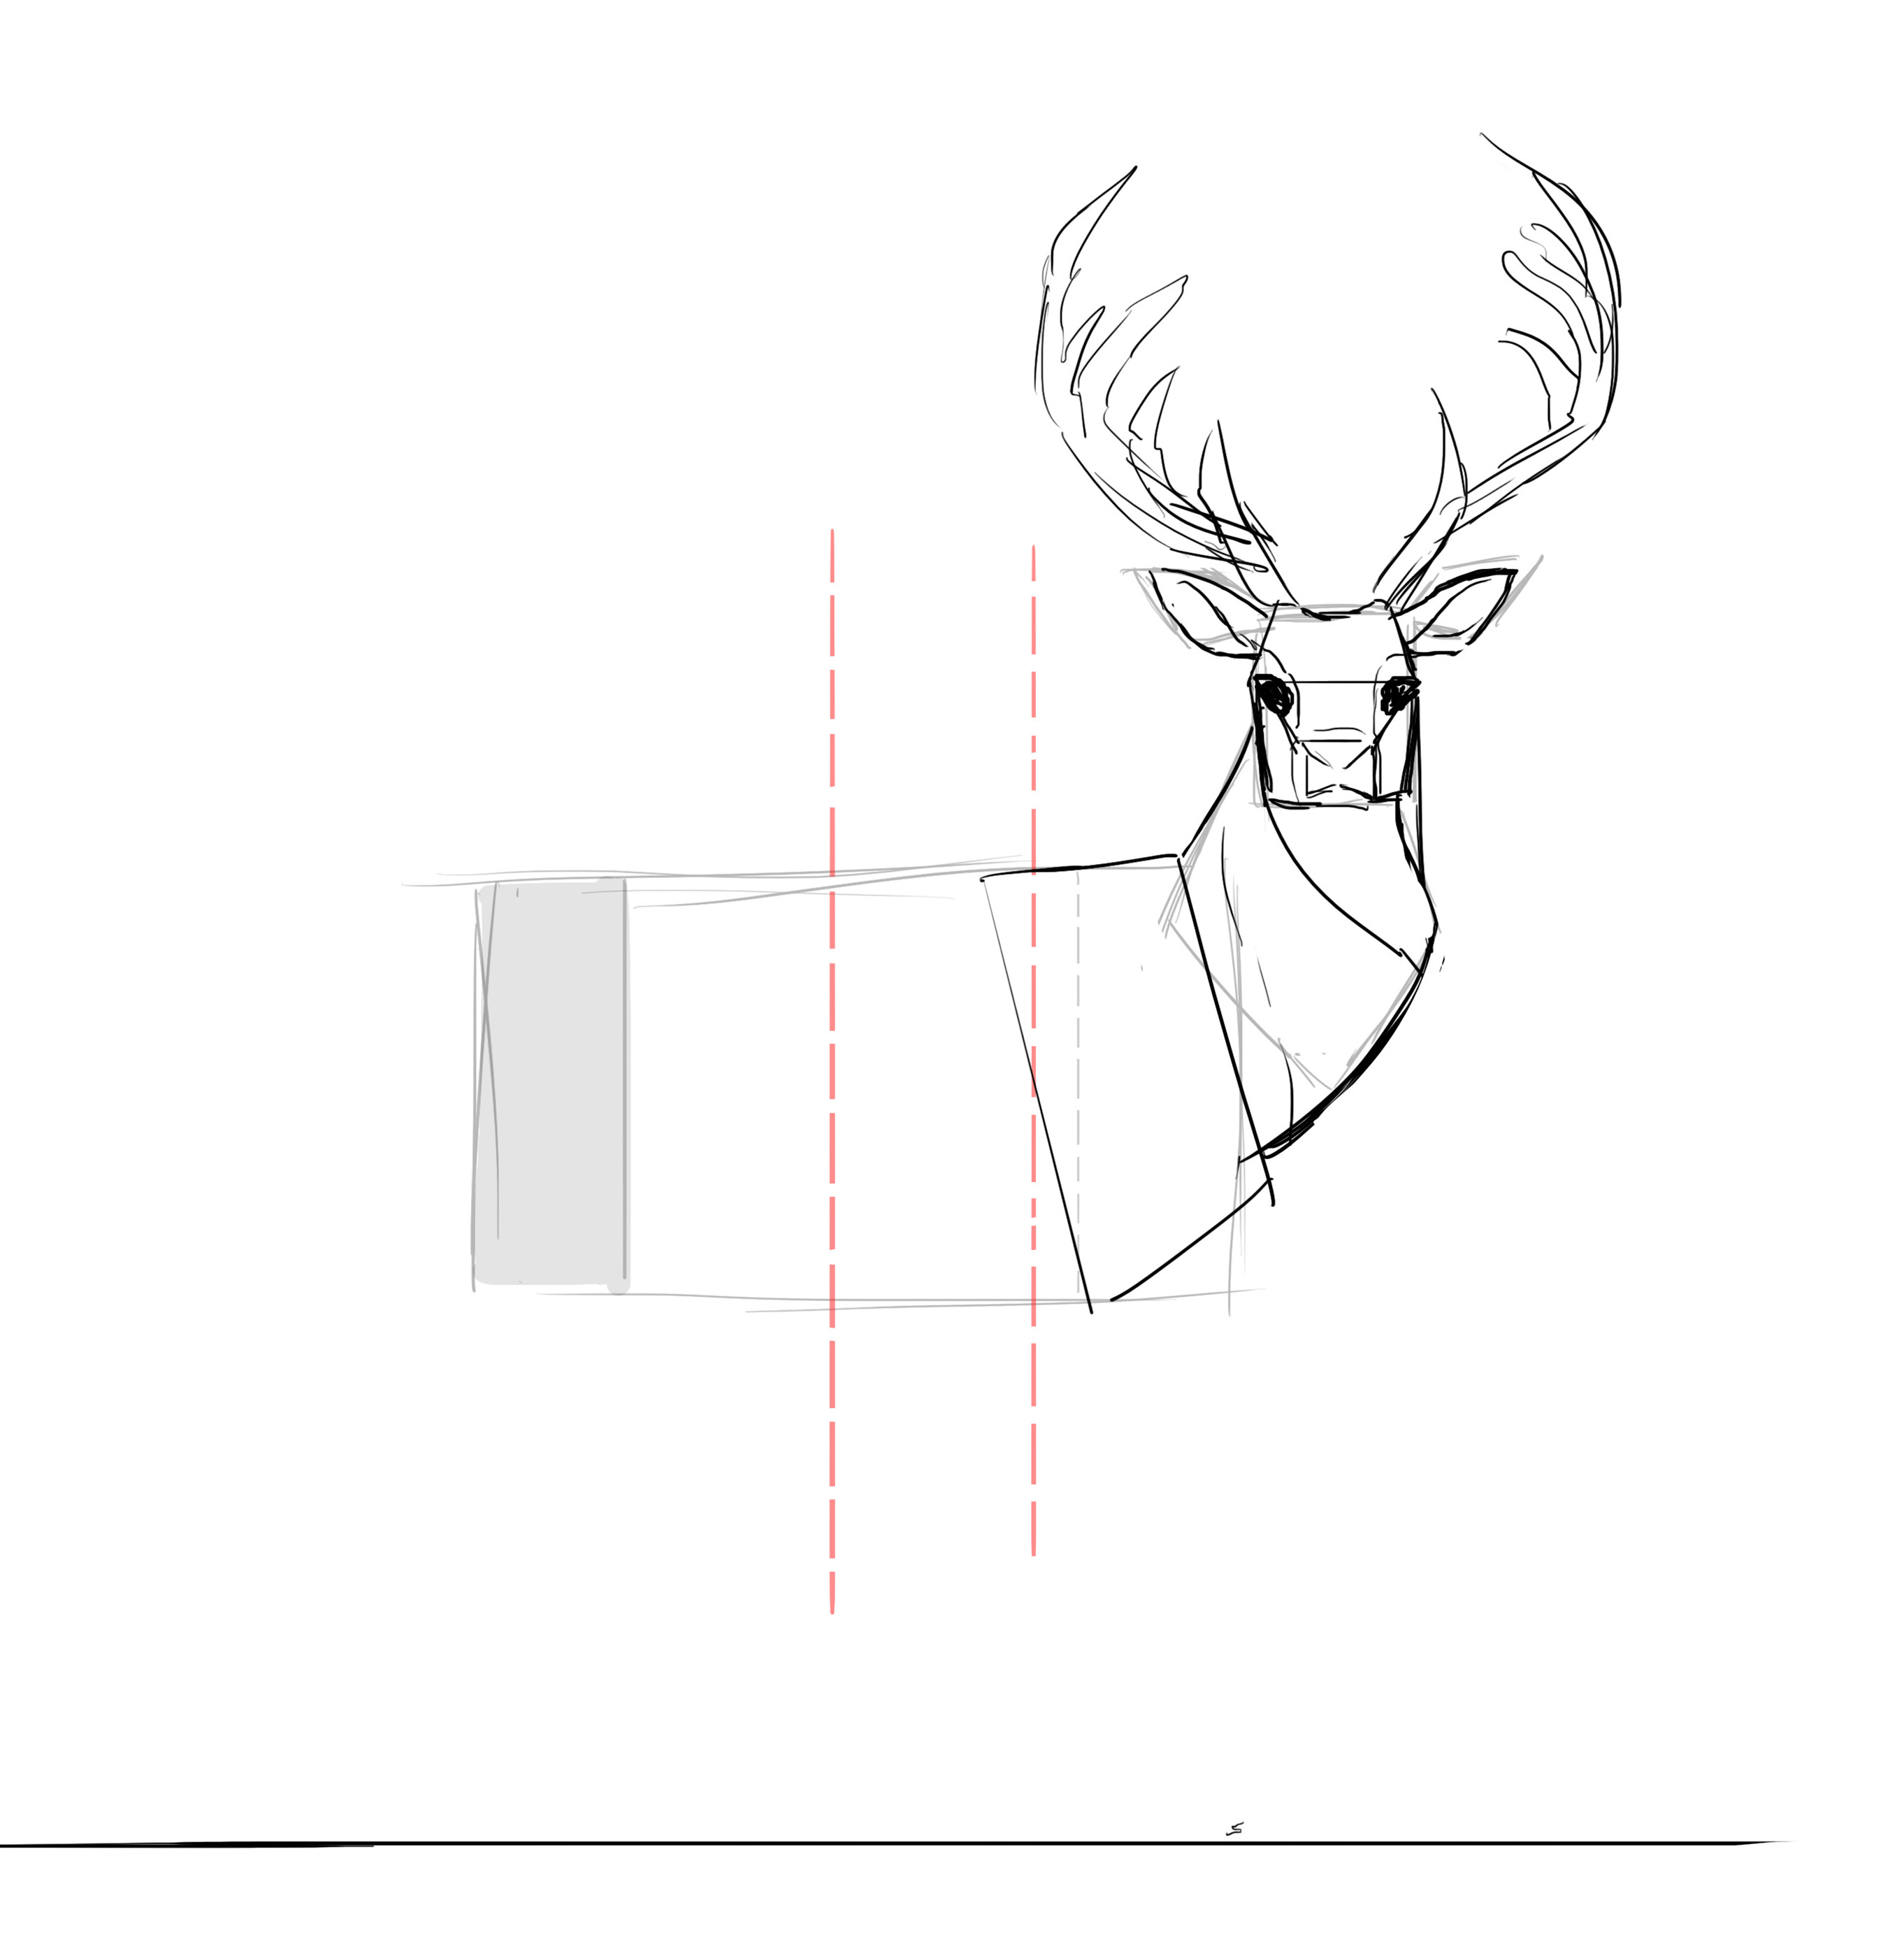
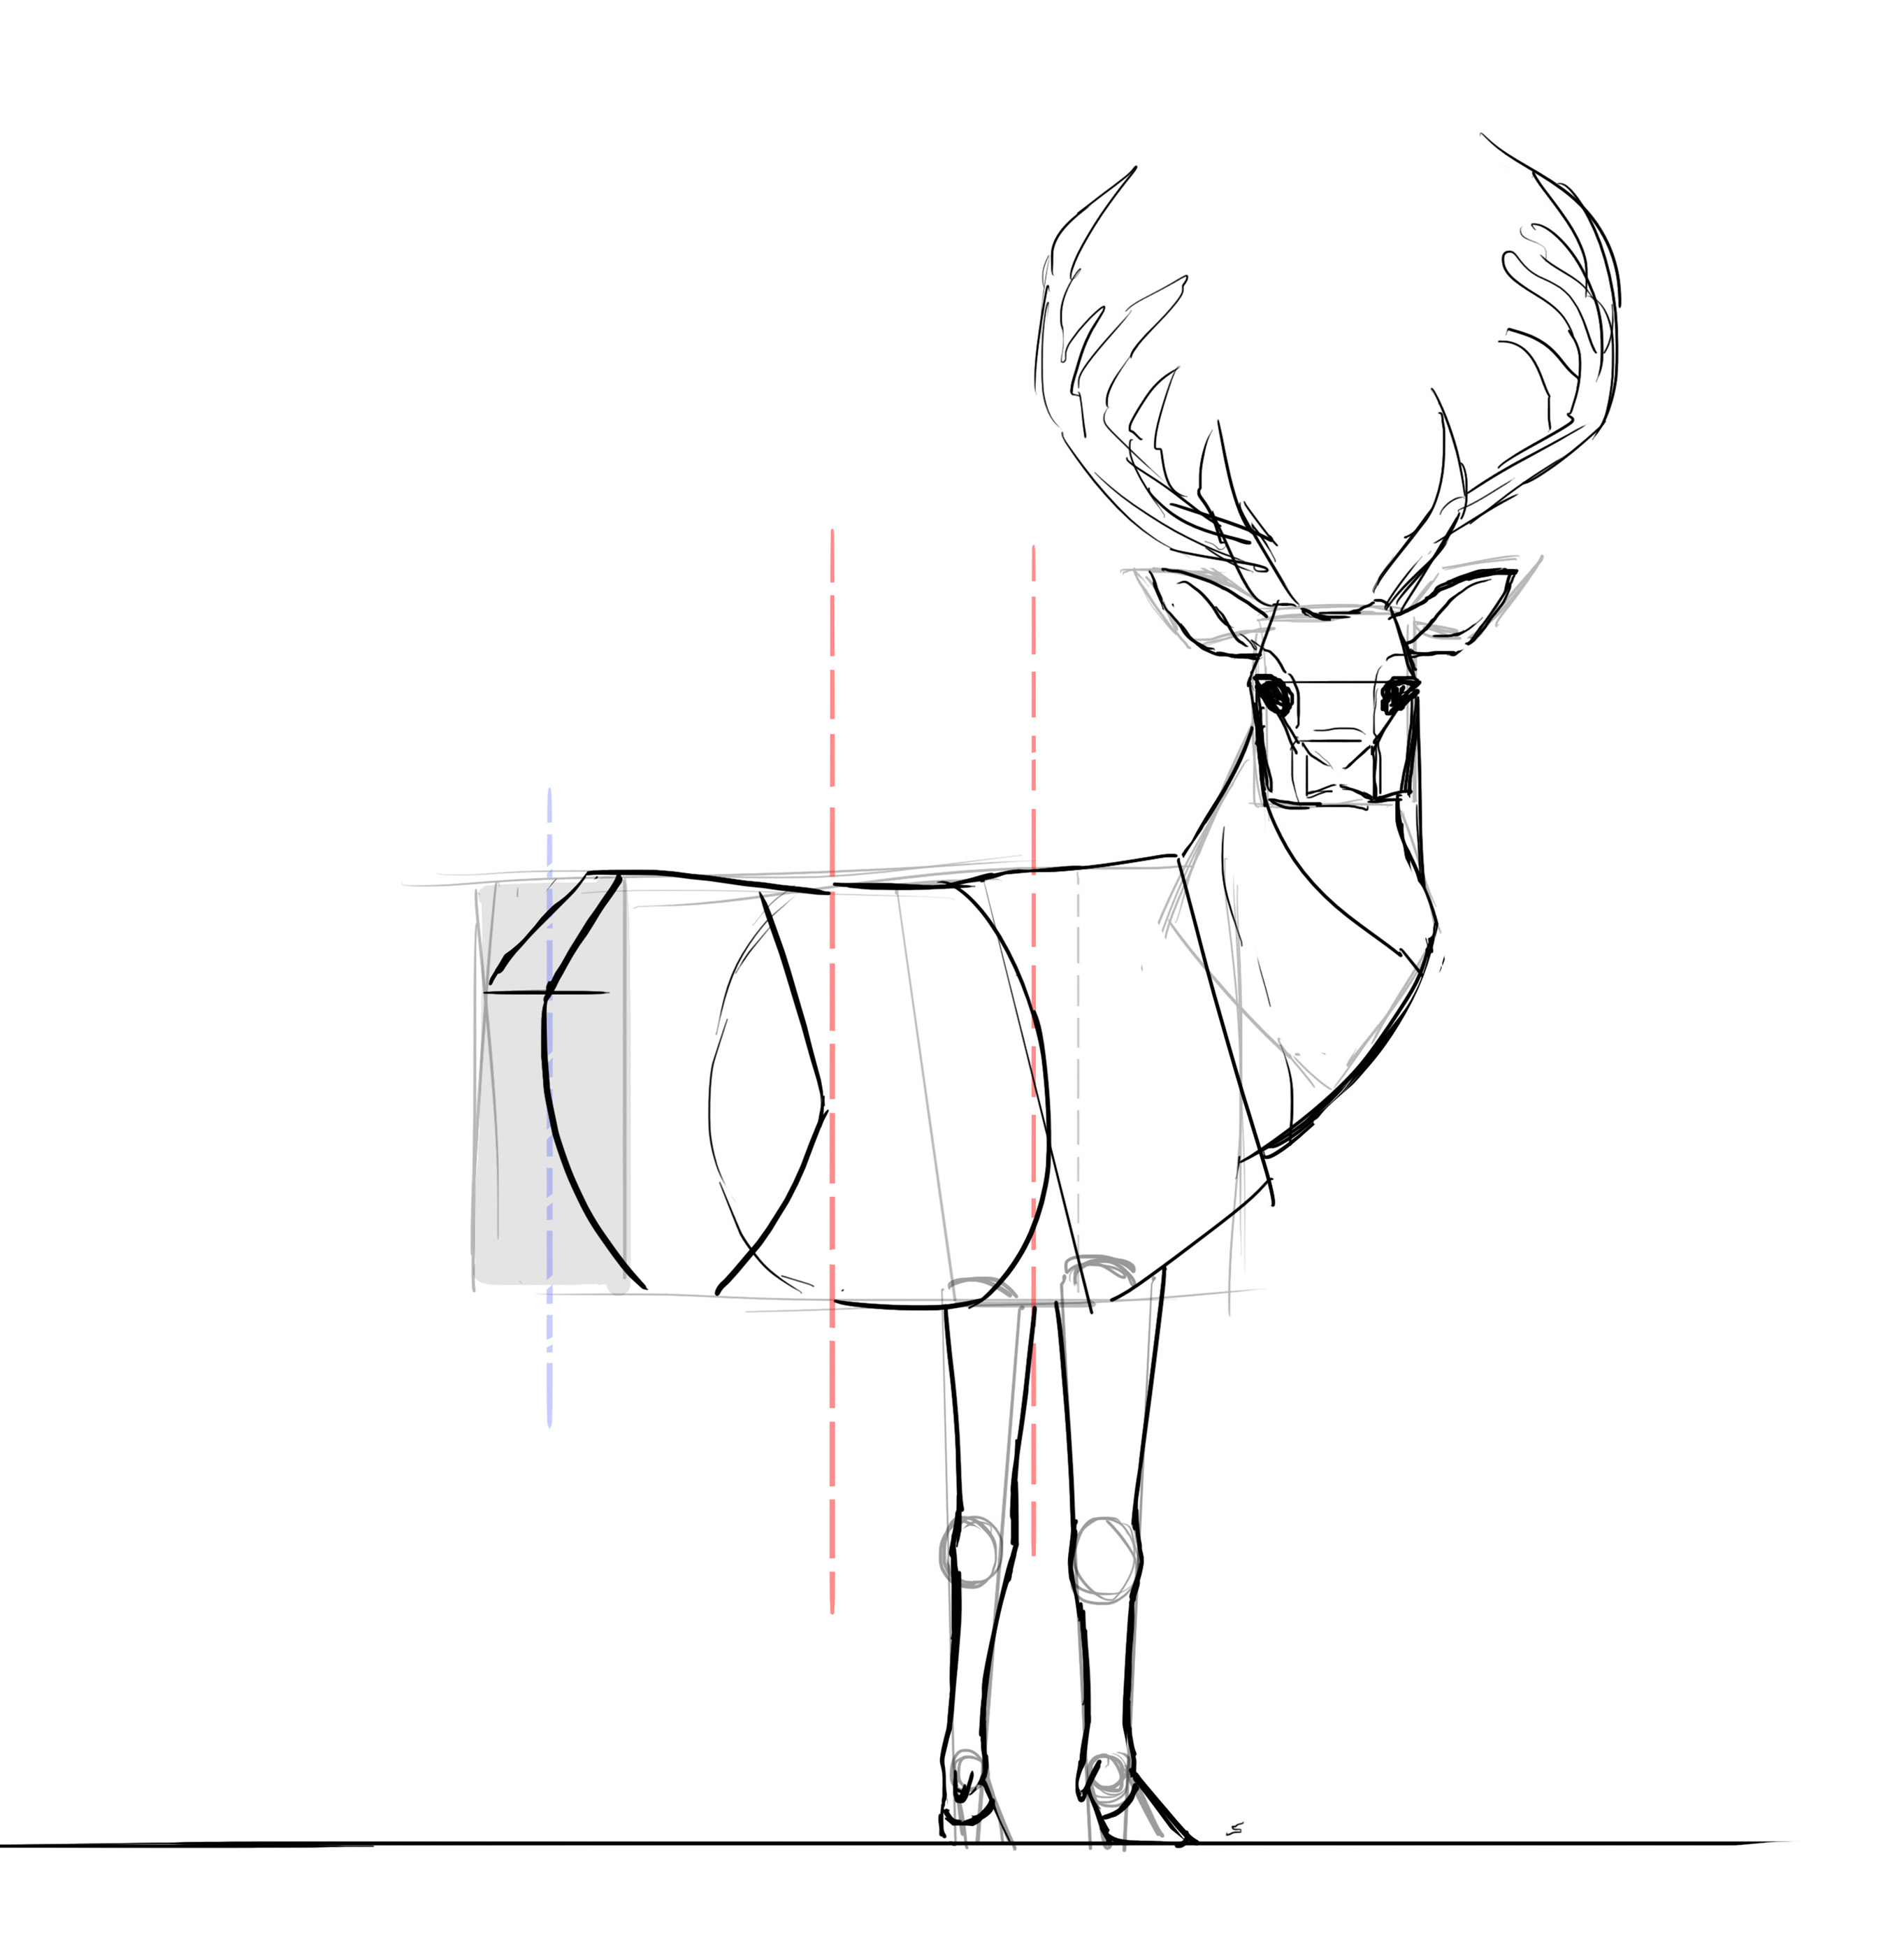
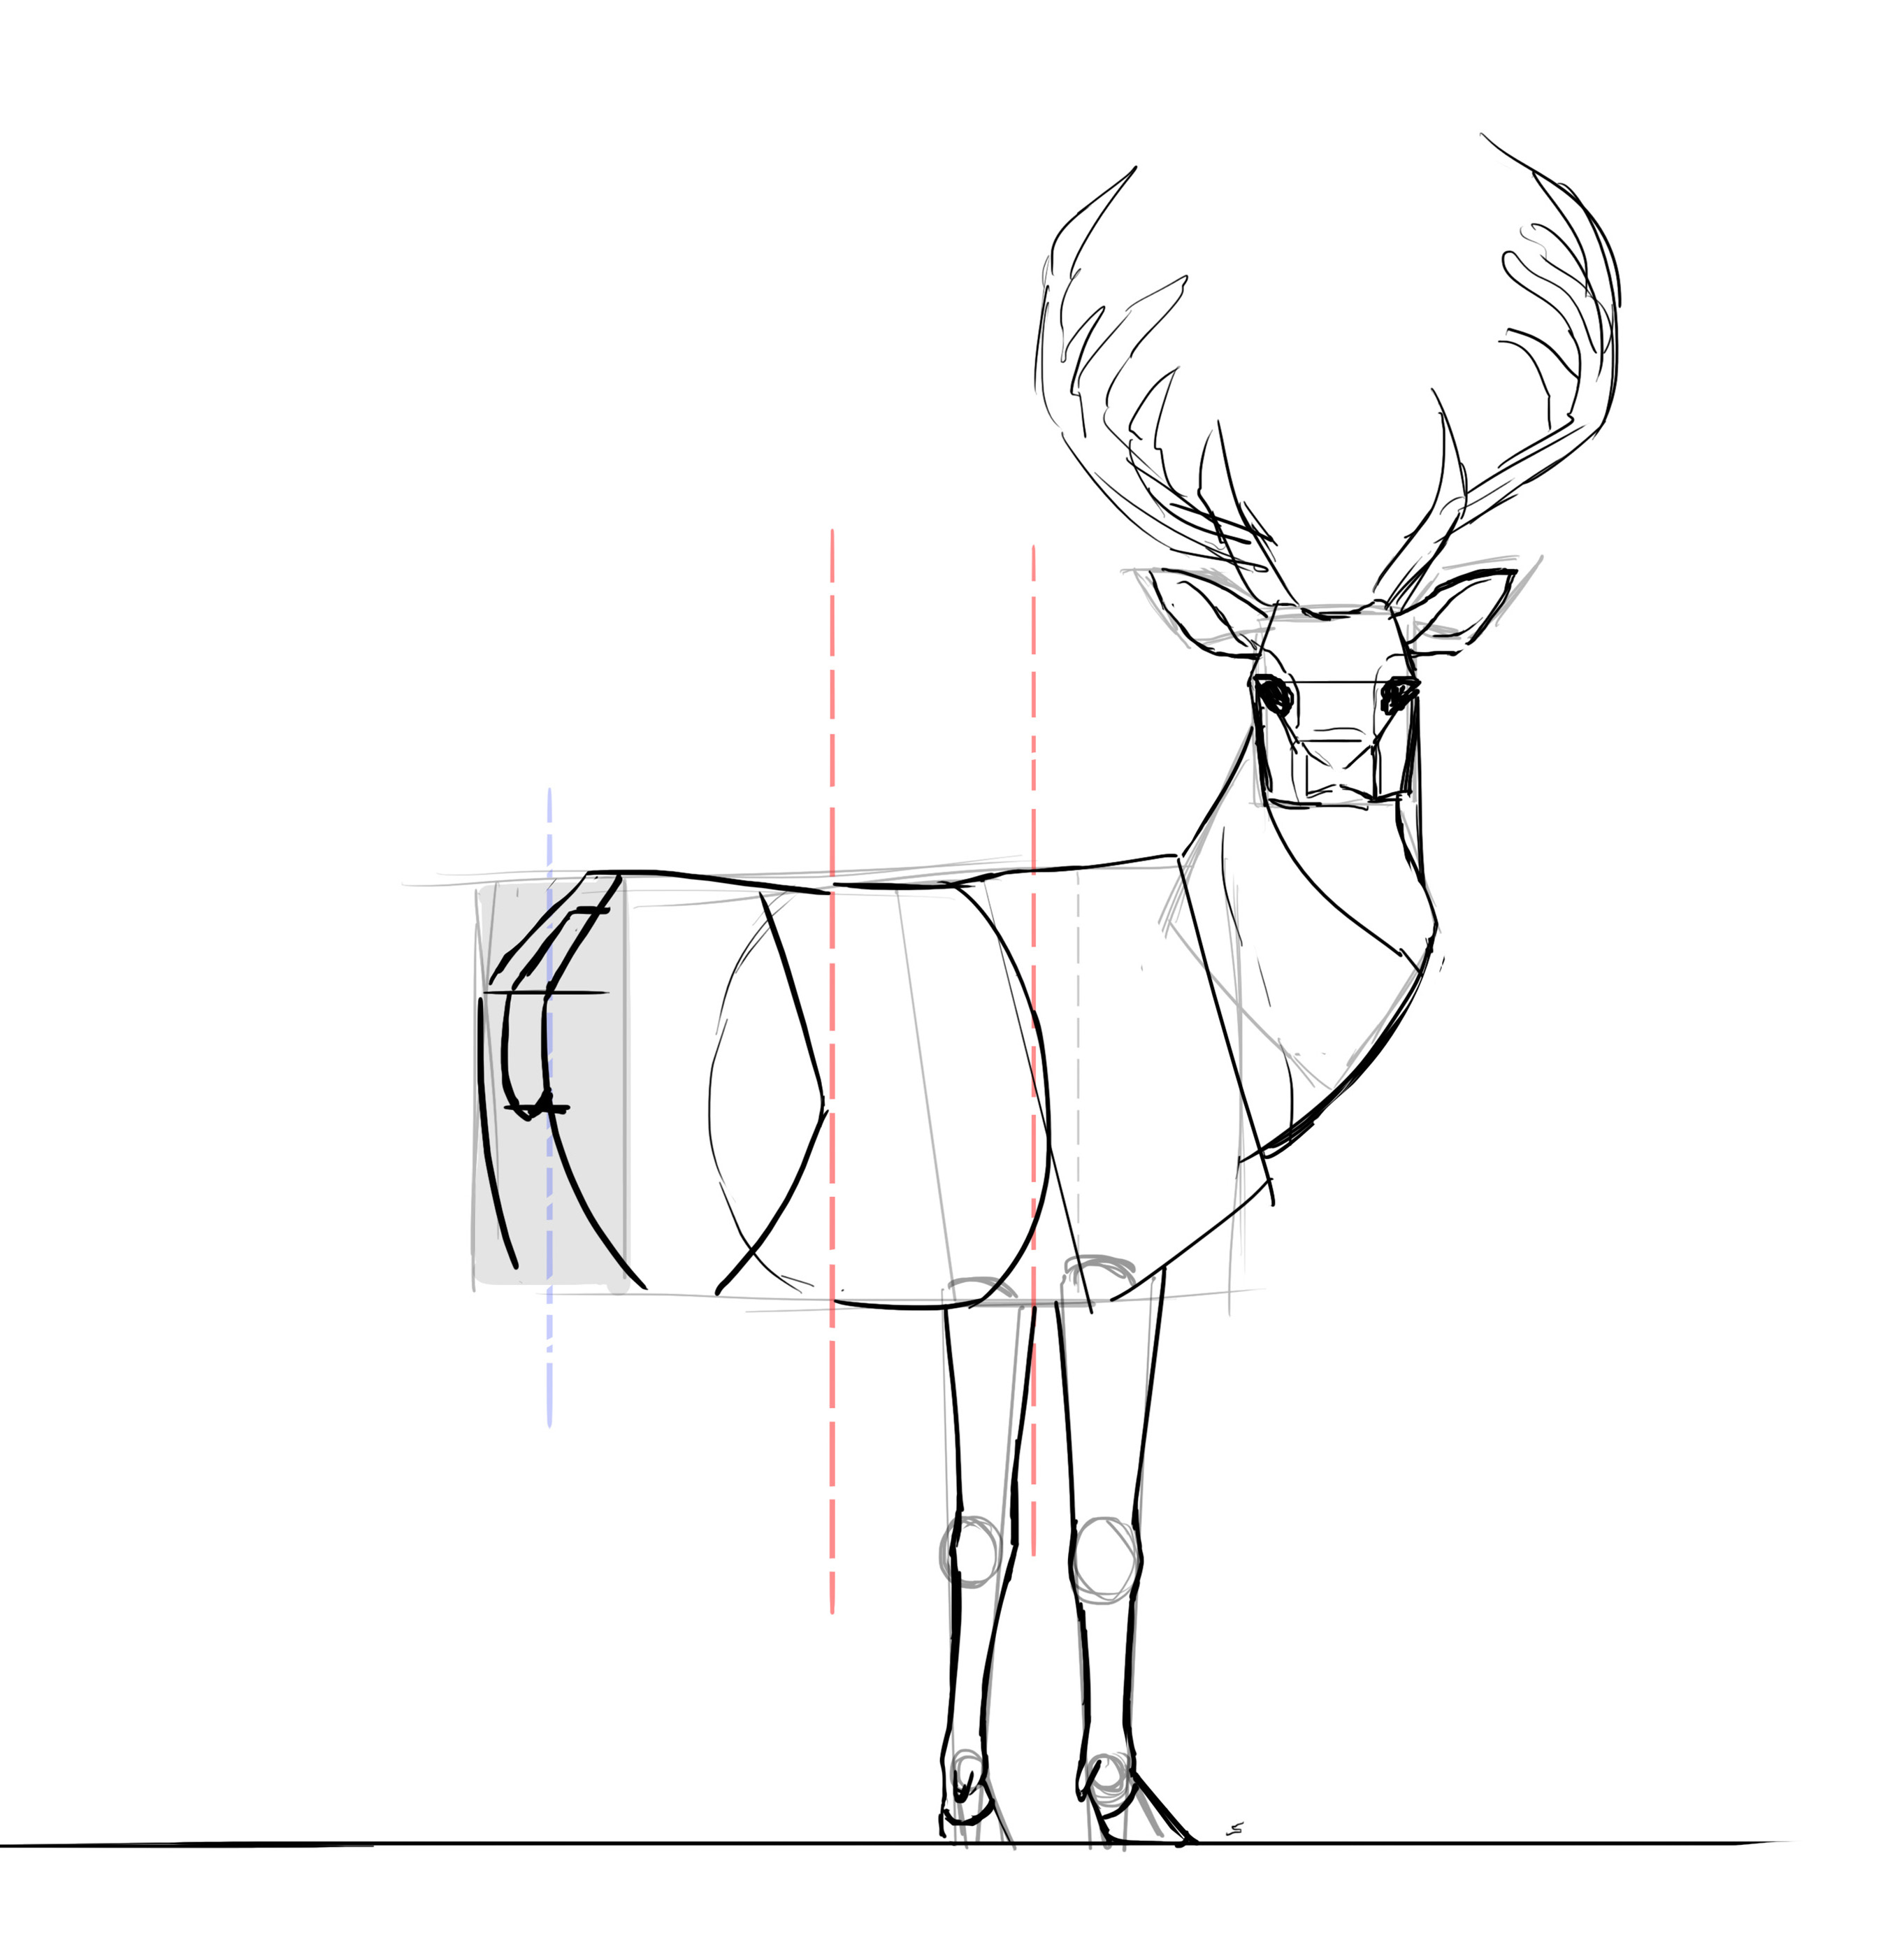
And the left side with the thighs and hindquarters from which the hind legs descend. Since our deer is slightly turned away from us in this photo, I will therefore transform my rectangle into a parallelepiped.

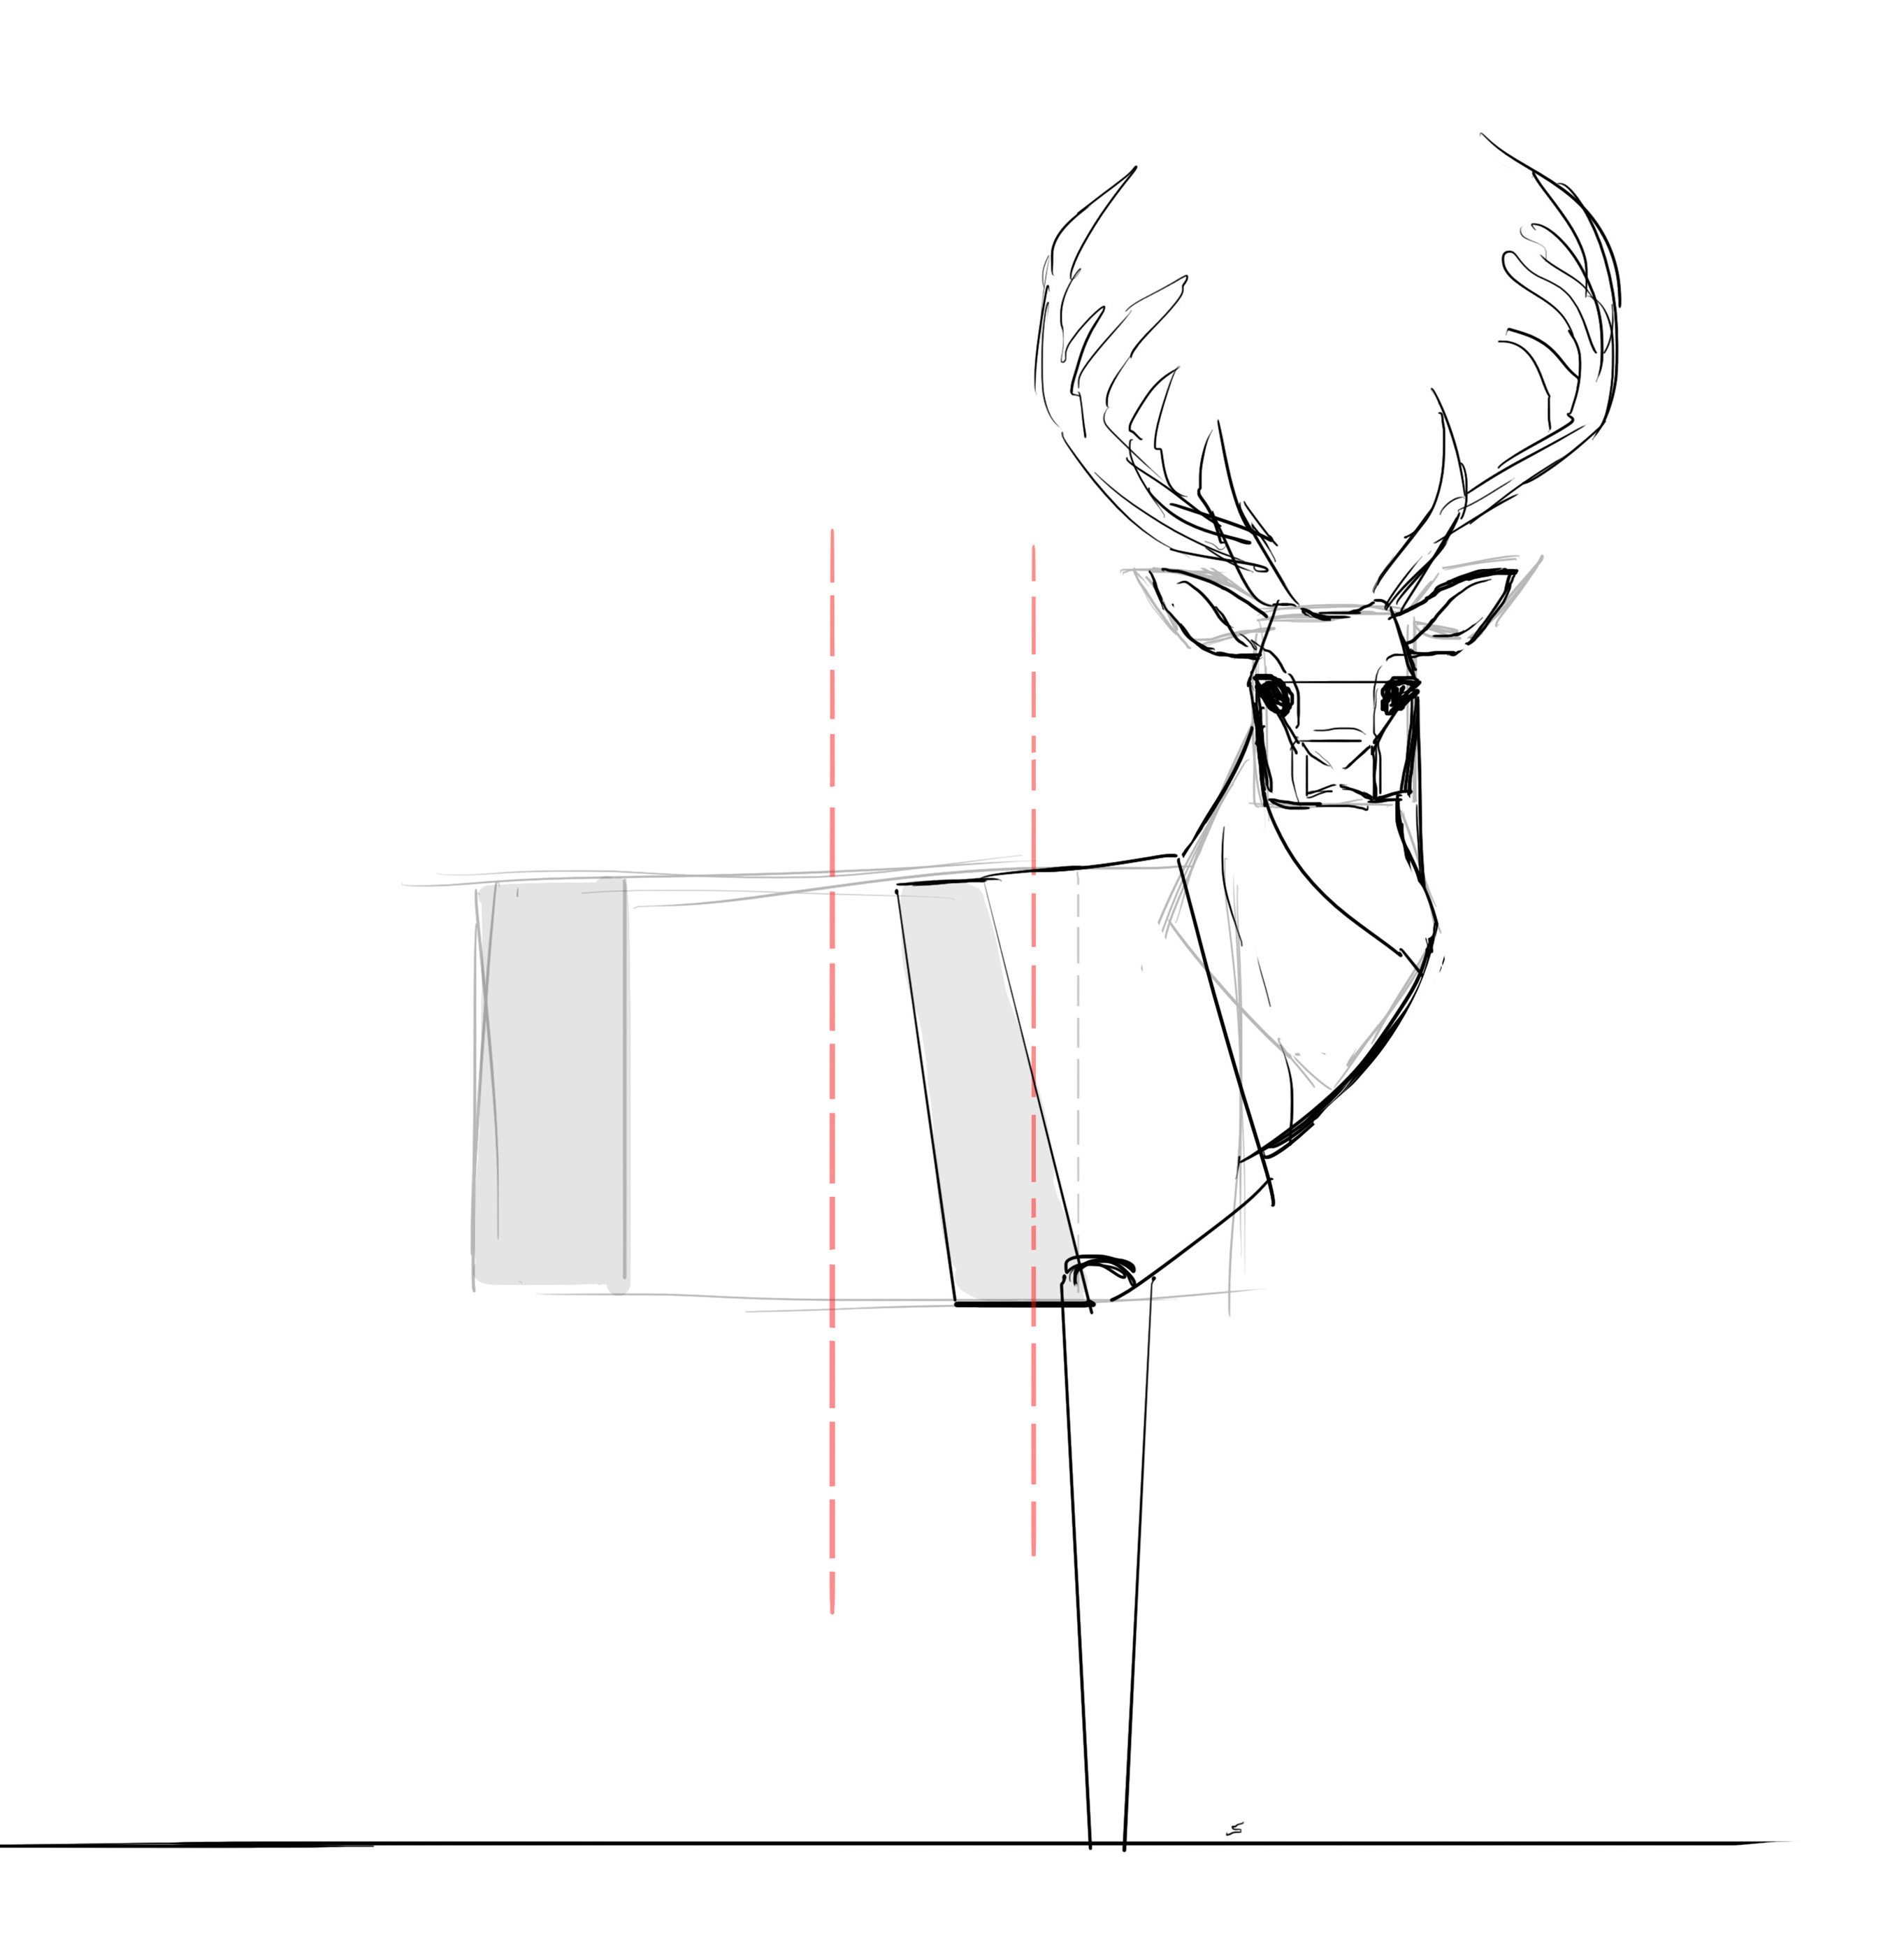
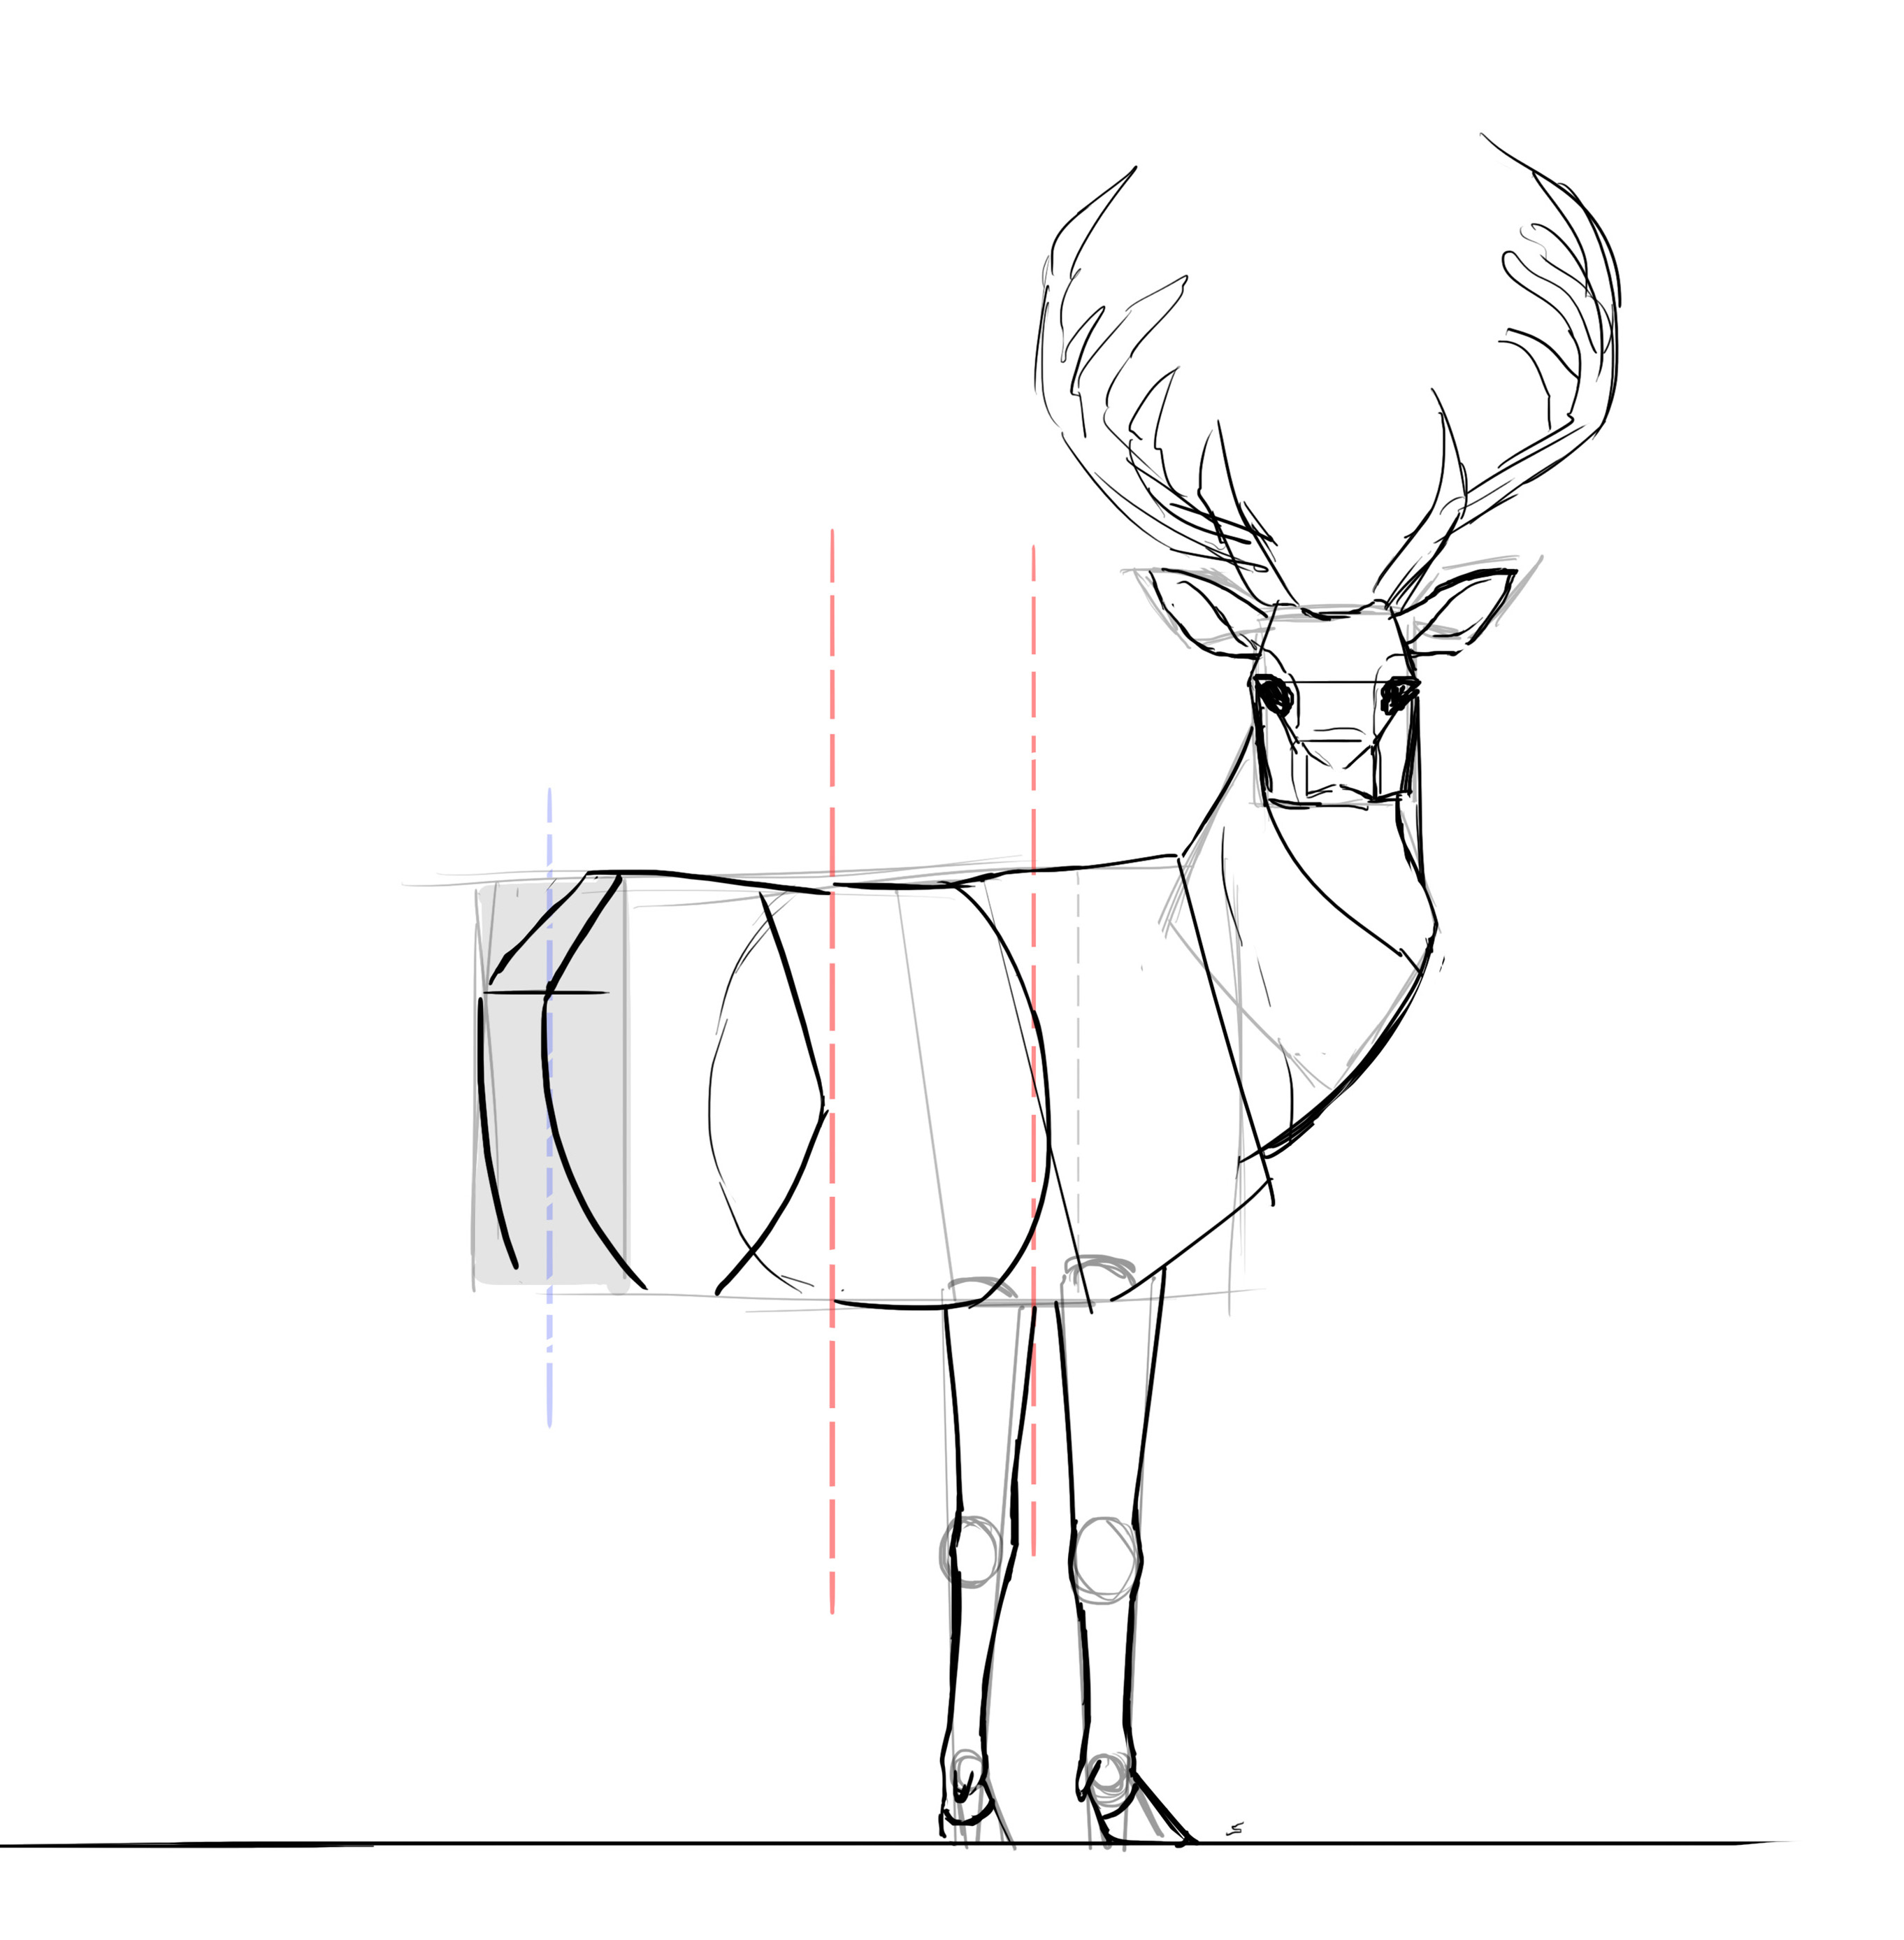
The right side begins at an angle with the shoulder blades. Personally, I perceive this area as a trapezoid. At its base, I lower the right front leg.
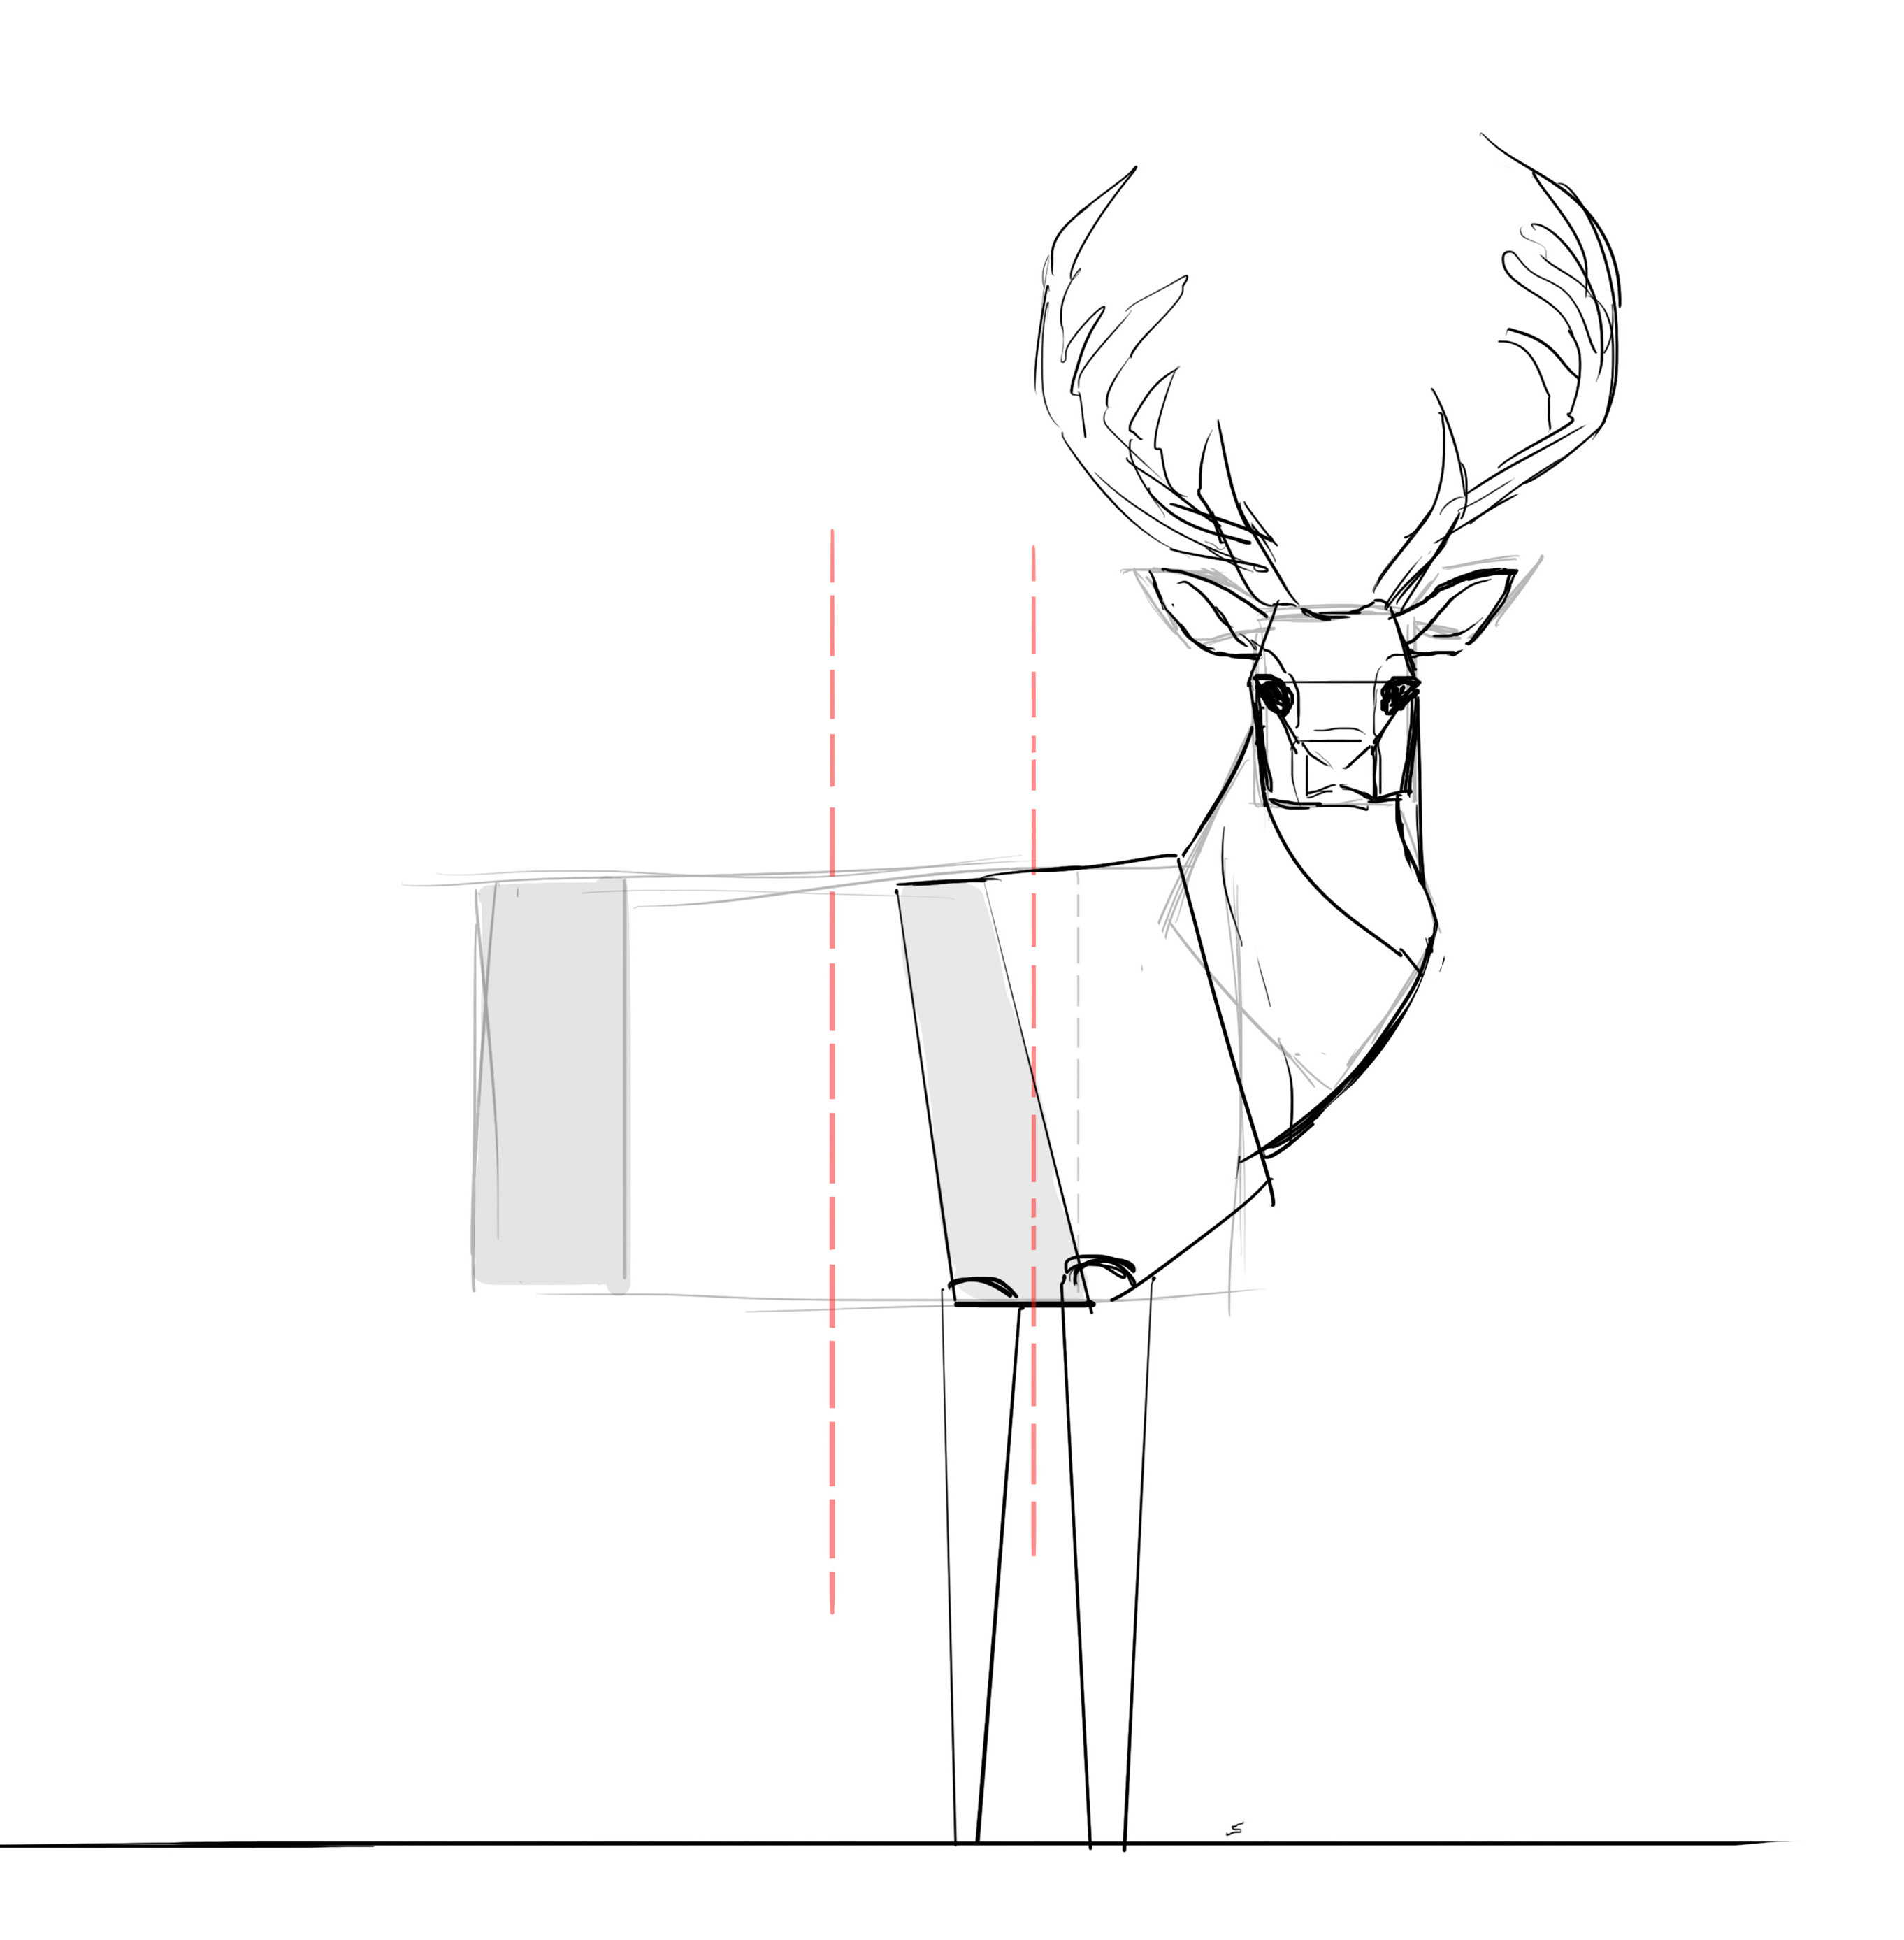
As we are viewing from the back, the left paw is not aligned, but slightly offset. I show you schematically the structure so that you can clearly visualize what I mean. So we place it as well.
Deer legs are similar to those of their herbivorous cousins like cows, horses, etc. Of course, I'm not referring to the hoof, which is very different, but to the rest of the leg. Starting in a cone shape from the shoulder to the elbow, the joint is thicker and forms a very visible bulge, before tapering from the elbow to the wrist (yes, I'm using human joints to help you understand better which part I'm talking about exactly ^^).
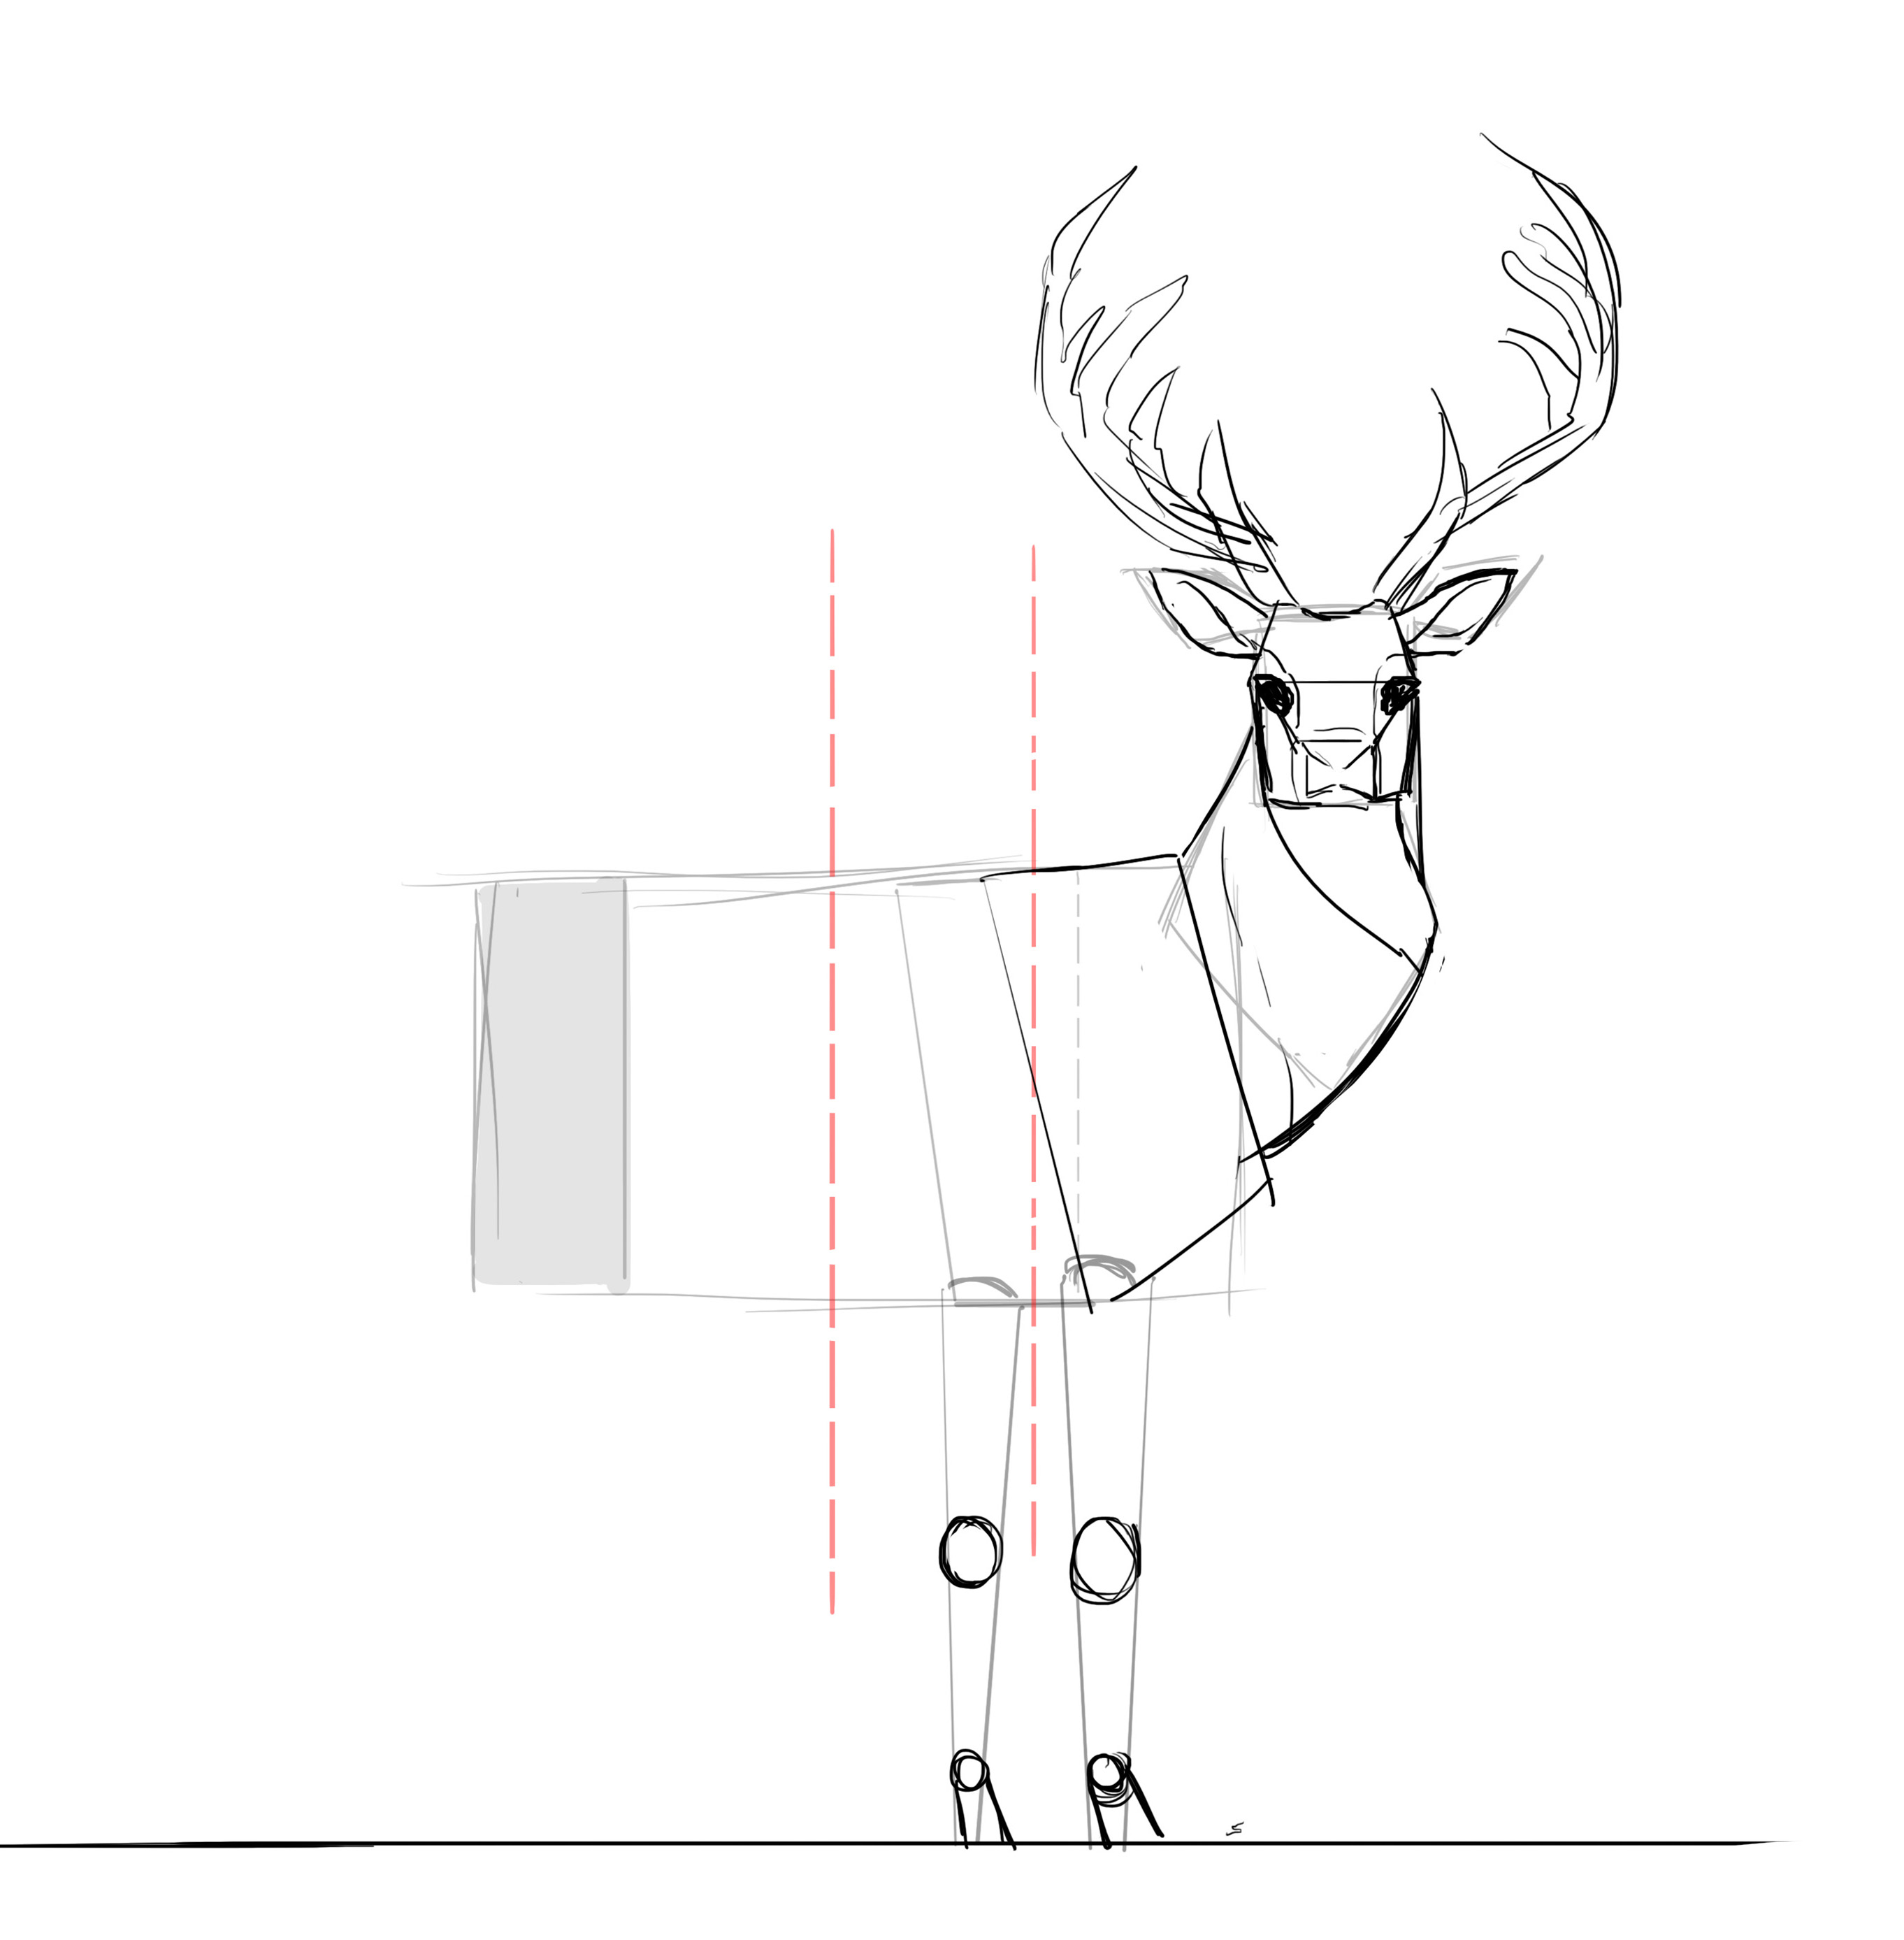
The hoof itself looks like this. Split in two and with a small higher nail on the leg. It structures quite easily, a tube, with a bulge at the joint and a triangular shape for the nails / hooves.
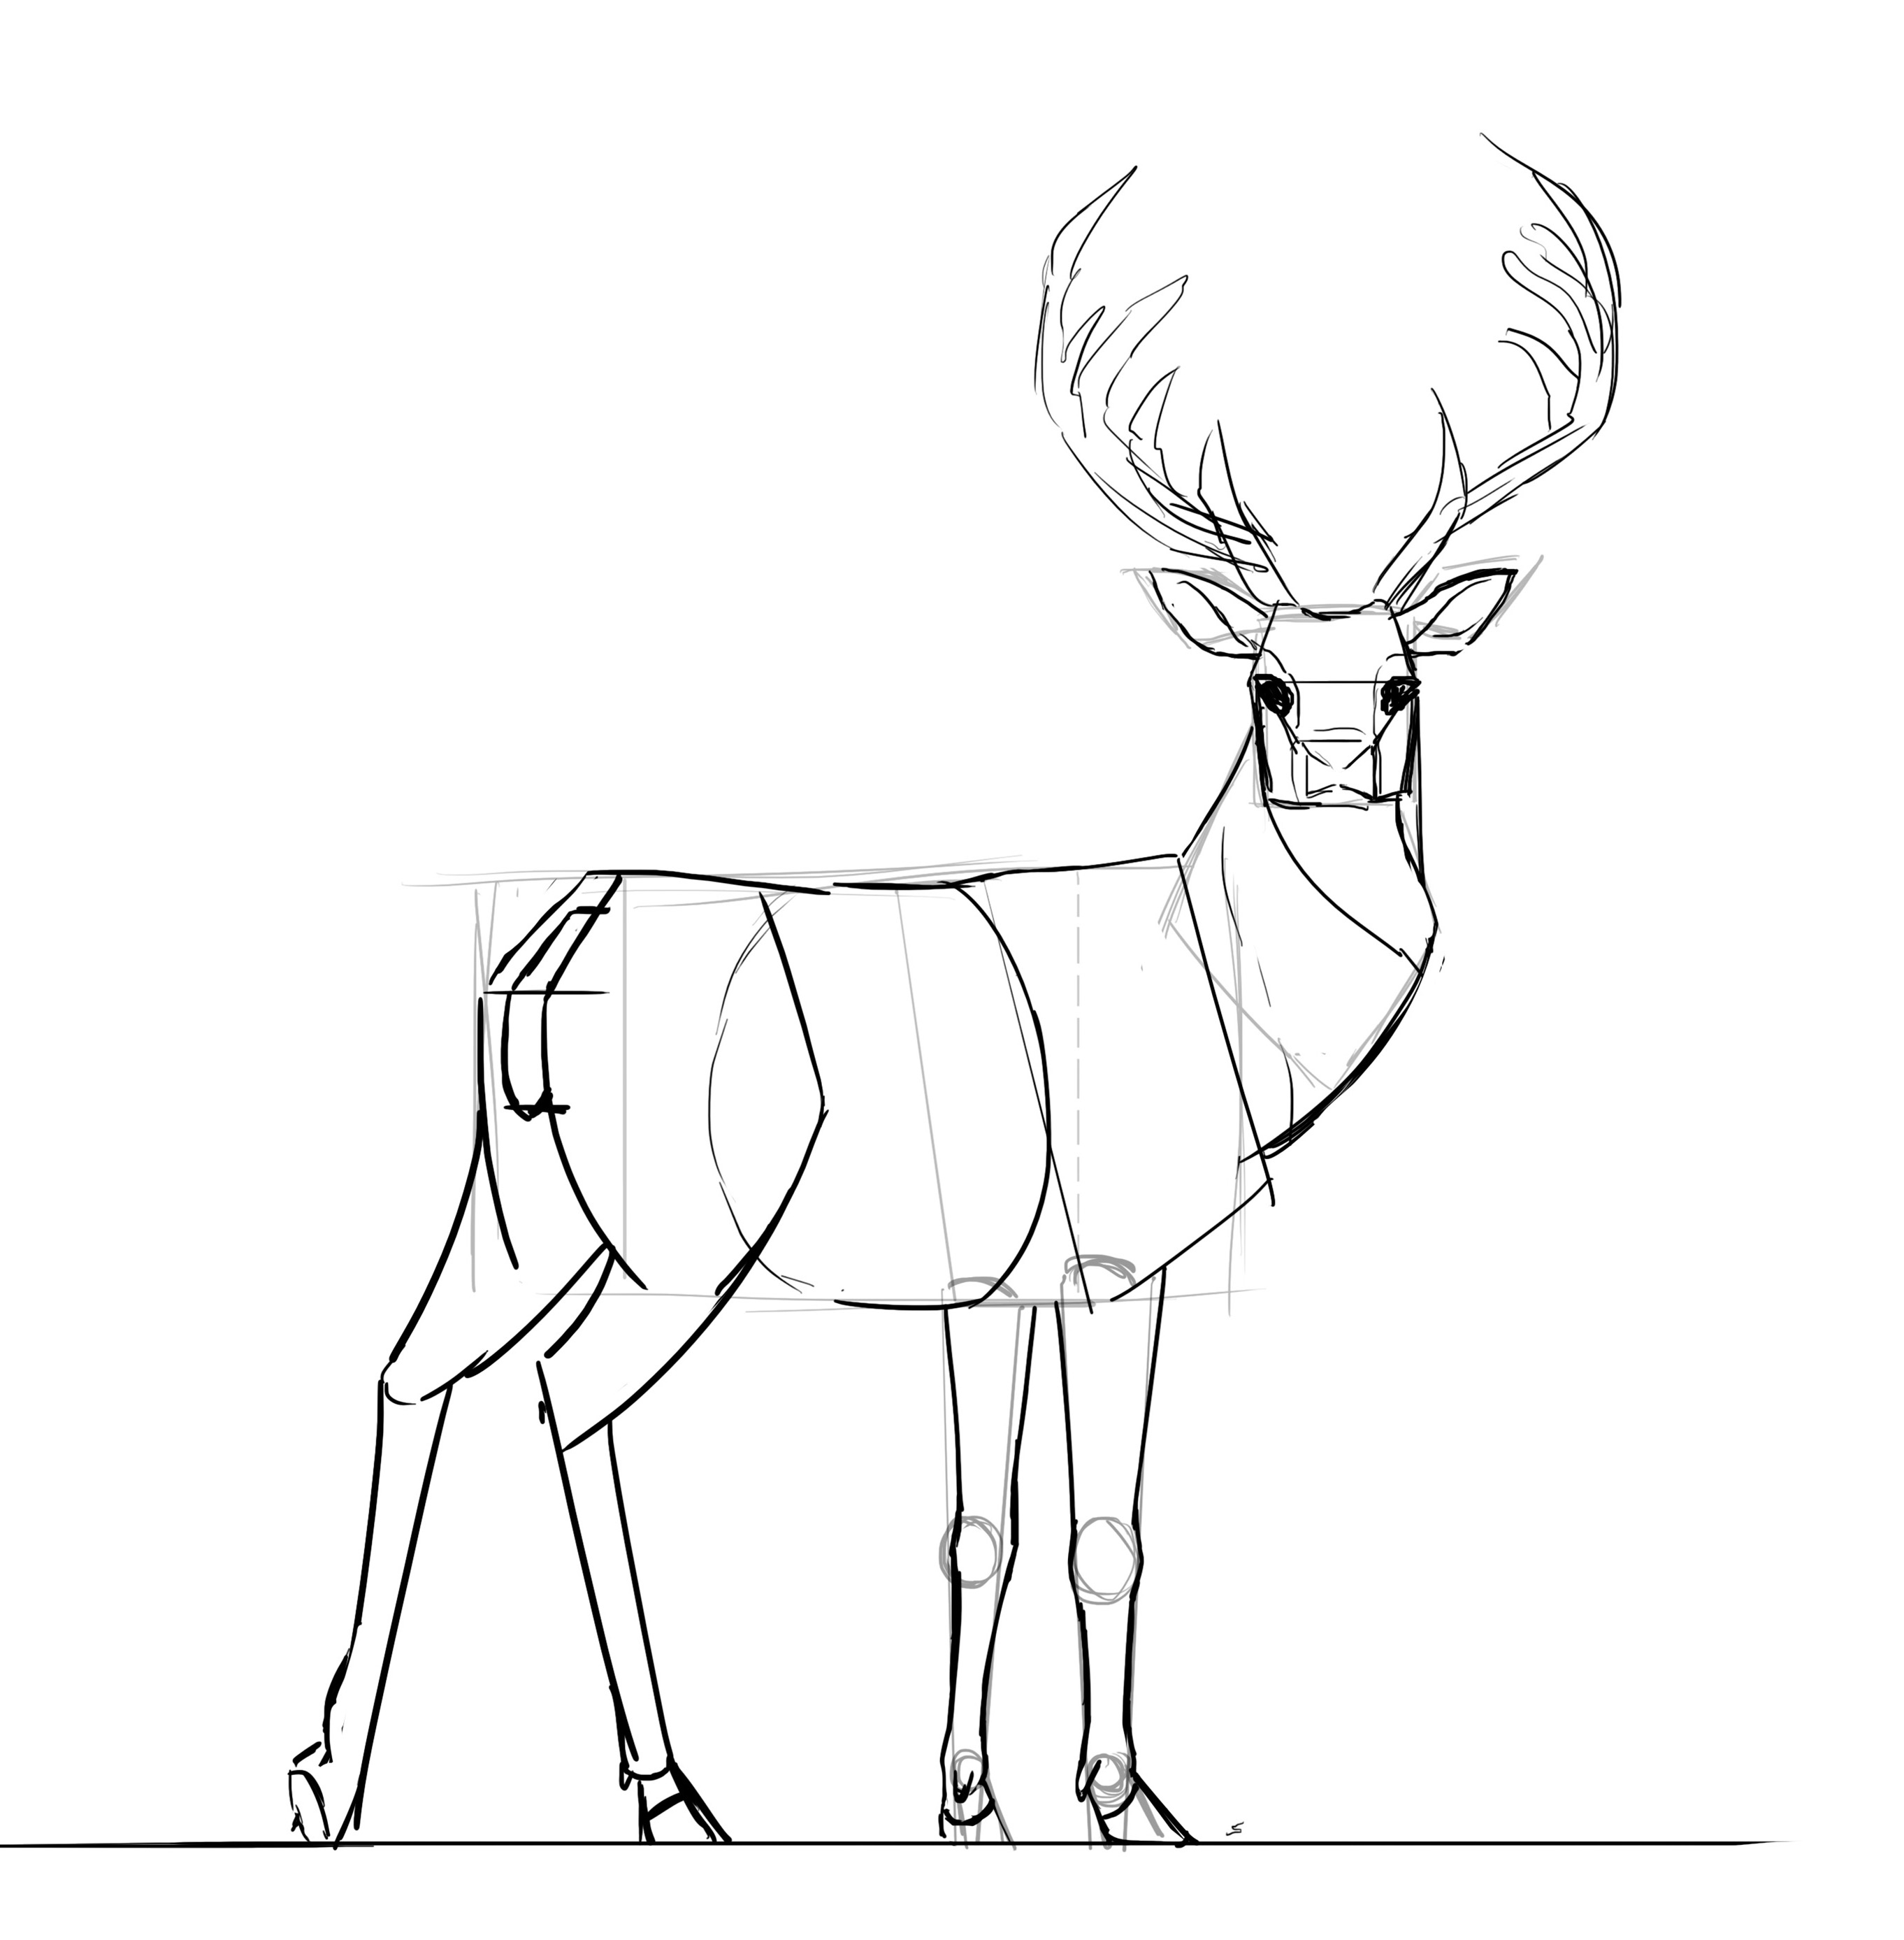
This gives us the following for the forelegs.
The belly is simpler to make, just bouncy, there's not much sorcery here.
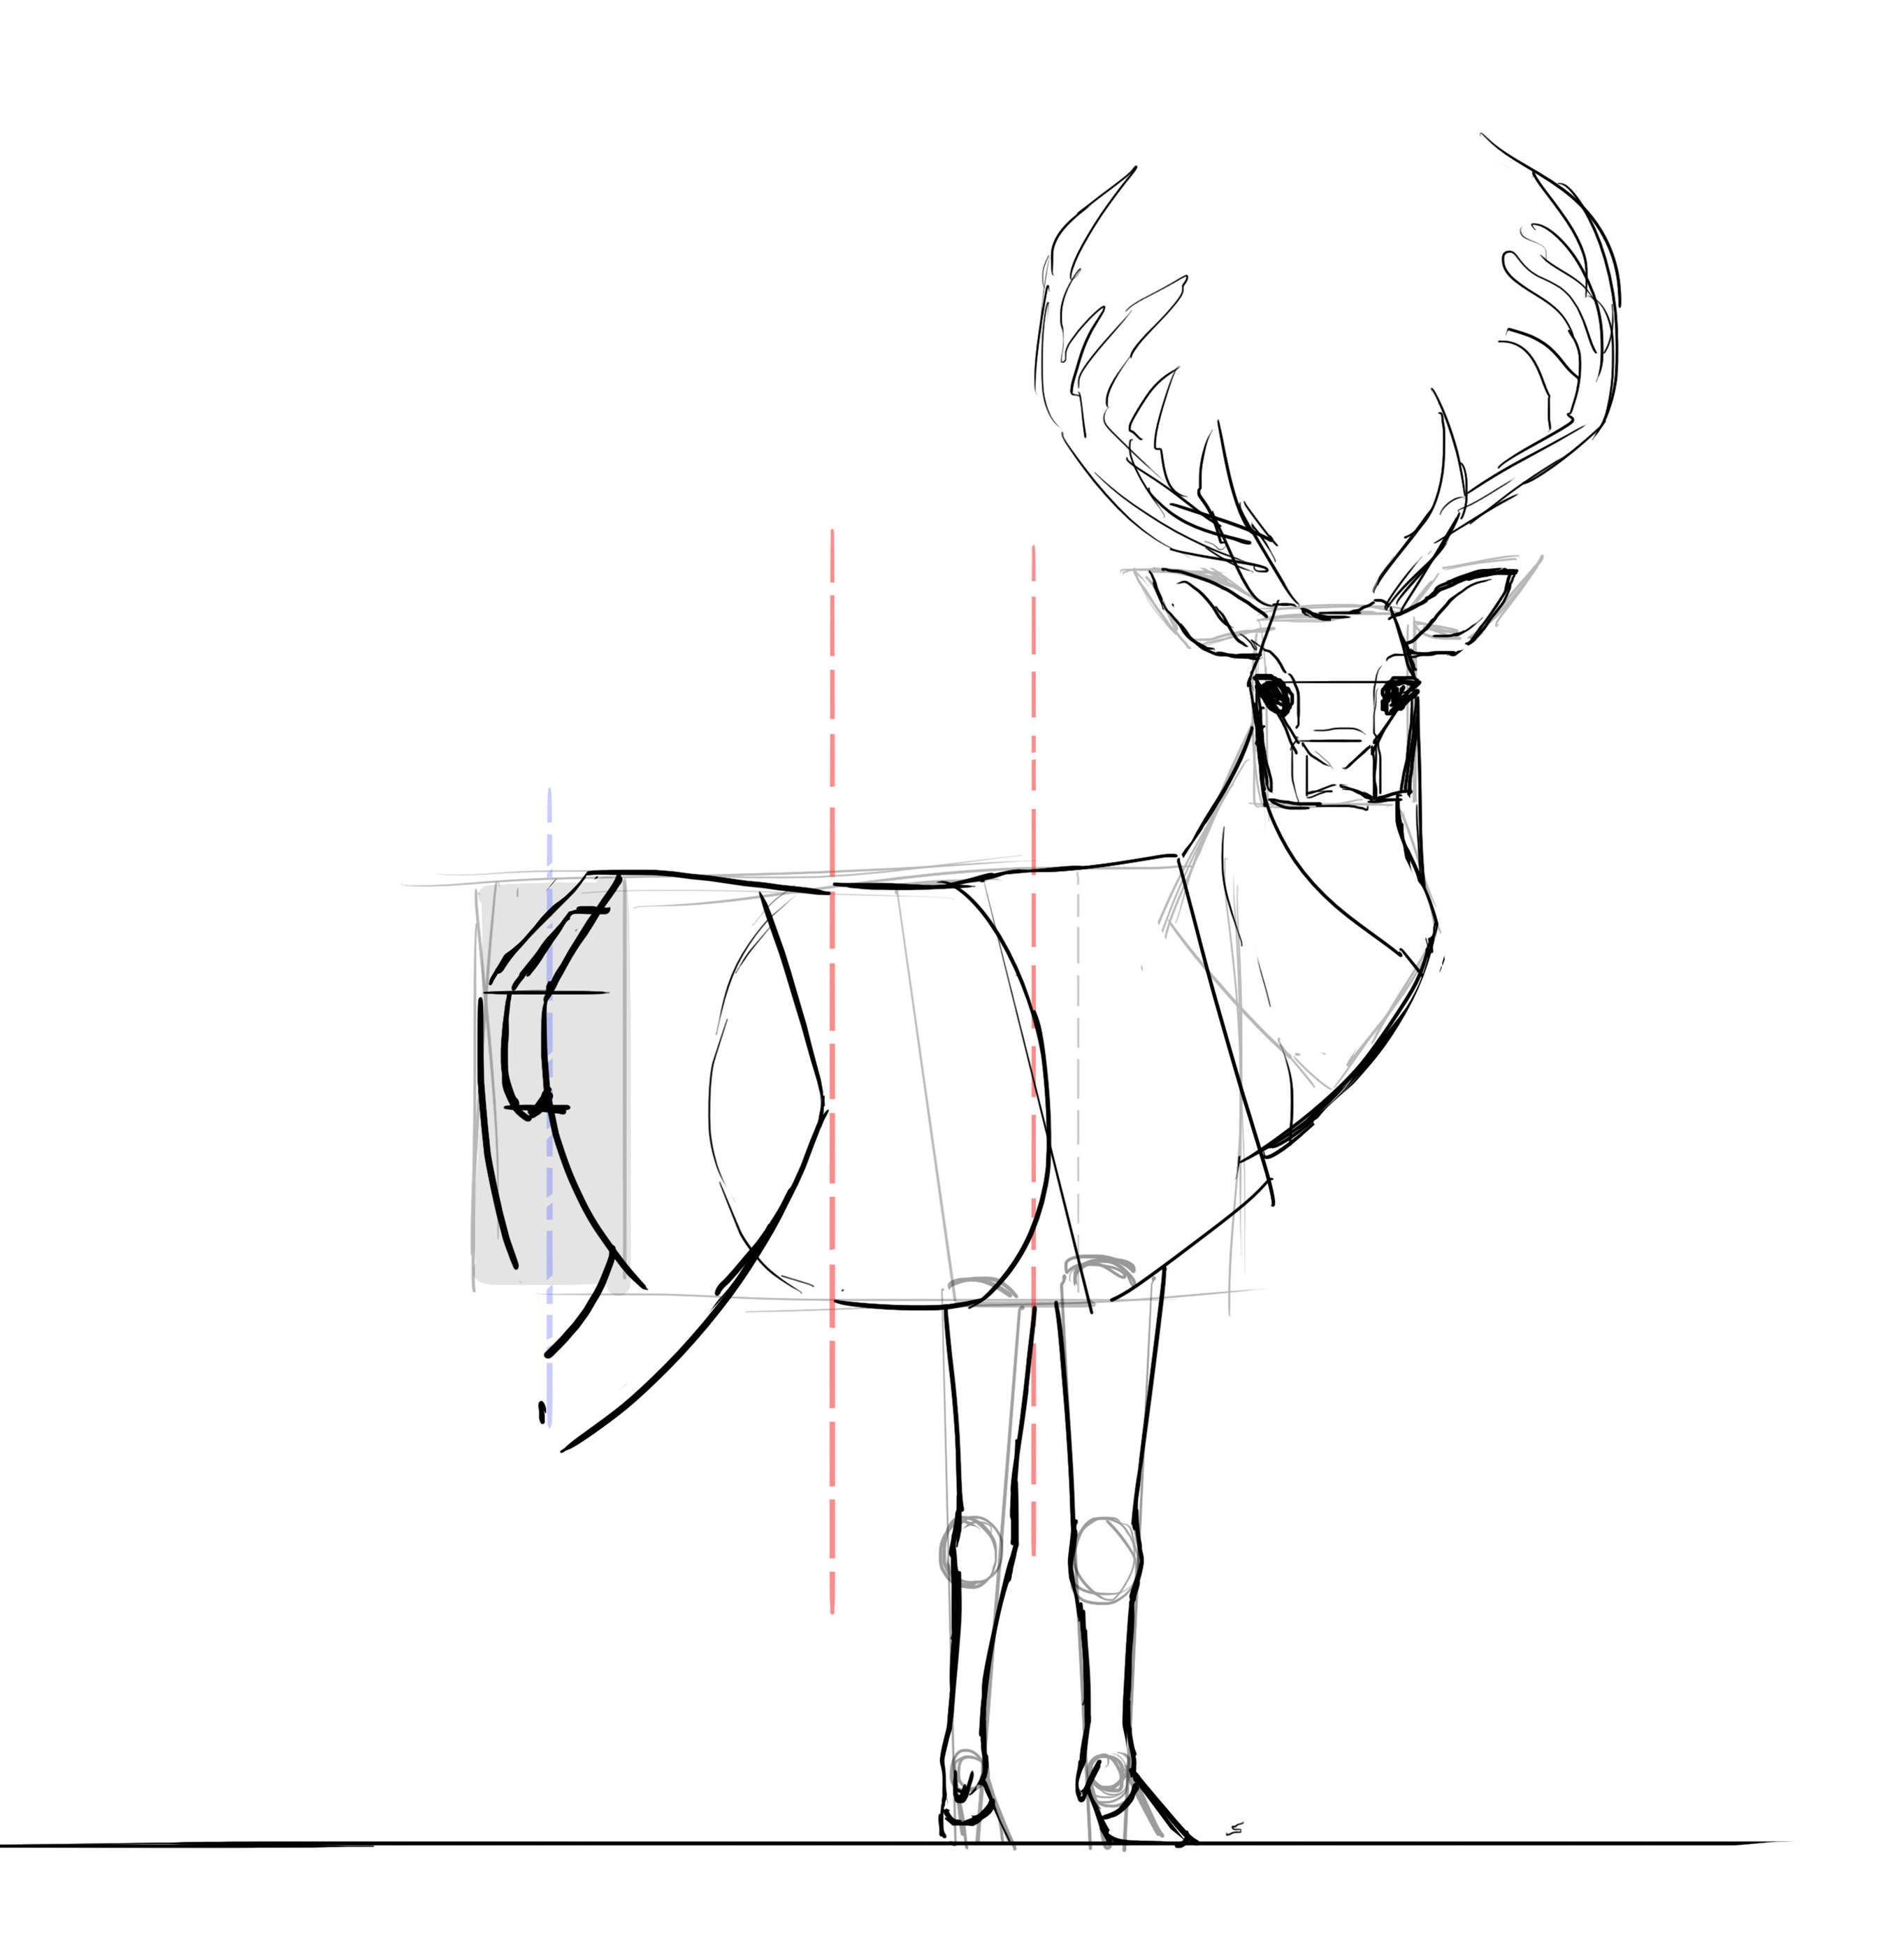
The rear is more interesting, however. We can clearly see the two hind thighs and draw them in a vague potato/diamond shape that we divide in two.
The tail will be placed about here, its base starting at a quarter of the height and its end at about half.
Then we make a nice arc for the inclination of the thigh and the first joint of the leg (the equivalent of our knee, but which bends in the opposite direction from ours).
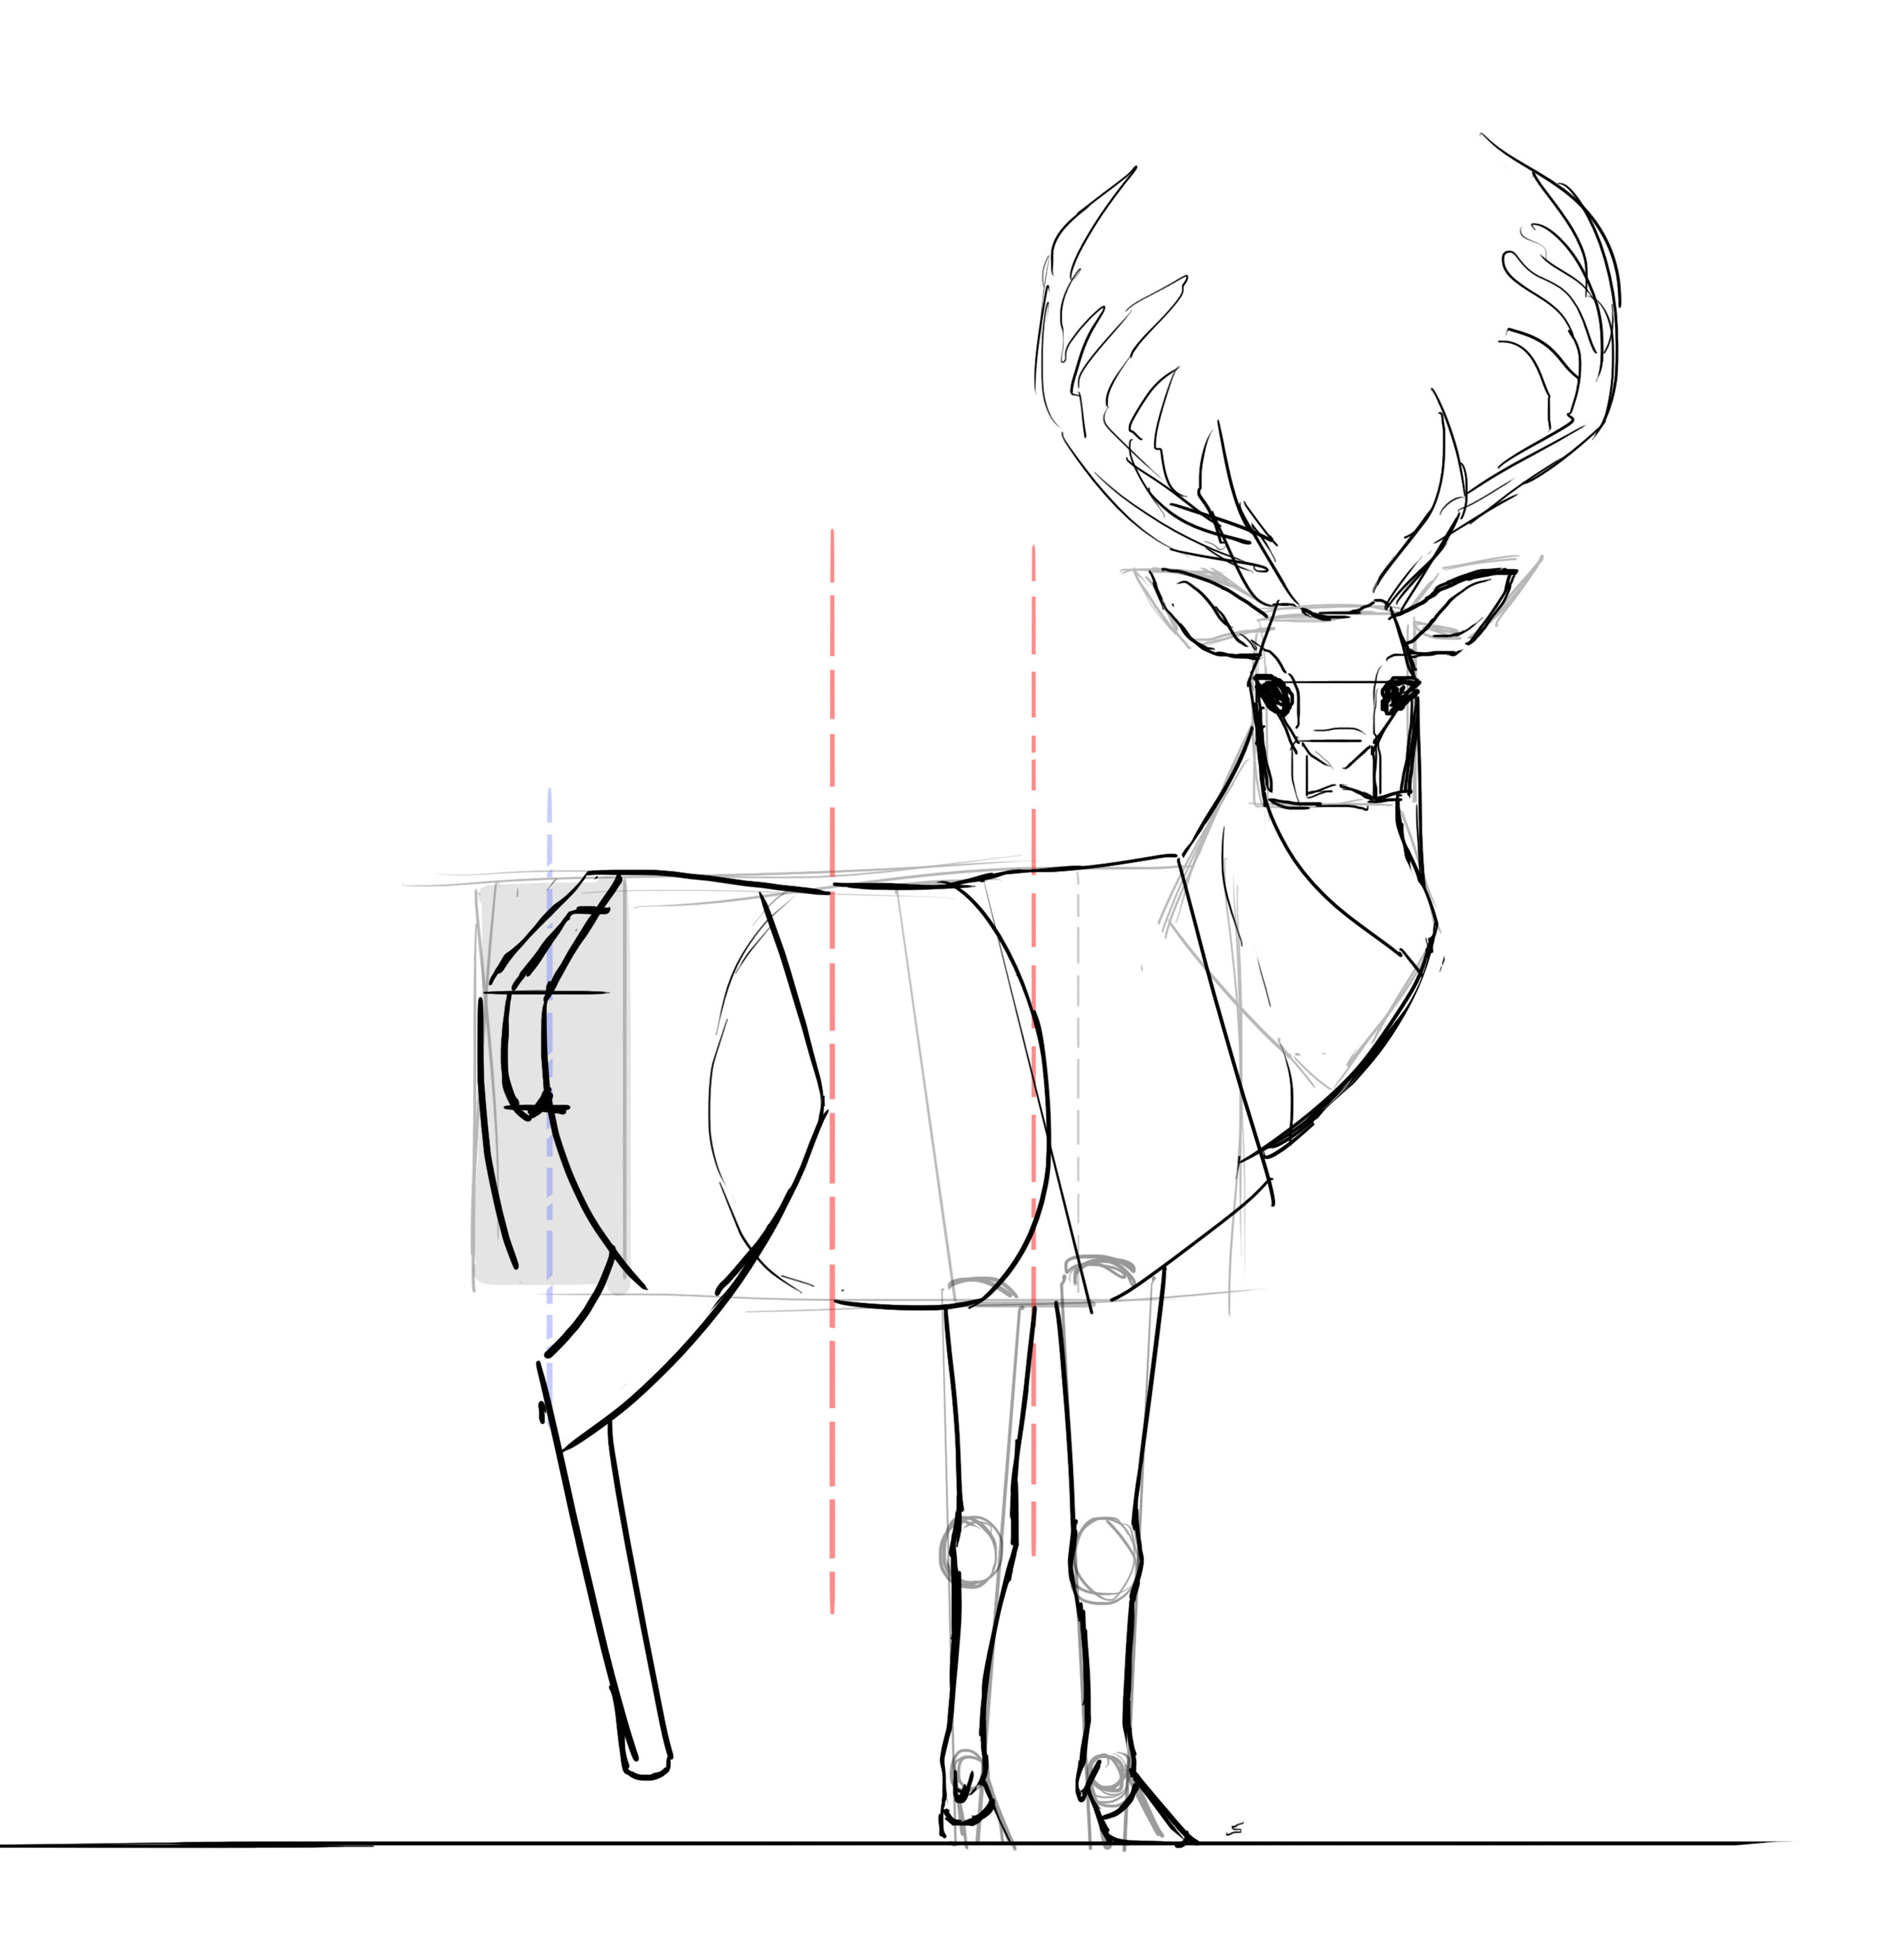
Then we turn to come back almost vertically, slightly tilted backwards. Same principle for the left leg, but with slight changes in the inclinations ^^ We detail our hind legs like our front legs, with a variant for the thigh and the knee joint (see drawing opposite).
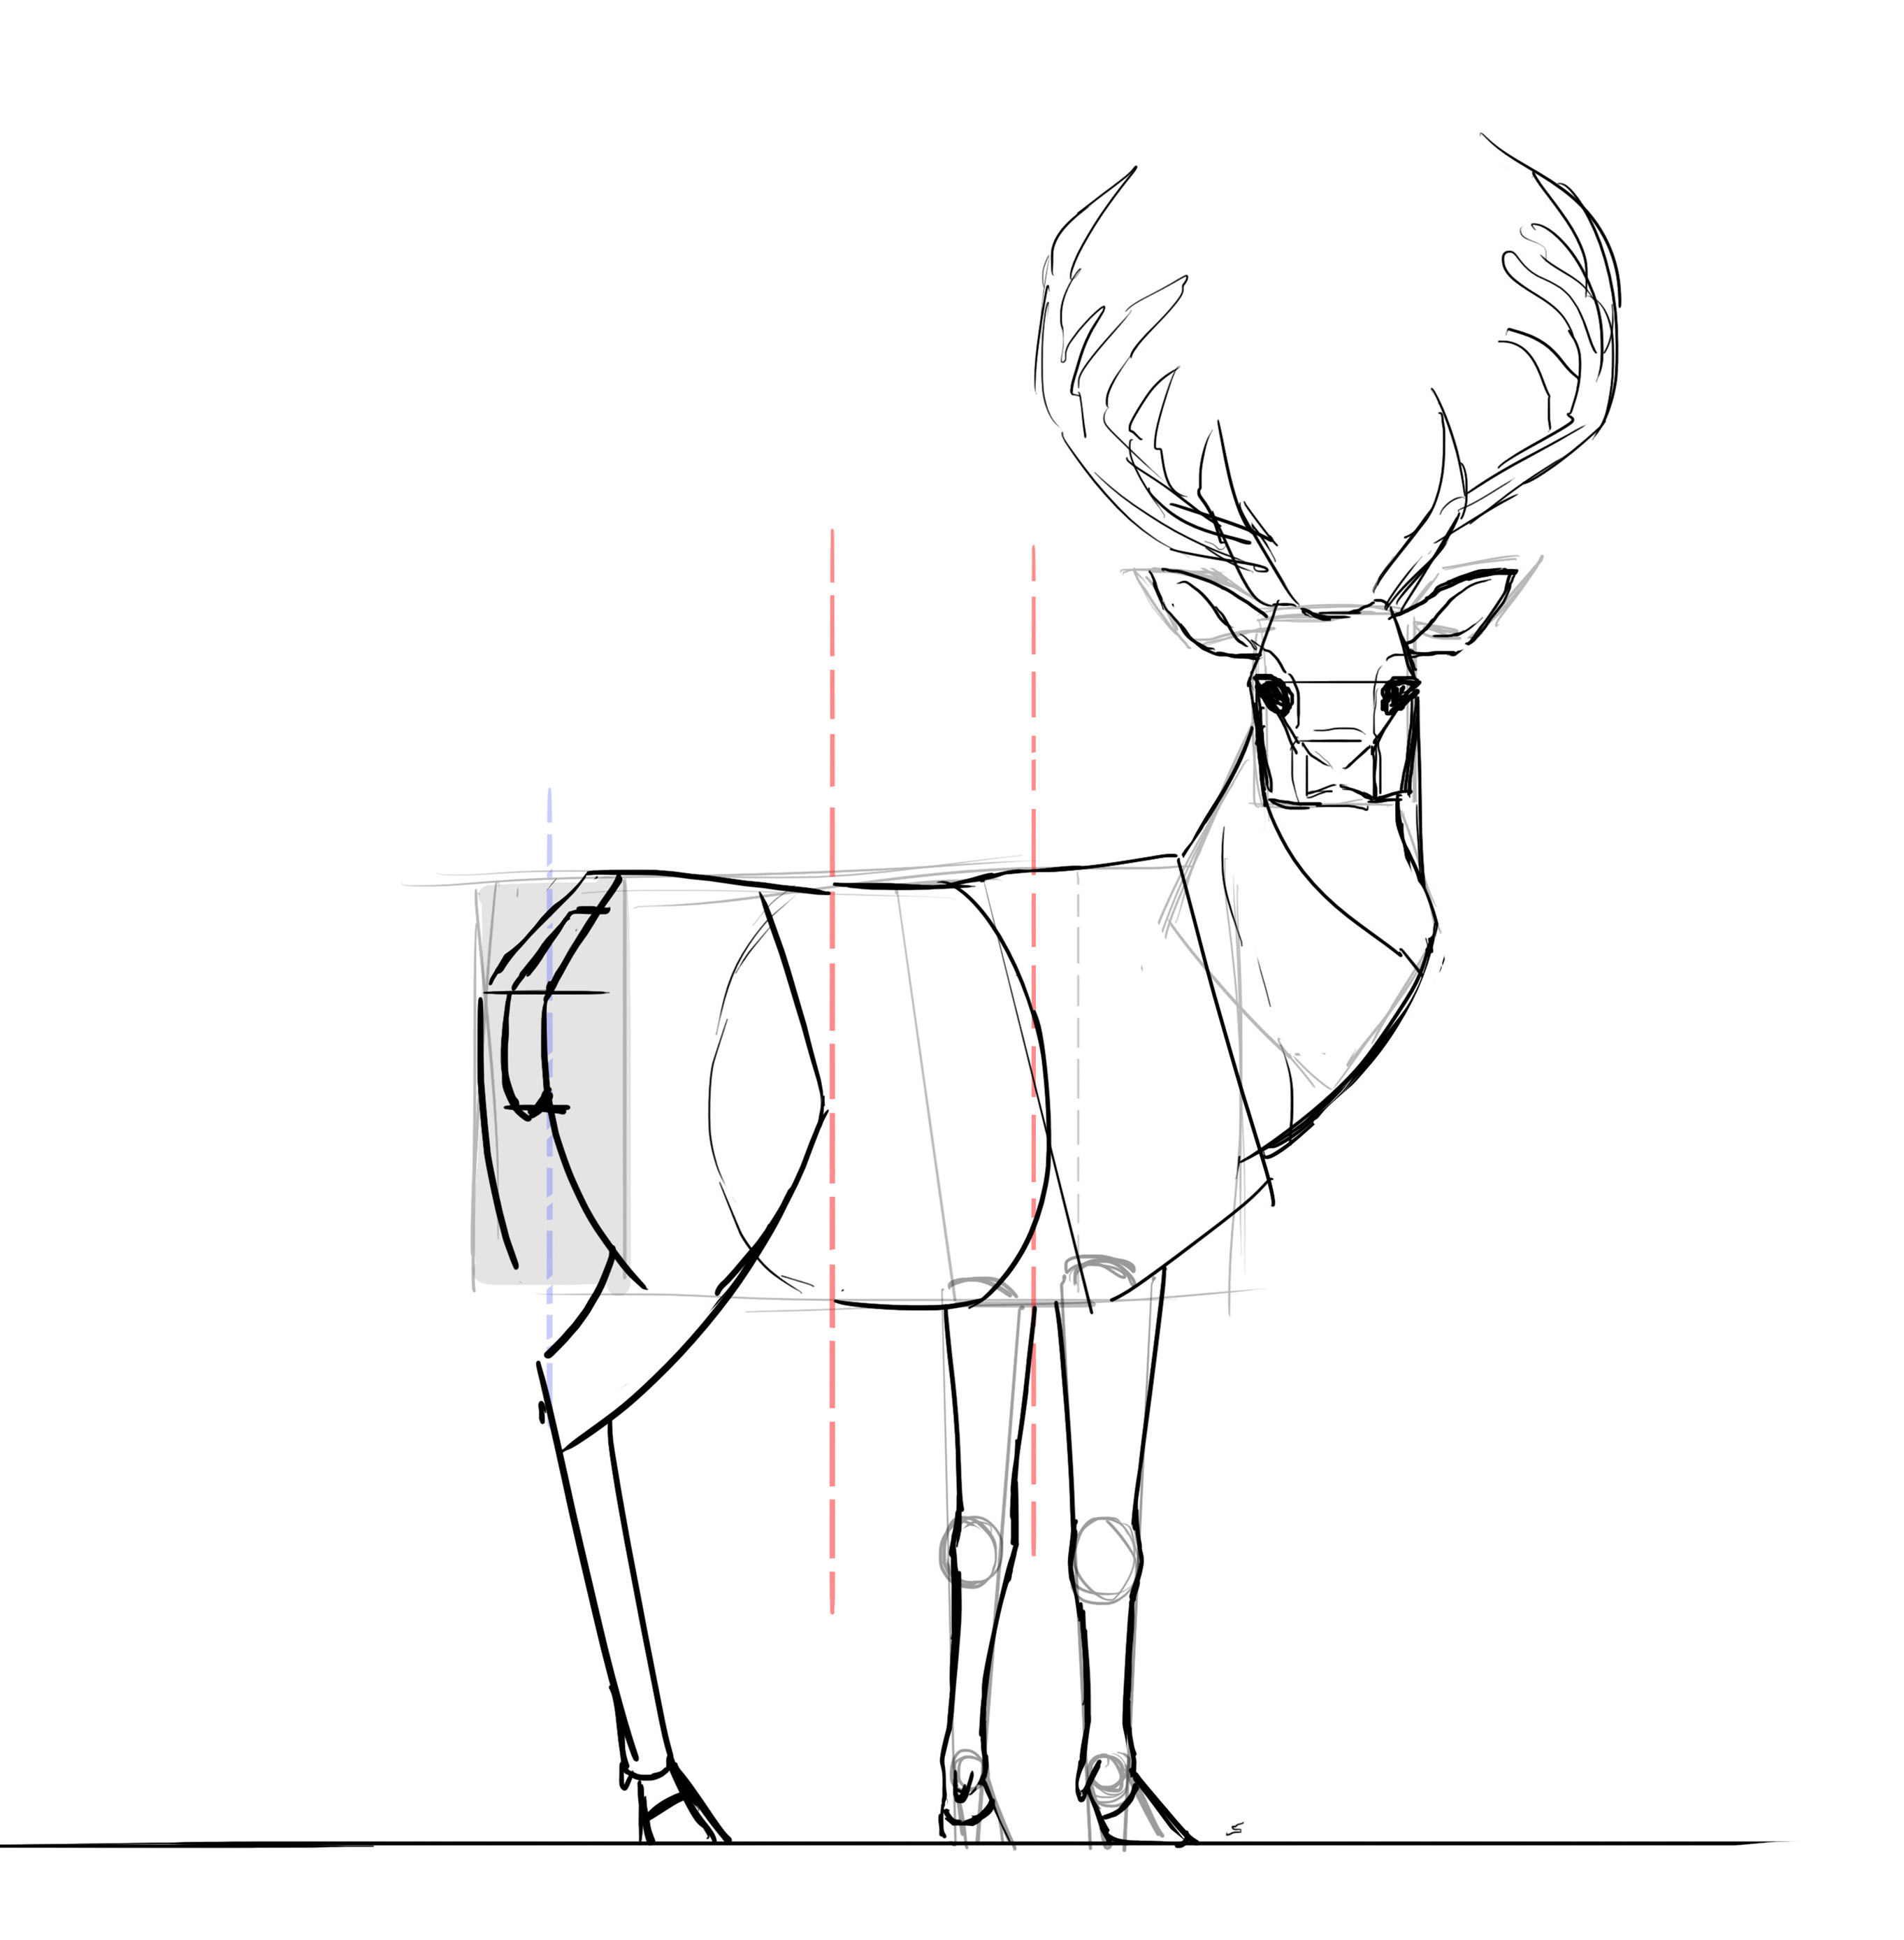
We have roughly our basic structure, now we need to detail all of this.
DETAILS AND FINAL INKING OF THE DEER
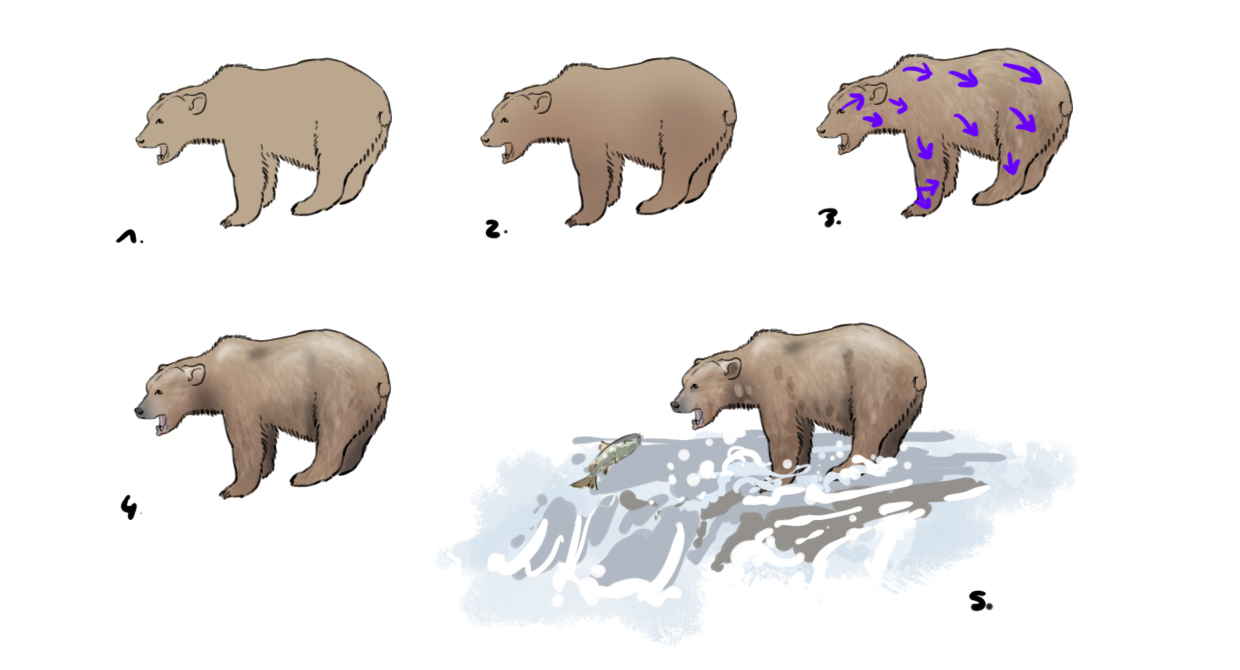
For this lesson, there will be no "colors" section. This allows me to explain a bit about how I proceed when I draw my final line.
Generally, at this stage, my structure is roughly in place, I just need to detail it a bit and add some fur here and there, some volume, make the muscles and bones feel under the fur. And for that, having photos on hand with close-ups or that allow me to appreciate these different details is a precious help.
So take the time, when you go to ink, to add the small details that will make all the difference, to redefine the shapes you have outlined more schematically before, to add a slight bulge here, a slight crevice there.
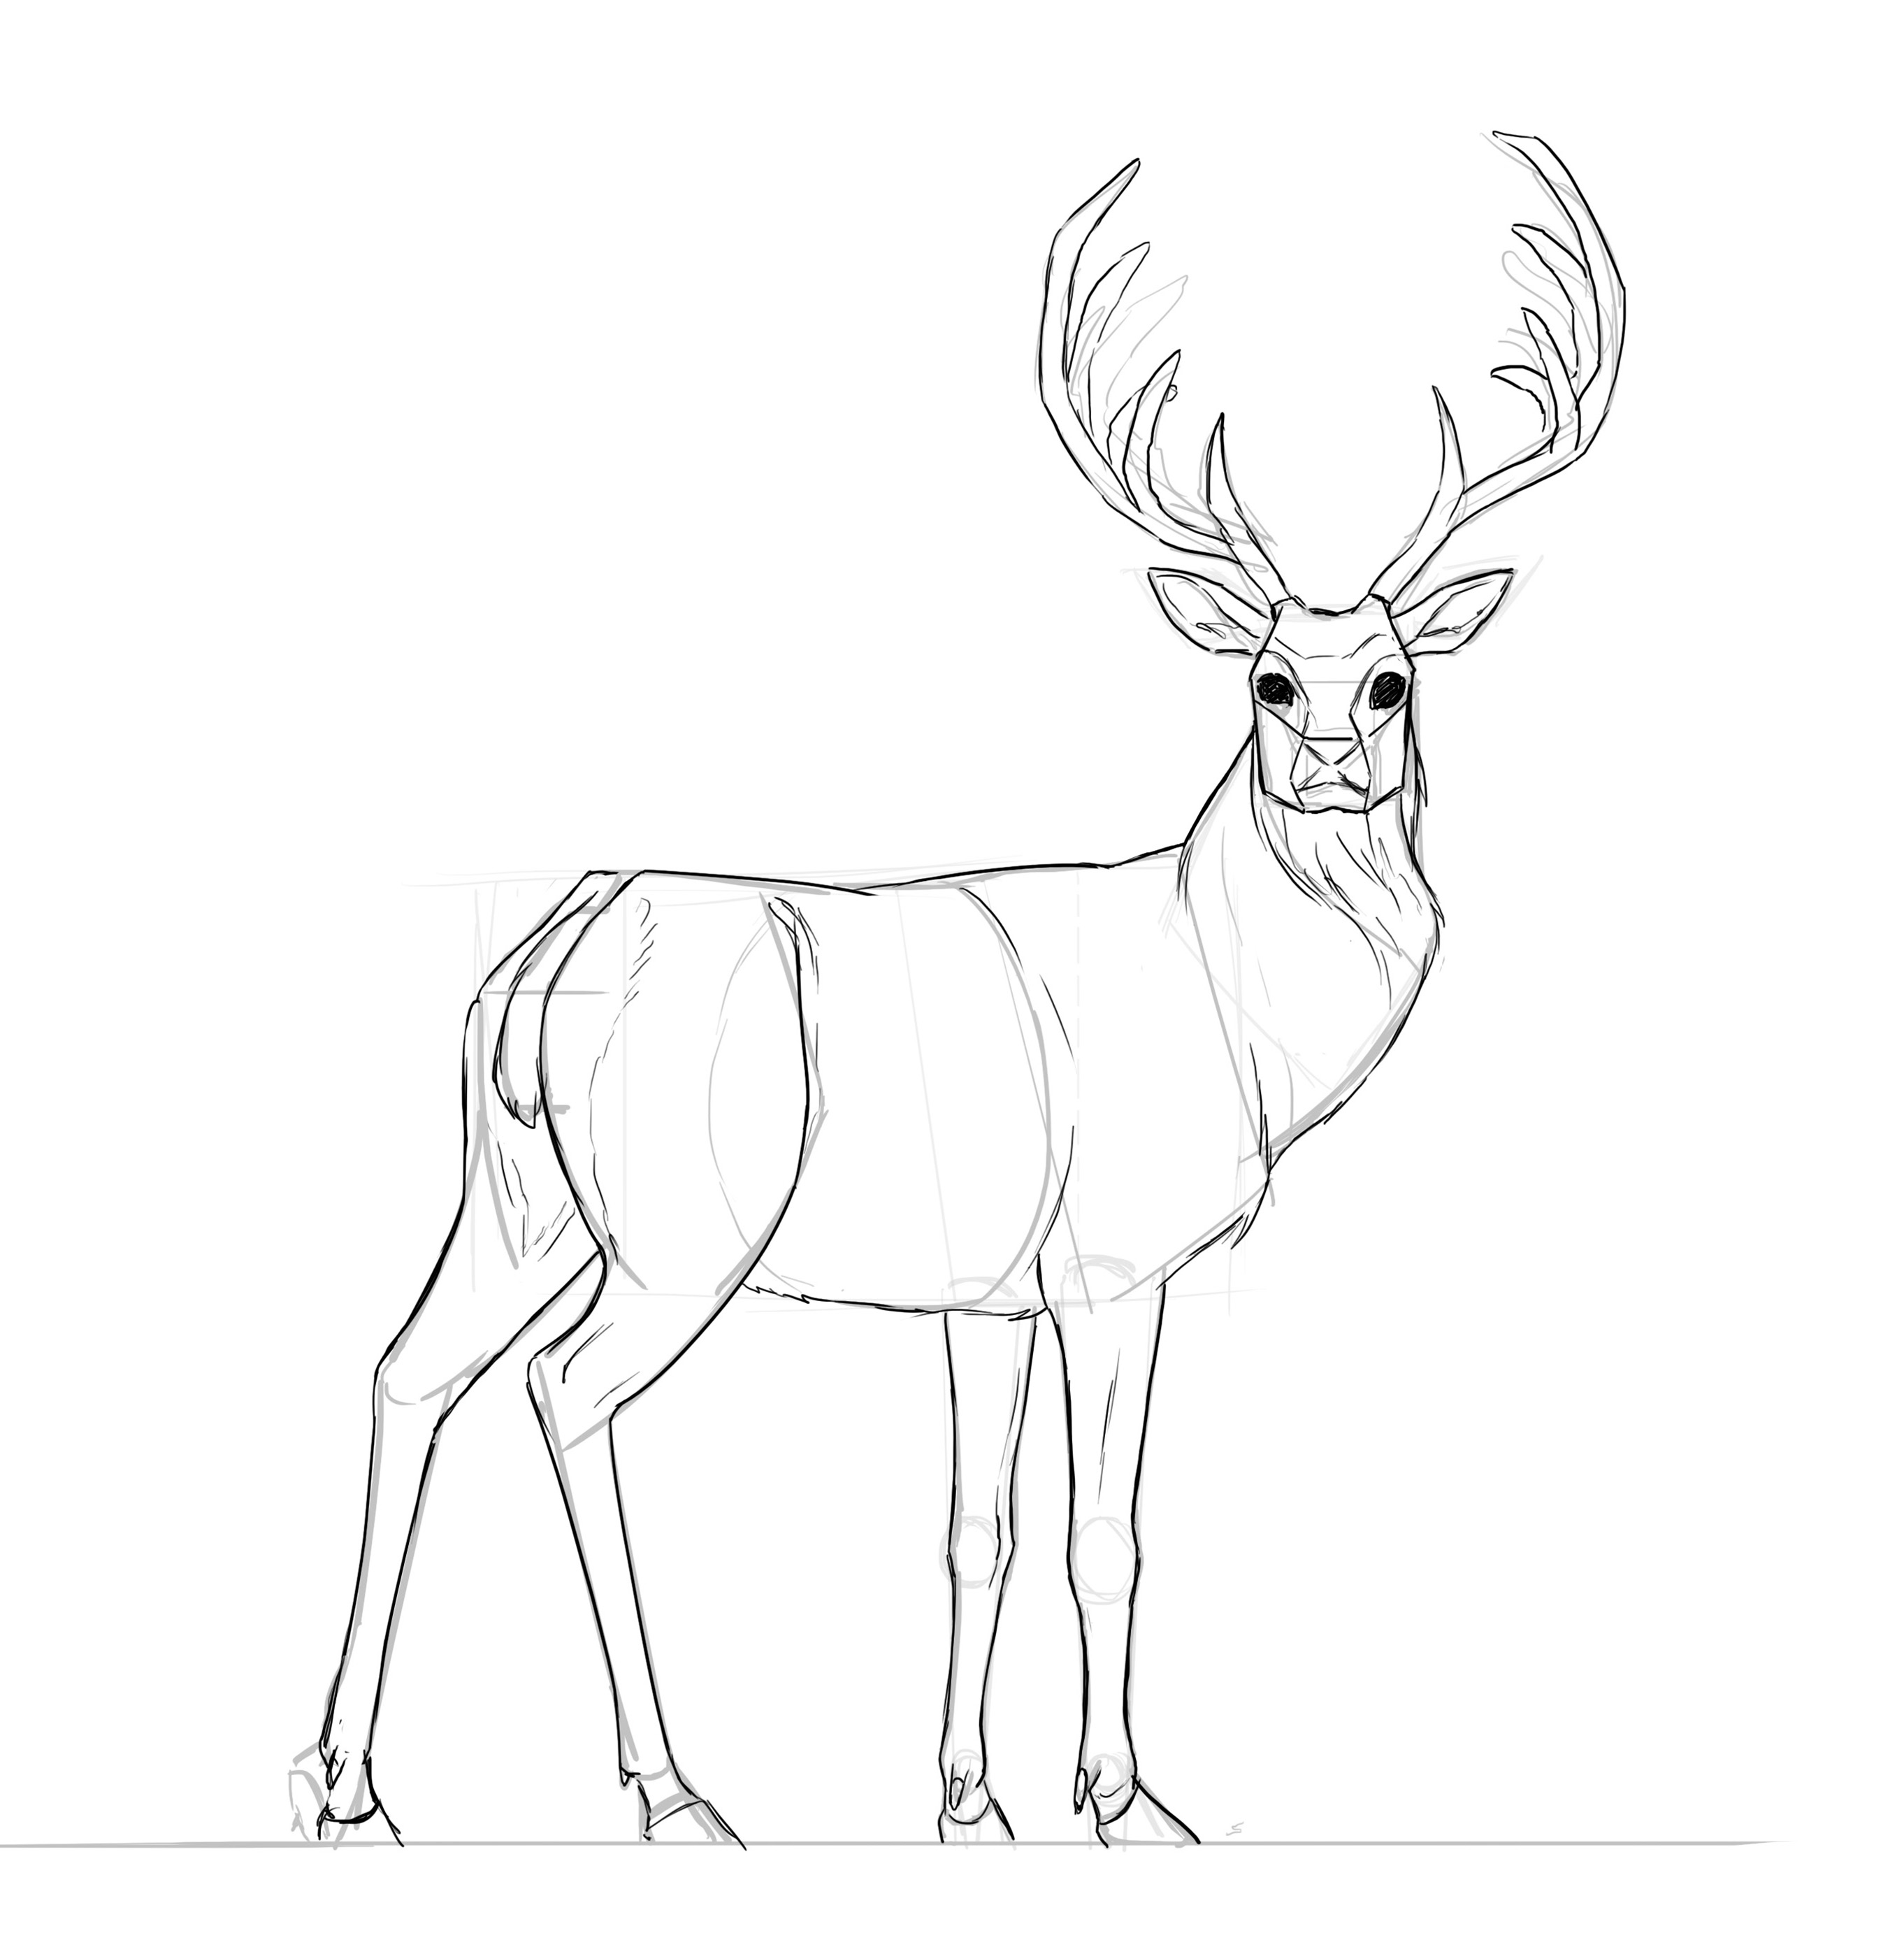
And here is our finished deer! Well done :D
RECALL OF THE DRAWING STEPS
So, to summarize:
- We start from simple and geometric shapes after analyzing our model.
- We detail them little by little using other geometric shapes at first
- Then we go into detail again, using photos to add realism and substance to our stag

Discussion
27 comments