How to Draw a Penguin
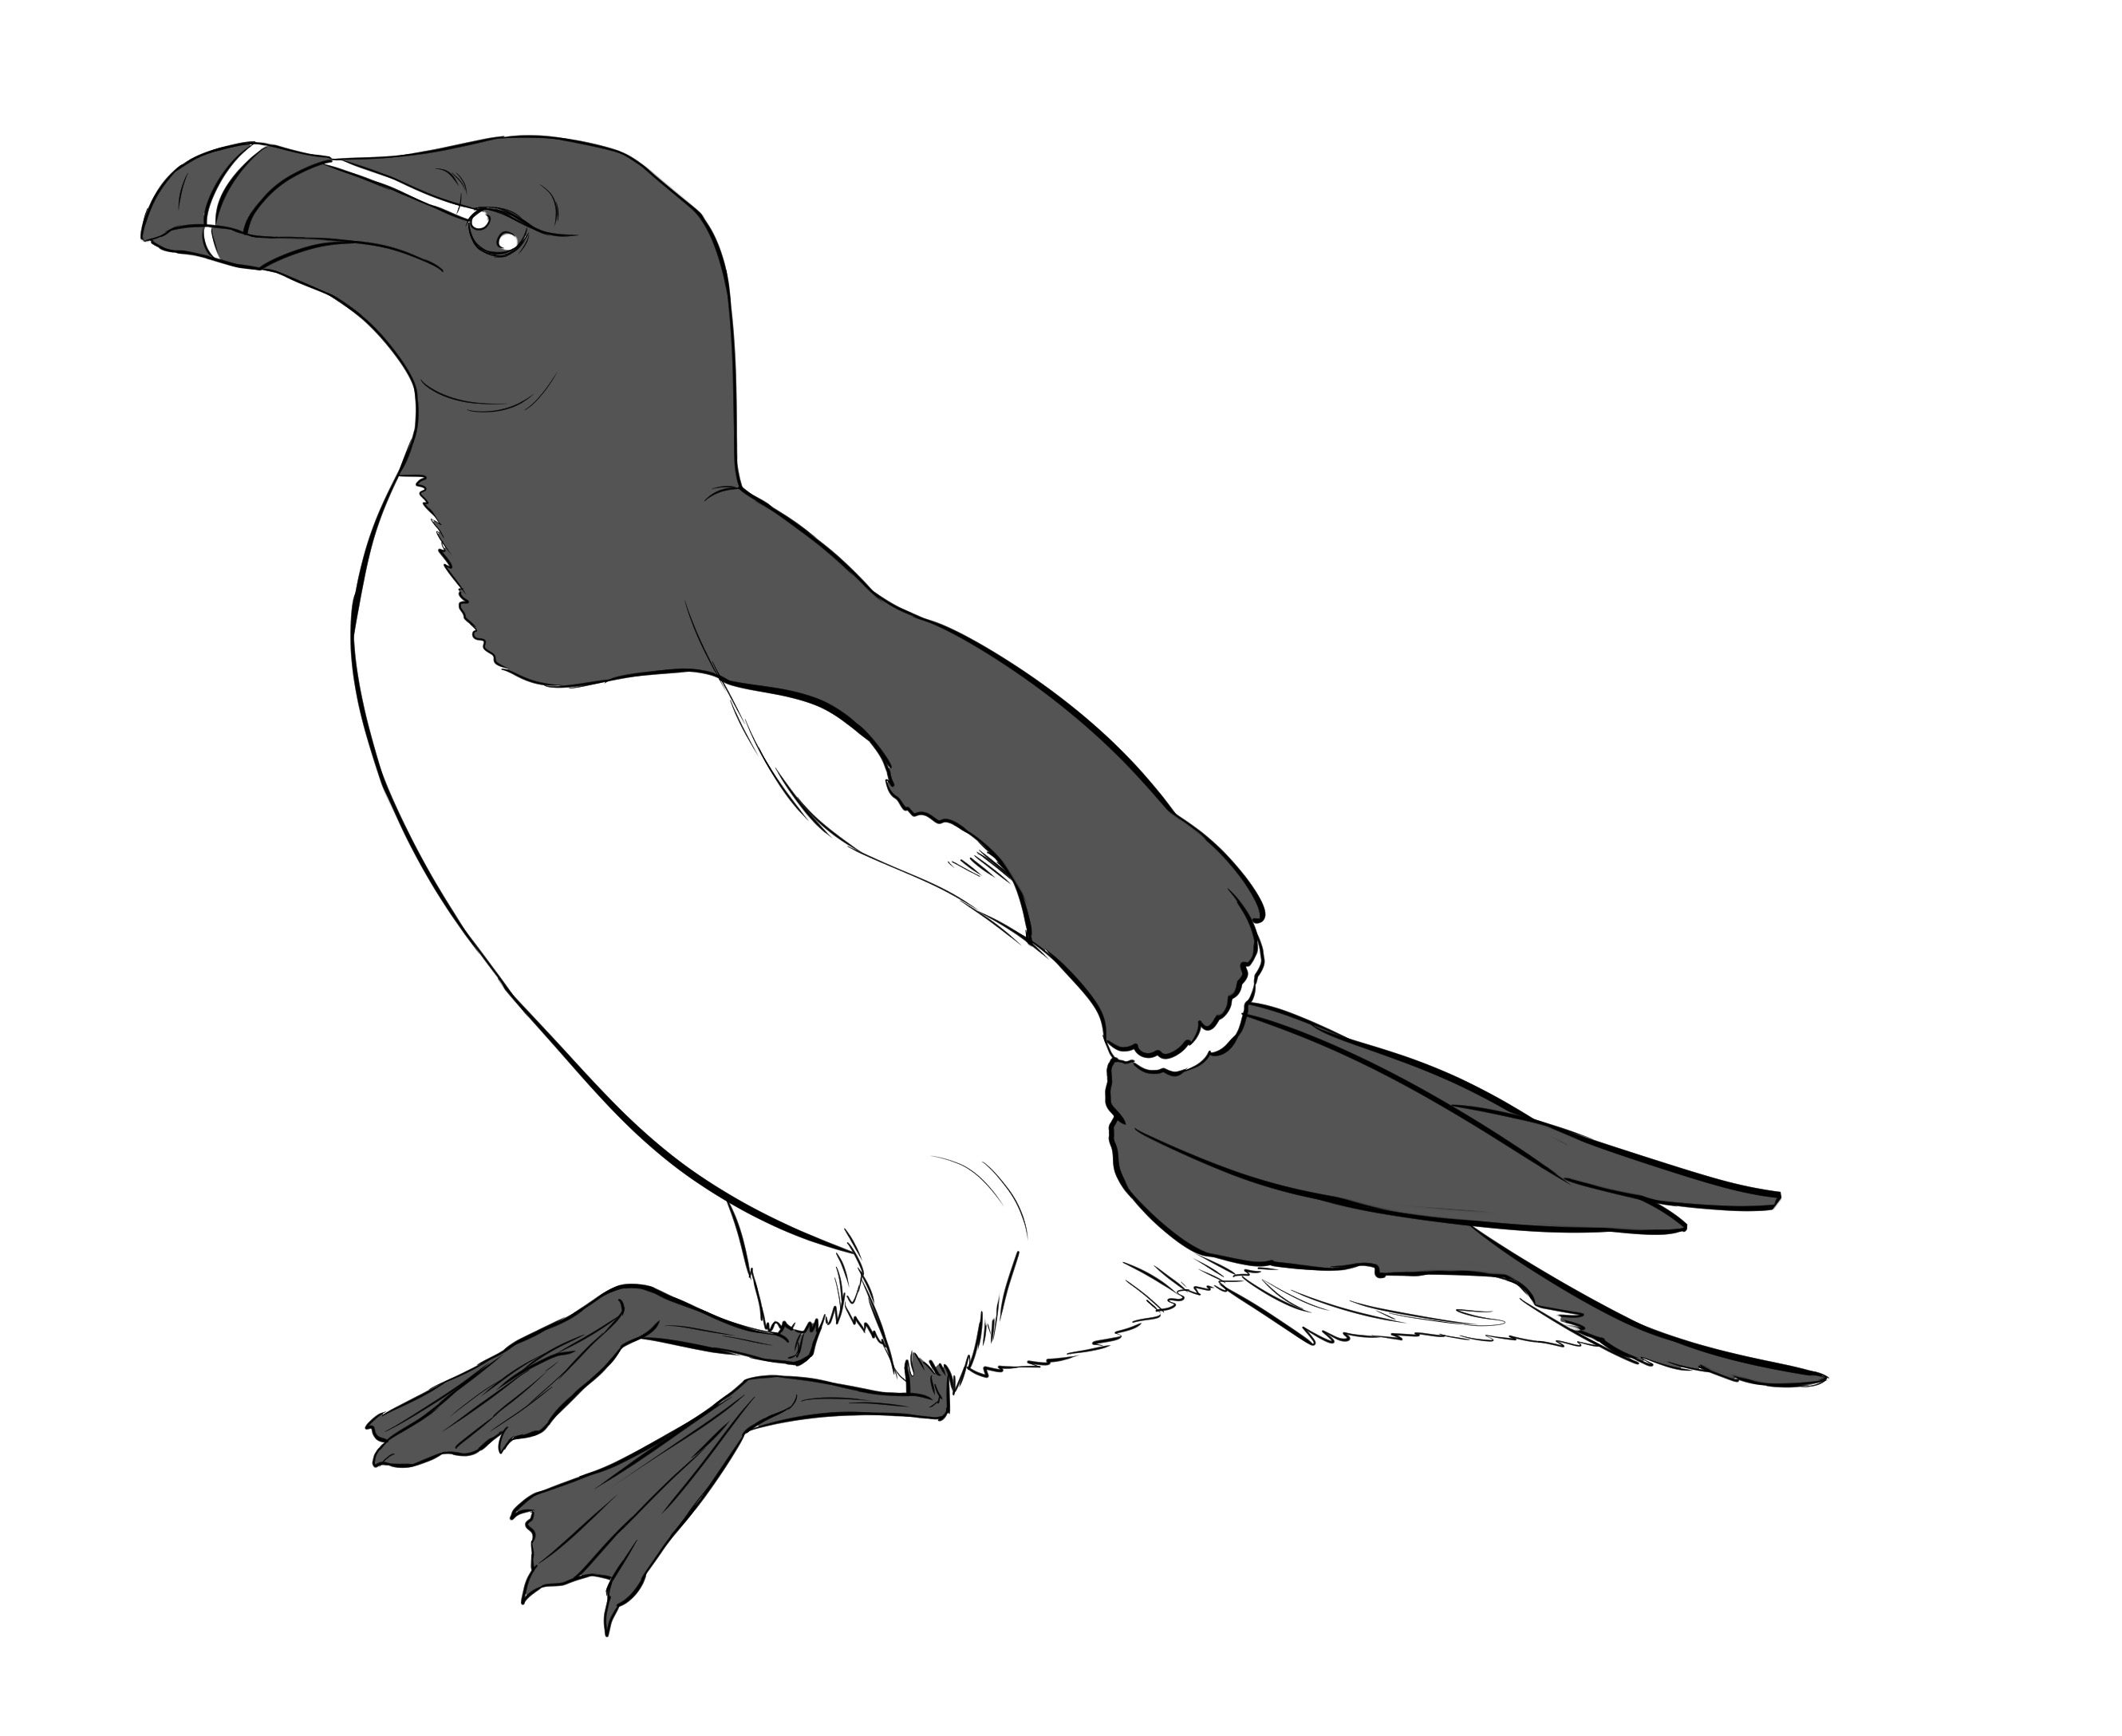
Hello animal lovers! Today we're going to learn how to draw a penguin. Admire this stunning bird:
PENGUIN OBSERVATION FOR DRAWING
We do not deviate from the rule, so we start with observing our bird. We are dealing with a sea bird, therefore, its feathers are different (smoother, designed to glide through water), its feet are webbed and it has a small oblong shape to be as hydrodynamic as possible (does that term exist?).
In terms of proportions, it is a small animal. The body is about two and a half times the length of the head (beak included) and just one head length for the body width at its thickest point. The legs are positioned very far back, it is a bird that stands quite upright (quite vertical if you prefer).
SKETCHING A PENGUIN STEP BY STEP
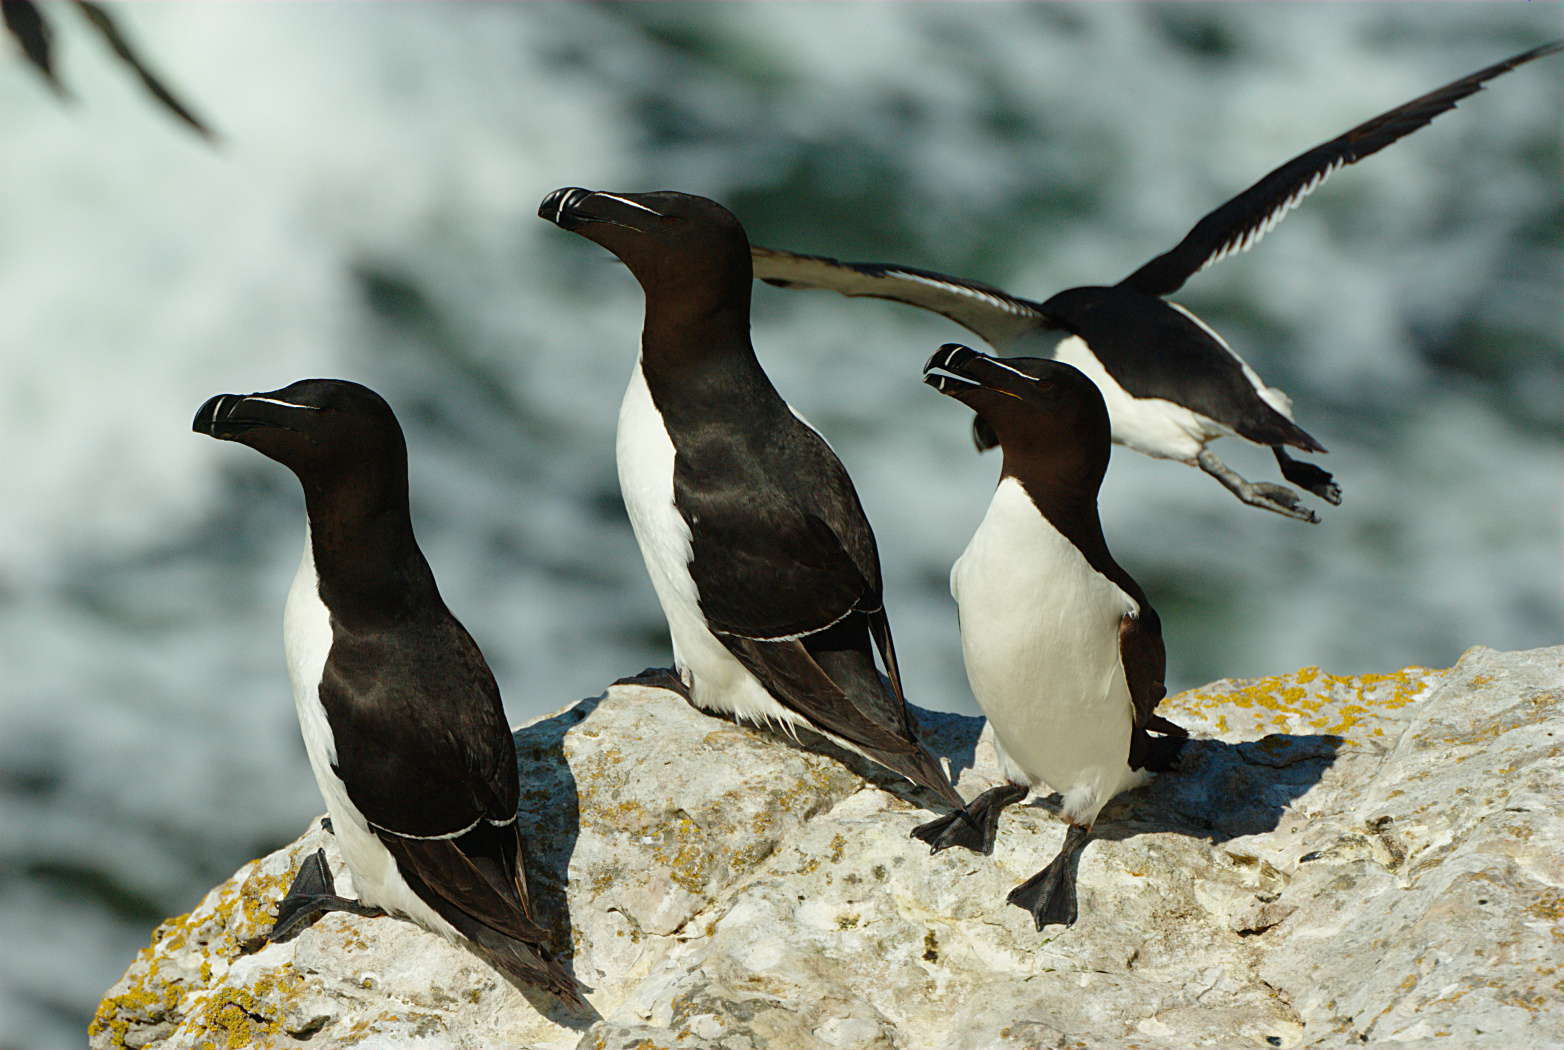
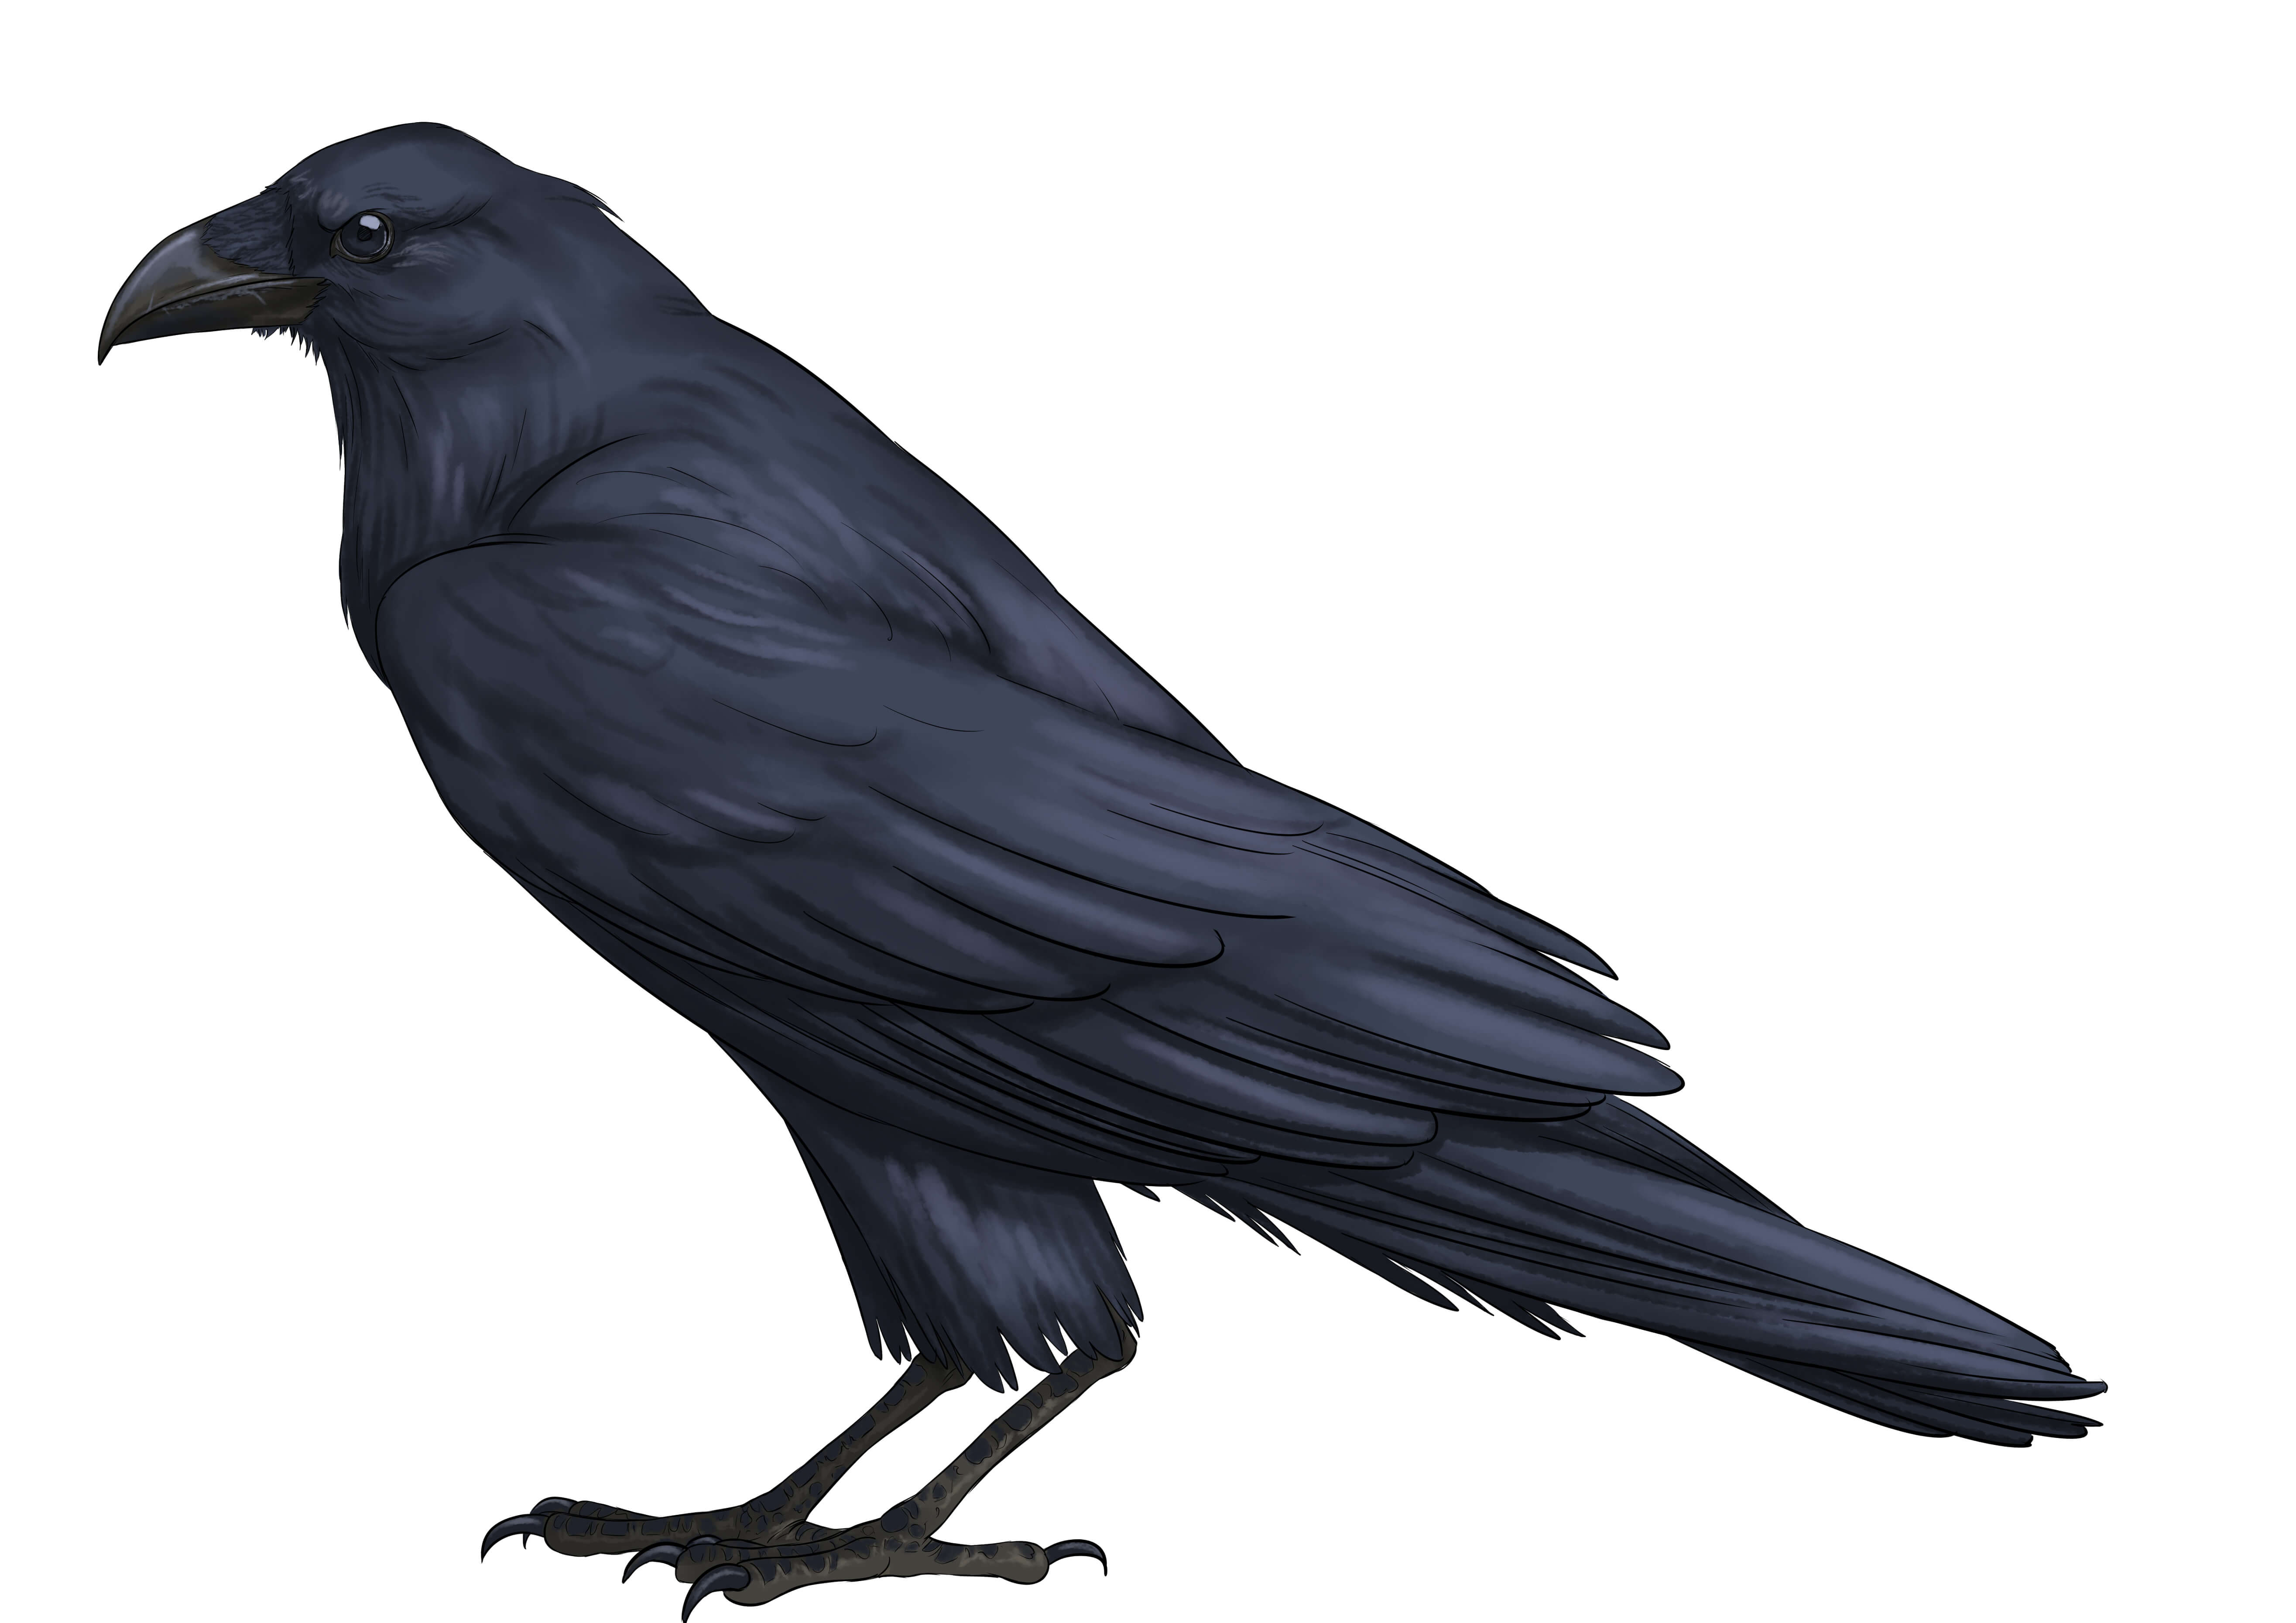
We will base it on this photo:
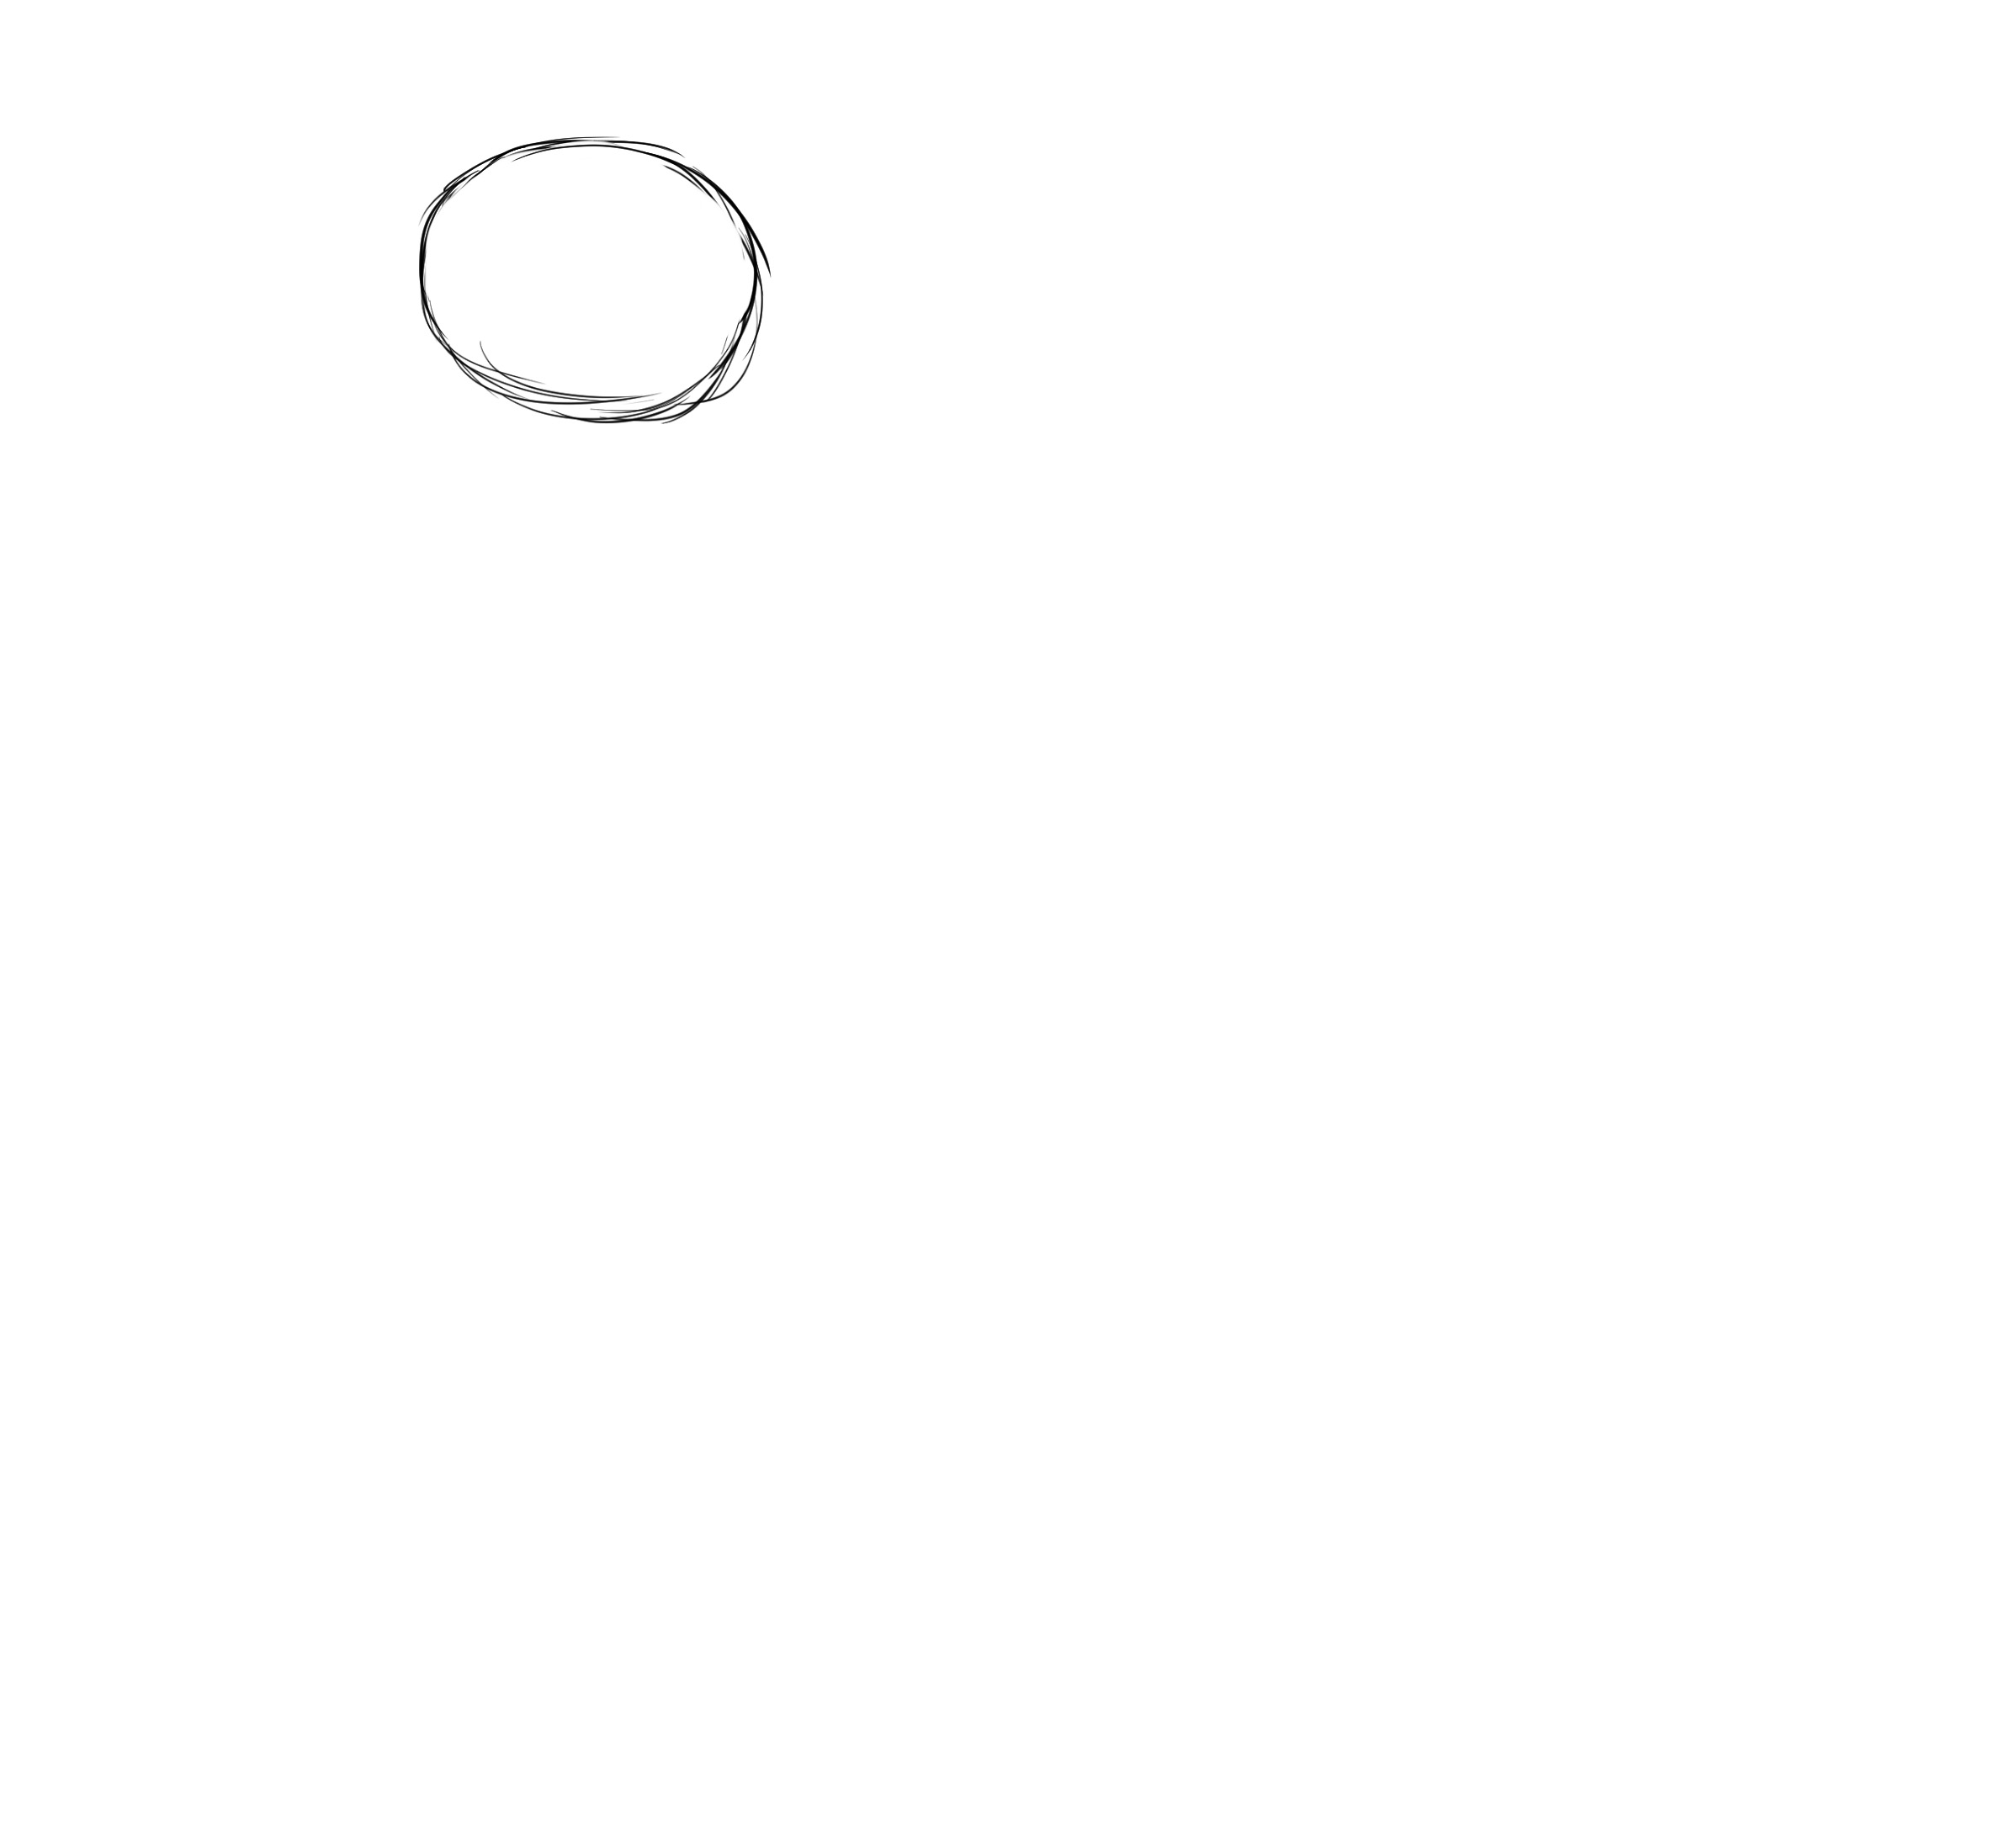
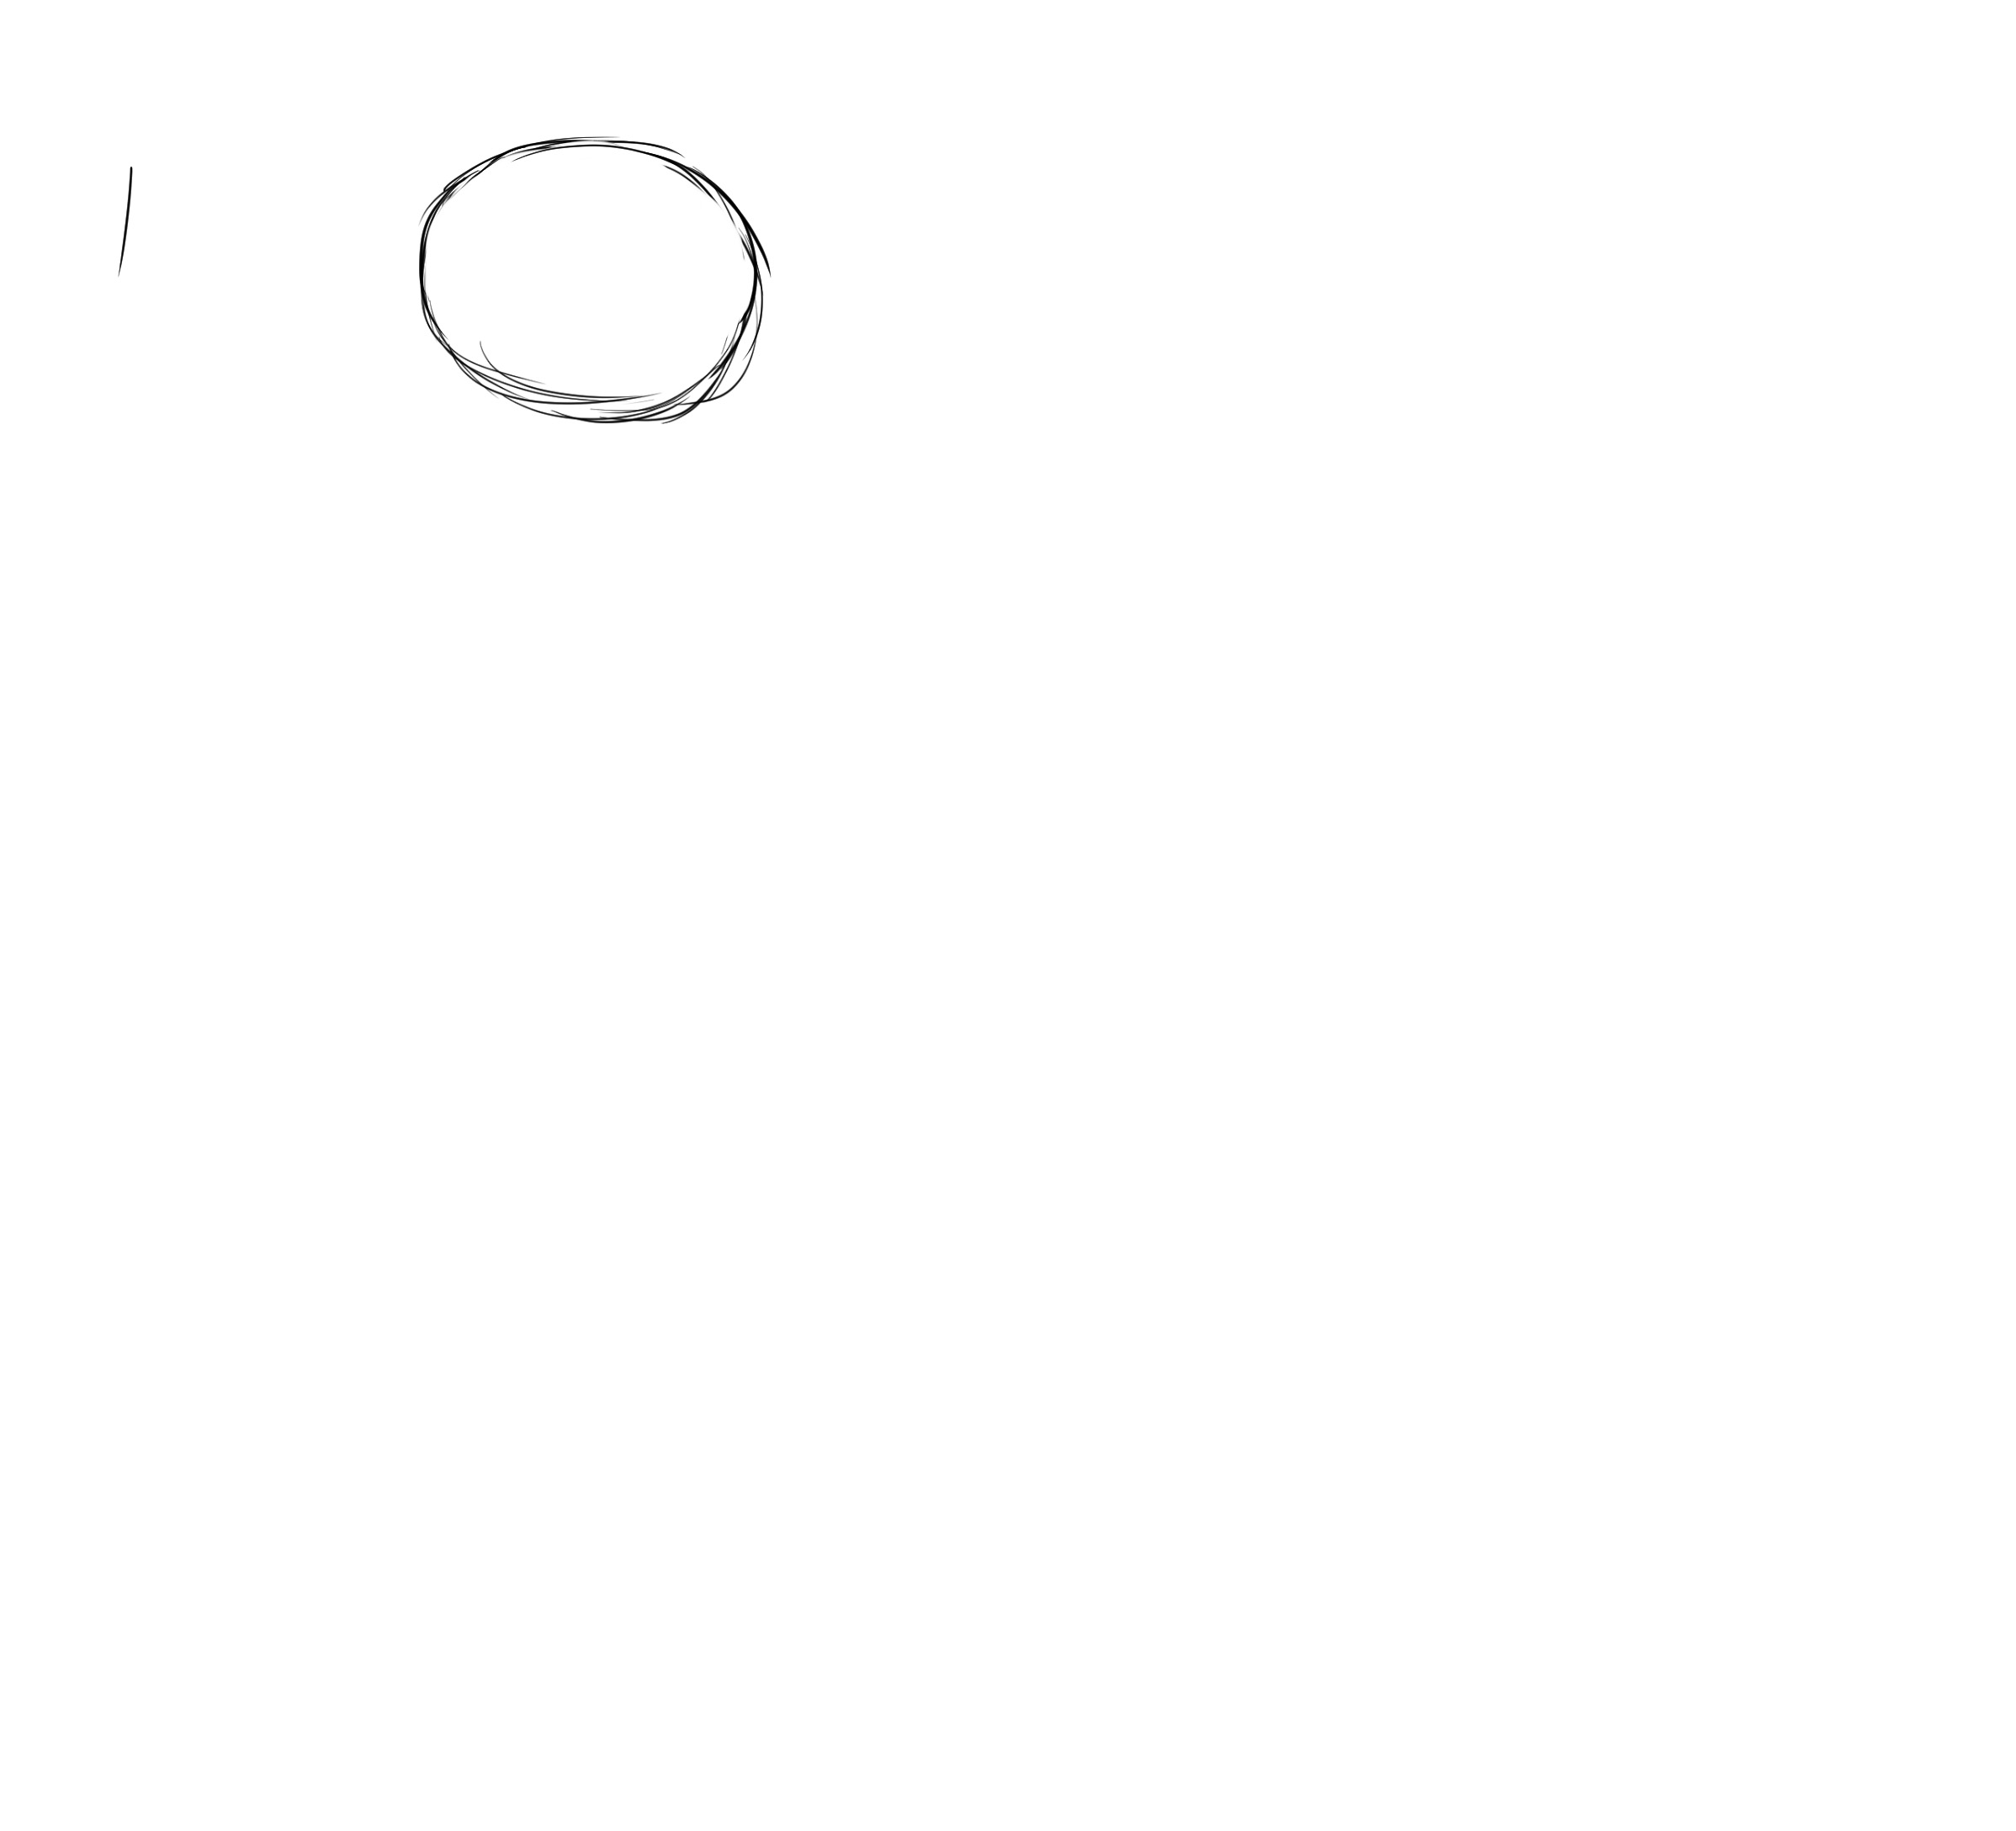
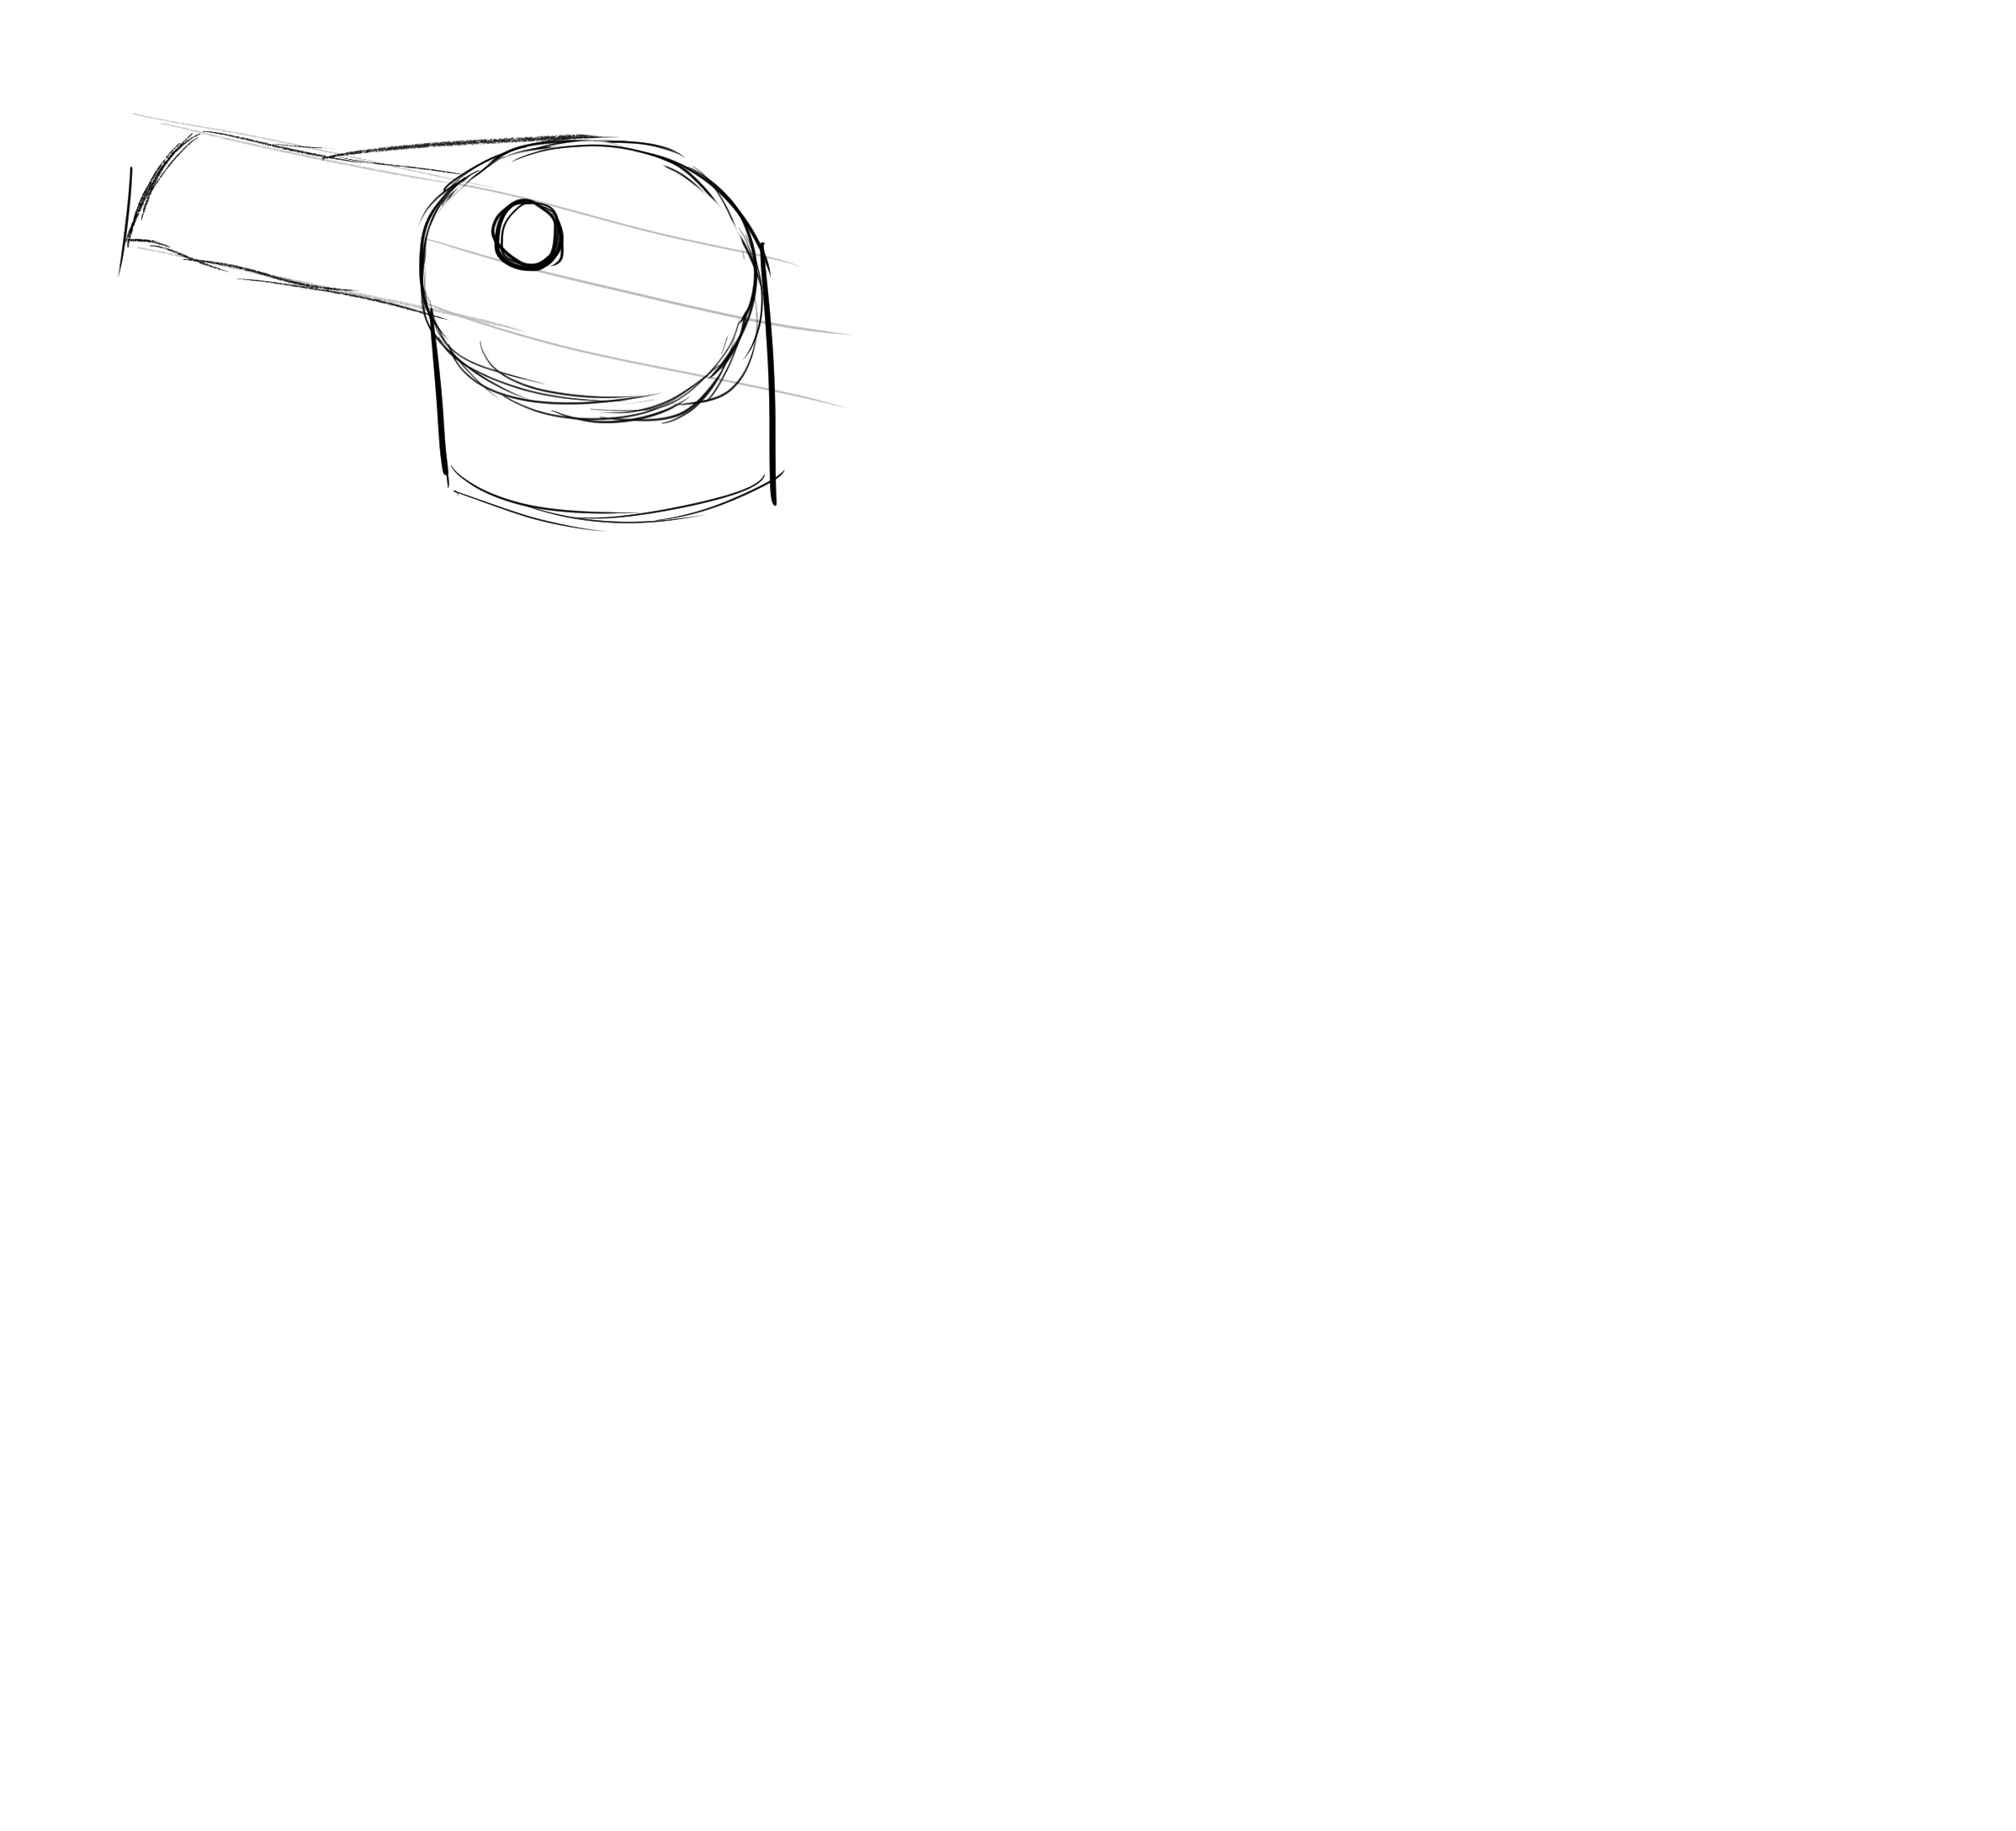
We start with the head as usual. A slightly flattened sphere.
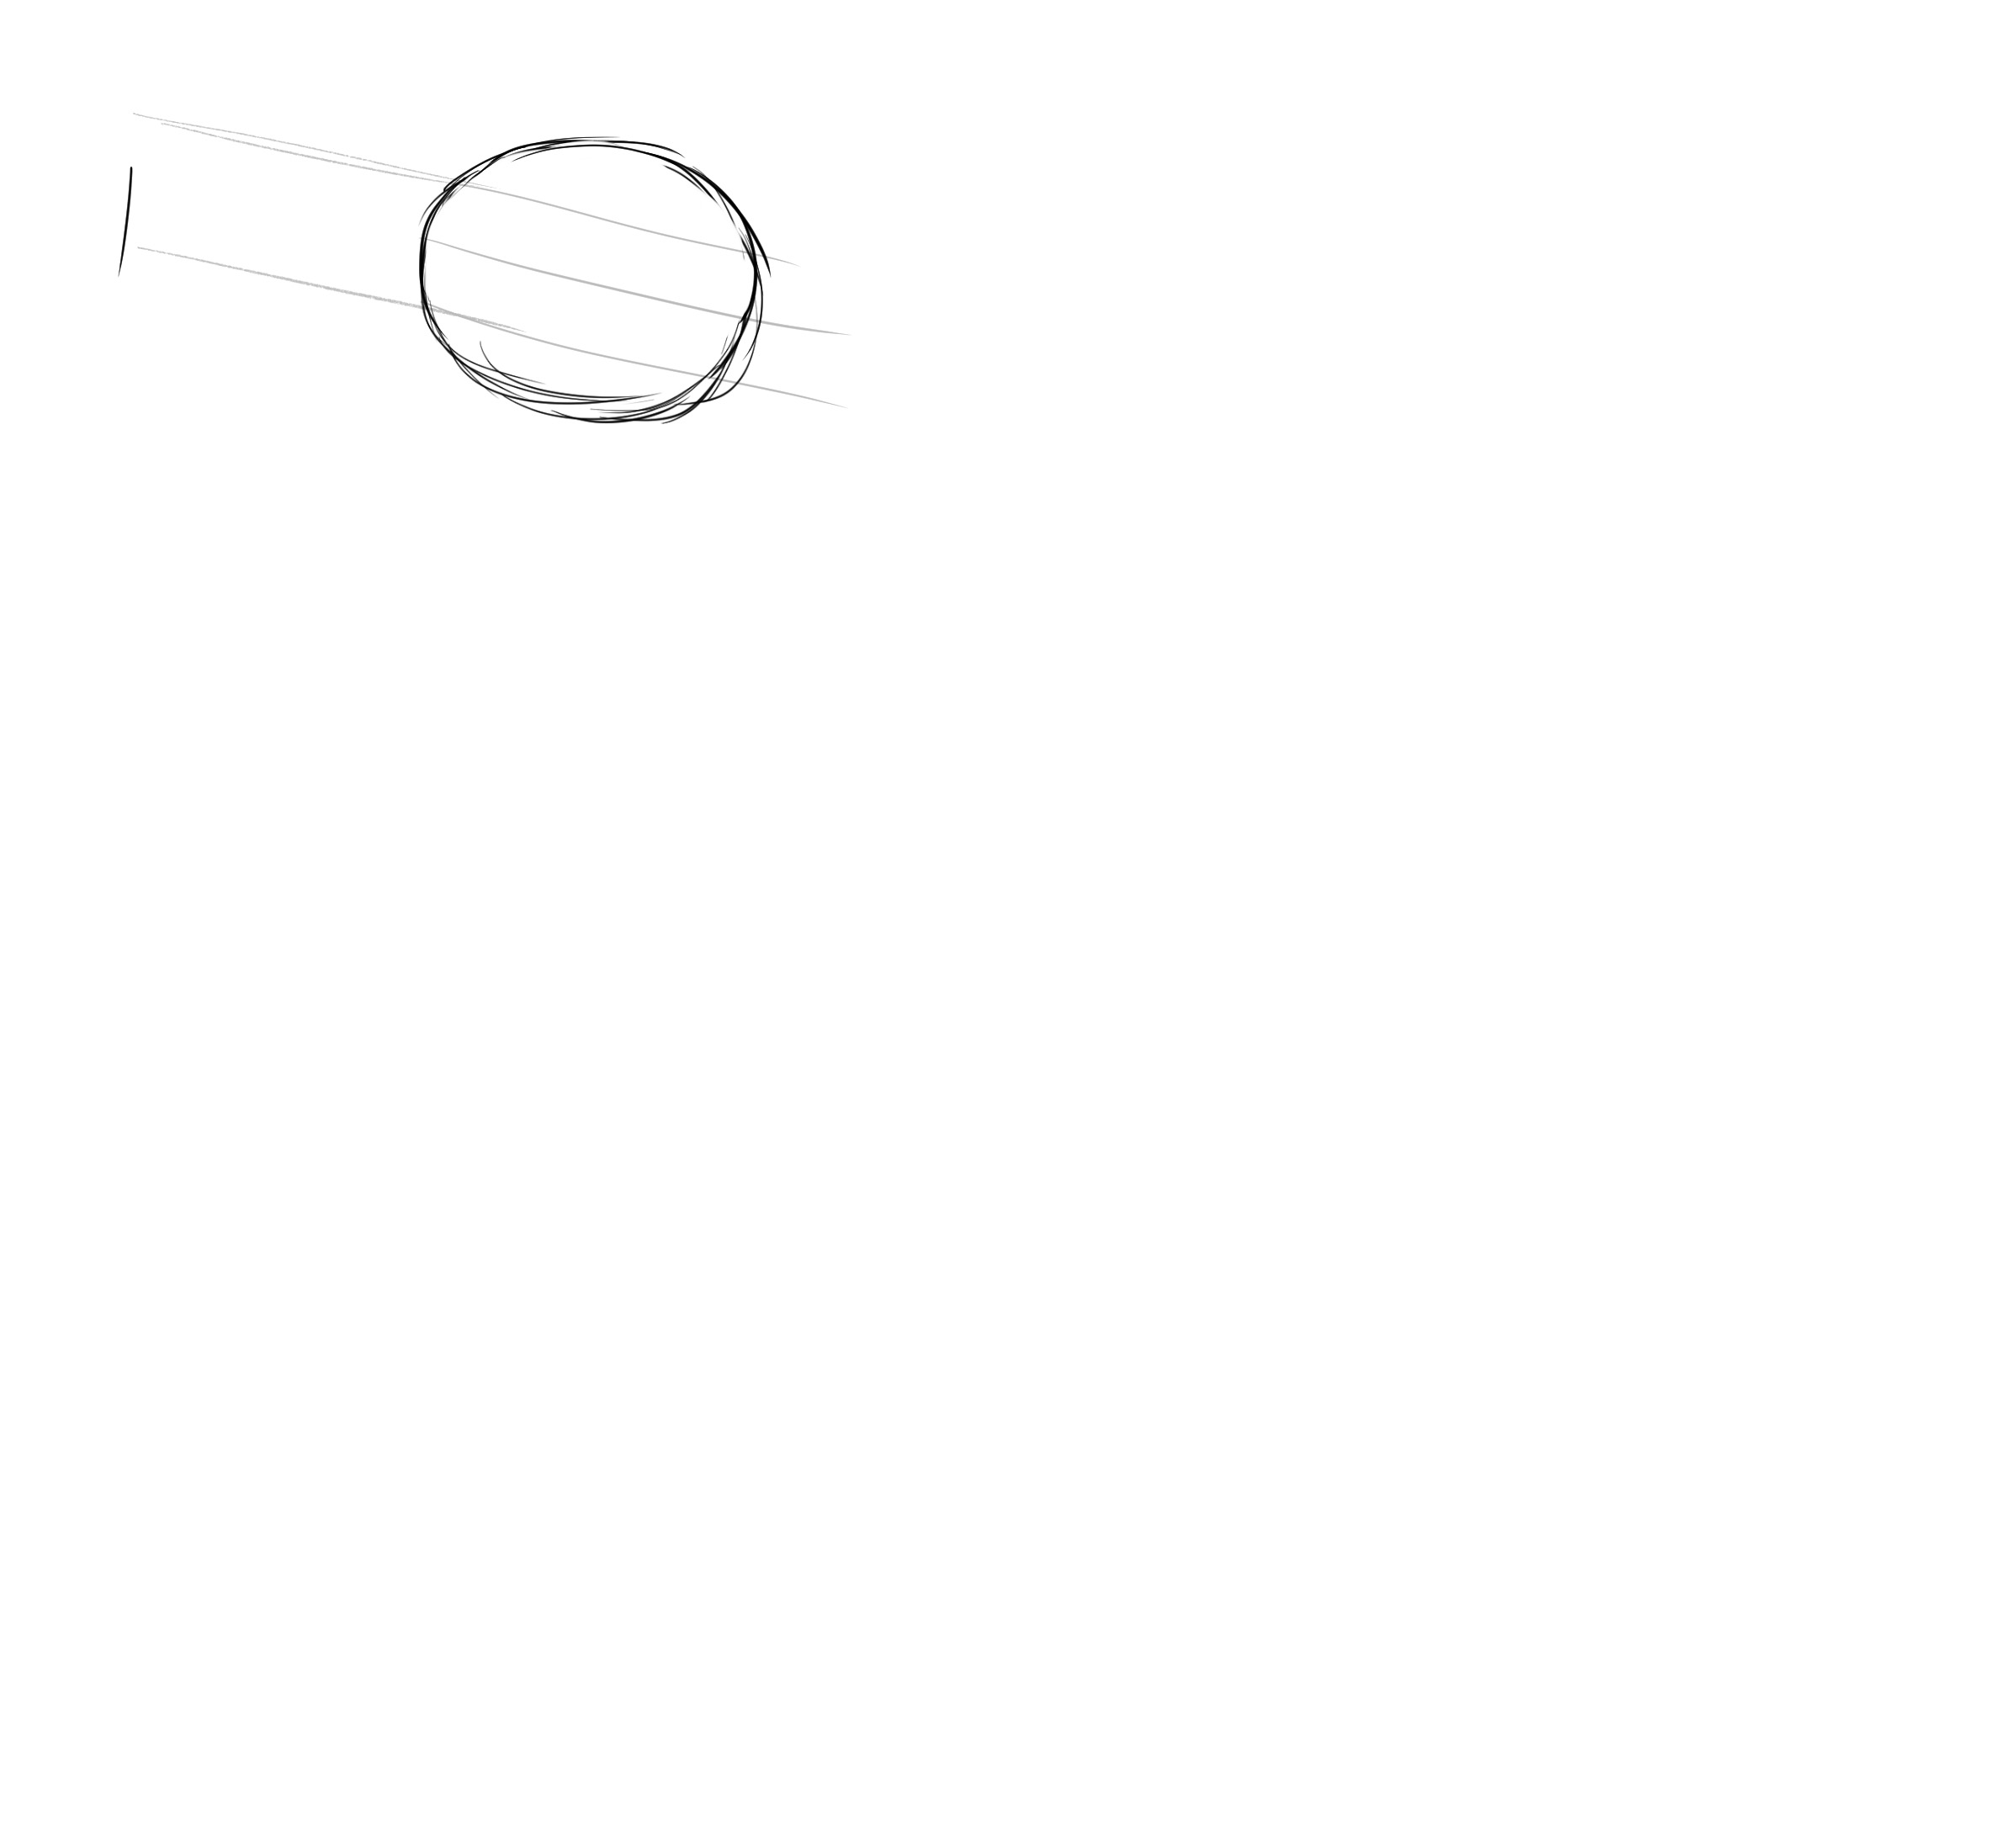
We can place a marker for the tip of the beak which corresponds to slightly less than the width of the head.
The eye line is placed halfway and two other lines at the quarters to determine the width of the beak.
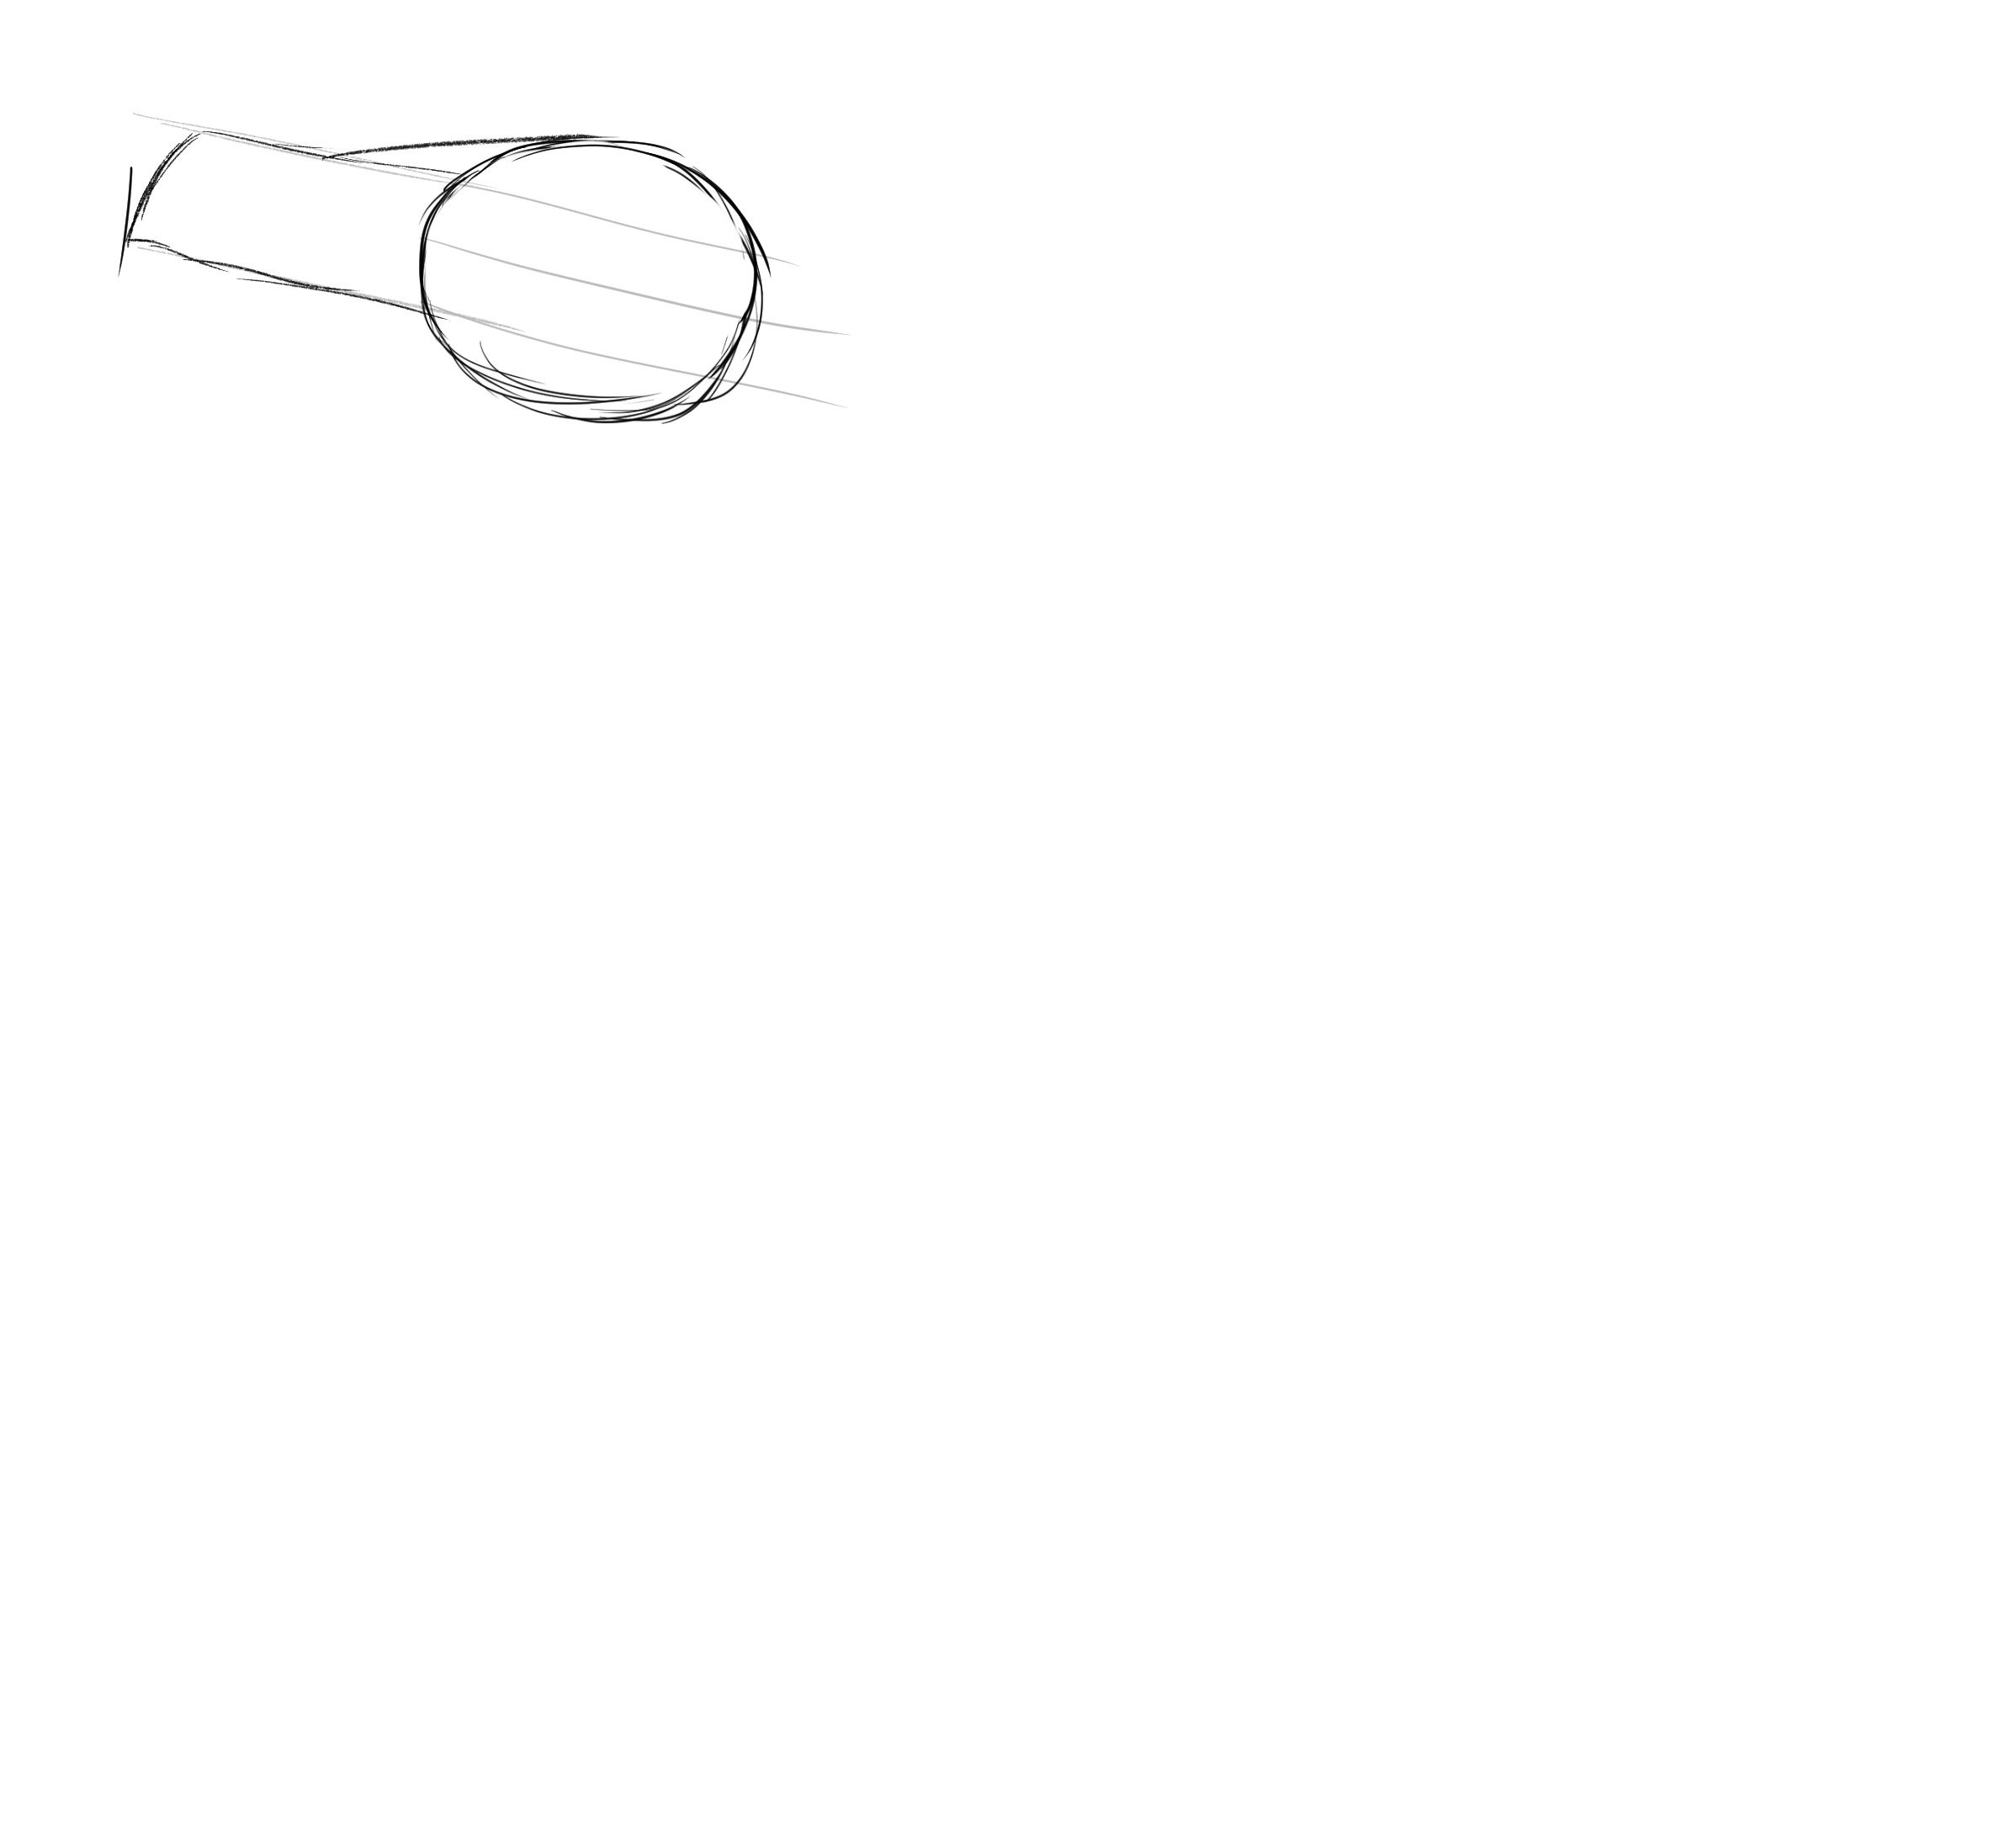
And we sketch the beak succinctly. As always, the lower part is almost horizontal and almost straight on the top this time too, except for the end which is rounded, of course.

We place a gentle curve that connects the head to the middle of the beak.
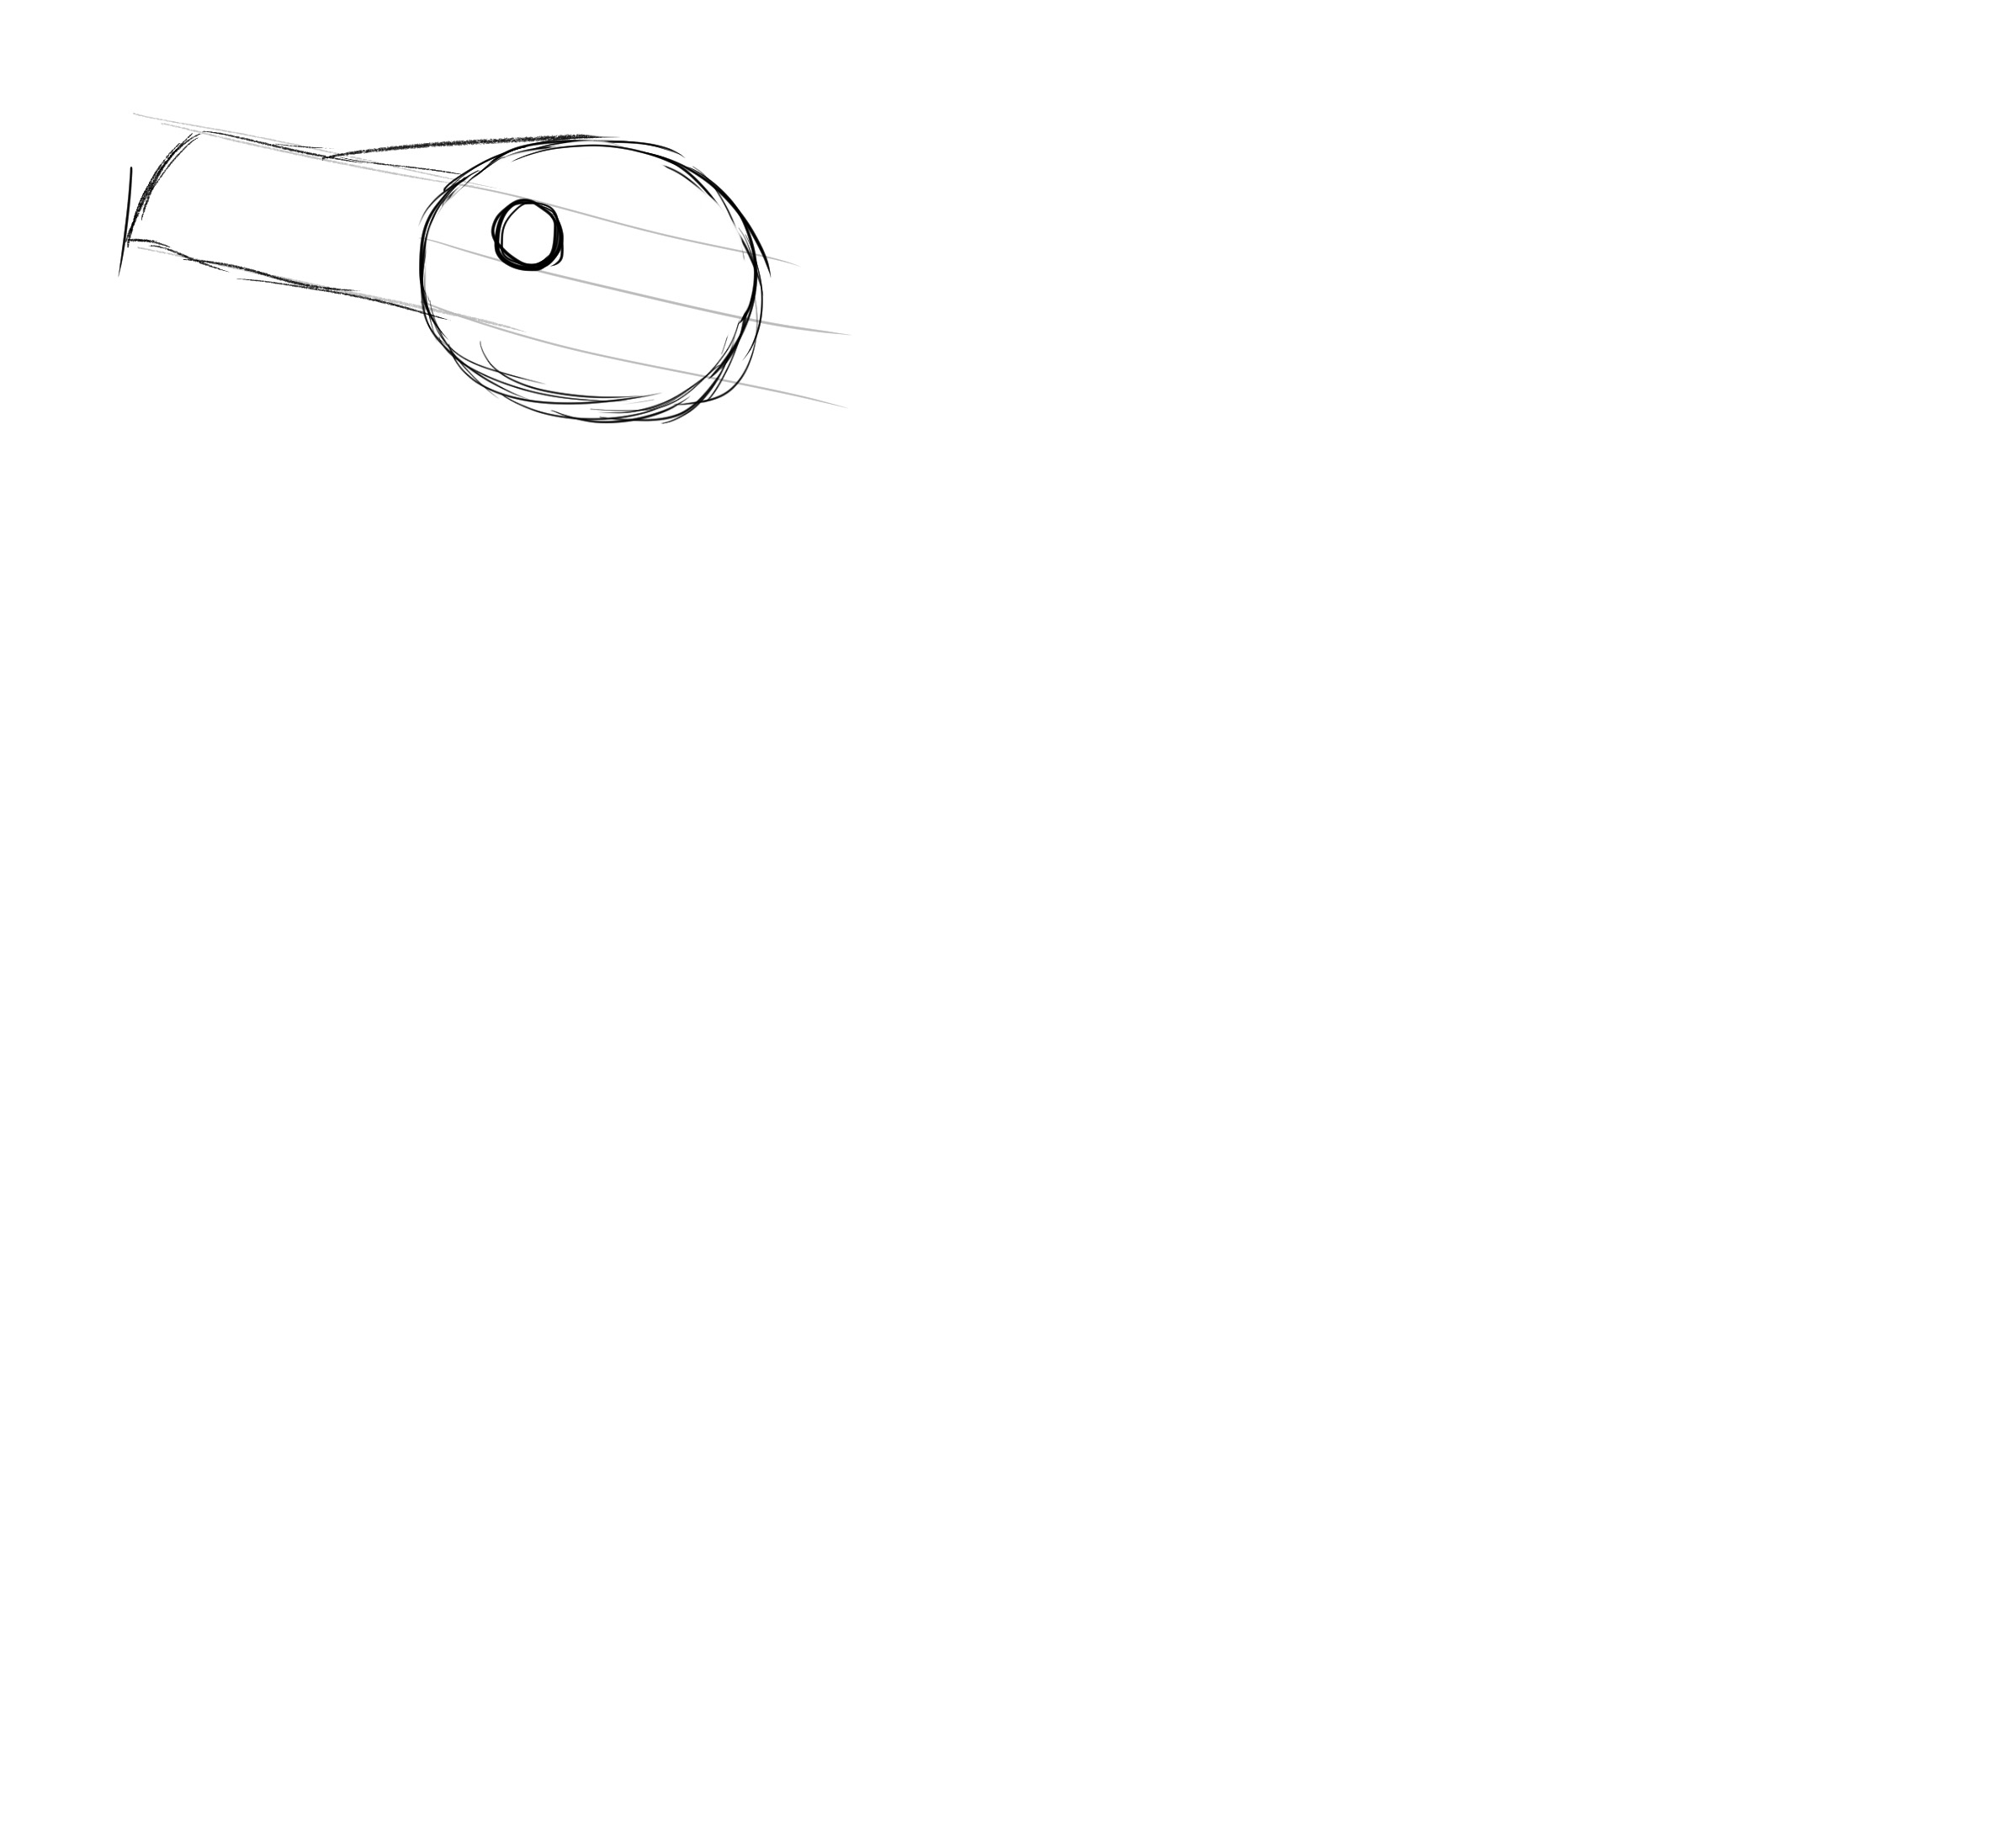
Place the eye between the ¼ and ½ line and just at the edge of the sphere of the head.
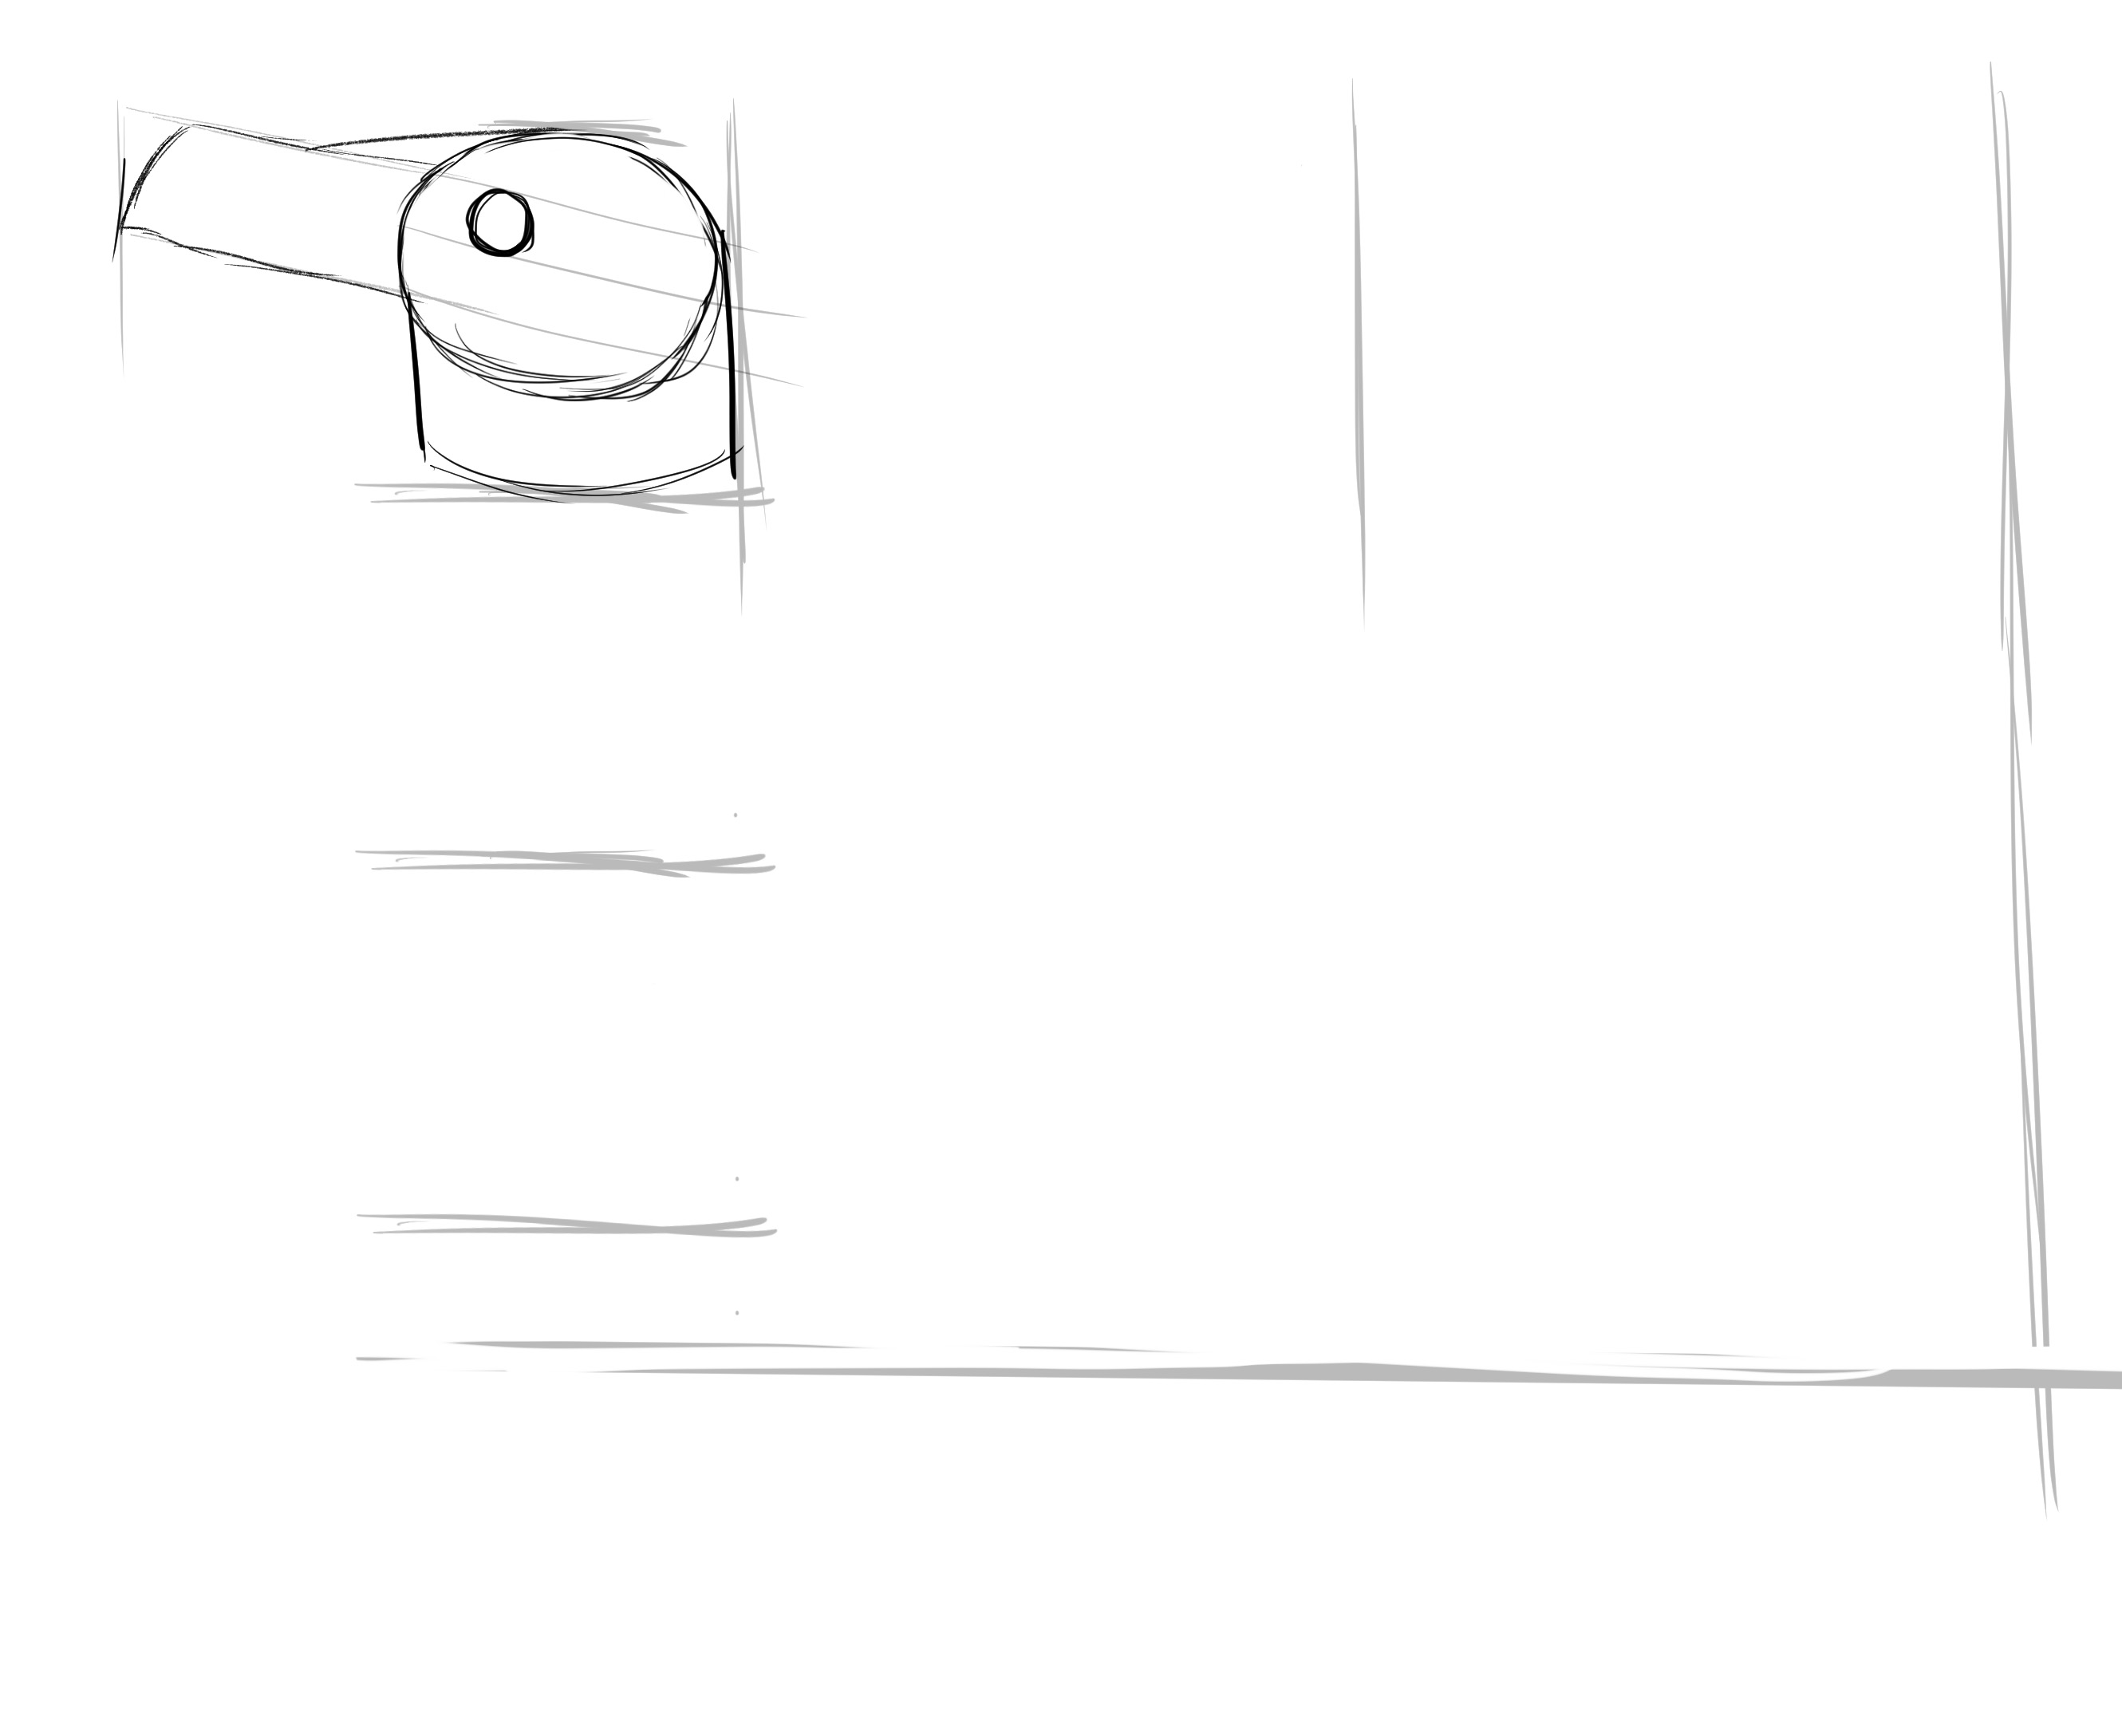
The neck is straight, it does not flare out or get narrower. It is about 1/3 the length of the head.
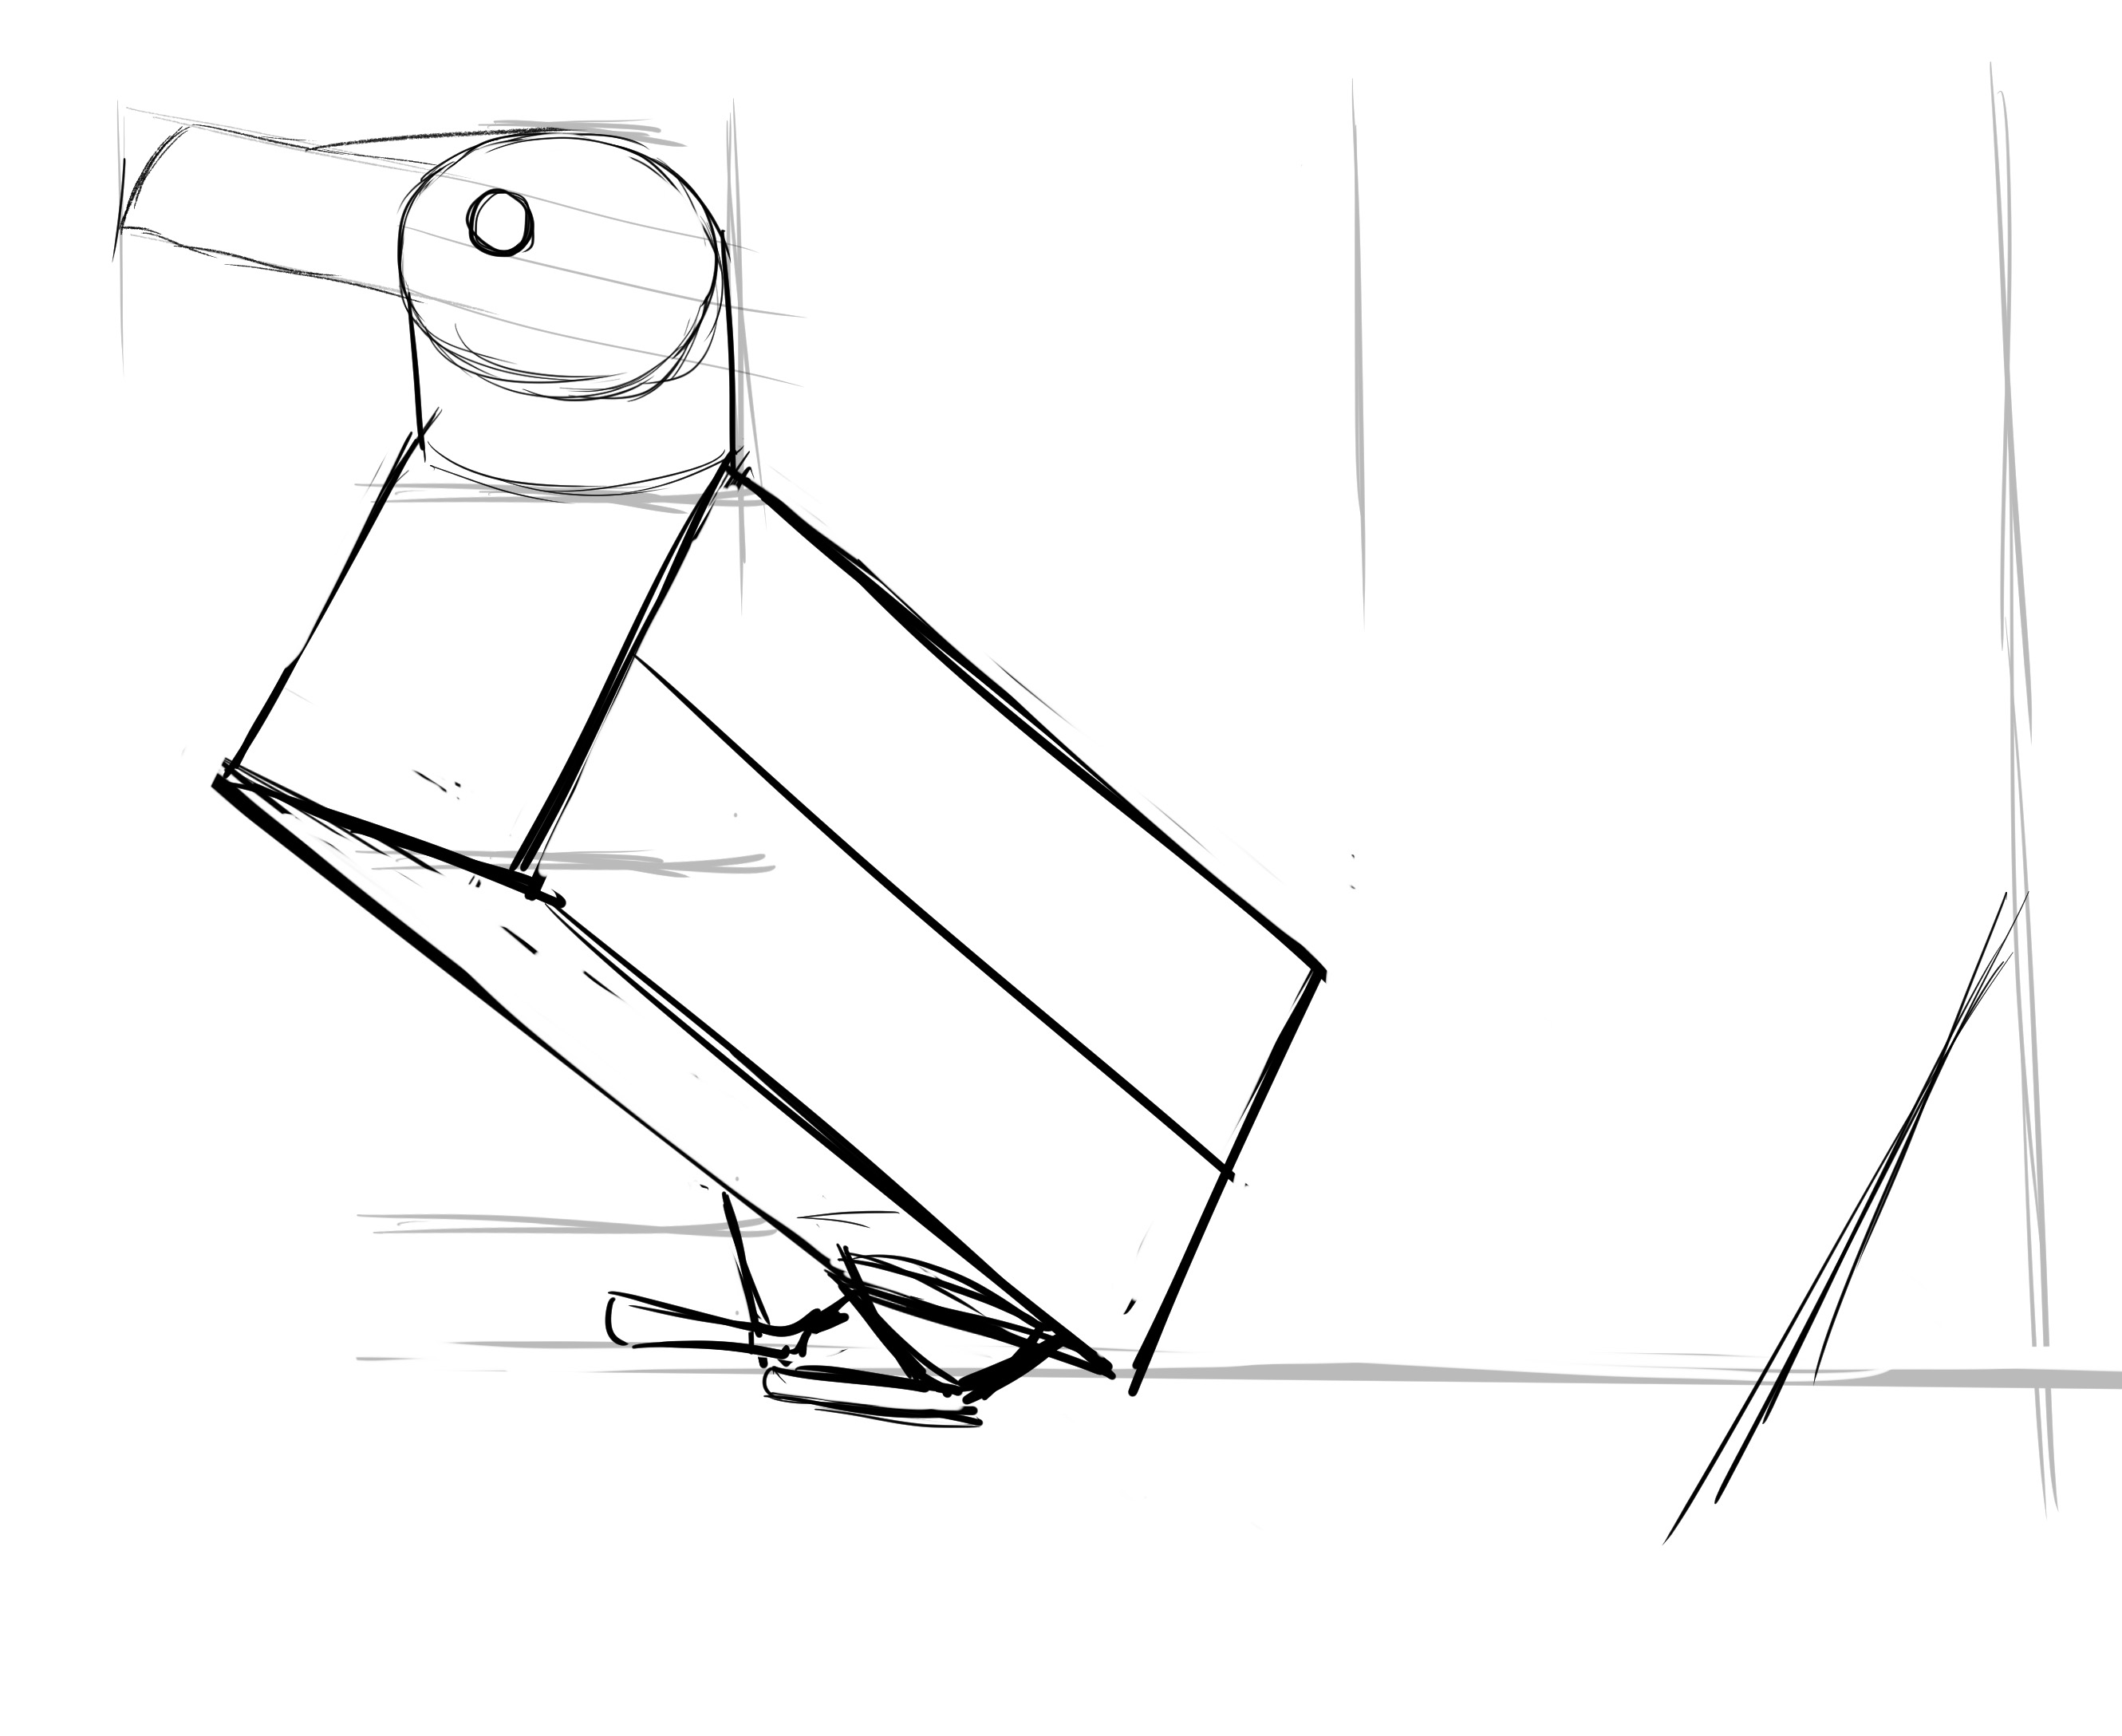
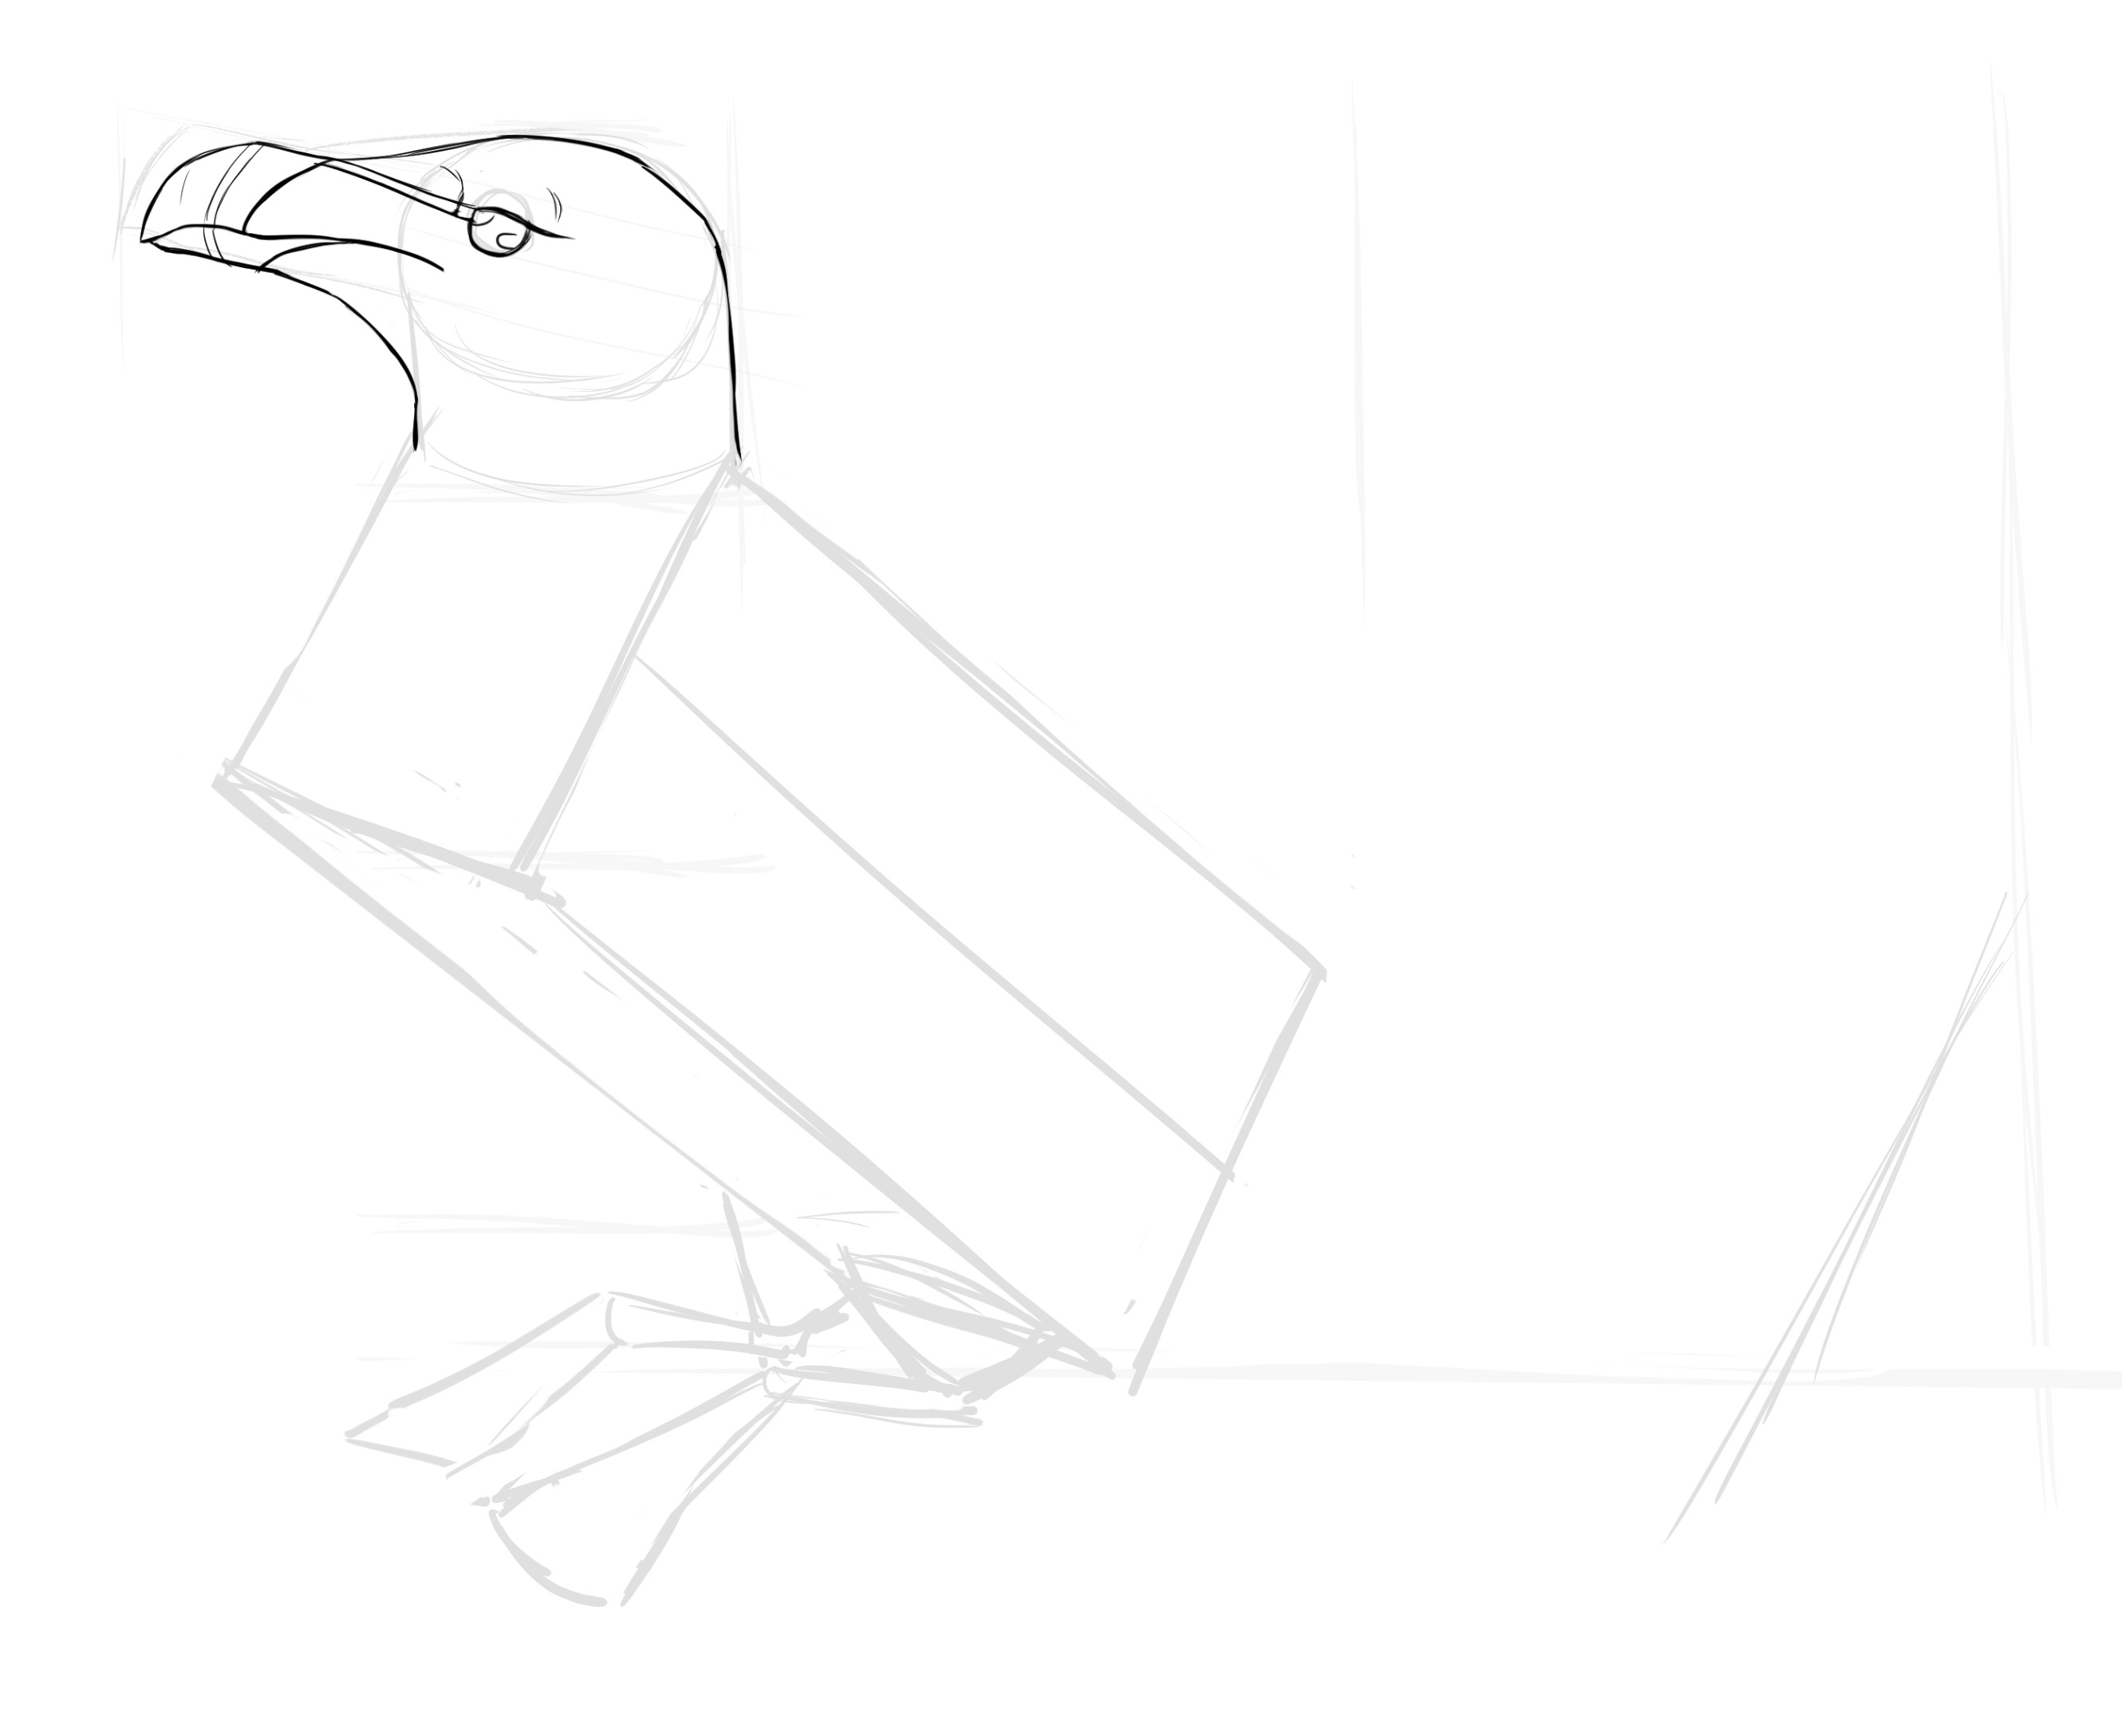
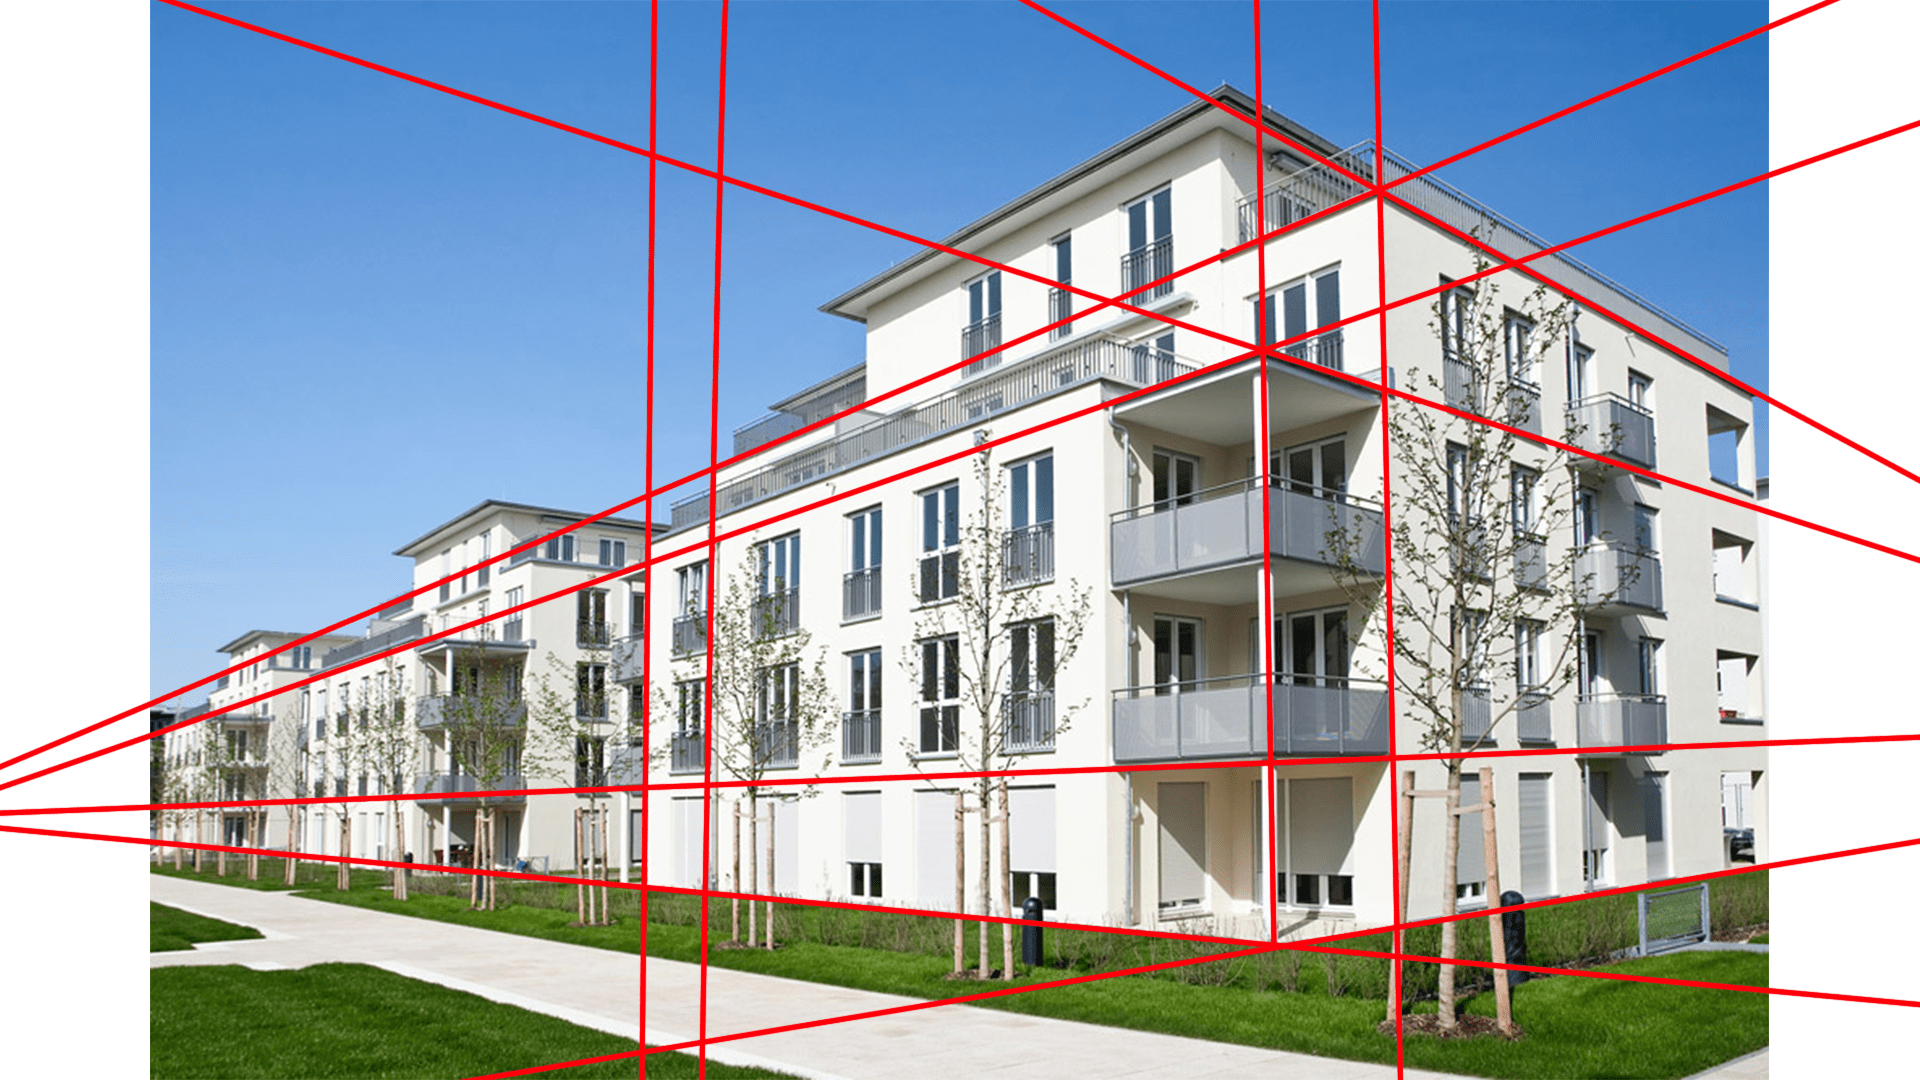
Now the big part: the body.
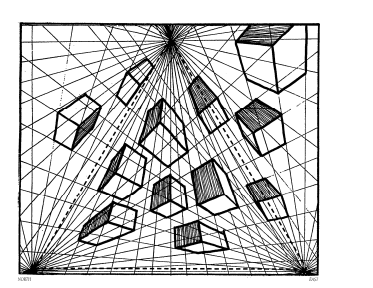
This one is in perspective. For more information on perspective drawing rules, you can see the article on this topic available on our blog.
The chest is facing us. You know my favorite method: the parallelepiped! I'll just specify that the chest is as wide as the neck and here the body appears to be two head-lengths long excluding the tail plumage, which is equivalent to an additional head-length. For the angle, the ground is just over two heads high (two heads and a third if you want to be more precise).

As always, we will return to this part in the next step, refining. In the meantime, you can place the marker for the end of the tail. And also divide our parallelepiped in two lengthwise. This will especially help us to properly position the tail and the wing feathers ^^
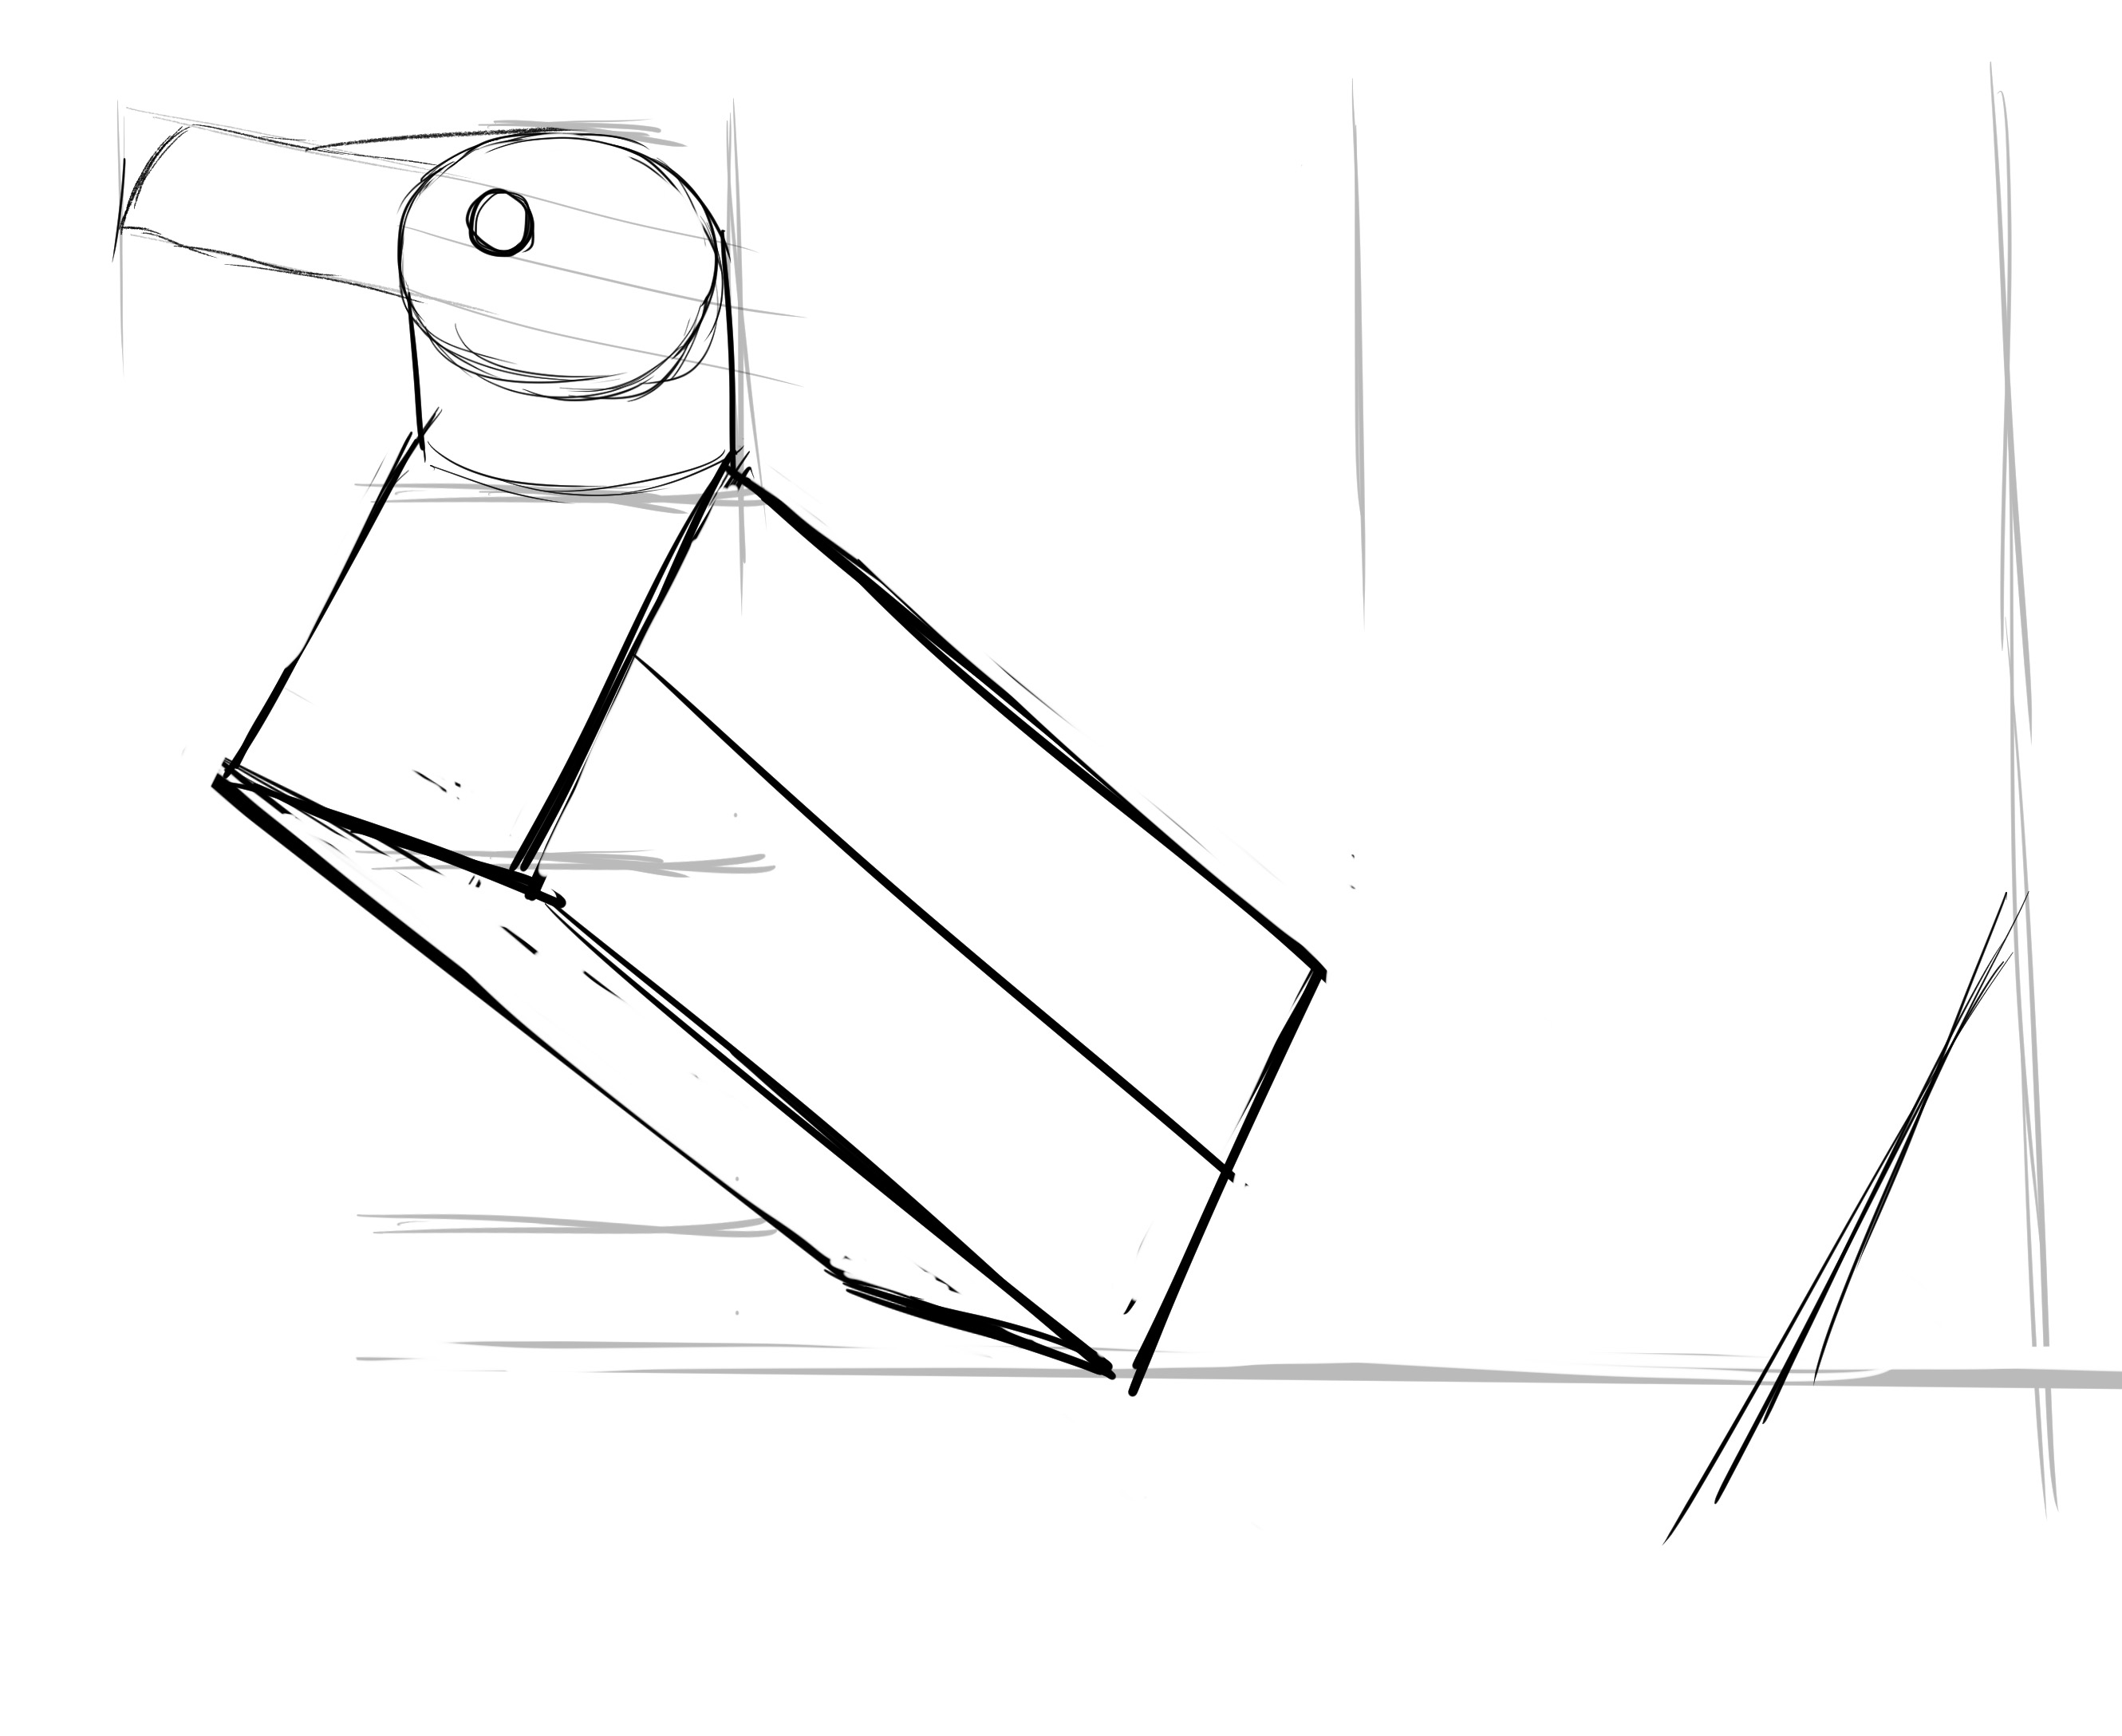
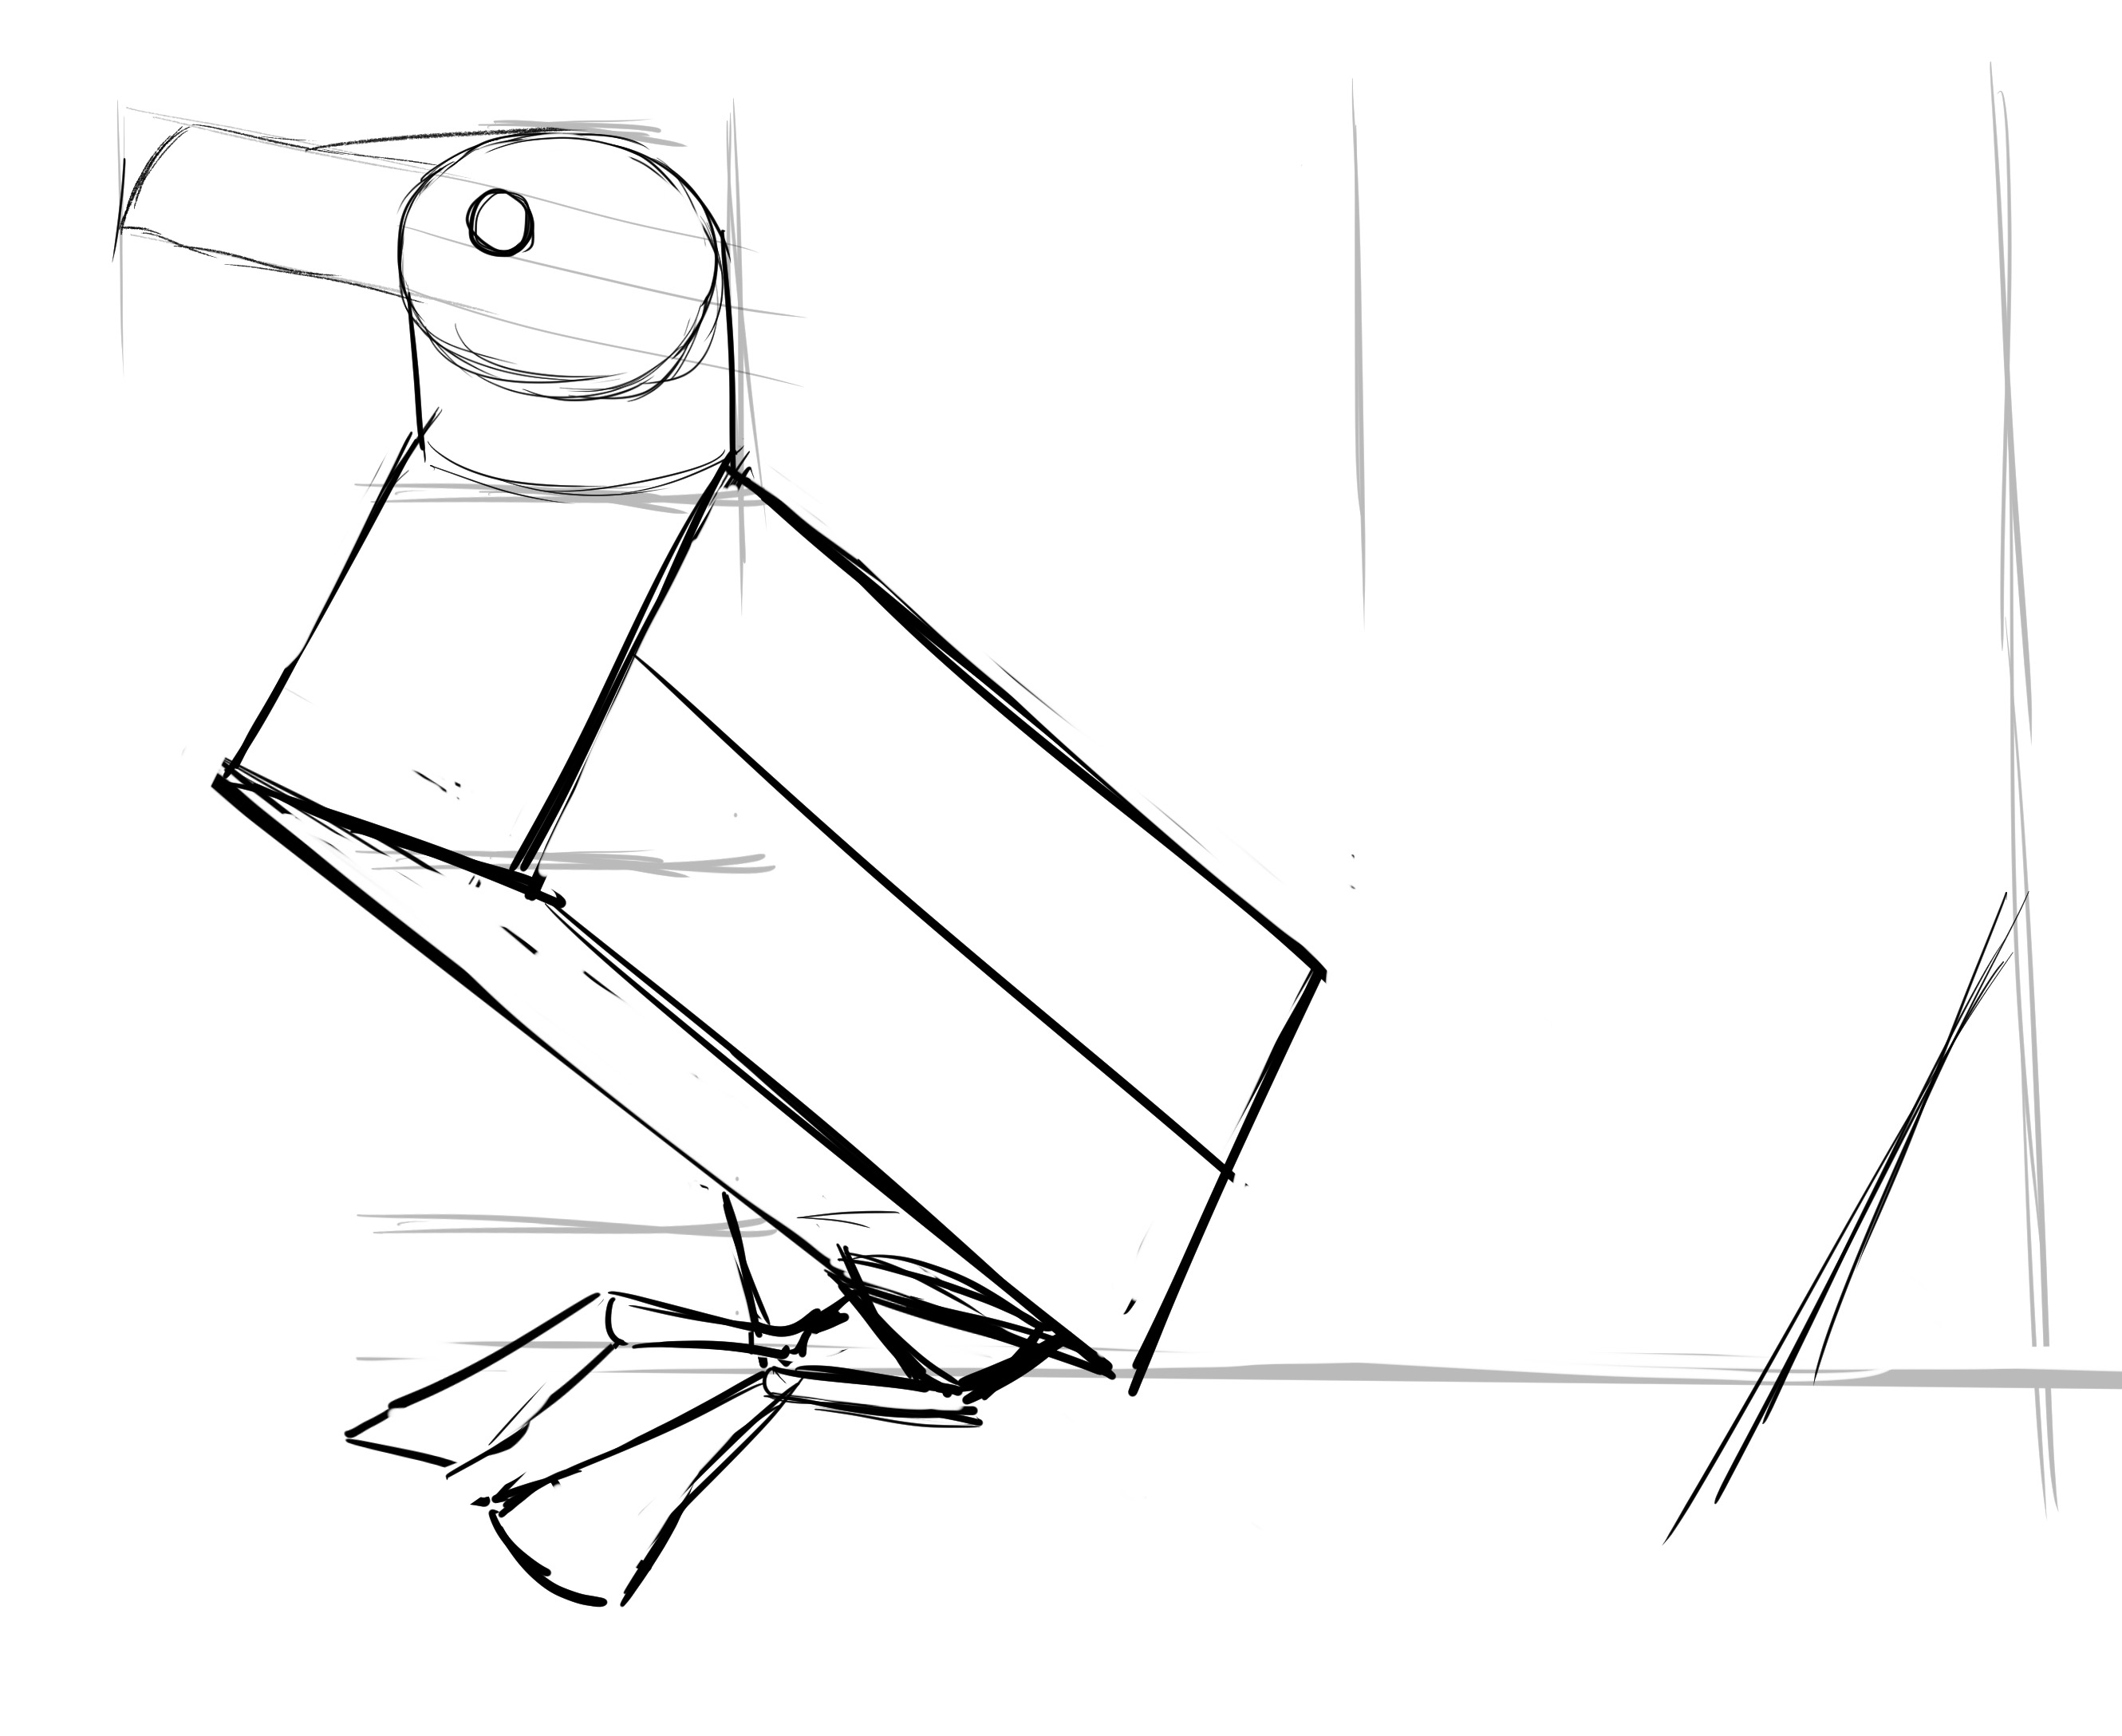
Regarding the placement of the legs, they can be placed almost at the end of the parallelepiped. Another reference that can help you: they start about where the neck ends. They are very small, almost vertical, and you will note that our penguin does not stand on its feet, but rather as if it were on its knees. This is probably a more stable posture for it.
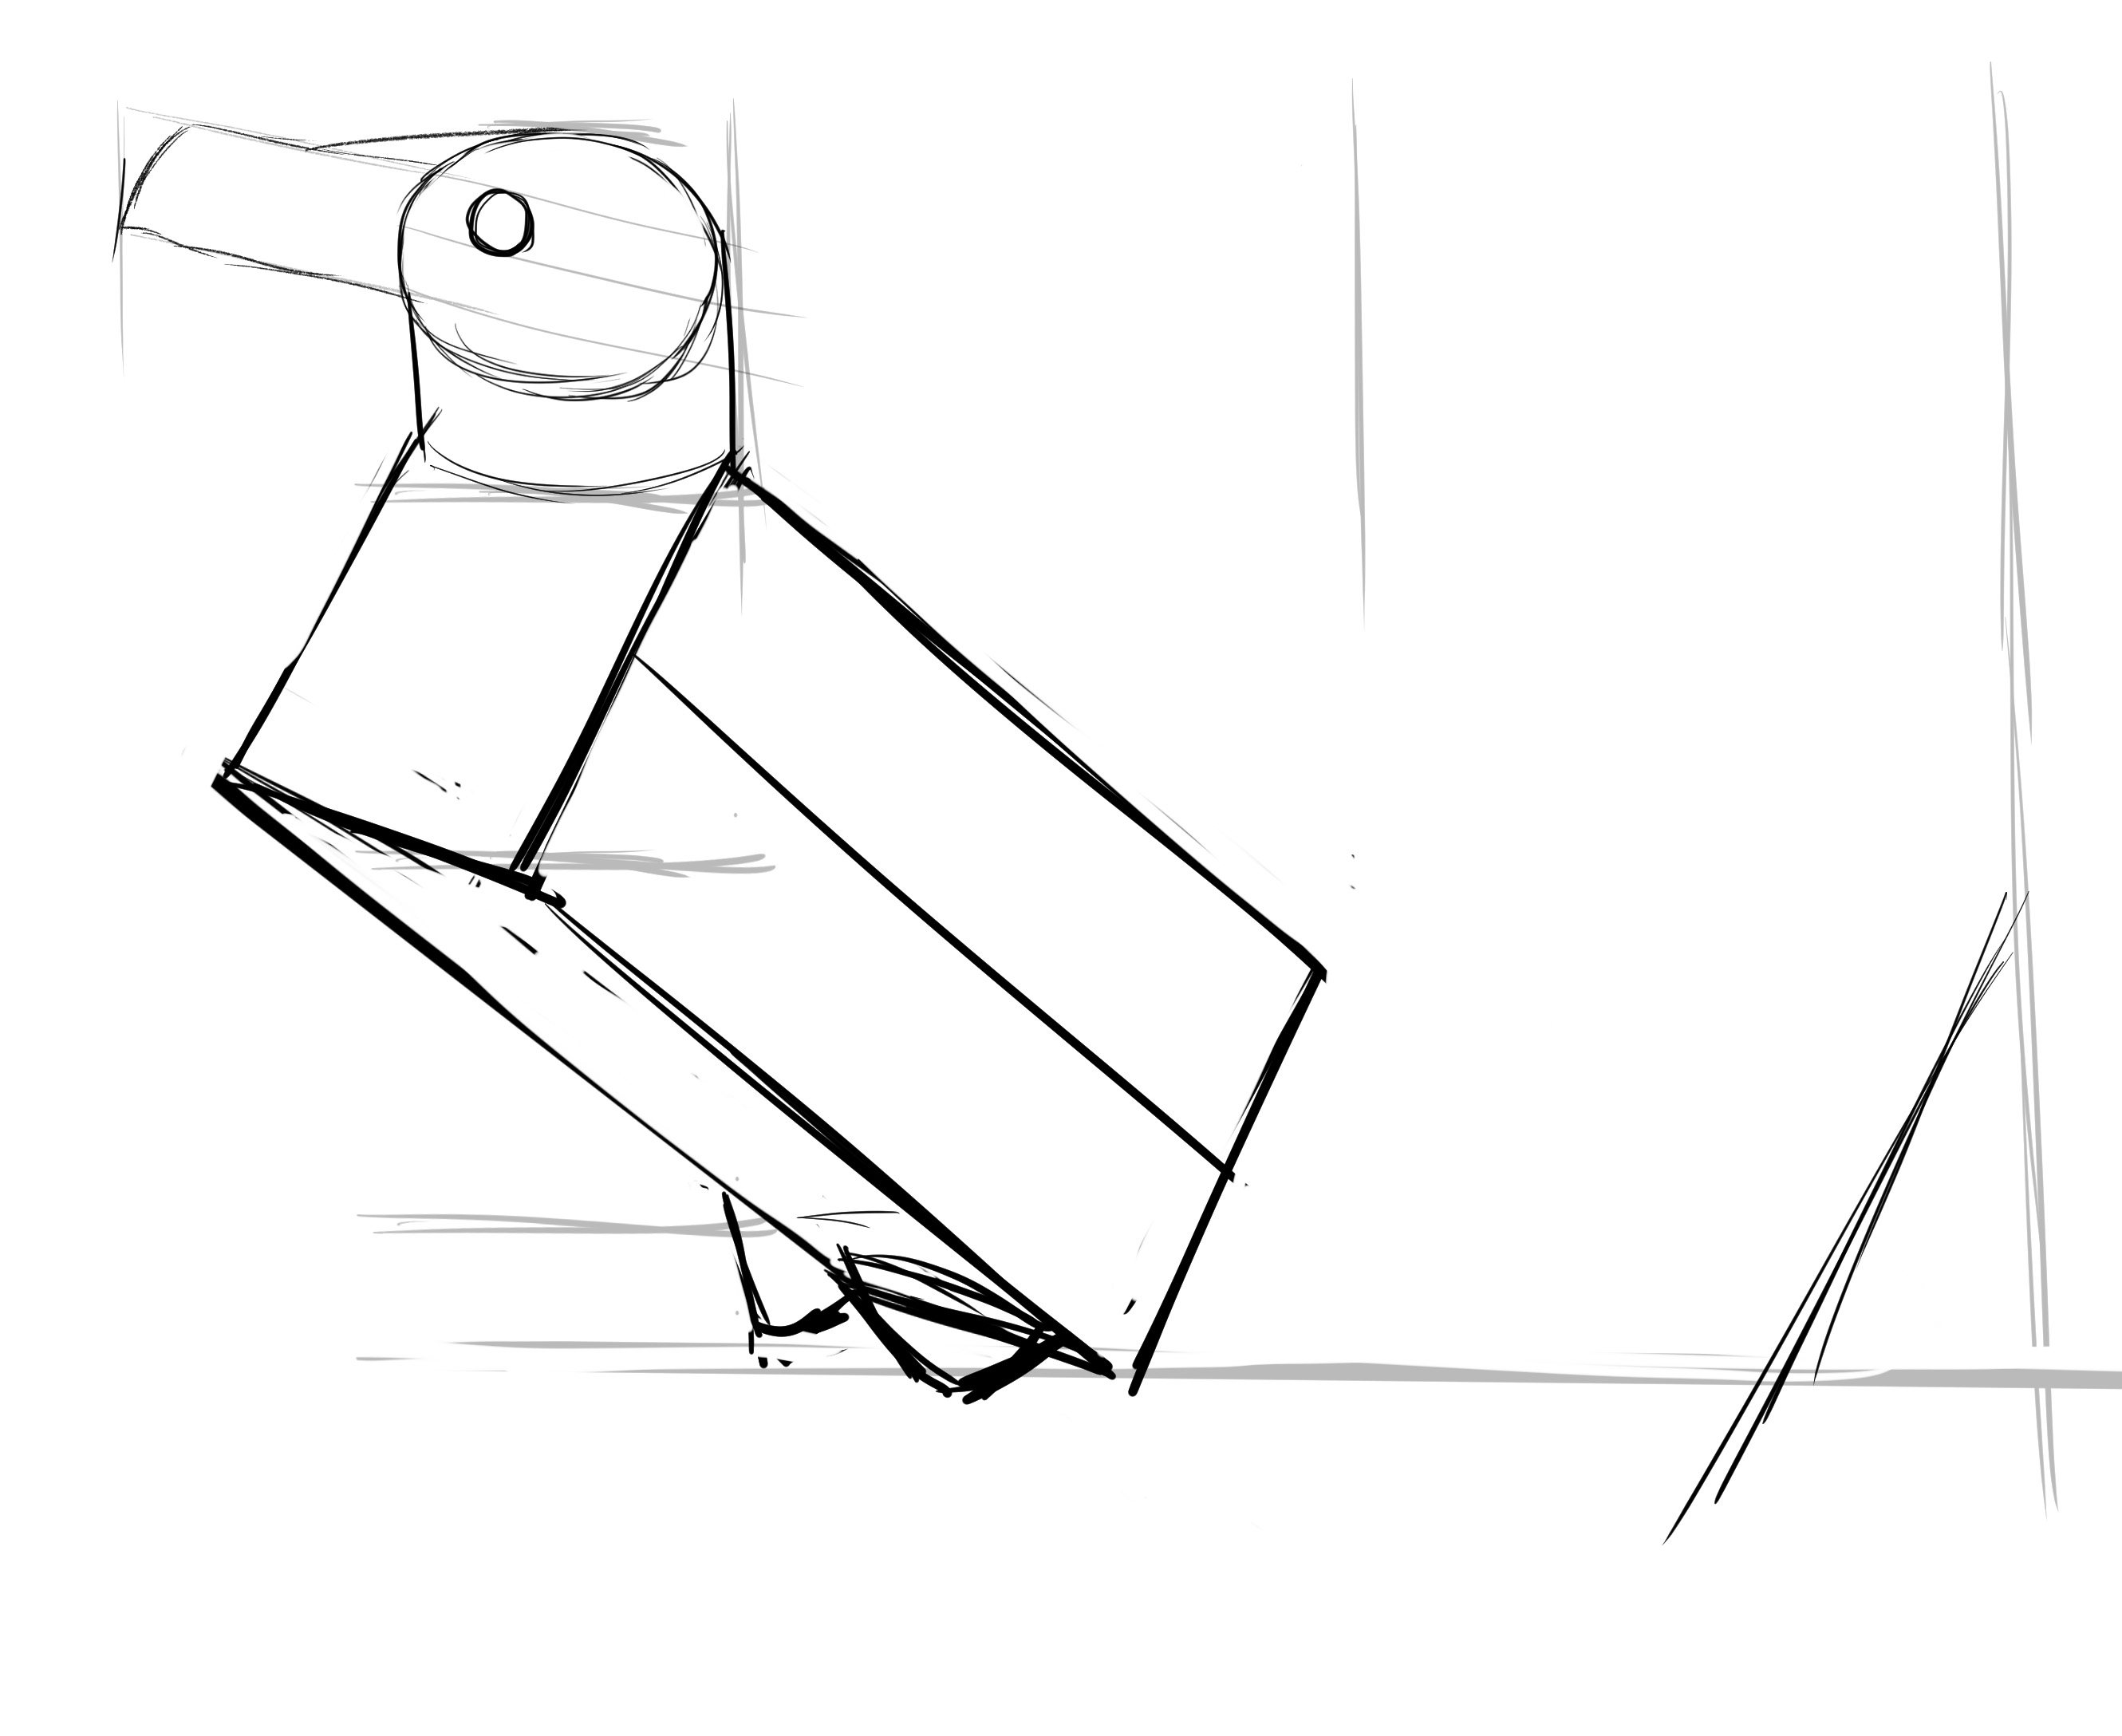
The tibia part is roughly equal to two-thirds of the width of the head.
The webbed part is longer, about the width of the head in size. Be careful with the angles for these two parts of the foot!
REFINING THE PENGUIN DRAWING
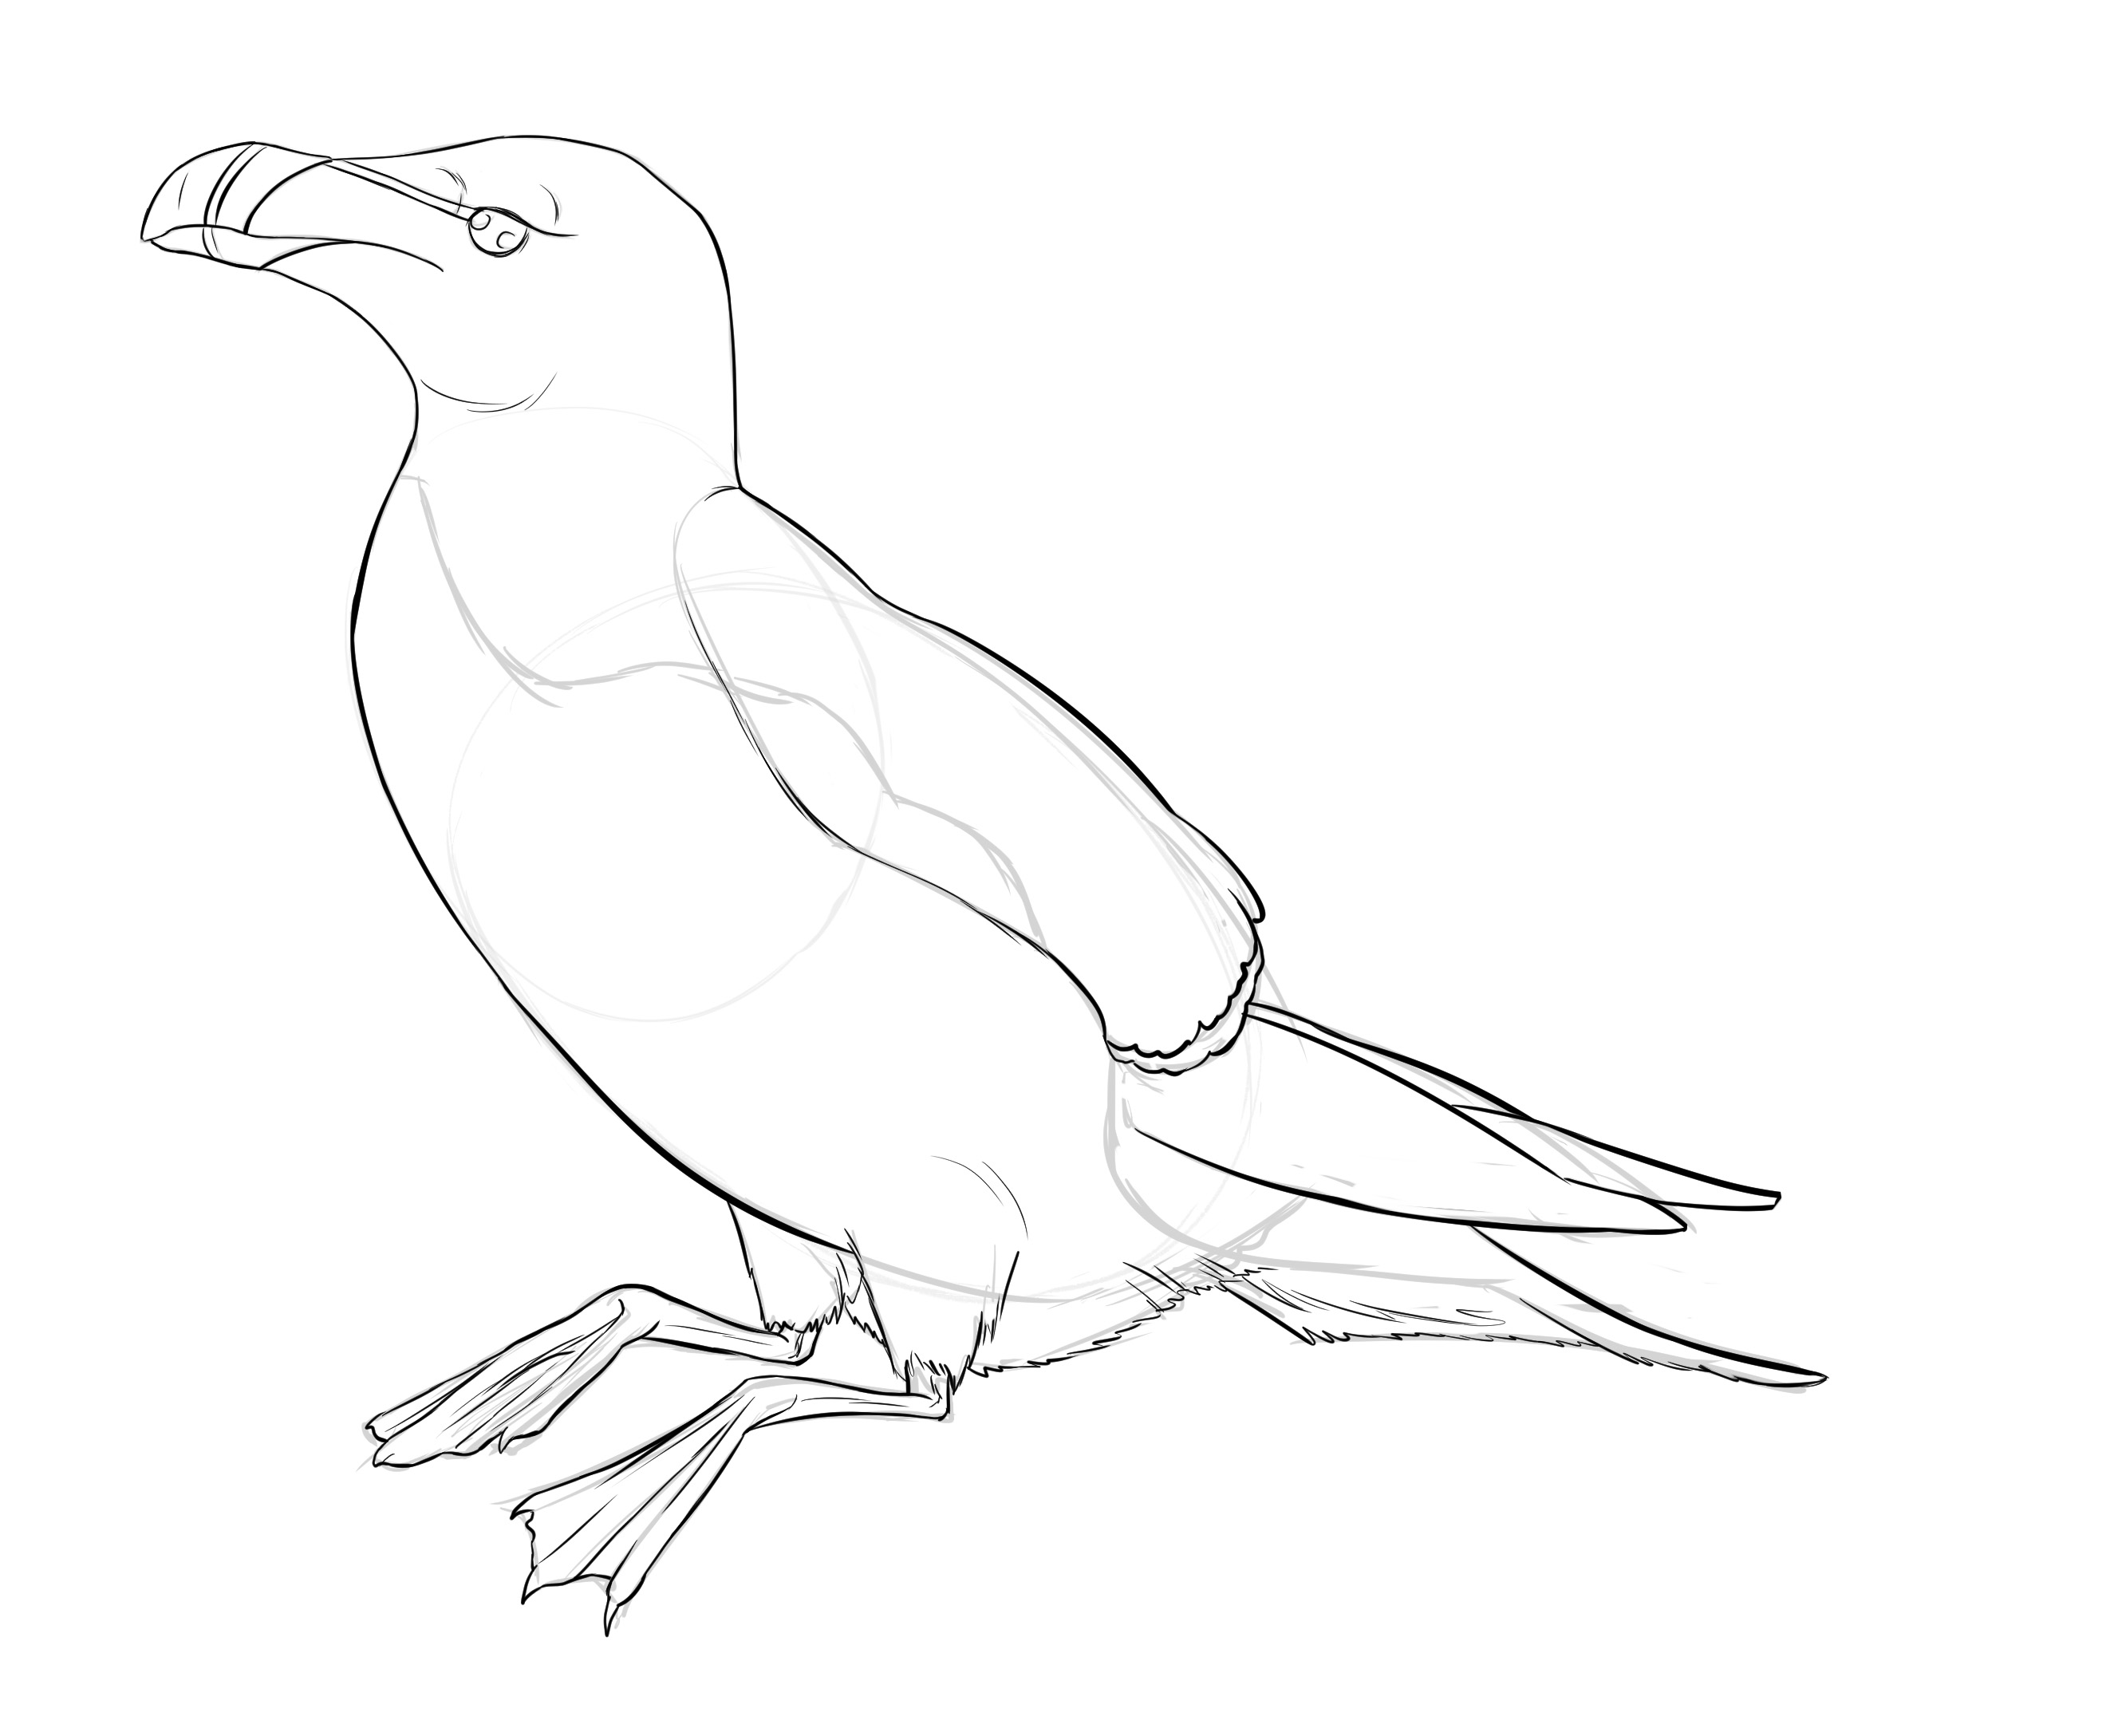
We have our rough base, now we can refine!
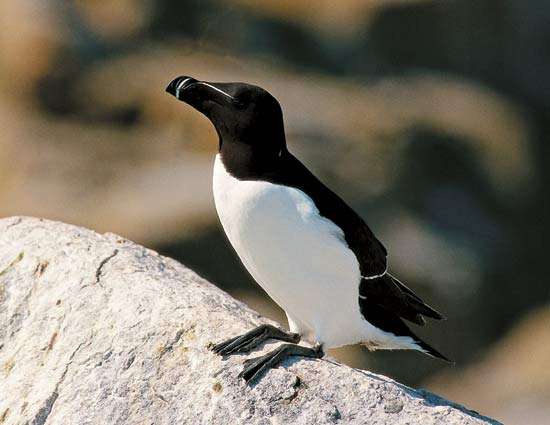
For the head, the photo we have doesn't allow us to properly understand how it all fits together, so I am including another reference here:
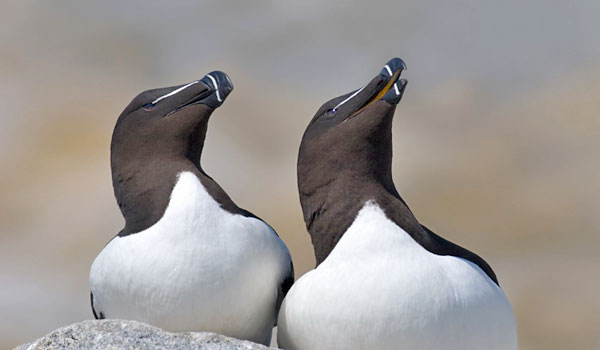
As can be seen, the beak is actually very short, there is a characteristic white pattern that runs from the beak to the eye (a band that surrounds the beak vertically, and another on the plumage that starts from the beginning of the beak to the eye).
So! The beak occupies 1/3 of the area we initially marked as being the beak (not the sphere of the head, the other part). Be careful with the shape of this beak. It's not a straight line but a curve, longer on the top and the line of the mouth and shorter towards the bottom.
Note that while the "hard" part of the beak is small, the mouth is quite long and dominates the area that we initially defined as the beak. It stops right below the eye, as is often the case with birds. Moreover, the tip of the beak has a small point downwards, whether for the upper or lower part.
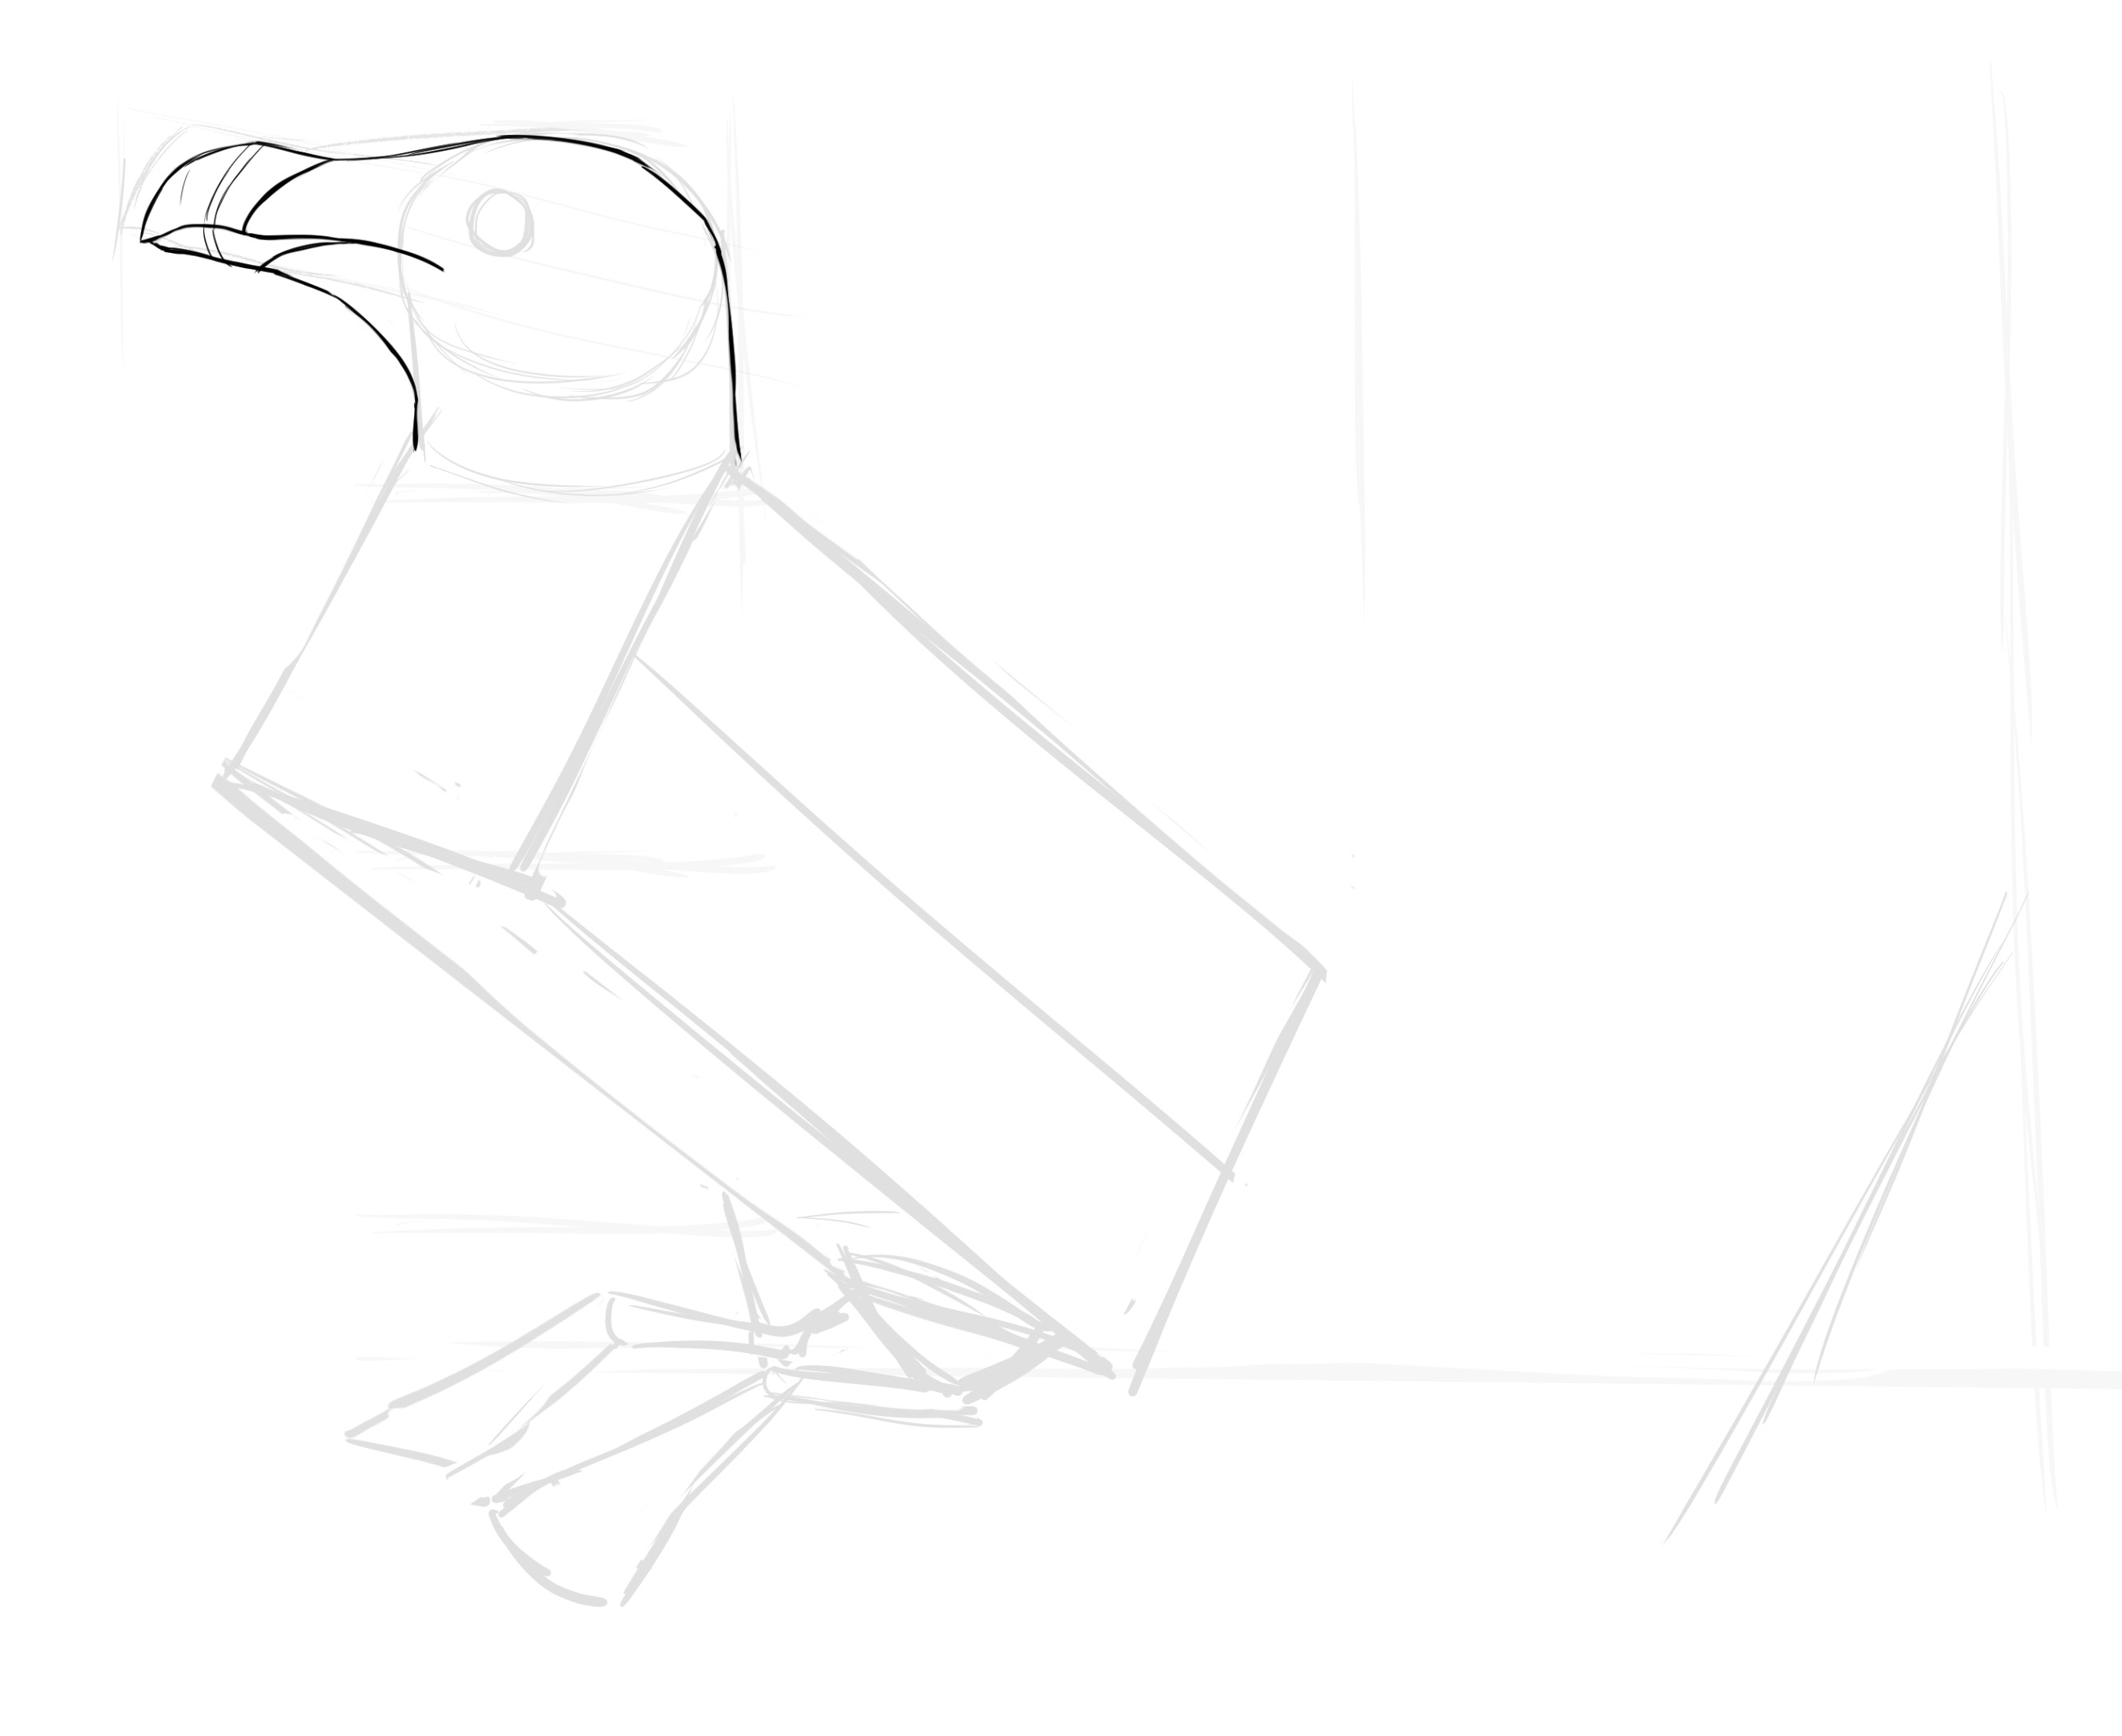
The eye is very small with a kind of large line above it. It is slightly raised compared to the rest of the head with the brow ridge, while the head narrows as it approaches the beak.
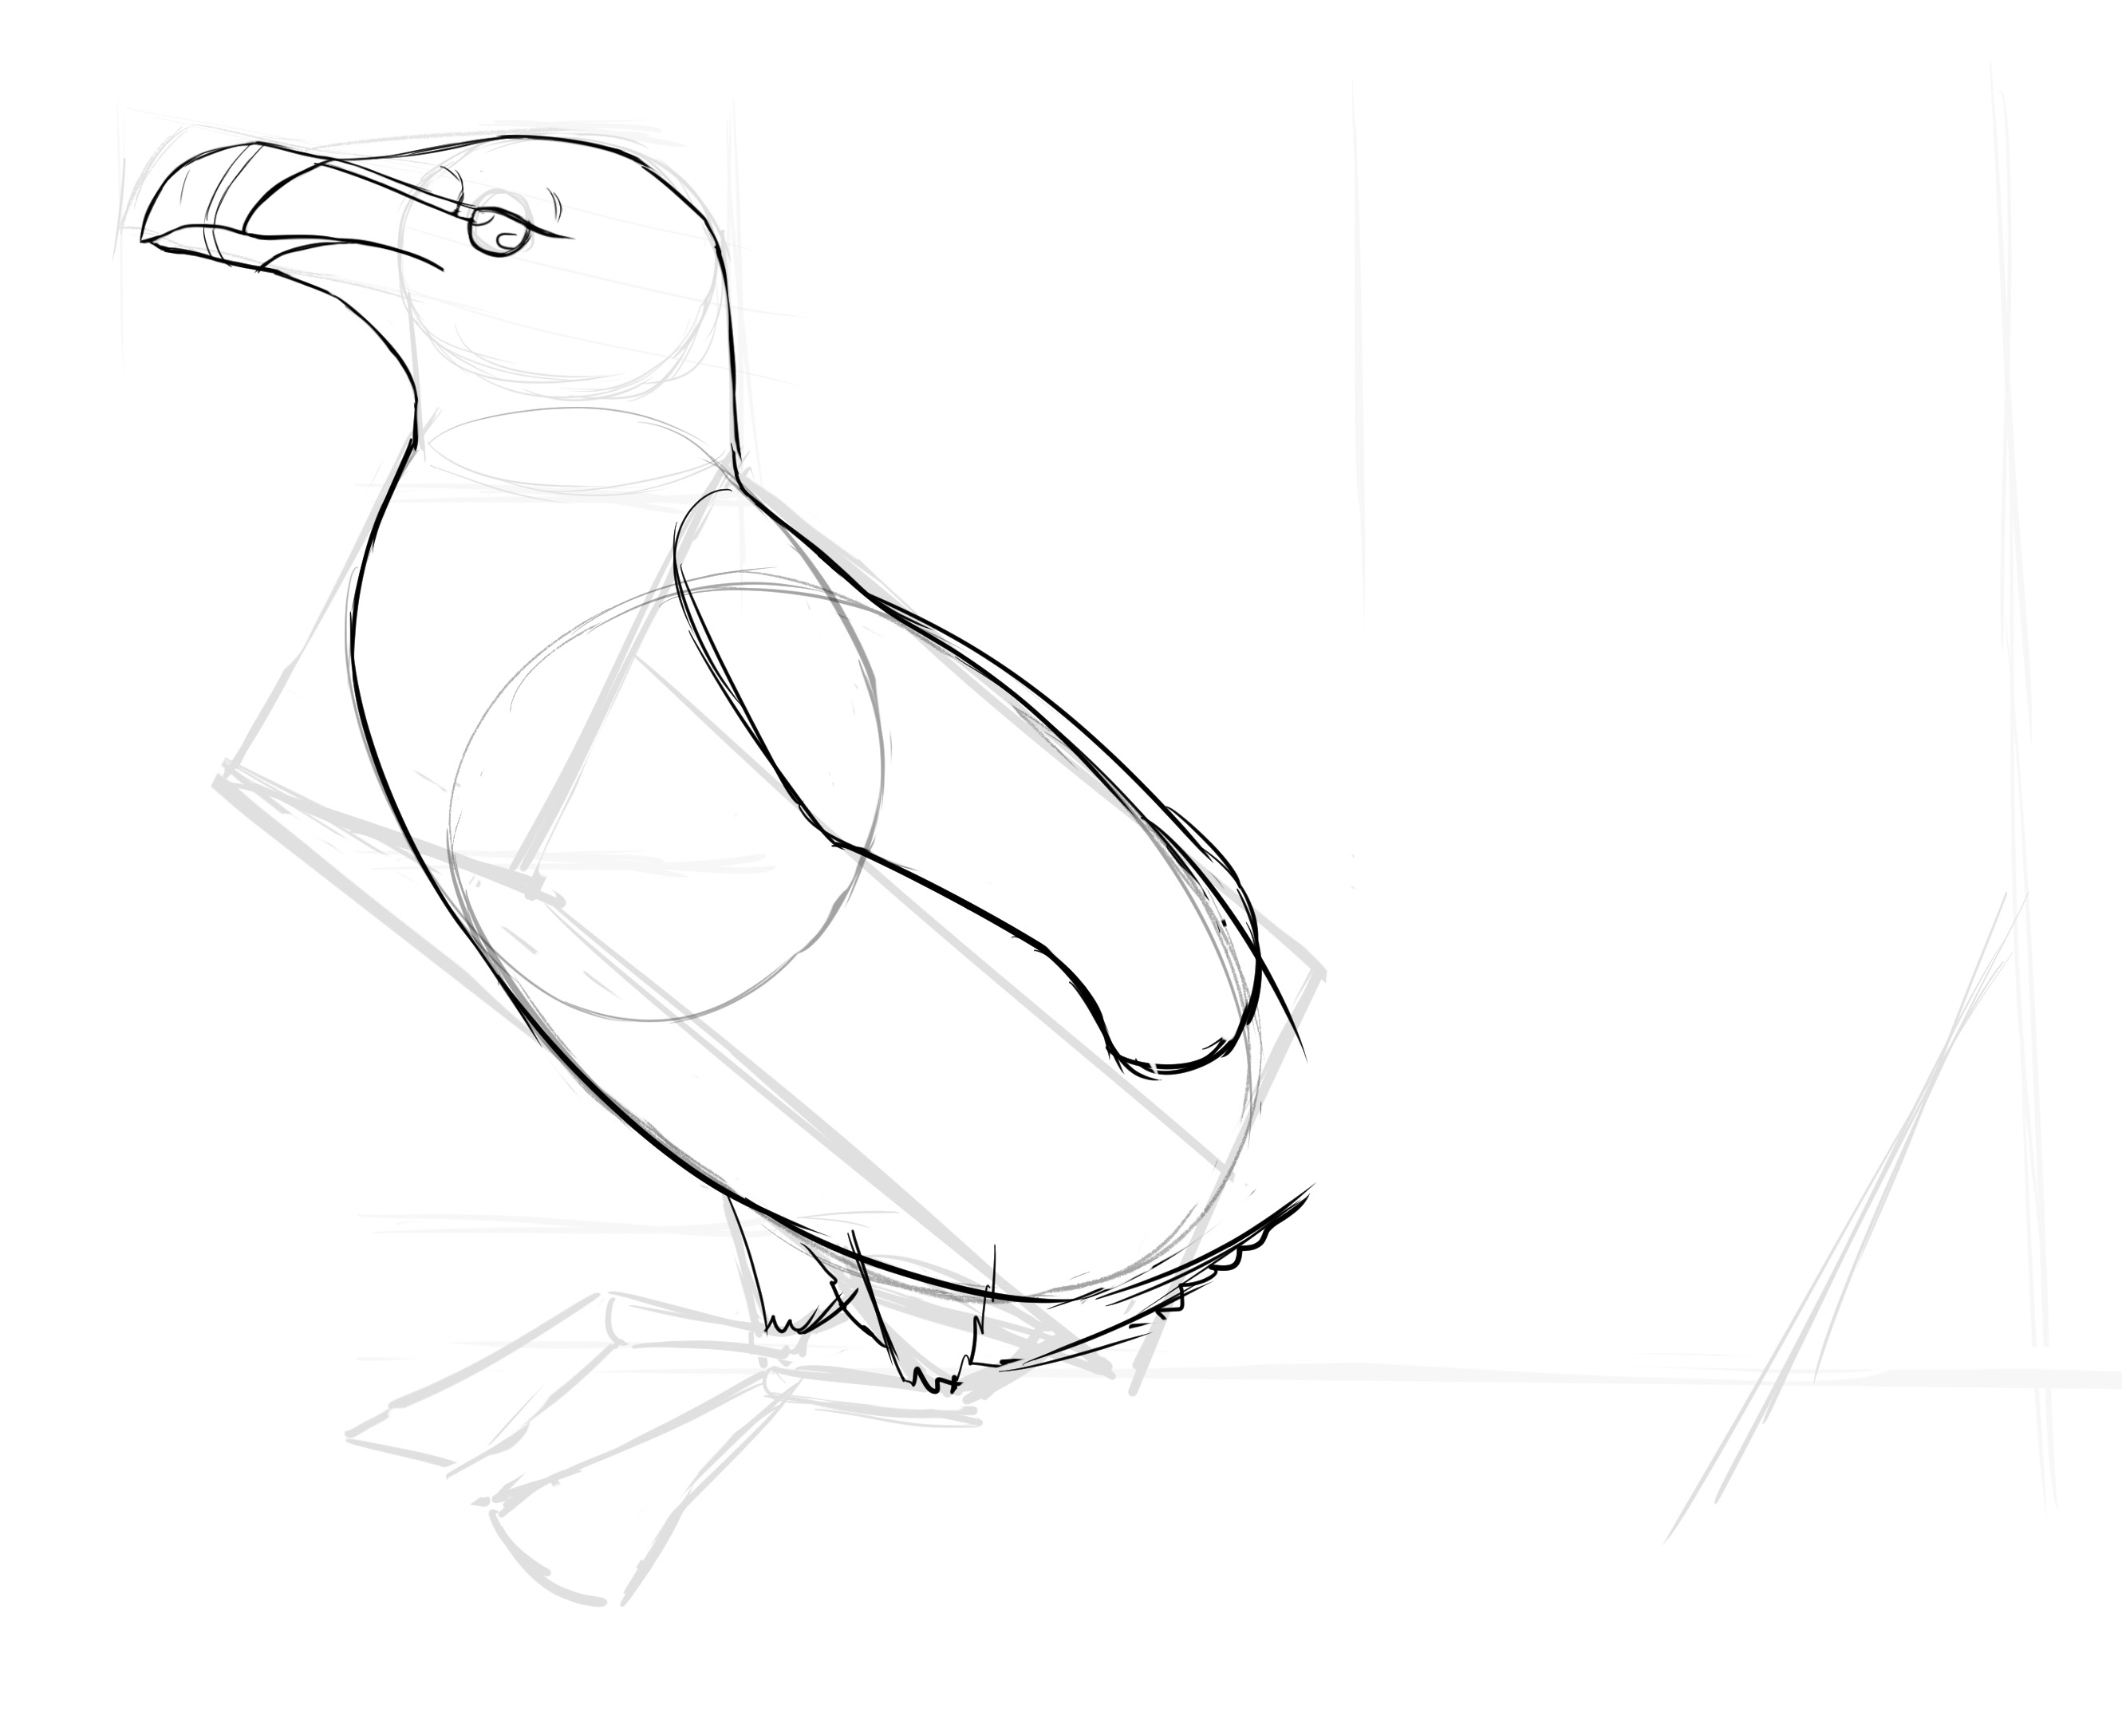
Now the body! We are going to draw the ribcage (an oval that takes up about half of the parallelepiped approximately).
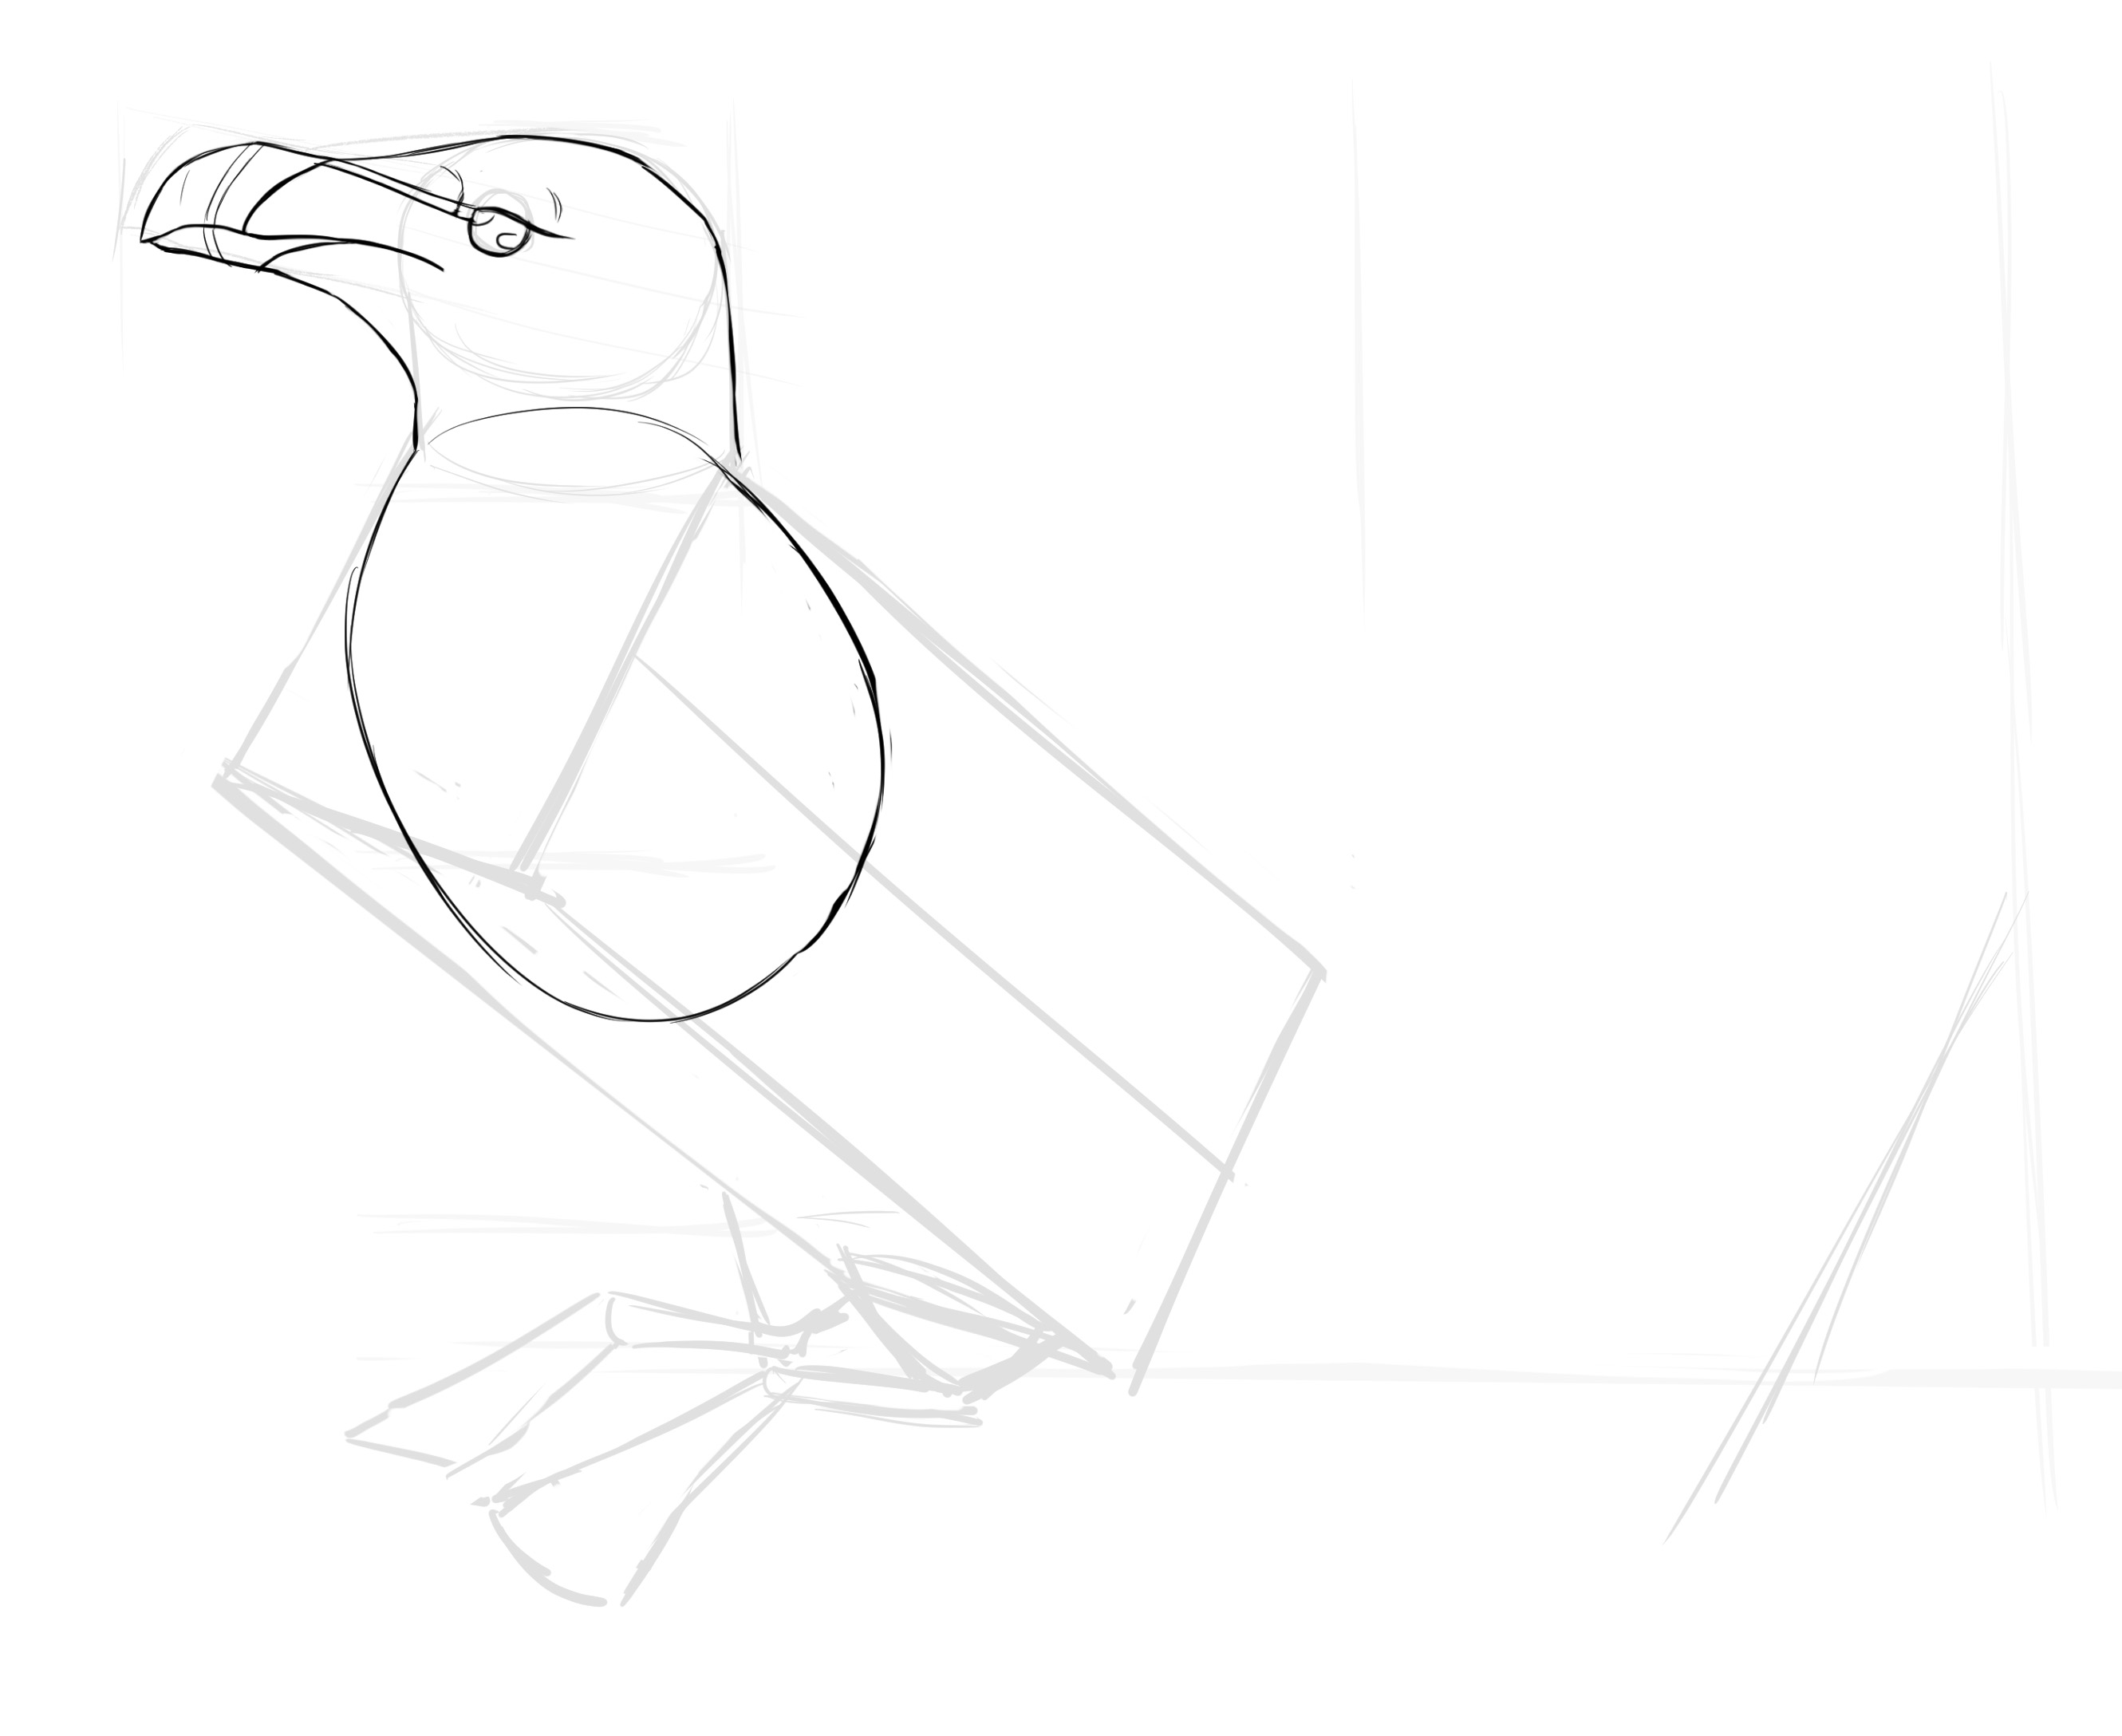
We make a second oval for the abdomen and everything it contains.
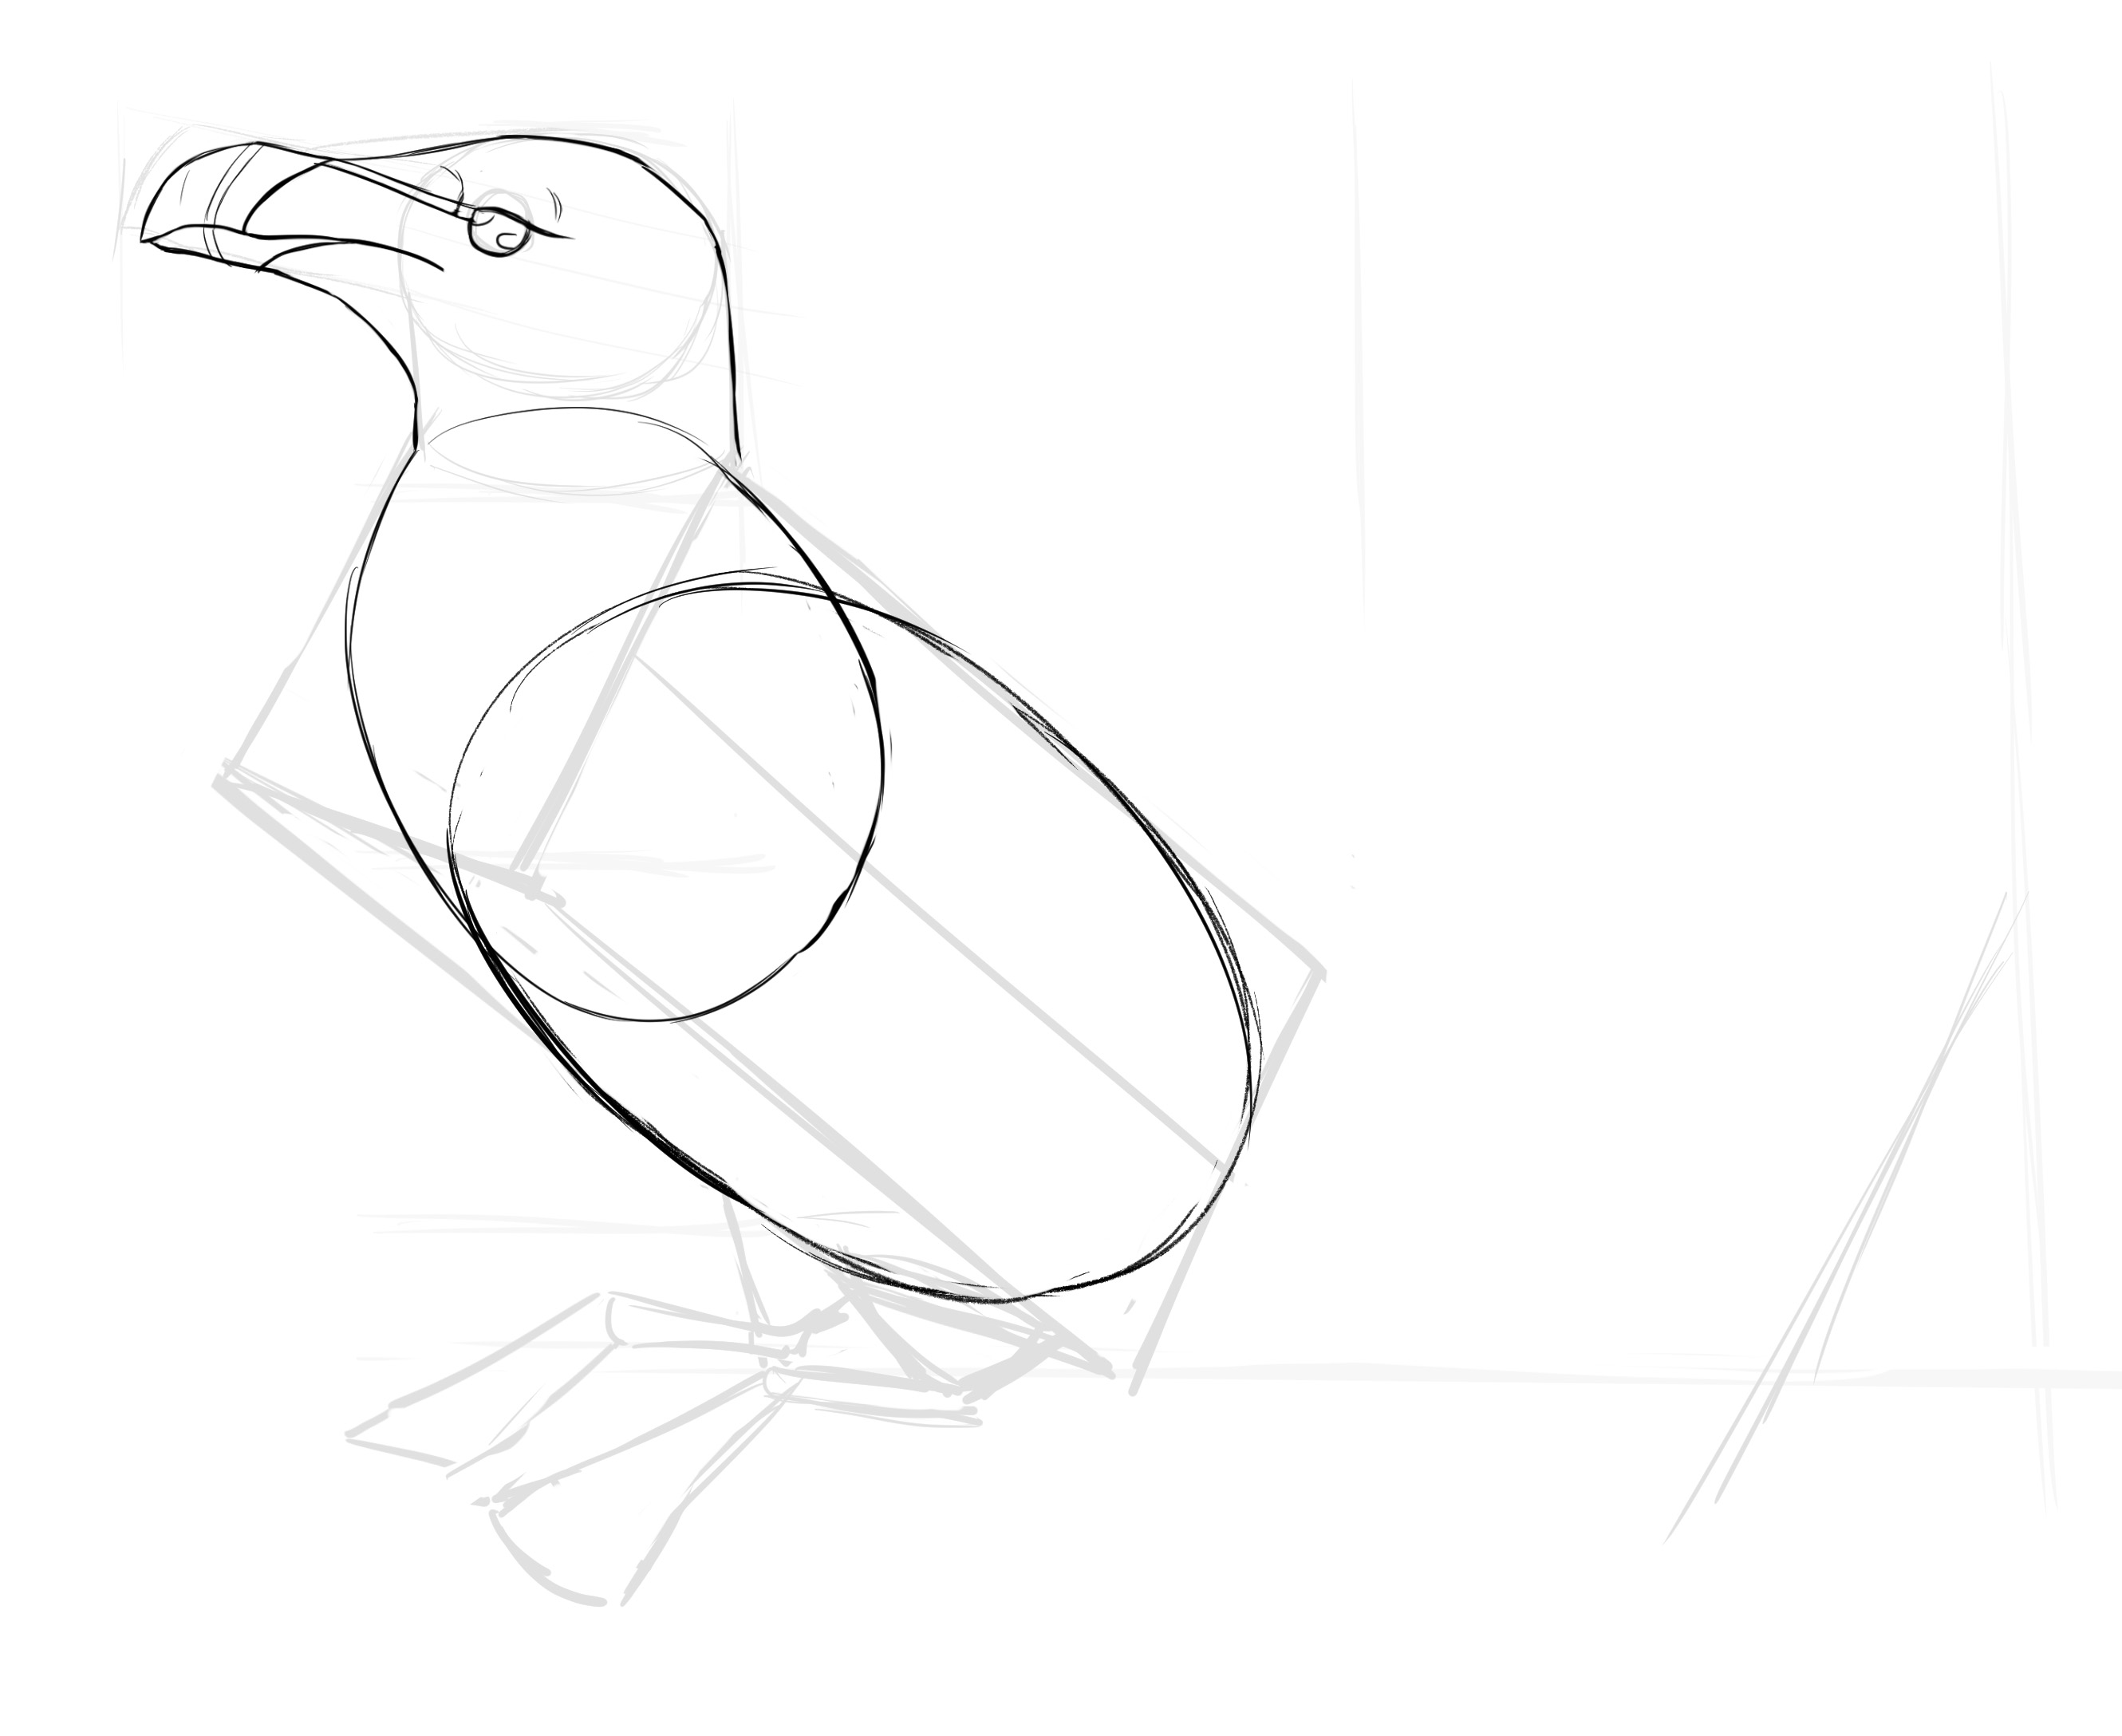
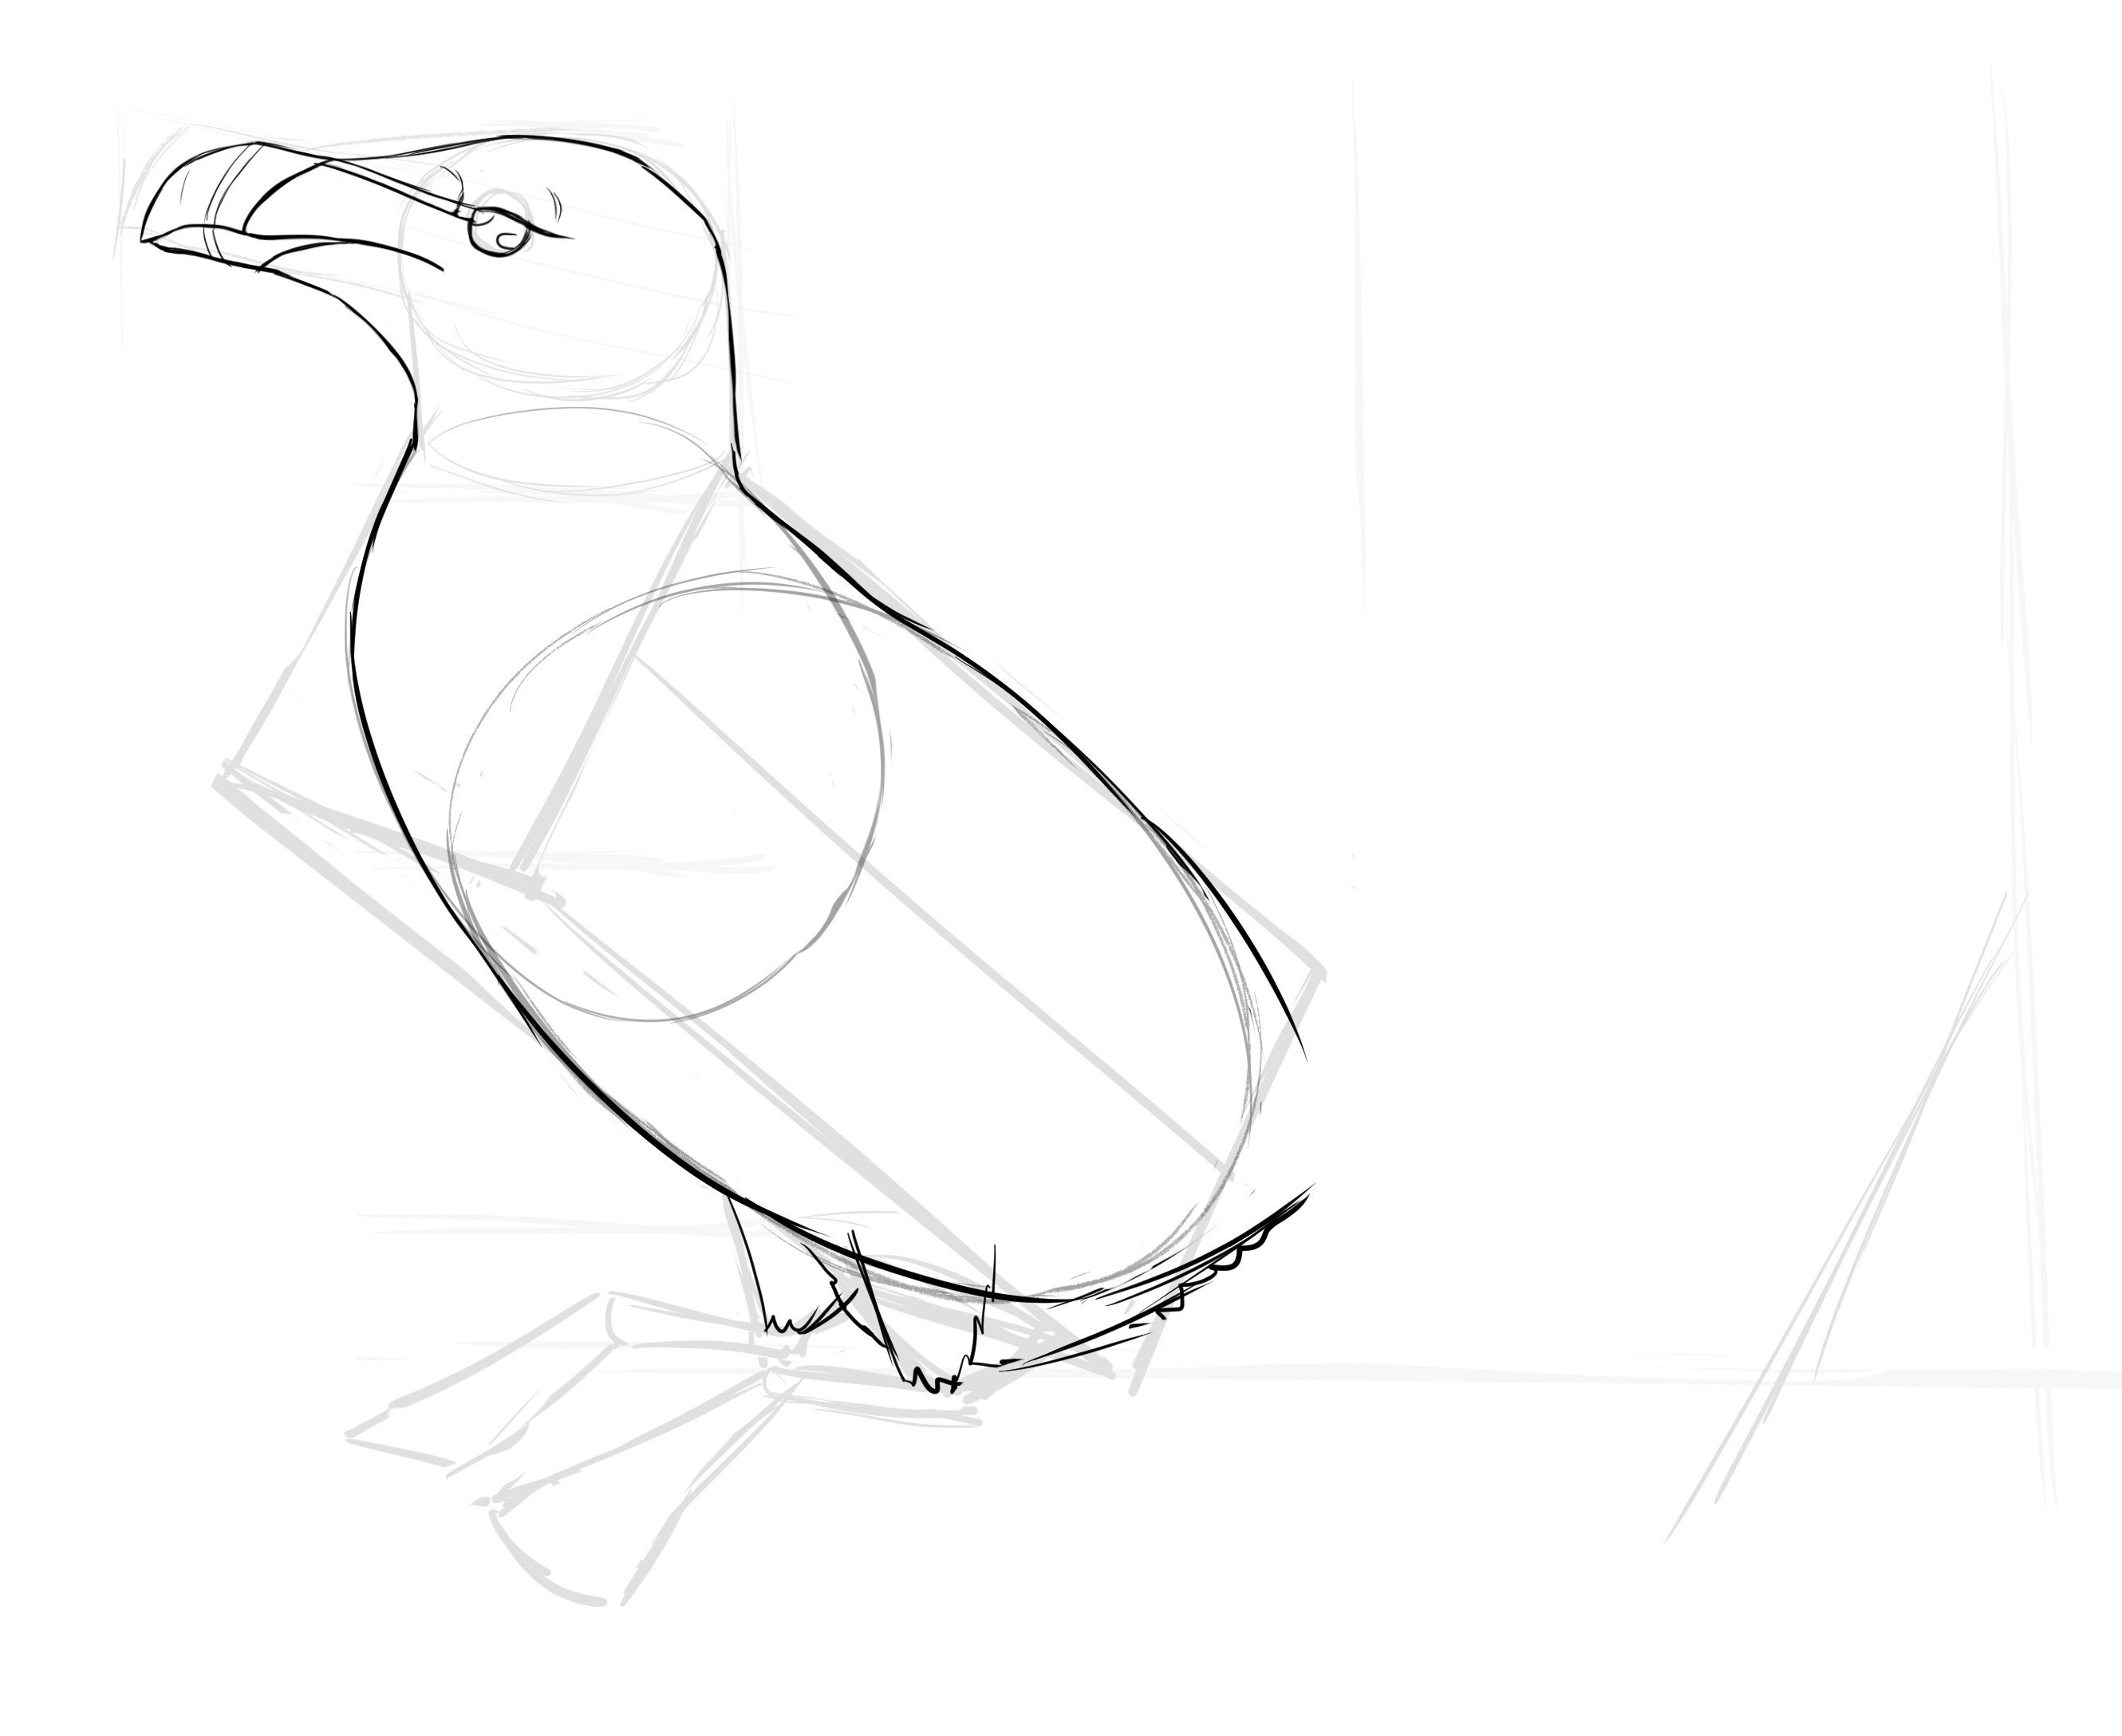
And we can draw a correct shape for the body.

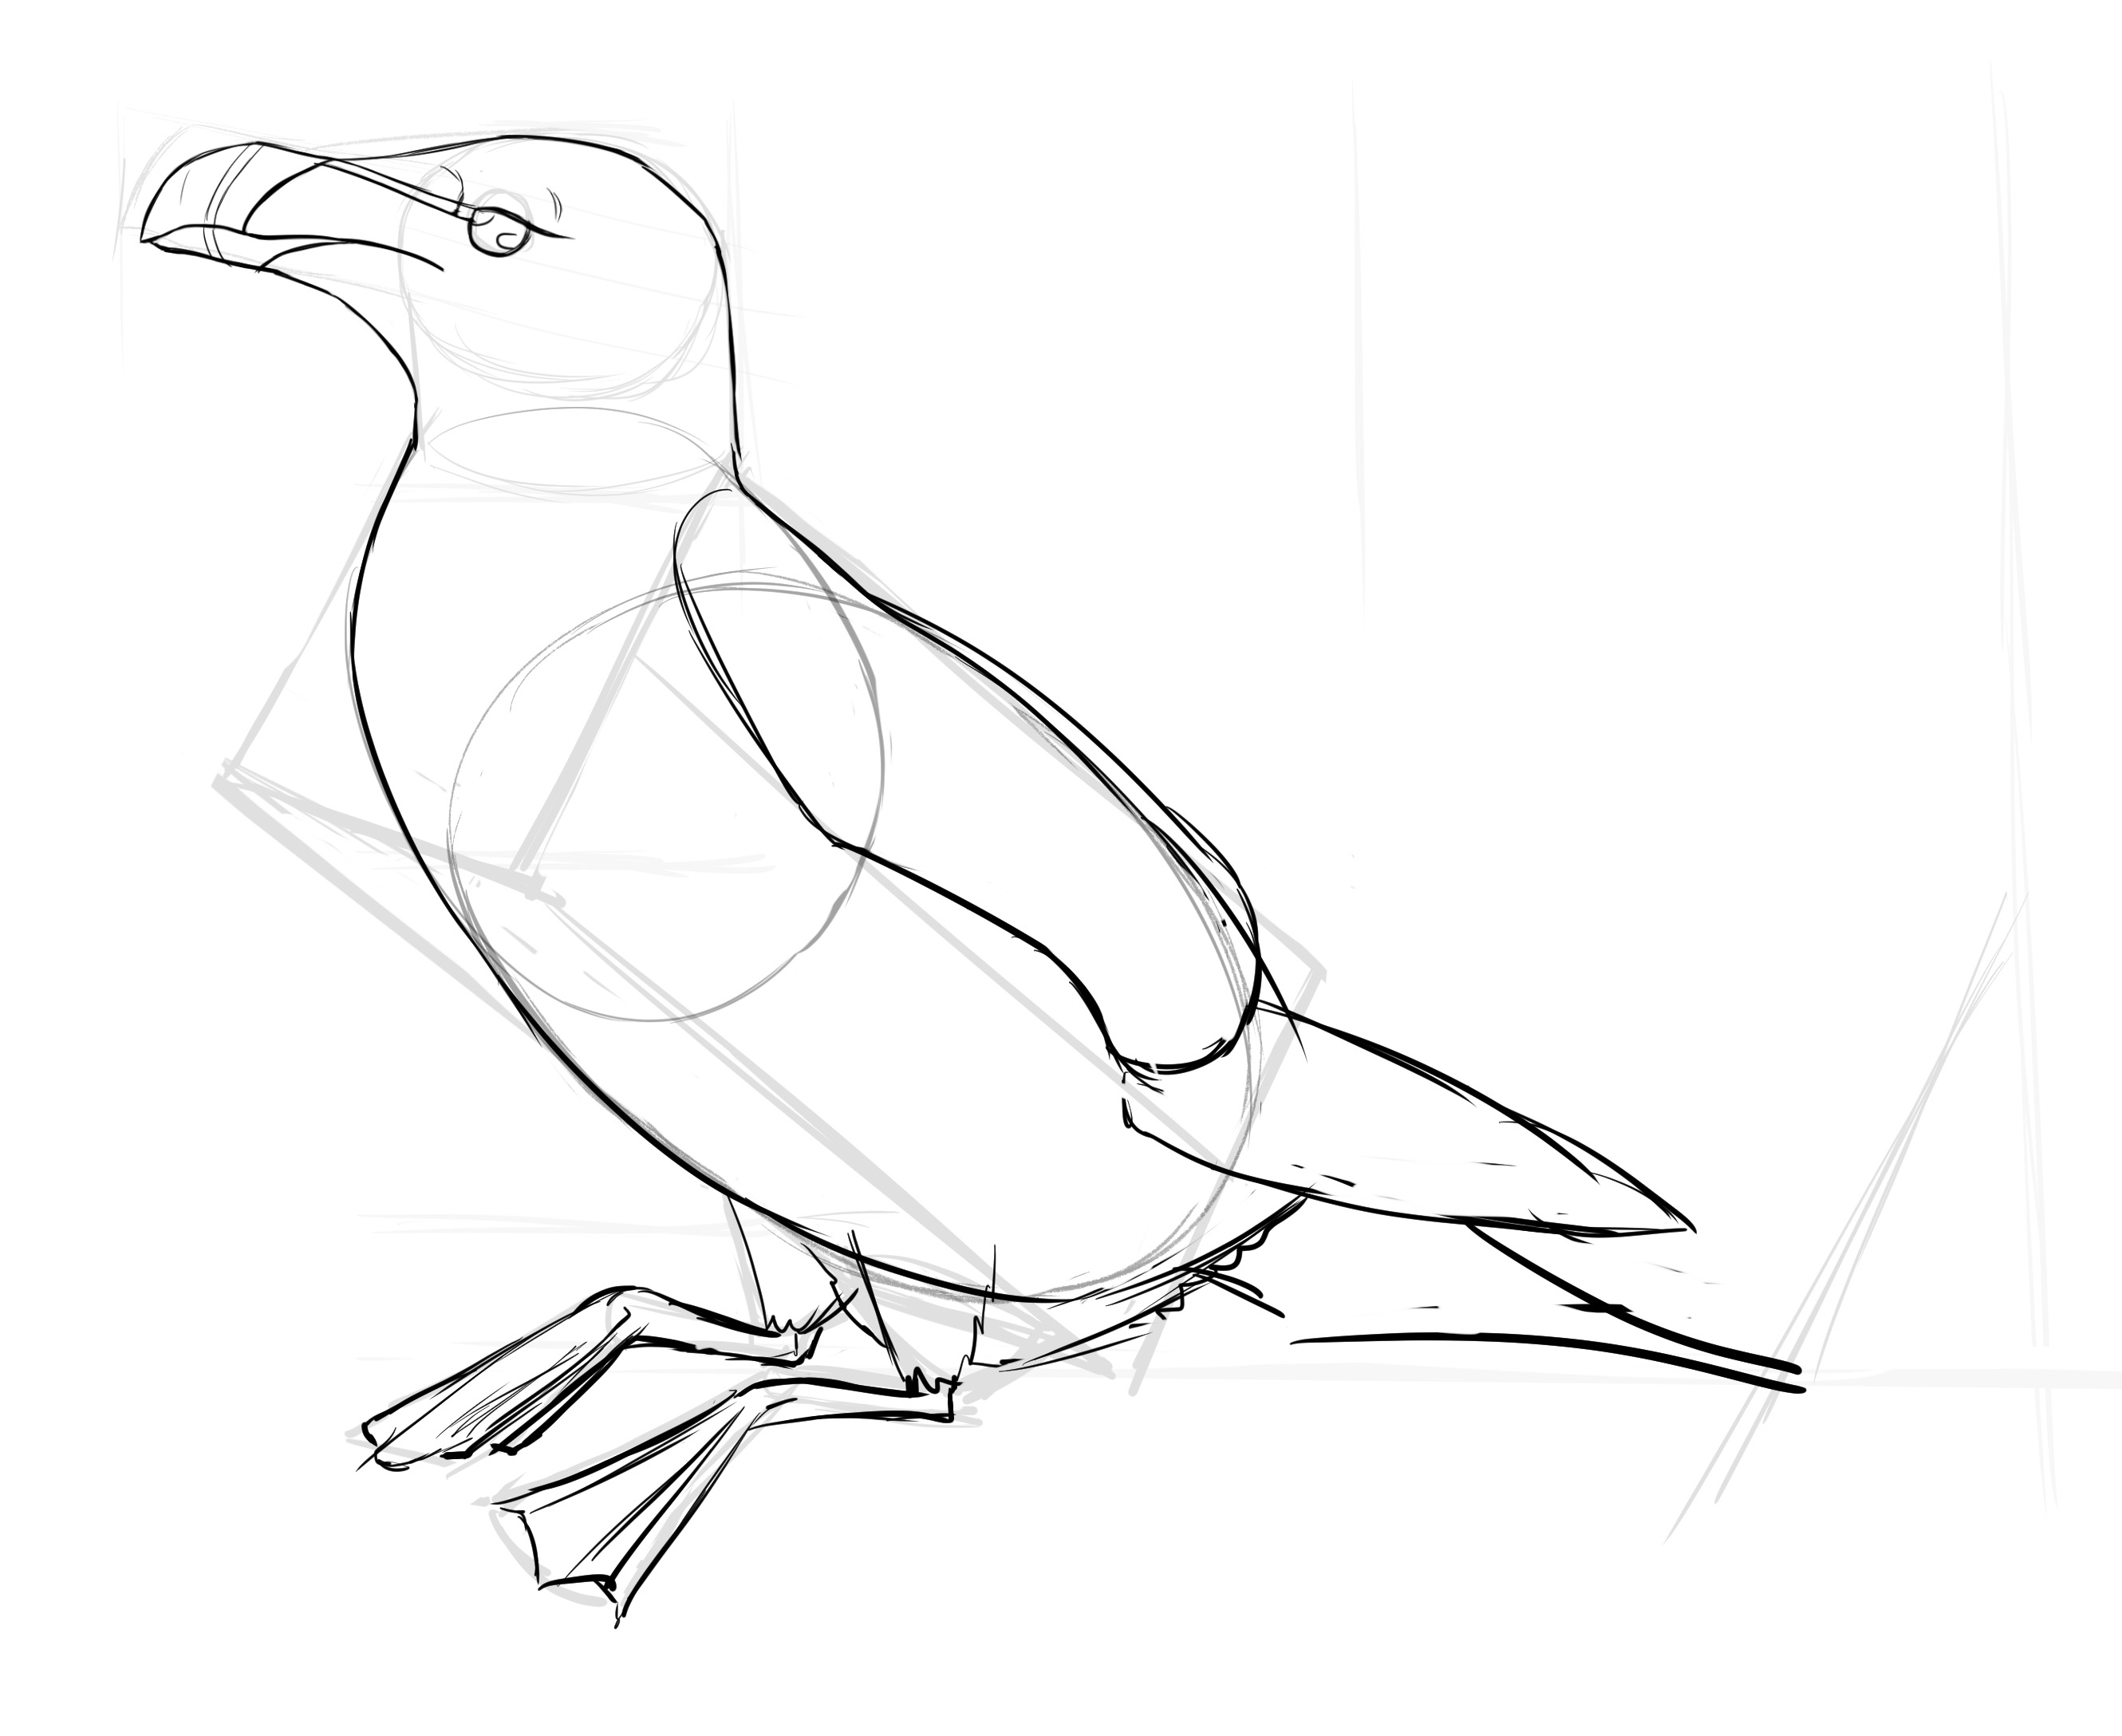
Thighs can also be placed.
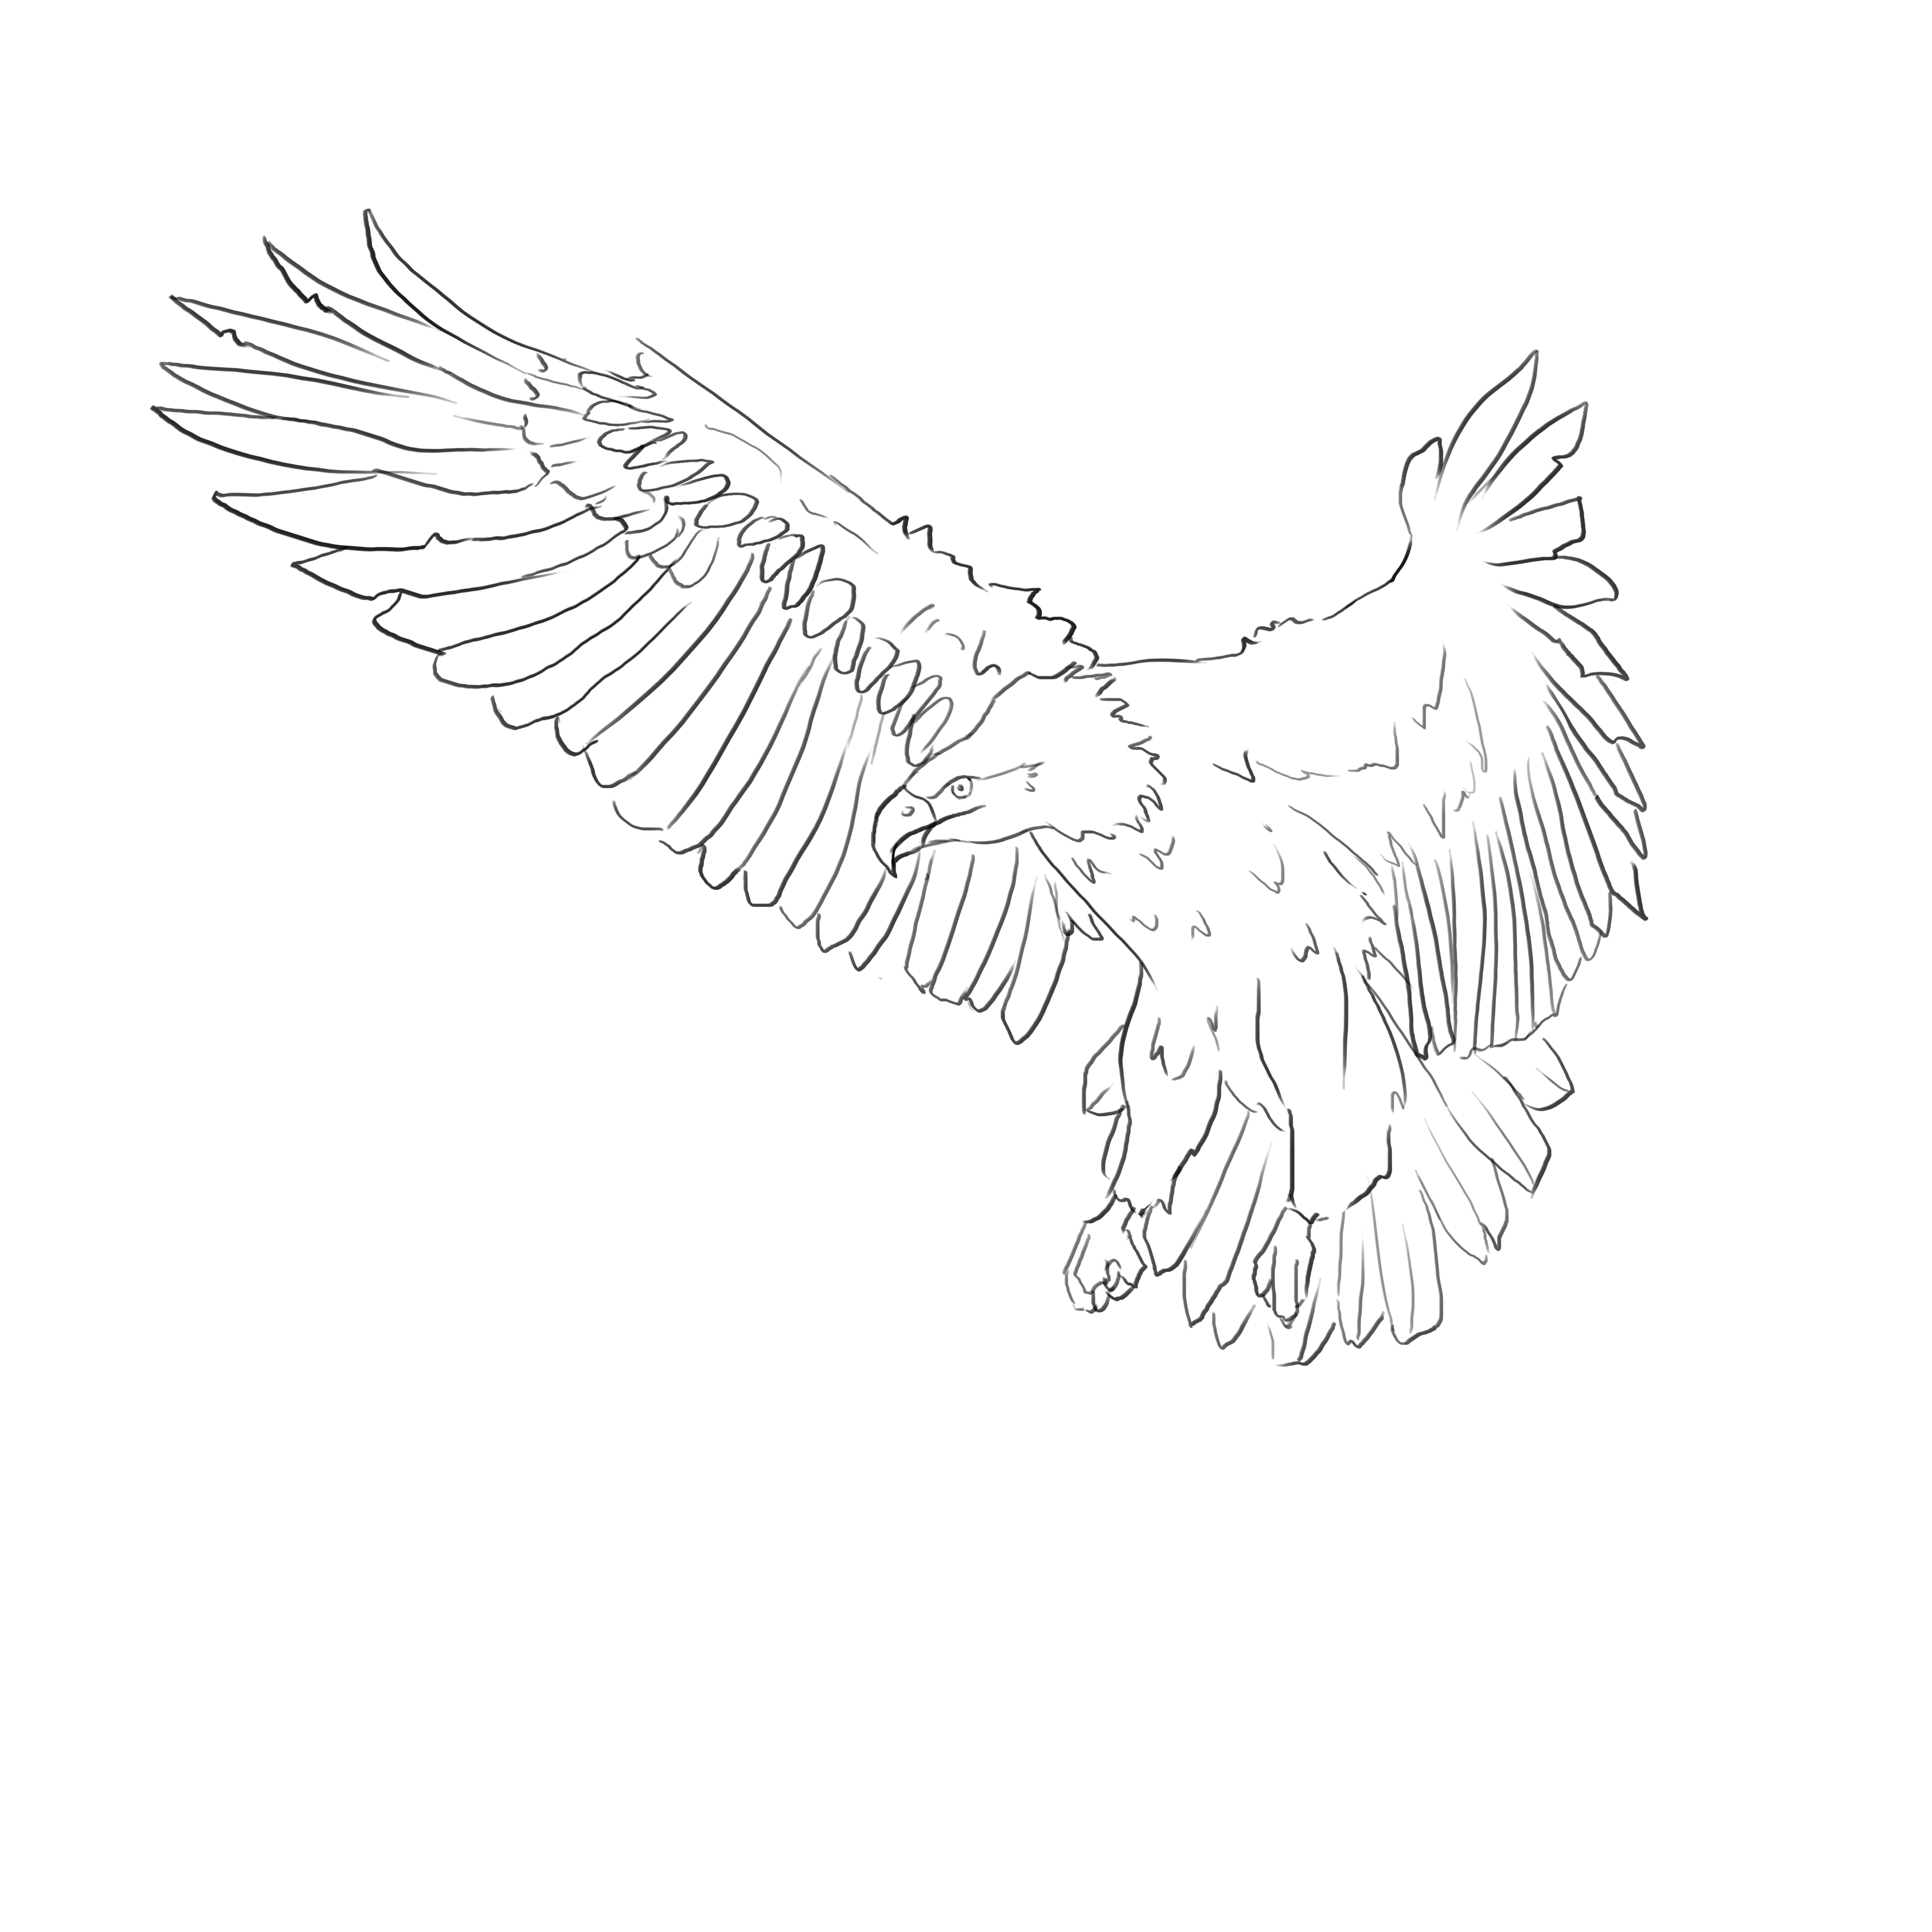
Regarding the wings, in the penguin they are positioned very high and very far back (compared to other birds we have seen in previous articles). The wings only occupy the first third in height of the penguin's body. They also descend very far down its back (almost to the end of its tail if you look at the very first photo of this article).
We are therefore drawing the first part of the wing; it's a black AND white area.
The second part will start halfway along the width of our wing and follow the slope of the body. It will end just before the tail.
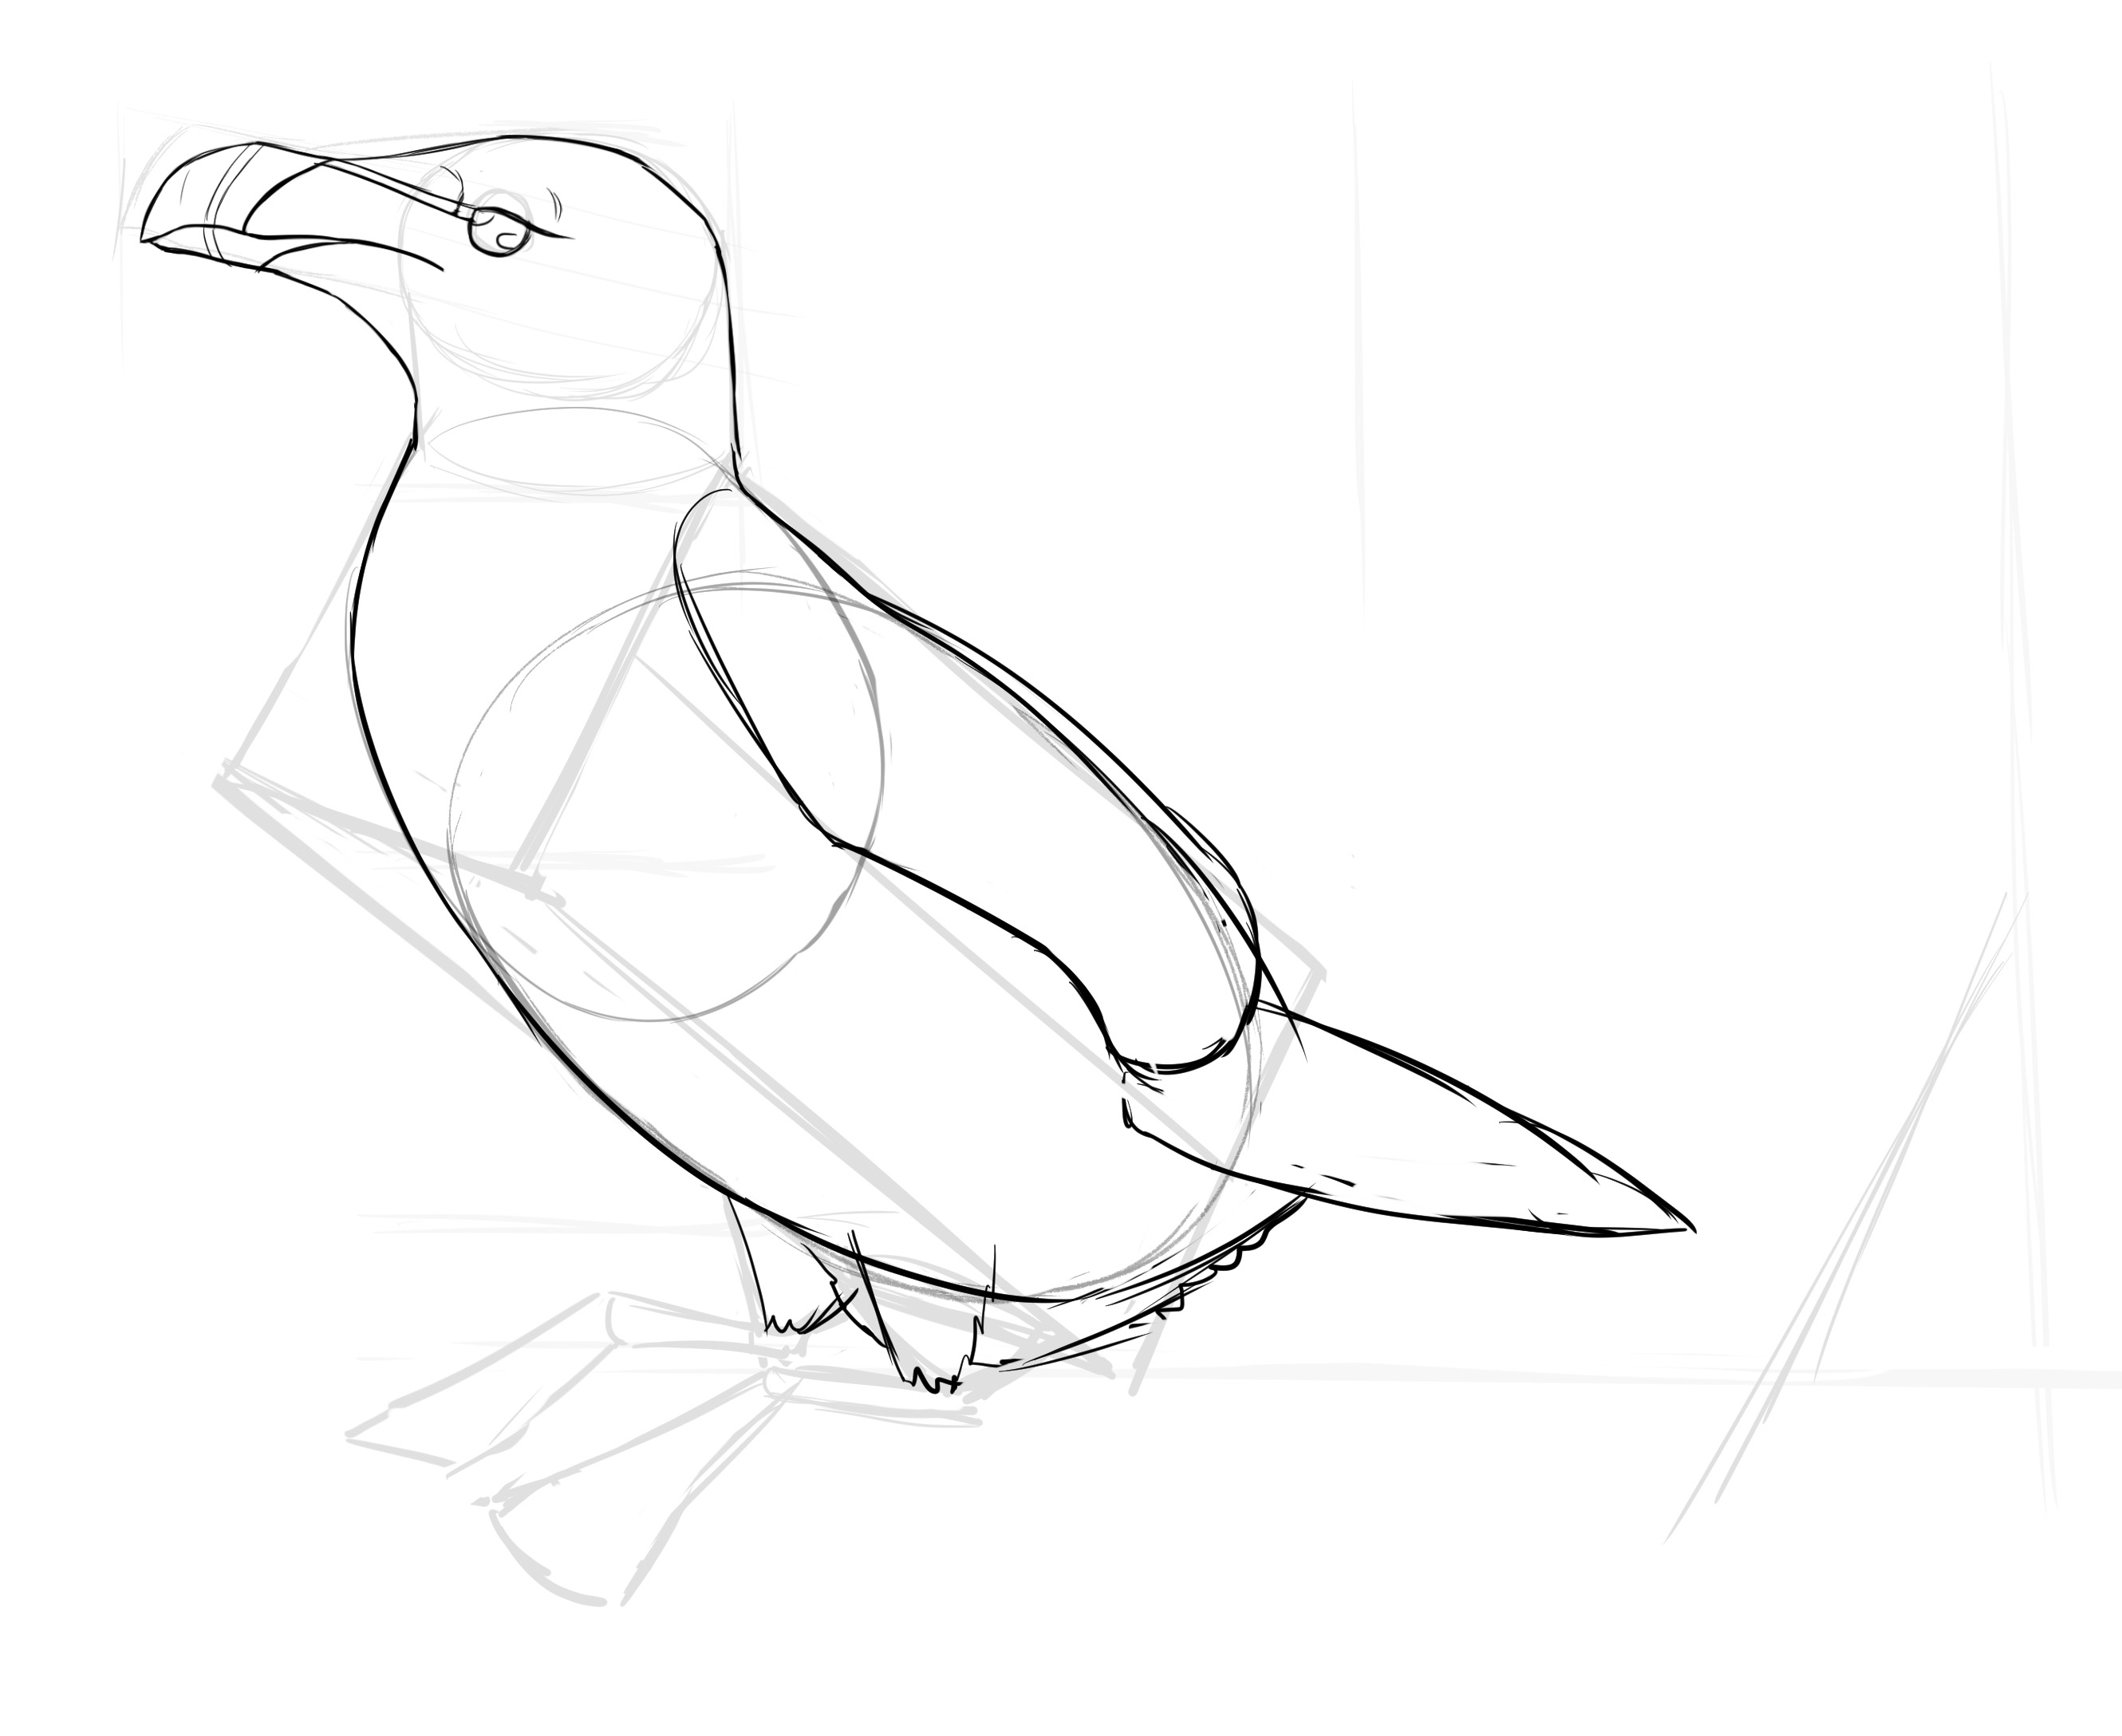
The tail, for its part, is a kind of diamond. Its peak is located on the line I had you draw earlier, half the width of the body.
For the feet, they are webbed, but very folded in on themselves. I should note that as a result, the penguin has only three toes on the front. So, we position the three toes (if they are visible) and then connect them. We can also slightly mark the joint by thickening it.
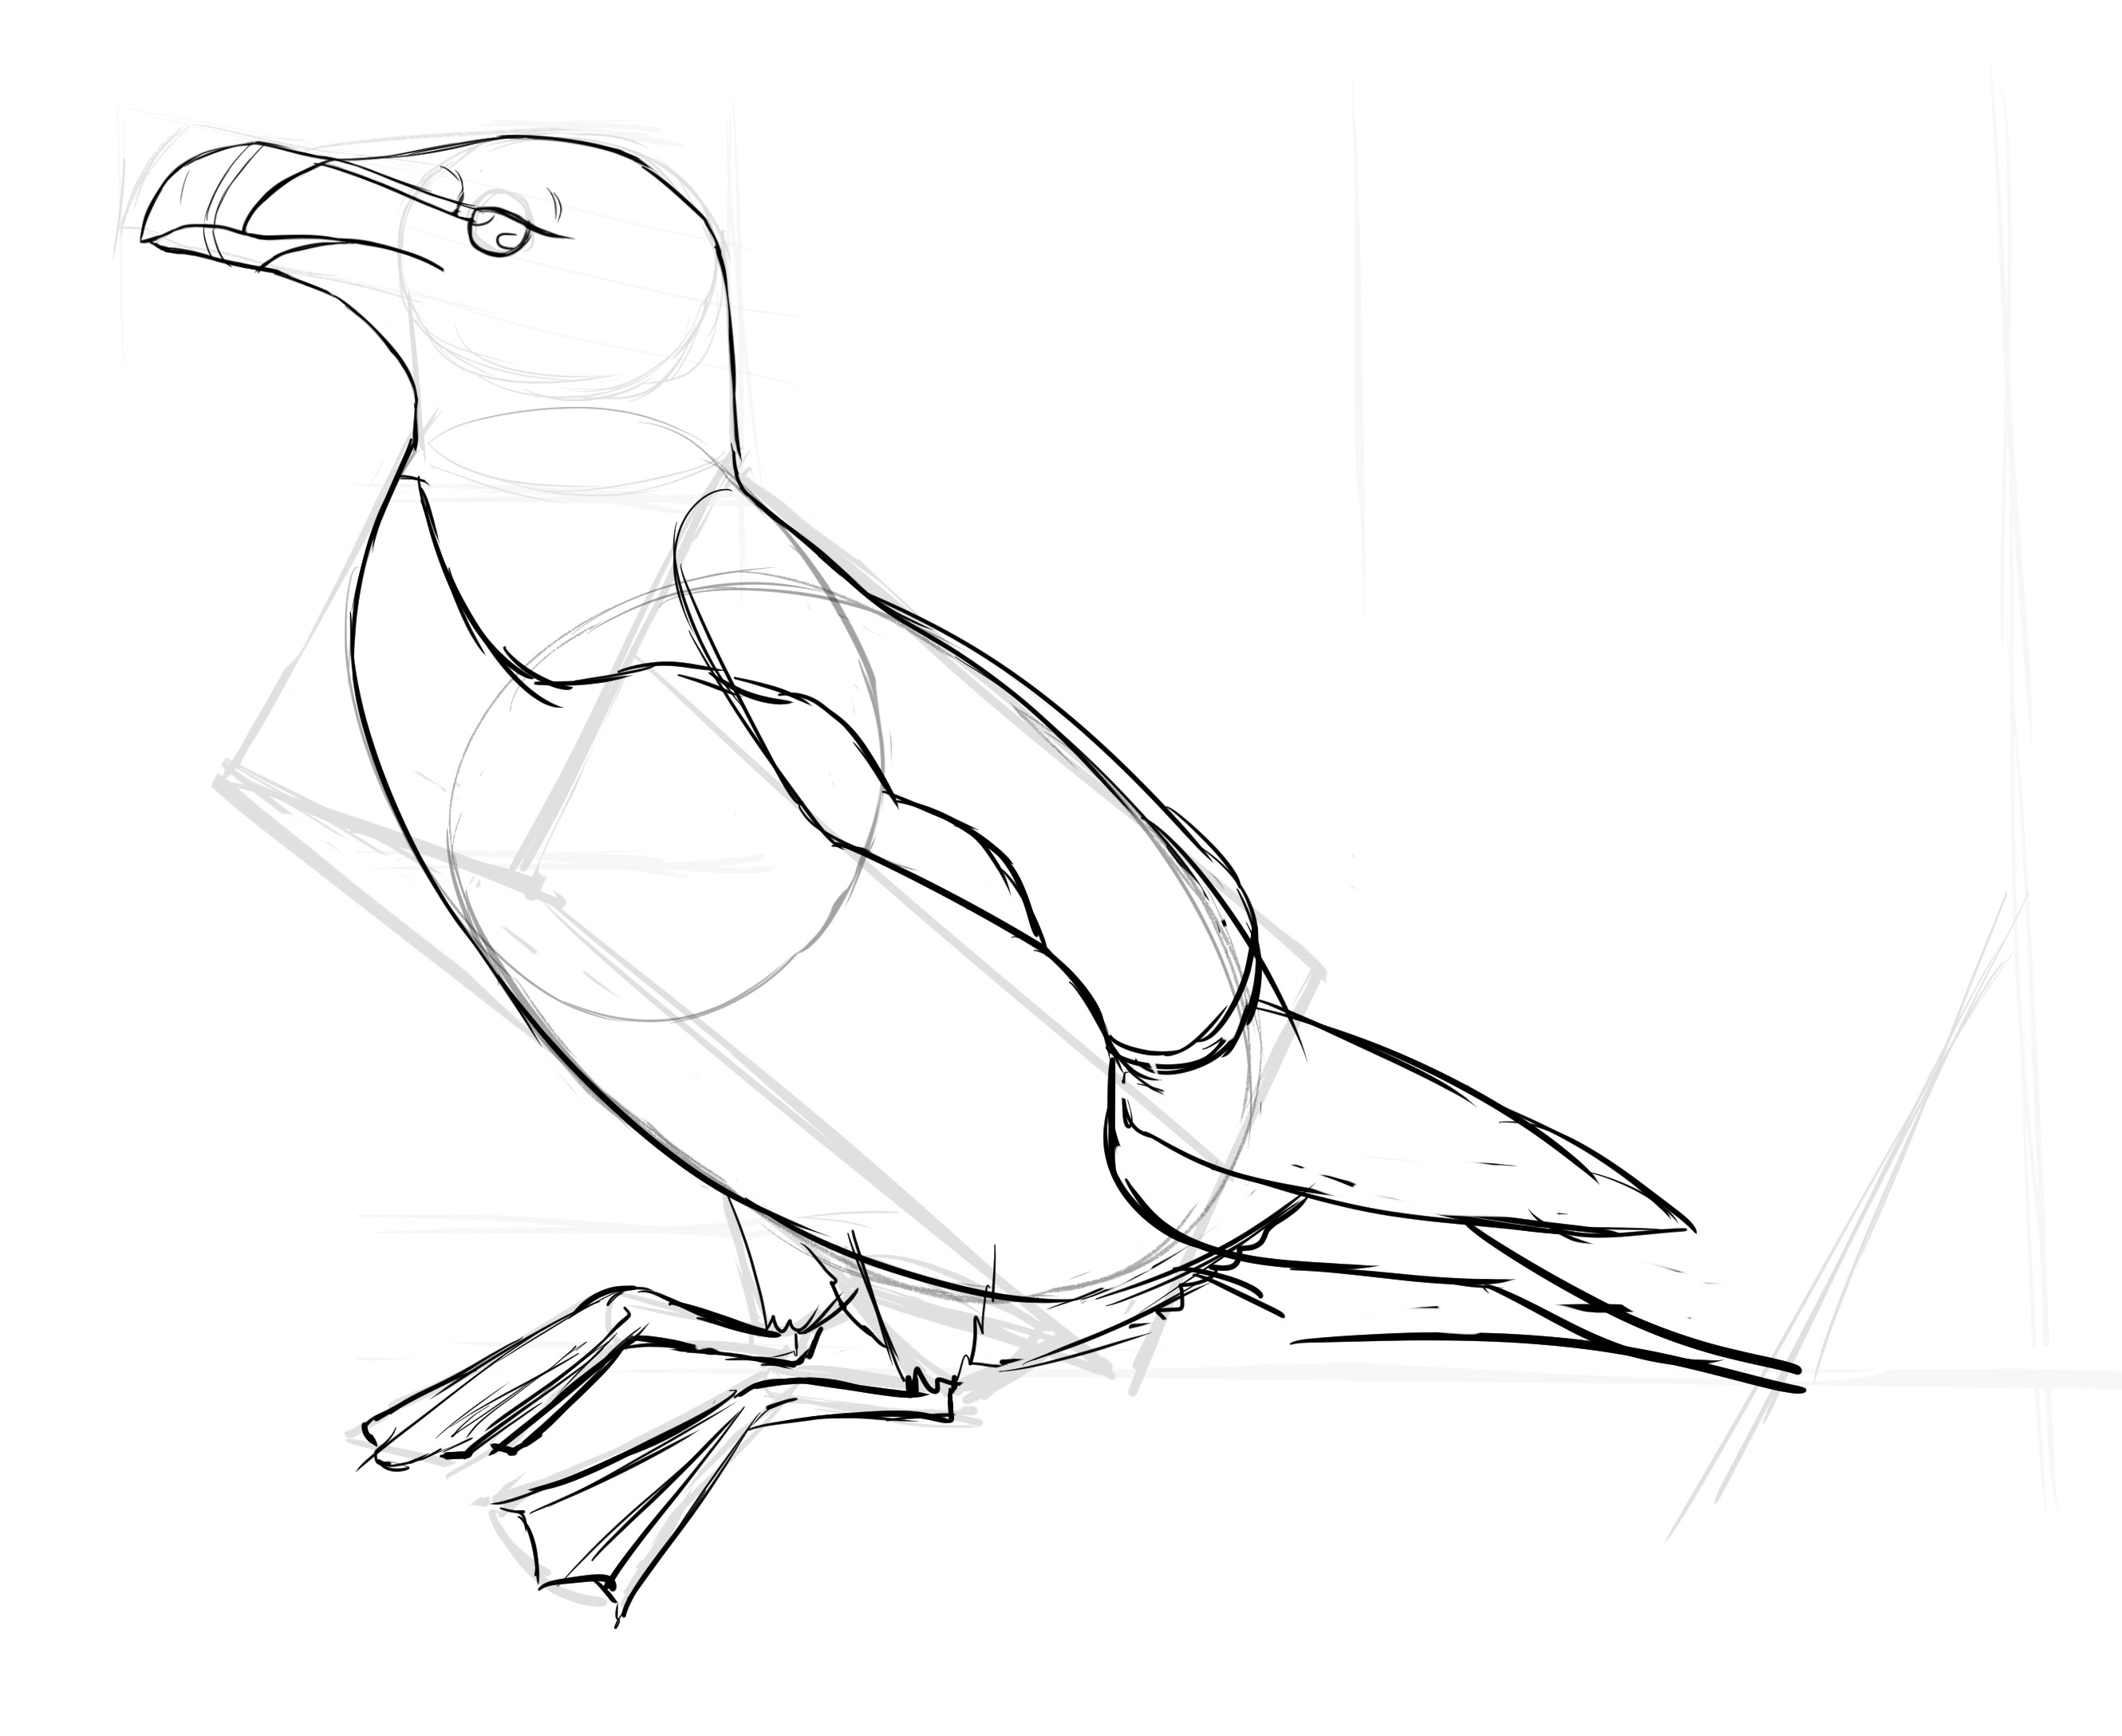
Last thing: the plumage. We will quickly trace the pattern on the plumage. The head is completely black (except for the two bands on the beak) as well as the neck, the wings are partly black (let's say that you can see a bit what one might call the armpit which is white). This forms a sort of curve followed by a counter curve to encompass the tail, at least the upper side. We will note the small white border that separates the two parts of the wing's plumage (the oval we traced earlier).
THE FINAL DETAILS OF THE DRAWING
All that remains for us is to tidy it up and detail everything, step by step:

There is no need to detail the plumage further, since it is very dark.

Summary:
- Observe the model and its proportions
- Use simple shapes
- Gradually refine, sometimes resorting to using additional photos for a better view (example with the head)
Popular Articles
Discussion
I love the way you explain the differences between the penguin and the puffin, it's really interesting. And the step-by-step approach to drawing the penguin is clear and well thought out.